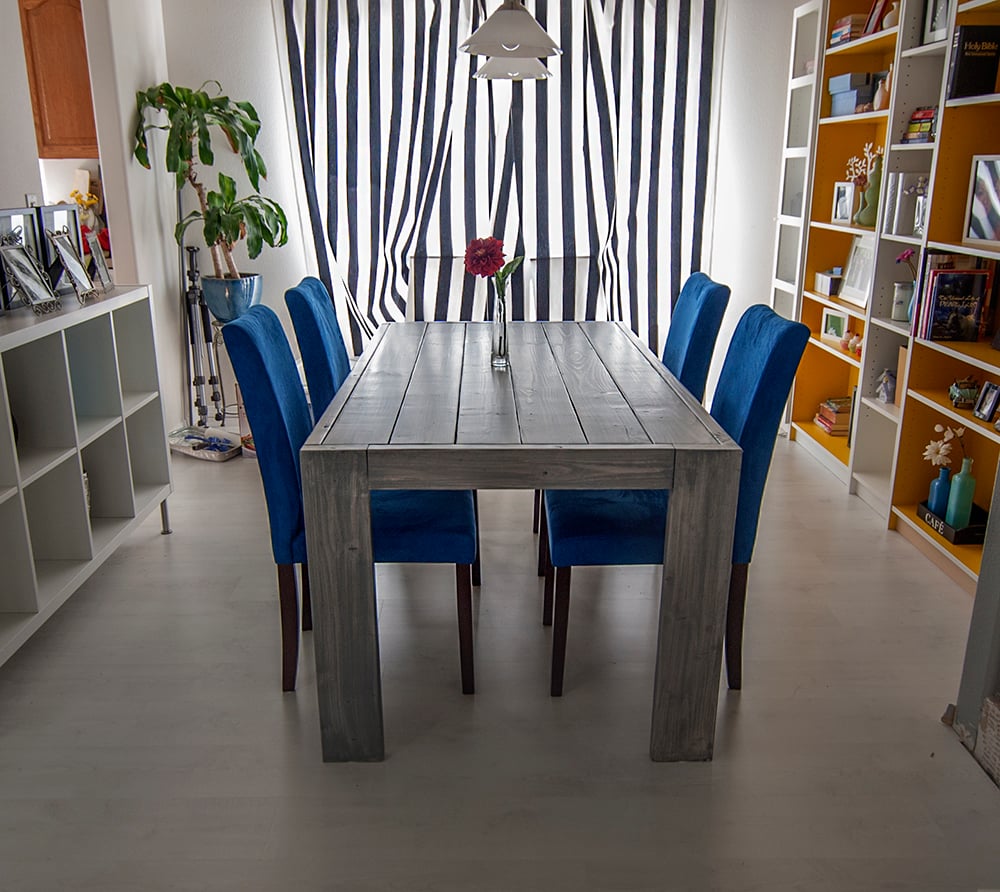
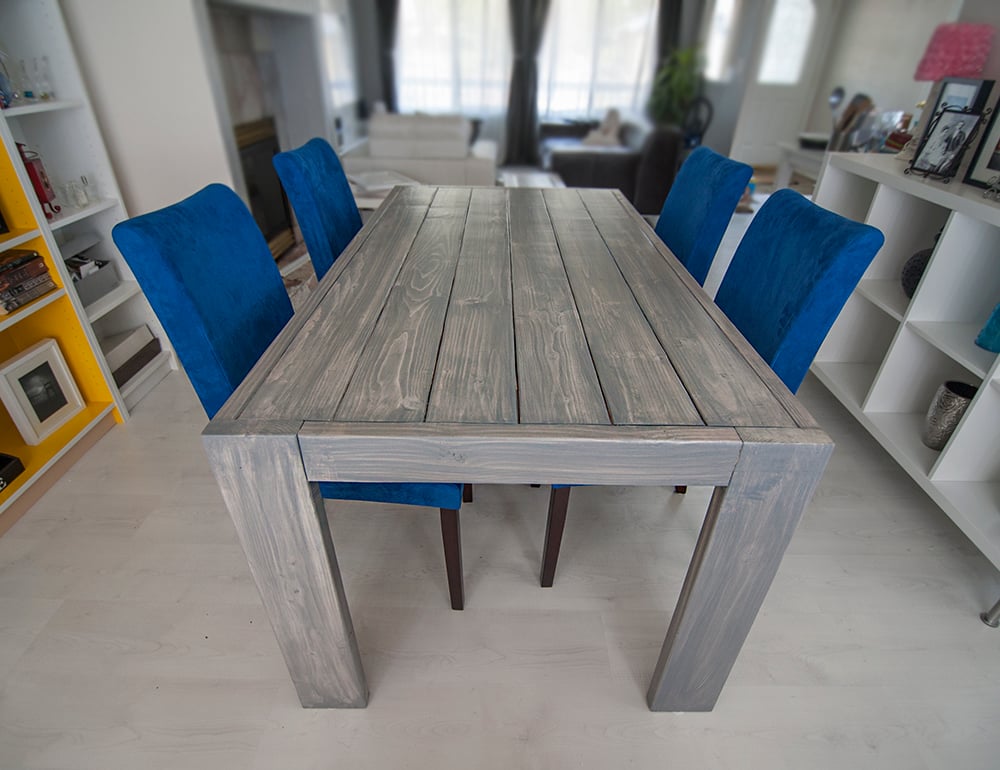
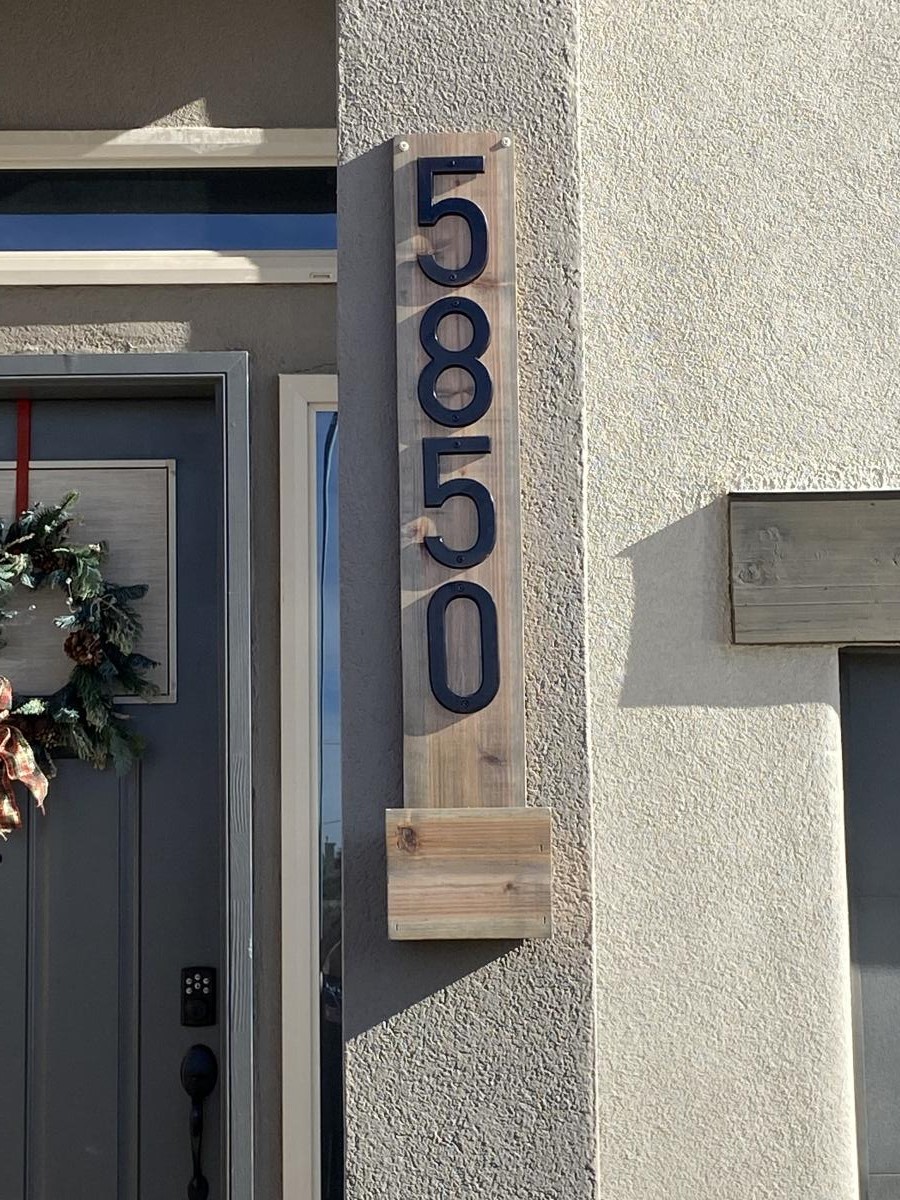
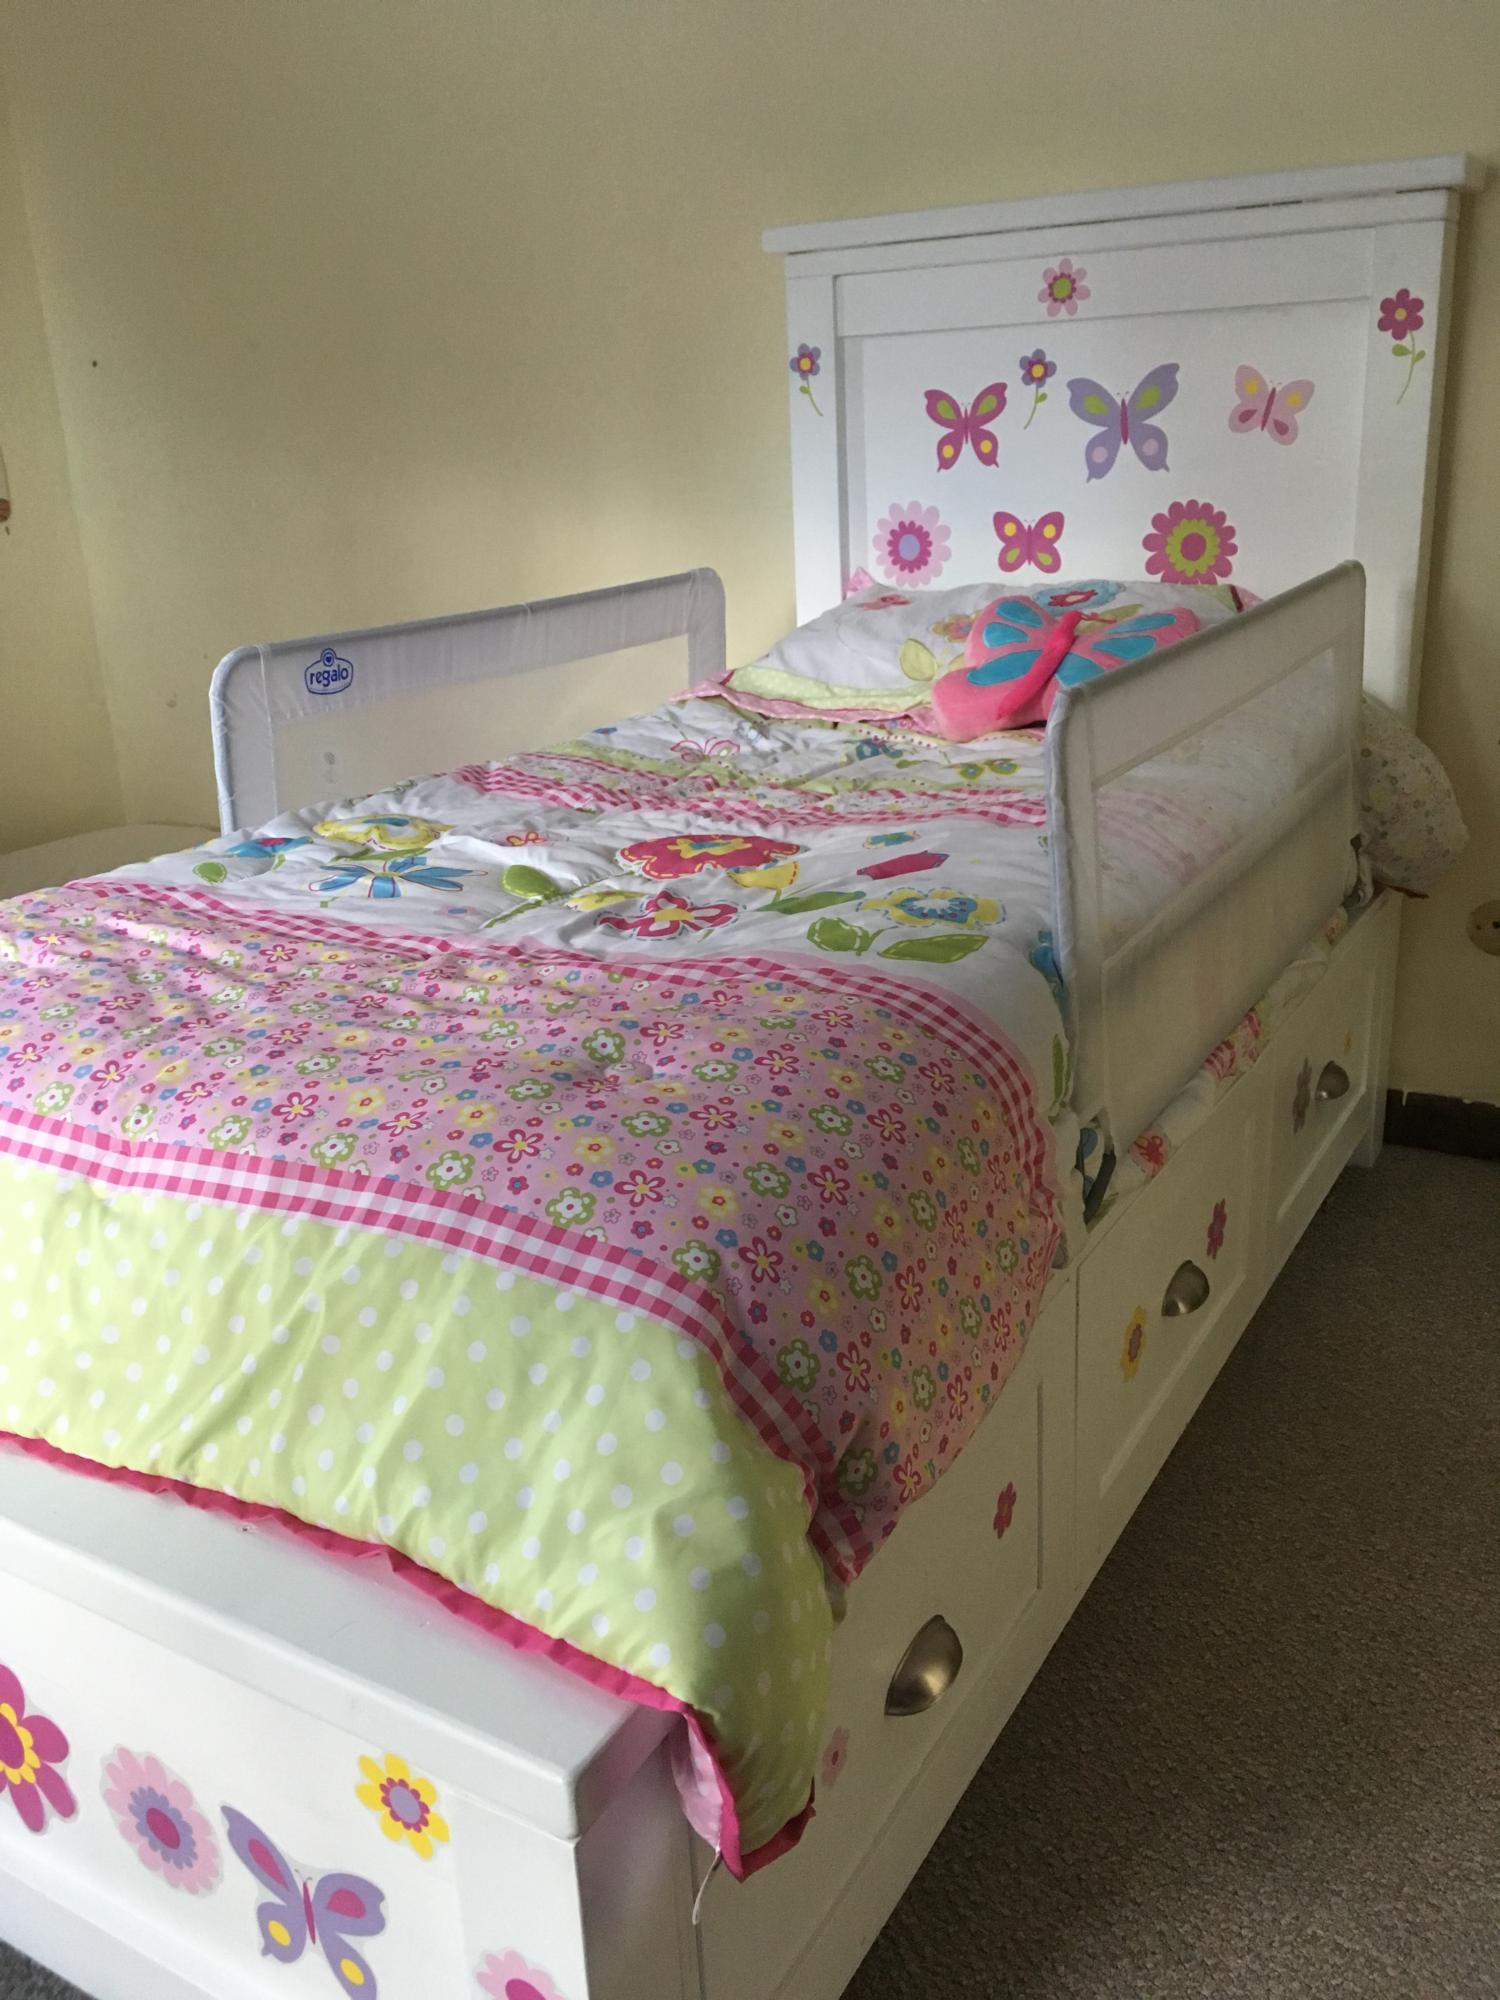
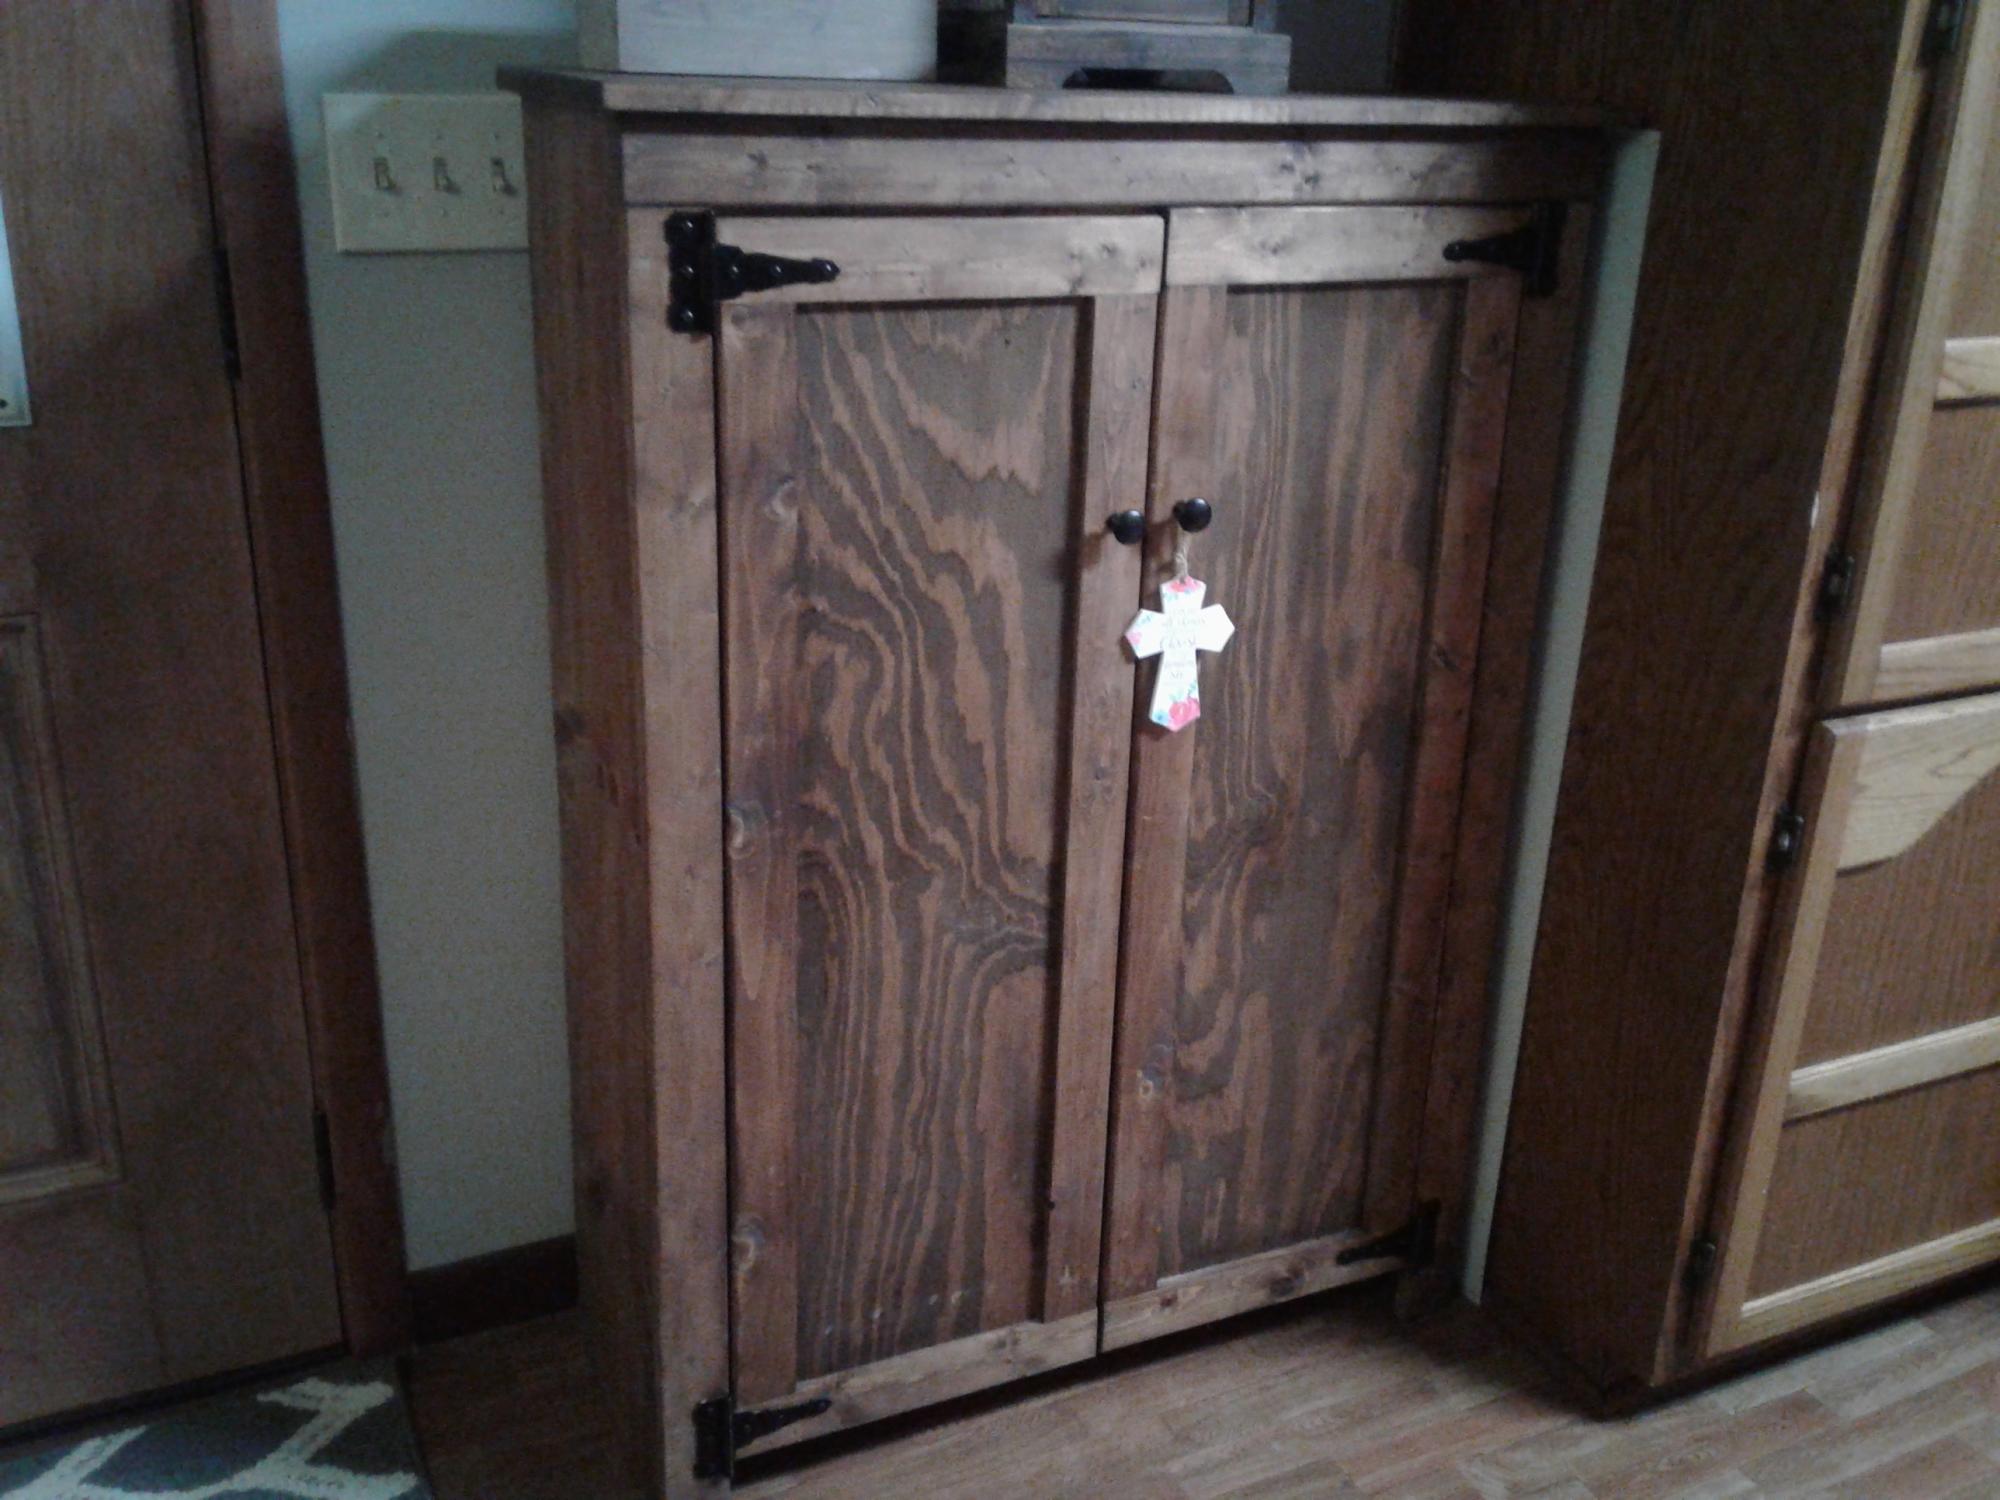
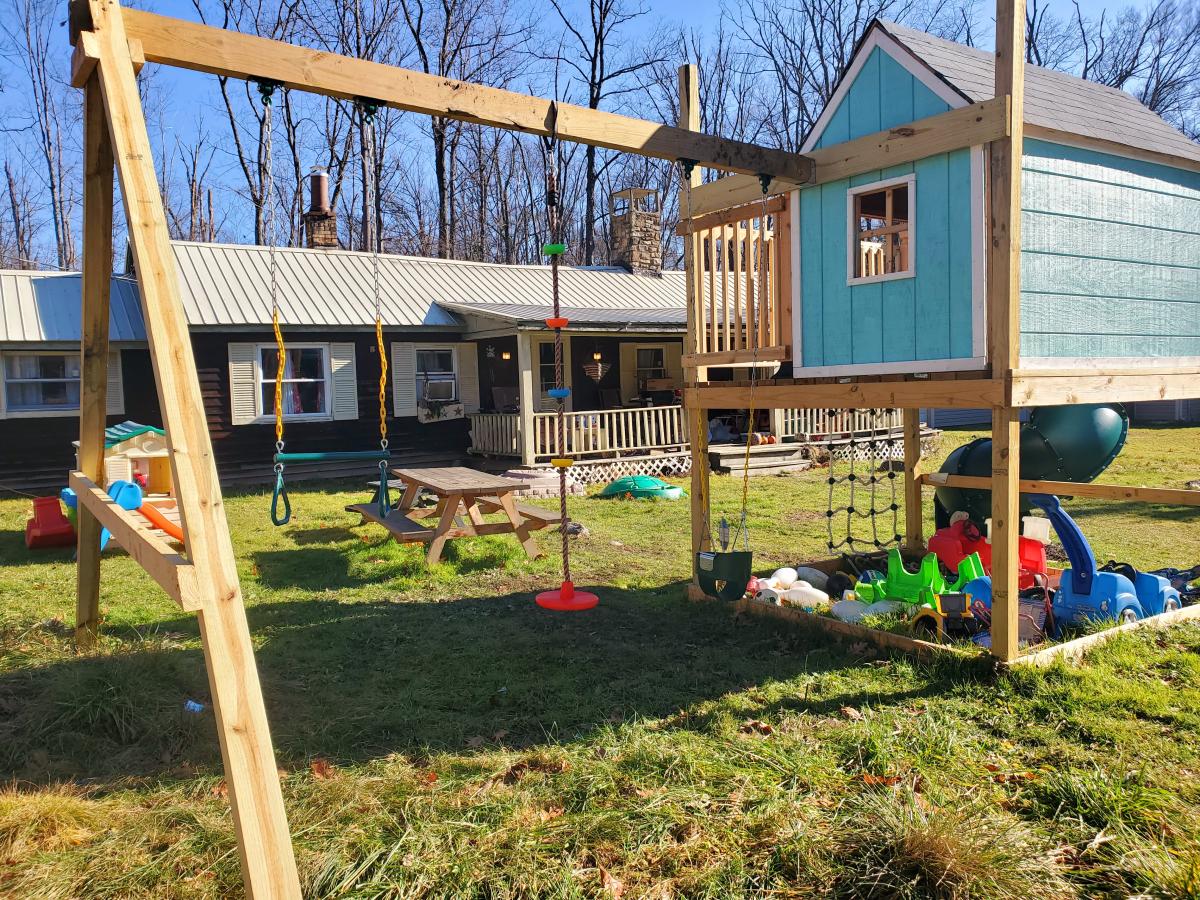
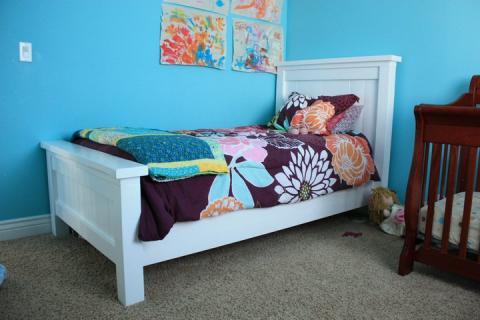
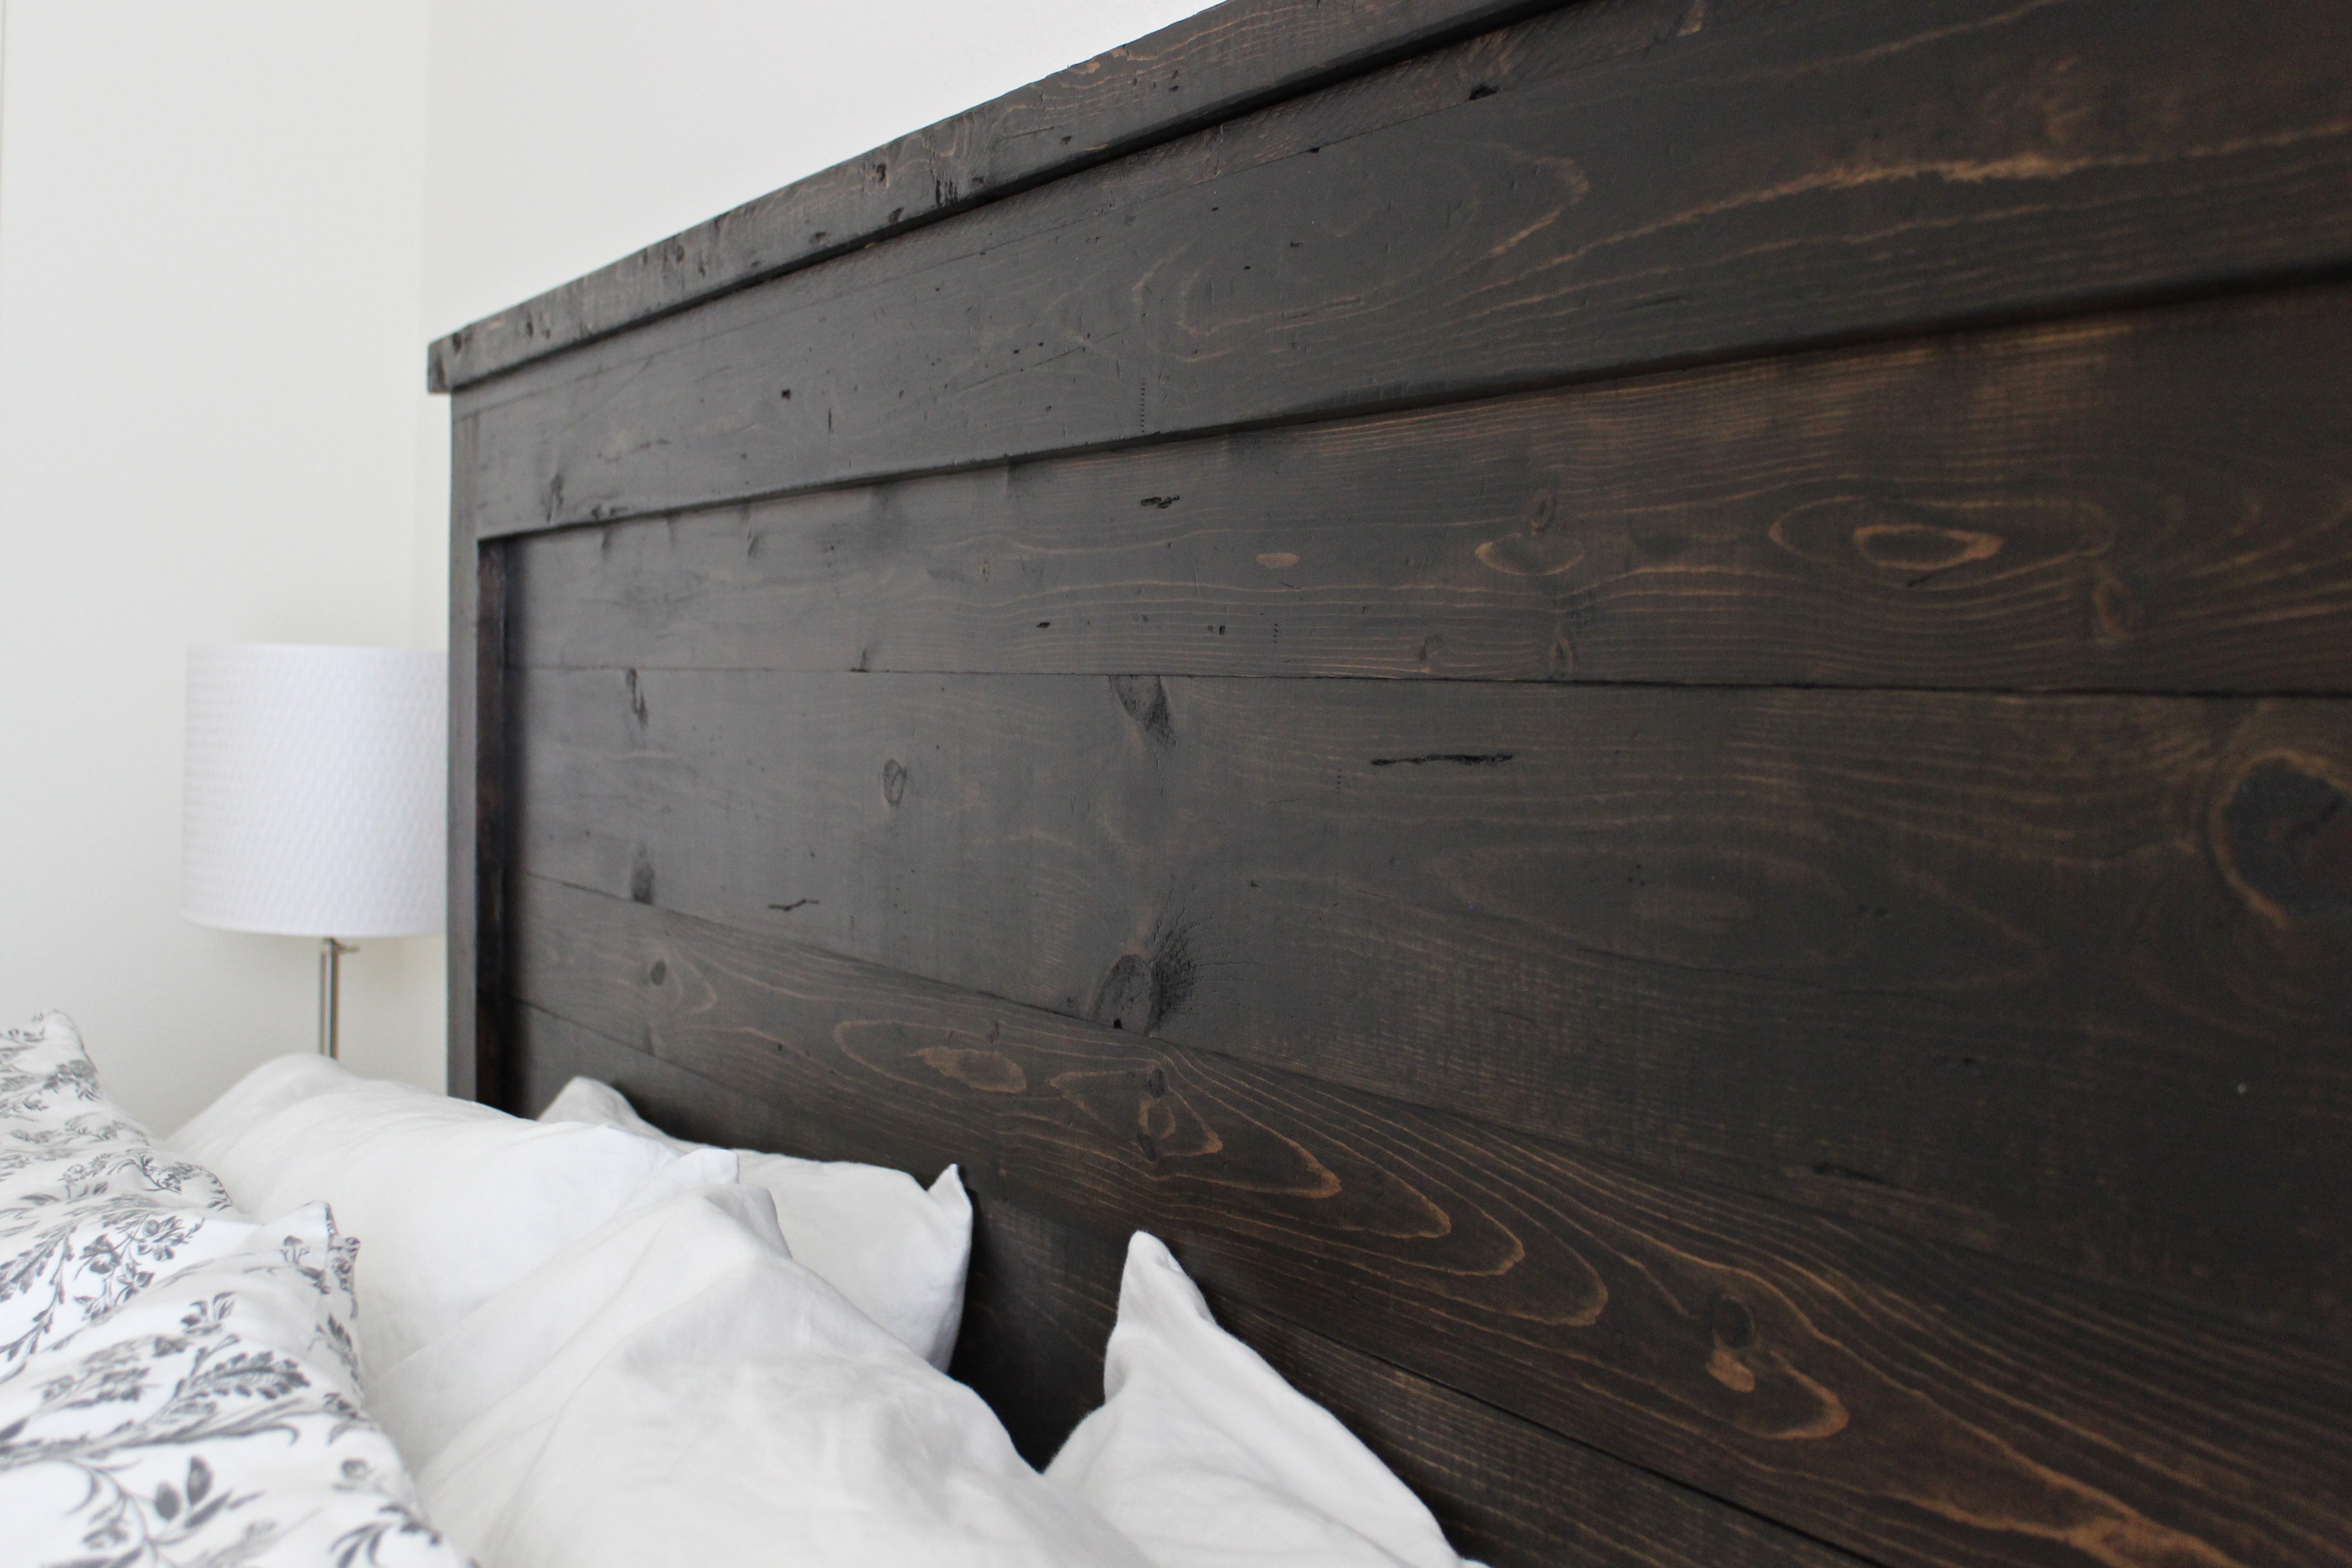
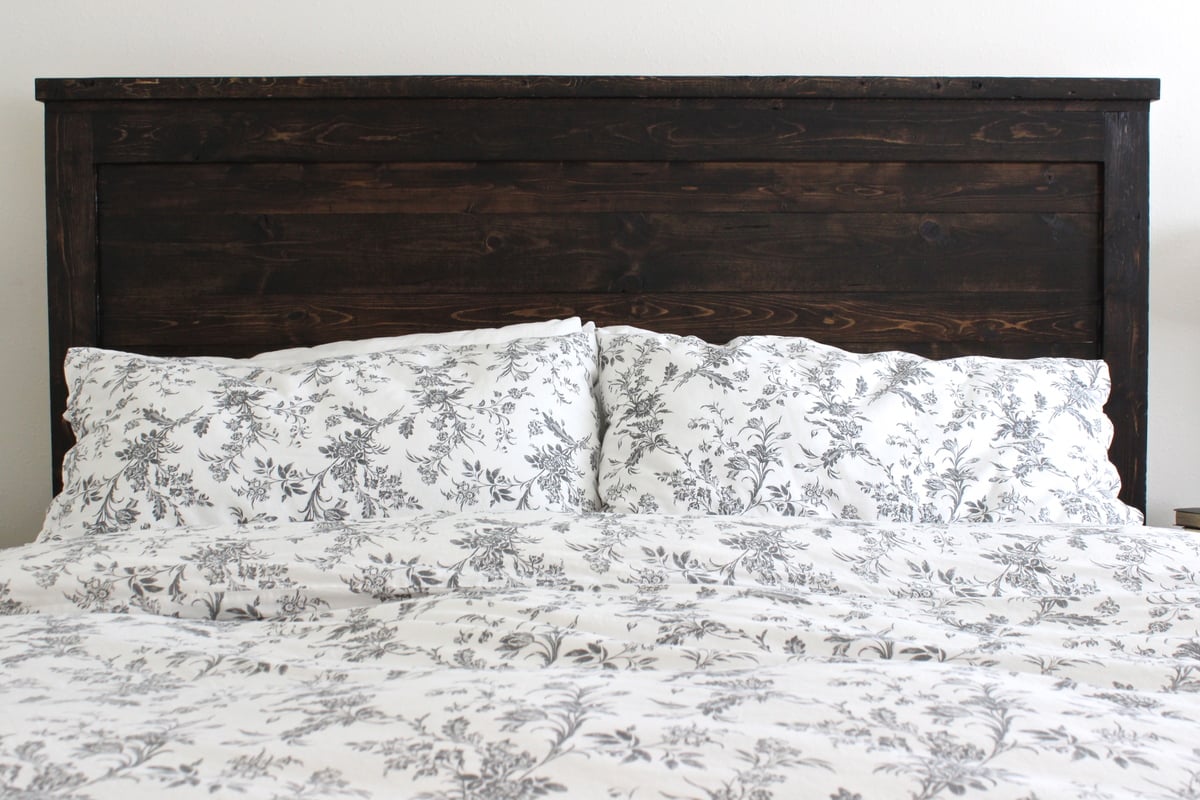
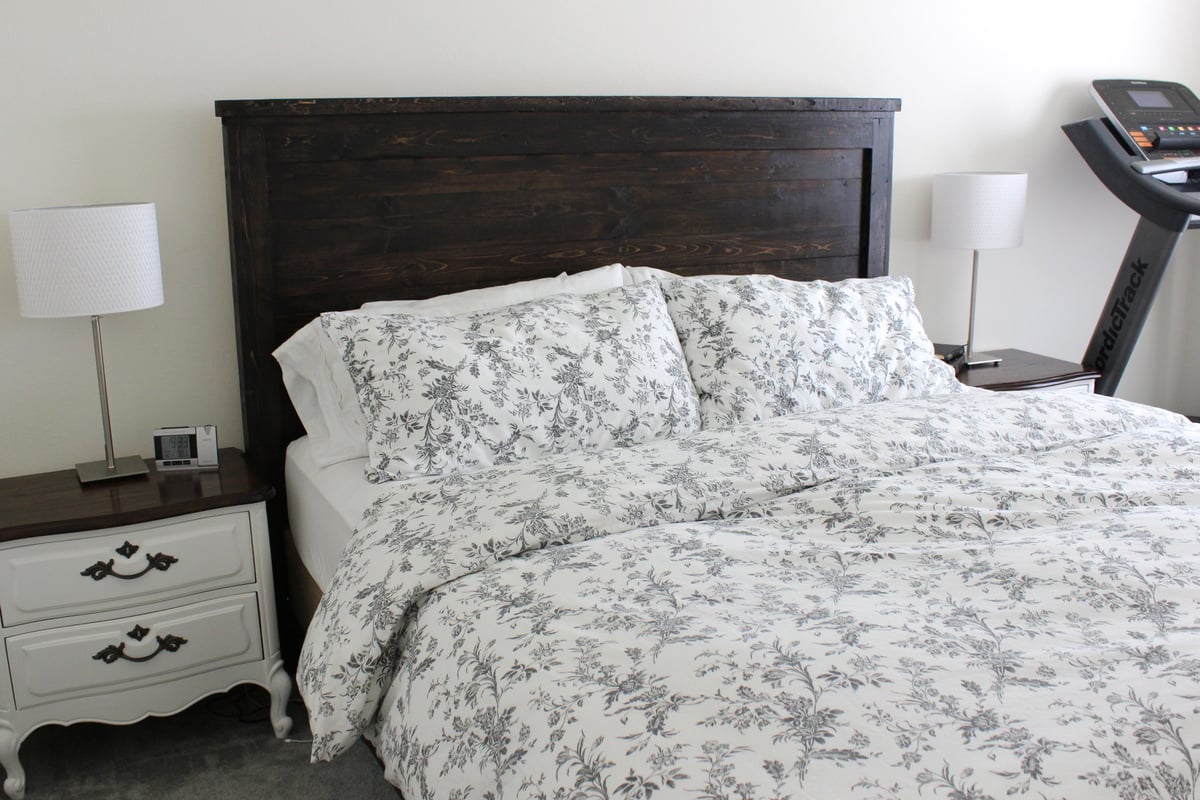
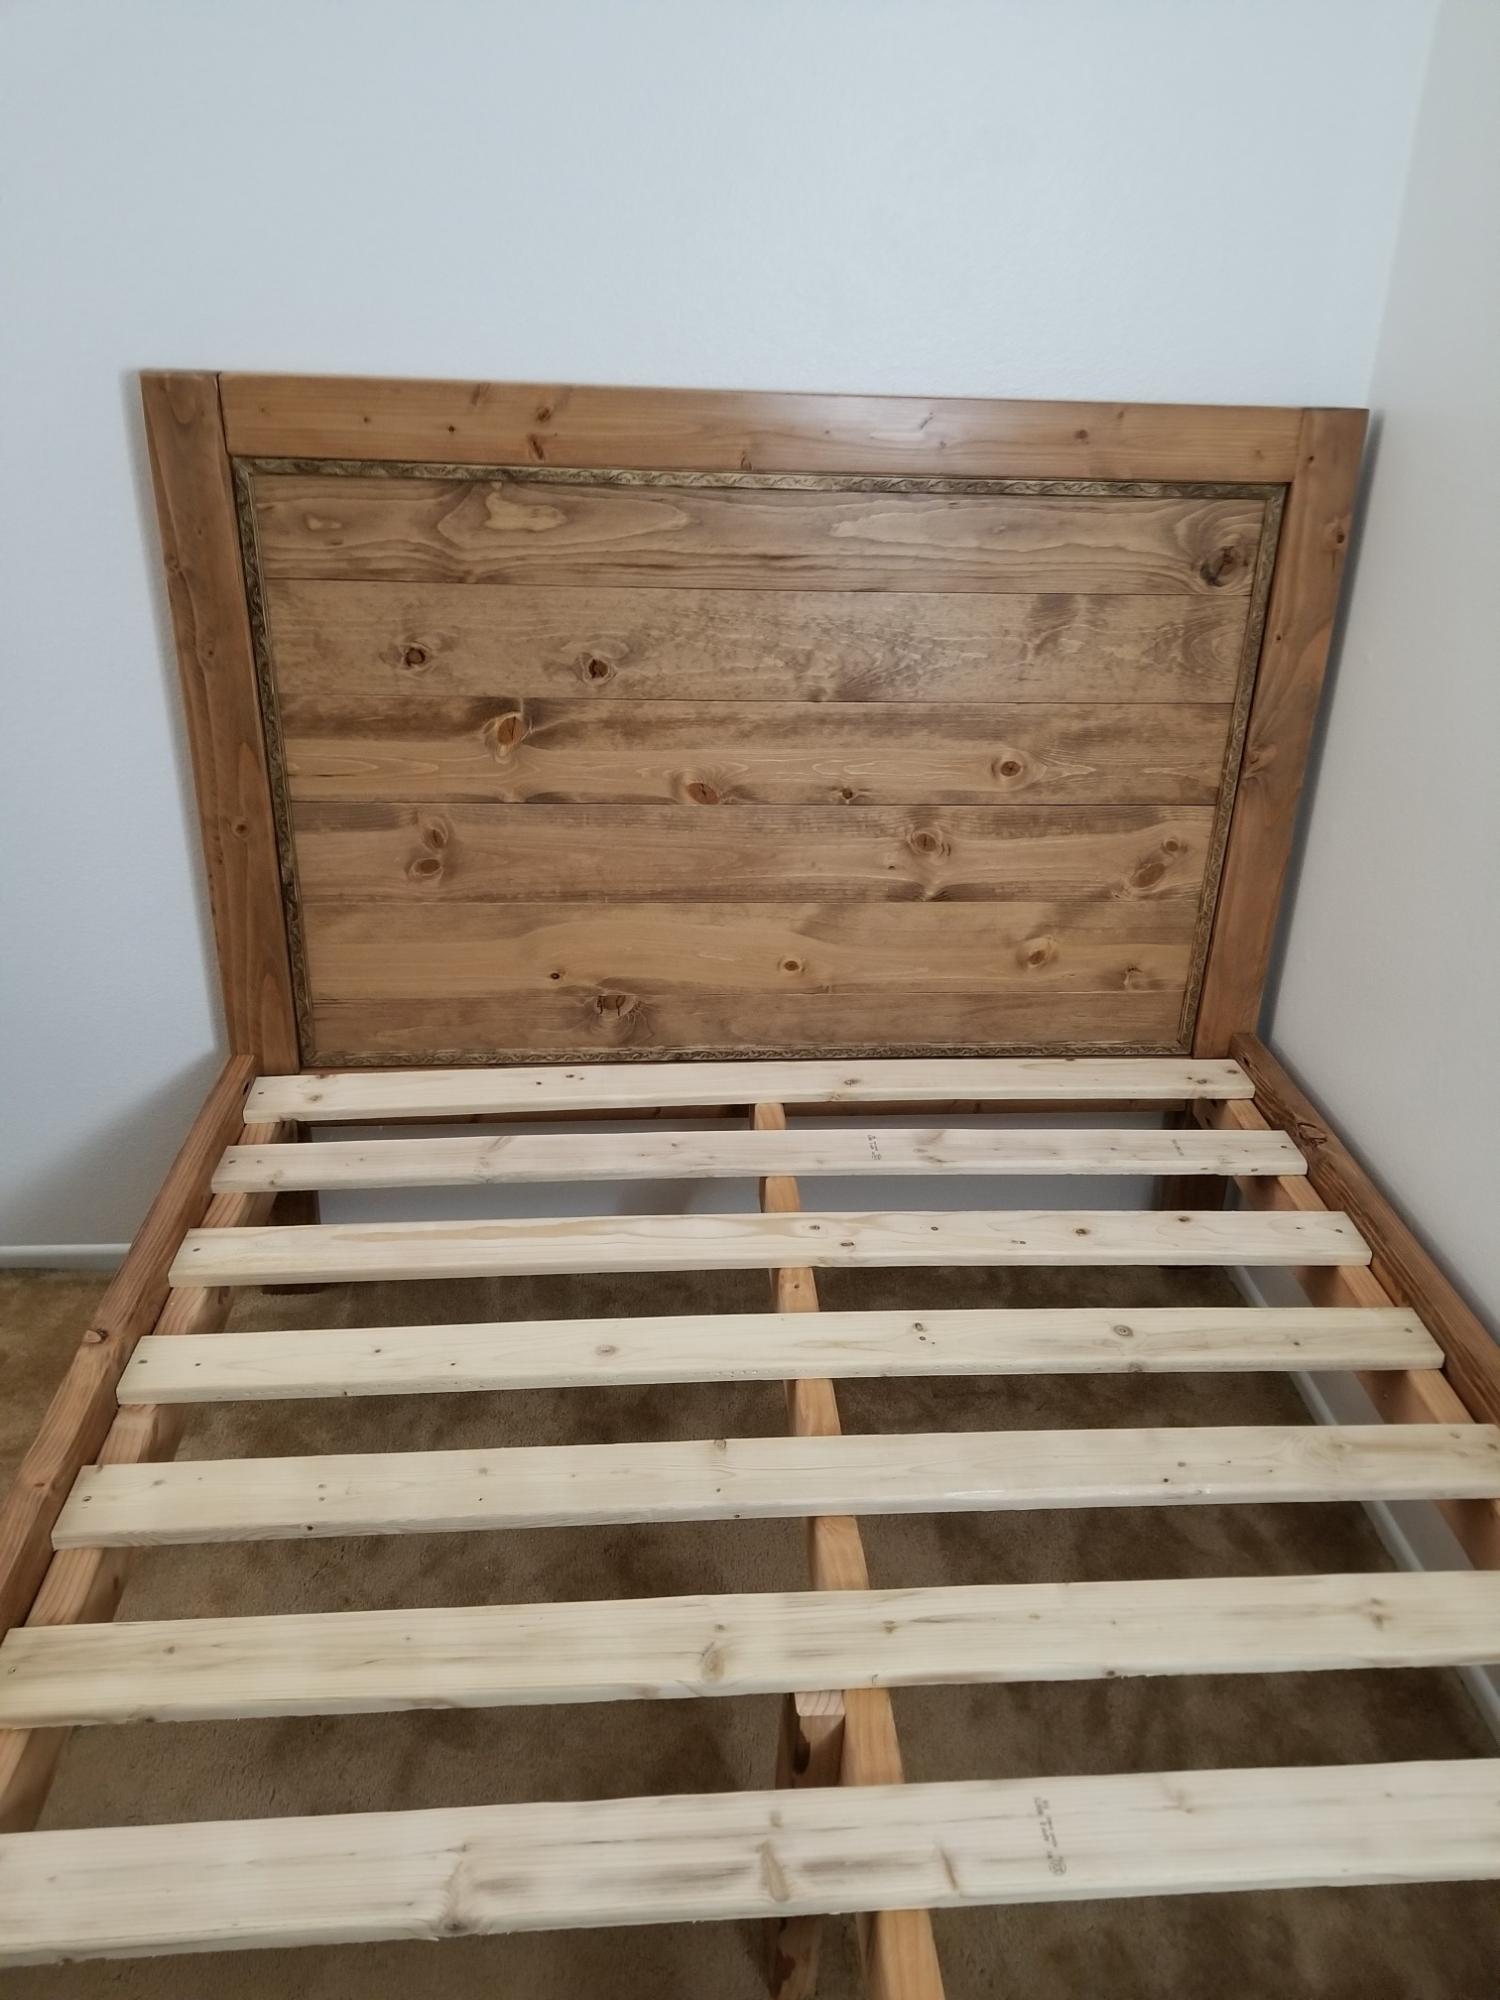
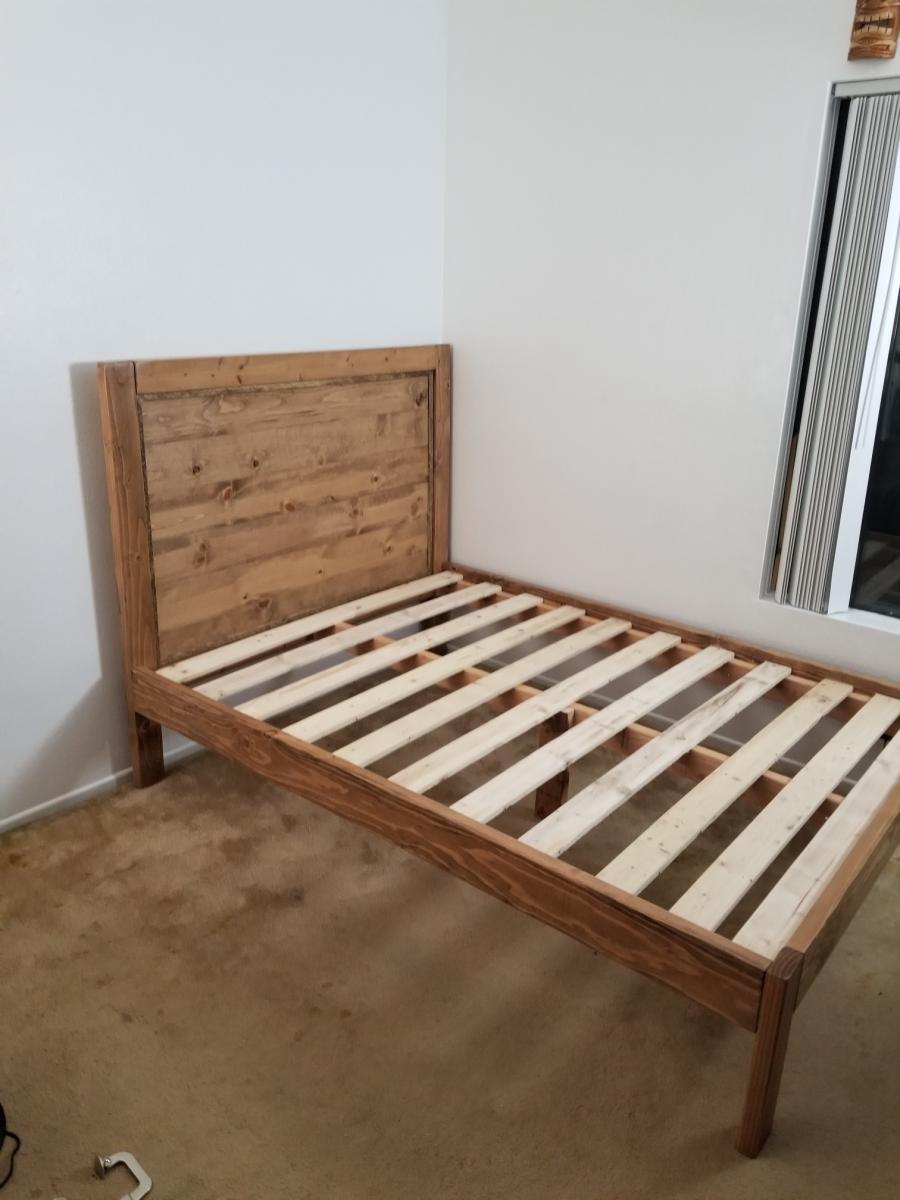
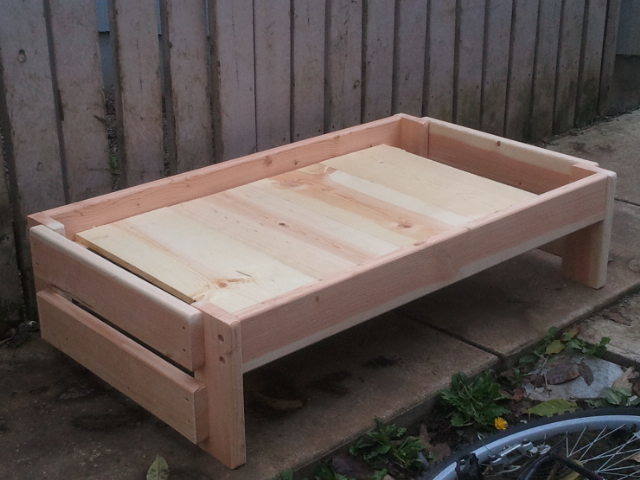
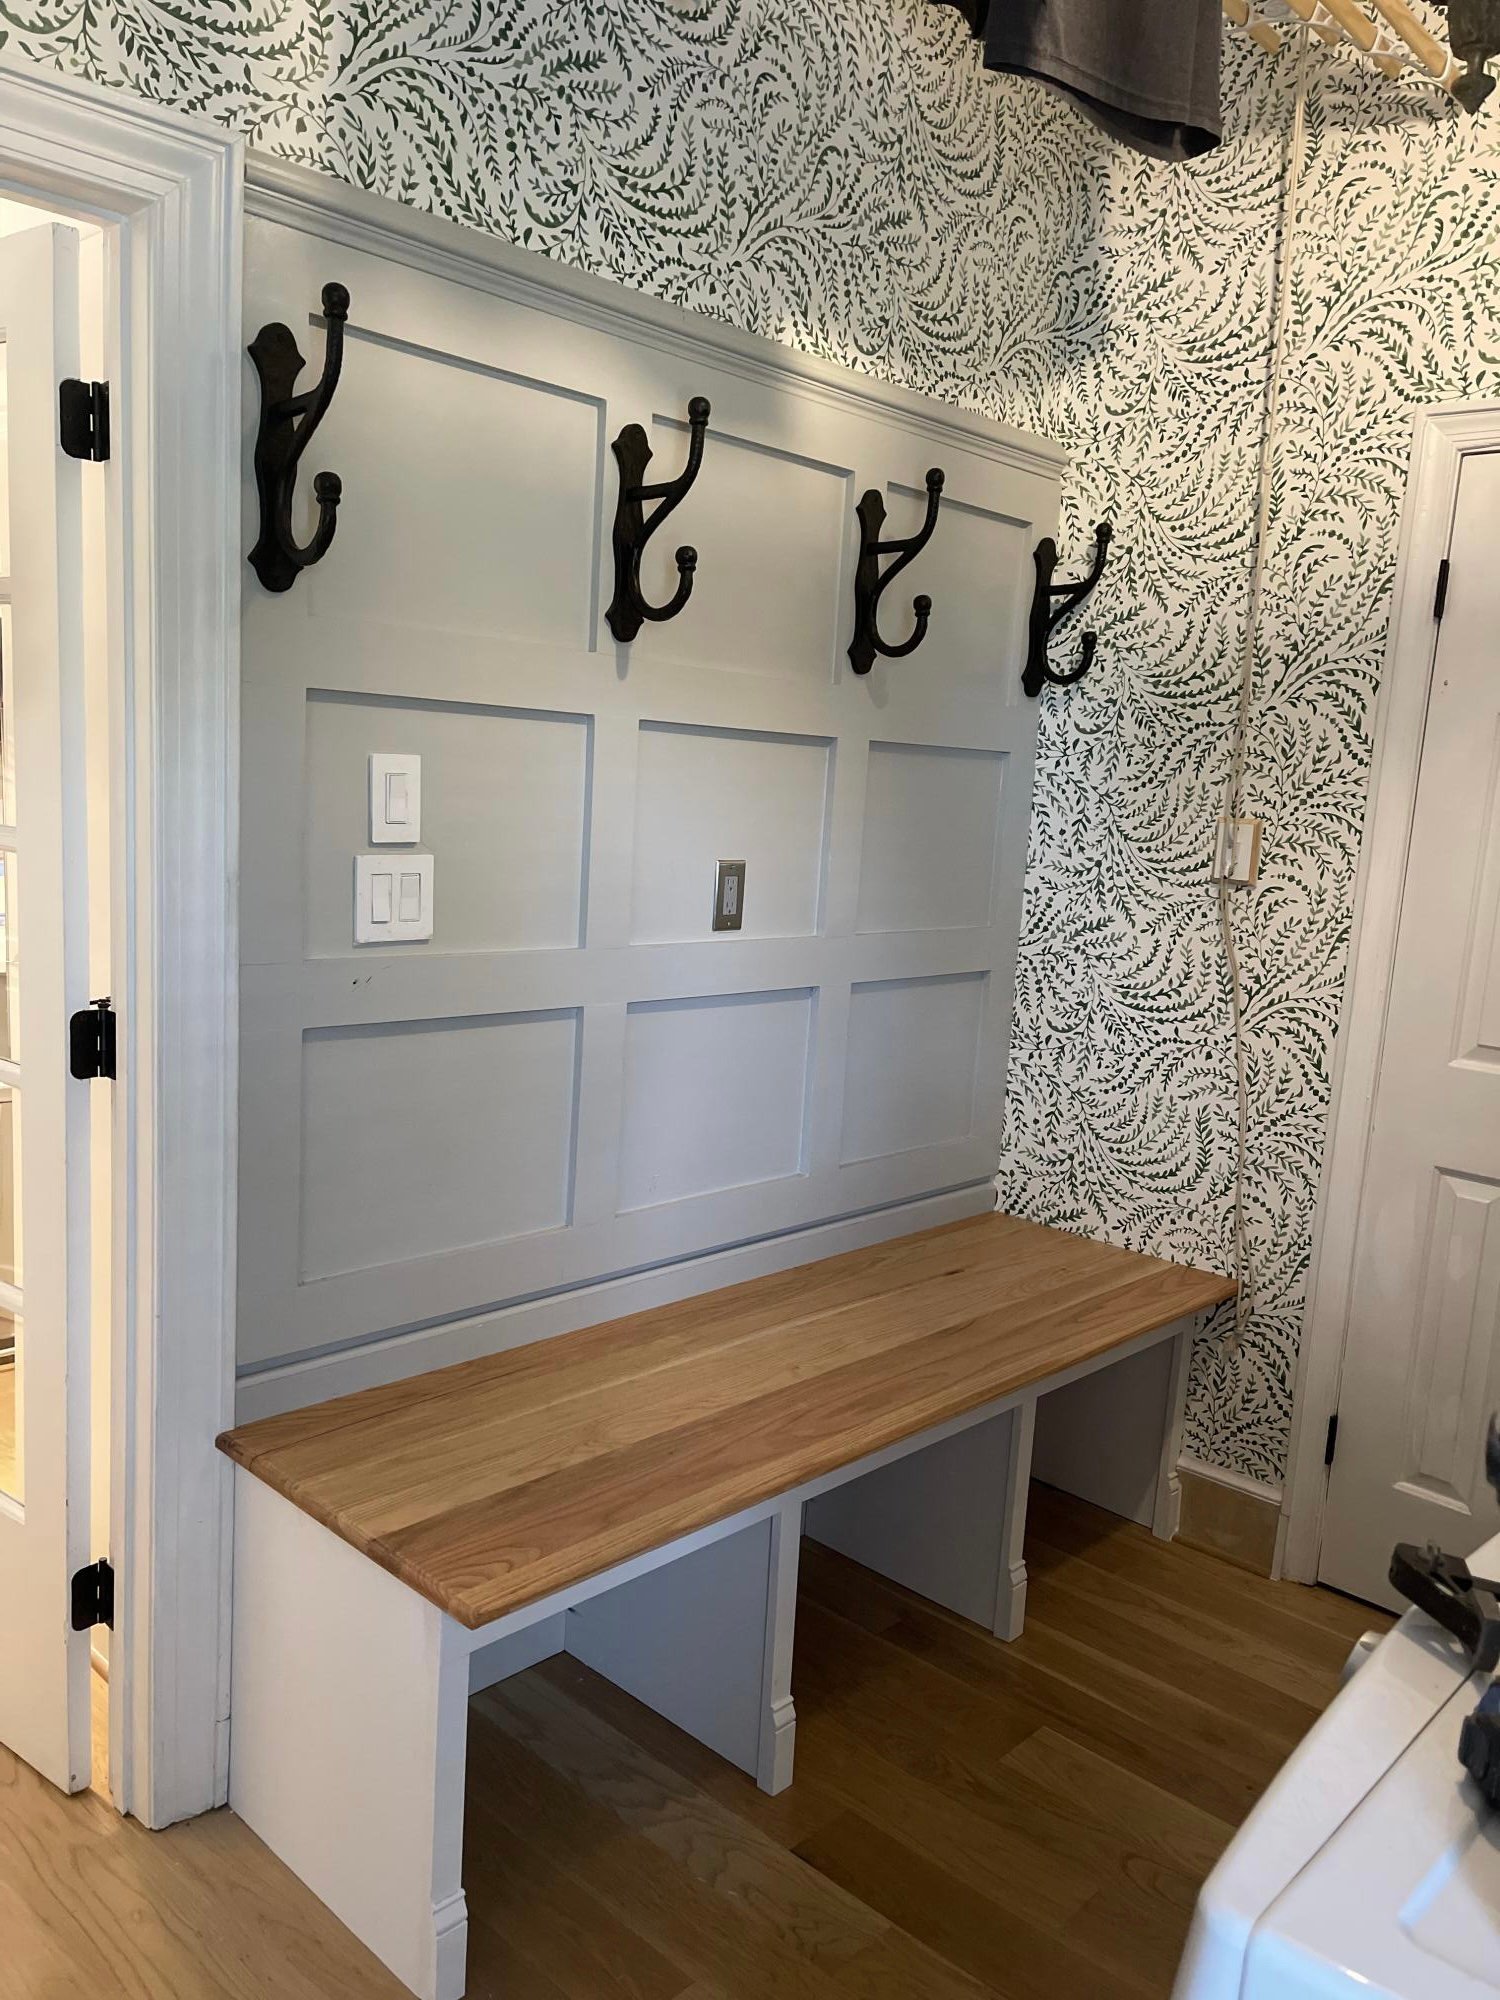
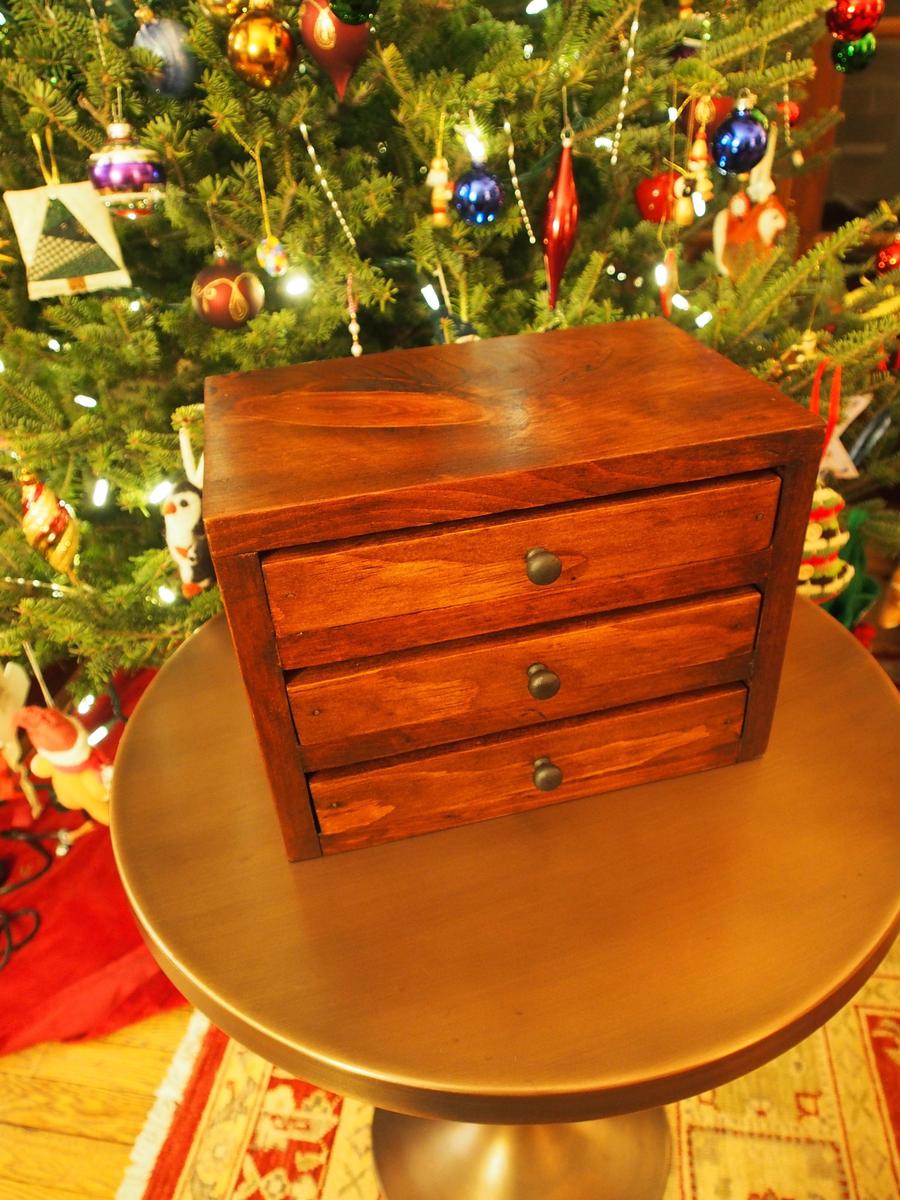
Modern Farm table
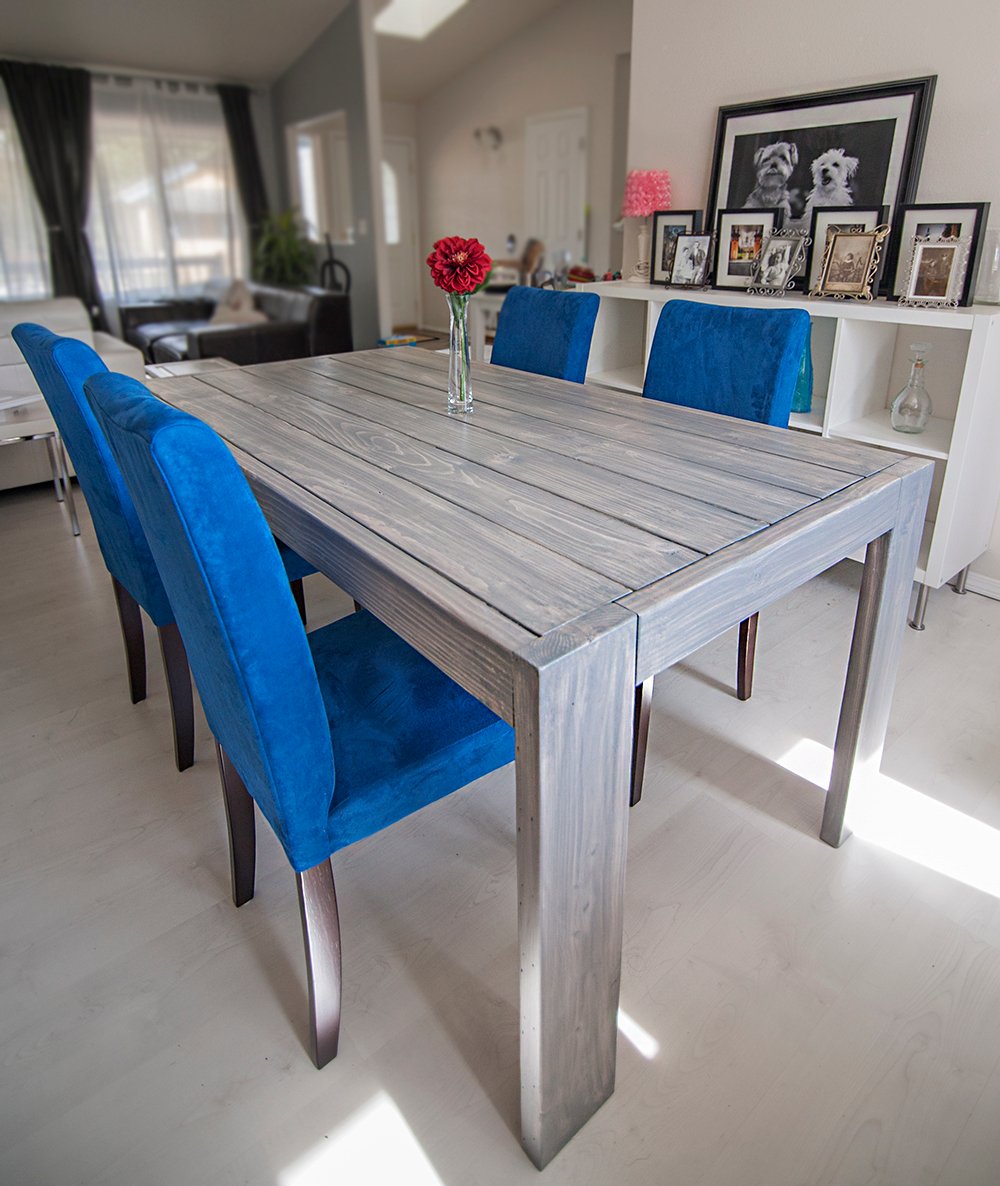
My first real project, can't wait to do another one.
Built from Plan(s)
Estimated Cost
70.00
Estimated Time Investment
Day Project (6-9 Hours)
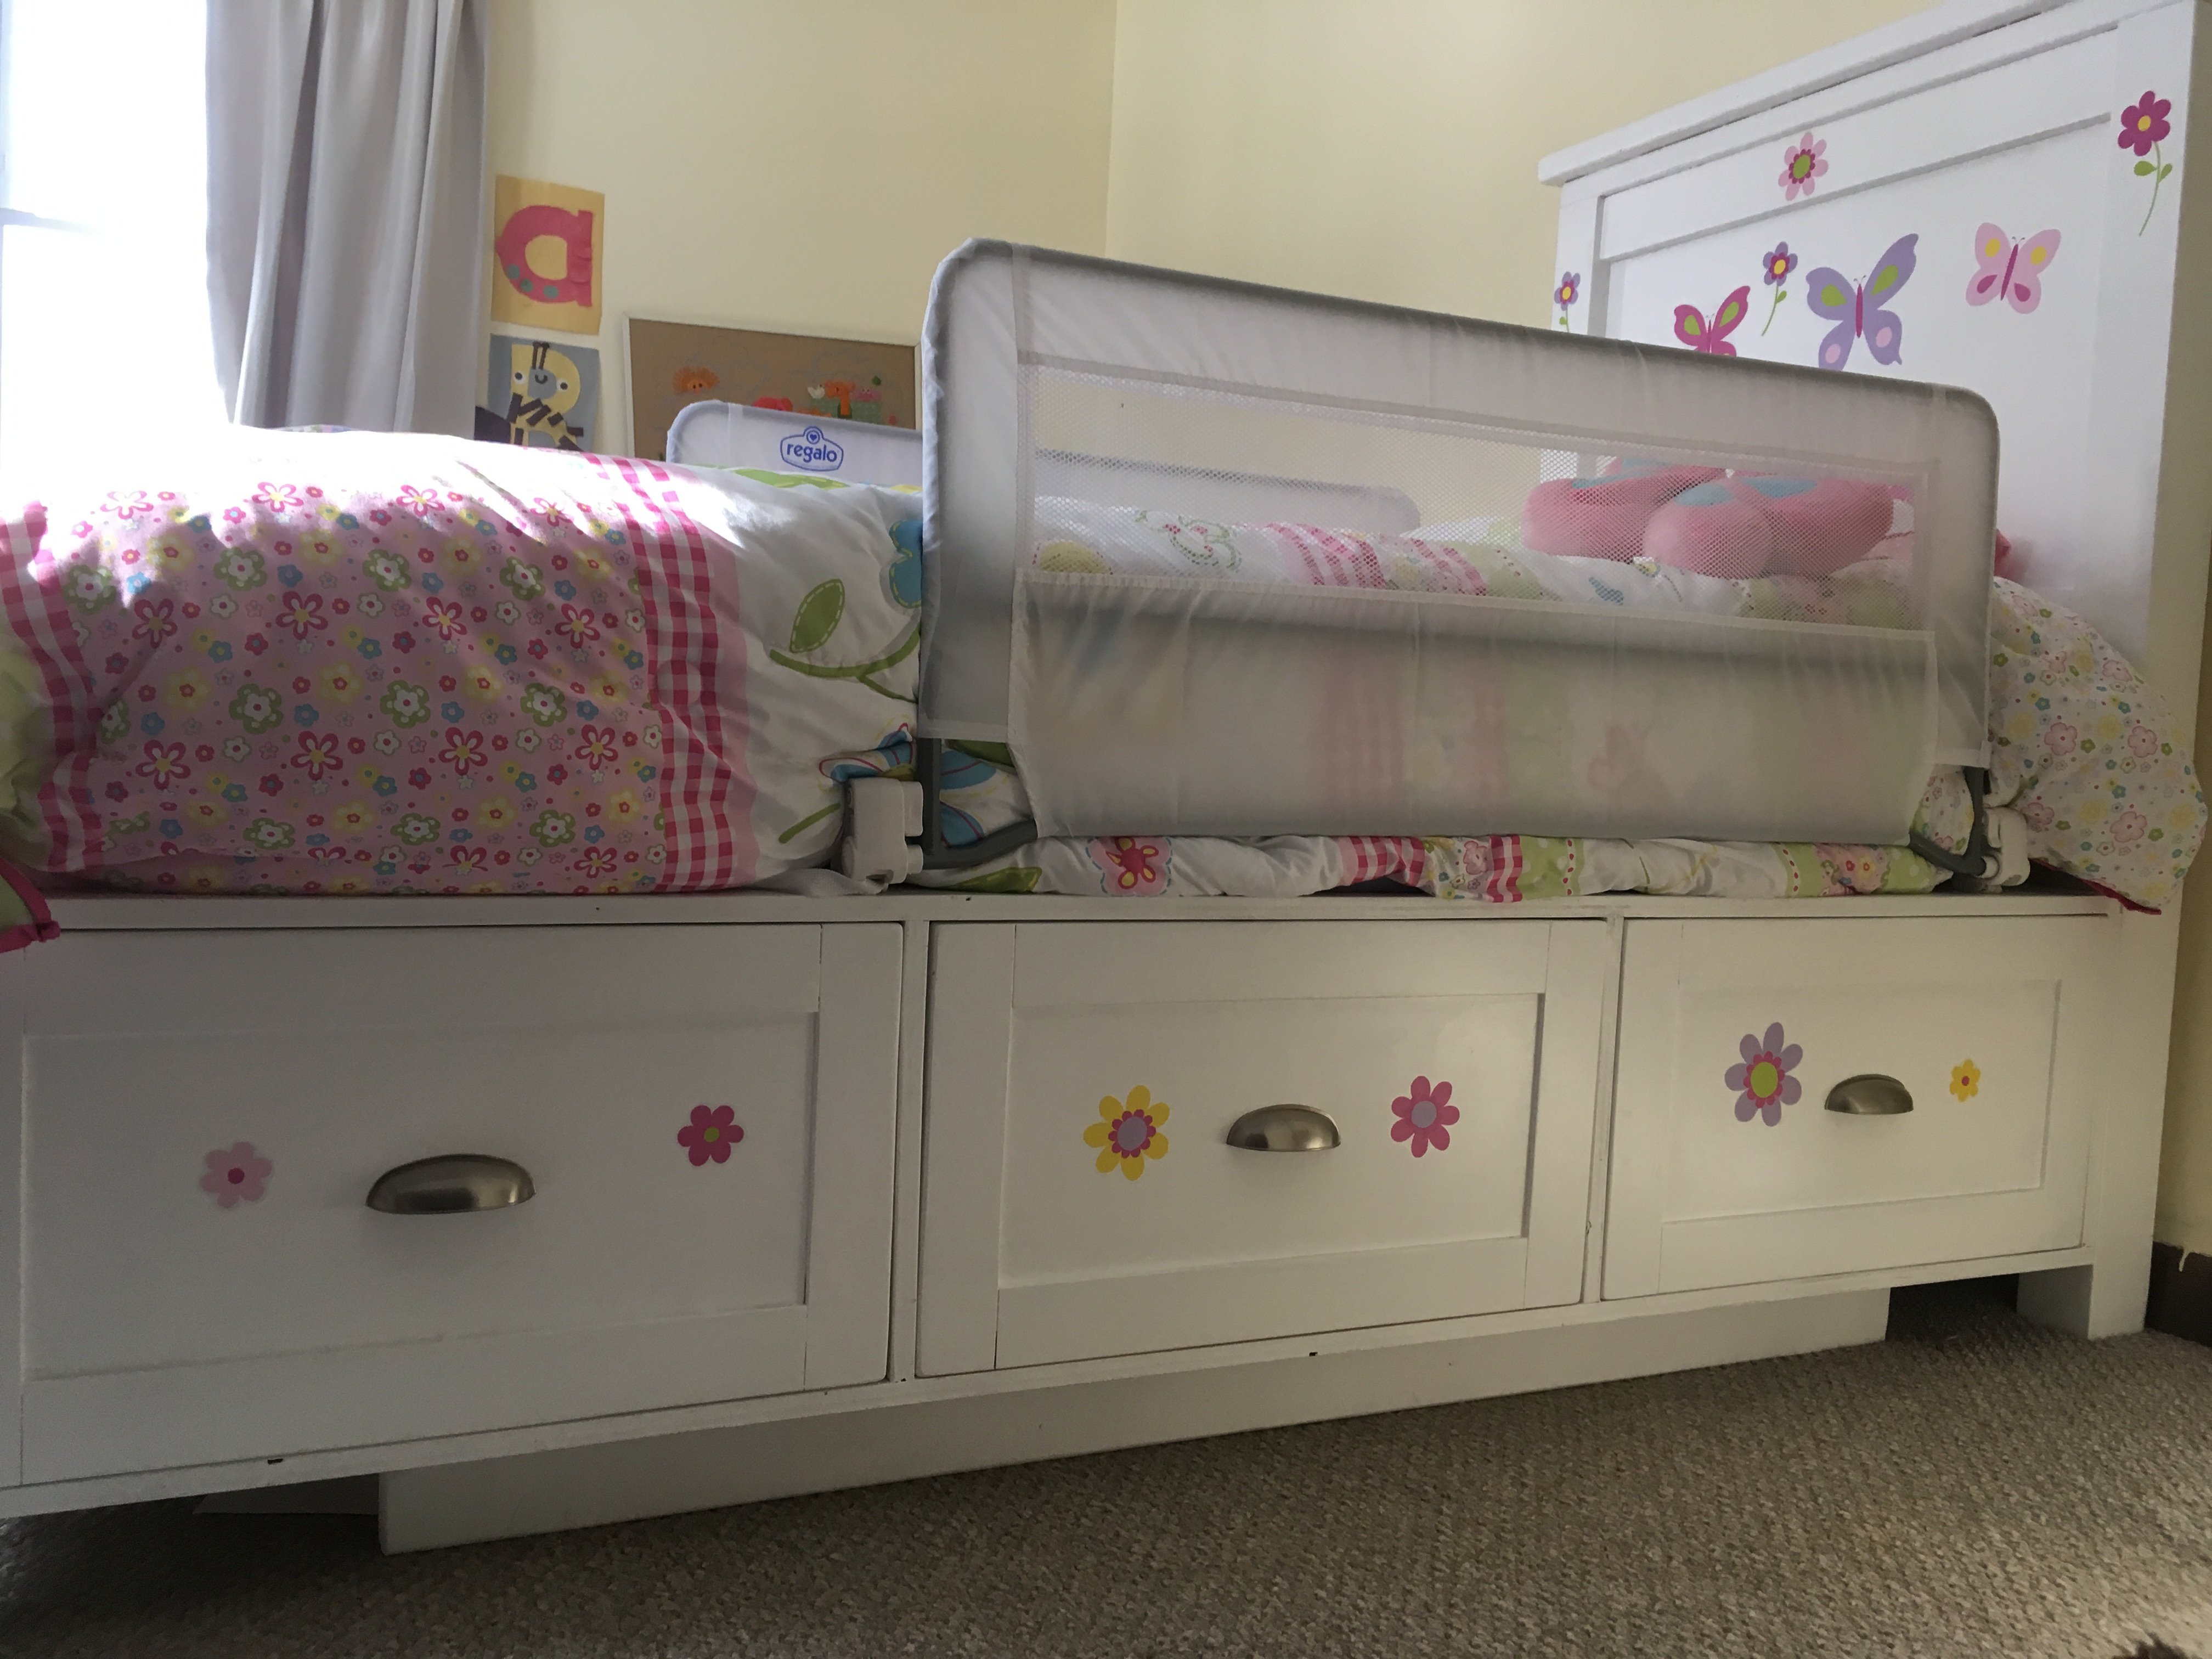
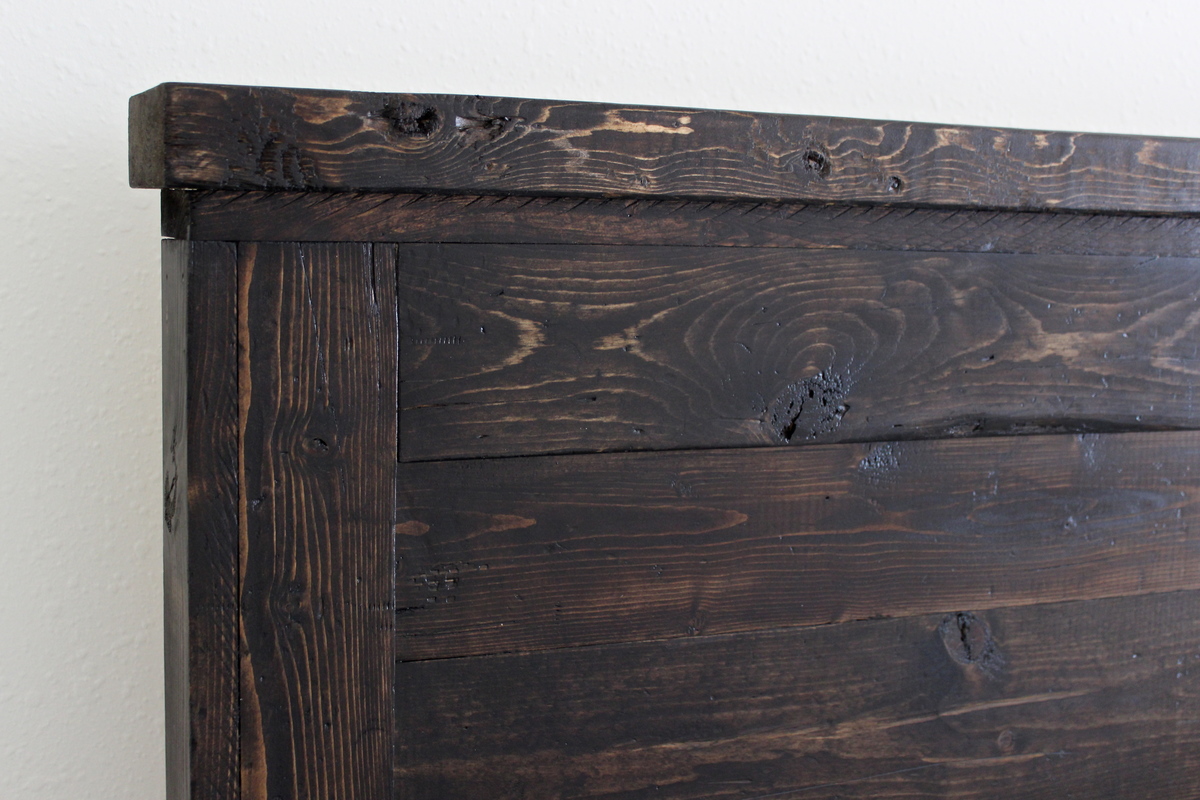
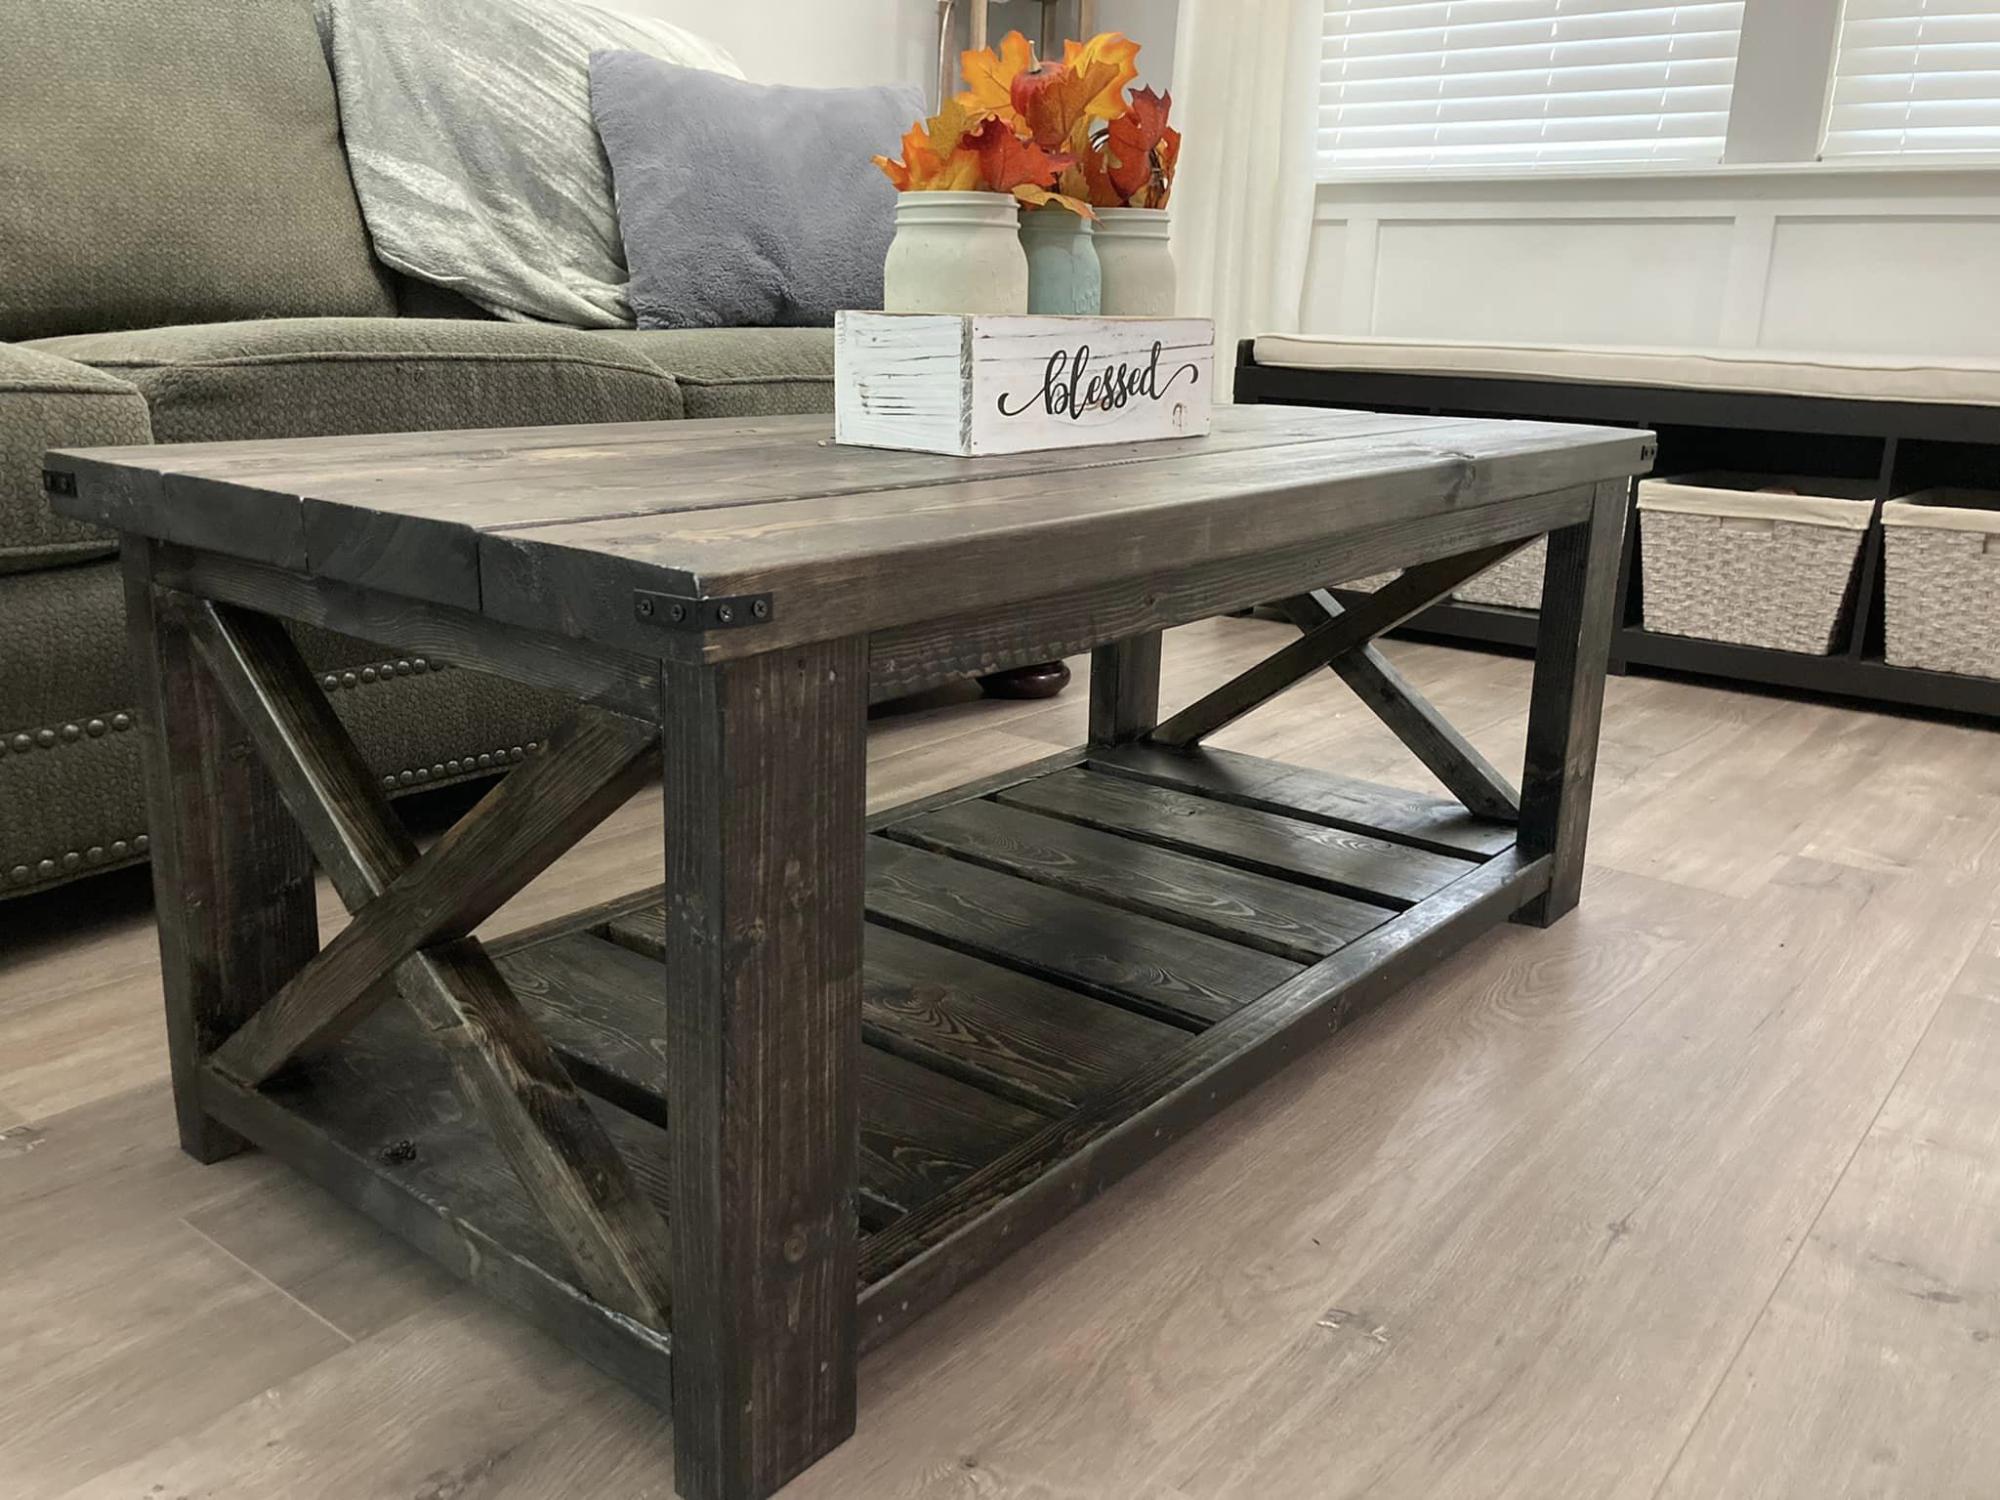
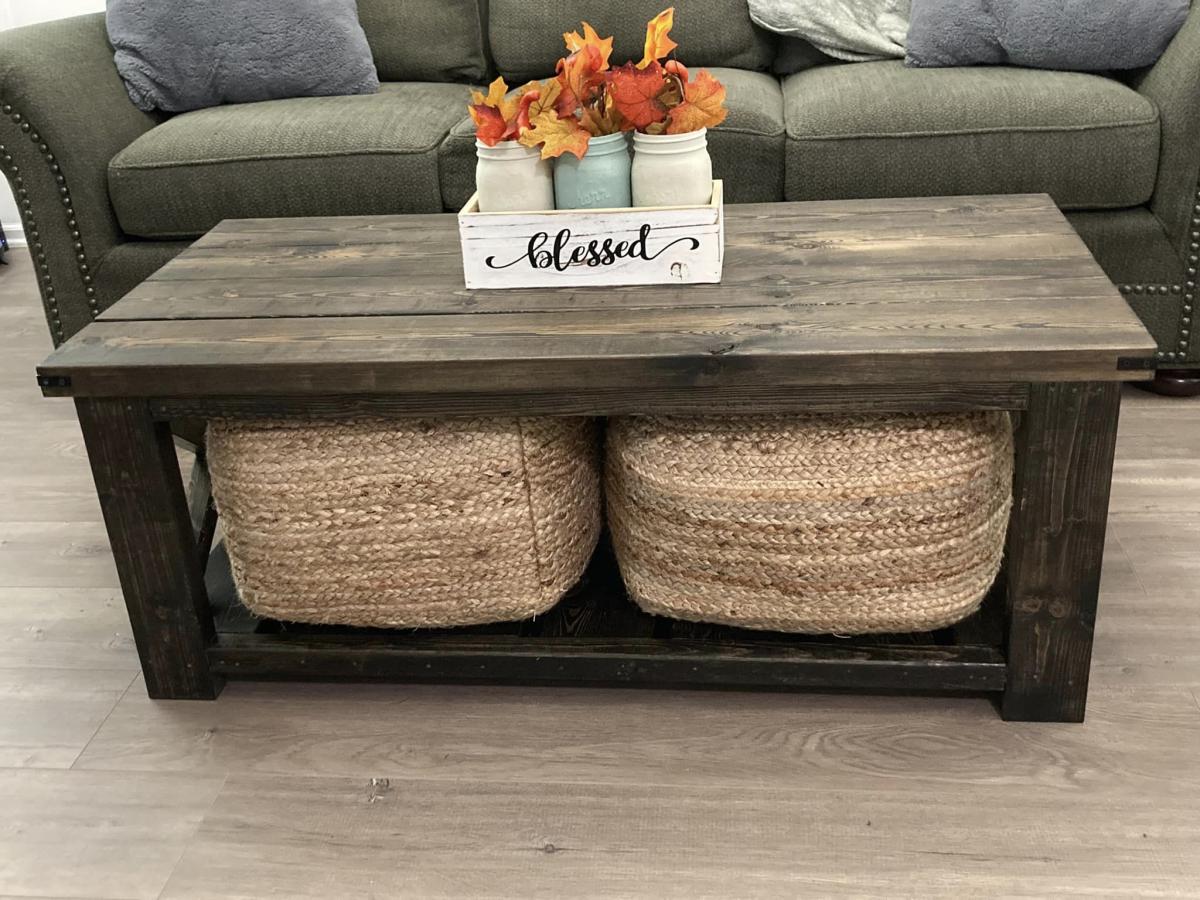
Finish Used
White wash/weather oak grey stain
Recommended Skill Level
Starter Project


Comments
Jody Knowles
Mon, 06/01/2015 - 11:54
Very Nice !!!
Great job on this table. And the finish looks great as well.
cris_stroud@ya…
Mon, 06/01/2015 - 20:57
Thank you!!
Thanks! Yeah the finish was a bit difficult but finally came out nice.
leejinhaeng
Tue, 06/02/2015 - 12:38
Awesome!!
Great job!!
I was wondering how did you do the finish on the Pine to come out like that?
cris_stroud@ya…
Thu, 06/04/2015 - 03:15
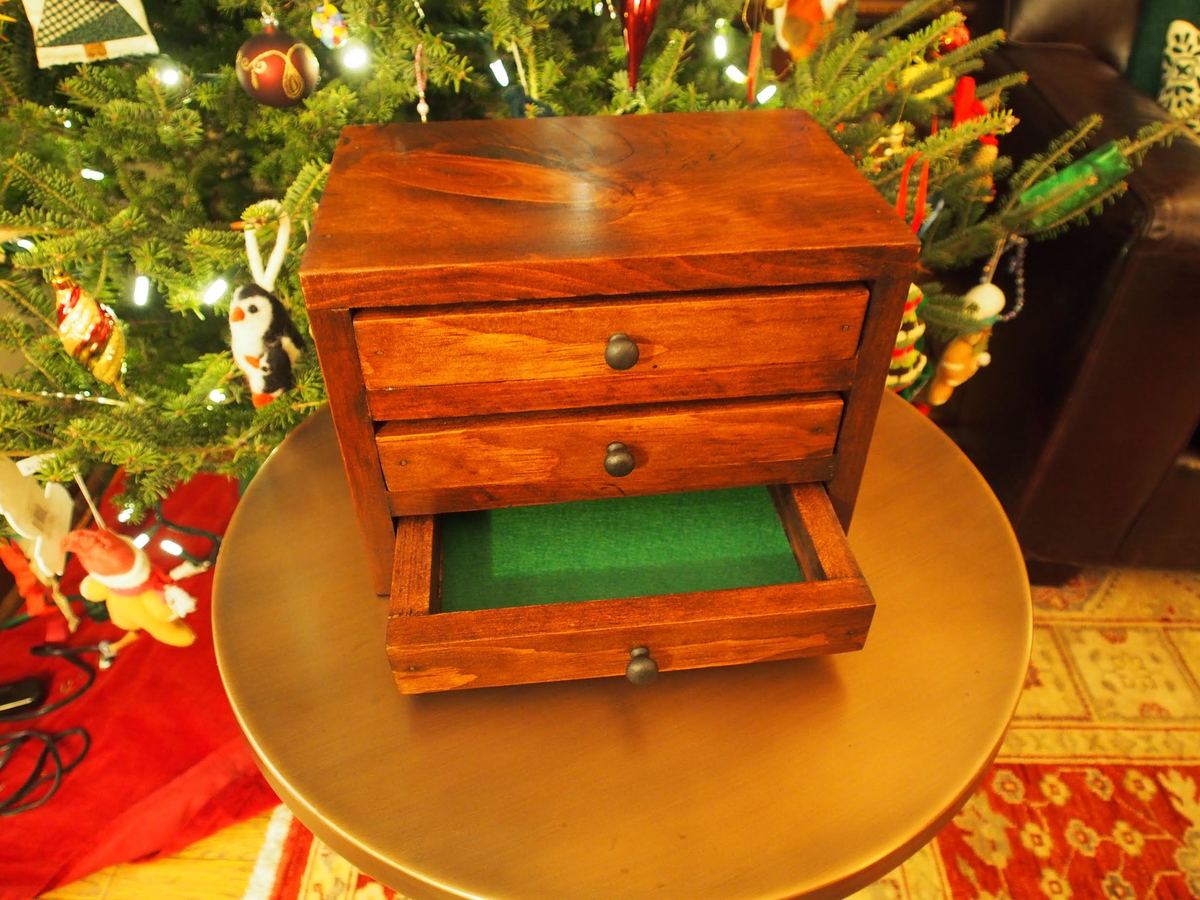
Finish
Thanks! Sorry for the late reply. Didn't get a notice.
1. 3 coats of white wash
2. 3 coats of weathered oak grey stain
3. 2 coats of polyurethane matte finish.
RobA
Thu, 06/02/2016 - 11:00
I know this is an old post.
I know this is an old post. But just wondering about your finish as well. So when u say white wash what did you use?
Beautiful by the way!