Great weekend project...the "love swing"

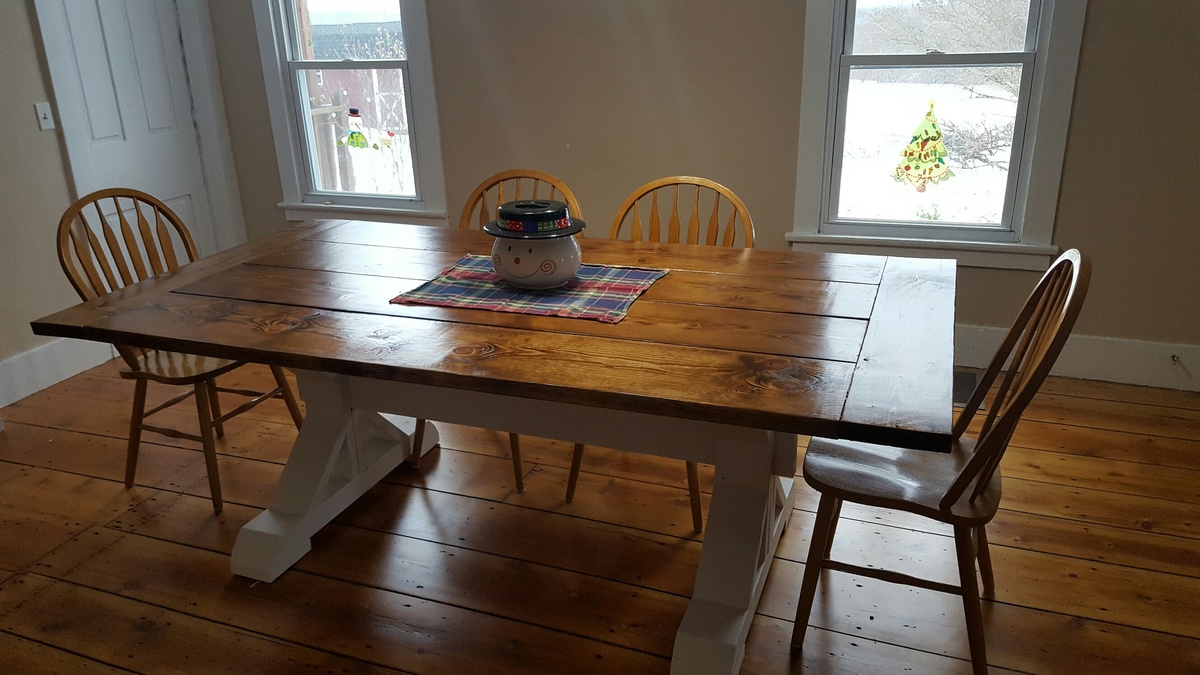
A great weekend project...the "love swing"! I used the plan from Ana for the swing seat and added two arm rests from left over 1x6, rounded them off and sanded.
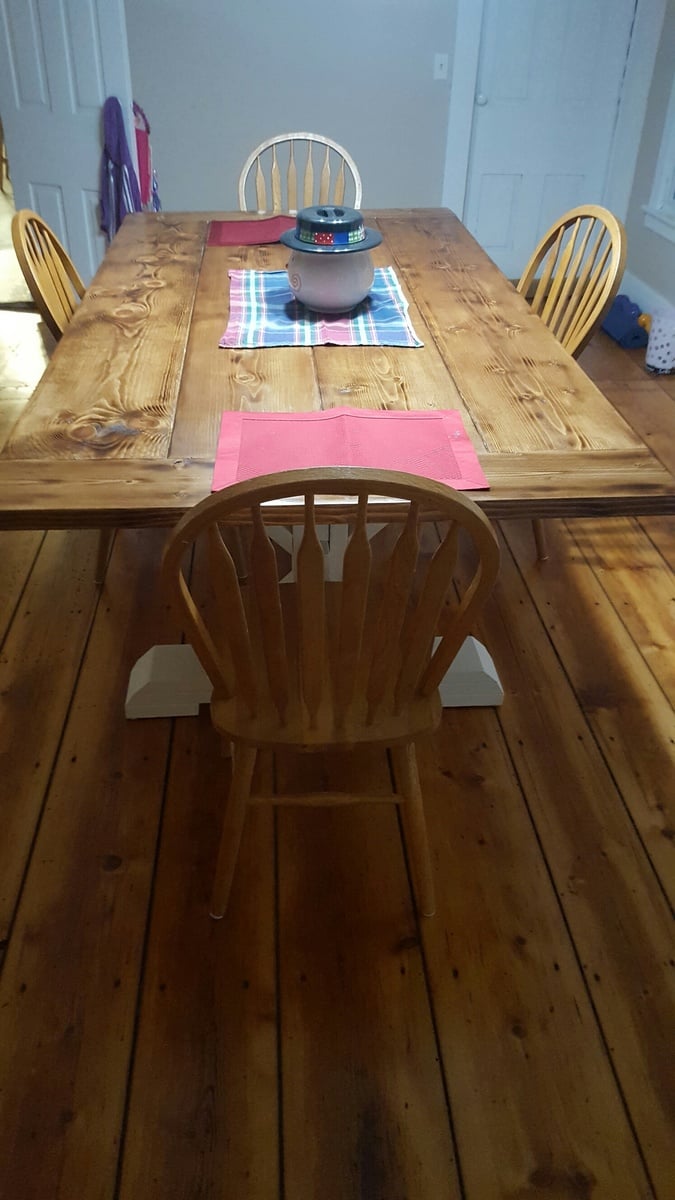
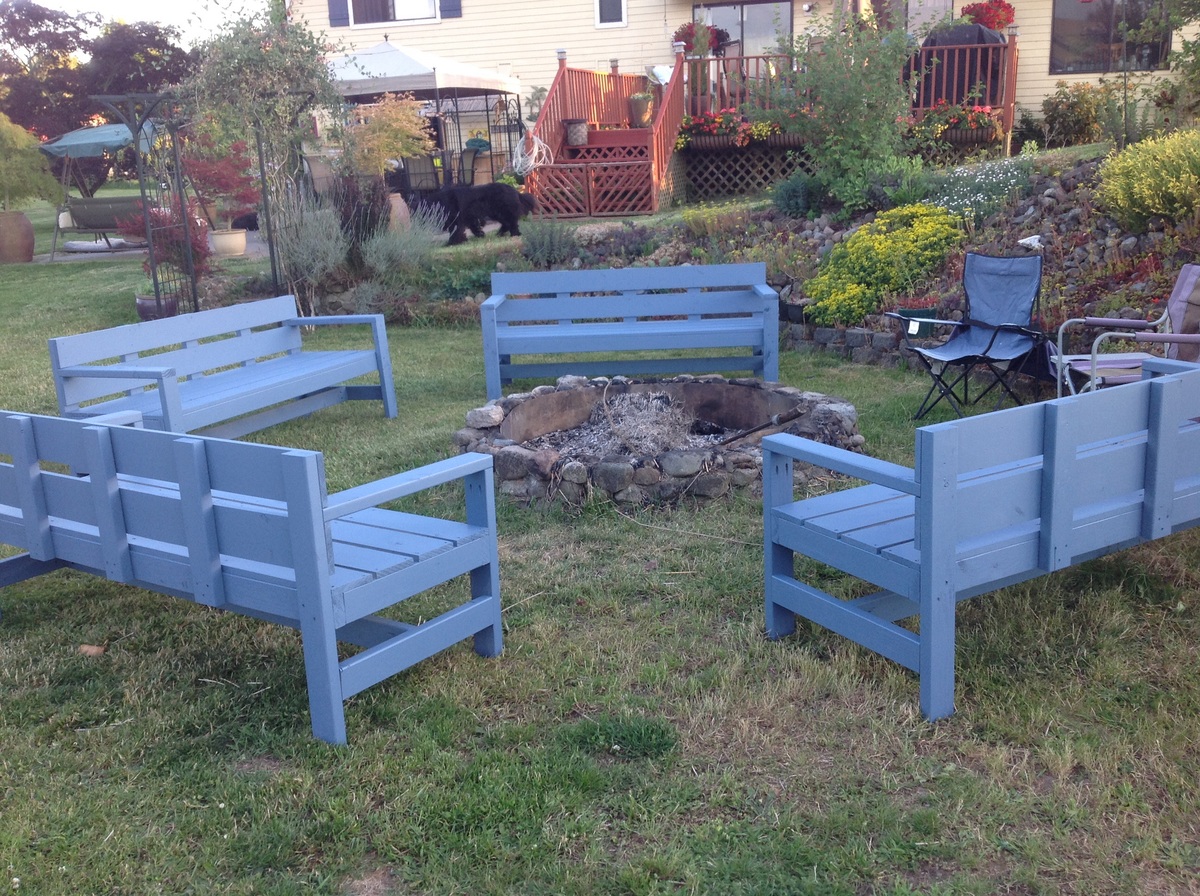
I cobbled together an A-frame to hang everything, made from five 8 foot 4x4s and two 8 foot 2x6s laminated together for the stretcher. Assembled with 1/2" galvanized carriage bolts and hung with 1/4" chain.
Definitely going to want a good miter saw for the A-Frame angles (the top ones are a bit tricky to get everything lined up)
Love it! Thanks for another great plan Ana..and of course..Shanty2Chic!


Built from Plan(s)
Estimated Cost
$200 ish..including the A-Frame... the hardware and chain can be pricey!
Estimated Time Investment
Day Project (6-9 Hours)
Finish Used
Behr exterior weatherproofing stain - Chocolate.
Just 2 thin coats, dries fast...second coat can be applied later the same day.
Just 2 thin coats, dries fast...second coat can be applied later the same day.
Recommended Skill Level
Beginner


Comments
Carpenters Daughter
Mon, 12/12/2016 - 17:09
A Frame
Could you please post the plans to build the a frame as well? I really love what you did and would like to copy it! Great Job!
Don Ellery
Wed, 07/19/2017 - 11:31
A Frame
Hi! I wish I could, but I didn't take any notes on the angles or lengths when I made this and I left it with the house when we moved.