Play kitchen
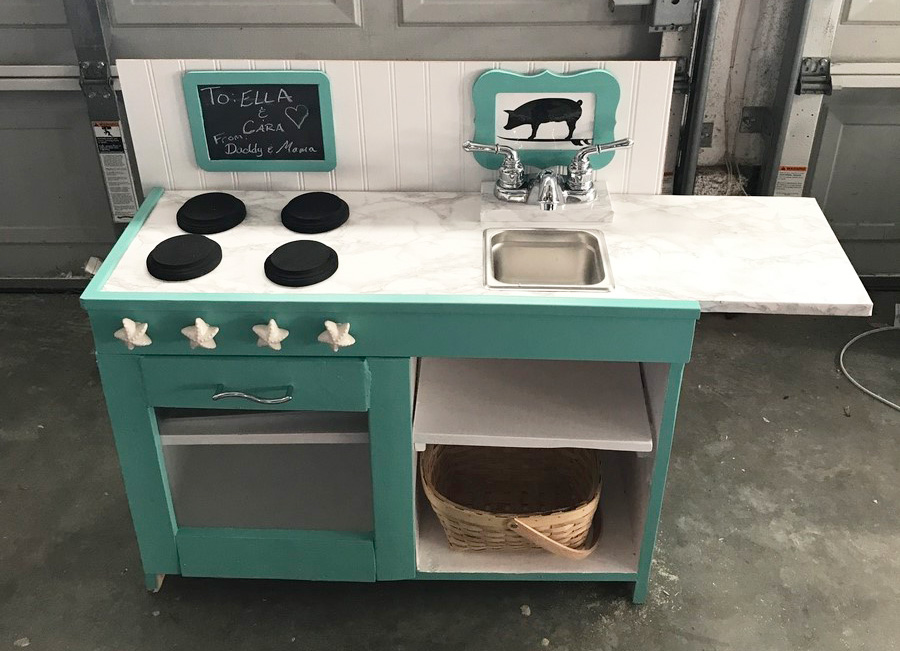
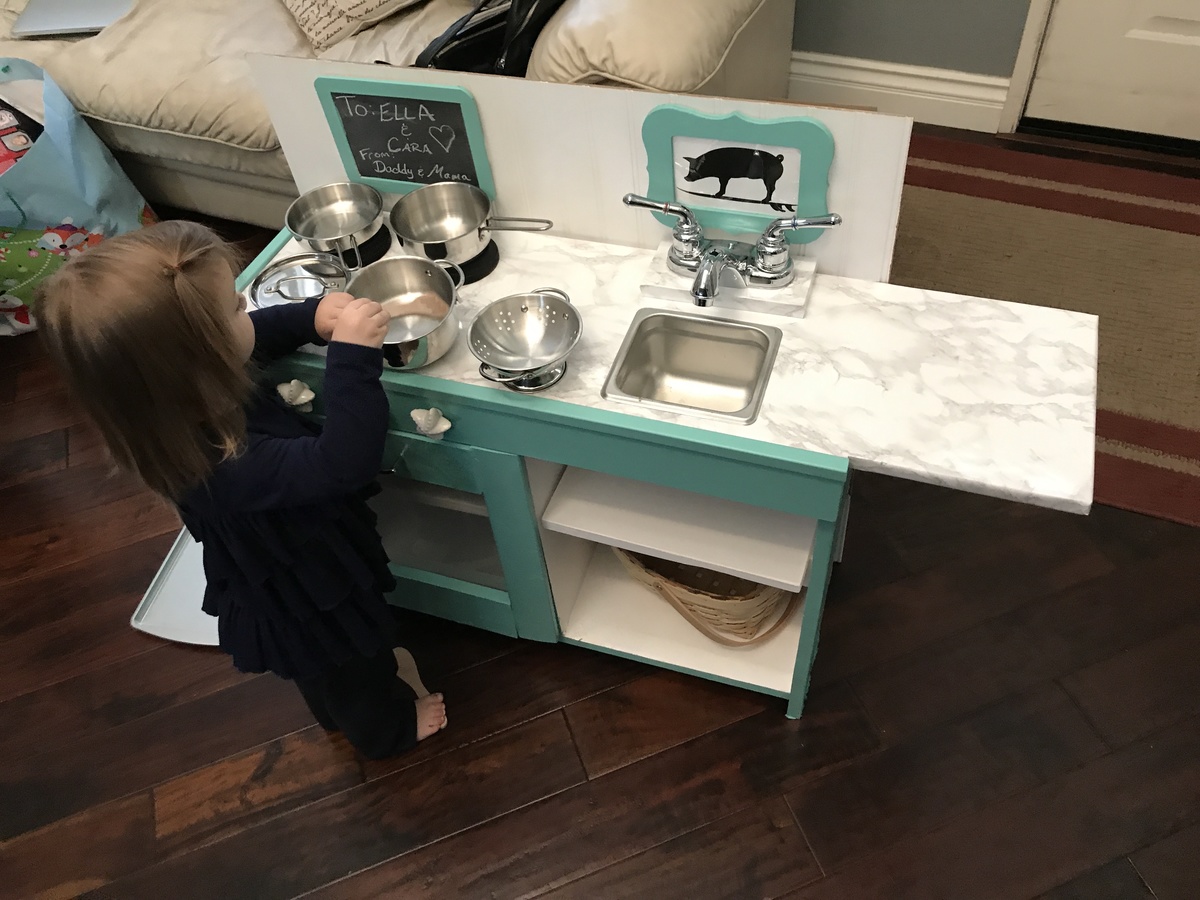
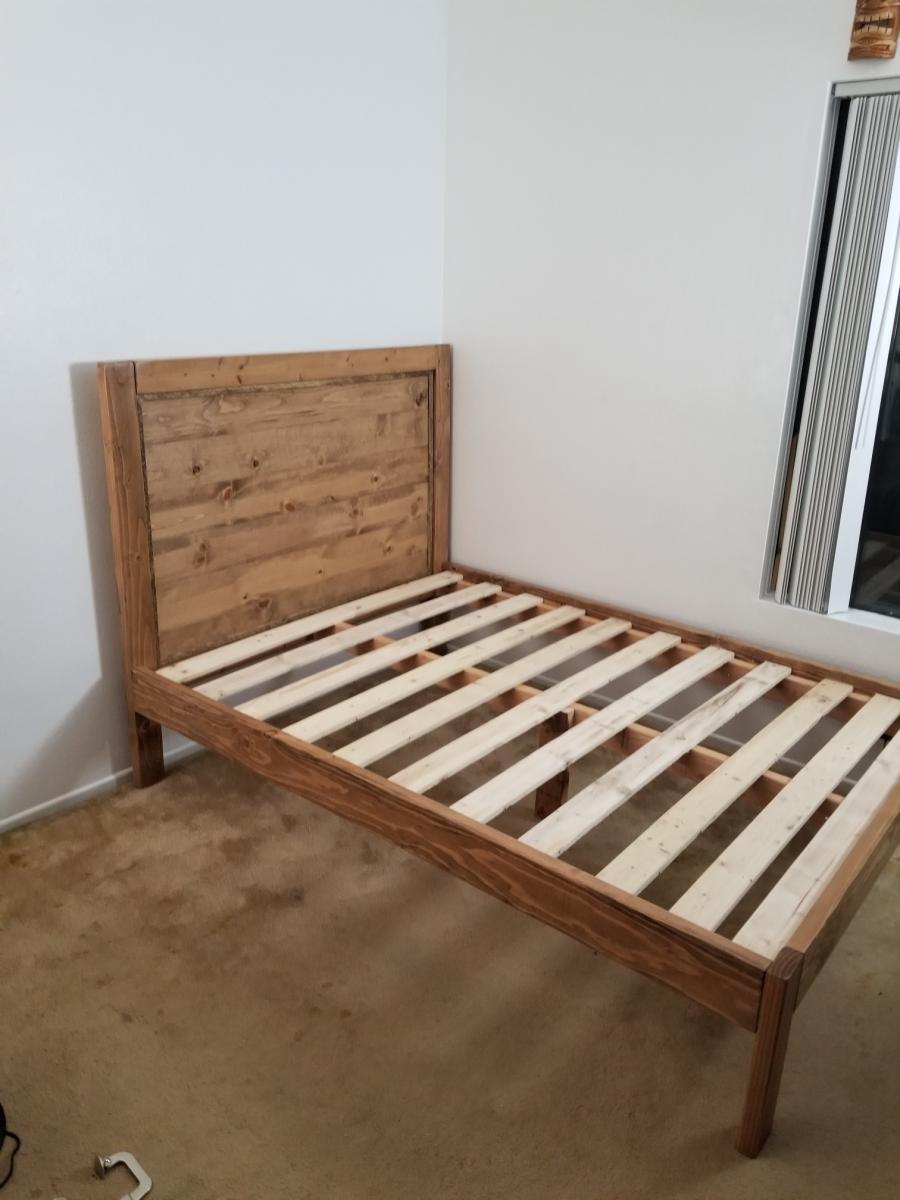
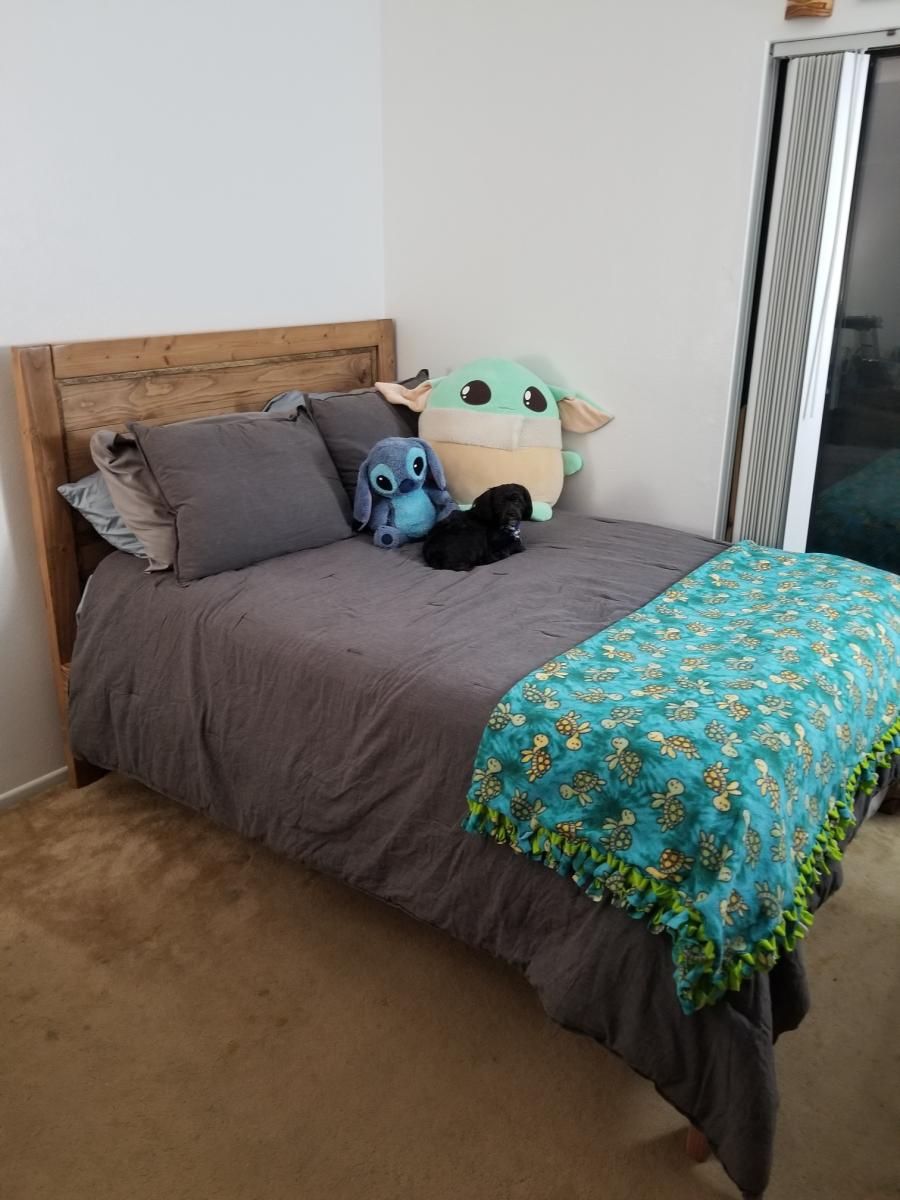
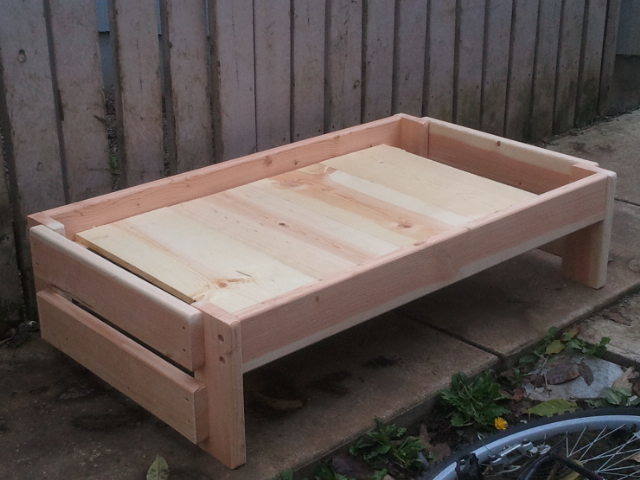
This was my first major build and while not perfect and I was little clunky building along the way, I’m happy with how it turned out and I think the girls will love it for Christmas. We are beach dwellers and surfers, but I’m also a former (always) a farm girl as well, so we put a surfing pig on it too. I wanted to keep it whimsical a bit so put starfish knobs for the burners. Took me a long time and more money than average probably because of learning curve as well as having to sneak work on it between working, toddler and infant. I got a Kreg and more tools for Christmas, so I am looking forward to more building!
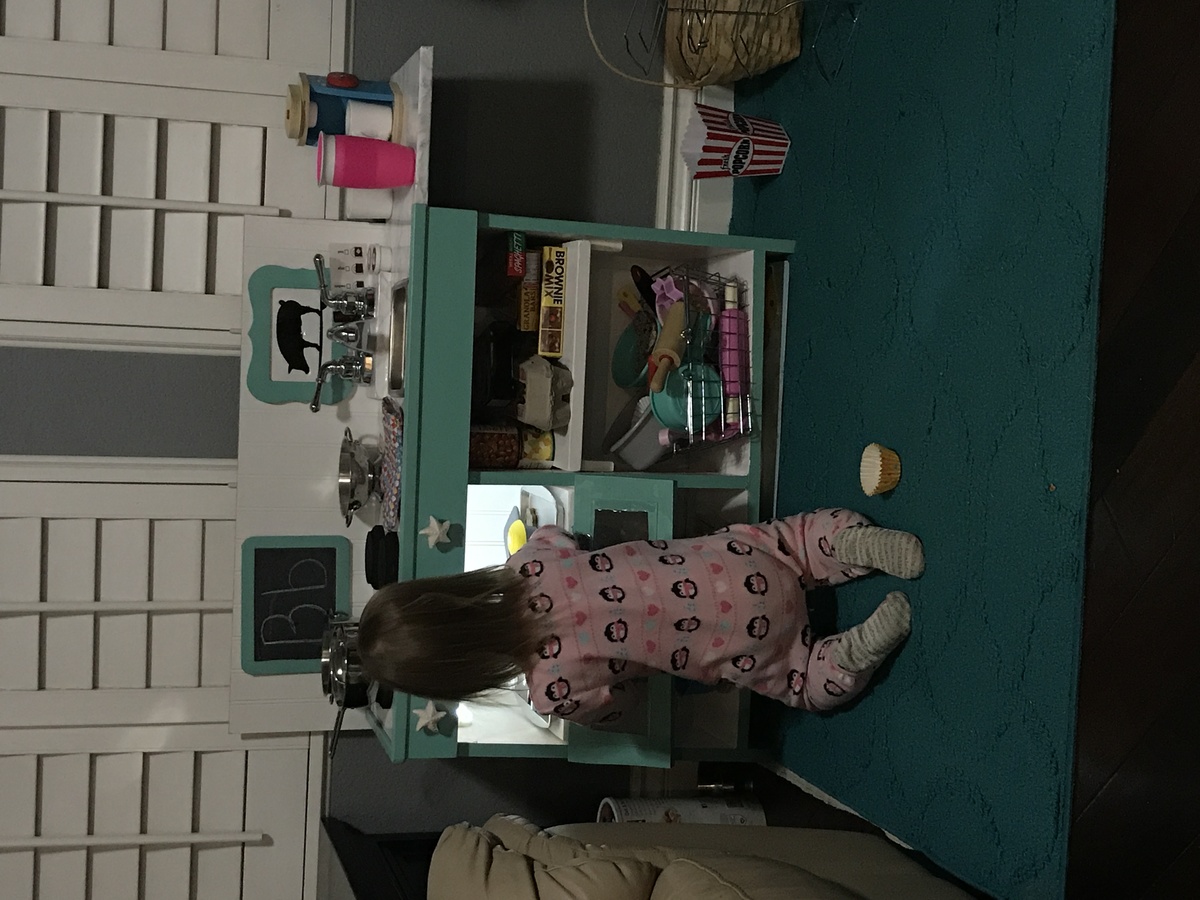
update: My little destroyer broke the door within 10 minutes because it was too big for her to work around. So I “remodeled” it and made the door just the top half so that is her oven. MUCH BETTER. Now she can use it far easier and it isn’t dropping to the floor.