Toy box and rustic coffee table
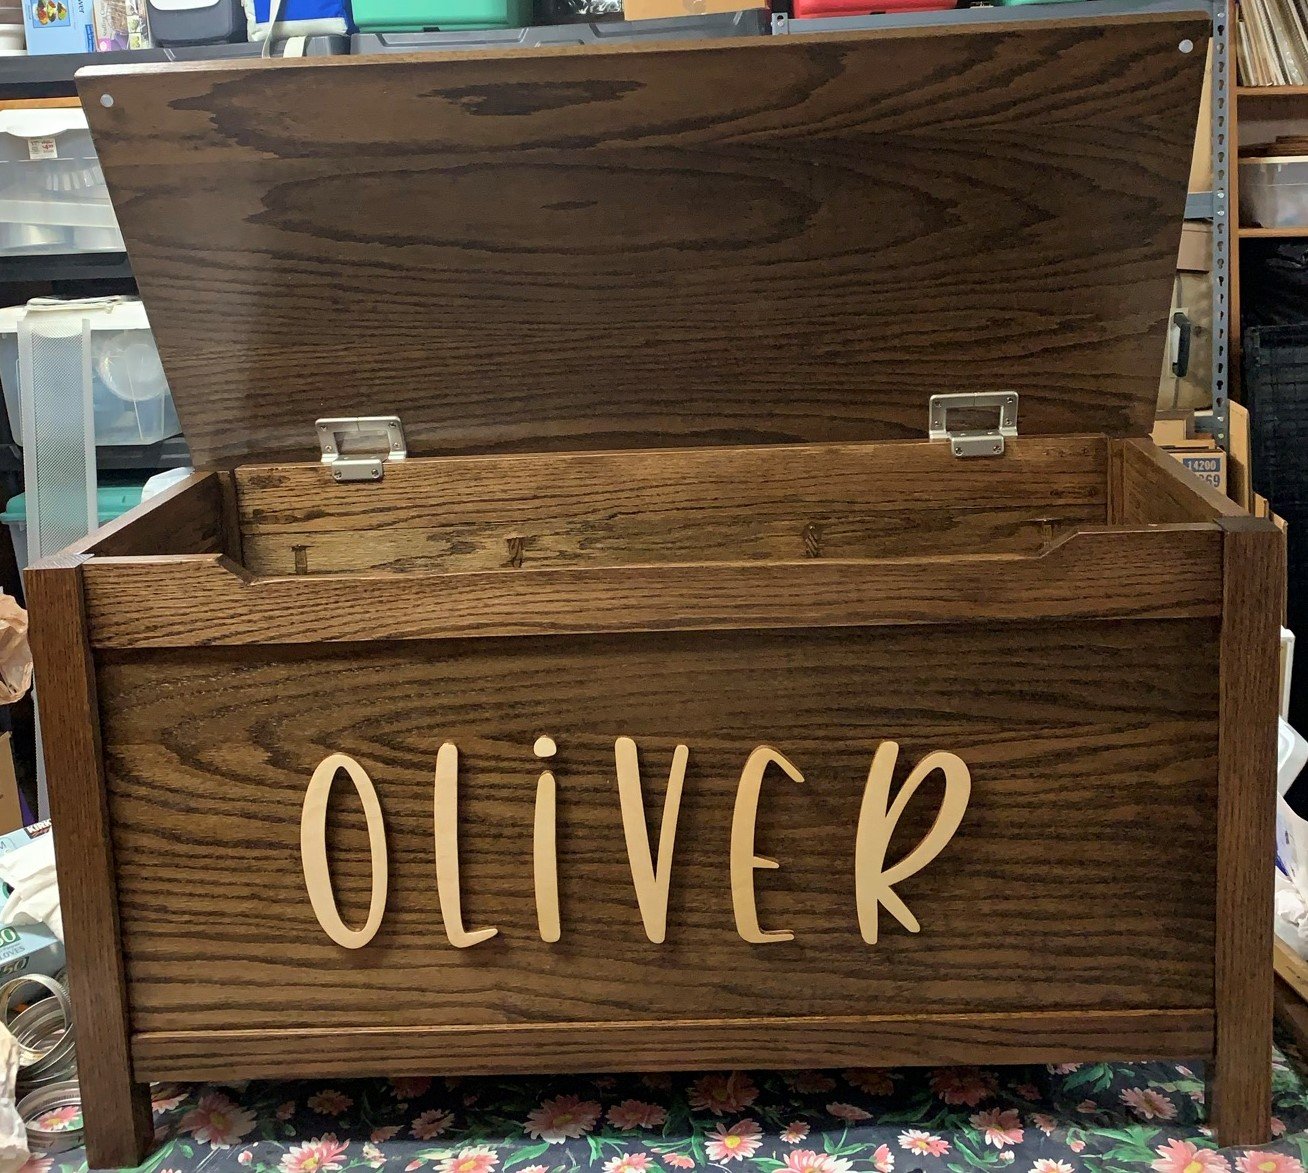
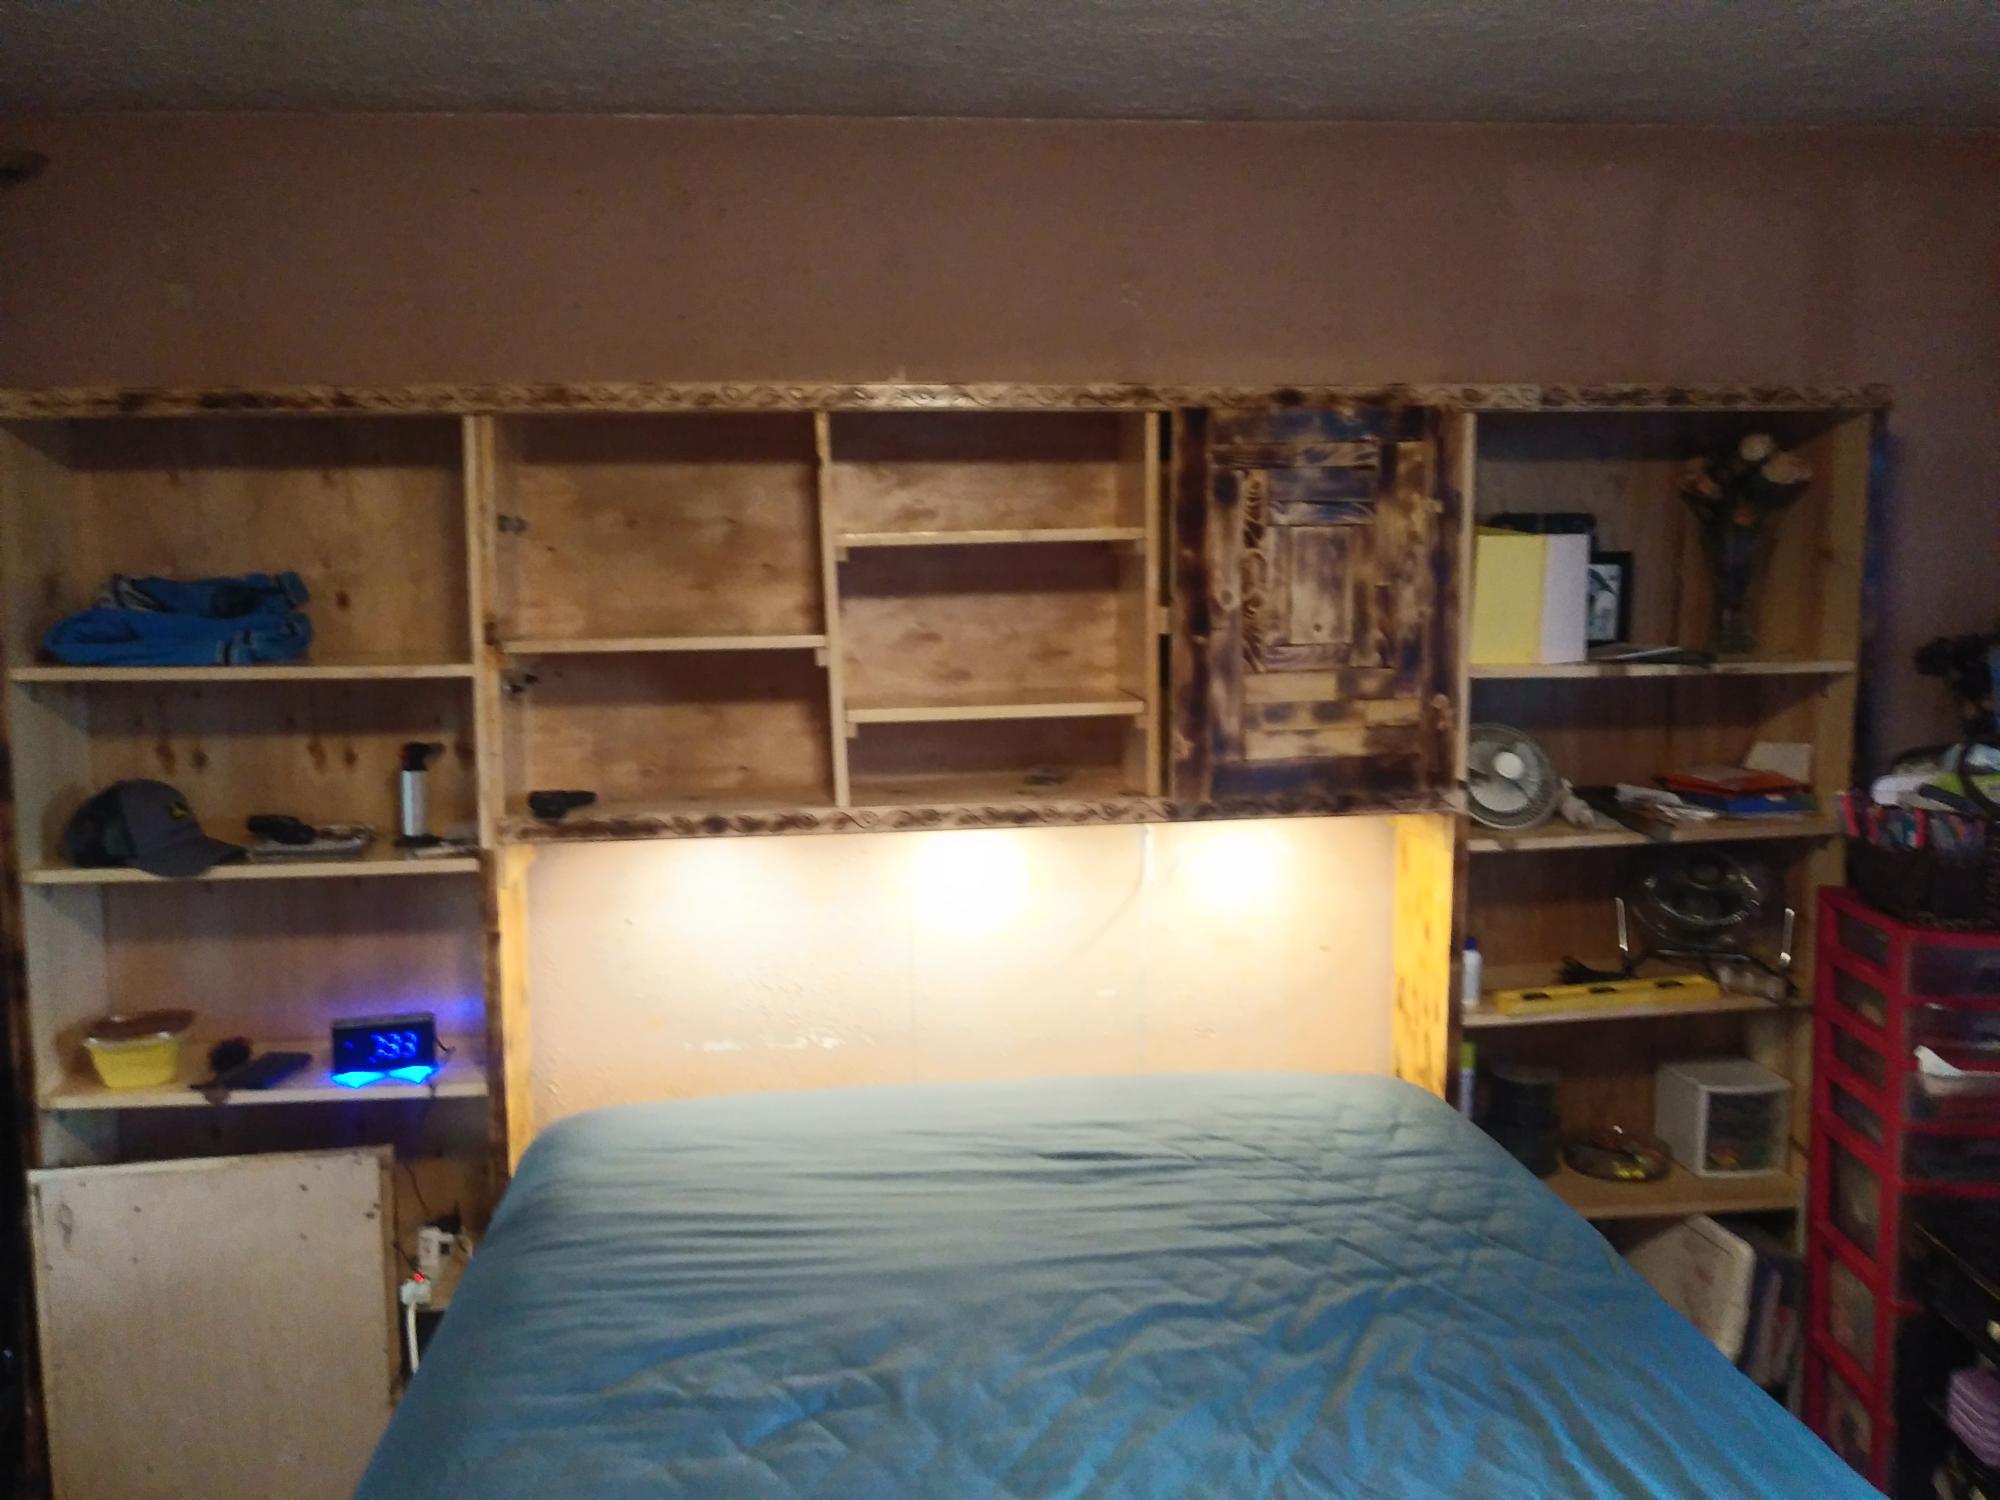
The toybox for my grandson for his first Christmas was my first project. I'm super happy with how it turned out and his parents love it!.
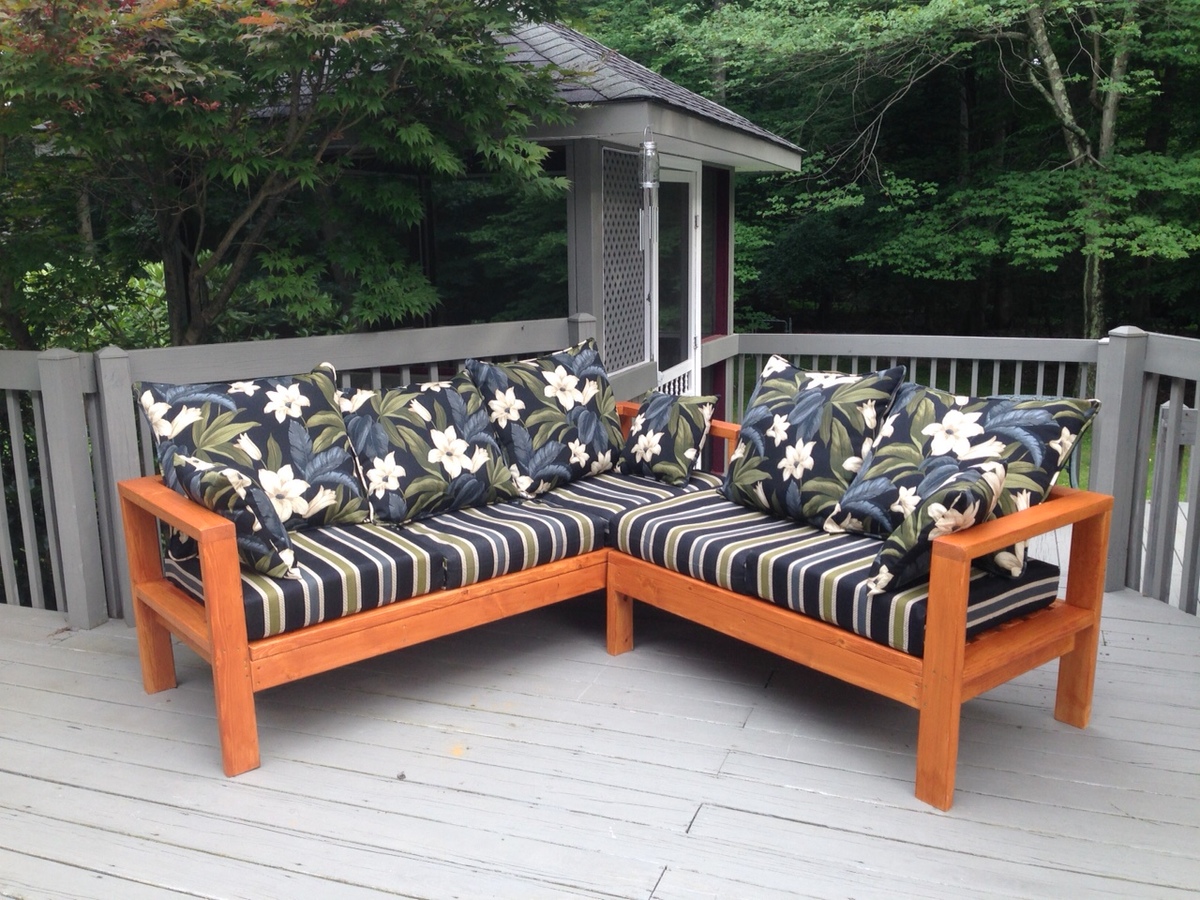
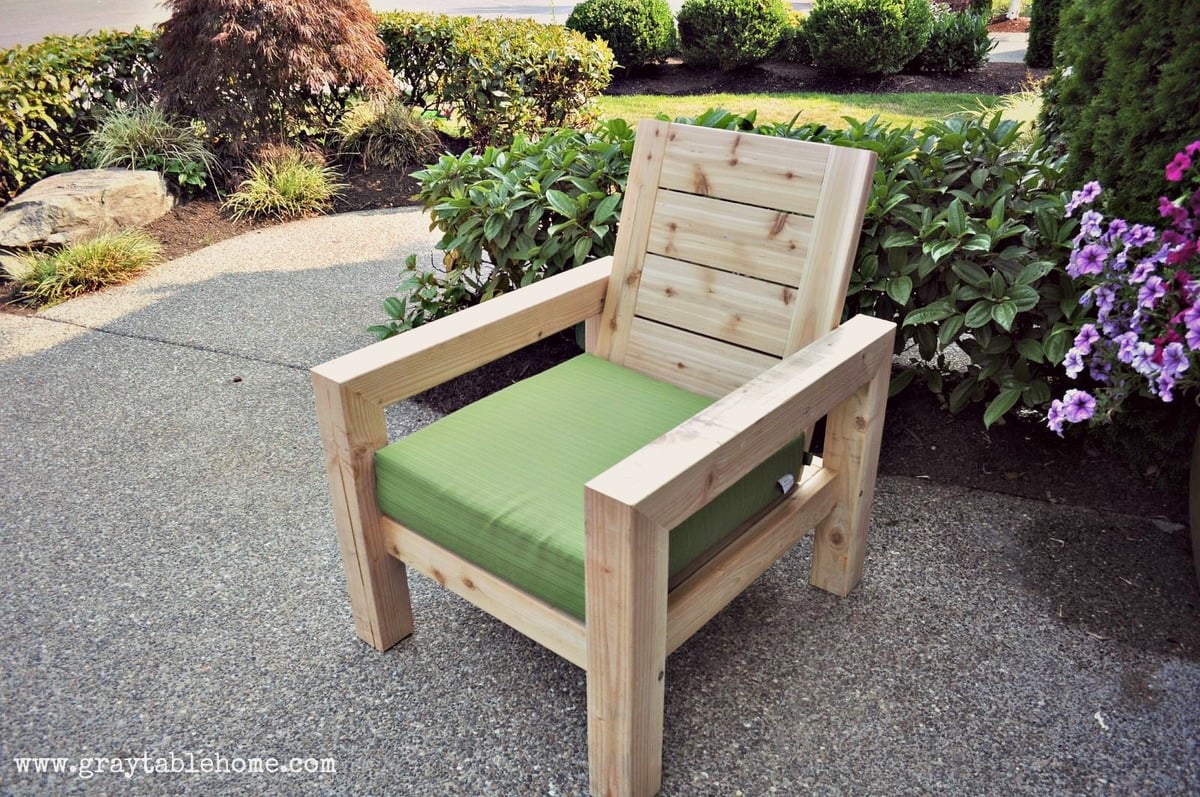
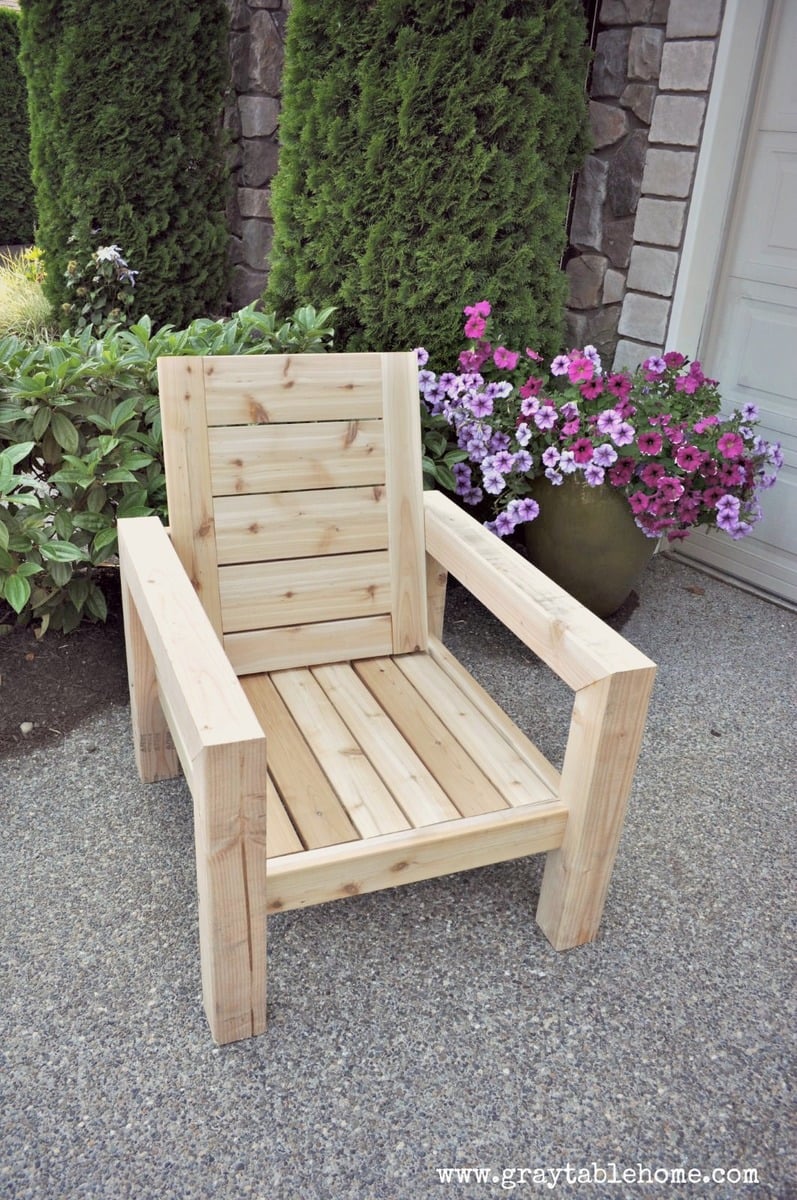
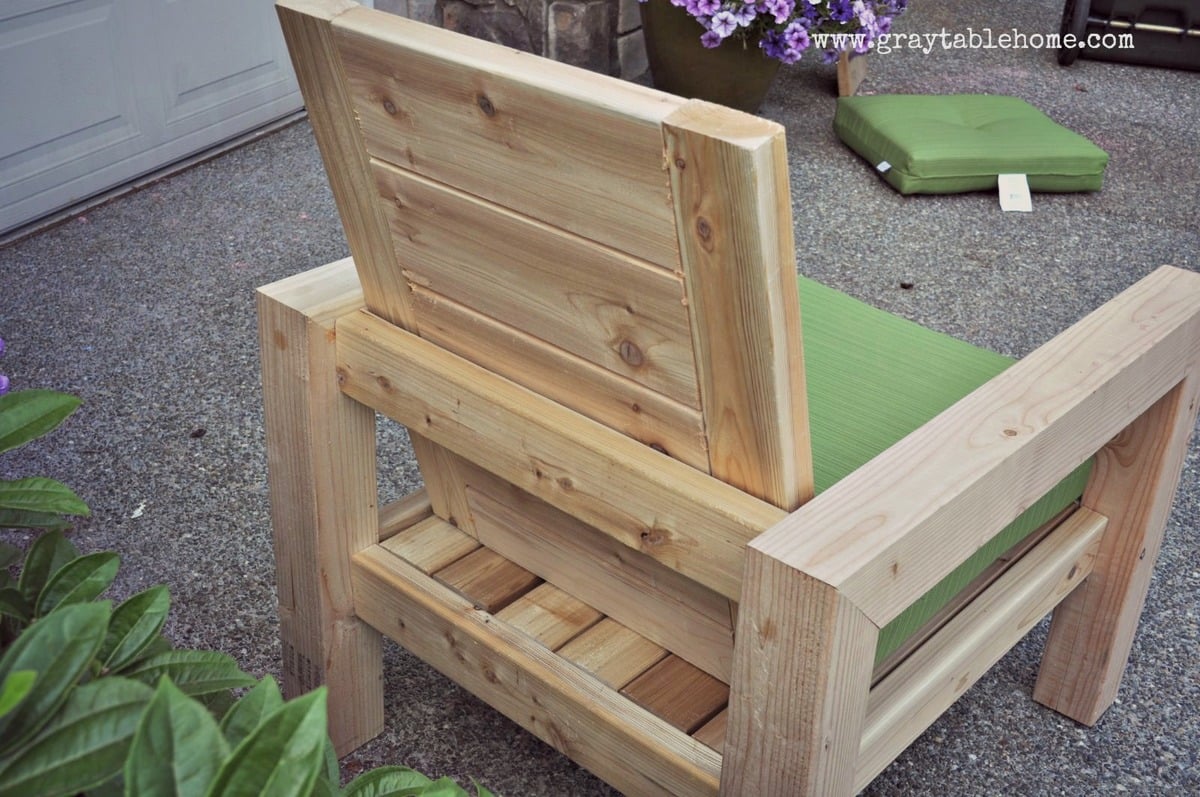
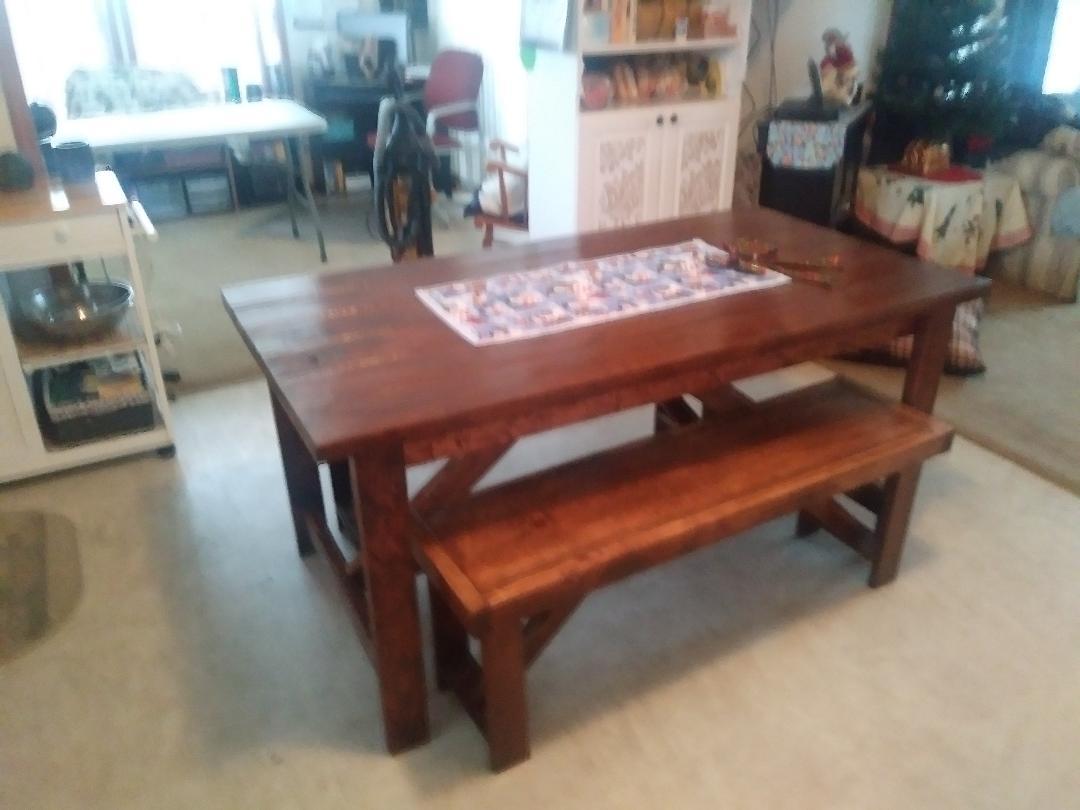
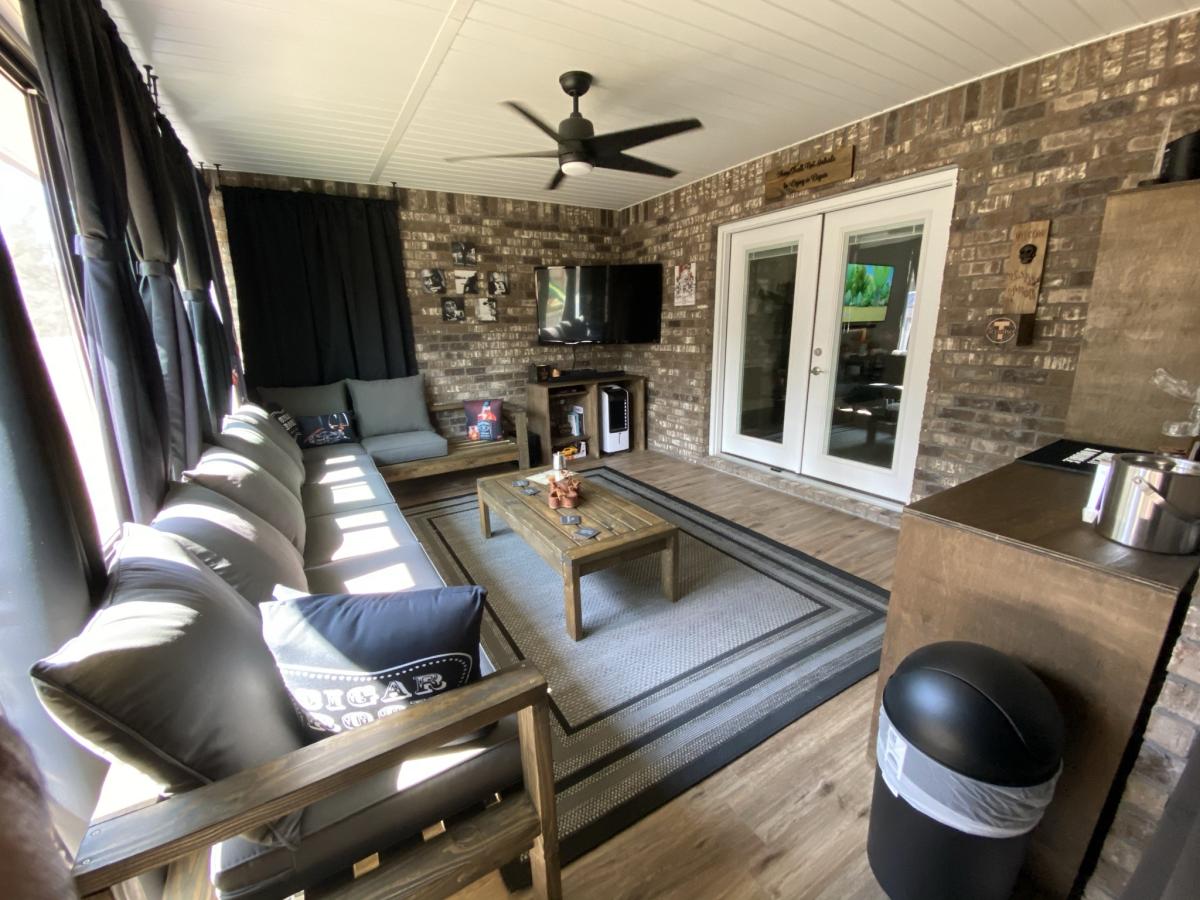
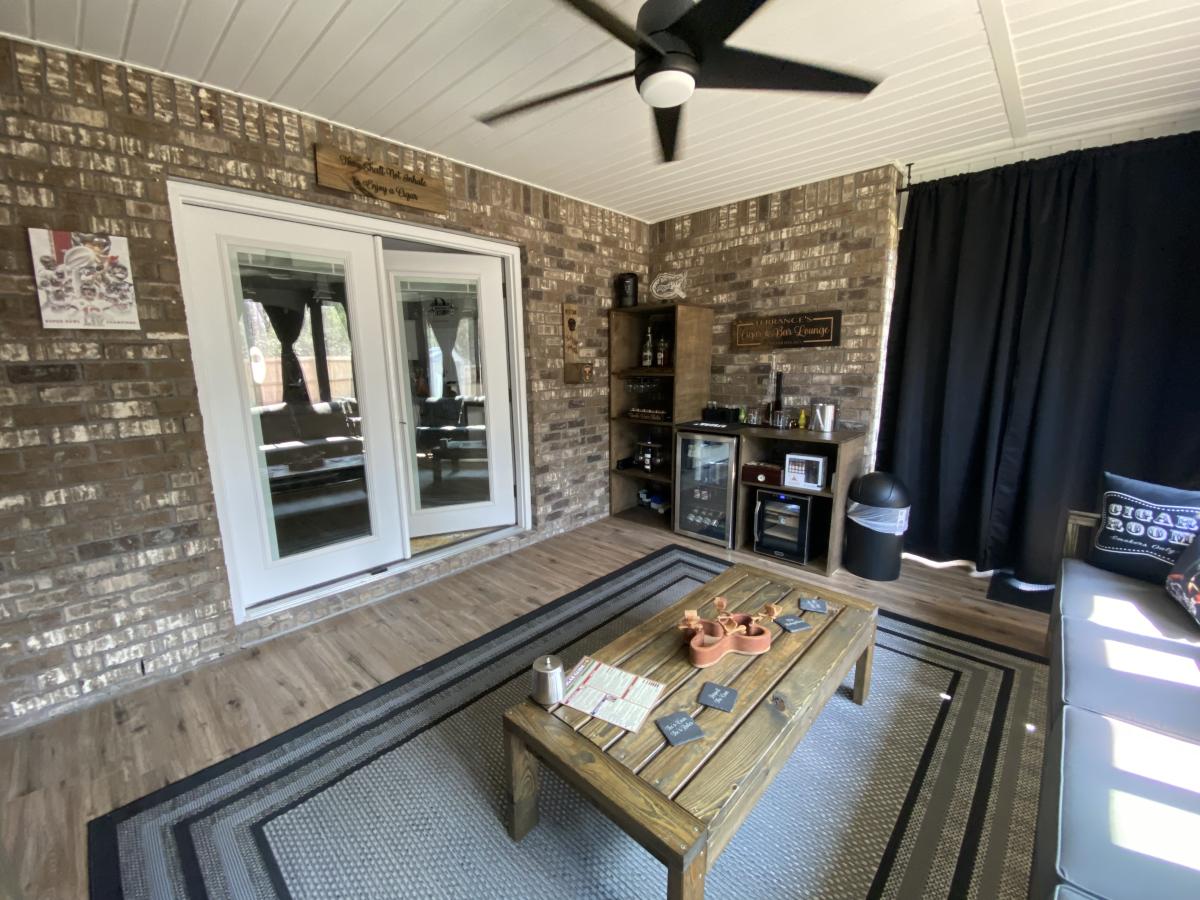
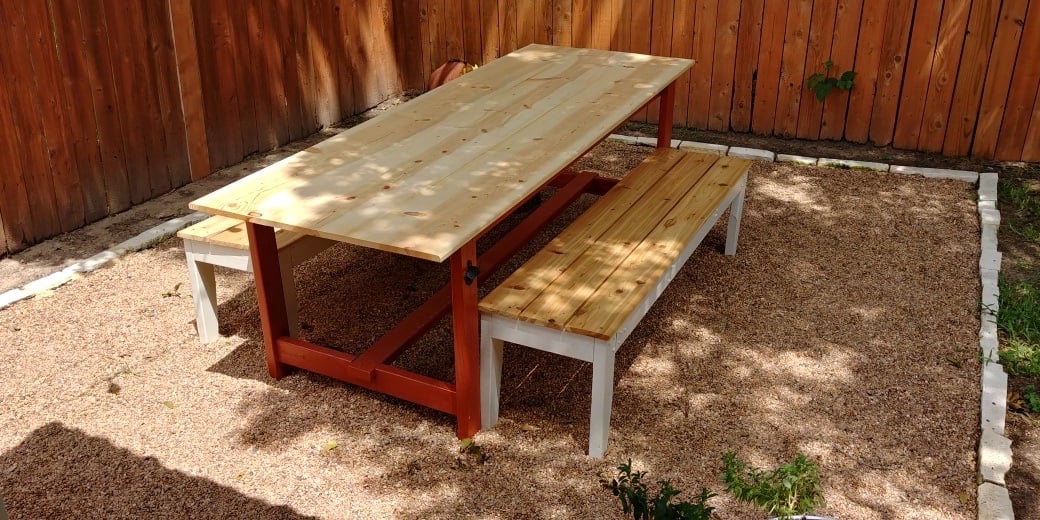
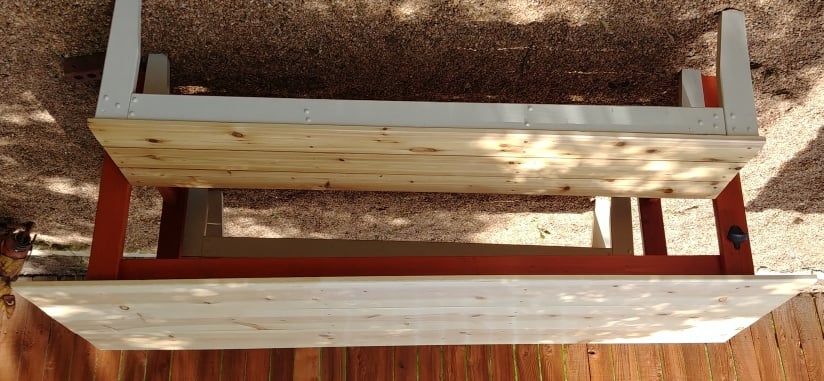
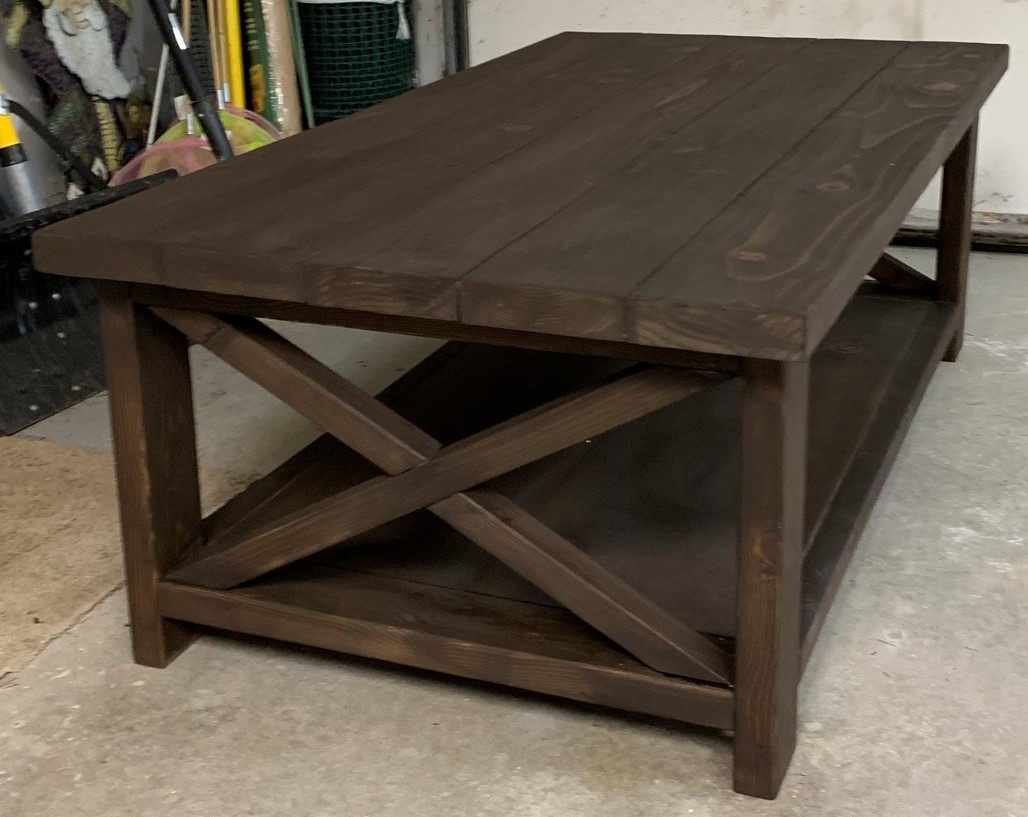
After the toybox I decided to make a coffee table for my daughter and she picked out the design from your site. She loves it!
Built from Plan(s)