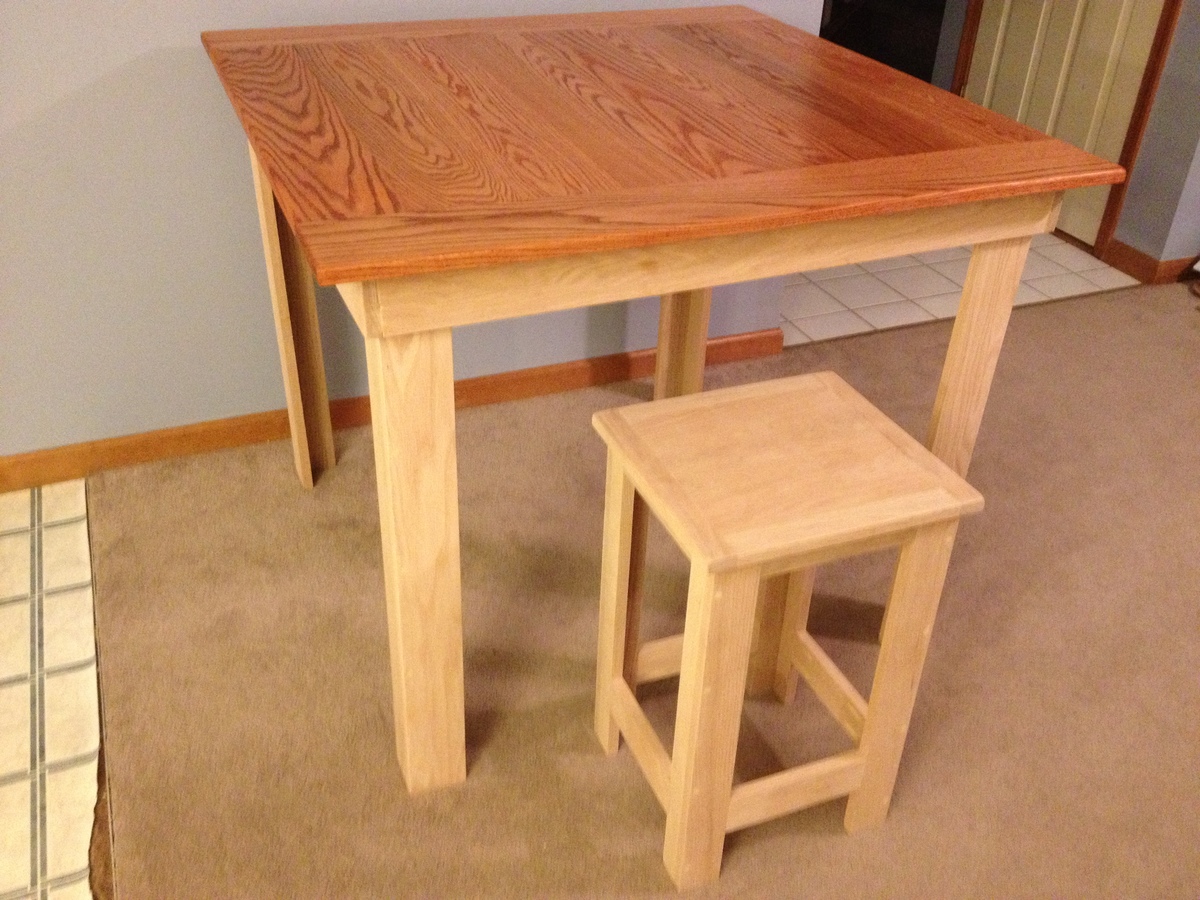
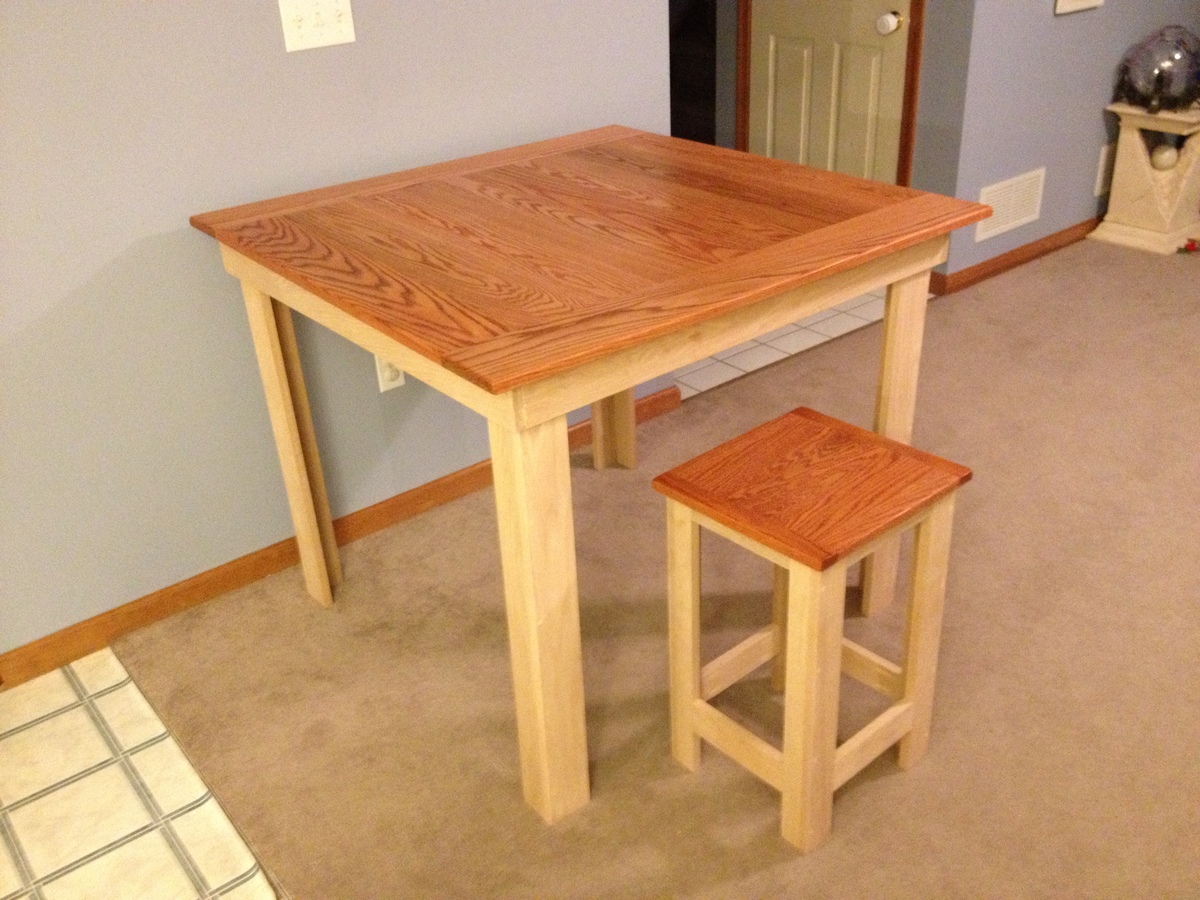
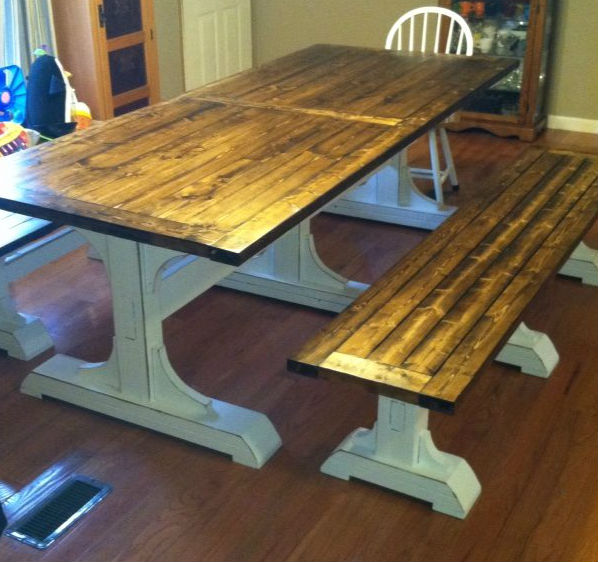
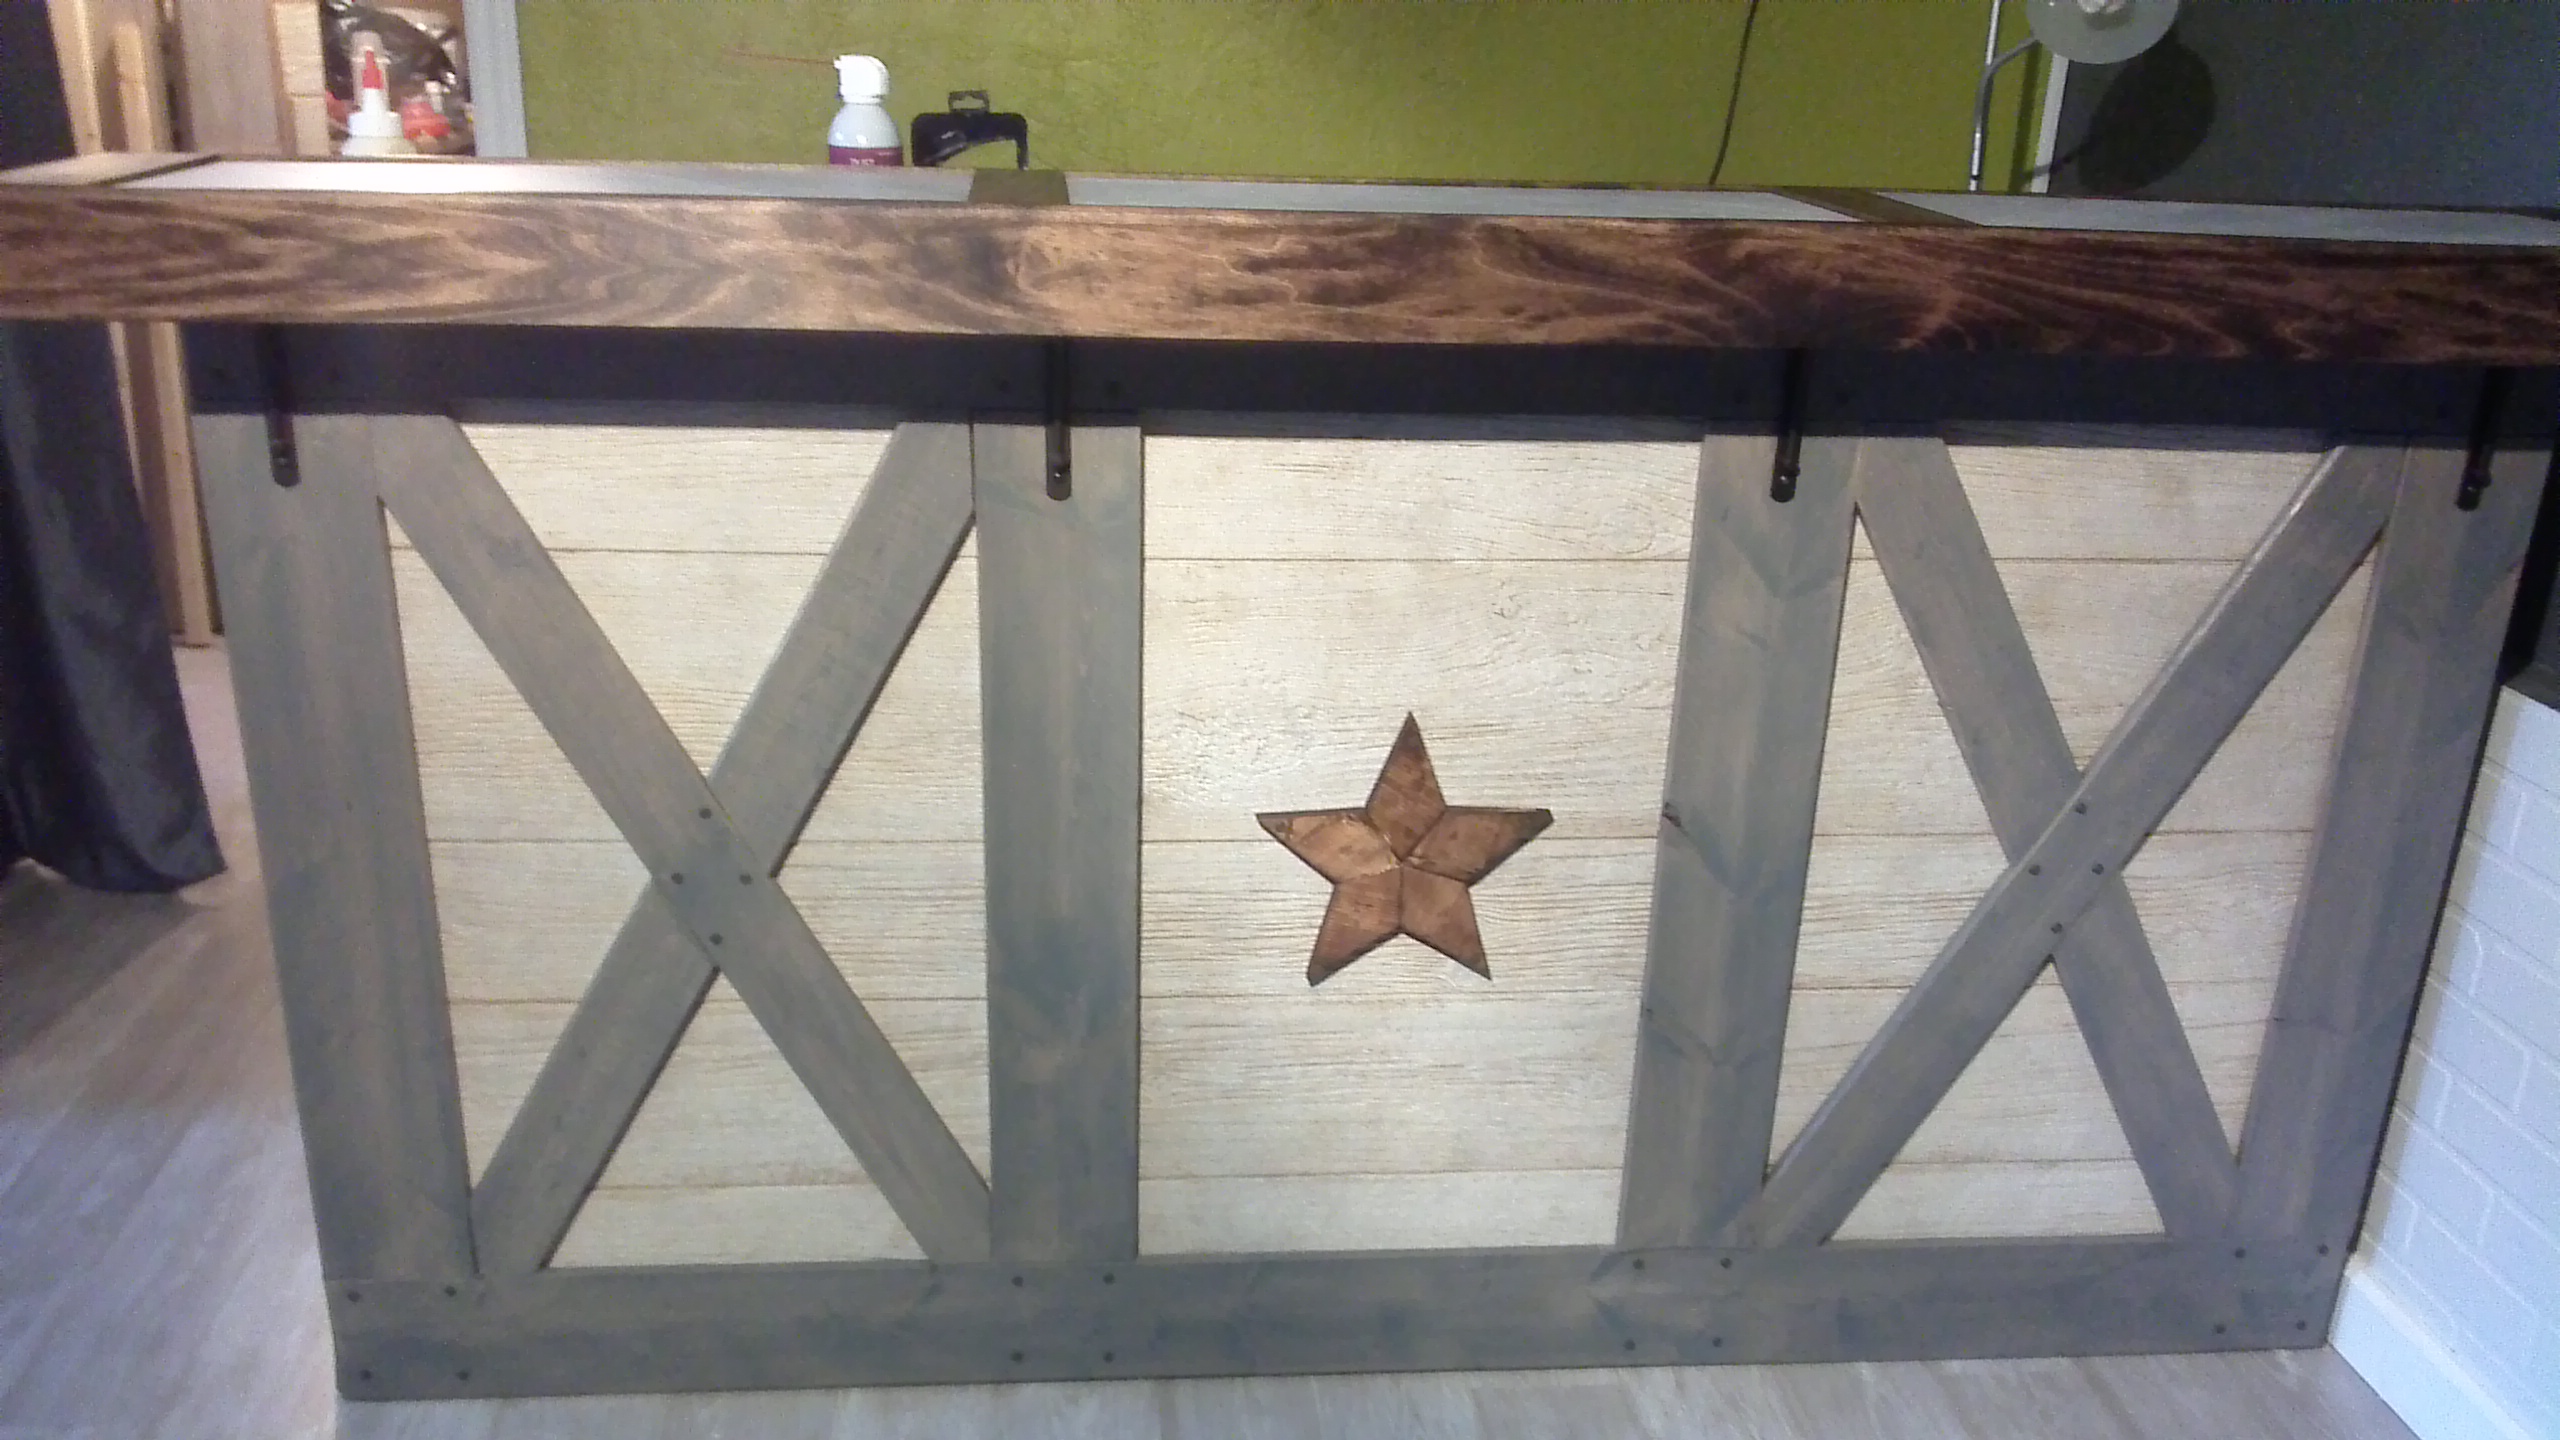
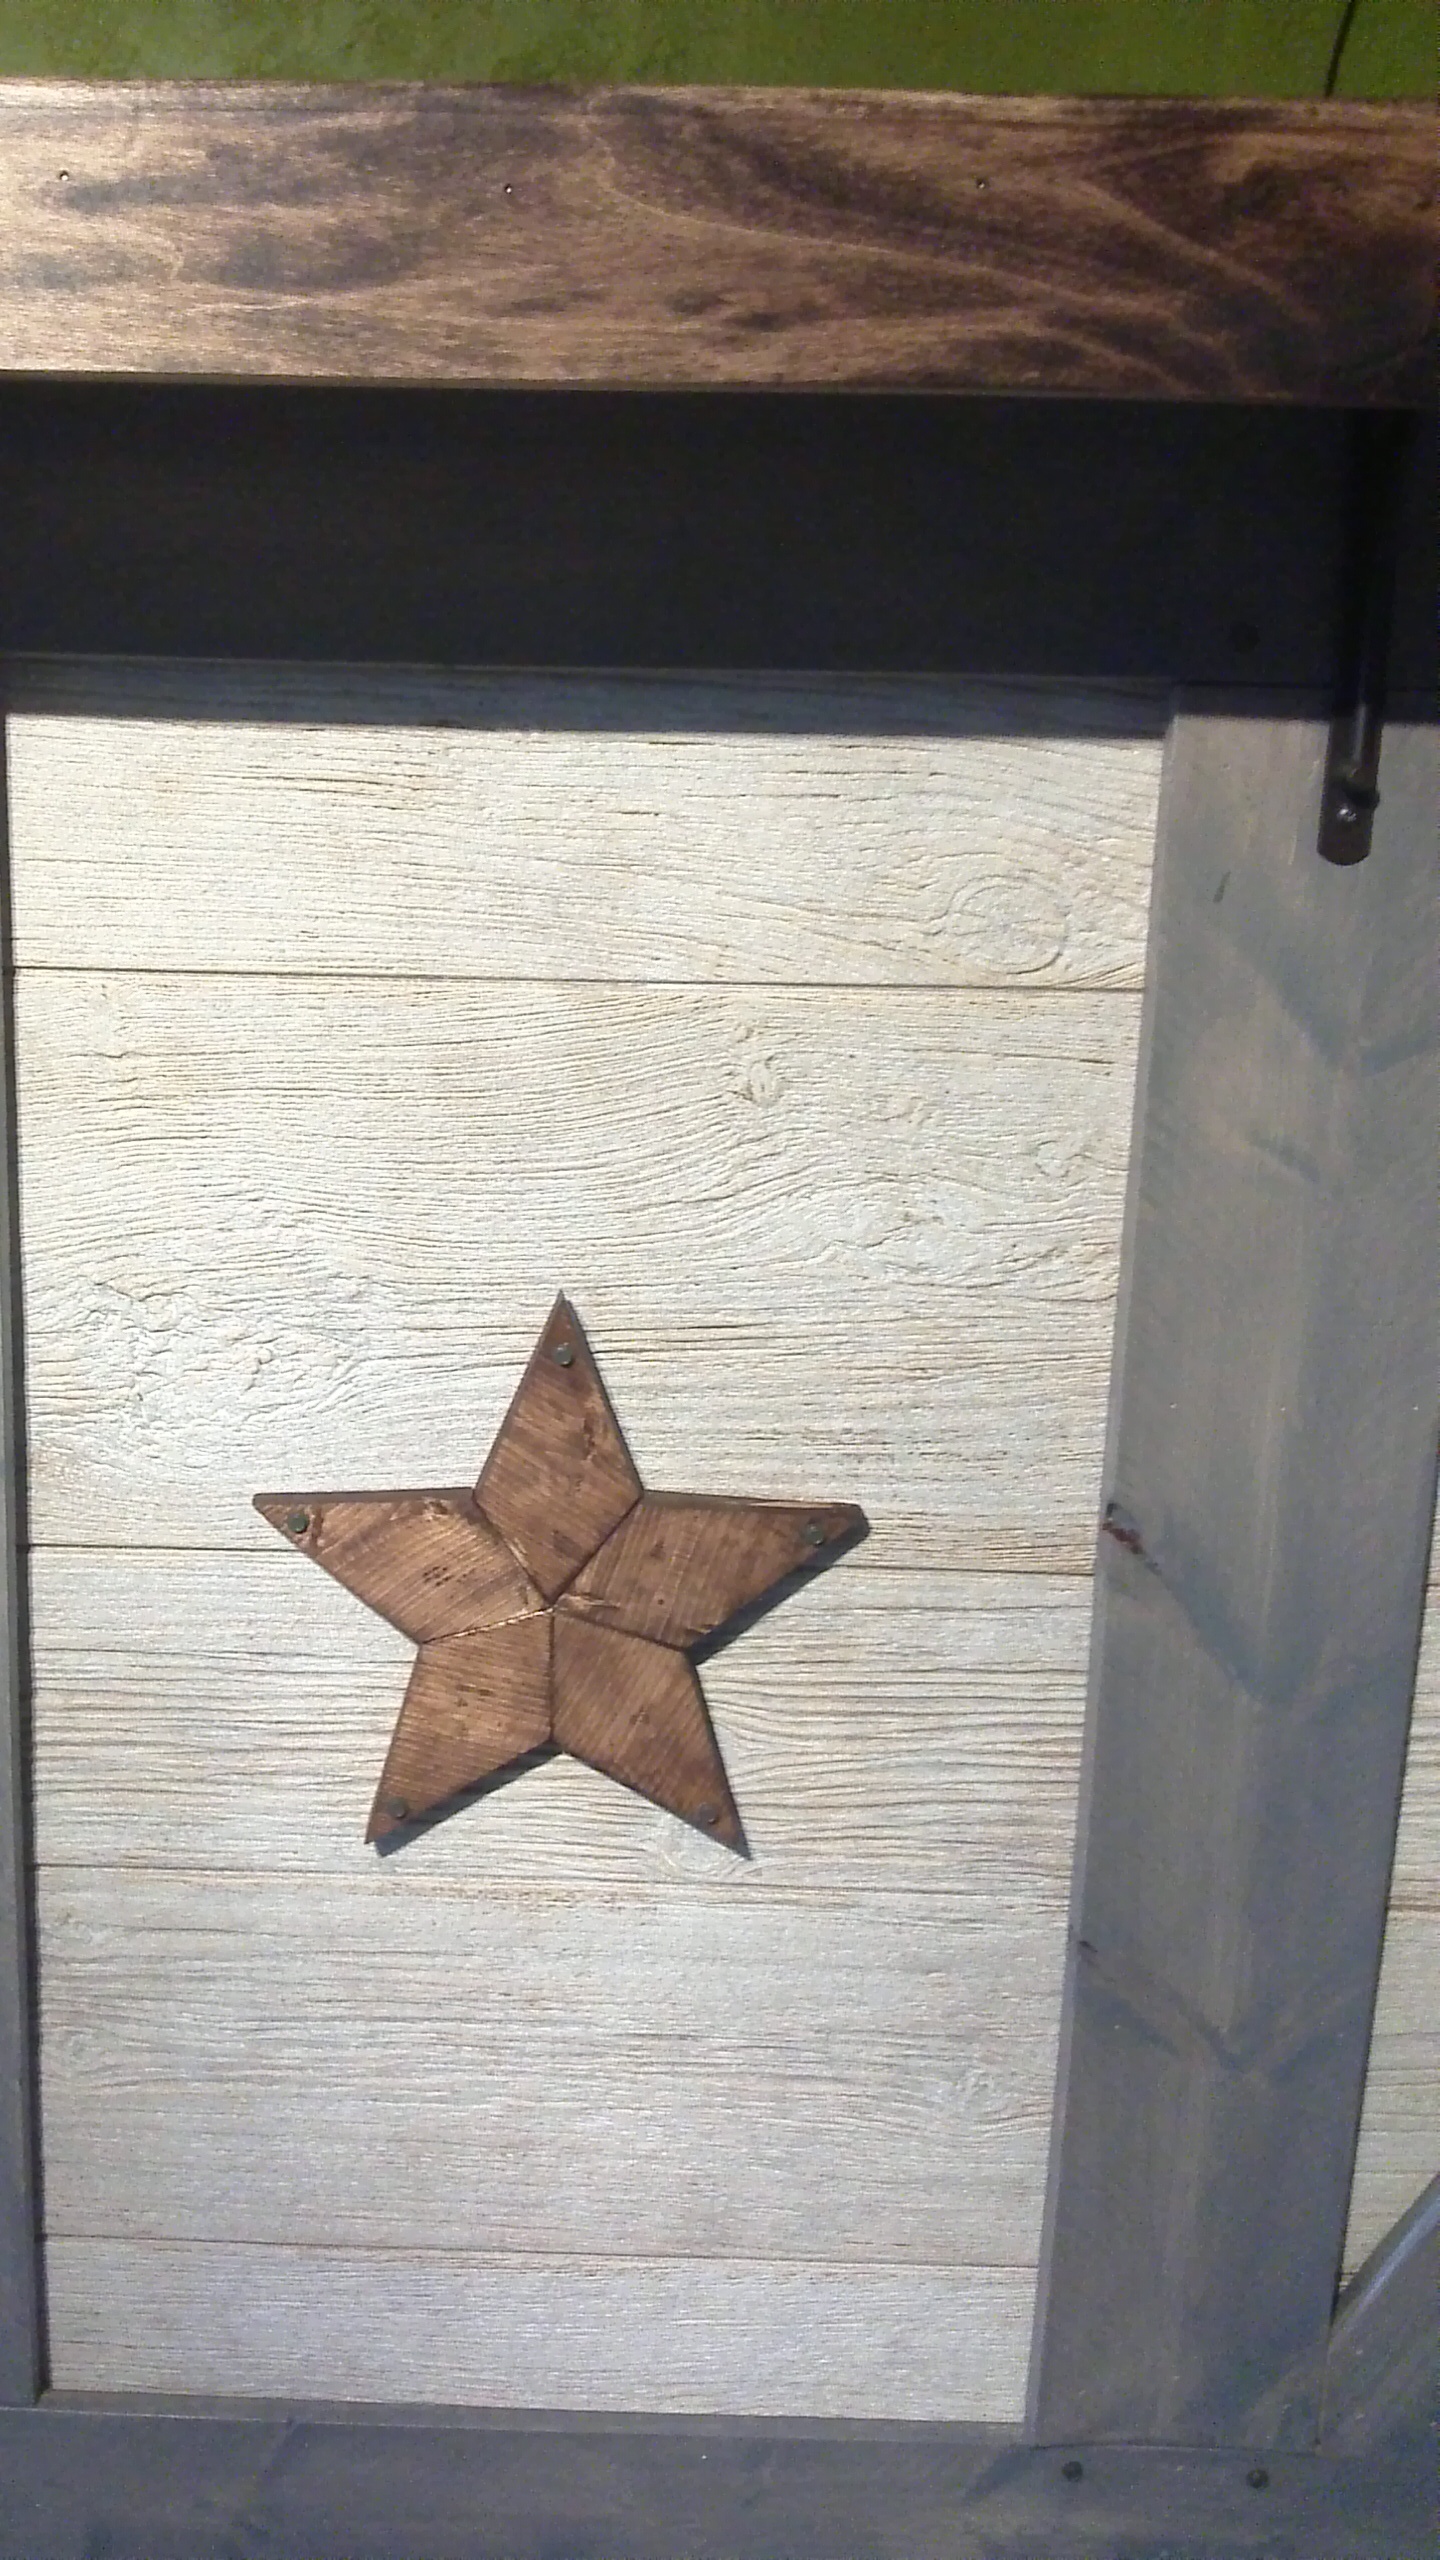
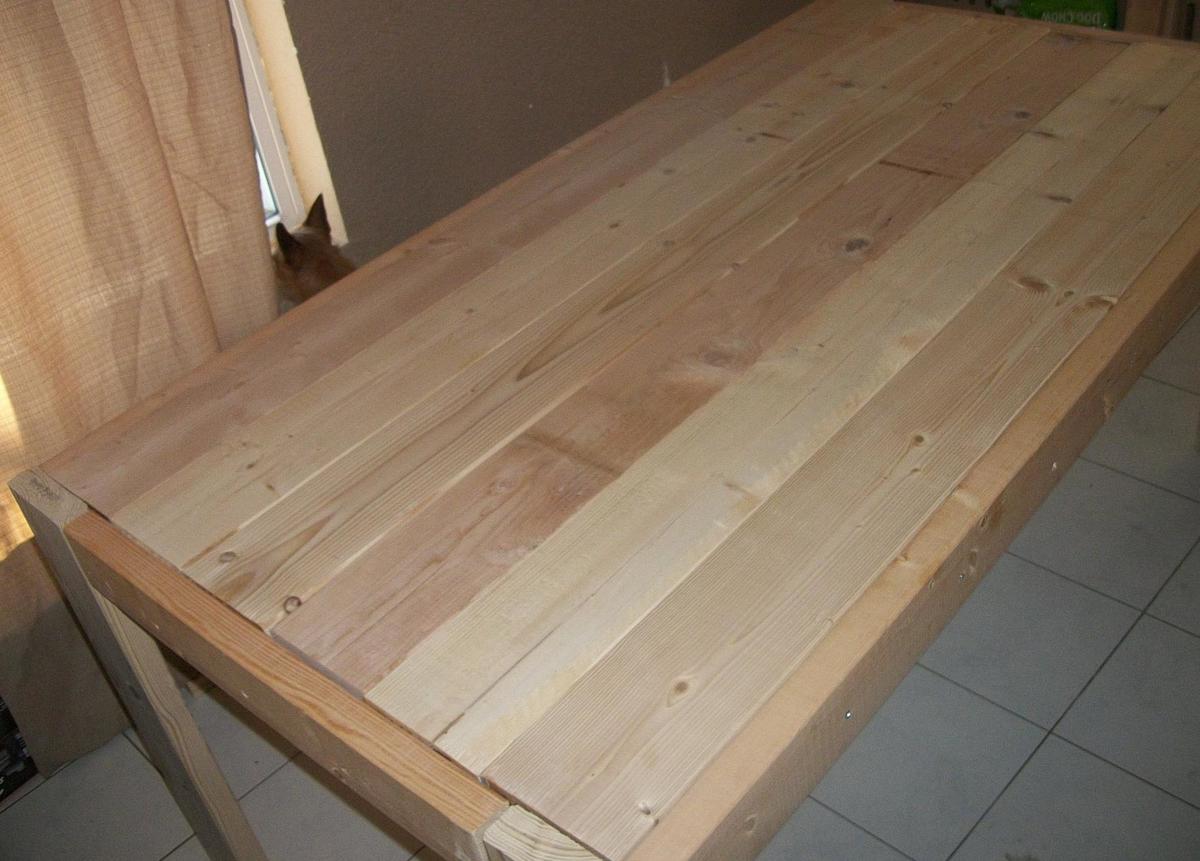
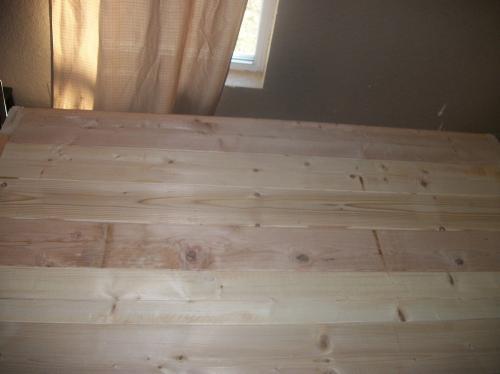
Pub table Stools
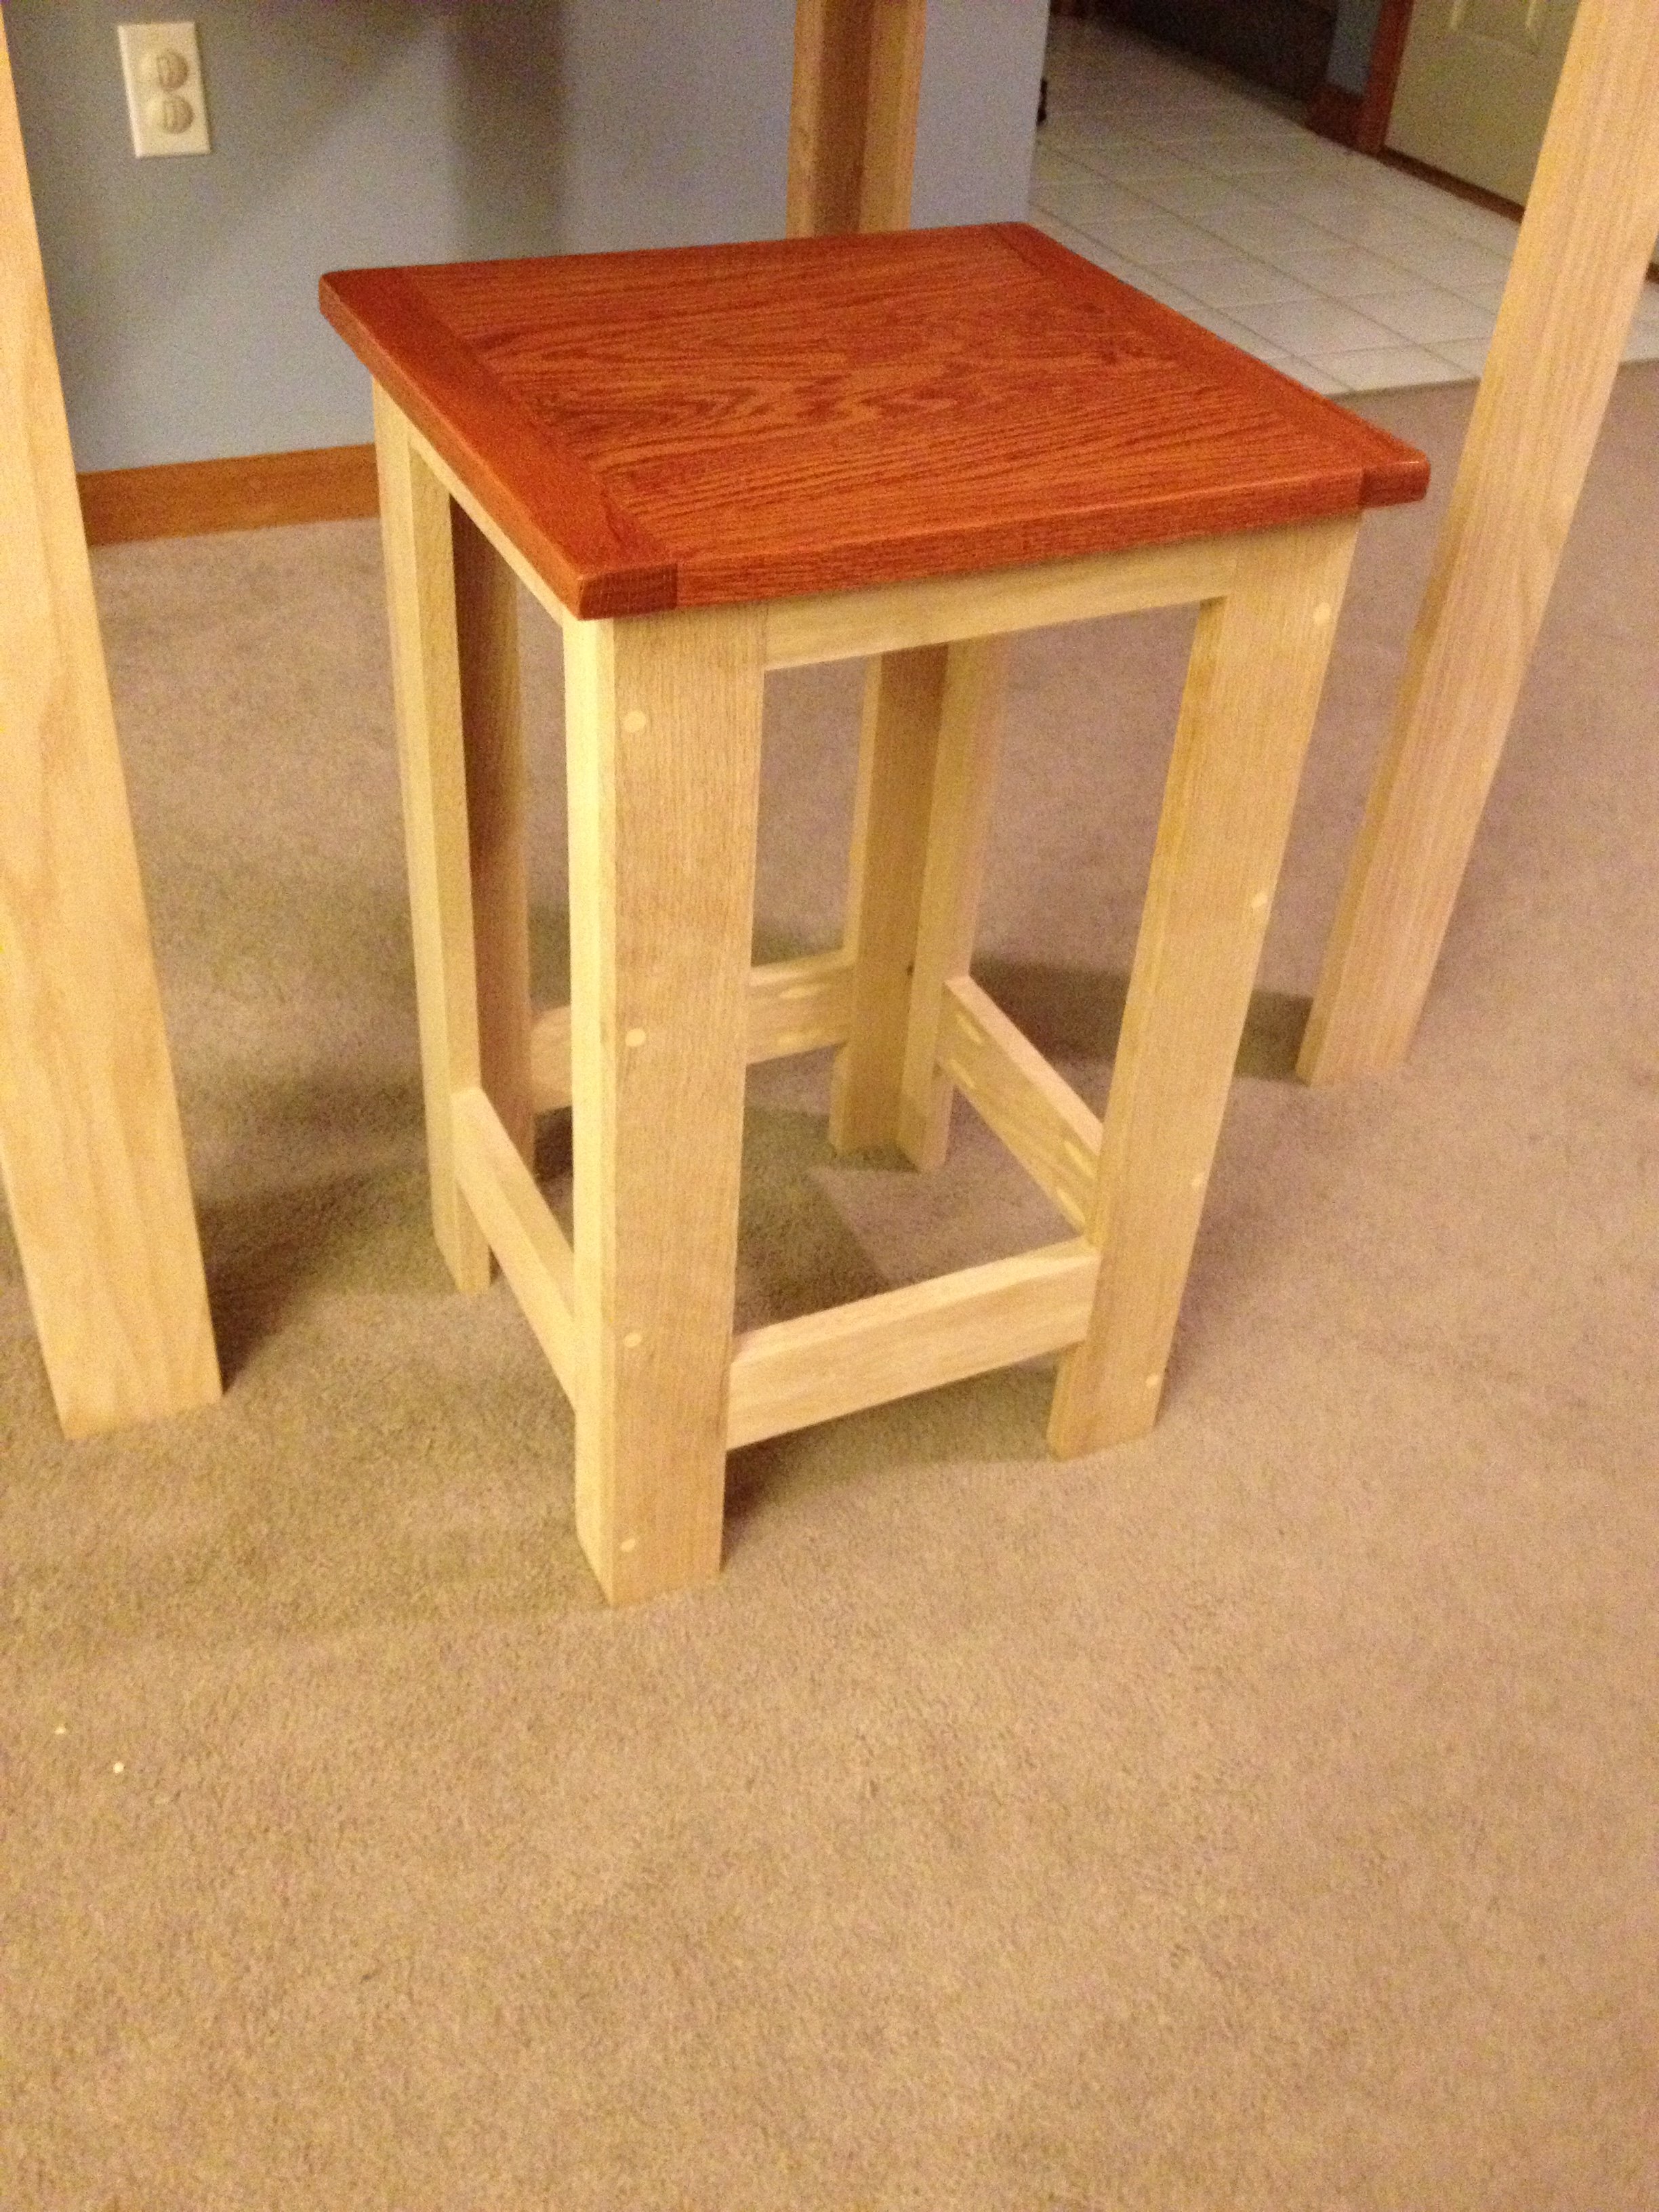
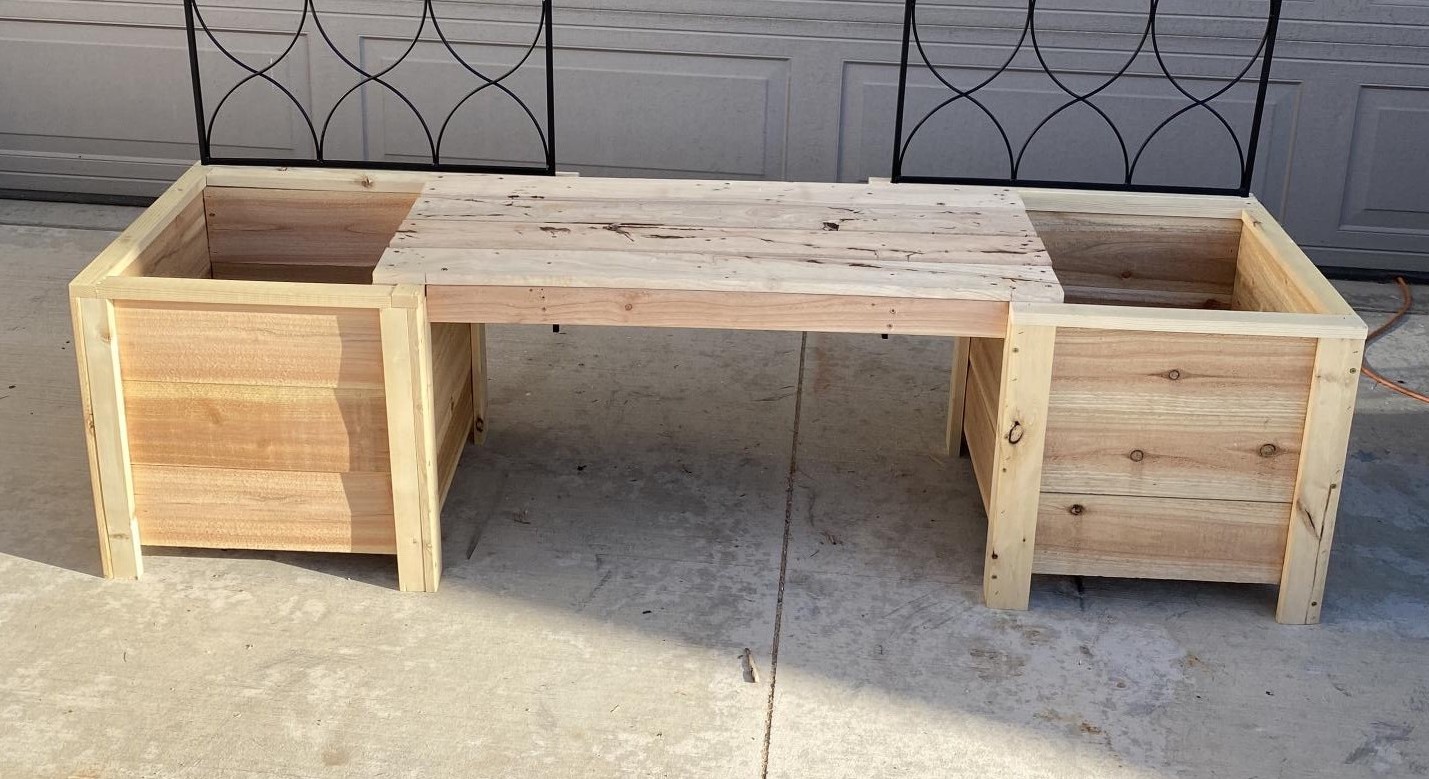
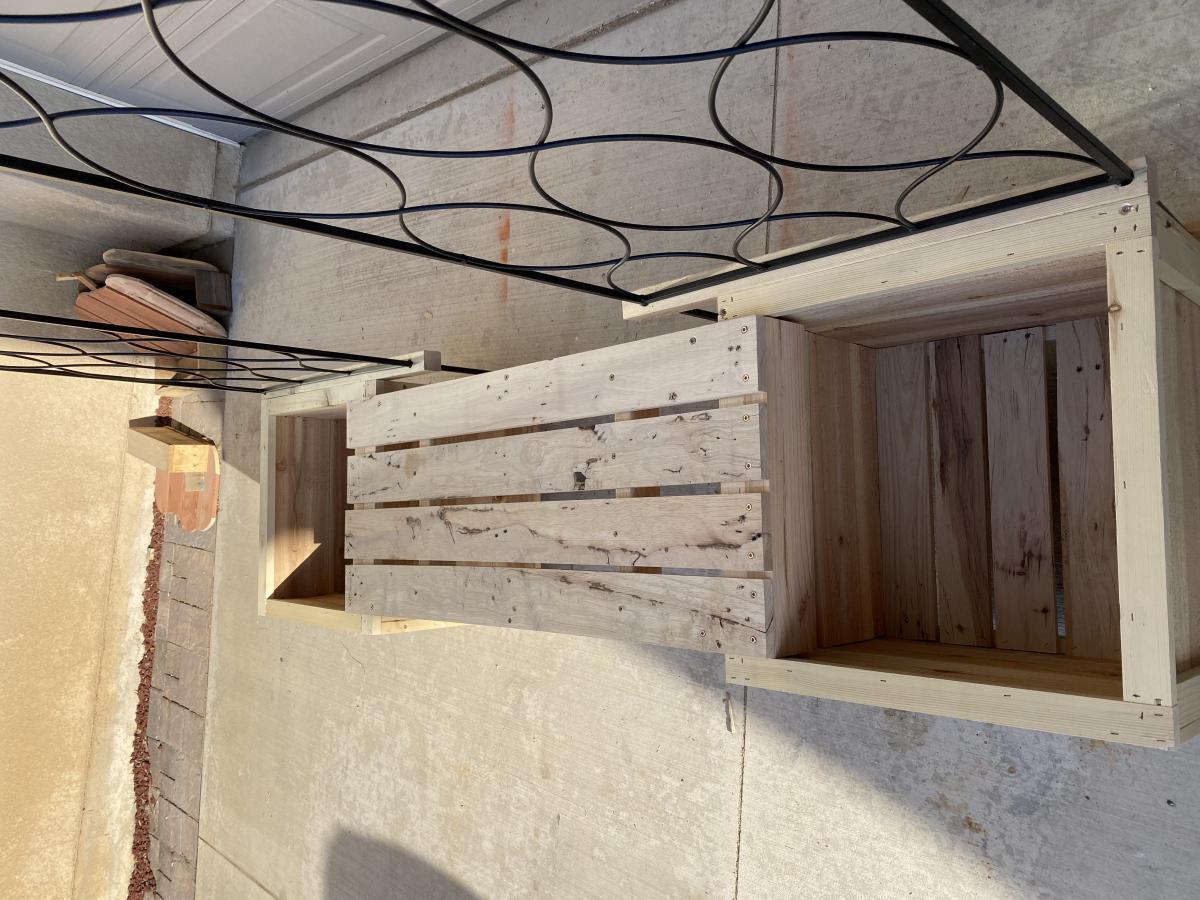
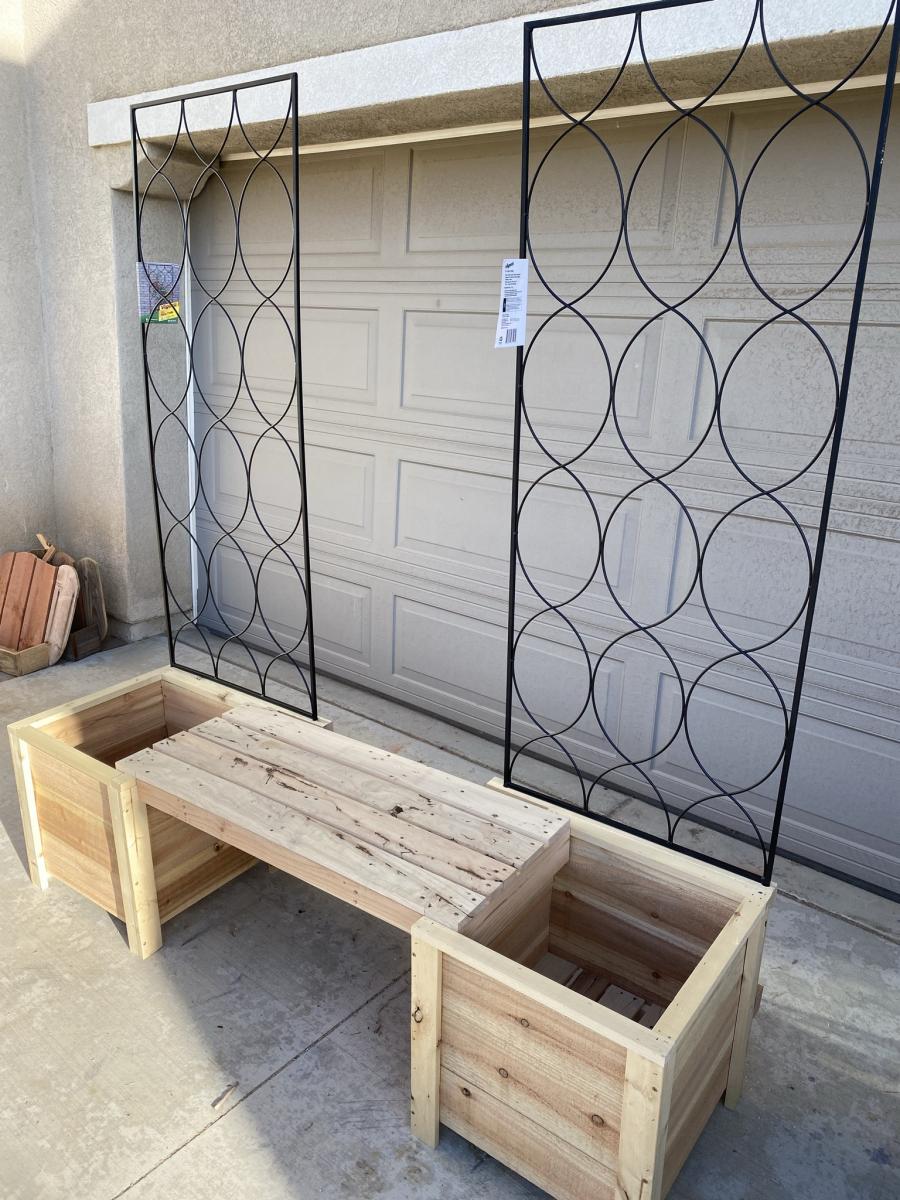
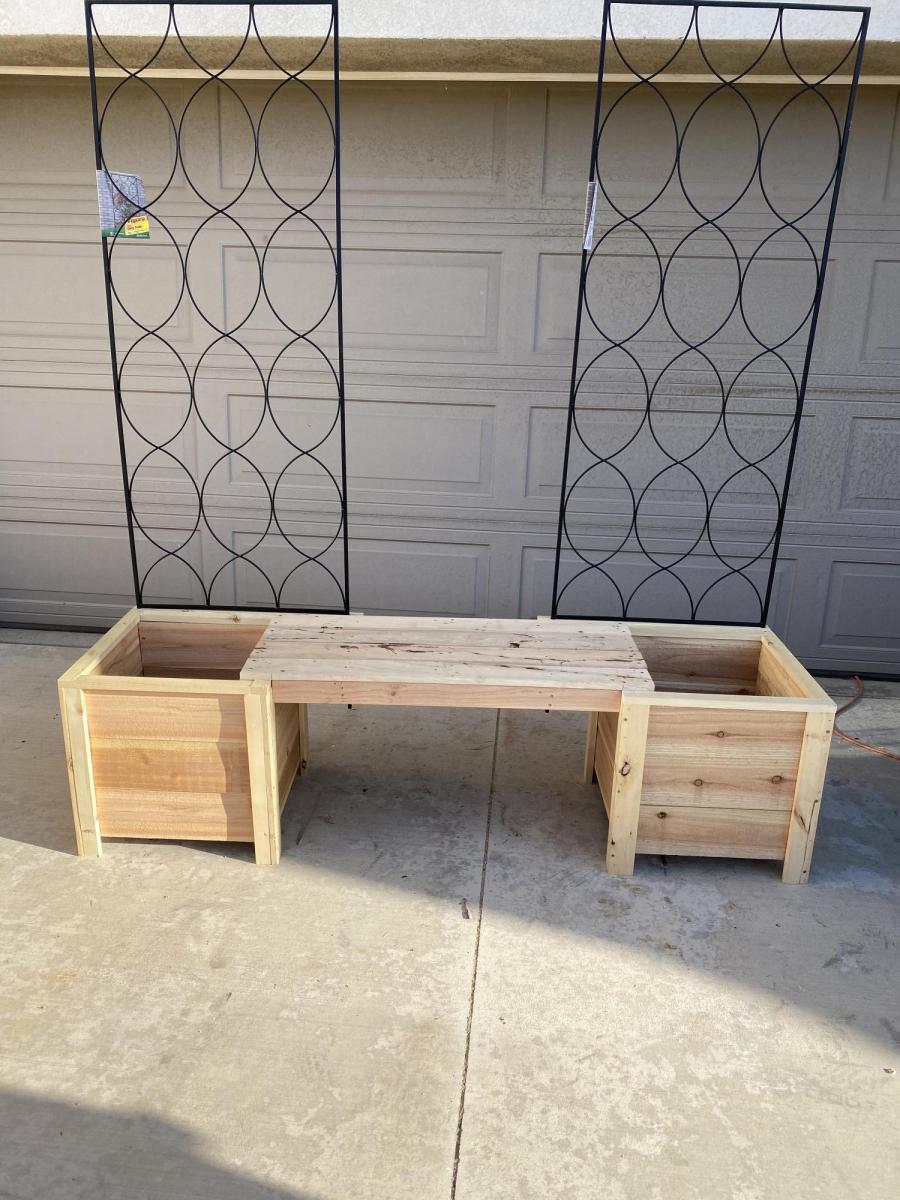
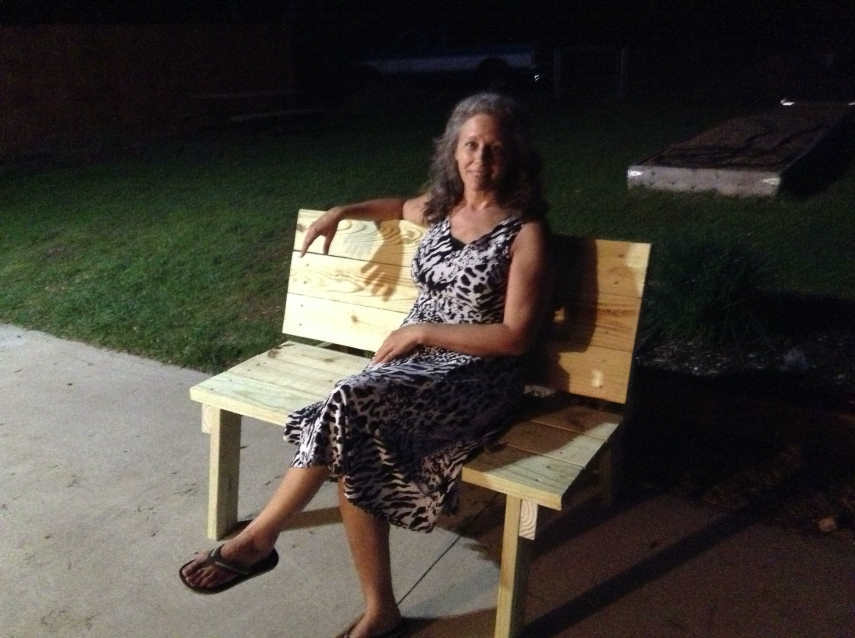
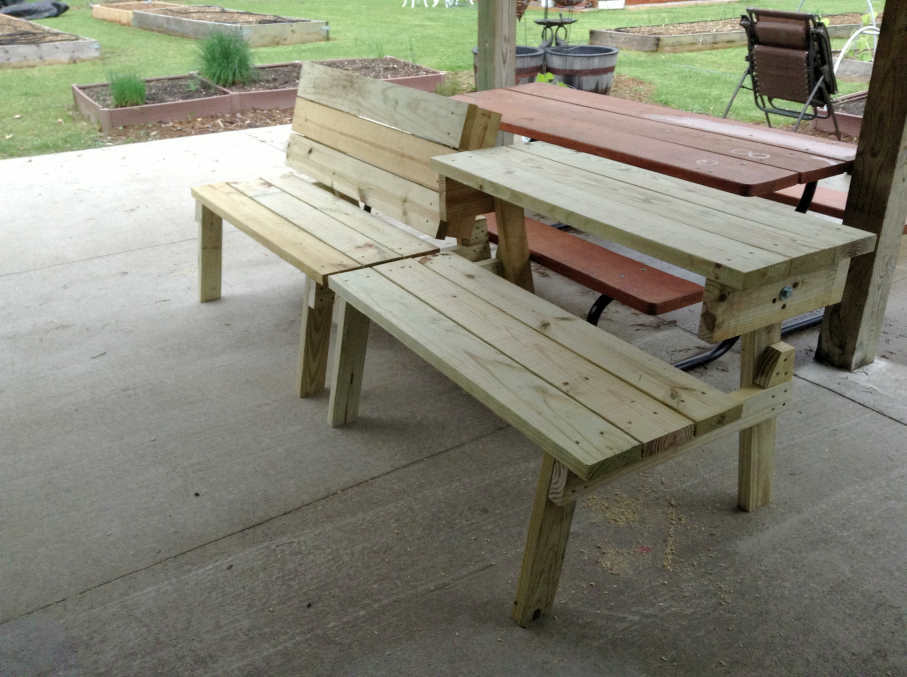
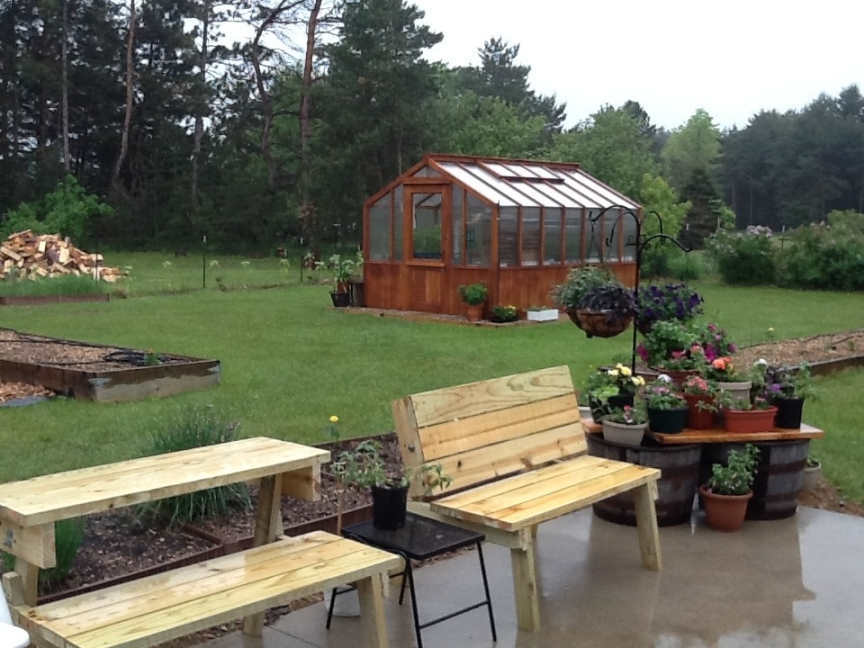
As stated in my table post, I just wasn't happy with what I was finding in the stores as nothing seamed sturdy nor made out of solid material. So I built a pub table and these stools to match.
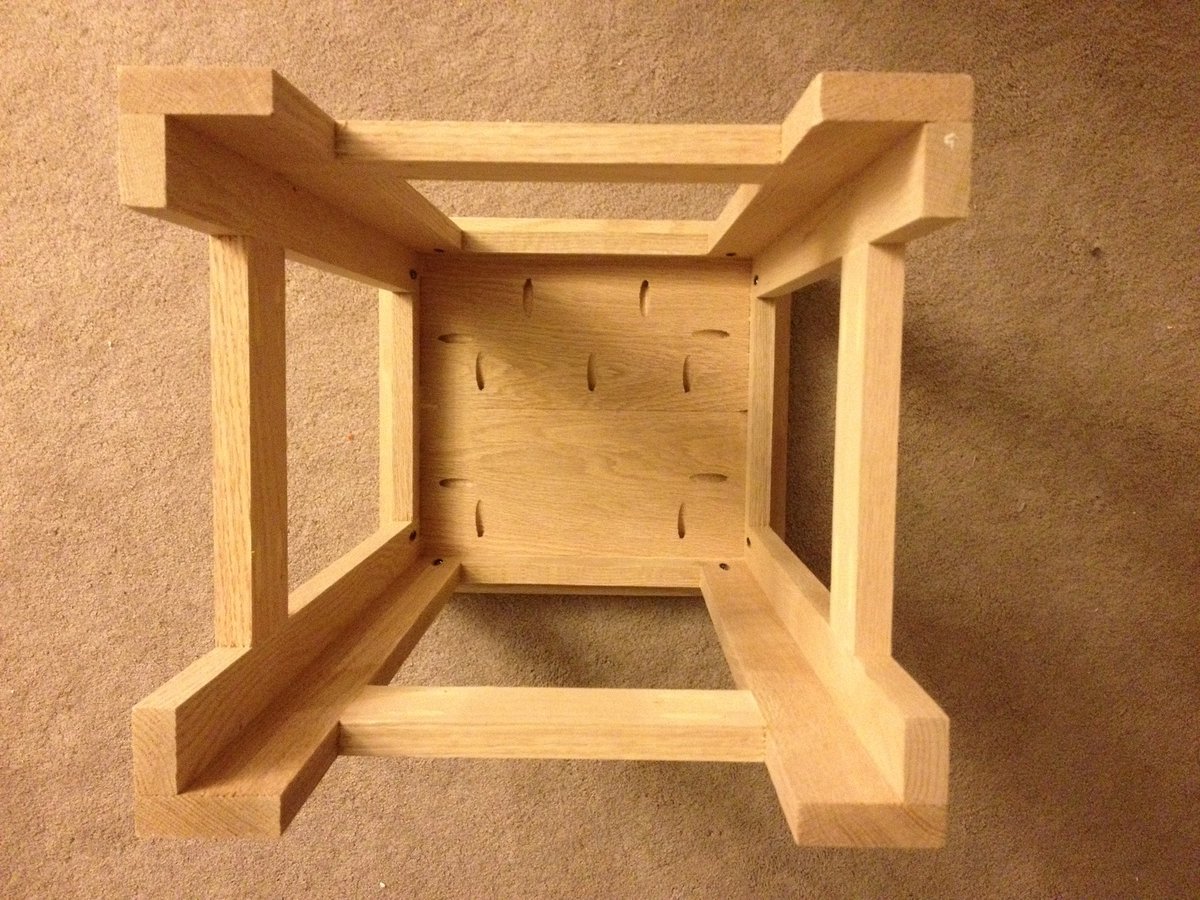
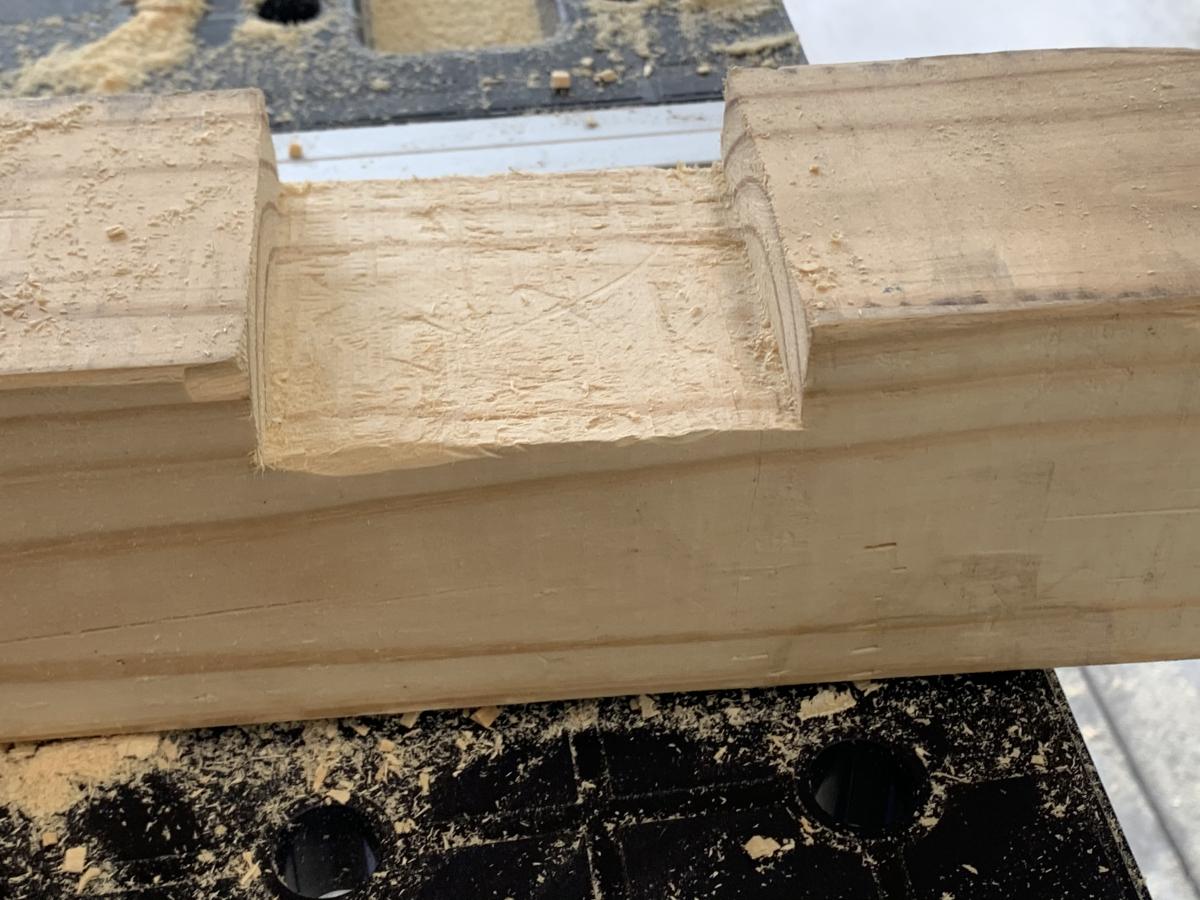
I combined the stools from multiple projects and eventually just made my own measurements and mimicked the table construction that I made.
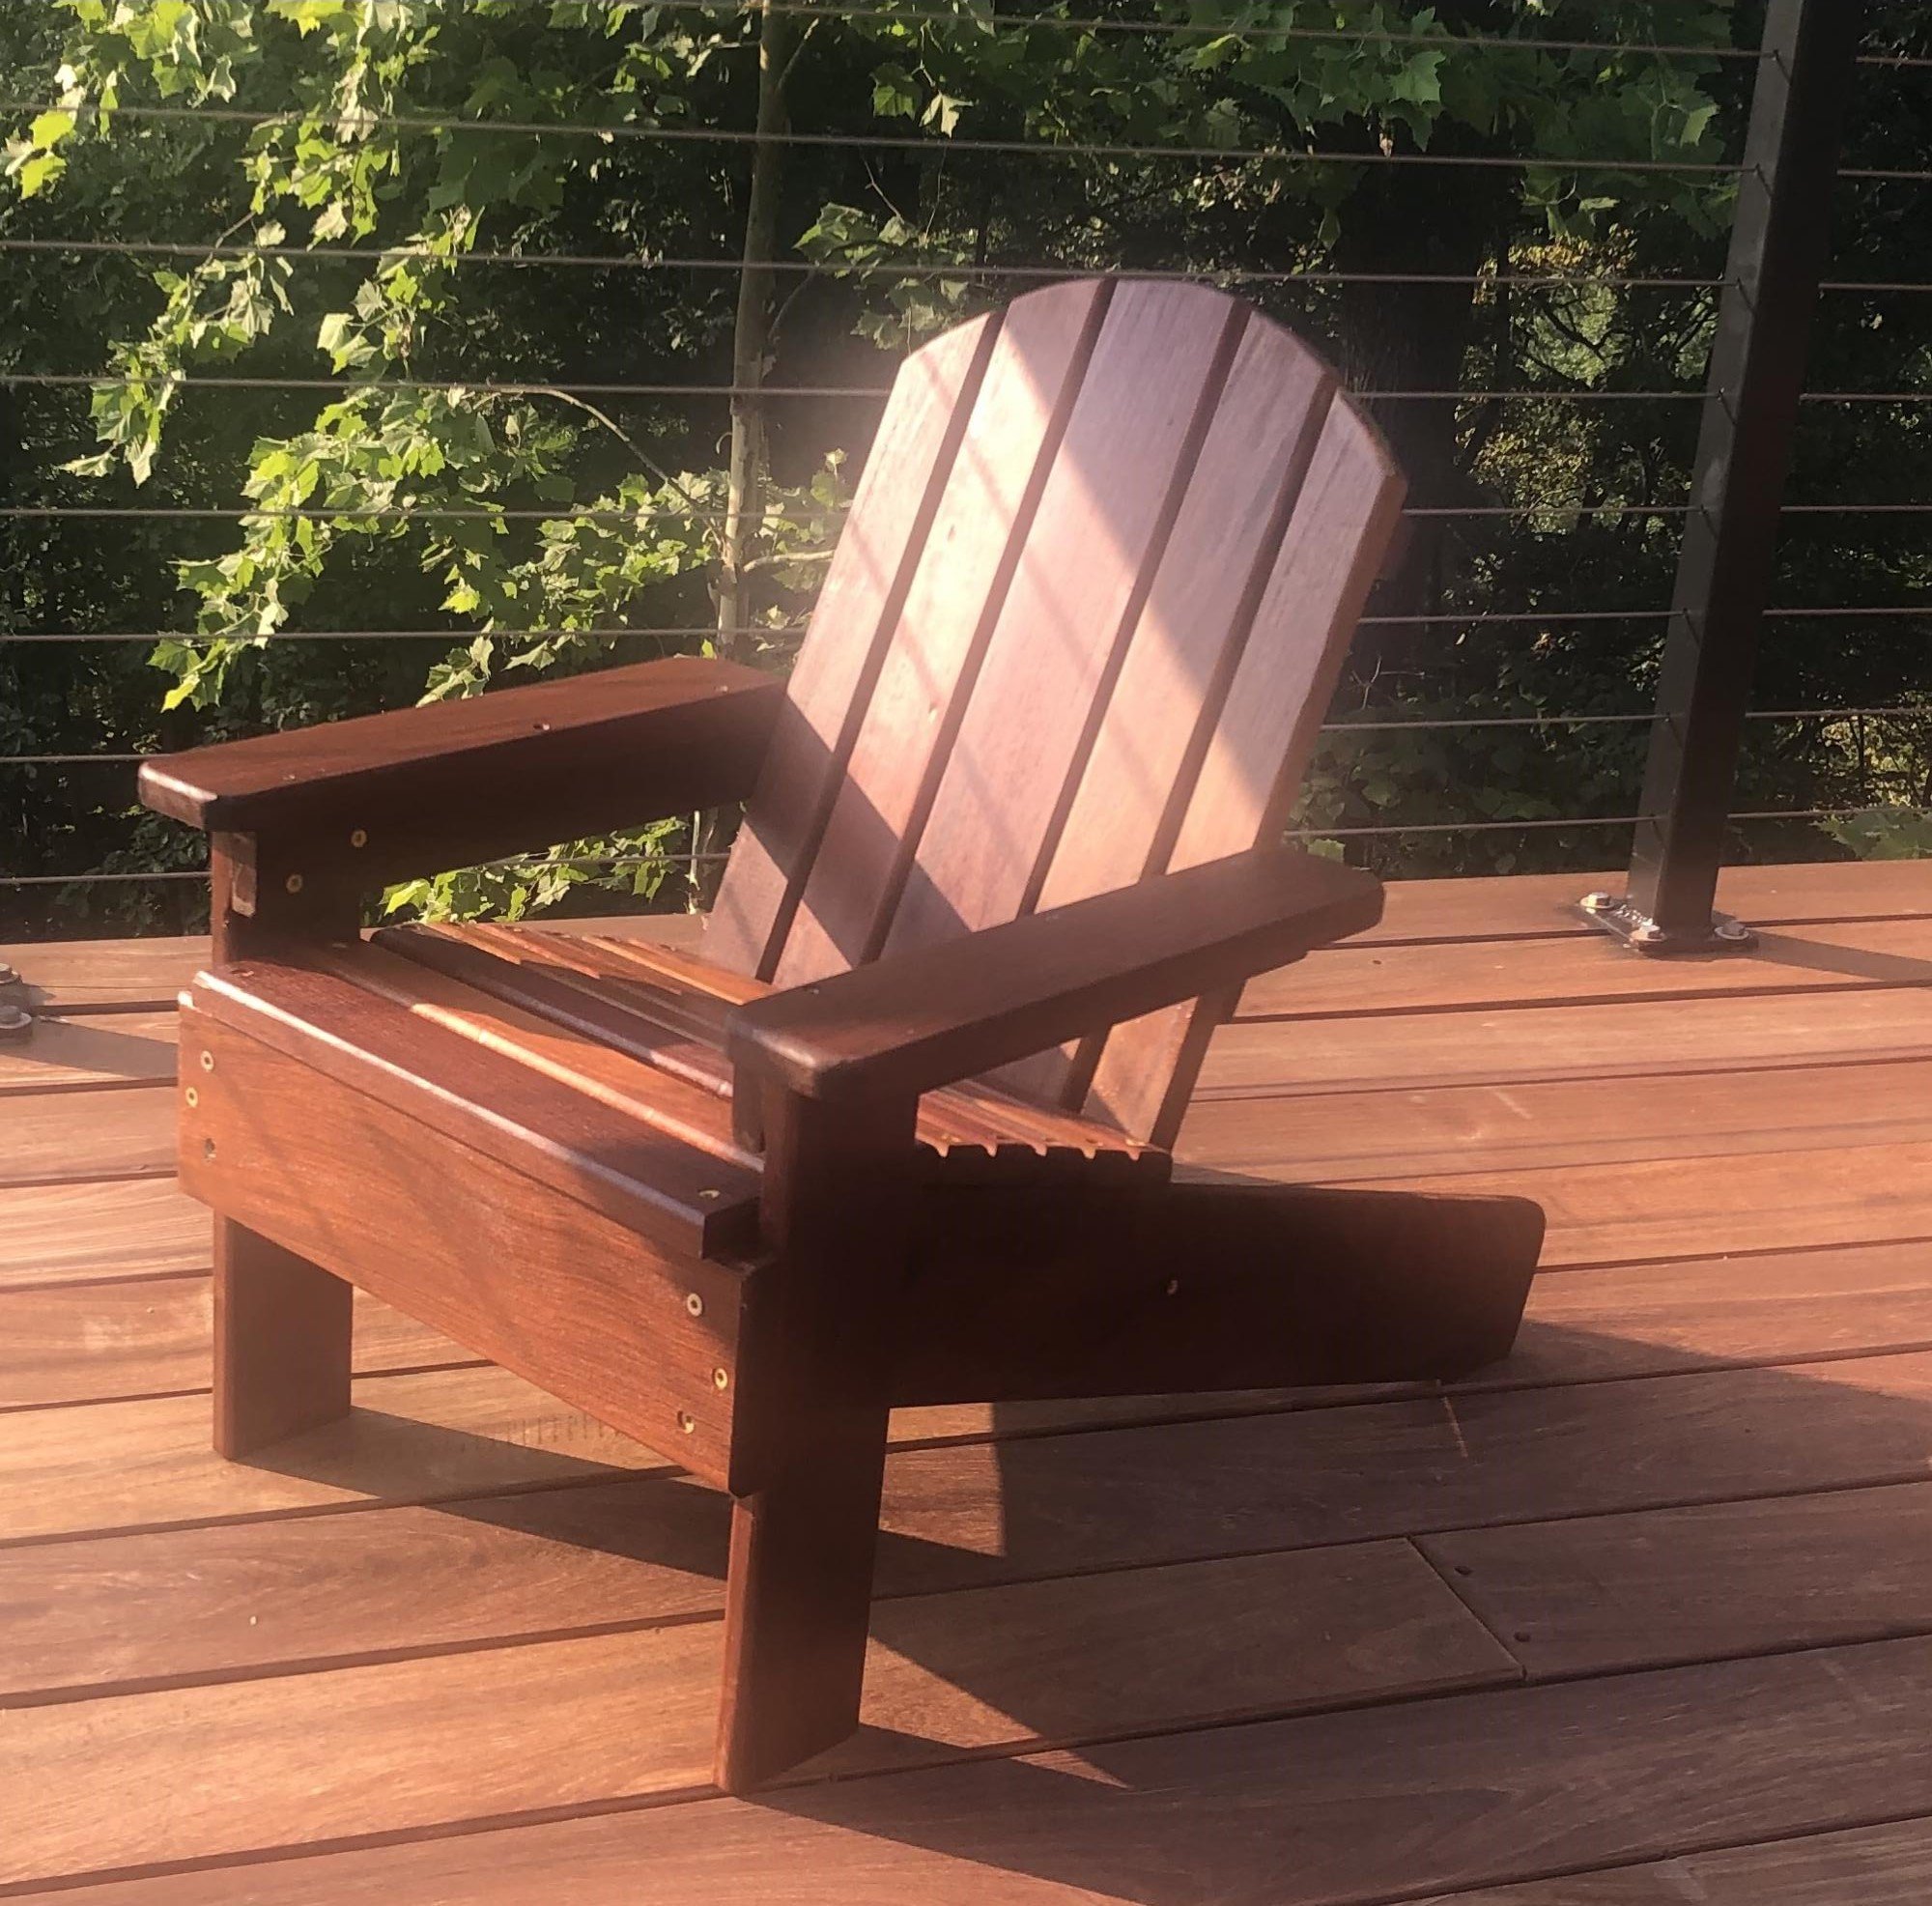
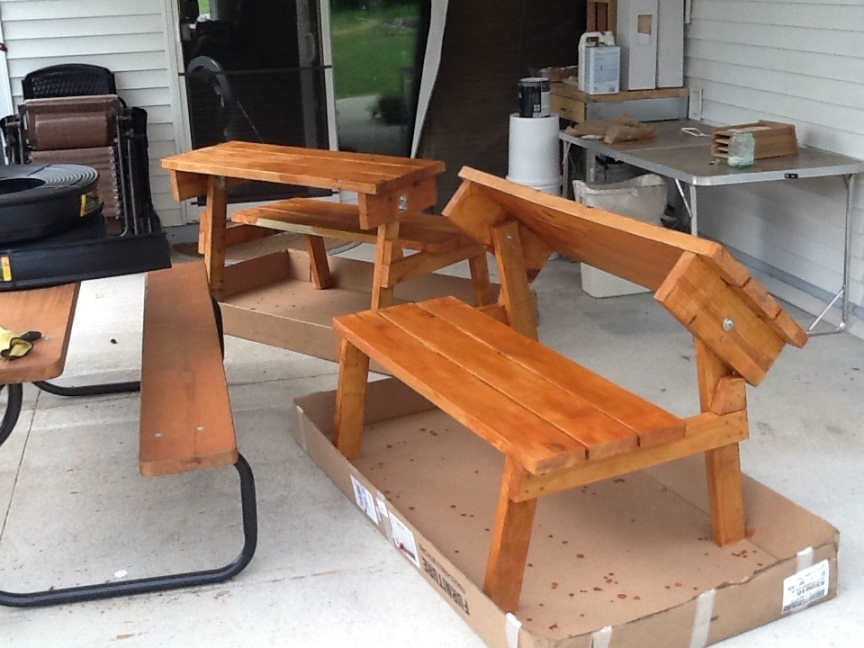
Although more expensive, I used Oak so it is sturdy and will take more than normal wear and tear (as I have three young boys under 10)
Built from Plan(s)
Estimated Cost
maybe $40 a stool
Estimated Time Investment
Weekend Project (10-20 Hours)
Finish Used
Rustoleum Traditional Cherry
Minwax Polyacrylic
Minwax Polyacrylic
Recommended Skill Level
Intermediate


Comments
tcrawn
Thu, 01/04/2024 - 04:35
Stools
Stools