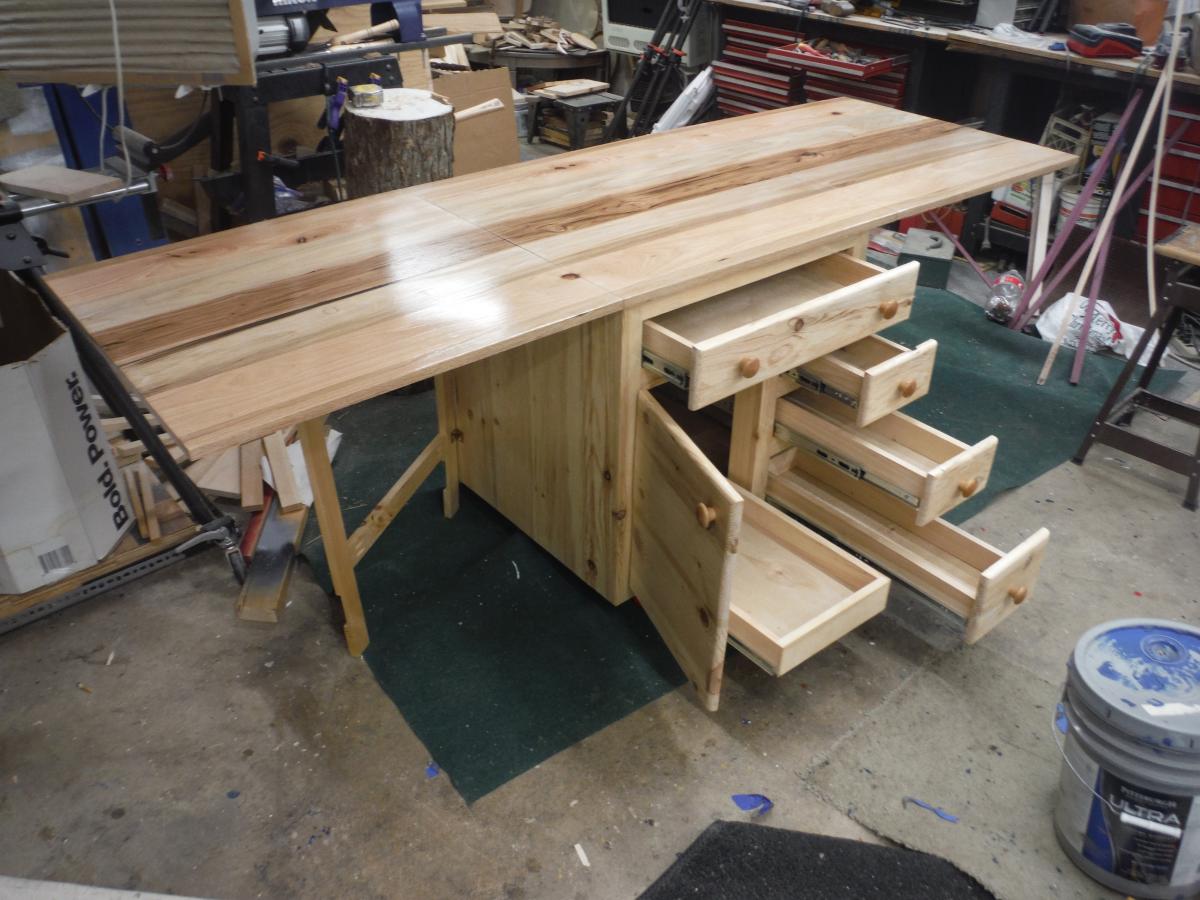
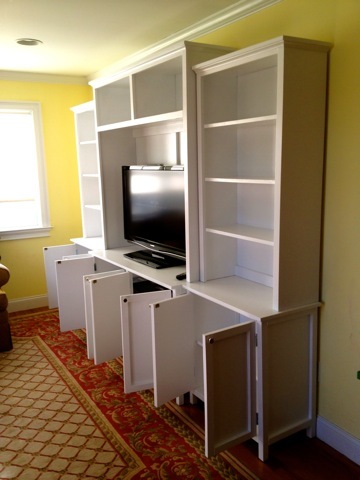
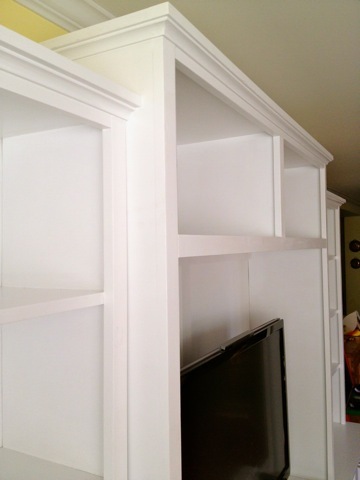
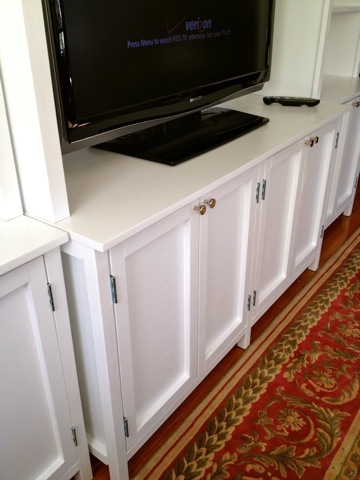
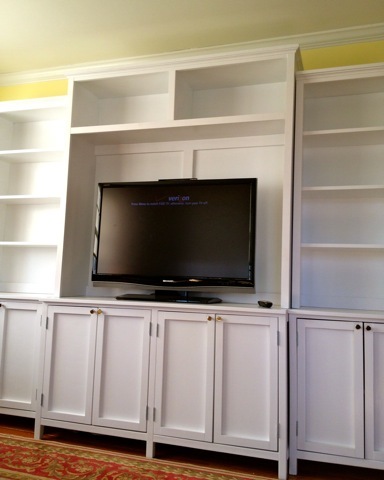
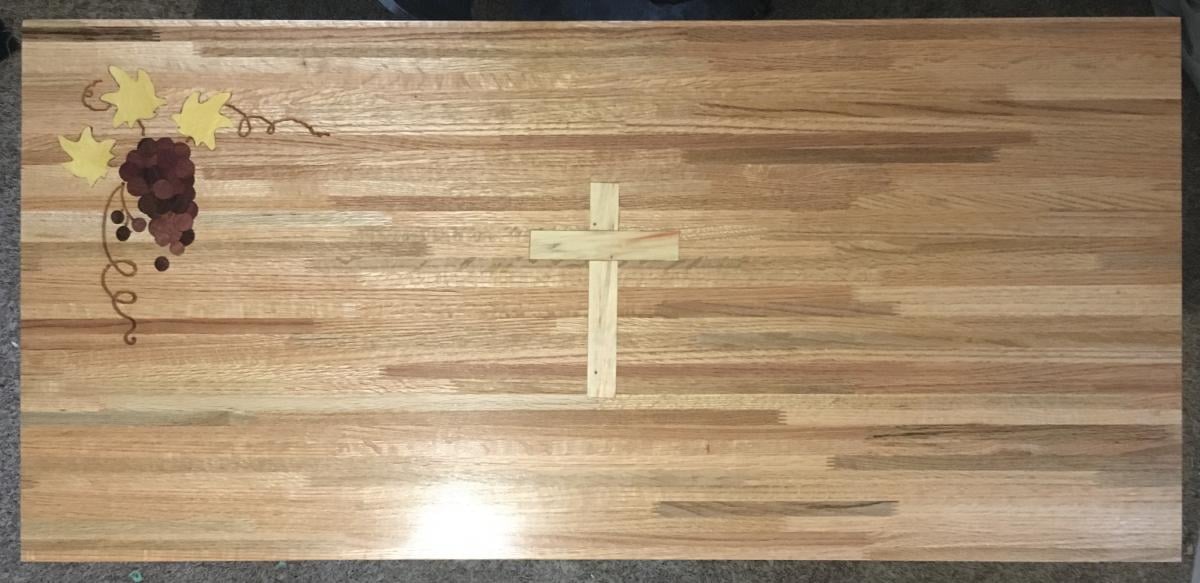
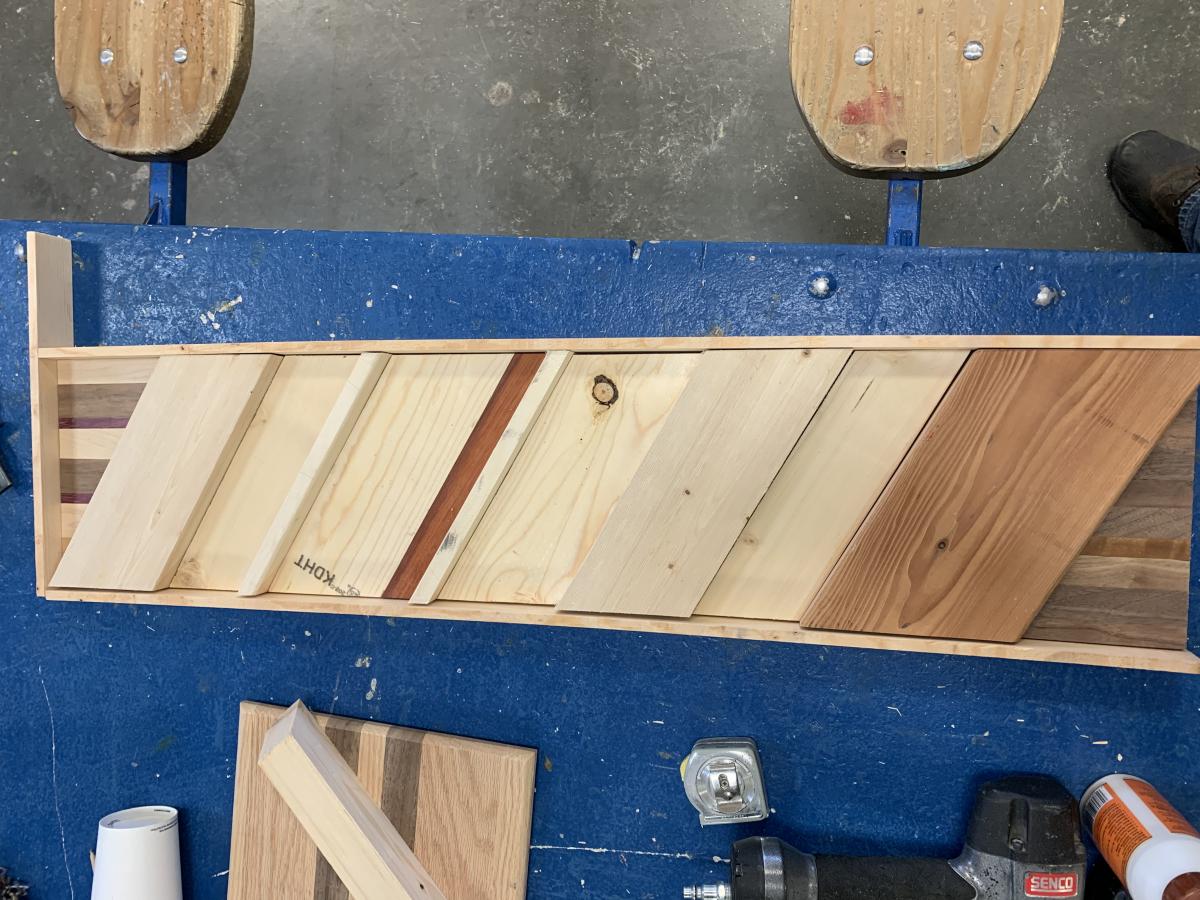
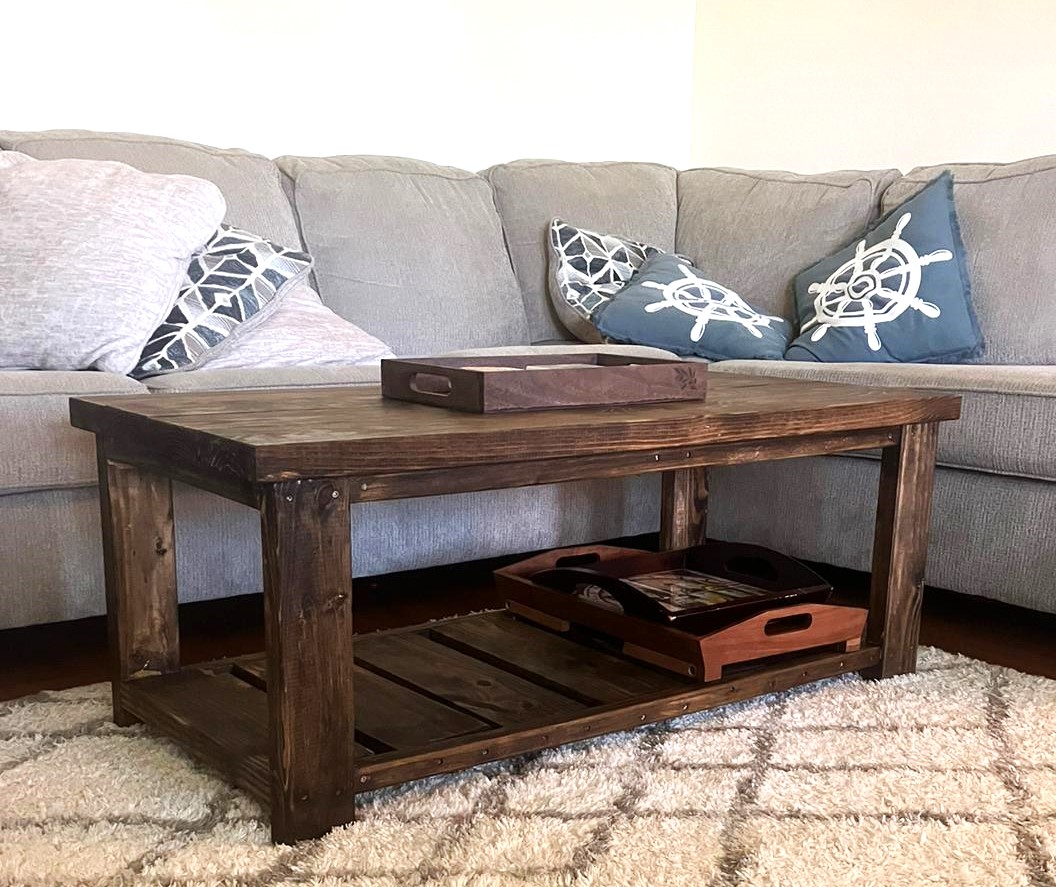
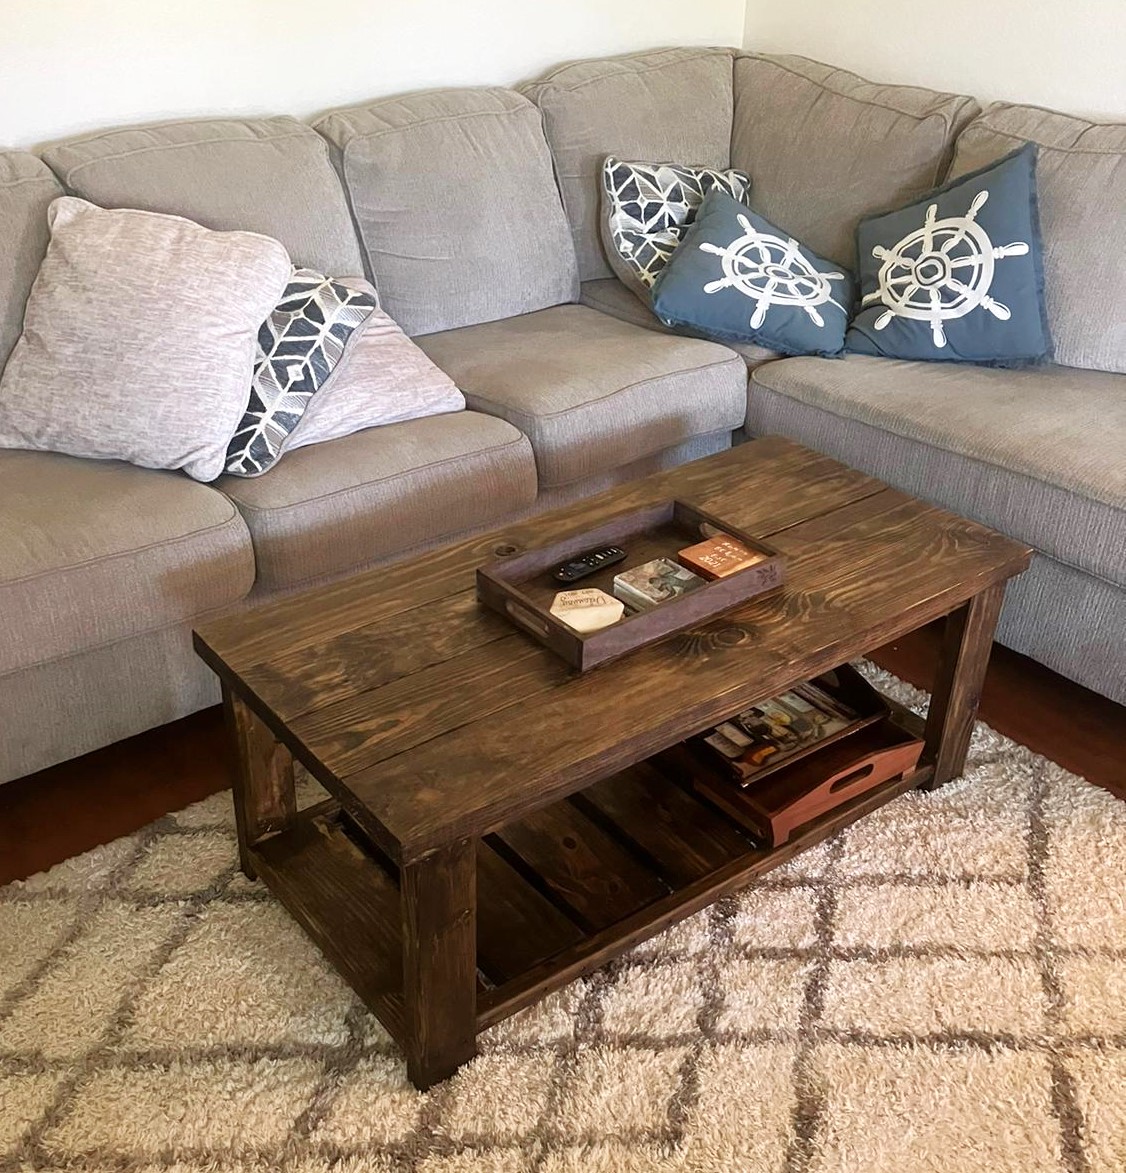
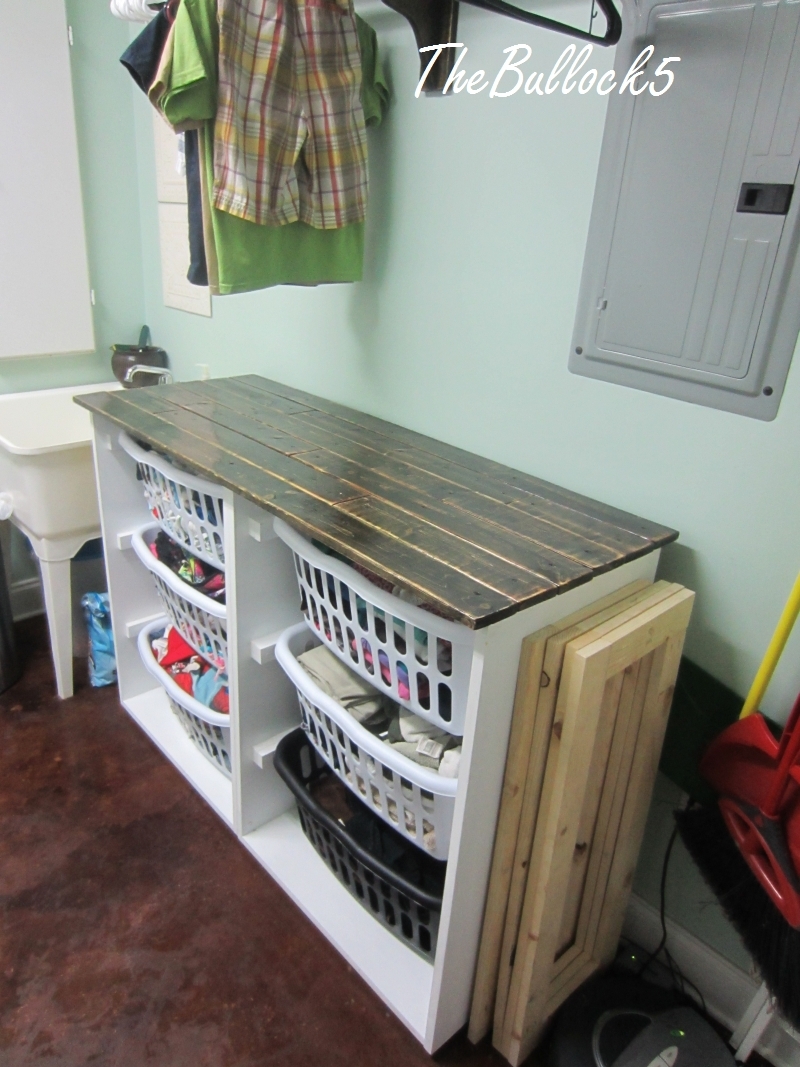
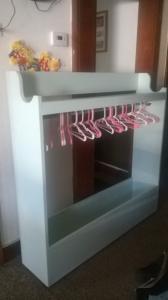
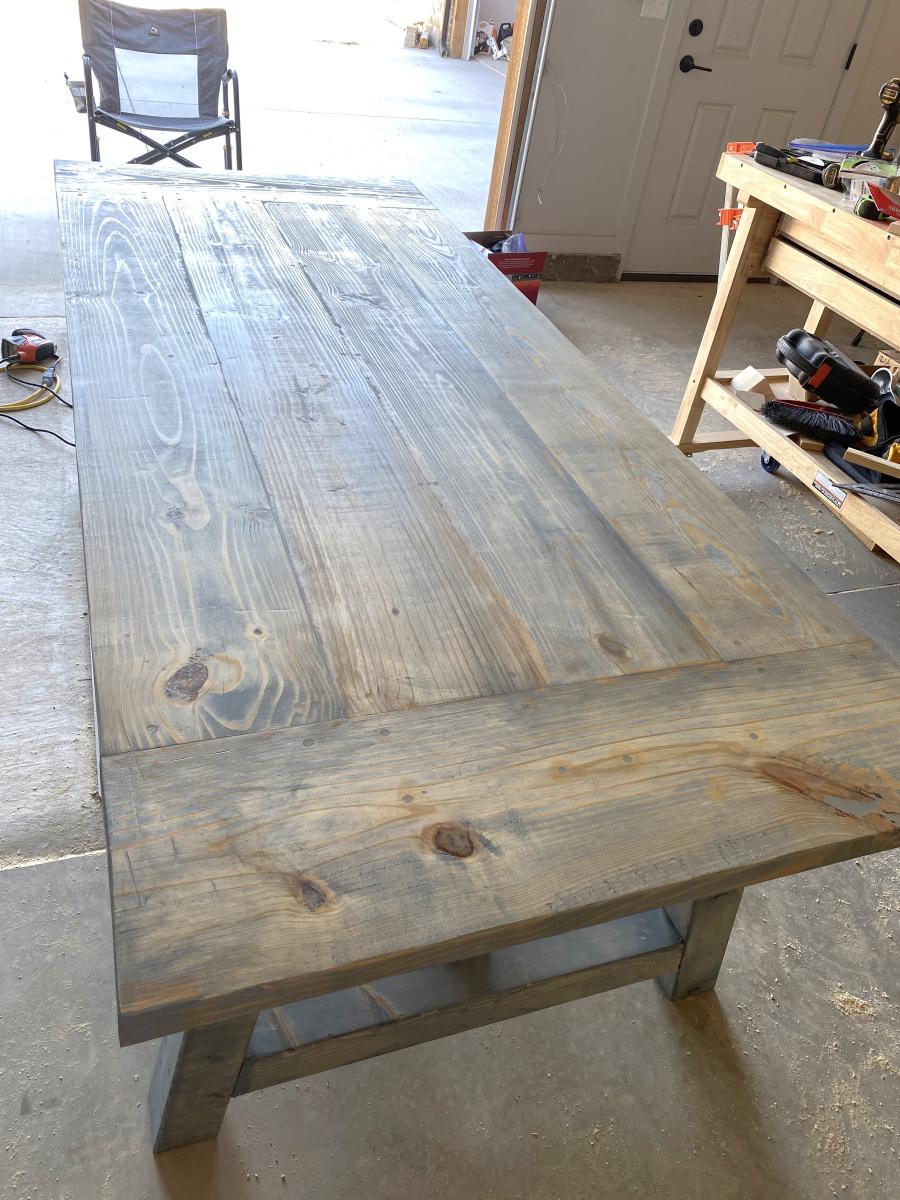
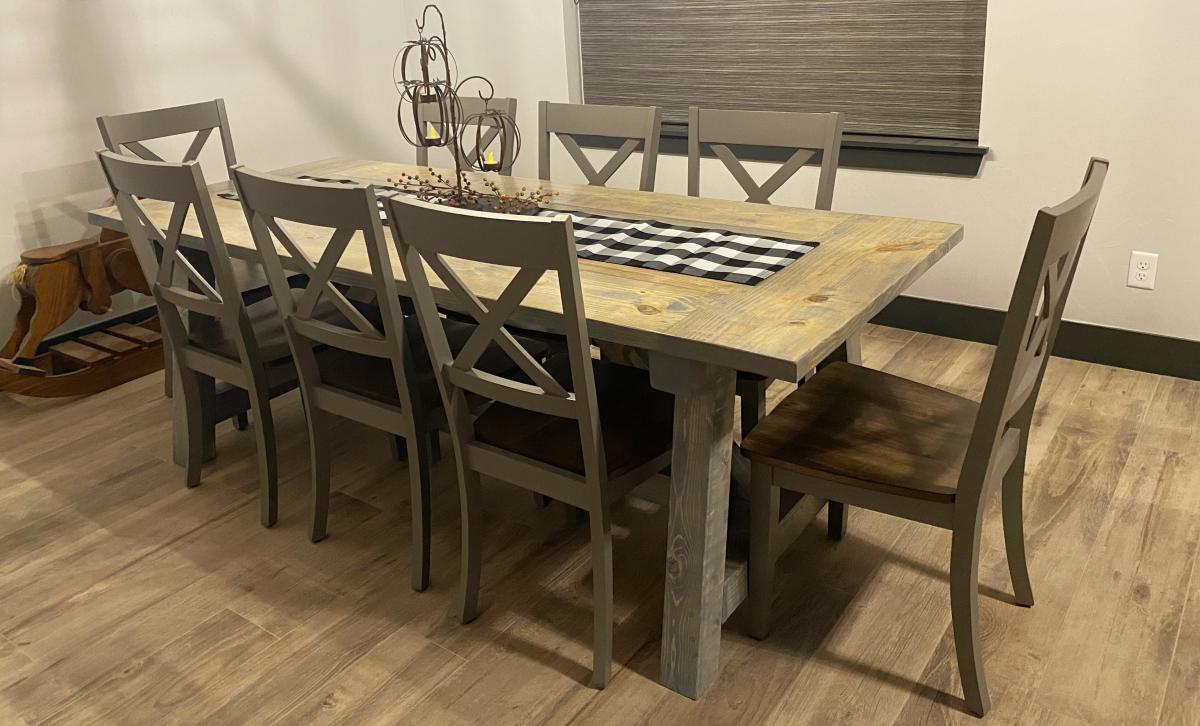
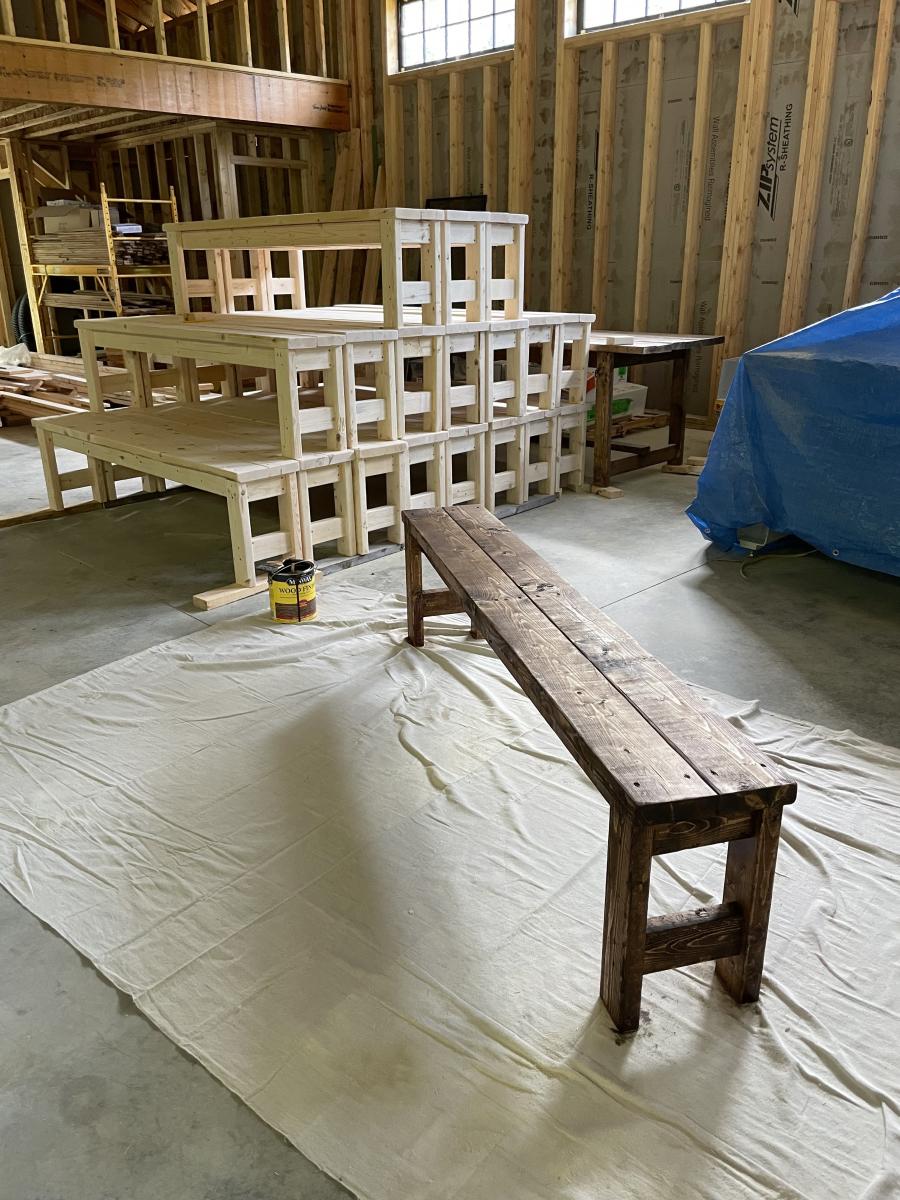
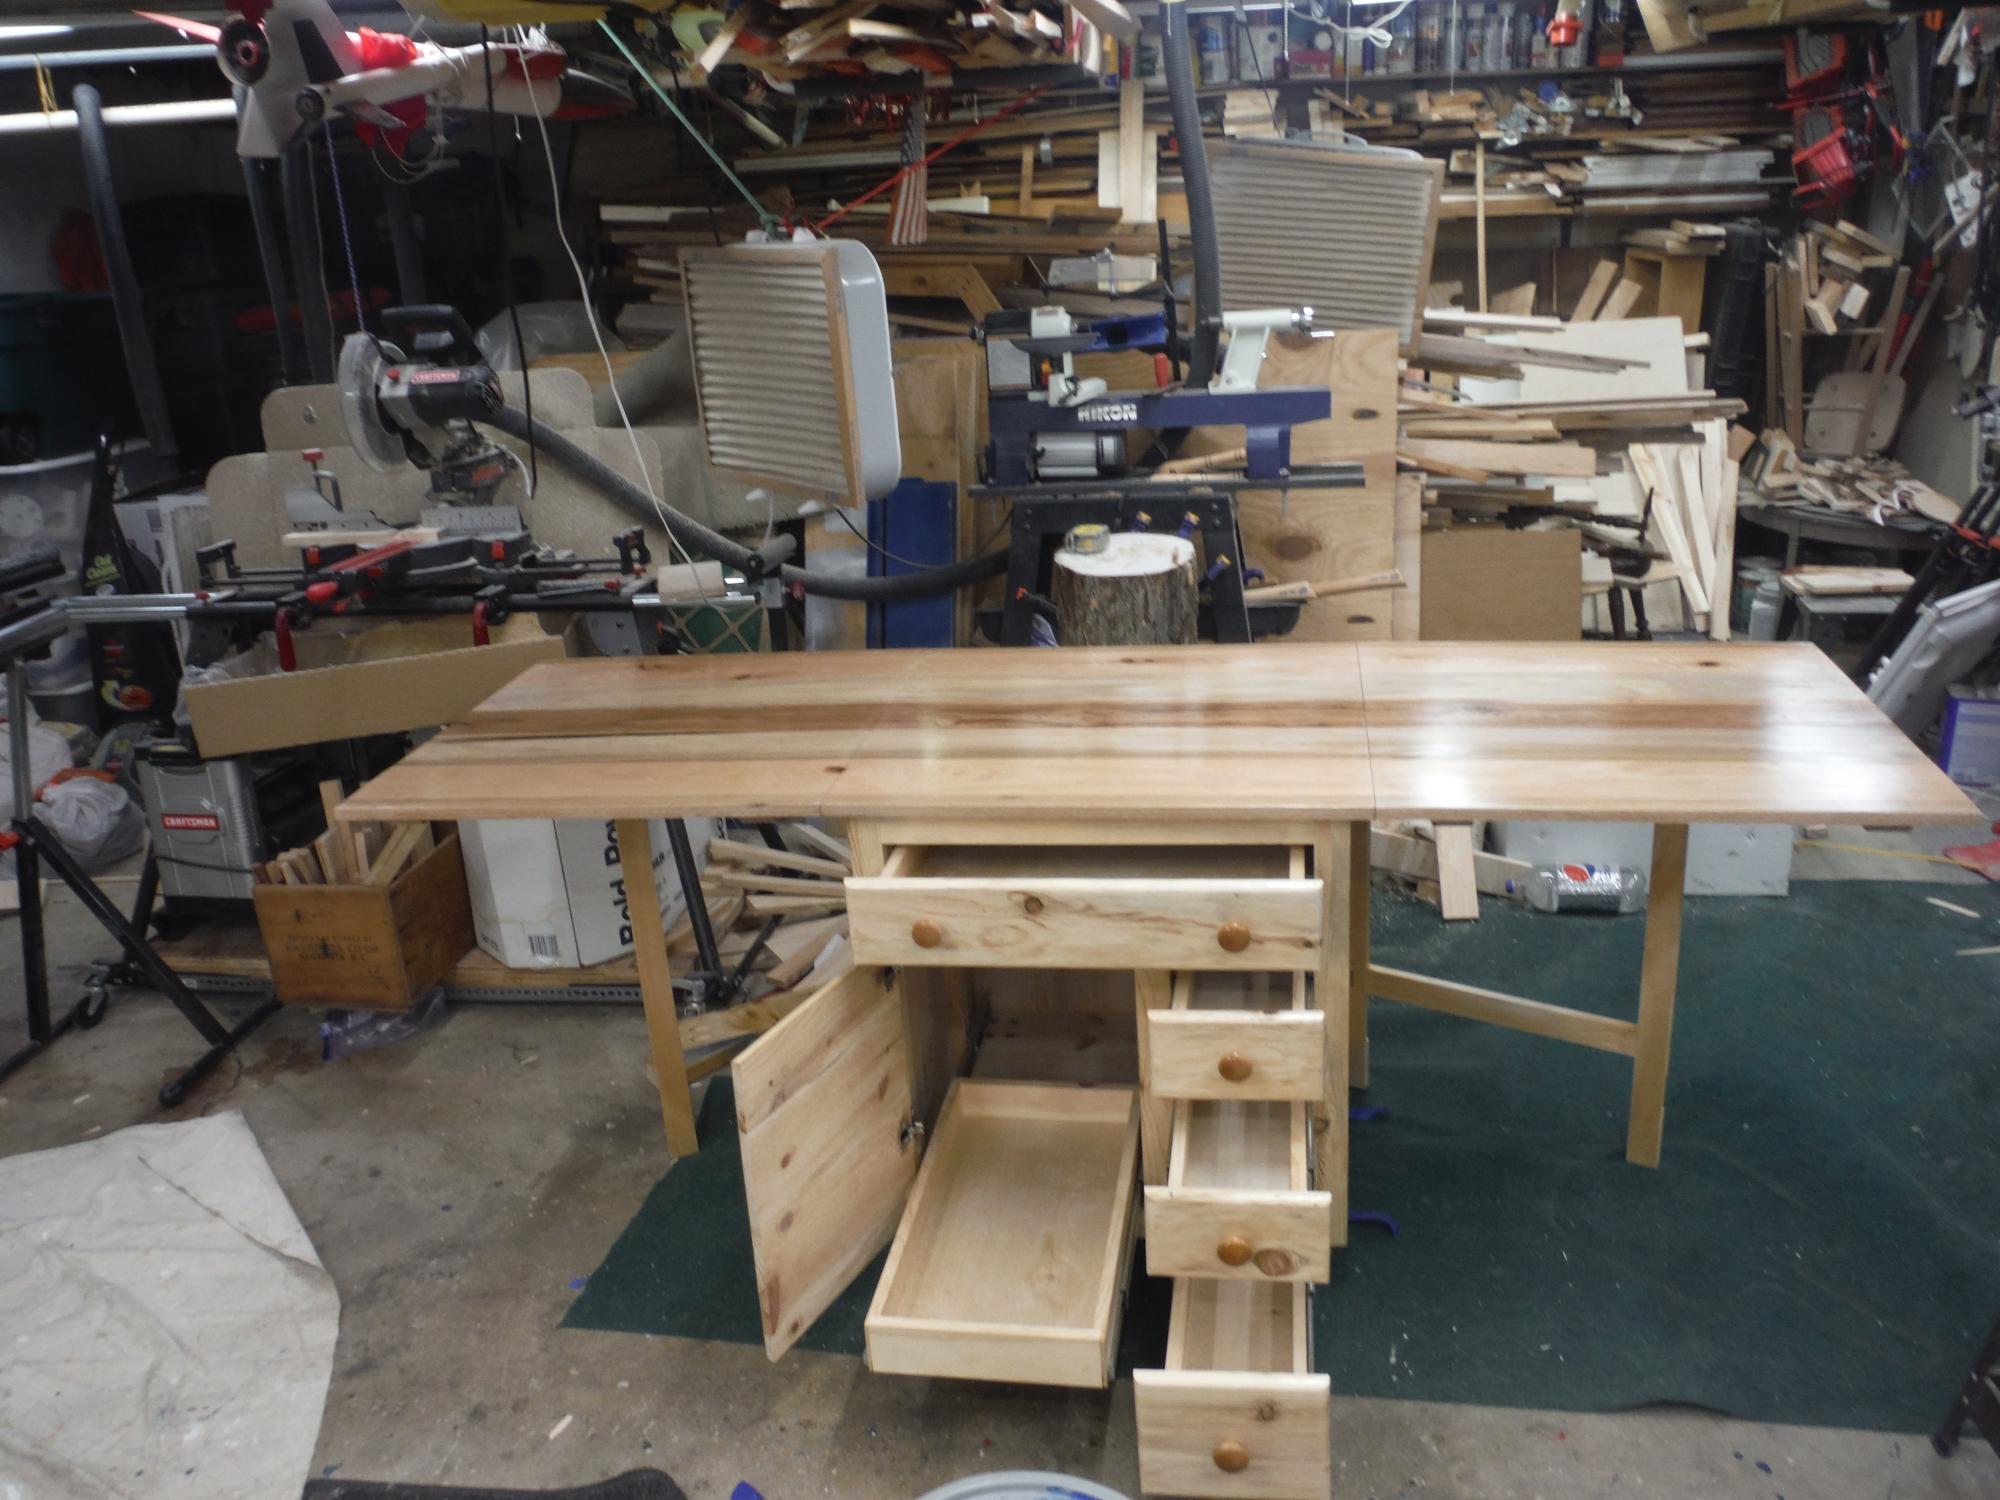
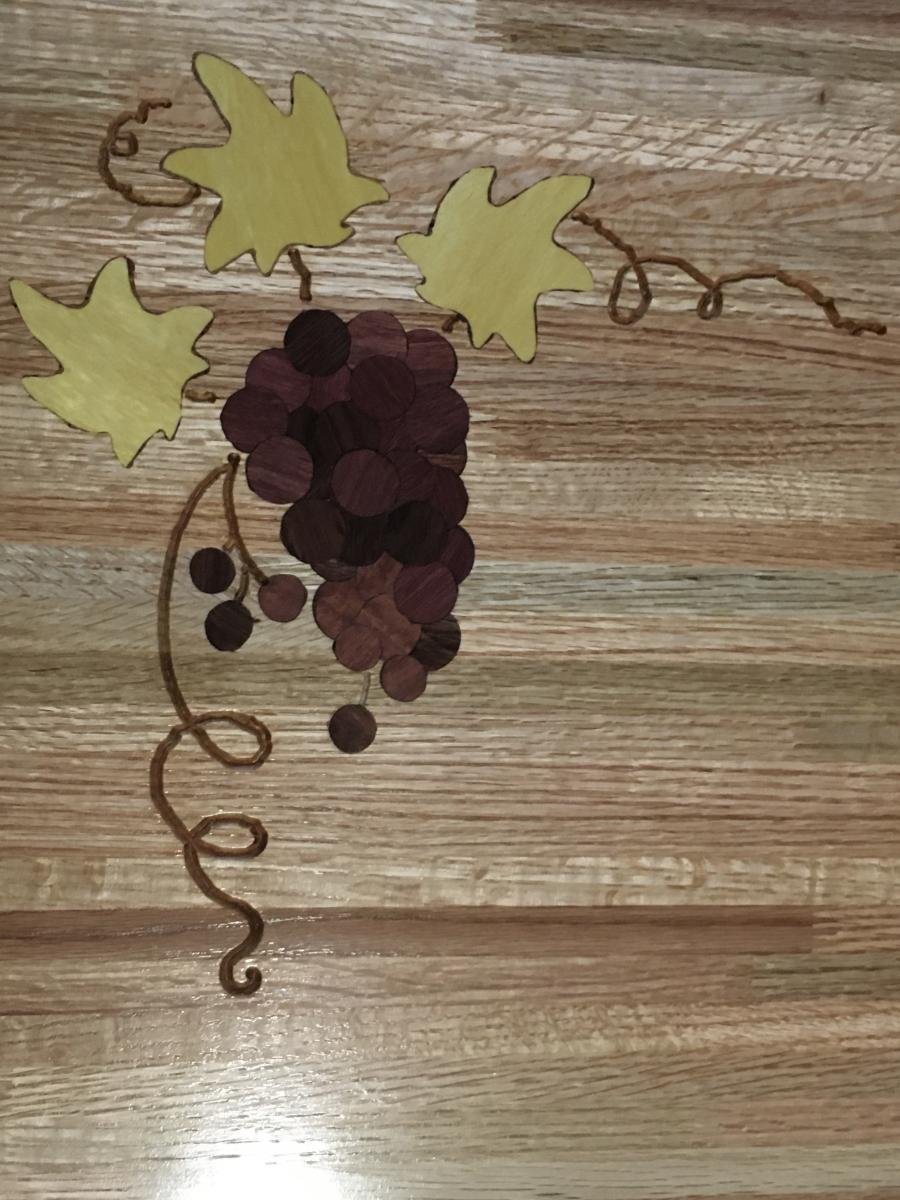
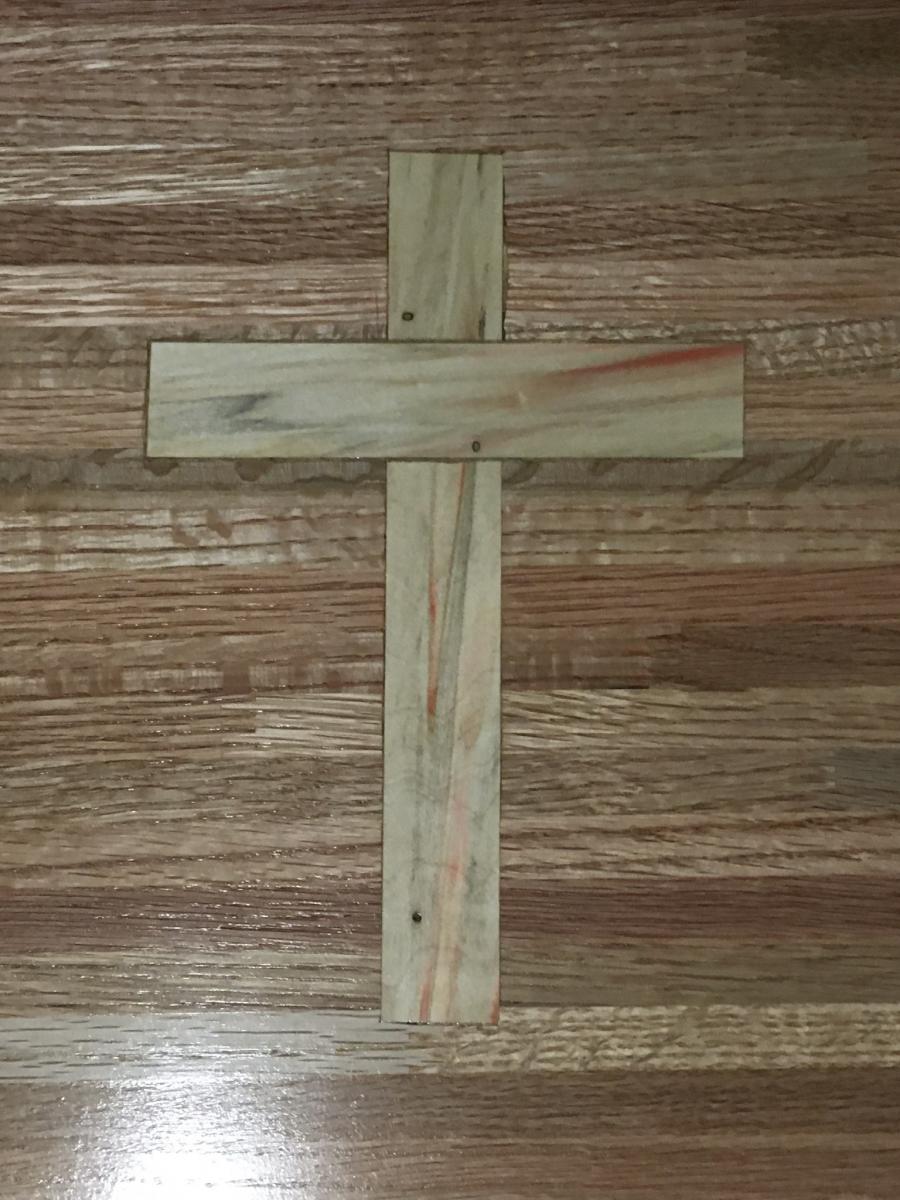
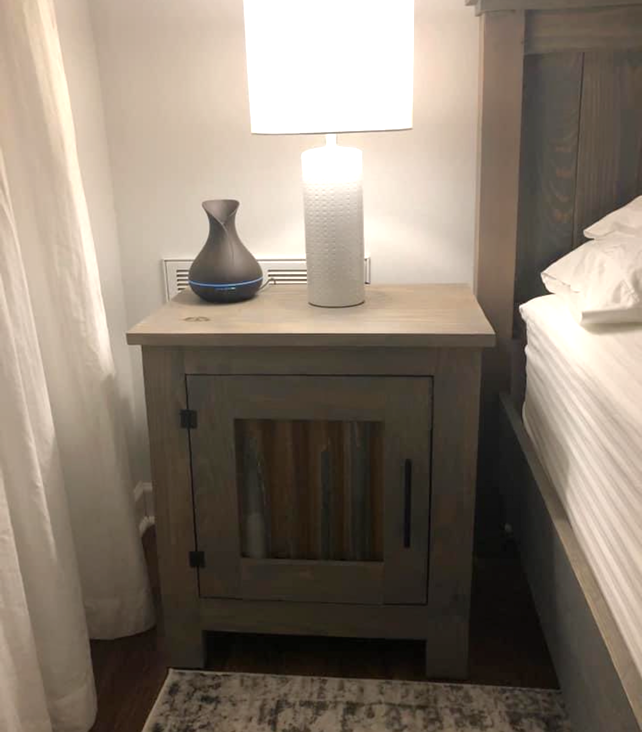
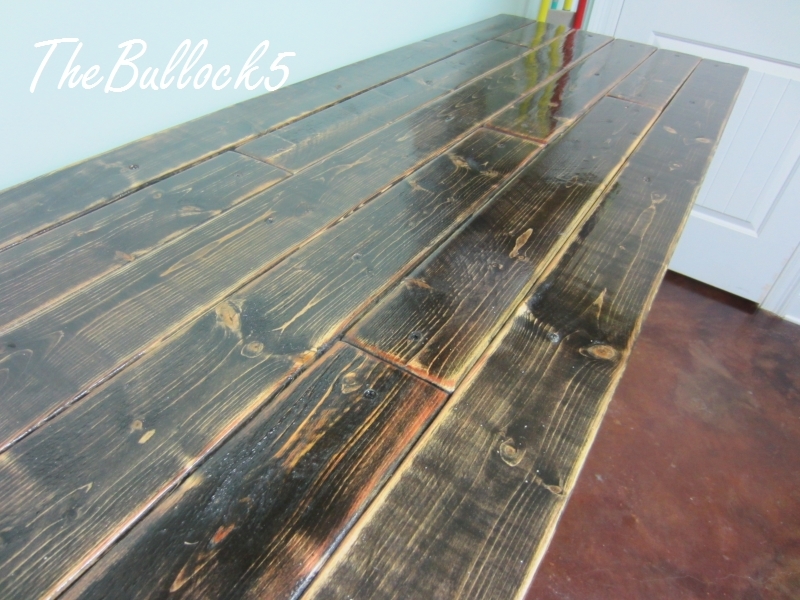
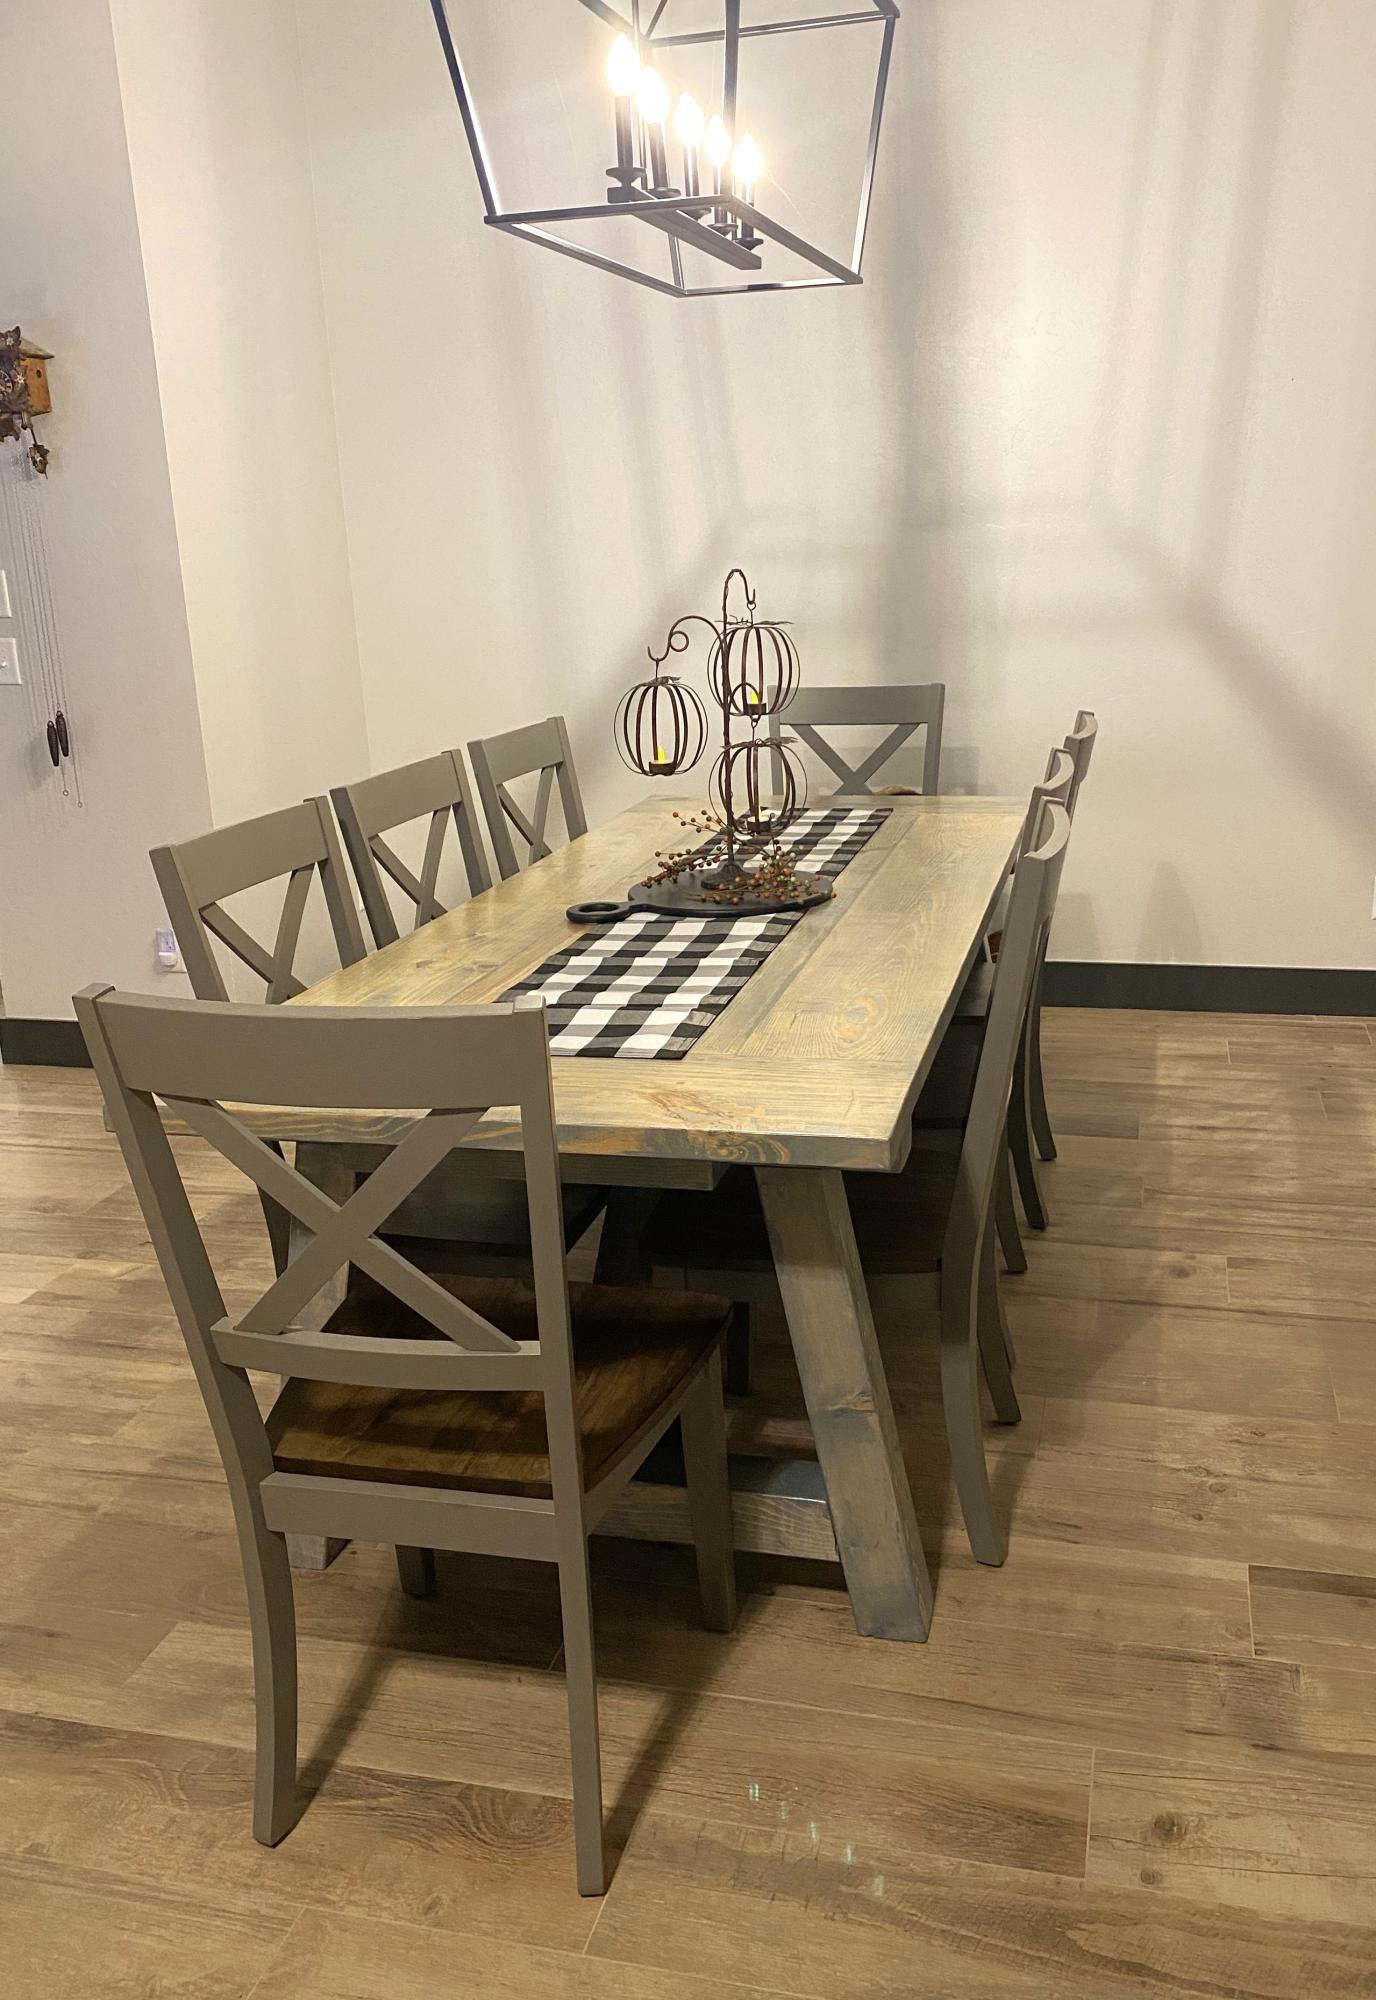
Community Brag Posts

Coffee Table

Submitted by Bunnie1978 on Sun, 03/25/2012 - 20:58

This is my second build. I used the Benchright plan but had to modify it for one drawer. The Dimensions are 39 long, 25 wide, and 19 tall. I have heard others comment on how difficult drawers are. I thought I would just jump in head first with the kind of drawer that closes flush with the rest of the table - really had some trouble with making it square. I ended up shimming the face onto to the drawer because even though it opens and closes smoothly, it isn't square with the rest of the table...

I had originally planned to make the 20 second tidy up table for my living room and begun purchasing materials. However, I was let go from my job last Sunday, so changed my plans. I took inventory of all the supplies and materials I had on hand and tried to find a plan that would not require any more spending to build... to sell... to pay rent.... and thus the new table was born. And I love it. And I hate to sell it.

I tried to copy the finish on the 20 second tidy up table, and this is how it ended up. I used Minwax Golden Pecan for the base color and Red Oak for the accent color. The colors got a little blended together through the staining process. I really love how it turned out though because it's a nice warm color. The only thing I don't like is the grain in the pine didn't take much if any color, so it's still a bit yellow, which seems slightly out of place when I look at it. I think it will darken with age and look a little better. Otherwise, this was a super fun project!!

Estimated Time Investment
Week Long Project (20 Hours or More)
Finish Used
Minwax Golden Pecan, and Red Oak. Followed by several coats of semi-gloss poly. Final coat was spray on.
Recommended Skill Level
Advanced

Comments

Bunnie1978

Tue, 03/27/2012 - 06:09

I will try to do that this weekend... if I can find some money to get stain with. Hehe. I think it would look really great stained with the same method that Ana used on the 20 second tidy up table... rubbing the edges with a darker color... I love that look.

Guest (not verified)

Tue, 04/10/2012 - 04:58

This is awesome! I love it. You did a great job. Do you by any chance have the construction process on this? I would love to try it for my "first" project!! thank you.

Farmhouse King Bed Frame

Since developing a love for woodworking I’ve began building things for other people. This particular bed frame I built for a couple who are rebuilding their home after it unfortunately burned down. It’s a beautiful farmhouse home out in the country, and this bed frame fits perfectly in their new home.

Estimated Cost
$250
Estimated Time Investment
Weekend Project (10-20 Hours)
Finish Used
I used minwax pre-stain to prepare the wood. I then stained it using special walnut by Varathane (got it from The Home Depot). Finally, I finished it using a clear satin polyurethane by Minwax.
Recommended Skill Level
Beginner

Rough Sawn Spruce Dining Table!

Submitted by Anonymous (not verified) on Mon, 09/18/2023 - 09:01

This was really fun! Actually used Spruce from a tree on my property that I had cut down and taken to a Saw Mill 6 Years ago. Been in the barn drying. The rough sawn boards were only 1.25 thick after the planer I could only maintain 1.00”. Extended the length of the table to 10’. Decided to reverse the underneath support angled boards to add support to the center of the table due to the added length and only 1” thick boards. Used biscuit joints to add strength and alignment. We love it at the lake home!


Matt Menges

Built from Plan(s)

new photo ledges - only a few months late!

Submitted by tannisg on Thu, 04/19/2012 - 19:13

I know there are a hundred brag posts of the $10 ledges, and I have used them before (and posted them) but I am so happy with how these turned out!

Its too bad I don't have a good before picture, because the things I love most about these are the colors and the interchangability and it would be easier to explain with the before picture!

I have had pictures in cute matching frames on the one wall for years, but the frames were too light for the wall color, and the floor and furniture, so I needed to darken them up. Additionally, we got a black tv stand even though the floor and couches are dark brown. (TV is black, so it works) So I made the shelves black to pull that in. Then on the shelves closer to the tv, I used black and silver frames, and on the ones above the brown couch I painted all my light wood frames darker.

As for the interchangability, its a lot easier to pull the frames down and change the picture when you don't have to worry about how they look together - I can just move them around on the shelf. I've always had a hard time getting a "gallery" look just right - something will always hang lower than I want or whatever. So I finally got it perfect with one 10x13 of the kids together in the middle of 4 8x10s (one of each) and a few little ones to mix in. Then we had to go and have #5 and mess my whole system up! :)

So he's 16 months now and his picture is finally on the wall, and was taken last May - so sad..

But my other set of shelves has pictures of everybody - even me, yikes! I decided they look better full so I used all the frames I had, and got some cheap ones and thrift store frames and put them all together. "controlled chaos" just like the rest of the house/life!

Thanks Ana for giving me the confidence to know that I can make it myself, I never would have gone out and spent the money to buy matching frames, but knowing I could just do it myself I was able to get it done for cheap!

Built from Plan(s)
Estimated Cost
$50 including some new frames and paint
Estimated Time Investment
Afternoon Project (3-6 Hours)
Finish Used
black spray paint, brown spray paint on the frames, some silver too
Recommended Skill Level
Starter Project

First Project Ever

This was the first thing me and the hubby ever built. We had lots of fun and even got the kids involved. Pretty sure we got the building bug now! Thanks Ana for inspiring families to build better lifestyles one board at a time. :)

Built from Plan(s)
Estimated Time Investment
Day Project (6-9 Hours)
Finish Used
American Accents Colonial Red
Recommended Skill Level
Starter Project

Door spice rack

Submitted by Anonymous (not verified) on Fri, 06/10/2016 - 18:02

love Ana!  We moved from the city to a late 1800's Victorian farm house with no closets, no basement, no storage!  This was a great Woodshop 101 project for my husband and me, and gave us extra space in the kitchen. Can't wait to do another Ana project. 

Built from Plan(s)
Estimated Time Investment
Afternoon Project (3-6 Hours)
Finish Used
A mix of paint and water-base poly
Recommended Skill Level
Starter Project

Comments

Simple Bed Twin

Submitted by GMWW on Mon, 05/28/2012 - 19:22

Total cost was under $200. The wood was a combination of select pine, Douglas fir. I used Minwax clear finish. Instead of slats I used plywood. This is going into the spare bedroom. We are quite pleased.

Built from Plan(s)
Estimated Cost
$200.
Estimated Time Investment
Weekend Project (10-20 Hours)
Finish Used
Minwax wood conditioner and Minwax clear Polyurethane fast drying.
Recommended Skill Level
Intermediate

Comments

GMWW

Fri, 06/01/2012 - 20:45

Yes it comes apart. A total of four pieces. Headboard, footboard, and the two sides. Also a fith piece if you count the plywood base for the mattress. The sides are screwed in at each of the corners of the head and footboards.

PSUlion01

Mon, 05/12/2014 - 19:01

Thinking of building this for my son as we move from crib to bed. Just curious how sturdy and strong the bed is? From the pictures it doesn't look like there's much wood where the rails attach to the head and footboard. Did you use pocket holes and screws? Any comments on how it's held up, what you might do differently? Also any idea if it'll hold a kid and parent for nightly story time?

Thanks...nice work!

GMWW

Wed, 05/14/2014 - 15:22

It is in our guest room and does not get much use. However, it is screwed in at the corners not with pocket screws because the rails were too close to the edges. I chose to screw them in starting farther back and at a 45 degree angle to send the screw deeper towards the center of the four posts. It is very strong. Another suggestion would to purchase bed hardware. Hardware can be found online or in a hardware stores for attaching rails to bed posts. I've used such hardware for fixing commercial beds I've purchased.

Hope this helps.

ShaunSmith

Sun, 11/02/2014 - 08:26

You did a beautiful job of making that bed. Any chance you could tell me where you put all the screws?  We have a Kreg Jig but are completely stuck on where to put the screws in without seeing them (because we'd like to stain).

GMWW

Tue, 01/20/2015 - 15:25

Sorry it took so long to answer. Where I put the screws depended on how the bed was going to be placed in the room. In our case, the headboard was going to up against a wall. Therefore the screws were on the wall side of the headboard. The footboard of the bed had the screws on the mattress side. Kreg sells pocket hole plugs that work very well. Glue them in after you screw the head and foot boards together and sand them before finishing.

The sides of the bed that are attached to the head and foot boards and screwed in too. I had to screw them in at a sharper angle to get enough sideboard material but deep enough into the head and foot boards in. Use the longest screws possible for strength without going all the way through the four corner posts.

GMWW

Tue, 01/20/2015 - 15:37

Sorry I had to take a look again at the underside of the bed. I actually used the pocket hole screws on the sideboard to attached to the foot and headboards cross pieces if that helps.

GMWW

Tue, 01/20/2015 - 15:50

Either way described above will work. See added photos of plugged finished pocket holes and underside attachment to foot-board.

Sandbox with Seats

I built this sandbox for my kiddo's because we have cats! It was great. Easy to build, great plans for it.

Built from Plan(s)
Estimated Cost
$50 CAD
Estimated Time Investment
Afternoon Project (3-6 Hours)
Finish Used
Minwax 2-in-1 in Natural
Recommended Skill Level
Beginner

Christmas Tree Decor

Submitted by Anonymous (not verified) on Sat, 11/18/2023 - 13:03

I made four of these wood Christmas trees from Ana White pattern. I am polished them by adding a cup hook at the top hanging a Christmas ornament and then gluing on these cute little presents. I gave them to each of my four grown children and their spouses.

Beth Belflower

Seasonal And Holiday

2x4 Outdoor Sectional Sofa

Submitted by lknolan2 on Sat, 04/18/2020 - 20:19

Great Plan! Loved how easy it was to build and how little the cost was.

Estimated Cost
$200
Estimated Time Investment
Afternoon Project (3-6 Hours)
Finish Used
Outdoor deck stain by Valspar in Canyon Brown
Recommended Skill Level
Beginner

Comments

jwood4

Sun, 08/01/2021 - 18:40

Looks amazing! What method did you use (pocket holes, dowels, deck screws, etc) to join the visible portions like the arms?

Seasonal And Holiday

Matching Stools for Kids

This was my second project from Ana White, and overall it was successful. I used a miter saw for the cuts (struggled with the bevel because my 12 inch saw isn't a slider, a kreg jig to attach everything (struggled to attach the 1x3s to the legs due to the angle of the dril and tight space), but everything eventually was held solidly together and it's really very sturdy. My husband is about 160 and he was able to jump on it with absolutely no give. 


The paint is just small samples we had on hand from home depot to coordinate with other projects in the kids' rooms, and I handpainted the letters. I finished it with a double coat of polycrylic. 

Estimated Cost
$20 total for two stools.
Estimated Time Investment
Day Project (6-9 Hours)
Finish Used
paint and polycrylic
Recommended Skill Level
Beginner

Square Farmhouse Table

From the Modern Square Farmhouse table.

Estimated Cost
Around $5
Estimated Time Investment
Afternoon Project (3-6 Hours)
Recommended Skill Level
Beginner

Comments

DIY Kids Farmhouse Desk

Submitted by Anonymous (not verified) on Mon, 01/15/2024 - 18:10

Thank you so much for your design plans for the Brookstone desk! Made it a tad smaller to fit my daughter's needs but overall kept with the same design as yours. White paint used on the bottom with an antique white stain and poly used on top.

Chad H

Built from Plan(s)
Seasonal And Holiday

Modified Simple Outdoor Dining Table

Submitted by DD5.1 on Sat, 04/26/2014 - 20:00

I didn't make any changes , his orginal design was great. Hope these pictures help others. I tried to link to the modified-simple-outdoor-dining-table but wasn't able too.

Built from Plan(s)
Estimated Cost
120
Estimated Time Investment
Weekend Project (10-20 Hours)
Finish Used
make sure you stain as you go
Recommended Skill Level
Beginner

Comments

DD5.1

Sun, 04/27/2014 - 14:06

Found the plans "modified-simple-outdoor-dining-table" and I built it. Very nice table, I posted more pcitures to help others

DD5.1

Sun, 04/27/2014 - 14:06

Found the plans "modified-simple-outdoor-dining-table" and I built it. Very nice table, I posted more pcitures to help others

Vintage Doll Cradle

Submitted by Anonymous (not verified) on Wed, 07/27/2016 - 09:59

I used leftover plywood (1/4 inch) instead, but would only recommend it, if you plan to paint the cradle (due to splintering when you make your cuts). I also used my nail gun instead of screws, which worked fine since the wood is a lot thinner and lighter. The cradle is very sturdy and my 4-year-old loves it. Thanks for the awesome plans!!

Built from Plan(s)
Estimated Time Investment
An Hour or Two (0-2 Hours)
Recommended Skill Level
Beginner

Modern Adirondack Chairs

Submitted by Anonymous (not verified) on Sat, 05/23/2020 - 21:10

Just followed the plans, and am in love with the finished look!

Estimated Cost
50
Estimated Time Investment
Afternoon Project (3-6 Hours)
Finish Used
Exterior Grade Paint/Sealer
Recommended Skill Level
Intermediate

Comments

Rustic Dining table

Submitted by Anonymous (not verified) on Sun, 08/07/2016 - 09:28

Took the plans from Ana white and made my own twist to it! Came out awesome and the person loved it that I made it for! Kona stain on table top and Navajo white on the bottom. Did the same for benches and chairs to match! Thanks for the great instructions! 

Built from Plan(s)
Estimated Time Investment
Weekend Project (10-20 Hours)
Finish Used
Kona stain and Navajo white, clear gloss poly
Recommended Skill Level
Beginner
Back