Community Brag Posts

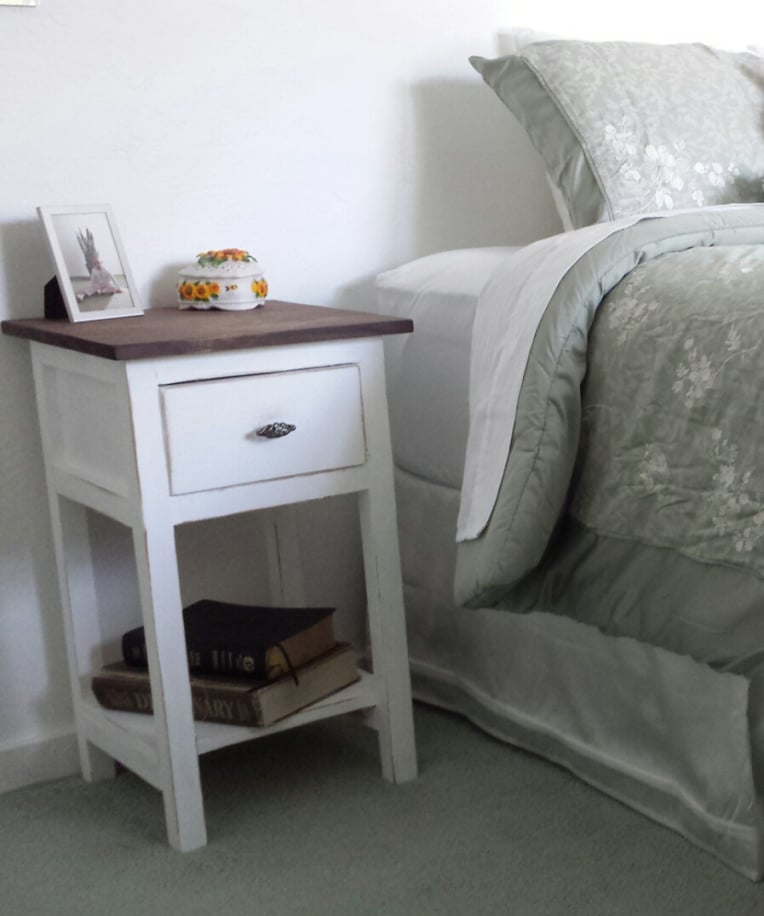
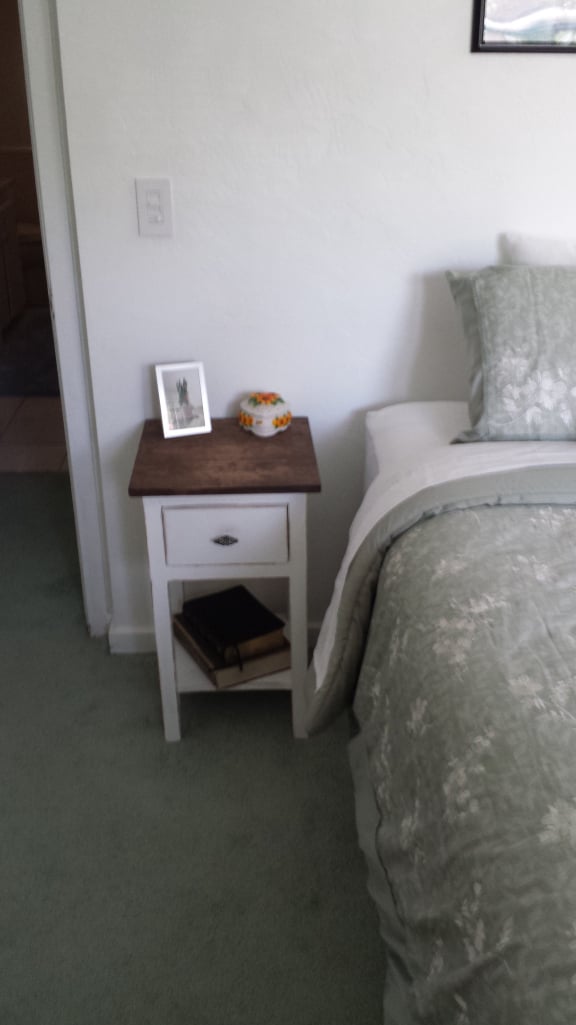
Nightstand shelves

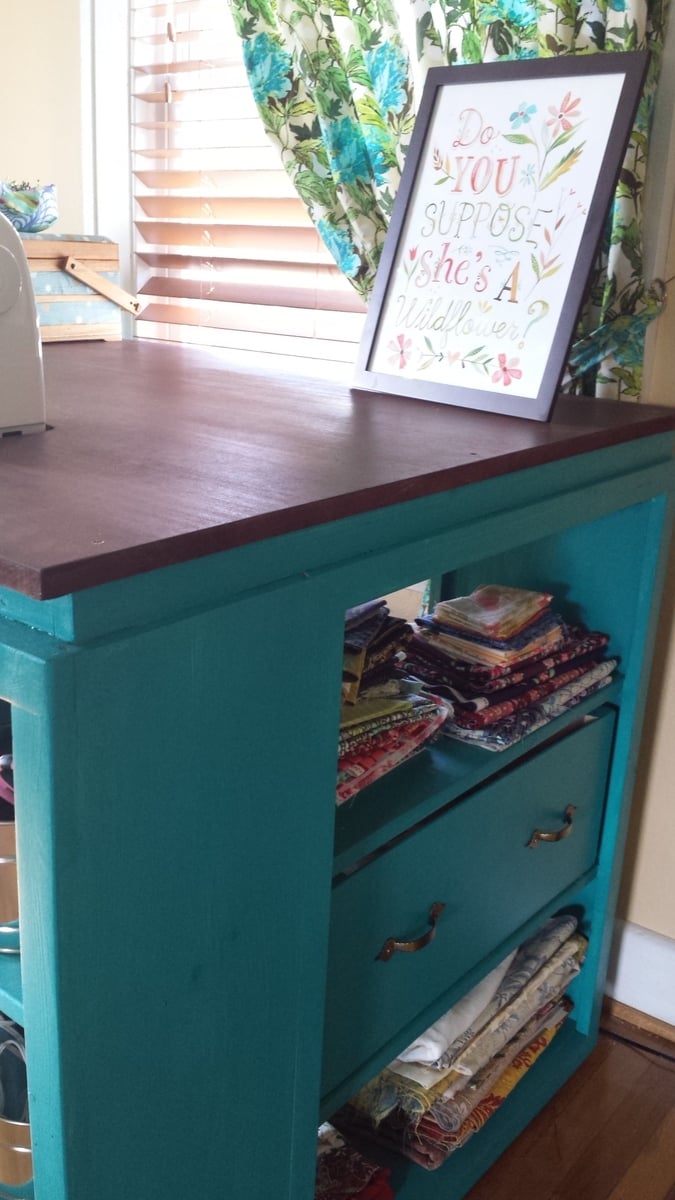
Wanted new nightstand but also wanted so shelving for pictures and stuff. Saw a picture on here and google images and decided to make it my own.

Built from Plan(s)
Estimated Cost
$80
Estimated Time Investment
Weekend Project (10-20 Hours)
Finish Used
paint is Rust-oleum Chalked (linen white). Had this from pervious project.
Stain is Minwax semi-transparent Dark Walnut
Recommended Skill Level
Intermediate

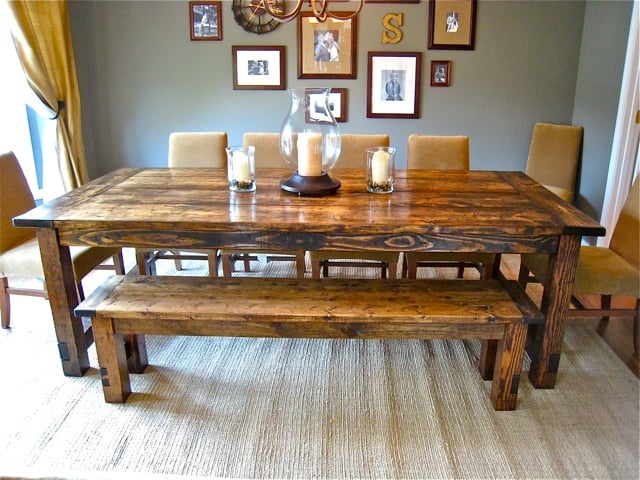
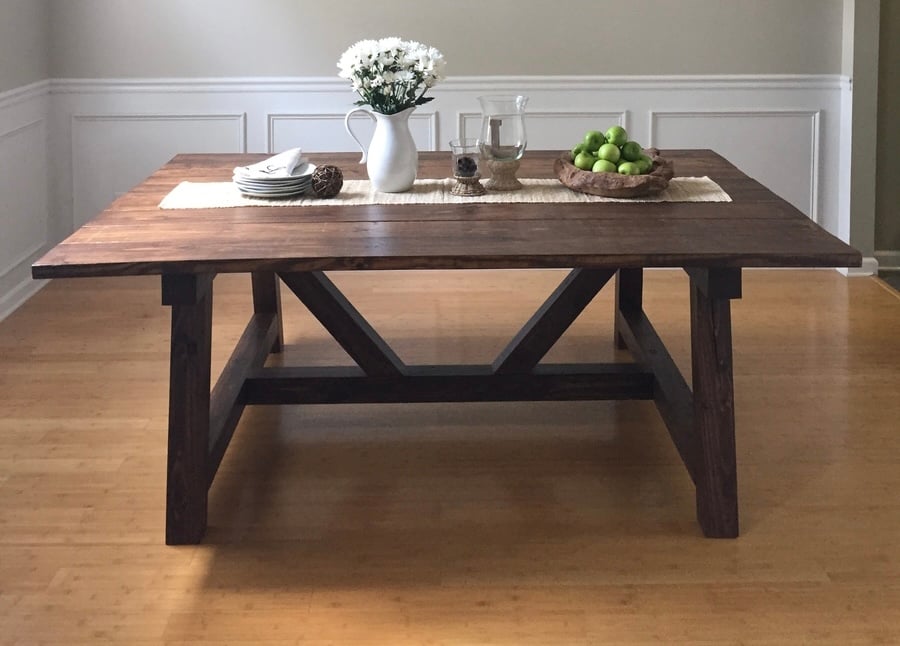
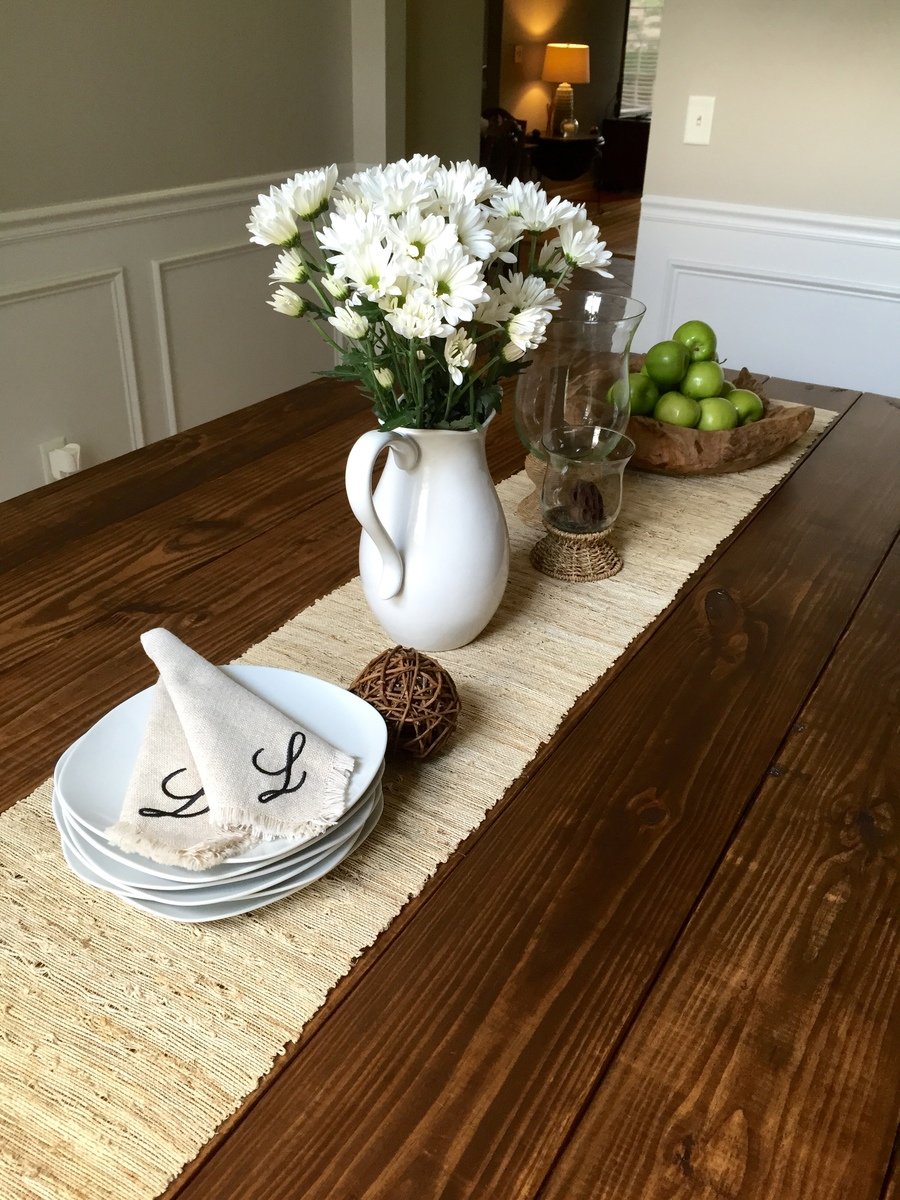
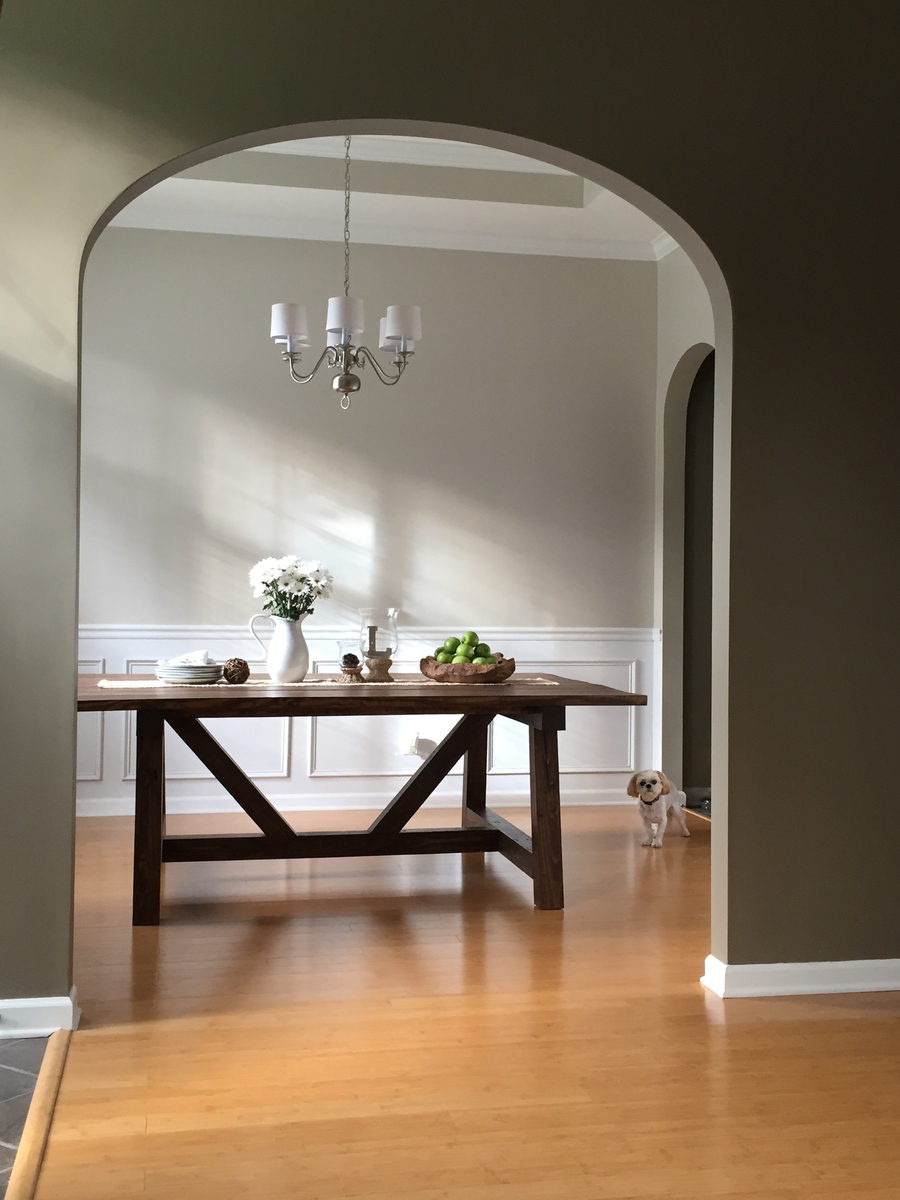
Farmhouse Dining Table

Submitted by rpecho97 on Fri, 07/10/2020 - 08:08

Wood - common pine Stain - Danish Watco Oil Light Walnut - 4 coats Top of table Sealed - Minwax Polyurethane Clear Satin - 2 coats Legs painted with Rust-Oleum Chalked Charcoal - 2 coats

Estimated Cost
$50 lumber
$50 stain, seal, paint
Estimated Time Investment
Weekend Project (10-20 Hours)
Finish Used
Danish Watco Oil with topcoat Minwax Polyurethane Clear Satin
Recommended Skill Level
Starter Project

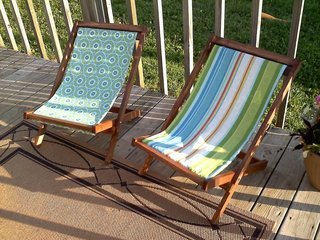
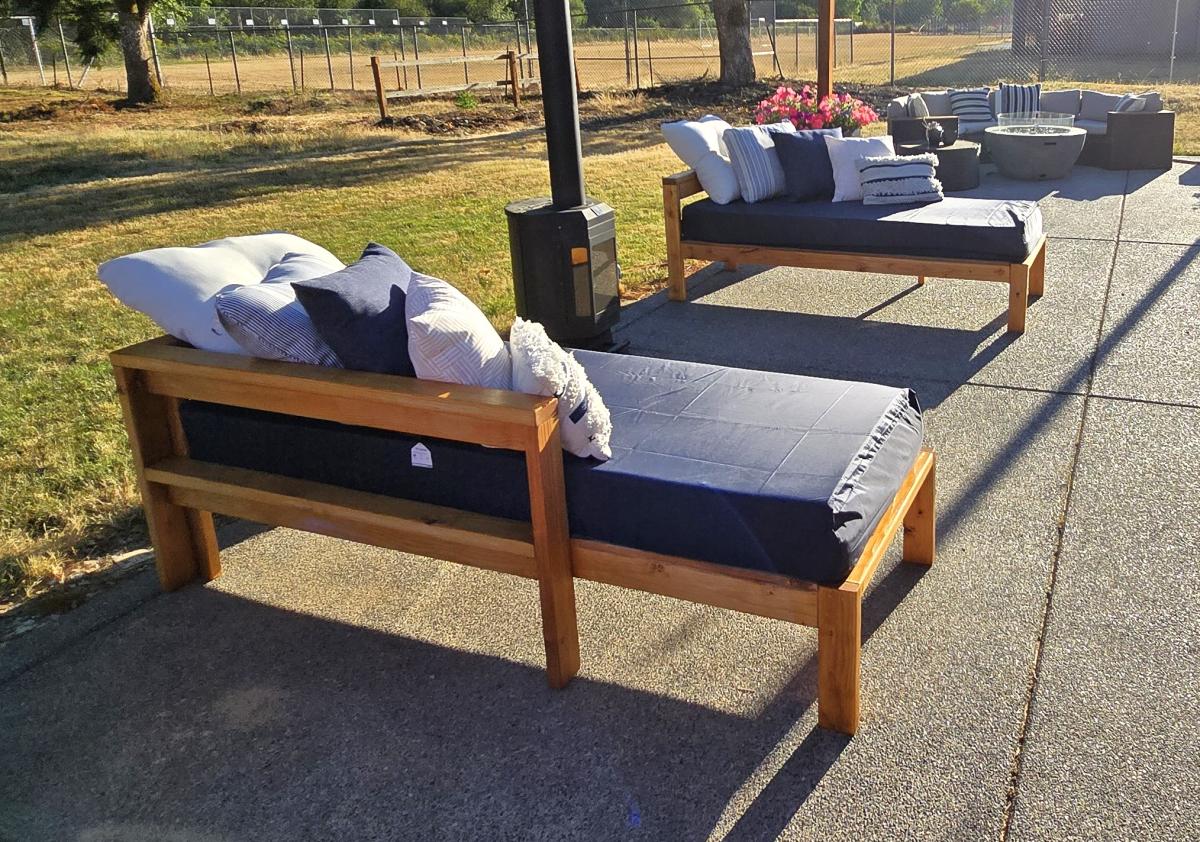
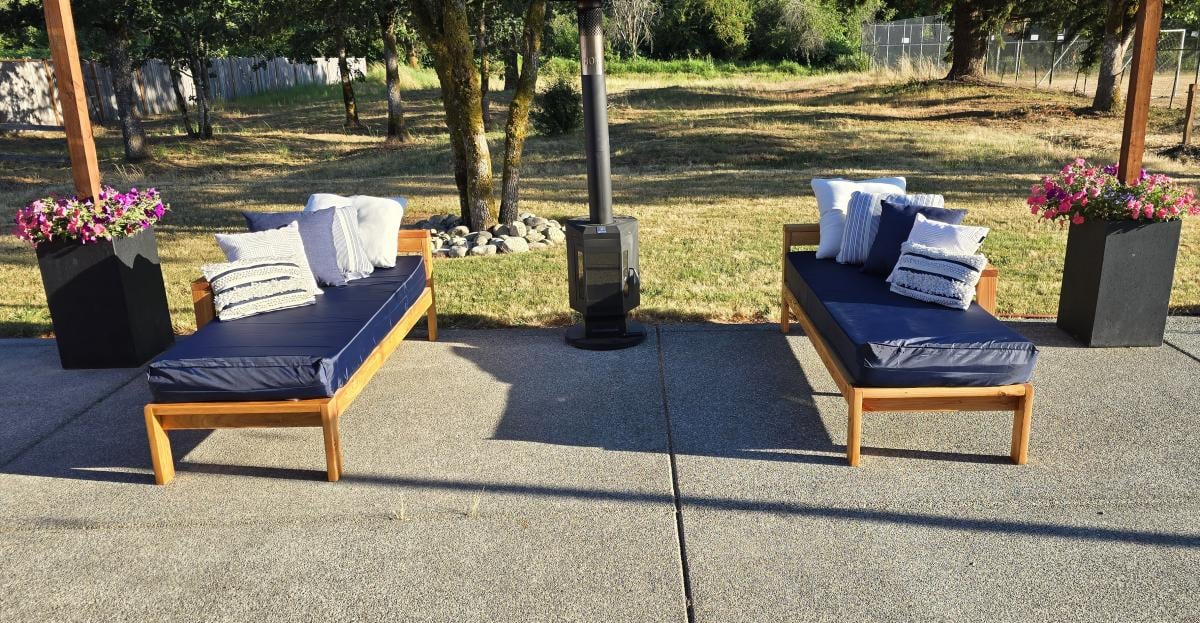
DIY Outdoor Furniture

Submitted by Anonymous (not verified) on Mon, 07/15/2024 - 12:30

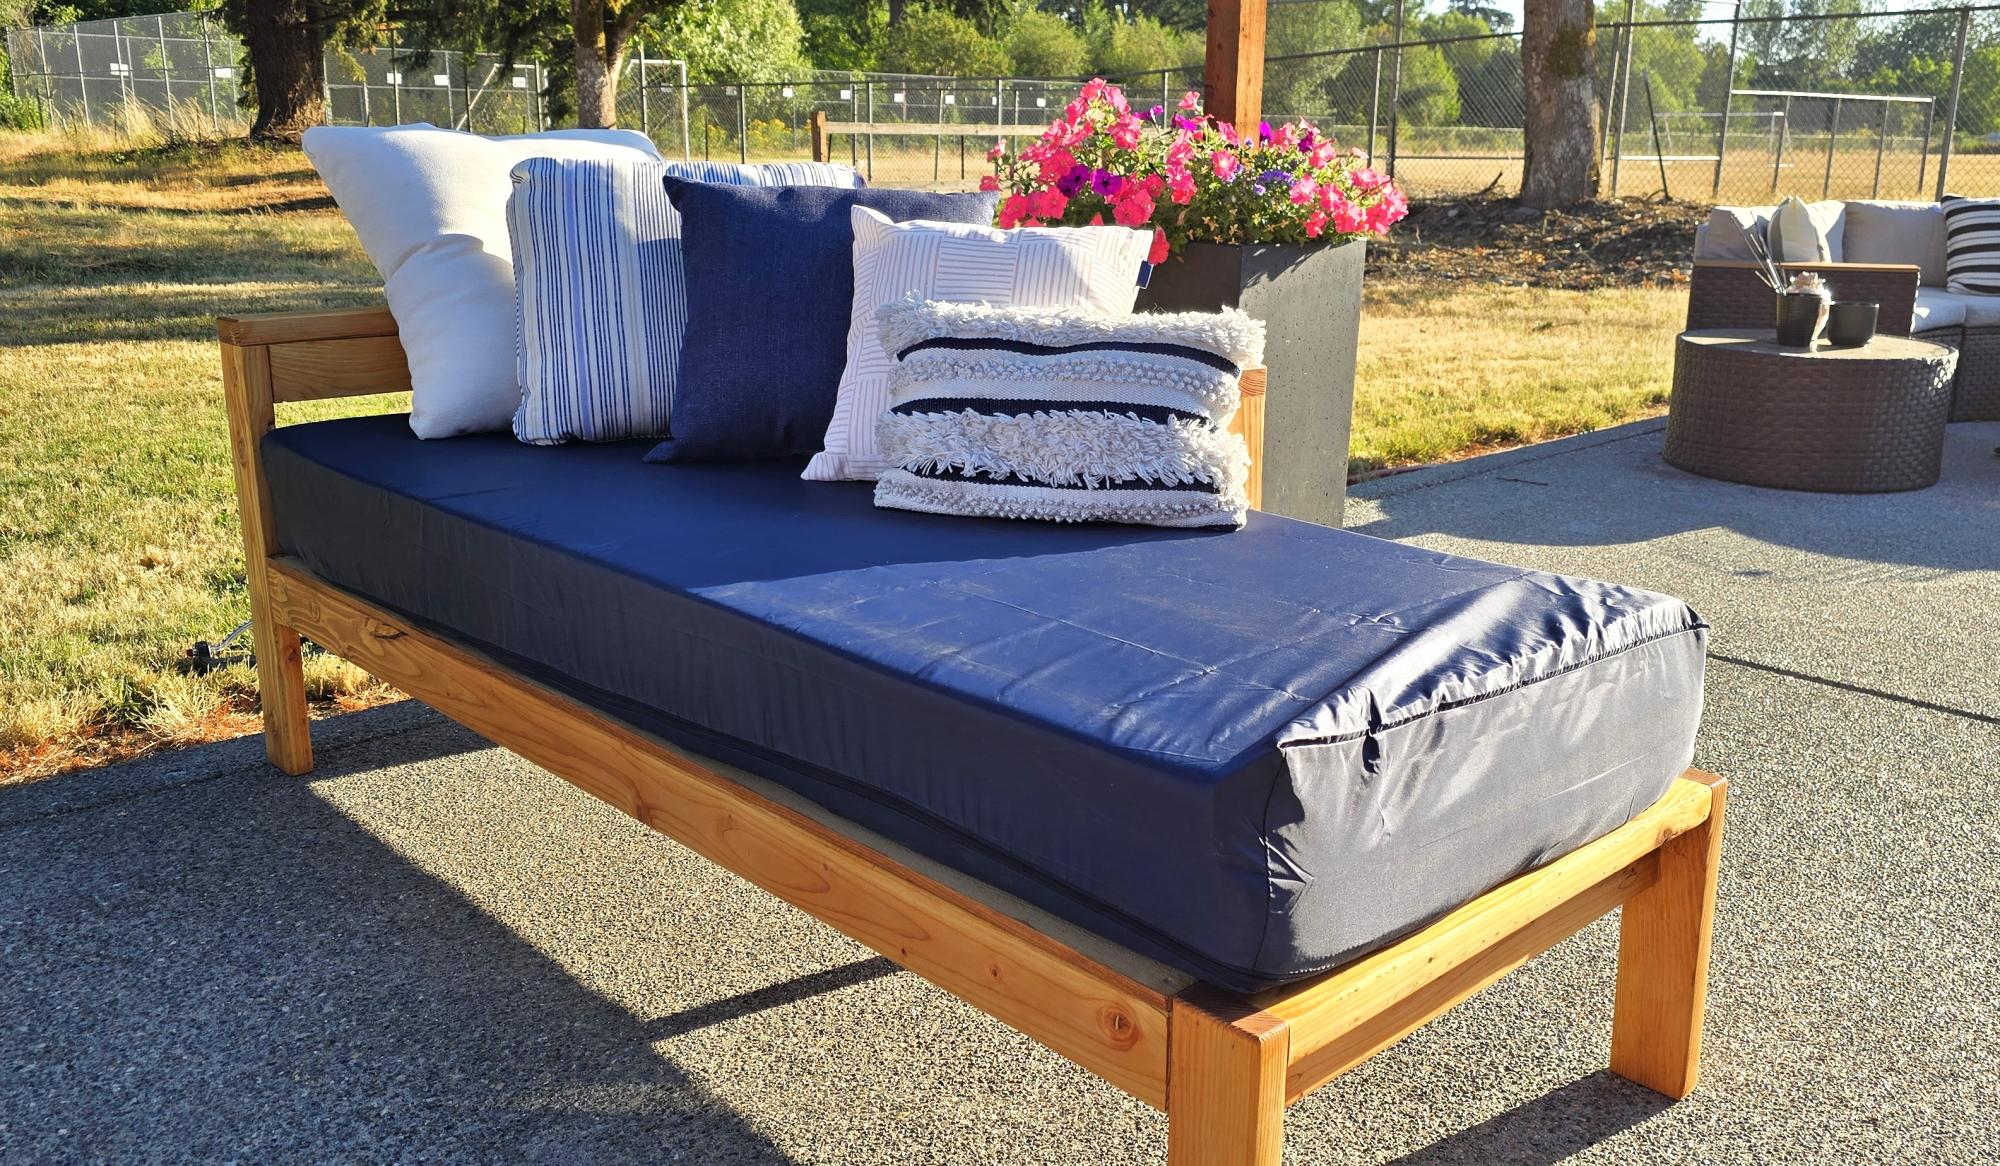
I am 64 years old living in South Africa and recently taken to woodworking. Converted my garage to a workshop and thoroughly enjoying it. Wife want to move my bed to the garage now. Lol.

Ana White's plan on the her website was easy to follow. Something I learnt in my short time in woodworking, your project doesn't have to be 100% perfect. As long as you happy with the end result that what counts. Thank you Ana White. I enjoy your website for making easy for us rookies.

Farhad Coovadia

Seasonal And Holiday

Modern Adirondack Chair, Super Sized

Submitted by Anonymous (not verified) on Fri, 08/21/2020 - 10:39

Am a big fan of Ana's work, and have used several of her plans in prior builds including the more traditional Adirondack chairs. Those stayed with my old house, and I wanted something different for my new house. Really liked her Modern Adirondack design with the floating arm rest. However, plans are like recipes to me--a guideline. I wanted the back boards to run up and down, and I am a bit more robust than the lovely and petite Ms. White, so they would need to be wider after I built the first one at 19 1/2" wide per plan. The next three I made 22" wide and that worked well without throwing off the geometry and angles of the other parts. Since I ran the backboards up and down, I needed some cross beams for stability and to give an attachment point for the middle of the boards. Cut some 2x4s at 15" wide, drilled pocket holes in both ends, and attached in between the back supports with the pockets facing up to be hidden by the back boards. All of the 2x4s were leftover cut-offs from the houses being built in my neighborhood. Since the frames were free, I splurged and went with cedar boards for the backs and bottoms. With the wider frames, I had to use 1x12s ripped down to 10 3/4" to get the right look (about a board's width in between). Needed some color, so I painted the frames Teal Seaglass from Menards. Cedar was stained with a natural deck stain from Sherwin Williams. I experimented with salt paint (mixing unsanded grout with the paint) to give a heavily textured and weathered finish but this was unecessary--the wood was distressed enough and I am a terrible painter. It also toned down the color so I skipped that step and just went with 2 coats of plain paint. It looks like outdoor furniture should up close. As always, am pleased with Ana's plans. Thank you for doing all the hard work!

Estimated Cost
about $200 for all 4 chairs due to cedar and paint
Estimated Time Investment
Weekend Project (10-20 Hours)
Finish Used
Paint - Pittsburgh matte exterior with Dutch Boy coloring Teal Seaglass
Stain - Sherwin Williams Superdeck stain, Natural finish
Recommended Skill Level
Starter Project

Comments

Seasonal And Holiday

Stain & Paint Finish

Submitted by ajstormy85 on Sun, 08/24/2014 - 18:19

Did the multi-finish on the step stool. On the steps, I used the Minwax Pre-Stain Conditioner, followed by Minwax 'Early American' stain and then Minwax clear gloss polyurethane. The rest of the stool was painted with DIY chalk paint. The paint is 1 cup flat paint (Valspar Jungle Thicket) mixed with 1/3 cup plaster of paris and 1/3 cup water. The chalk paint portion was finished with the Minwax Finishing Paste Wax and gave the flat paint look a nice sheen.

Finish Used
Minwax products (pre-stain conditioner, Early American stain, clear gloss polyurethane; DIY chalk paint (1 cup flat paint, 1/3 cup plaster of paris, 1/3 cup water); Minwax finishing paste wax on chalk paint part
Recommended Skill Level
Beginner

Perfect End Table

Submitted by TBENNE on Fri, 11/30/2012 - 11:24

It took me longer than it would a normal because it was my first completed project. I couldn't decide if I wanted to build the top or use plywood or a project panel. I ended up building it using Aspen 1x3 for the apron and whitewood boards for the rest. I probably wouldn't buy the Aspen again. I would use whitewood for all or maybe pine. I do prefer the wider apron that the 1x3 provided.

Also, Jen from House of Wood suggested painting prior to putting the top on which was a great tip!! I stained my top after I put it on though, because I didn't want to accidentally scratch it trying to move it into place.

I glued everything and attached with pocket hole screws just for safety. One thing I learned is that wood glue does not stain, so I had to sand it down completely and sand off the glue that seeped for the final result I got.

Also, having paintable caulk is a good tip. I got a board for my lower shelf that was slightly bowed and the caulk was great to hide my beginner imperfections.

It was really easy build (keeping things square was the hardest part, but the carpet hides the small wobble I had on the cement). It looks great in our living room.

Built from Plan(s)
Estimated Cost
$30-40
Estimated Time Investment
Day Project (6-9 Hours)
Finish Used
Top: Minwax Provencial and 3 coats Minwax Water-Based Polycrylic Protective Finish in “Clear Gloss”
Base: Valspar Swiss Coffee with 1 coat of Polycrylic
Recommended Skill Level
Beginner

Tilt-Out Kitchen Trash Can Cabinet

Submitted by Fritz Lane on Sat, 10/10/2020 - 11:32

Here's my take on Ana's 'Wood Tilt-Out Trash or Recycling Cabinet.' It's made from lumber salvaged from pallets found locally. Two changes made from the original plans:

- Raised panel on the door
- Used two stop blocks inside the cabinet to limit motion on the door (instead of chains)

The only items that were purchased were the trash can, hinges, door pull and Kreg screws.

Links for techniques and finishes used in this project:

Raised panels:
https://www.finehomebuilding.com/2006/03/01/making-raised-panel-doors-o…

Milk paint finish:
http://toolmakingart.com/2008/06/16/two-layer-milk-paint/

Topcoat on cabinet:
https://sawsonskates.com/bobs-miracle-finish/

Estimated Cost
Approximately $30
Estimated Time Investment
Week Long Project (20 Hours or More)
Finish Used
For the cabinet, a two-layer milk paint formulation. The red tint was obtained using Sakrete powdered cement color, a product made for adding color to concrete. A link is shown in the Summary section (above).

Topcoat on the cabinet is a mix of spar varnish, paint thinner and boiled linseed oil. A formulation for the finish can be found in a link in the Summary section (above).

Finish on the top was a product called "Maxithane" from Sico. It's a combination of stain and polyurethane. The color is Cedar. I happened to find a can of this product at a dollar store that specializes in closeout deals and haven't seen it in any stores since.
Recommended Skill Level
Intermediate

Coffee Bar

This is my second project. It's a coffee bar to free up space in my kitchen countertop. It has quite a few imperfections but I am very proud of the finished product. Can't wait for my next project!

Built from Plan(s)
Estimated Cost
About $140
Estimated Time Investment
Weekend Project (10-20 Hours)
Finish Used
Pre finish stain conditioner, 2 coats of Varathane Kona stain, and 3 coats of water based polyurethane.
Recommended Skill Level
Beginner

Comments

Garage Shelves + Work Bench

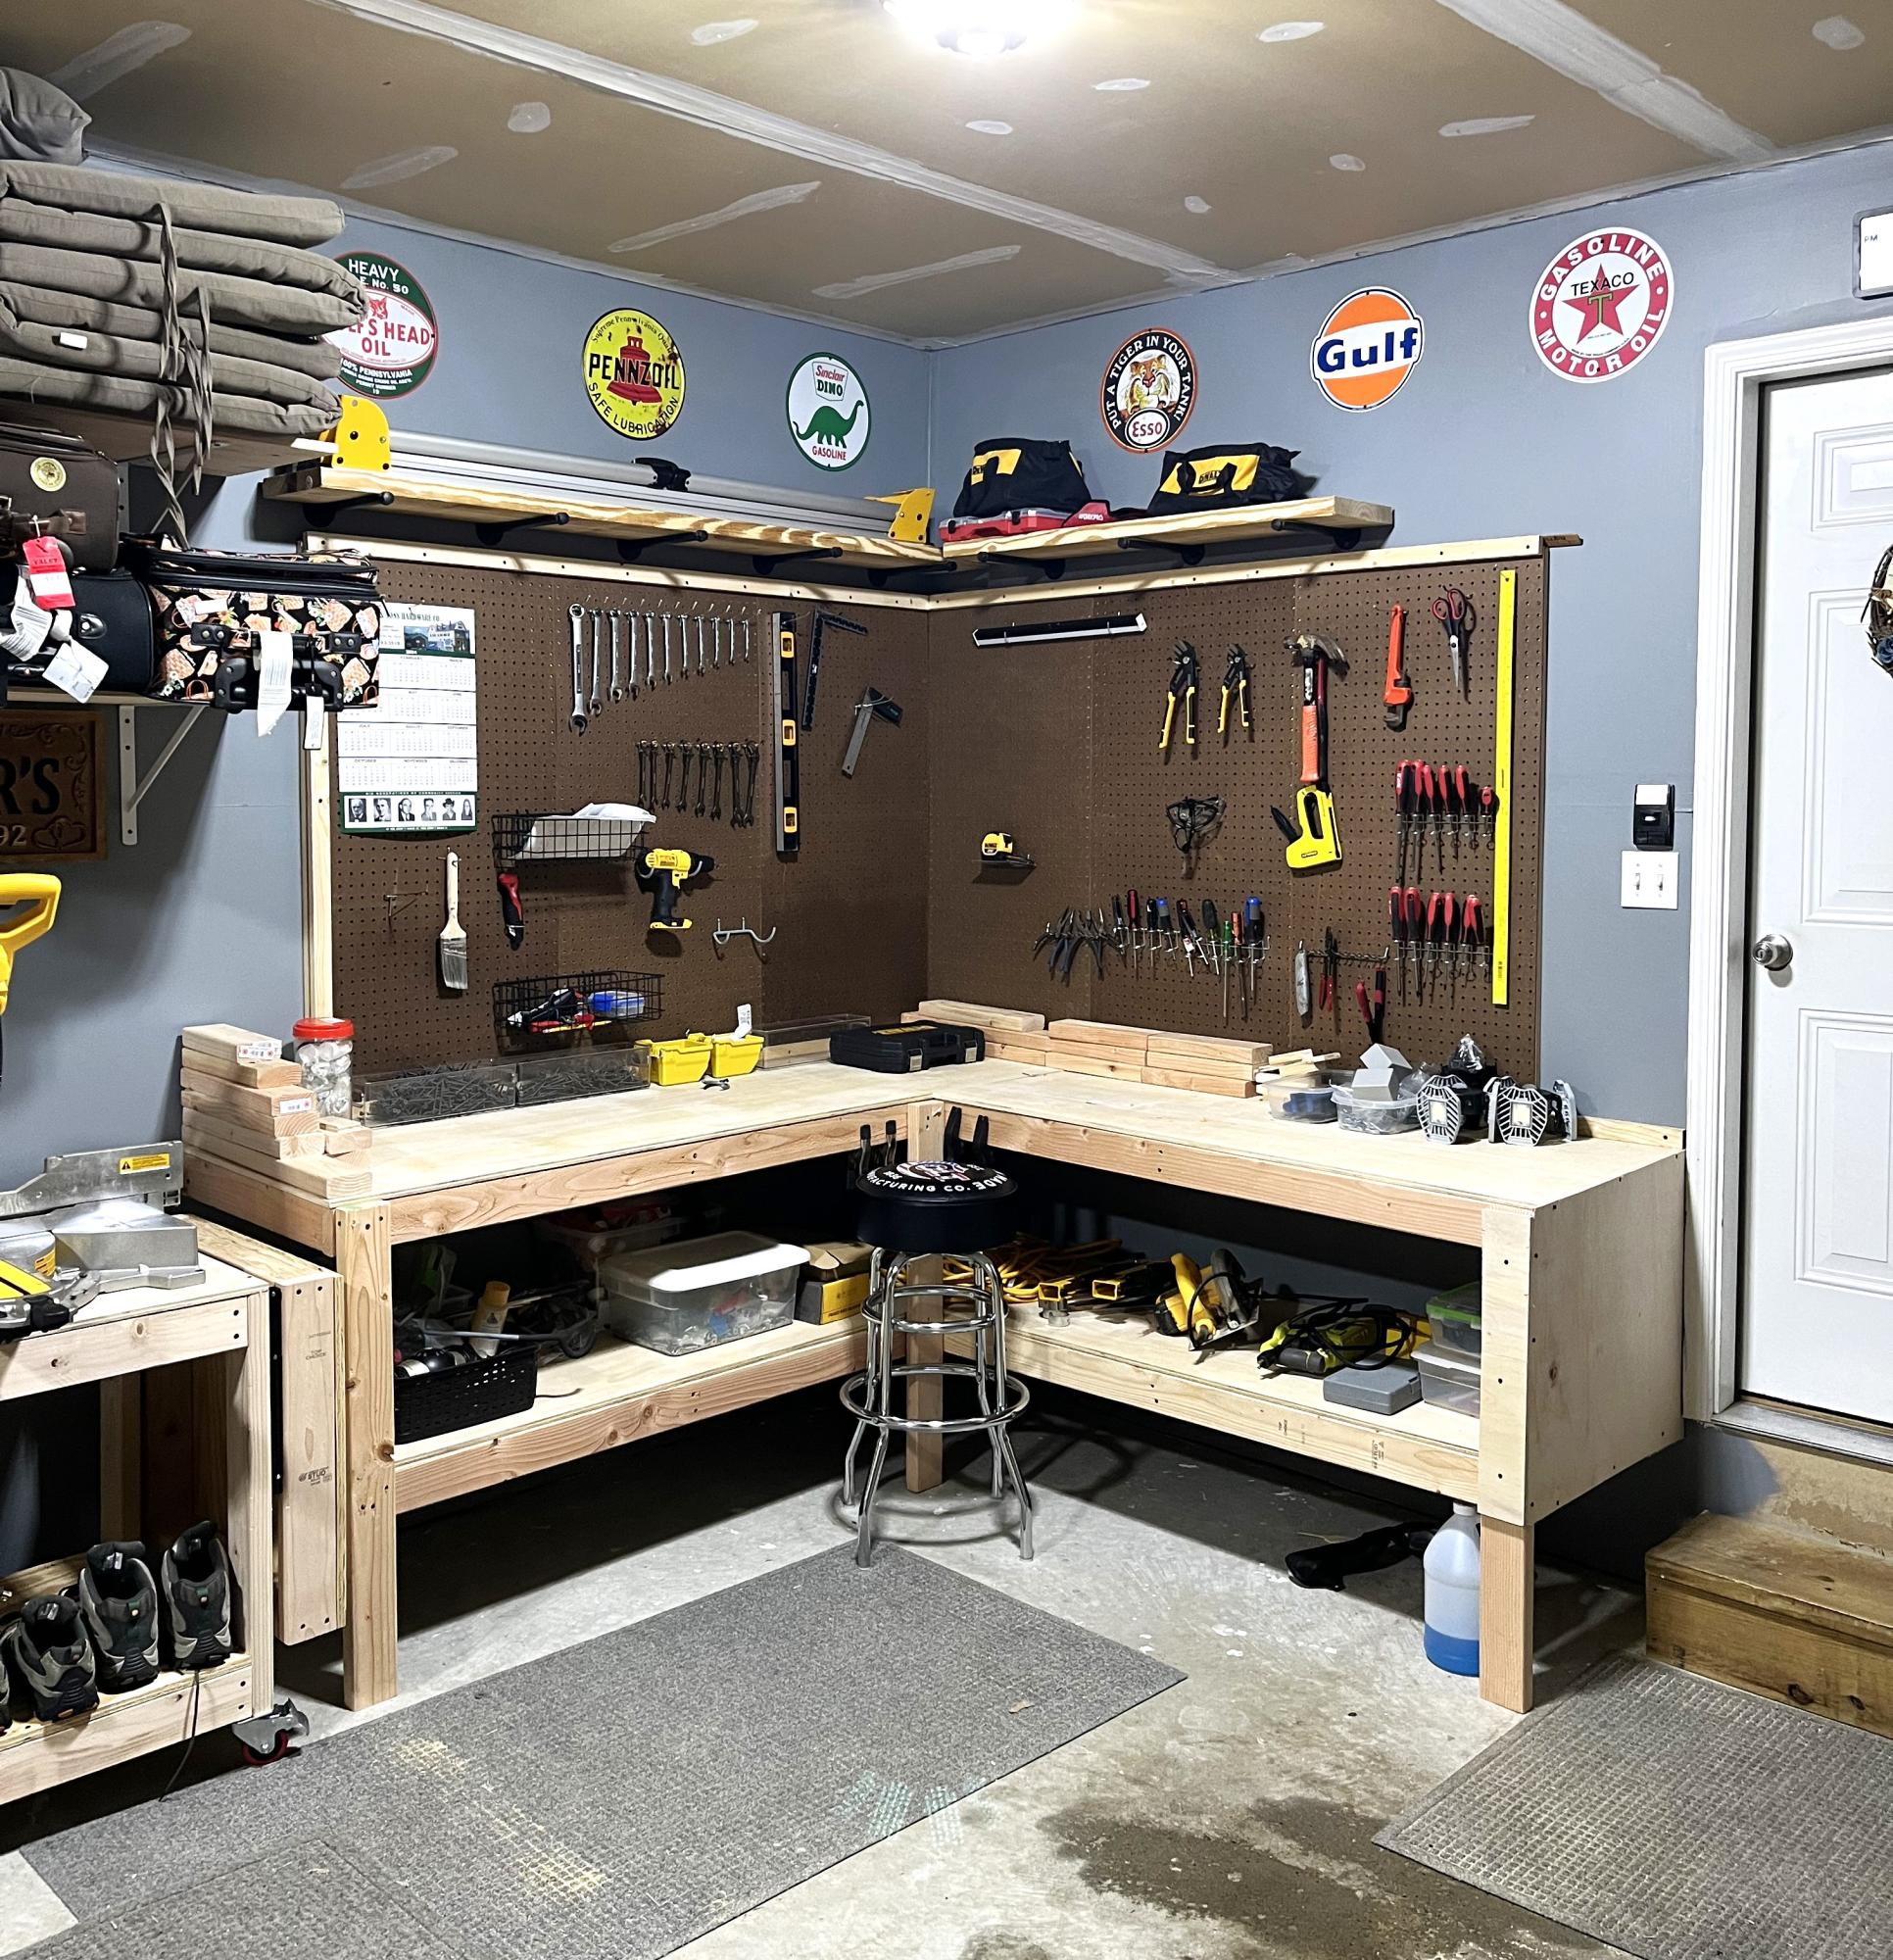
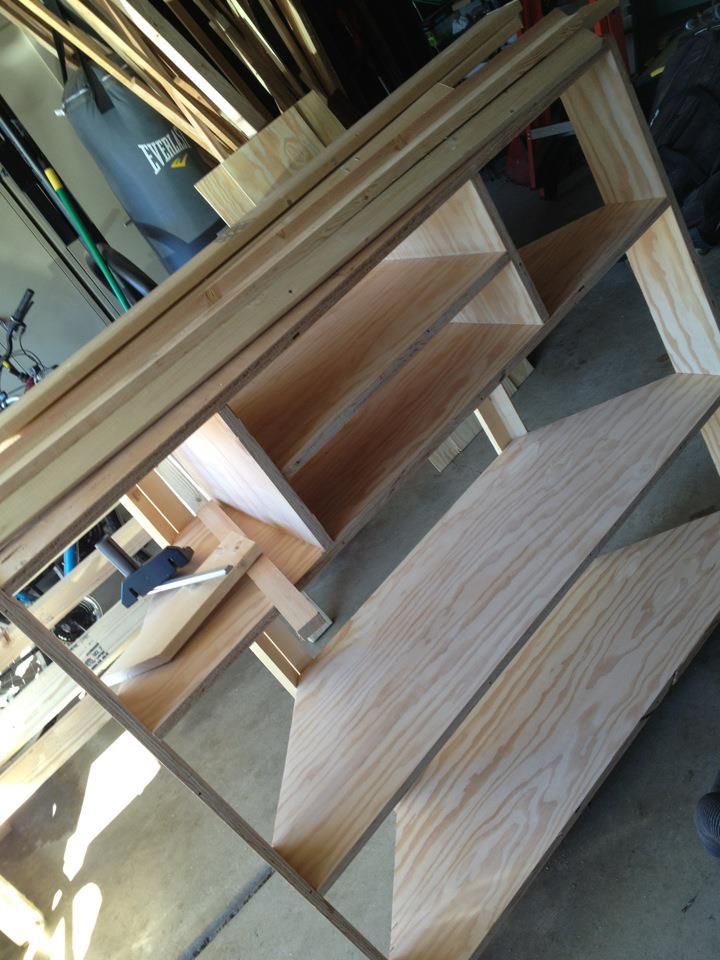
I used Ana’s plans for the garage shelves, but modified them to include a work bench. A lot of you tubers have done this, built a combination work bench and shelving, but I built nearly everything according to Ana’s plans. 12 feet long, 24 inches deep. I got some LED lights (two 1600 lumen strip lights) from menards that really brighten up my entire garage and make the work bench more useful. The one thing I really wanted was to not have a supporting pillar on the work bench to keep it open, and I loved how it turned out. I went for 3/4 plywood, mostly to have a stronger work surface, and I’m glad I did. I have since added a supporting 2x6 off of the study to support the top shelf above the bench and its strong enough to do pull-ups off of, and I have reinforced the support leg under the bench with a cross bar. Thanks for the great plans!!

Estimated Cost
~$200 (lumber prices have gone up recently due to supply issues with covid)
Estimated Time Investment
Weekend Project (10-20 Hours)
Recommended Skill Level
Starter Project

Comments

Ornament

Submitted by spiceylg on Tue, 12/09/2014 - 06:28

I will be getting together with my girl's group and exchanging ornaments, which are supposed to be handmade. I was determined to use only what I had on-hand. I didn't use a plan and this is what I came up with. I did have to go buy the bling, sparkles and a hook but I had everything else. I'm pretty happy with it. By the way those pedals are made from wood biscuits! Not sure why this is uploading sideways as its not sideways in my file.

Estimated Cost
Minimal.
Estimated Time Investment
An Hour or Two (0-2 Hours)
Finish Used
Valspar sample paint jar for background, sorry don't know color. Sharpie paint pens in red and silver for lettering.
Recommended Skill Level
Beginner

Rustic Table and Bench

I basically stuck to the plans, but I shortened the length of the table just a touch, and lengthened the bench to fit just inside the legs. I also used 2x4s for the legs, tapered them for aesthetics (similar to some other posters), and reinforced them with "L" brackets to reduce the wobble. We finished it with Semigloss white paint, Minwax Honey stain, and Minwax Gloss Polyurethane.

If I can make this table, just about anyone can.

Estimated Cost
150.00 for lumber,
Estimated Time Investment
Afternoon Project (3-6 Hours)
Finish Used
Minwax Honey Stain, Minwax Gloss Polyurethane, and Semigloss White Paint
Recommended Skill Level
Beginner

Comments

shelbyautumn

Mon, 11/07/2016 - 11:29

Your table is beautiful!

Do you remember how you tapered your legs? I'm trying to figure out if I can do it without a table saw.

Thank you!

Brook Laundry Basket Dresser

Submitted by krochelle on Thu, 01/01/2015 - 15:42

Used square laundry baskets instead of regular rectangular baskets. The square ones aren't as deep but are a bit taller so I had to modify the plans. I added a backsplash and some wooden tags to the baskets to designate them for certain colors. I also added some decorative trim and finished the bottom in a gray stain and used white chalk paint for the top.

Estimated Cost
$70
Estimated Time Investment
Day Project (6-9 Hours)
Finish Used
Weathered gray stain
White chalk paint
Recommended Skill Level
Beginner

My spin on the Counter Height Farmhouse Table from Amazon White’s free plans!

Submitted by Anonymous (not verified) on Sat, 03/20/2021 - 06:52

The counter height farmhouse table plans were so helpful! Thank you Ana White! I replaced plywood on top with 2x8s and added a shelf underneath the table for some kitchen storage! I am in love thanks again😍 Follow me on Instagram @abbbclark_homeee for more home renovations, decor and DIY!

Estimated Cost
$200
Estimated Time Investment
Day Project (6-9 Hours)
Finish Used
Weathered oak oil based stain
Recommended Skill Level
Beginner

Comments

Bird House Kid's Kit

Submitted by Lady Goats on Fri, 04/05/2013 - 07:49

The Big Kid and her friend were standing behind me when I pulled up Ana's birdhouse kit plans and they begged to build one, too. Initially, I wasn't wanting them to use my nail gun, so I predrilled the holes for all the brad nails. Details are on my blog.

I was able to get three birdhouses from two 6' fence pickets (had to make one about a half inch smaller all around, but it's barely noticeable!)

Thanks, Ana!

Estimated Cost
$4 for 3.
Estimated Time Investment
An Hour or Two (0-2 Hours)
Finish Used
They're left au naturale
Recommended Skill Level
Starter Project

Toddler Stools

Submitted by sraper2 on Tue, 04/16/2013 - 20:16

I thought you had a plan for these but I'm looking through and the closest I can find is the Vintage Step Stool. Either way it is because of your site that I have learned and become comfortable with building so I thought I would share these stools here. I made a little toddler chair to go with them to that you can see on my blog. Thanks for helping to make things like this possible!!

Built from Plan(s)
Estimated Time Investment
An Hour or Two (0-2 Hours)
Recommended Skill Level
Beginner

Comments

Produce Stand

I really enjoyed this project!  It was very easy and inexpensive.  I used Weathered Oak stain to make the pine look aged.  I also countersunk all of the screws and used oak button dowels to give it a finished look.  I learned how to create the wording and images through YouTube.  Search: how to transfer an inkjet photo to wood.  Cool trick.

Estimated Cost
$35
Estimated Time Investment
Afternoon Project (3-6 Hours)
Finish Used
Weathered Oak
Recommended Skill Level
Beginner

Comments

Debbie742

Tue, 12/01/2015 - 04:50

My sister in law would like one of these and I'm wondering what angle cut you used for your support boards?  I like the idea of going corner to corner vs trying to get each one centered and not making a mistake. I'm also wondering about spacing and if you kept the measurements the same as "Over The Big Moon" ?  Thanks so much!!!


Debora Cadene

Great DYI platform bed!

Submitted by Anonymous (not verified) on Wed, 06/28/2017 - 19:31

The bed in grey, also made the backboard taller (and doubled support on back) because the bed will have a box spring (photo 2).  Awesome plans, love the look already.  Excuse the background mess.  The back wall is part of the same project! Thanks again for the plans!!


Note to future builders, learn from my one fatal mistake, be really picky on your quality of wood.  I had some slight frame issues because on a bad board that resulted in about a 1/4 inch bow on one side.  My slats are all use rival but you can see some done touch both sides...that is the bow.  Still no one will likely notice but me.


Second, there was no info on spacing along the frame for attaching the 2x4 to the 2x6.  I used 12", maybe overkill.

Estimated Cost
Excluding the Kreig jig that I did not have materials cost about 200. I had the 2x4 already and I uses more 2x6 to raise the backboard higher so this is estimate.

Remember to account for time to:
Let wood acclimate (min 48 hrs), dry times between coats. I did 2 coats then a sealant with a day inbetween each. Also I was solo on this so 2 people could be even quicker.
Estimated Time Investment
Day Project (6-9 Hours)
Finish Used
Grey varnish sanded a bit to look work then sealant.
Recommended Skill Level
Beginner

The Modern Fire Pit

Submitted by prelude on Mon, 10/04/2021 - 13:20

I started out several years ago building the Modern Adirondack Chairs using Ana White's plans. Customers loved the modern design and I was able to fulfill orders in any color or stain. Customers even asked if I could make a children's and adult size chair. These pans are available upon request.

As the trend towards outdoor living increased due to the pandemic, I expanded my product line to tables, benches and patio planters. I even created my own design for a fire pit rack and bench based upon Ana's designs.

Today, I have a thriving business for commercial and residential fire pit furniture and accessories.

I continue to follow Ana White for inspiration and ideas, George

Comments

Danielle's Shoe Crates

Submitted by zigmommy on Wed, 03/09/2011 - 14:54

We went a little crazy bringing pallets home once I got the idea that we could build something so cool and functional out of only a small amount of new lumber! We've had these about 6 months now and they still look great and serve our family in a very real and functional way! My boys have been WONDERFUL about keeping all their shoes in their crates!

Estimated Cost
About $10 per cart
Estimated Time Investment
An Hour or Two (0-2 Hours)
Finish Used
Just lots of sanding and Mod Podge to seal the customizations!
Recommended Skill Level
Starter Project