Community Brag Posts
Orange Side Street Bunk Beds
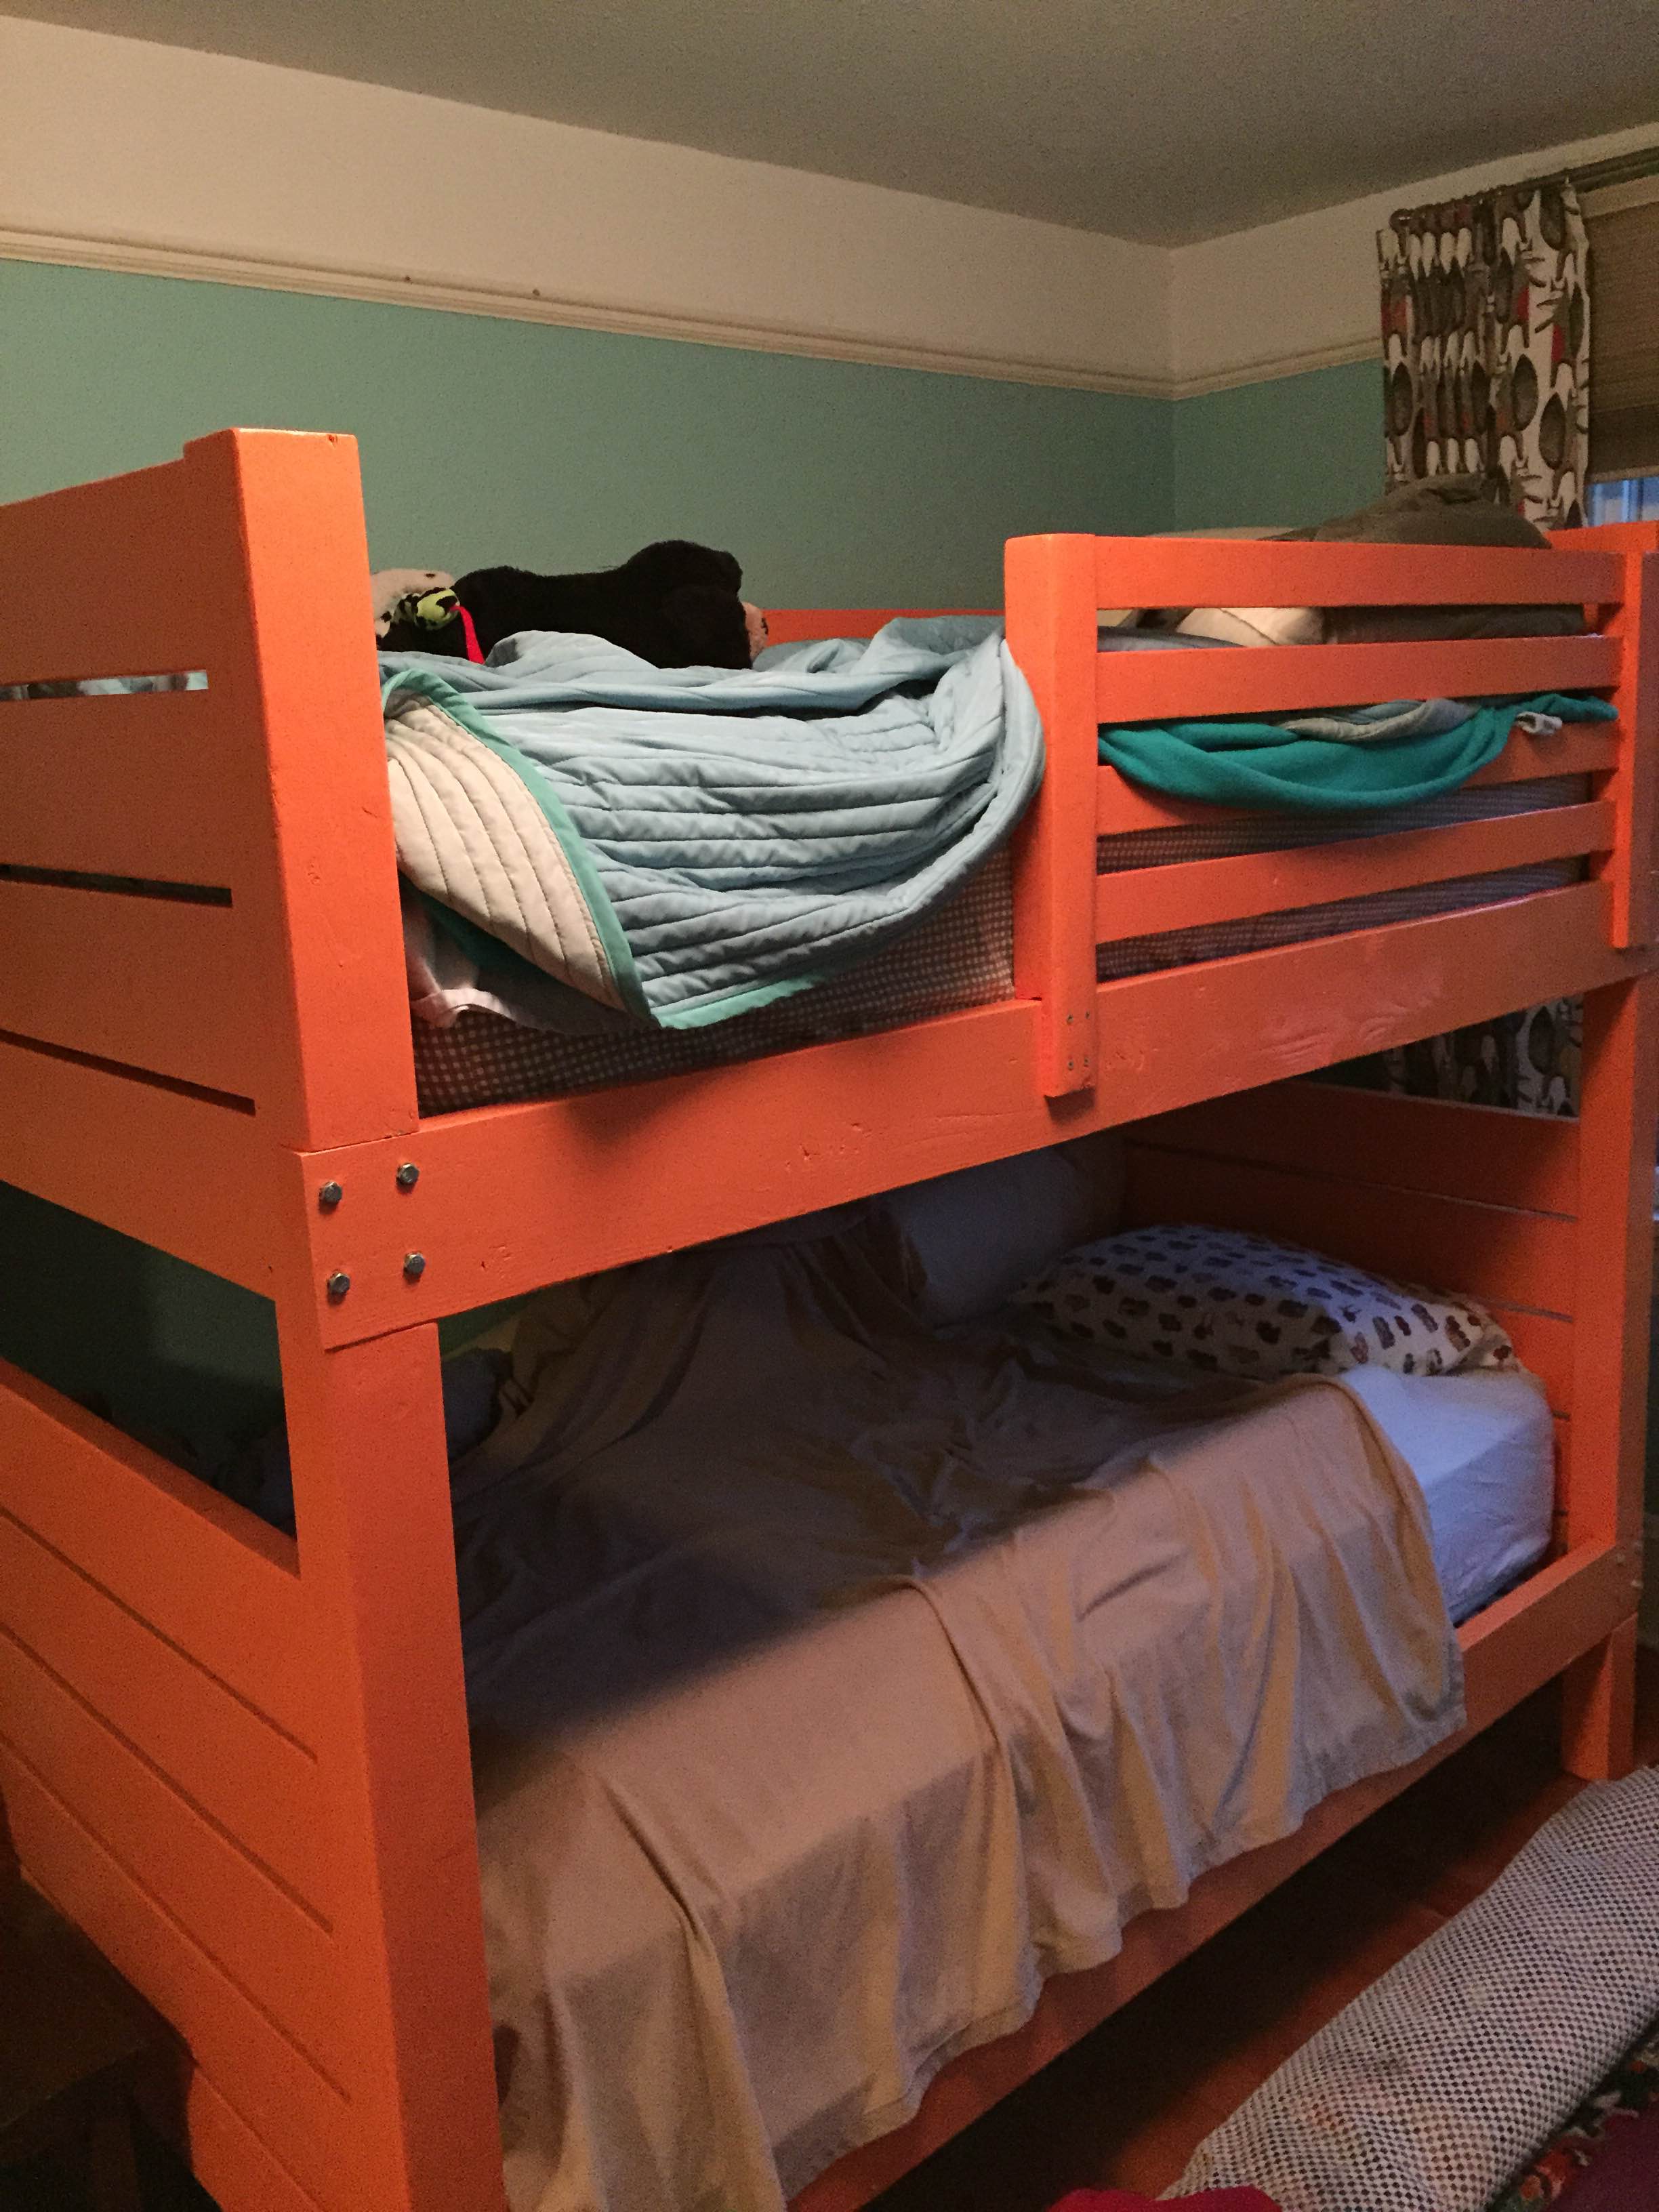
This is my first large project and I'm very happy with the result. Since I knew we were using regular (thick) mattresses instead of thin bunk-style mattresses, I built the guard rails taller than in the plans. The bunk beds are painted Benjamin Moore Citrus Orange http://www.benjaminmoore.com/en-ca/paint-color/citrusorange. The walls are Benjamin Moore Waterfall http://www.benjaminmoore.com/en-ca/paint-color/waterfall.
Helpful Hint: IKEA's LONSET slatted bed base fits perfectly instead of needing to cut your own bed slats. http://www.ikea.com/us/en/catalog/products/80278715/#/30278732
Built from Plan(s)
Finish Used
Benjamin Moore ADVANCE waterborne interior alkyd paint (http://www.benjaminmoore.com/en-us/for-your-home/paint-products/advance-waterborne-interior-alkyd-paint).
Recommended Skill Level
Beginner
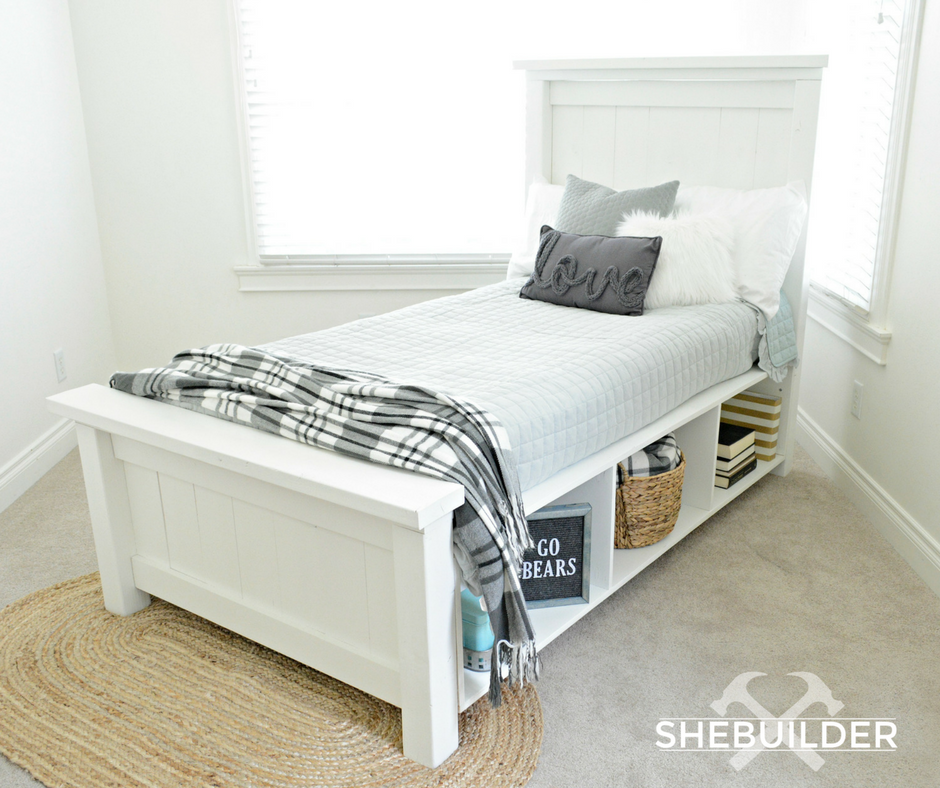
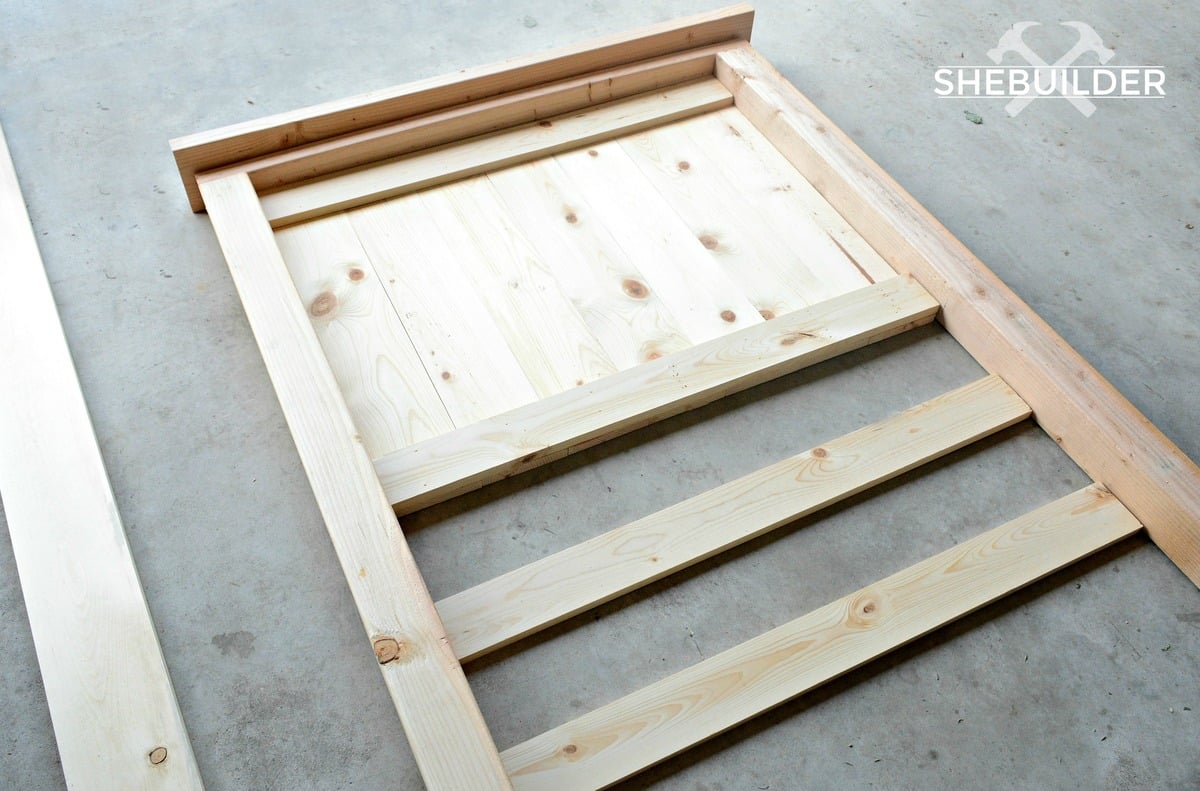
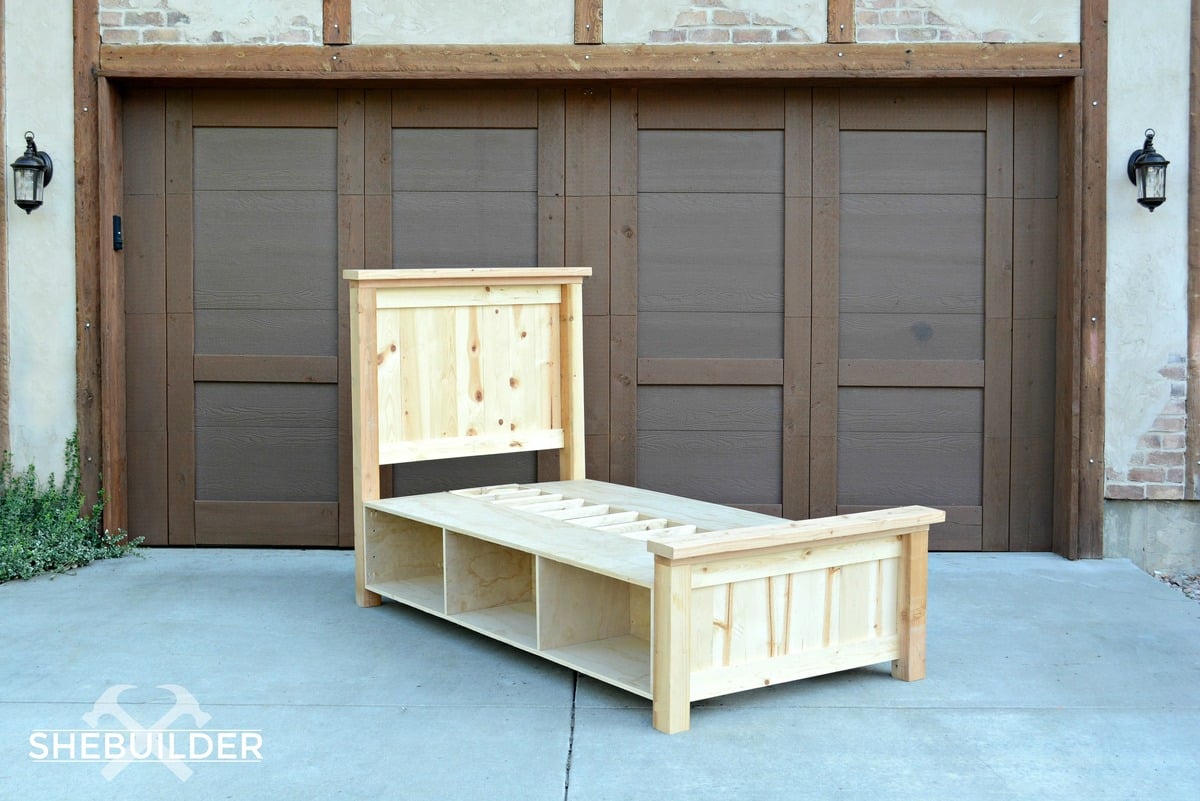
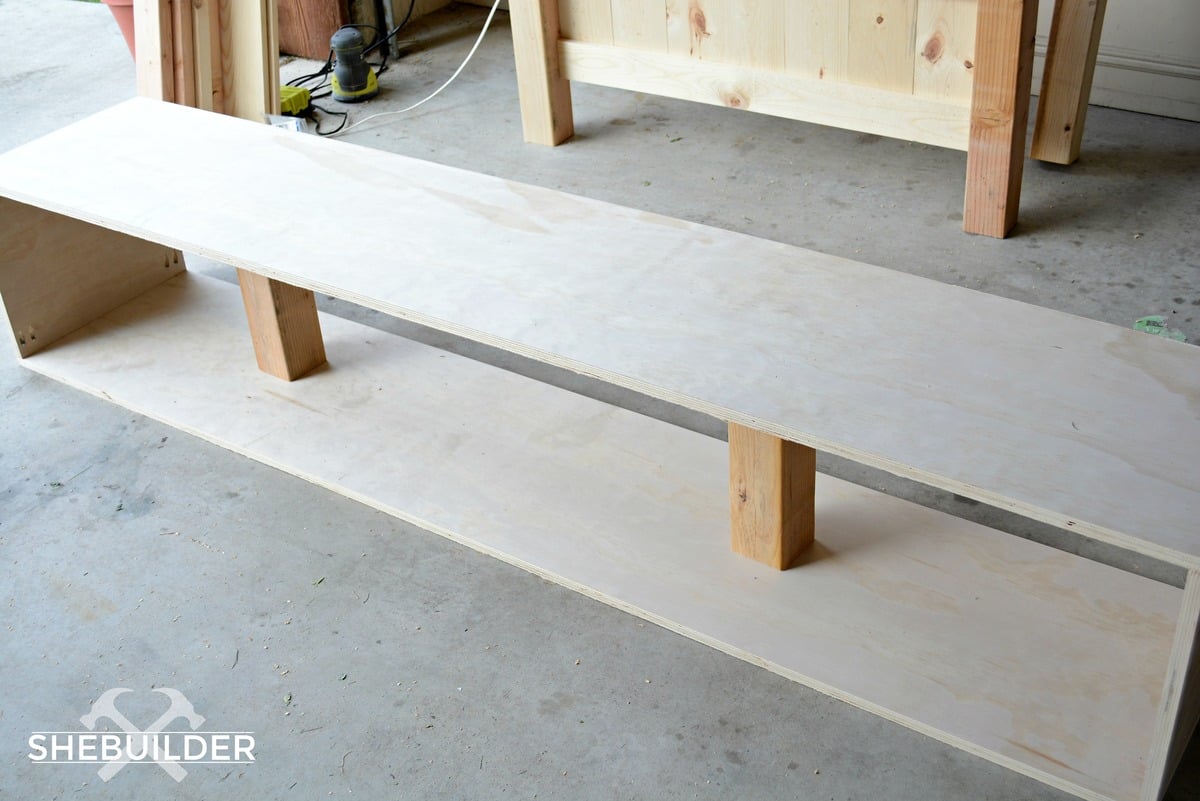
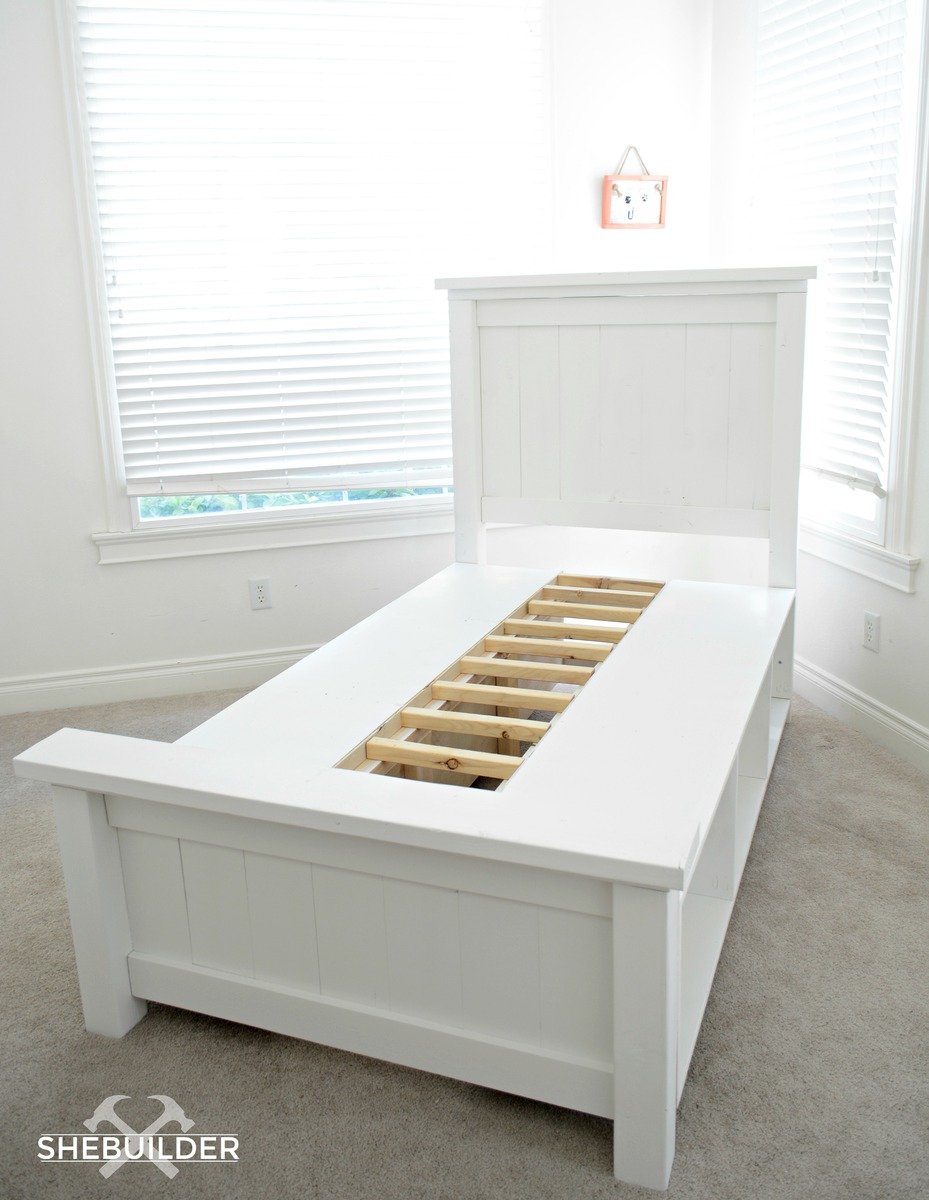
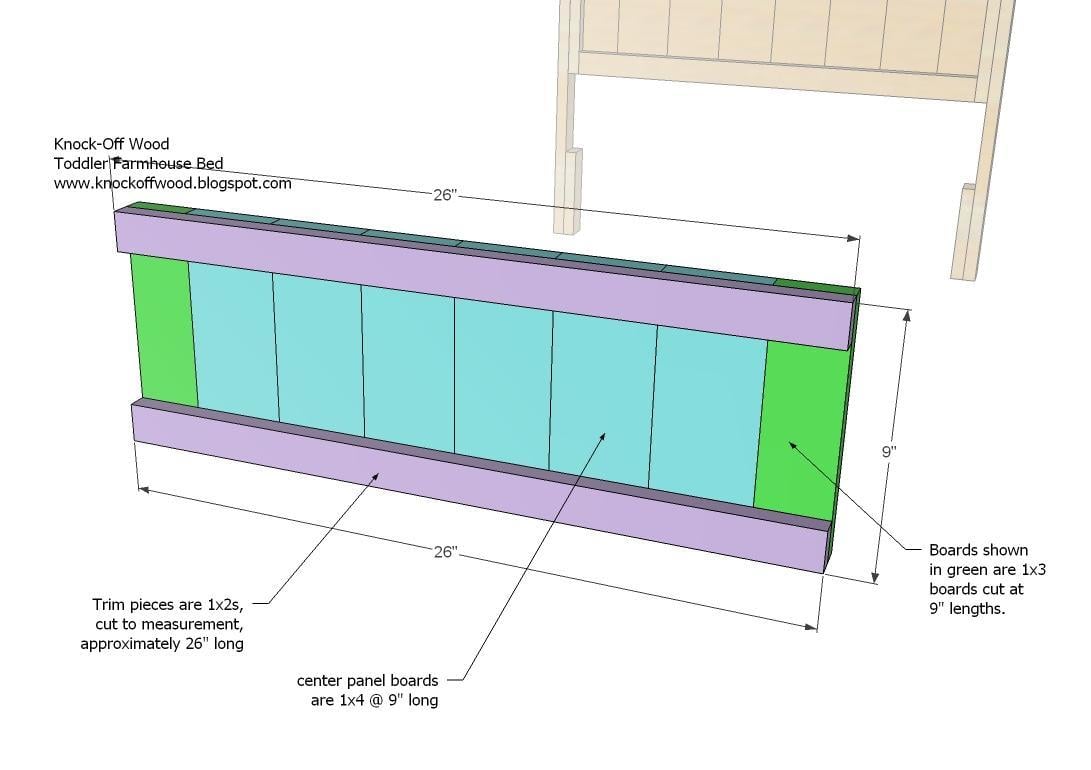
Traditional Farmhouse Bed with Storage
Hello, fellow makers!
I really enjoyed this build - it was a challenge for me, but in the end, I'm thrilled with the results!
I modified two of Ana's plans to come up with this storage bed and I share more pictures of the process and how I finished this project over on my blog Tinsel + Wheat.
I used the Twin Bed Farmhouse plans to create the headboard and footboard, which turned out beautifully, but because of the storage base needing to be installed flush with the edges of the 4x4 posts - this made the bed a little wide for a standard twin size mattress. I don't mind the extra 2.5" of base on each side of the mattress but if you decide you would rather have the mattress edges match right up to the bed you will need to subtract one of your center 1x6 panels from both the headboard and footboard. This will give you the perfect size headboard and footboard for this build.
So grateful to Ana for these plans!
Happy building!
Miranda

Built from Plan(s)
Estimated Cost
$200
Estimated Time Investment
Day Project (6-9 Hours)
Recommended Skill Level
Intermediate
Comments
Sat, 03/02/2019 - 10:02
Storage boxes Lumber shopping list
Might you have the lumber shopping list for the storage boxes to go with this modified Twin Farmhouse with storage bed? I looked at you personal website but you just have the cut list for them not lumber list. Desperate need to purchase my wood Monday.Thank you so very much!
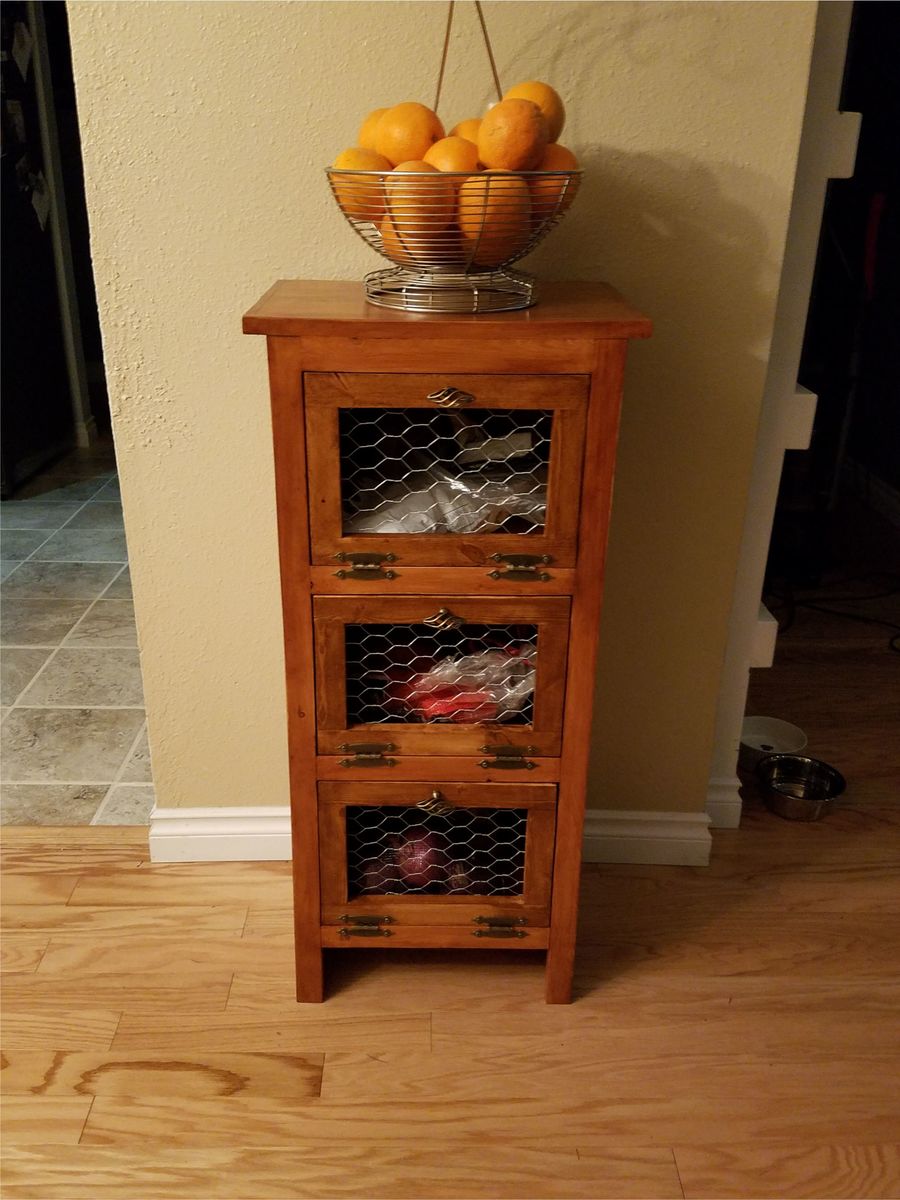
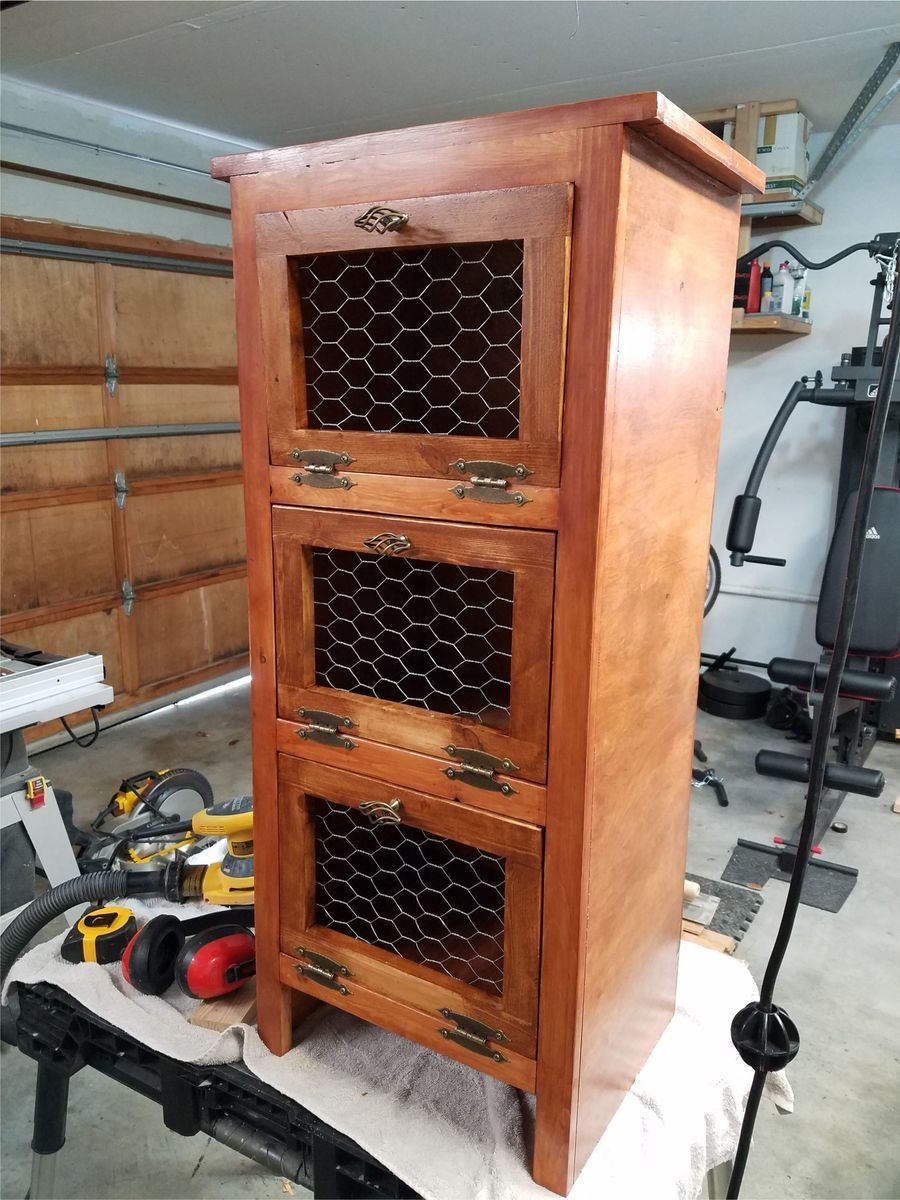
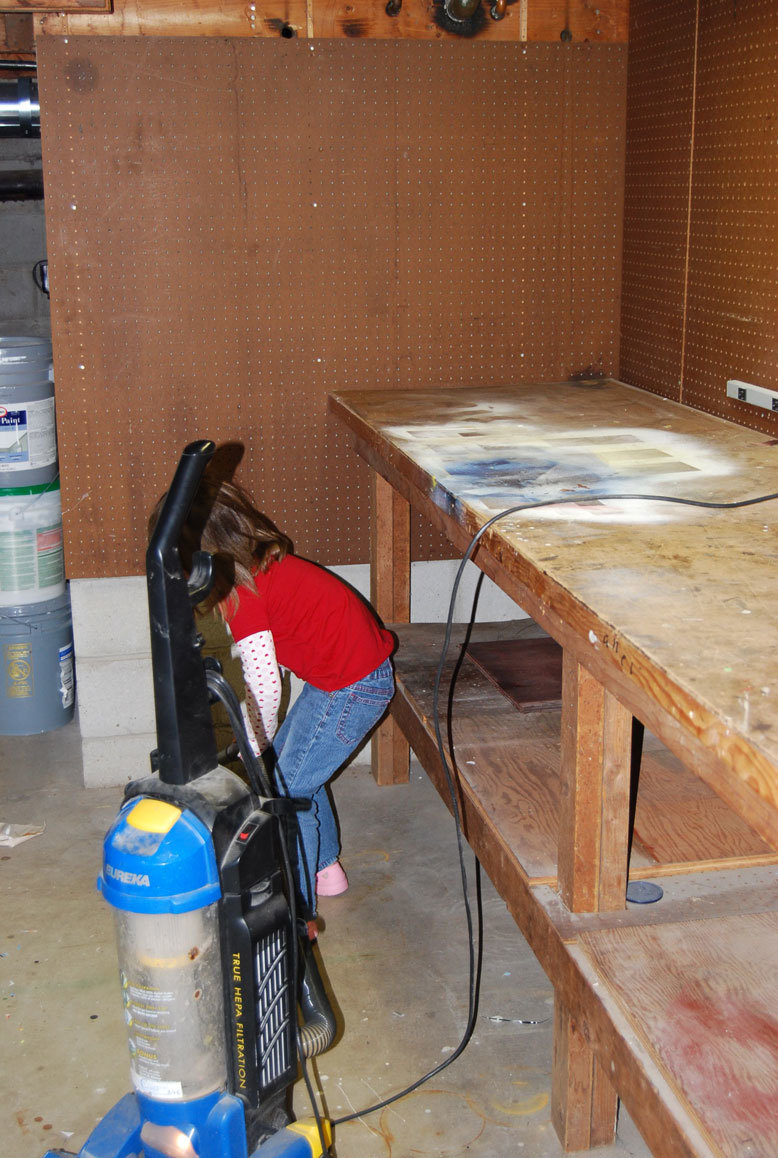
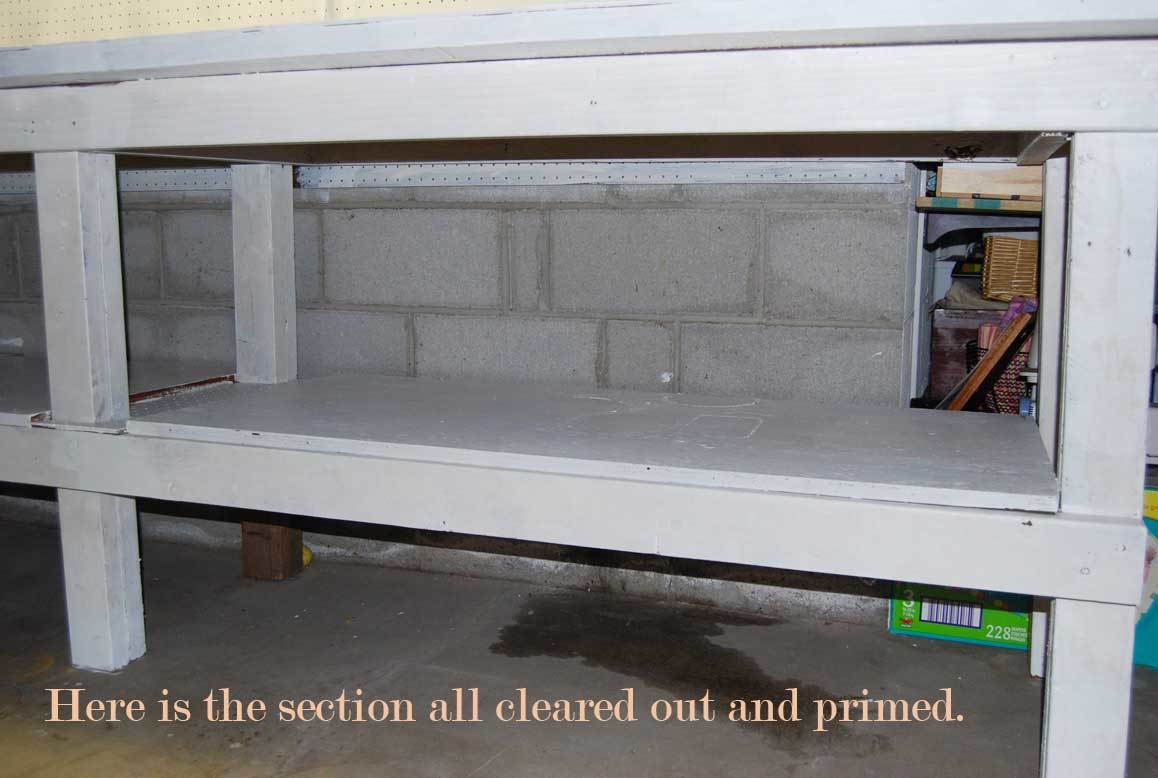
Table turned cabinet
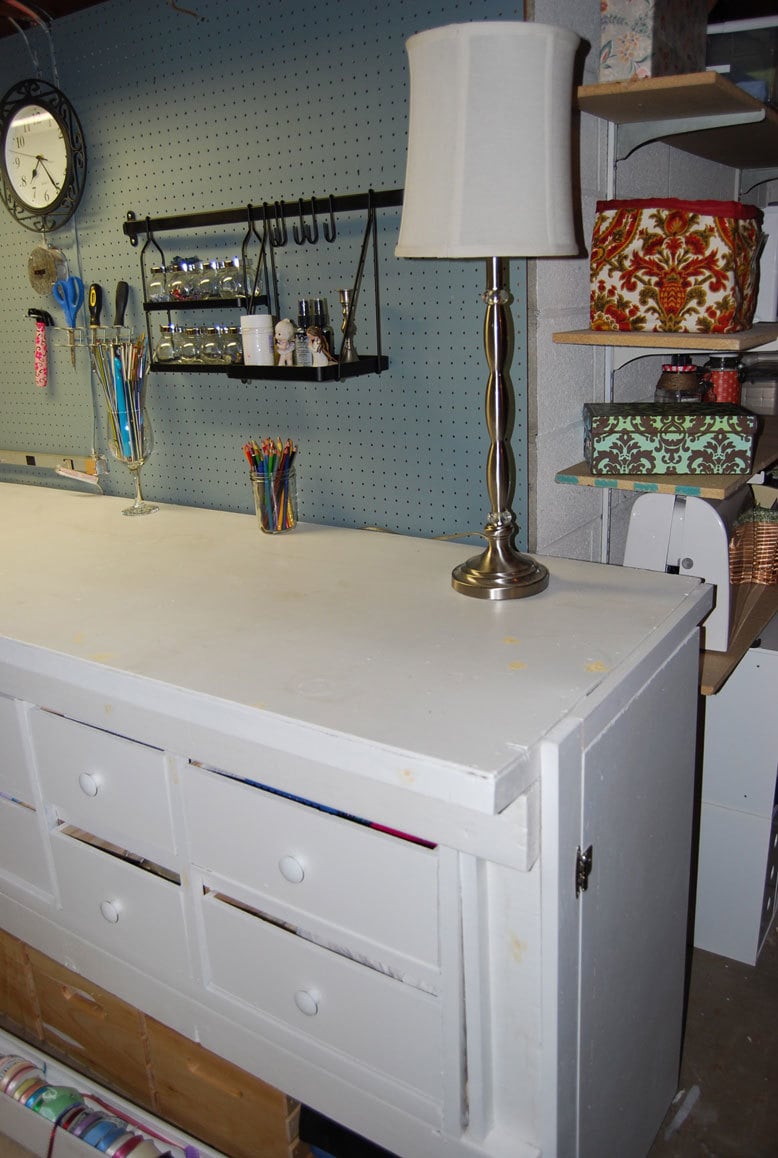
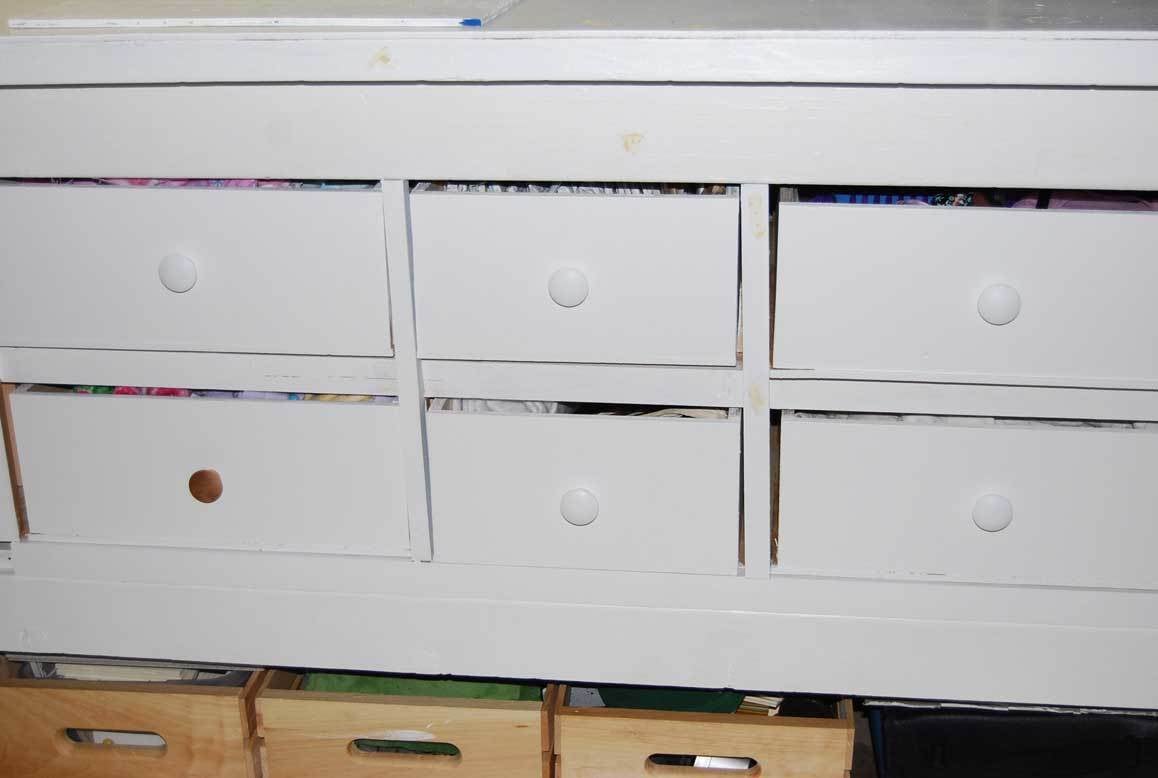
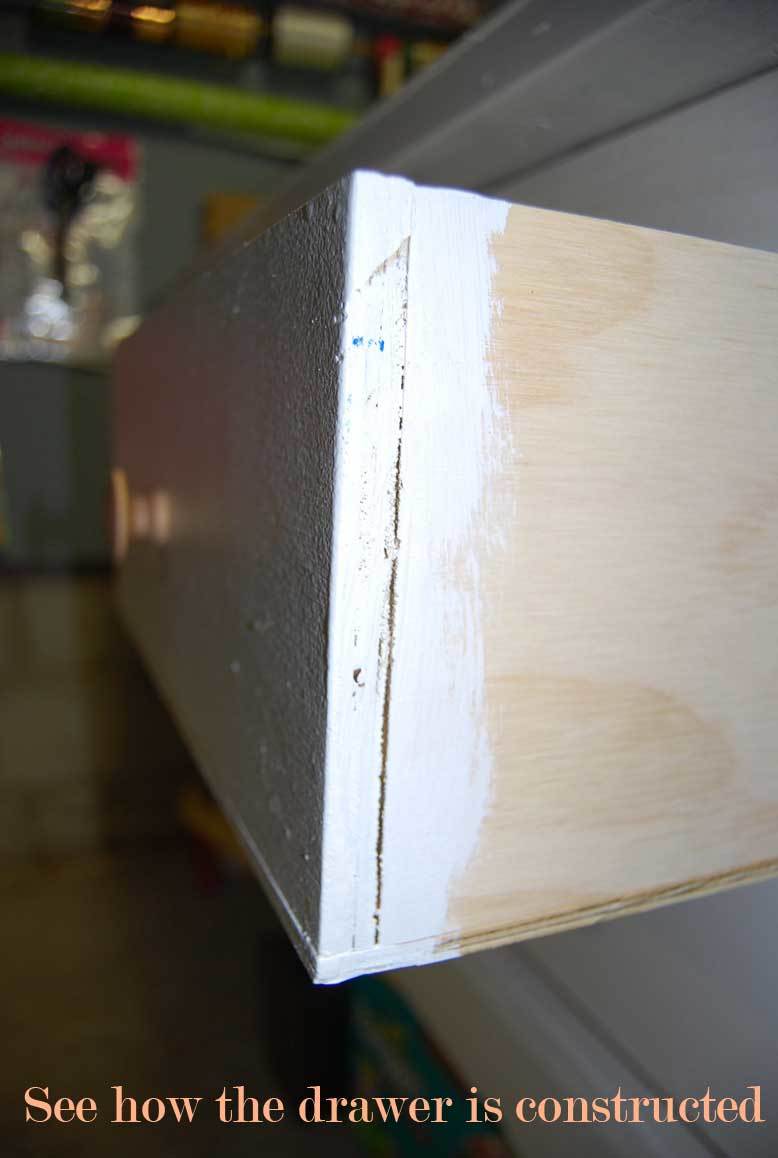
I had an old table that was in my basement. I wanted to re-do my craft room. I have been thinking and thinking about it. So when I saw Ana’s link to her drawer organizer – and how to install drawer slides – I thought – ok – now it’s time to do it.
I spent about a week drafting plans, making measurements. At first I was going to recycle the metal sliders I had left over from the kids dressers…but there wasn’t enough – and to do 12 drawers would be more money than I wanted to spend.
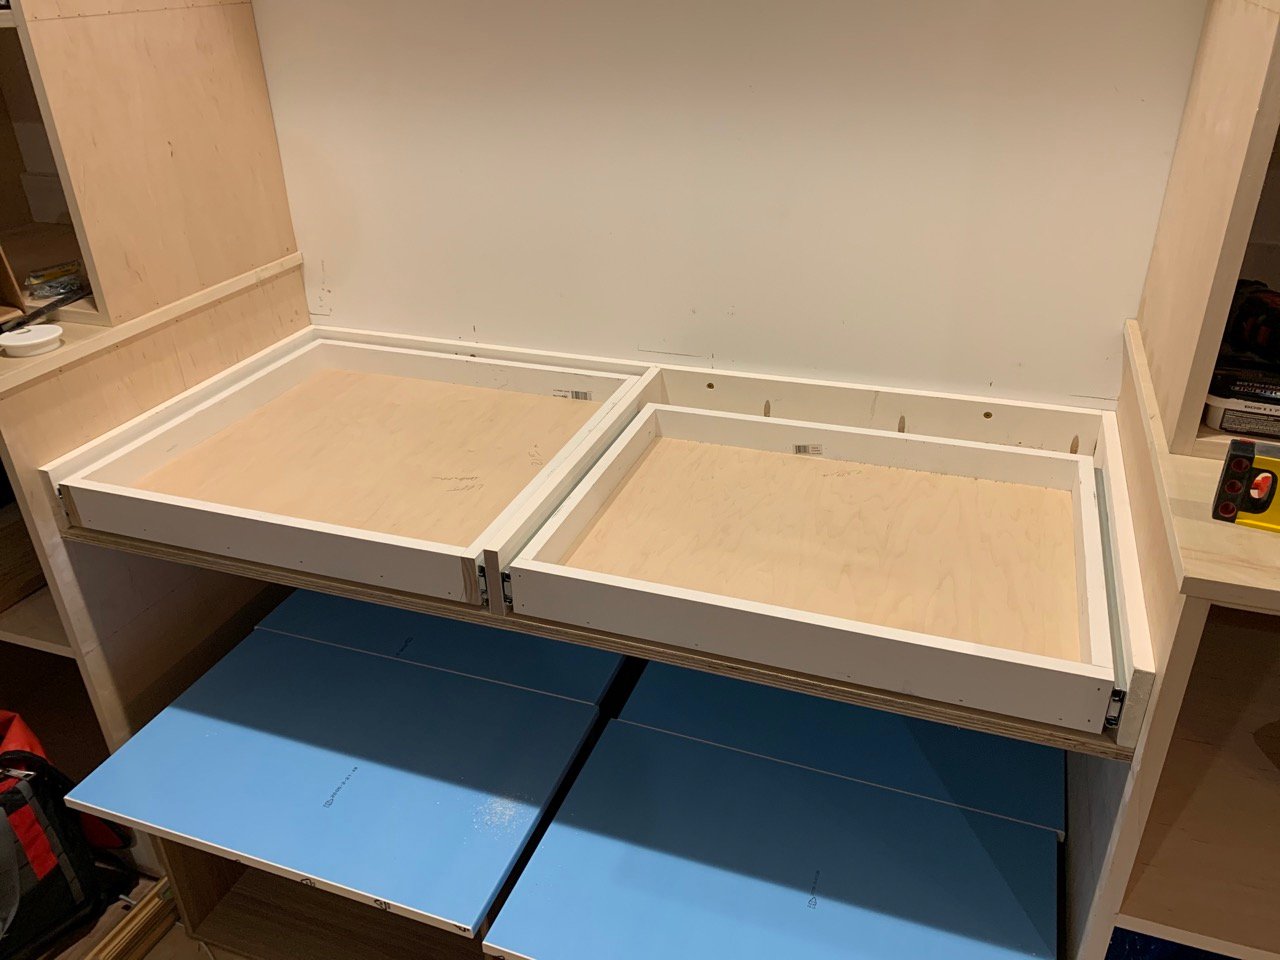
So – a trip to home depot – I was able to take this table that was just collecting junk – literally – to an organized and functional crafting cabinet – with huge deep drawers. There are 12 drawers in total. They are all 6 inch in height, 26 inches deep, and then there are 8 that are 16 inches wide, and 4 that are 12 inches wide.
Here are some before and after pictures – I have all the details on the build on my blog. I wouldn’t have been able to do it without Ana. Her plans and continual inspiration!

Built from Plan(s)
Estimated Cost
Around $80
Estimated Time Investment
Afternoon Project (3-6 Hours)
Finish Used
On the fronts of the drawers only. Sanded, primed and painted with high gloss white.
Recommended Skill Level
Intermediate
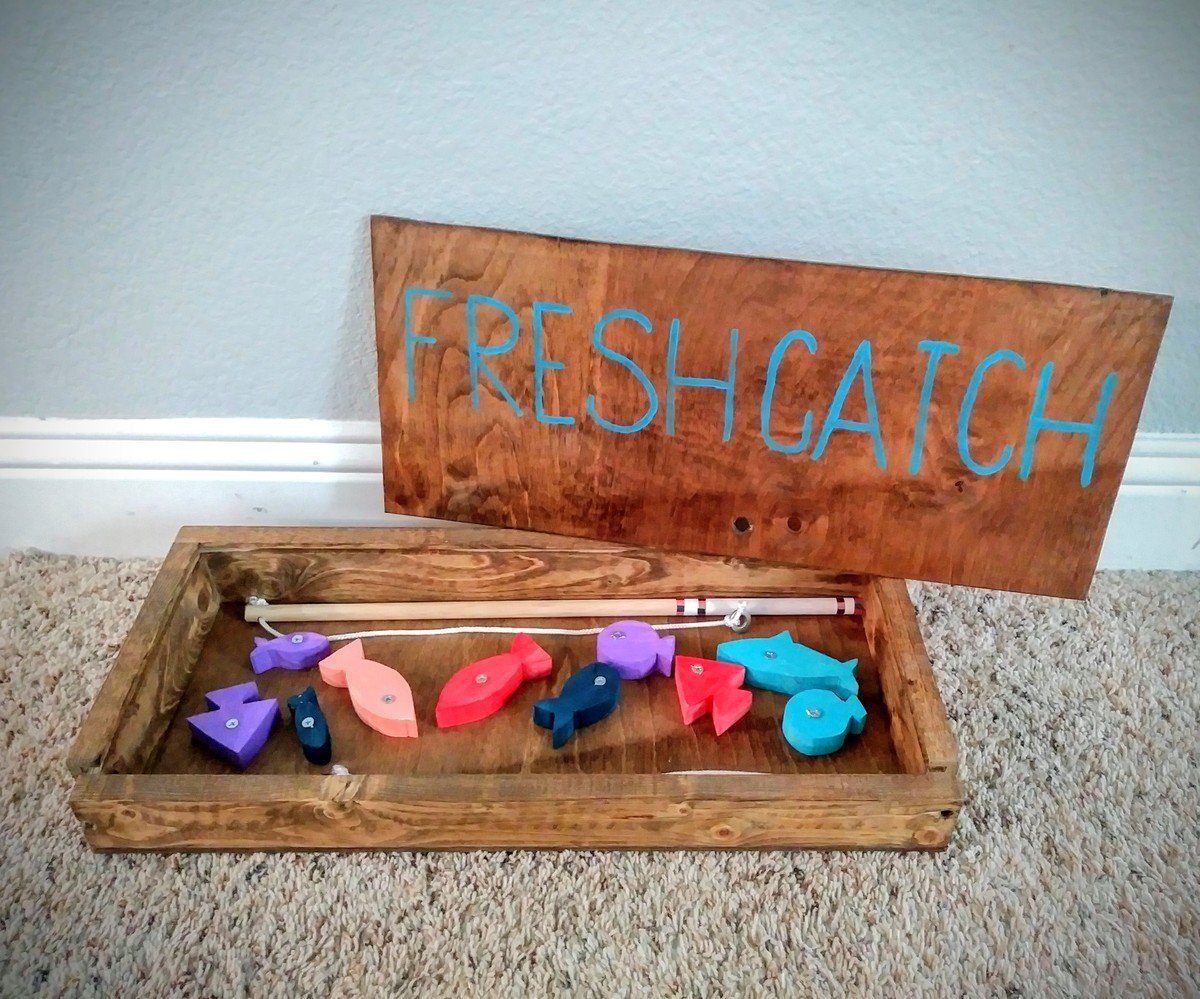
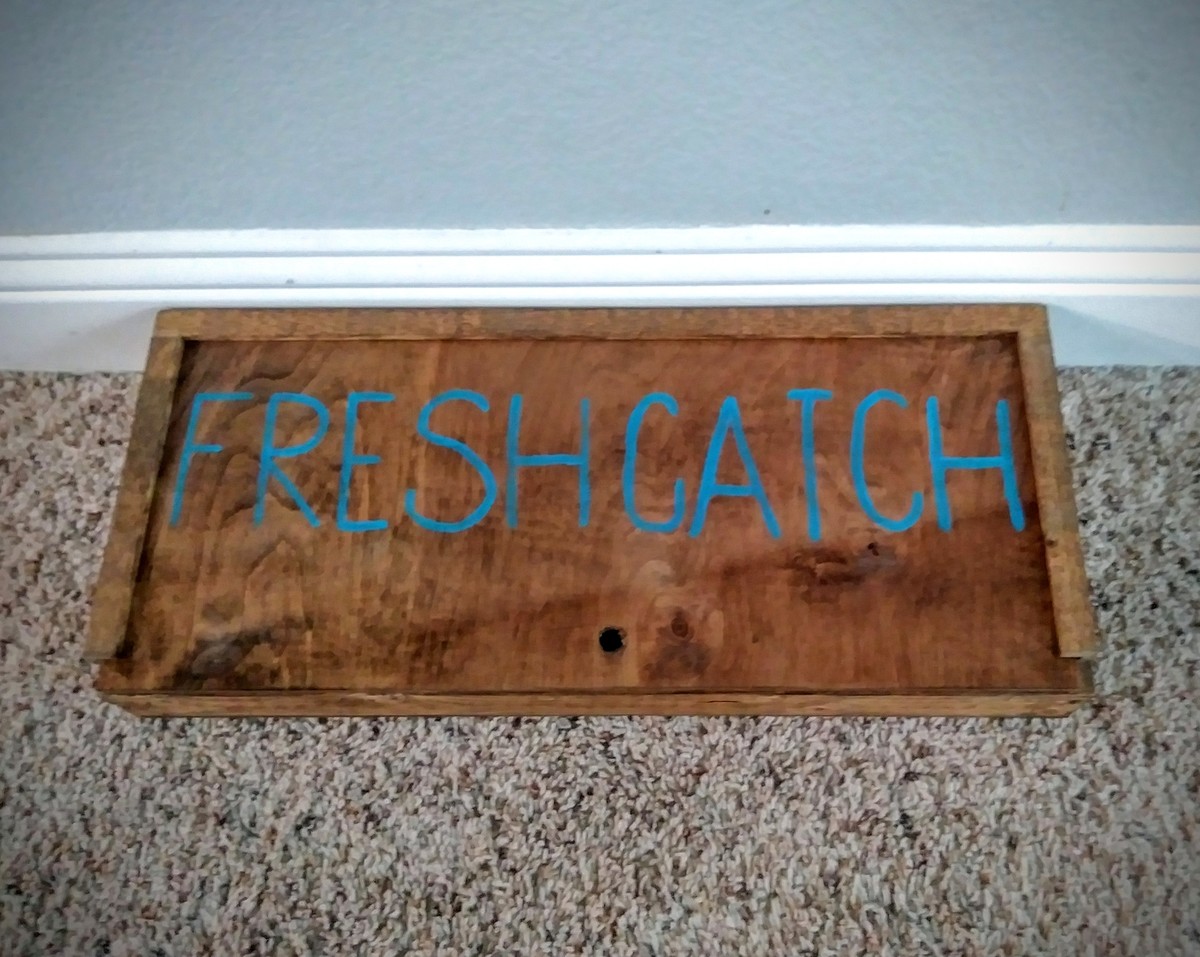
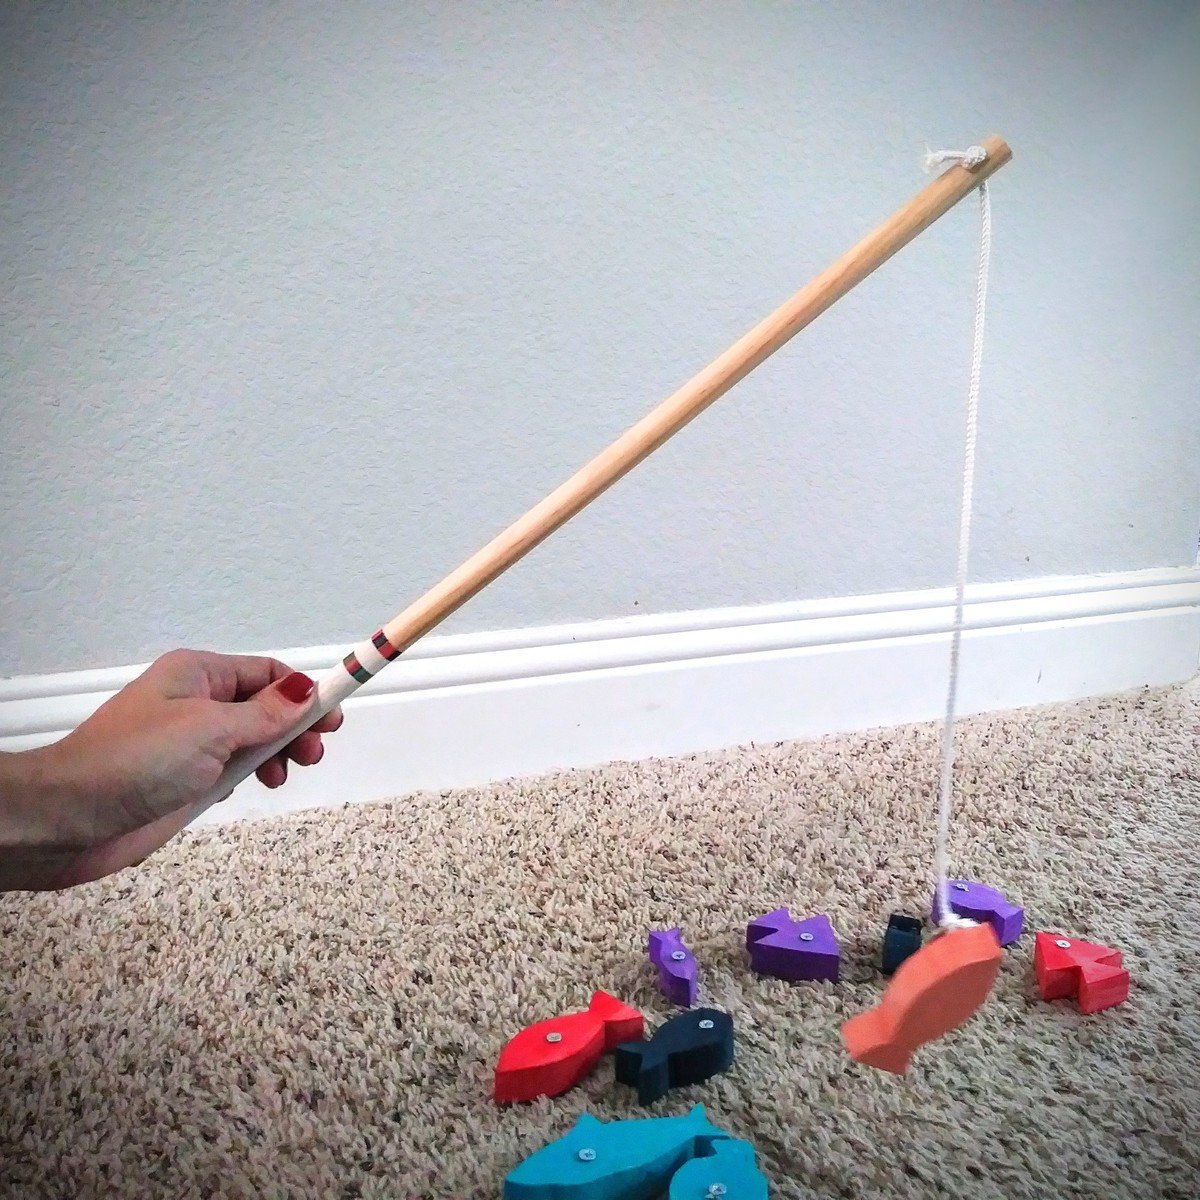
Wood Toy Fishing Game
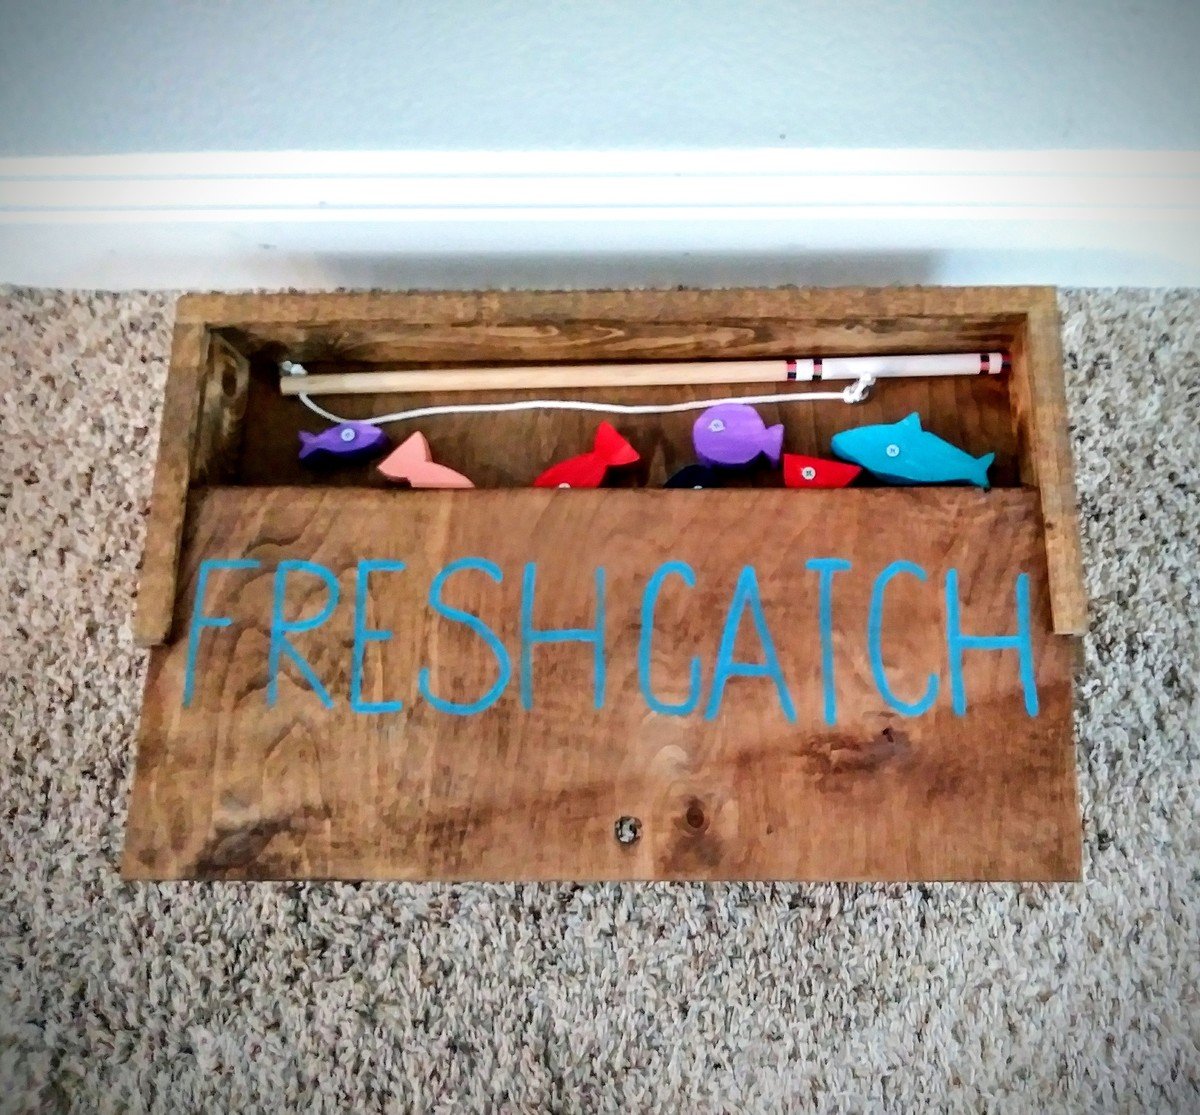
This was a very easy project from scrap wood I had leftover from previous projects. I modified the box a little. I cut slits in the box so the top slides on nicely. I also stained the box and sealed because I love the look of stained wood. I used early American wood stain.
Built from Plan(s)
Estimated Time Investment
Afternoon Project (3-6 Hours)
Finish Used
early american
Recommended Skill Level
Starter Project
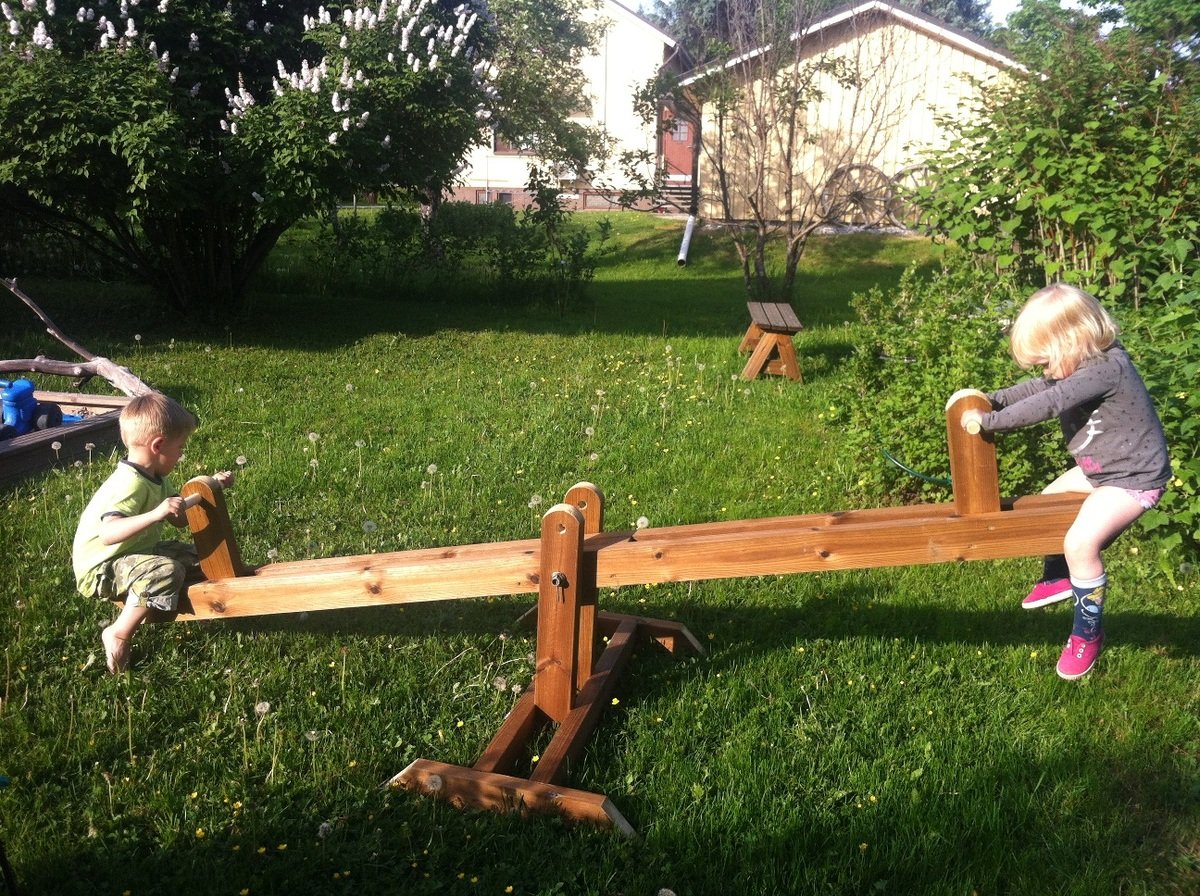
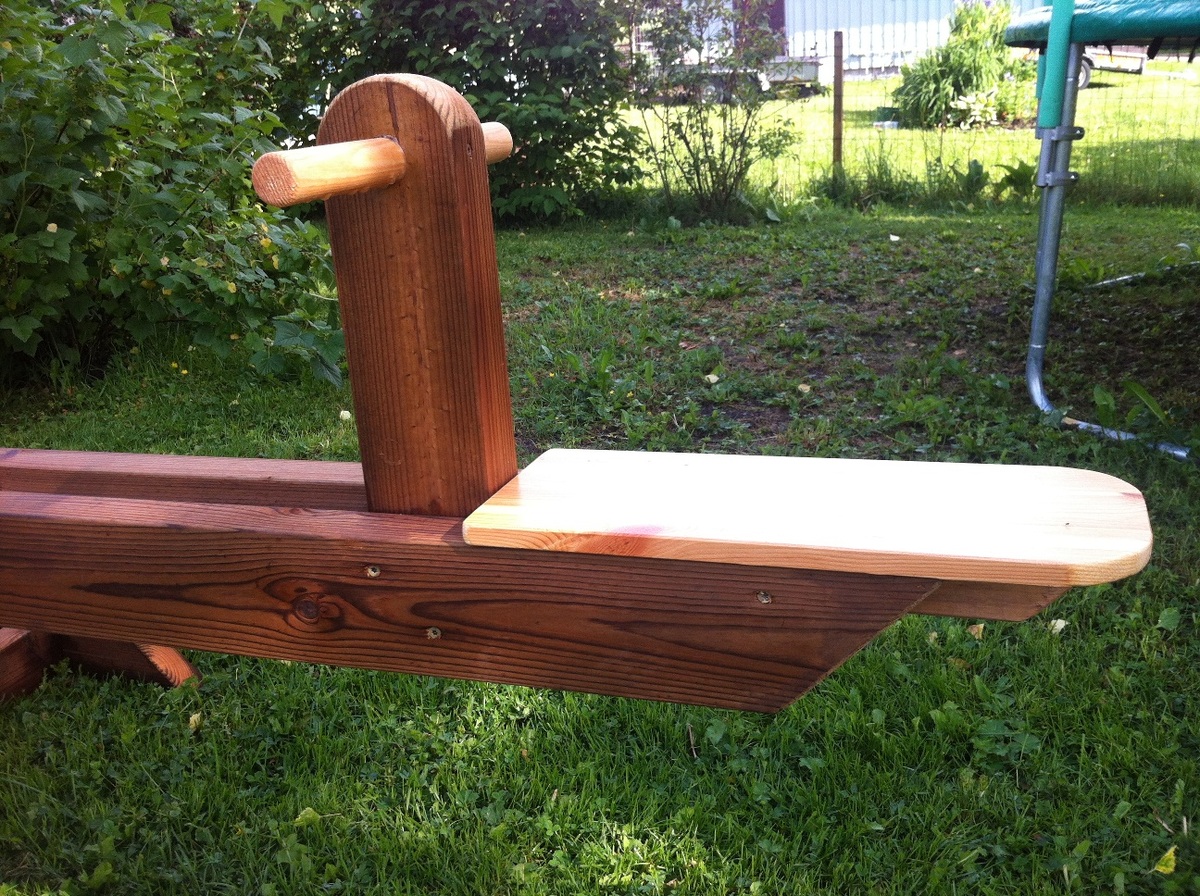
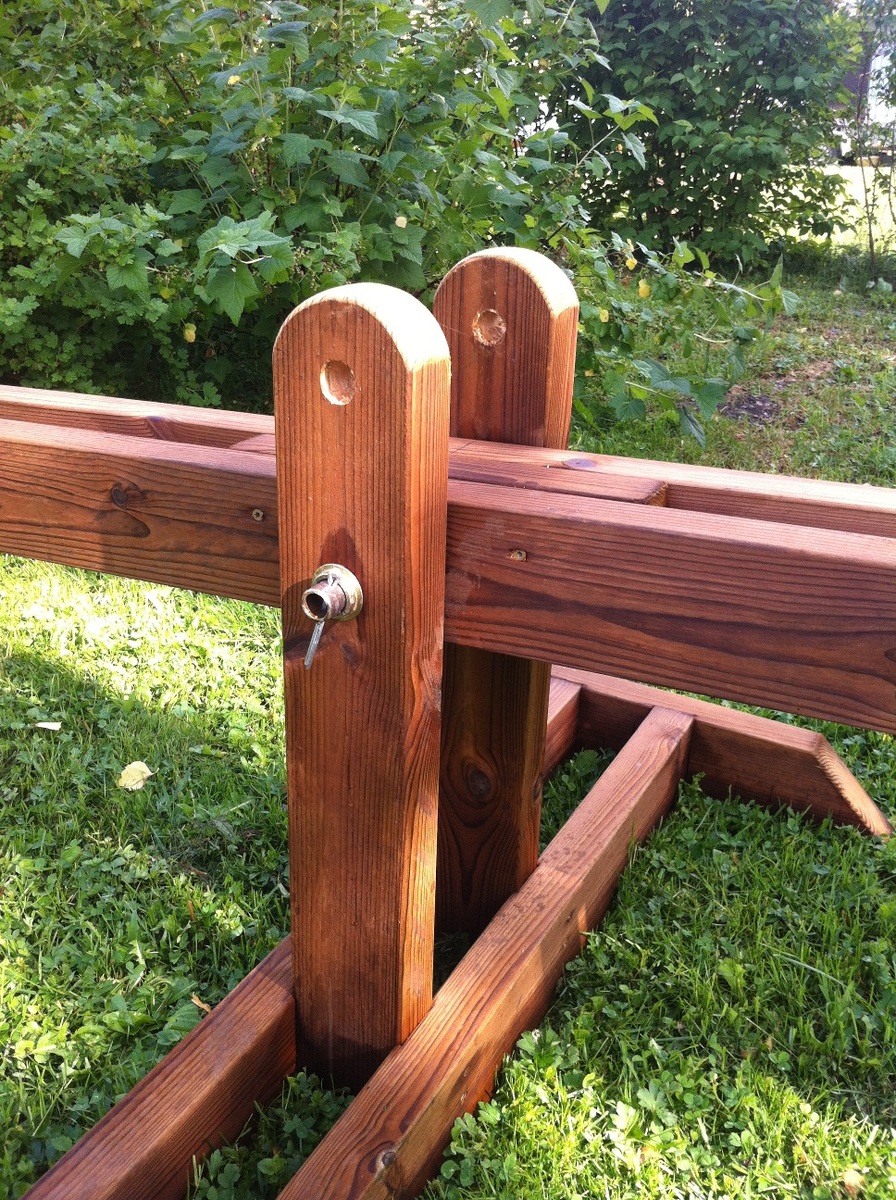
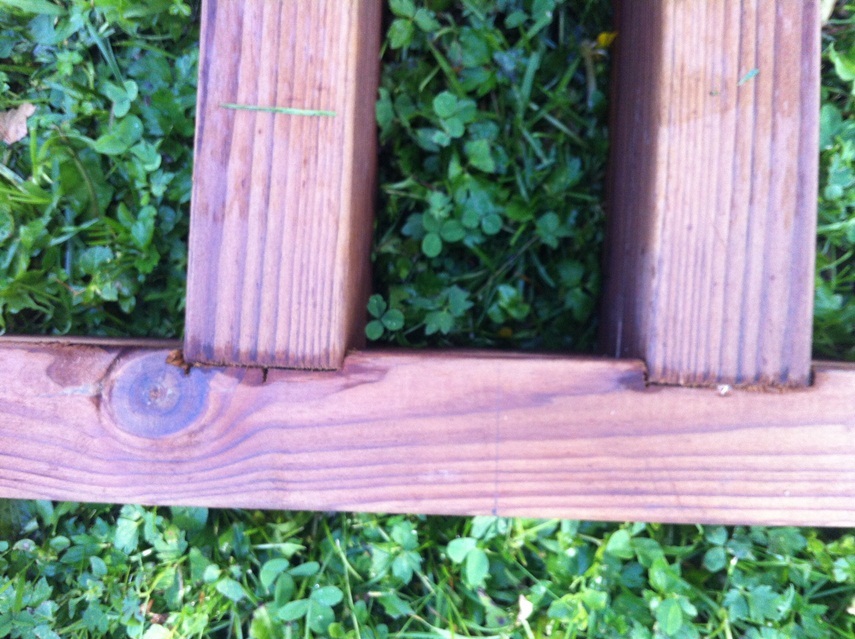
Seesaw
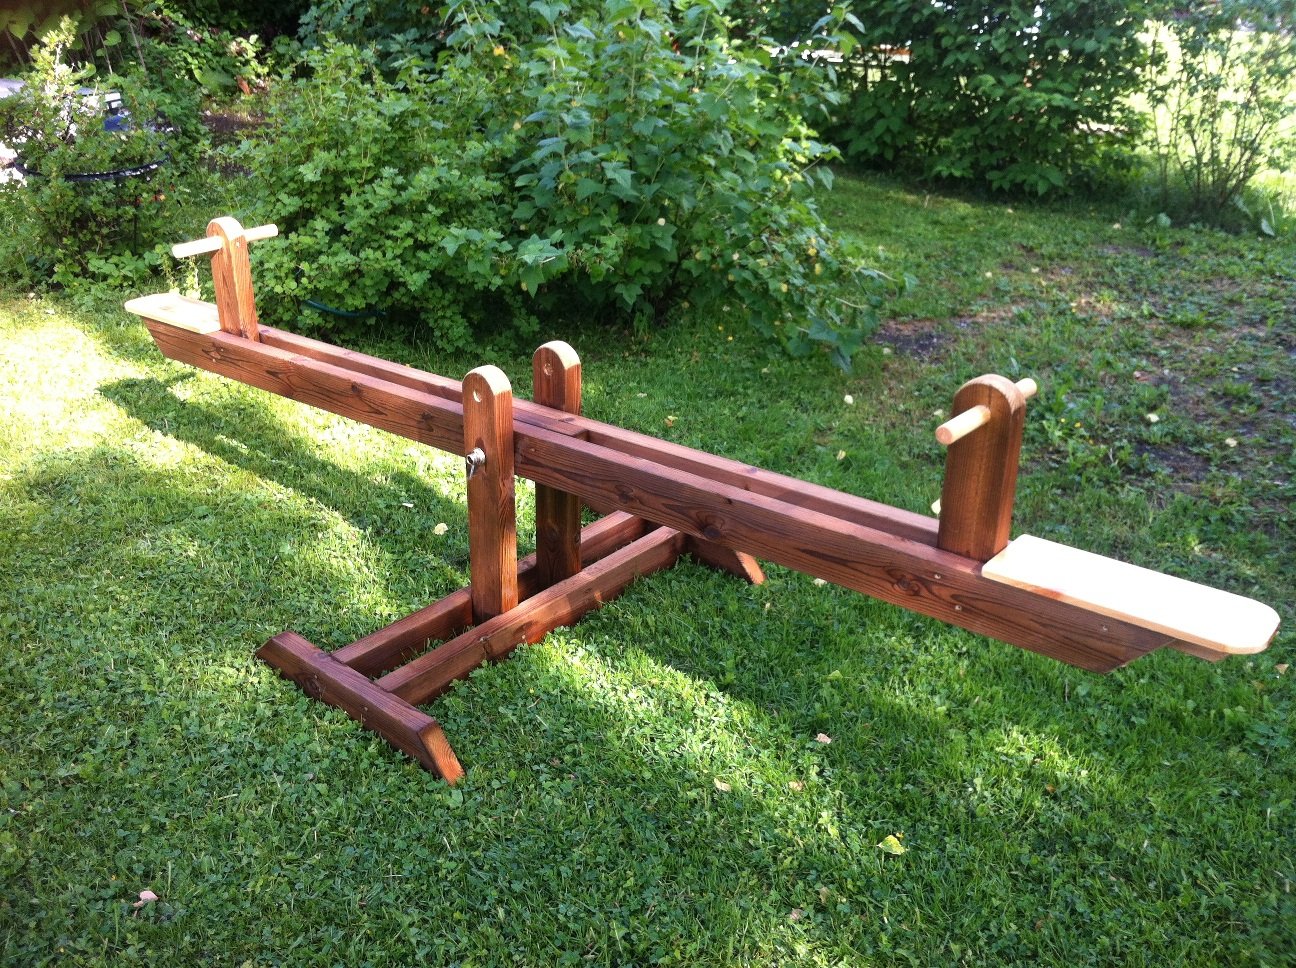
Greetings from Finland. I made teeter-totter from excellent plans Ana has donatet for all of us. I used treated wood, so I didn't need to paint the project (and never will :-) Handles and seats are made from raw wood. Gives also nice twin color look. To add some extra support I embed the beams at foot.

Built from Plan(s)
Estimated Cost
37€
Estimated Time Investment
Afternoon Project (3-6 Hours)
Recommended Skill Level
Beginner
Comments

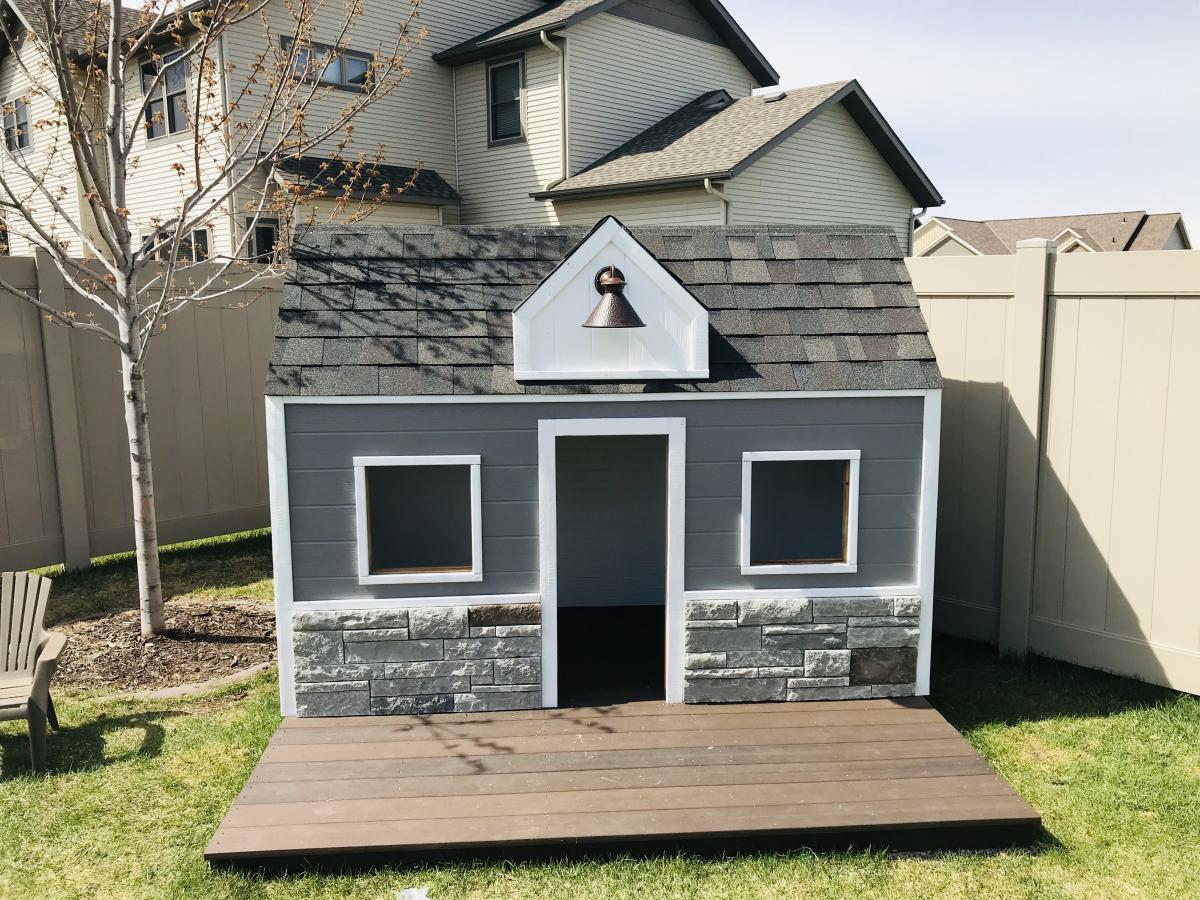
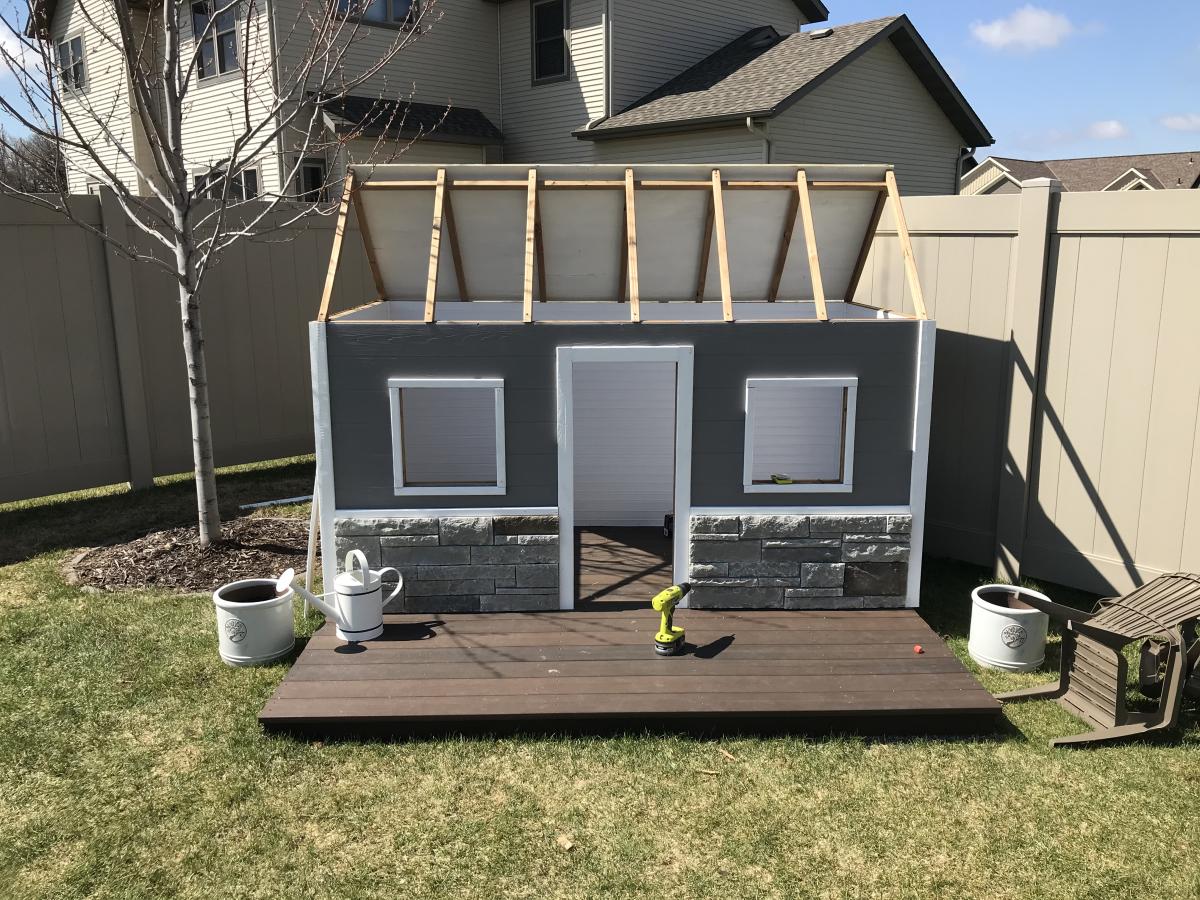
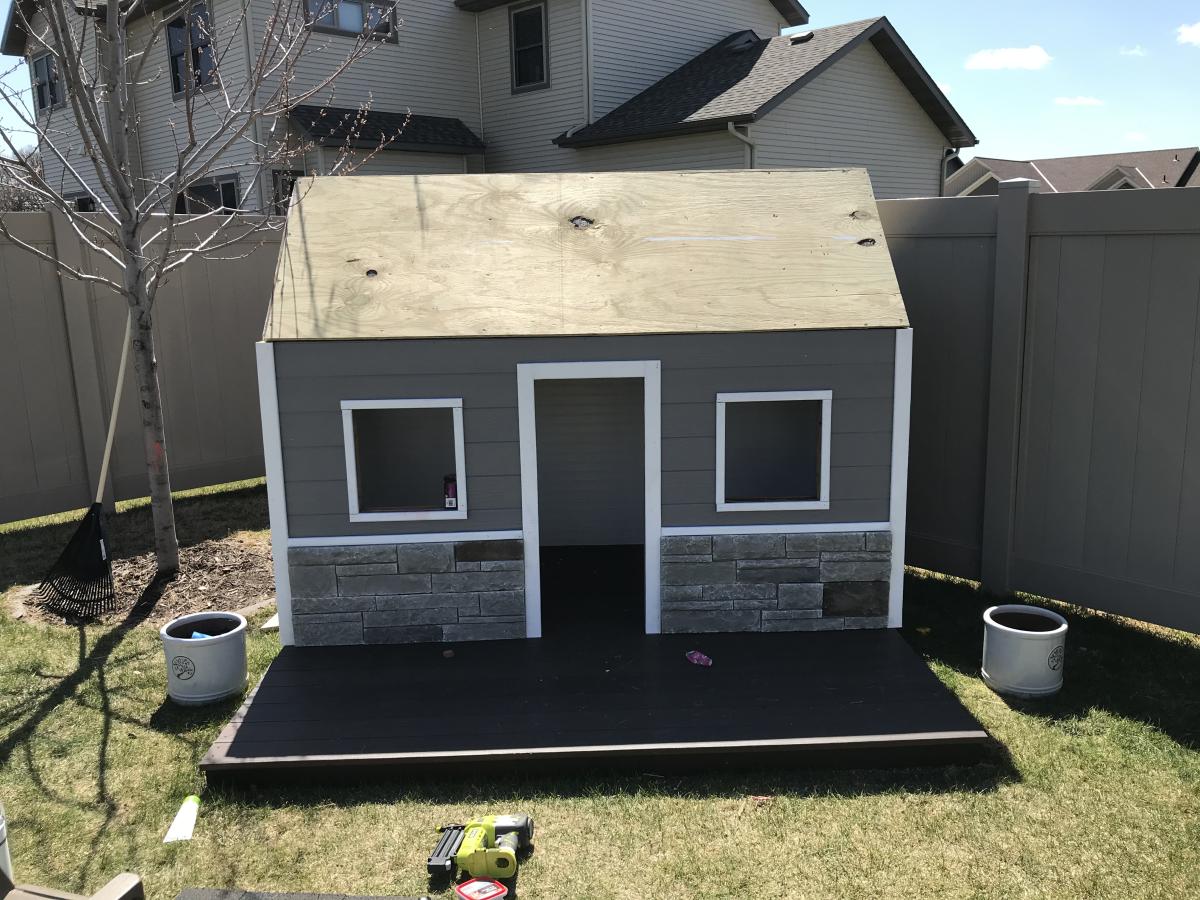
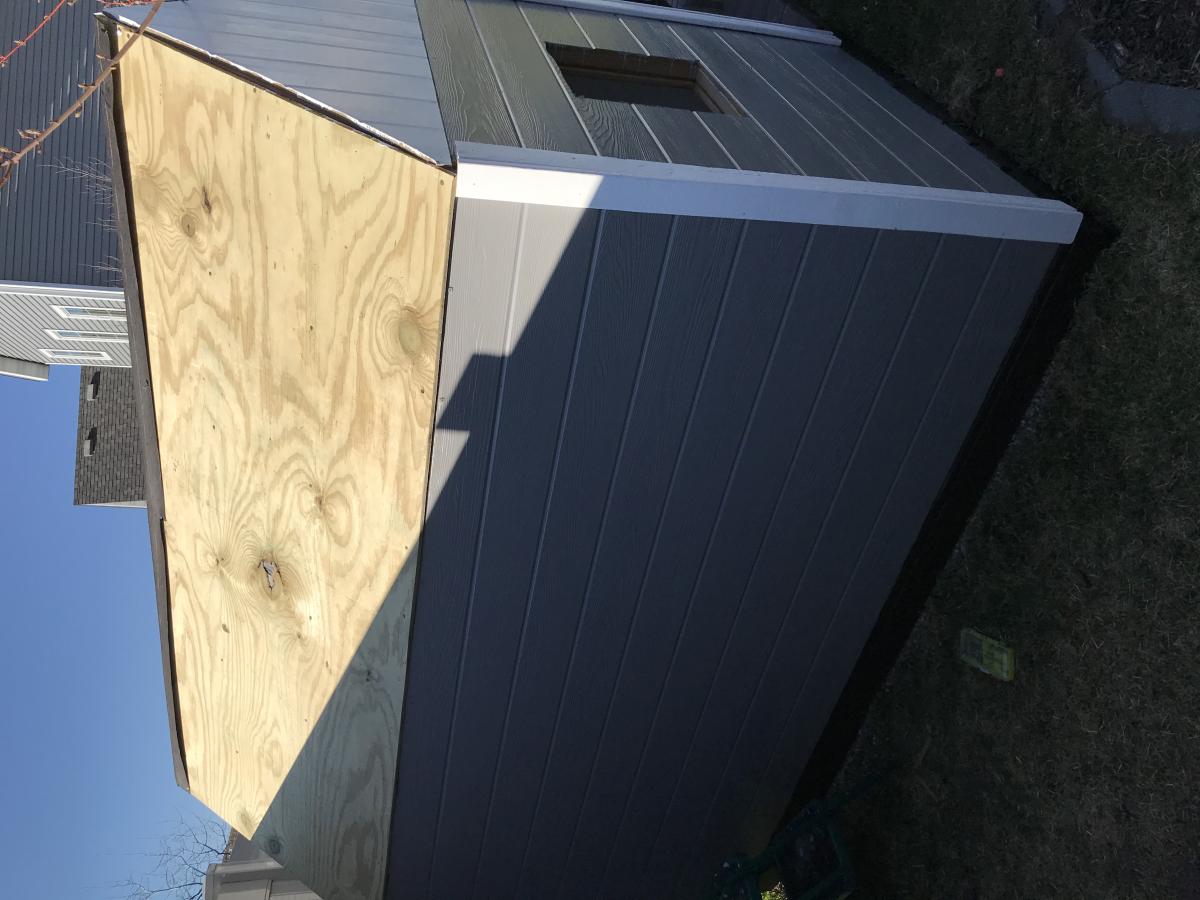
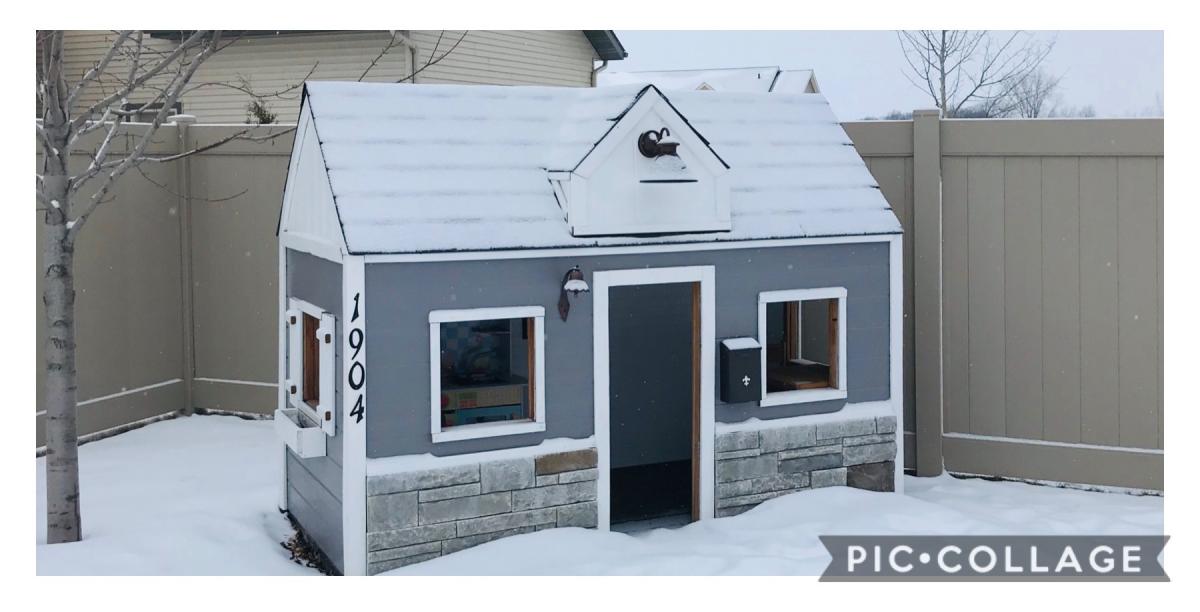
Playhouse - Drew Gaffke
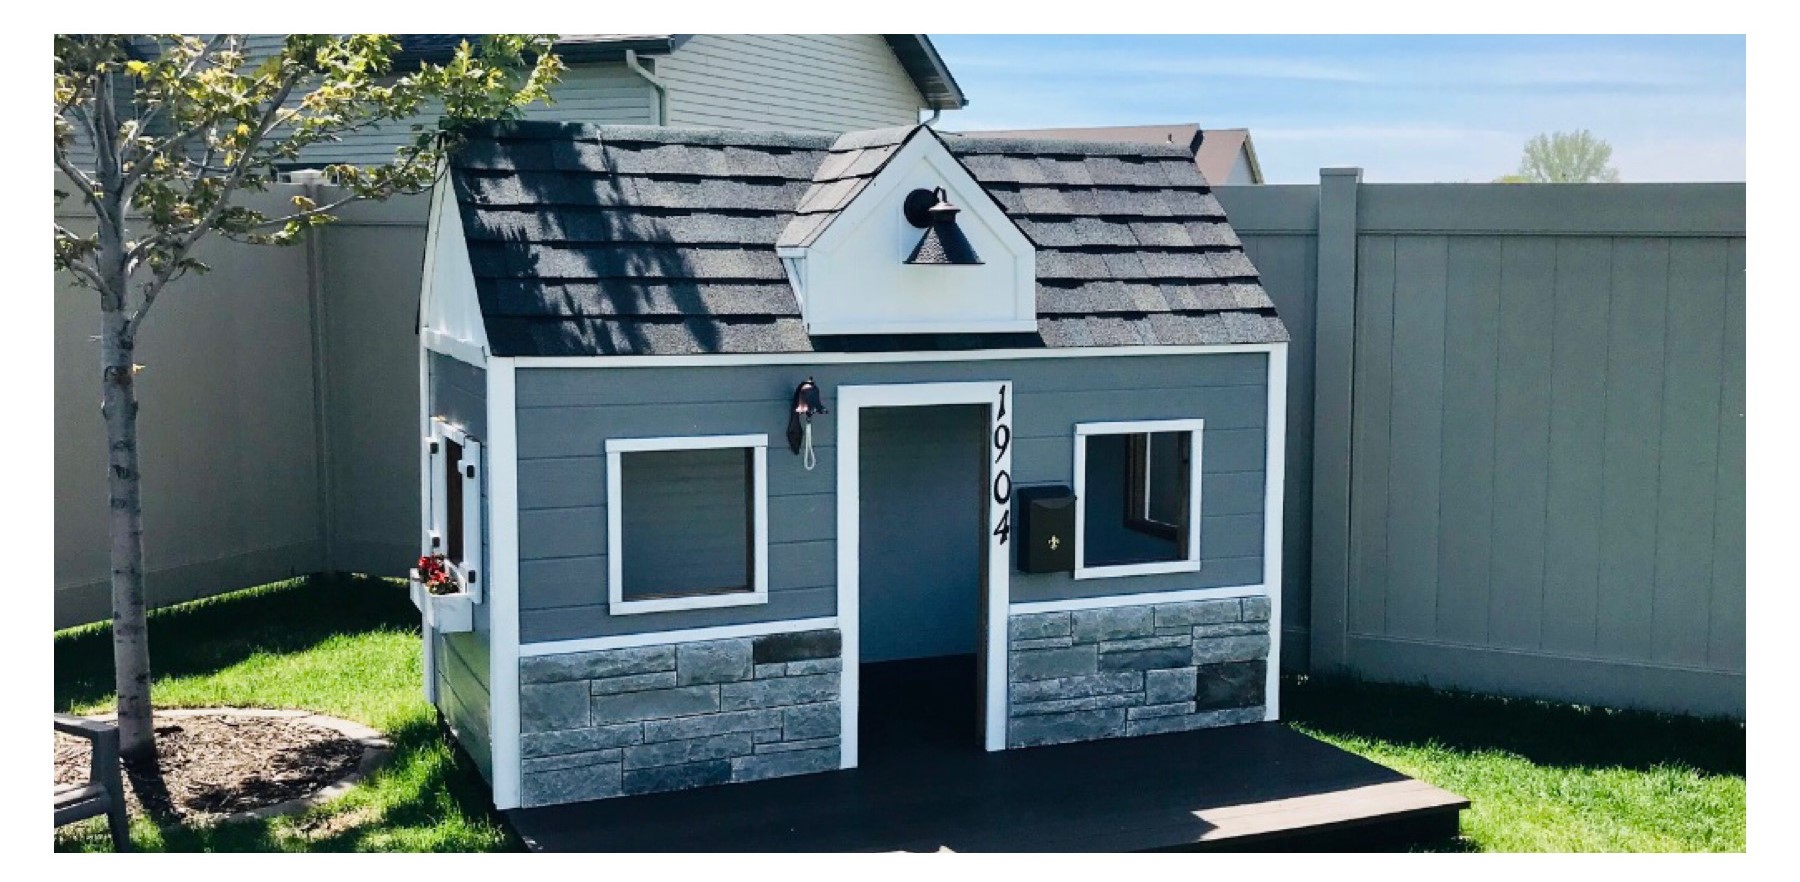
I combined a couple of playhouse plans for this one. The framing is 2x2 treated pine. The front is real stone. I tried to match our home the best that I could. The floor is made out of composite decking.
Comments
Sun, 12/26/2021 - 17:23
Amazing Playhouse!
WOW, that is so awesome, love the real stone, composite decking and that you matched your house!
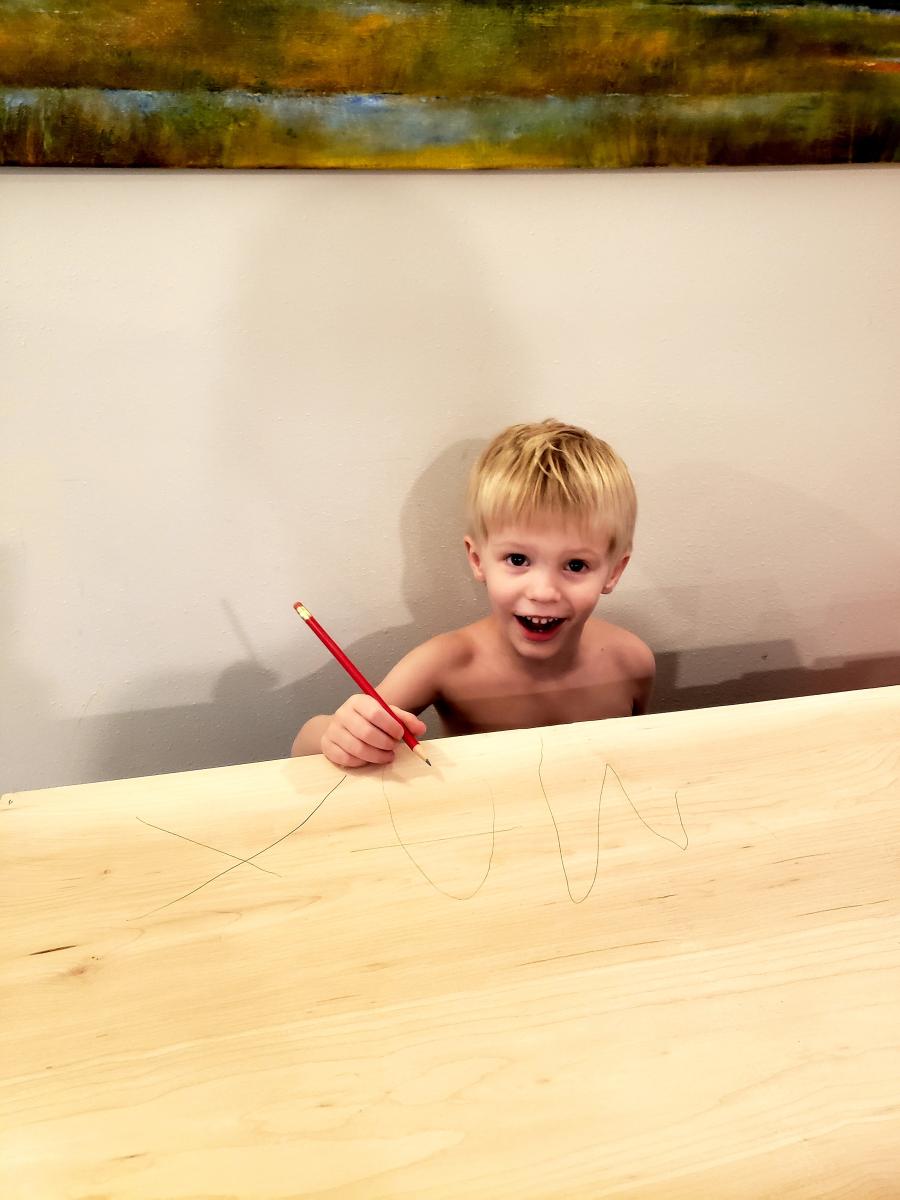
Kentwood bed
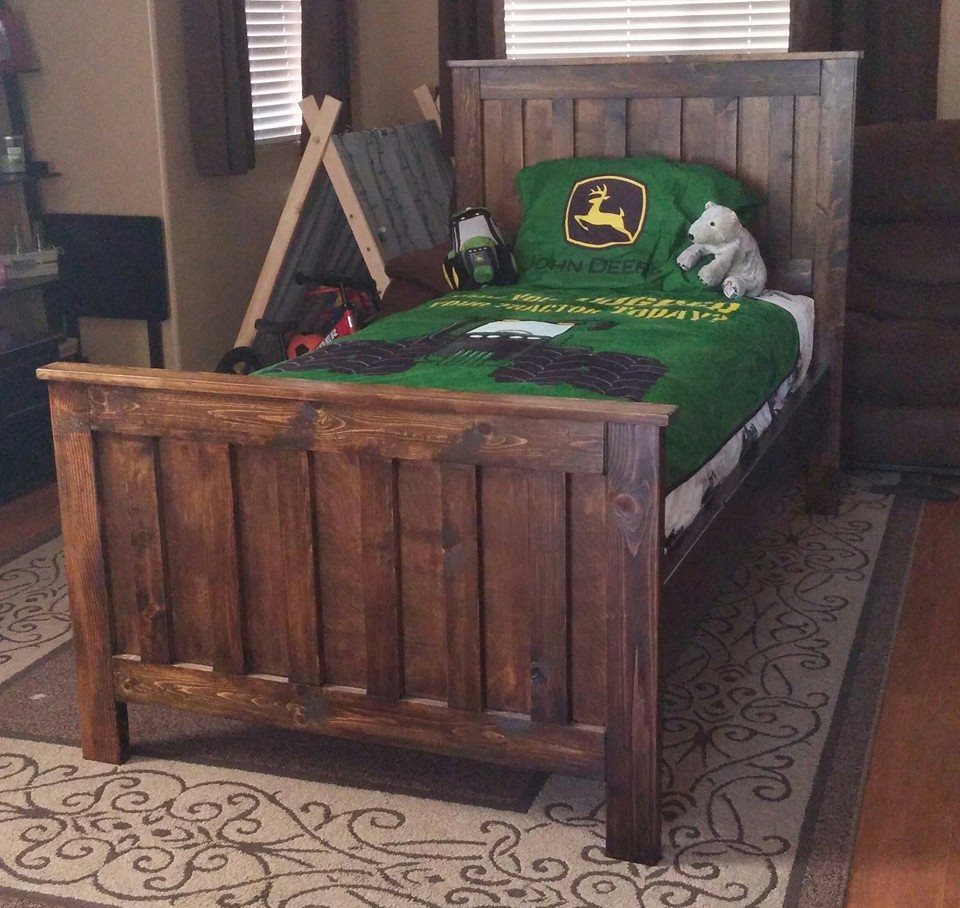
I built this for my four year old son! He even helped me out so that made him love it even more :)
Built from Plan(s)
Estimated Cost
$100-$120
Estimated Time Investment
Day Project (6-9 Hours)
Finish Used
Minwax Oil based stain- Dark walnut
Recommended Skill Level
Beginner
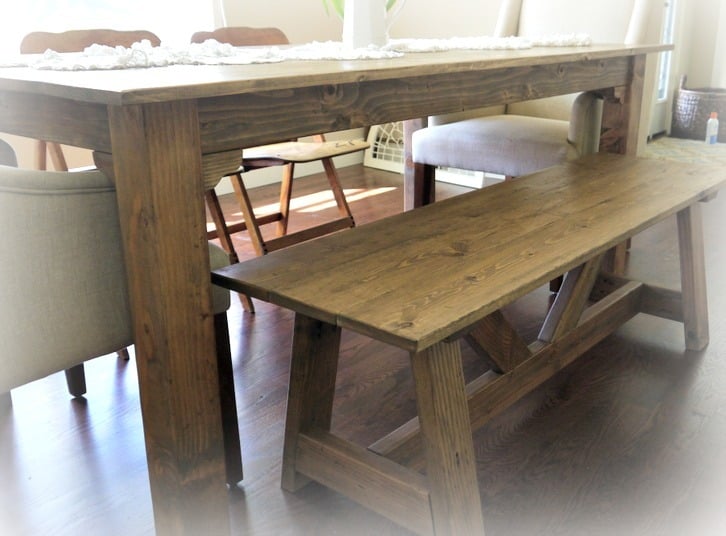
Red Hen Home's Modified Providence Bench
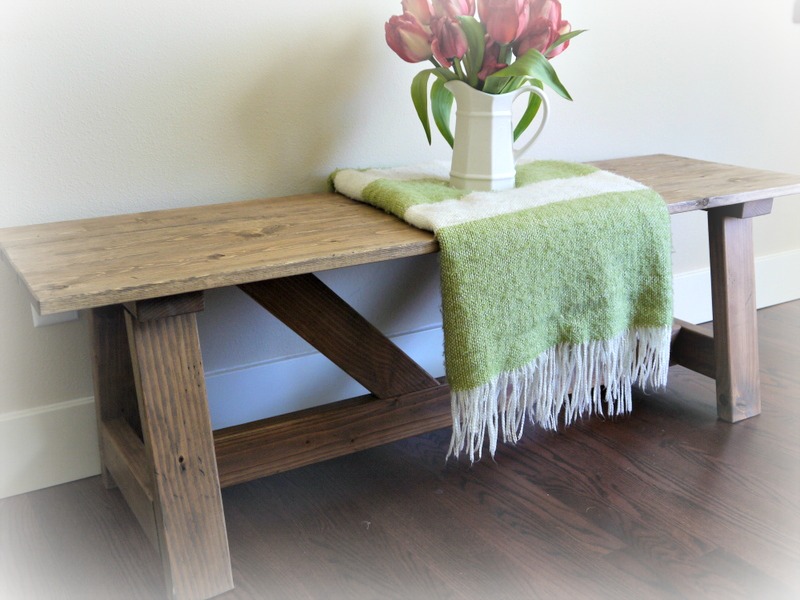
This is a slightly modified version of the Providence Bench. I used 1x wood rather than 2x wood, so the legs are slightly longer to make the bench come out to the same height. Made this to match a planked-top table. More photos on my blog: http://redhenhome.blogspot.com/2013/07/the-other-solomon-table-bench.ht…
Built from Plan(s)
Estimated Cost
50
Estimated Time Investment
An Hour or Two (0-2 Hours)
Finish Used
Custom mix of Minwax Weathered Oak and Antique Walnut stain, followed by hand-rubbed polyurethane.
Recommended Skill Level
Beginner
Comments
Thu, 09/12/2013 - 05:46
Very pretty!
I like the planked top! Great job on the finish - it's rustic without being overdone. It's one of the things i love about pottery barn furniture.
What is the hand-rubbed polyurethane? Is that just the wipe-on stuff I keep seeing at the store? Was it easy to use?
Phenomenal Family Room Built-Ins
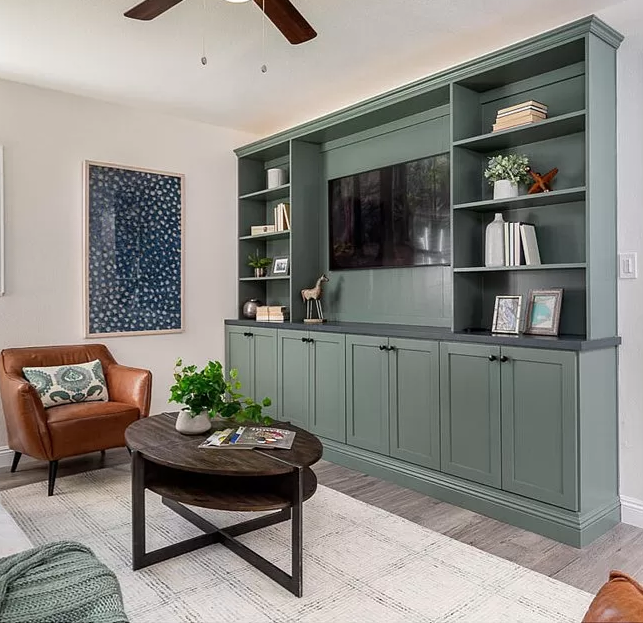
We had an awkward family room with a second front door which rendered the layout less functional than it could have been. My sister mused, "I wonder what would happen if you took out the second entry and added built ins?," and this project was born. With a 4 year old and a 2 year old and limited tools and workshop space, we were excited to find ShelfHelp, which allowed us to create custom built ins at a fraction of the cost and time they otherwise would have required (utilizing the "Frameless Built-Ins, All in One Method" plan) . Including the custom soapstone top that we had made from a local shop that was advertising remnants, the project came in under $1000, and we were thrilled with the results. SO MUCH TOY STORAGE, an unobtrusive TV, and a much more functional layout. Thank you, Ana White!
Comments
Wed, 04/06/2022 - 09:55
AH-MAZING!!!
WOW, this is gorgeous, thank you so much for sharing and trusting us with your huge project!
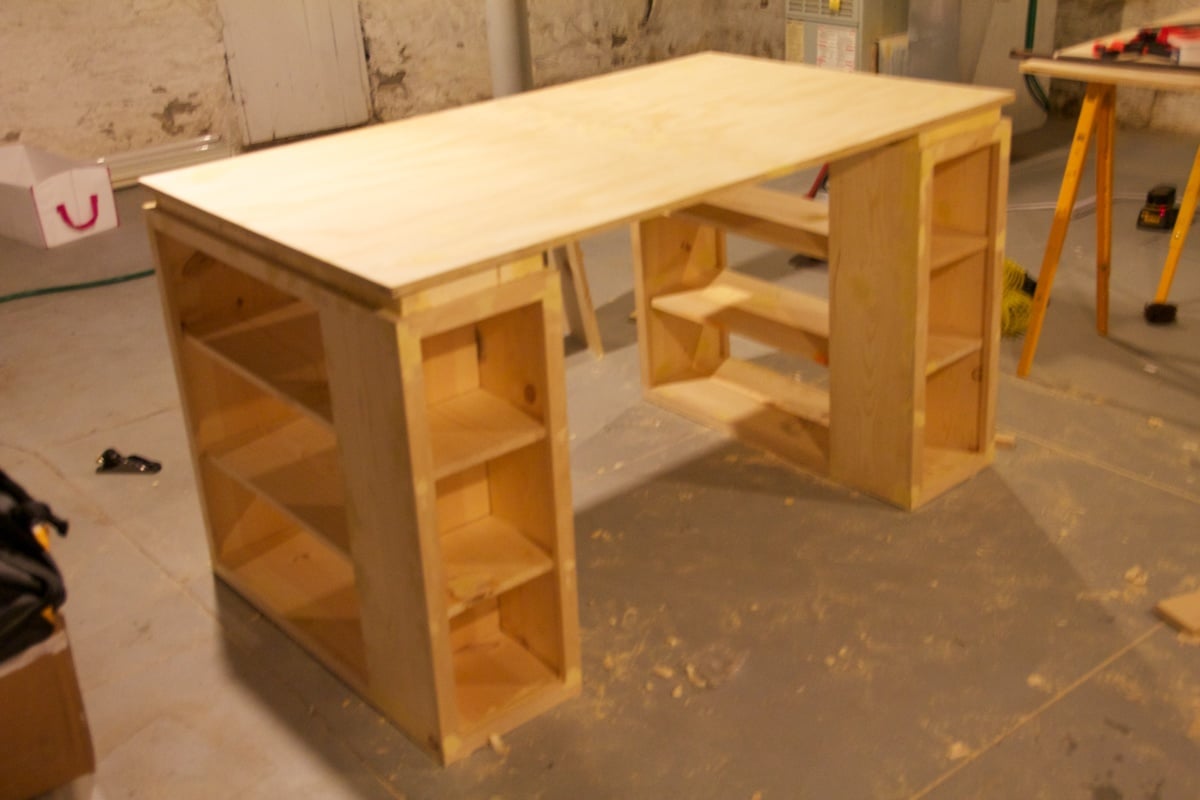
My wife's new Craft table
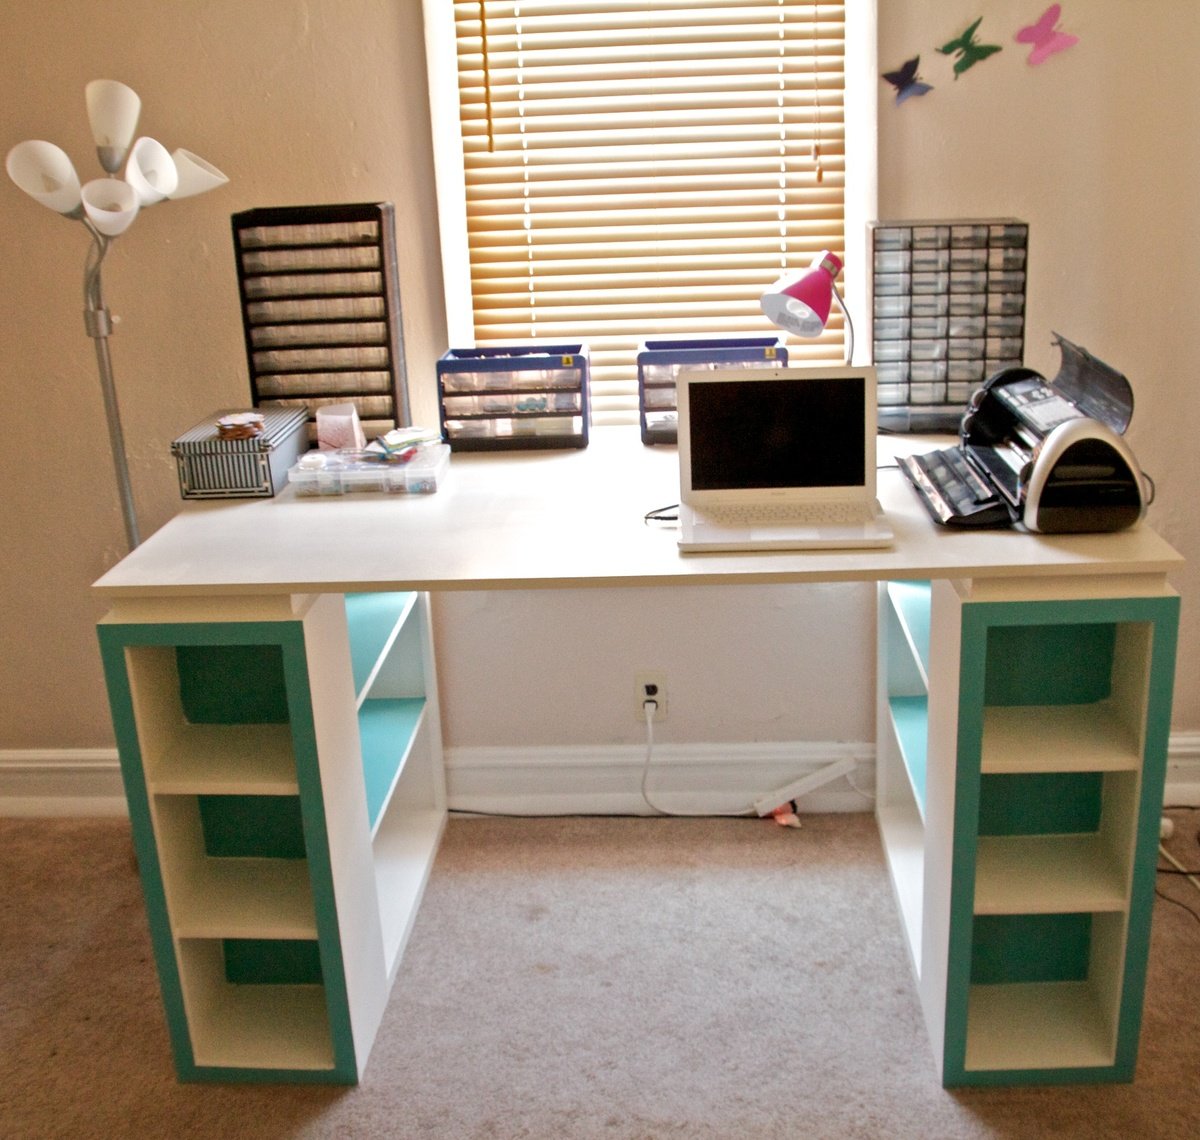
This is actually my third project from your site Ana.
I acctually decided to make this table ten inch wider since my wife has a loooooooot of crafts :)
This project took a little longer then I thought.
It was my own fault!!! I thought I would safe some time and get some of the wood cut buy the clerk at Home Depot. That turned out to be a really bad idea. Most of my cuts were uneven and even after I gave the clerk the exact measurements, a few of the boards were up to 2 inches too long. At the end I had to buy two more boards because I had to cut peaces away to have straight edges.
Lesson learned!!!
I love building wood furniture. And I already got my next plan from your site that I'm going to build.
Built from Plan(s)
Estimated Cost
$160
Estimated Time Investment
Weekend Project (10-20 Hours)
Finish Used
Valspar-Dove tail white(Eggshell)
Behr- Surfer(eggshell)
2 coats of clear Polyurethane Semi-Gloss
Behr- Surfer(eggshell)
2 coats of clear Polyurethane Semi-Gloss
Recommended Skill Level
Beginner
Comments

Wed, 09/07/2011 - 04:18
this is what i need.
awesome job! im in the middle of making one of these at the moment. but just to be a tad different i have put a small cutout hole on the top, theres a little bin that sits on the shelf under it, so all i have to do when ive finished with all my paper cuts is swipe it down the hole! hehe how nifty. oh and where did your wife get the black cricut machine?? lol
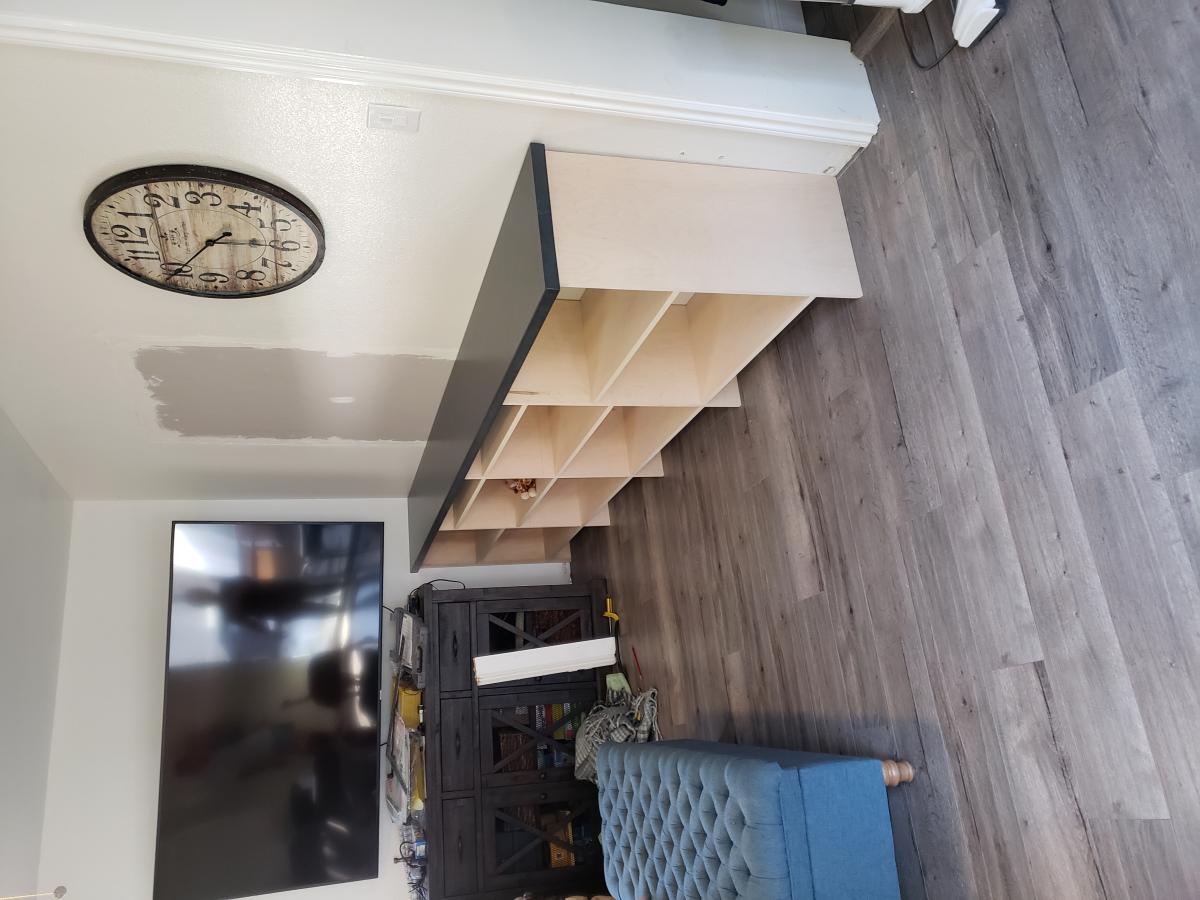
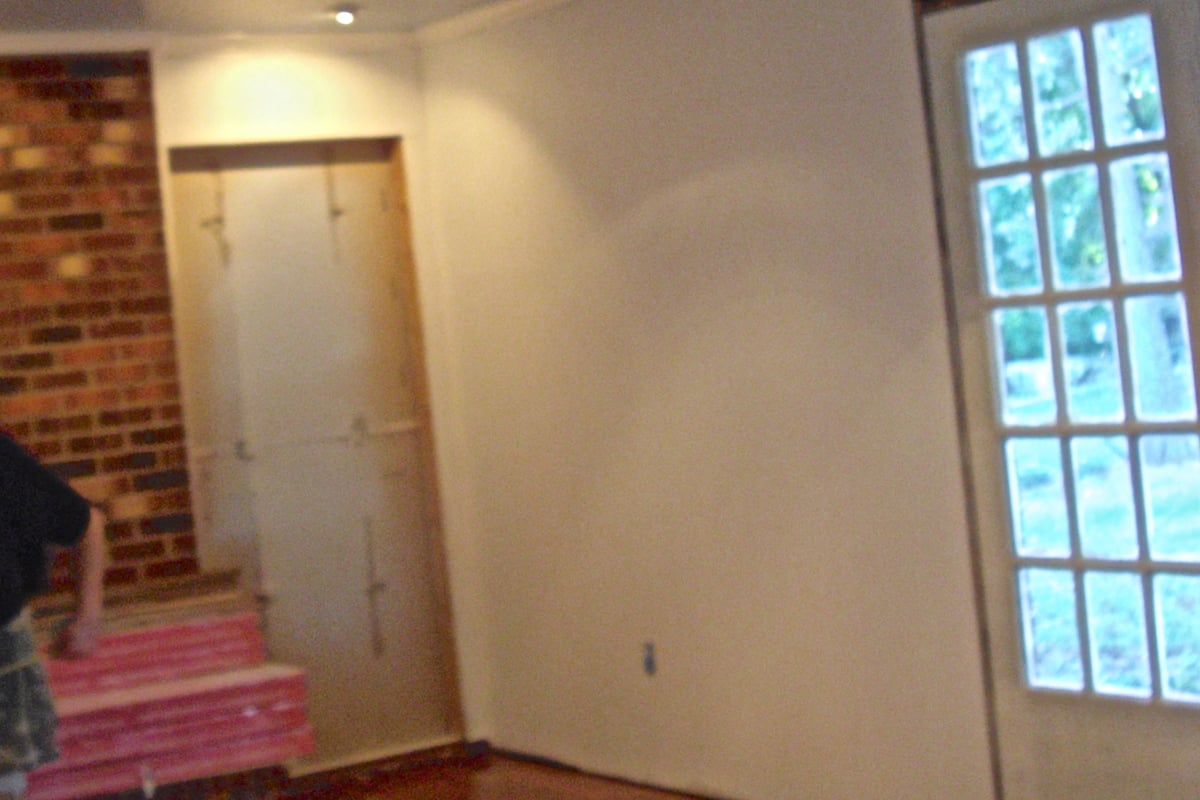
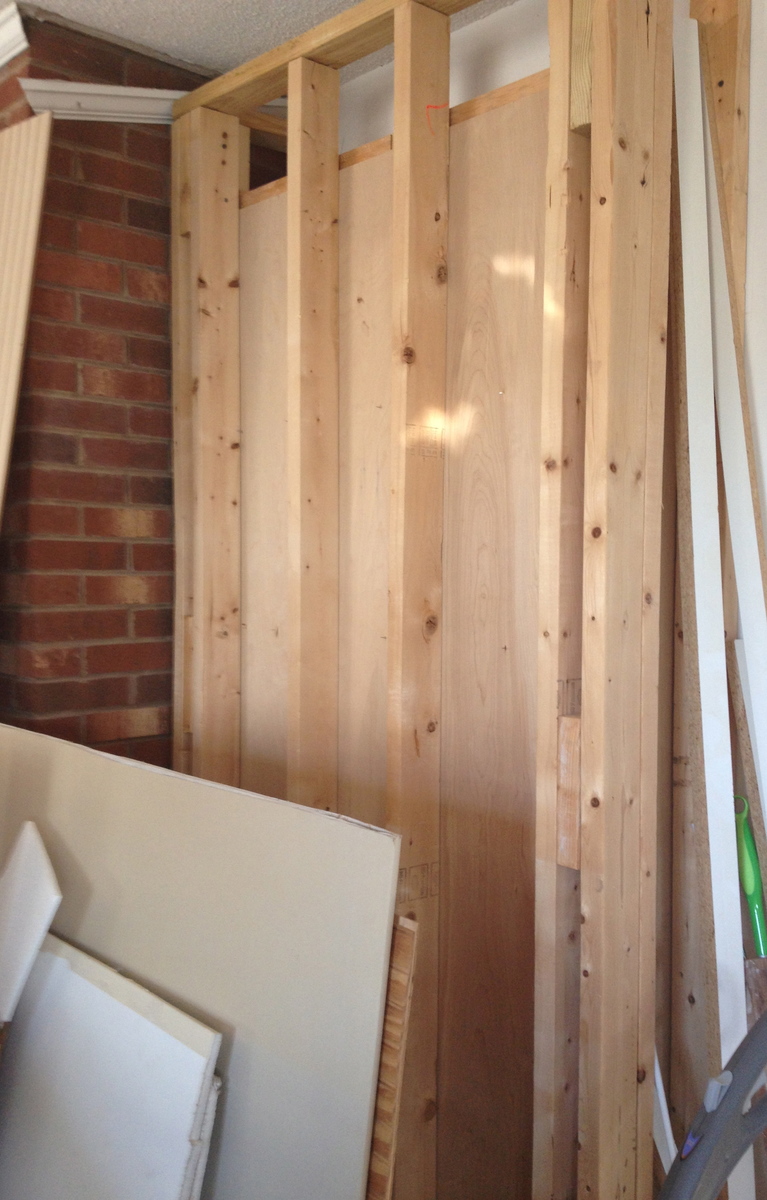
Building Built In Bookshelves
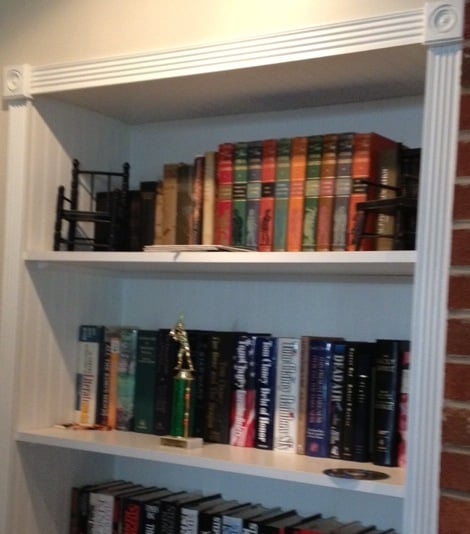
I decided to build bookshelves on either side of the fireplace, where it was just drywall. I wanted them to be flush with the wall, and the garage is behind the wall. So, I built them into the garage.
I put headers above where the bookshelves would be, and framed the back side in the garage with just 2x4's. I used full sheets of bead board to cover the backs and sides, and tops. Then I bought pre made shelves and put them up using quarter round to support the shelves on all three sides.
I then bought a door frame kit that I liked, that came with fluted pieces for the sides and top with decorative squares to put at the corners. I caulked and painted it all once it was built. I used a circular saw, framing nail gun, compressor, trim nail gun, chop saw and a hammer total. It was a pretty simple project but has made the space much more useable and pretty. My next project is to build a mantle and surround that matches the bookshelves.

Estimated Cost
$200
Estimated Time Investment
Weekend Project (10-20 Hours)
Finish Used
glossy white paint, Behr Polar Bear white.
Recommended Skill Level
Intermediate
Loft Bed - Janets DIY Nest
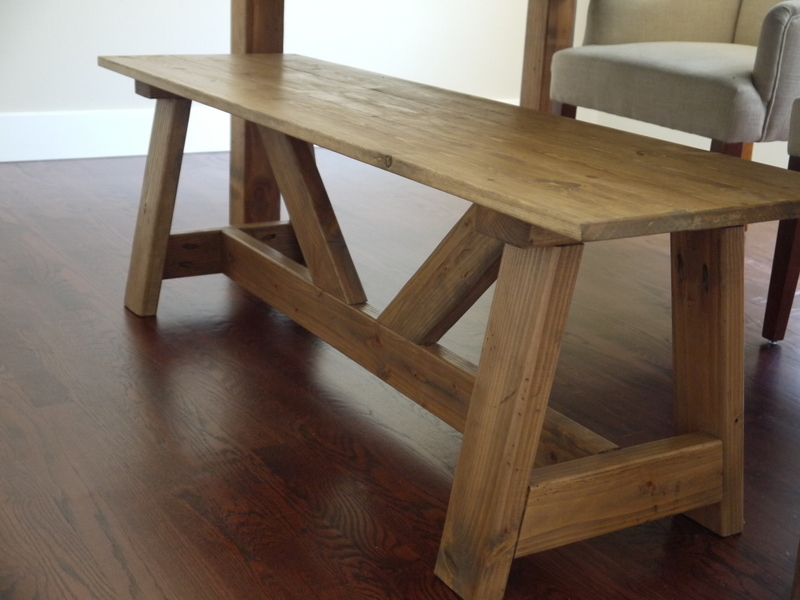
Rustic Table - 4x4 legs
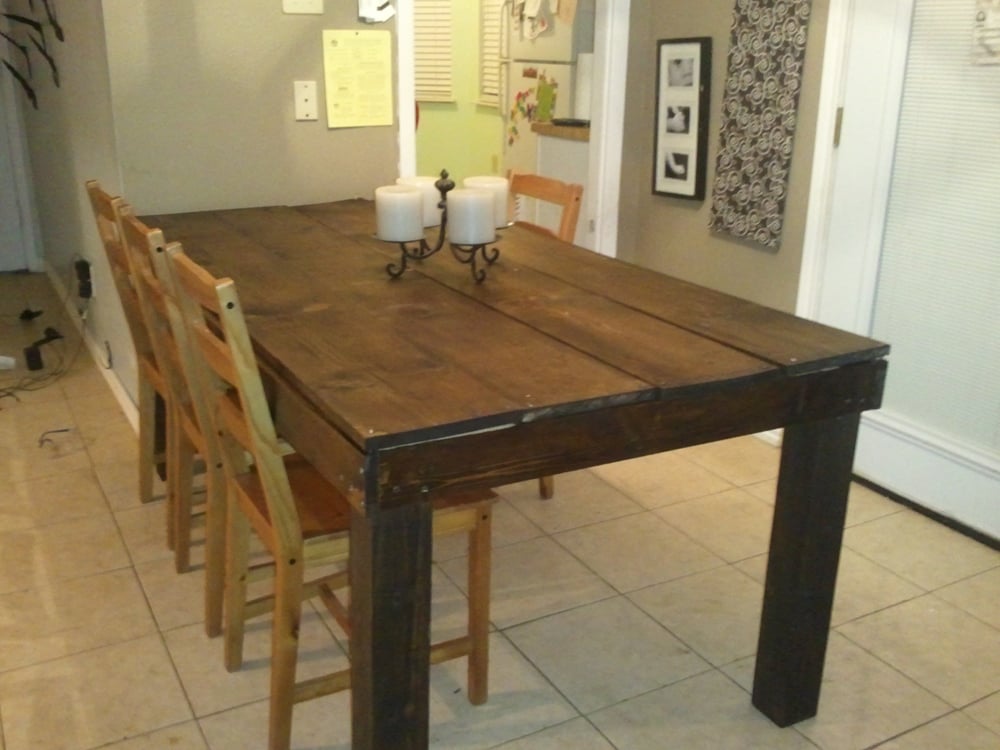
LOVED doing this! I am a total beginner so it is not truly perfect but that is what we love about it! My five year old helped me and learned how to work an electric screwdriver. We saw Pottery Barn was broadcasting a table like this and using that the screws showed as a marketing piece - so we have some screws showing and it is soooo warm and inviting. It looks 100 years old. Everyone loves it!! Thank you for the great inspiration. We made ours 6 feet long and 3 feet wide to fit our space and 4x4's for the legs.
Built from Plan(s)
Estimated Time Investment
Day Project (6-9 Hours)
Finish Used
Miniwax in jacobean
Recommended Skill Level
Starter Project
Comments
Thu, 11/24/2011 - 20:26
Can I have the step by step
Can I have the step by step plan too! Pretty please! I love this table :)
Thank you so much
-erin
Brick Fireplace
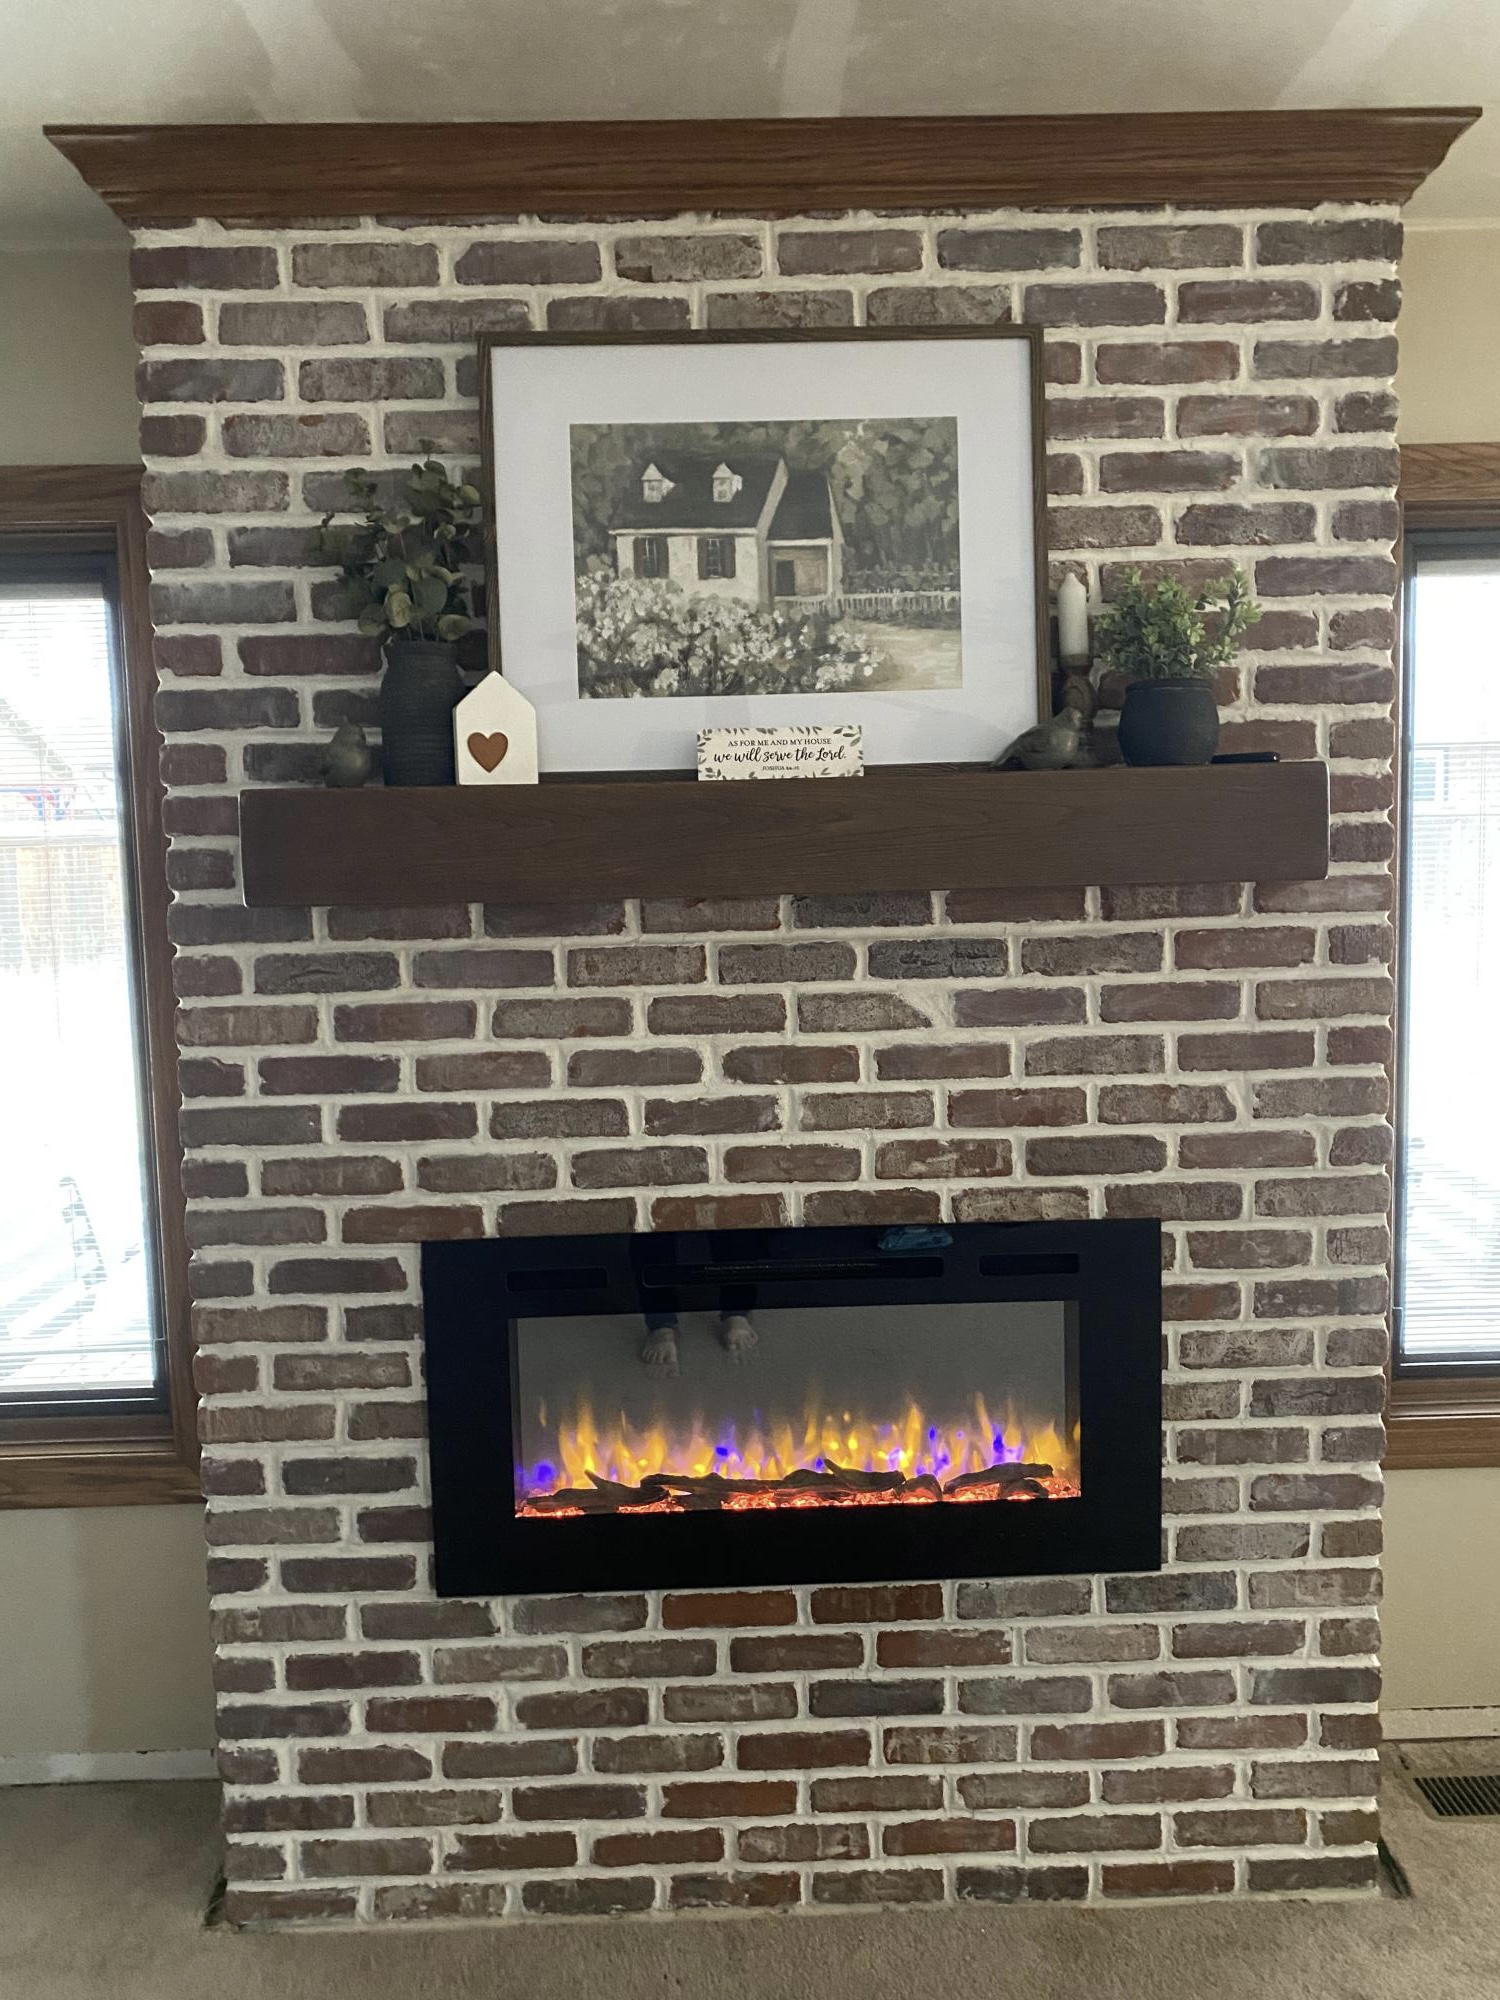
We used Ana White shiplap fireplace tutorial to build the structure and then followed her advice for brick installation instead of shiplap. It all turned out so great. The fireplace has changed the entire feel of our house now. Thank you Ana!
Built from Plan(s)
Comments
Workbench
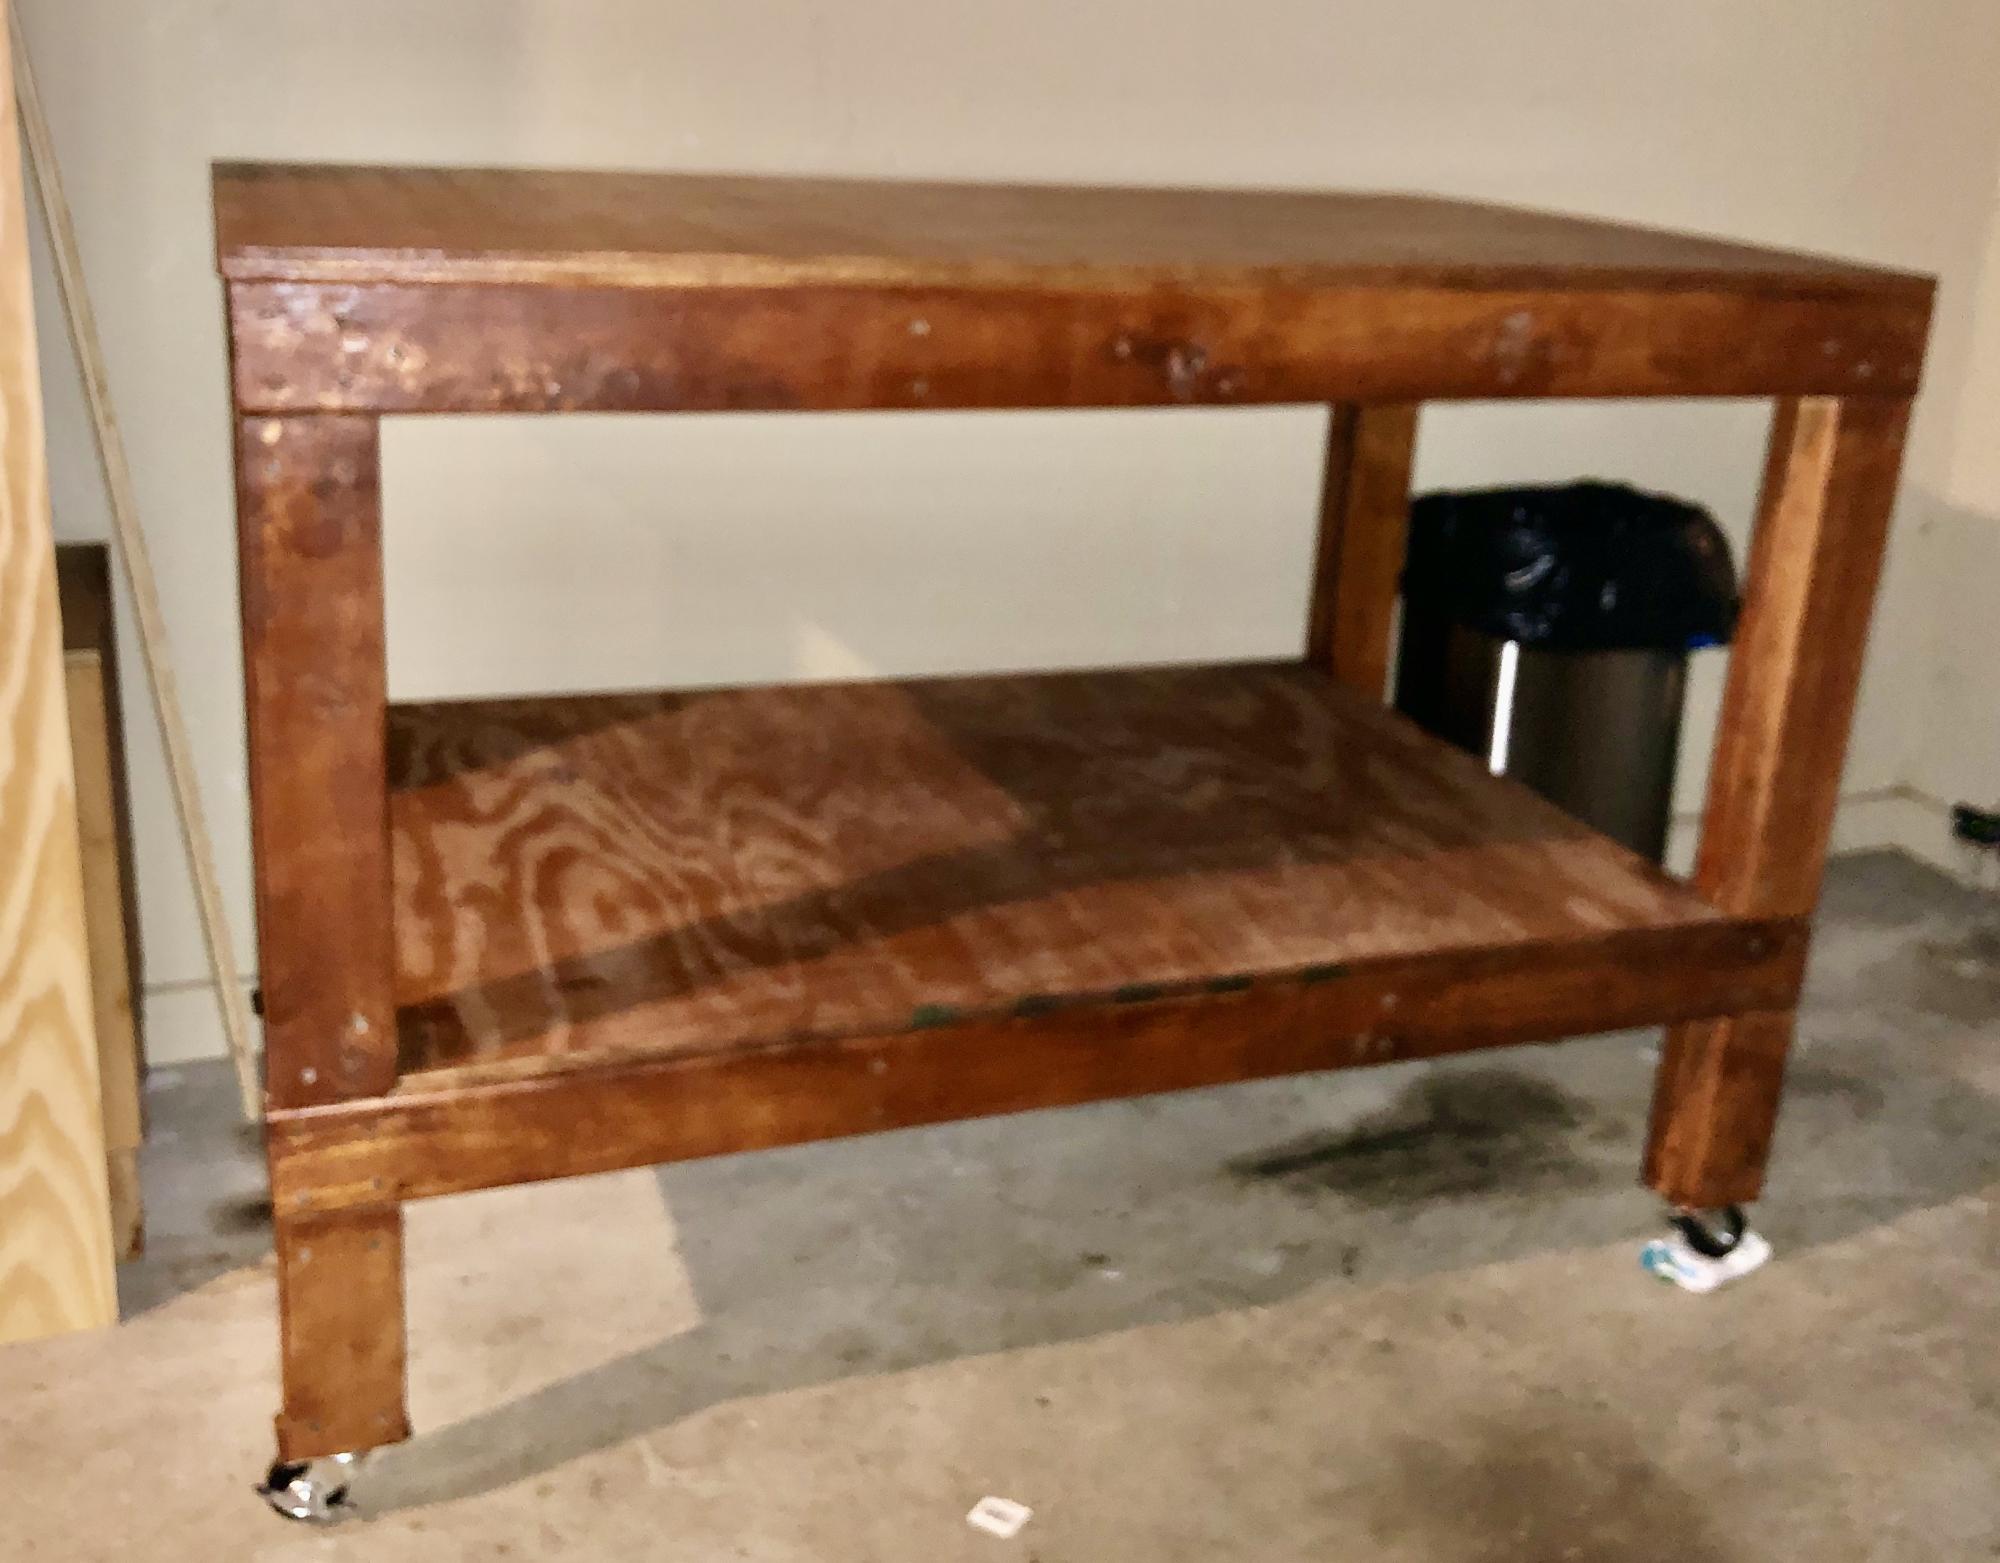
This was my first build and experience with power tools. The size of the workbench table is absolutely the perfect length and height. I ended up adding wheels that lock in place. I’m hooked! Thank you Ana White for providing the plans for a workbench.
Built from Plan(s)
Estimated Cost
$70.00
Estimated Time Investment
Day Project (6-9 Hours)
Finish Used
Walnut stain
Recommended Skill Level
Beginner
Comments

Thu, 02/20/2020 - 11:04
Sturdy wood workbench table
This project is perfect for the beginner. The plans are very simple to follow especially for one that’s never picked up a power tool. I am absolutely hooked.
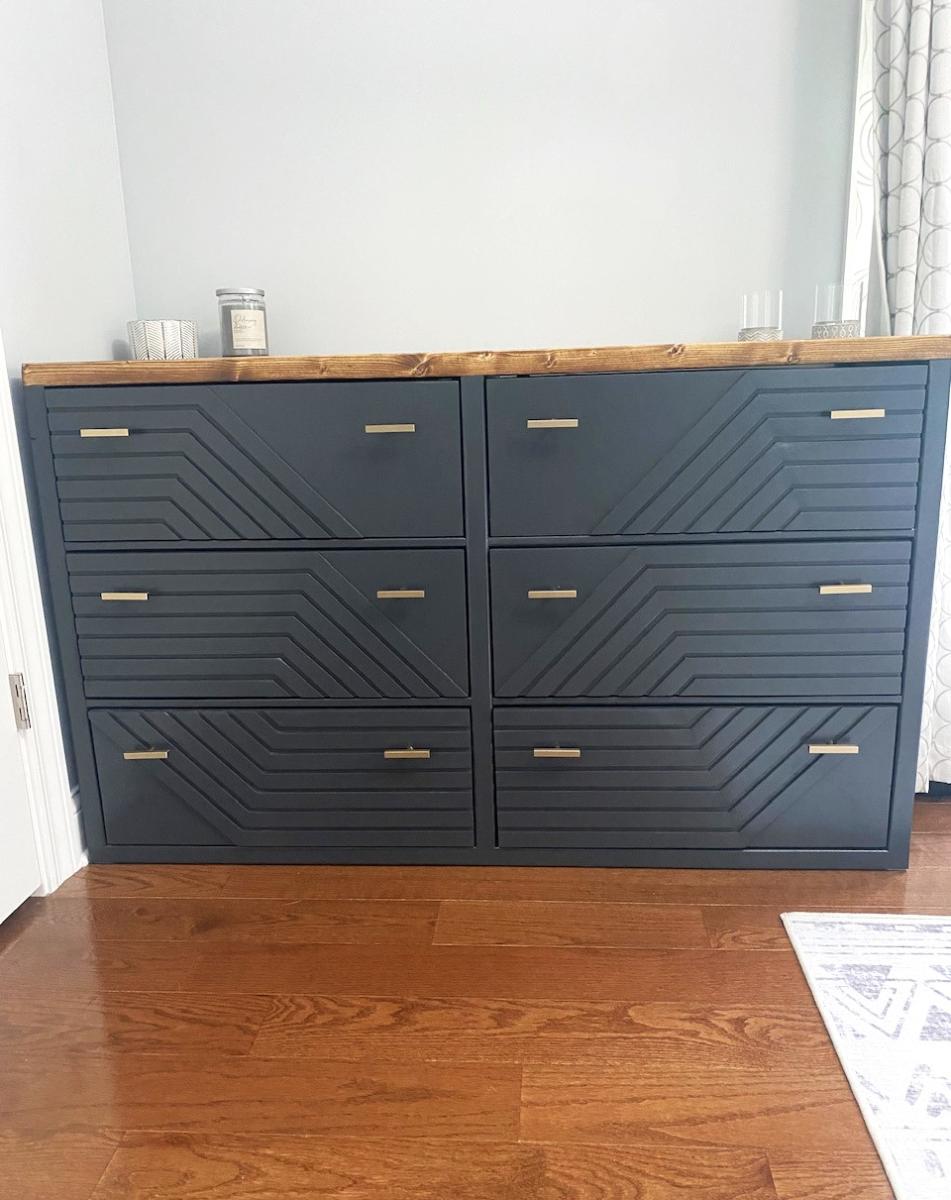
Geo Dresser
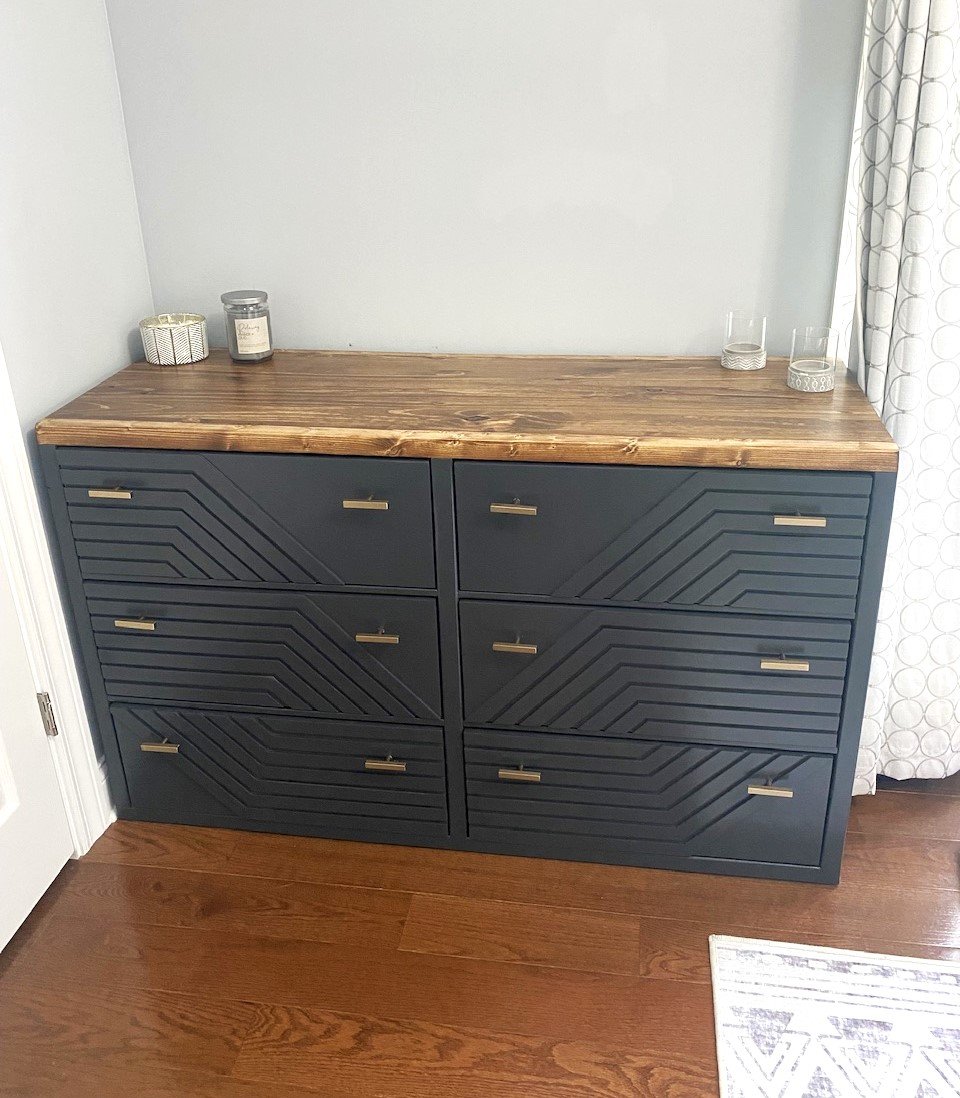
Bedroom dresser made from Ana White’s plans! Absolutely love it and it was easy to build!
Kristen Kobeszko
Built from Plan(s)
DIY Stinctly Made Crib
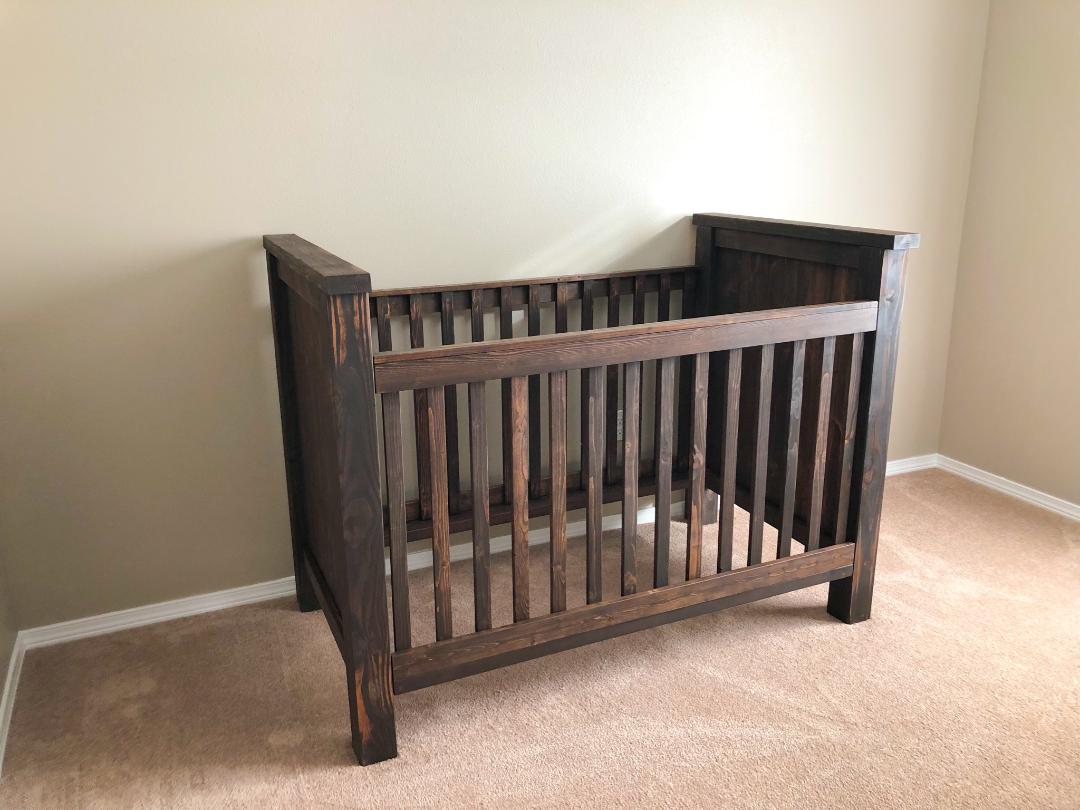
While I found the plans a little difficult to follow as there were steps left out, missing measurements, and misinformation, it was an easy project and I'm so glad I made it. Even at 21 weeks pregnant it was totally doable alone. The only thing I needed my husband for was to hold the side rails at the correct height.
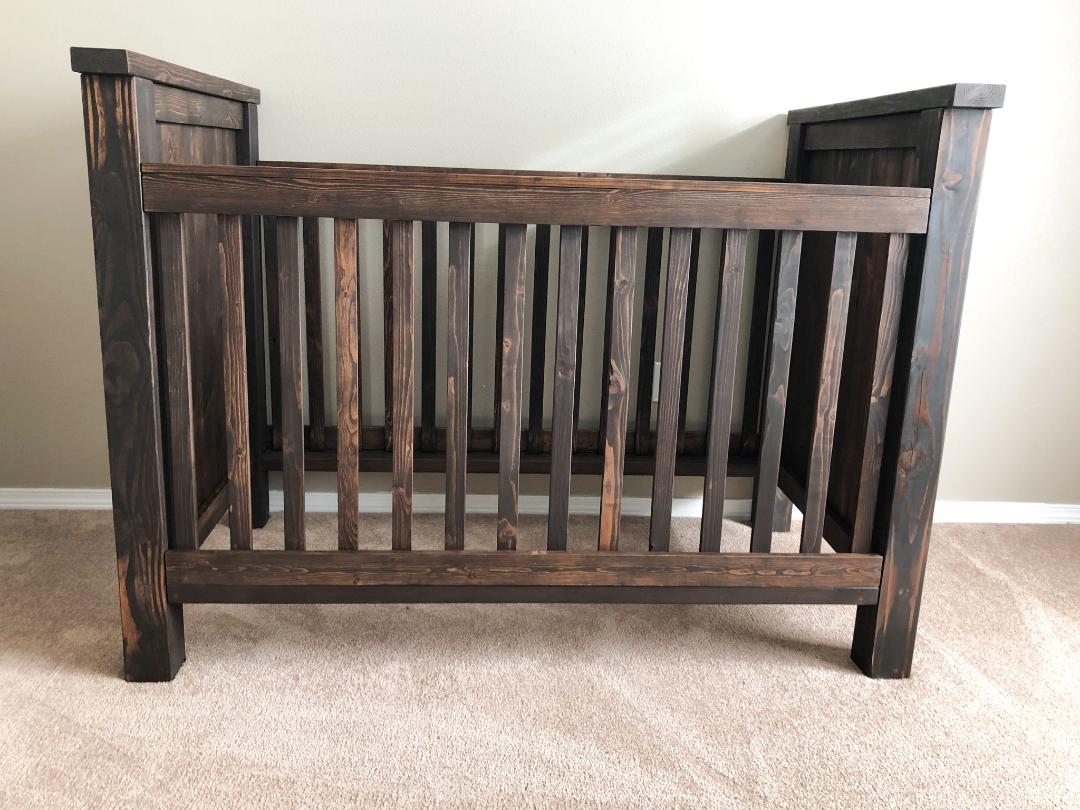
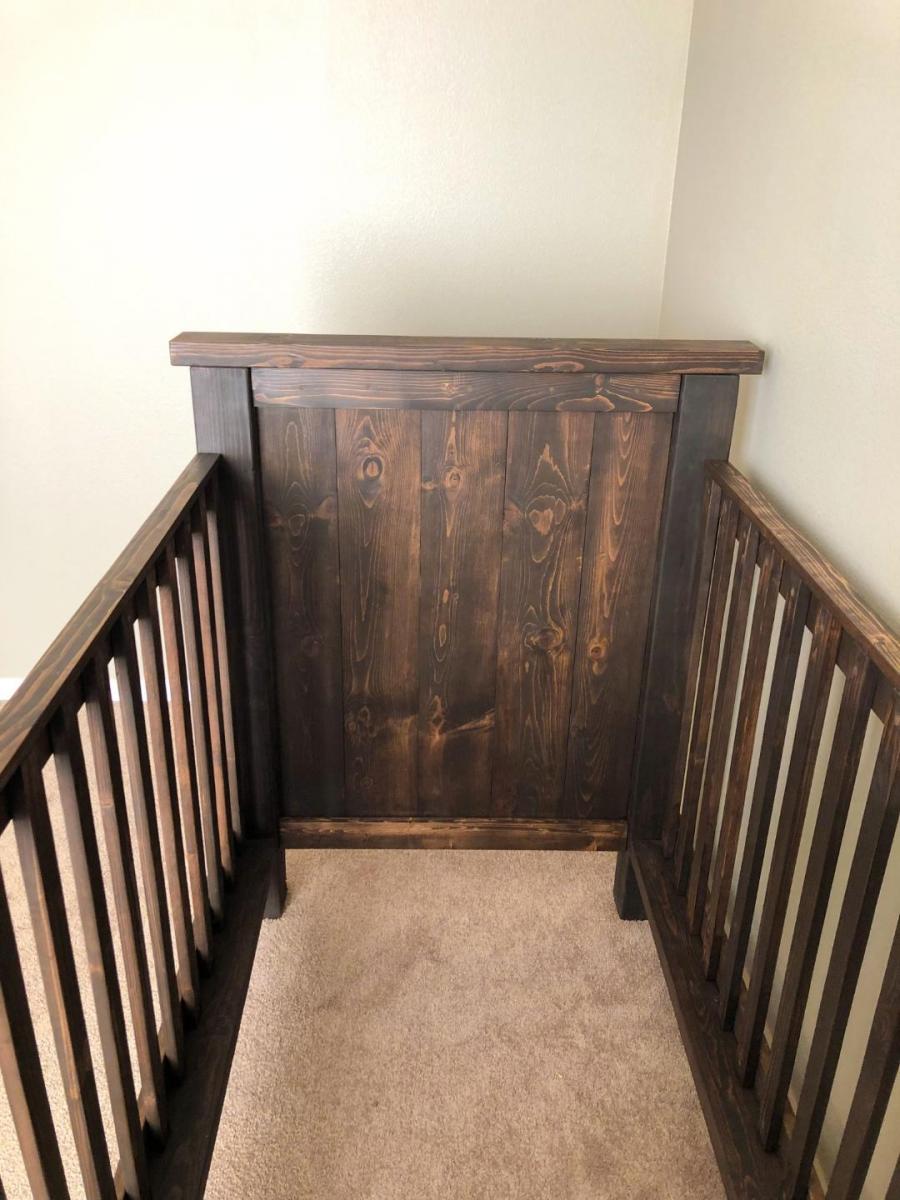
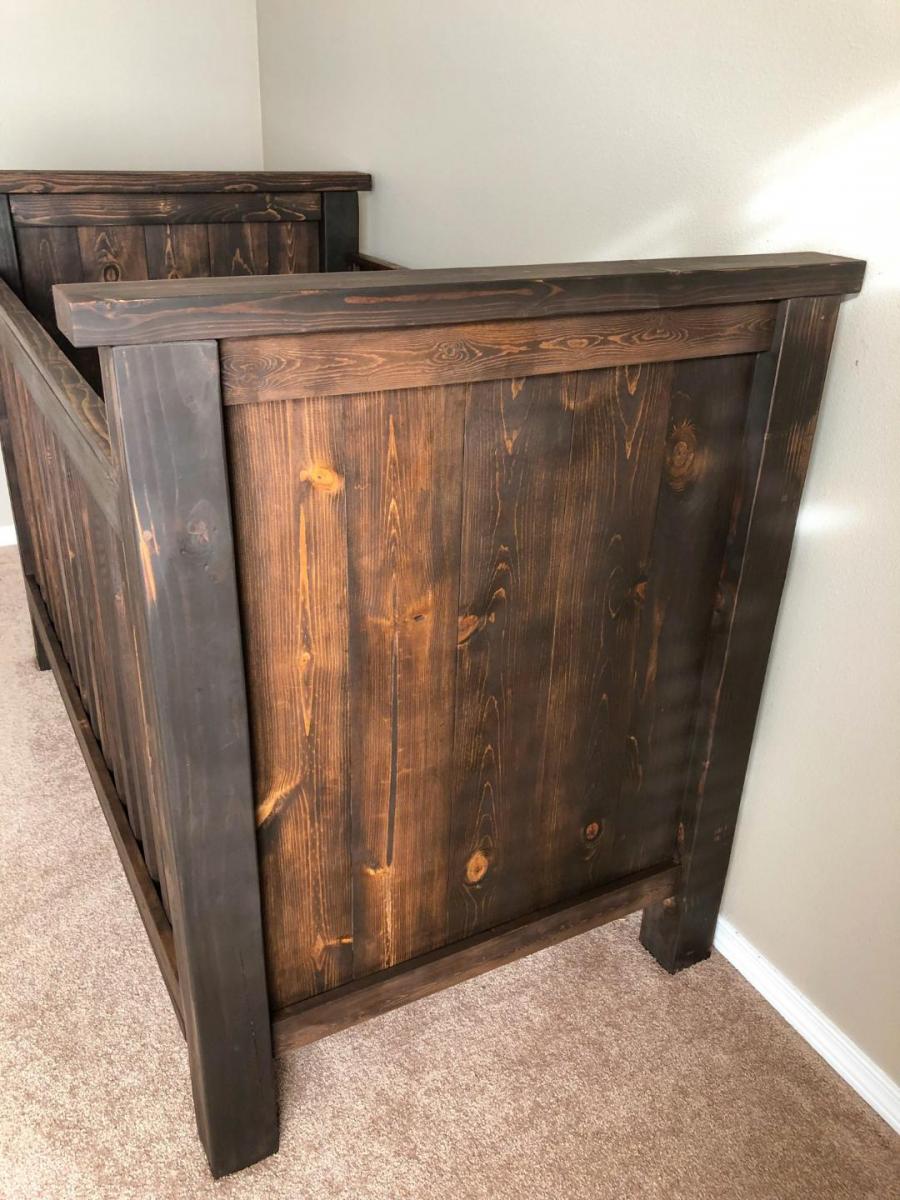
Built from Plan(s)
Estimated Time Investment
Week Long Project (20 Hours or More)
Finish Used
Kona by Varathane
Recommended Skill Level
Beginner
DIY Christmas Tree Decor
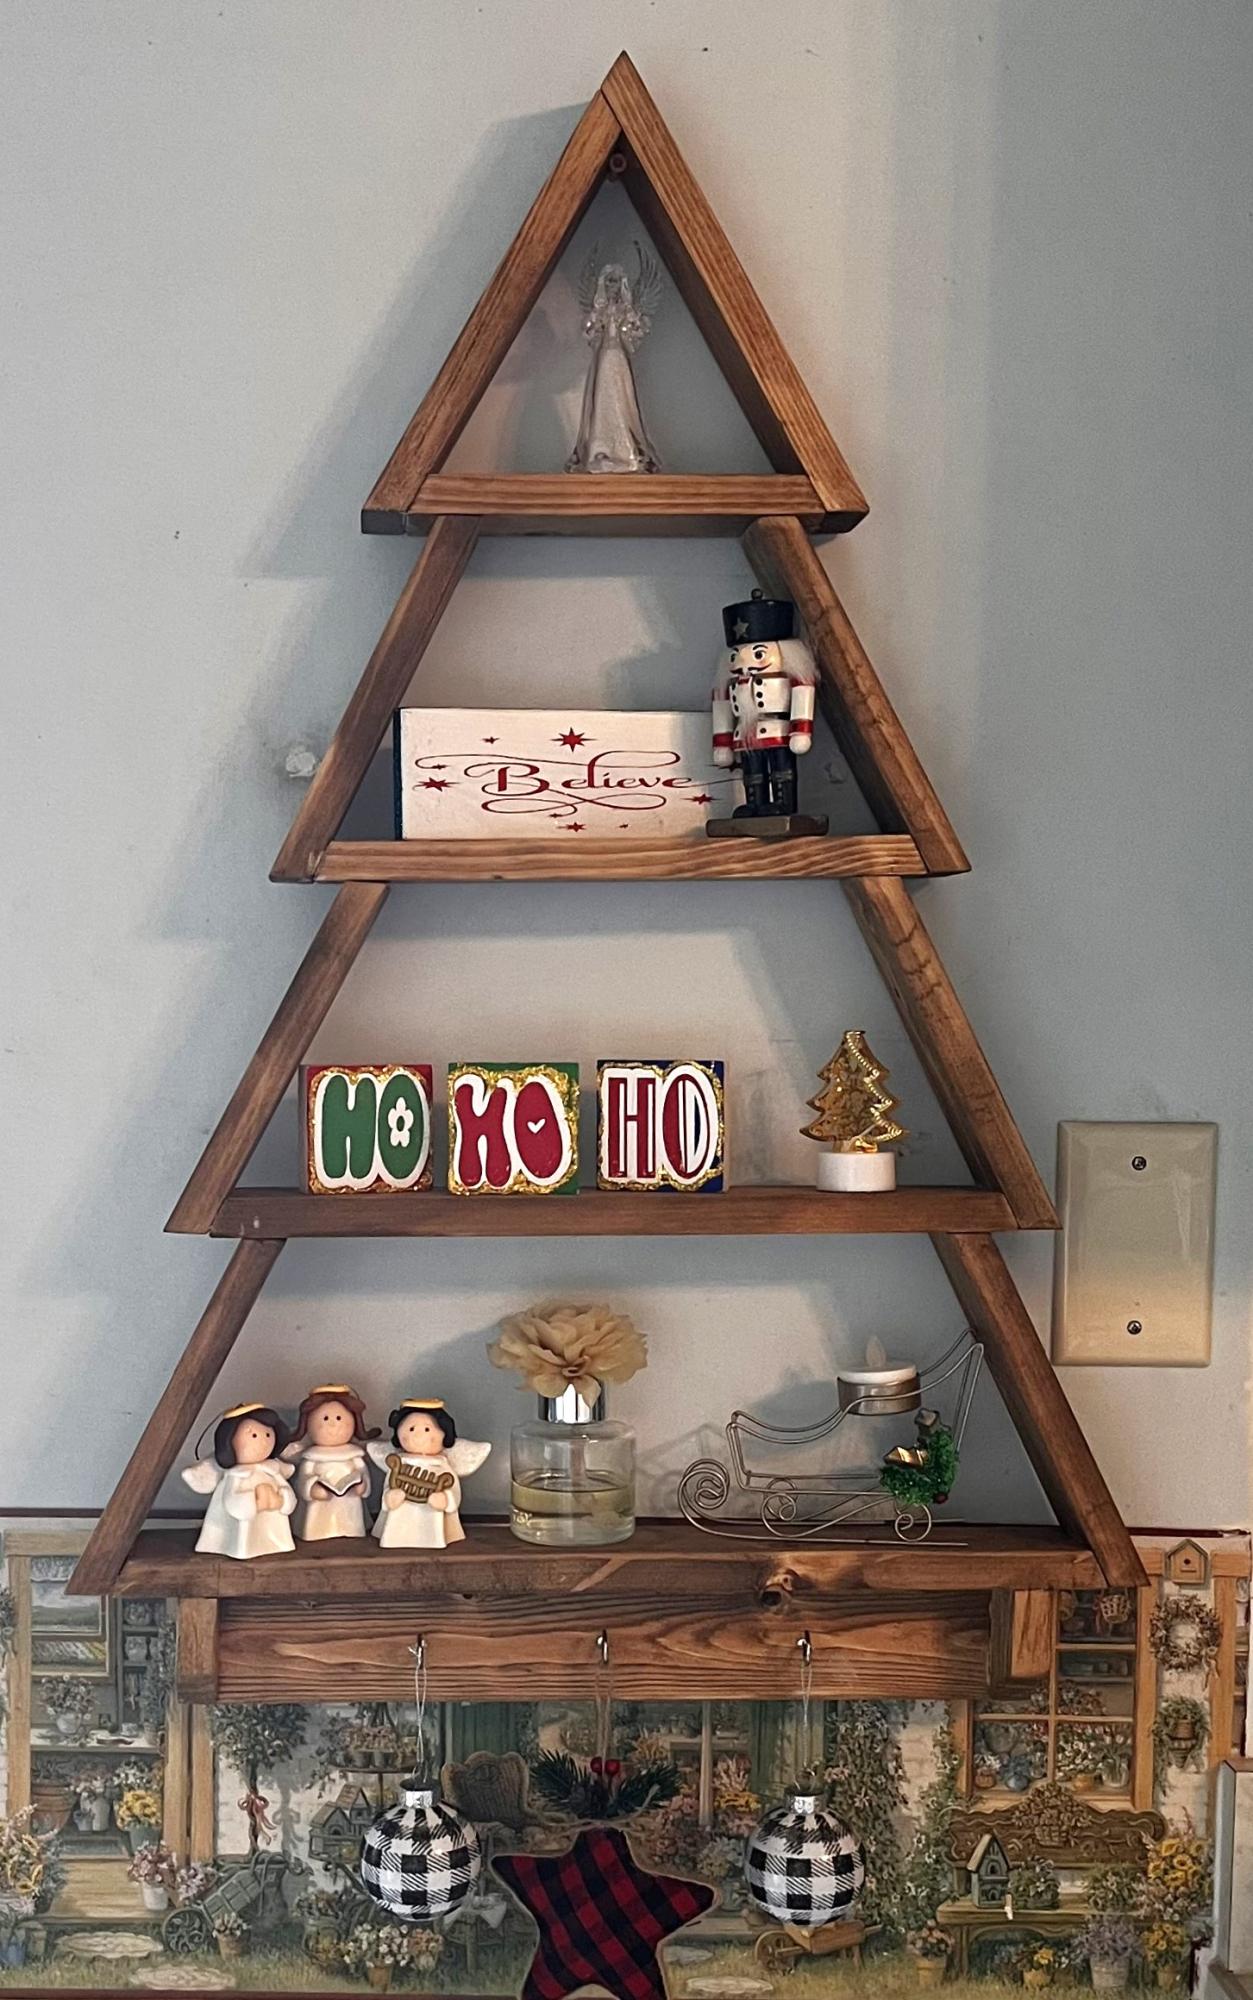
This was such a fun build and a wonderful addition to my Christmas collection.
Beth Belflower
Built from Plan(s)
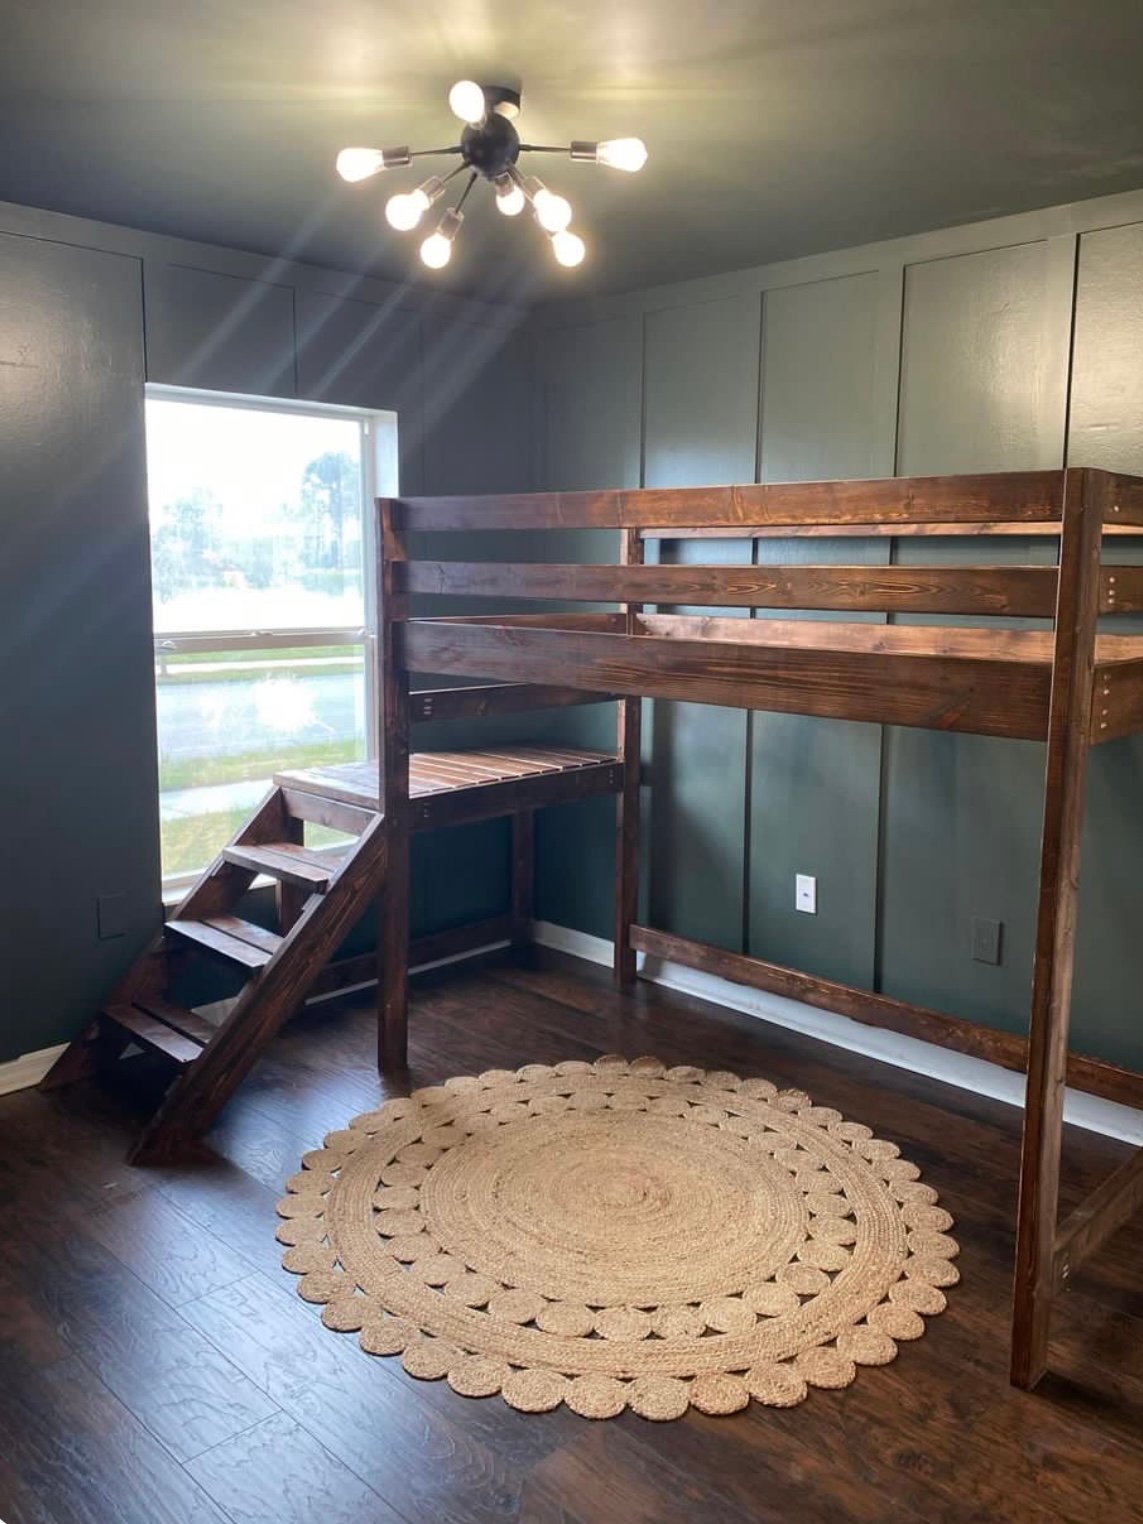
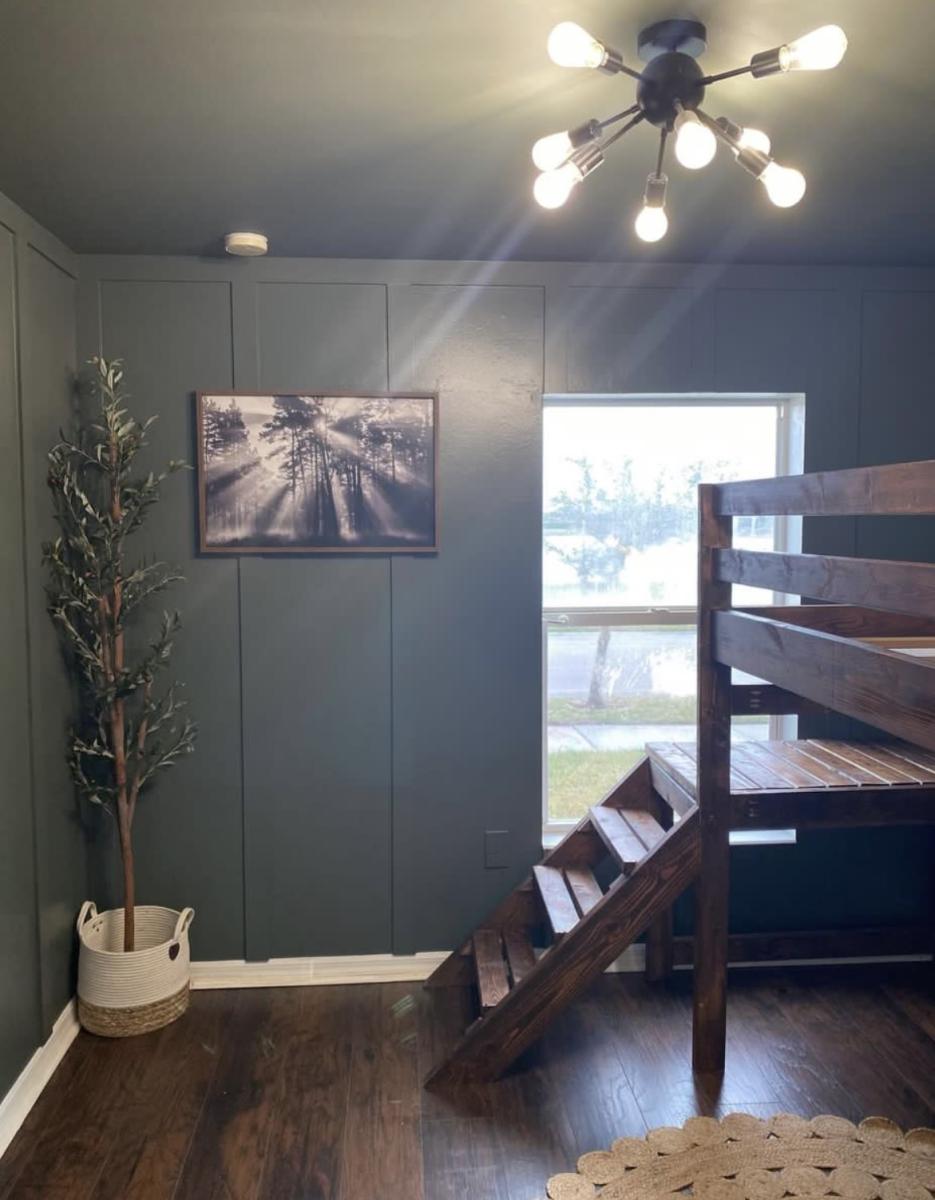
Playroom Loft Bed
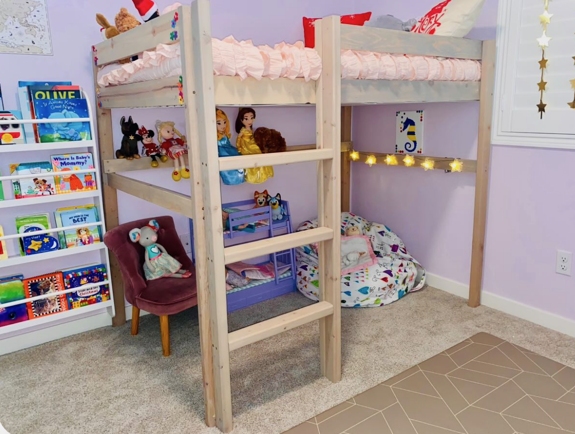
Built this loft bed for my girls playroom! They love it.
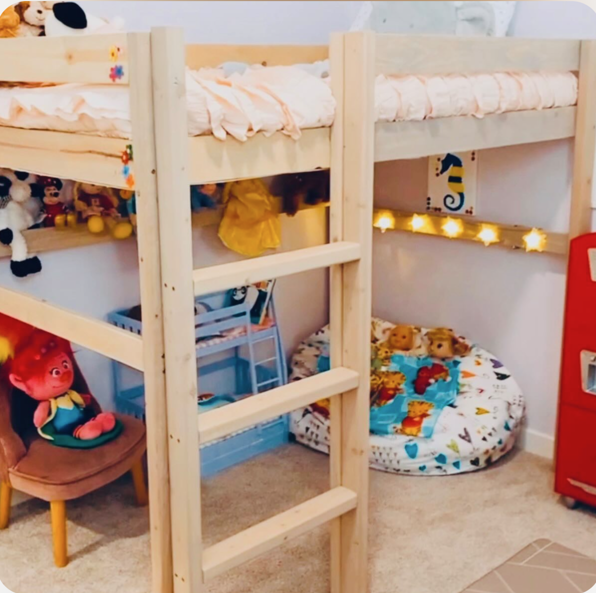
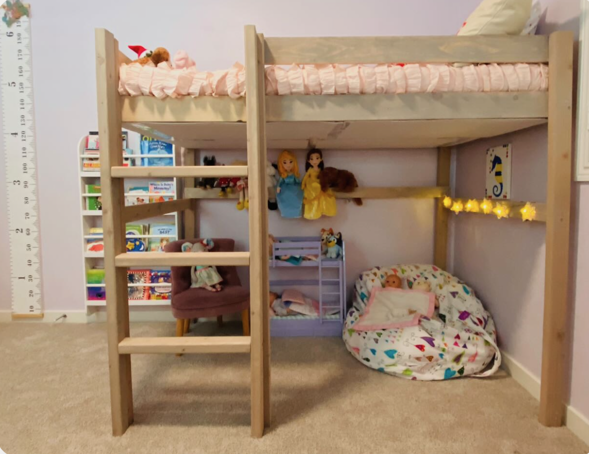
Built from Plan(s)
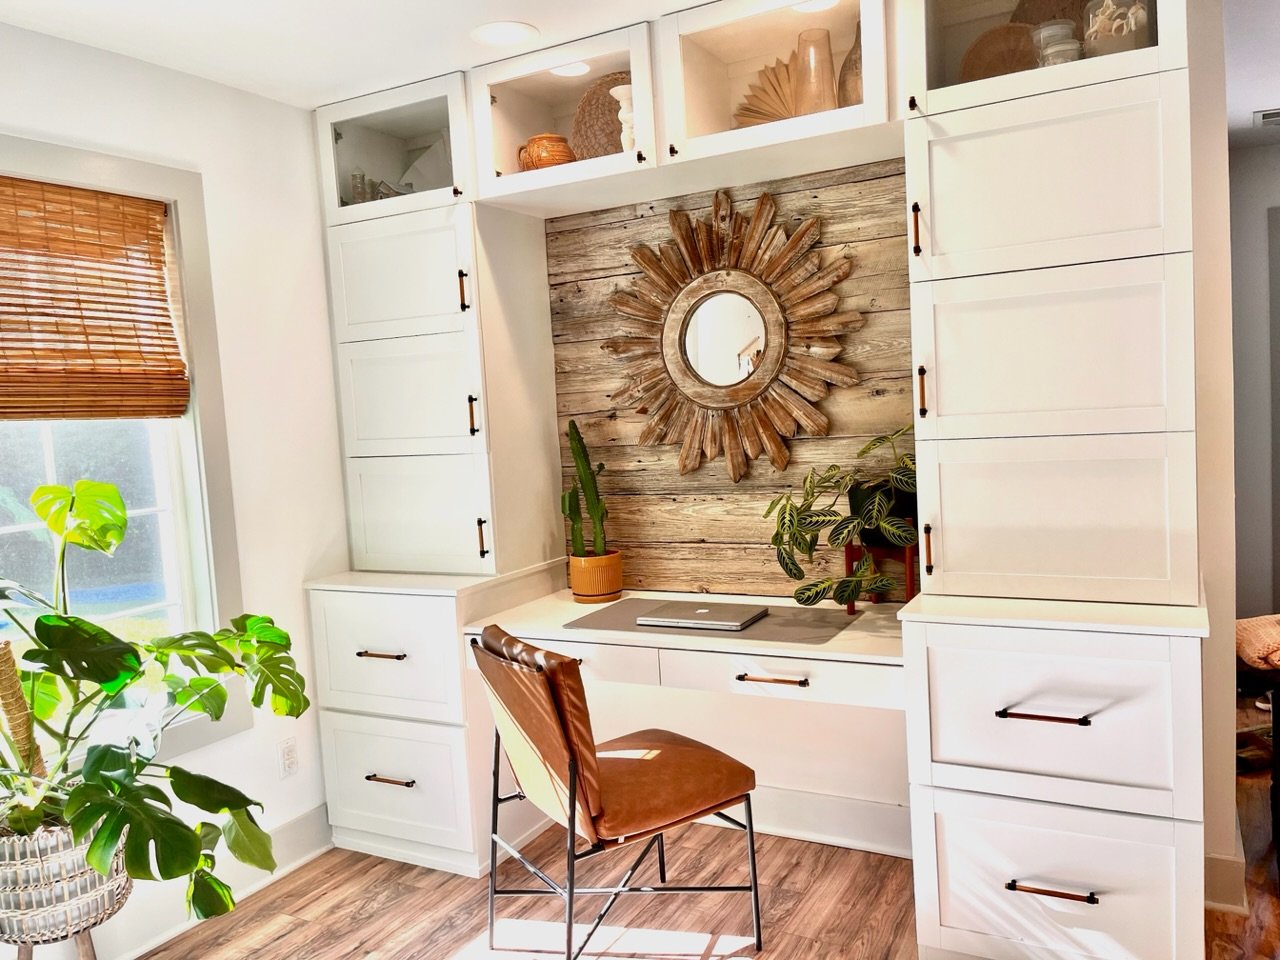
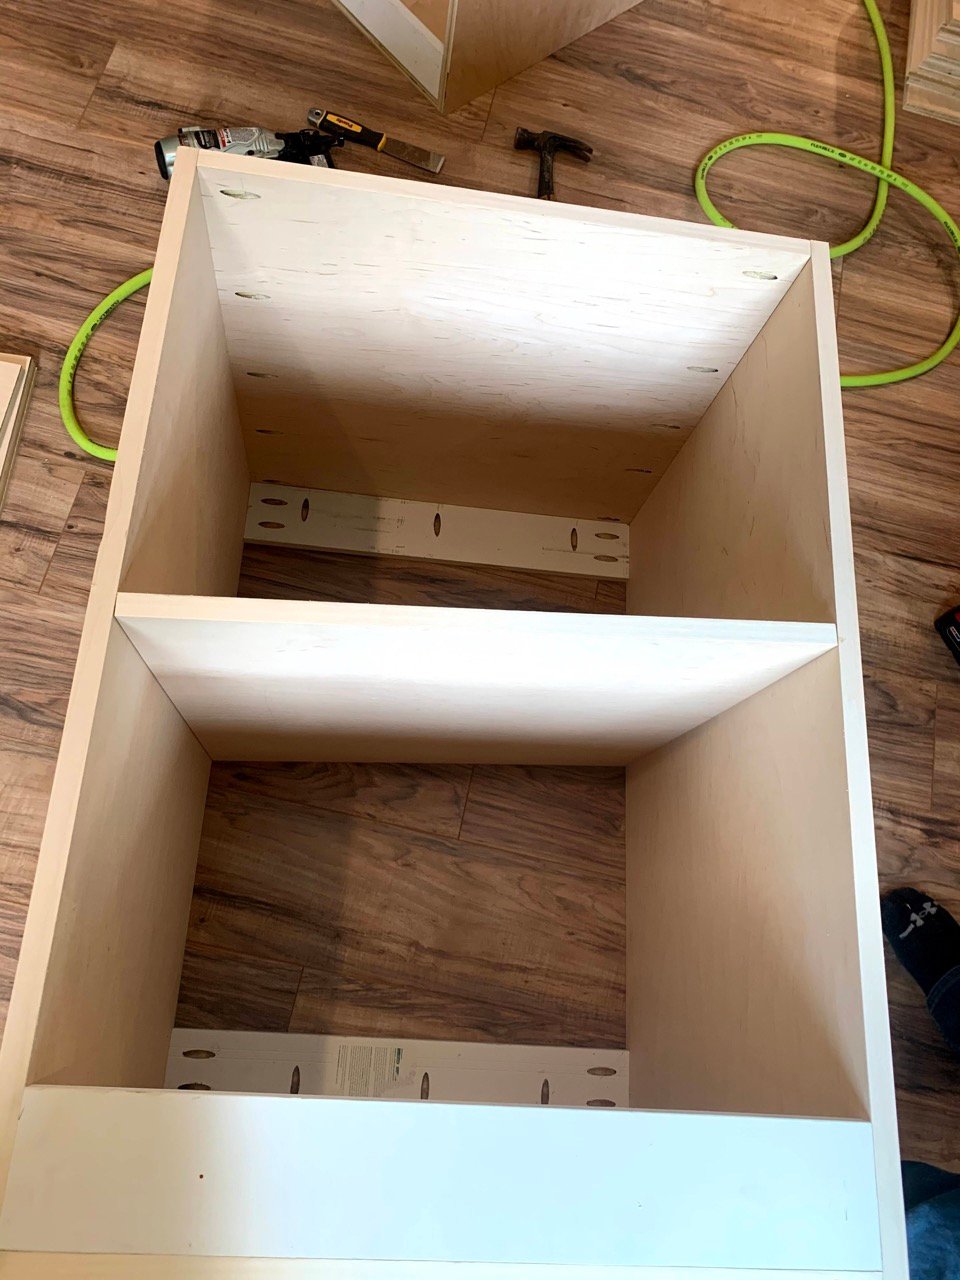
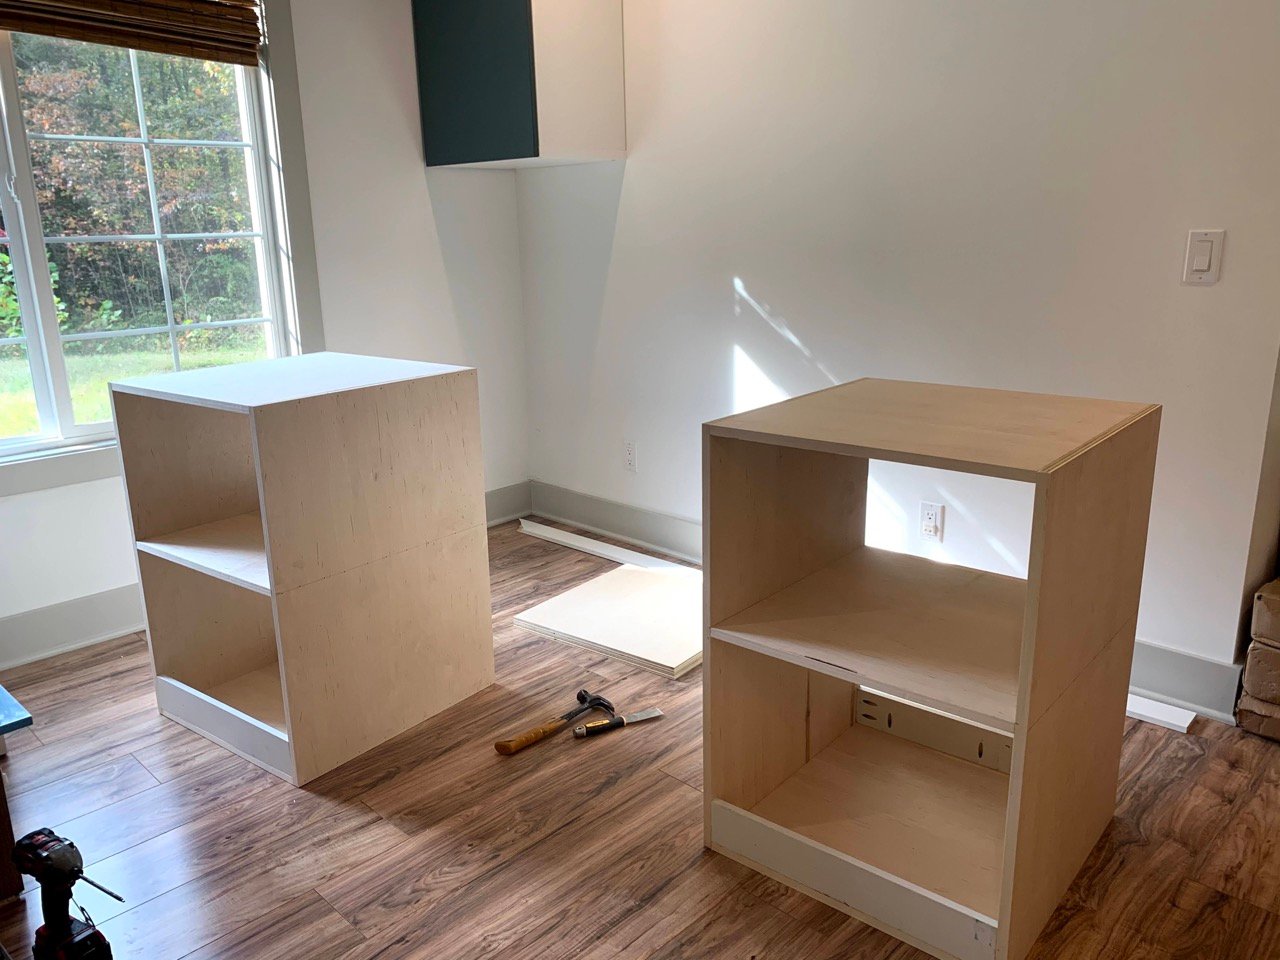
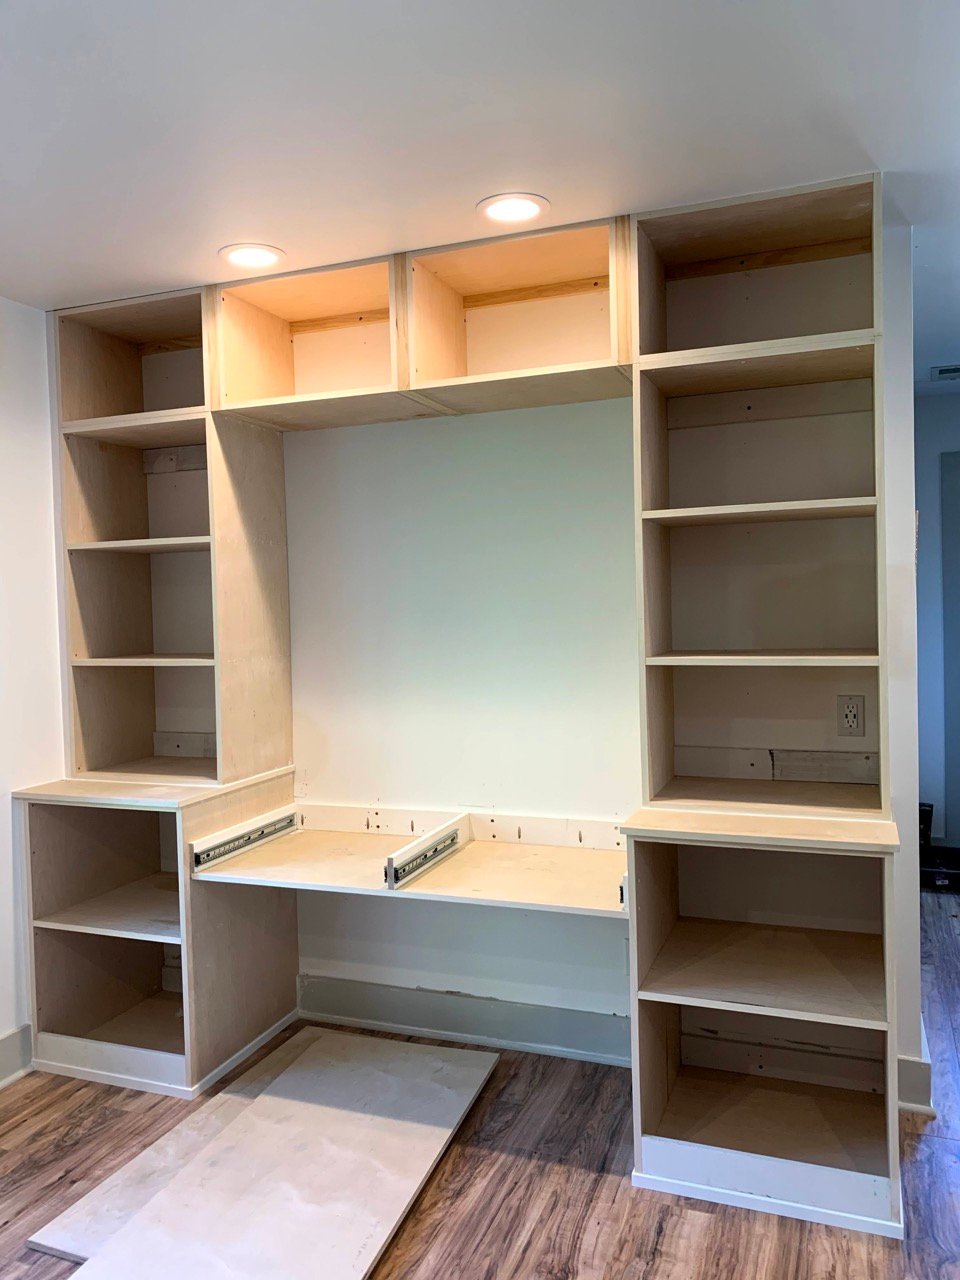
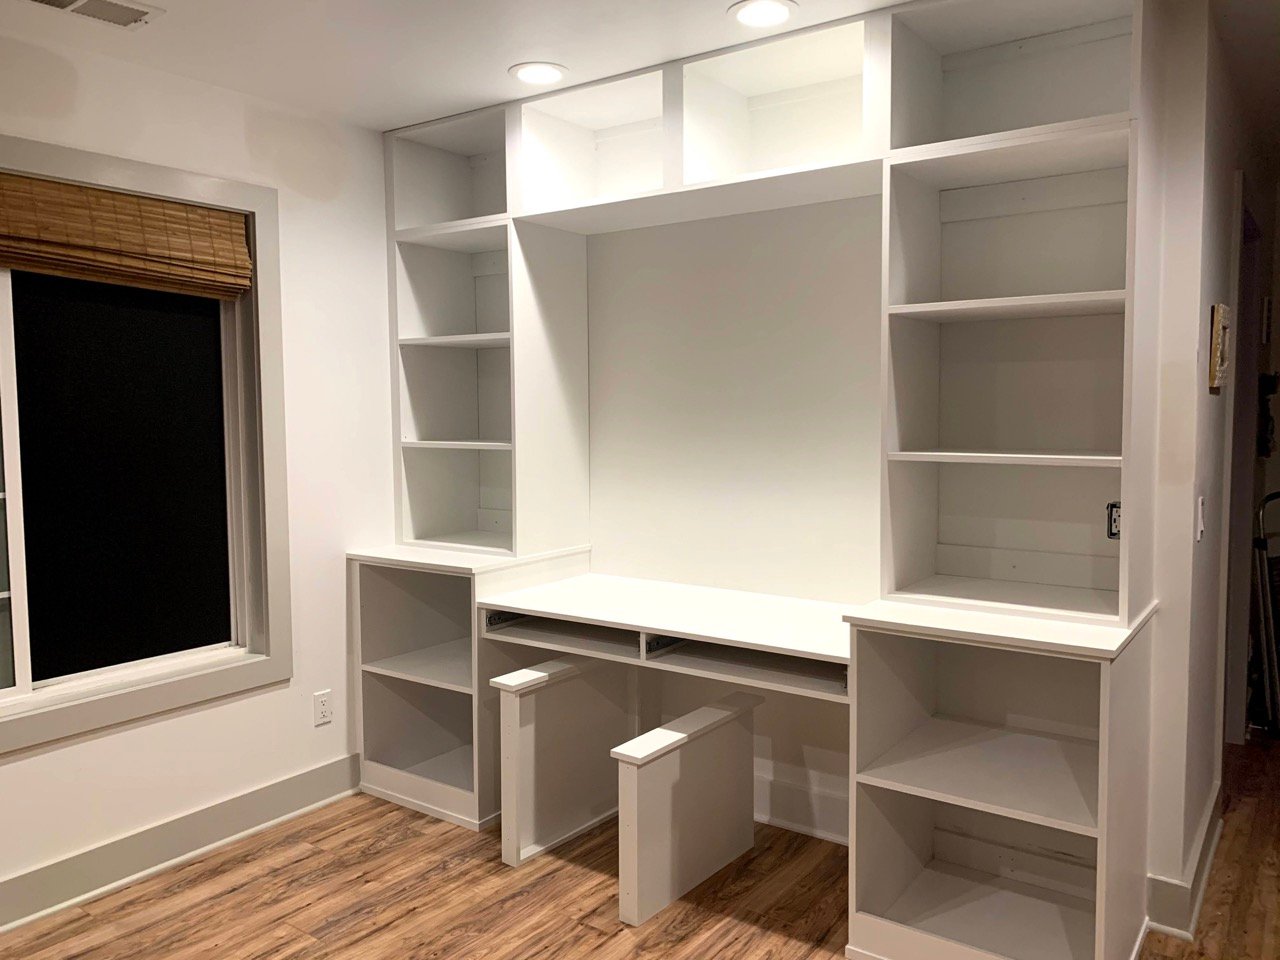
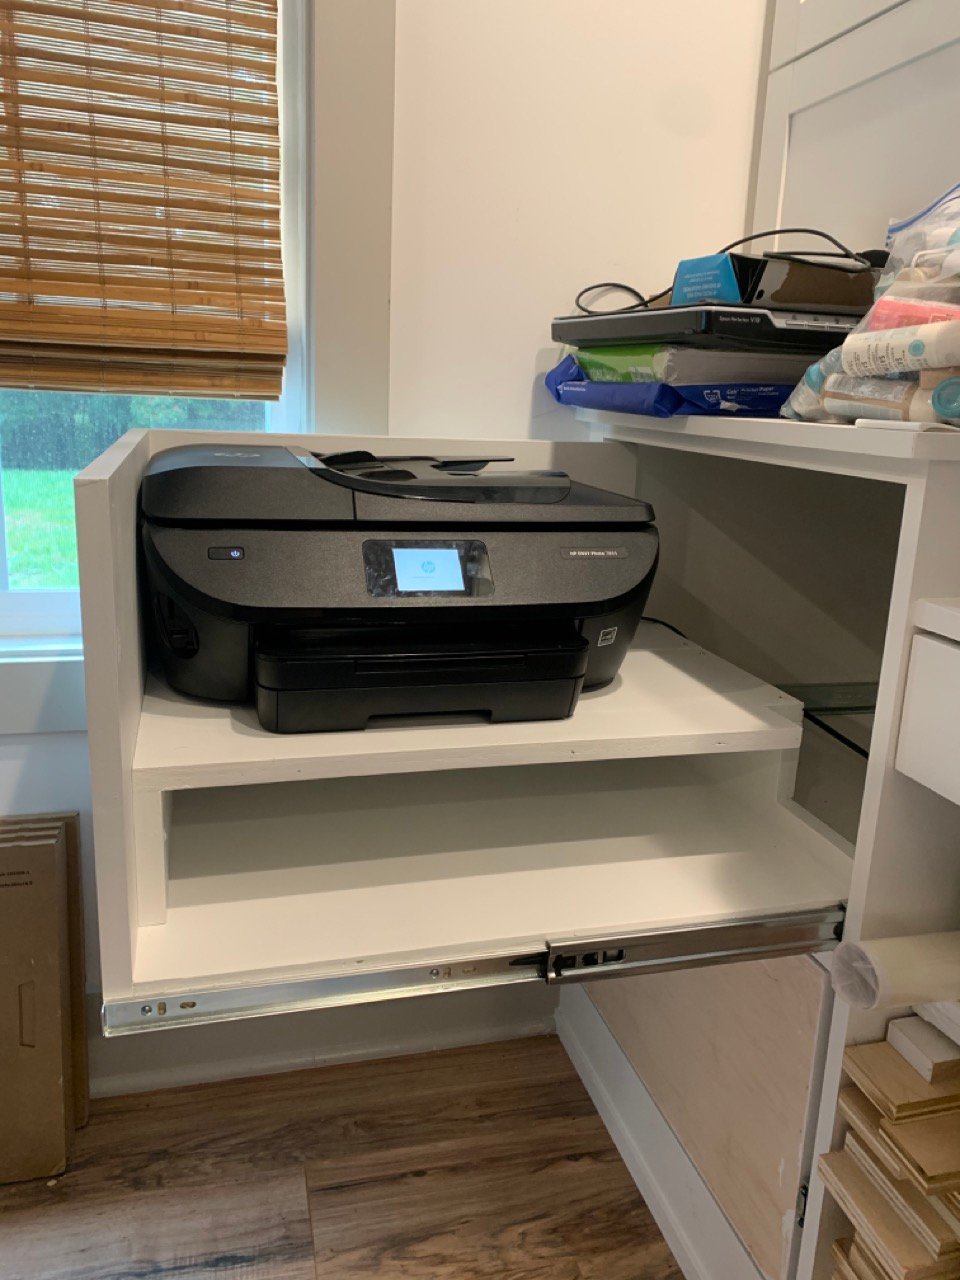
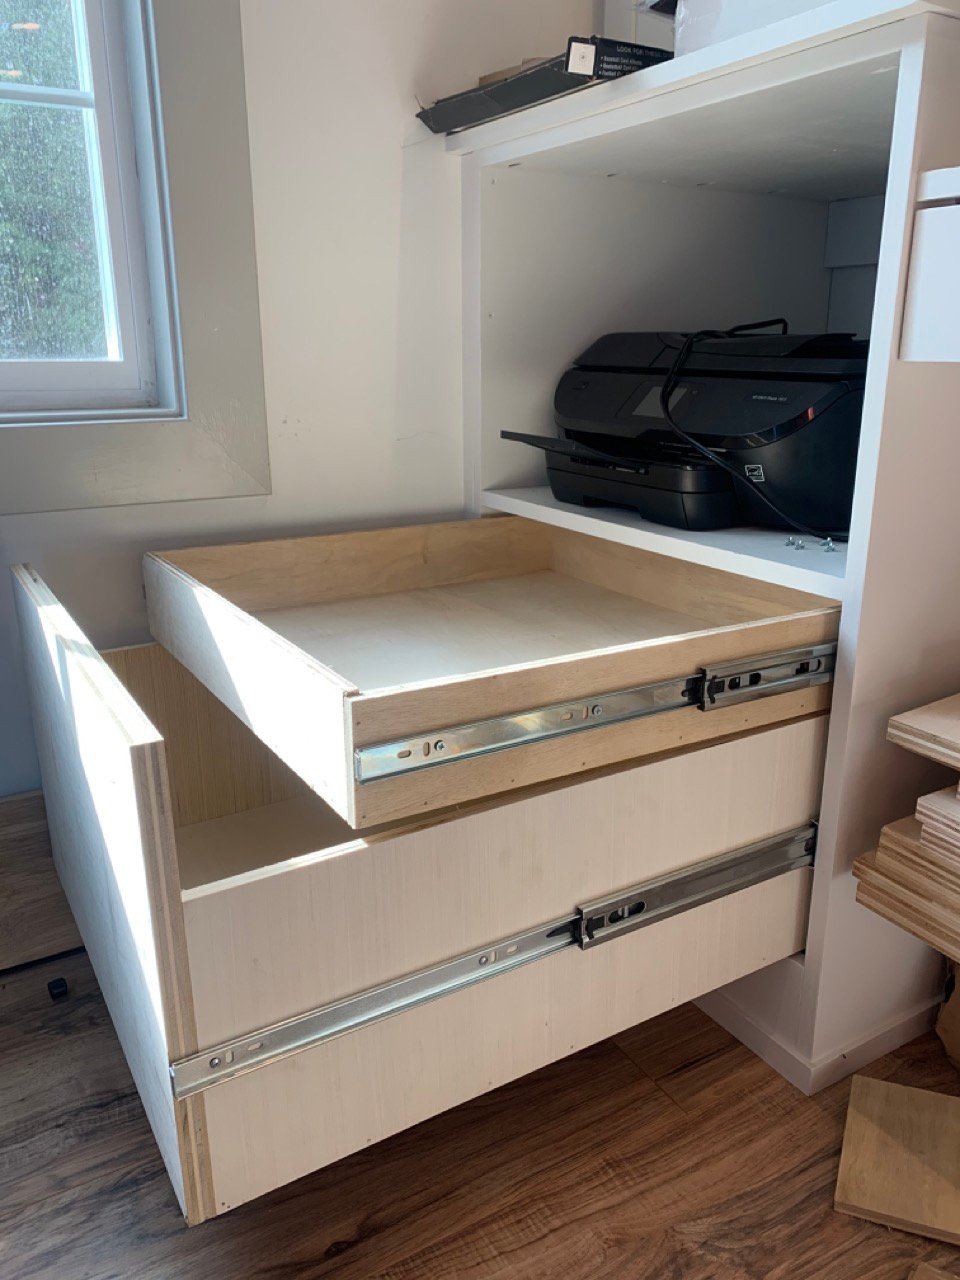
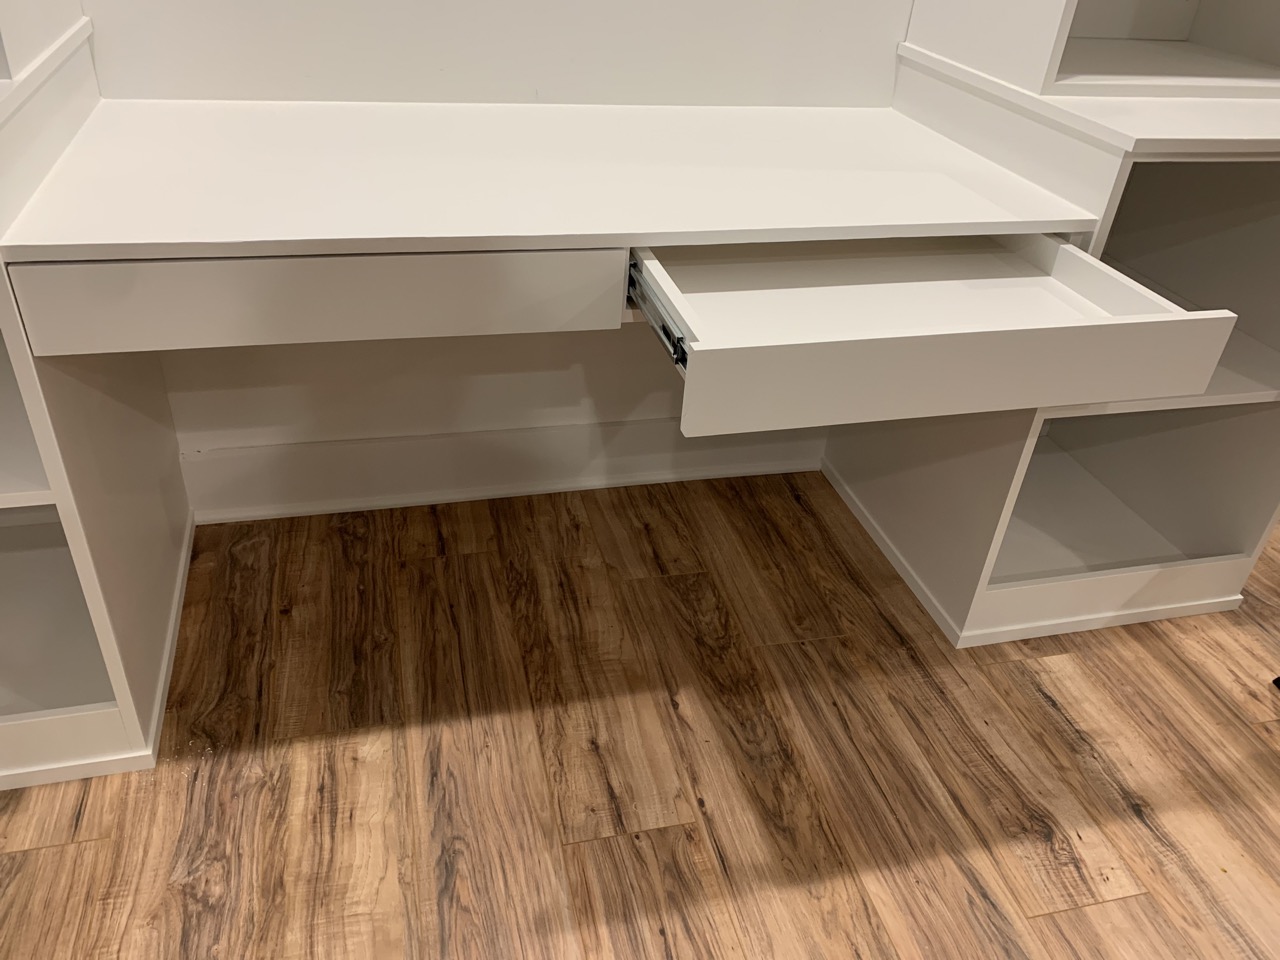
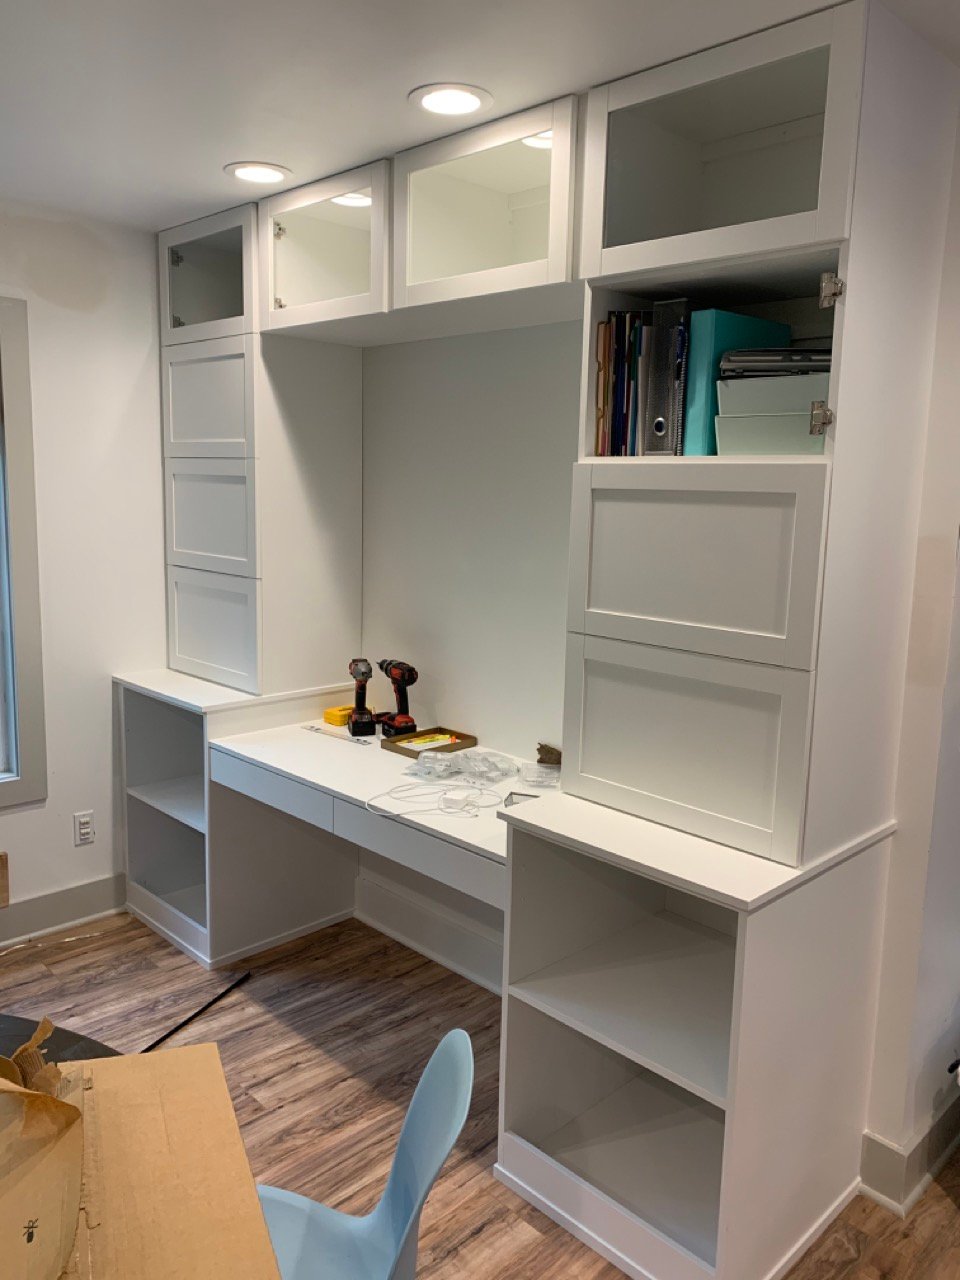
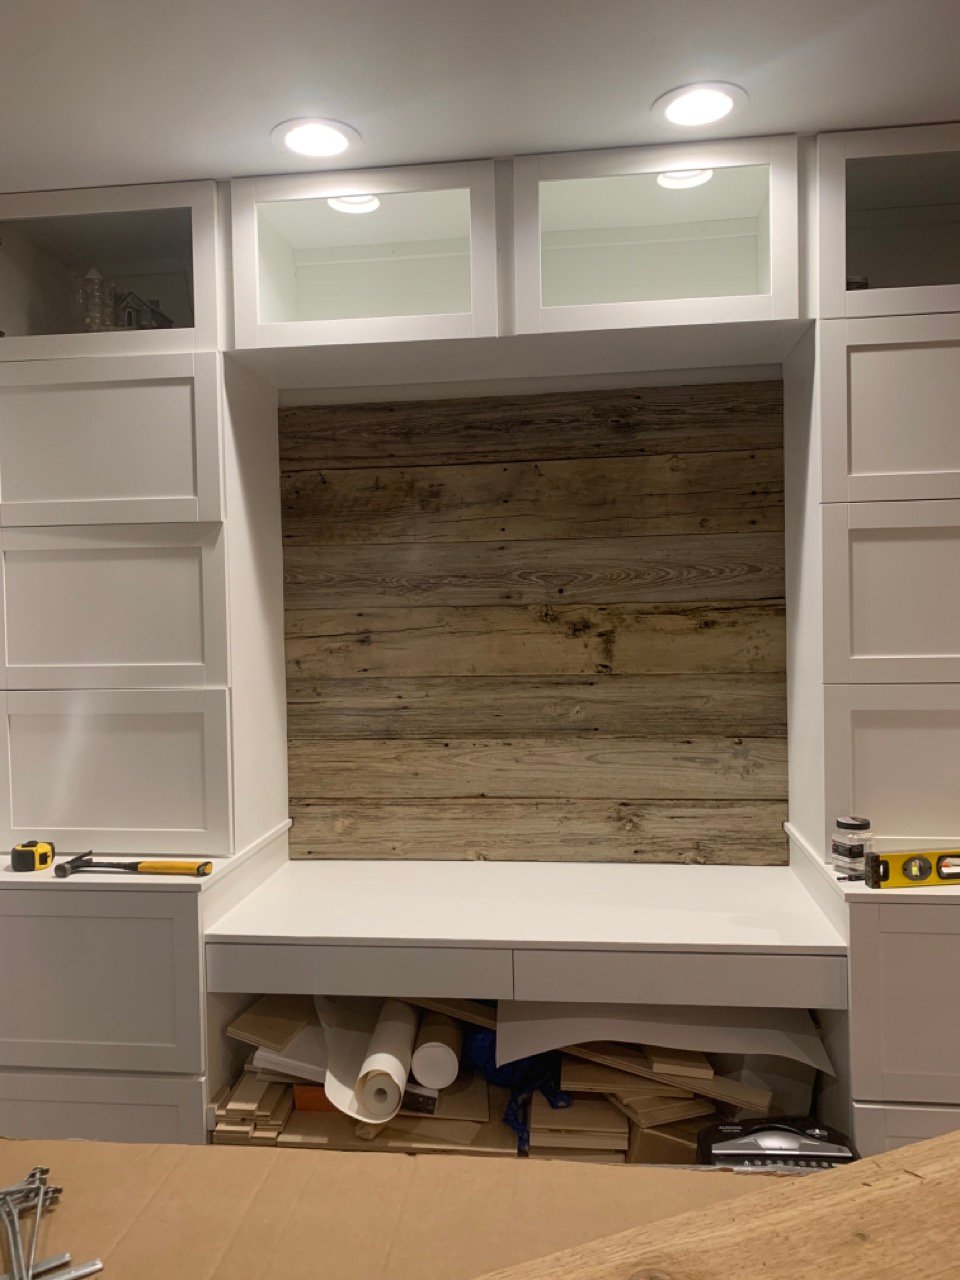
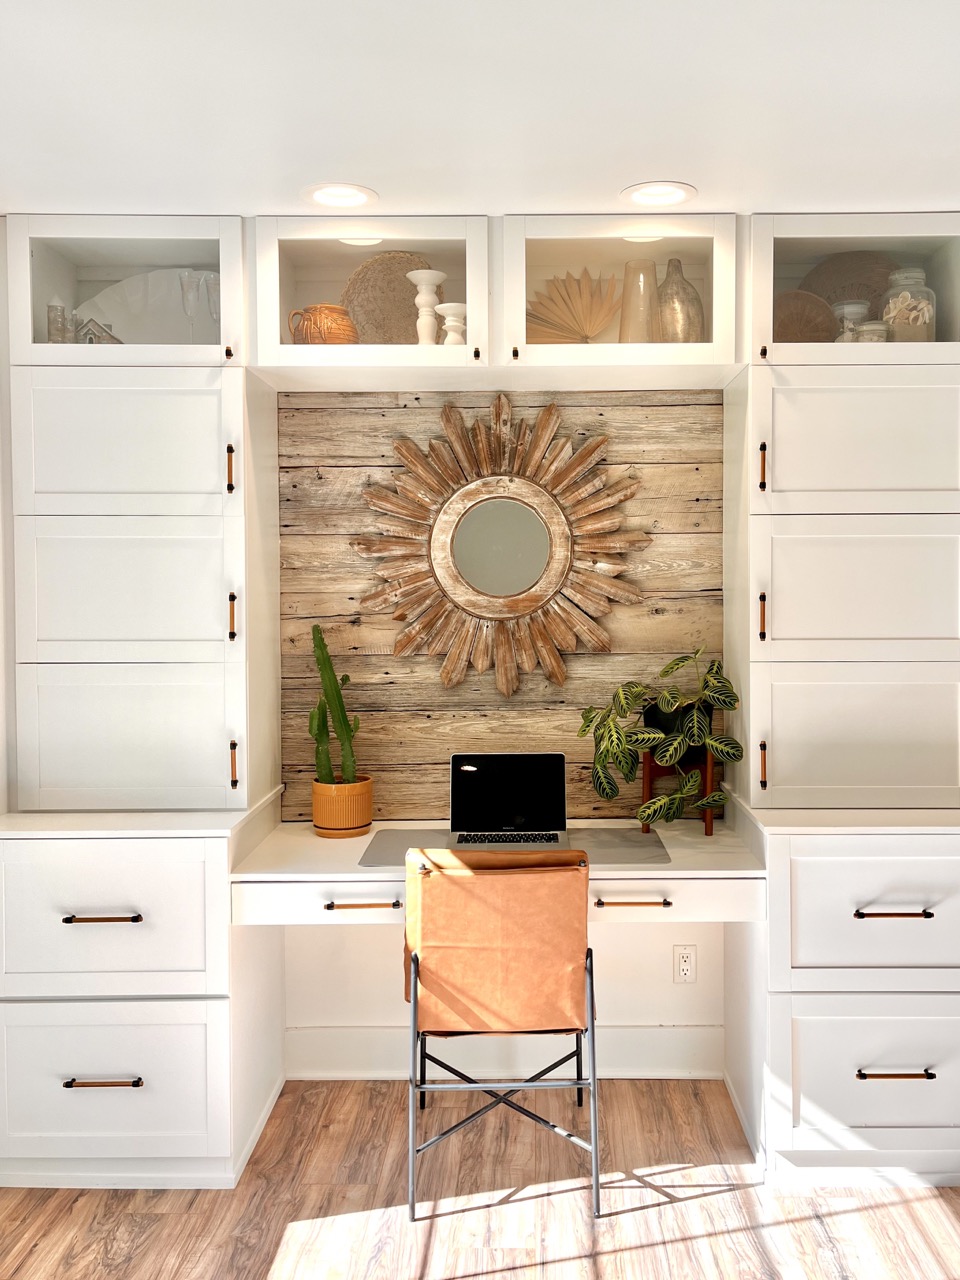
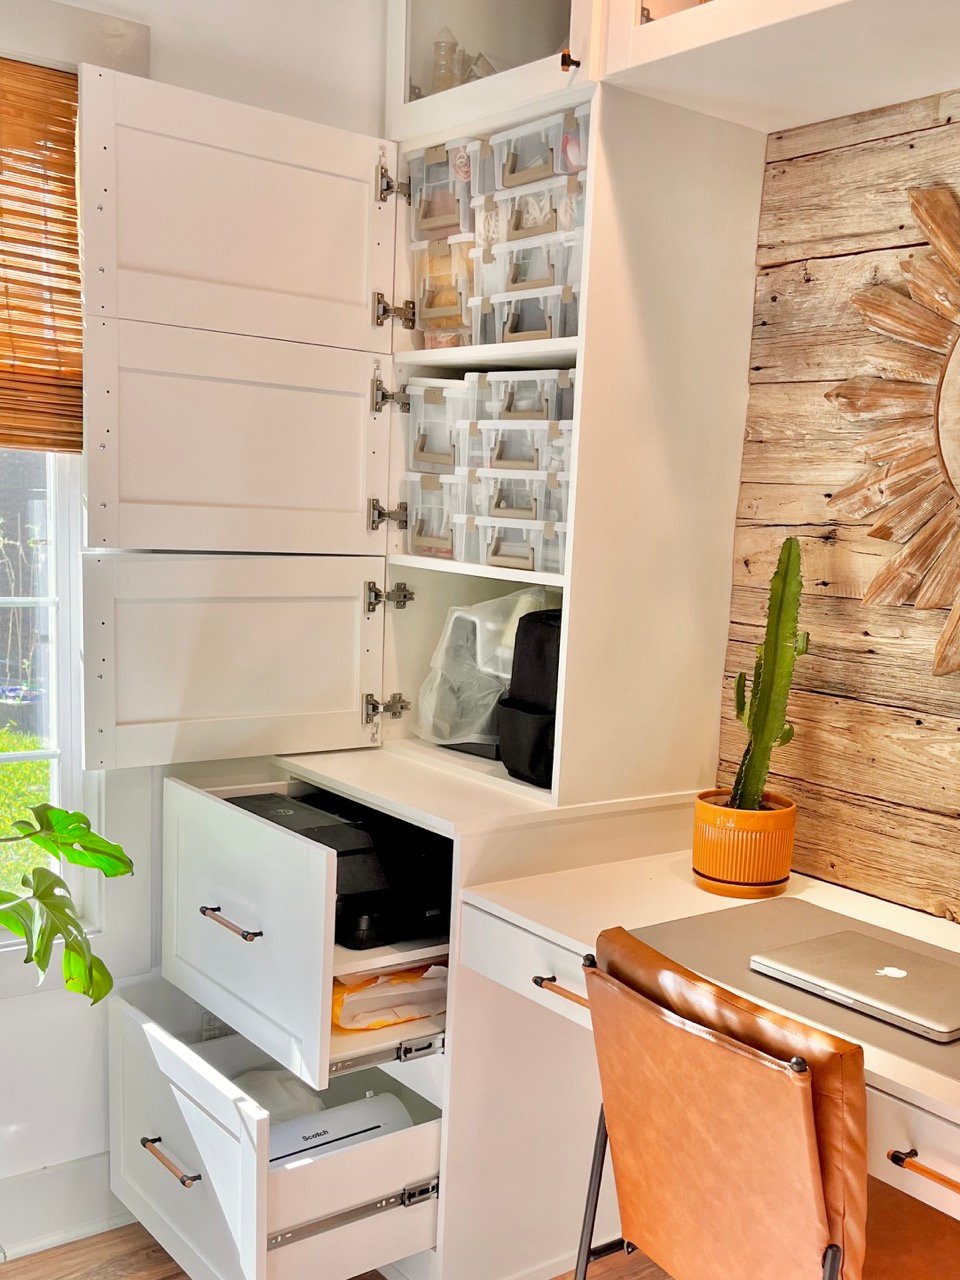
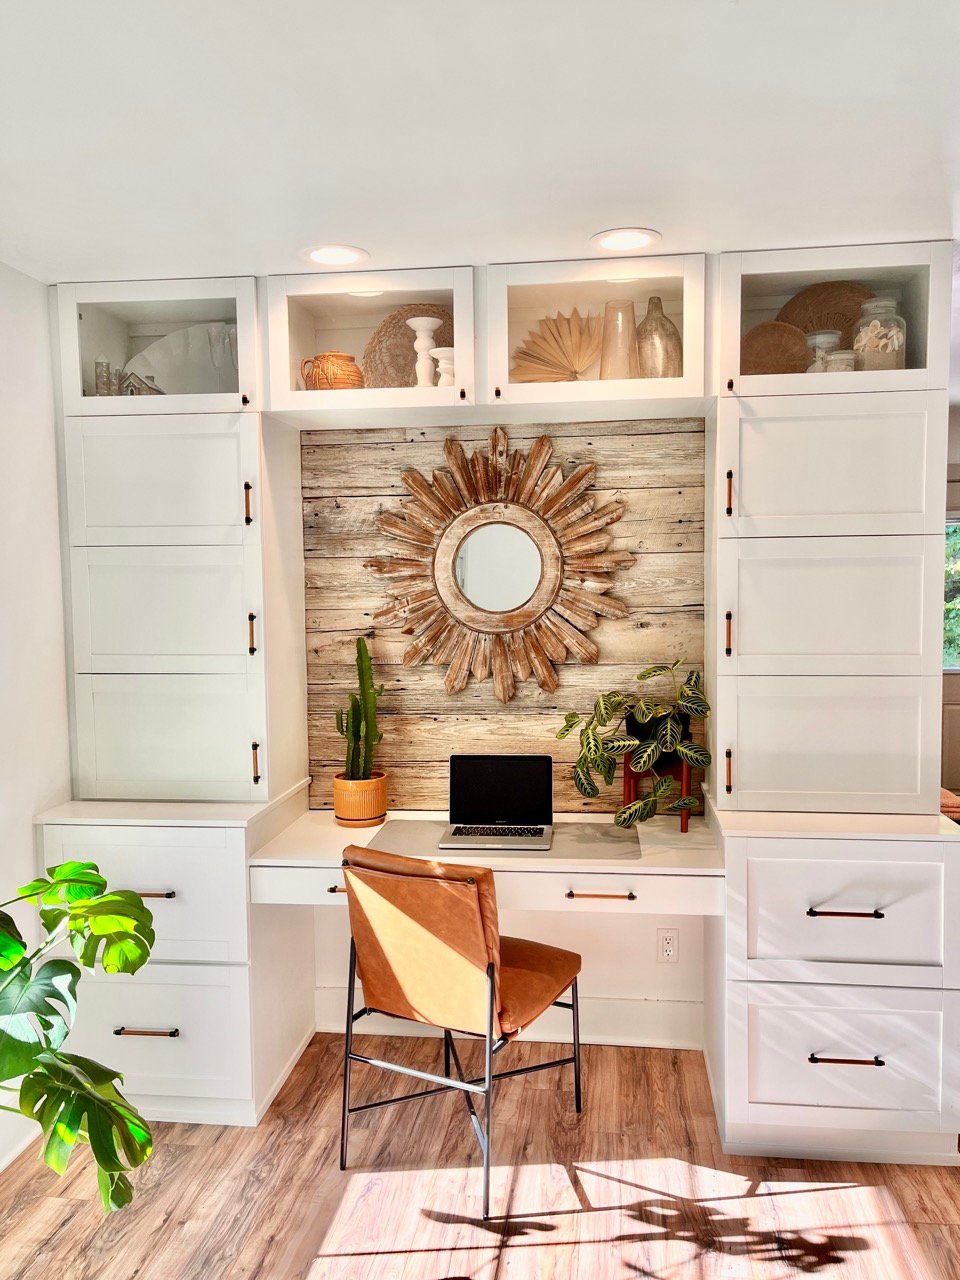
Desk Wall System with IKEA Door Faces

Seasonal And Holiday