DIY Custom Toyboxes
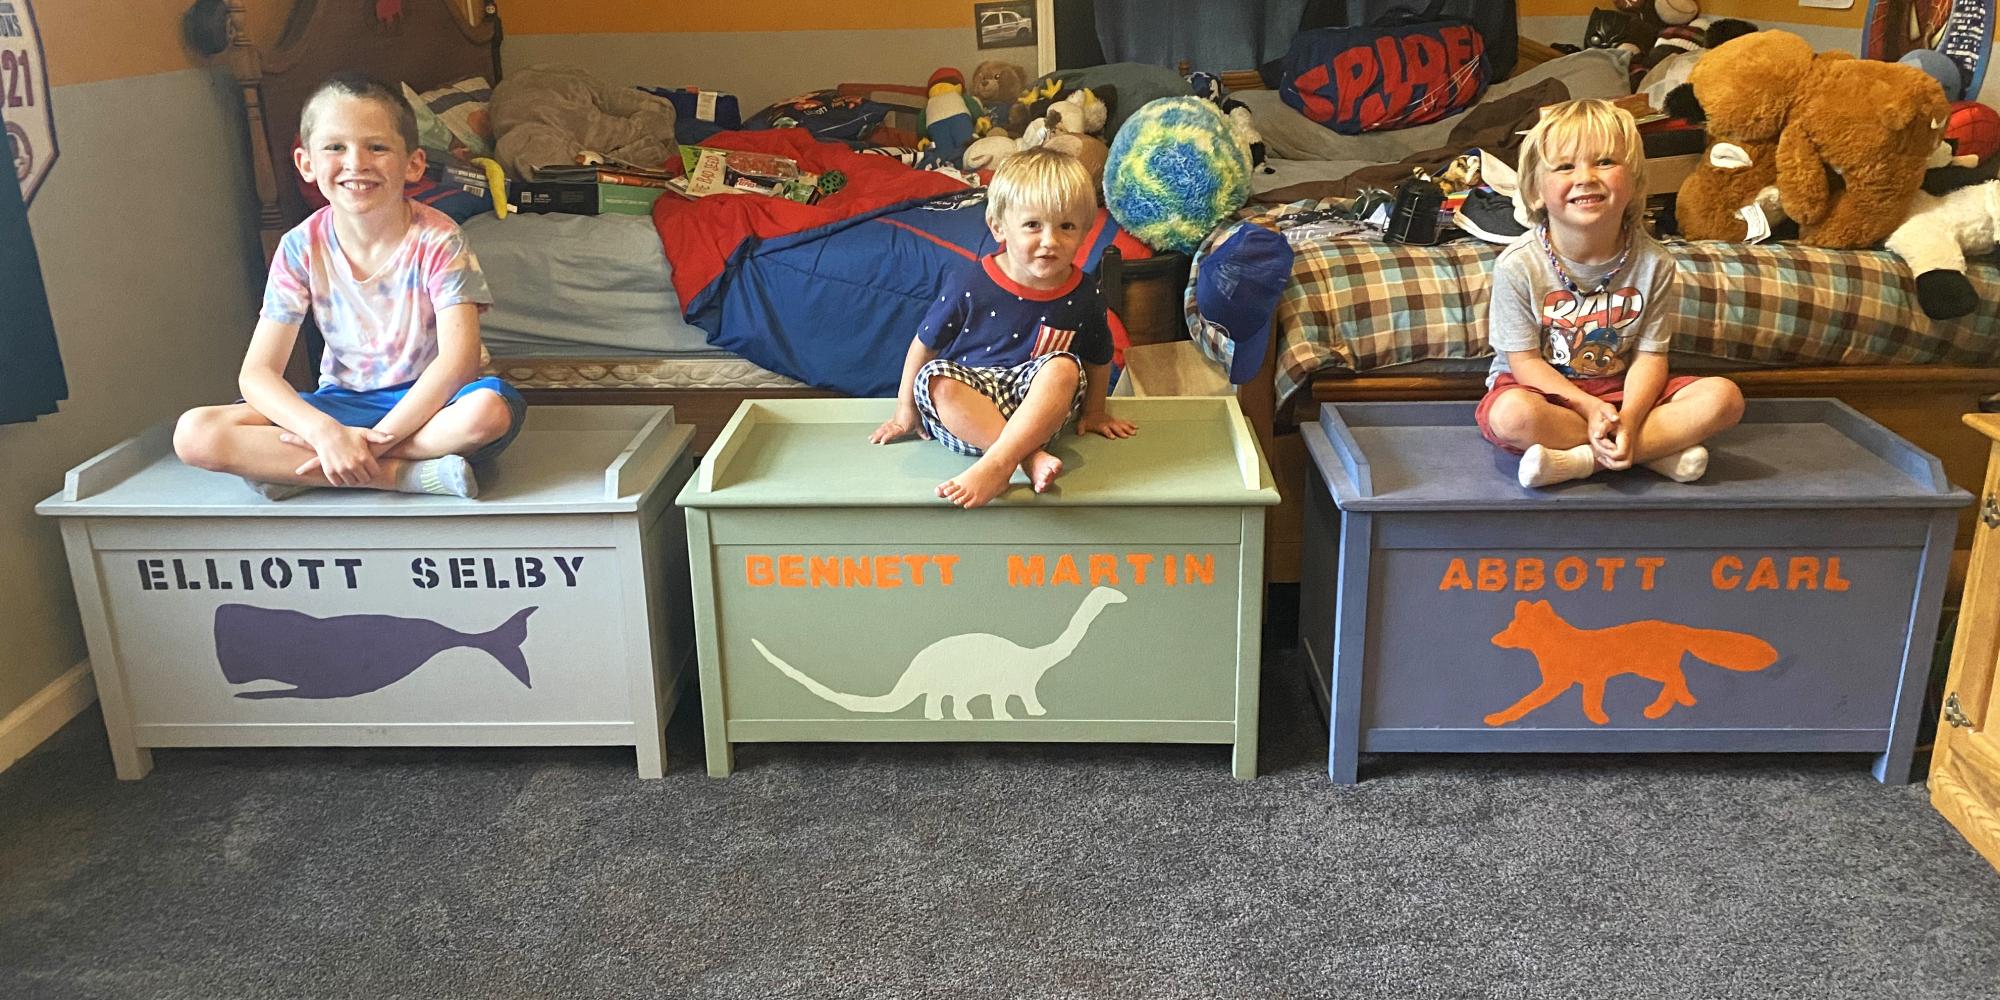
I found your toy box plans in 2016 when I was expecting our first son. We have now made all of our sons a toy box from the same plans. I build the boxes and wife does the painting and detailing.
Eric Reeners
Built from Plan(s)
I found your toy box plans in 2016 when I was expecting our first son. We have now made all of our sons a toy box from the same plans. I build the boxes and wife does the painting and detailing.
Eric Reeners
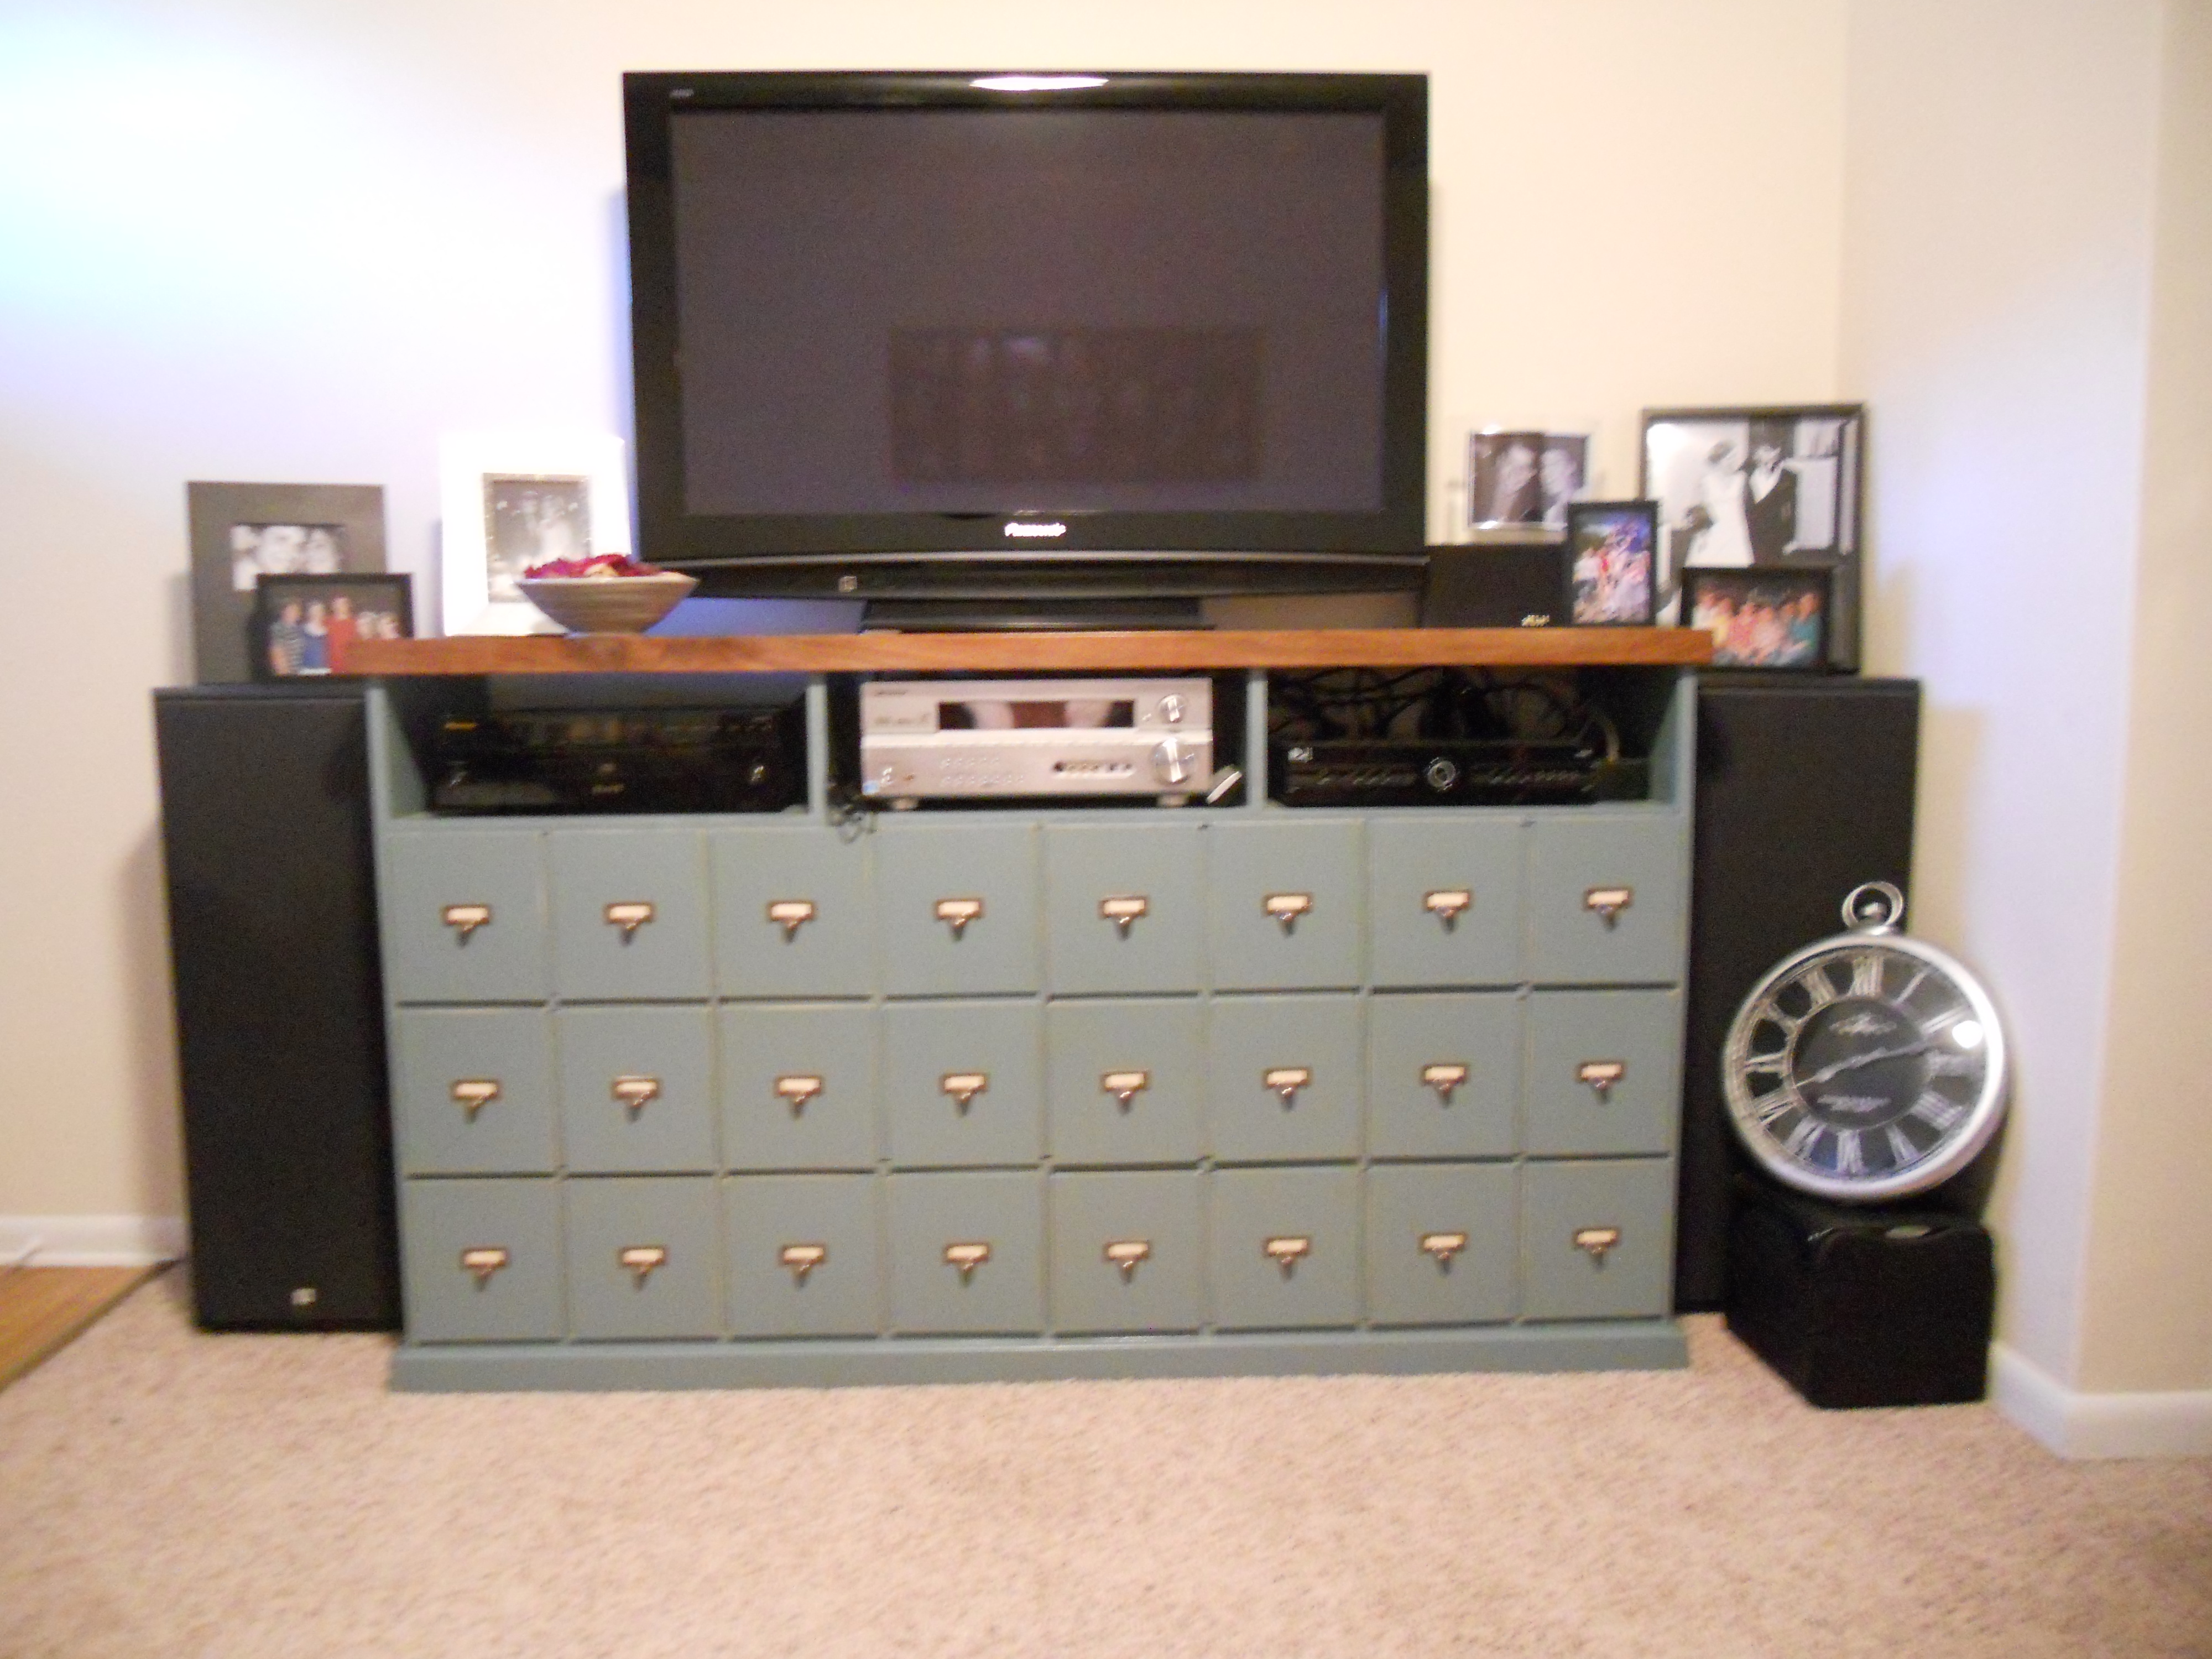
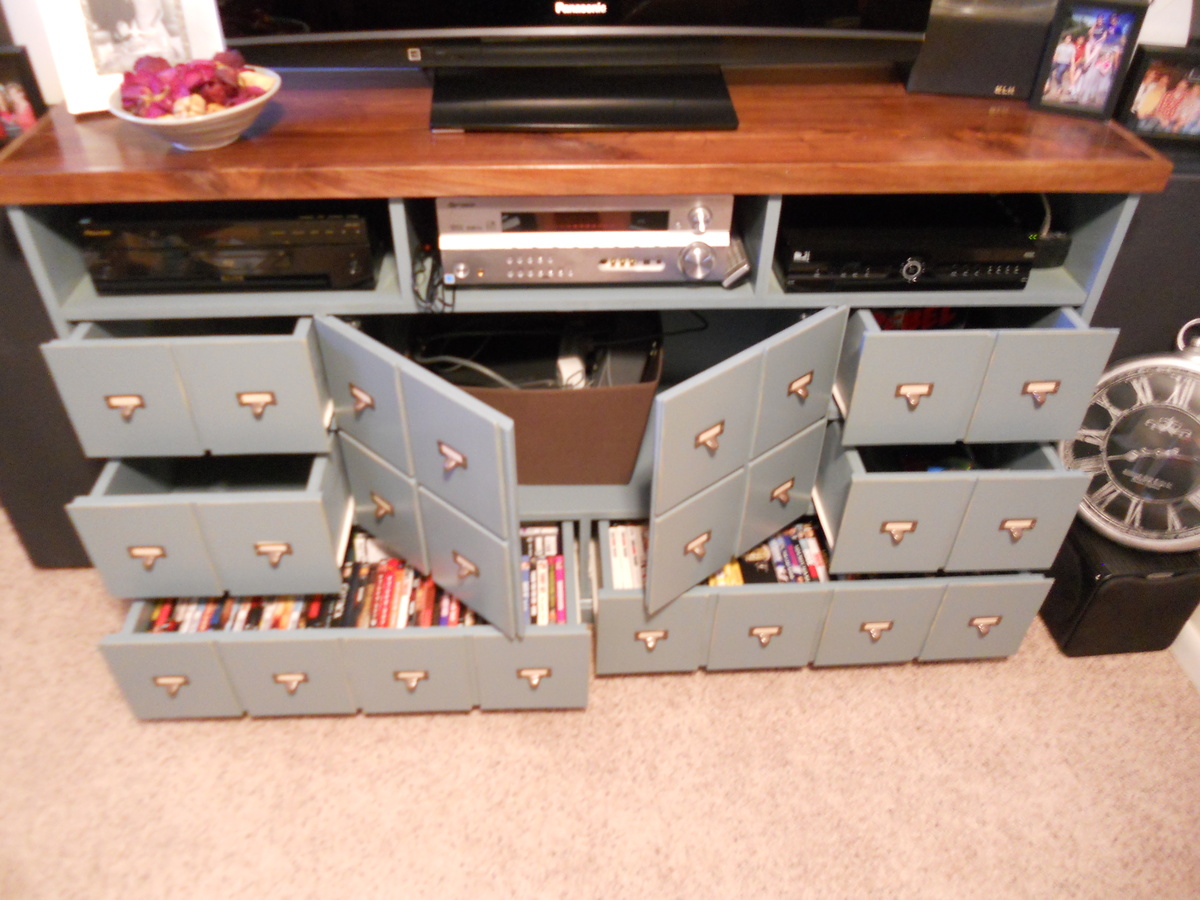
My husband and I decided to make an entertainment center from the Apothecary Console plans. We mostly followed the plans, but wanted it to be taller than the original in case we want to use it in a dining room as a buffet in the future. To do this we just added another level of drawers. I wanted the drawers on the bottom to be wider, so each of them is four false front's wide. The wood on top is walnut from some trees my dad cut down over 25 years ago. We wanted more of this to show than would have if we followed the original plan, so we put a two inch trim piece around it. I really wanted card catalogue drawer pulls but couldn't find any that were dark that were at all "cheap"...so I bought gold ones online and spray painted them with a "hammered" spray paint which worked really well.
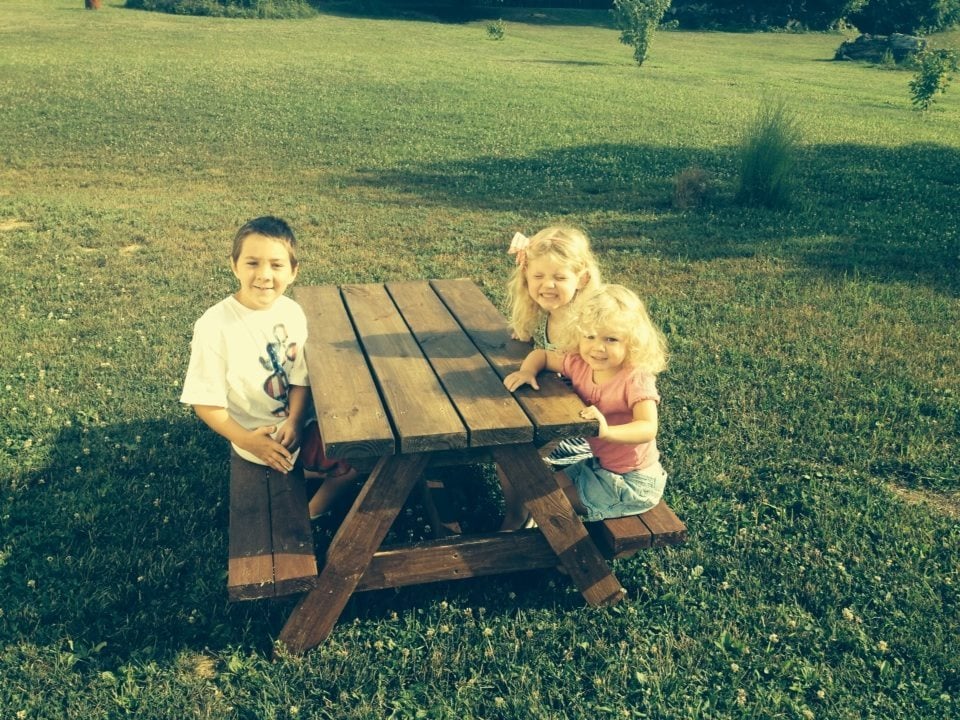
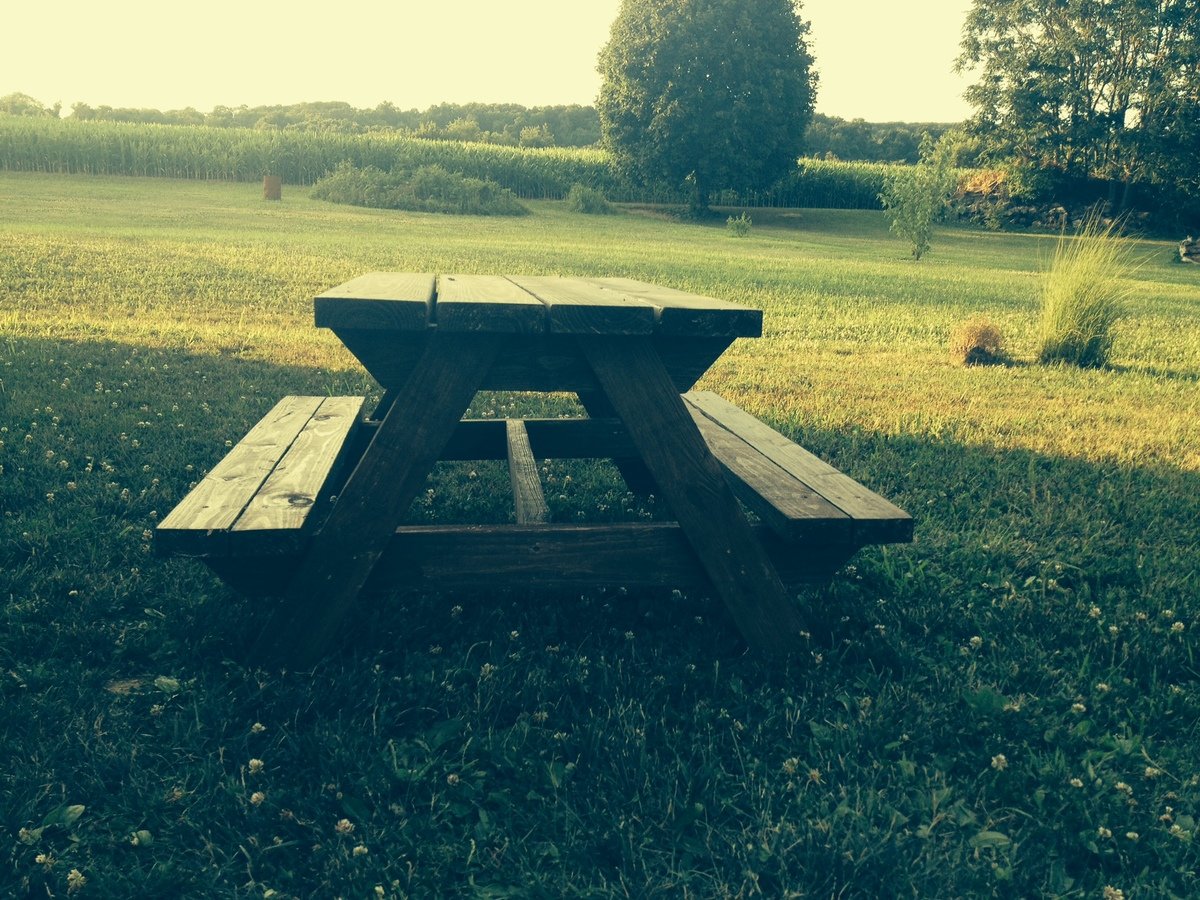
I built this table in one day by myself. Well, just me and these three kiddos. We were at Home Deopt selecting wood at 9am and by 7pm they were sitting on a finished table. Thank you so much for the easy to follow plans, Anna!

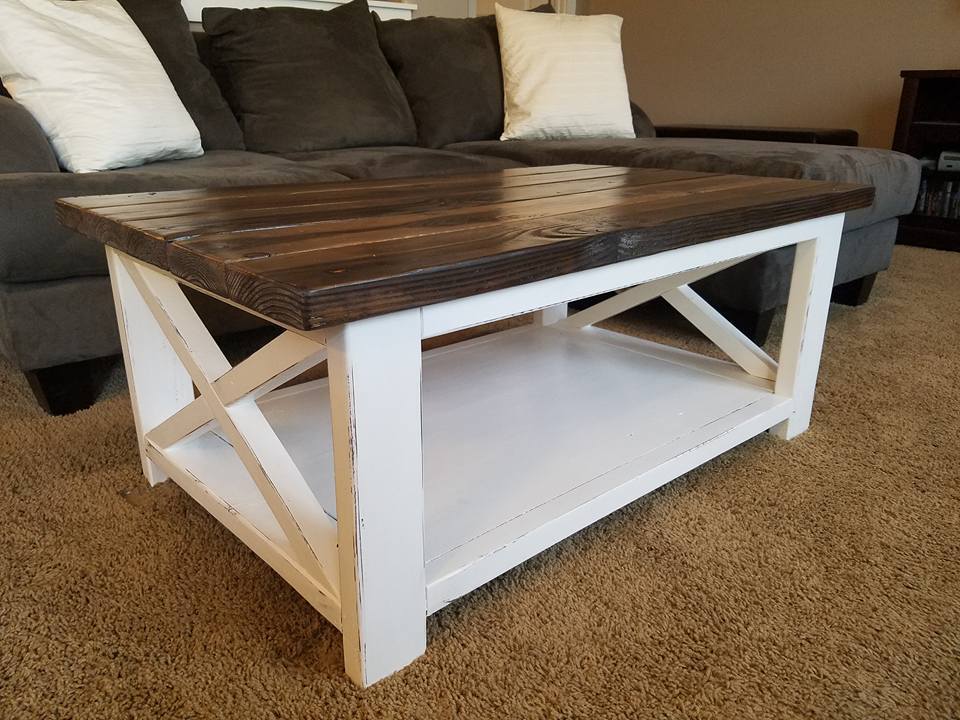
I had already built the Rustic X End Tables, and 3 years later I finally built the Rustic X Coffee Table to match! I shorted the length by 8" and coated the whole piece in a steel wool and vinegar solution. I then went back and used White Adirondack chalk paint by Folk Art for the base. I sanded the edges lightly for the distressing and put 3 coats of Minwax Matte Polyurethane over the entire piece for the top coat. I ended up putting 2 large wicker baskets underneath for extra storage and it is perfect!
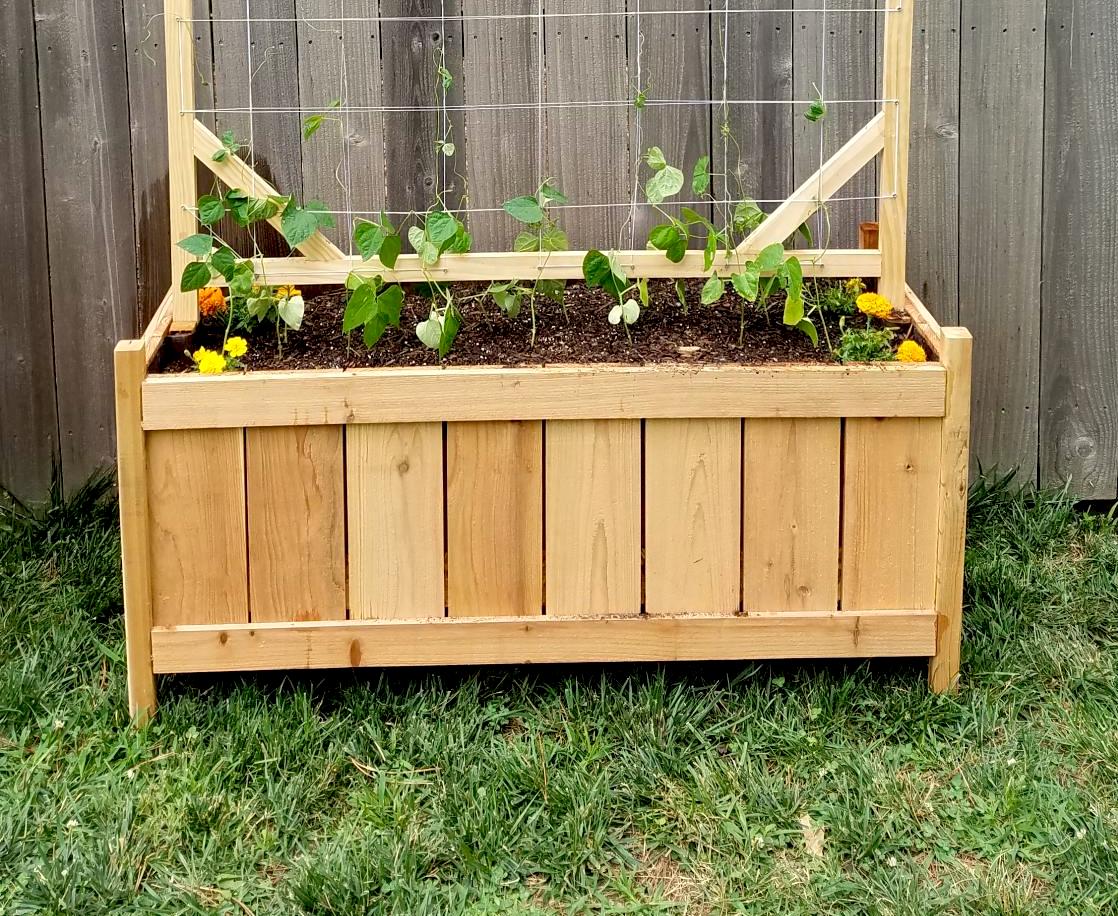
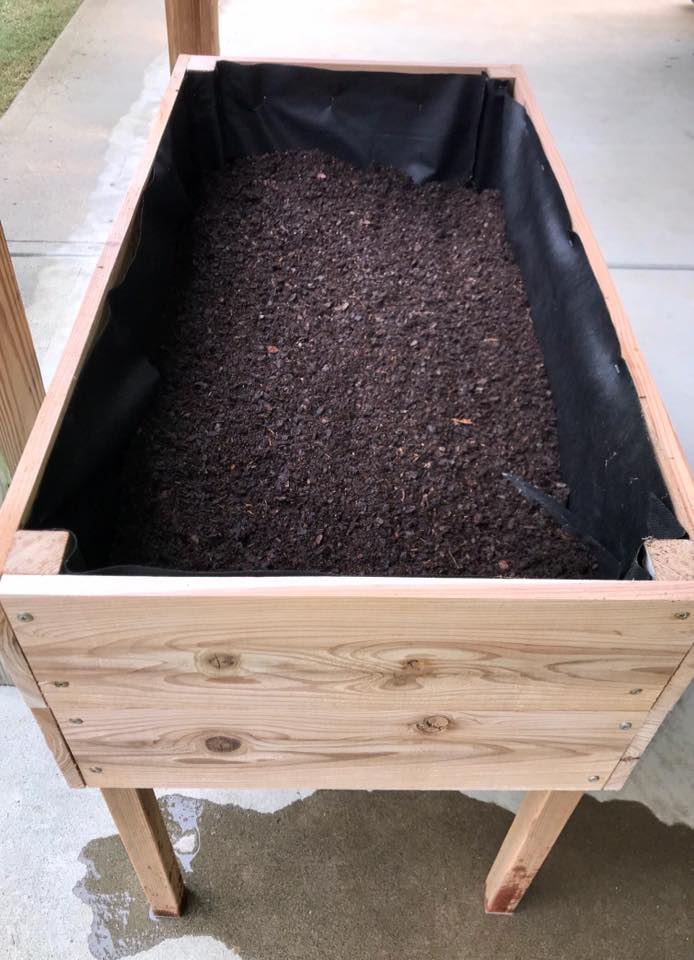
Increased width of box to 46" by using 8 fence boards instead of 3. put base at 12" down, lined box with landscaping fabric to hold dirt. Created trellis with 1x2 boards with 10" long corner braces, spaced screws 6" apart around edges and weaved cotton thread to create the trellis. Used 12" scraps of 2x2 to create a "slot" inside the center of the planter to support the trellis. Added container mix and green pole beans started in egg cartons earlier in the spring.
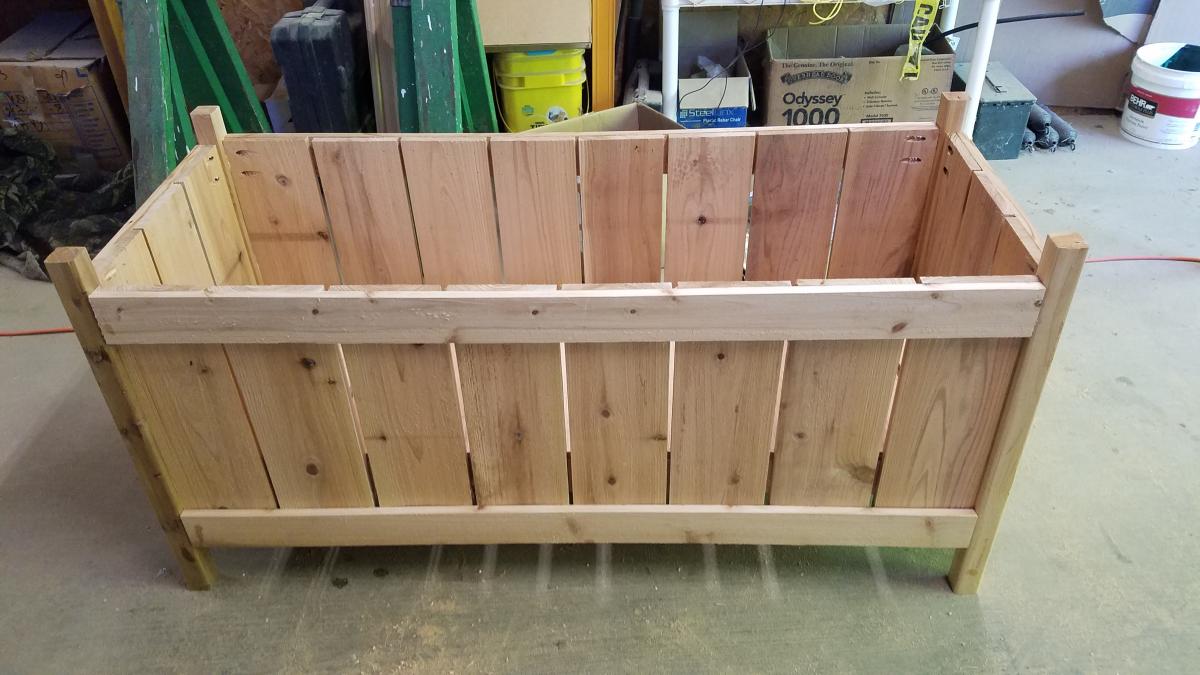
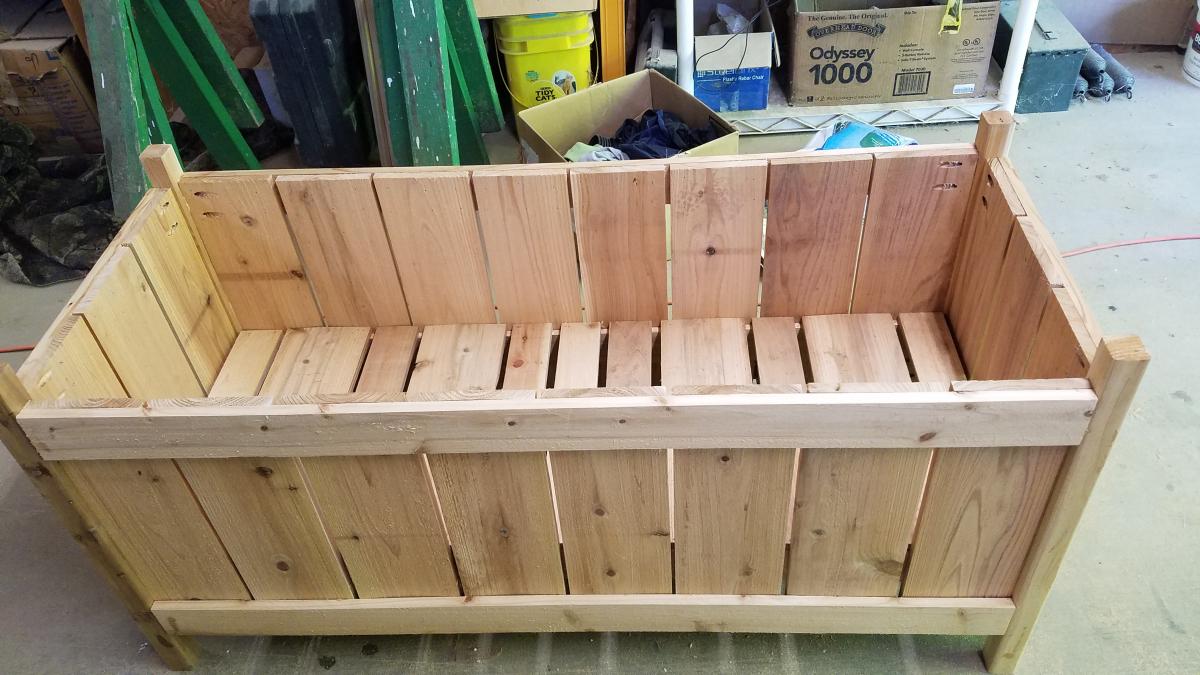
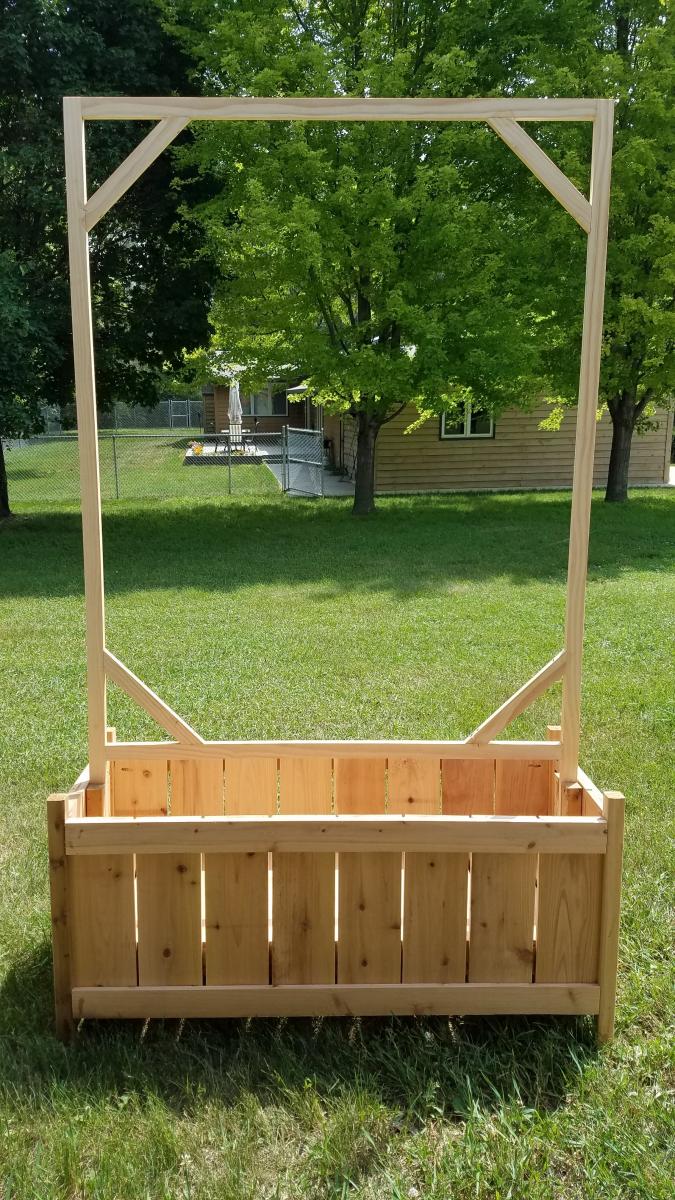
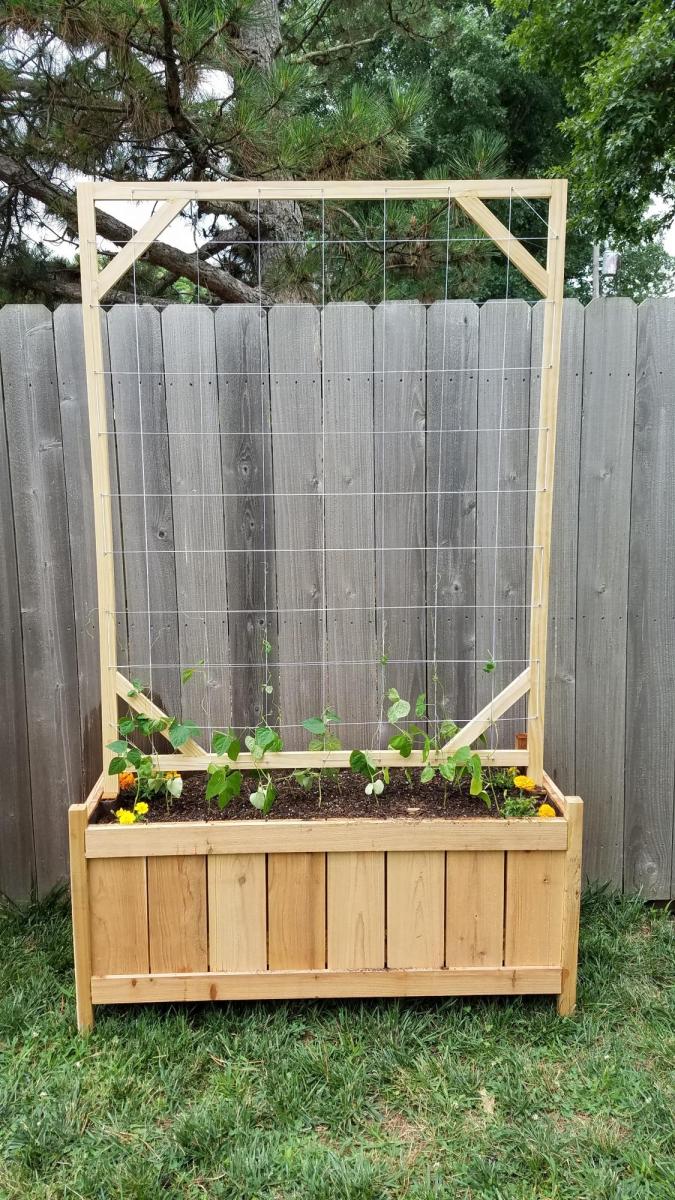
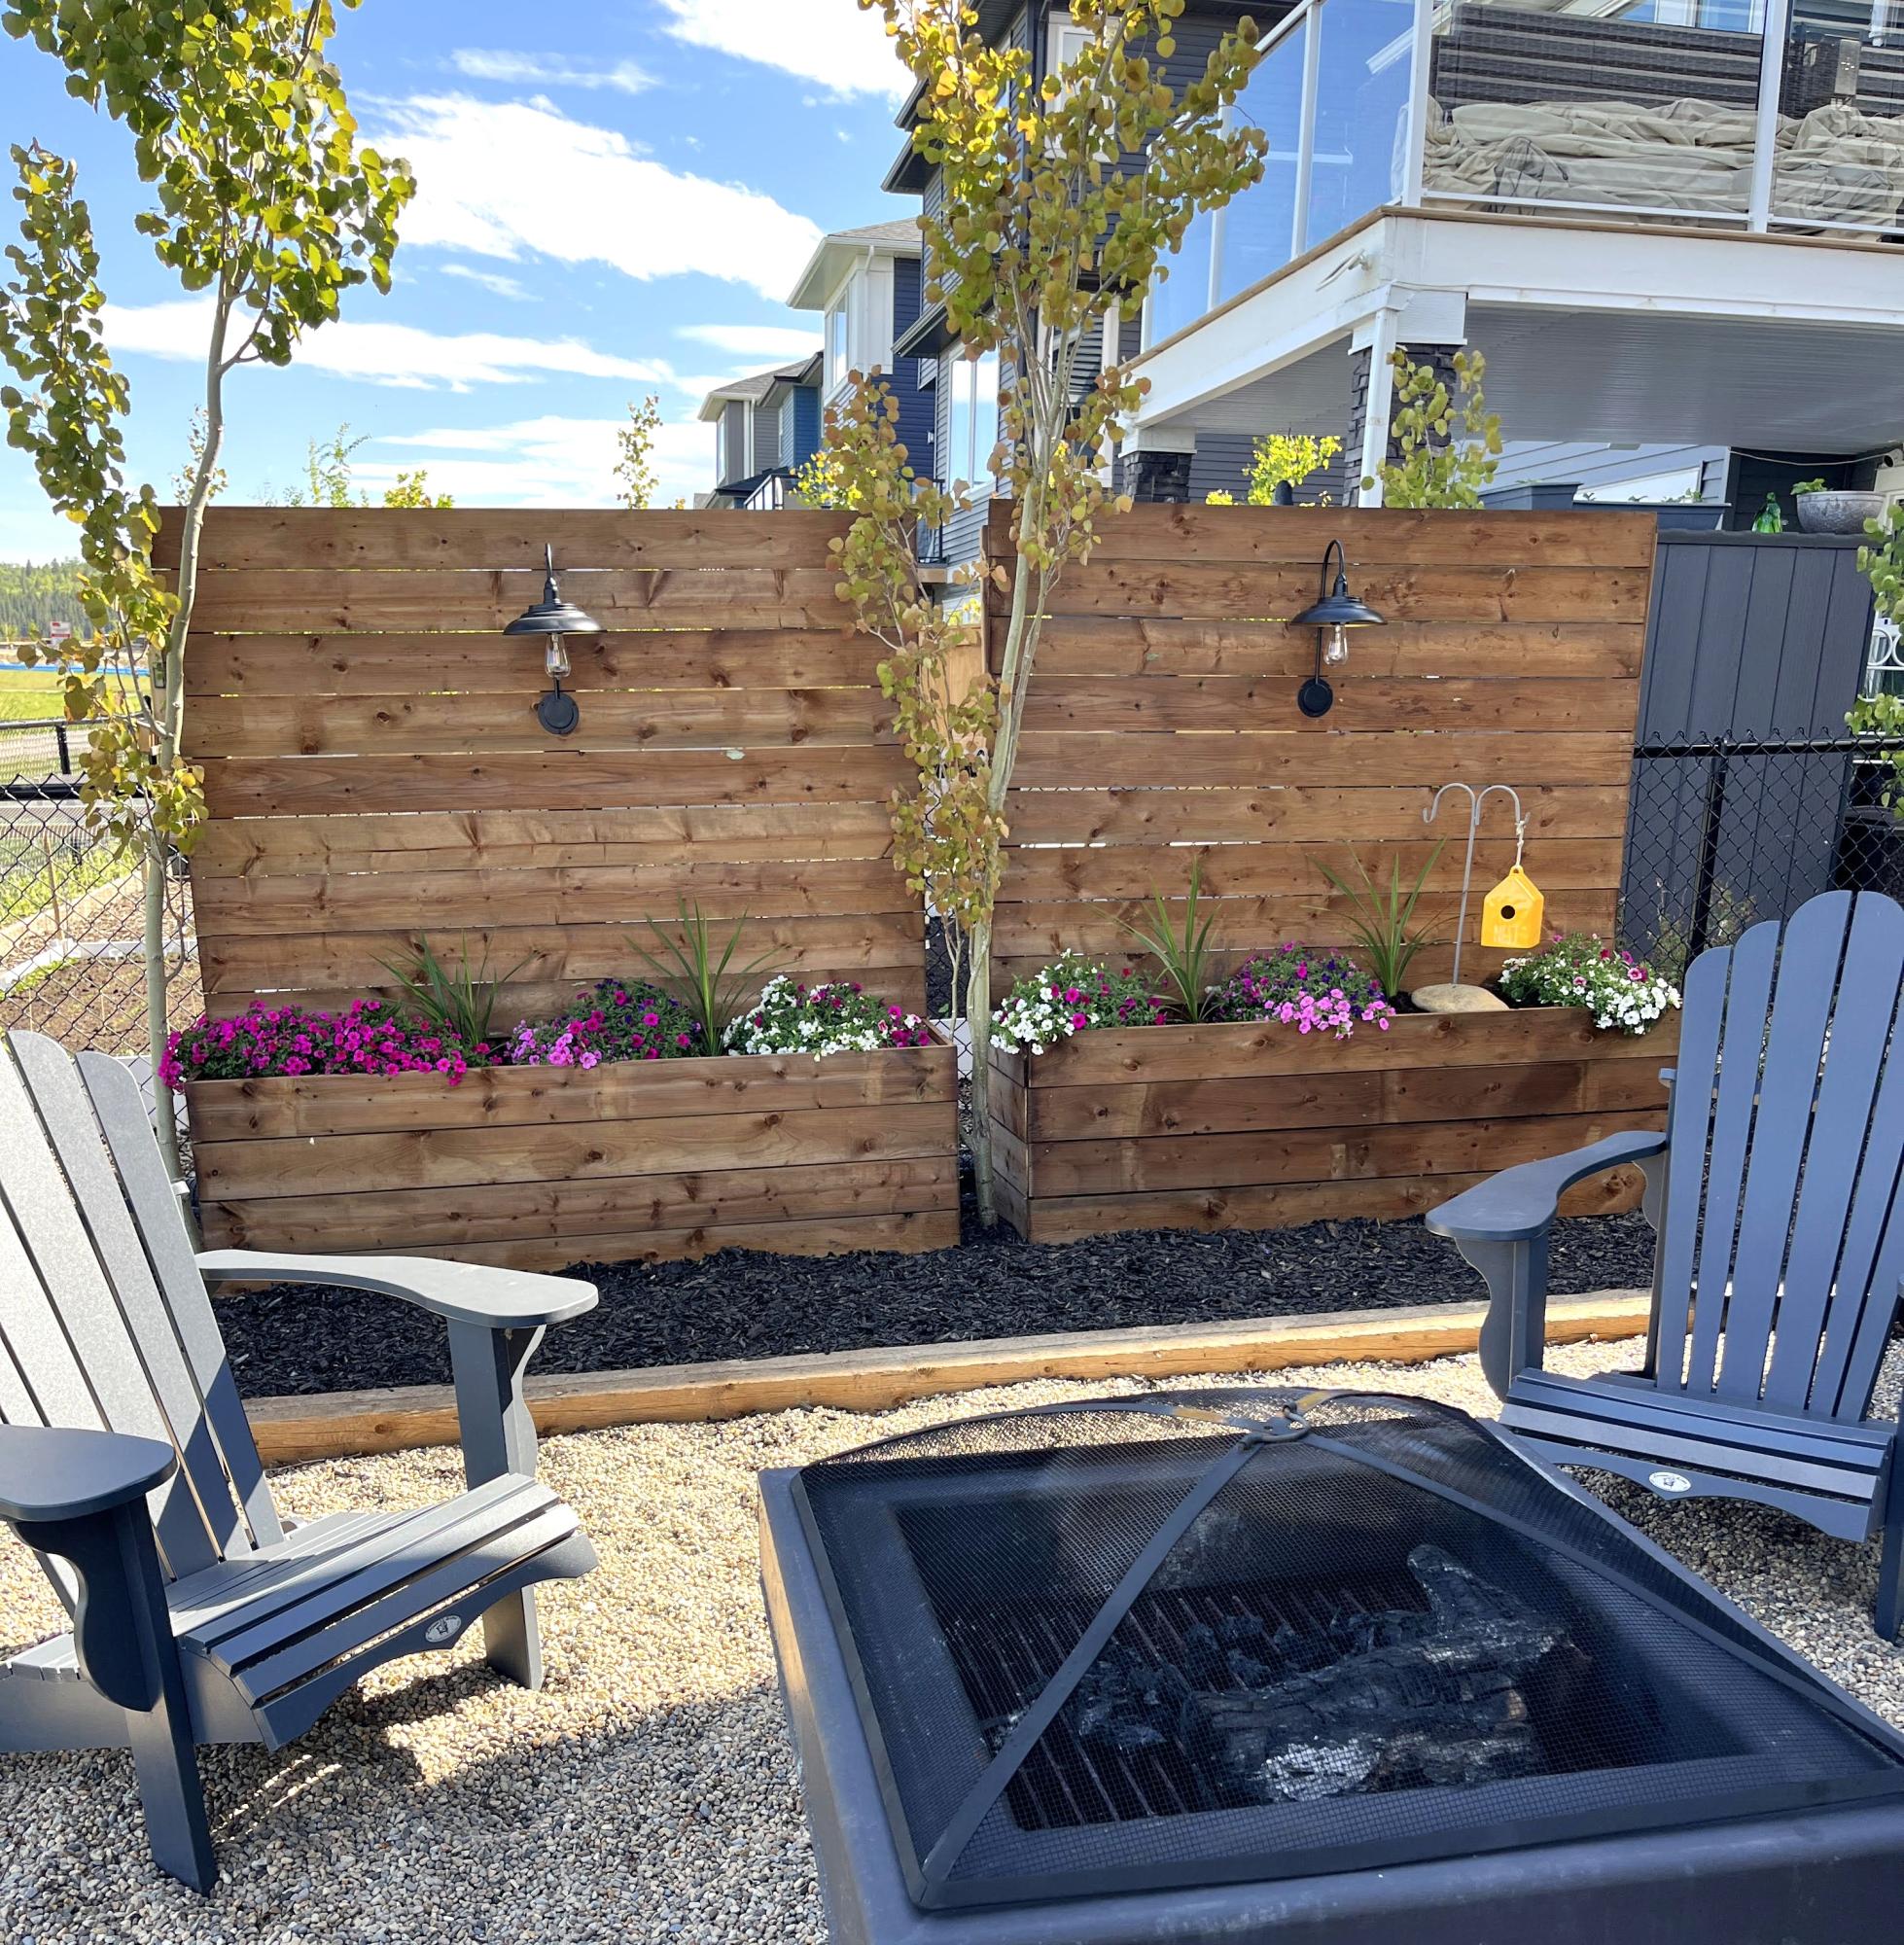
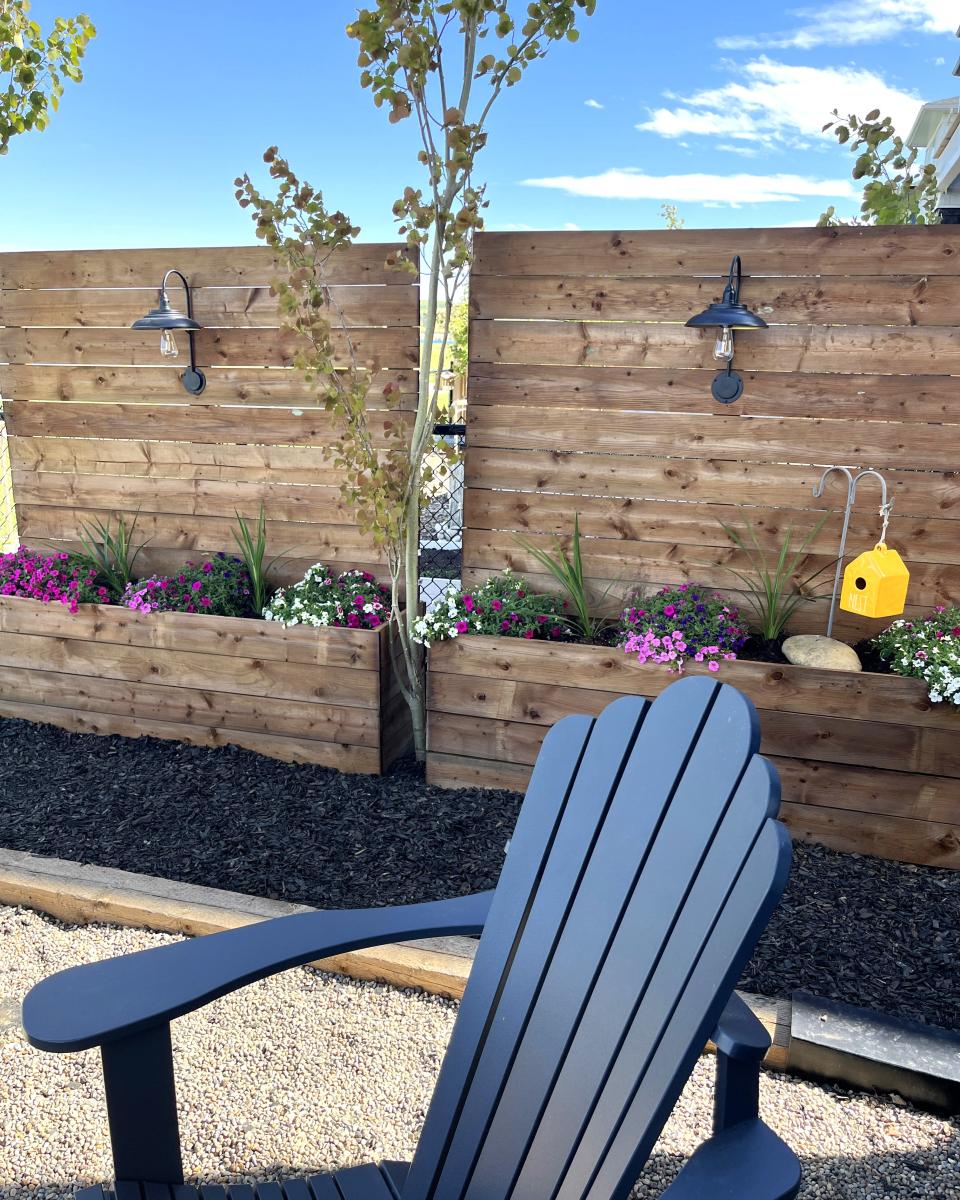
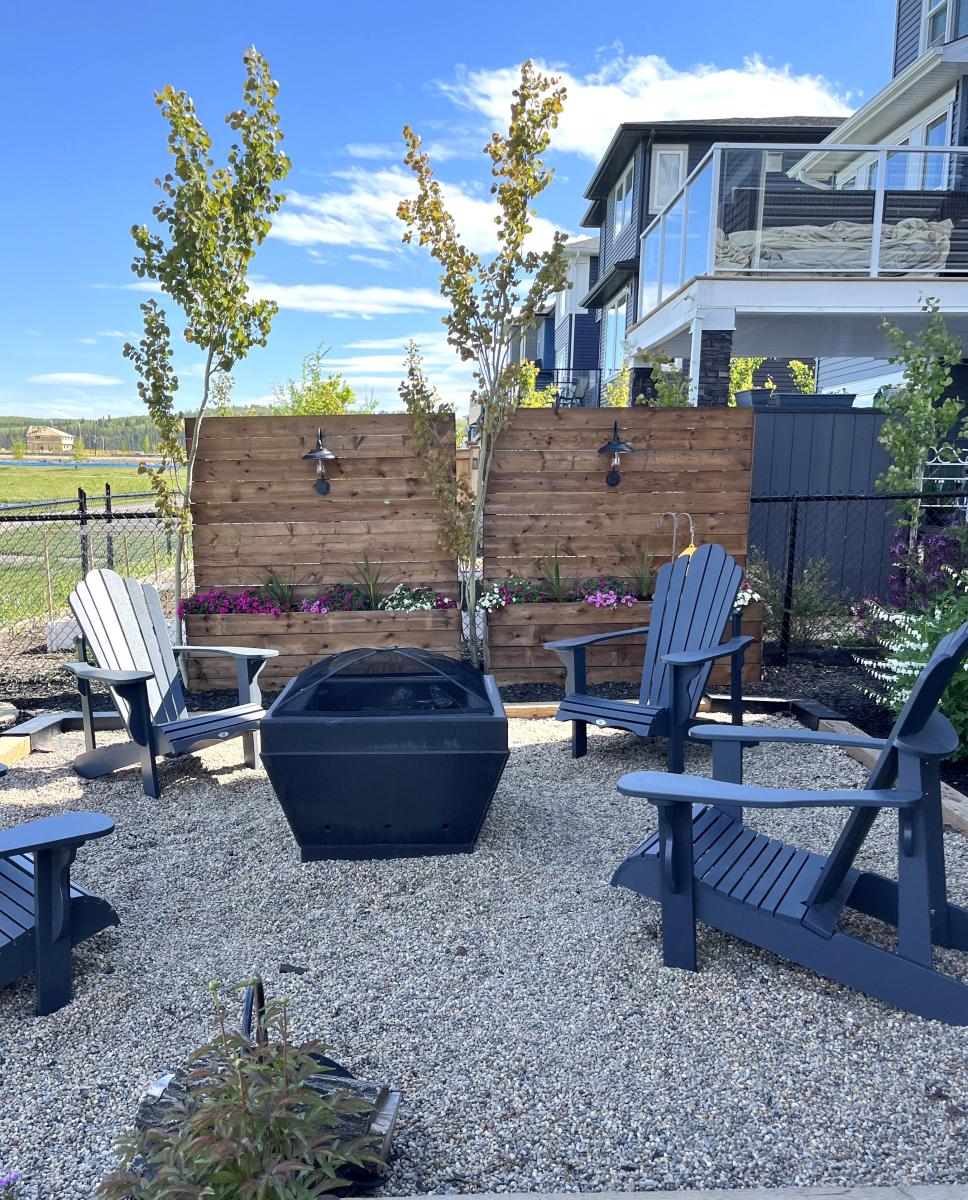
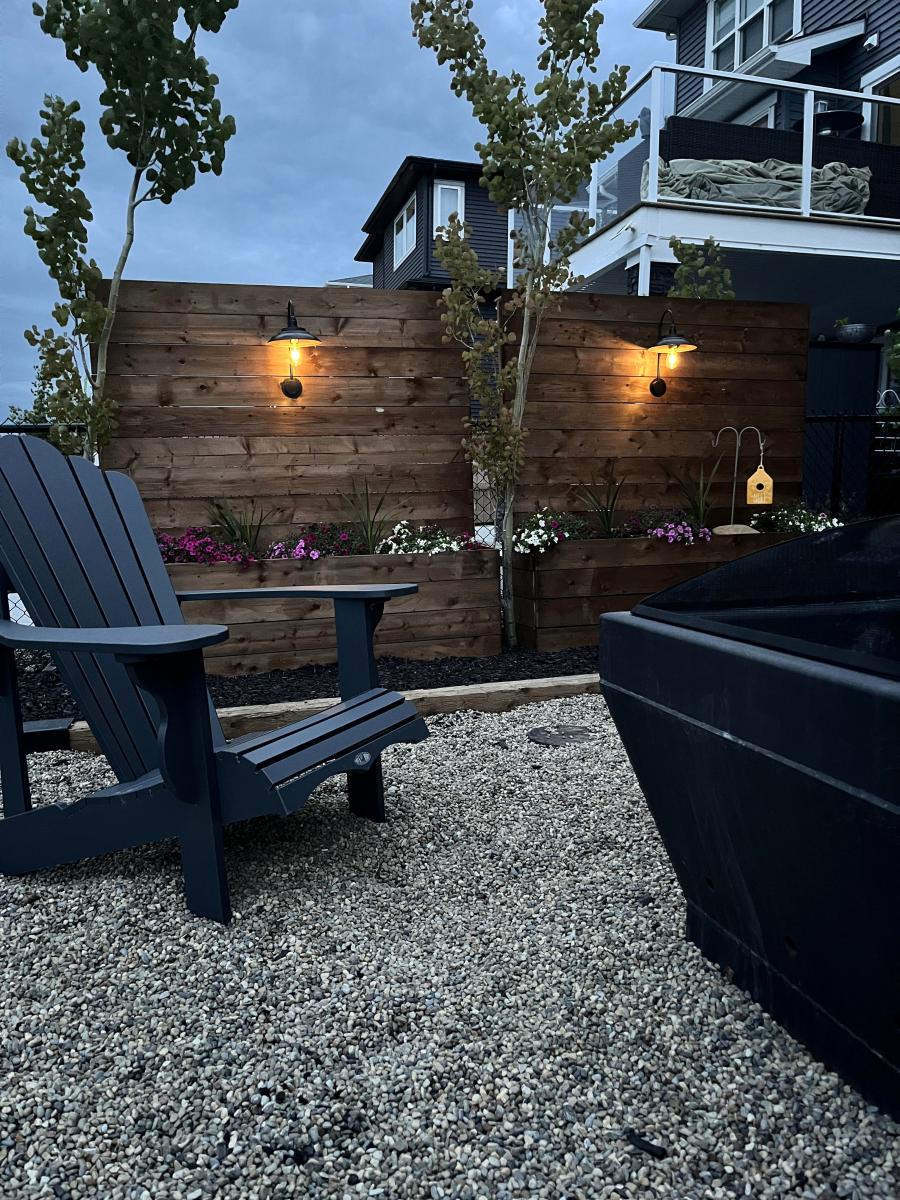
I needed a frugal solution to get a bit of privacy in our backyard. I didn’t want to dig post holes and all the premade solutions I found and liked were at least double the cost of this project. I used pretreated lumber which isn’t recommended for veggies/plants, but I knew I wasn’t going to plant veggies so I lined them with plastic and landscape fabric and made sure to add drainage holes. To reduce the amount of soil I needed in each I added some cutoffs of a tree my friend cut down in their yard. The whole thing came together in less than a day! The easy to follow free plans can be found @anawhitediy -highly recommend! (Thank you!!!) Very easy to follow and the shopping list and cut list were super helpful!
Jesi 🖤
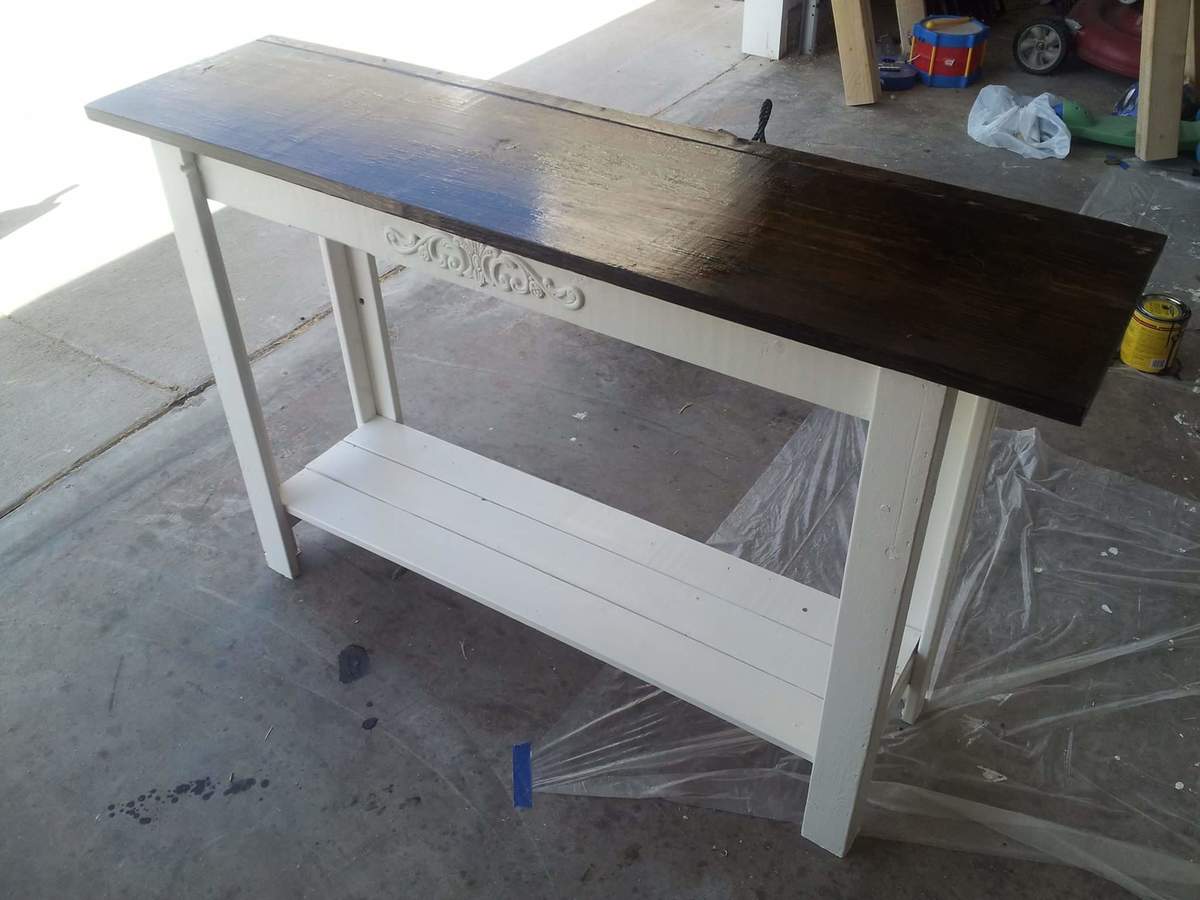
spare room home project

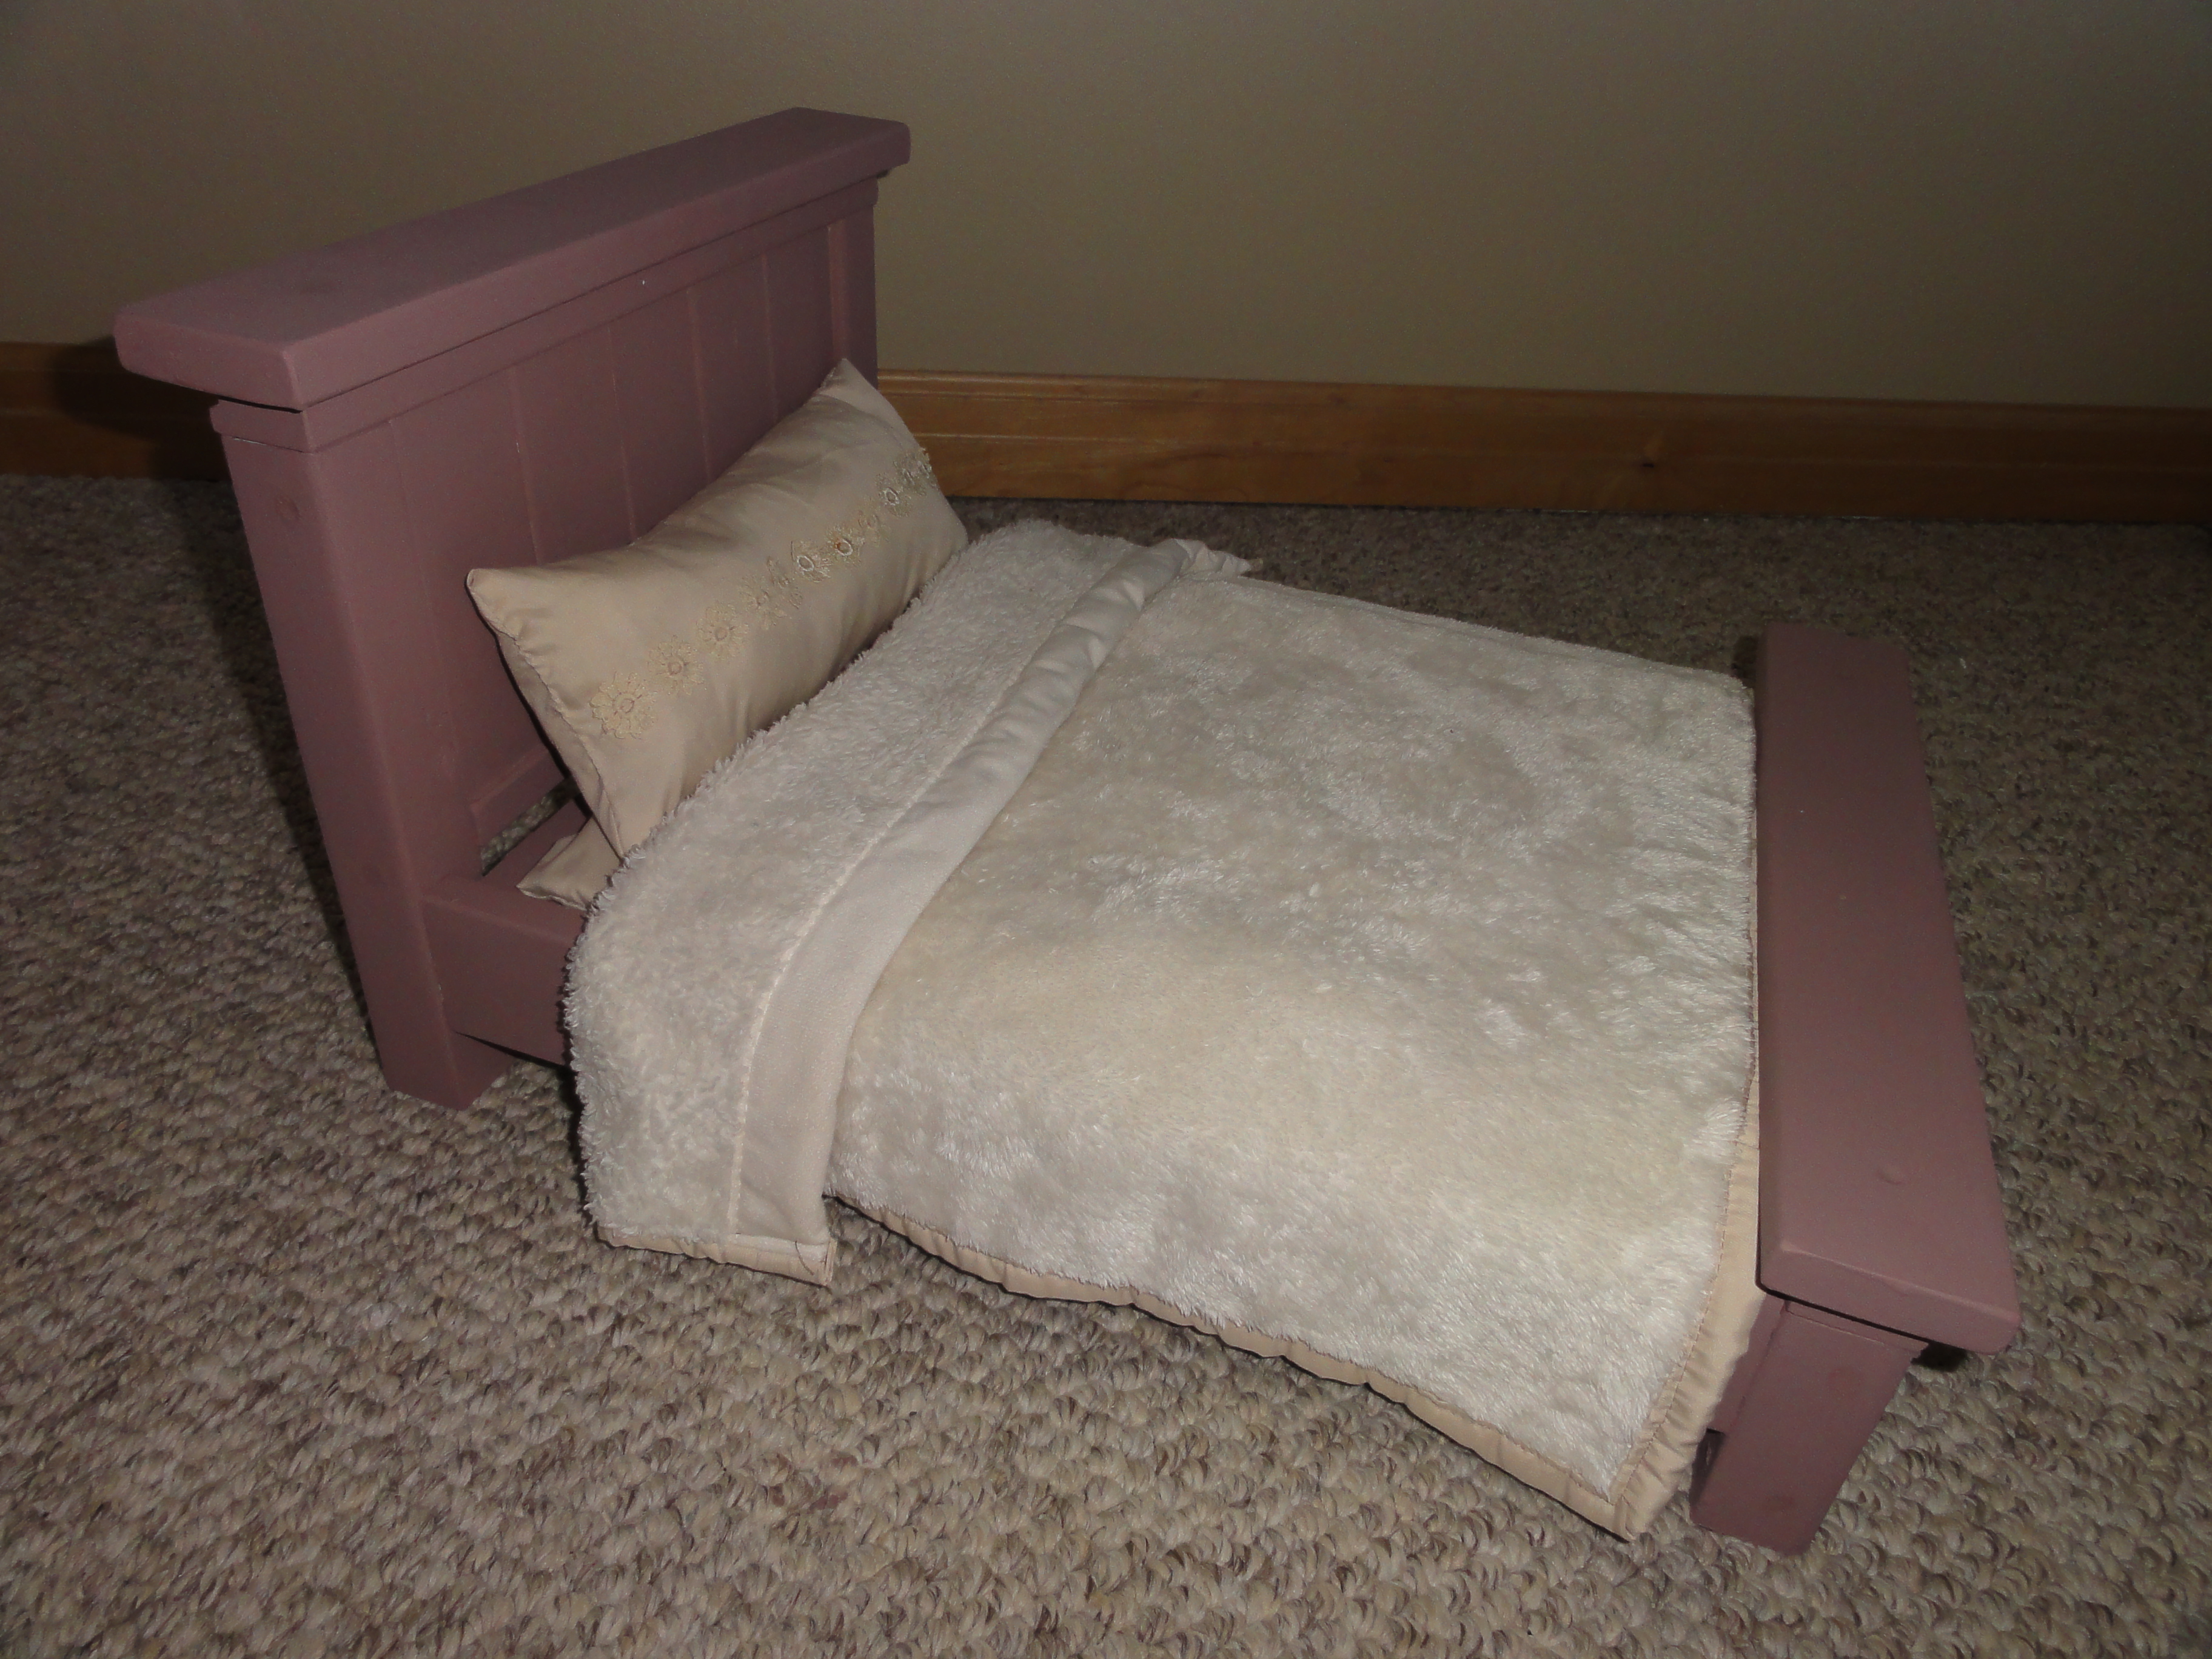
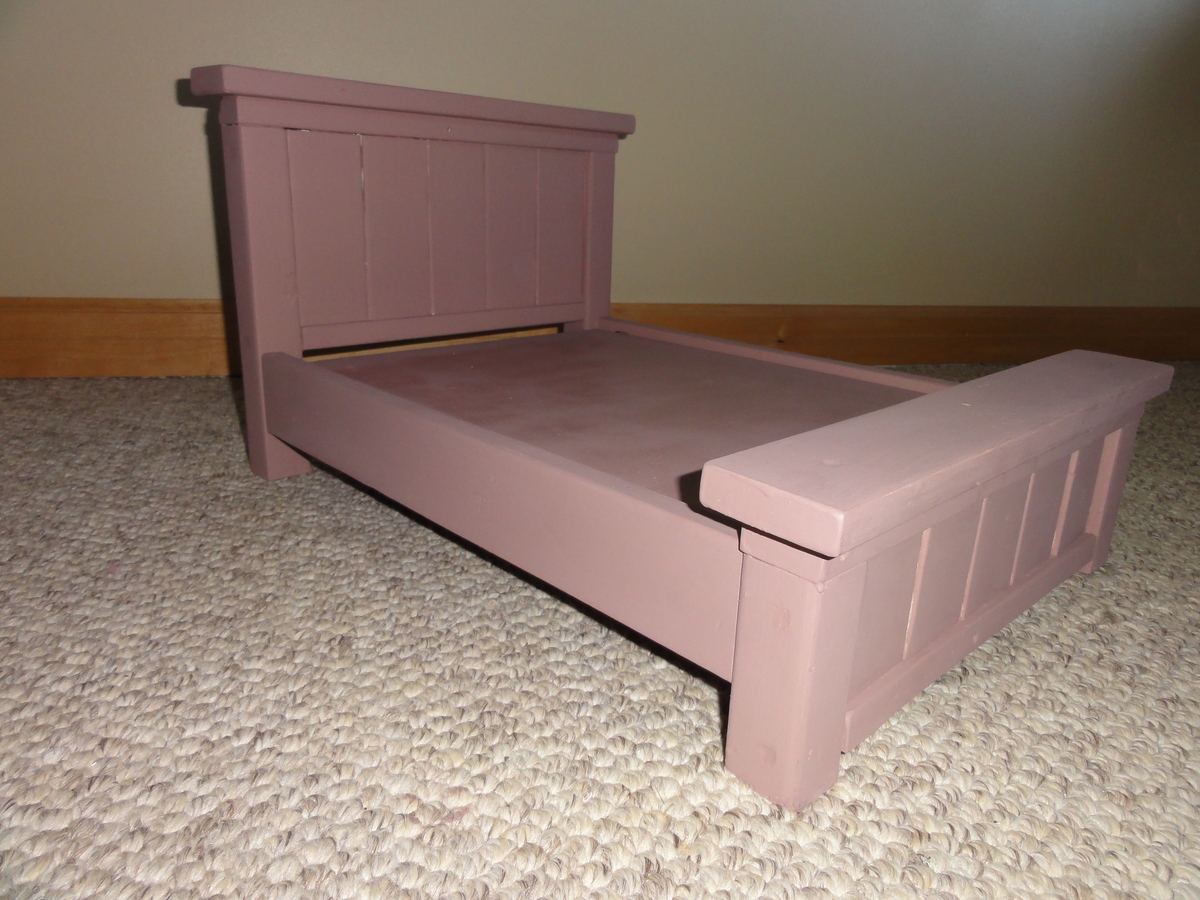
I used antique white paint for the bottom and dark walnut atain for the top. I added a appilque to make it look a little fancy.
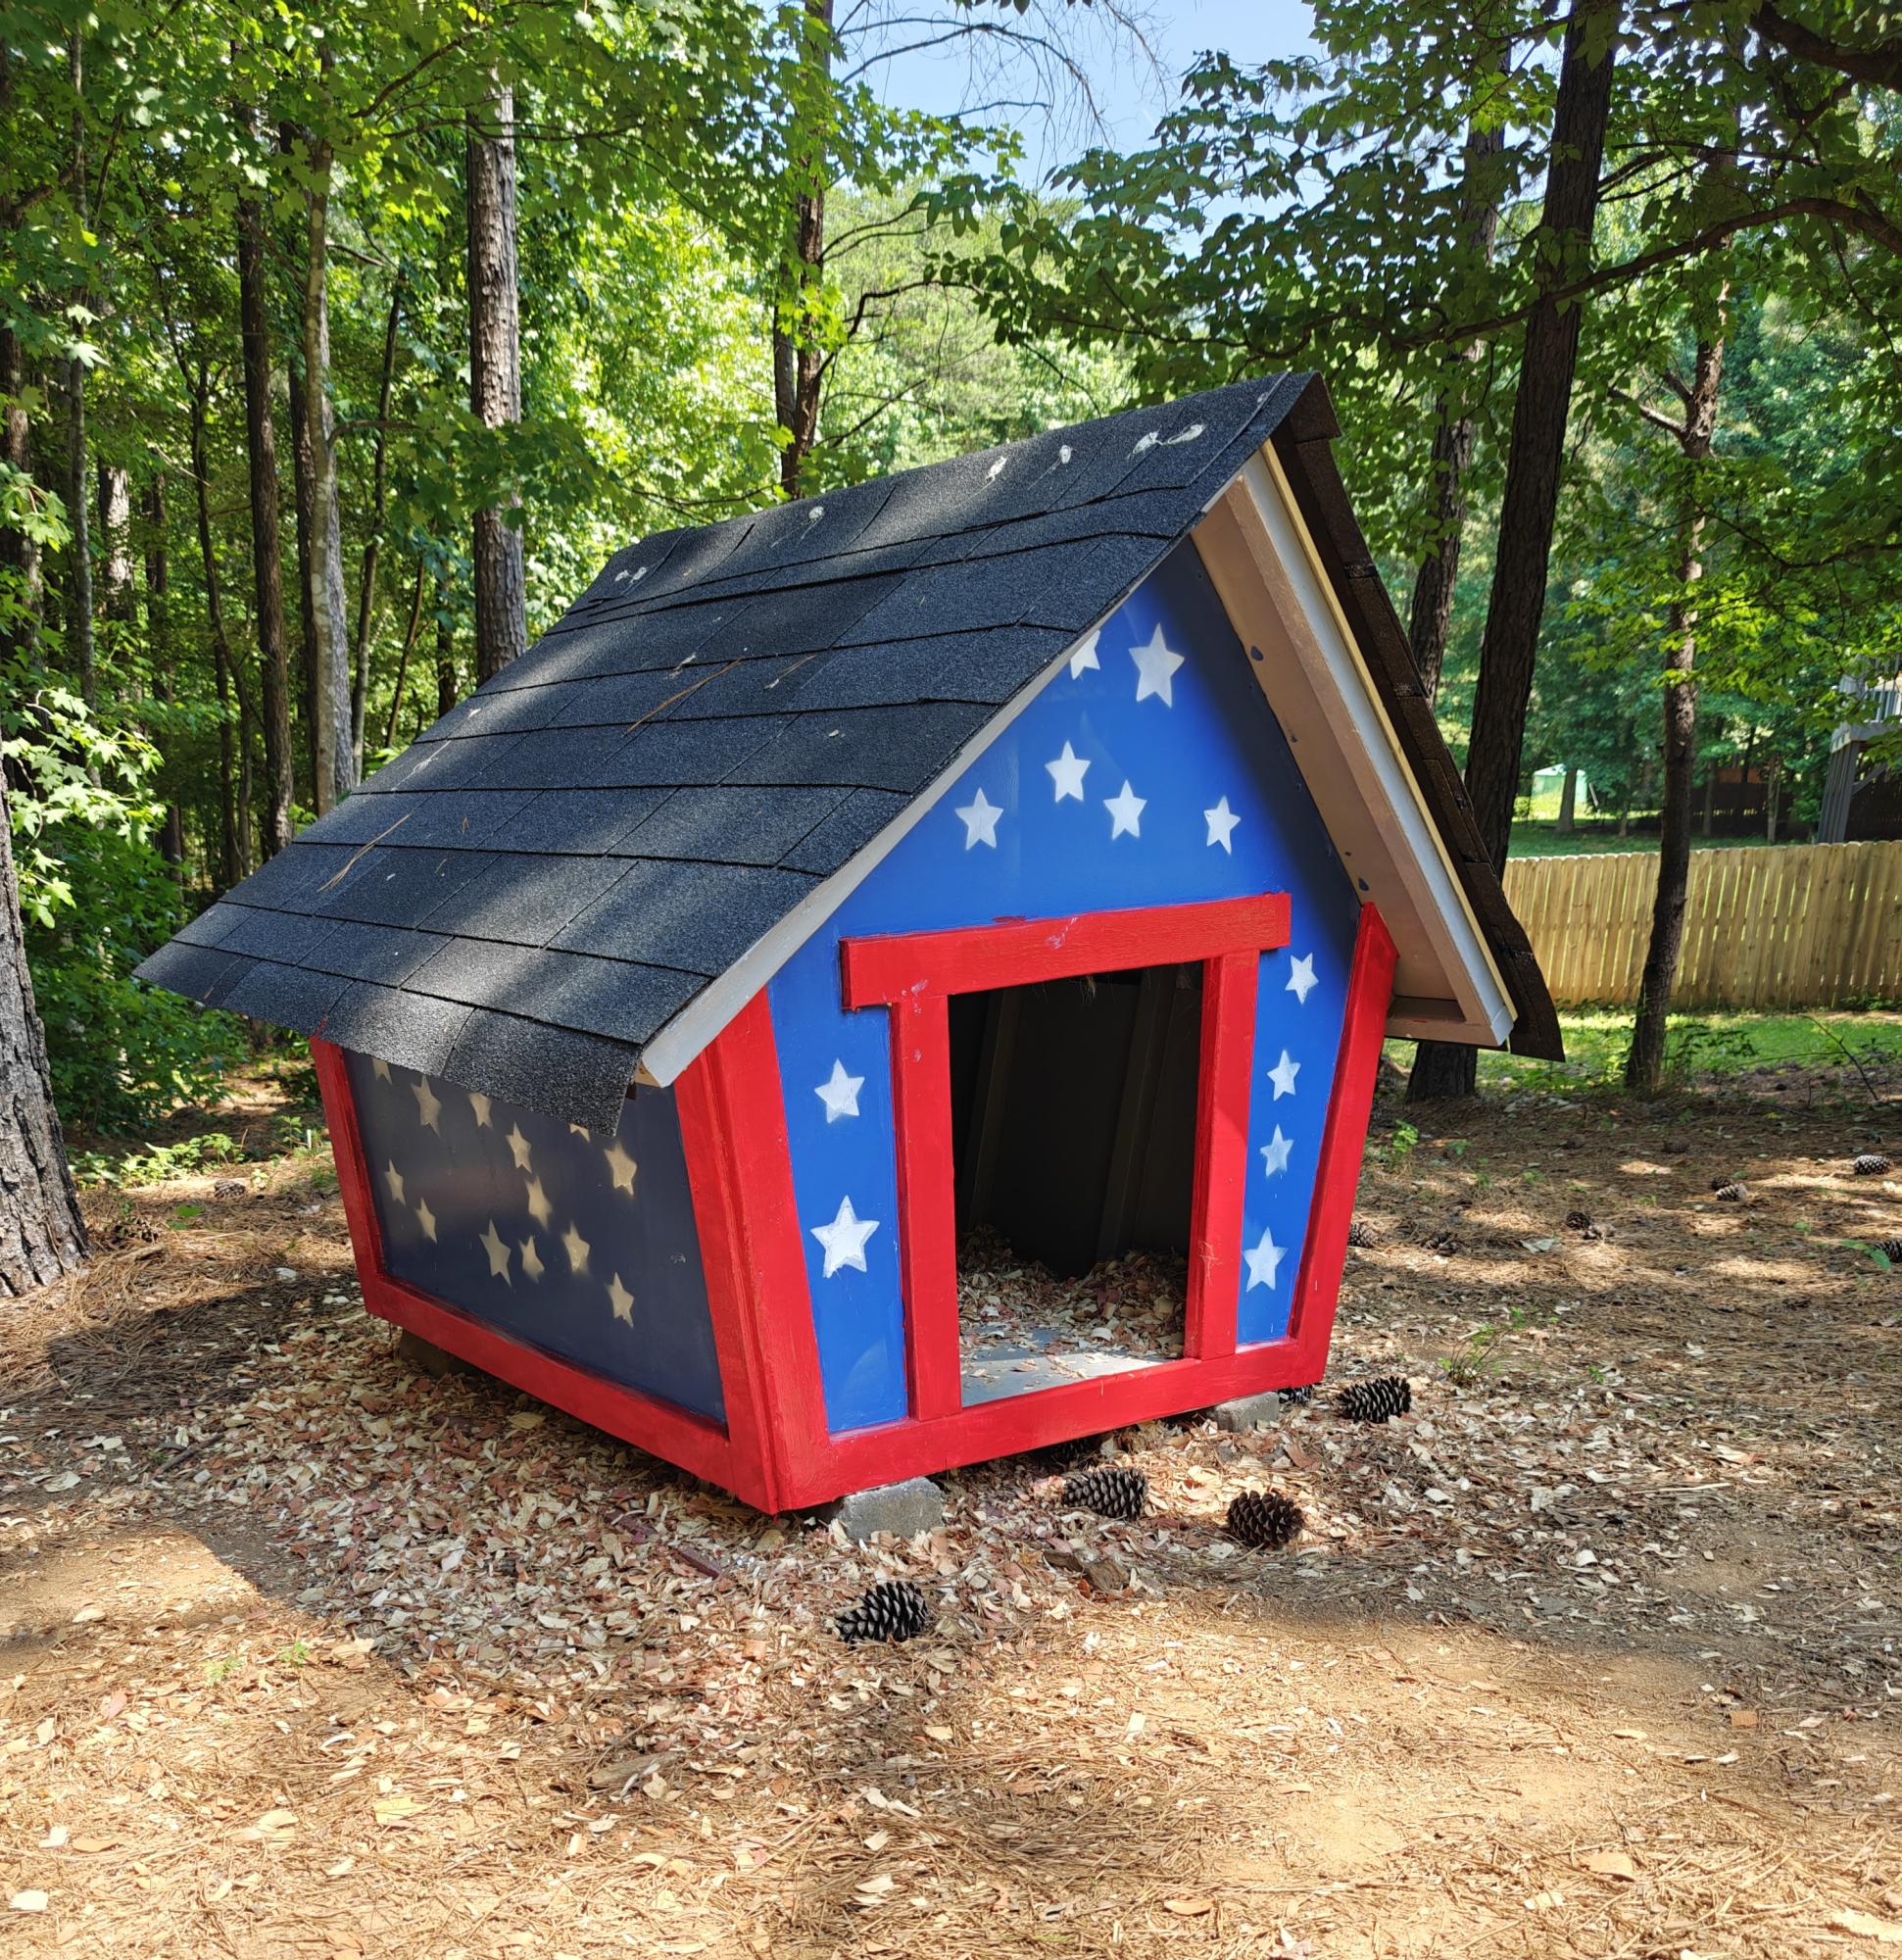
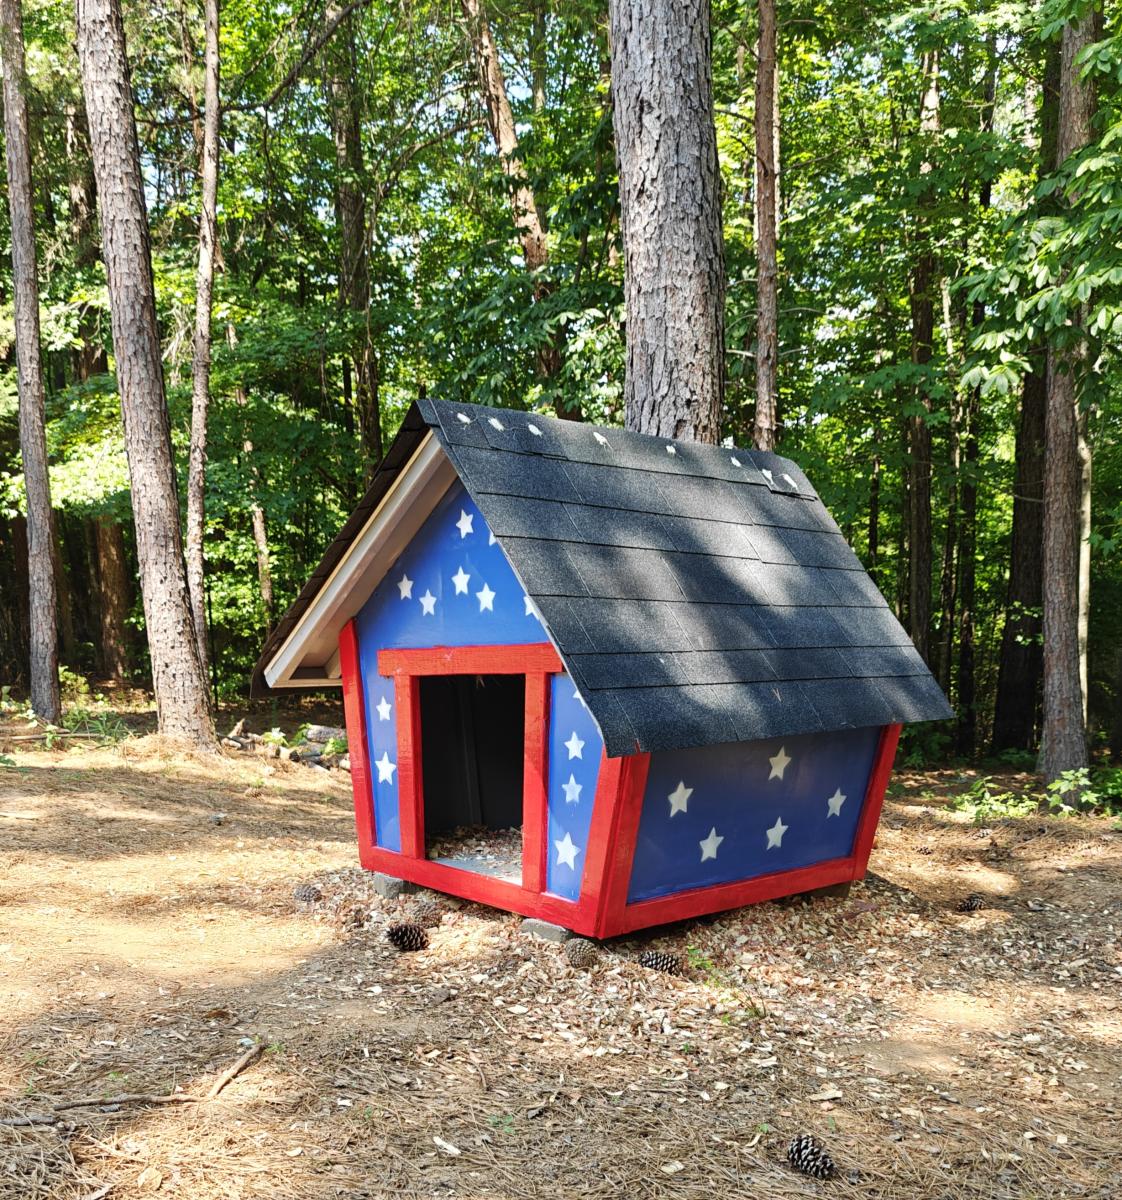
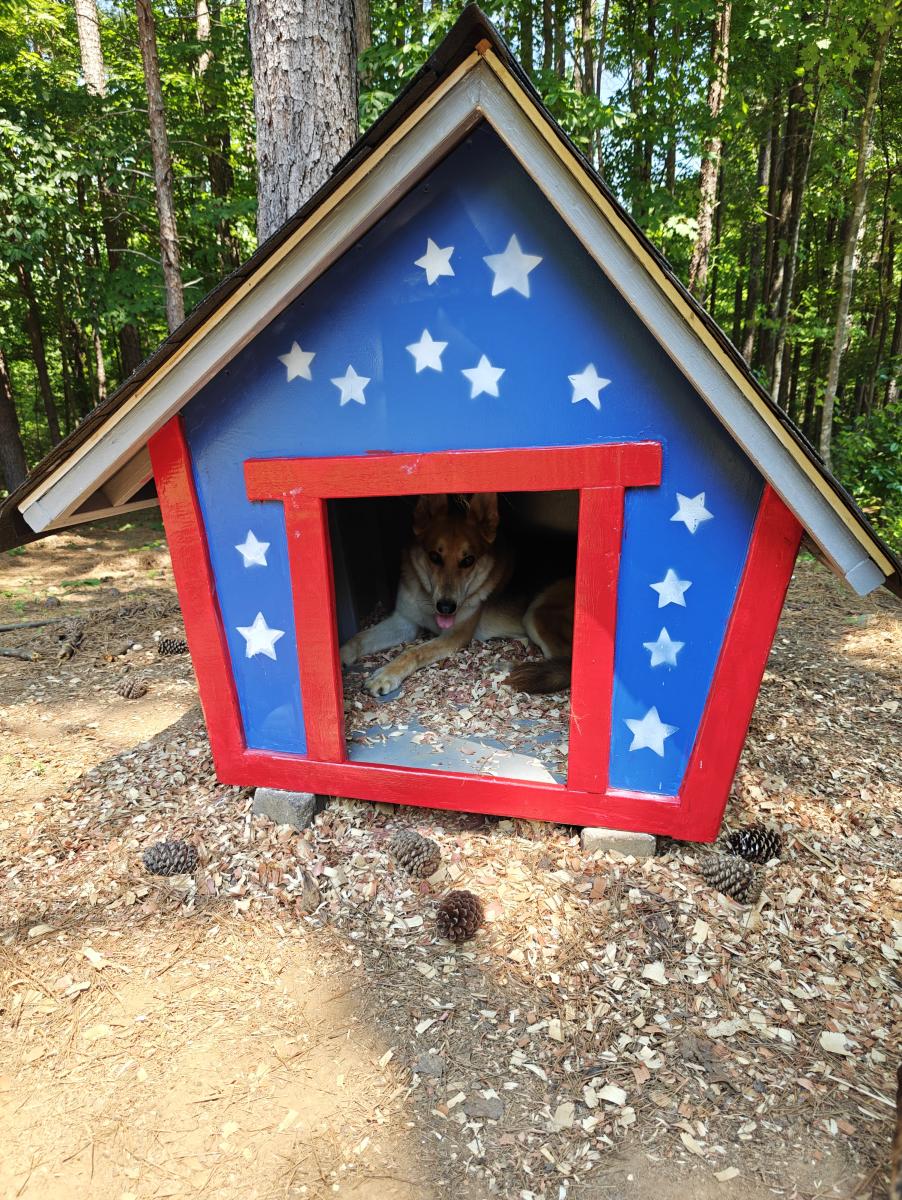
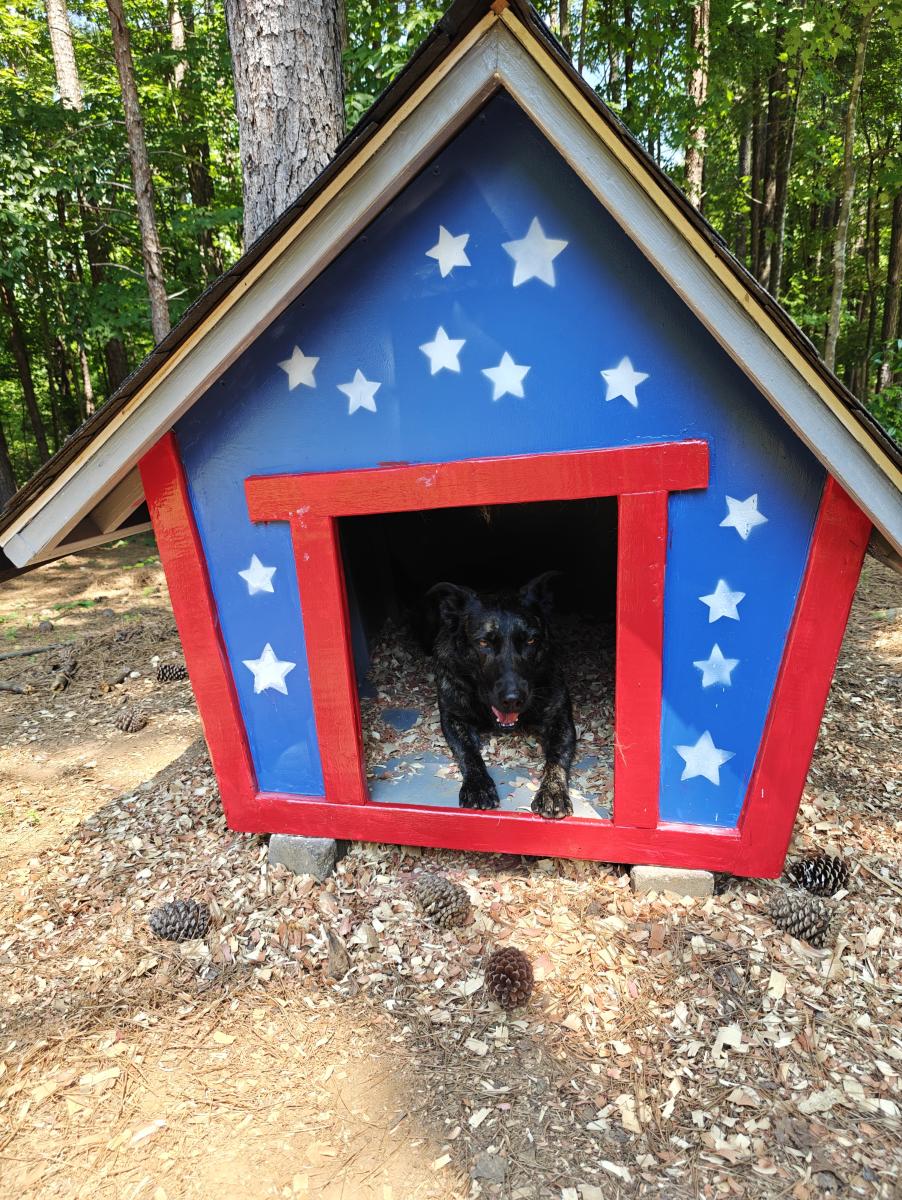
I'm going to build a second one but it looks like both dogs are enjoying this one I was even able to get them to get in it together when it wasn't too hot :-)
This is my first project from your website and it was really interesting I ended up modifying the plans a little. For the modifications the back panel was pre-drilled and attached with bolts and t-nuts to allow me to easily remove when the weather starts to get cold and put in insulation... Order clean it. It's a very good size dog house and I really enjoyed this project! Thank you so much for your contributions to those that have never actually worked on anything like this before.
Cathleen
I have too many scraps … and a granddaughter with a 2nd birthday coming up soon … so spent a couple hours cutting the pieces … took extra time since i was trying to make scraps work … but it still came together well. I had trouble making pocket screws work on this project … but the design makes it easy to bury and cover regular screws.
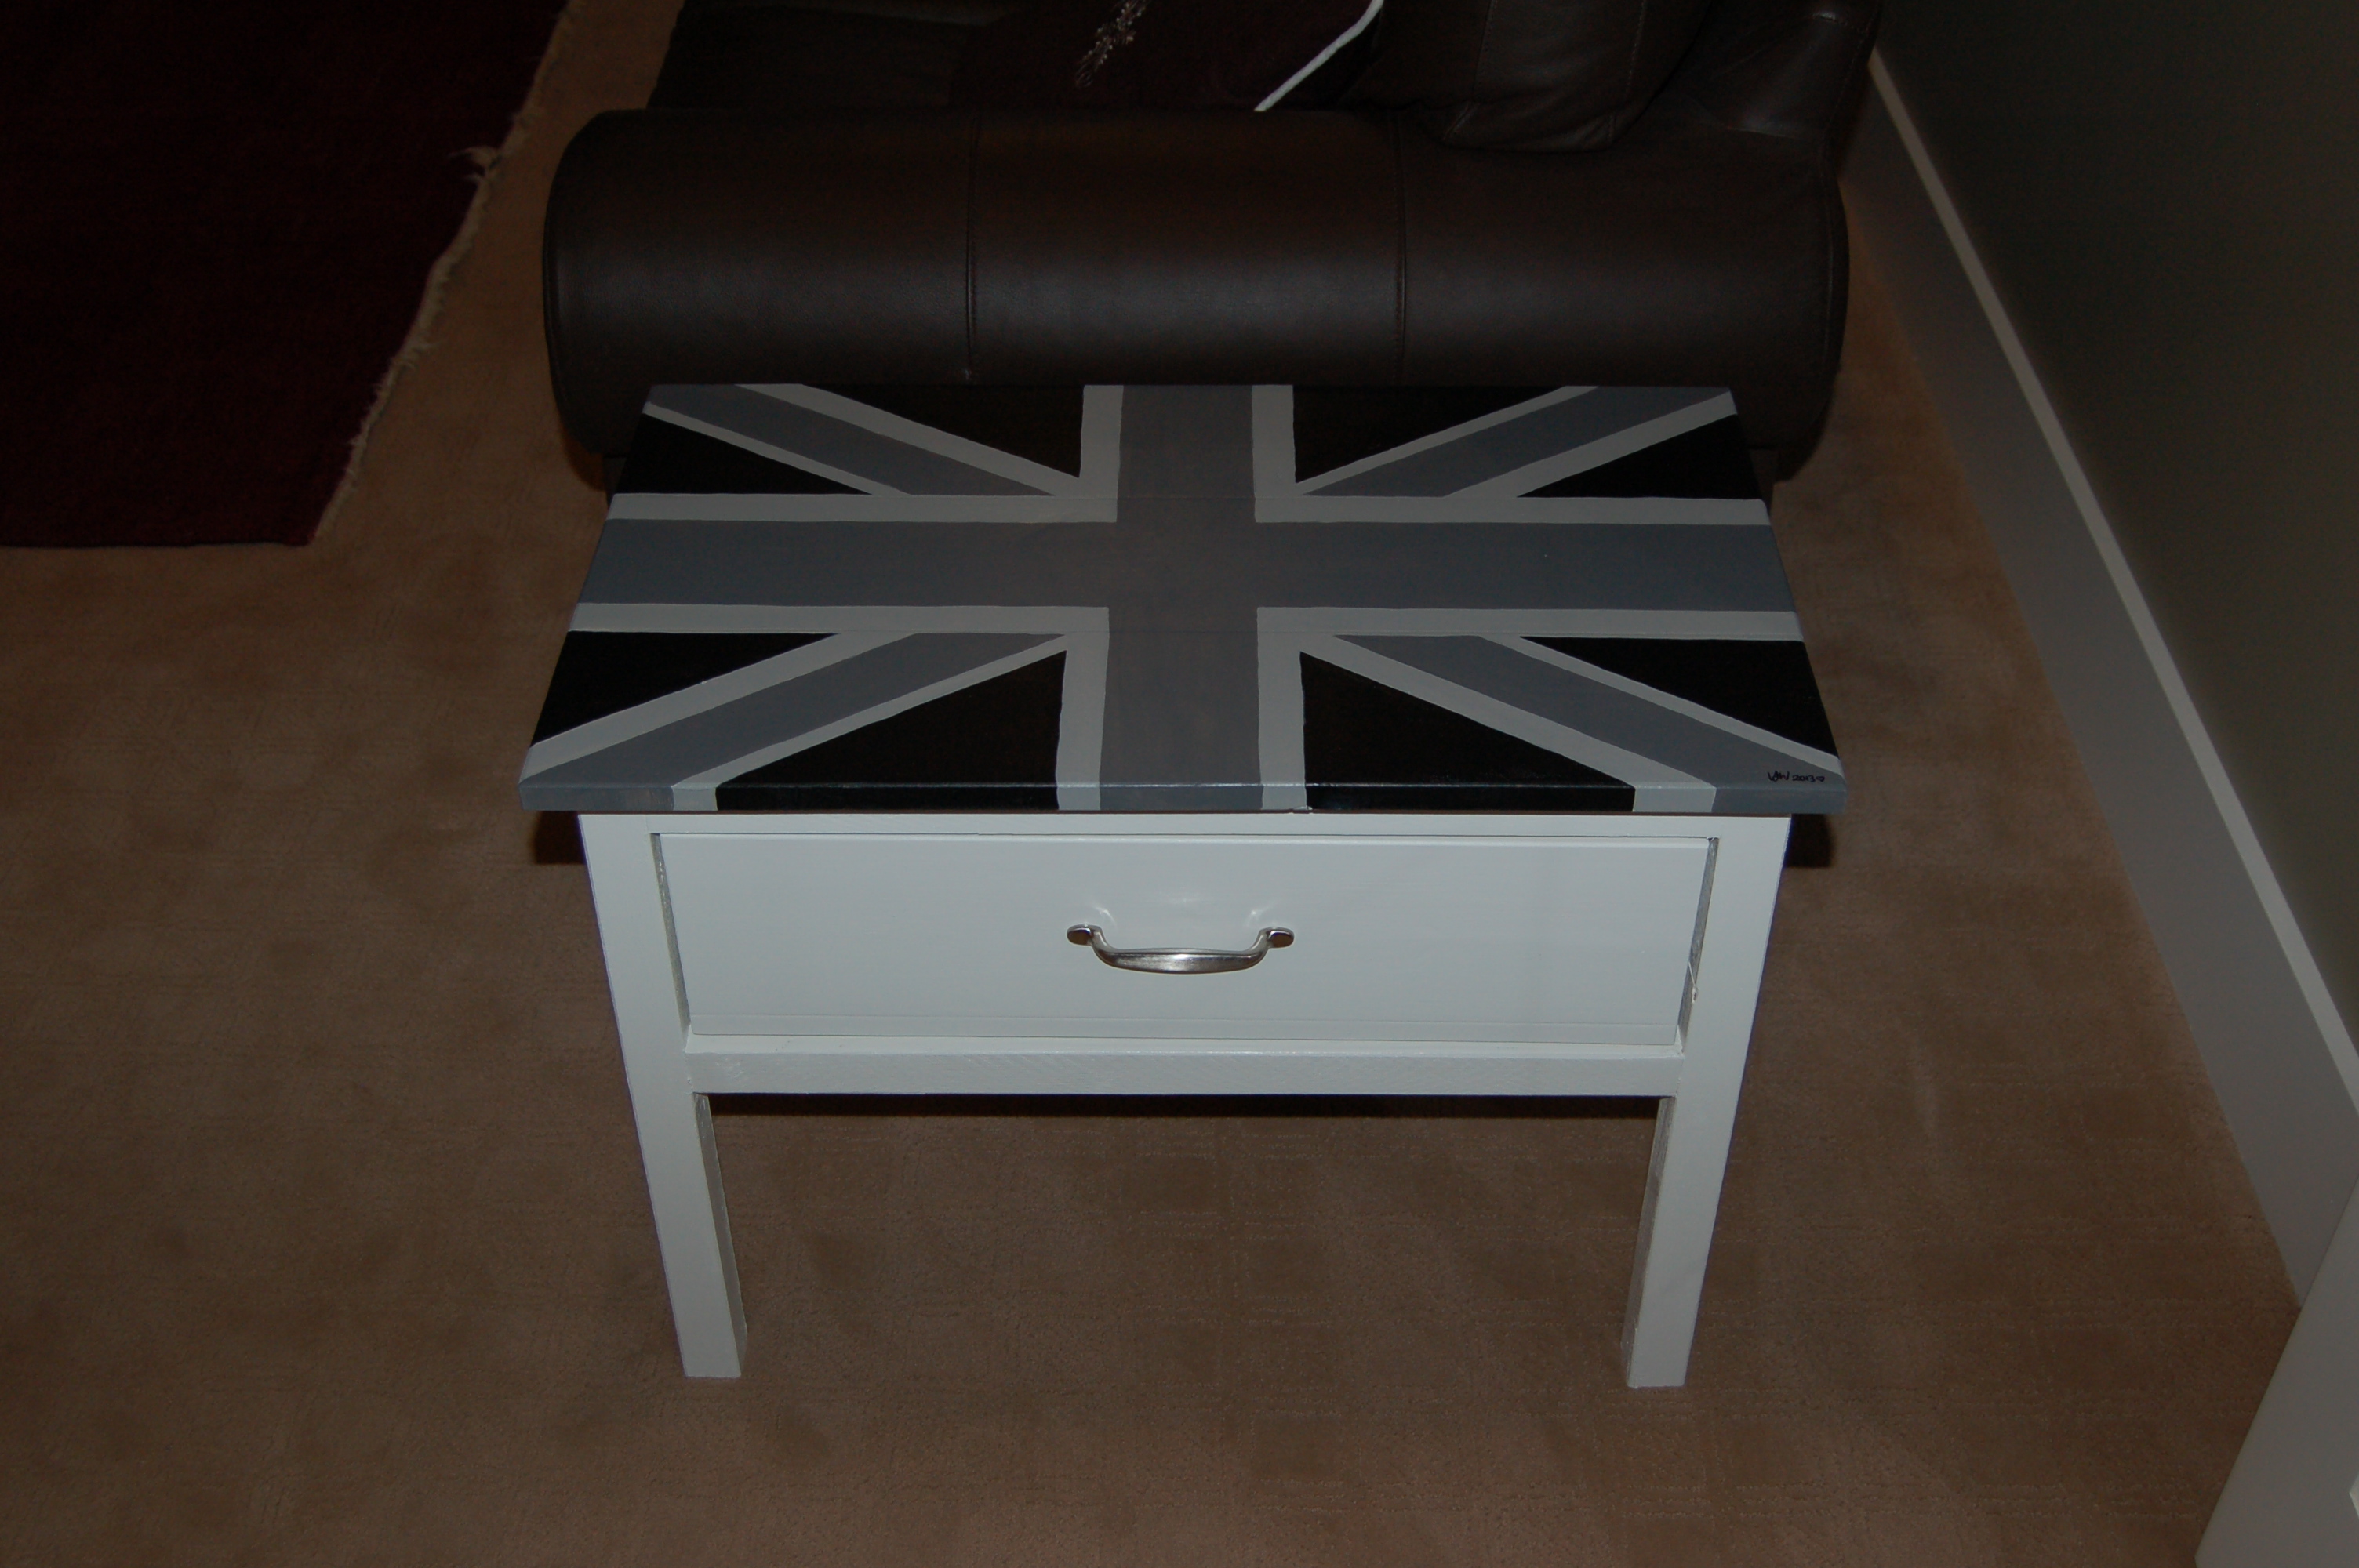
I used the Farmhouse Bedside Table plans as a starting point for this Christmas gift project for my husband. I removed 5" off the legs, omitted the shelf and doubled the width so that it would hold 30 DVDs in the drawer. I wanted something unique for his man cave and coming from England this seemed a great way of introducing our heritage without being overpowering in the room. Great project plan and easy to follow and only took a day to make including the painting time.
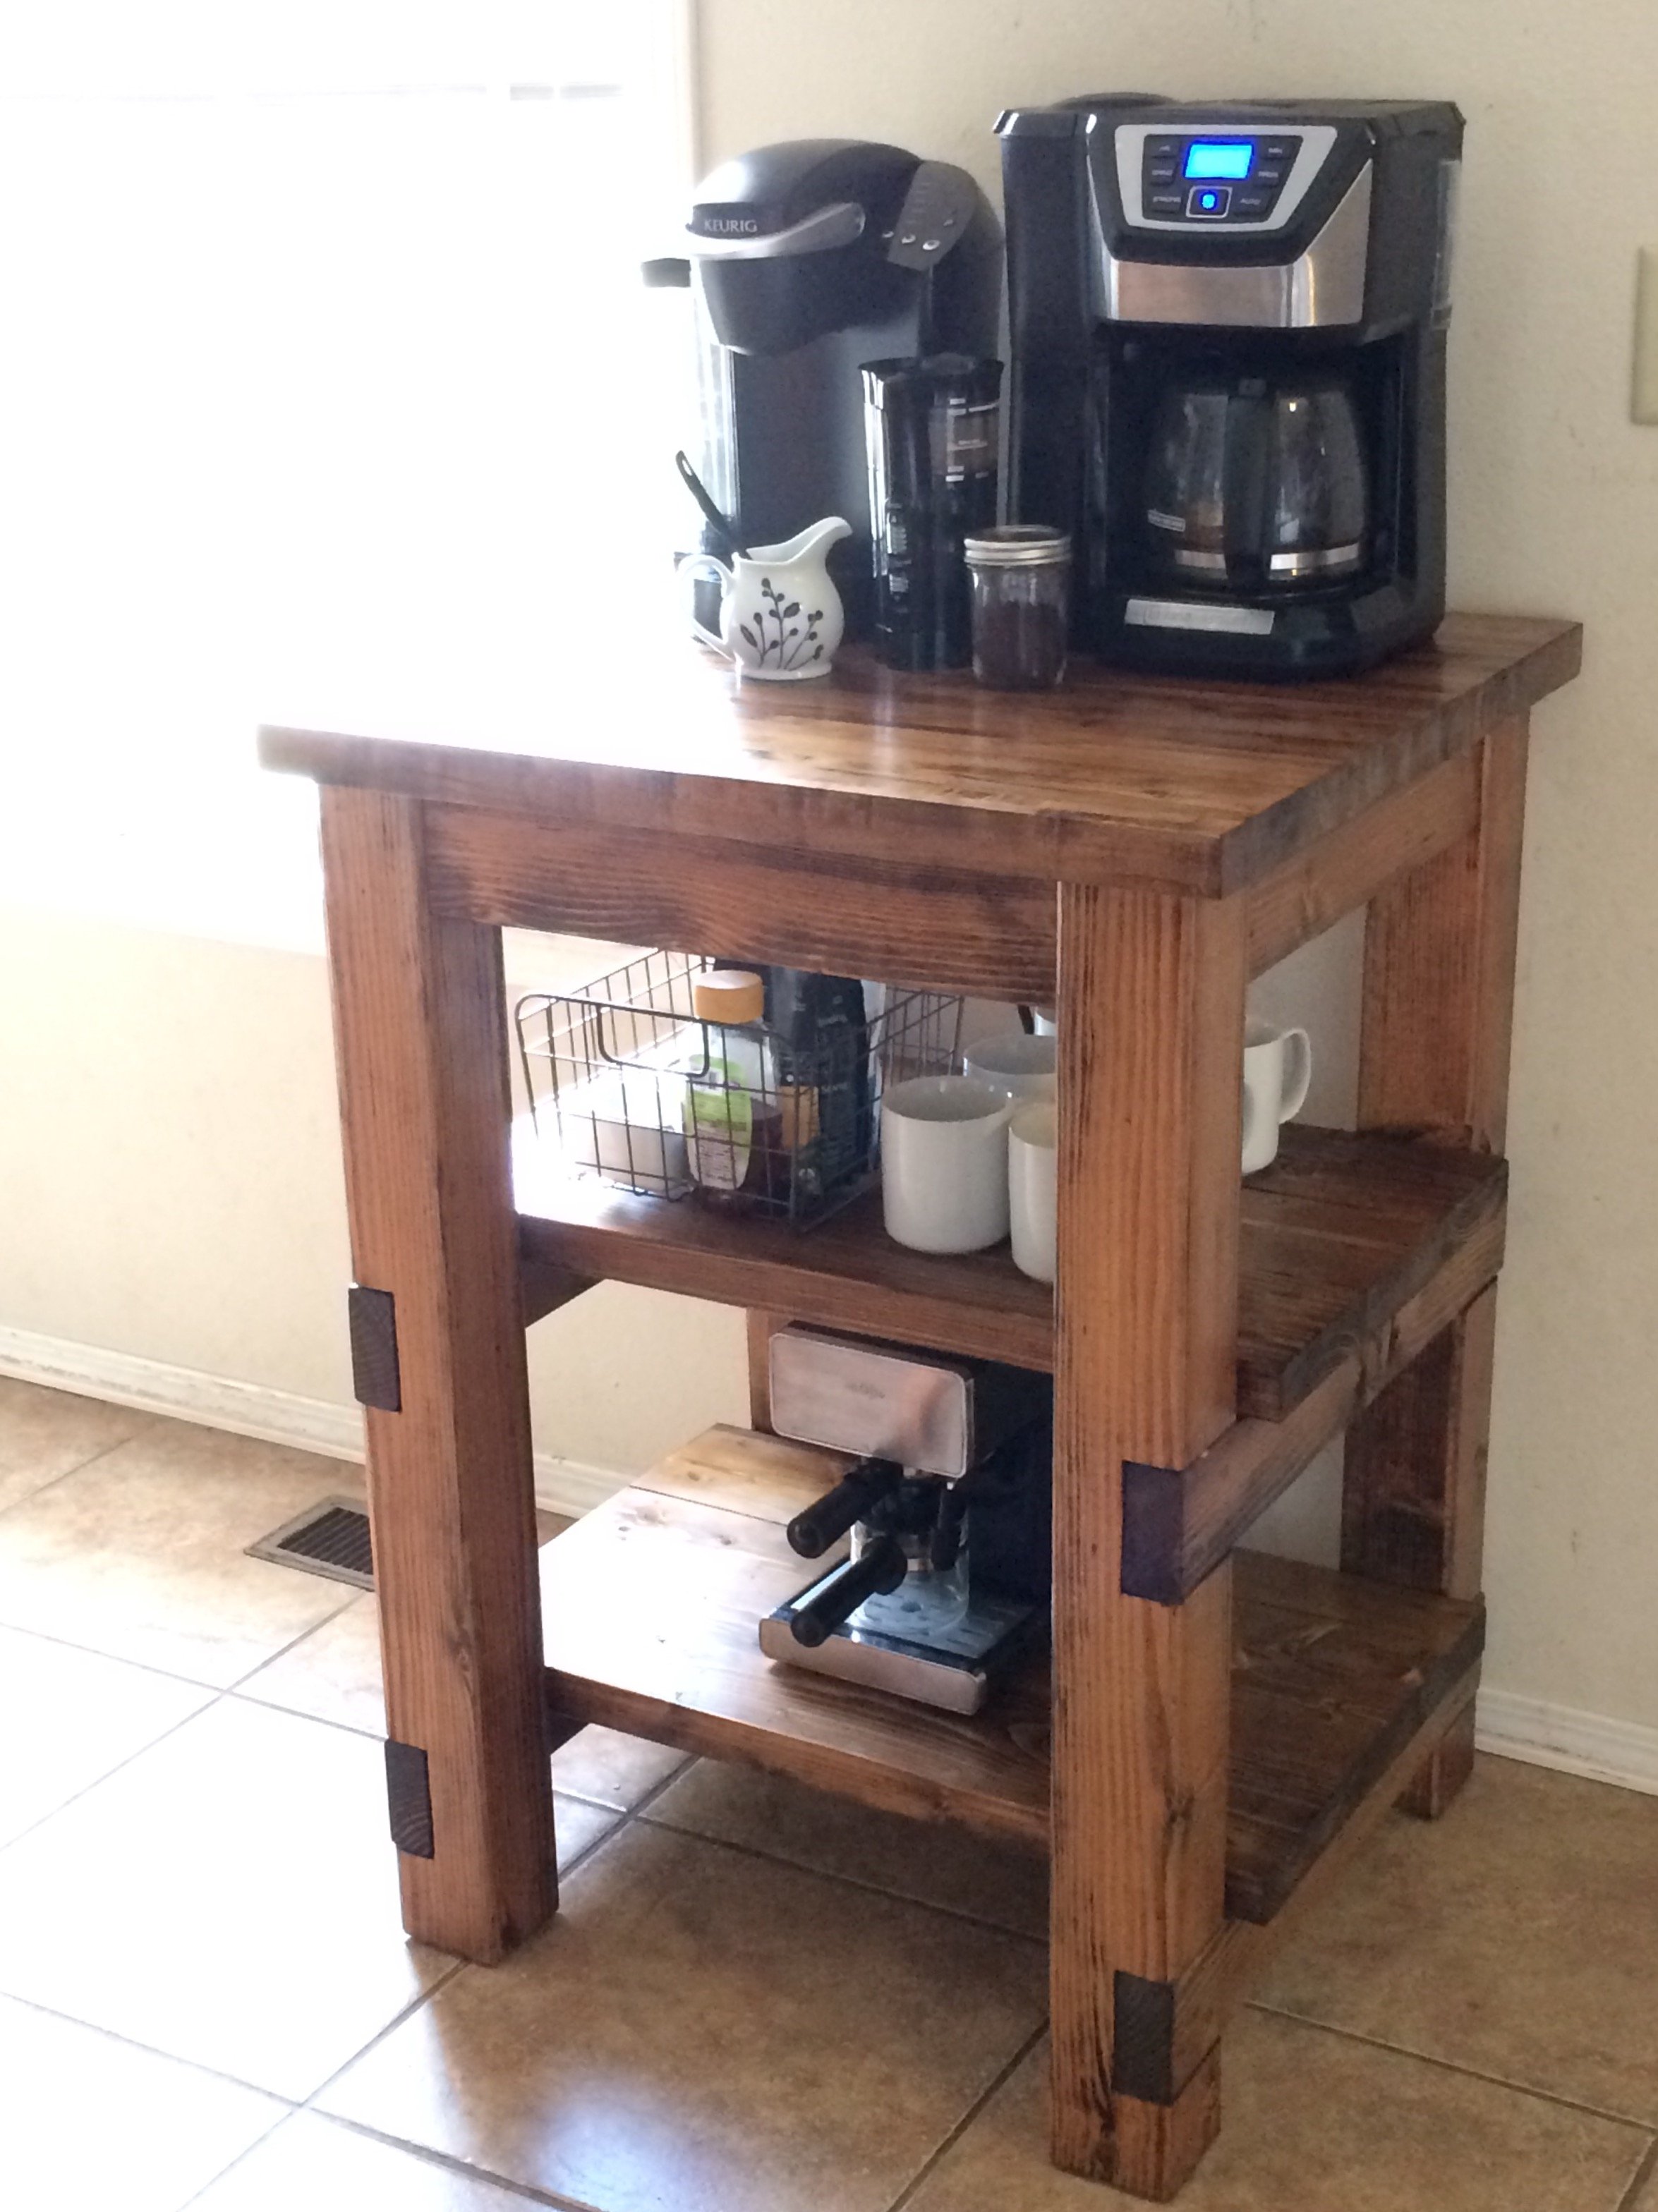
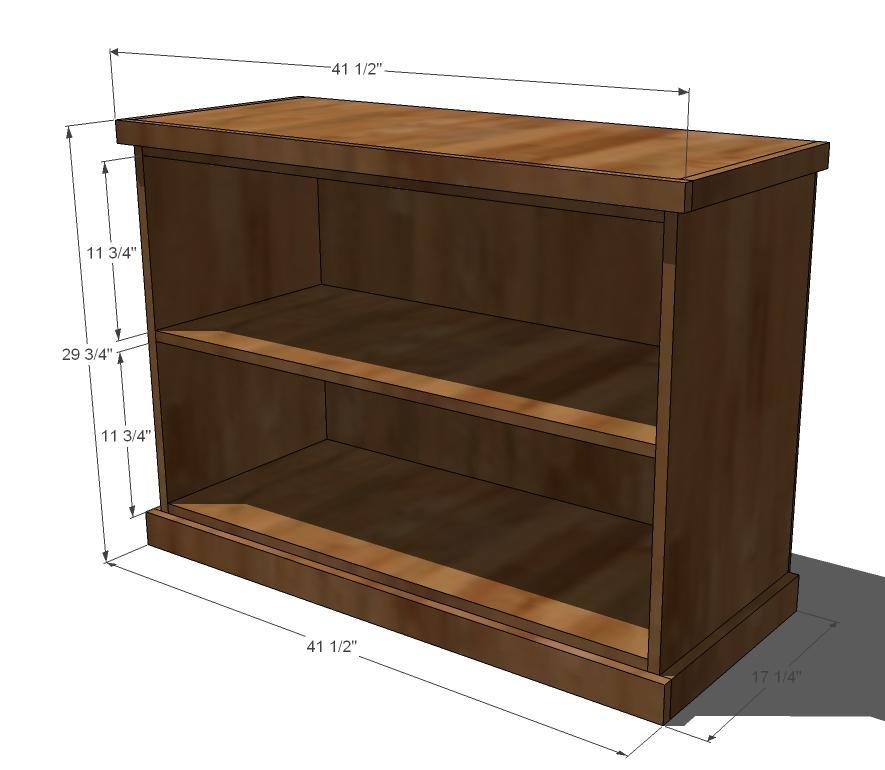
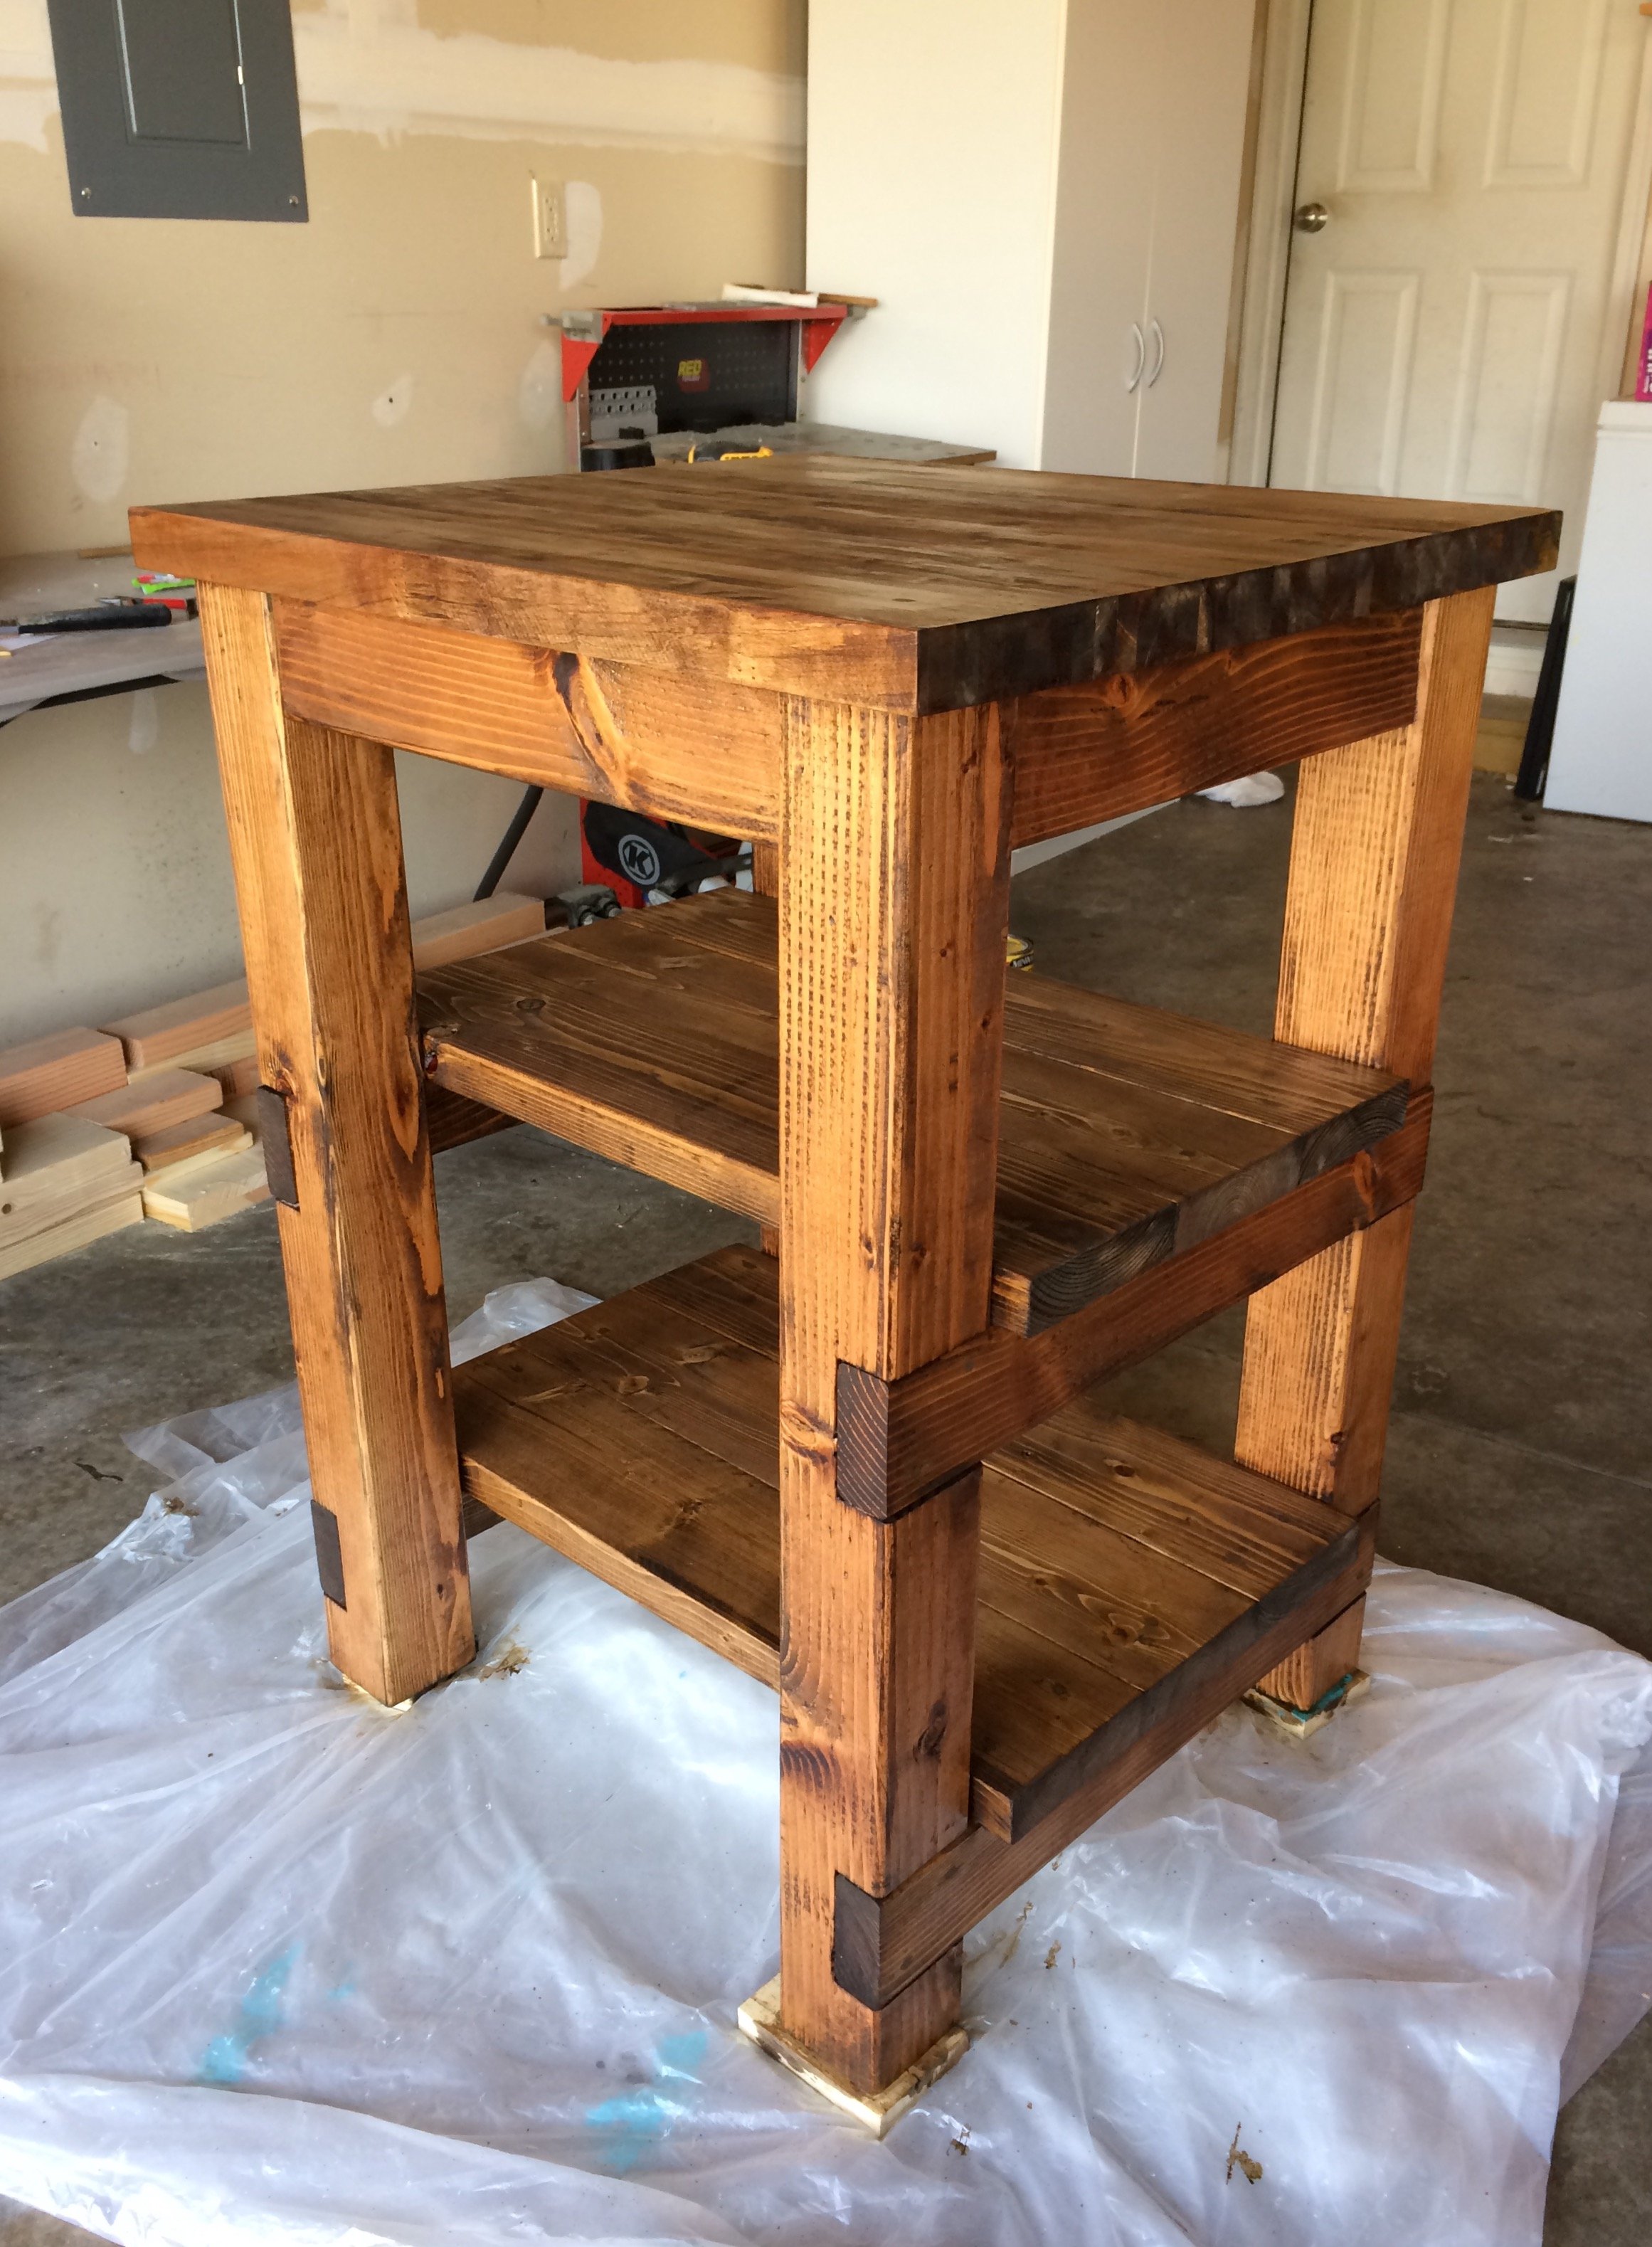
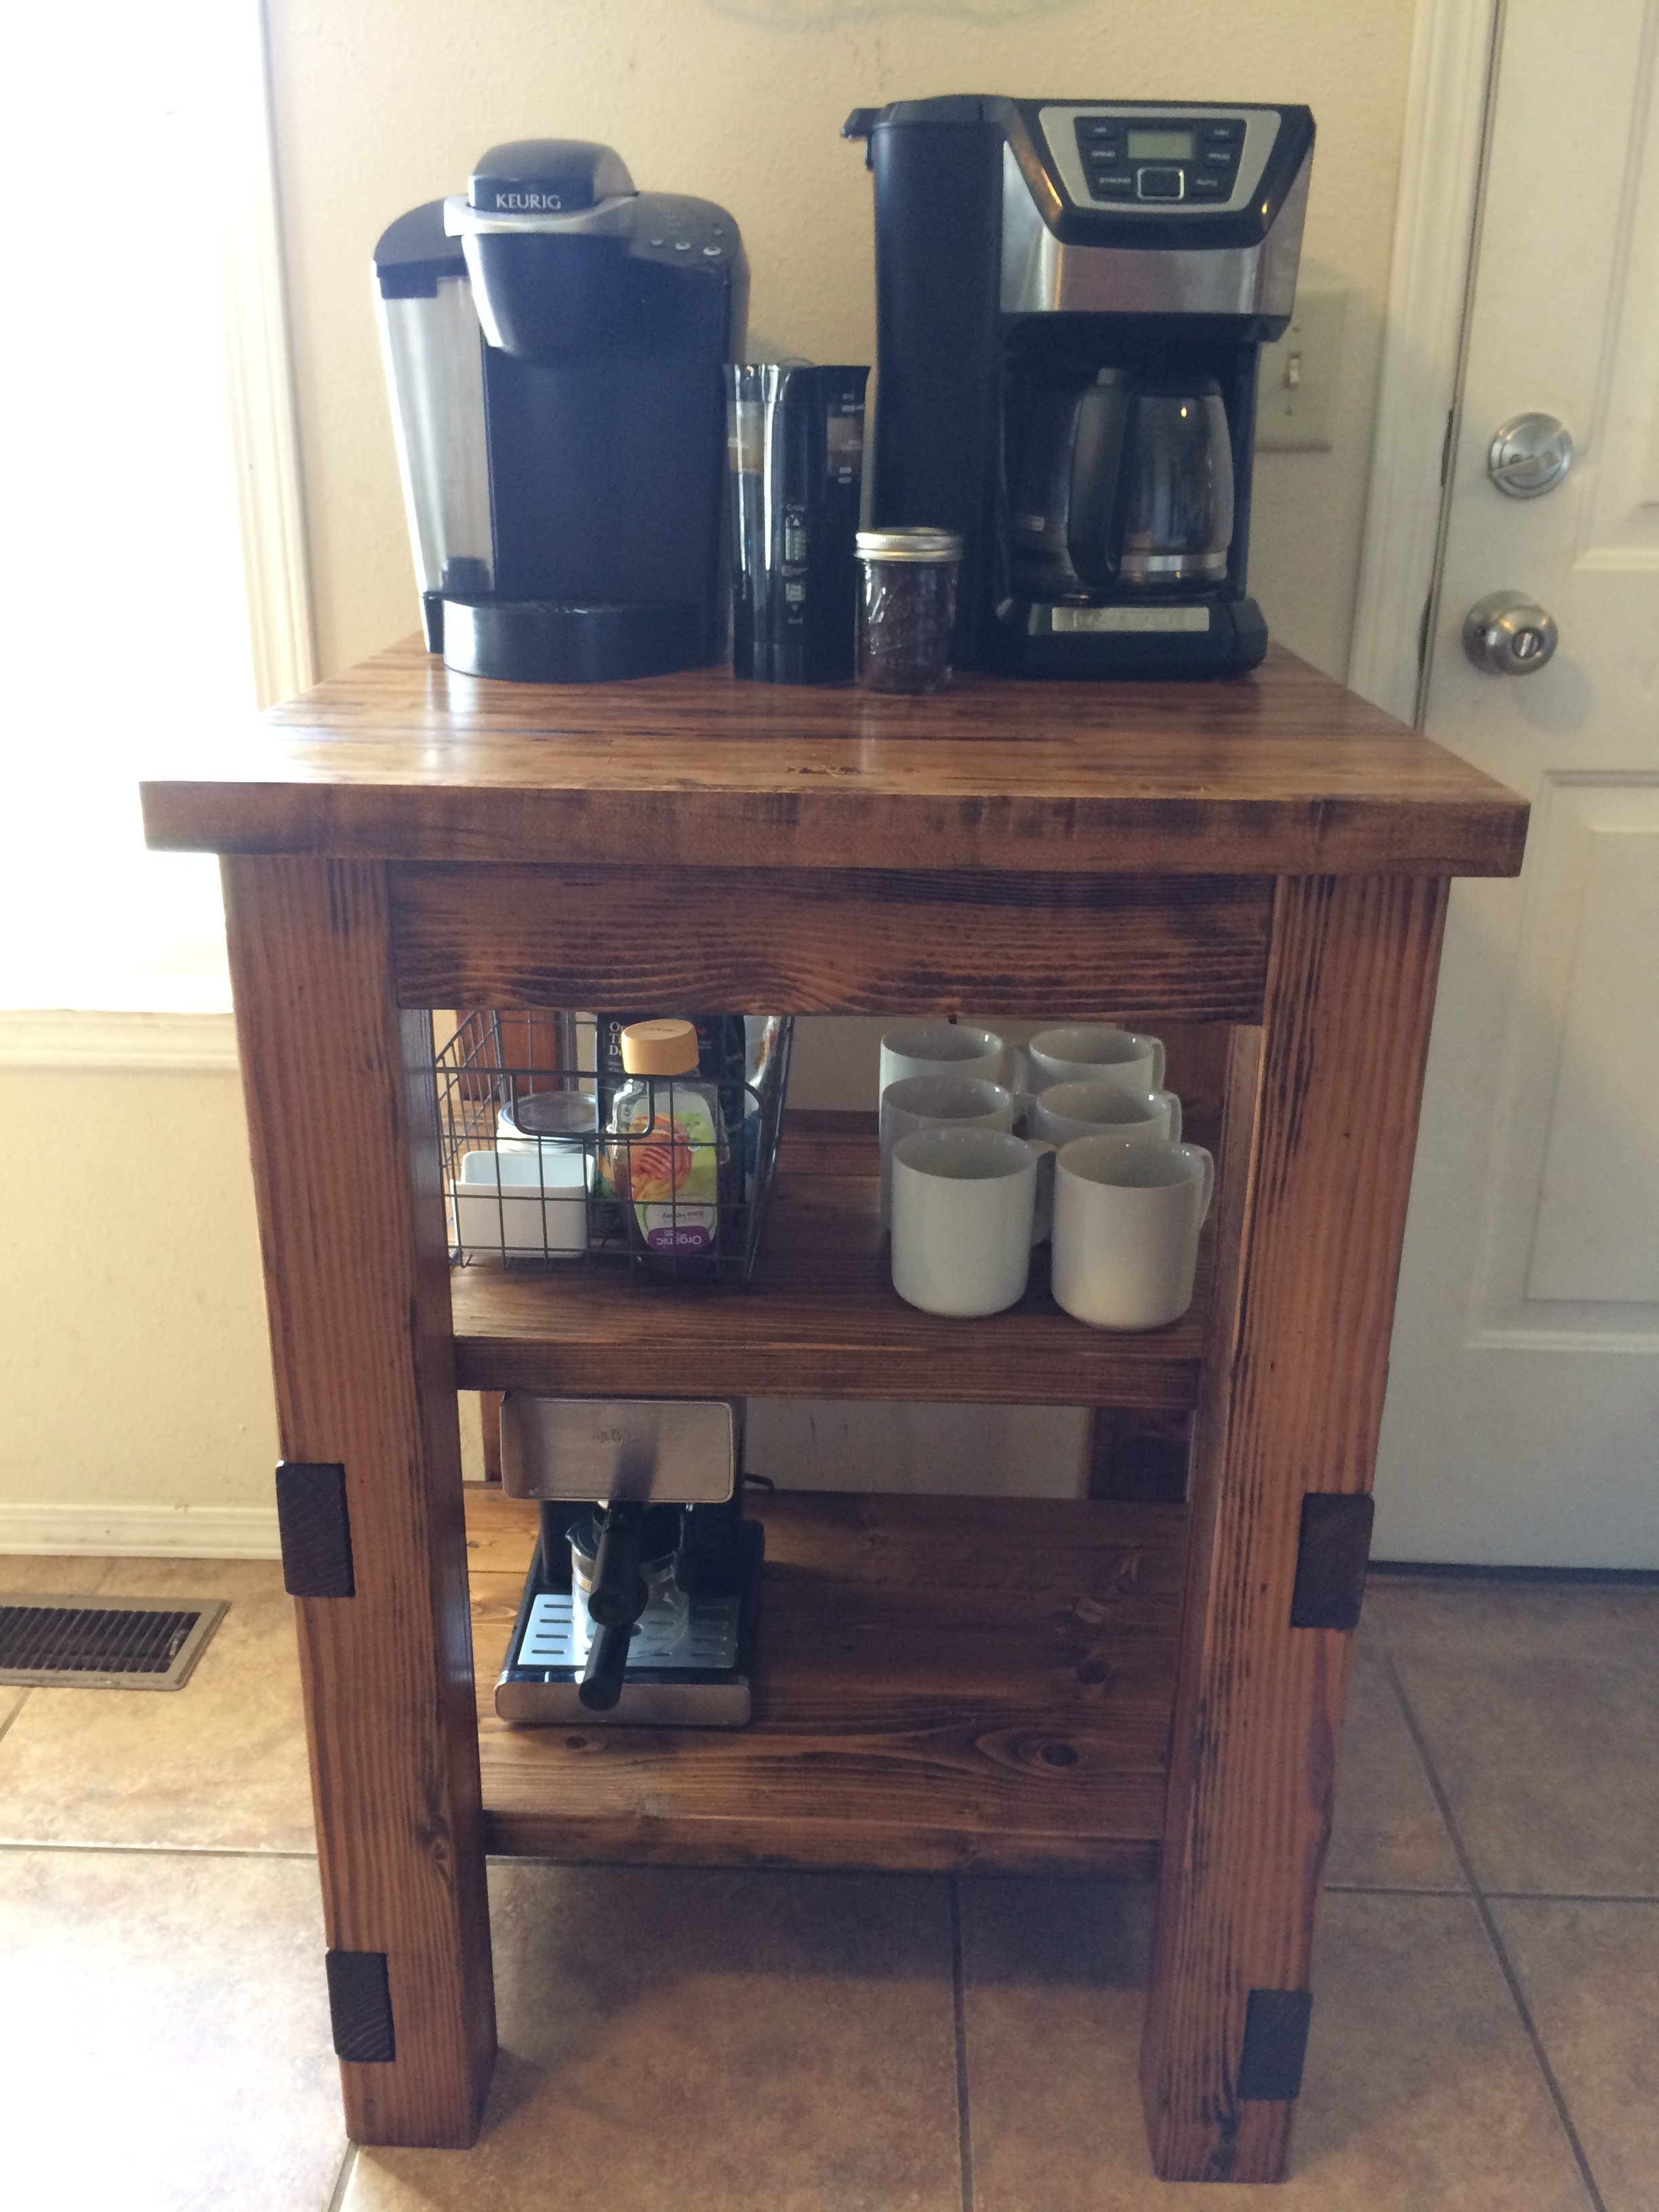
I modified this plan to fit a 27"x 25" chunk of butcher block that my mother-in-law gave me. The finished height is 36 & 1/2". I didn't have any special tools to make the notches for the shelves. I simply lowered the blade-stop on my 7&1/4" miter saw and fastened the screw with hair ties (or in other words, I jimmy-rigged it ;)). I practiced on scrap wood until I reached the depth I needed. There is a 9&1/4" clearance between both shelves, and the shelves have a 1" overhang off the sides. I mainly used pocket holes to connect the pieces. The shelves (3-2x6s each) were fastened together with wood glue and pocket holes, then I slid them into place and screwed them into the side aprons/supports from the top, then filled with wood filler. For the top, I added support from underneathe (2x2s that I had on-hand), then used 2&1/2" screws from underneathe through the 2x2s into the butcher block. At first I used zinc wood screws, but learned quickly that they strip extremely easily, so I switched to sheet rock screws. Fun project!!

We live in the south so we opted for treated wood. We weren’t able to locate all the connectors to combine sink sprayer and water hose so we ended up just getting another garden hose and sprayer. Works just as well. We used Smokey Mirror exterior stain to add some color. Didn’t have all the tools handy so we opted for a farm style sink that sits on top of the wood. Kids loving it so far, they have been playing non stop. Thanks for the great plan.
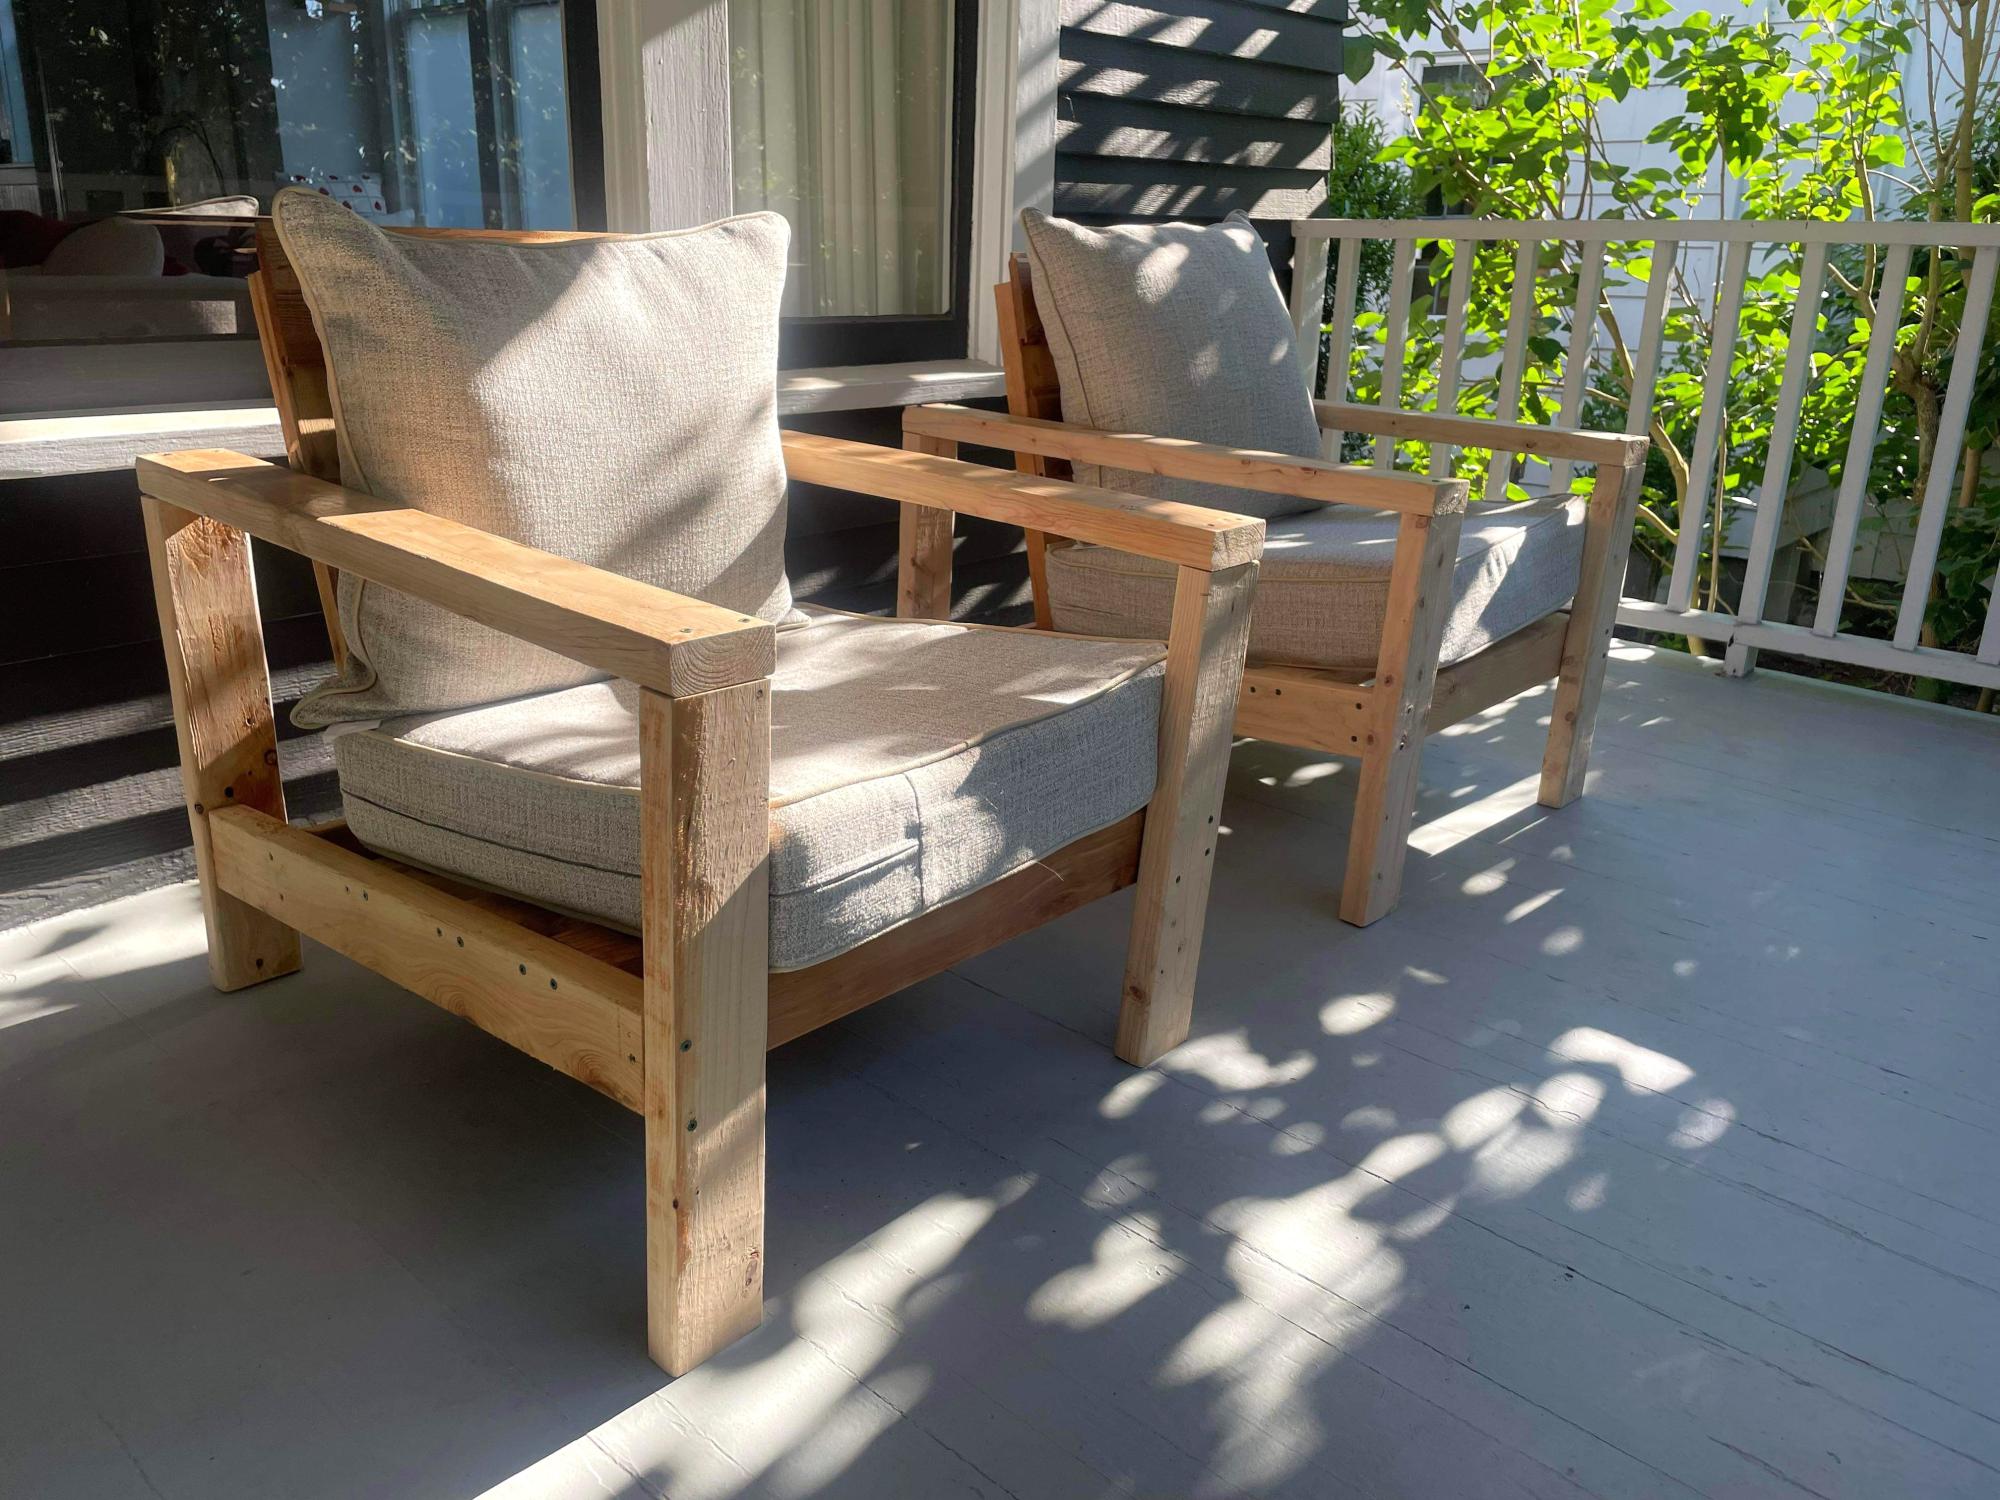
Loved it. I’ve made 6 chairs.
Crystal Shanaman
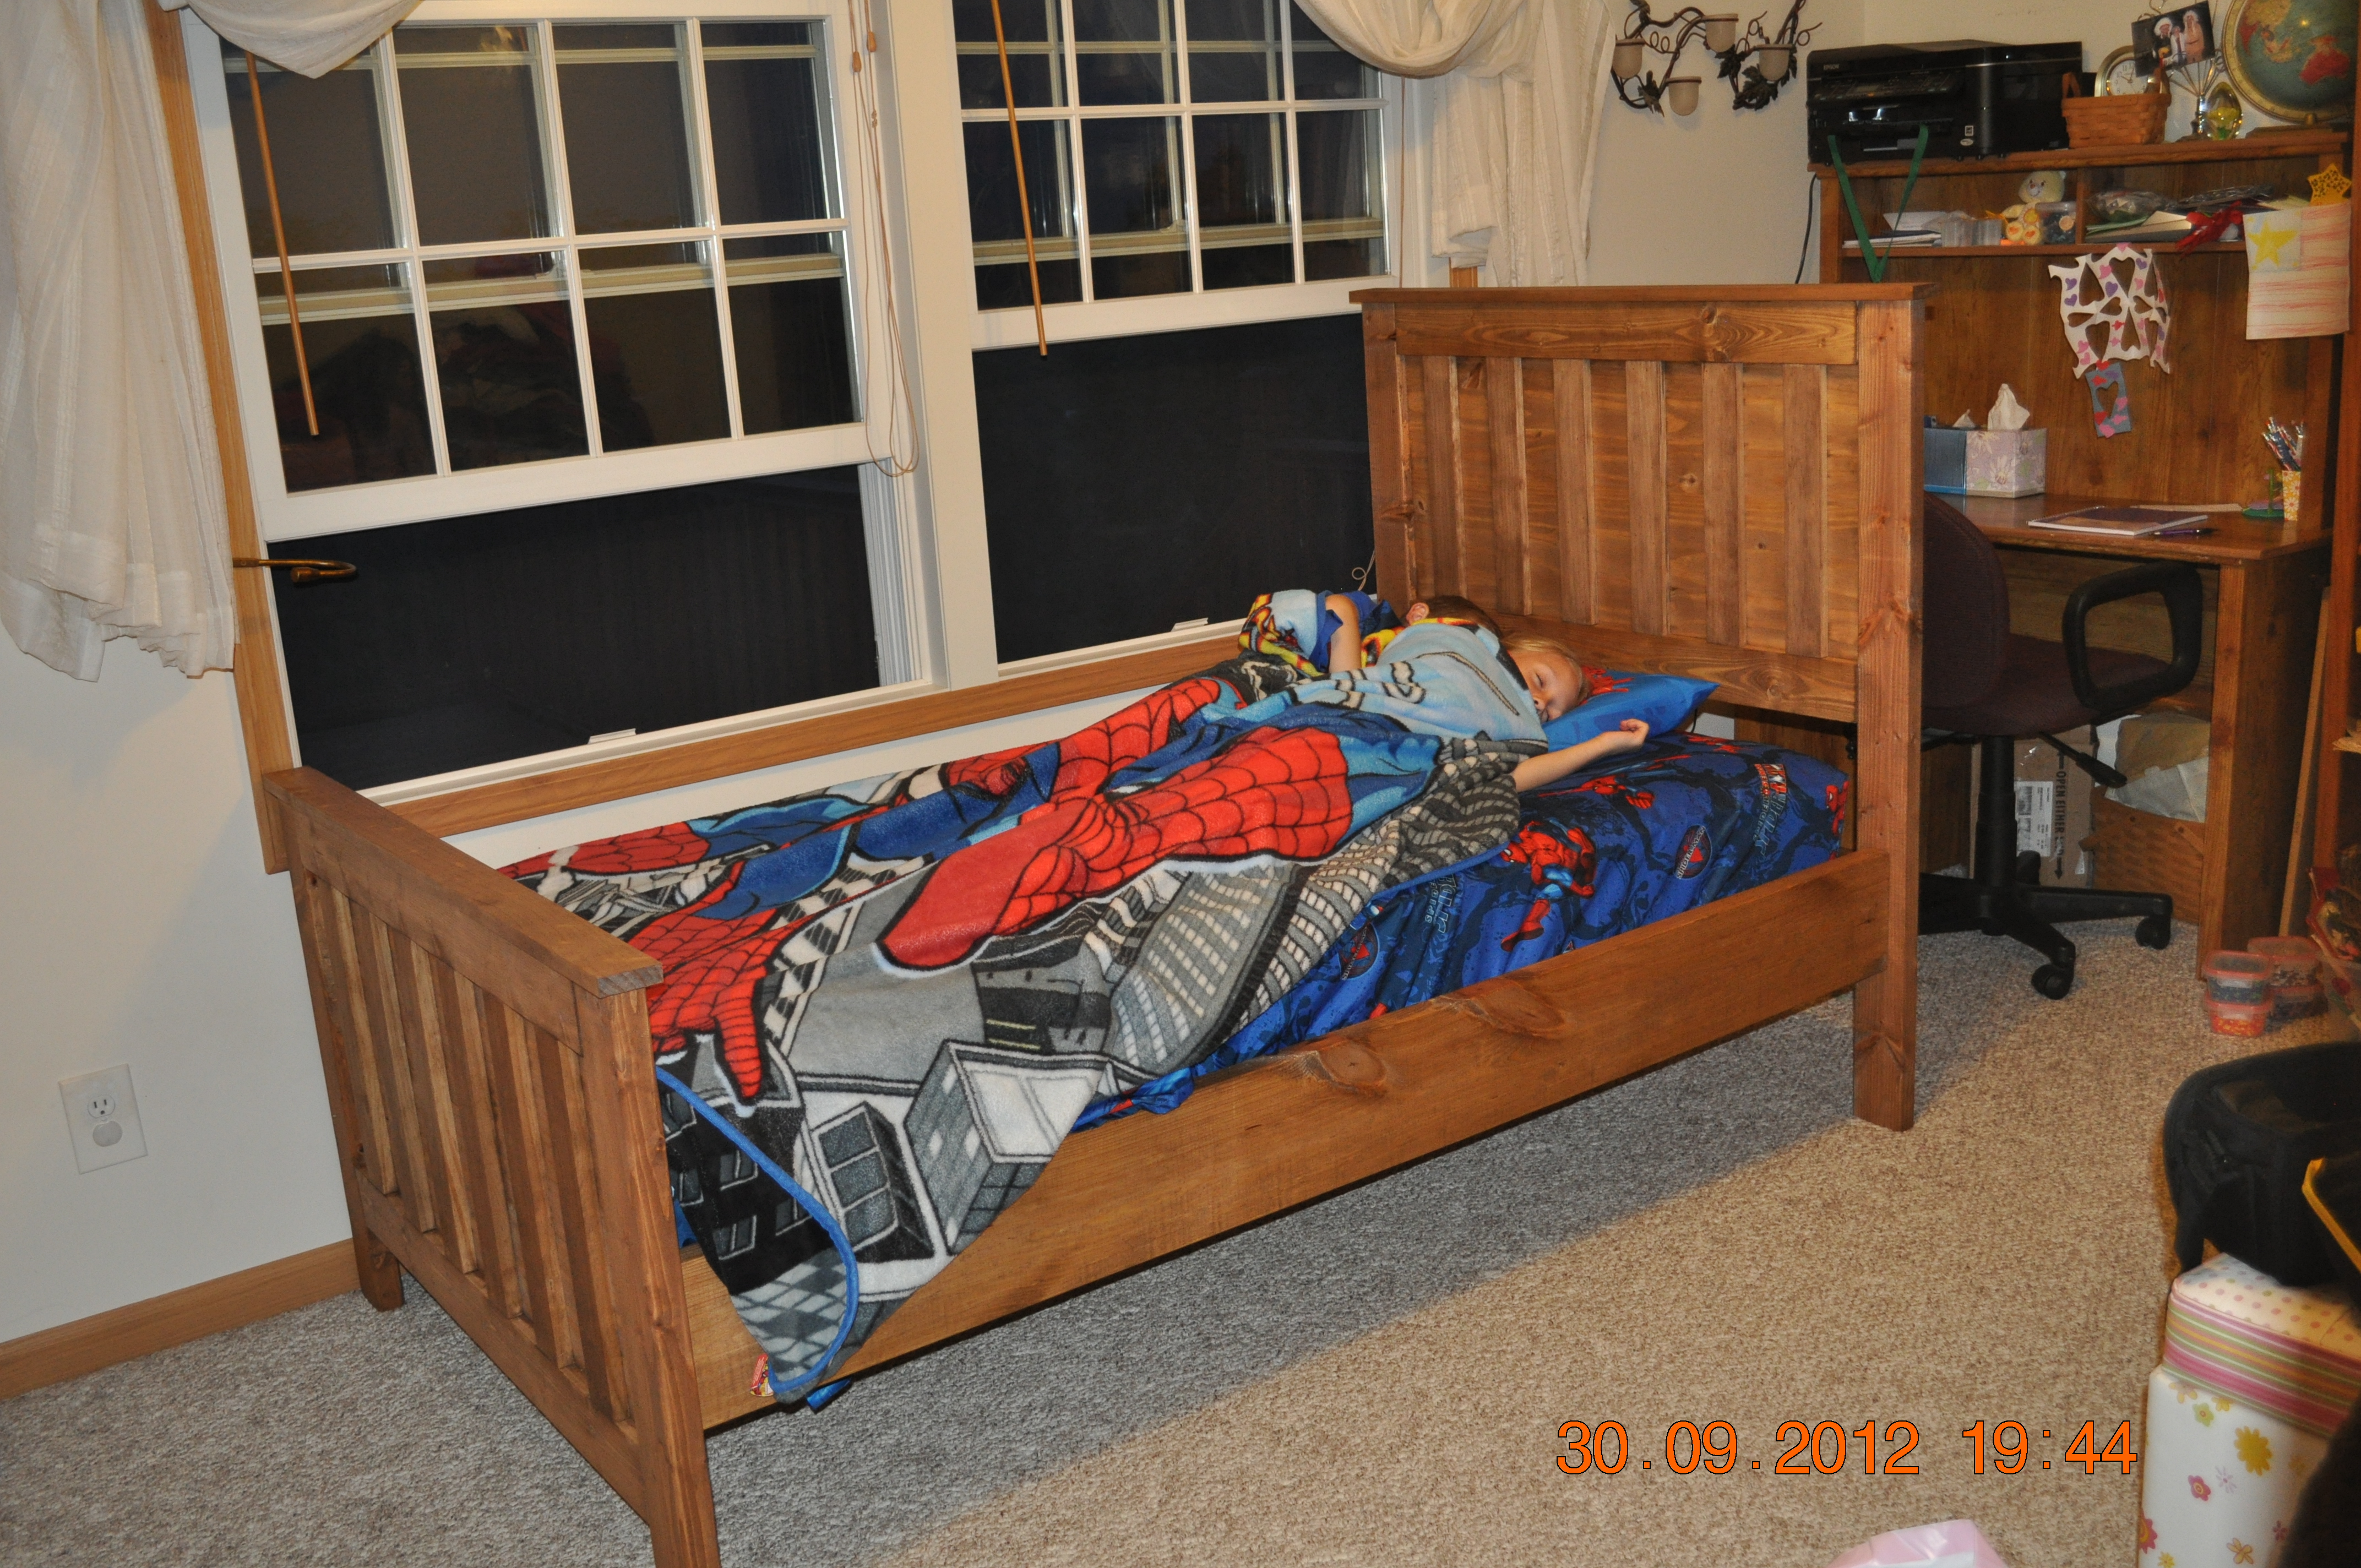
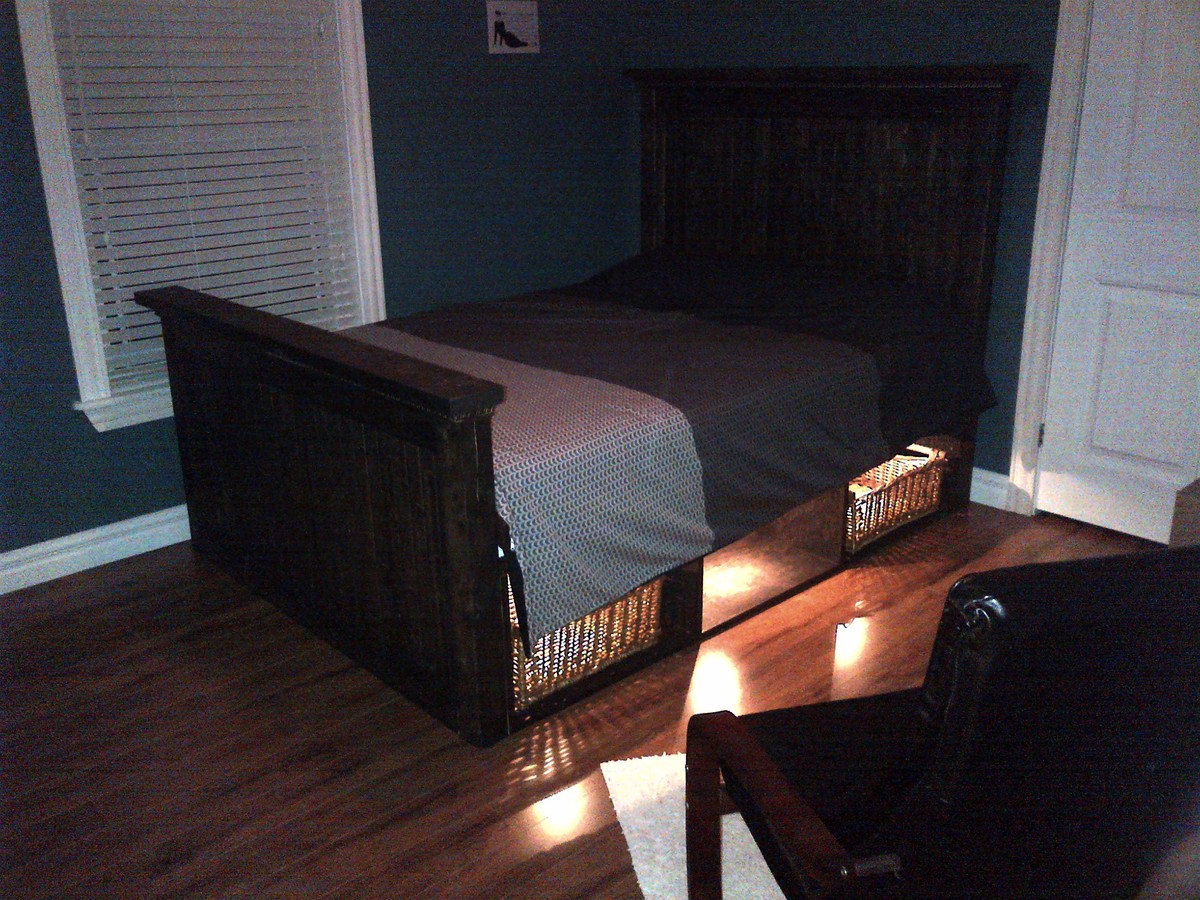
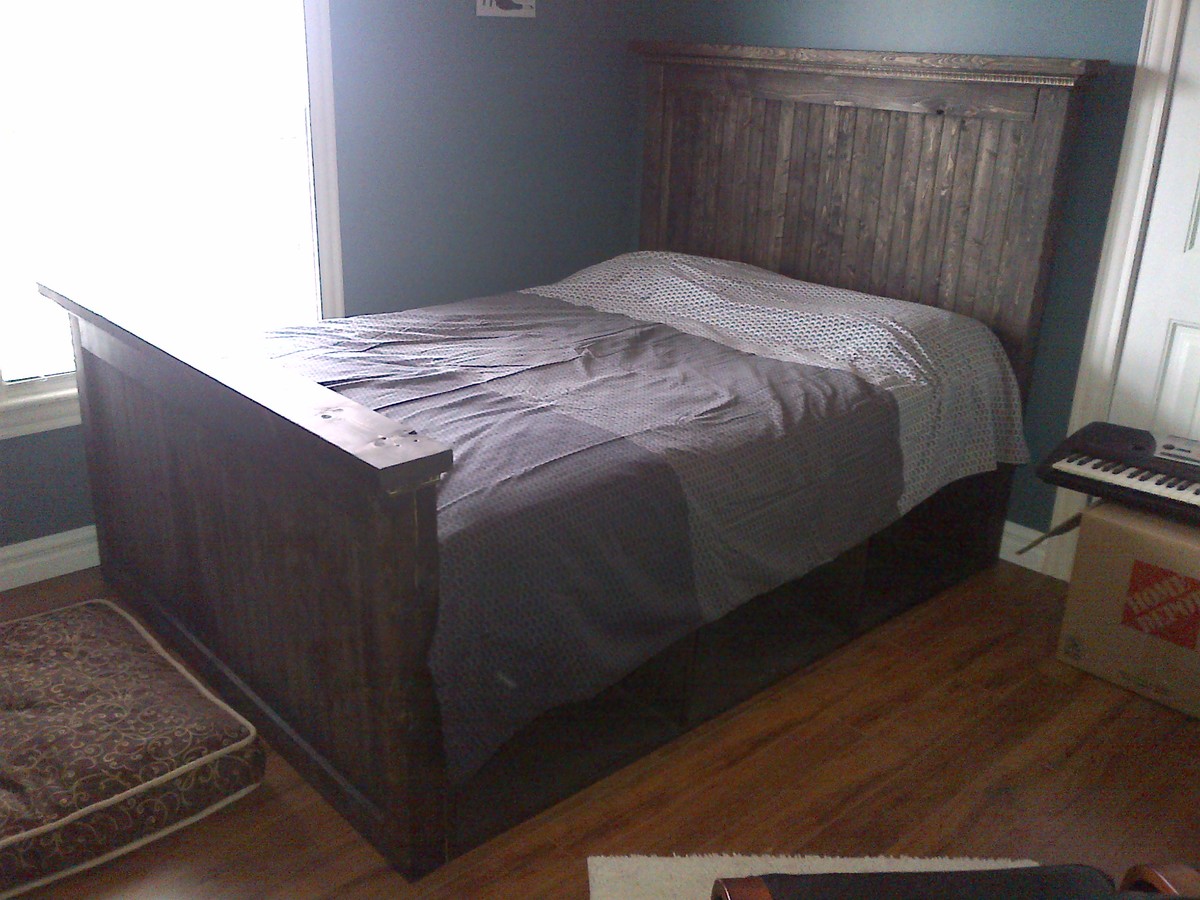
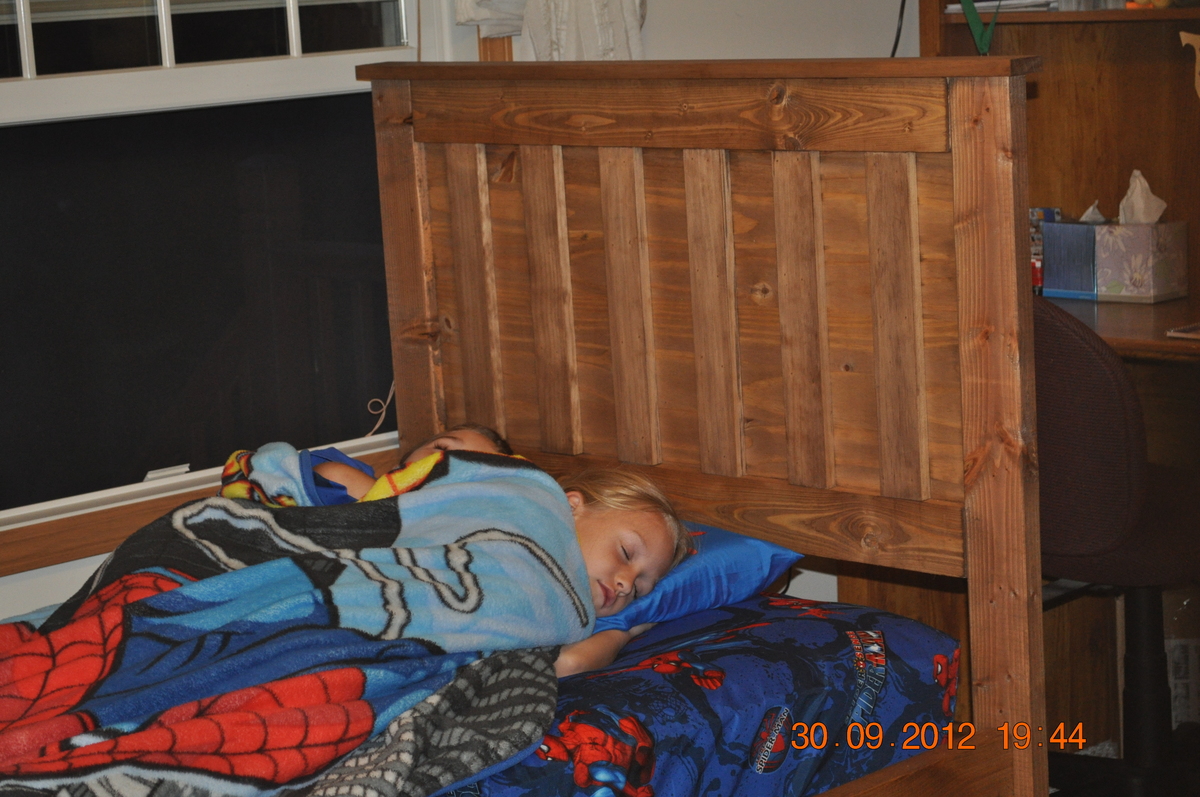
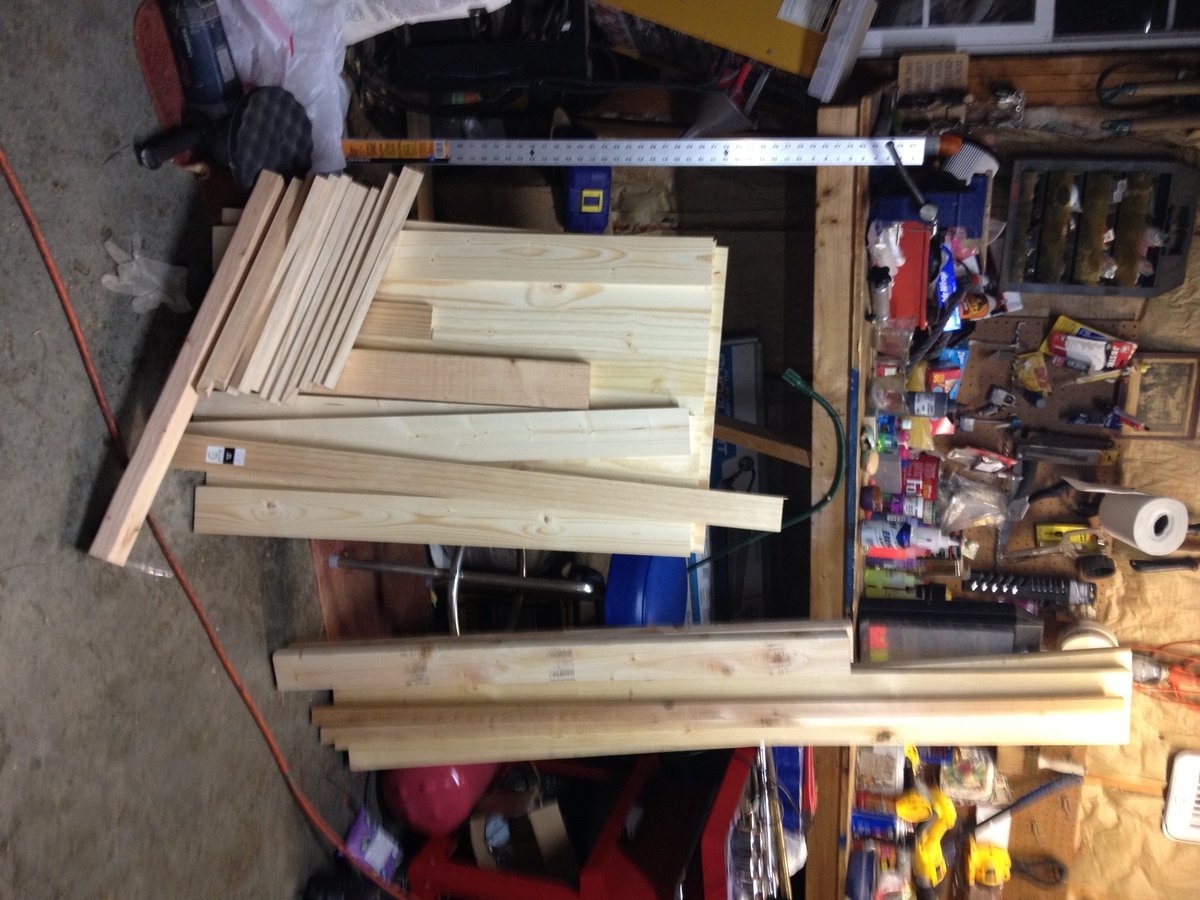
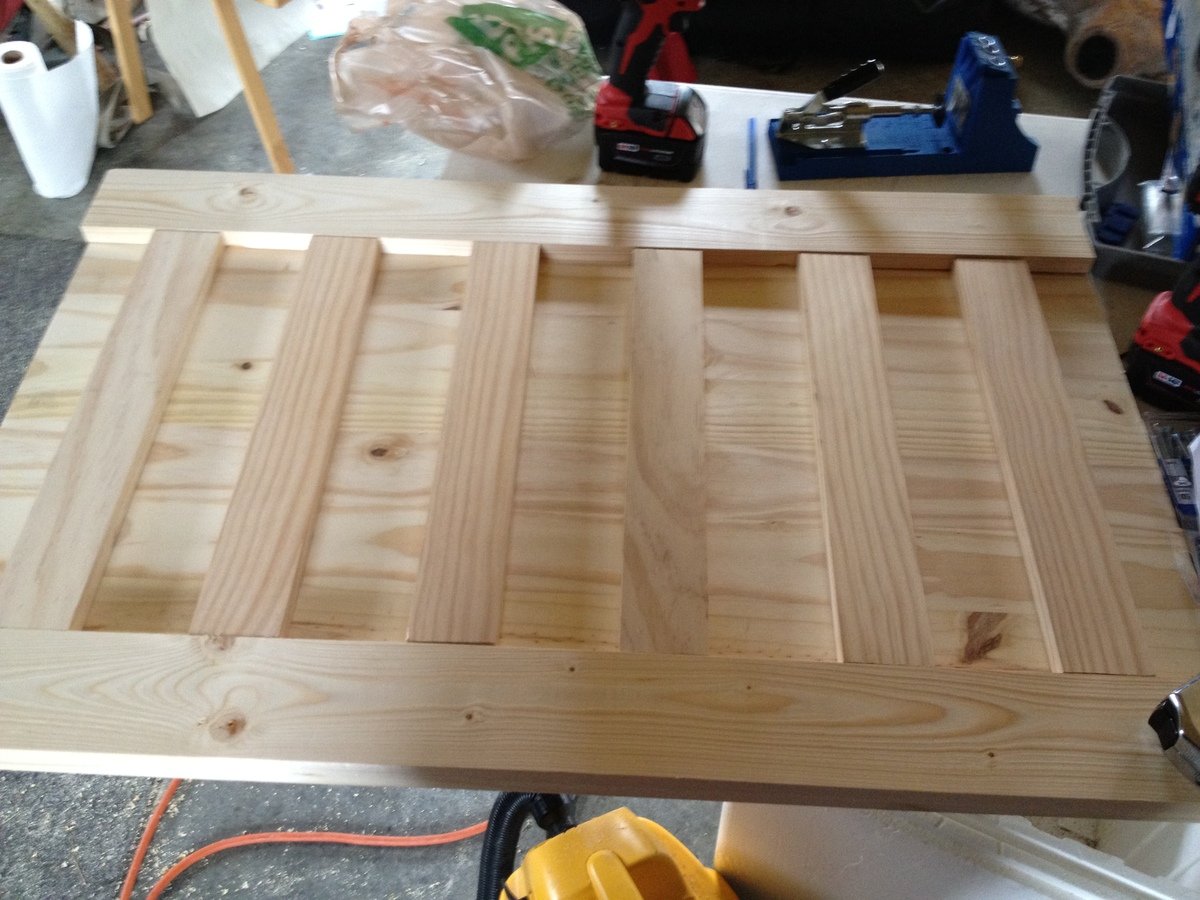
After searching for the perfect bed (quality bed) that didn't cost a fortune and after discovering Ana's site a while back I got the nerve to try to build my sons bed! My husband help me cut the large pieces and figure out how to use a Kreg Jig.It was really easy and fun!!! Thanks for the plans and the inspiration!
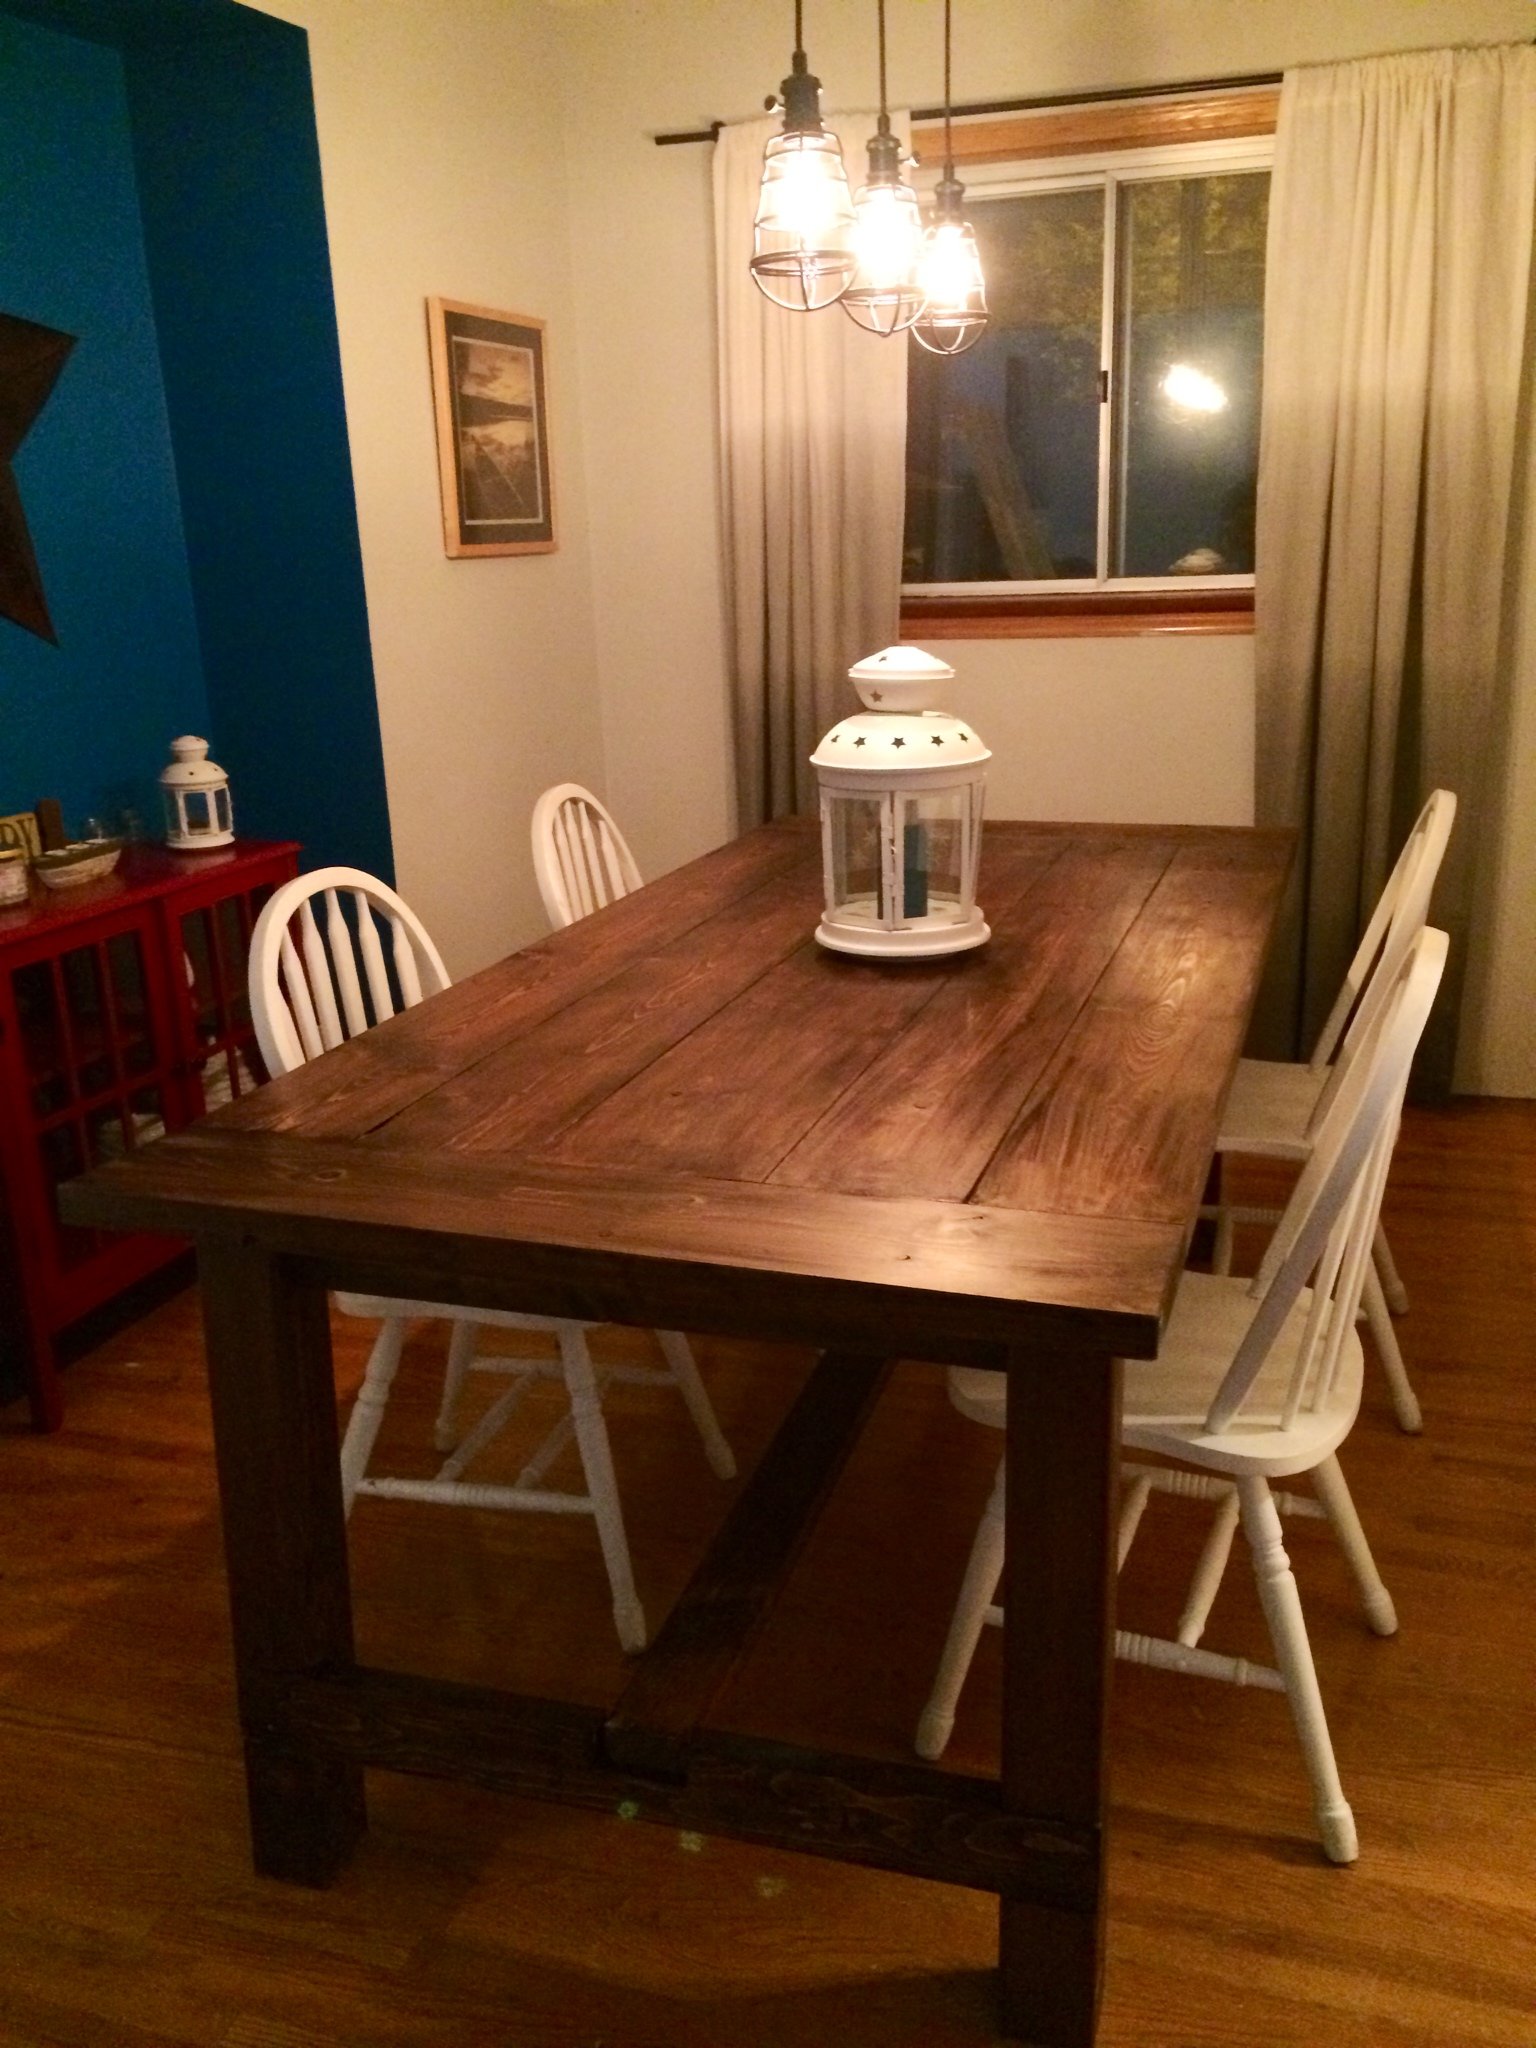
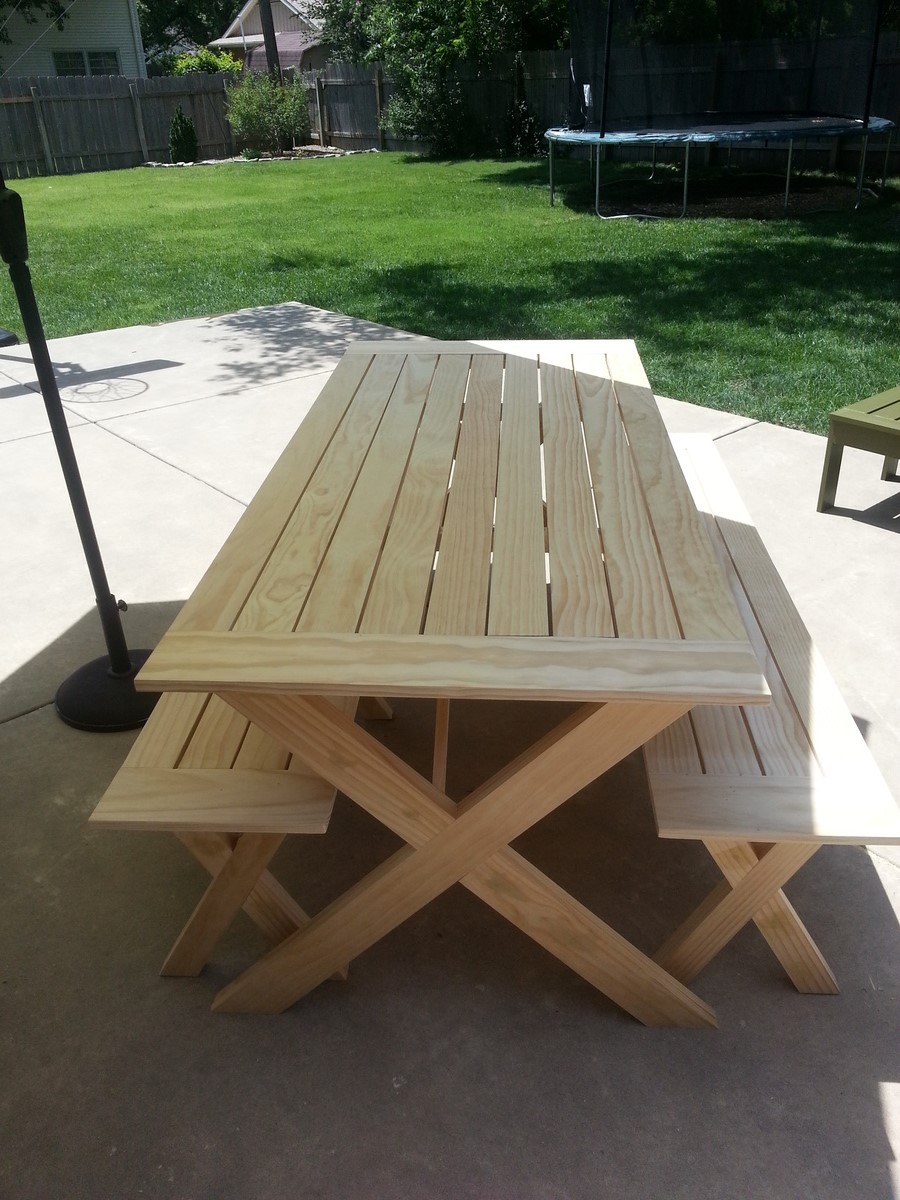
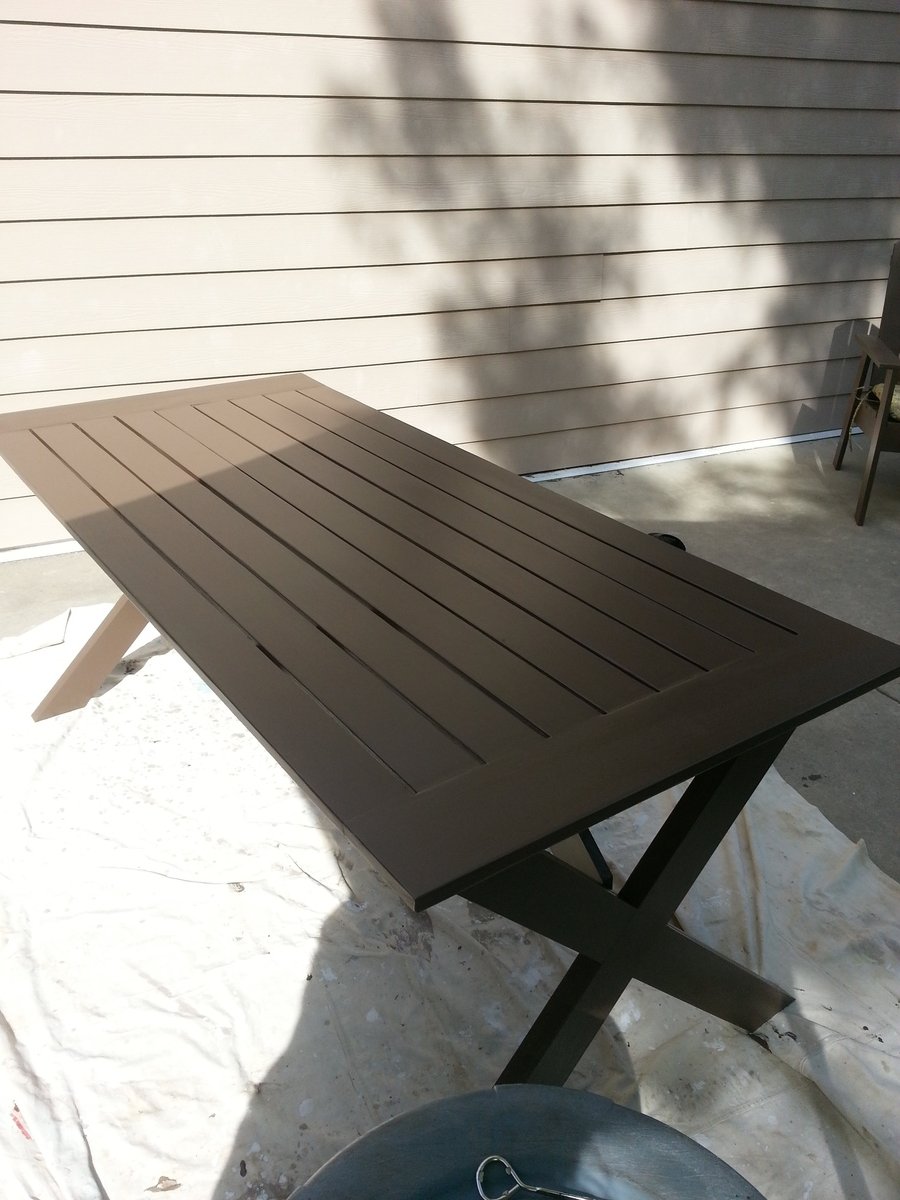
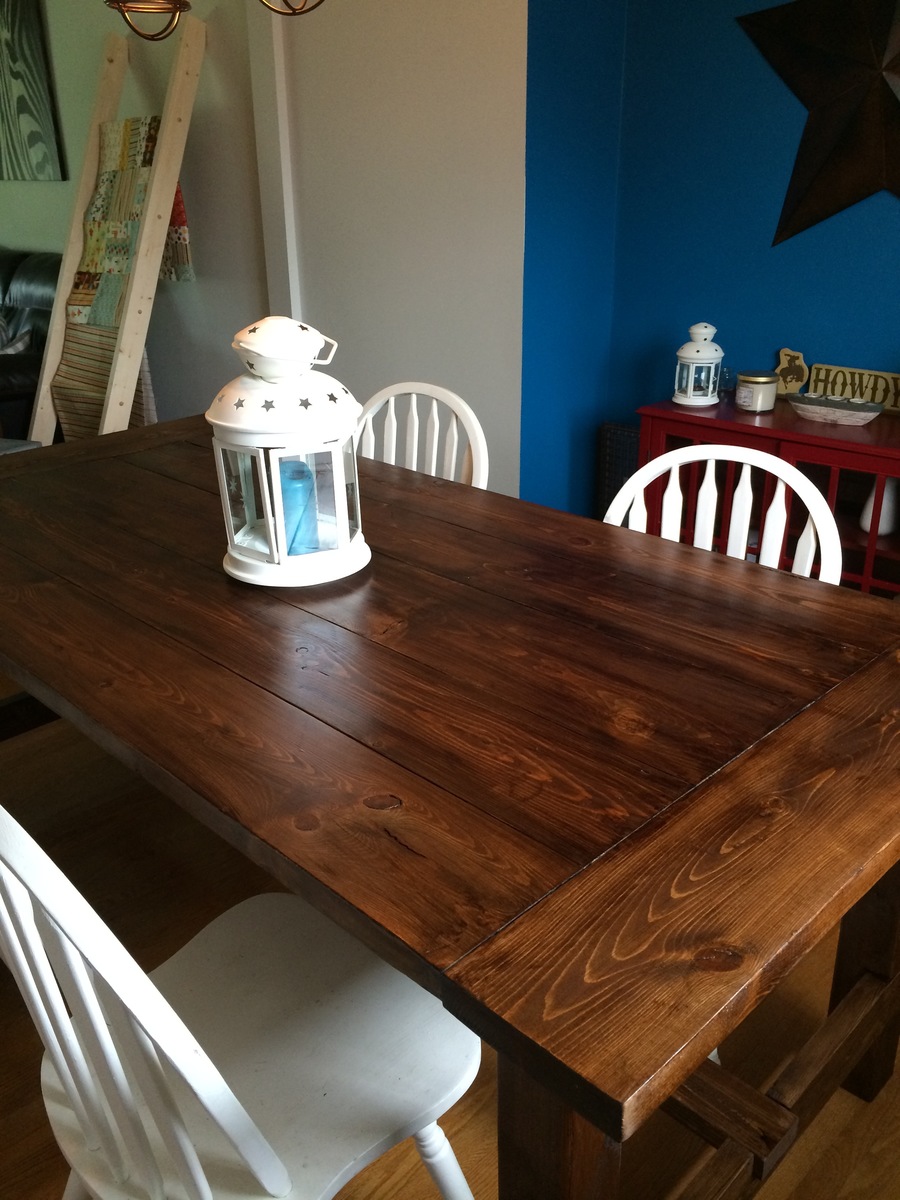
Our first DIY project and although we were a little nervous getting started I couldn''t be happier with how it turned out! It's exactly like all the tables I loved in stores and magazines and the plan made it so easy! It's hard to believe we did it ourselves. To anyone who is nervous about getting started don't be! I recommend you read the whole plan start to finish before you start and the brag posts are awesome for trouble shooting.
A few recommendations I have would be to sand down condition and put a single coat of stain on before building. I found it difficult to get stain in the cracks between the table top boards. I would also cut the notches out on the base of the table based on the size of the board not the measurements on the plan to make sure you get a snug fit. We have a few gaps which I can live with but would change if we do it again. I also learned the hard way DO NOT use wood filler. Even if it says it's stainable it's all lies! Mix together wood glue and saw dust. The wood filler did not absorb stain so we had to sand down the entire table top again and start over.
Overall the plan was easy to follow and produced a beautiful table that I can't wait to entertain with!

Mon, 07/28/2014 - 06:38
Beautiful table, I love the way your finish mixture came out and want to try that on my next project! Thanks for sharing the details!
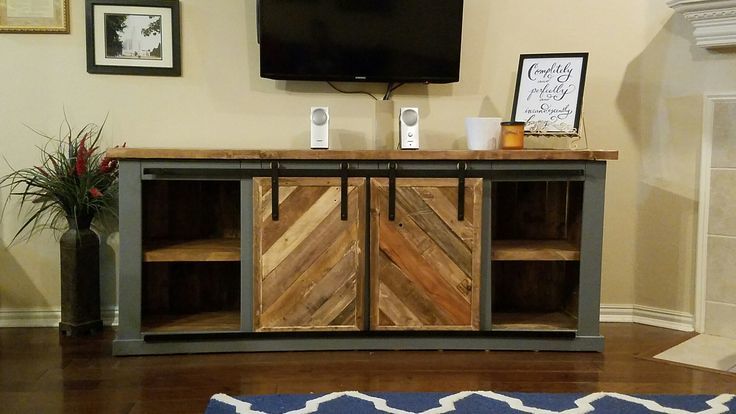
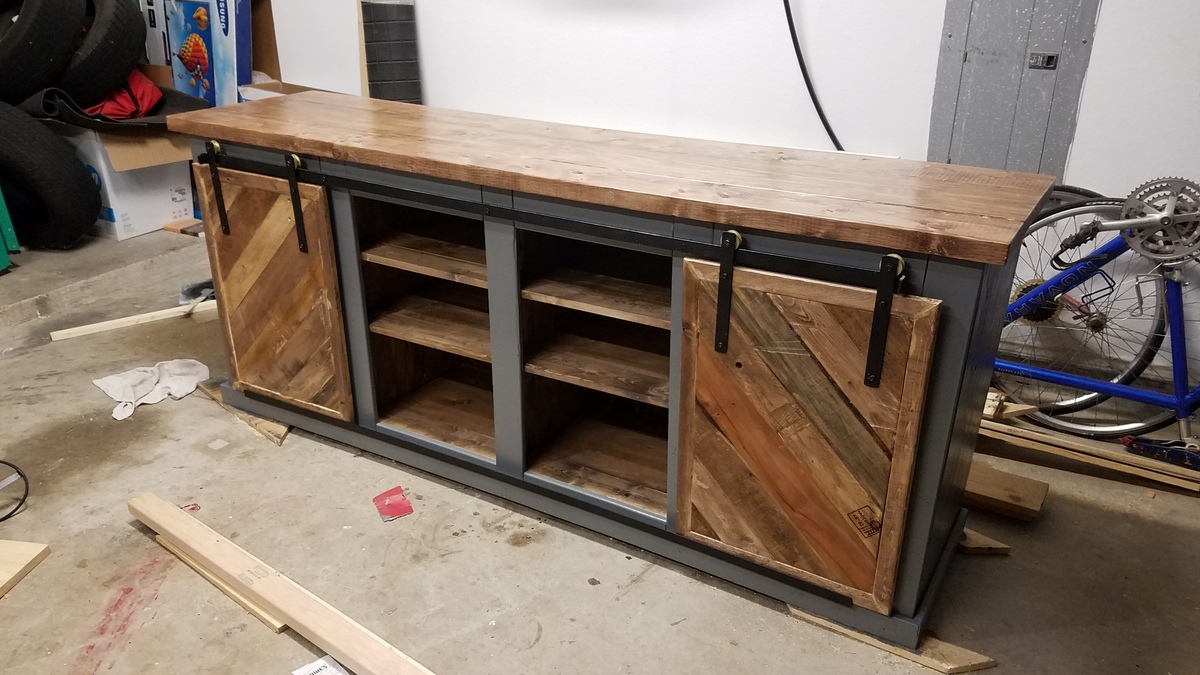
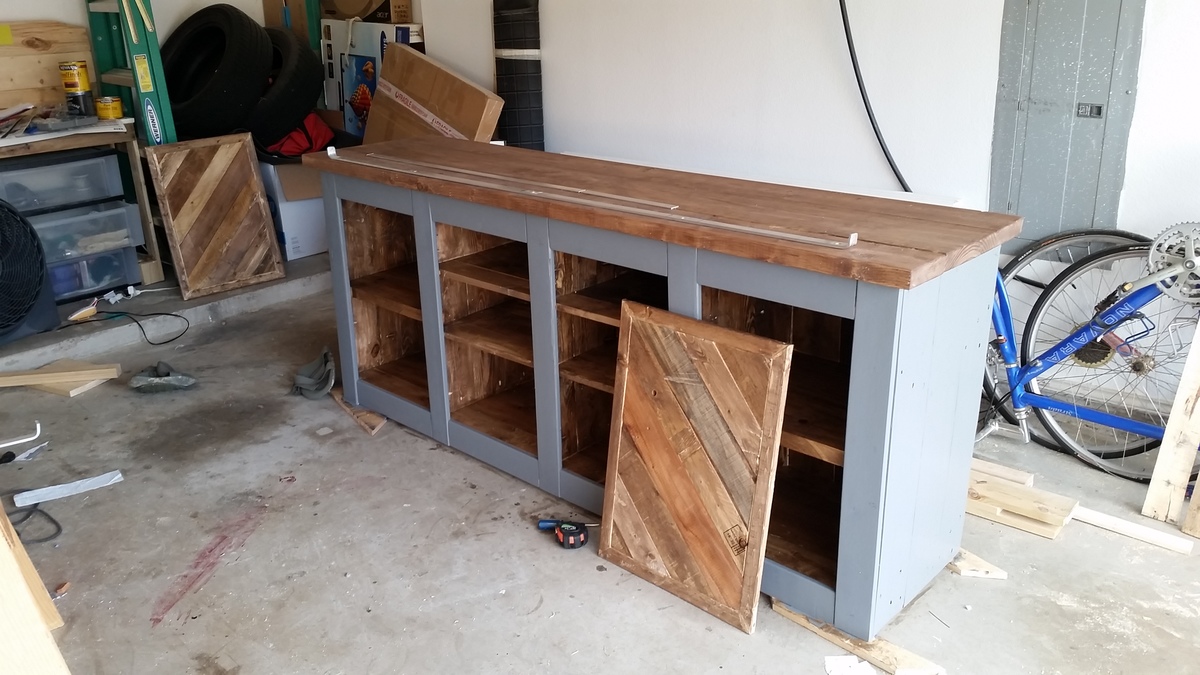
My wife and I had a great time building this sliding door console. Most of the vertical pieces (doors included) were build with pallet wood. Horizontal pieces and frame were build from wood from local hardware stores. Sliding hardware was constructed with aluminum and pulley wheels. Unlike Ana White's original plans, we decided to isolate each cabinet section of the console. The far left and right areas are separated into two, whereas the middle sections are split into three. Using a Kreg Jig was exceptionall helpful. Please visit https://www.pinterest.com/pin/263319909442699999 if you have any questions.
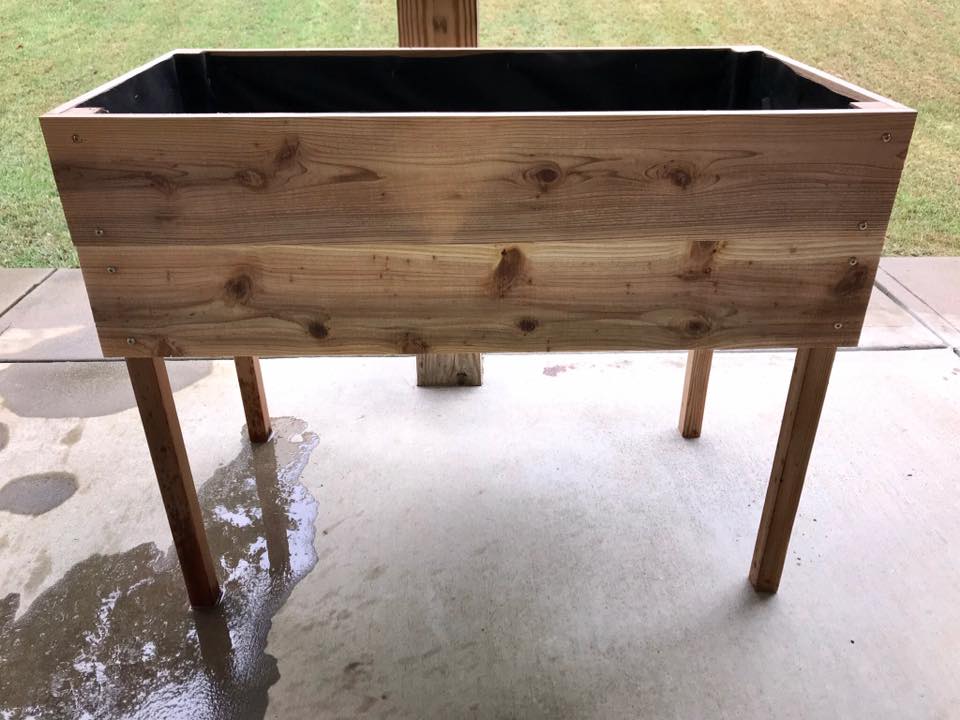
Two of my grandsons built this cedar planter after I did the cutting of the wood. They did all the measuring and put it together very nicely!
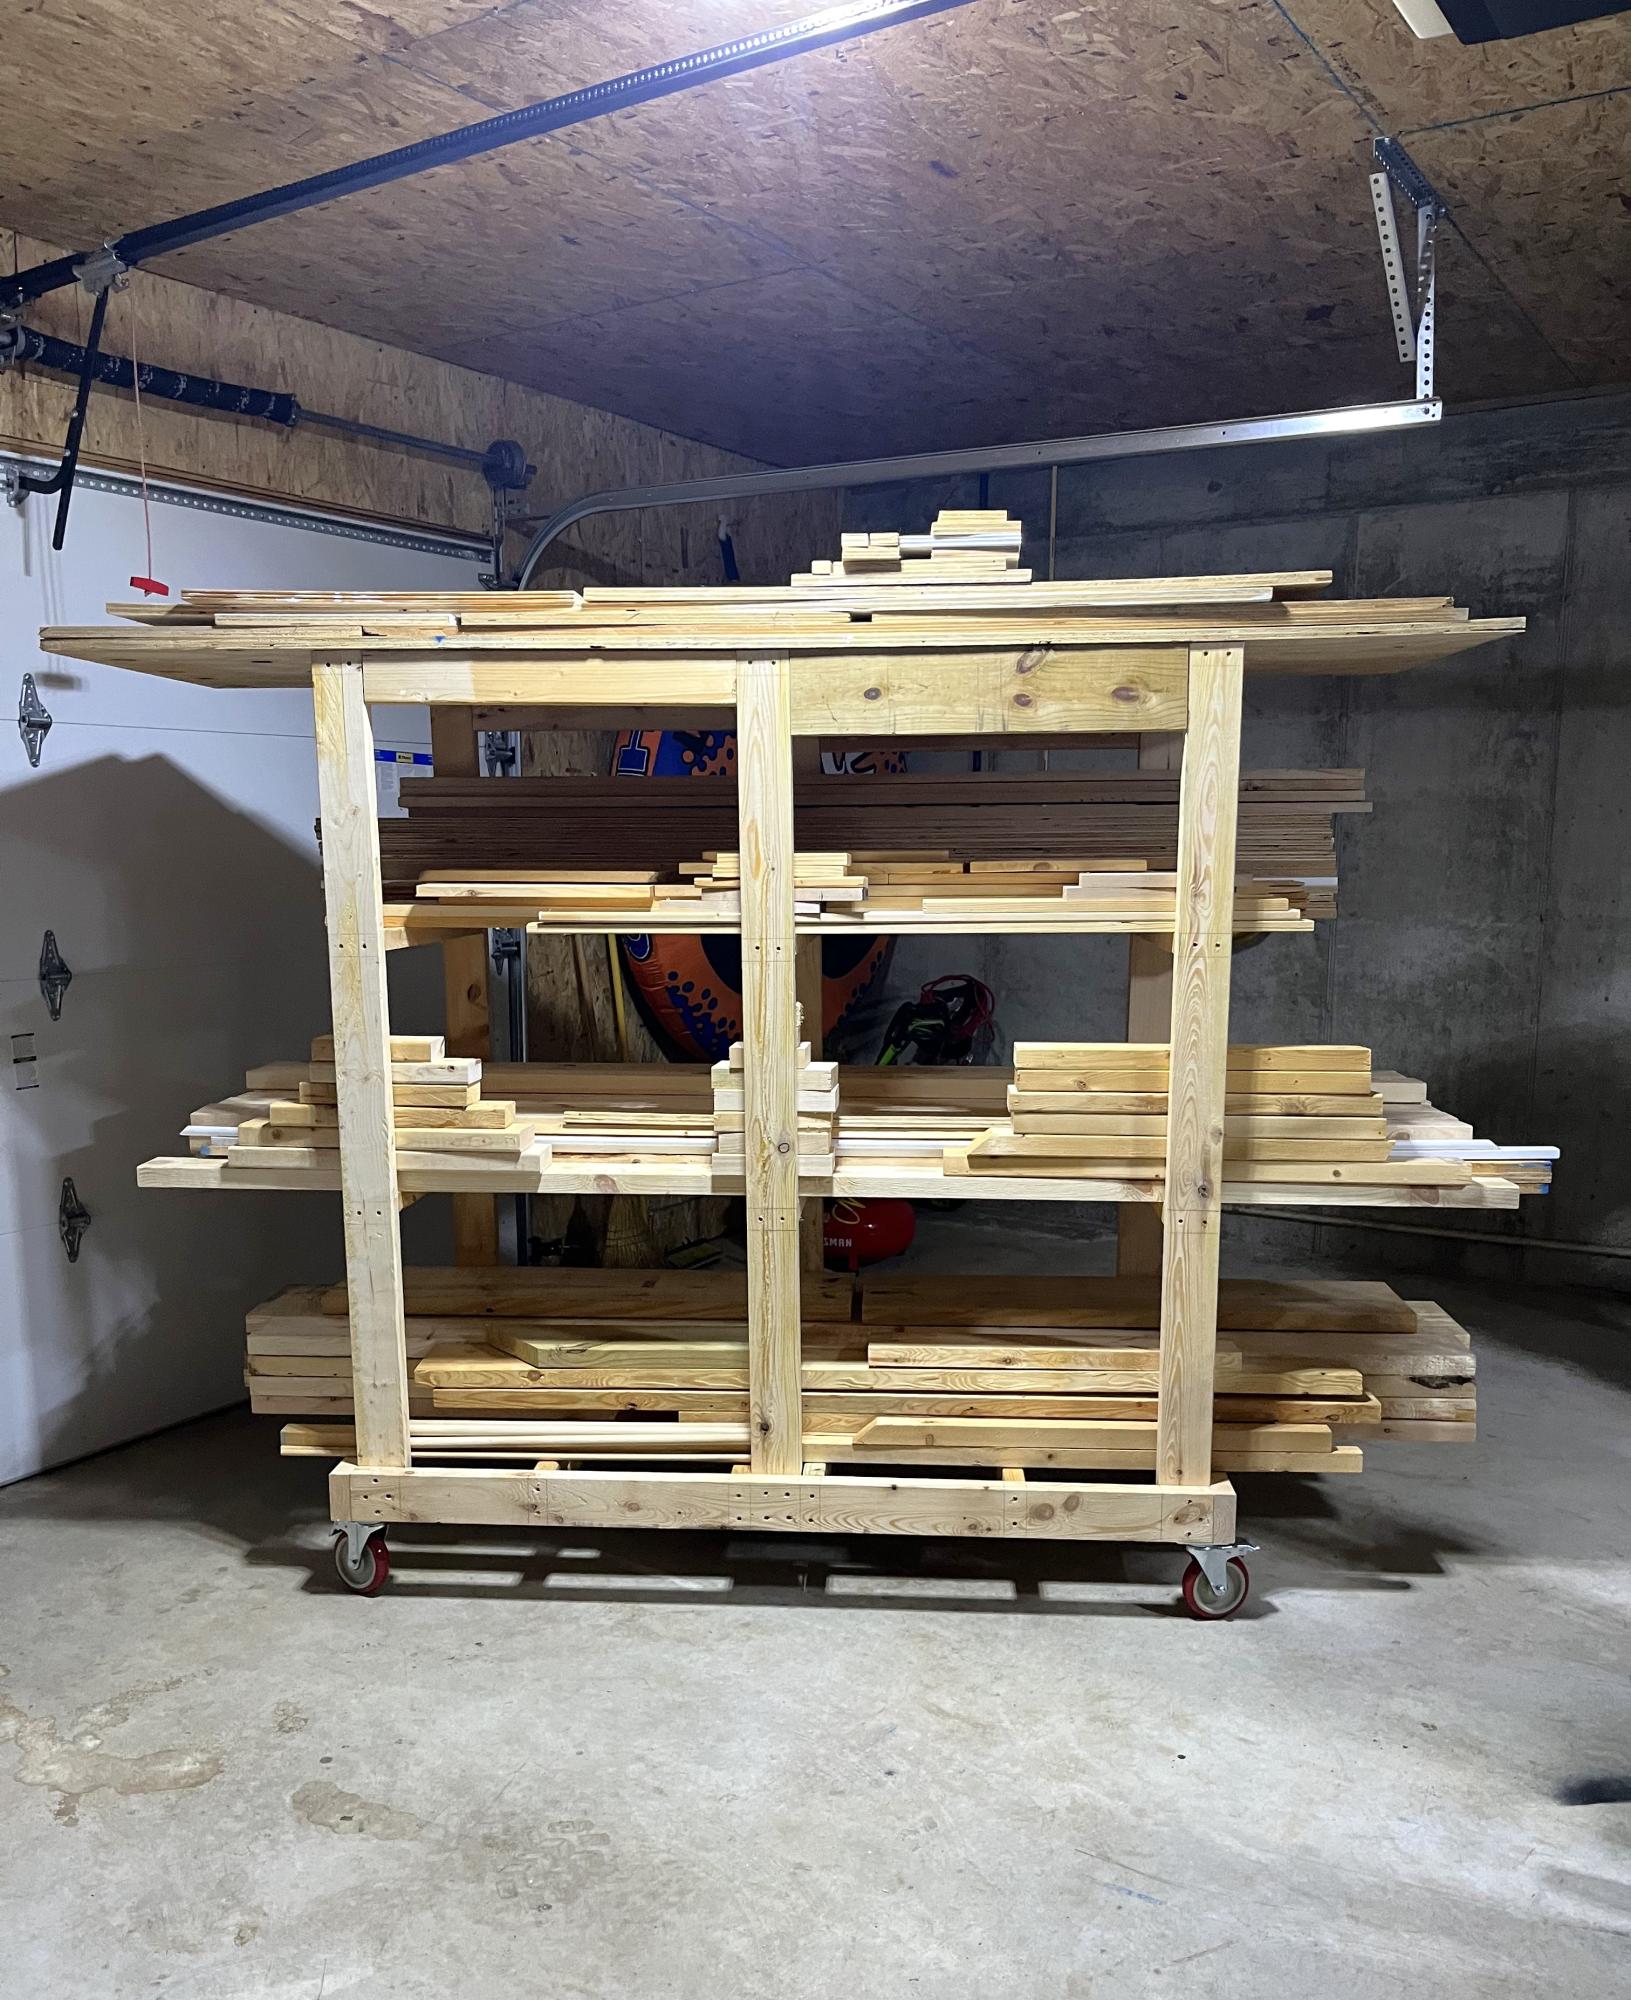
Built this wood storage for my garage! So much nicer than getting wood off the floor! Finished it in one day!
My only suggestion is don’t cut the four tie in pieces until you have the rest finished! Two of mine were too short. Thanks Ana, you have given this retired teacher a new purpose!