Community Brag Posts

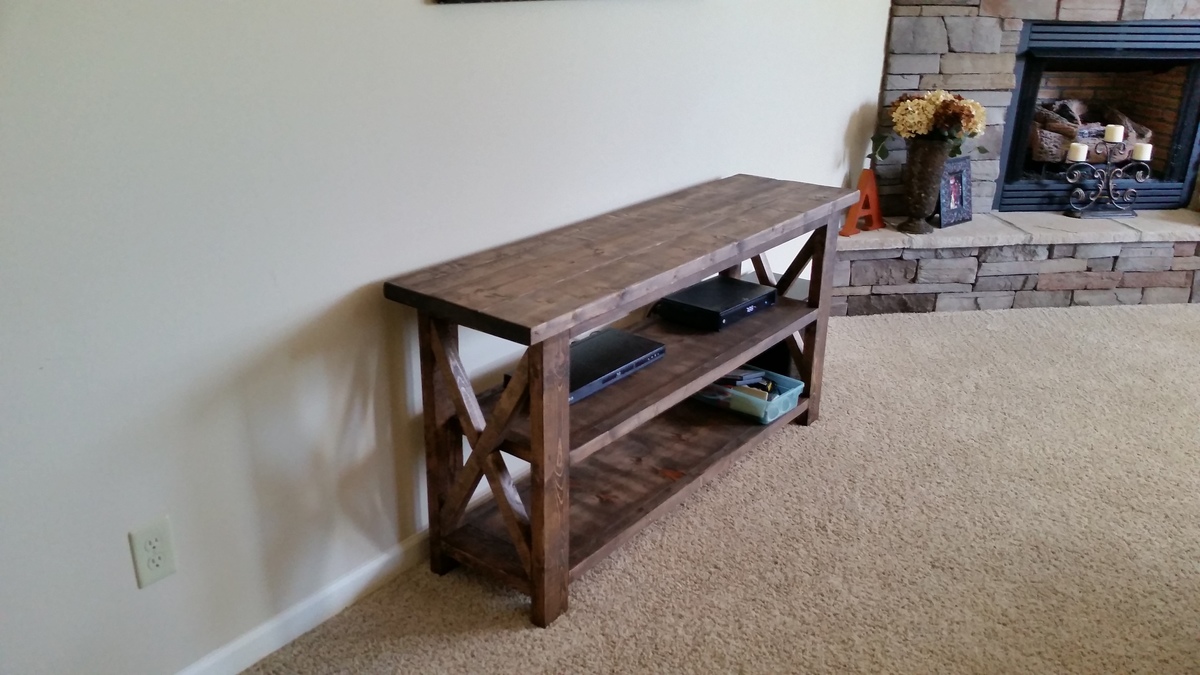
Fancy X Desk

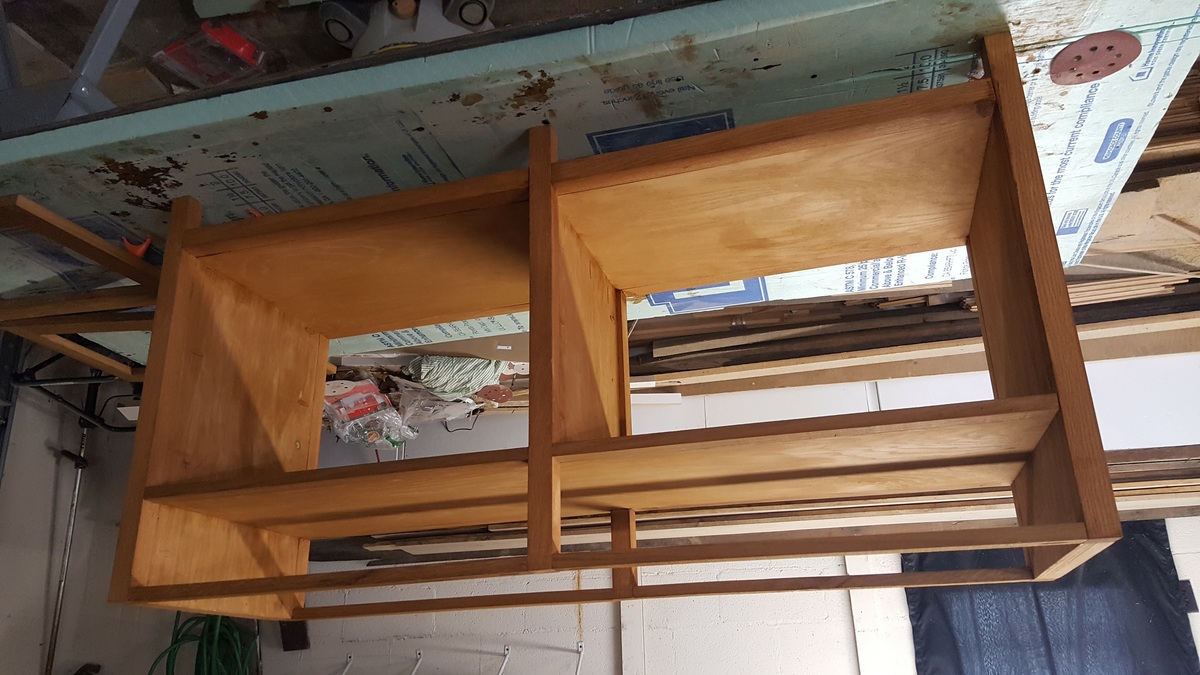
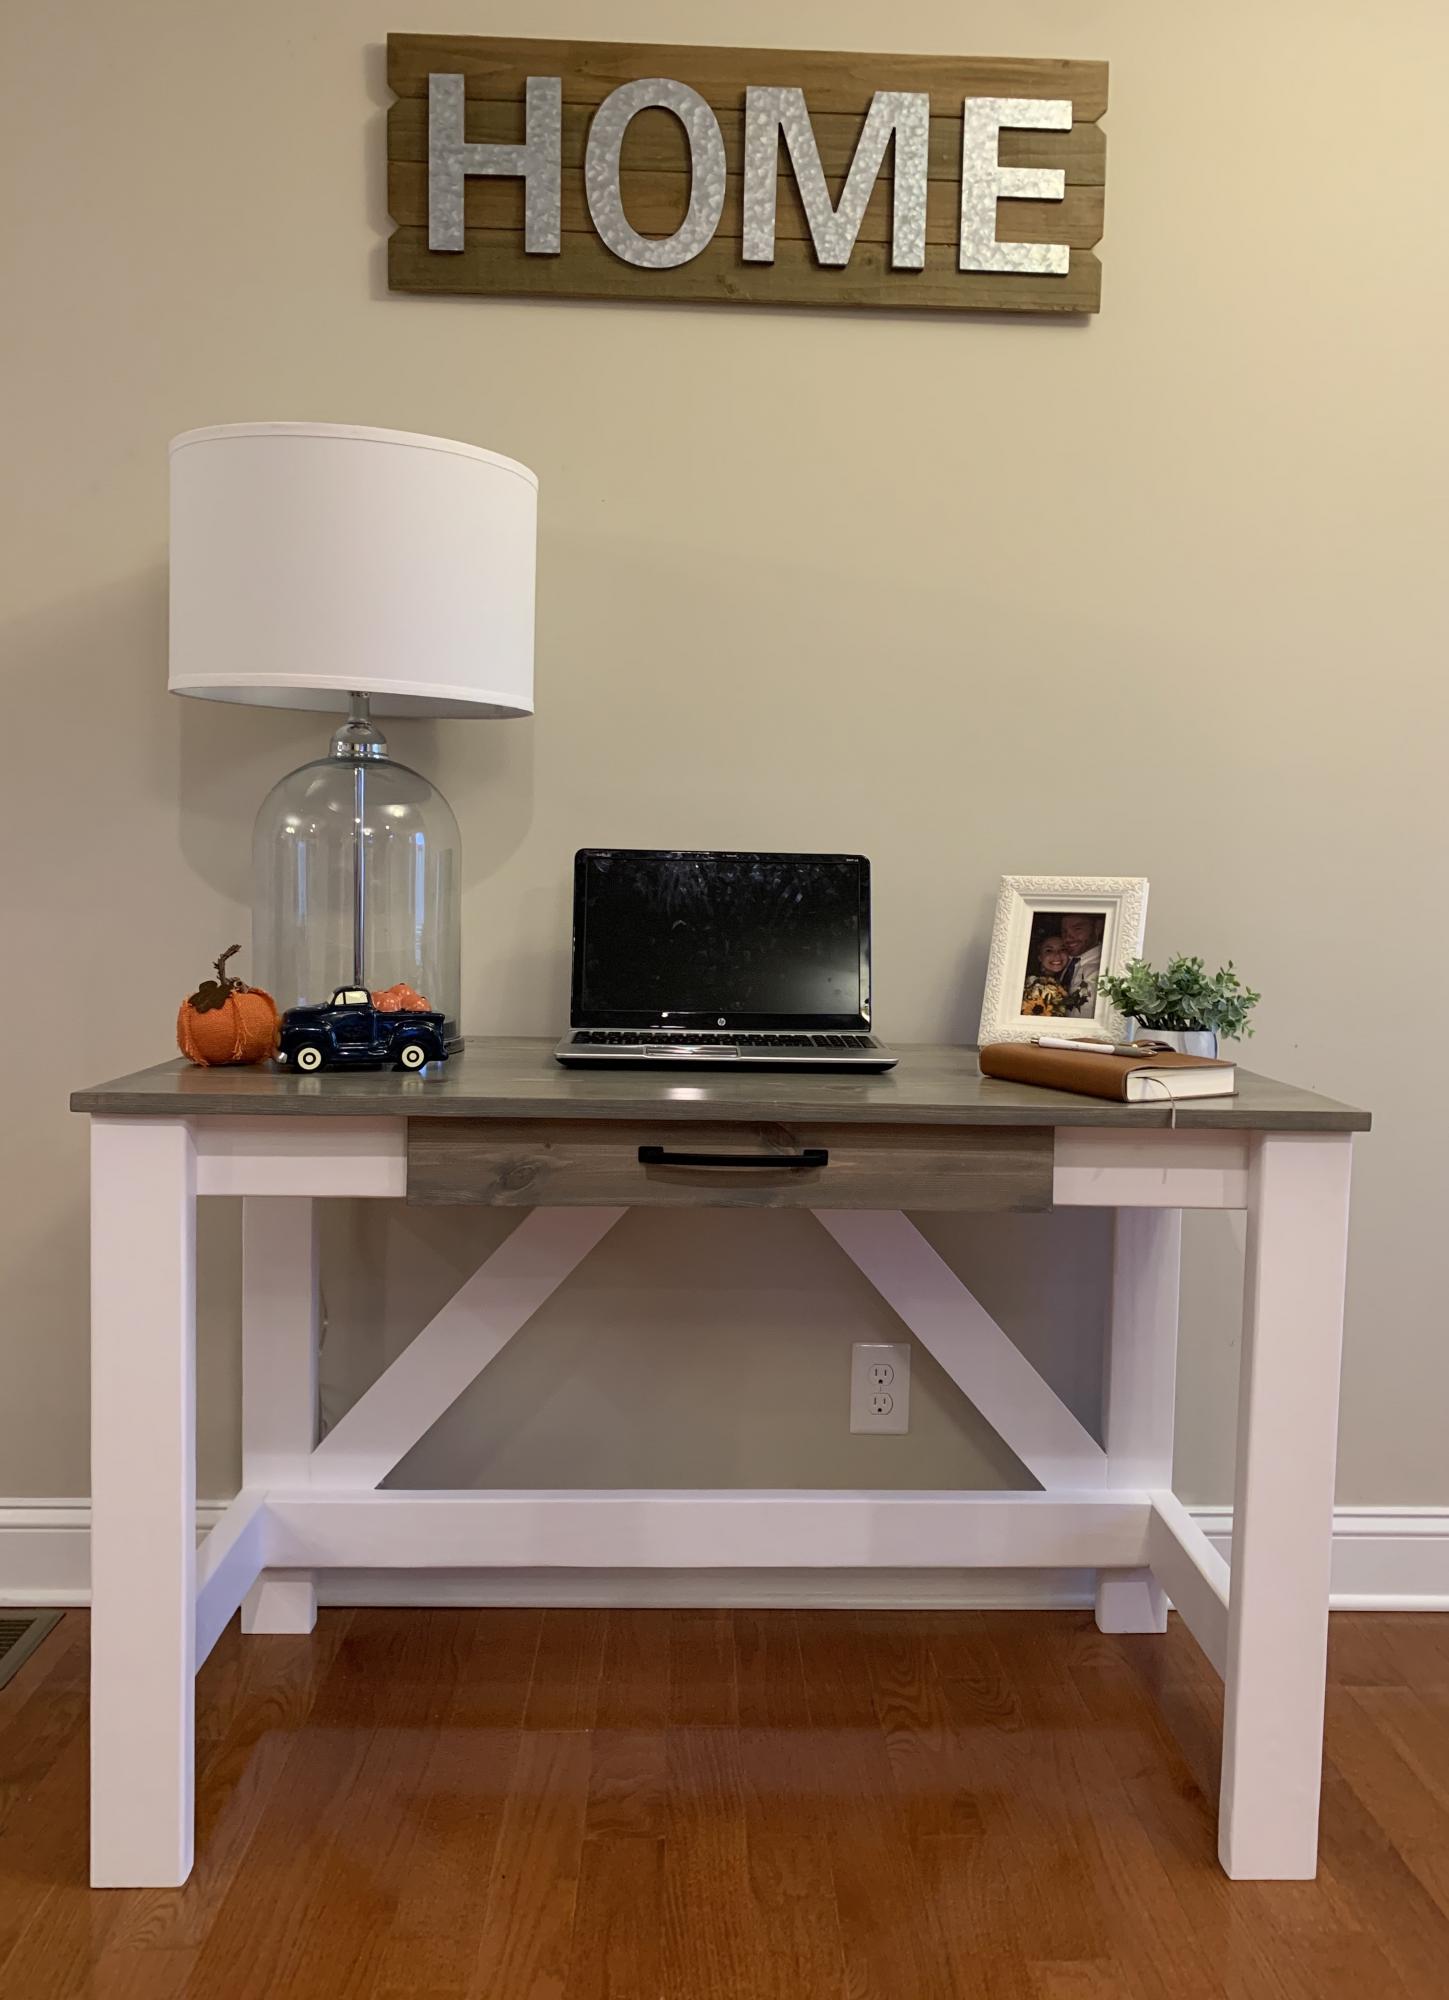
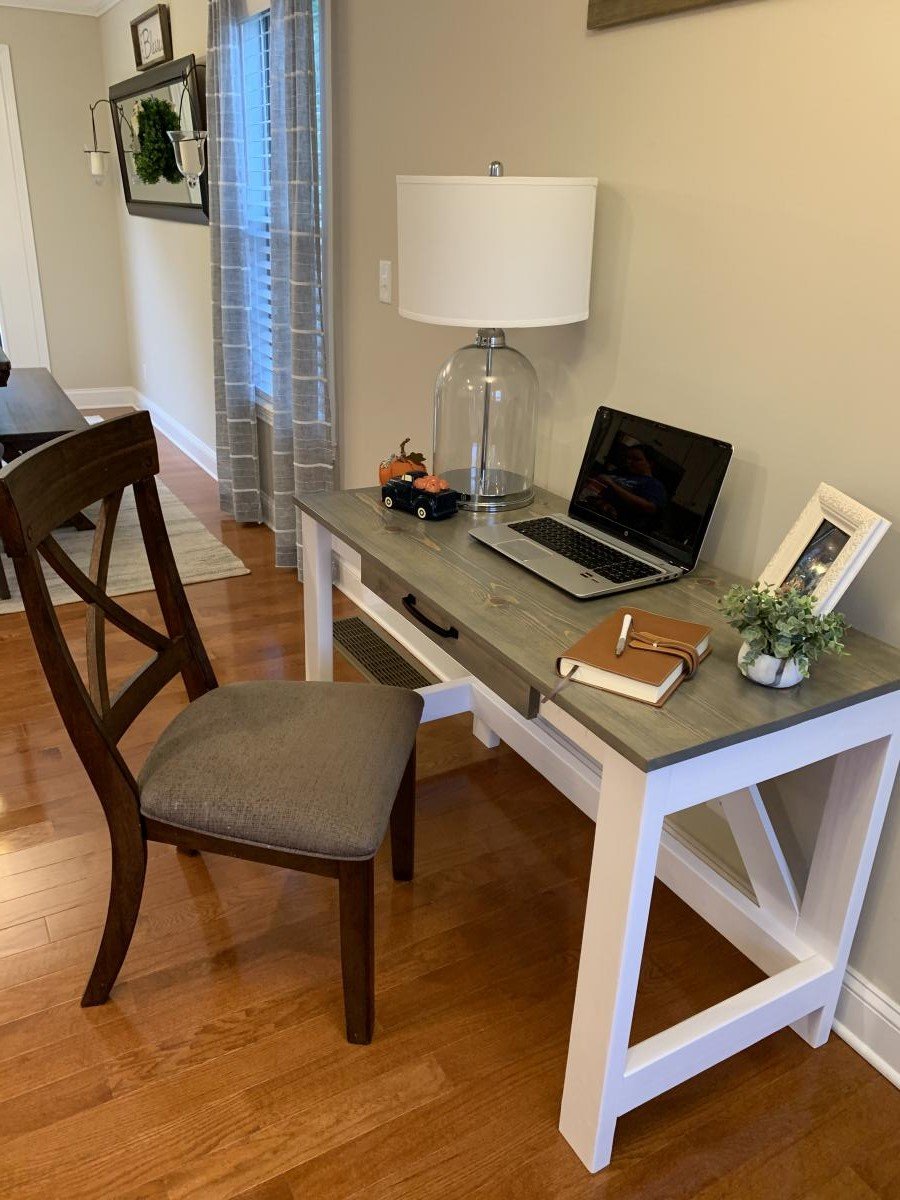
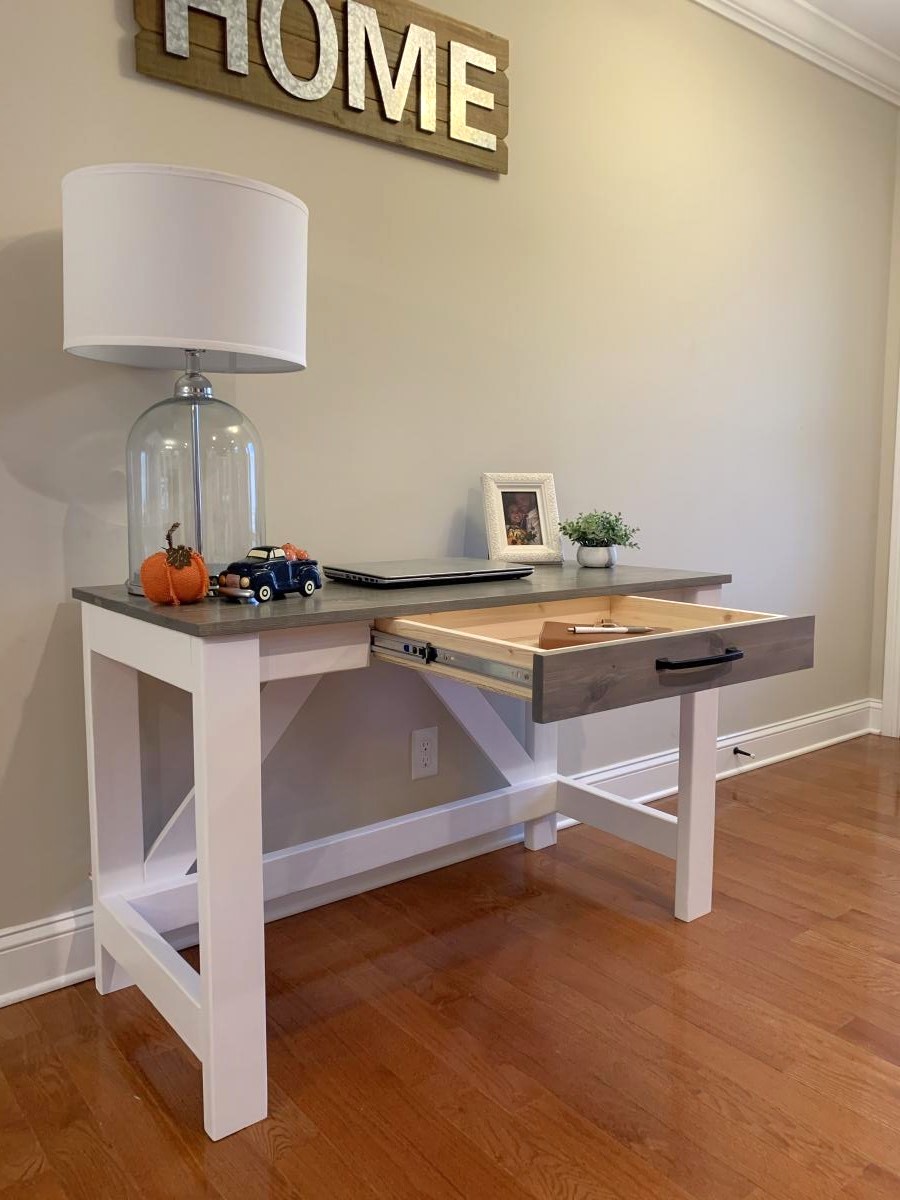
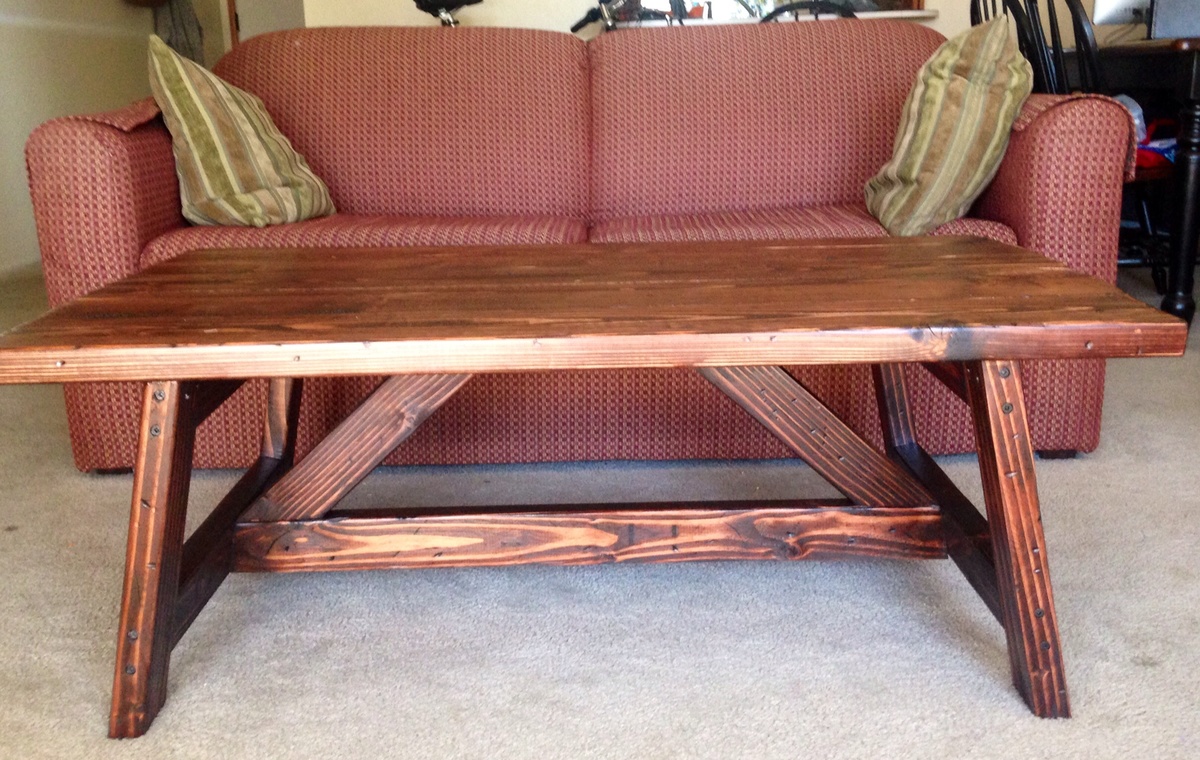
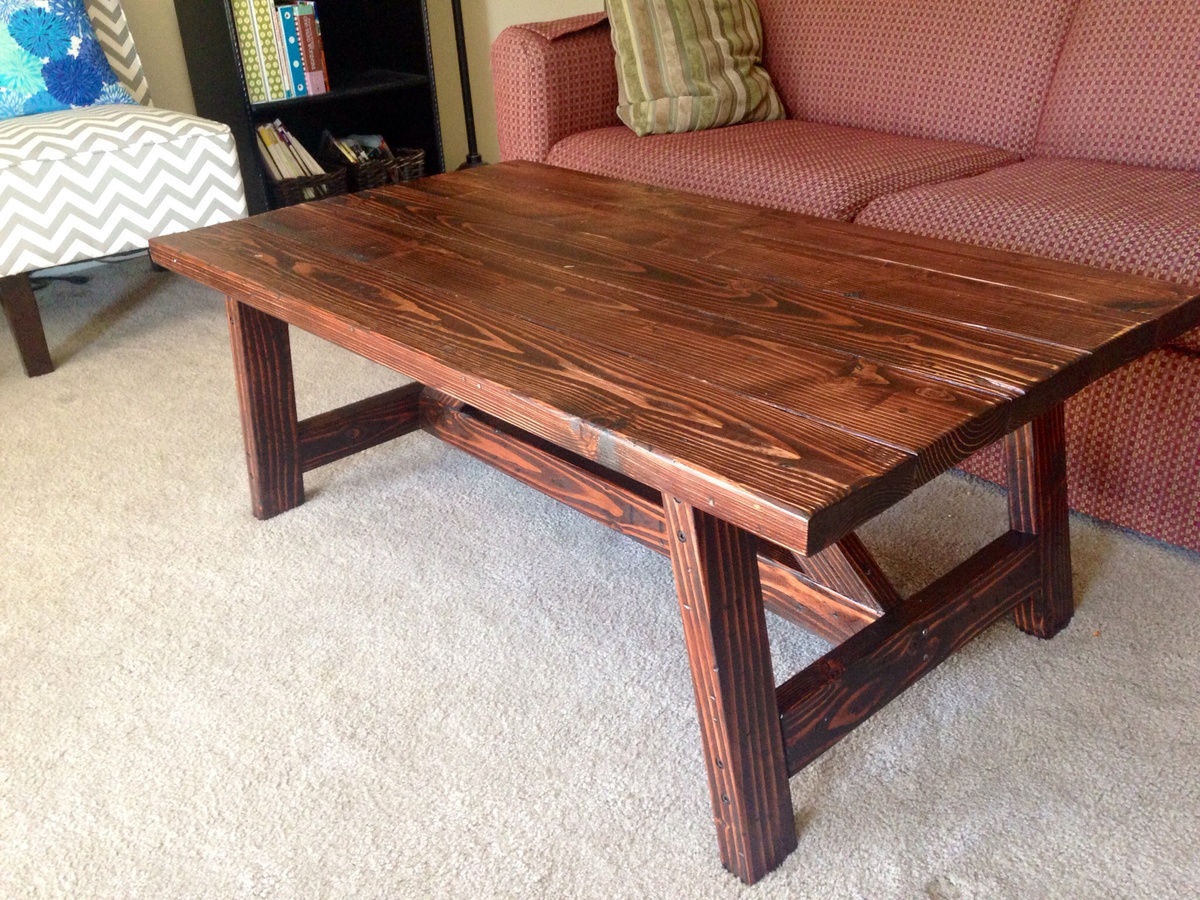
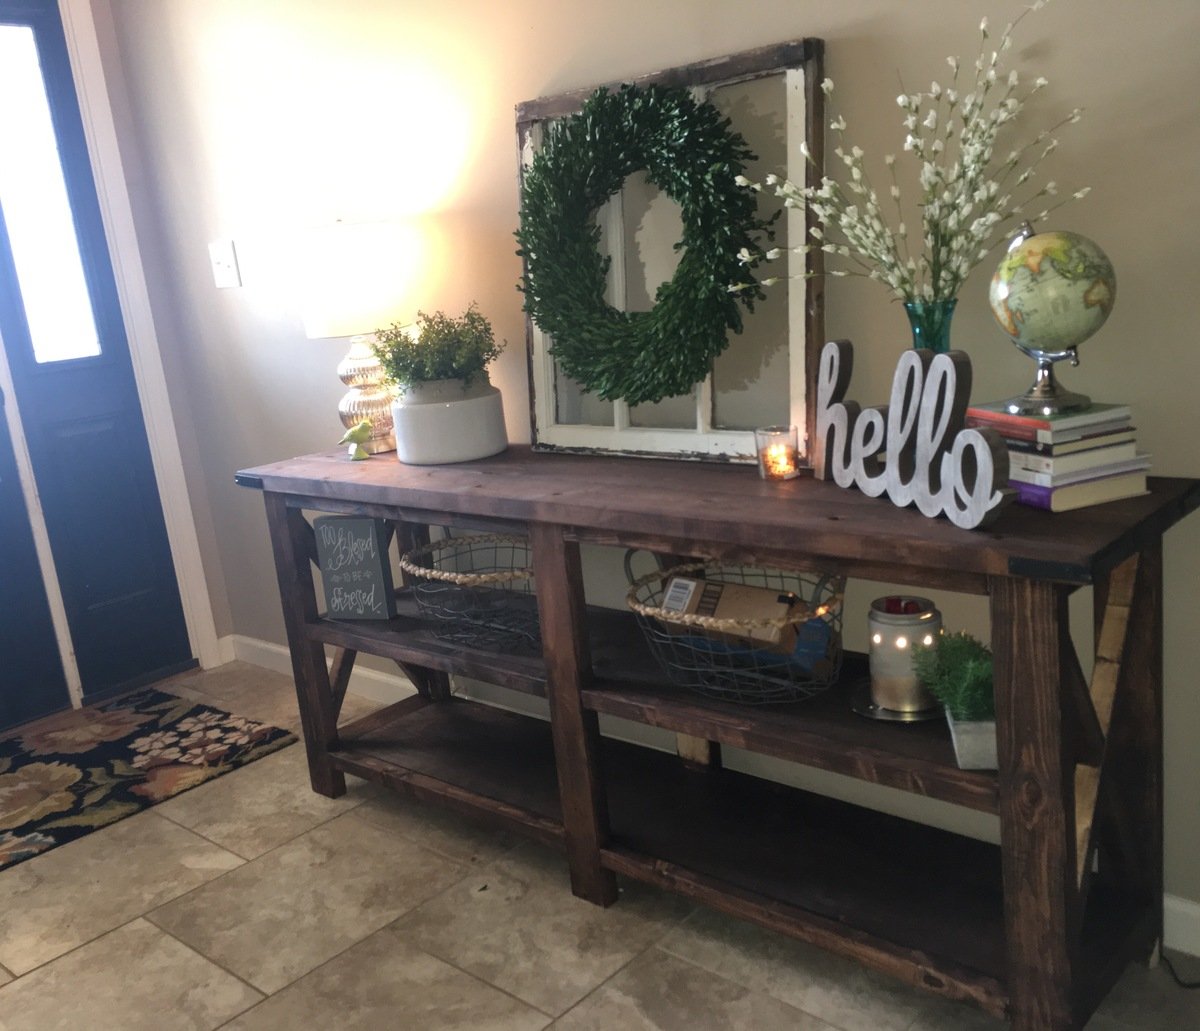
My first big project. It turned out great! There are a couple of issues with the plans but nothing a little common sense couldn't resolve. Also, for any beginners out there, make sure when you're going through your cut list, start with the larger pieces first then work your way down to the smaller cuts. You'll end up having to take another trip to the hardware store if you cut the smaller pieces first. Great plans Ana White! I built this as a Christmas gift for my girlfriend. She was blown away! She absolutely loves it!

~Justin~

Built from Plan(s)
Estimated Cost
Wood cost: $45.95
I did end up spending a lot more on stain, polyurethane, hardware, sandpaper.. The list goes on. But most of these items are things I can reuse for future projects.
Estimated Time Investment
Weekend Project (10-20 Hours)
Finish Used
Black Cherry Stain and then a clear polyurethane.
Recommended Skill Level
Beginner

Comments

I'm pretty proud of myself

Submitted by Anonymous (not verified) on Mon, 05/01/2017 - 10:17

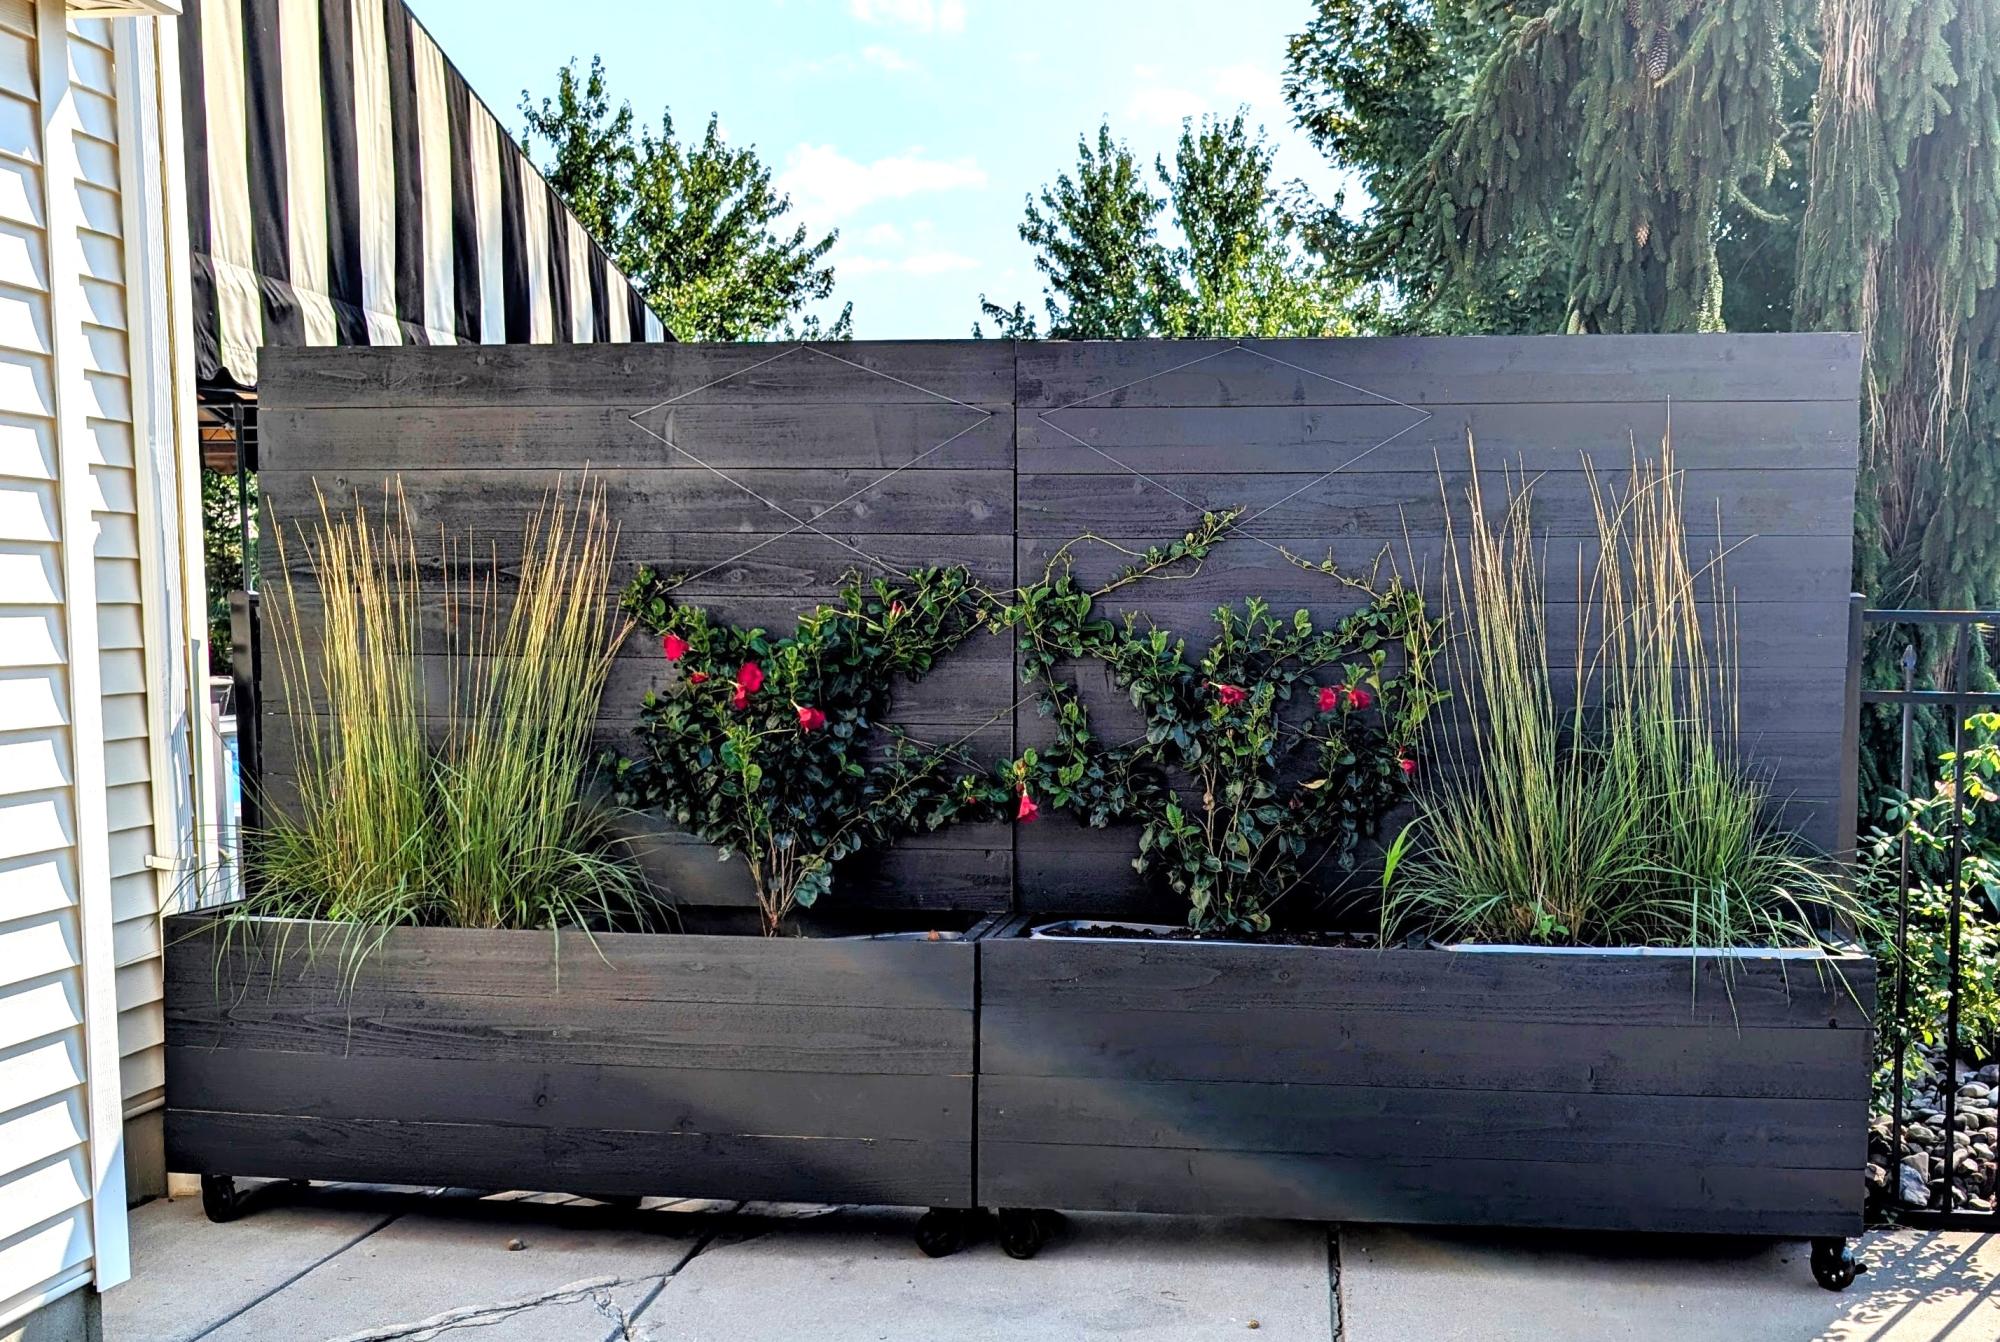
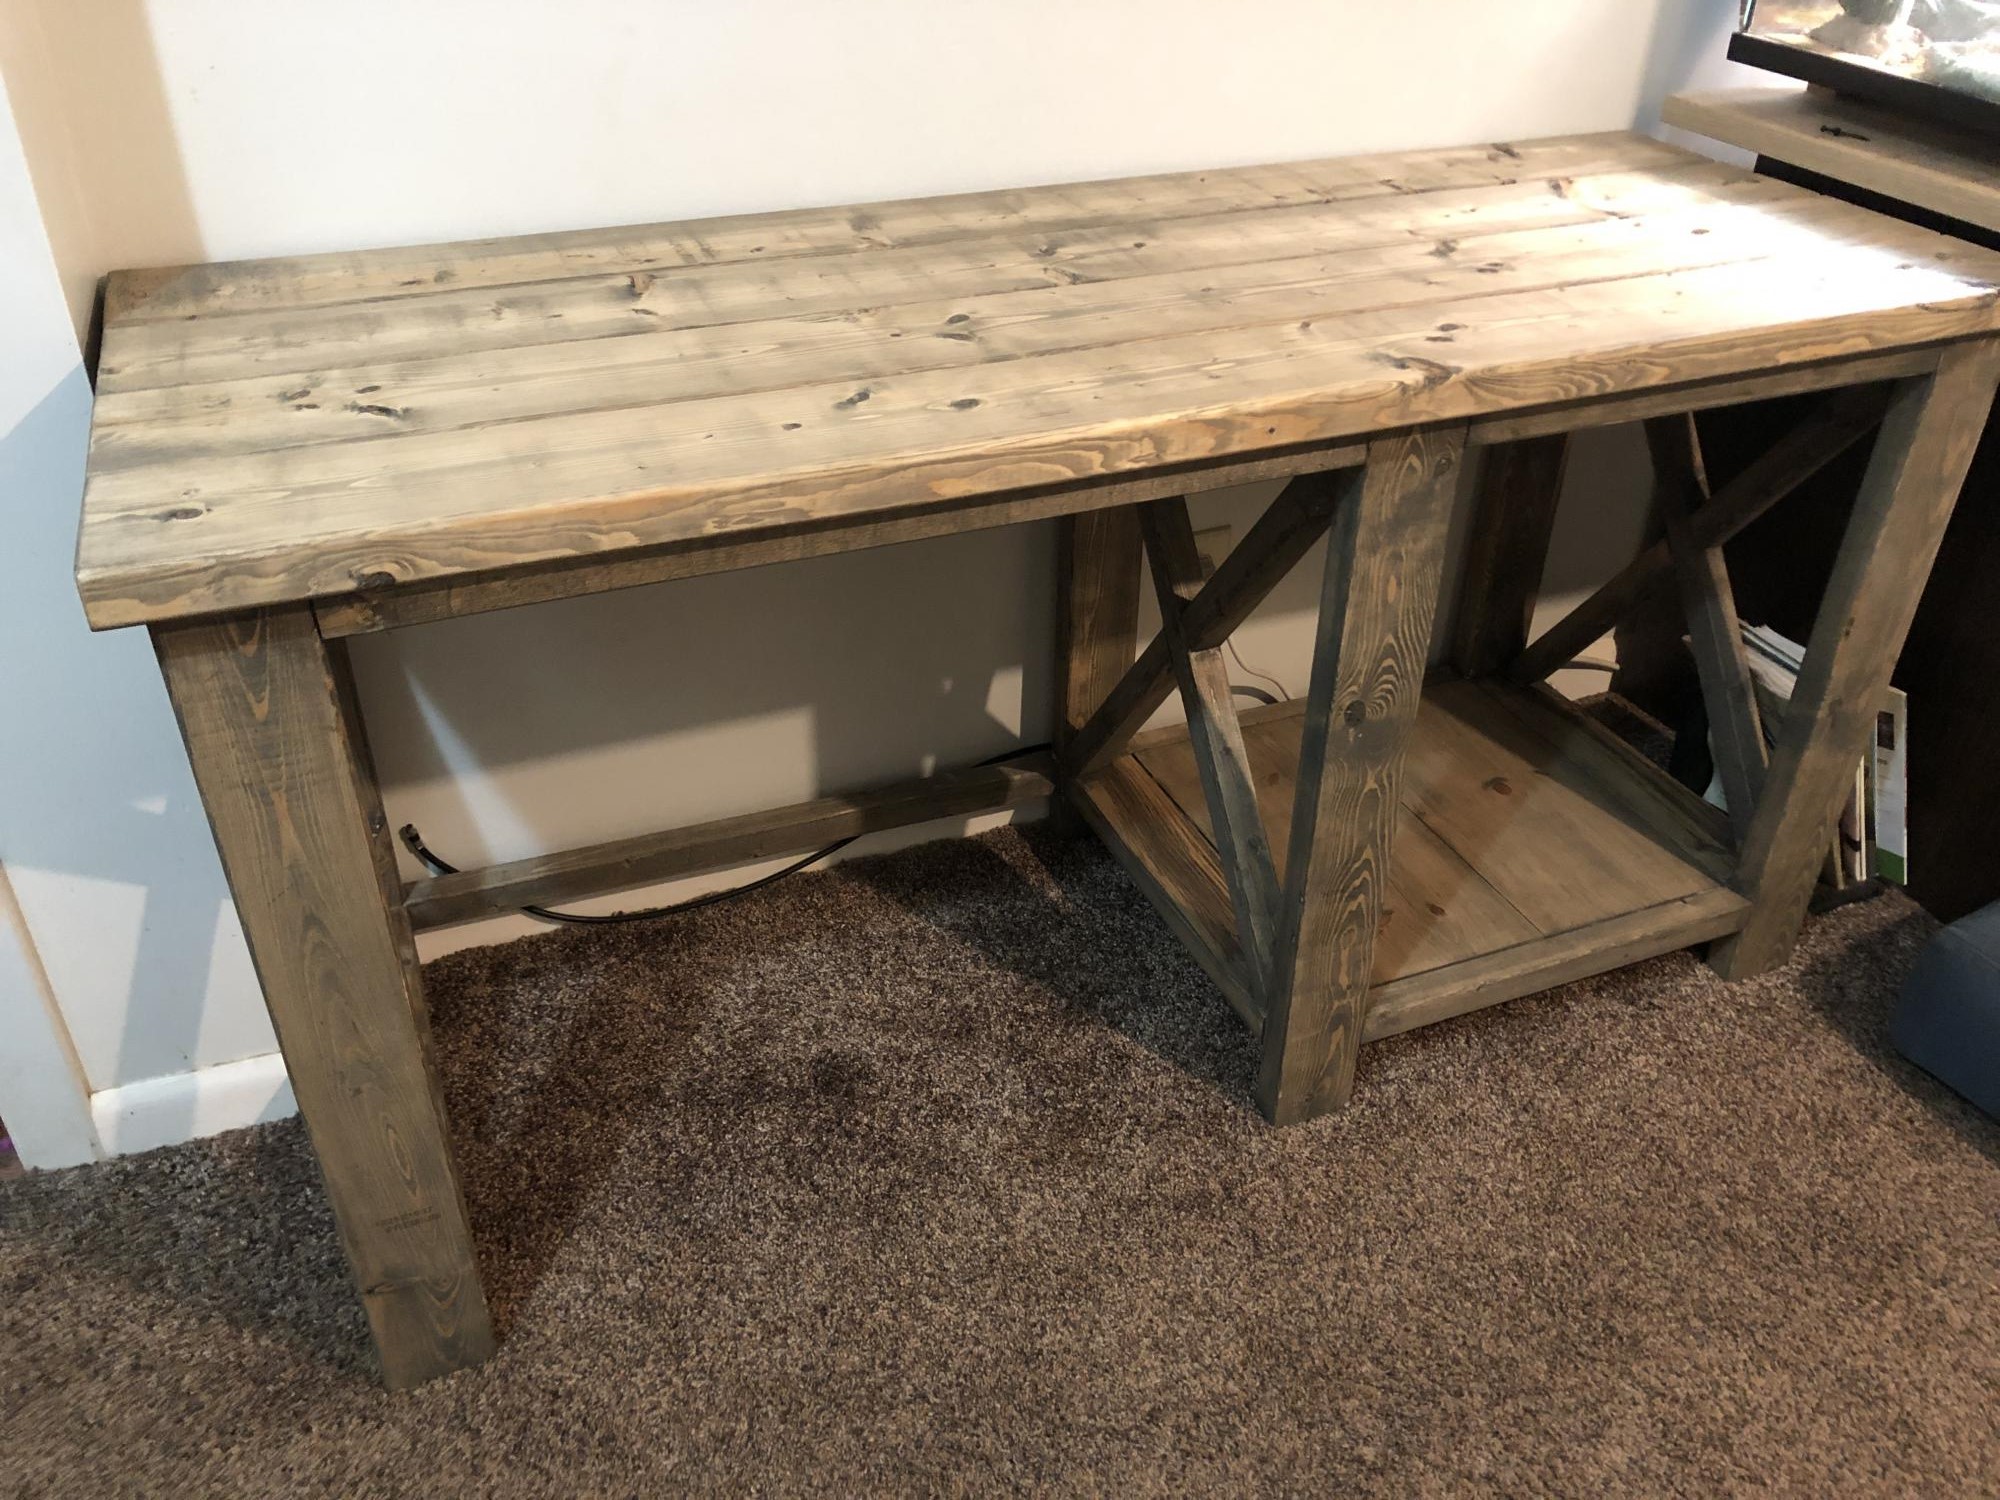
Pretty straight forward plans.

Built from Plan(s)
Estimated Cost
$350
Estimated Time Investment
Weekend Project (10-20 Hours)
Finish Used
Shou Sugi Ban/ Tung oil
Recommended Skill Level
Beginner

Simple 2x4 Potting Bench - Modified

I was intrigued by Ana’s Simple 2x4 Potting Bench. The project seemed simple enough and it would be used as a means to clean up clutter in the garage. My main focus was to make it semi-portable and weather resistant. Instead of using 2x4’s for the corner posts, I used 4x4’s to accommodate casters. I also shorted the length of the posts by 4 inches to compensate for the height of the casters. To provide extra rigidity I did a dado for the 2x4’s that connect the front and rear legs. In retrospect, I wish that I did not dado the legs because it made it more difficult to attach some of the shelf planks. I painted the frame green and left the shelves and backboards clear for beautiful contrast. My wife is ecstatic with the result.

Estimated Time Investment
Weekend Project (10-20 Hours)
Finish Used
Benjamin Moore Environ Green paint for the frame and Minwax Polycrylic for the poplar shelves and backboards.
Recommended Skill Level
Intermediate

Comments

Seasonal And Holiday

Outdoor sofa

Submitted by Julisib on Sun, 06/06/2021 - 06:39

Thanks a lot for the free plans. We enjoy out new deck !

Comments

Seasonal And Holiday

Chicken Coop

Submitted by Anonymous (not verified) on Mon, 05/29/2017 - 11:44

Made this coop in a weekend. $140 in material. Still a bit of work to do.

Built from Plan(s)
Estimated Time Investment
Weekend Project (10-20 Hours)
Recommended Skill Level
Beginner

Entryway bench

Submitted by Tinia on Tue, 03/03/2015 - 09:38

Used plans for Alexia bench.

I used leftover 4 x 4 pine we had for the legs.  I bought some paneling and moulding to dress it up.

I also used leftover flooring for the drawer faces.

Built from Plan(s)
Estimated Time Investment
Day Project (6-9 Hours)
Finish Used
Early American Minwax and spray polyurethane (several coats)
Recommended Skill Level
Intermediate

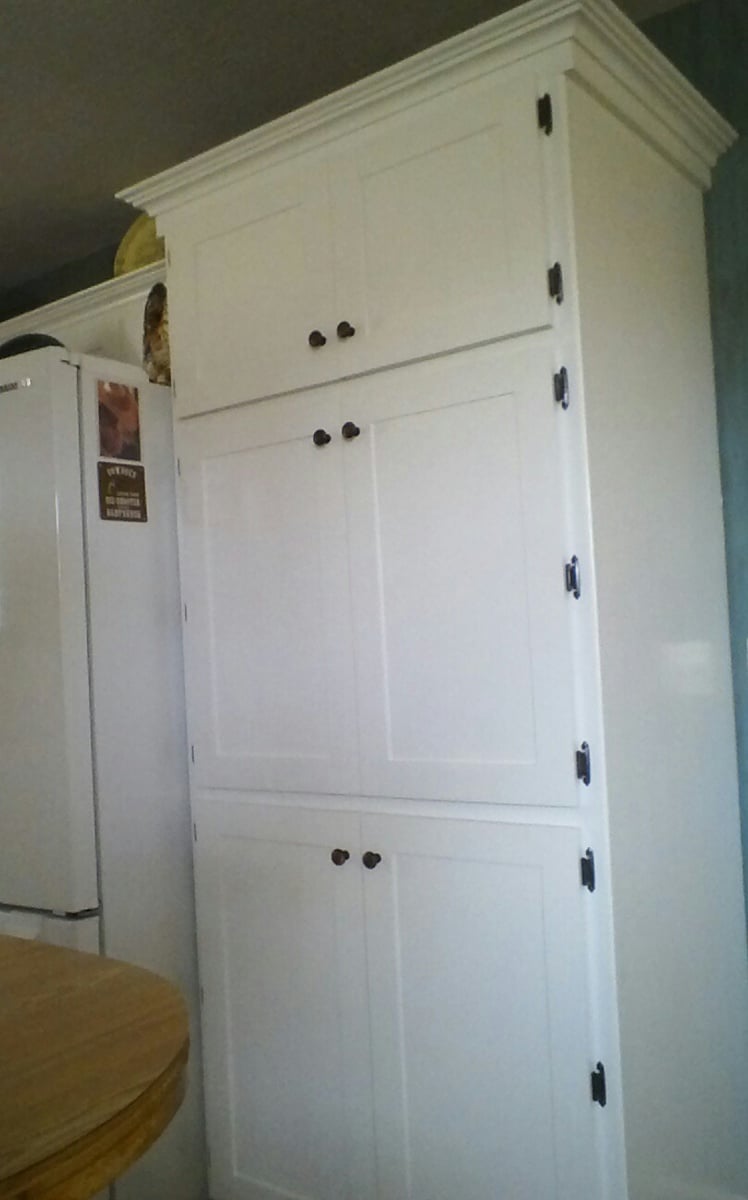
Kitchen Hutch

I've built a lot of things...mainly corn hole boards for friends and family but this is my first furniture build. My wife's Valentine present! Now I'm thinking my new big screen tv sure could use a nice Apothecary media cabinet.

Built from Plan(s)
Estimated Cost
I used expensive 3/4 in birch plywood so around $130
Estimated Time Investment
Weekend Project (10-20 Hours)
Finish Used
CHALK Paint with a chalk varnish for a protective finish
Recommended Skill Level
Beginner

Comments

Entertainment Center for 60" Flat Screen LED TV

I used the plans from JRLwoodworking and the pictures from AZCA33 and combined them to create an entertainment center to hold my new 60" flat screen tv. I priced new entertainment centers at furniture stores for a nice entertainment center to hold a large tv and the price was around $2000. I looked around online and found a couple of websites of handmade entertainment centers and decided to give it a try. I had never made anything remotely his large or detailed, but with the plans and some patience, I was able to bring this thing to life. I couldn't have done it without the help of this website or jrlwoodworking. I am very proud of this piece of furniture and plan to cherish it for a long time....

Estimated Time Investment
Week Long Project (20 Hours or More)
Finish Used
Black latex paint (satin), white latex paint (satin), and Polyacrylic (satin)

We painted the bare wood with the white latex paint first. After a couple of coats, my wife used the black paint on the areas that she planned to look distressed. We painted over the black with the white until fully covered. She sanded the white until the black came through like she wanted and then we coated the entire thing with a polyacrylic coat.
Recommended Skill Level
Intermediate

Comments

NimbleShopper

Mon, 04/22/2013 - 13:51

Wait a moment, that is a super WOW!

Really nice work. The piece is worthy of a magazine cover. Very well done.

kristenlotz

Sat, 06/01/2013 - 19:21

Hi RAZORBACKFAN, I am so excited to see this build from our plans at jrlwoodworking.com! This is absolutely beautiful. It looks like a very difficult project, but with the step by step instructions and going through it a few times, it really can be done by a handy do-it-yourselfer. I hope you enjoy yours as much as we enjoy ours. The best part of it is telling everyone you built it. Nobody would believe it unless we had the pictures to prove it.

Mudroom Bench with Hutch

Submitted by calliher on Sun, 09/12/2021 - 18:45

This is my laundry room and it is about 12x10. It looked so bare with only the washer and dryer. So I thought making this a mudroom also. I live in the mountains and have snow 3 to 4 months a year. This will be perfect. I purchased an IKEA cabinet built it in and added the Ana White plans with two bays.

Comments

Kitchen Island Trolley

Submitted by naomi on Fri, 06/23/2017 - 08:29

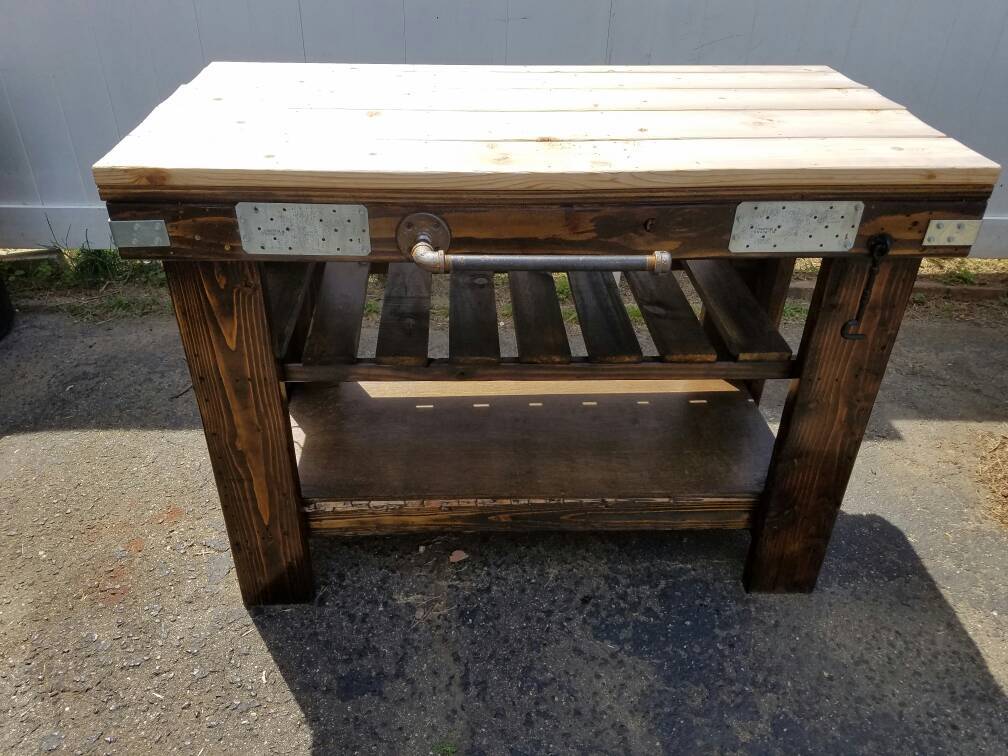
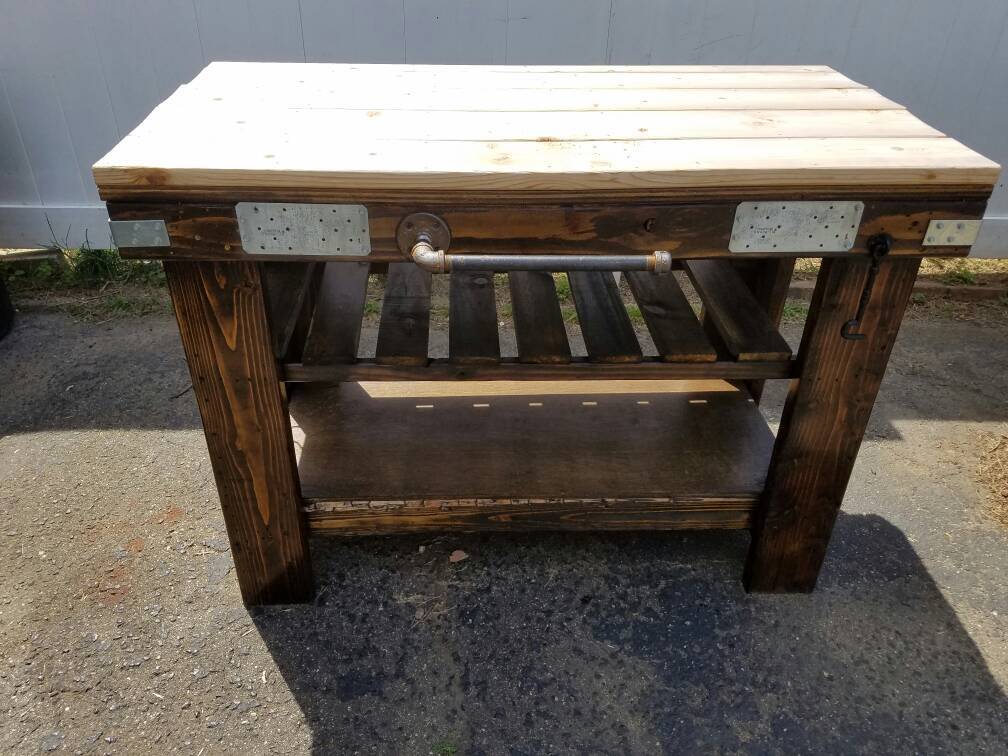
Base was made from recycled timber and the top was made with new pine.

The rails were made from curtain rails. 

One end has wheels for easy moving.

Built from Plan(s)
Estimated Cost
$20
Estimated Time Investment
Day Project (6-9 Hours)
Finish Used
Enamel Paint and Brown Japan Stain
Recommended Skill Level
Intermediate

Comments

sis2795

Wed, 07/31/2019 - 16:58

I don’t understand the cost for this. The wood is going to cost significantly more than $20. Am I an idiot and don’t know where to get the wood from??? How does that equal out to $20?

In reply to by sis2795

naomi

Sun, 08/11/2019 - 22:41

Hi,

All of the base was made from free pallet Wood and the timber top was one line length of new timber which cost about $8 and the wheels I had in the shed and the curtain rail was a couple of dollars from Bunnings. The paint and stain I already had.

I hope this helps. 😀

An Unexciting Step Stool

So, here is my unexciting step stool. It became a hodge podge of material because I didn’t have practically ANYTHING on the cut list in my shop! So the sides are made of 2 1×4′s a 1×3 and a 1×2 pocket holed together! The bottom kick is two 1×3′s and the top is a piece of 5/8″ plywood. The back is plywood too, and the treads are two pieces (each) of 1×4! Talk about a weird way to build Ana’s simple plan!

I decided not to do the storage step since I really didn’t need it, and I was tired of scrounging for wood too! It still needs a touch-up of putty (especially the opposite side because I forgot to mirror the pieces and all the pocket holes are on the outside! whoops!) and then some sort of easy to clean paint.

Took me a couple hours to put together on a cold Christmas afternoon while my son was sleeping and my mother-in-law and guy were watching Shrek on tv.

Very unexciting. Not nearly as exciting as the lockers I’ve been coveting…

Except…. when you see just how happy my lil guy was when he got up from his nap….

… and then it becomes a WHOLE LOT more exciting!

Merry Christmas everyone!

Built from Plan(s)
Estimated Cost
Made from Scrap Pine and a bit of plywood plus some Kreg Screws
Estimated Time Investment
An Hour or Two (0-2 Hours)
Finish Used
Eventually painted it with a melamine paint and some non-skid silica sand sprinkled in the paint.
Recommended Skill Level
Beginner

Patio chair

Submitted by Anonymous (not verified) on Mon, 10/04/2021 - 16:56

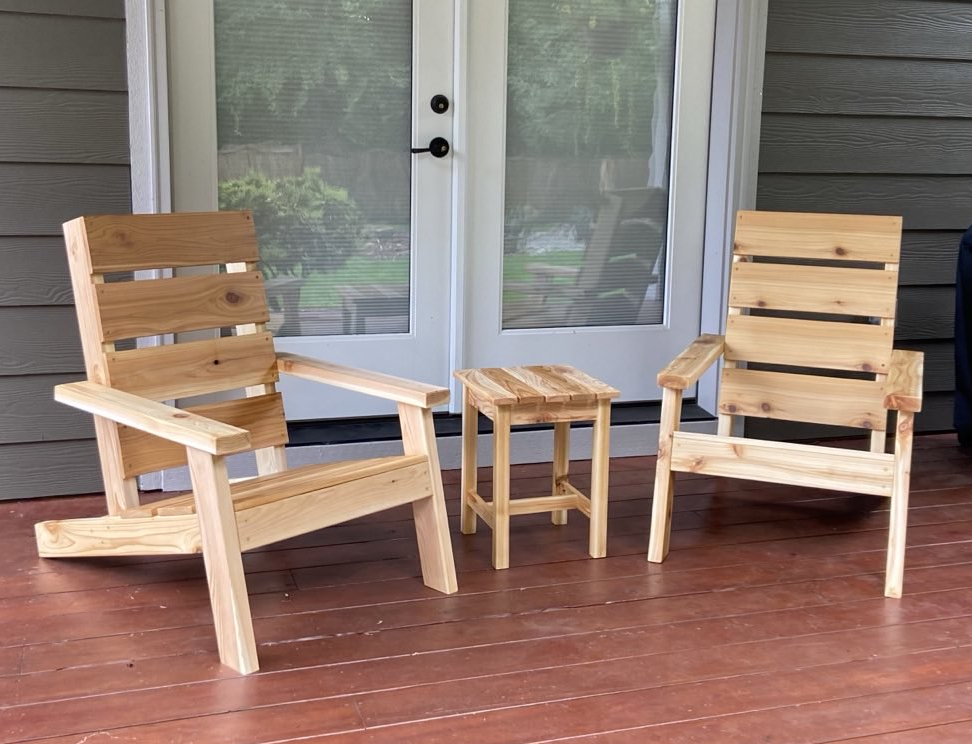
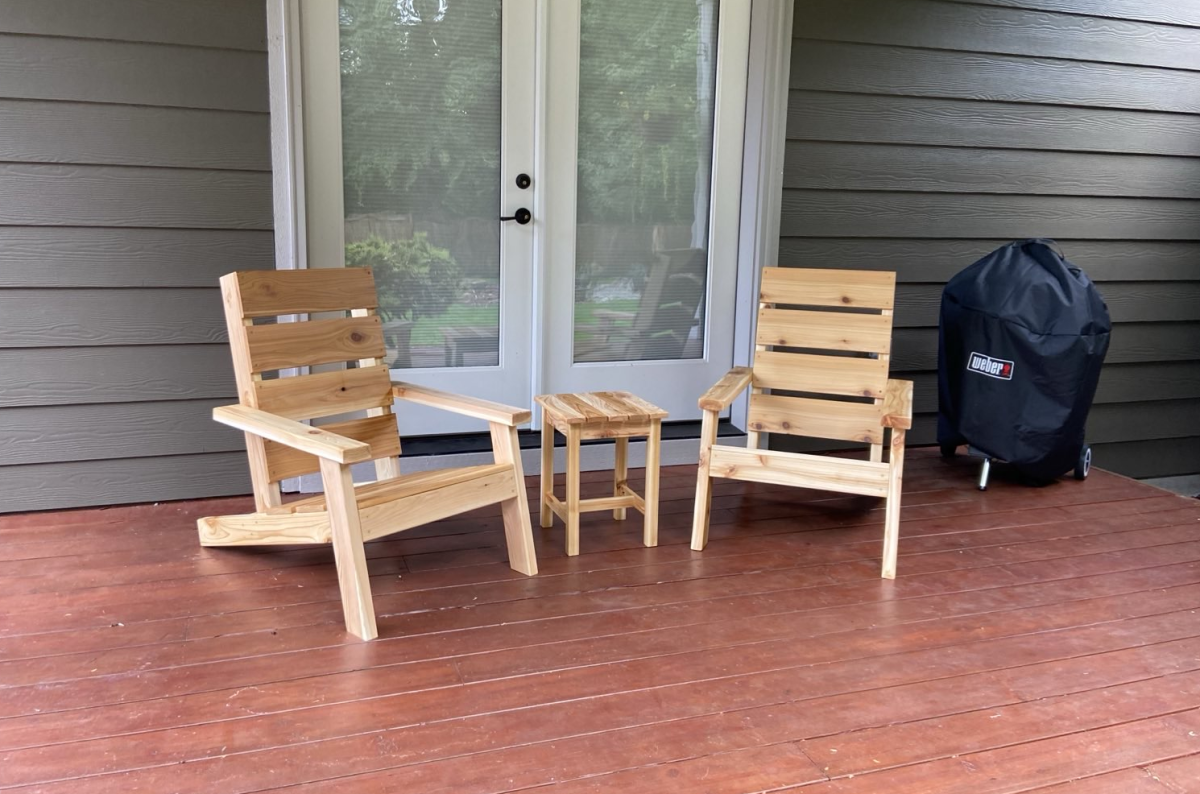
I chose to make the chair which came out great although the plans were only for one chair I thought it waa easy to do.

Comments

Seasonal And Holiday

Farmhouse table and benches

Submitted by AttyGuitar on Wed, 08/16/2017 - 12:23

Farmhouse table and benches

Estimated Cost
$400
Estimated Time Investment
Week Long Project (20 Hours or More)
Finish Used
Provincial MinMax and gloss clear coat
Recommended Skill Level
Beginner

Daybed with storage

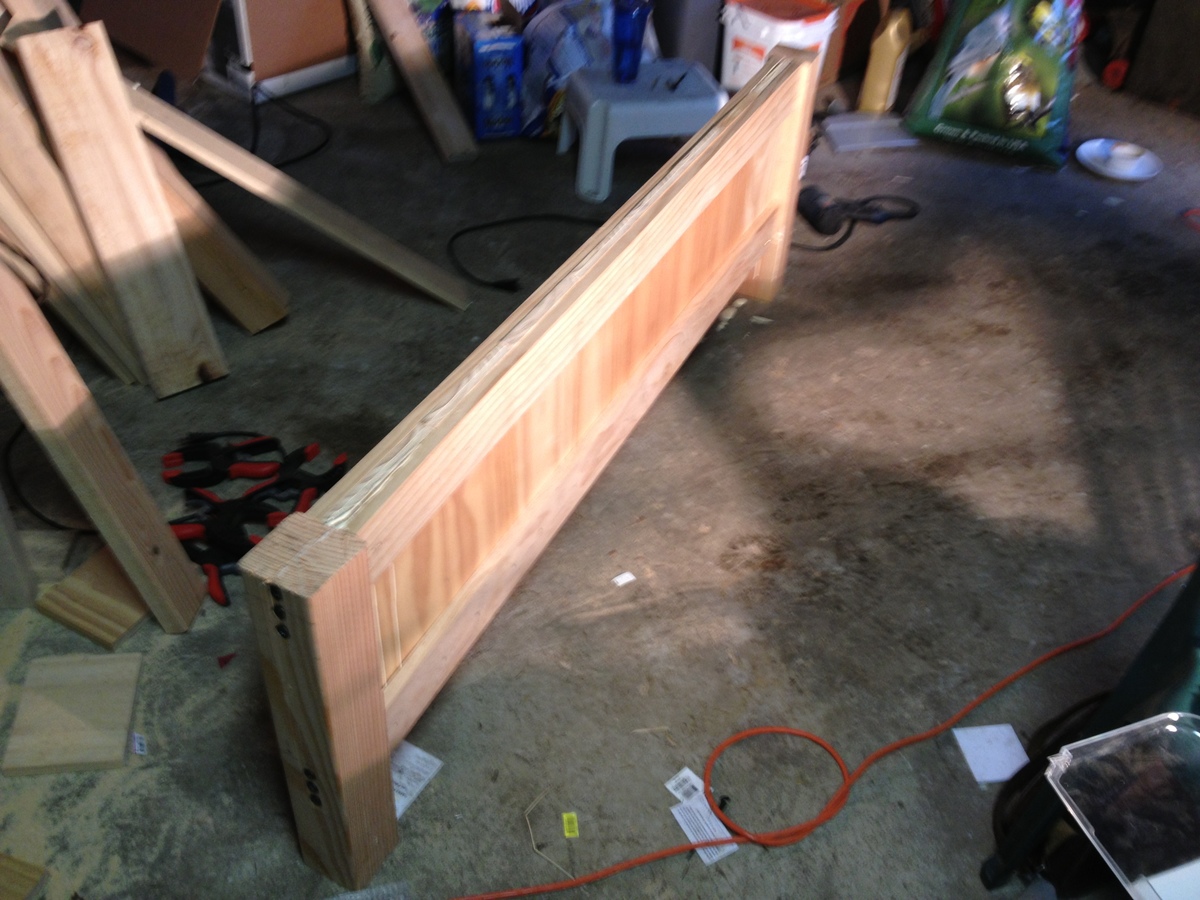
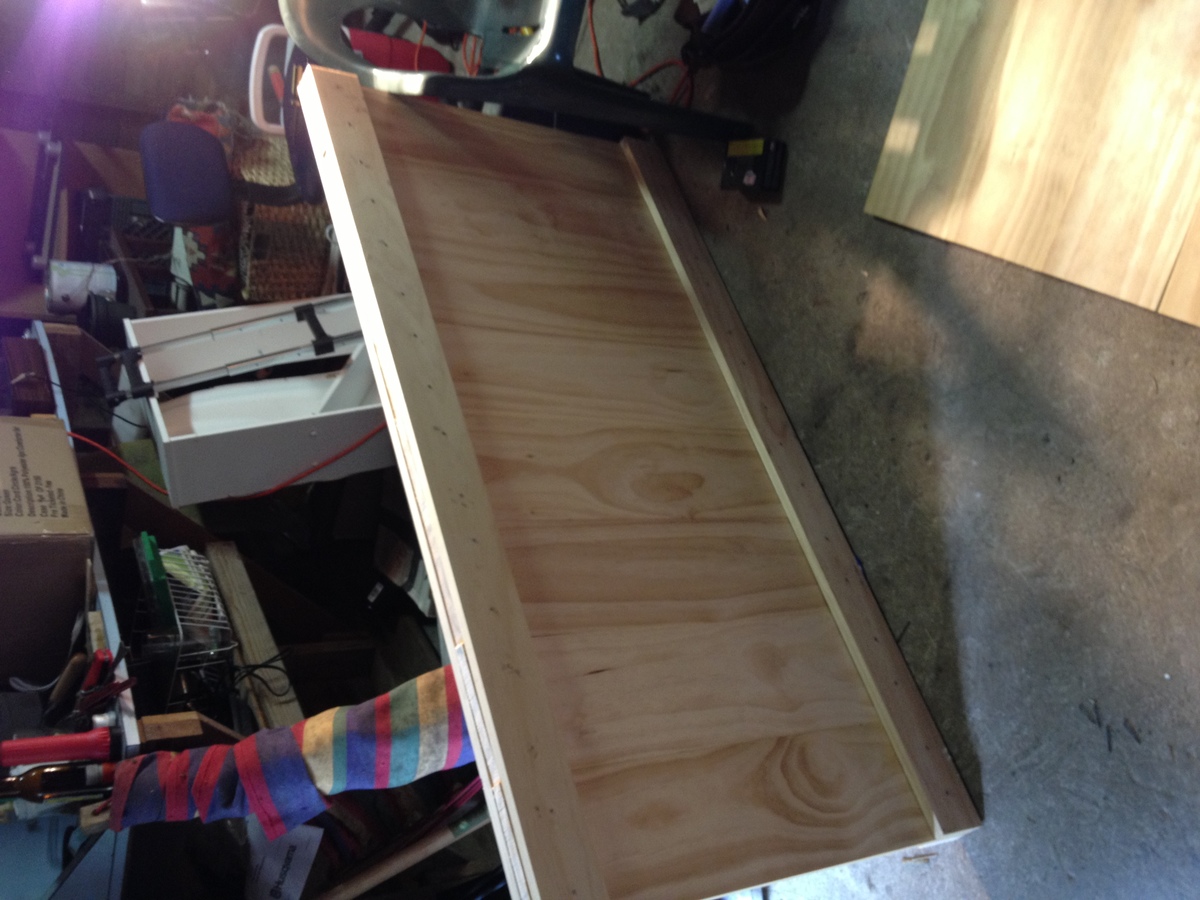
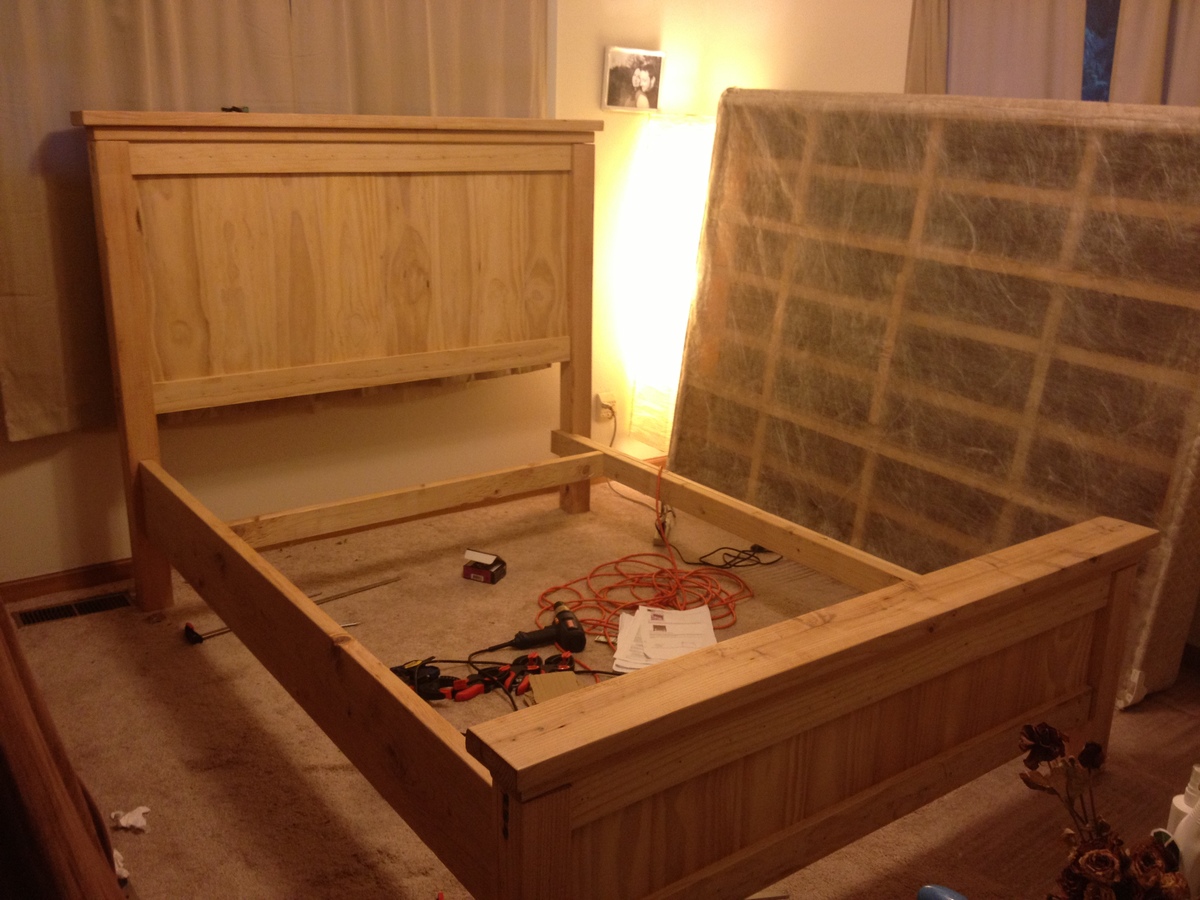
We wanted to build my daughter a smaller bed with lots of storage. I really liked the Daybed plans on here, so we used those and made a few minor adjustments. First, we wanted the bed to sit inside the frame of the bed, instead of just sitting ontop the frame. This will prevent the matress from sliding around. We did this by adding 3 inches on both the length and width of the bed. After building the bed you probably only need to add 1-2 inches, but it still turned out fine. I glued and screwed strips on the side rails a few inches down and then attached my 3" strips to the rails. I also increased the height of the bed slightly by addinga few inches to the 2x4 sides. Also, instead of using 1x12 boards for the construction of the bed, we used 3/4 plywood. This let me make the sides and drawer taller than 12" and also saved a lot of money. I was able to make the whole bed from 2x4s and one sheet of plywood, plus I bought a sheet of MDF for the bottom of the main drawer. This brought the entire cost of the bed to around $150 in materials.

For the bottom drawer we wanted one large storage area instead of 3 seperate drawers. The main reason for this is so we would use it as a trundle in the future if we wanted to. I build the drawer bottom out of a large piece of MDF, and maded the sides out of 3/4 plywood. I cut a 1/2" rabbit on the bottom of the drawer sides so the bottom sits flush. My main reason for doing this was because the boards are different colors (MDF and plywood) and I knew I was not going to be painting the drawers. The drawer sides and attached by pockethole screws which are hiddle. The front pocket hole screws are hidden by the front drawer face and the rear screws could only be seen if you look behind the bed.

I used homemade chalk paint and put about 4 coats on the entire surface. The finish was done with a high quality paste wax which was put on, let dry, and then buffed. I put 3 coats of wax on the finished project.


The bottom of the drawer has 6 straight casters on the bottom for easy pull out.

The contruction of the bed was done in about a day, but the finishing took longer due to the multiple coats and letting the wax dry.

Estimated Cost
$150
Estimated Time Investment
Weekend Project (10-20 Hours)
Finish Used
Home made chalk paint. 1/3 cup of plaster of paris mixed with 1/3 cup of water. Mix that with 1 cup of white latex paint. Make small batches at a time as the chalk paint can not set out for a long time after mixed. Chalk paint goes on thick and will need 3-4 coats for a perfect finish. A wax must be used to seal the paint as poly will yellow the color. 3 coats of wax will work fine. When putting on the wax, use an old shirt to apply the wax generously, then wipe off the excess before you leave to dry. Let the wax dry 8-12 hours before each coat, and buff in between coats and on your final coat.
Recommended Skill Level
Intermediate

Bedside night stand

Submitted by Zacharary on Sun, 06/09/2013 - 15:13

Made from farmhouse plans

Estimated Cost
$60
Estimated Time Investment
Day Project (6-9 Hours)
Finish Used
Paint and stain
Recommended Skill Level
Beginner

Comments

Twin captain bed

Submitted by meckylang on Sun, 05/17/2015 - 09:02

This bed was built custom for the girl who ordered it. She wanted both a bookcase headboard on the long side and a traditional headboard. The bookcase headboard could not block the window and needed to have access to the outlet behind the bed. The bed was designed to match a dresser that had already been purchased. The drawers below give additional storage.

Estimated Cost
$550
Estimated Time Investment
Week Long Project (20 Hours or More)
Finish Used
Primed and painted with 2 coats of flat latex paint.
Recommended Skill Level
Advanced

Comments

kevin2117

Mon, 02/13/2017 - 10:23

Hi there - you don't happen to have plans you can share for this bed, do you?

Thanks! ~ Kevin

Console Media Center

Submitted by katonley on Fri, 12/22/2017 - 08:44

This was my third project, and the first one with doors (boy do I have some great opportunity for growth there!). I left off the bottom trim because I wanted a slightly more contemporary look. Thanks for this plan, Ana. It was the perfect size for this space. Things I learned doing this project: next time cut an extra 1x4 to tack in to do the doors, hinges require math, be sure to get the kind of wood filler that dries—not wood putty (sigh), I need a workbench. 
Estimated Cost
$150
Estimated Time Investment
Week Long Project (20 Hours or More)
Finish Used
Olympia enamel tinted to match Valspar’s discontinued “Secluded Garden.” Everbrite hinges and Liberty pulls (stock) from Home Depot.
Recommended Skill Level
Intermediate

Comments

My first project

Loved how these plans were so easy to follow and certainly appreciate the accompanying video.

Comments

firewood shed

Submitted by brittanyj on Thu, 06/04/2015 - 10:25

Needed a place to store wood for the fireplace and firepit. This very nicely organizes what was before a huge dirty pile of wood scattered on the ground. Cedar pickets for the top, all is coated in exterior white stain. Holding up nicely so far.

Built from Plan(s)
Estimated Cost
$30
Estimated Time Investment
Afternoon Project (3-6 Hours)
Finish Used
exterior stain in Navajo white
Recommended Skill Level
Beginner