Playhouse - Drew Gaffke
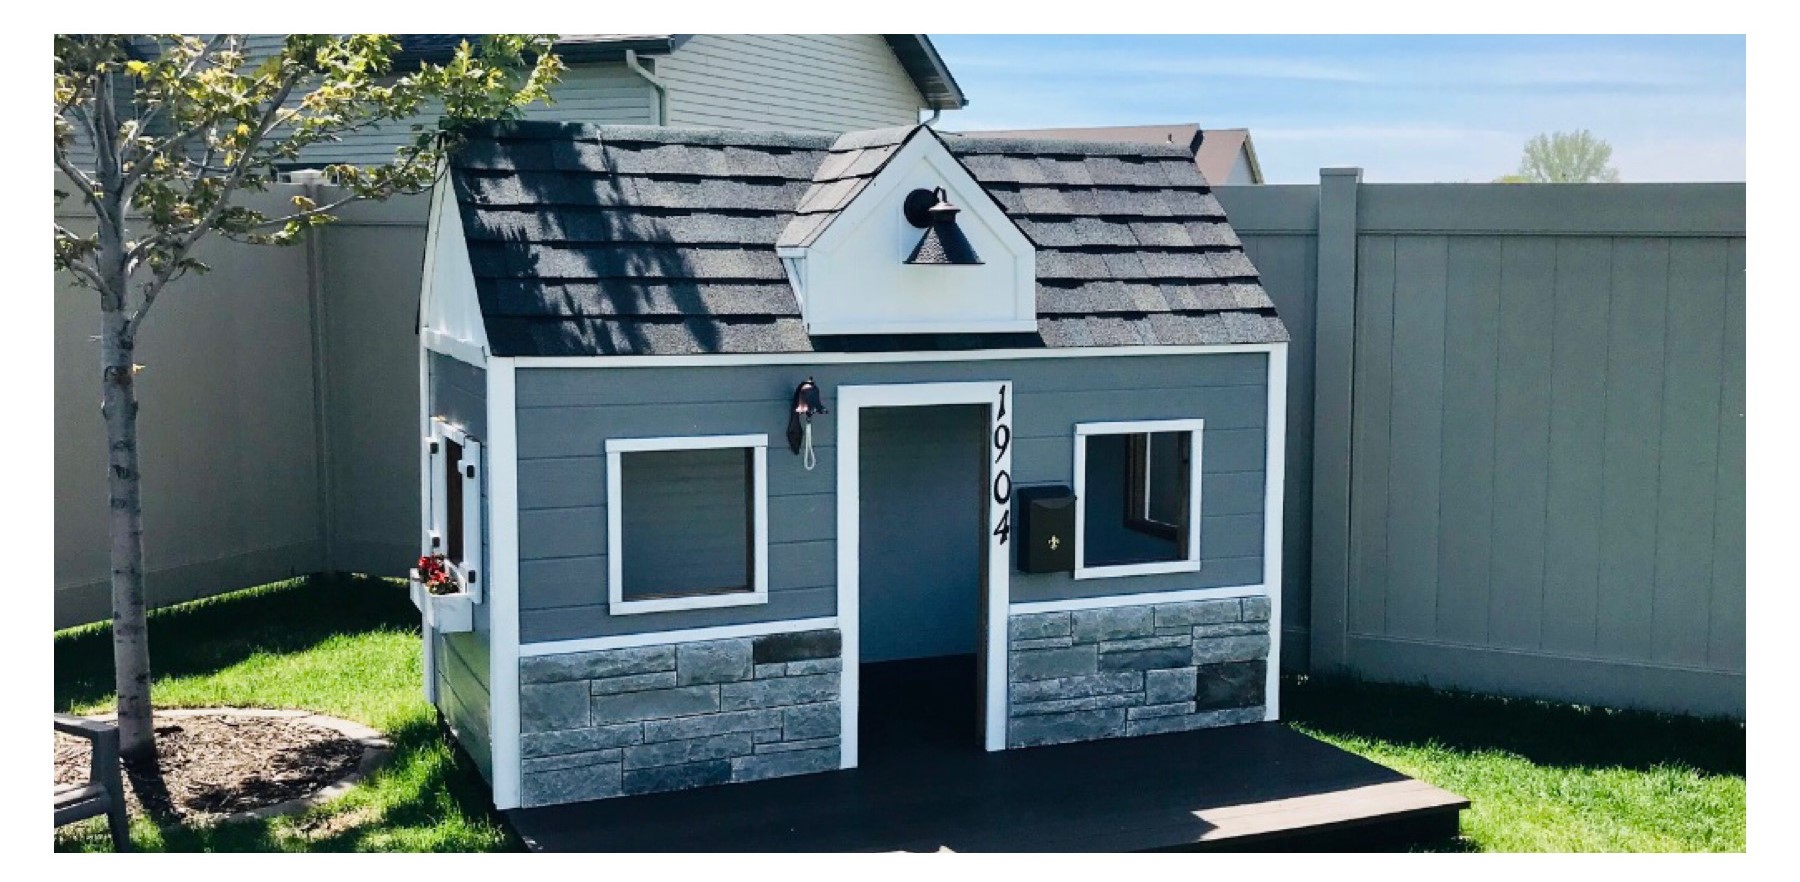
I combined a couple of playhouse plans for this one. The framing is 2x2 treated pine. The front is real stone. I tried to match our home the best that I could. The floor is made out of composite decking.
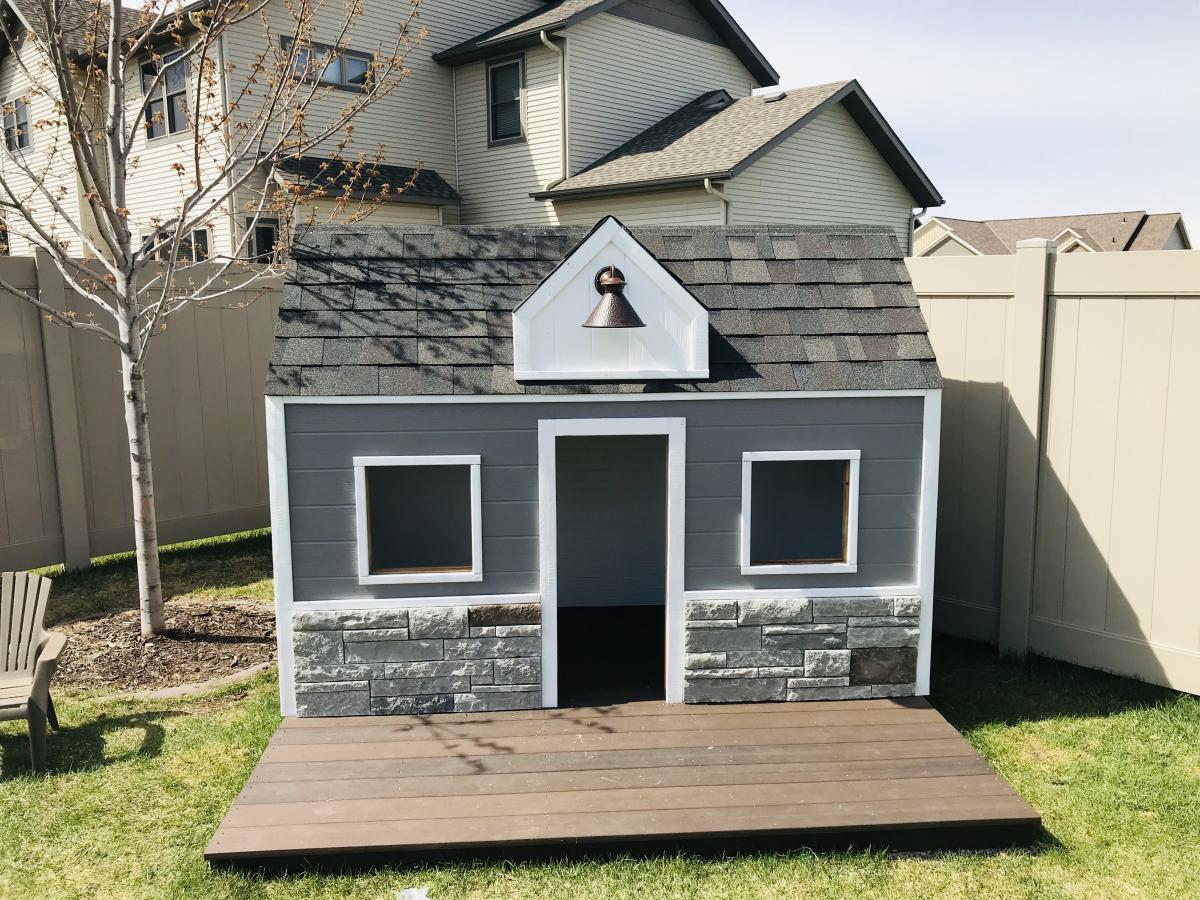
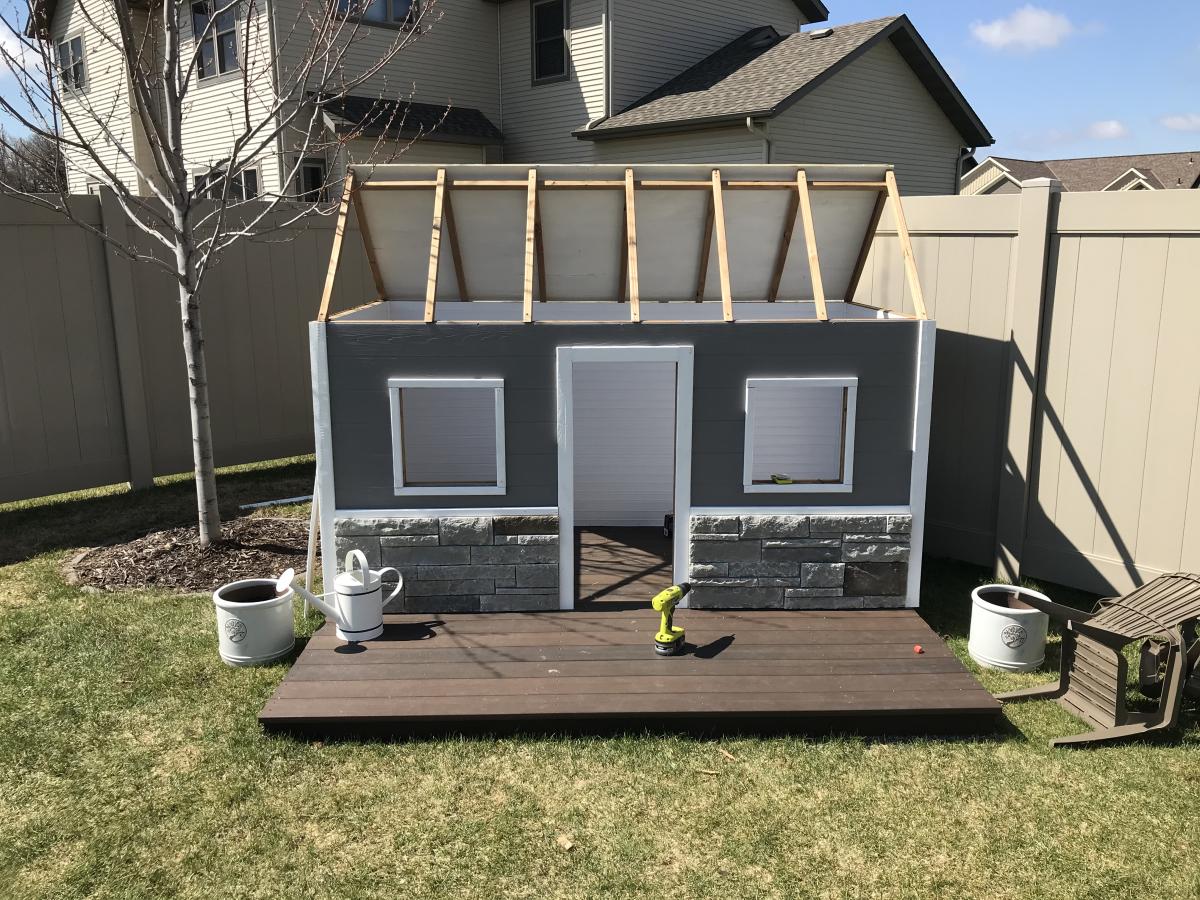
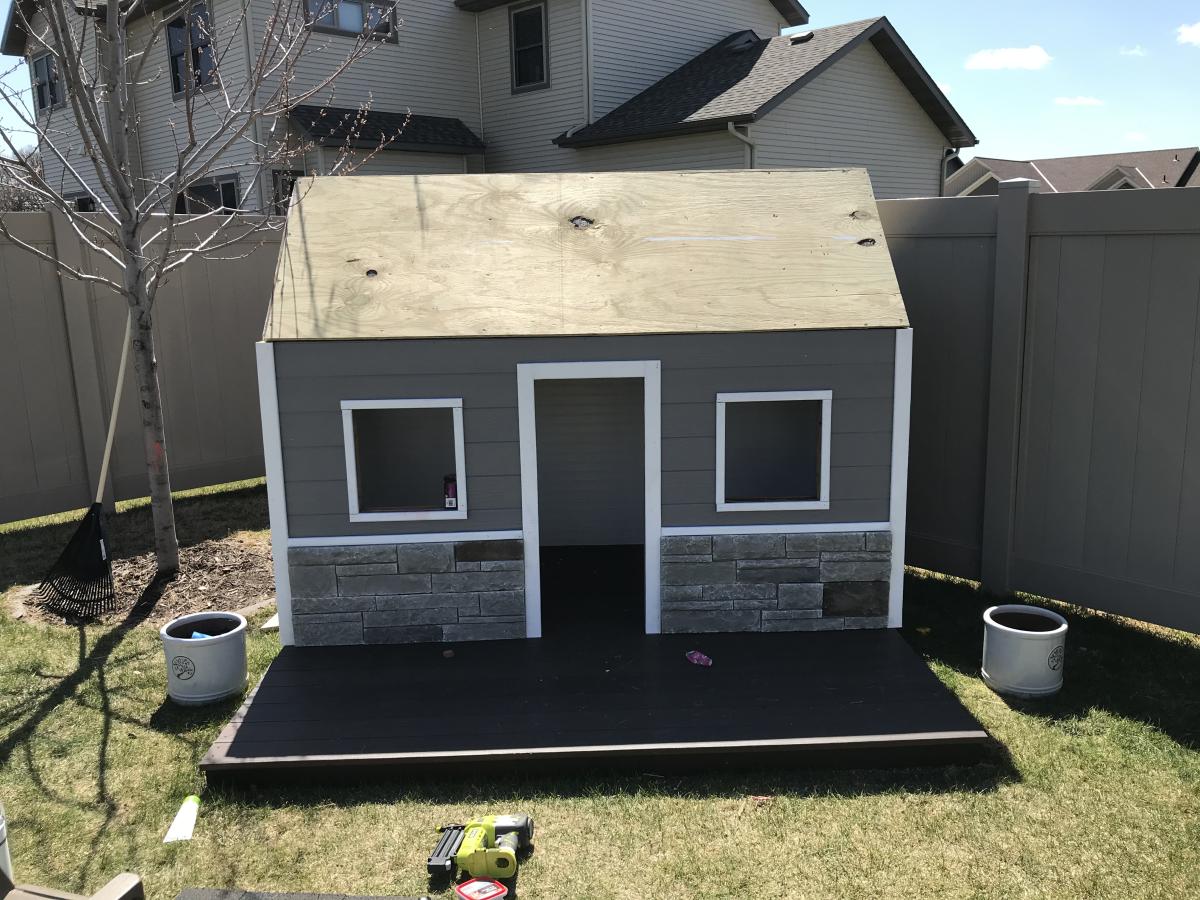
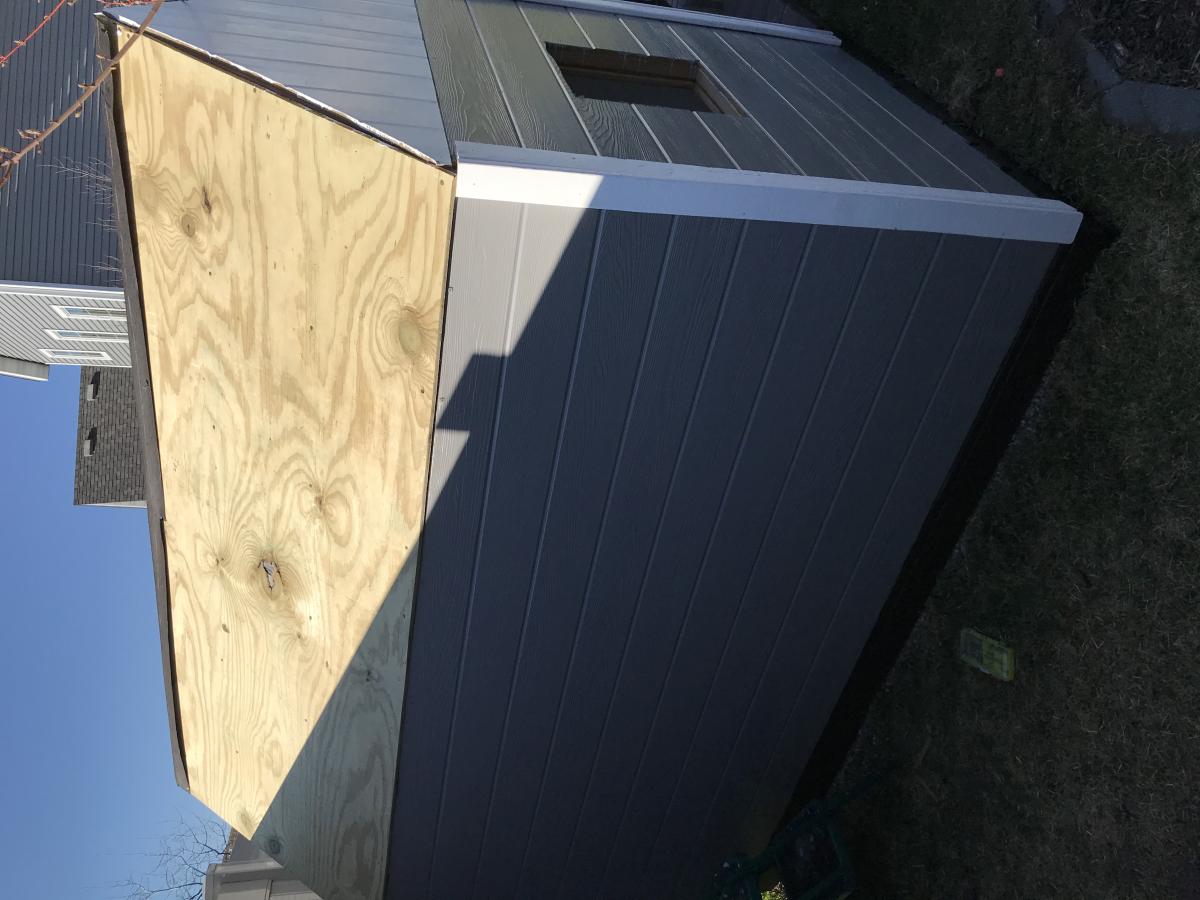
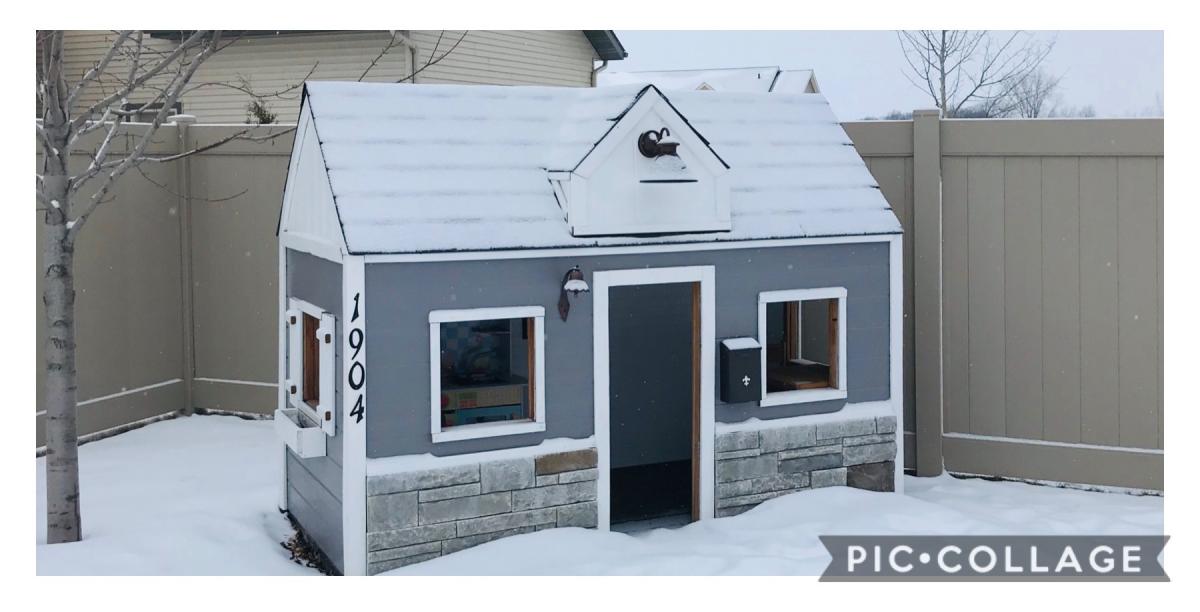

I combined a couple of playhouse plans for this one. The framing is 2x2 treated pine. The front is real stone. I tried to match our home the best that I could. The floor is made out of composite decking.


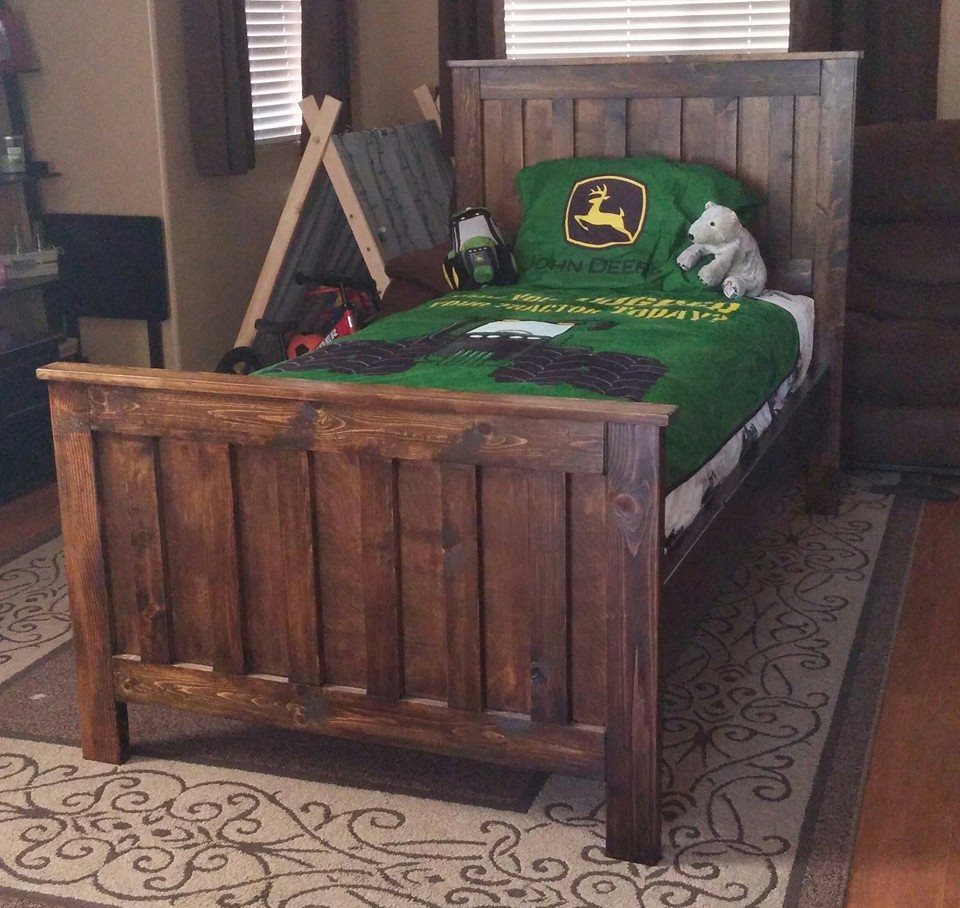
I built this for my four year old son! He even helped me out so that made him love it even more :)
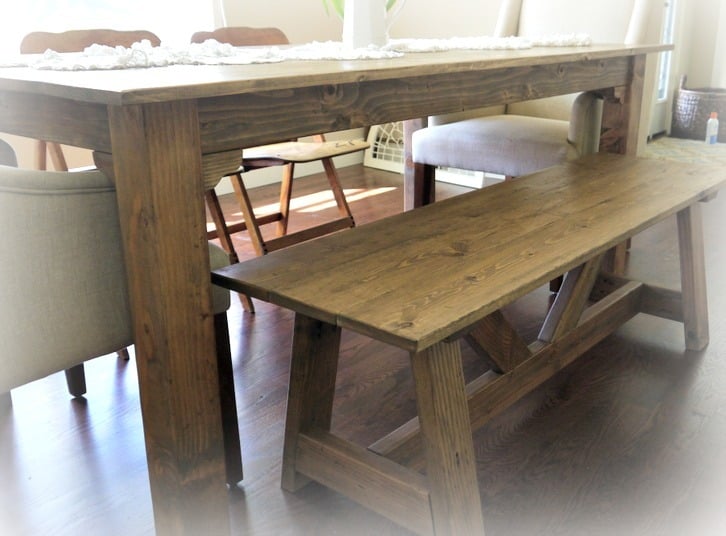
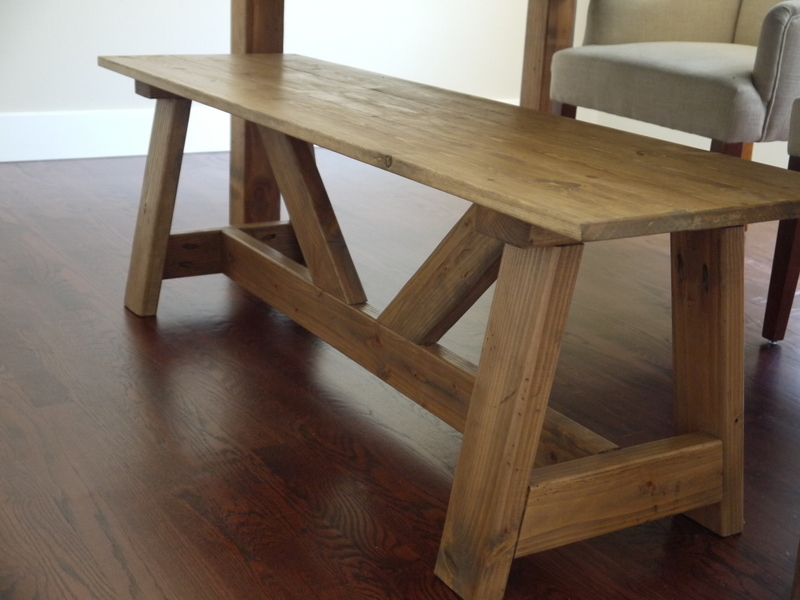
This is a slightly modified version of the Providence Bench. I used 1x wood rather than 2x wood, so the legs are slightly longer to make the bench come out to the same height. Made this to match a planked-top table. More photos on my blog: http://redhenhome.blogspot.com/2013/07/the-other-solomon-table-bench.ht…
Thu, 09/12/2013 - 05:46
I like the planked top! Great job on the finish - it's rustic without being overdone. It's one of the things i love about pottery barn furniture.
What is the hand-rubbed polyurethane? Is that just the wipe-on stuff I keep seeing at the store? Was it easy to use?
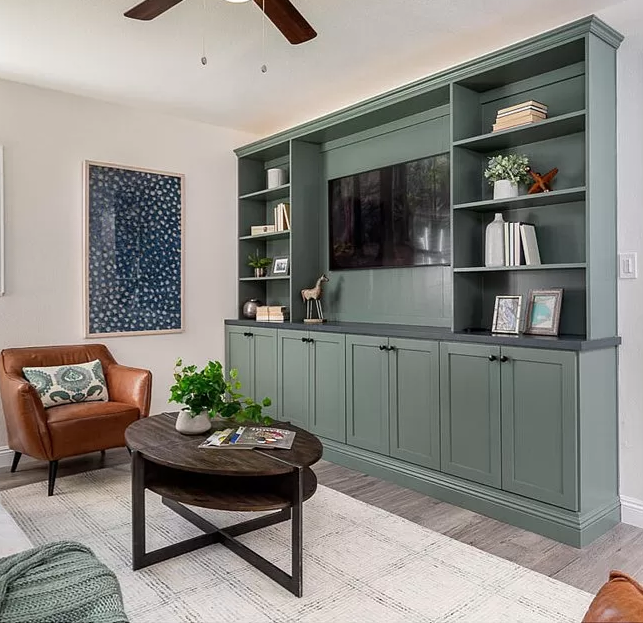
We had an awkward family room with a second front door which rendered the layout less functional than it could have been. My sister mused, "I wonder what would happen if you took out the second entry and added built ins?," and this project was born. With a 4 year old and a 2 year old and limited tools and workshop space, we were excited to find ShelfHelp, which allowed us to create custom built ins at a fraction of the cost and time they otherwise would have required (utilizing the "Frameless Built-Ins, All in One Method" plan) . Including the custom soapstone top that we had made from a local shop that was advertising remnants, the project came in under $1000, and we were thrilled with the results. SO MUCH TOY STORAGE, an unobtrusive TV, and a much more functional layout. Thank you, Ana White!
Wed, 04/06/2022 - 09:55
WOW, this is gorgeous, thank you so much for sharing and trusting us with your huge project!
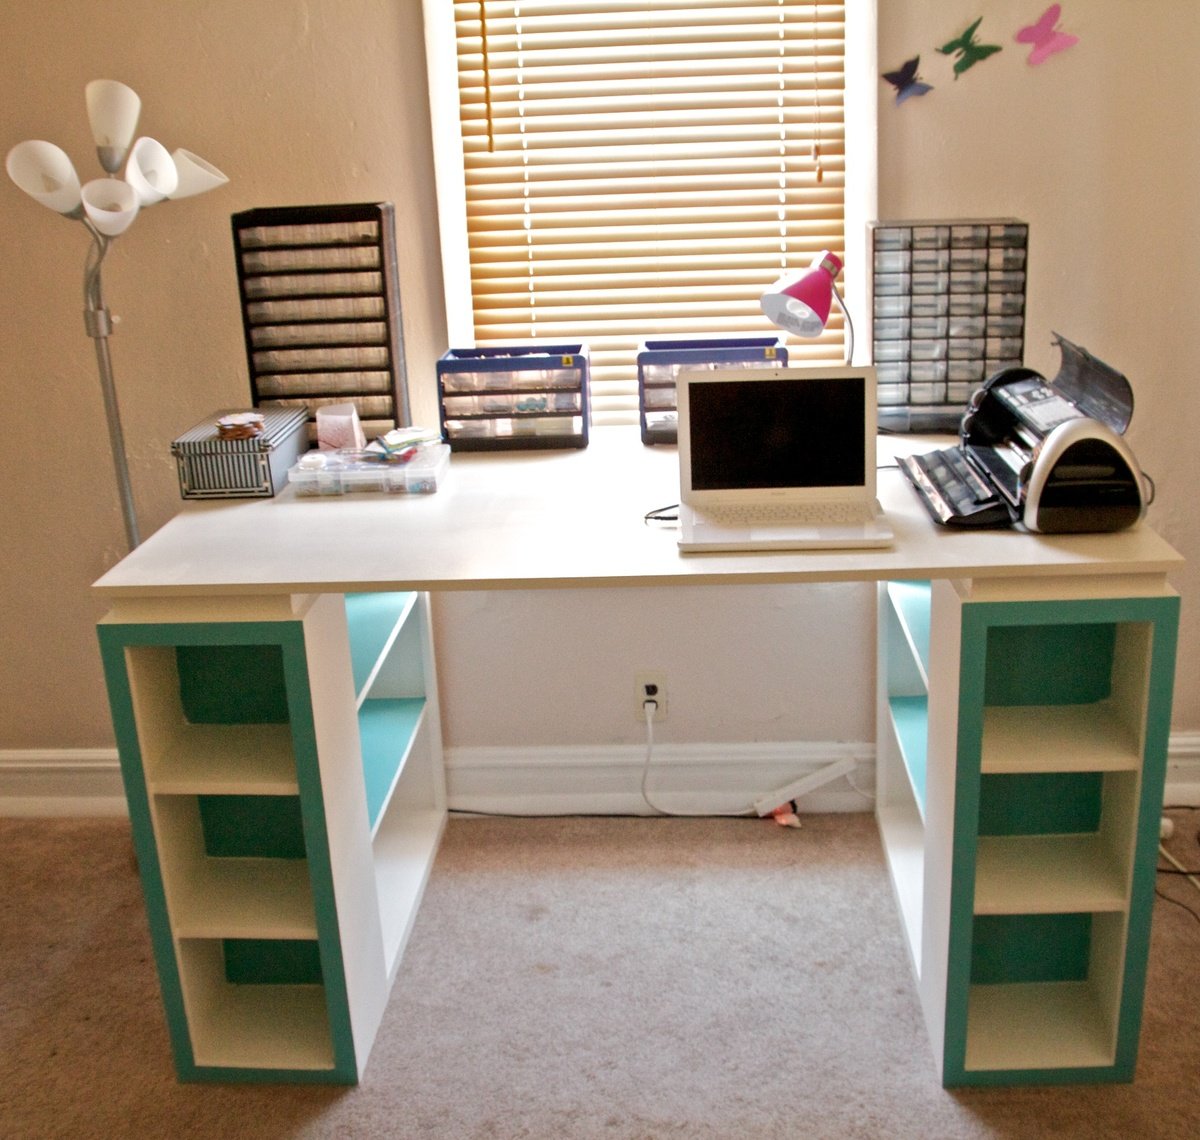
This is actually my third project from your site Ana.
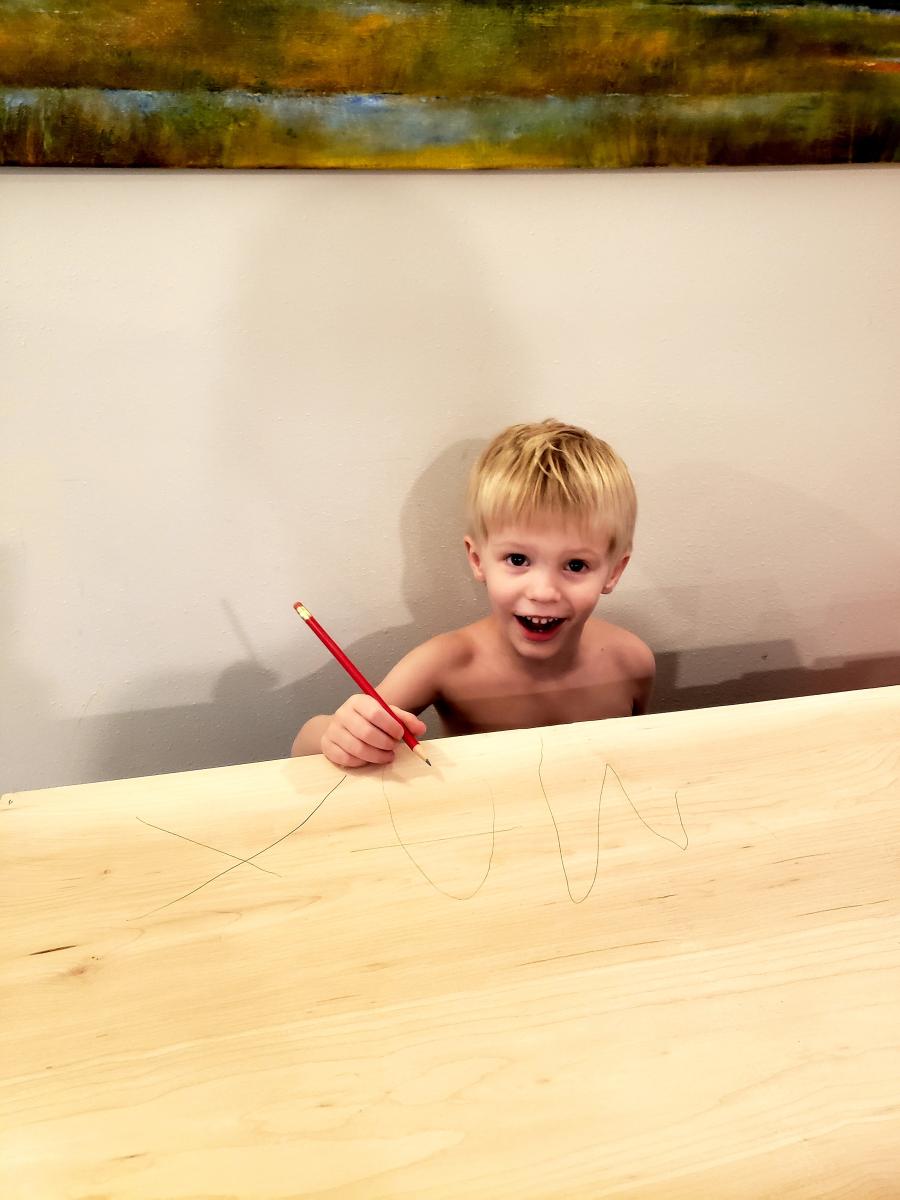
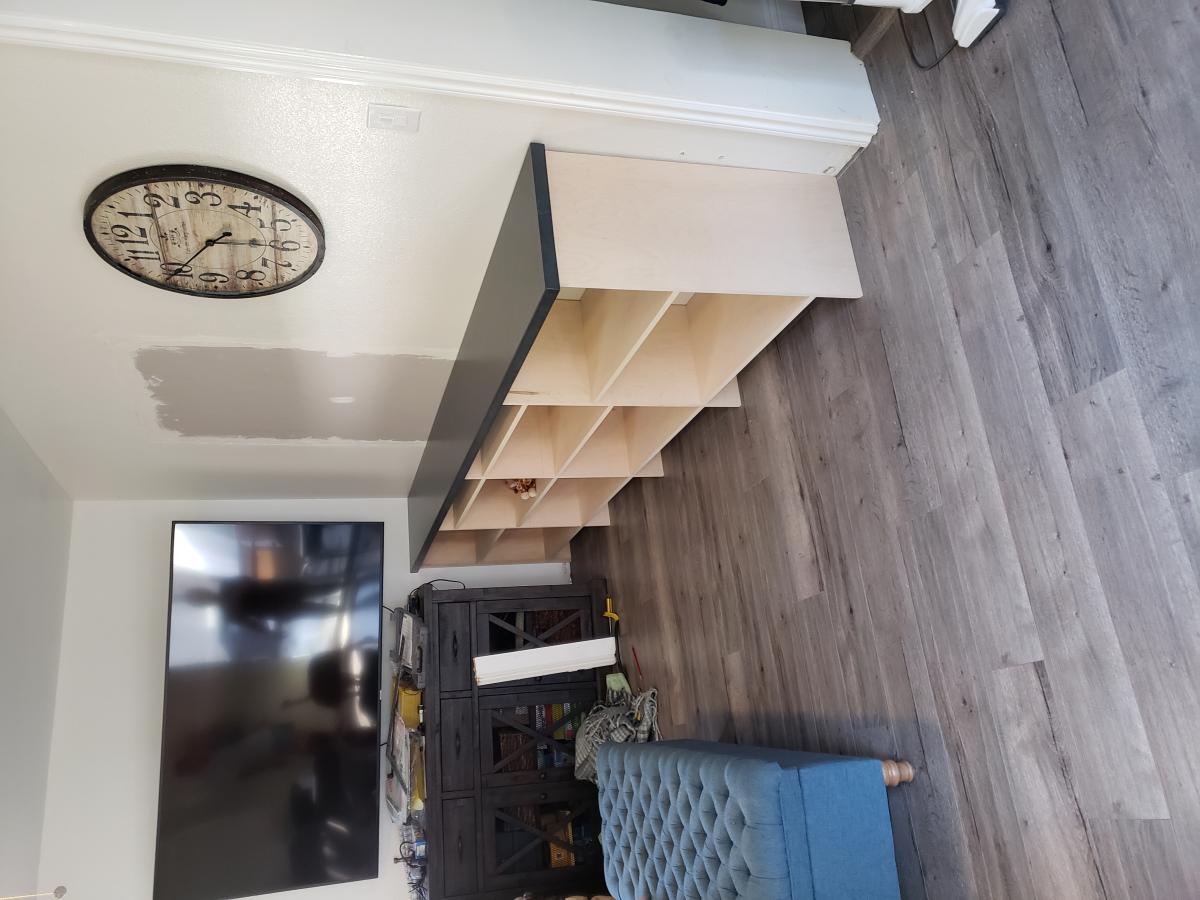
I acctually decided to make this table ten inch wider since my wife has a loooooooot of crafts :)
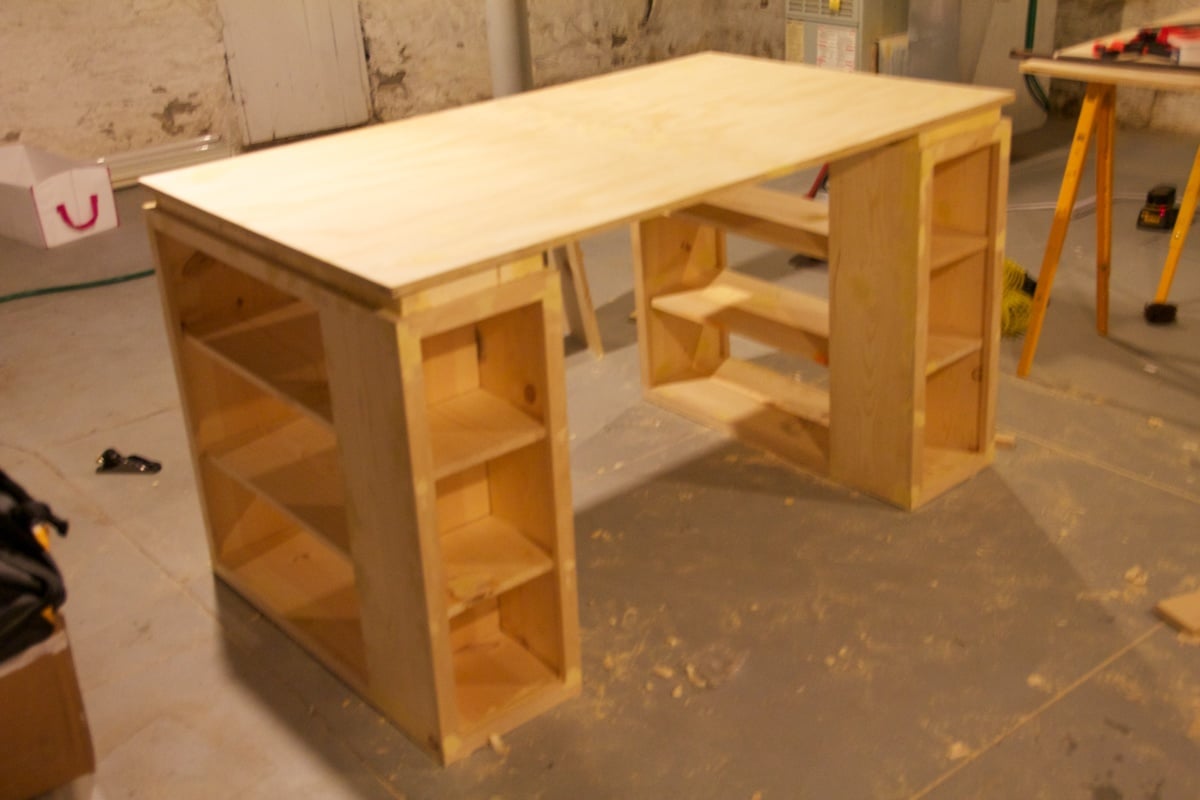
This project took a little longer then I thought.
It was my own fault!!! I thought I would safe some time and get some of the wood cut buy the clerk at Home Depot. That turned out to be a really bad idea. Most of my cuts were uneven and even after I gave the clerk the exact measurements, a few of the boards were up to 2 inches too long. At the end I had to buy two more boards because I had to cut peaces away to have straight edges.
Lesson learned!!!
I love building wood furniture. And I already got my next plan from your site that I'm going to build.
Wed, 09/07/2011 - 04:18
awesome job! im in the middle of making one of these at the moment. but just to be a tad different i have put a small cutout hole on the top, theres a little bin that sits on the shelf under it, so all i have to do when ive finished with all my paper cuts is swipe it down the hole! hehe how nifty. oh and where did your wife get the black cricut machine?? lol
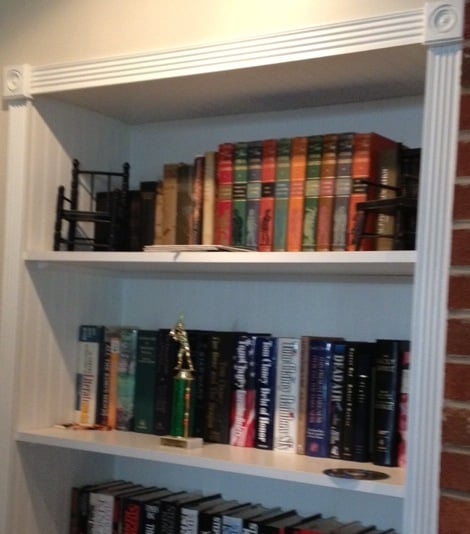
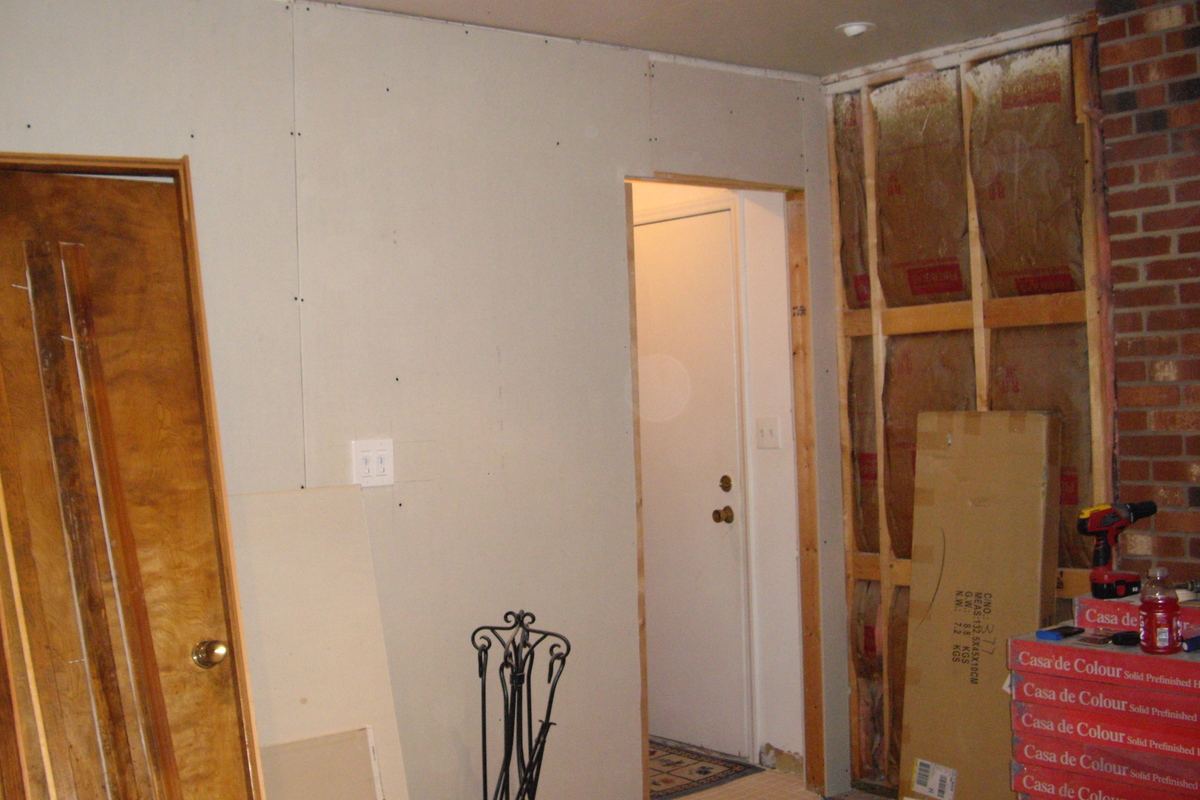
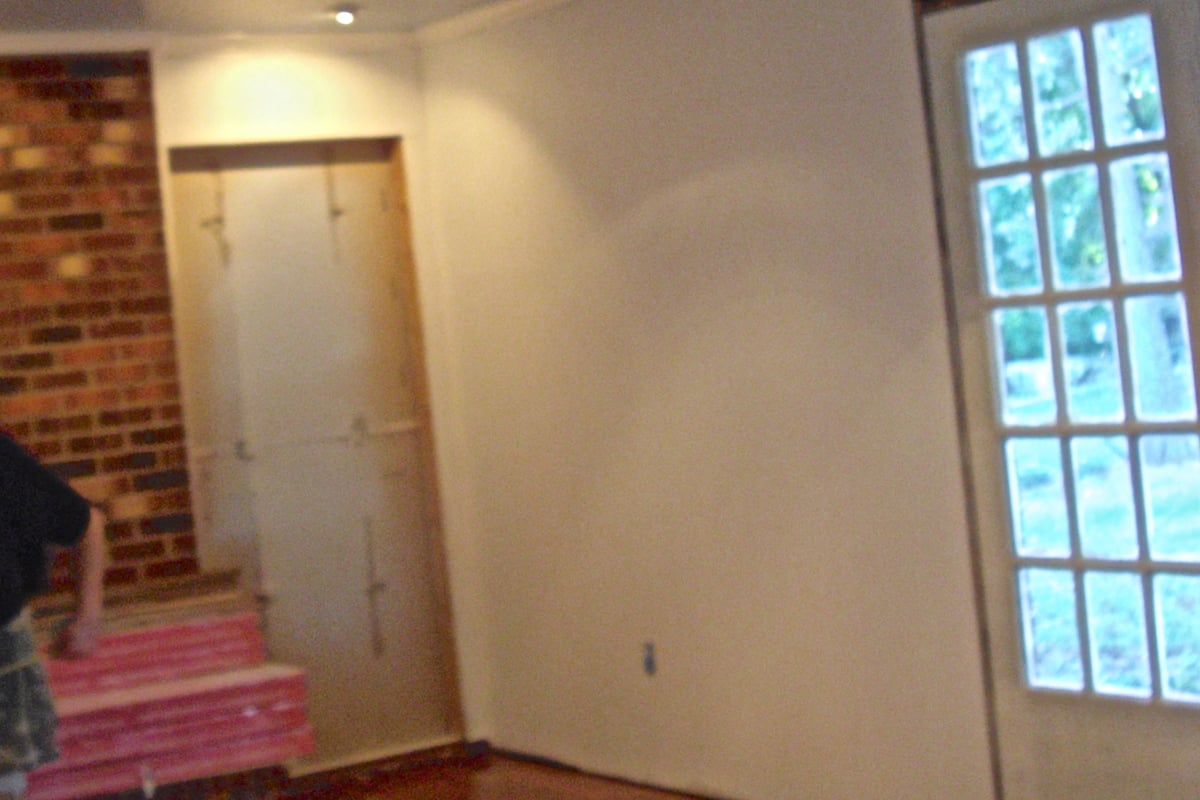
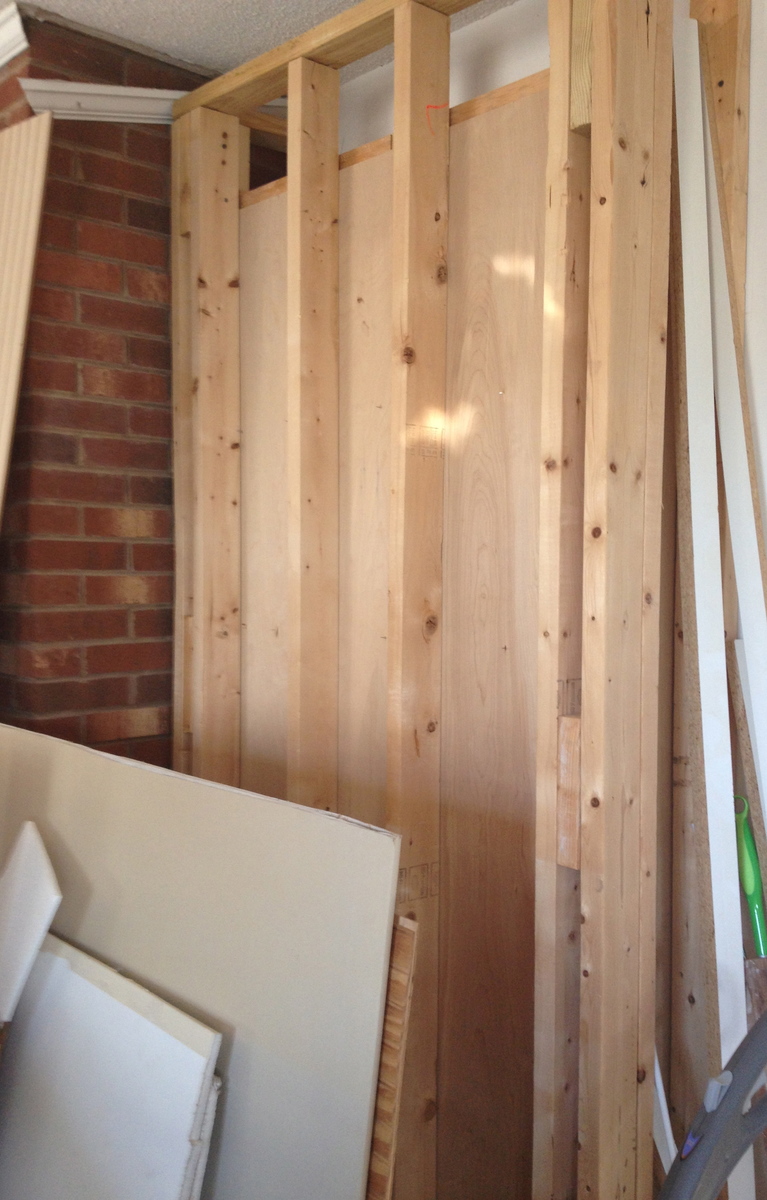
I decided to build bookshelves on either side of the fireplace, where it was just drywall. I wanted them to be flush with the wall, and the garage is behind the wall. So, I built them into the garage.
I put headers above where the bookshelves would be, and framed the back side in the garage with just 2x4's. I used full sheets of bead board to cover the backs and sides, and tops. Then I bought pre made shelves and put them up using quarter round to support the shelves on all three sides.
I then bought a door frame kit that I liked, that came with fluted pieces for the sides and top with decorative squares to put at the corners. I caulked and painted it all once it was built. I used a circular saw, framing nail gun, compressor, trim nail gun, chop saw and a hammer total. It was a pretty simple project but has made the space much more useable and pretty. My next project is to build a mantle and surround that matches the bookshelves.
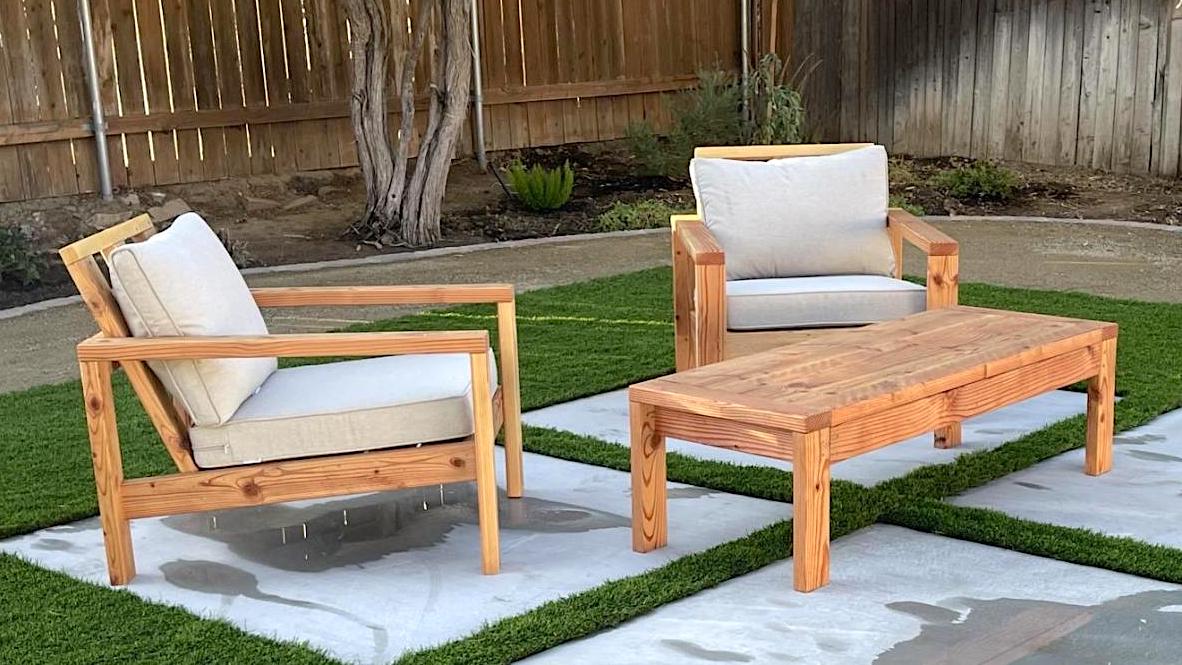
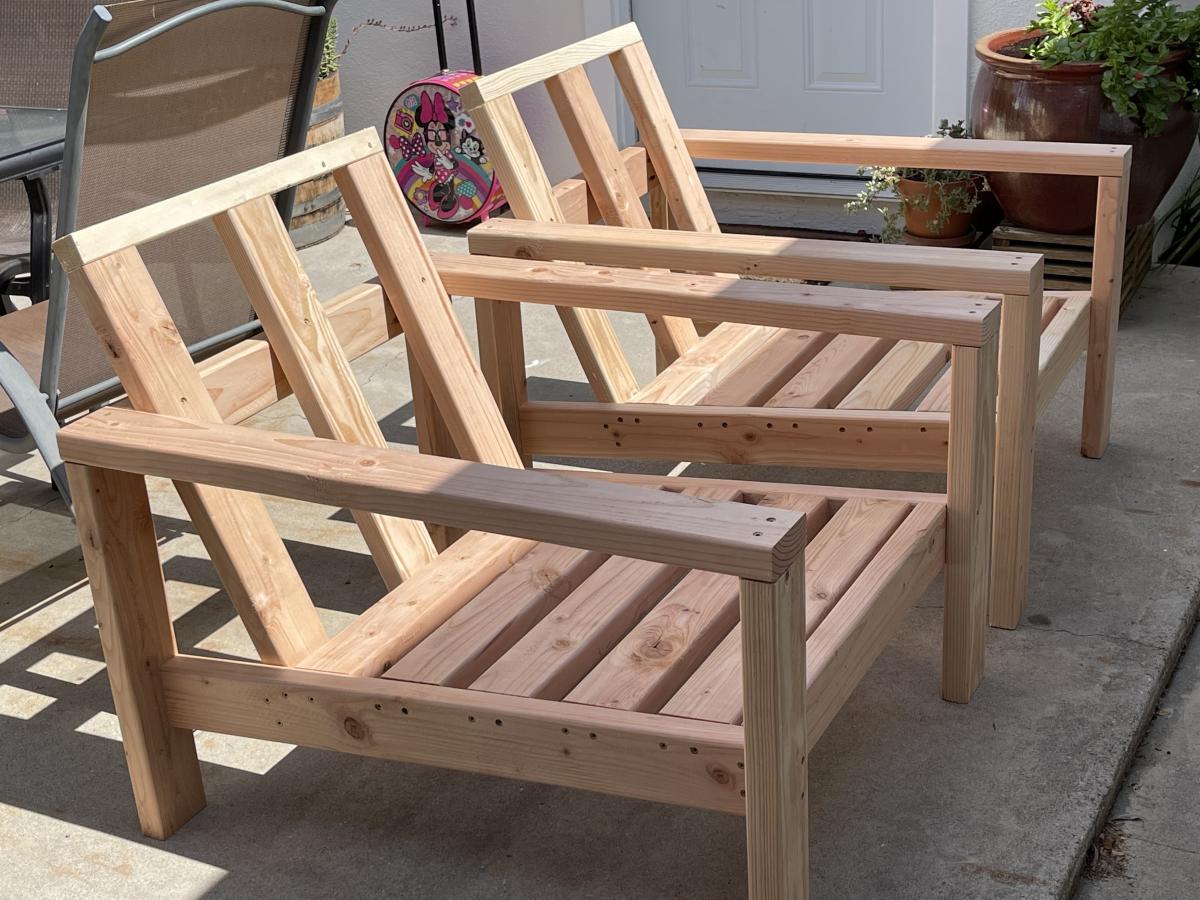
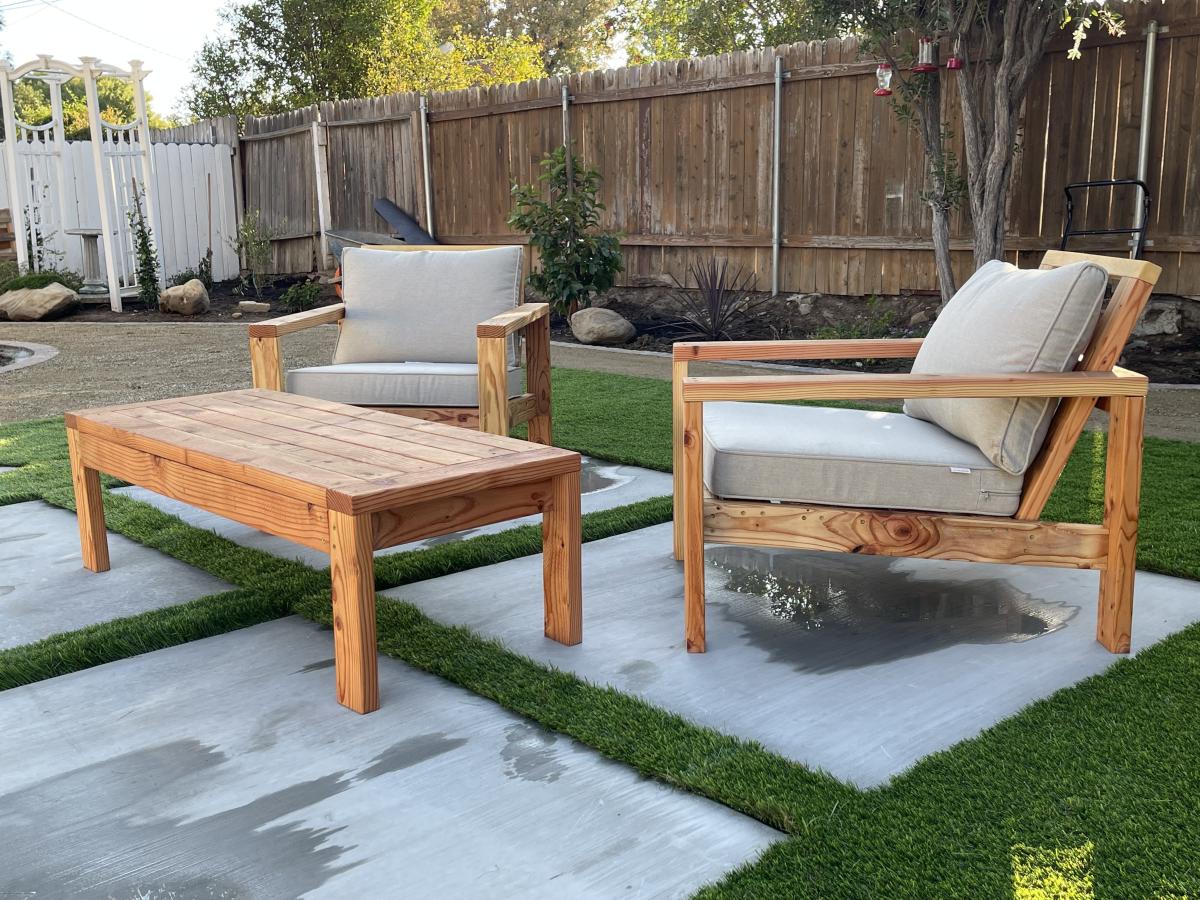
I built a set of chairs and a coffee table for our newly designed outdoor area. These look amazing and people love sitting on them and hanging out outside our house.


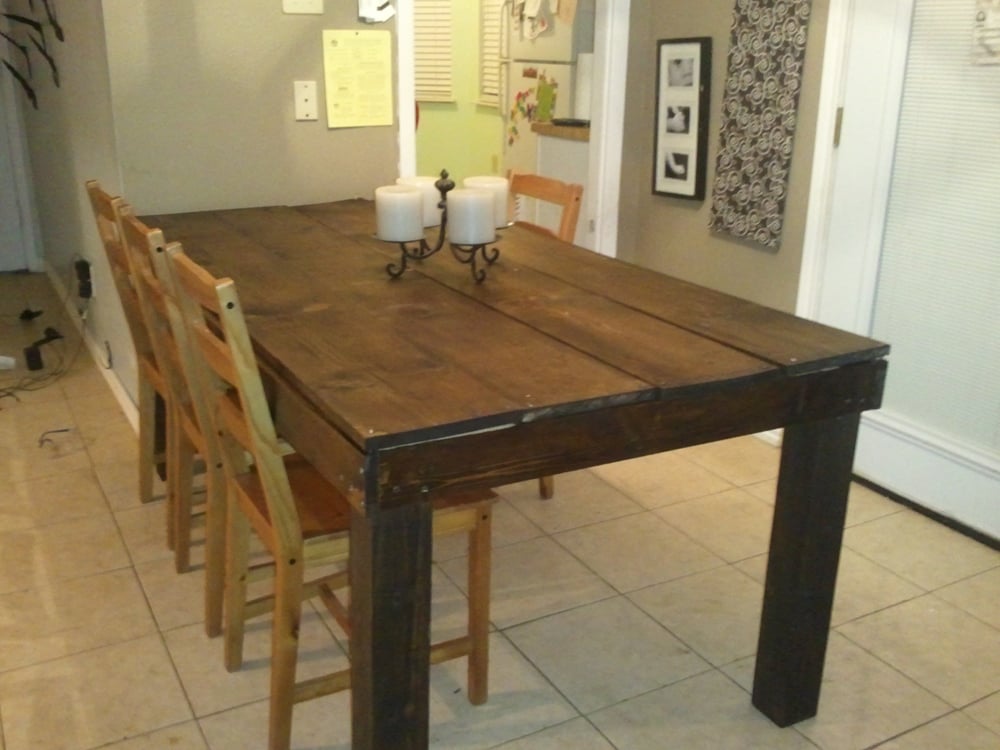
LOVED doing this! I am a total beginner so it is not truly perfect but that is what we love about it! My five year old helped me and learned how to work an electric screwdriver. We saw Pottery Barn was broadcasting a table like this and using that the screws showed as a marketing piece - so we have some screws showing and it is soooo warm and inviting. It looks 100 years old. Everyone loves it!! Thank you for the great inspiration. We made ours 6 feet long and 3 feet wide to fit our space and 4x4's for the legs.
Thu, 11/24/2011 - 20:26
Can I have the step by step plan too! Pretty please! I love this table :)
Thank you so much
-erin
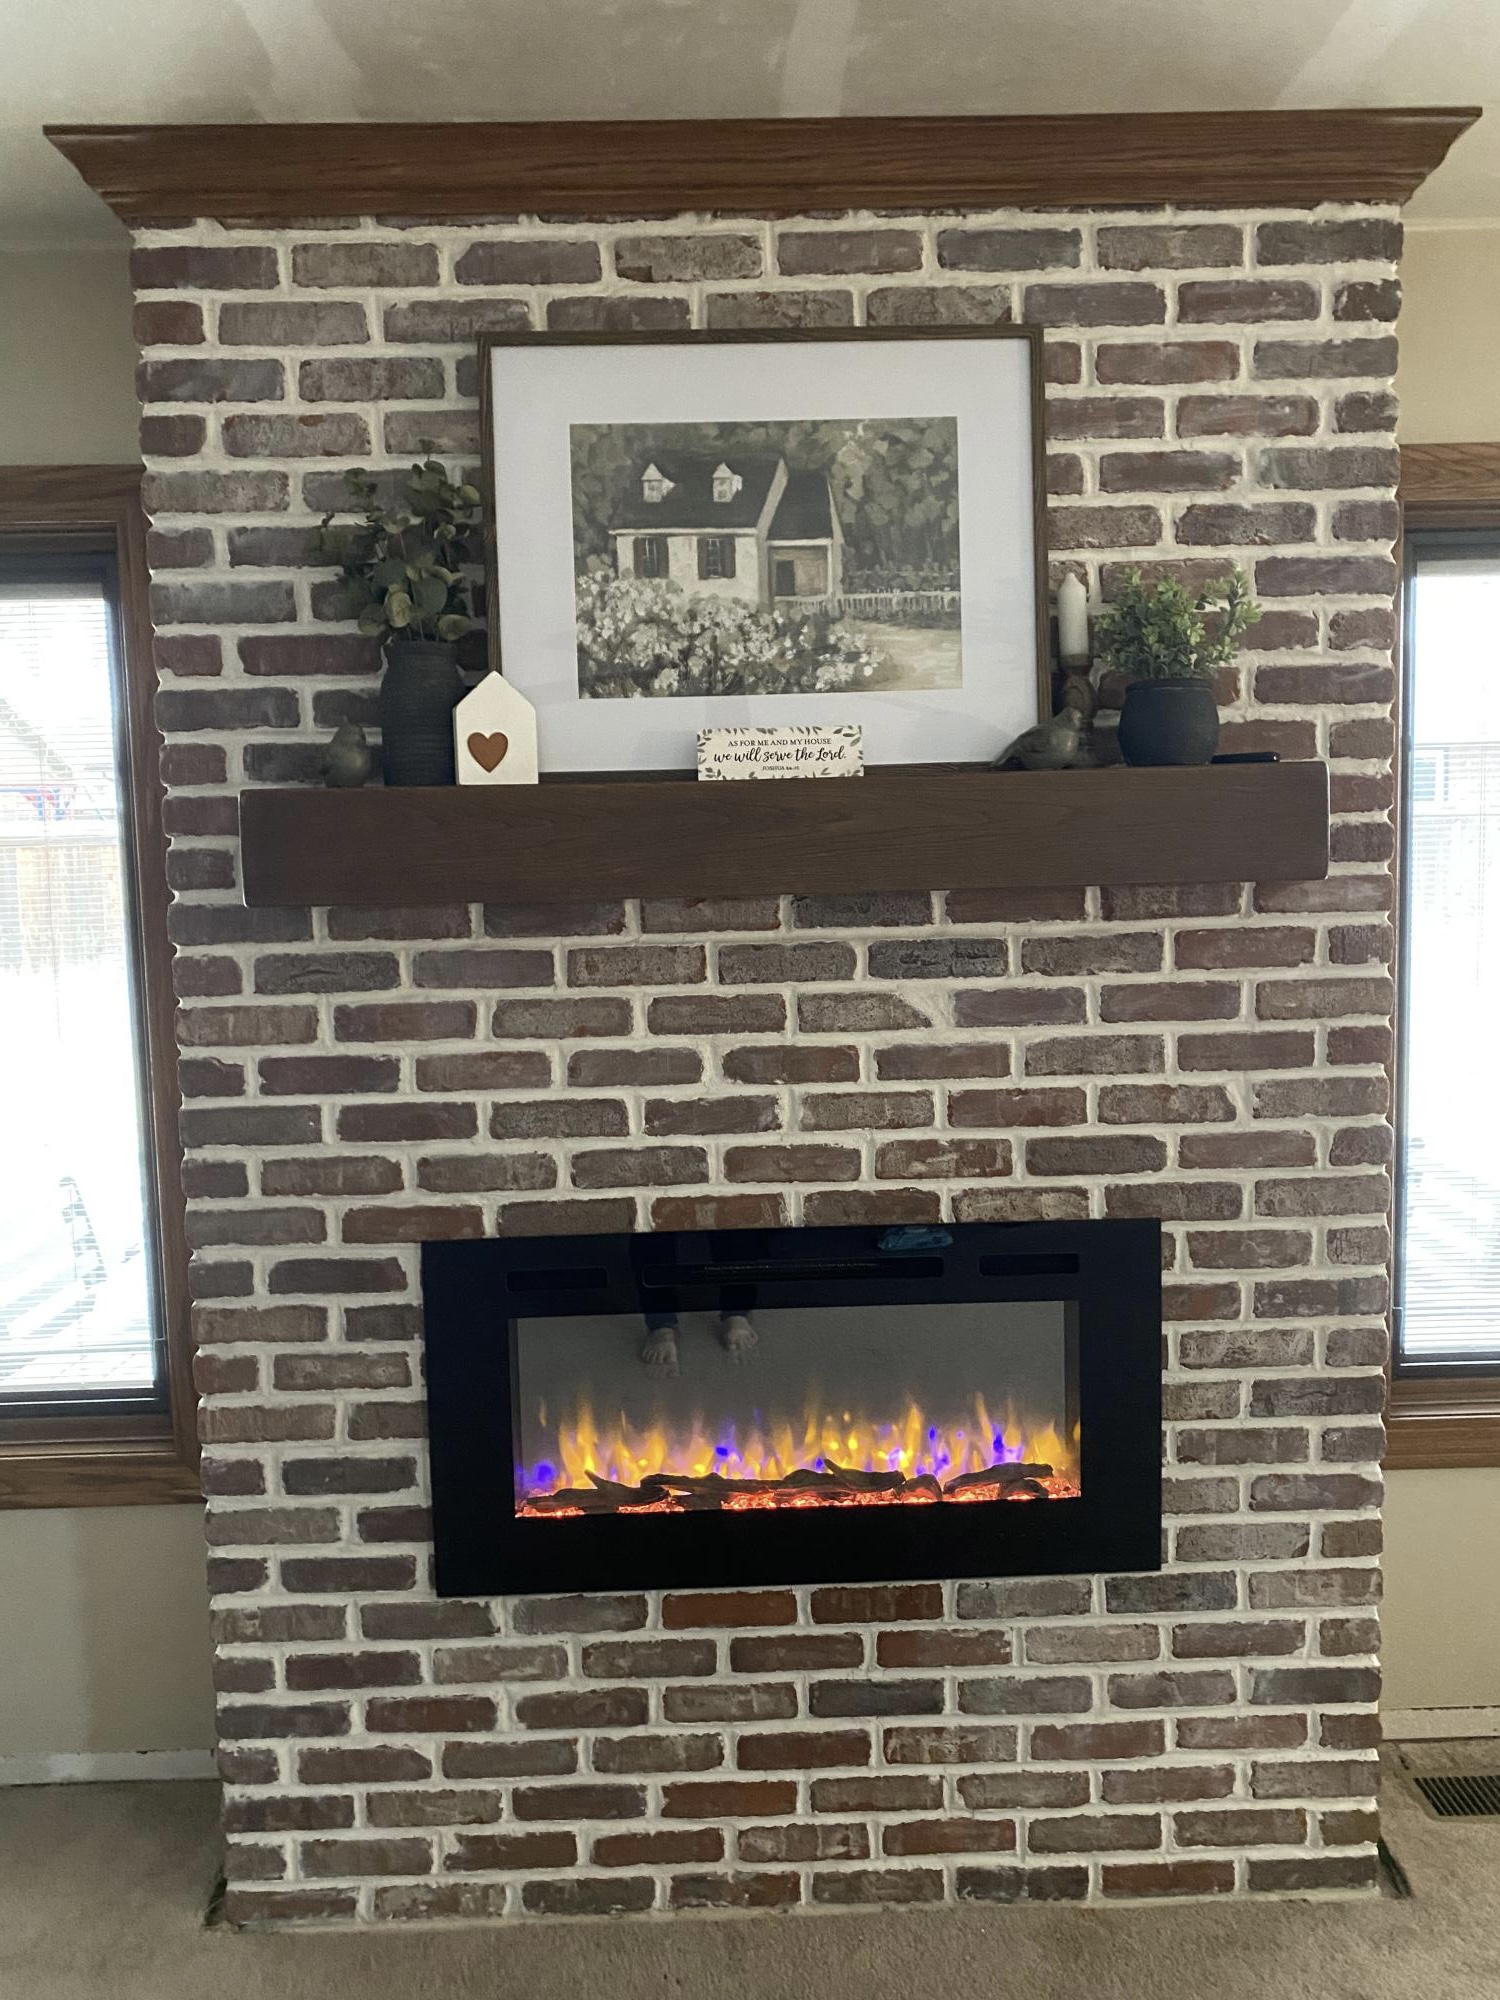
We used Ana White shiplap fireplace tutorial to build the structure and then followed her advice for brick installation instead of shiplap. It all turned out so great. The fireplace has changed the entire feel of our house now. Thank you Ana!
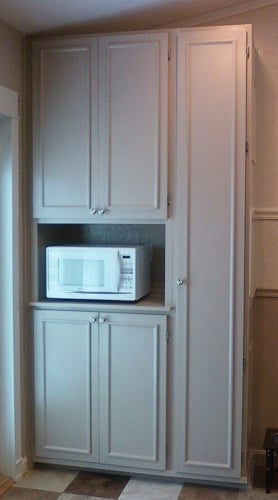
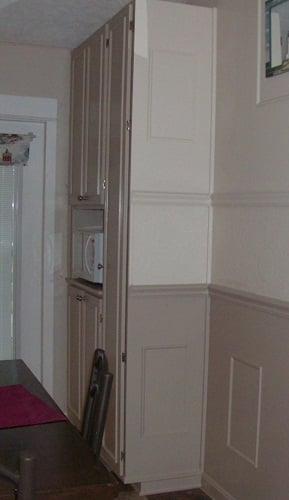
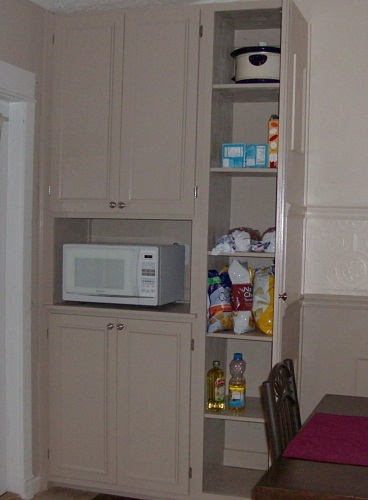
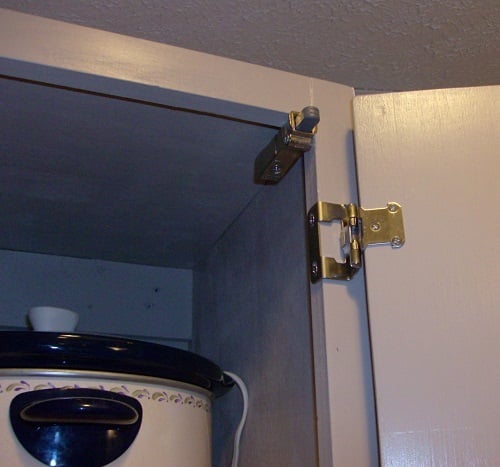
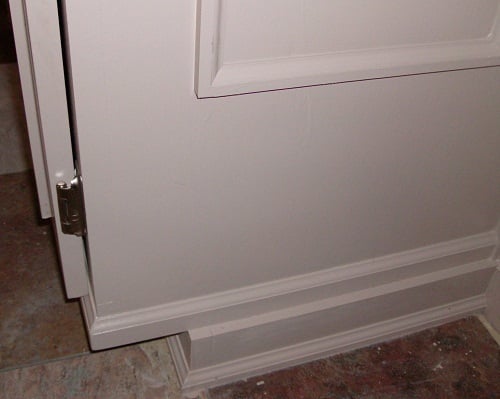
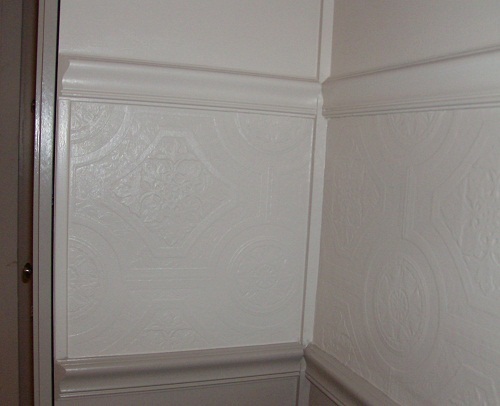
Pantry cabinet, with lots of room, Ana-inspired. We combined ideas from the Momplex kitchen, simple armoire, and benchmark storage, and we are super pleased with how this turned out. We built it in 2 pieces, attached together and then secured to the base and wall studs so it’s a ‘built-in’. Then we added lots of trim and painted to match the dining room. The opening at the left is large enough to fit pretty much any size microwave, and there’s a dedicated outlet behind it in the opening. The shelves are spaced wide enough apart for tall cereal boxes, tall bottles, and chip bags to stand upright. Overall finished cabinet size is 48" wide and 95 3/4" tall. This took us several days to complete. Since the doors are tall and kind of heavy, we added the Blum cabinet door dampeners from Rockler (these things really work!). Ana, thank you so much for the inspiration. I don’t think we would have tried this if it wasn’t for you. We love our new pantry!
Sat, 07/21/2012 - 07:44
It looks amazing! What a great idea to add it as a built-in. Nice modification for the microwave.
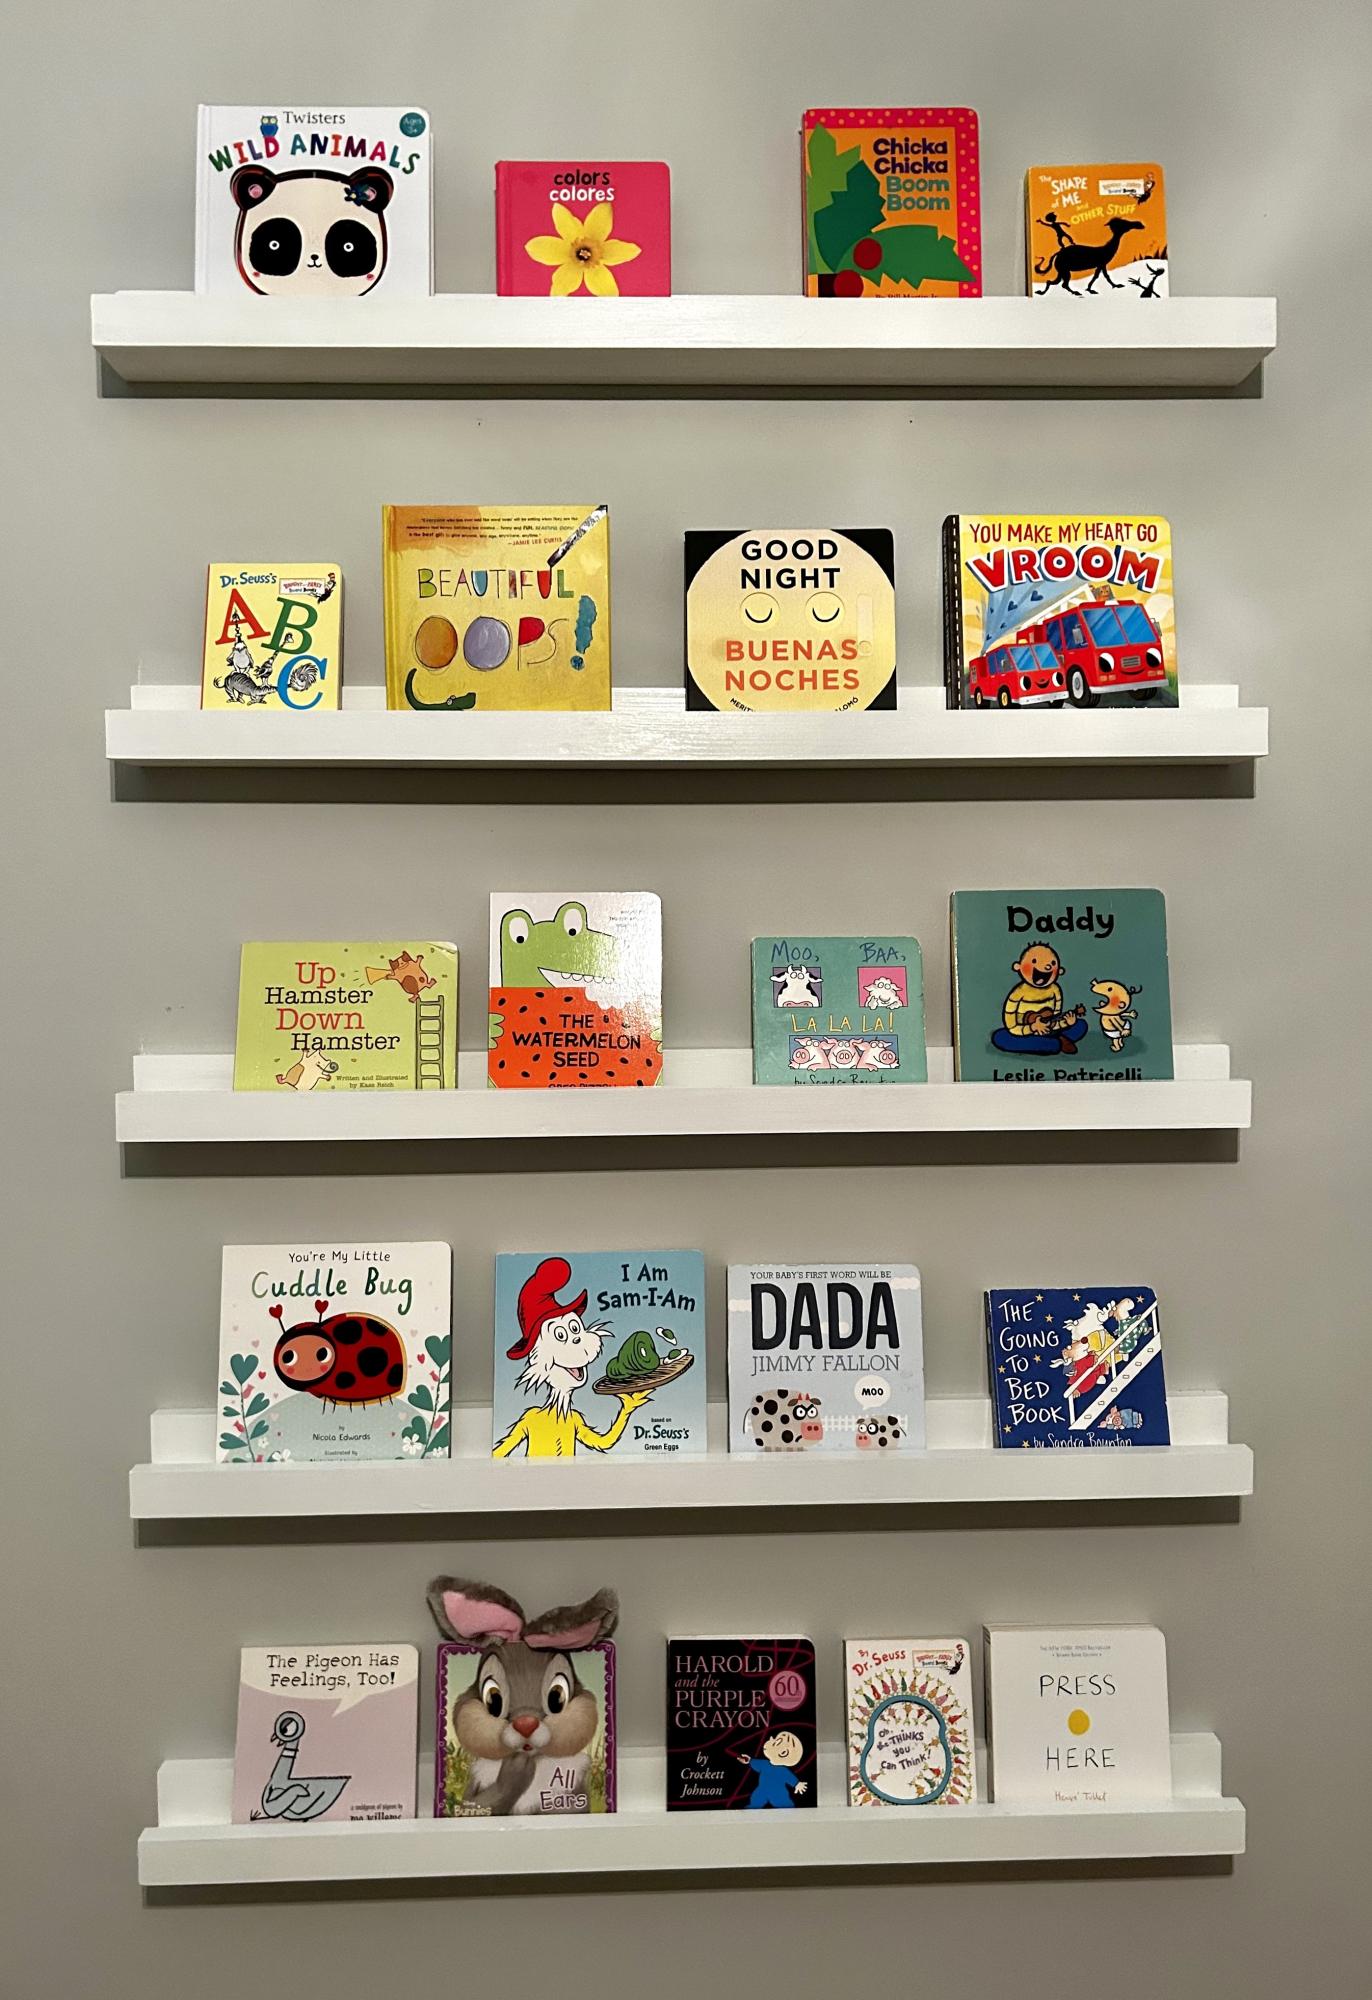
Nursery photo ledges. Shortened the shelf depth using a 1 x 2 instead of a 1 x 3.
We modified the plans a little we made the 2 pieces together instead of separate. We used a 2” hole saw to cut out the oven knobs, then drilled holes a tad bigger than the screw so they would still turn once attached. We also made the back splash taller to accommodate our faucet that had to attach on the back splash instead of the counter top. We used all pocket holes to attach everything it makes it look so much nicer but doesn’t need to be done that way. We bought vinyl circles for the burners on the stove. A dog bowl for the sink and a laundry room faucet for the faucet.
Links to products we used
Faucet - https://www.amazon.com/gp/product/B01KRCTHEA/ref=ppx_yo_dt_b_asin_title_o07_s00?ie=UTF8&psc=1
Oven hinges - https://www.amazon.com/gp/product/B004K7V8UU/ref=ppx_yo_dt_b_asin_title_o08_s00?ie=UTF8&psc=1
6 – 4 inch circles matte black Stove vinyl - https://www.etsy.com/listing/713062039/circle-circles-pack-set-vinyl-decal-car?ref=yr_purchases
Sink 56oz dog food bowl - https://www.amazon.com/gp/product/B00H6OXRN0/ref=ppx_yo_dt_b_asin_title_o01_s00?ie=UTF8&psc=1
Oven handle - https://www.lowes.com/pd/Sumner-Street-Home-Hardware-Vail-10-in-Center-to-Center-Matte-Black-Pull/1001368422
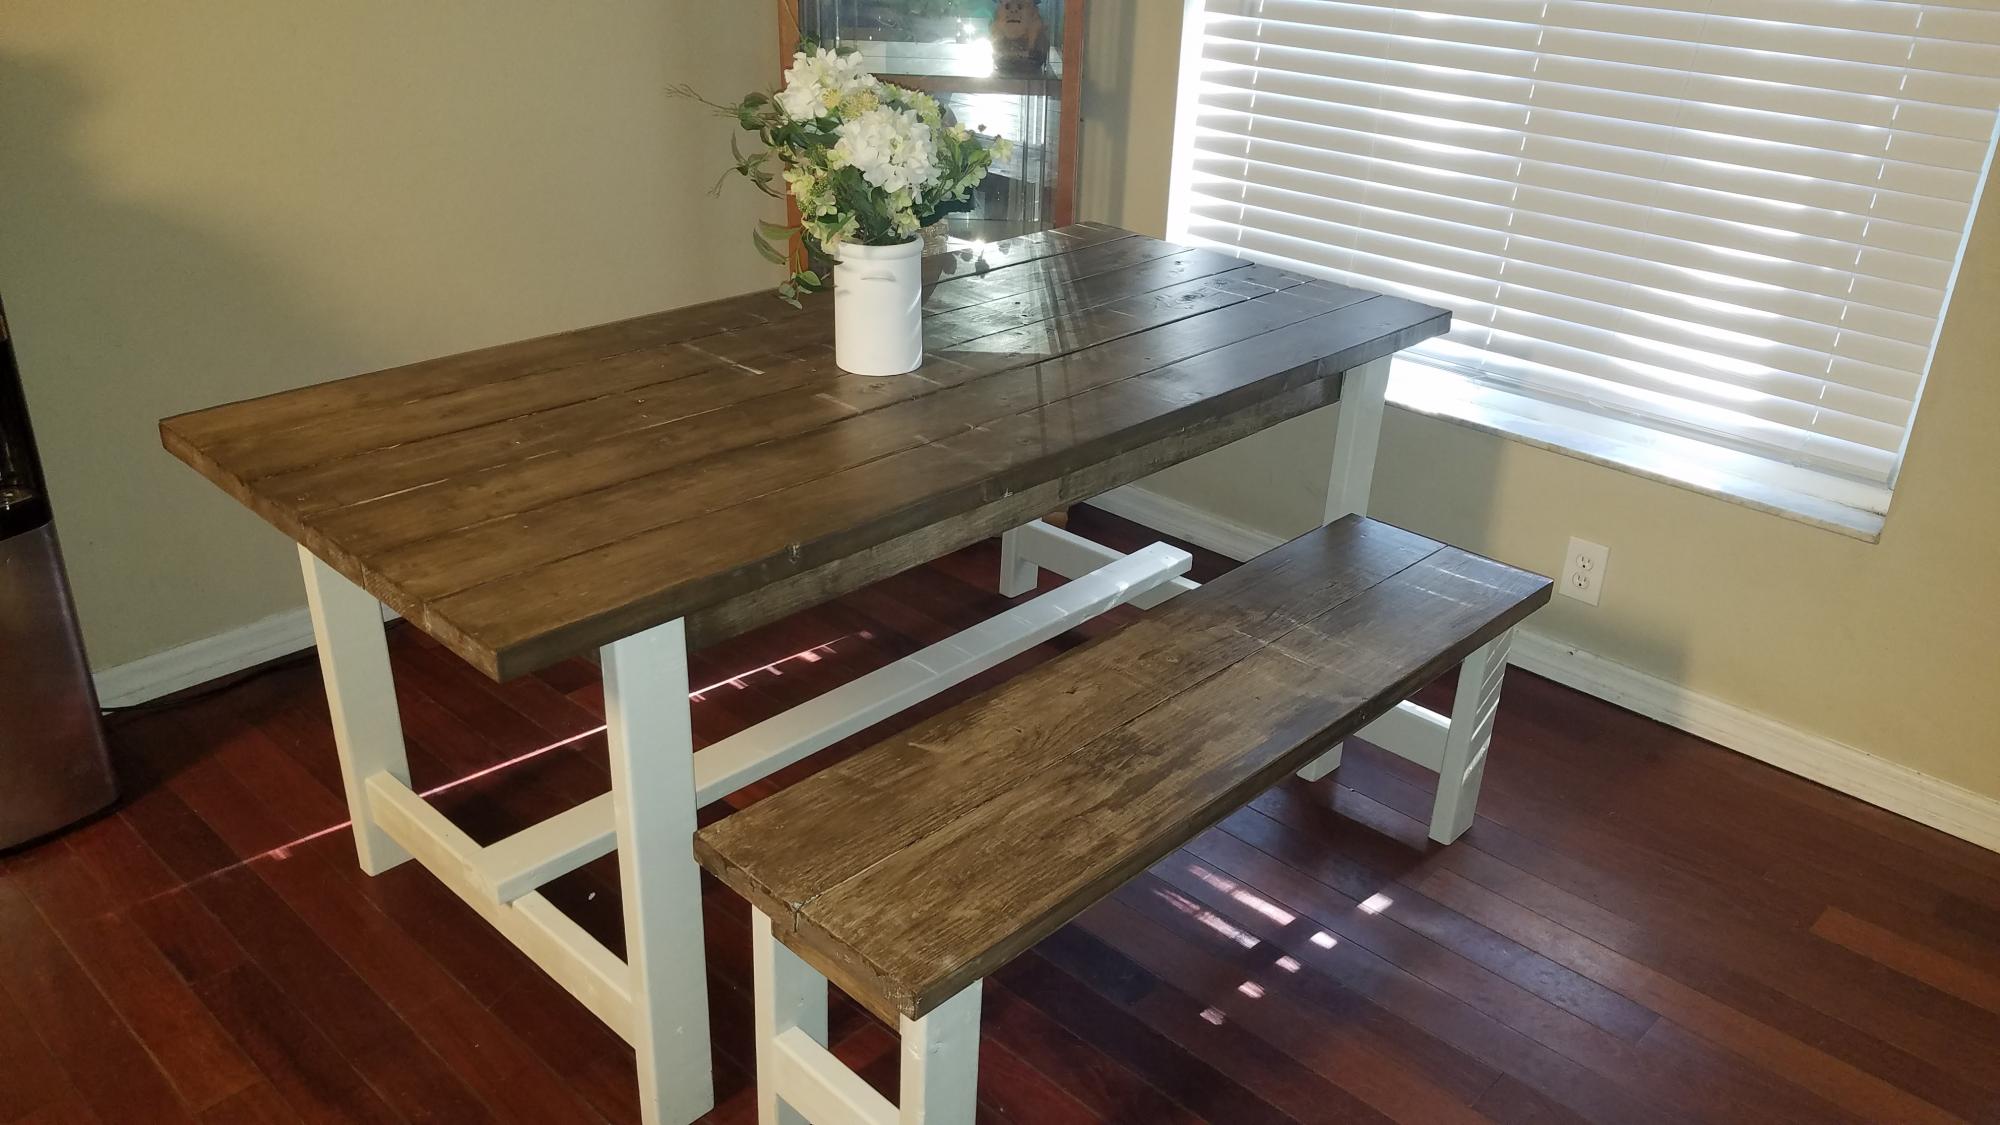
Super fun and easy project! I had to cut down the length of the table to 6 ft to fit the space in the house. I also did 2x8 tops on the bench for more surface area. I will def be building an ana white project again!
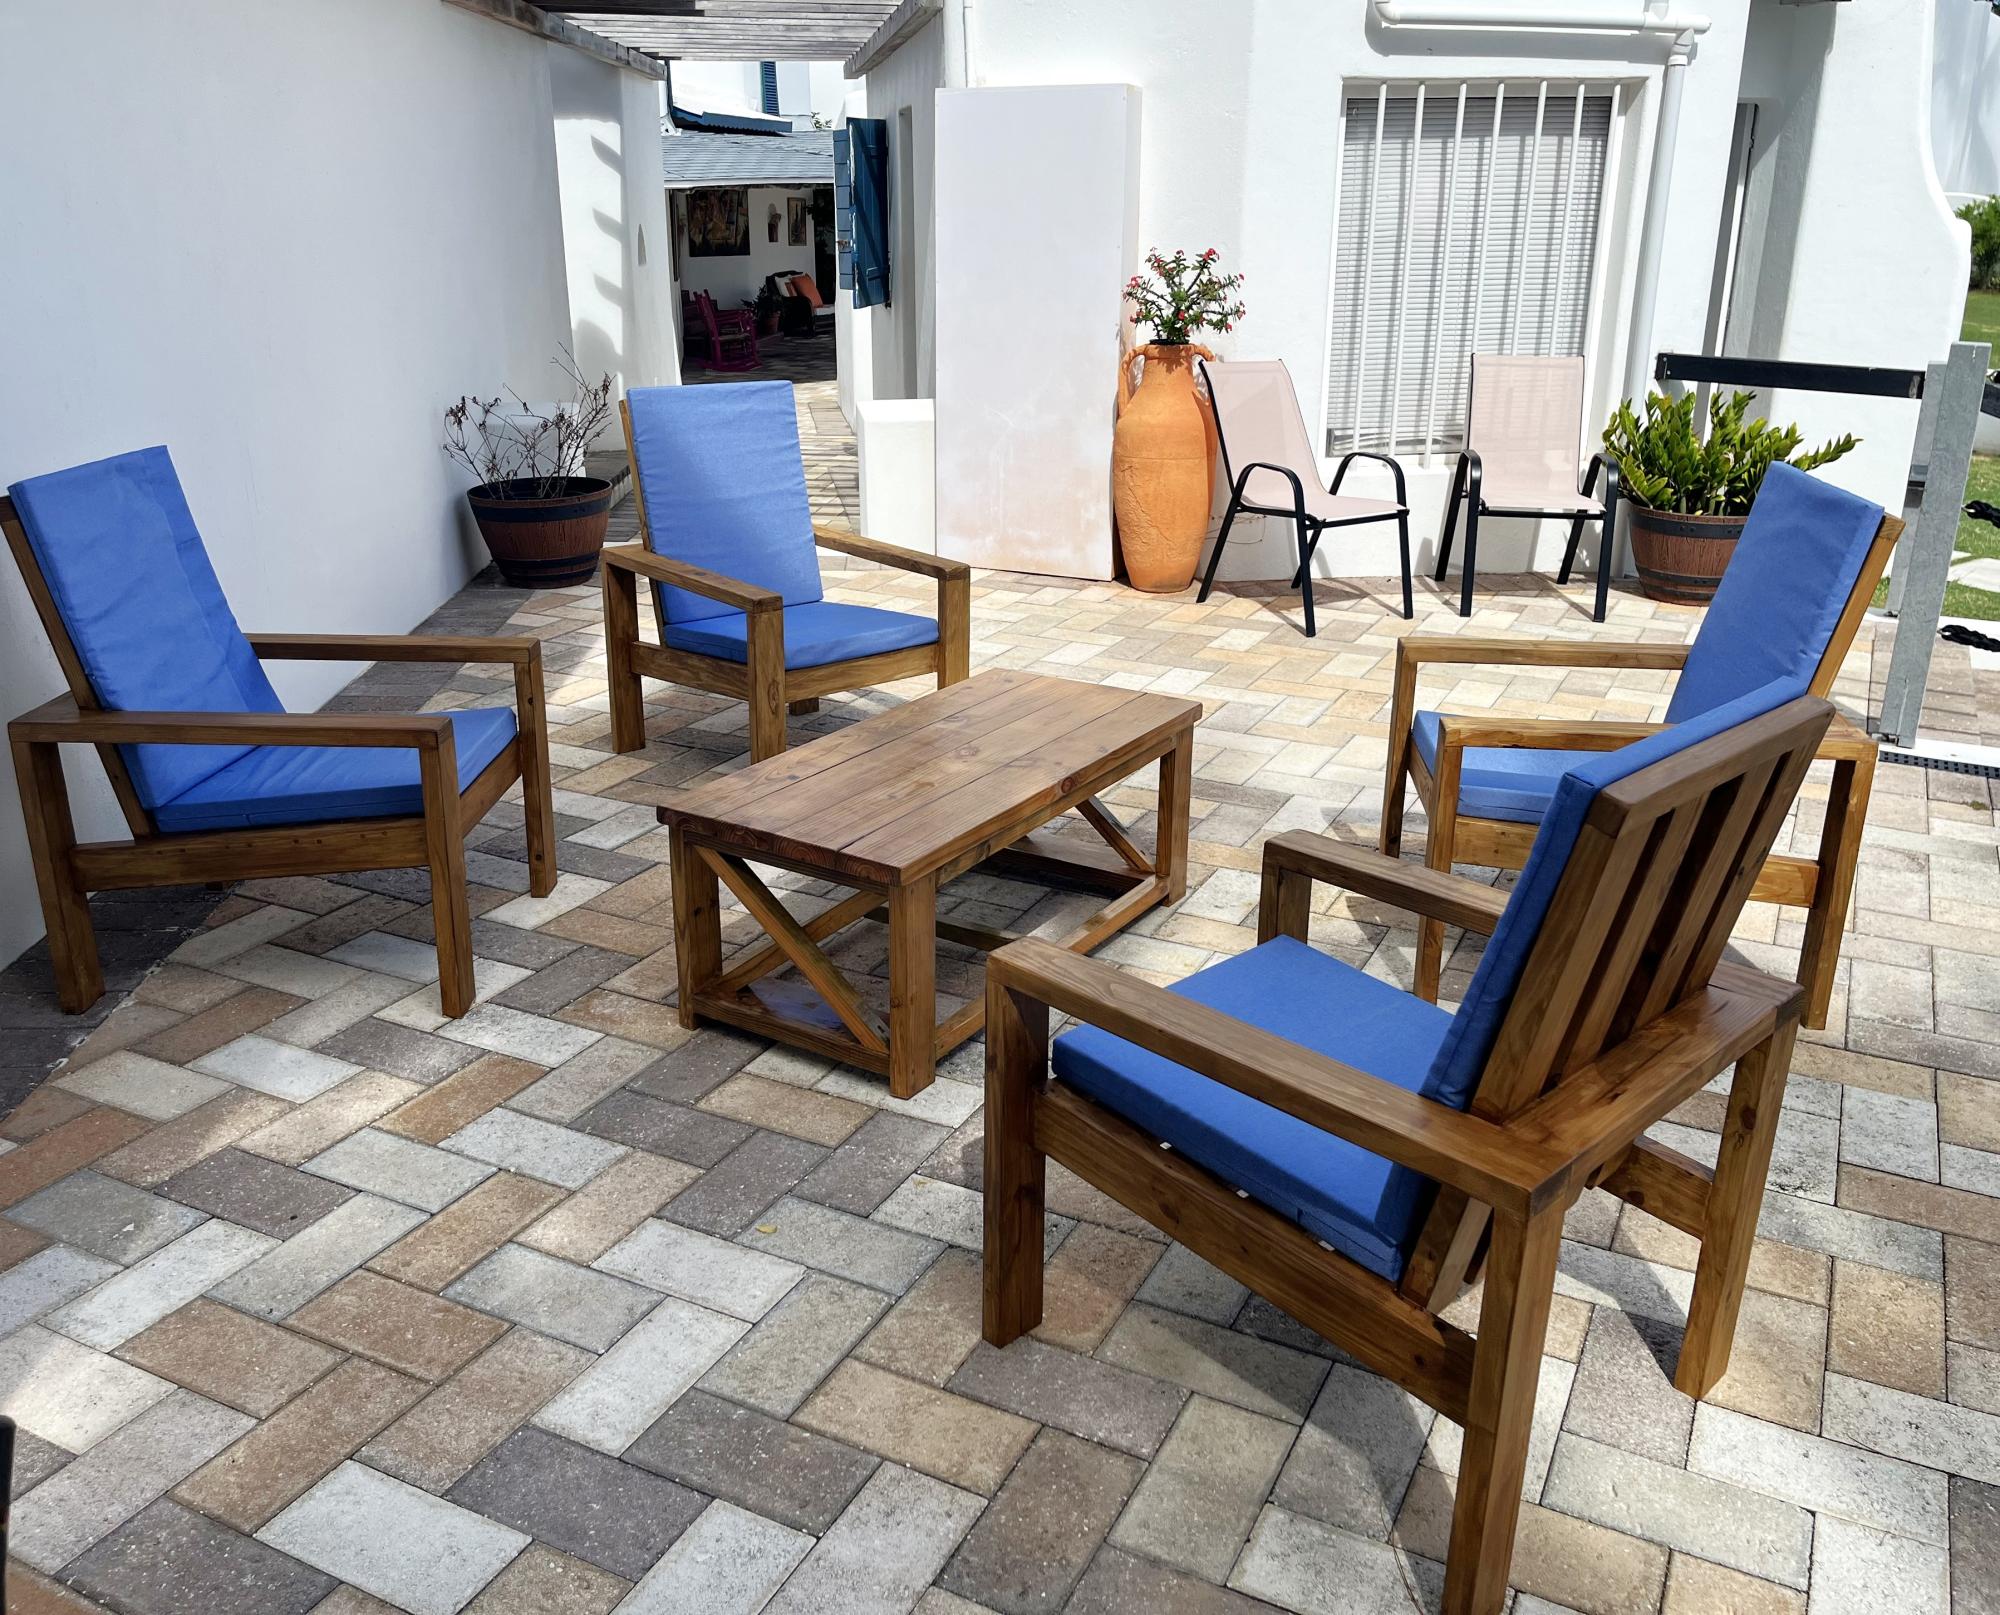
Great outdoor builds!
by Dennis
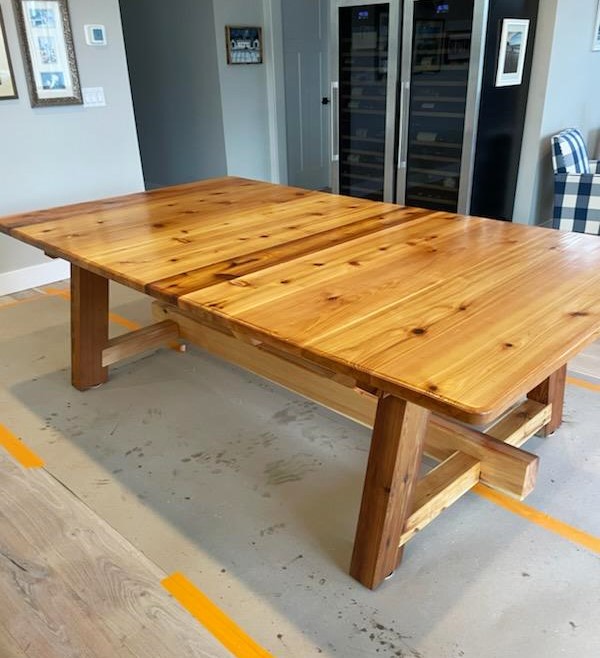
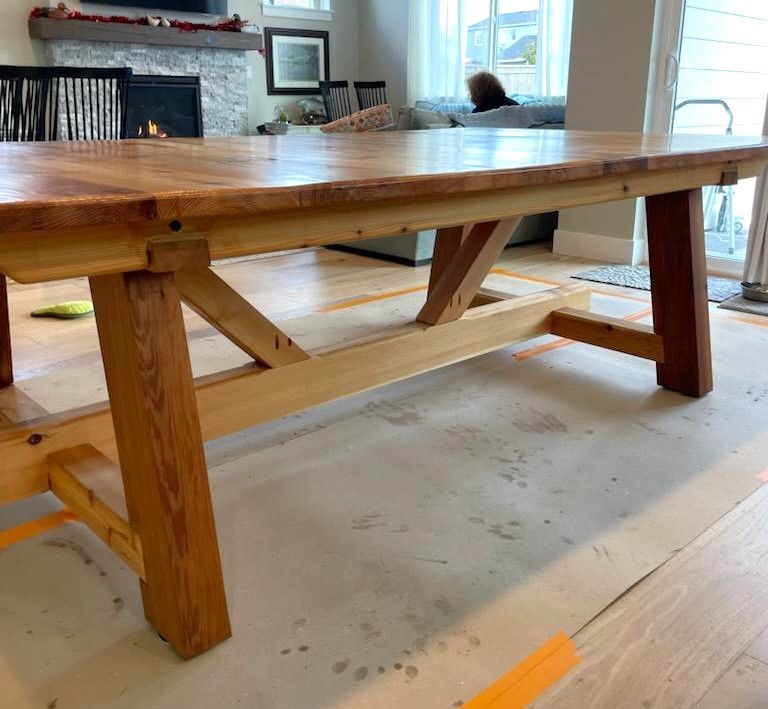
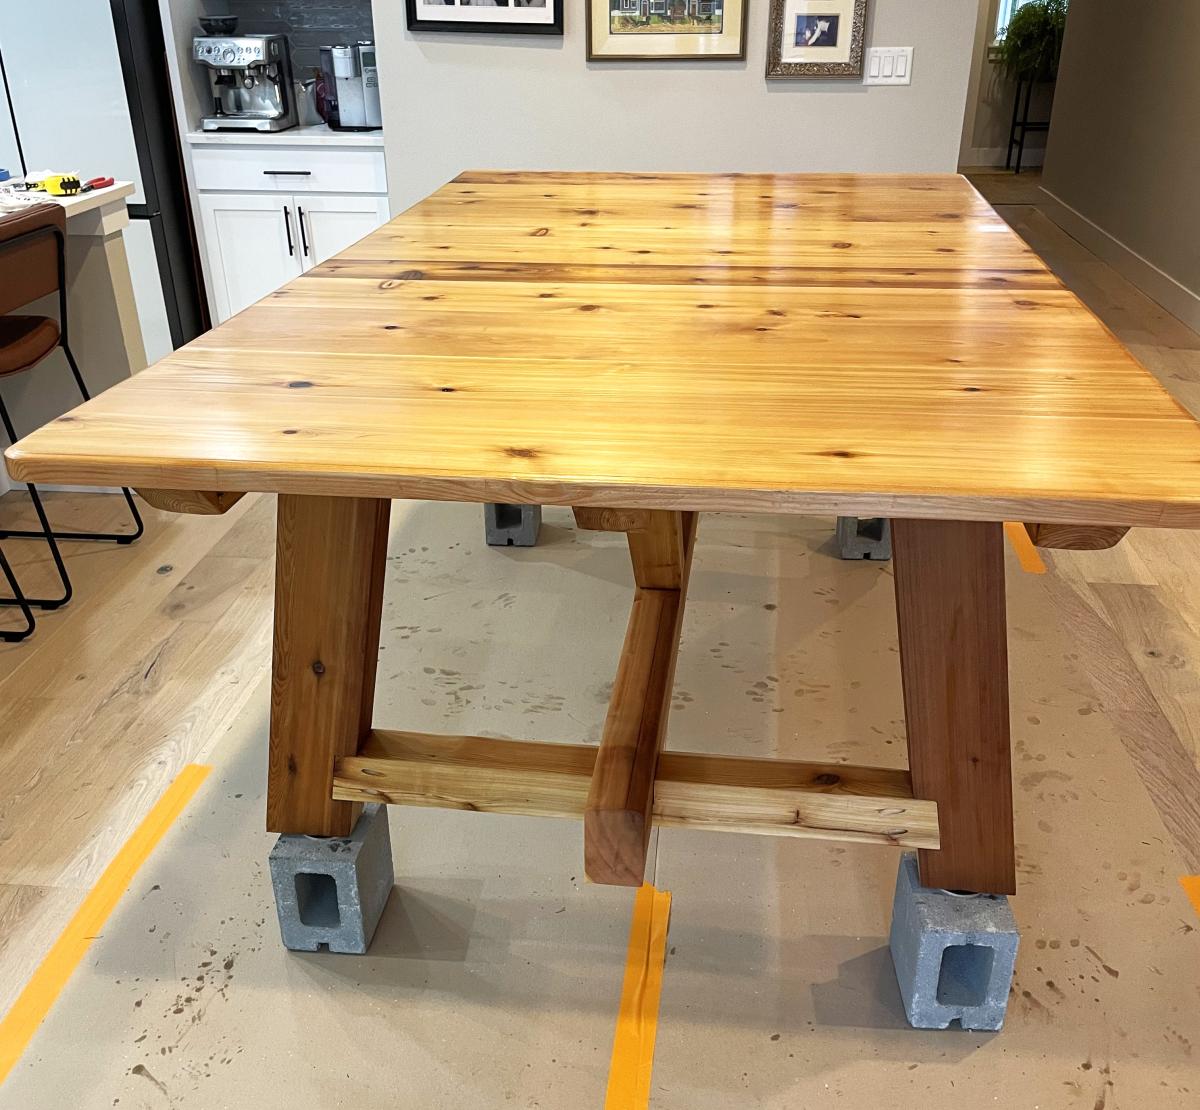
My wife wanted a table to seat 12 and she liked the looks of the 4x4 Truss Beam Table from Ana White.
So we modified the plans, our table is 54 inches wide (not 37) and 98 inches long (instead of 87). The legs are 4x6 not 4x4. The lower center beam is 4x6. The plans call for 2x4 aprons ending at the legs, we used 4x4 aprons and extended them beyond the legs to within 3 inches of the end of the table. Finally, we laid the tabletop across the table with a combination of 2x8, 2x10, and 2x12 boards.
We built this all with cedar. The cost is a little over $1,100 for materials.
Dan Clark
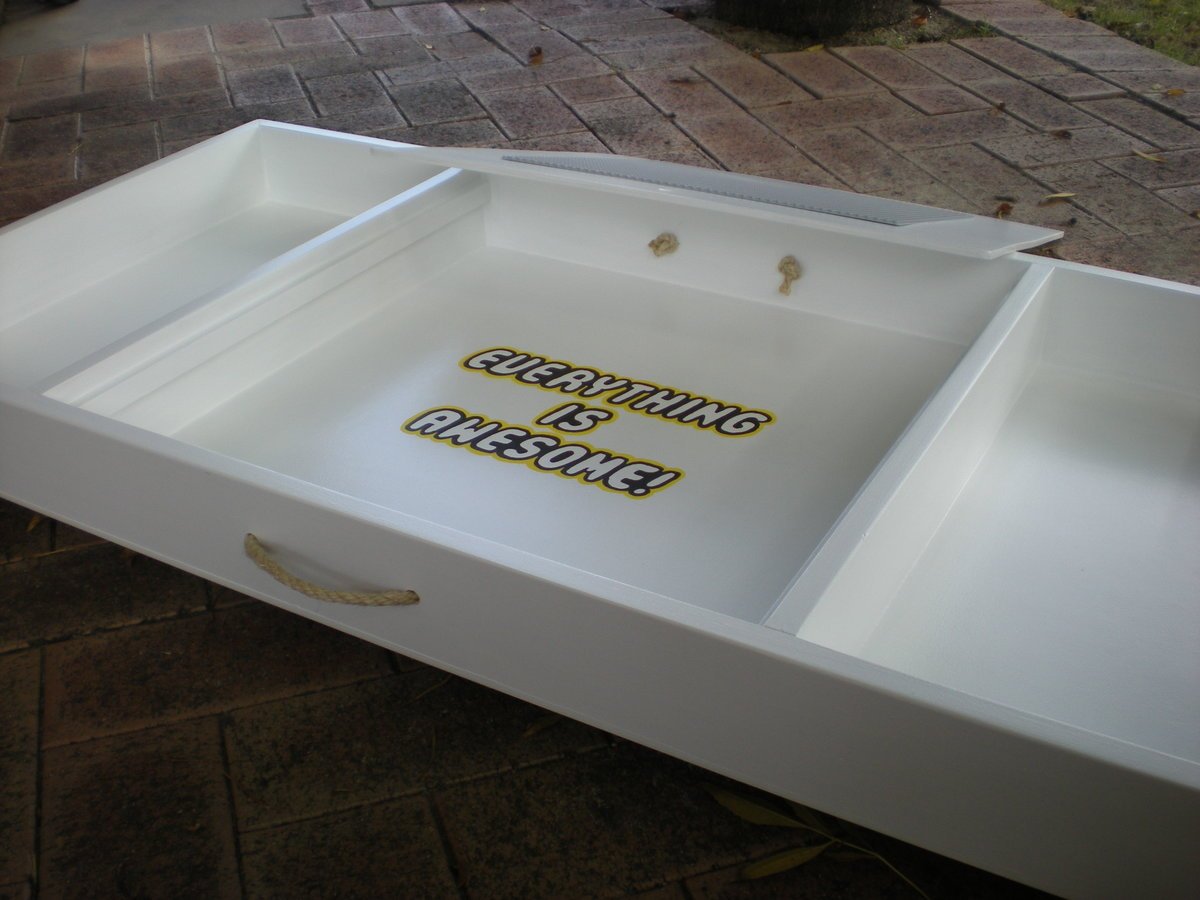
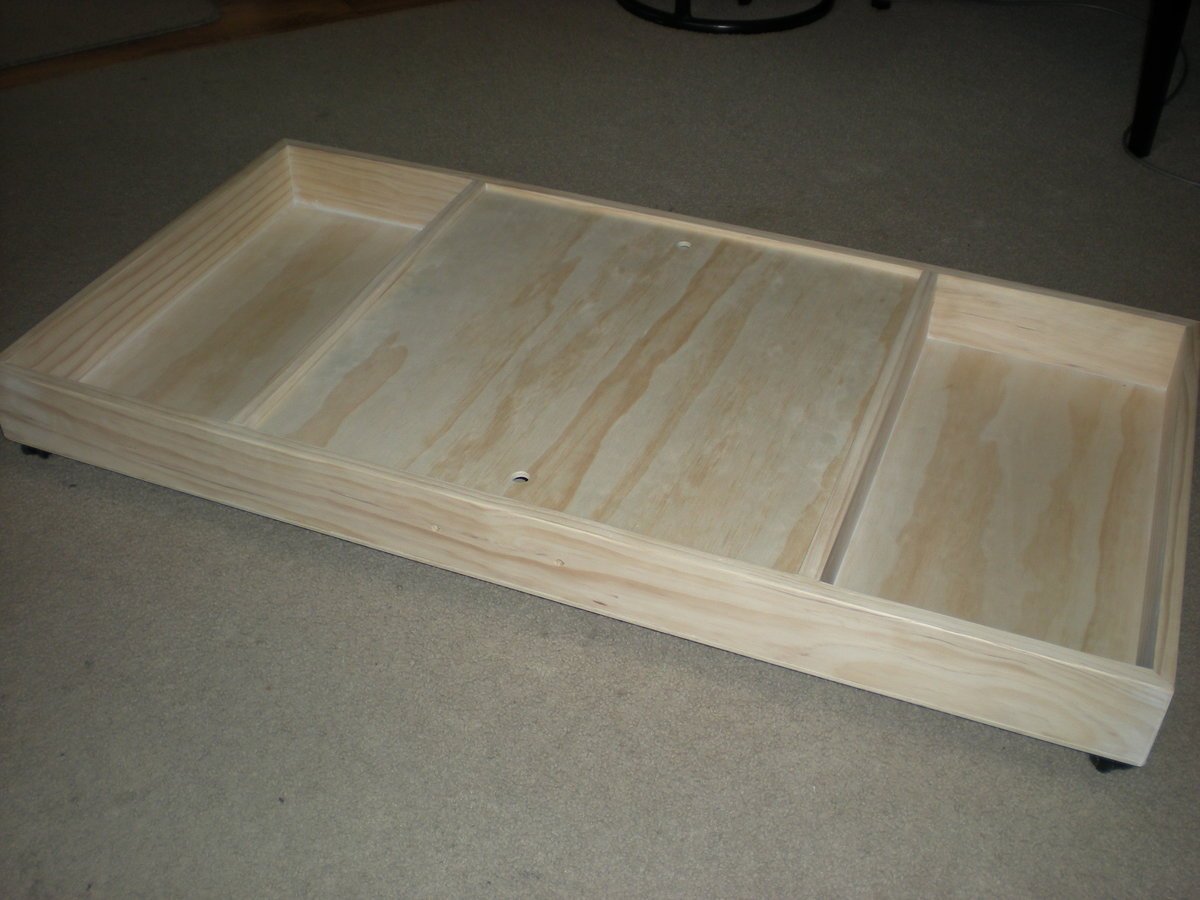
We were in desperate need of a lego storage solution for our son's small bedroom. I made this for his 7th birthday. I saw a photo of a similar one as a result of a google or pinterest search and decided to draw up some plans.
I recessed the top slightly so that pieces won't fall off. I just glued thin cleats to the inside of the box to hold the lid, (using spacers to get it at the height I wanted) Ideally the top would be reversible however I didn't quite get one of the dividers square so it only fits one way. I used Posca water-based markers to do the text. Make sure you wait until the text is really dry before you try to seal it (don't ask me how I know that...) Turns out that the markers don't react well with the brush on poly so I just left the text unsealed.
I was just going to have one handle on the front but then I made a stupid mistake and wrote the text so it would be upside down when pulled out (I know, dumb right!) So I added another handle on the other side. I used a water-based enamel for the whole box. Not sure if that was worth it of if I should have just used flat and given it a top coat of poly. I used a brush on the inside corners and found it really hard to get an even finish because I rolled the flat surfaces. Painting the pieces before assembly would probably fix this.
Added some castors so it can be pushed under the bed.
Sun, 02/05/2017 - 08:48
This is so awesome. Do you think you could share a more detailed account of build. Dimensions? Supplies? I am a newbie at this! I would greatly appreciate!
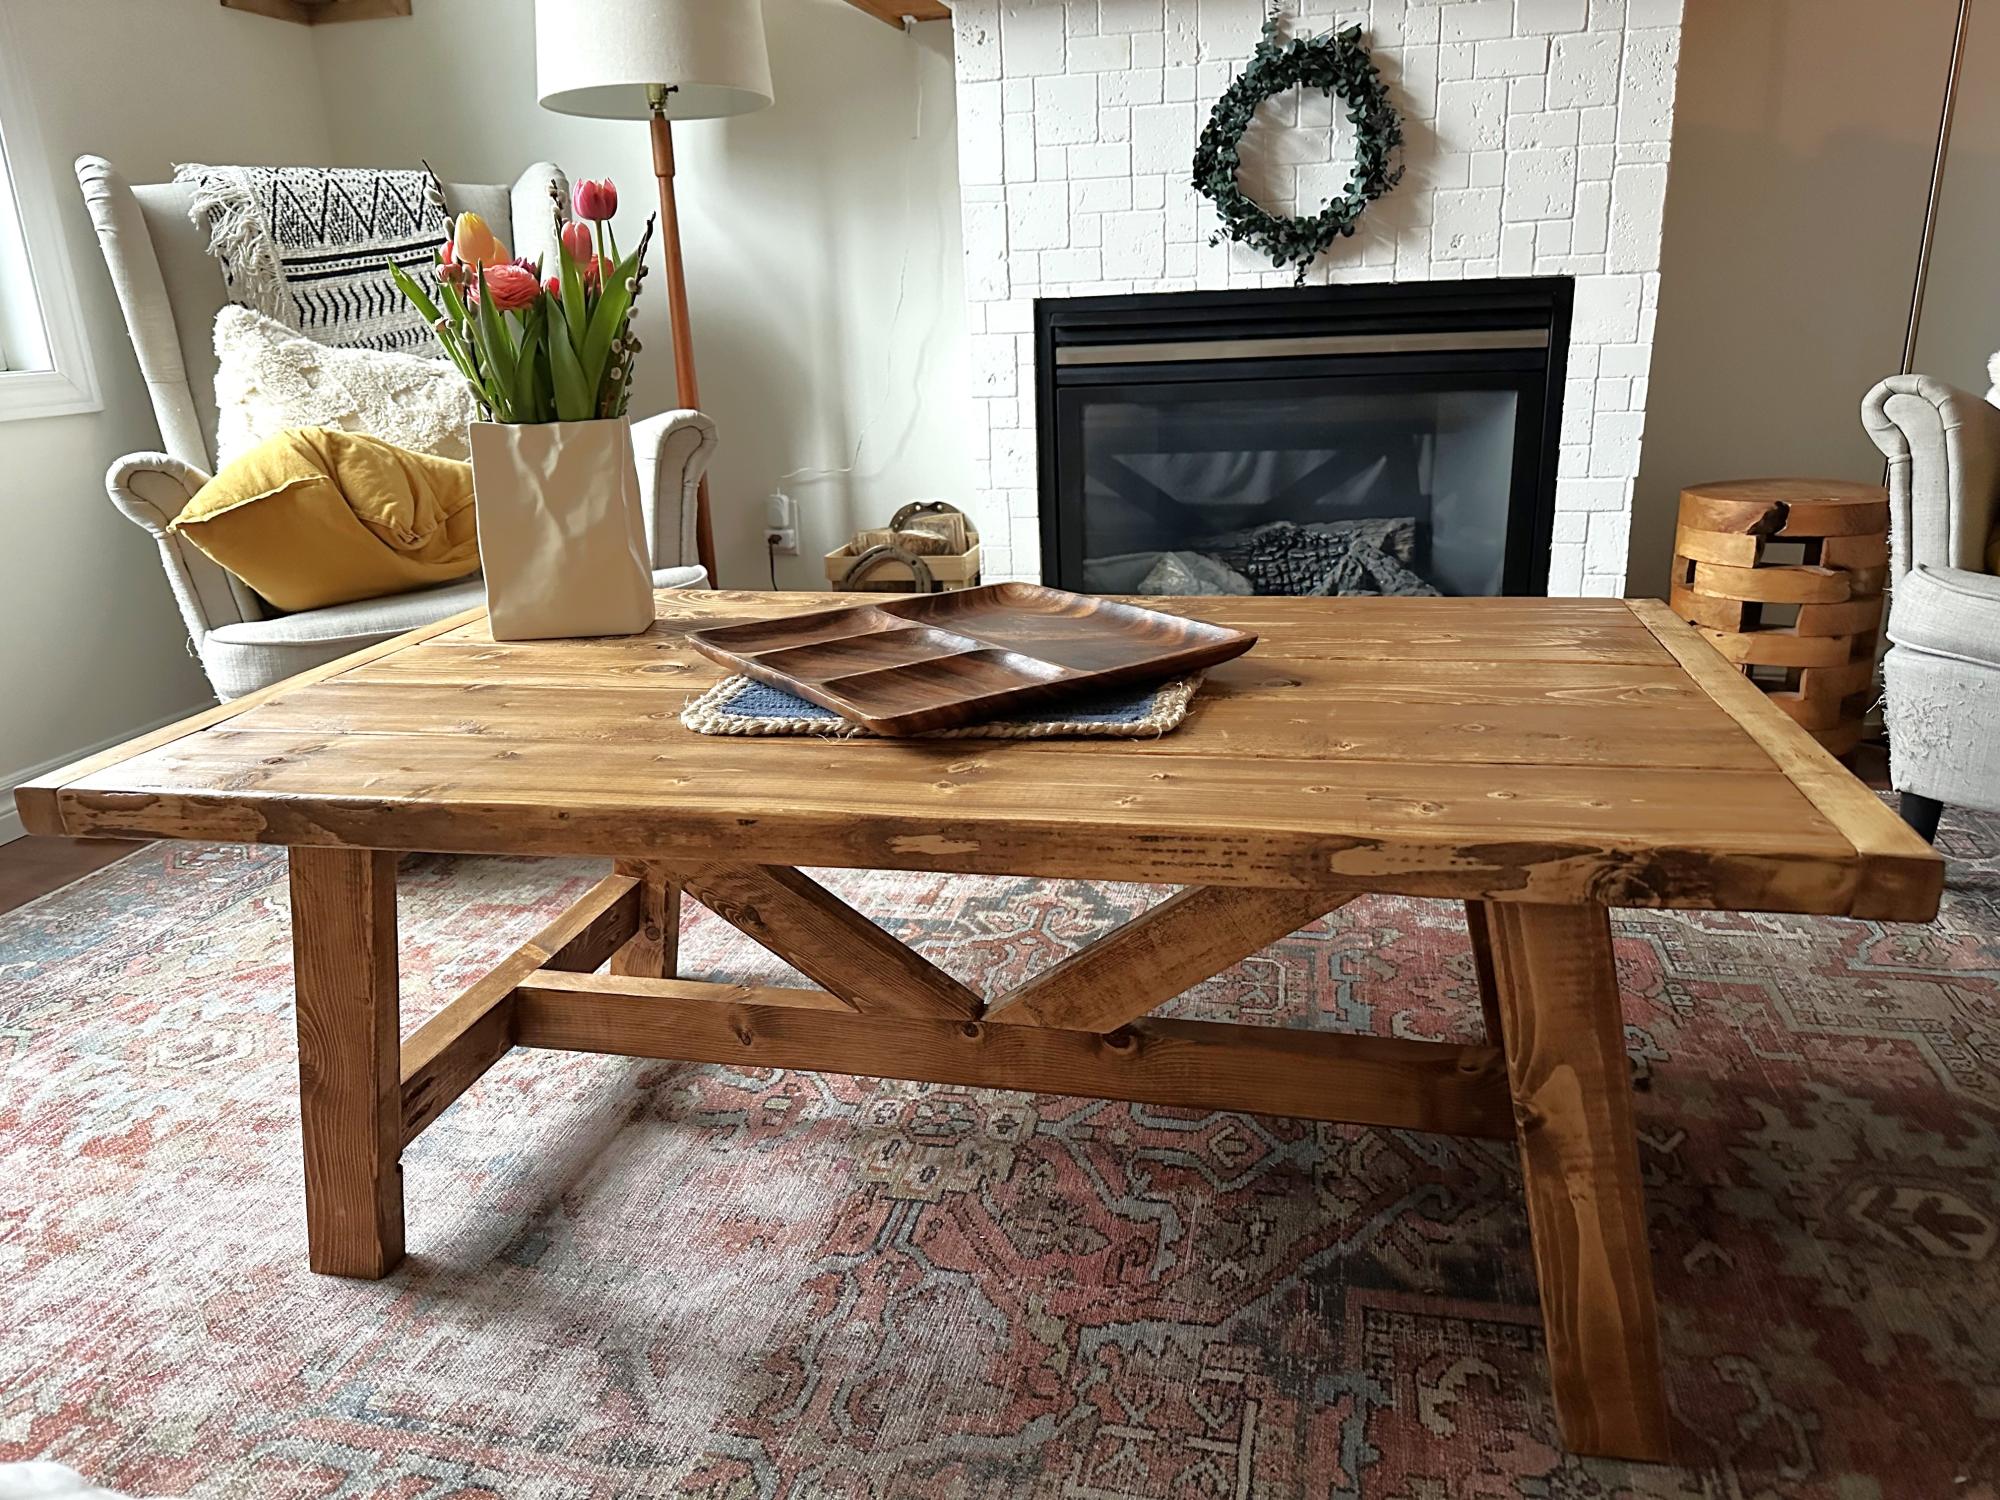
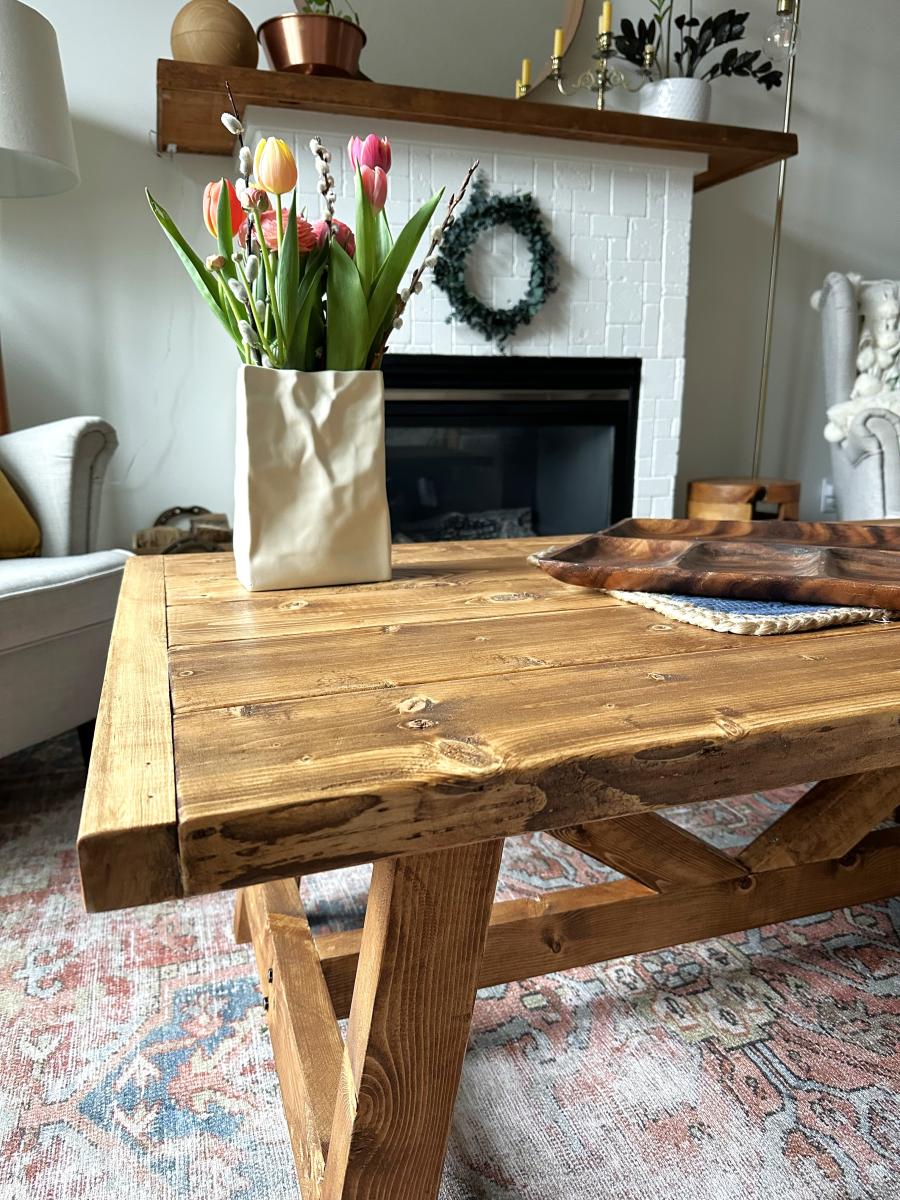
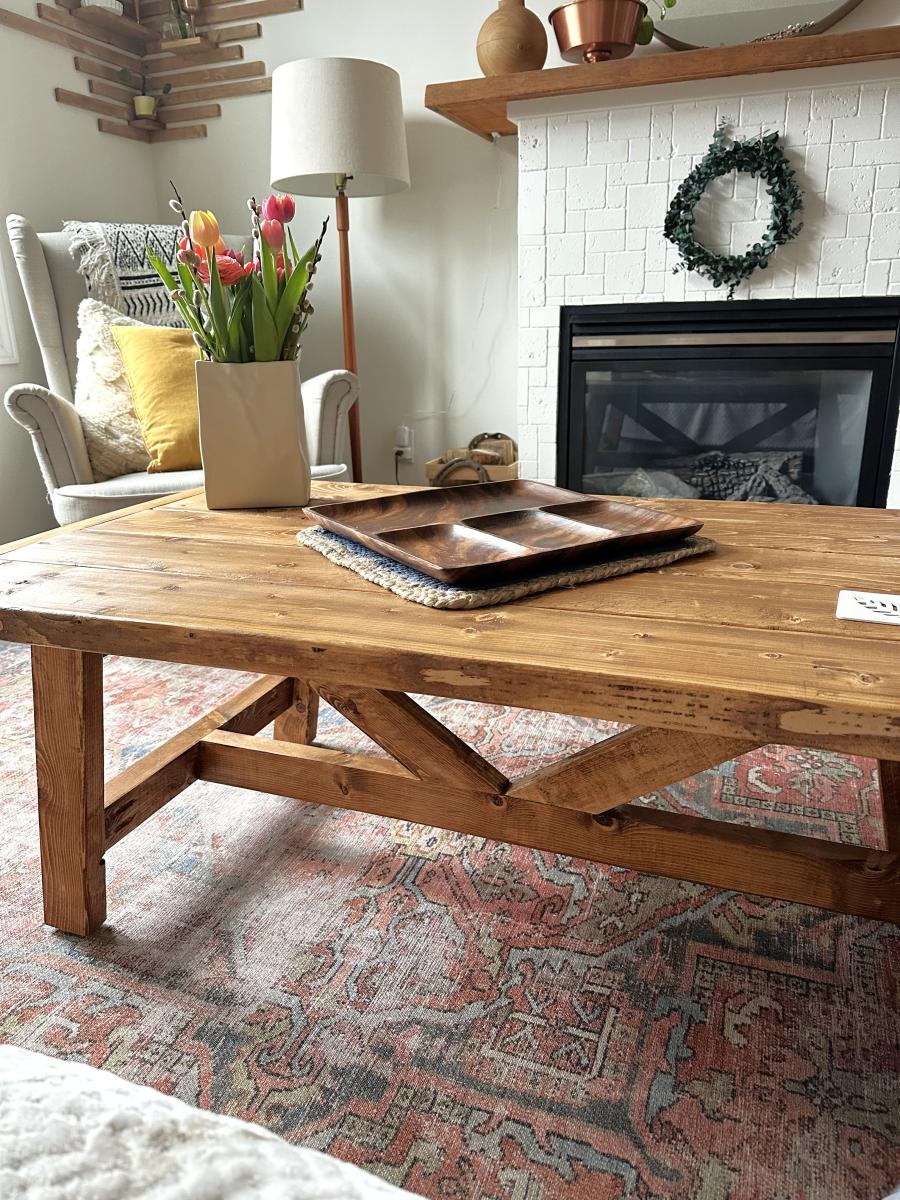
I saw the Truss Coffee table and HAD to make it!
I couldn’t find 2x3 at my hardware store so I ripped 2x6’s for the base. I also ripped 2x4 for the top end pieces. I used the color Provincial to stain and covered it in Polyurethane. I just love it.
Mélanie S.
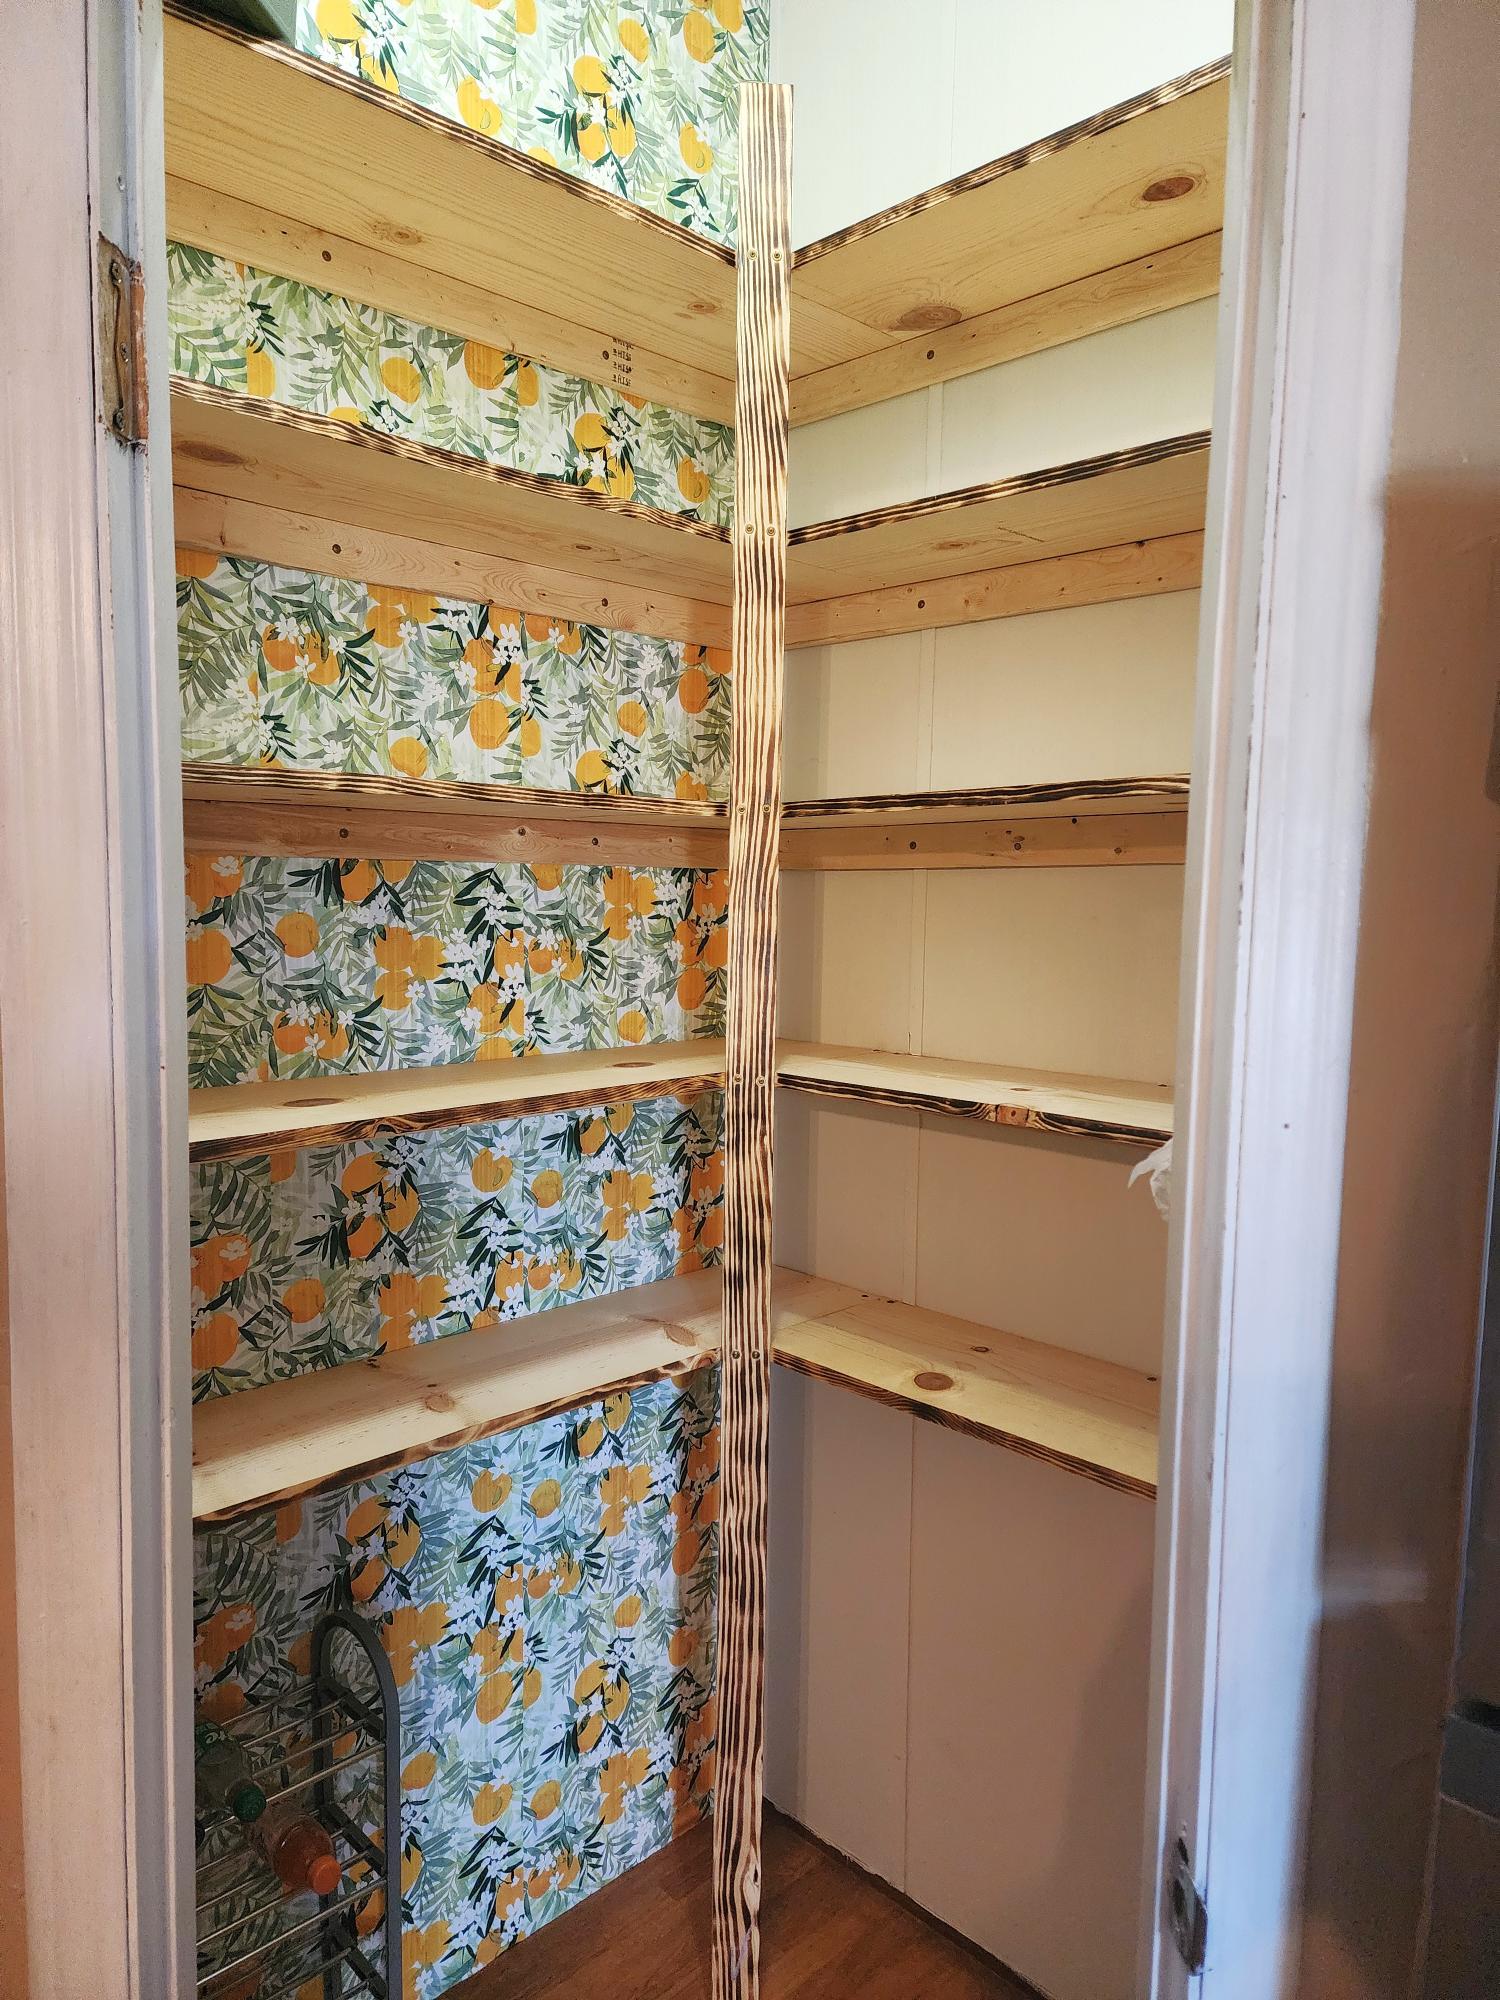
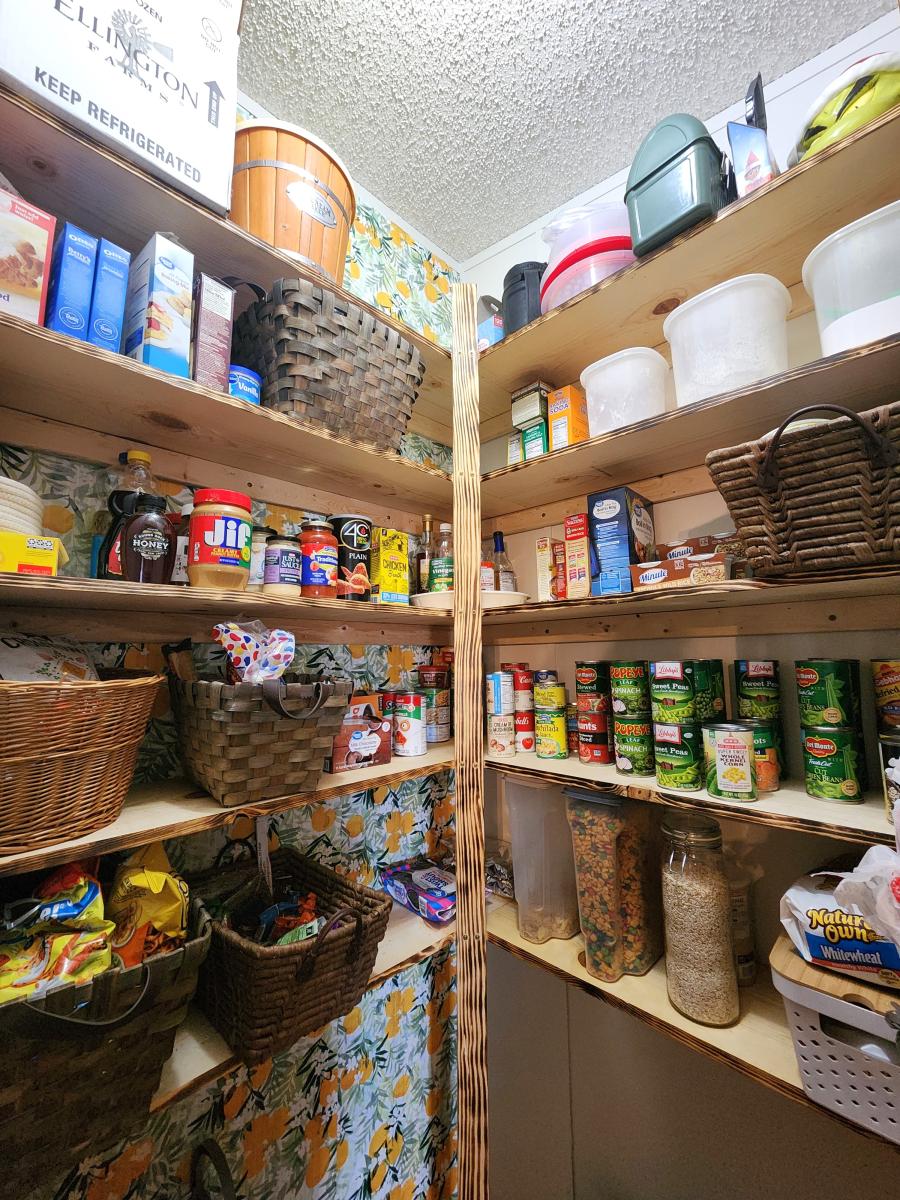
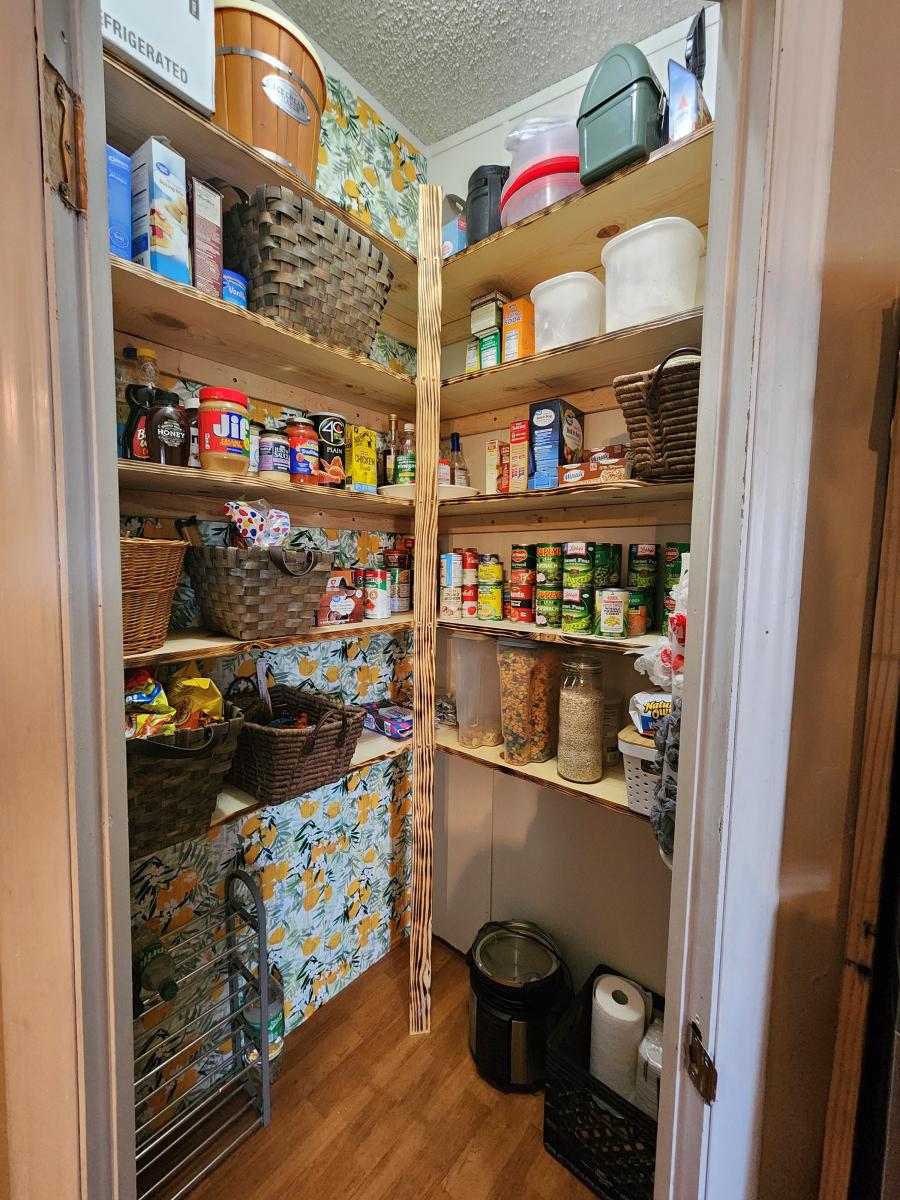
Replaced our wire metal shelving with this easy to follow plan. My first time doing a project like this and it turned out amazing!
Lindsey
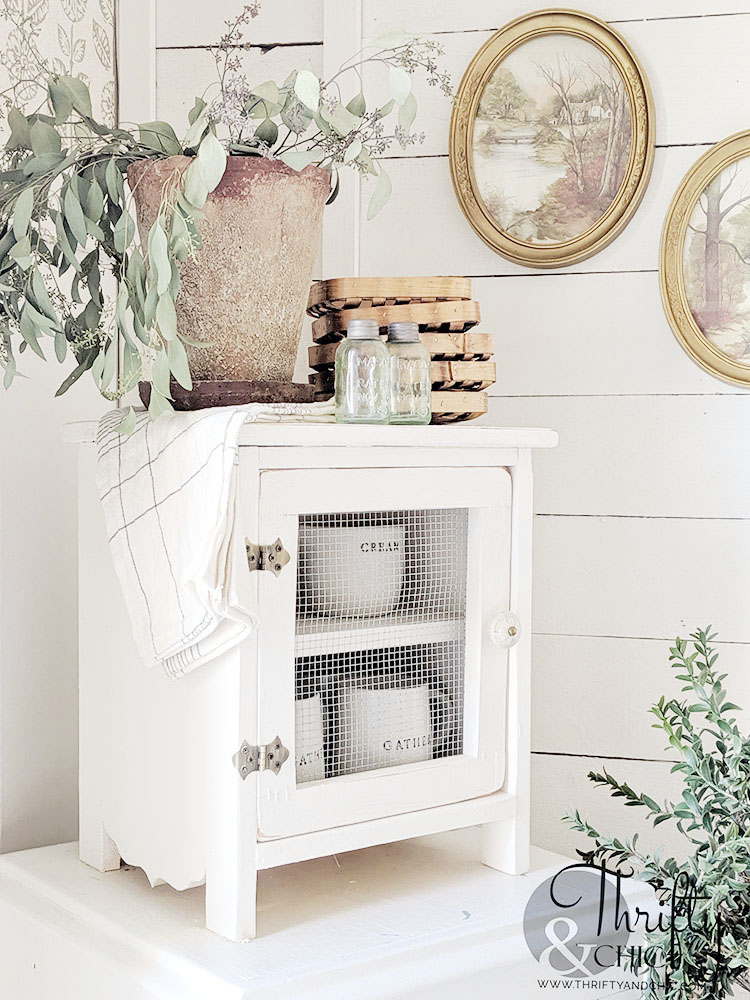
Making pie safes have apparently become a hobby 😂 these things are just so cute! They can be made from pretty much just scrap wood you have lying around, some glue and nails. I’ve painted mine and have stained them. This time around I added the cute design to the side bottom and bead board to the back.
Visit Thrifty and Chic for the full tutorial with modifications!
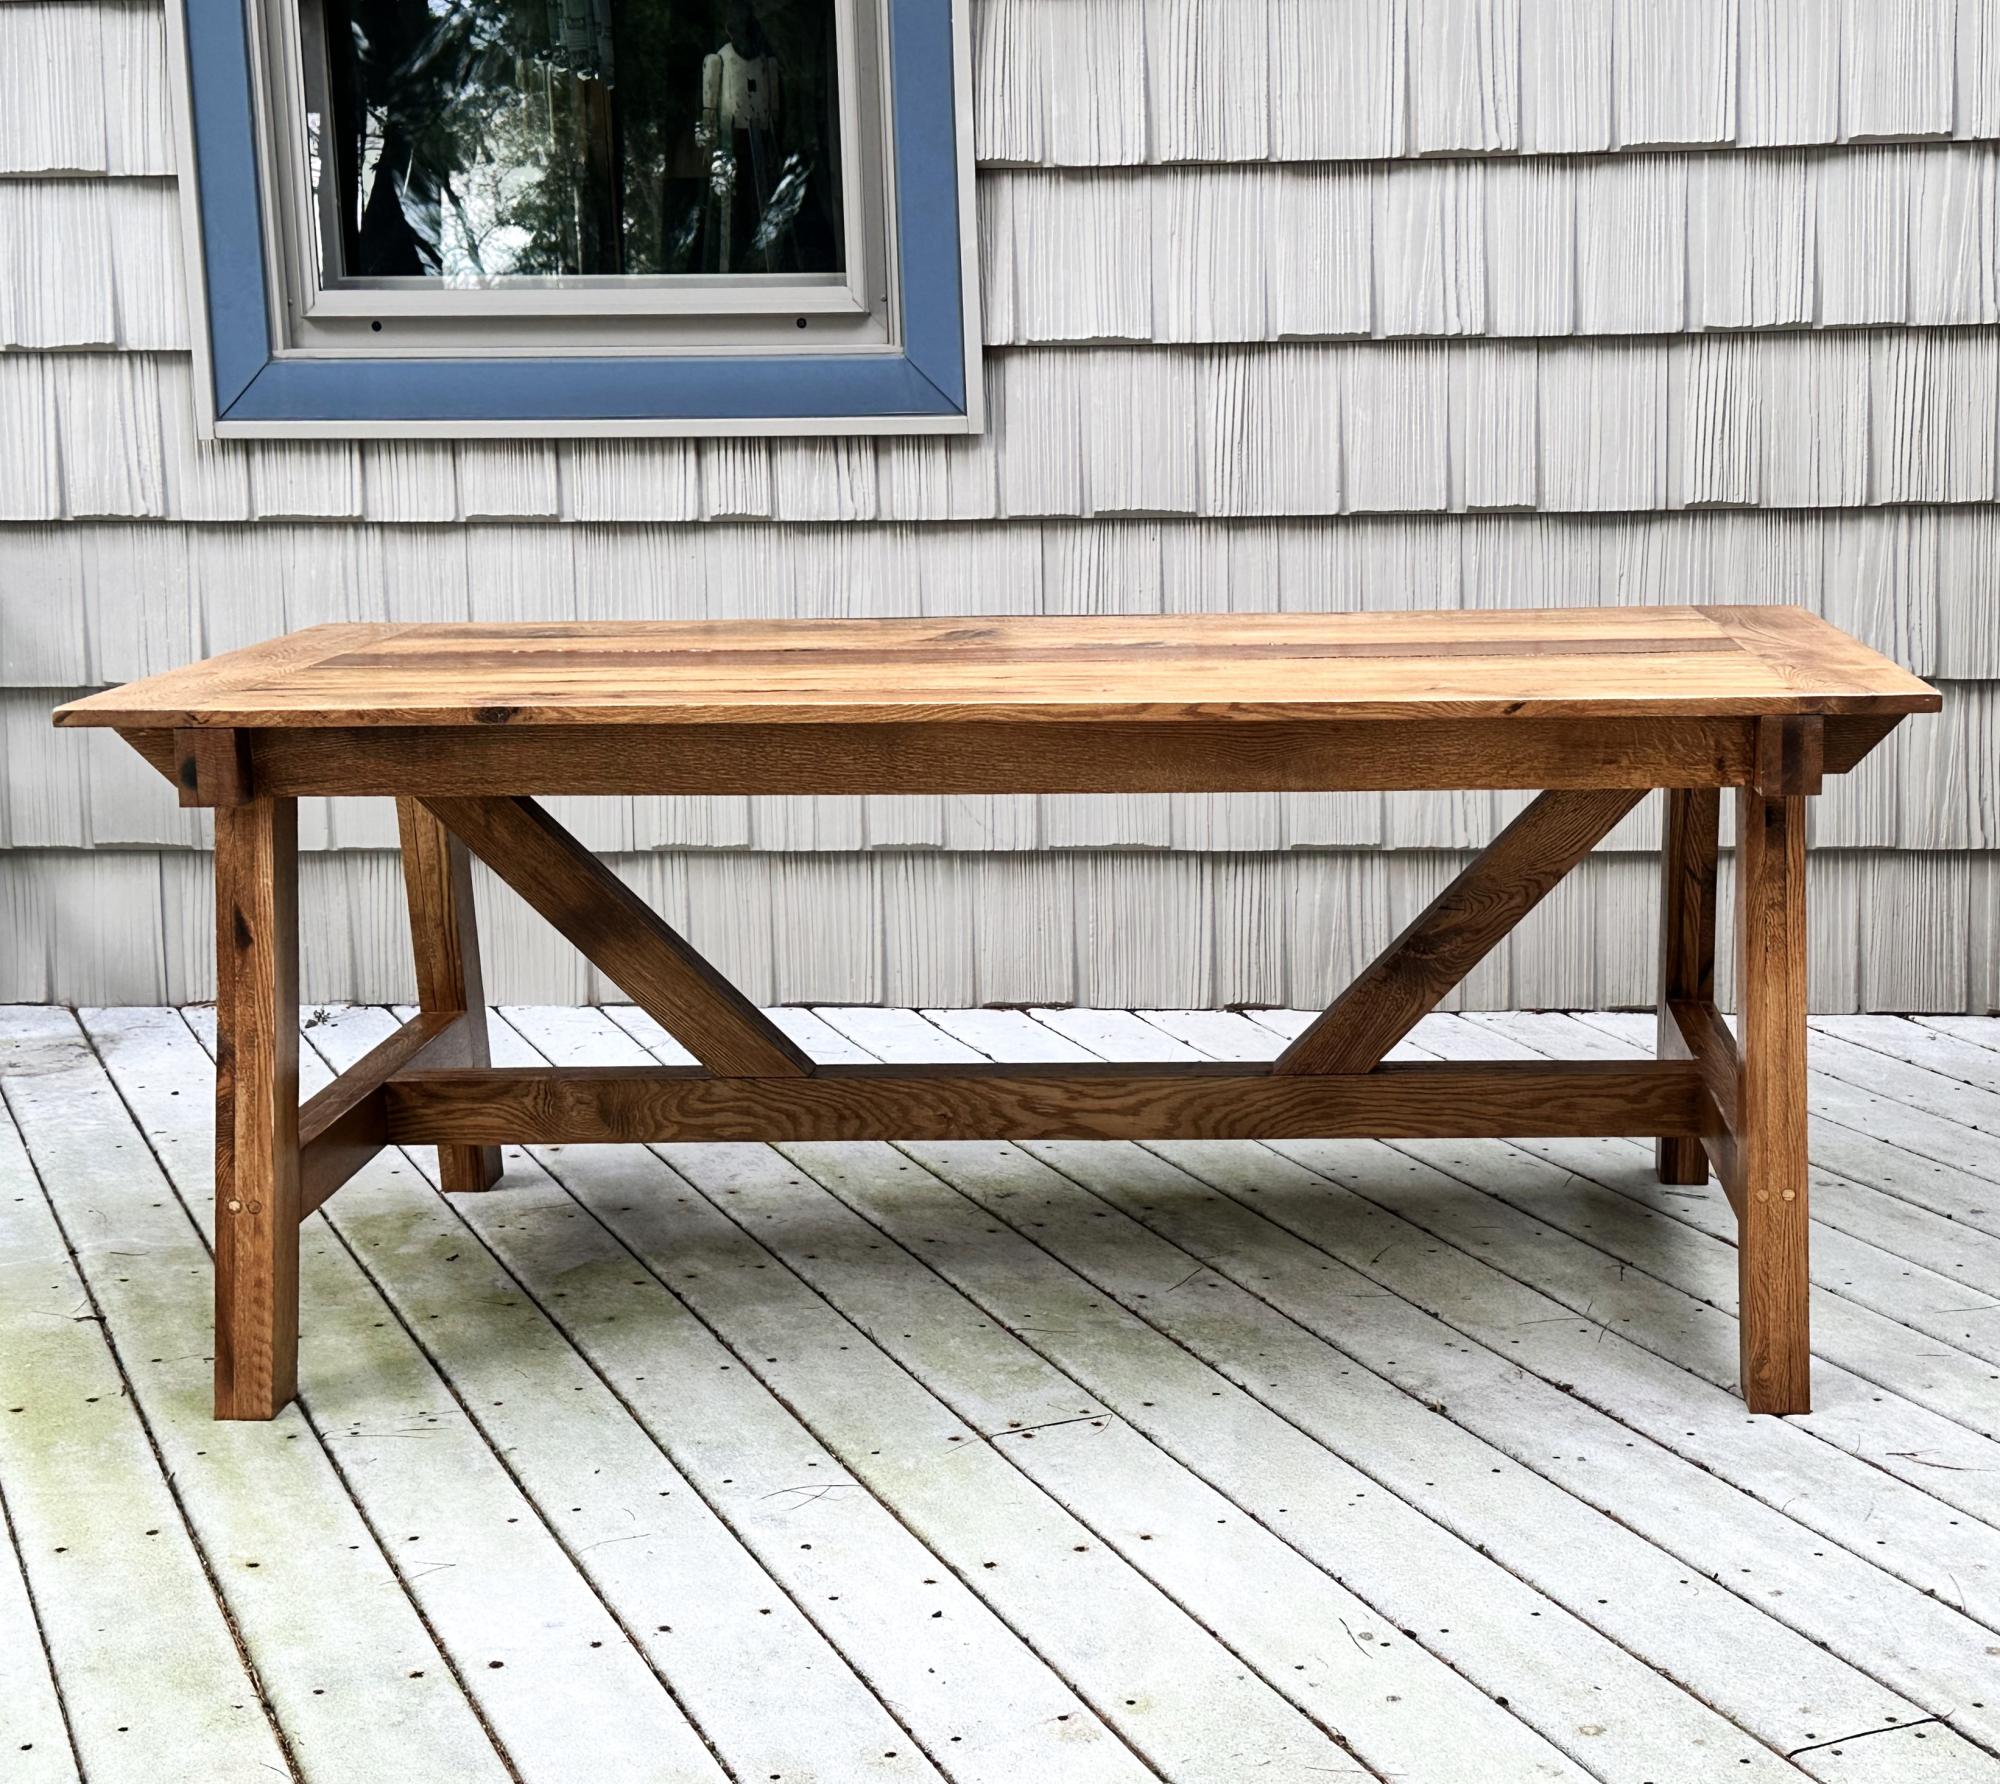
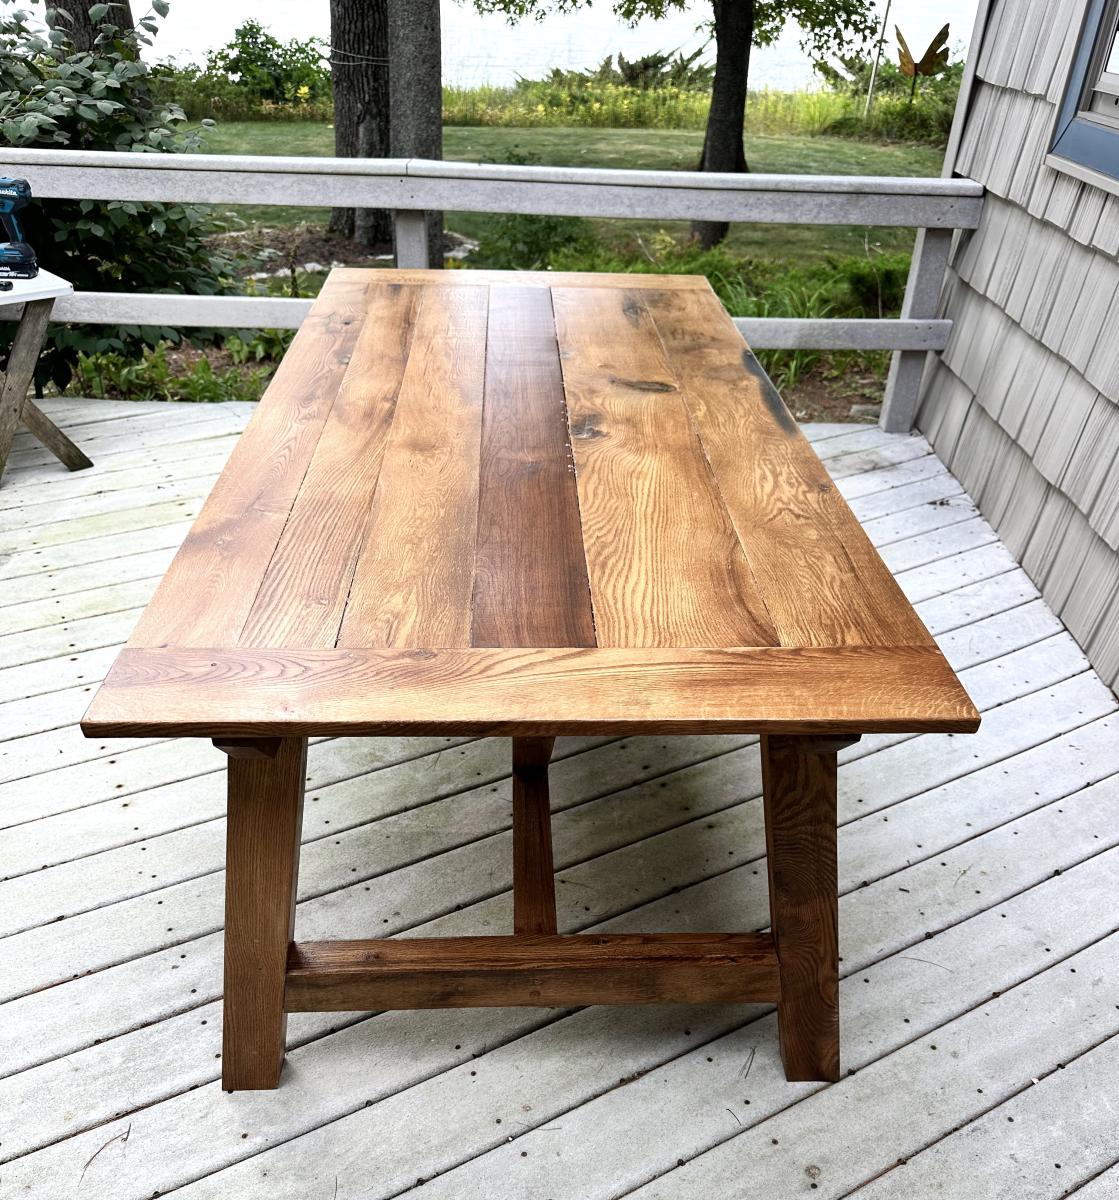
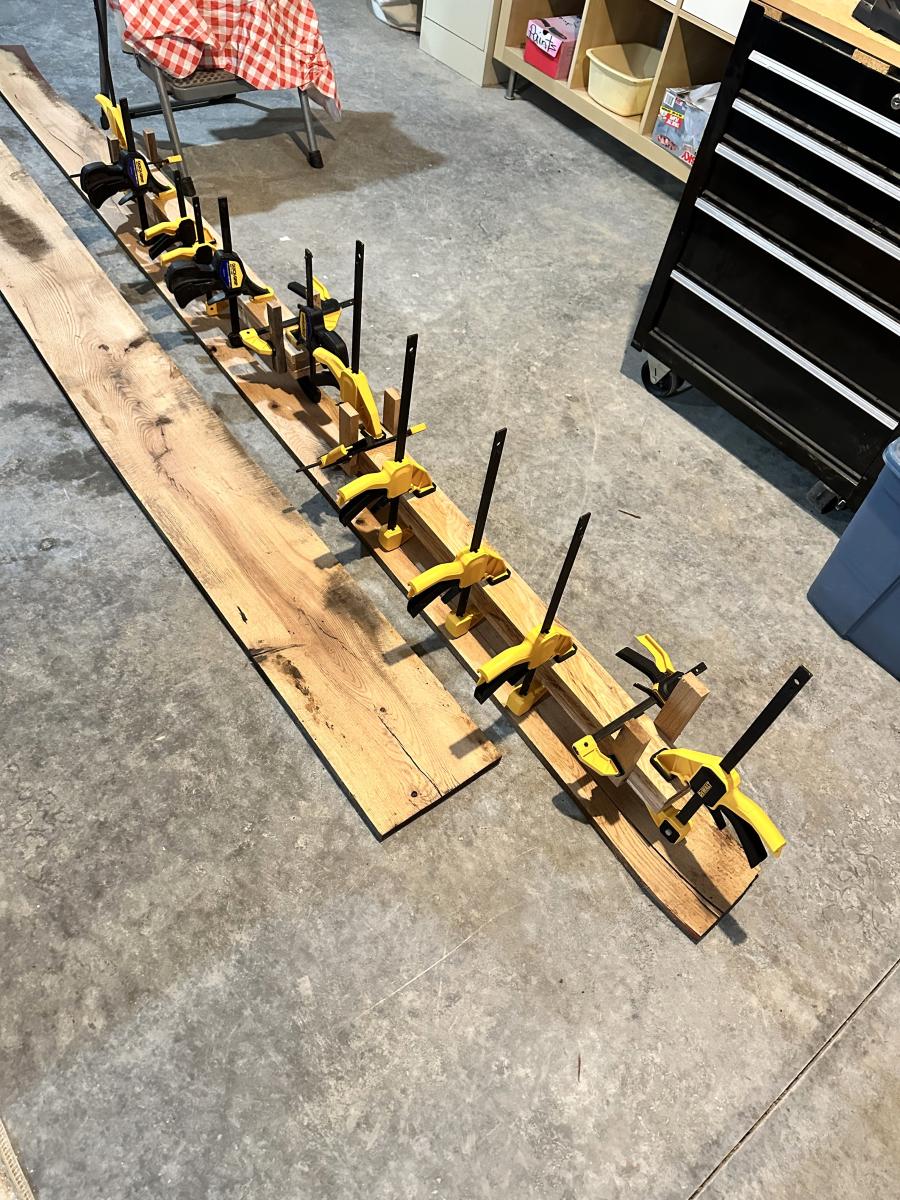
Modified 4x4 Farmhouse table, my first picnic table project.. We used rough sawn oak planks from a tree cut down 20 years ago that were sitting in a garage waiting for a special build. All framing is built from 3/4” x 3” boards glued up to create the legs and supports. For character the water spots were sanded down but not out to bring out some different hues after staining. The benches follow the same design plan and when the outdoor poly sets up they will be added to the set. Great plans from Ana White! - by "Grandpa Can Fix It"
Comments
Ana White Admin
Sun, 12/26/2021 - 17:23
Amazing Playhouse!
WOW, that is so awesome, love the real stone, composite decking and that you matched your house!