Community Brag Posts

Workbench

Submitted by Sheri-L on Thu, 02/20/2020 - 10:54

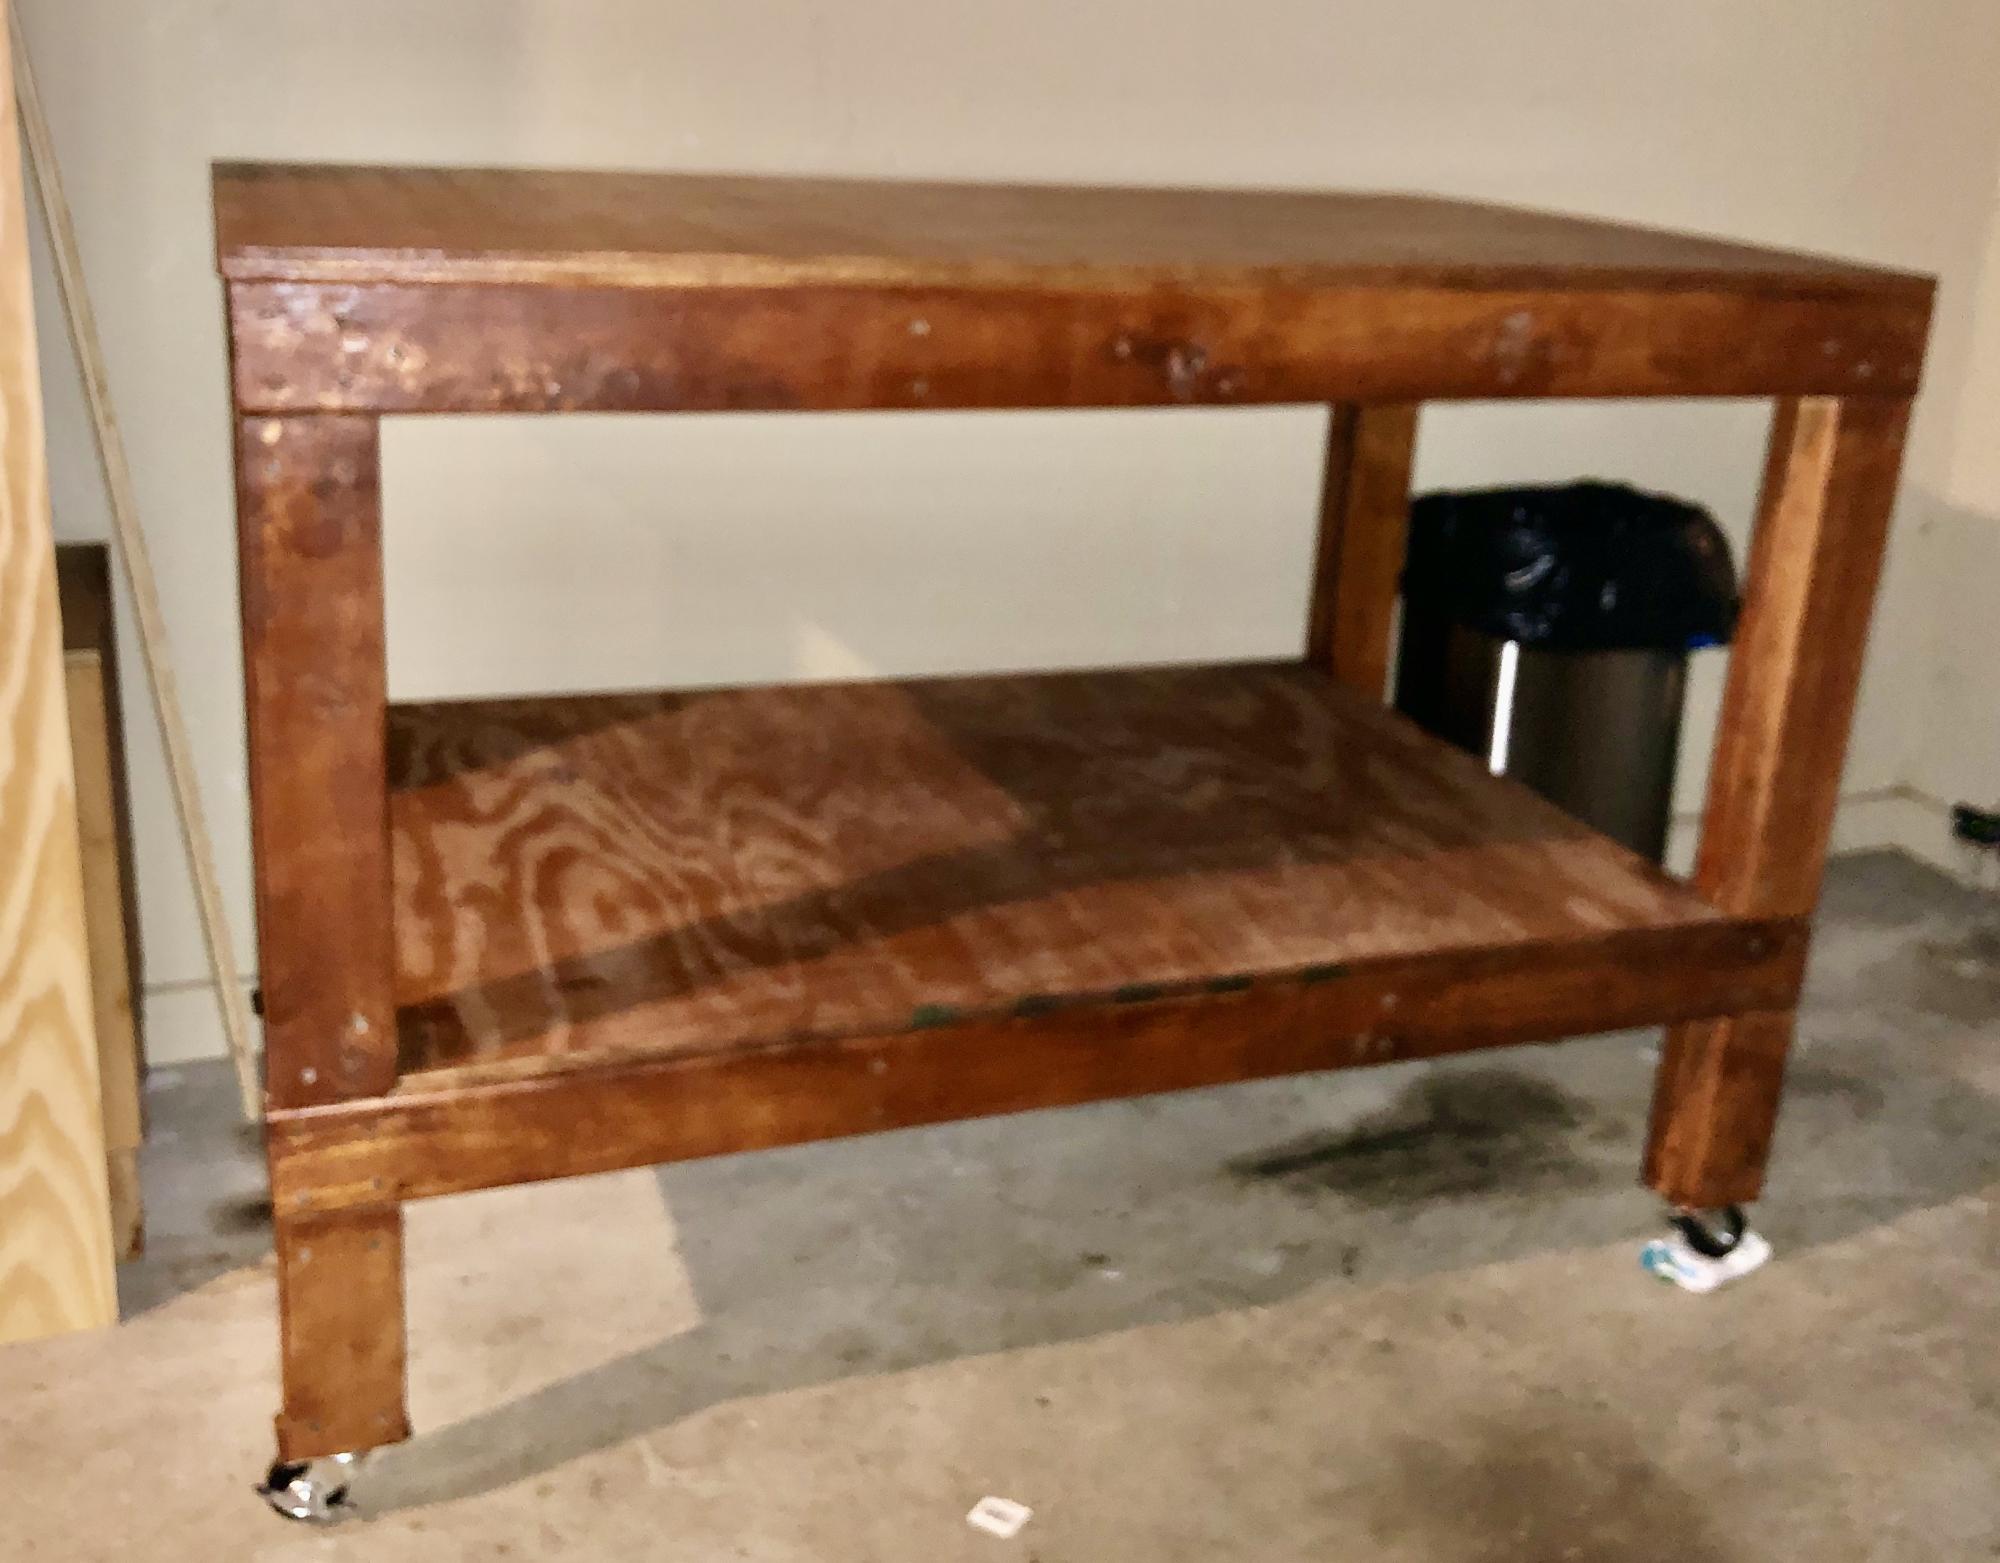
This was my first build and experience with power tools. The size of the workbench table is absolutely the perfect length and height. I ended up adding wheels that lock in place. I’m hooked! Thank you Ana White for providing the plans for a workbench. 

Built from Plan(s)
Estimated Cost
$70.00
Estimated Time Investment
Day Project (6-9 Hours)
Finish Used
Walnut stain
Recommended Skill Level
Beginner

Comments

Sheri-L

Thu, 02/20/2020 - 11:04

This project is perfect for the beginner. The plans are very simple to follow especially for one that’s never picked up a power tool. I am absolutely hooked. 

Geo Dresser

Submitted by Anonymous (not verified) on Sat, 11/04/2023 - 14:44

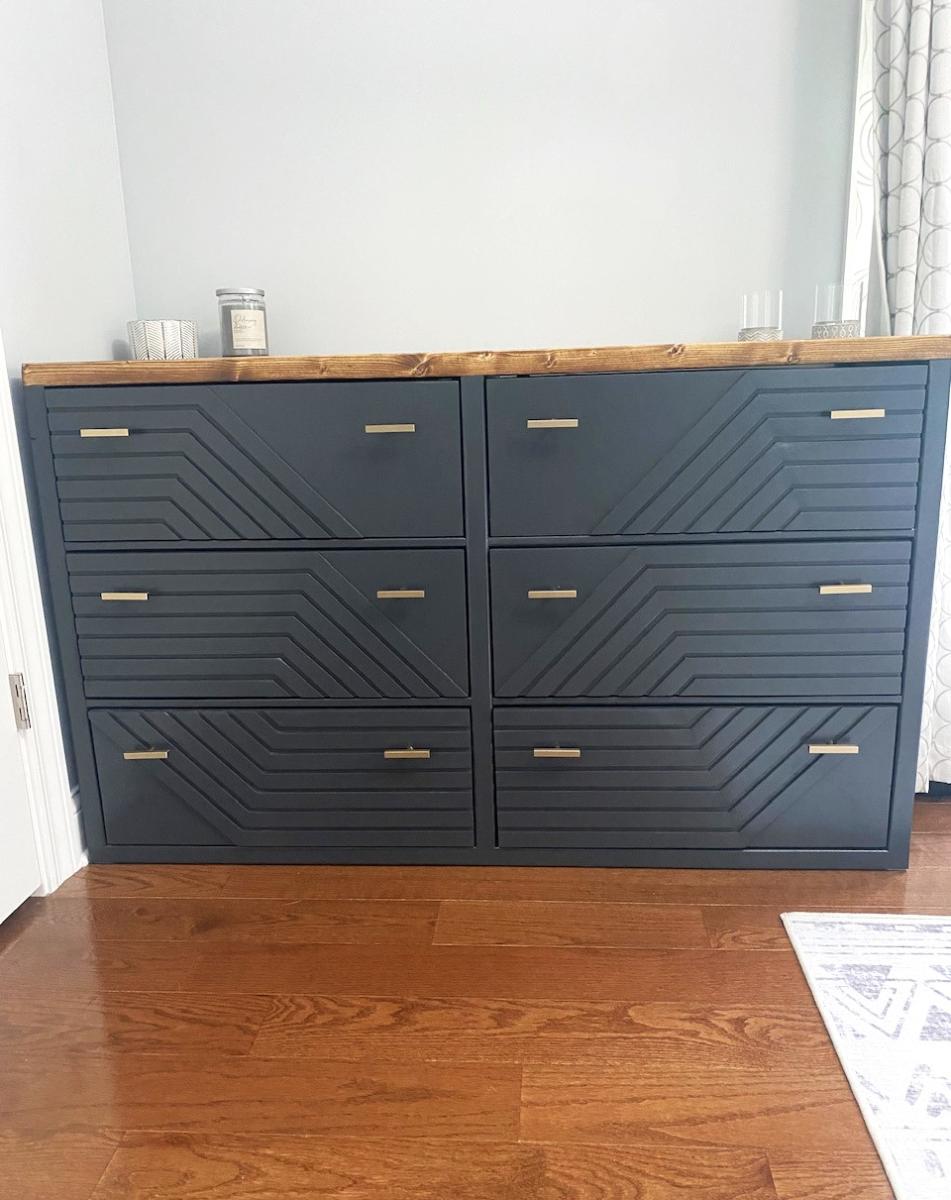
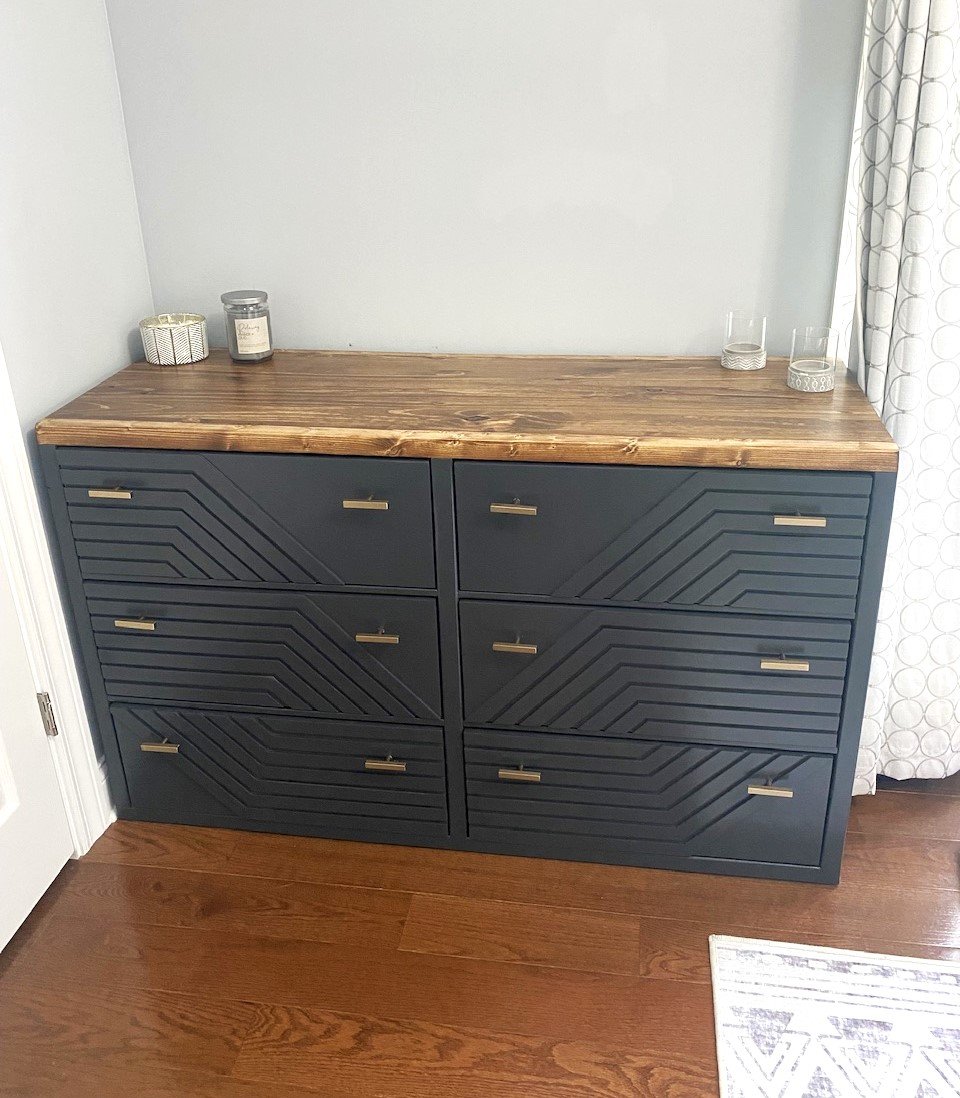
Bedroom dresser made from Ana White’s plans! Absolutely love it and it was easy to build!

Kristen Kobeszko

Built from Plan(s)

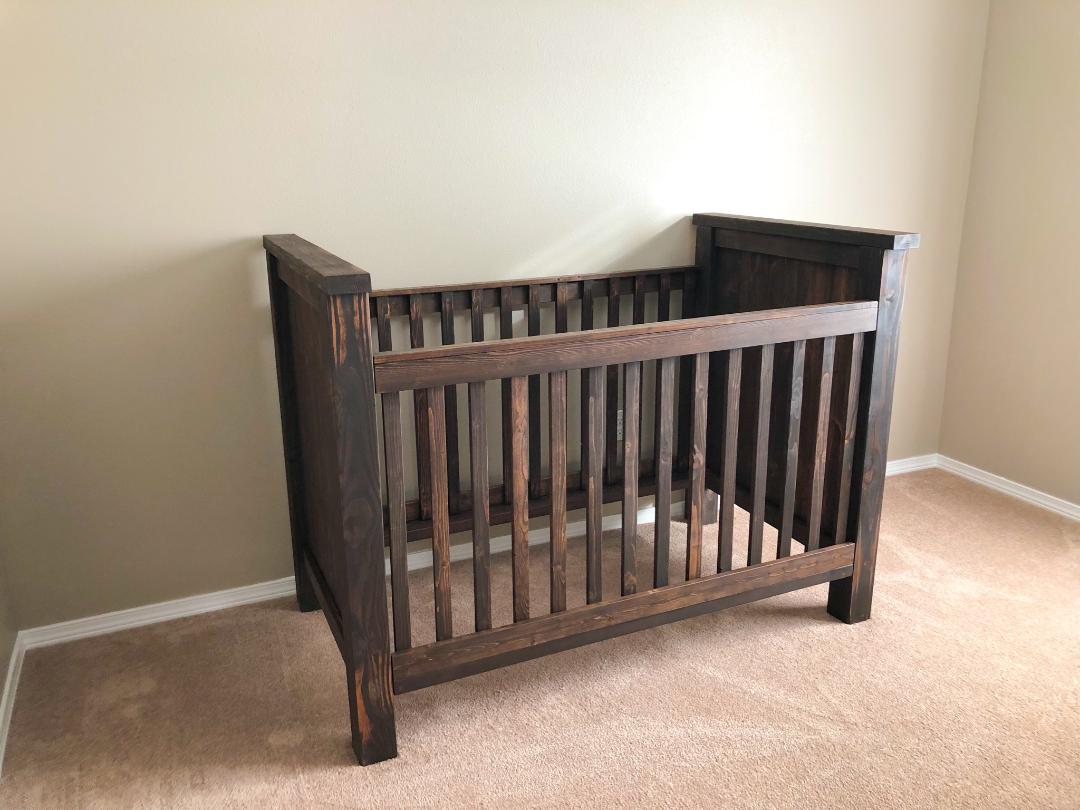
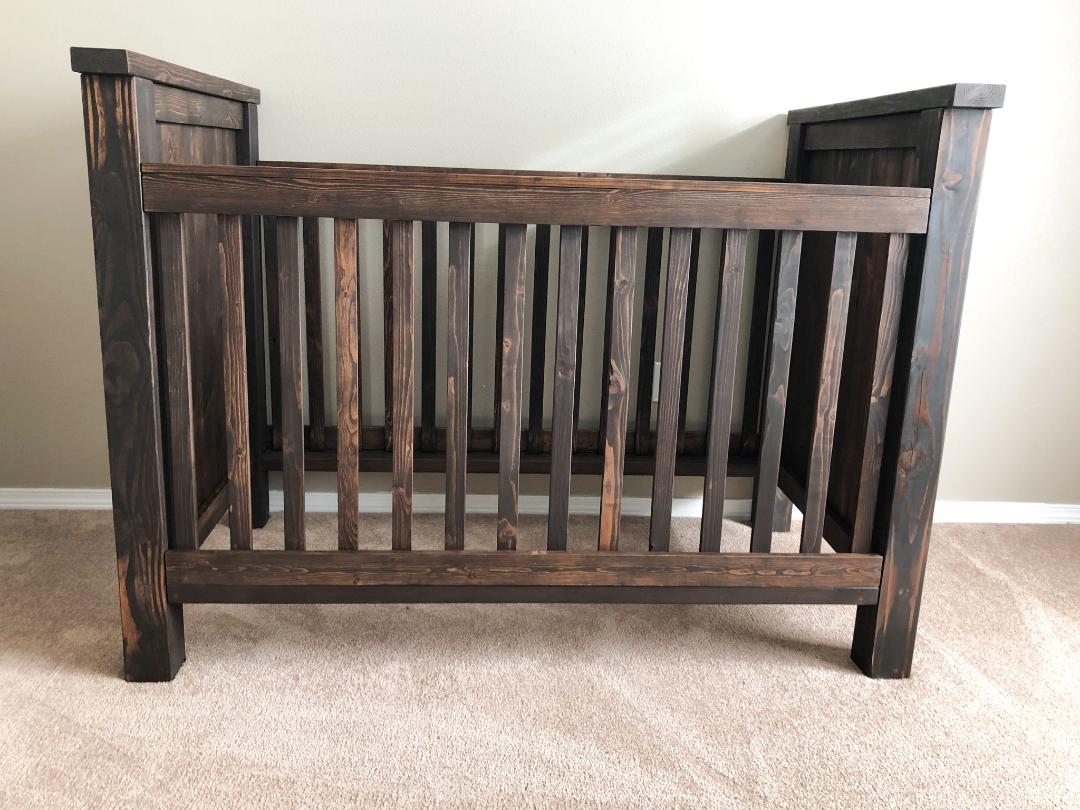
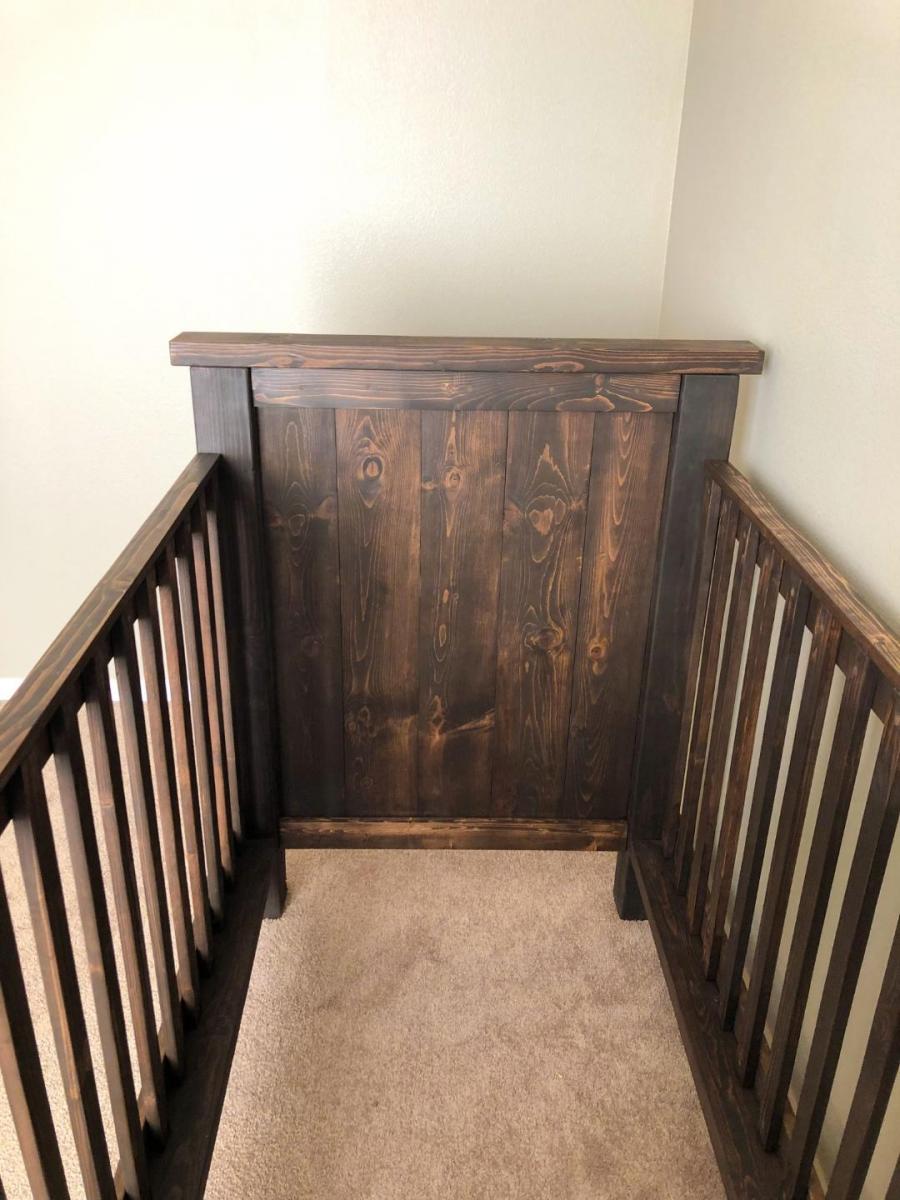
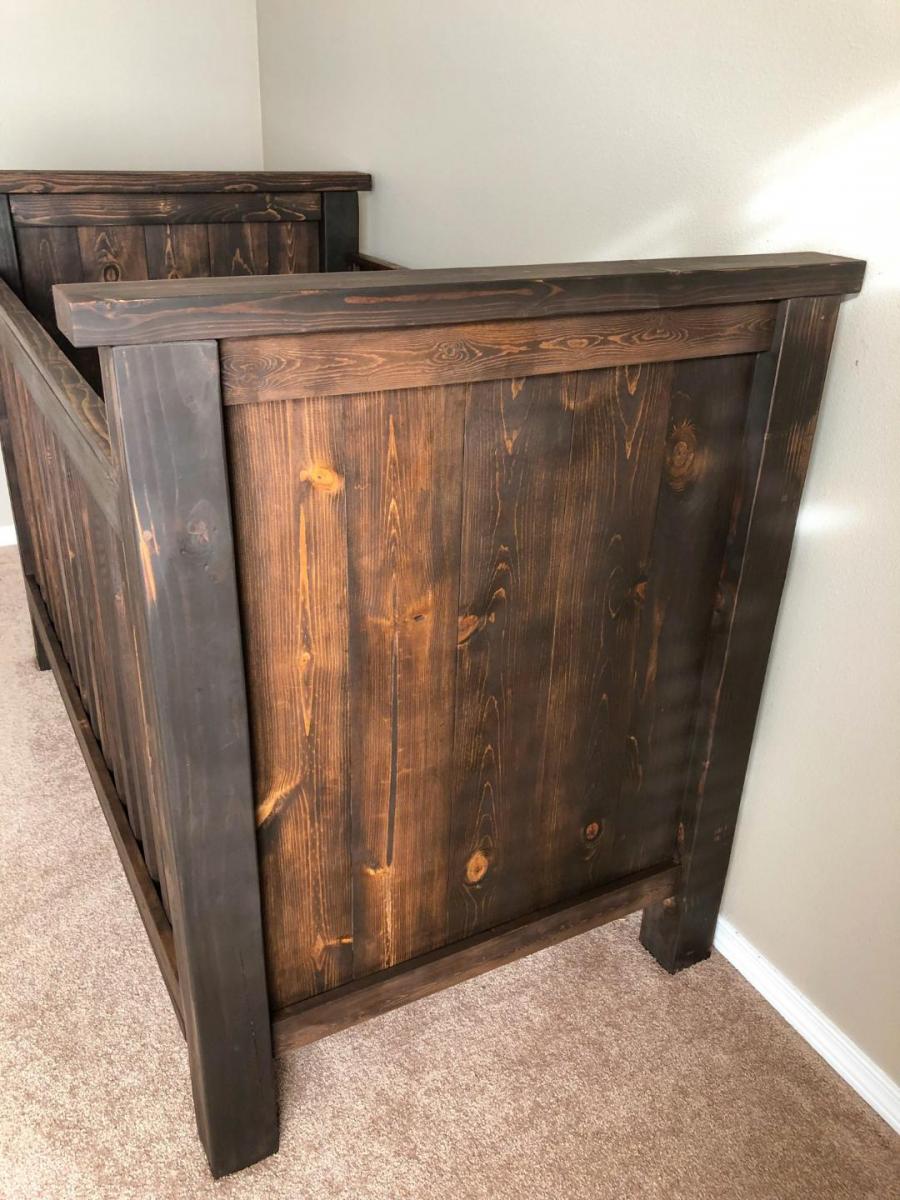
DIY Stinctly Made Crib

Submitted by Anonymous (not verified) on Thu, 03/26/2020 - 10:15

While I found the plans a little difficult to follow as there were steps left out, missing measurements, and misinformation, it was an easy project and I'm so glad I made it. Even at 21 weeks pregnant it was totally doable alone. The only thing I needed my husband for was to hold the side rails at the correct height.

Estimated Time Investment
Week Long Project (20 Hours or More)
Finish Used
Kona by Varathane
Recommended Skill Level
Beginner

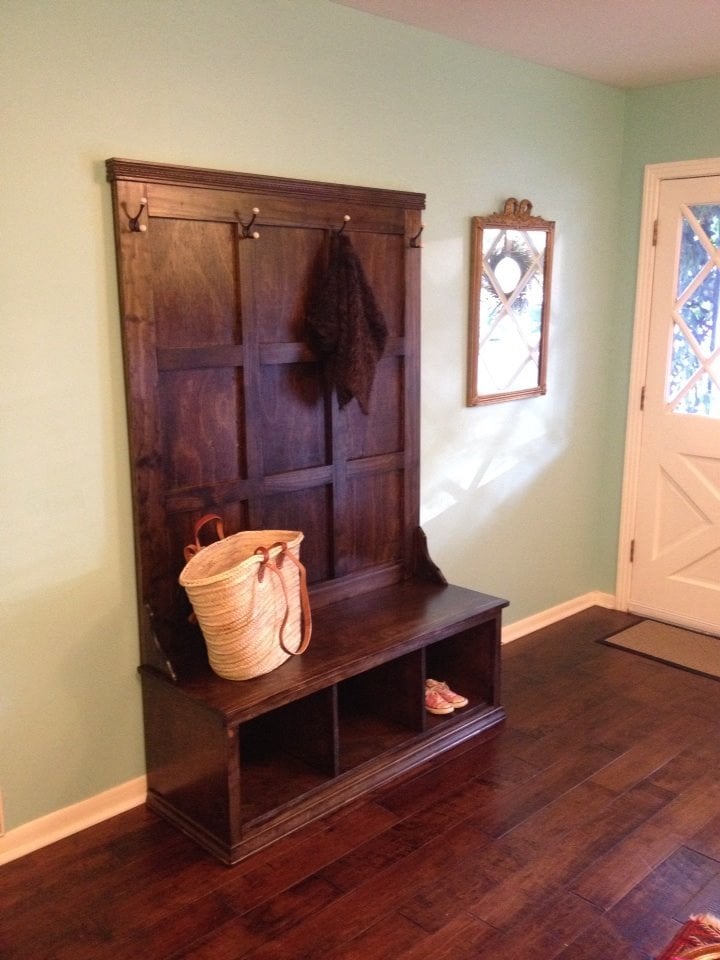
Fancy Hall Tree - First Project!

This was my first major woodworking project, and I am so pleased with it! I have been looking for a piece of furniture like this and couldn't find something that I liked and could afford. I spent about $180 in lumber, and also took Ana's advice and invested in a Kreg Jig. I HIGHLY recommend this! It is expensive ($100) but so worth it. I had to learn a few things along the way, and had encountered some obstacles, but in the end I am very pleased with the project. A few things I learned on my first project:

1. Exact cuts are SO important. Every 1/8" matters. It was helpful to do as many cuts as possible at the lumber store.

2. Ana mentions this in her beginners section, but it bears repeating: wood glue will repel stain. Be sure to wipe away ALL residue of wood glue before staining, and be sure to give extra sanding attention to areas that had wood glue. Otherwise you will have a white spot in the midst of your stain.

3. On this plan in particular there is one change that I recommend. Do not add the wrap around trip on the top and bottom until AFTER you have put the plywood backing on in the last step. The reason is that the plywood adds another 3/4 inch, and so there was a gap between the edge of the trip and the back on the furniture. I redid it on the top because it was so noticeable.
Built from Plan(s)
Estimated Cost
$180
Estimated Time Investment
Week Long Project (20 Hours or More)
Finish Used
Minwax Dark Walnut, satin polyurethane
Recommended Skill Level
Beginner

Comments

Simple Bunk Bed

Submitted by rogers99 on Sat, 05/23/2020 - 10:42

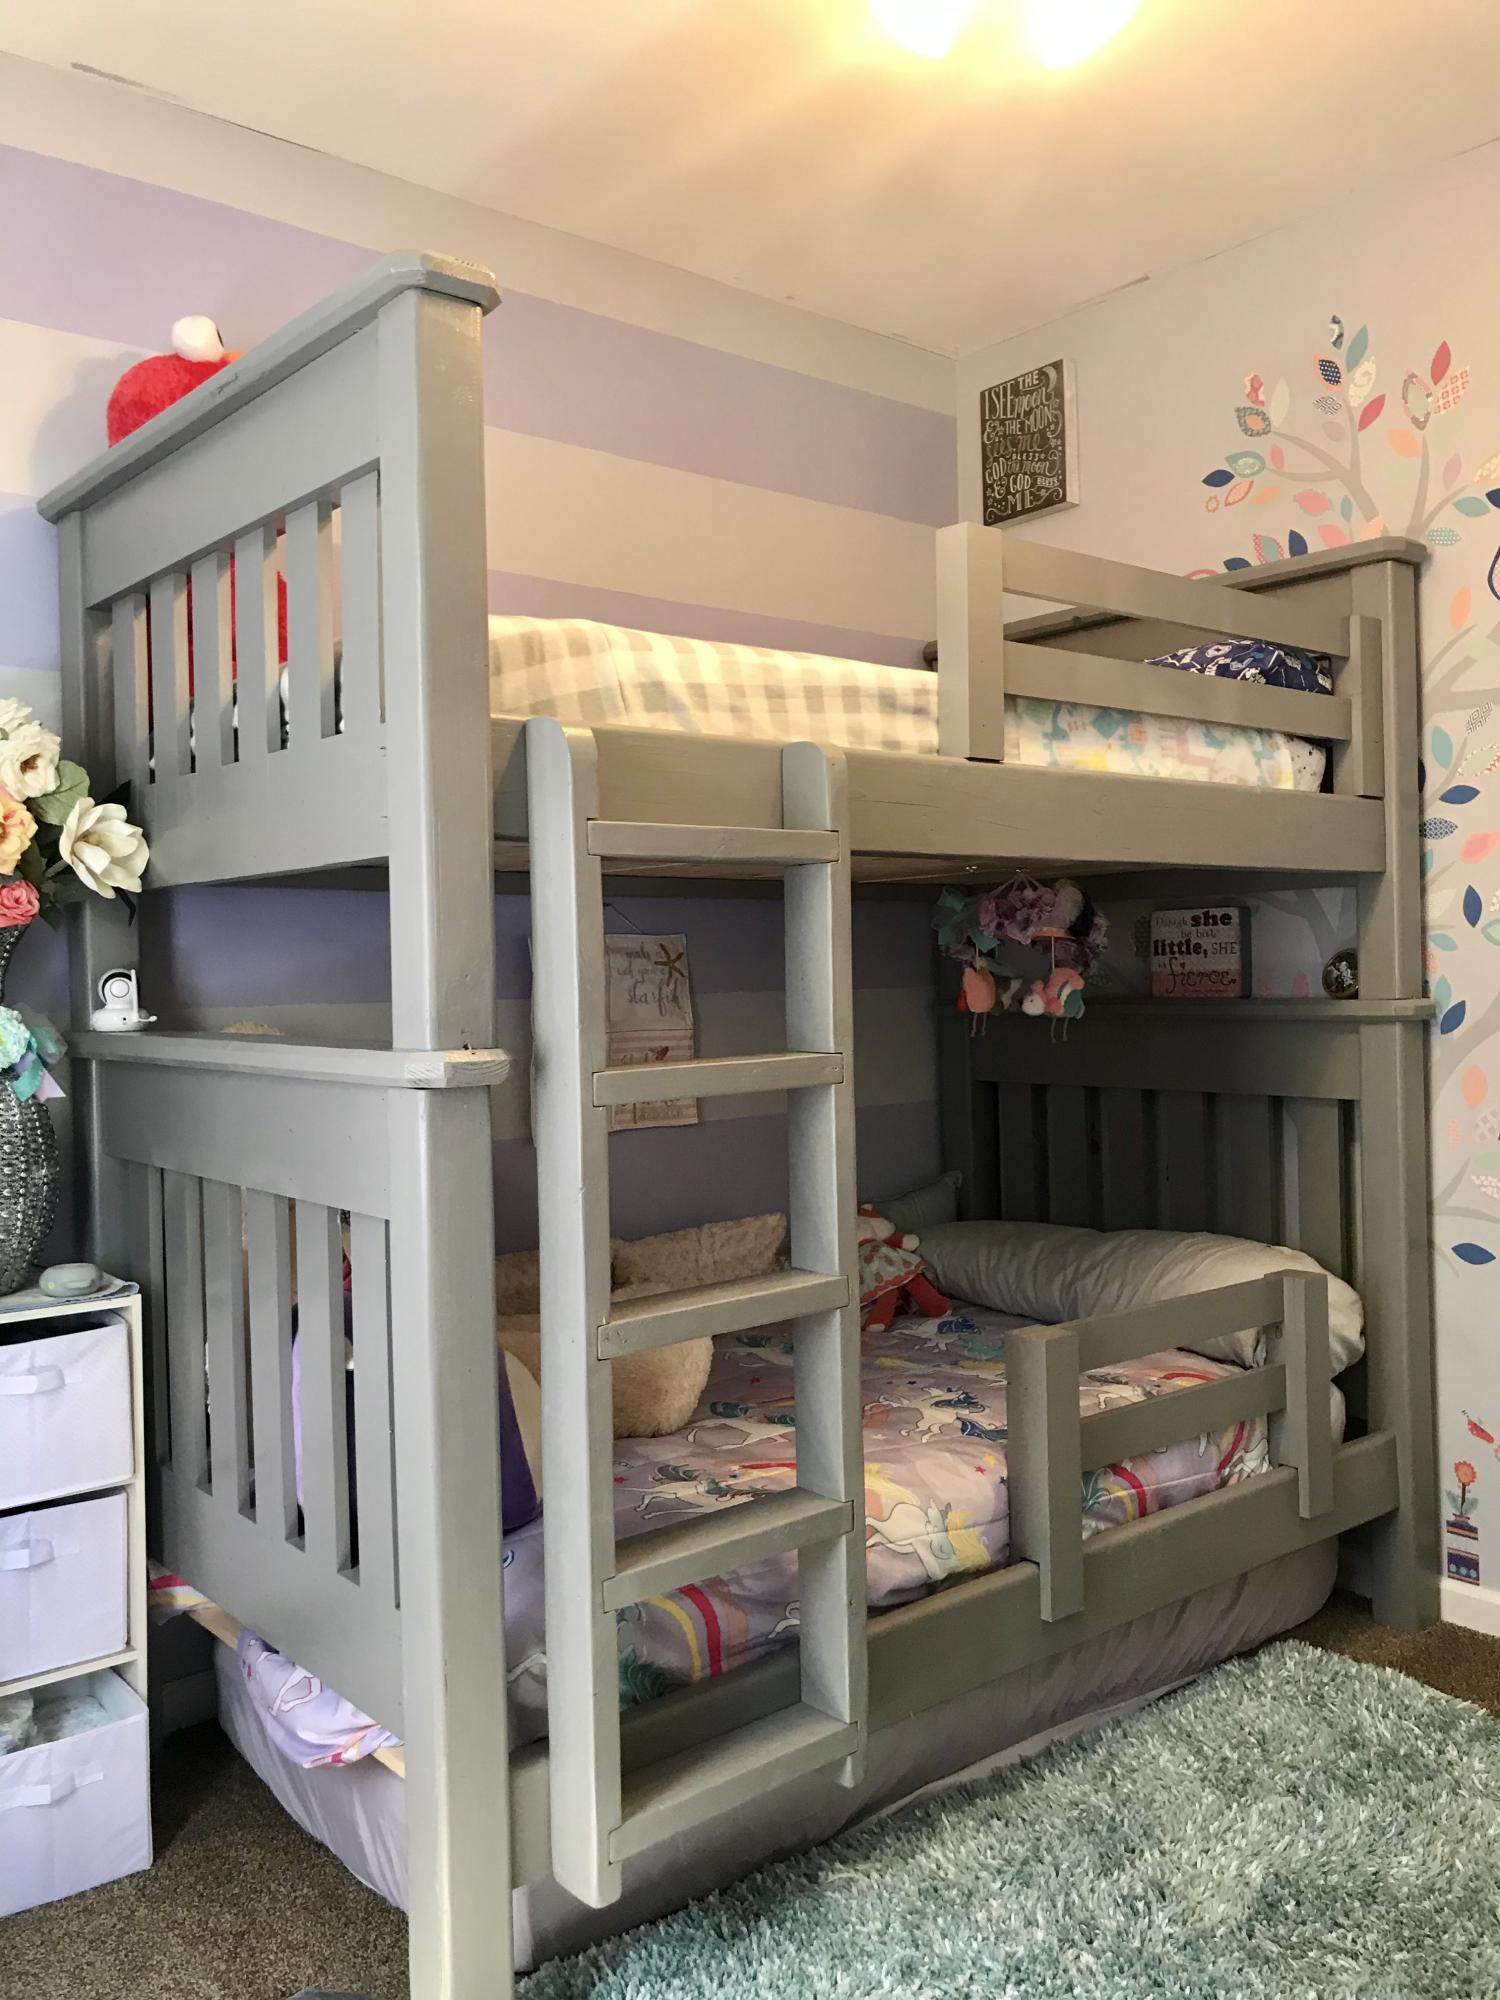
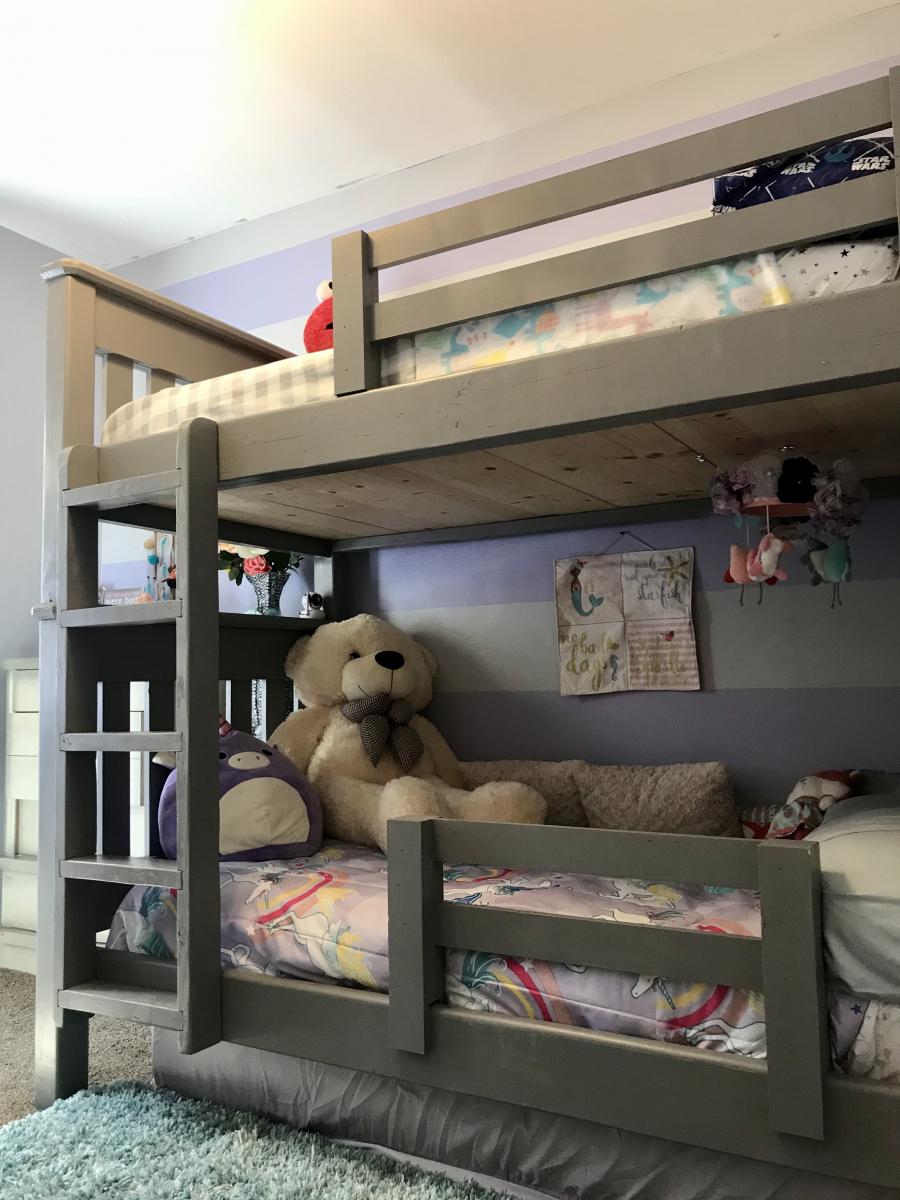
Built mostly from the Simple Bunk Bed plans on this site with a couple of modifications. Namely: made a vertical ladder, used Rockler Bed rail fasteners, increased bed height to fit 3rd twin mattress underneath for when my moms visits, and made a removable bottom safety rail that slides on when my daughter goes to sleep. Overall it was a fun project to do and they kids are really enjoying it.

Estimated Cost
380
Estimated Time Investment
Week Long Project (20 Hours or More)
Recommended Skill Level
Intermediate

Comments

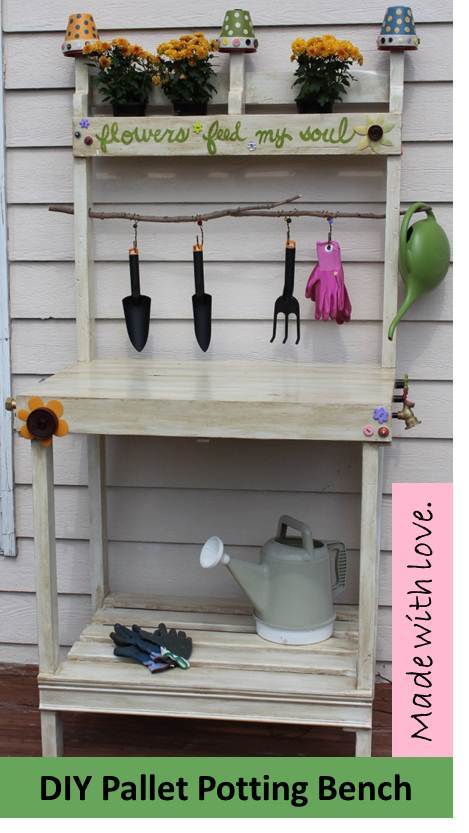
Cute DIY Pallet Potting Bench

Submitted by shampbel on Wed, 09/12/2012 - 20:33

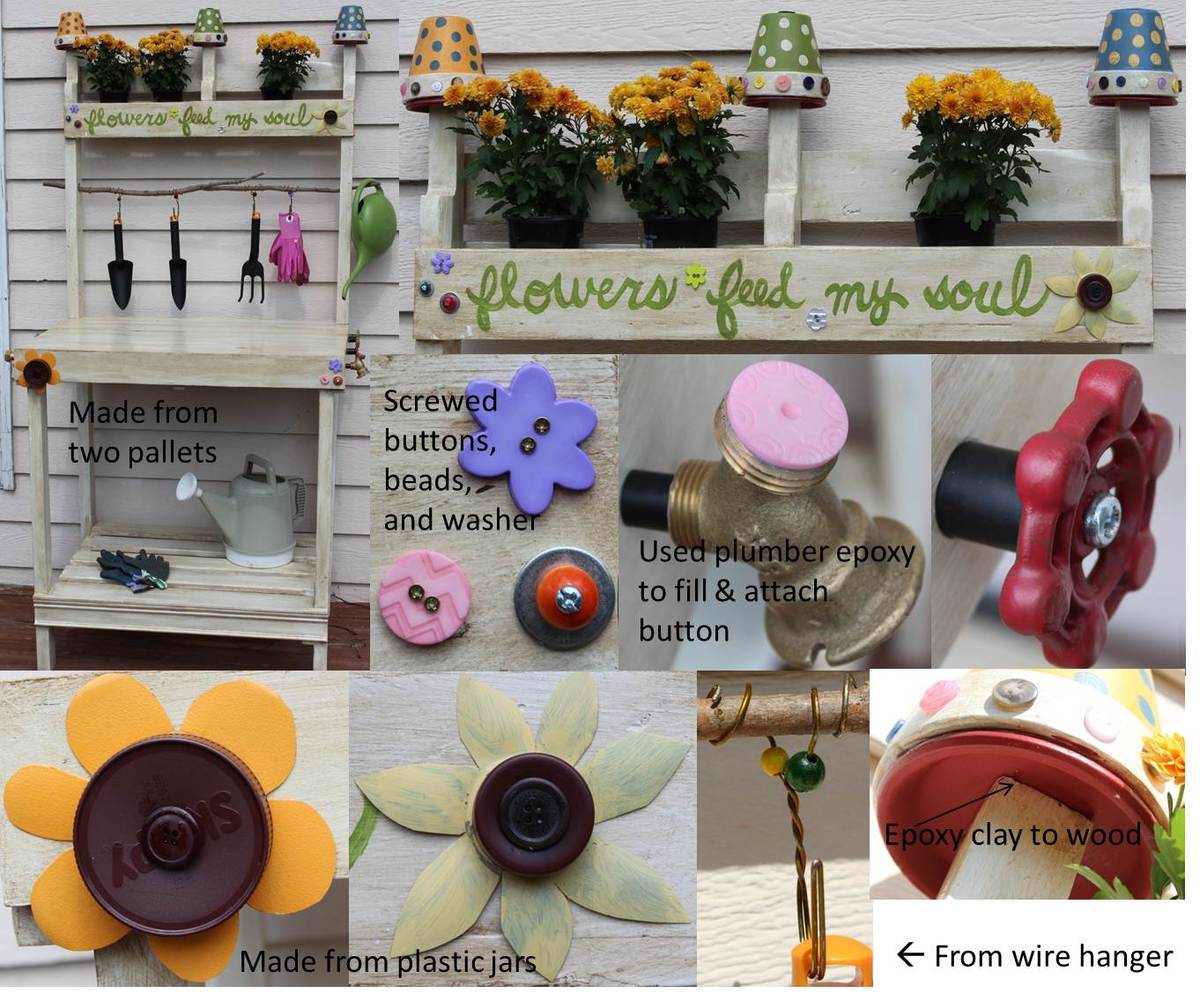
Made from 2 pallets, 2 x 6 x 8, leftover trim from my house, wood branch from my backyard. Attached shelf with pocket holes.

Accents:
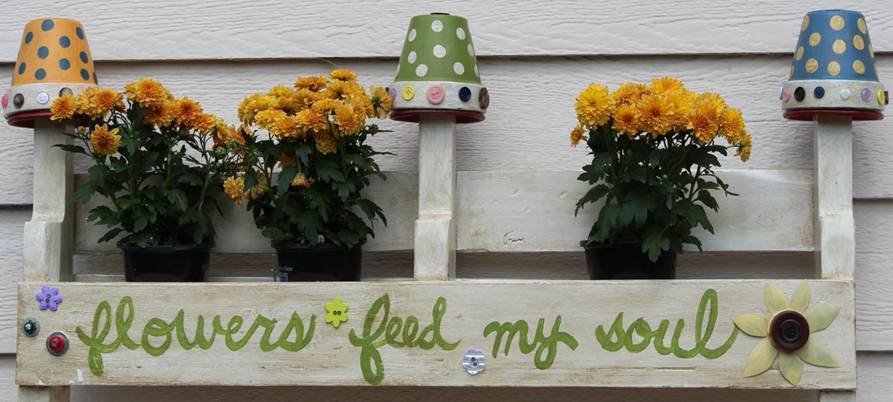
-Handpainted lettering; painted prior to glazing entire piece
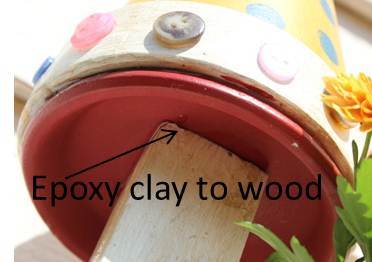
-Finials made from 4.25 inch spray painted and glazed clay pots and saucers coated with Valspar clear finish and attached together with epoxy; buttons attached to pots with E6000 adhesive
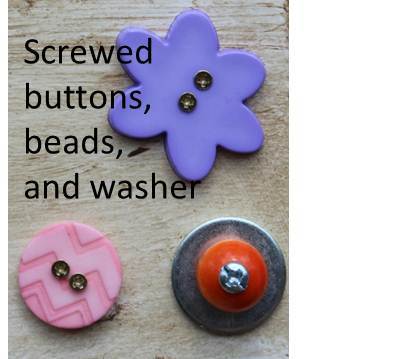
-Buttons attached mostly with small screws; a few with holes too small for screws were attached with epoxy
-Plastic flowers made from mayo and water bottles and lids; sanded, primed, spray painted, coated with Valspar clear coating; attached with screws
-Faucet knobs sanded, spray painted, glazed and attached with screws
-Plumbing pipe filled with plumber epoxy puttty; insert screw into putty before it hardened, then screwed into wood
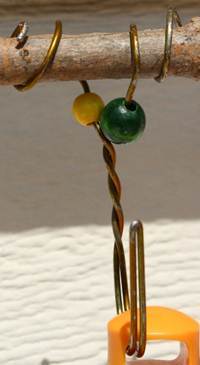
-Gardening tool hooks made from pant wire hangers with a few beads attached; wire simply wrapped around tree branch

Not sure that I will use pallet wood again since difficult to pull apart pallets, uneven and some split boards could not be used, and required tons of sanding for those boards that could be used. I think I paid more for orbital sanding pads than the cost of buying new wood. Will use pallet wood for other non-furniture projects not requiring a perfect finish.

Estimated Cost
$40.00
Estimated Time Investment
Week Long Project (20 Hours or More)
Finish Used
Kids distressed with hammers, sanded with 80 grit, Kilz Primer (1 coat), Sherwin Williams Exterior White Latex Paint (1 coat), Behr Glaze tinted with Brown Latex, Spar Urethane (3 coats)
Recommended Skill Level
Beginner

Enjoying my new desk

Submitted by triad107 on Tue, 10/18/2016 - 08:42

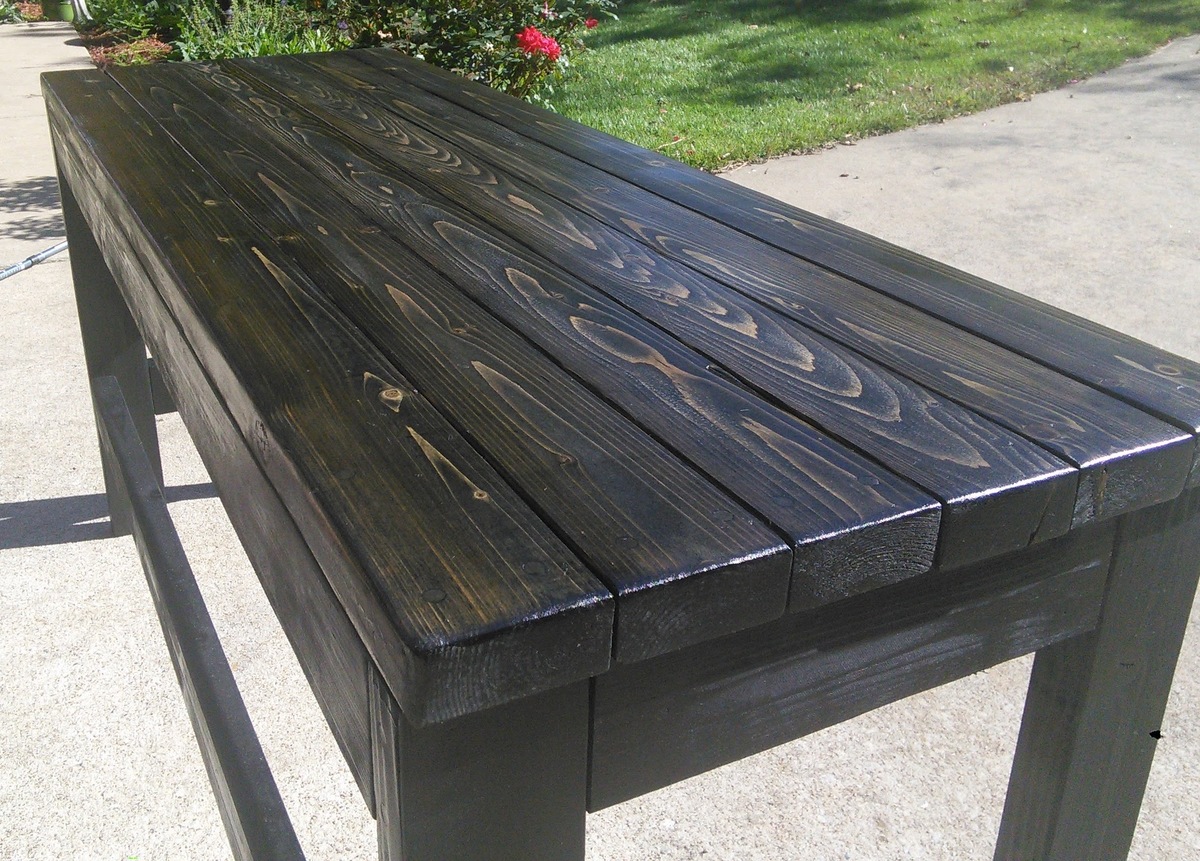
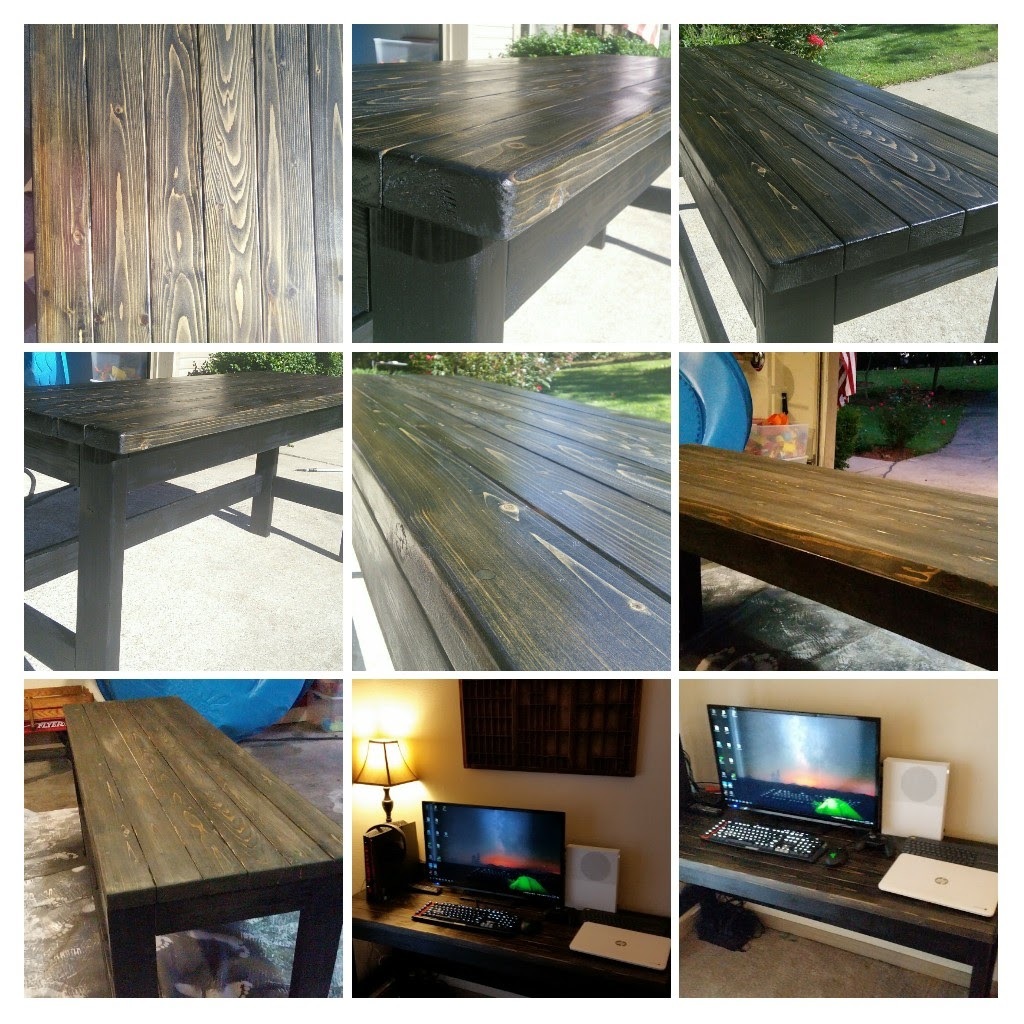
Took 2.5 hrs to cut, fasten and sand, and approximately 24-48 hrs to paint, stain and poly.


This has been a very rewarding project. Now I have people comissioning work!


Thanks for the plans

Built from Plan(s)
Estimated Cost
Wood: Fur 28$
Paint: $15
Stain: $5
Polyeurethane: $5
Screws: $9.50
Estimated Time Investment
Weekend Project (10-20 Hours)
Finish Used
Paint, and Dark Walnut Stain, polyurethane
Recommended Skill Level
Intermediate

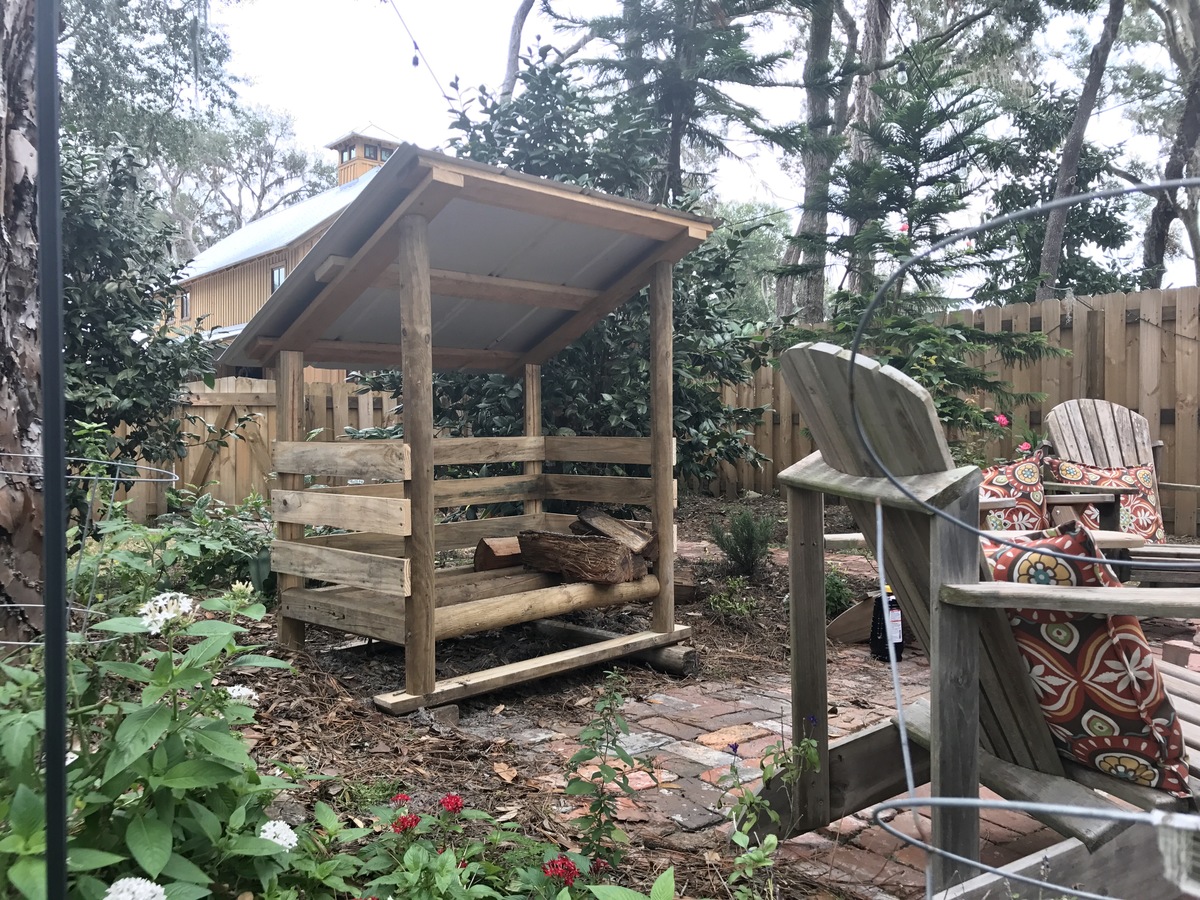
Mini Firewood Shed

I made this using plans submitted by pericles49. Thank you, pericles49!


I altered the design to use materials I had laying around, and changed the size to fit my space. That made it take a little longer - especially because changing the fastening pattern is still tricky for me - trying to keep screws from hitting each other.


Design

I made mine a little deeper 27-1/2" instead of 24 on the plan.


Materials

  • Landscape timbers I had laying around. To save on weight, and wood, I ripped a couple of the landscape timerbers down the middle.
  • Roof - 5-V crimp tin roof
  • 1x4 pine boards (2nds from other projects)
  • 1x4 and 1x2 cyprus boards (2nds from a construction project)

What I'd do differently next time

  • The weight of the firewood is resting on the screws that fasten the floor to the posts. Next time I'll make the wood support the weight, and the screws just hold it in place.


Built from Plan(s)
Estimated Cost
$6
Estimated Time Investment
Afternoon Project (3-6 Hours)
Recommended Skill Level
Beginner

First Project

Submitted by dragondad on Thu, 08/06/2020 - 11:34

Well, I started with one chair and finished with a full set. Not bad for a first timer. Definitely room to improve. Little tip if you're going to make this amazing set... raise the backs as they are too low with thicker cushions. I built a casing to go on top after the fact. Pretty happy with how it all turned out. Thanks Ana for the plans... now onto the next project!

Comments

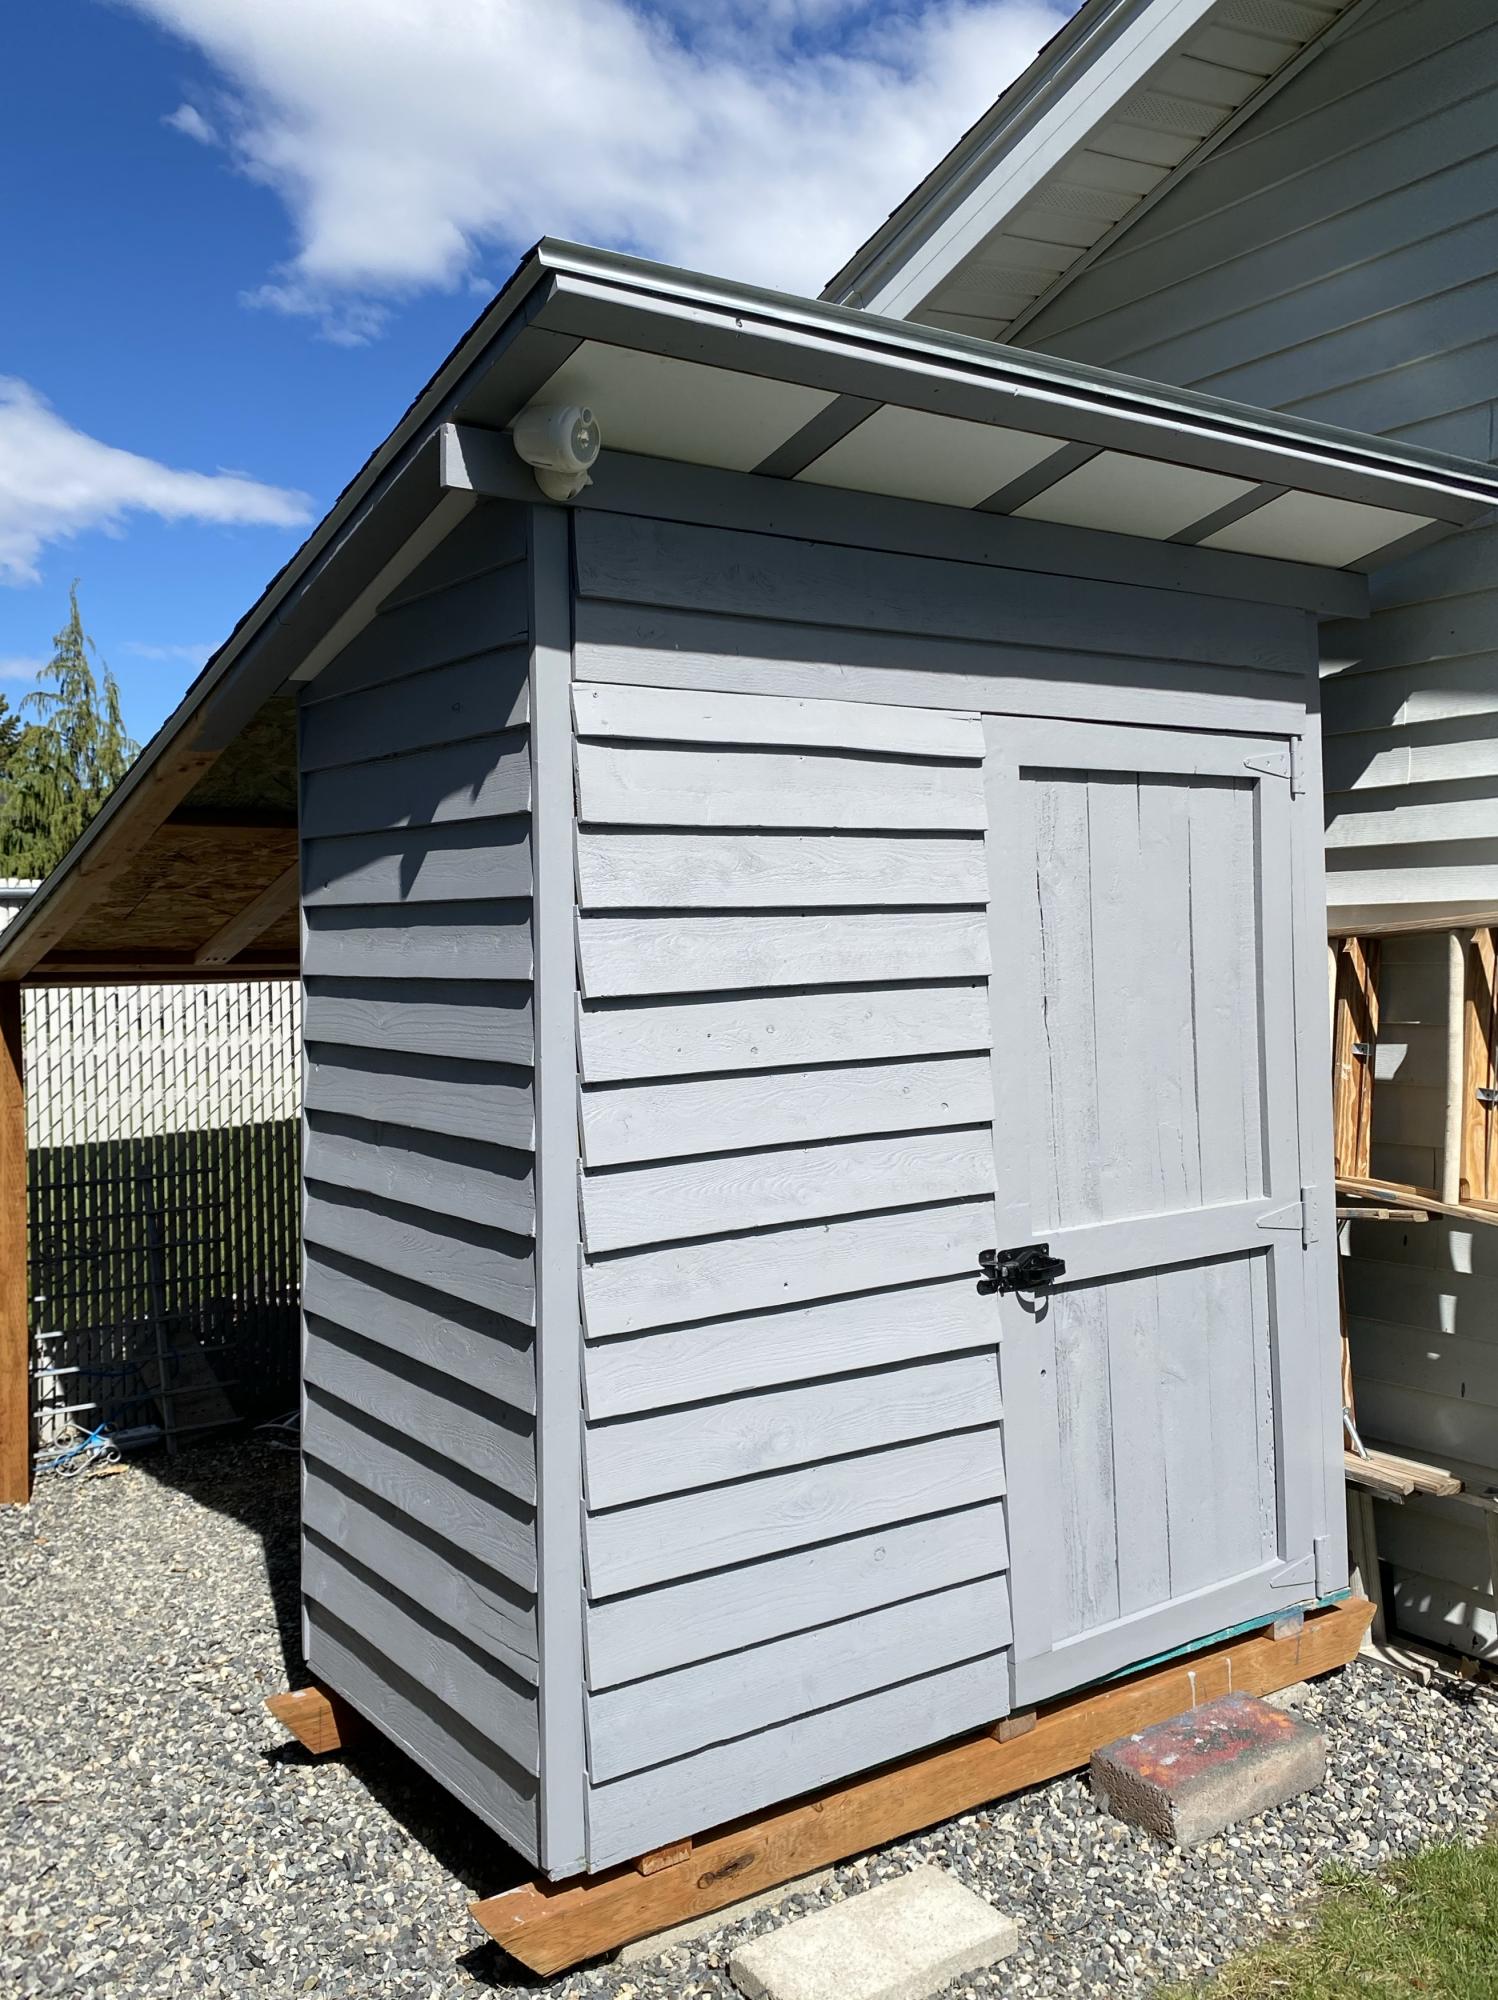
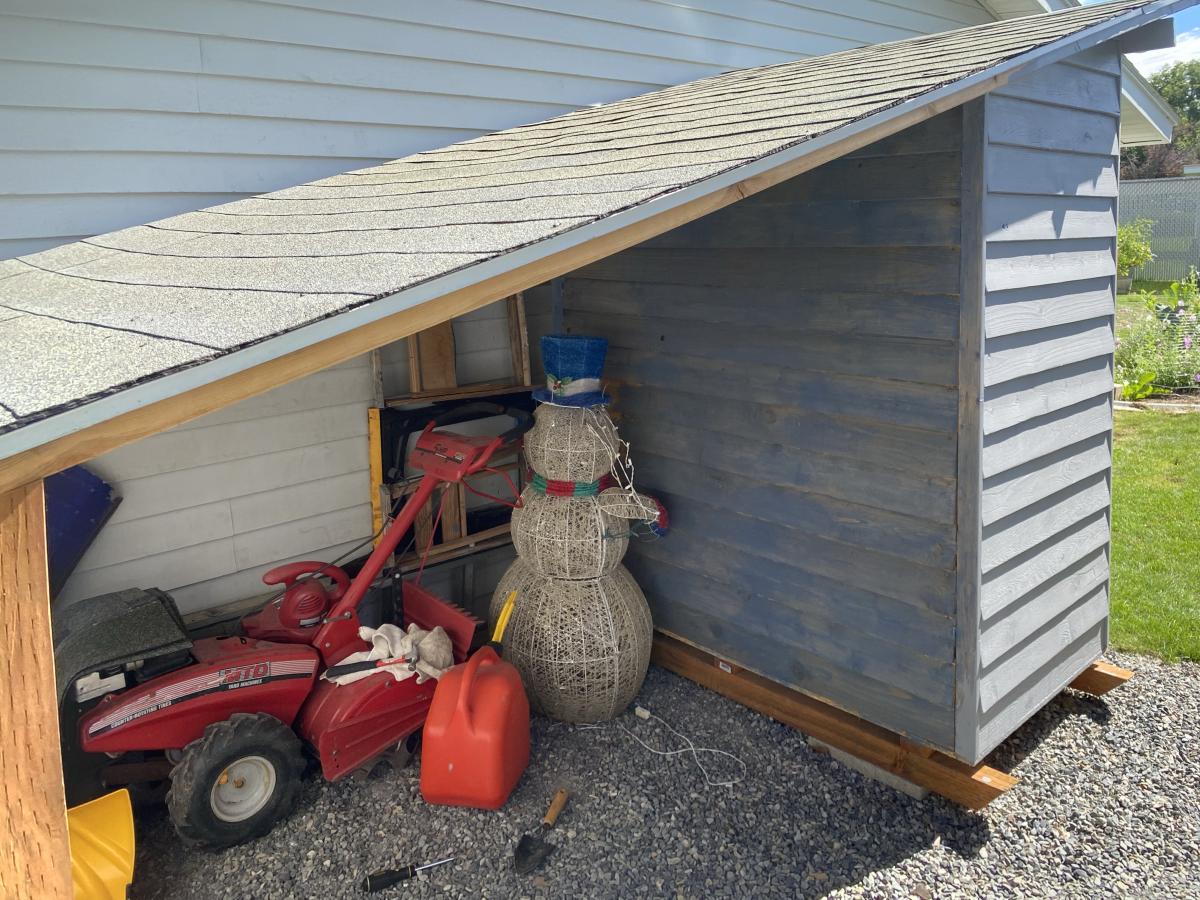
Small cedar shed part- re deux

Submitted by Kyleelou on Mon, 08/31/2020 - 12:06

I really needed somewhere to park my rototiller and mower during the summer and ended up modifying the plans to include a lean-too/over hang area. This required flipping the shed to extend the roof line. I continued the 15• roofline and also then had to create and cover the soffits. I also reduced it to one door and placed it on a skid foundation so that technically it would be considered a temporary structure, no permits needed. I first used a semi transparent stain that looked much darker and grayer in the store but looked very blue and terribly streaky on the shed, see back wall area. I then restrained it with a solid stain, which I think looks much better and covered the streaky stain. Because I extended the roof and stained it twice, this really increased the cost, but I think it was well worth it. I can store all my yard and garden tools underneath and inside.

Built from Plan(s)
Estimated Cost
$430
Estimated Time Investment
Week Long Project (20 Hours or More)
Finish Used
Behr premium solid stain
Recommended Skill Level
Beginner

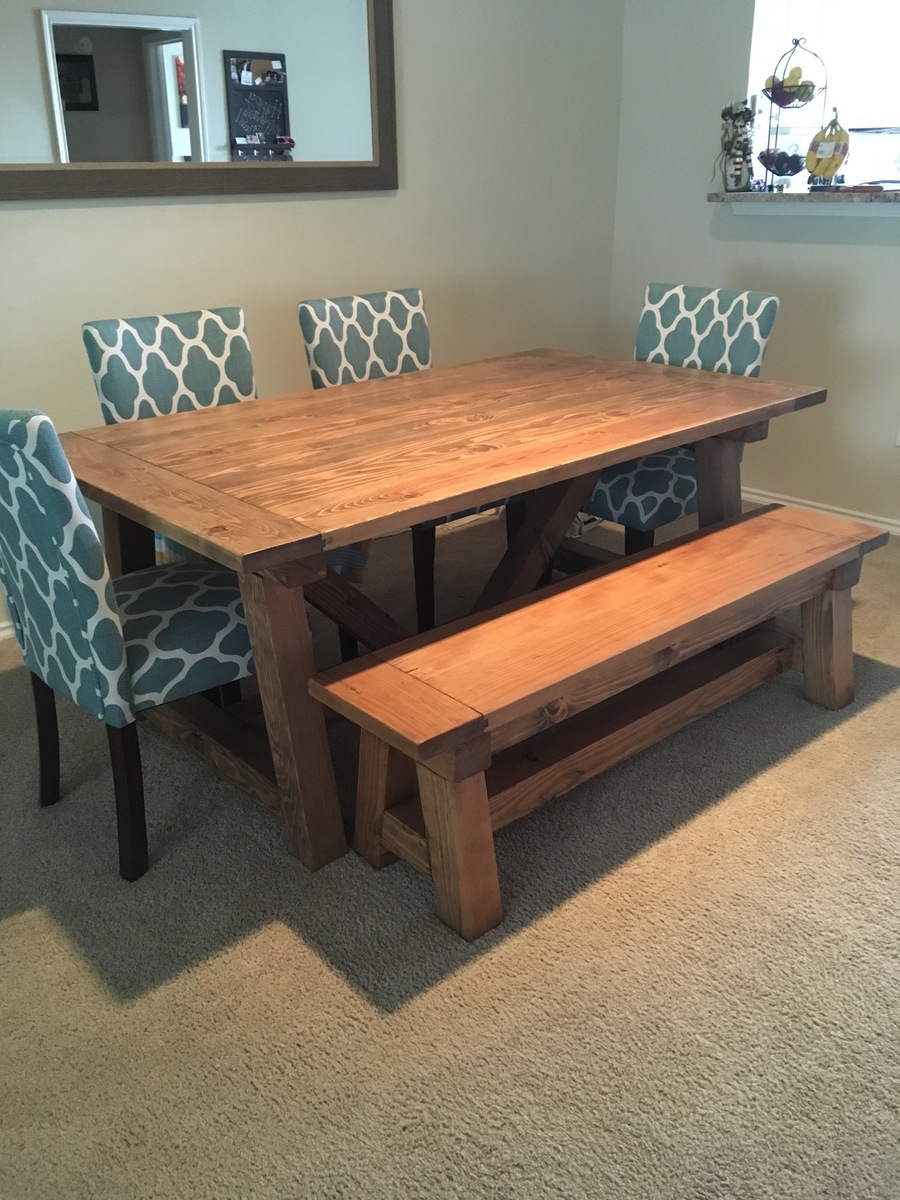
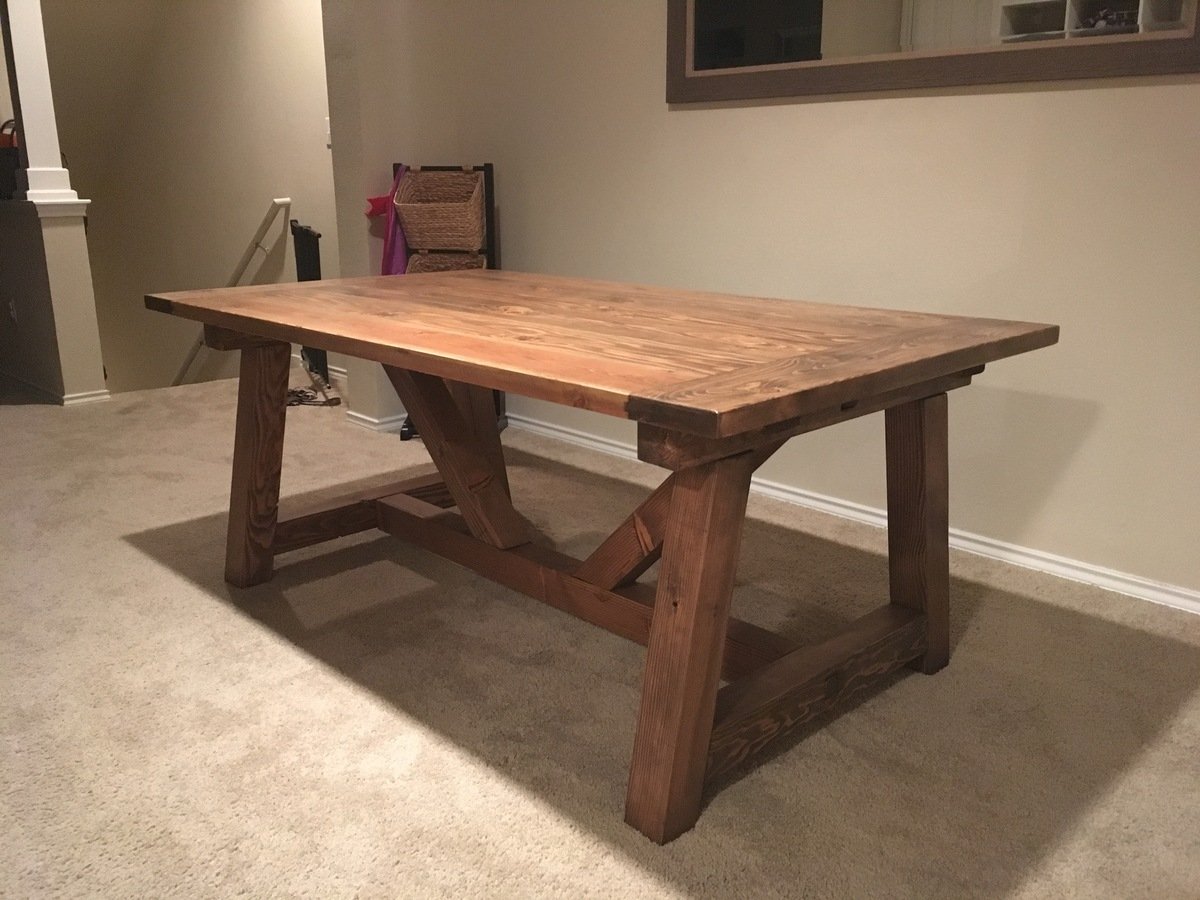
4x4 truss beam table - working breadboard ends and matching bench

Submitted by Anonymous (not verified) on Mon, 01/09/2017 - 16:17

mortise and tenon joints with dado for breadboards

Built from Plan(s)
Estimated Cost
$300
Estimated Time Investment
Week Long Project (20 Hours or More)
Finish Used
Custom stain mix
Recommended Skill Level
Advanced

Comments

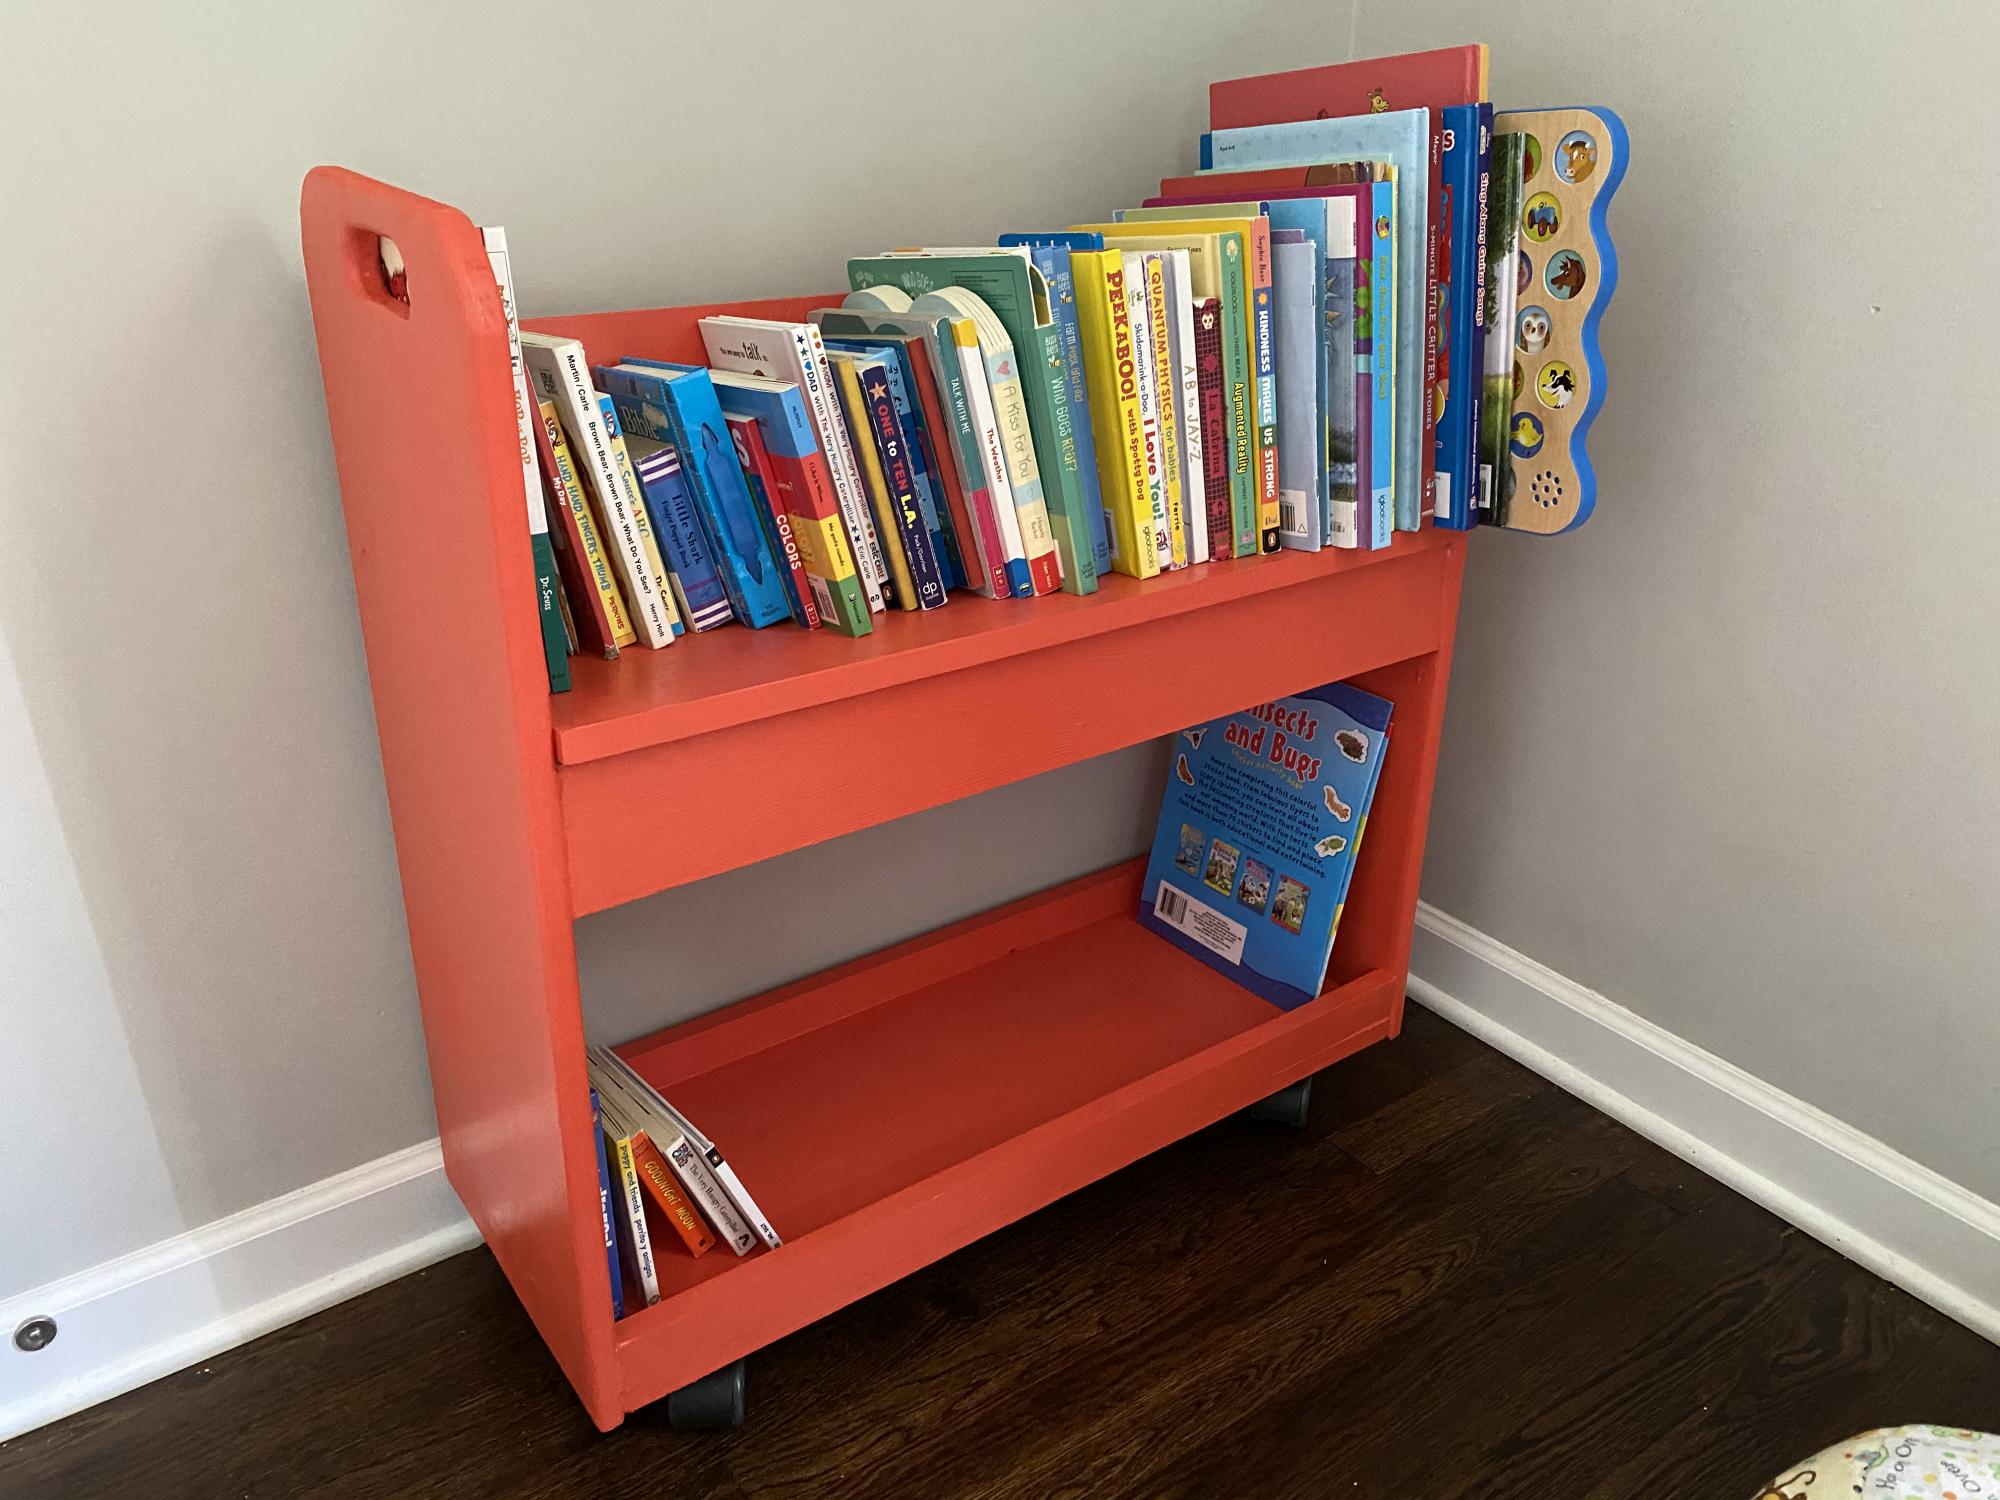
The Orange Library Book Cart

Submitted by lmdelirium on Mon, 06/28/2021 - 10:31

This was really easy once I finally got the top and handles on the side pieces complete. I still haven’t master my jigsaw yet :( Any tips would be helpful. The tearout I get when I use my jigsaw makes it impossible to follow any lines I draw. But I think the curves came out pretty okay.

Built from Plan(s)

Comments

Ana White Admin

Mon, 06/28/2021 - 20:09

It looks awesome, love the color choice! The jig saw just takes practice, but it looks like you did a wonderful job on that aspect as well!

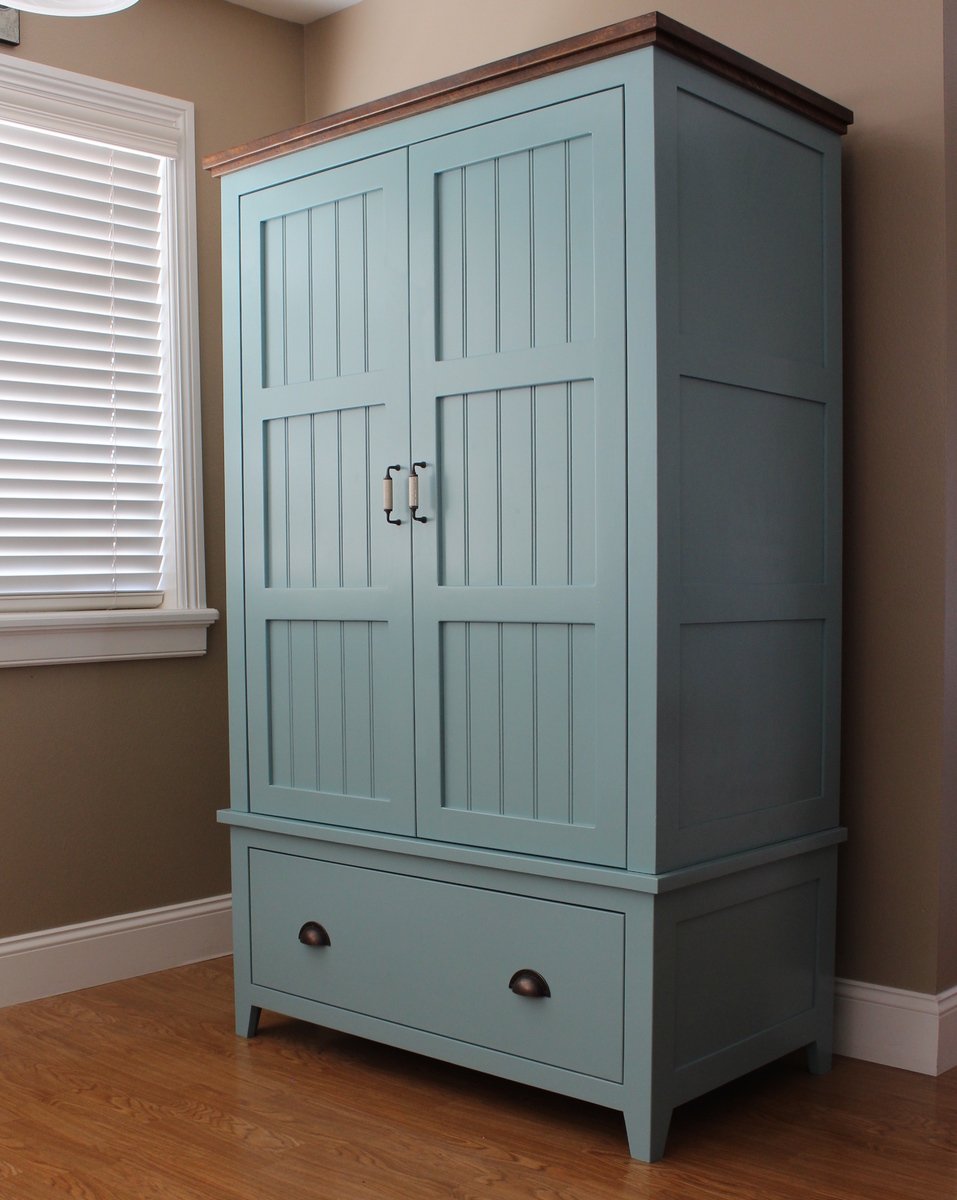
French County Wardrobe

This is probably one of my favorite pieces I have built.  Challenging but fun.  I built it as two separate sections, an upper and lower cabinet to make it easier to carry indoors.  I added a full-extension drawer below for storage. The two-toned paint combination did take a lot of extra time. Because I used an airless spraying to paint I had to tape and cover each section separately. 


Built from Plan(s)
Estimated Cost
$300.00
Estimated Time Investment
Week Long Project (20 Hours or More)
Finish Used
Venus teal and creme brulee by Behr. Dark walnut stain for the top.
Recommended Skill Level
Intermediate

Comments

Wood Chuck

Fri, 03/06/2015 - 10:43

WOW it looks awesome the extra time spent on the painting was more than worth it looks spectacular. I bet you also could make a great profit selling this Wardrobe either on line or in a consignment shop, if I had the need for one and the money I would defiantly buy one!!

MrCoffee

Fri, 03/06/2015 - 13:54

I love the way the paint job came out on this and I really dig the having the molding on the top stained.

Calmly

Sun, 03/08/2015 - 07:36

This looks awesome! I love the the paint finish and it your profession work

TwoCuteKids

Mon, 03/09/2015 - 17:30

I agree this is your best so far...which is hard to say b/c all your projects are amazing! I love the style, the paint colors, the stained top, and the hardware!

whopua

Tue, 11/10/2015 - 11:13

Are there any available plans? I'd love to make this for my wife!

Anela

Sat, 03/19/2016 - 15:06

It looks really great! 

I have fallen in love with it the second I saw it and somehow I am now convinced that I need a new wardrobe ;) 

I guess you don't have plans for the wardrobe laying around - but would you mind doing a fast sketch (just a simple one on paper) with all the measurements noted? I would be thrilled to try building it myself in the summer. 

Greetings from Germany!

Anela

Sat, 03/19/2016 - 15:07

It looks really great! 

I have fallen in love with it the second I saw it and somehow I am now convinced that I need a new wardrobe ;) 

I guess you don't have plans for the wardrobe laying around - but would you mind doing a fast sketch (just a simple one on paper) with all the measurements noted? I would be thrilled to try building it myself in the summer. 

Greetings from Germany!

petemoore

Mon, 08/22/2016 - 07:32

its very nice but there are no plans

can you put up the plans or email me them please

many thanks

leftysgirl

Tue, 07/18/2017 - 05:43

Are there plans used for this beautiful piece? I do not see any links. Help please!! I absolutely need to make this armoire :) :) 

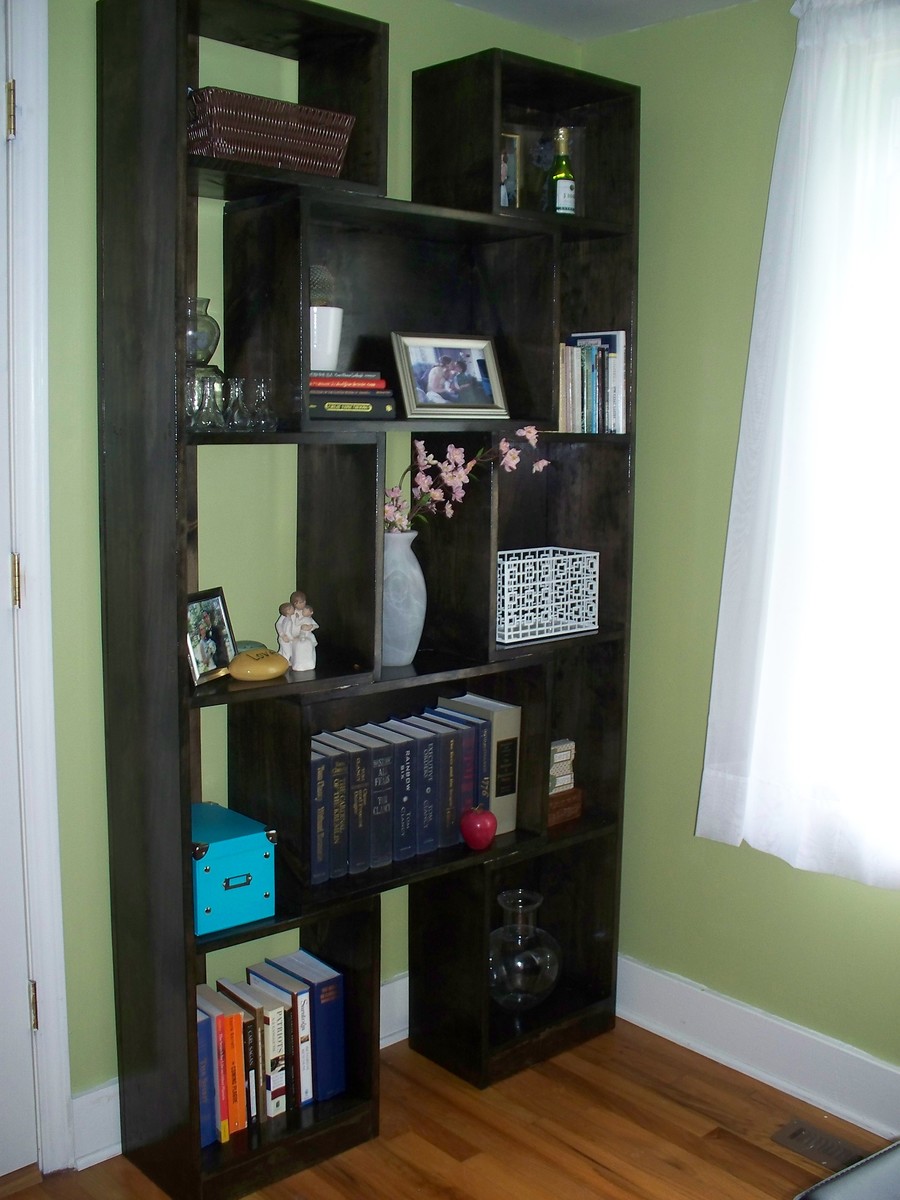
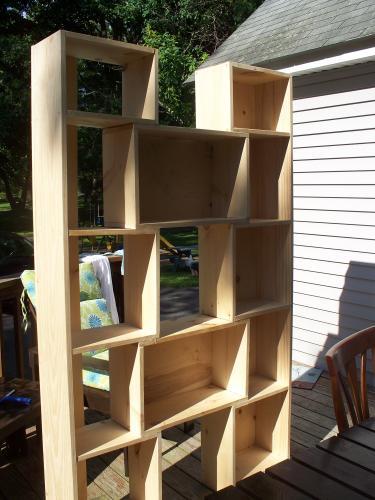
Modern Subway Tile Bookcase

Submitted by handymommy on Wed, 03/09/2011 - 05:39

I had to adjust the height and width of this project to fit on my wall in this corner. But I just LOVE how it came out. It's one of my favorite pieces of furniture in my whole house!

Estimated Time Investment
Day Project (6-9 Hours)
Finish Used
Mix of ebony and walnut stains with poly top coat.
Recommended Skill Level
Beginner

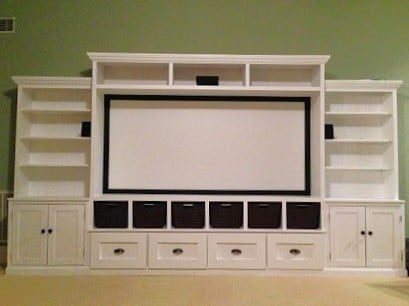
Entertainment Center

Submitted by skinny80 on Sun, 04/05/2015 - 11:46

Thanks for the great plans!! Finally got this monster put together.

Estimated Cost
$400
Estimated Time Investment
Week Long Project (20 Hours or More)
Recommended Skill Level
Advanced

Comments

slenert1

Sun, 11/15/2015 - 12:37

Do you have the dimentions or specific plan for this as it is much biger than the plan you used? Material list? We want to build one like this! Its so pretty!

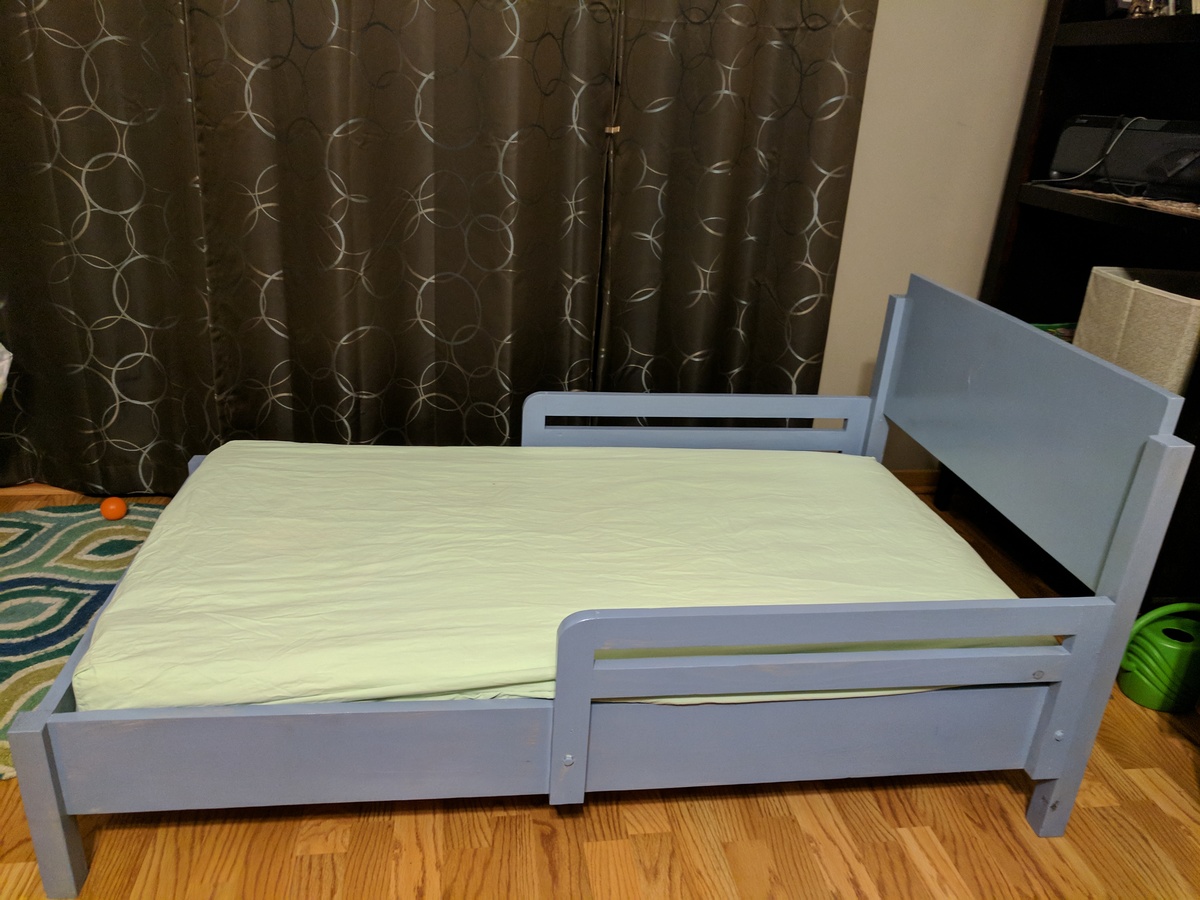
Toddler bed

Submitted by Bradnag on Wed, 09/13/2017 - 05:13

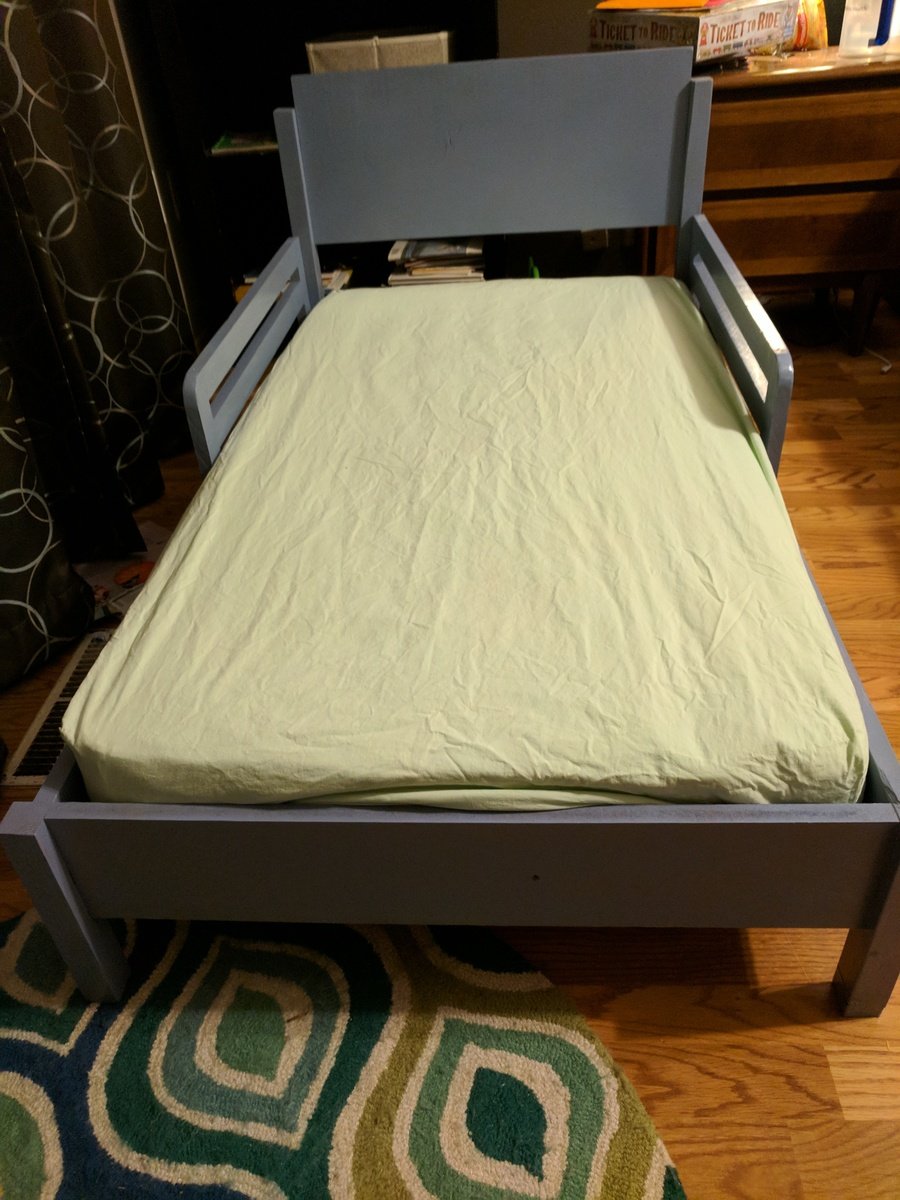
I made a loft bed for my 4-year-old son using Ana's Chelsea Loft plans. When I finished, I was able to build this toddler bed for my 1-year-old using almost entirely scraps left over from the loft (save for the 1x6 runners). I skipped the curved headboard design and went with a solid piece of 1x12. I was going to round the top edges or cut a more rounded design, but my wife said she liked the squared off look better (she has lots of ideas for painting various designs on it, apparently). Since we were going to use paint and not stain, I ripped some leftover MDF board for the 1x6 footers. The whole project took a single afternoon, including cutting, assembly, woodfill and sanding. The end result is pretty sturdy. My wife laid on it with both our small children and the slats hardly bowed at all.

Built from Plan(s)
Estimated Cost
$5
Estimated Time Investment
Afternoon Project (3-6 Hours)
Recommended Skill Level
Beginner
Back