DIY Christmas Tree Decor
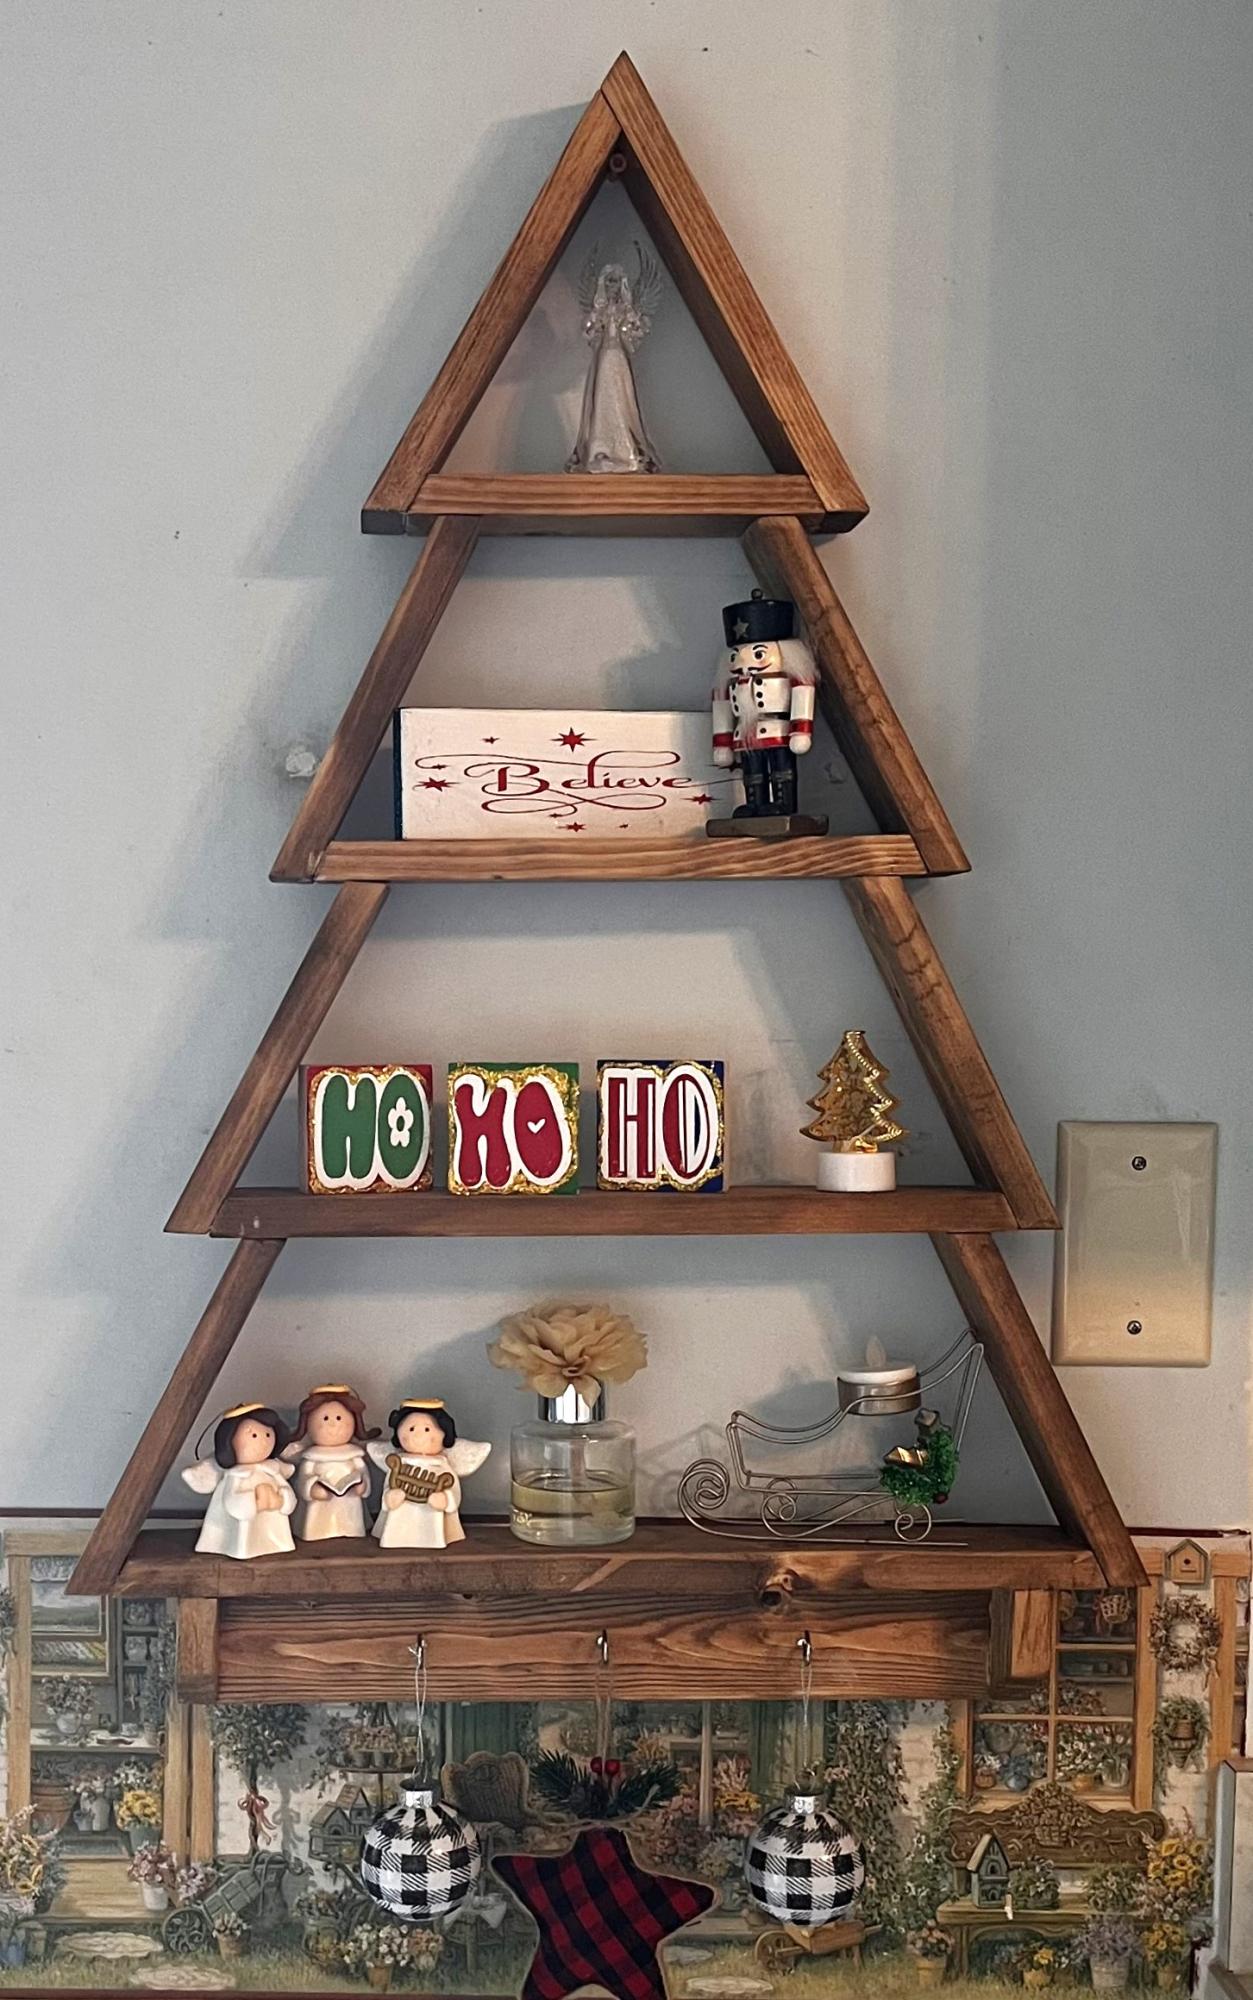
This was such a fun build and a wonderful addition to my Christmas collection.
Beth Belflower
Built from Plan(s)
This was such a fun build and a wonderful addition to my Christmas collection.
Beth Belflower
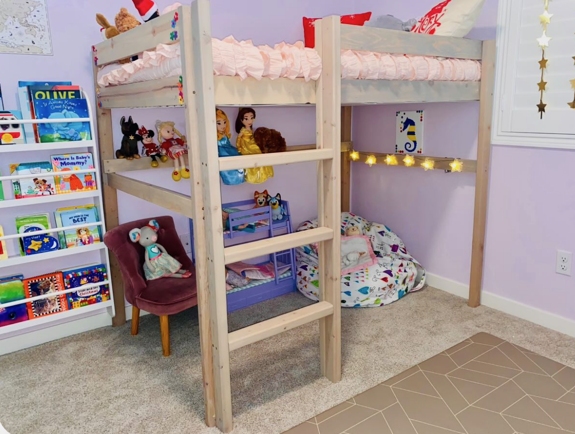
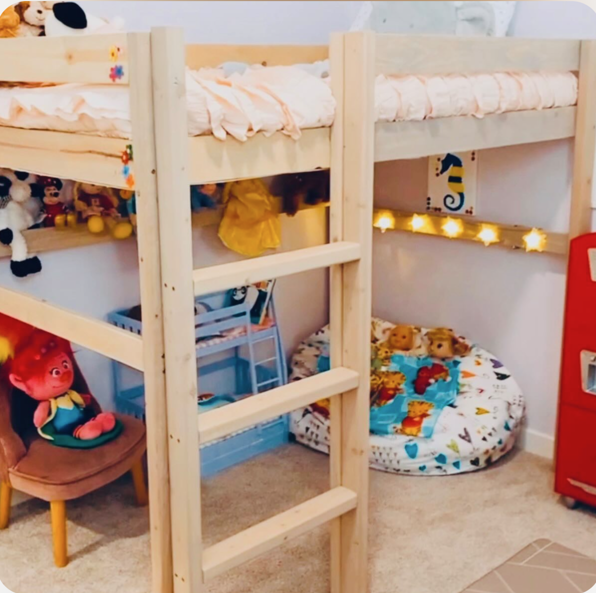
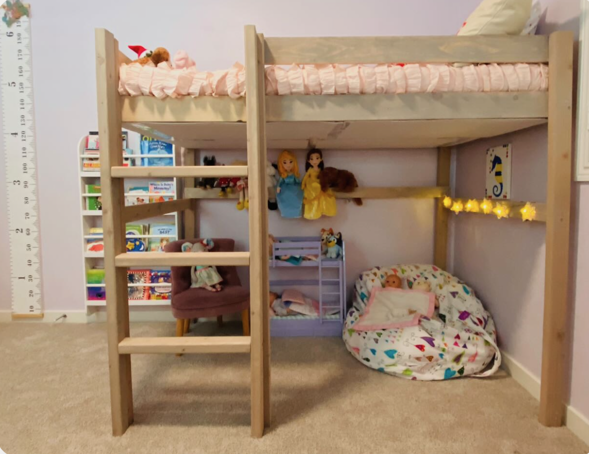
Built this loft bed for my girls playroom! They love it.
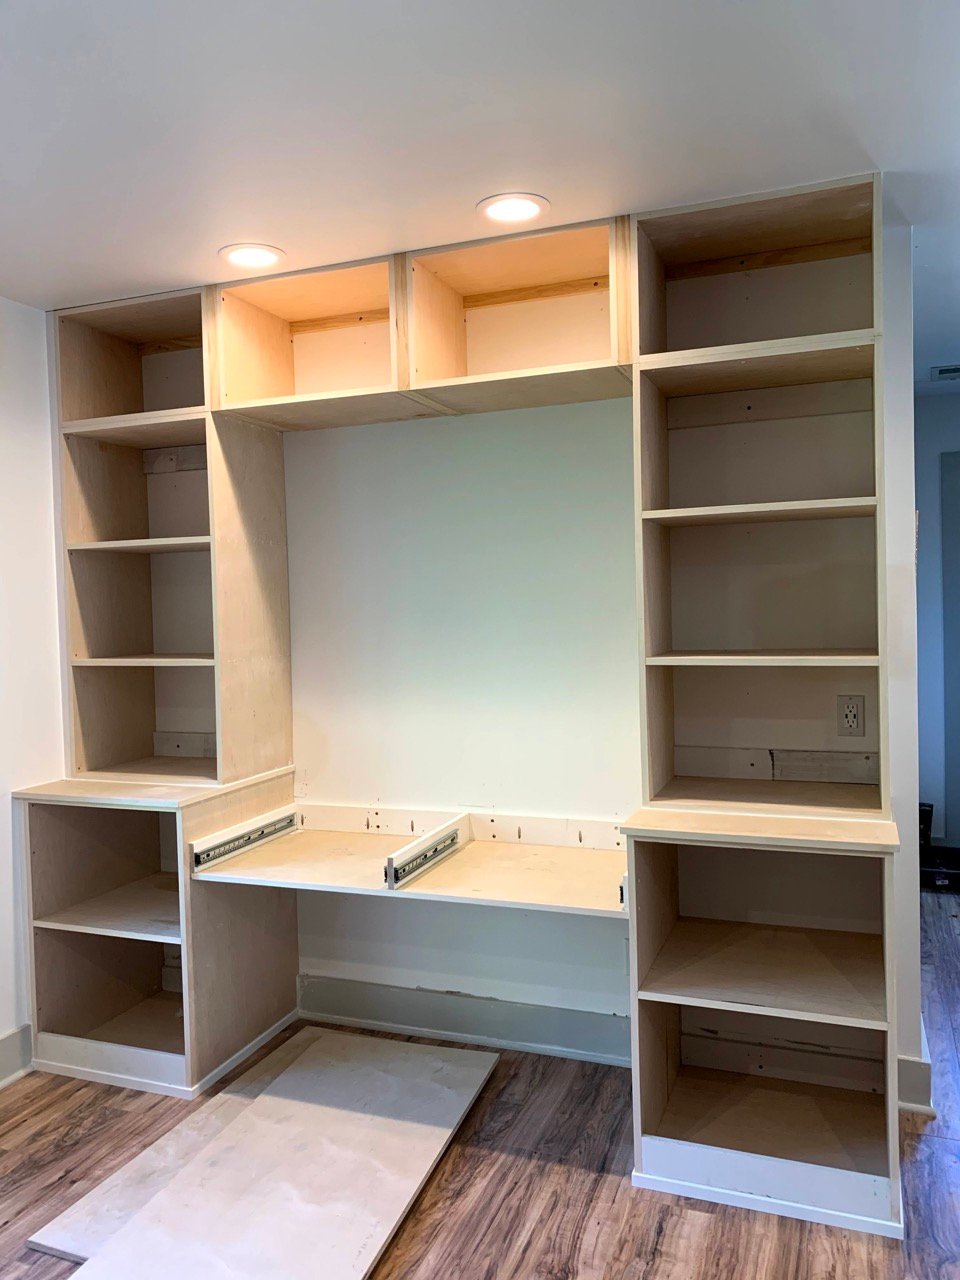
This was my first major woodworking project, and I am so pleased with it! I have been looking for a piece of furniture like this and couldn't find something that I liked and could afford. I spent about $180 in lumber, and also took Ana's advice and invested in a Kreg Jig. I HIGHLY recommend this! It is expensive ($100) but so worth it. I had to learn a few things along the way, and had encountered some obstacles, but in the end I am very pleased with the project. A few things I learned on my first project:
1. Exact cuts are SO important. Every 1/8" matters. It was helpful to do as many cuts as possible at the lumber store.
2. Ana mentions this in her beginners section, but it bears repeating: wood glue will repel stain. Be sure to wipe away ALL residue of wood glue before staining, and be sure to give extra sanding attention to areas that had wood glue. Otherwise you will have a white spot in the midst of your stain.
3. On this plan in particular there is one change that I recommend. Do not add the wrap around trip on the top and bottom until AFTER you have put the plywood backing on in the last step. The reason is that the plywood adds another 3/4 inch, and so there was a gap between the edge of the trip and the back on the furniture. I redid it on the top because it was so noticeable.
Wed, 04/30/2014 - 11:14
This is gorgeous! You did a great job! I want to make this but I have no place to put it in my tiny apartment. Someday…
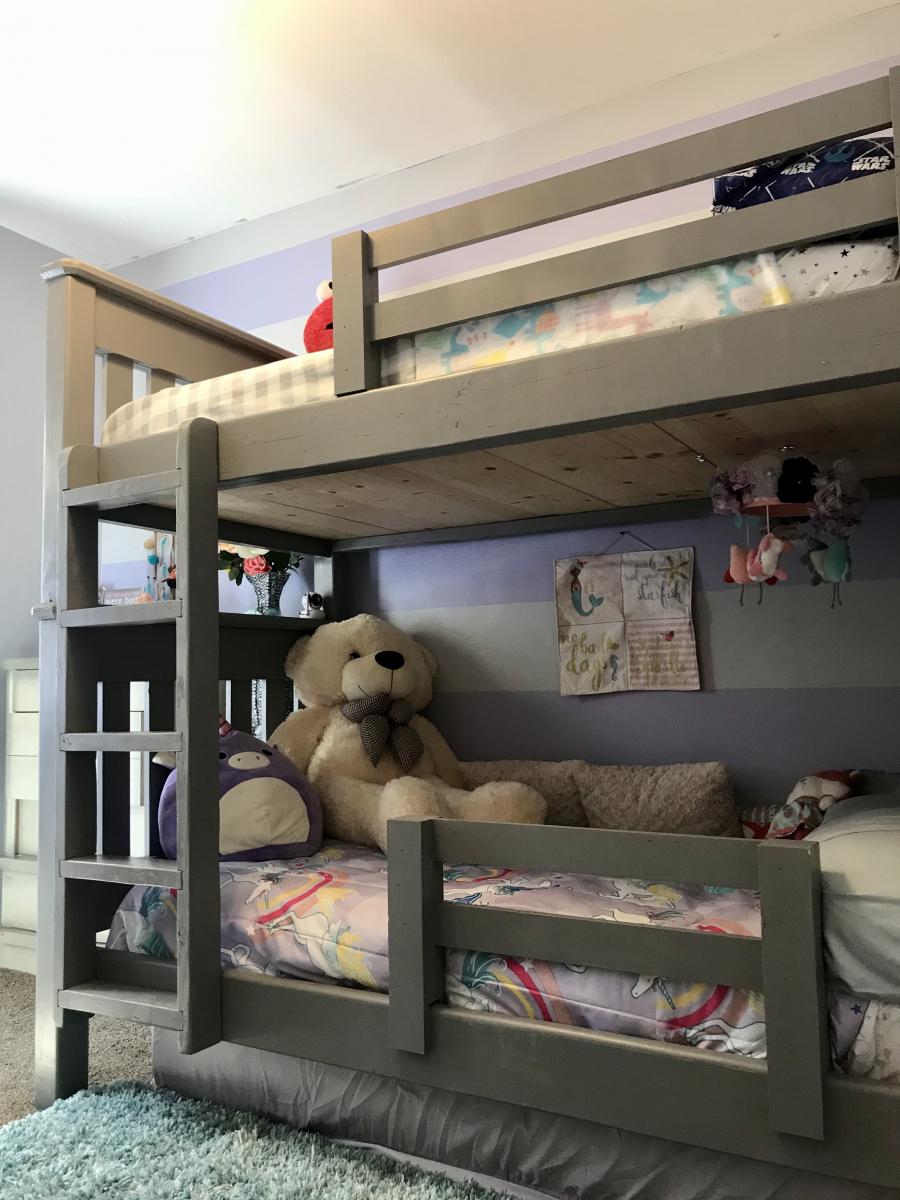
Built mostly from the Simple Bunk Bed plans on this site with a couple of modifications. Namely: made a vertical ladder, used Rockler Bed rail fasteners, increased bed height to fit 3rd twin mattress underneath for when my moms visits, and made a removable bottom safety rail that slides on when my daughter goes to sleep. Overall it was a fun project to do and they kids are really enjoying it.
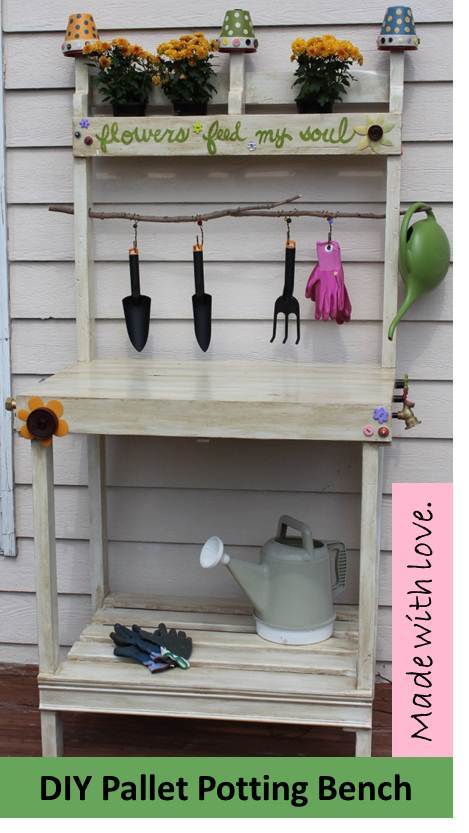
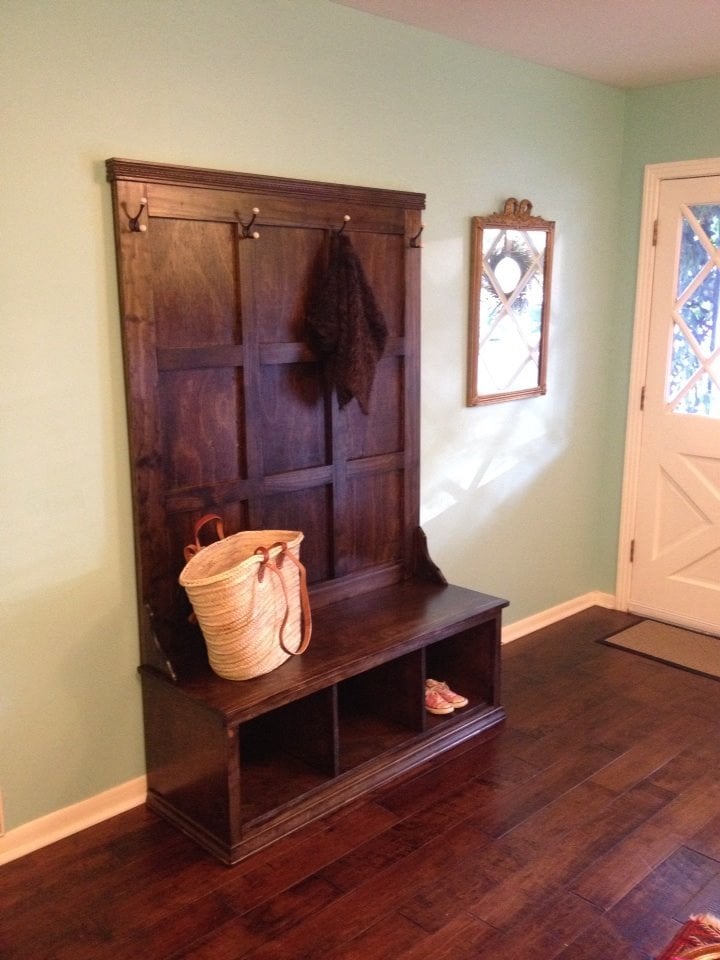
Made from 2 pallets, 2 x 6 x 8, leftover trim from my house, wood branch from my backyard. Attached shelf with pocket holes.
Accents:
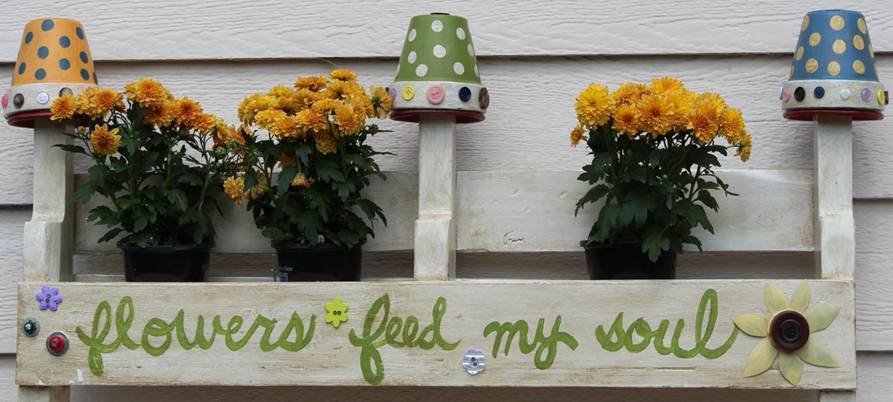
-Handpainted lettering; painted prior to glazing entire piece
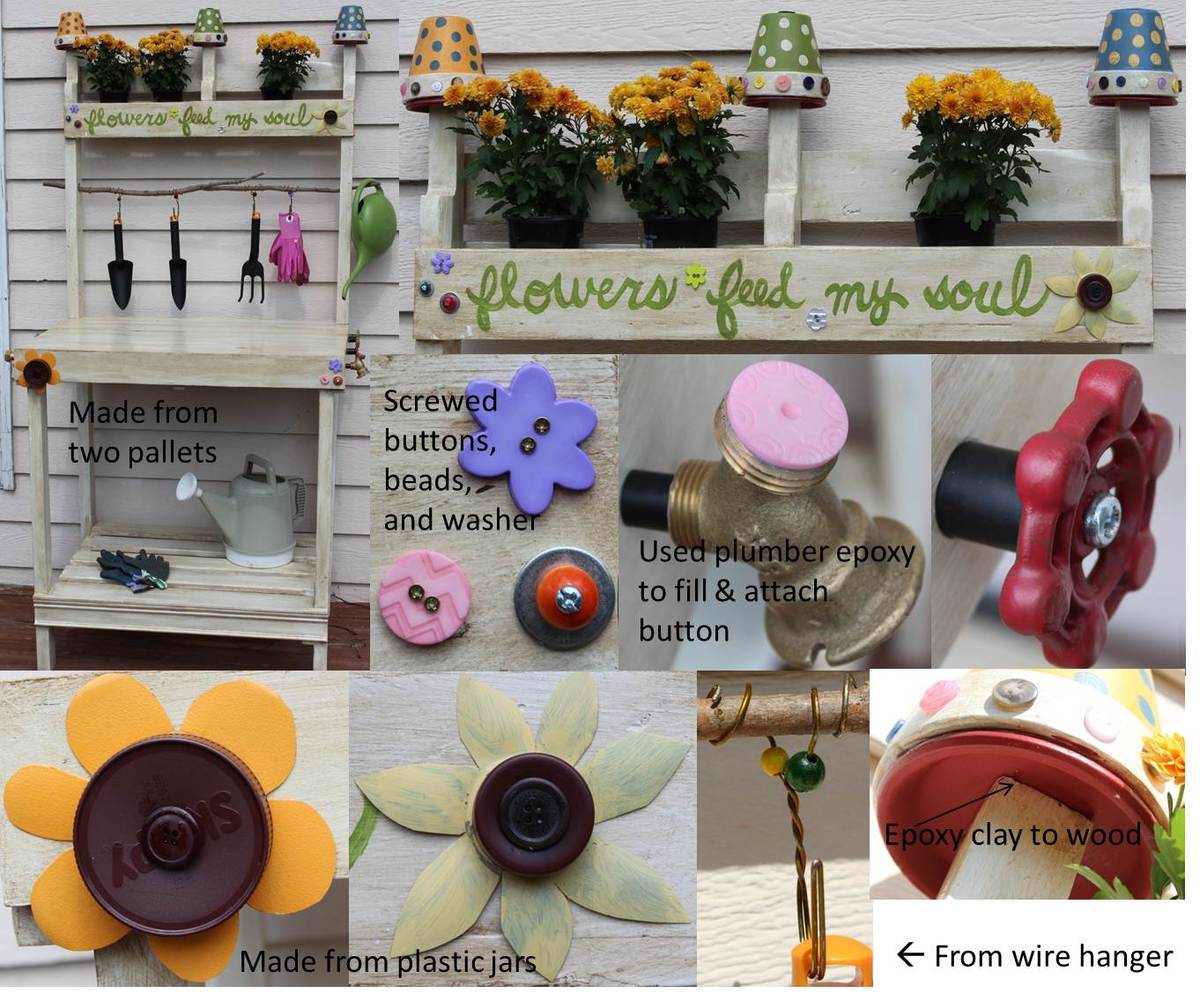
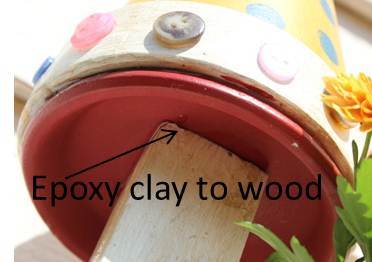
-Finials made from 4.25 inch spray painted and glazed clay pots and saucers coated with Valspar clear finish and attached together with epoxy; buttons attached to pots with E6000 adhesive
-Buttons attached mostly with small screws; a few with holes too small for screws were attached with epoxy
-Plastic flowers made from mayo and water bottles and lids; sanded, primed, spray painted, coated with Valspar clear coating; attached with screws
-Faucet knobs sanded, spray painted, glazed and attached with screws
-Plumbing pipe filled with plumber epoxy puttty; insert screw into putty before it hardened, then screwed into wood
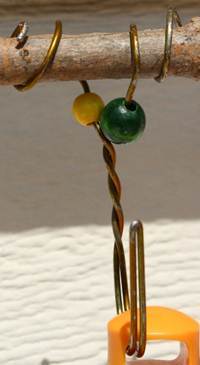
-Gardening tool hooks made from pant wire hangers with a few beads attached; wire simply wrapped around tree branch
Not sure that I will use pallet wood again since difficult to pull apart pallets, uneven and some split boards could not be used, and required tons of sanding for those boards that could be used. I think I paid more for orbital sanding pads than the cost of buying new wood. Will use pallet wood for other non-furniture projects not requiring a perfect finish.

Took 2.5 hrs to cut, fasten and sand, and approximately 24-48 hrs to paint, stain and poly.
This has been a very rewarding project. Now I have people comissioning work!
Thanks for the plans
I made this using plans submitted by pericles49. Thank you, pericles49!
I altered the design to use materials I had laying around, and changed the size to fit my space. That made it take a little longer - especially because changing the fastening pattern is still tricky for me - trying to keep screws from hitting each other.
Design
I made mine a little deeper 27-1/2" instead of 24 on the plan.
Materials
What I'd do differently next time

Well, I started with one chair and finished with a full set. Not bad for a first timer. Definitely room to improve. Little tip if you're going to make this amazing set... raise the backs as they are too low with thicker cushions. I built a casing to go on top after the fact. Pretty happy with how it all turned out. Thanks Ana for the plans... now onto the next project!


Fri, 04/28/2023 - 08:41
Very nice workmanship. I'm curious as to how comfortable they are with the straight 90* backs? Let me know please at [email protected]. Again nice workmanship.
Fri, 04/28/2023 - 08:41
Very nice workmanship. I'm curious as to how comfortable they are with the straight 90* backs? Let me know please at [email protected]. Again nice workmanship.
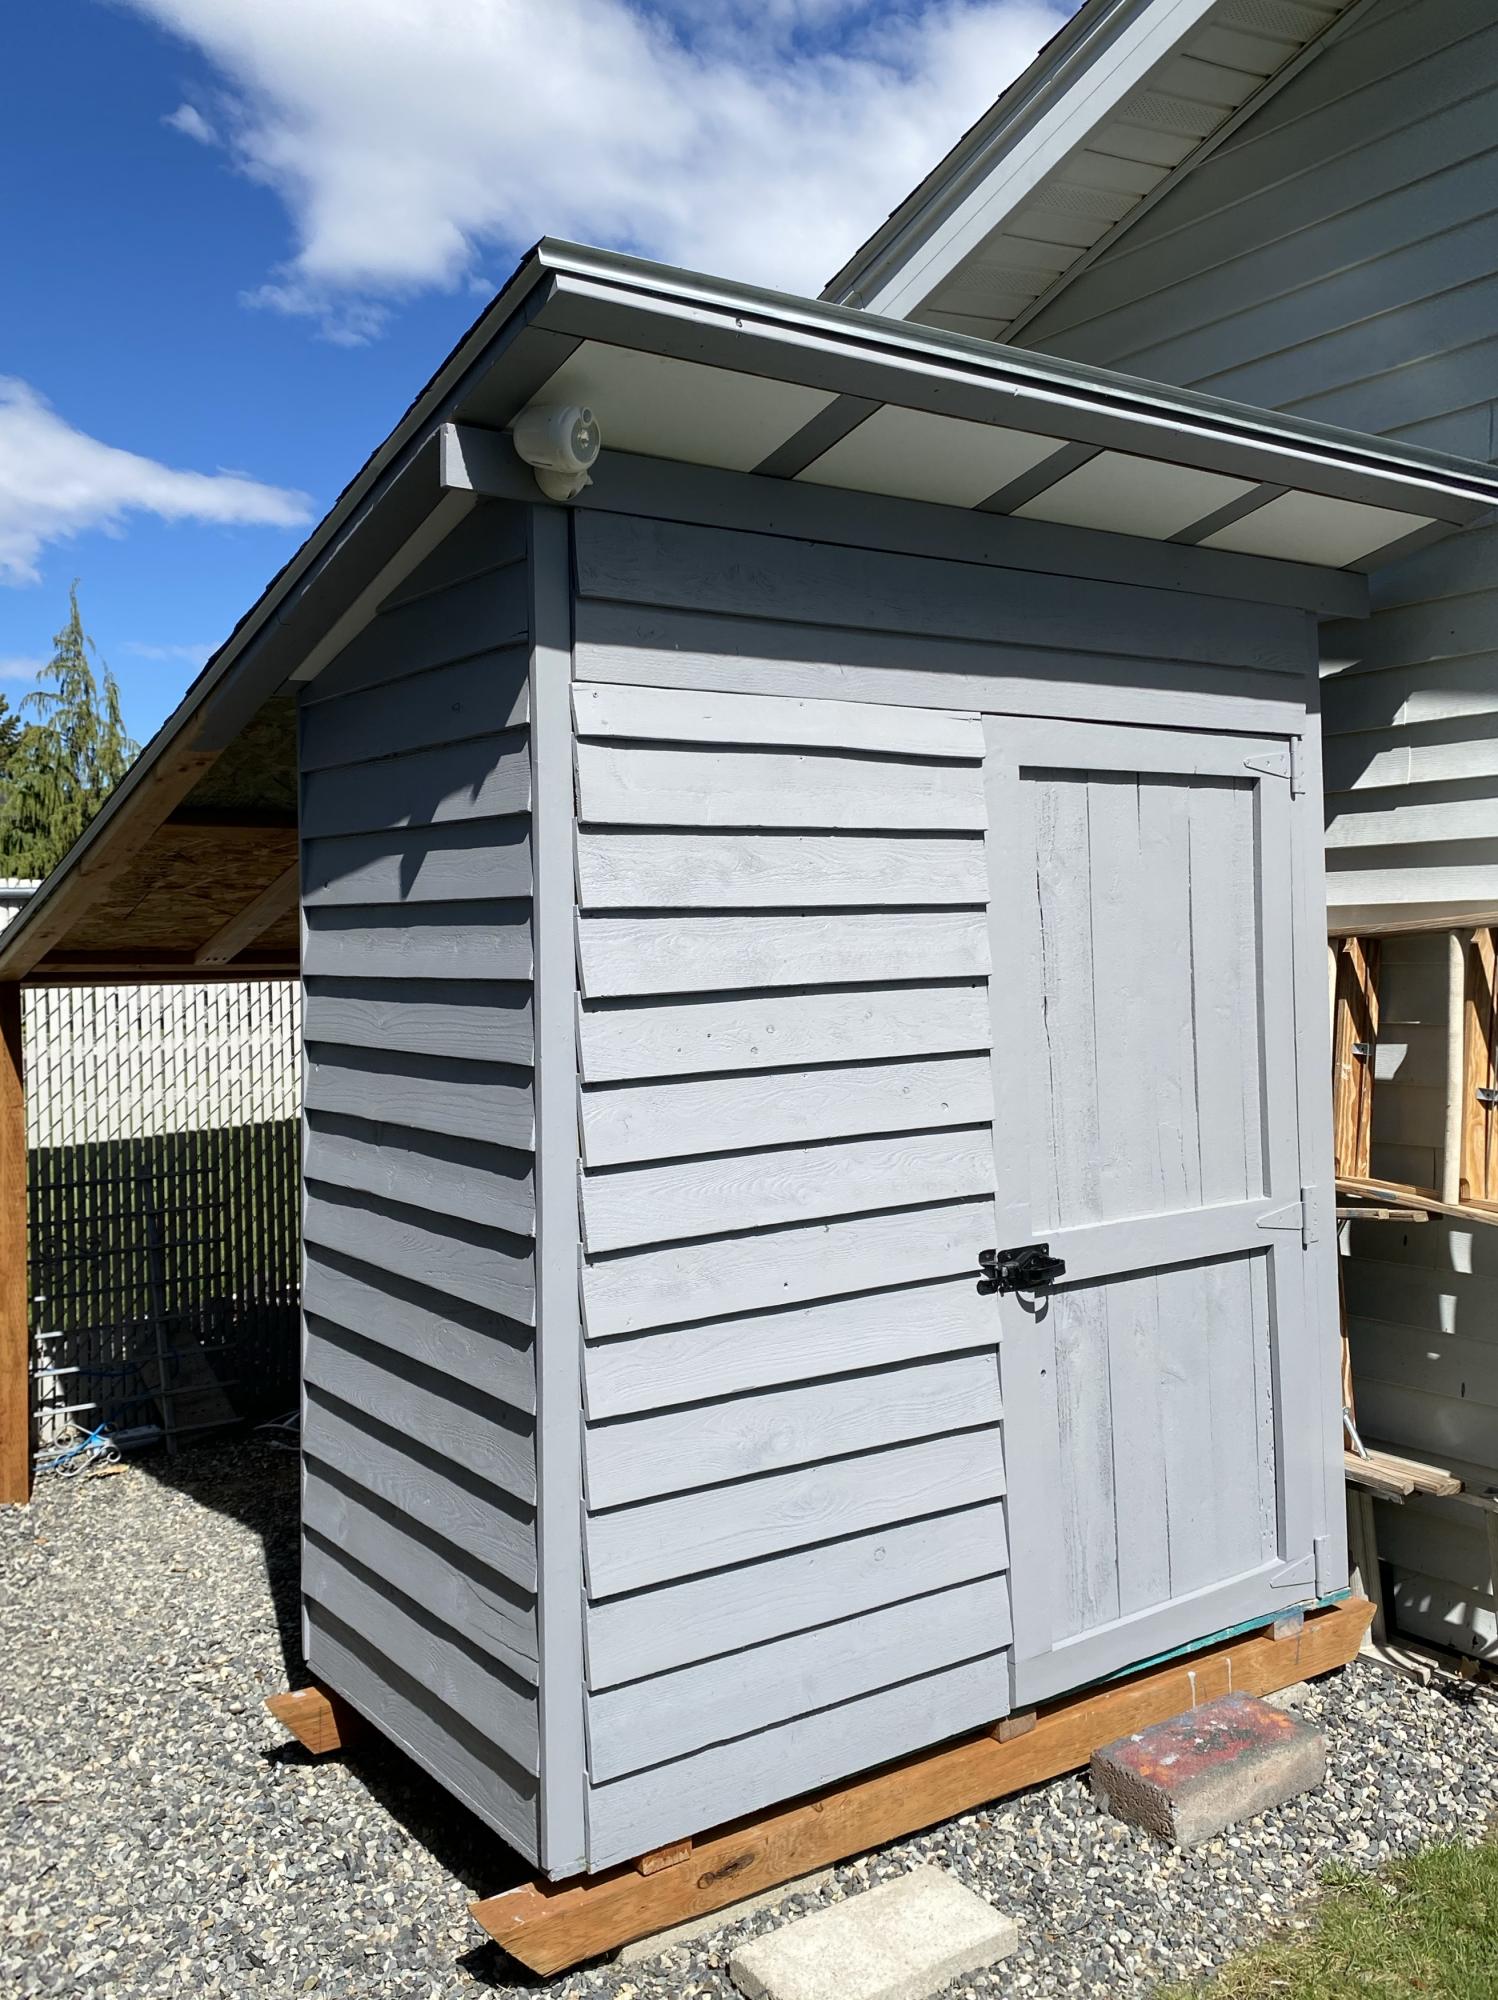
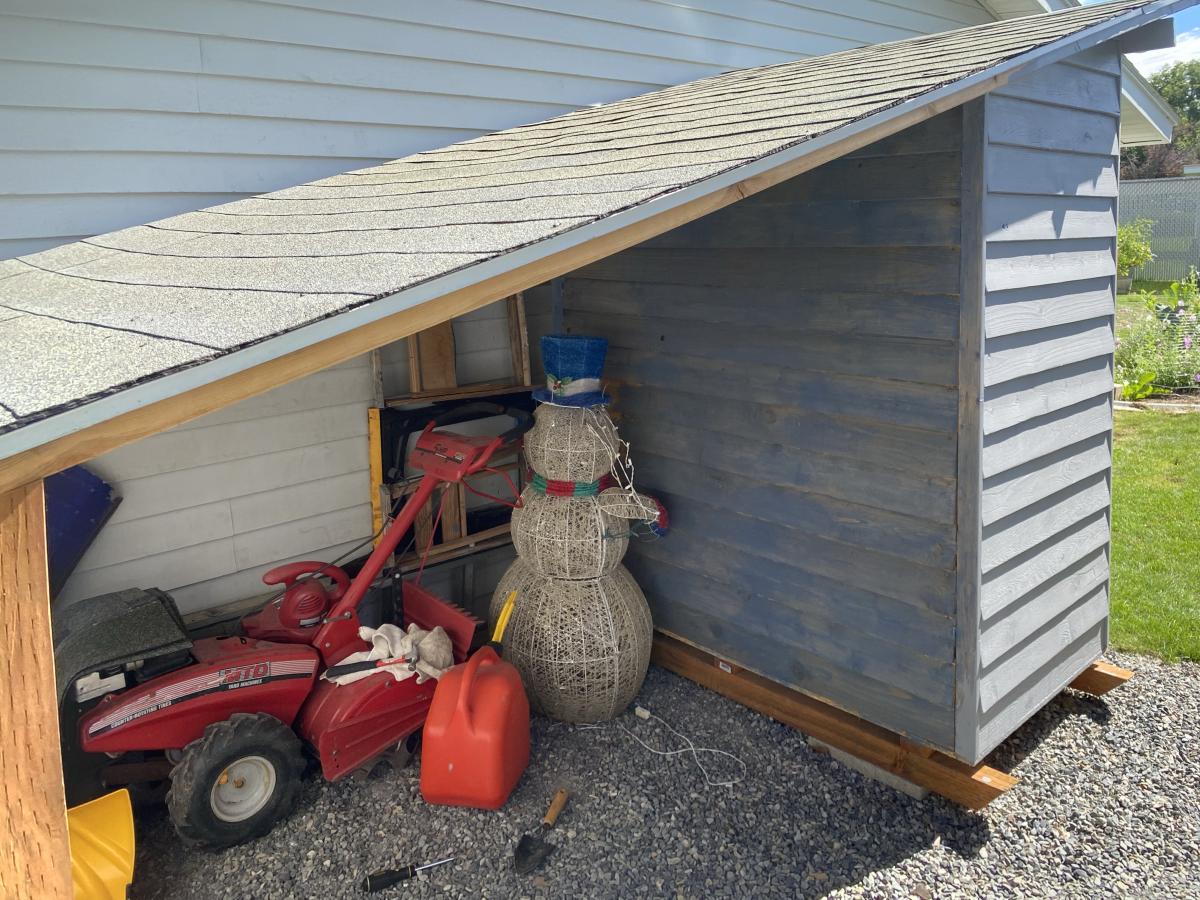
I really needed somewhere to park my rototiller and mower during the summer and ended up modifying the plans to include a lean-too/over hang area. This required flipping the shed to extend the roof line. I continued the 15• roofline and also then had to create and cover the soffits. I also reduced it to one door and placed it on a skid foundation so that technically it would be considered a temporary structure, no permits needed. I first used a semi transparent stain that looked much darker and grayer in the store but looked very blue and terribly streaky on the shed, see back wall area. I then restrained it with a solid stain, which I think looks much better and covered the streaky stain. Because I extended the roof and stained it twice, this really increased the cost, but I think it was well worth it. I can store all my yard and garden tools underneath and inside.
mortise and tenon joints with dado for breadboards
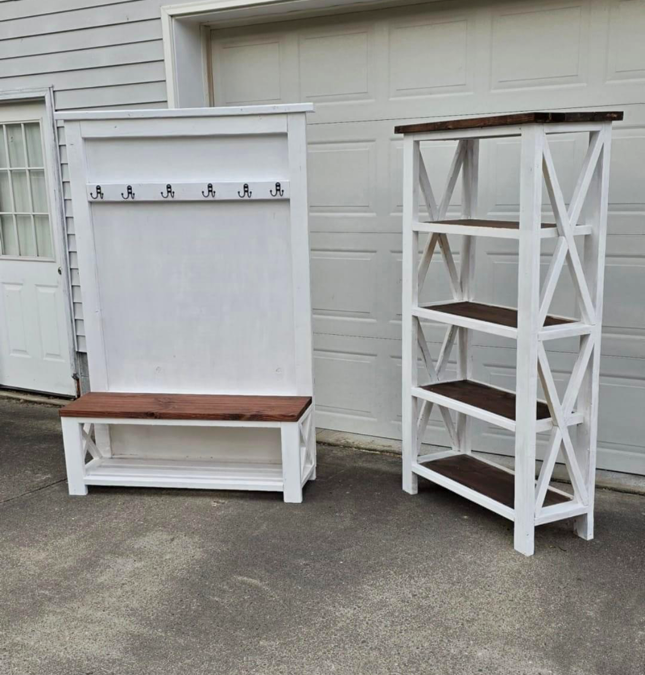
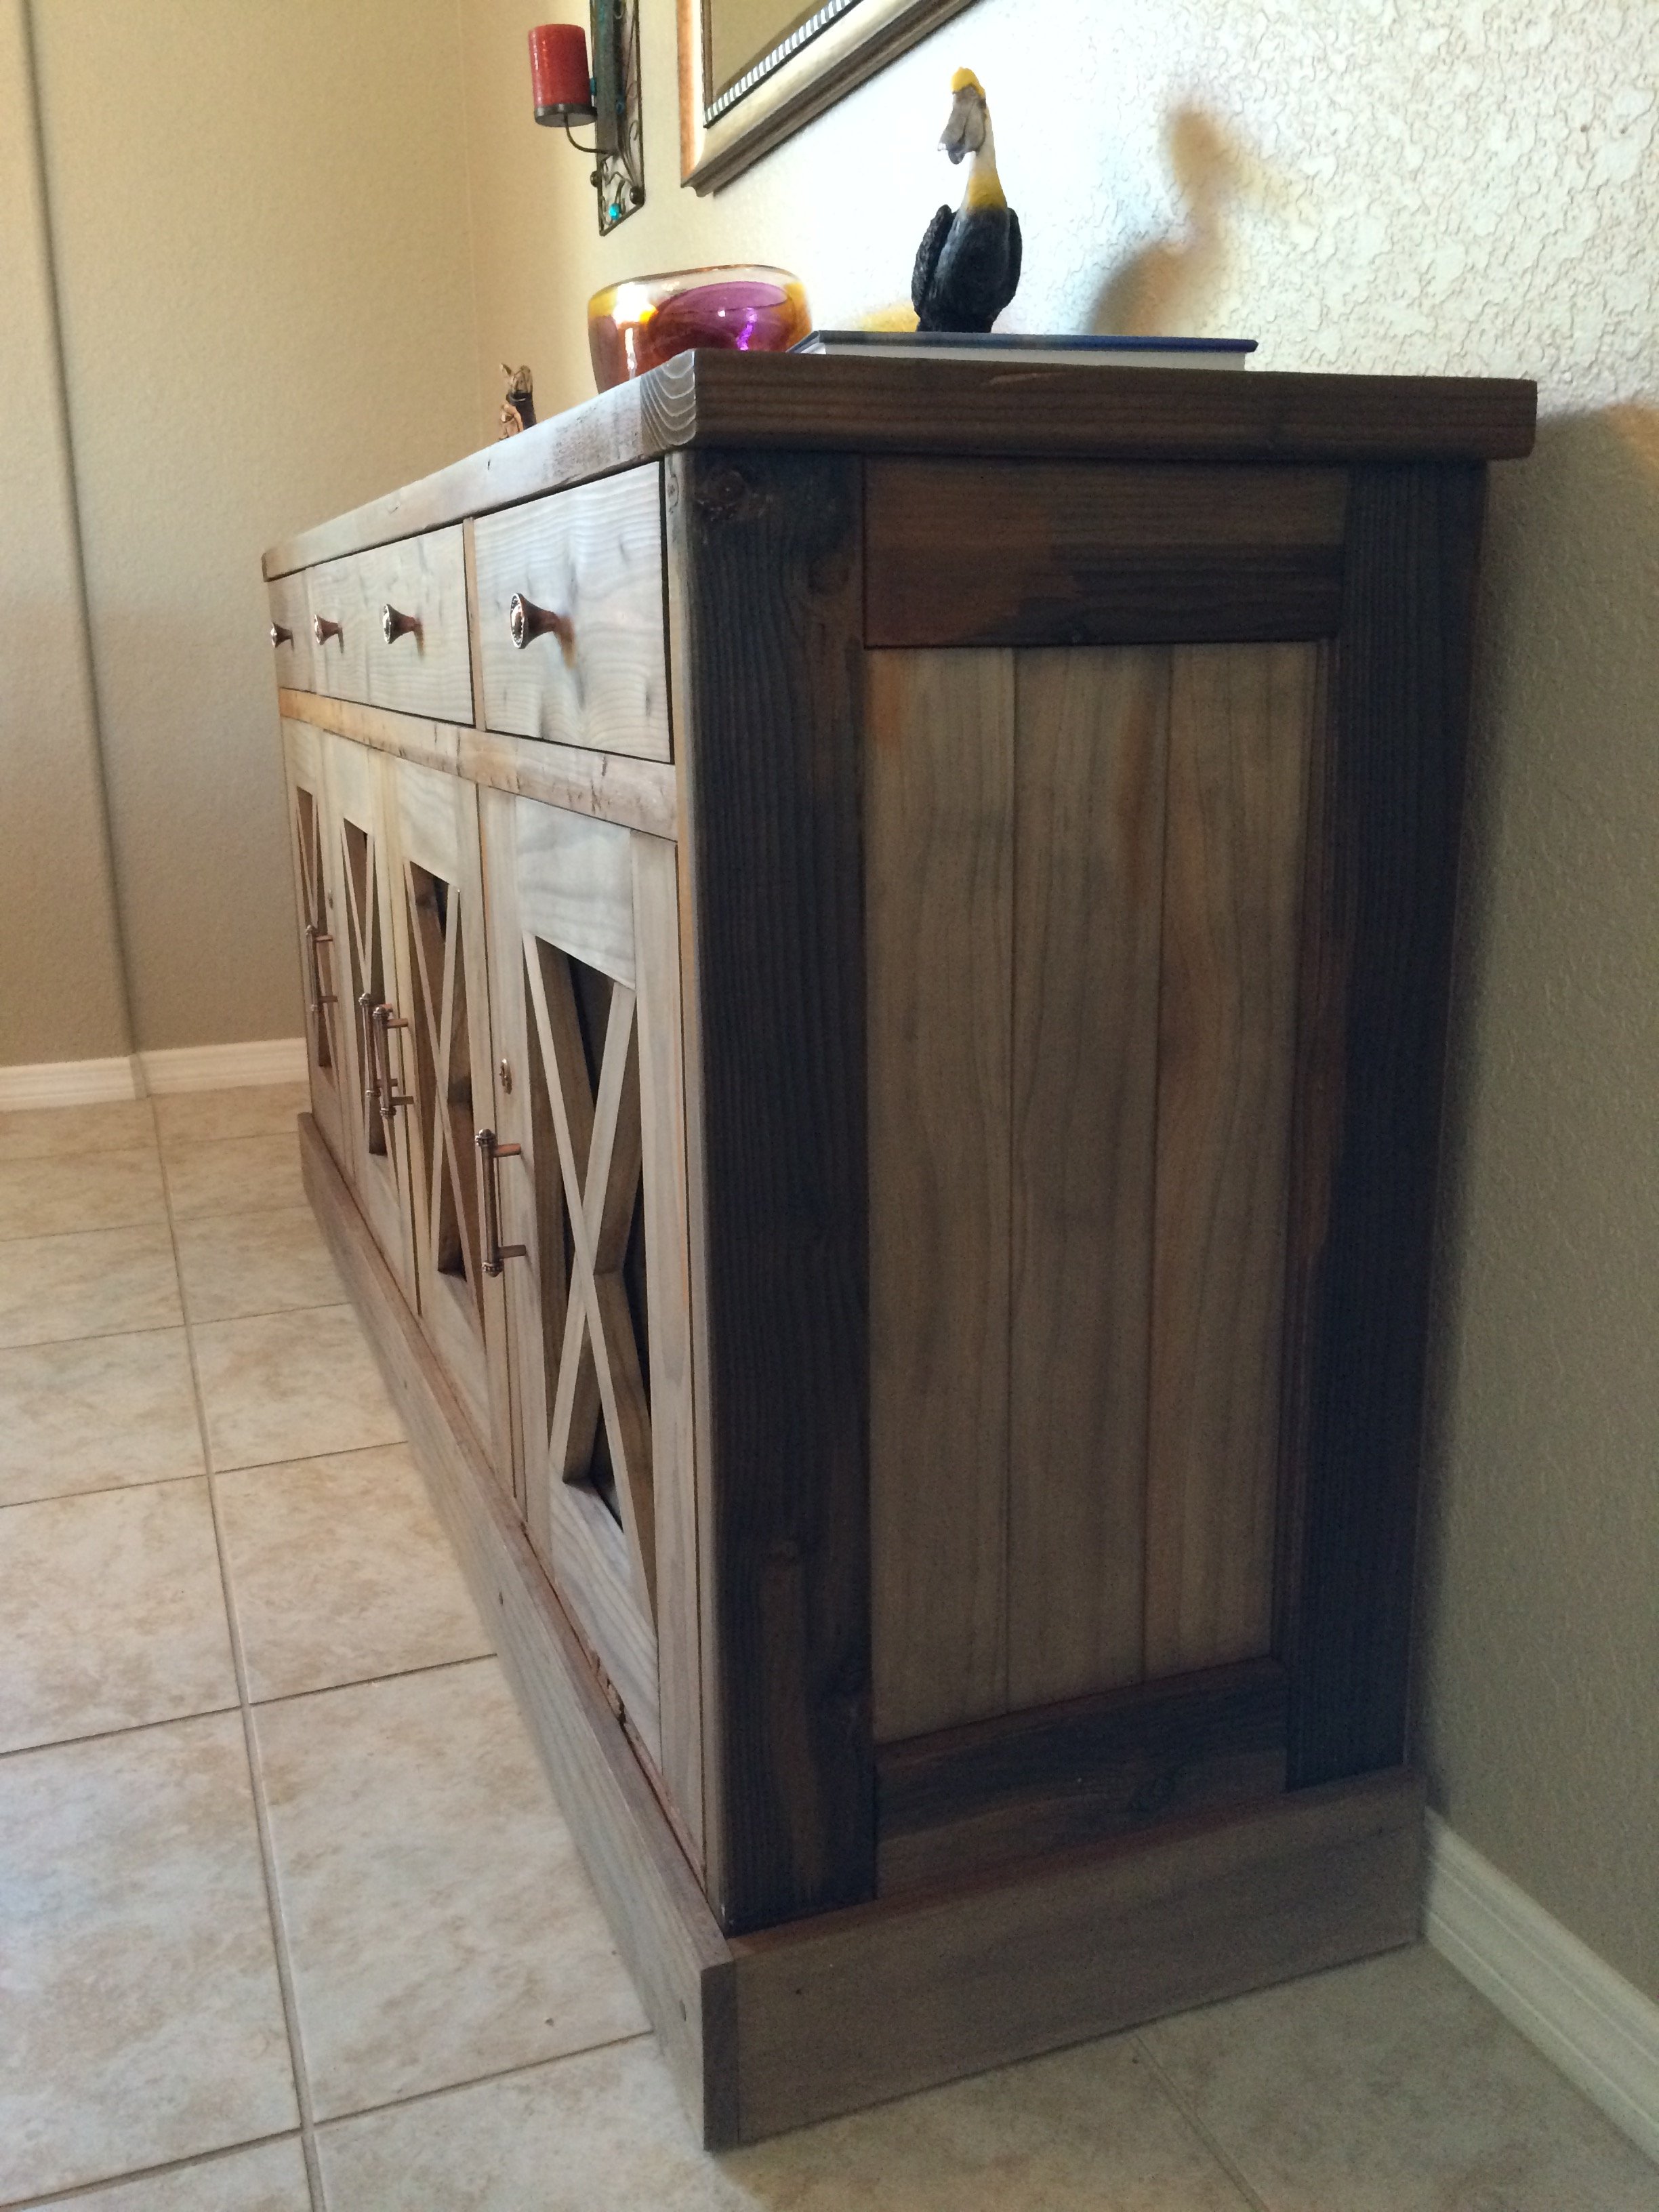
My mother in law wanted a hall tree so I built this for her, my wife wanted a shelf to put some stuff on in our dining room so I knocked that out as well. - Chris Frey on Facebook
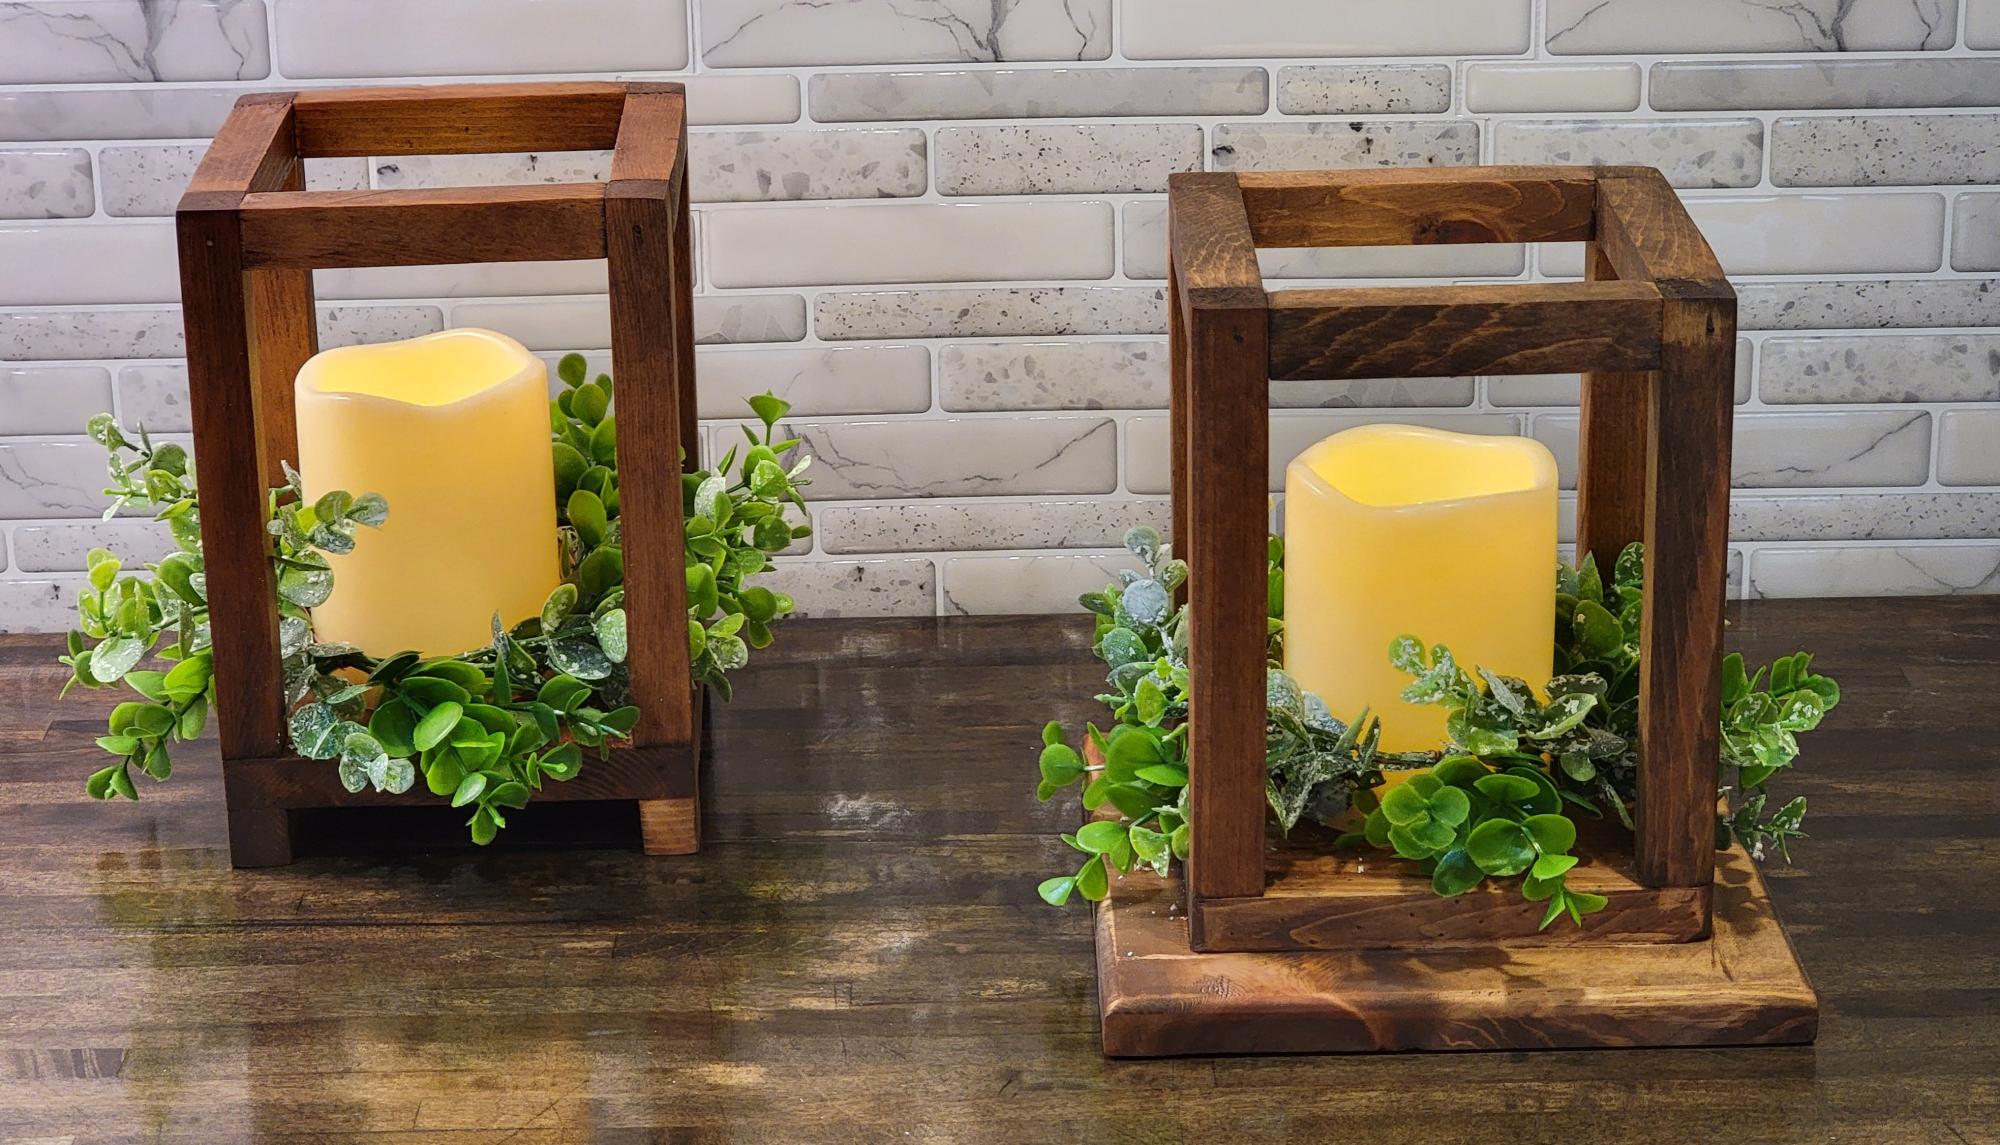
Making several of these for family and friends this holiday season. - Frank Thomas
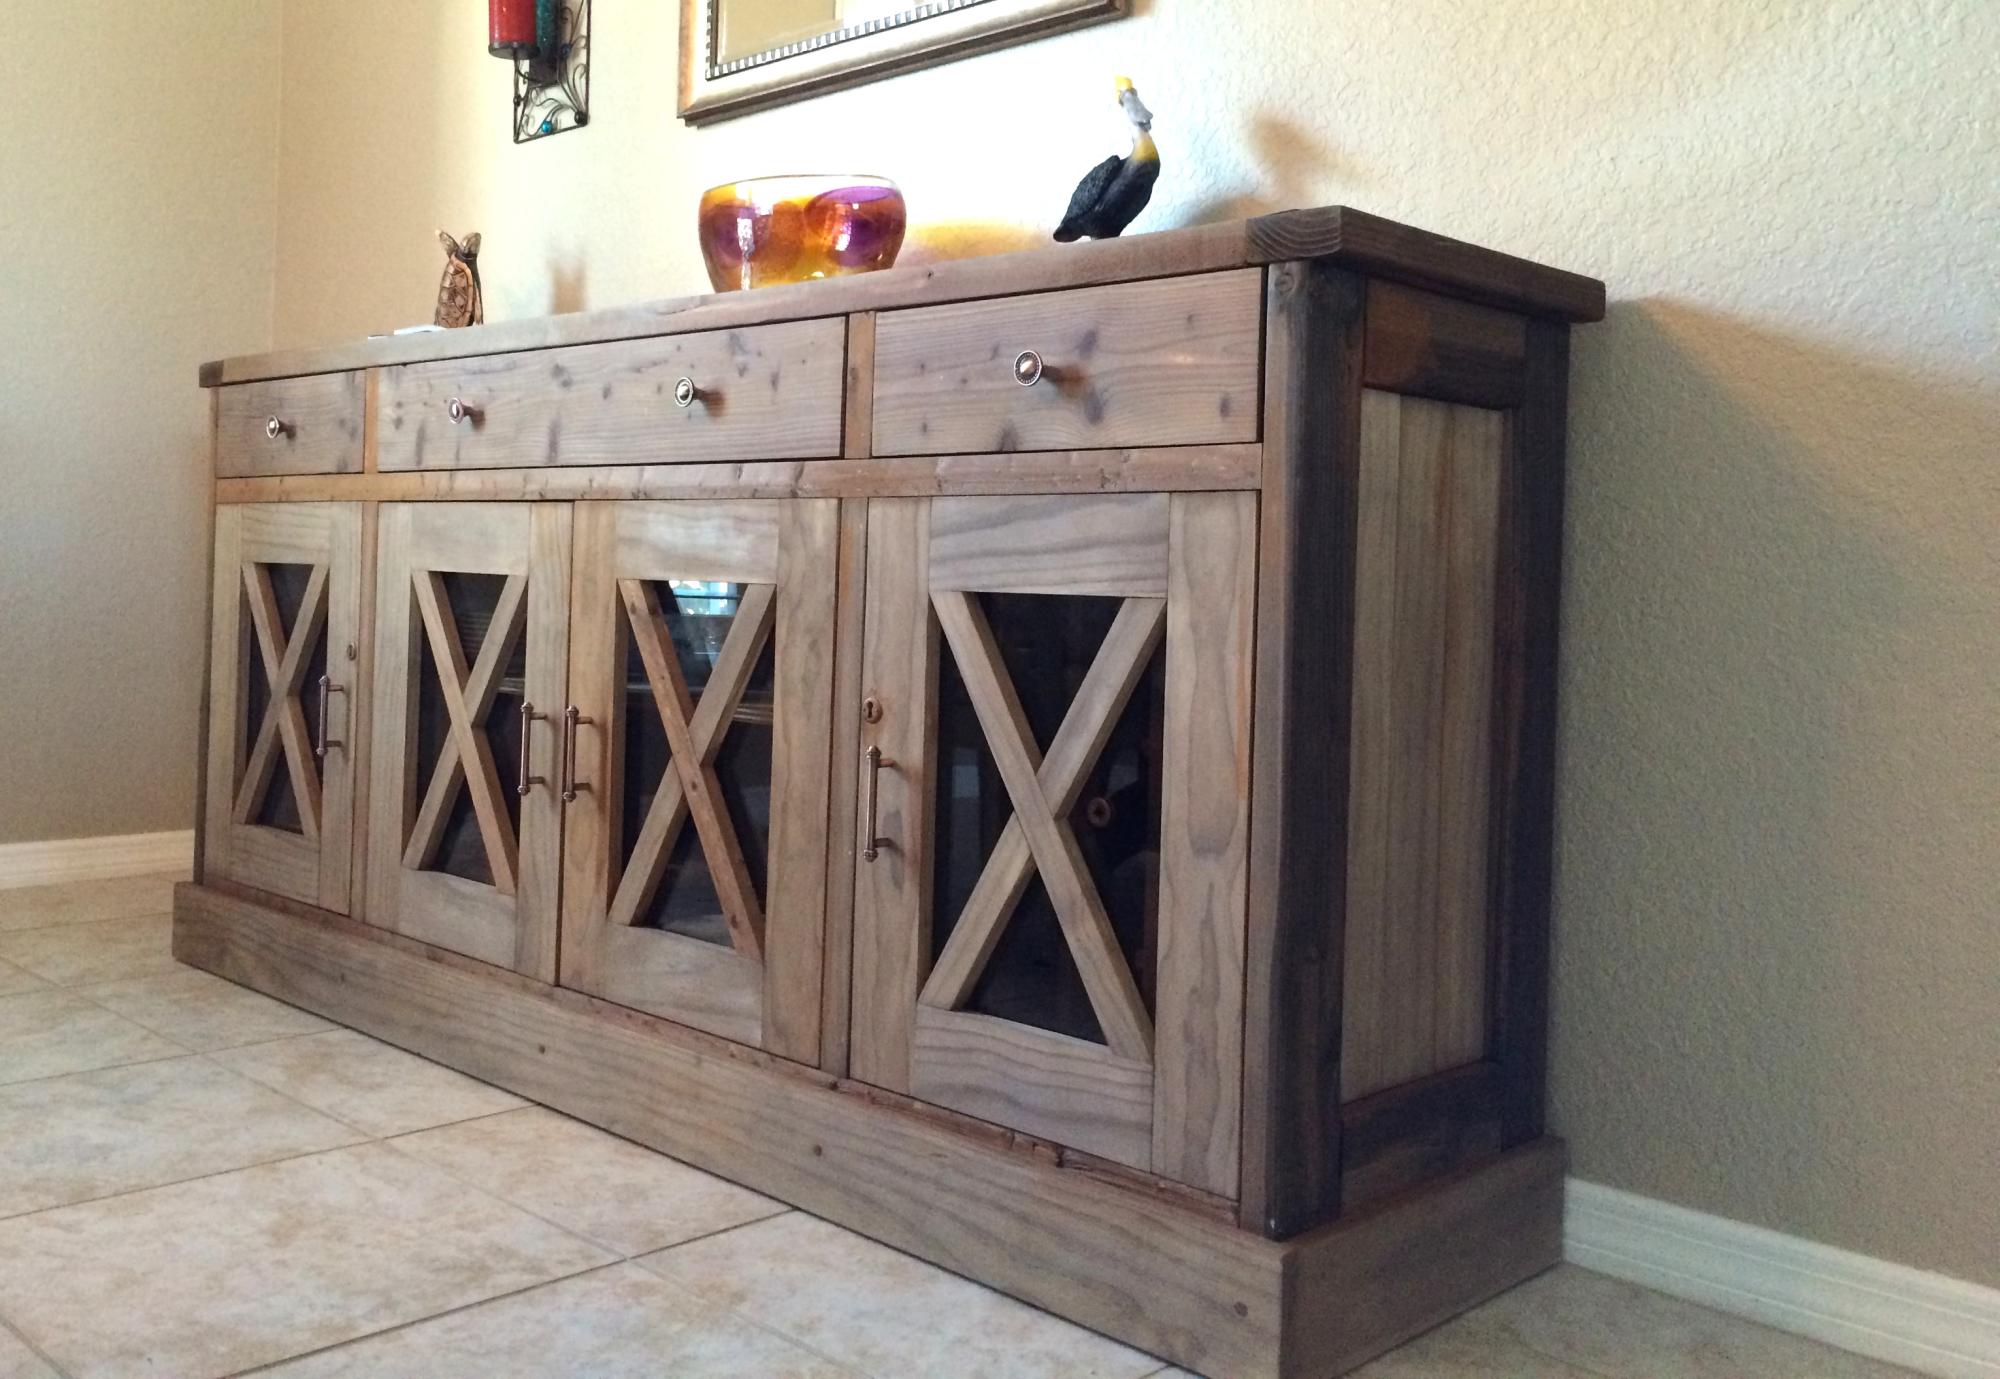
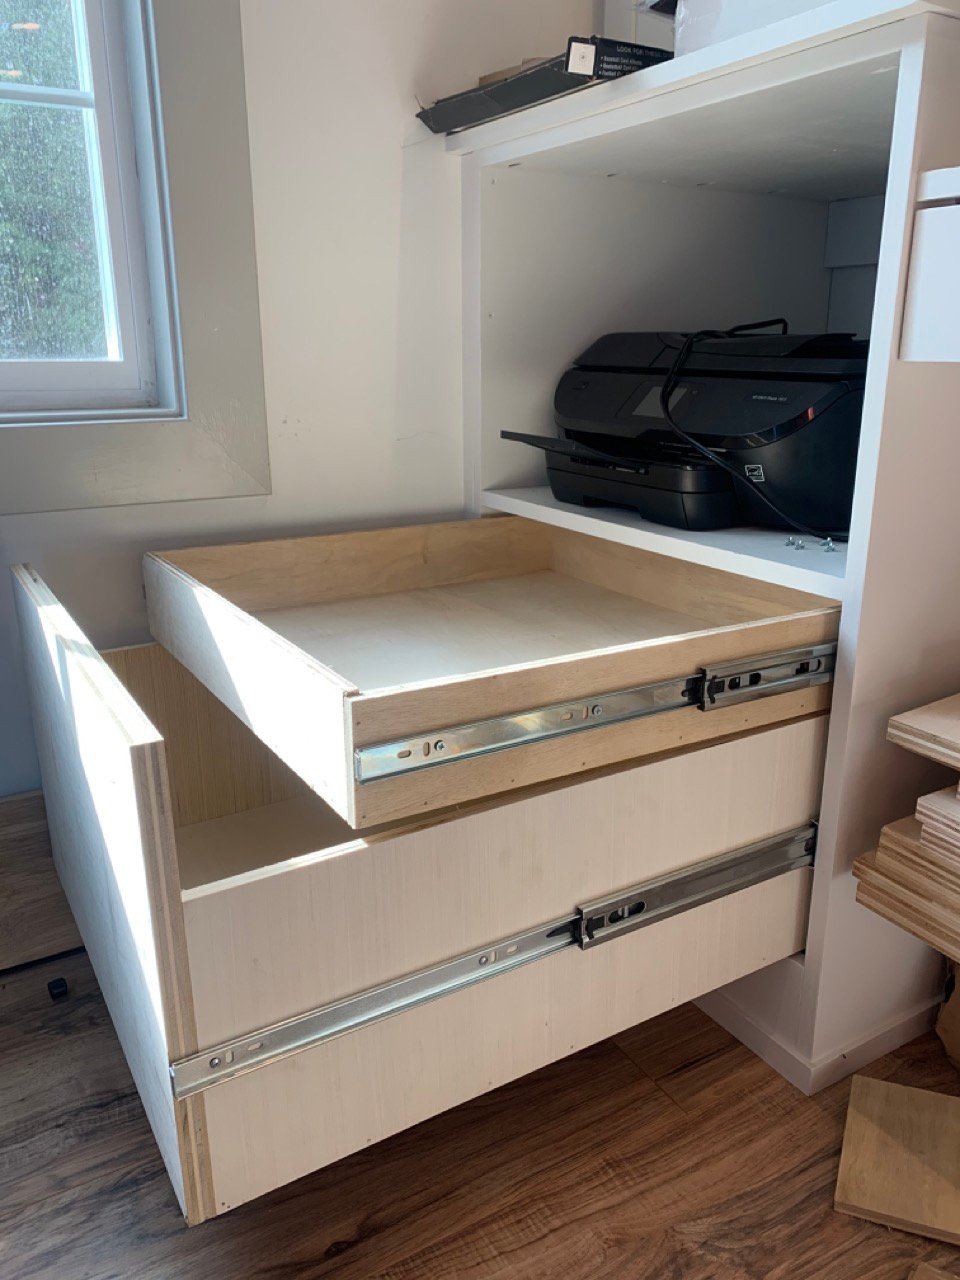
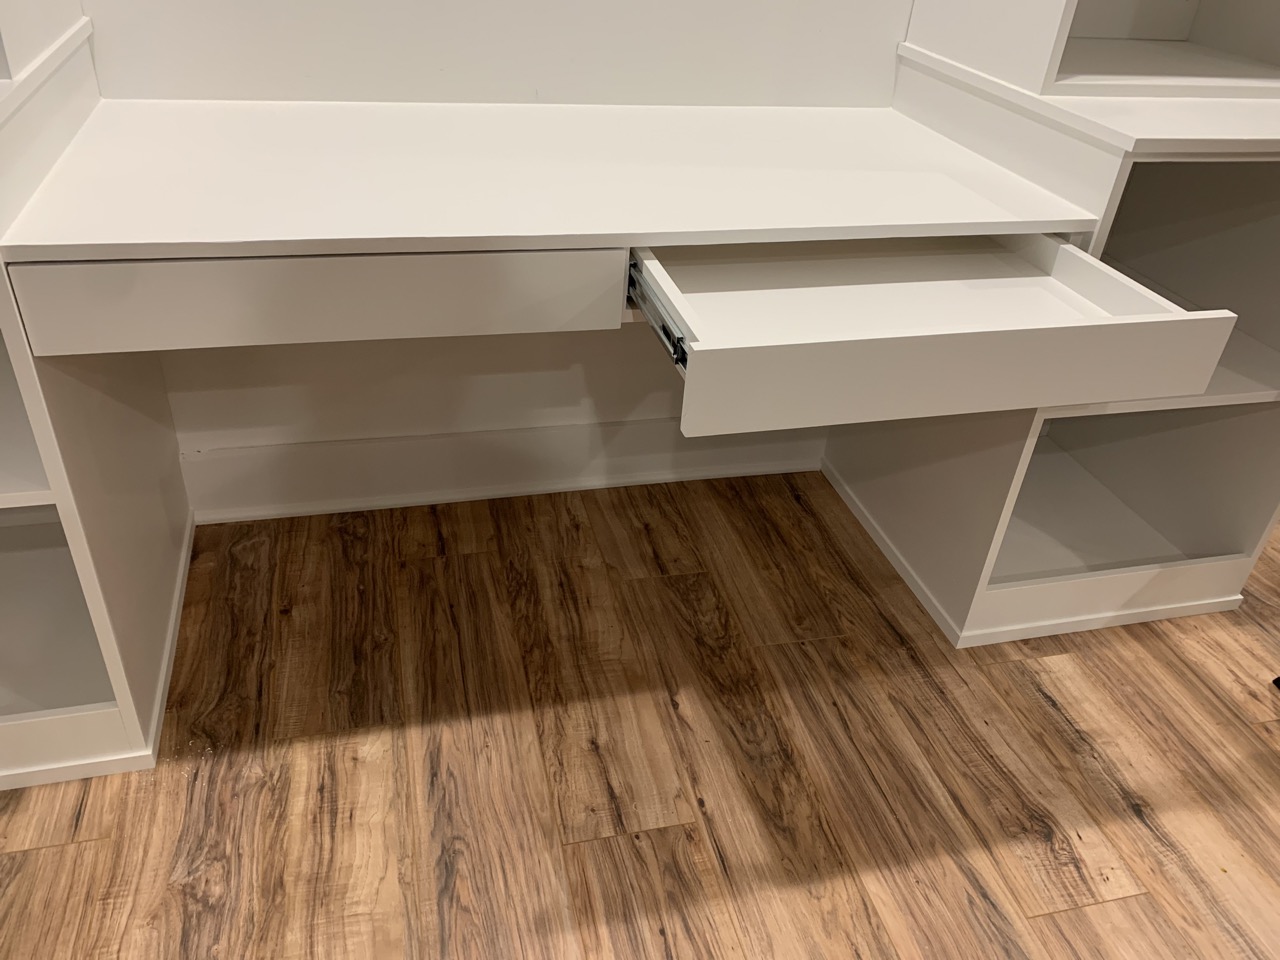
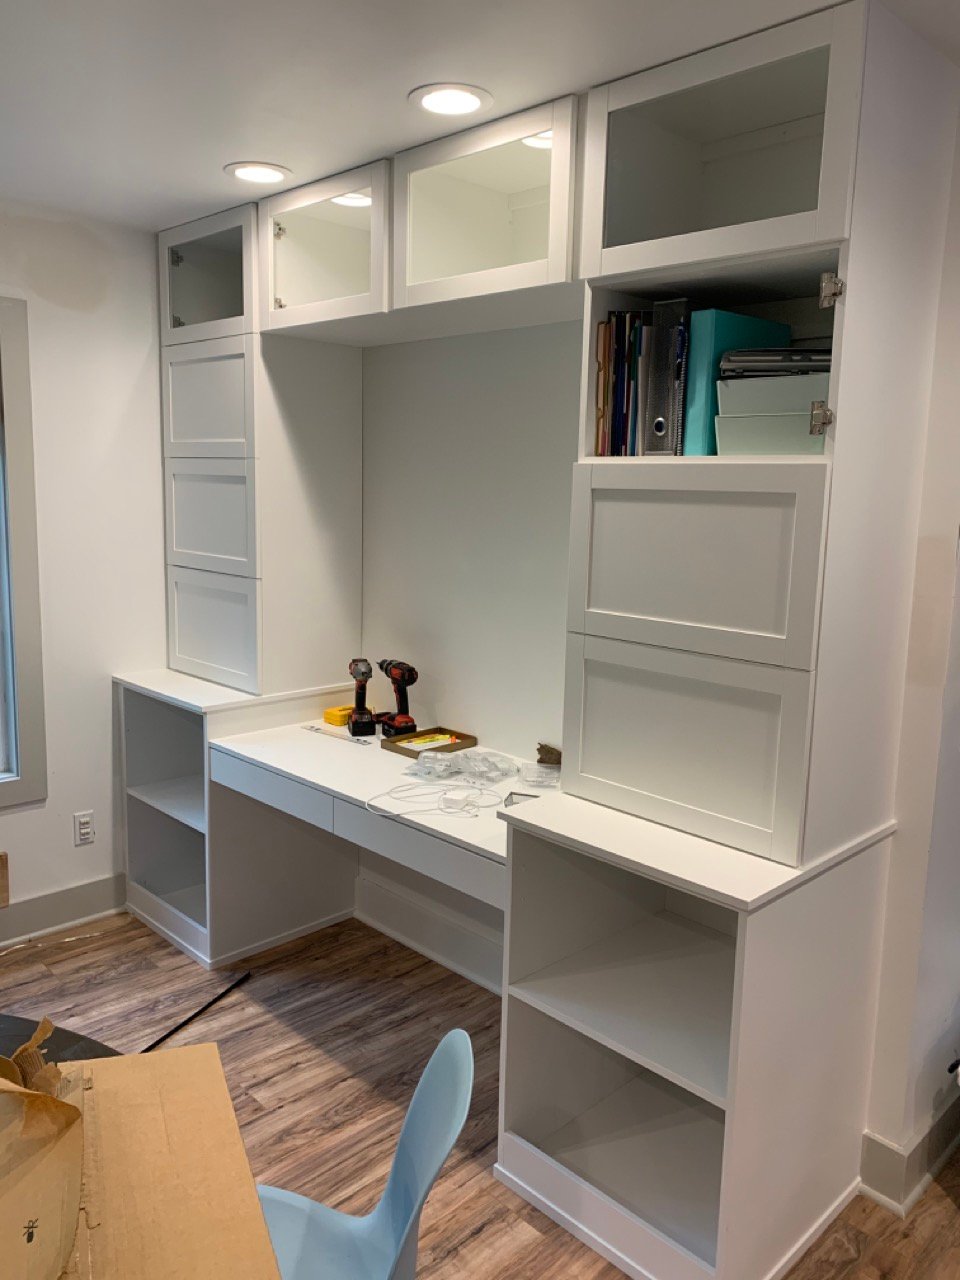
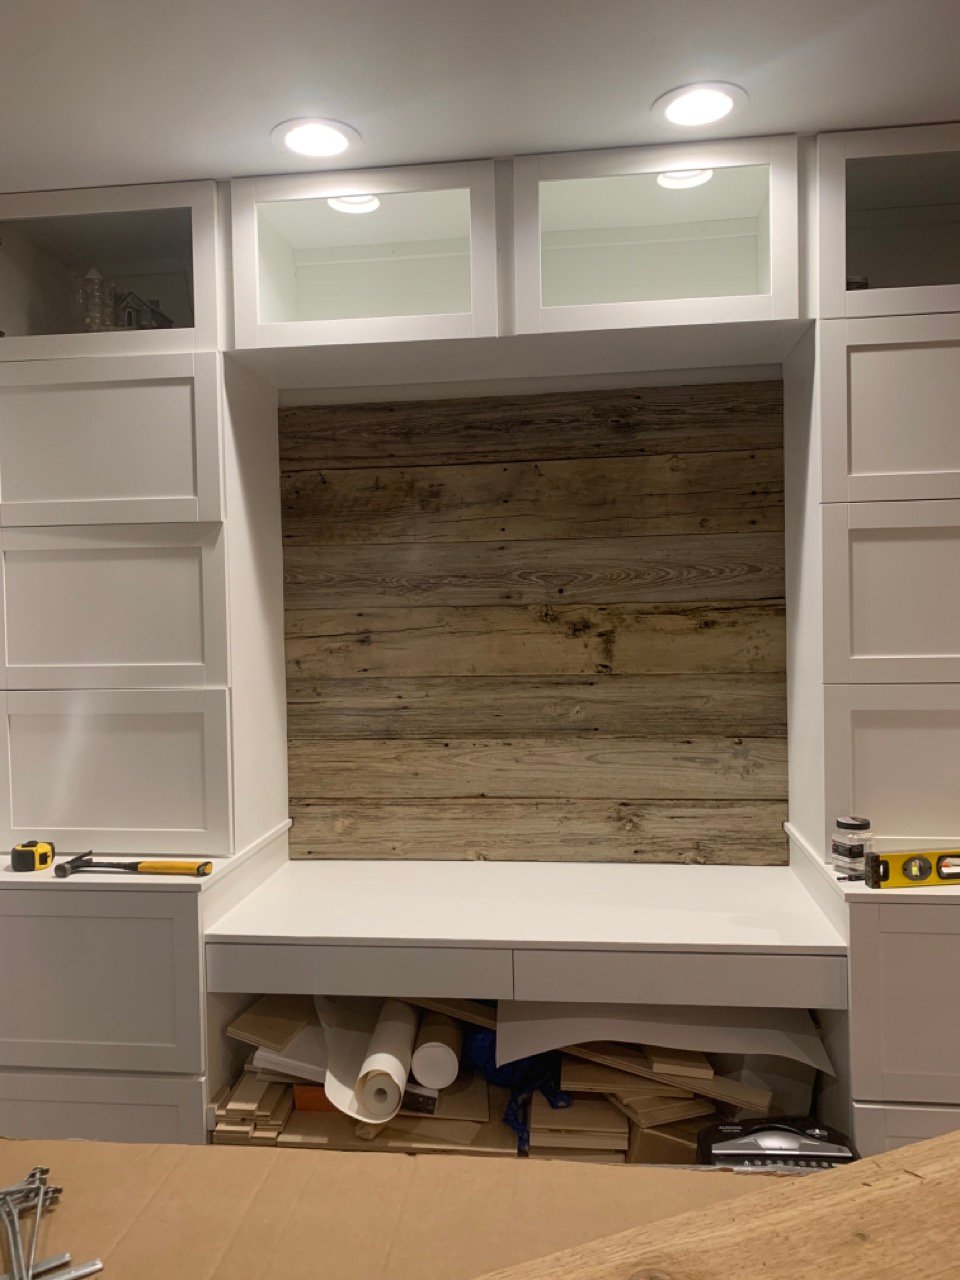
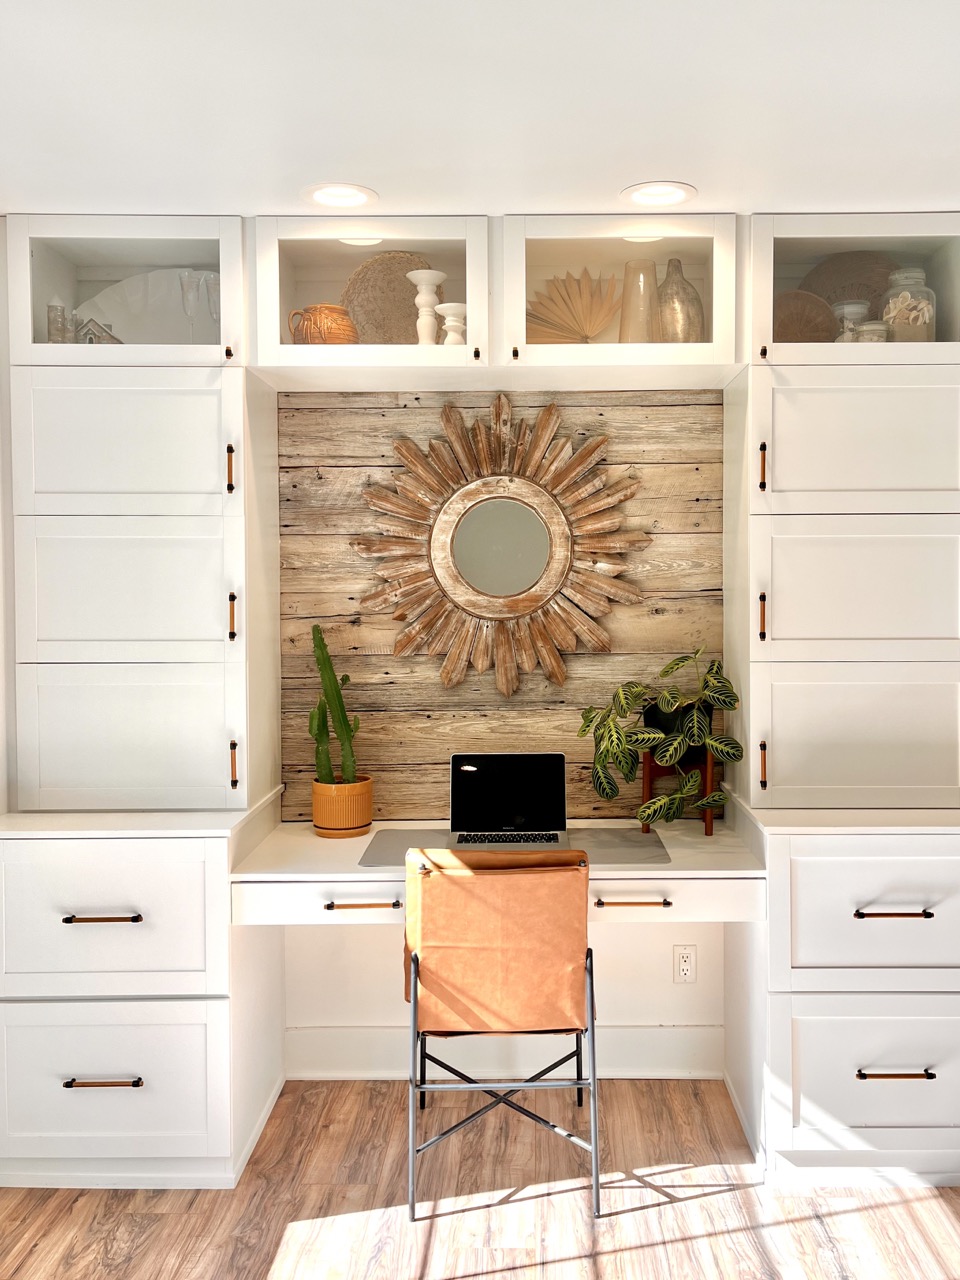
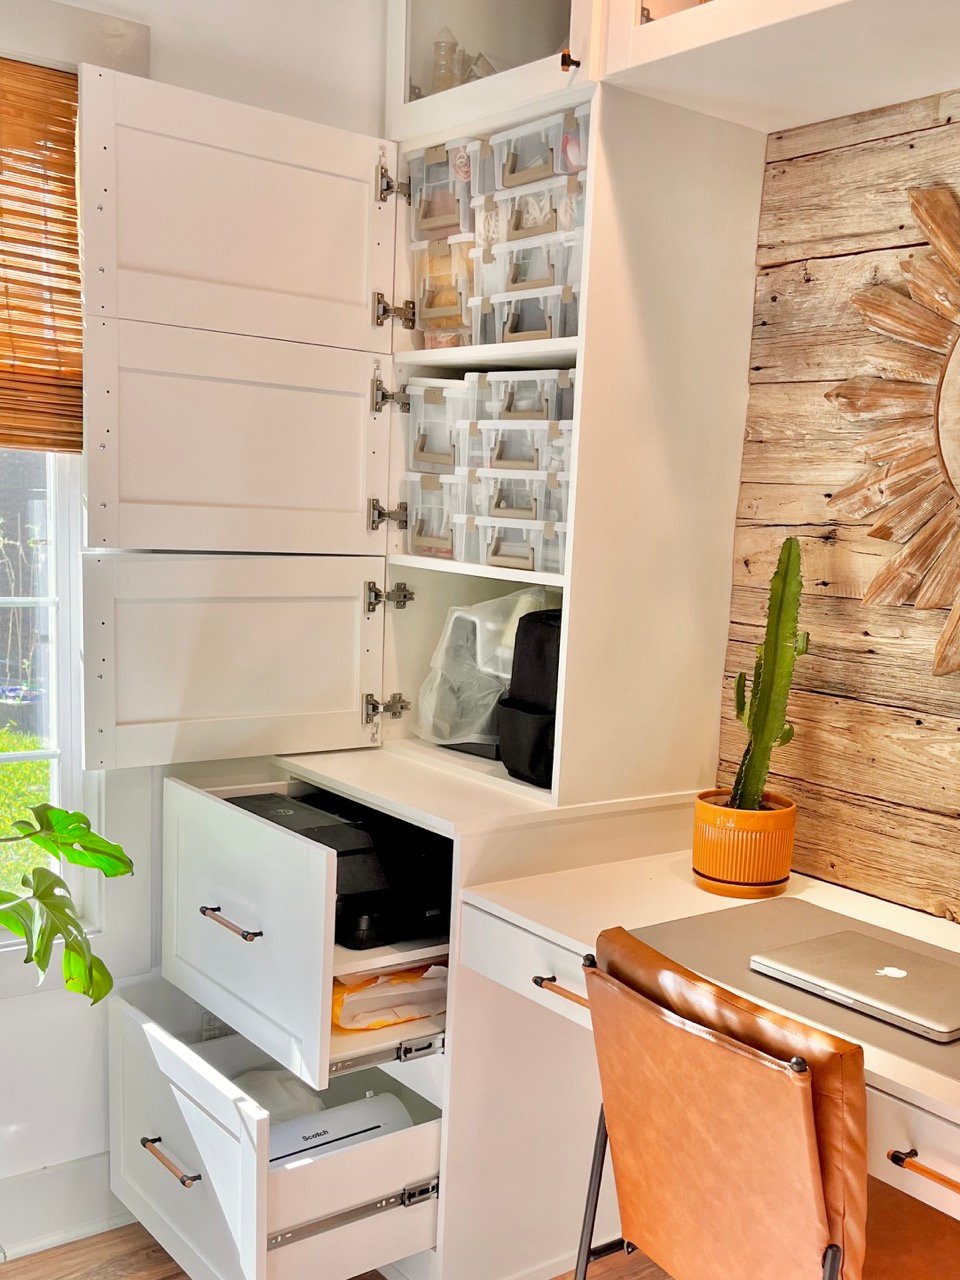
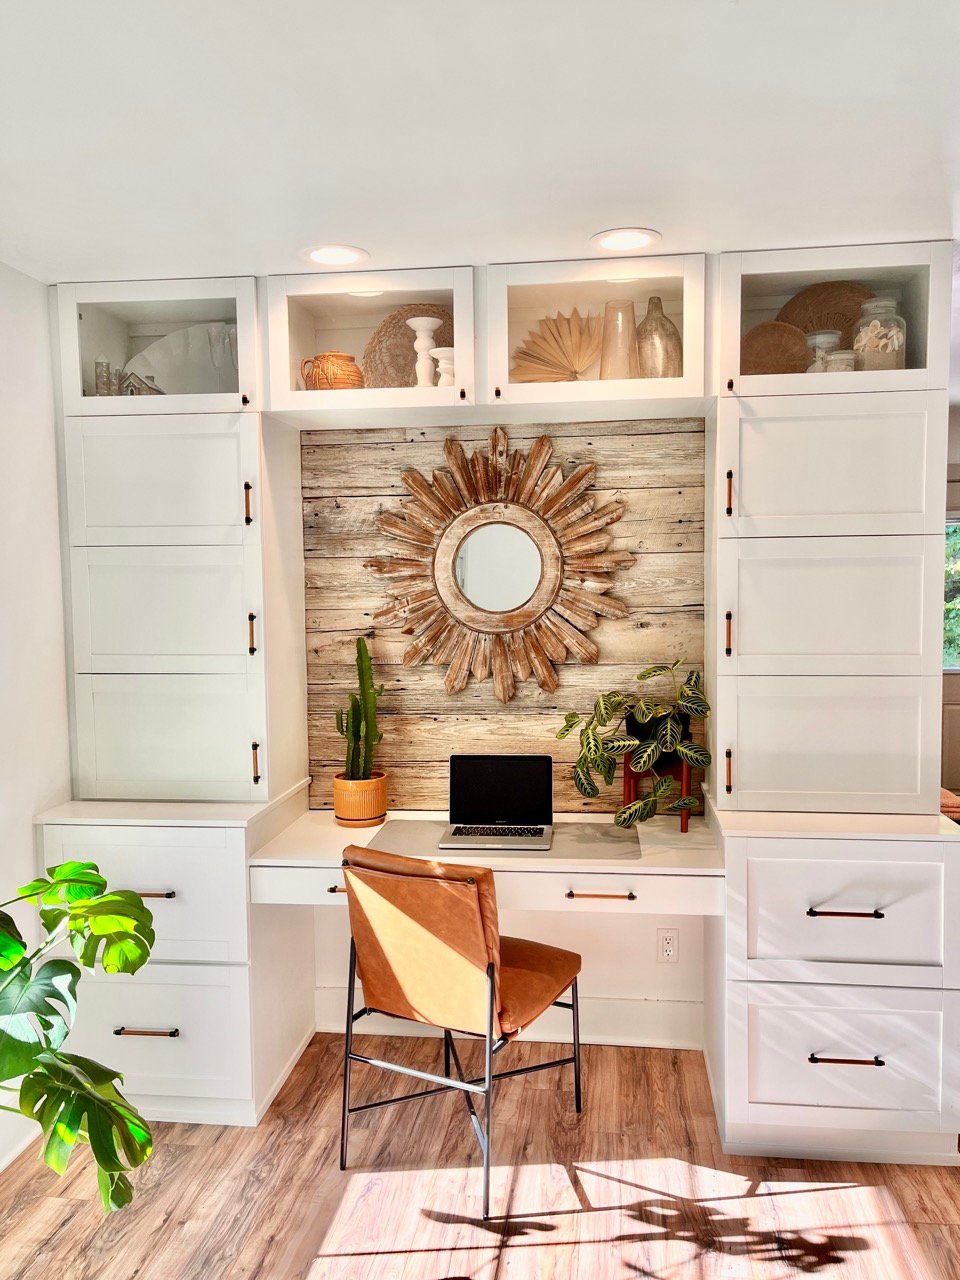
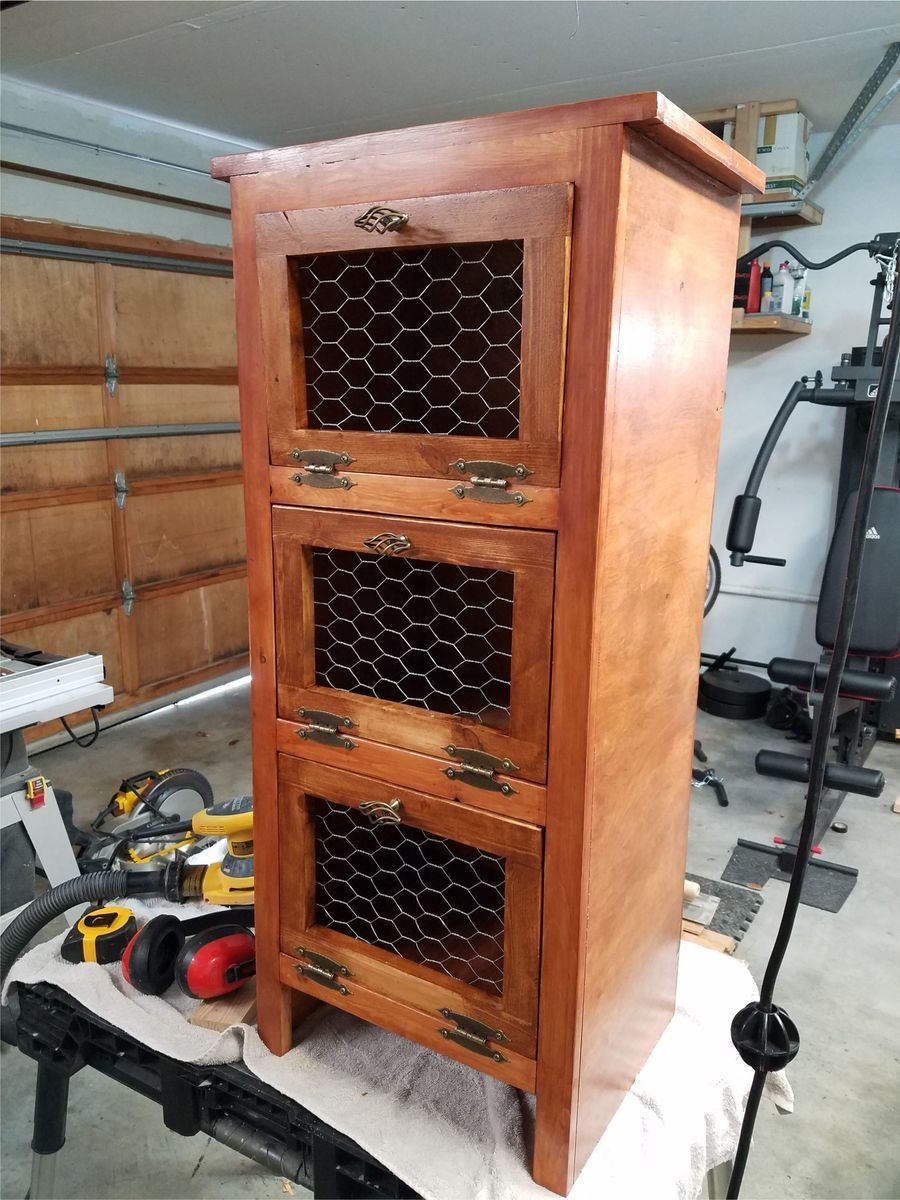
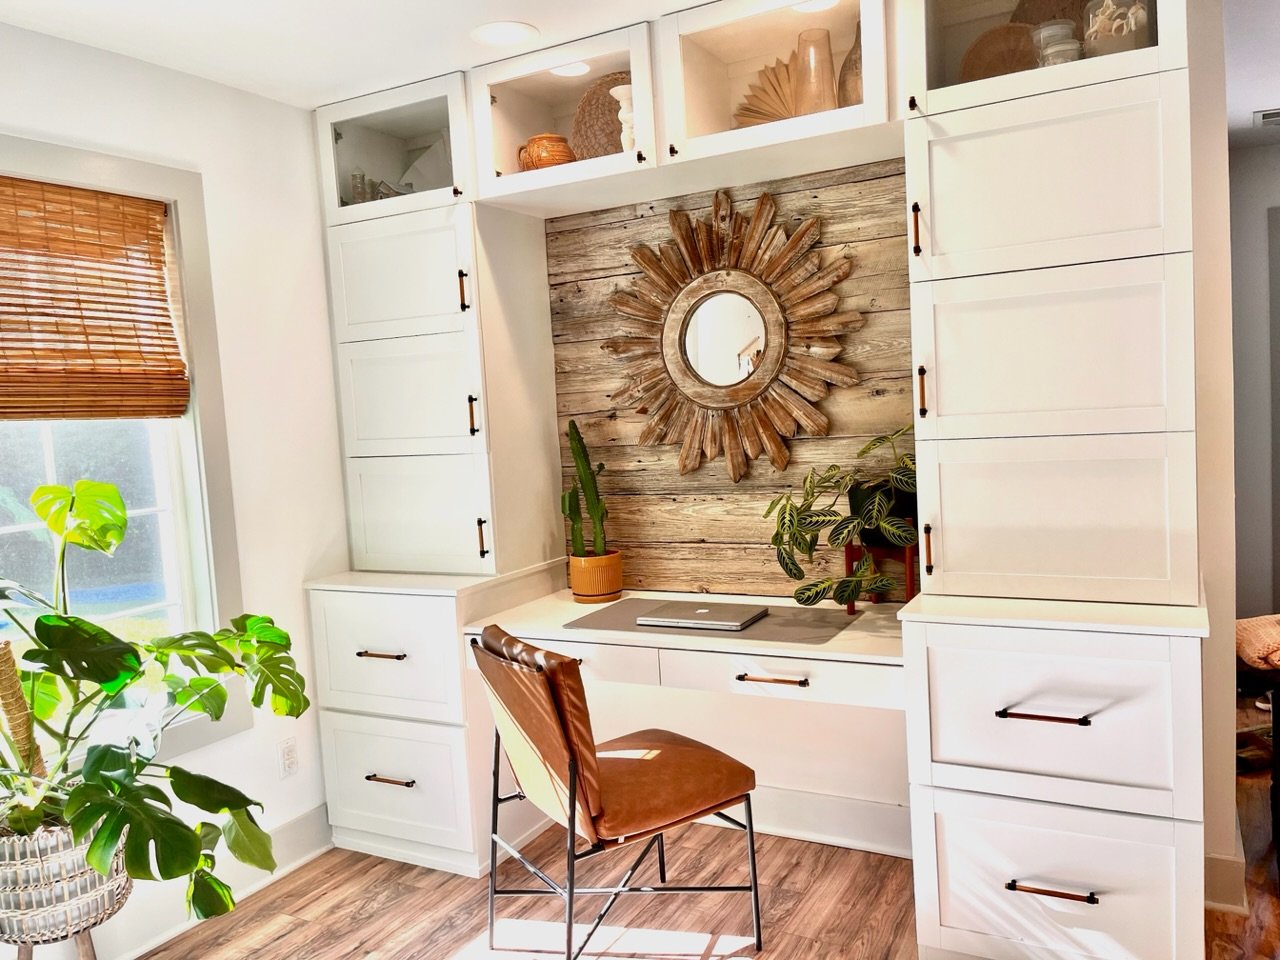
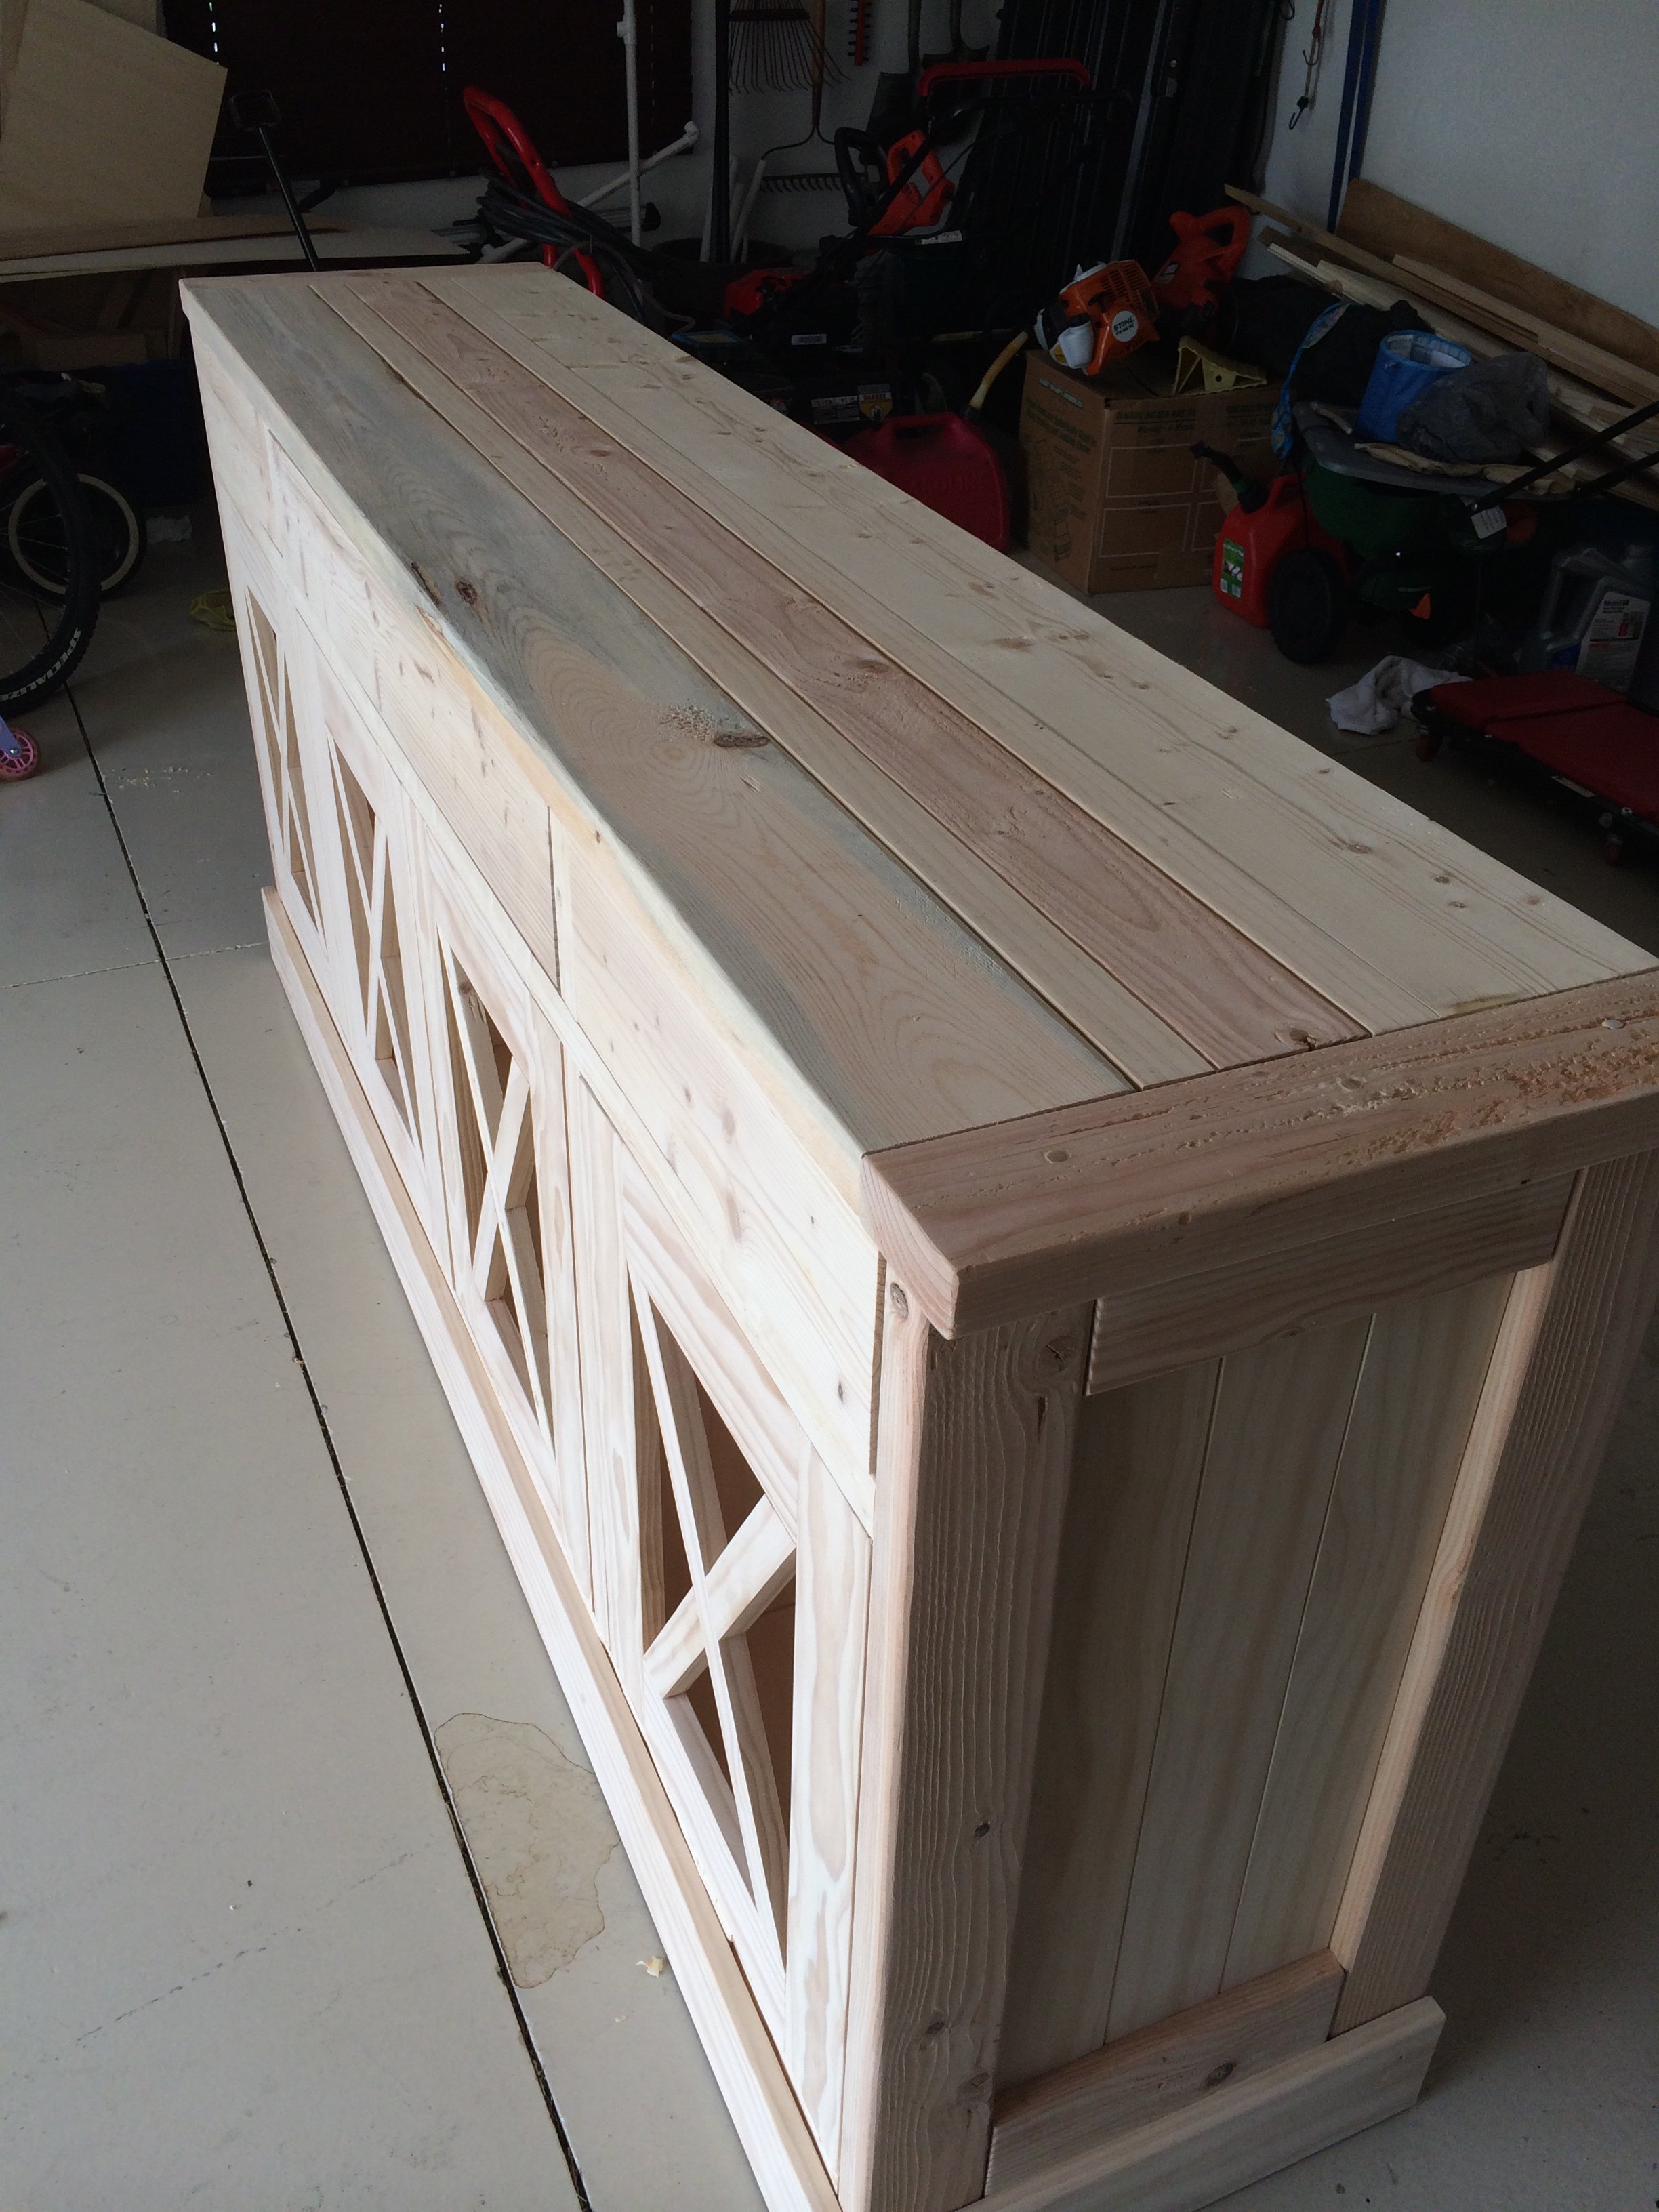
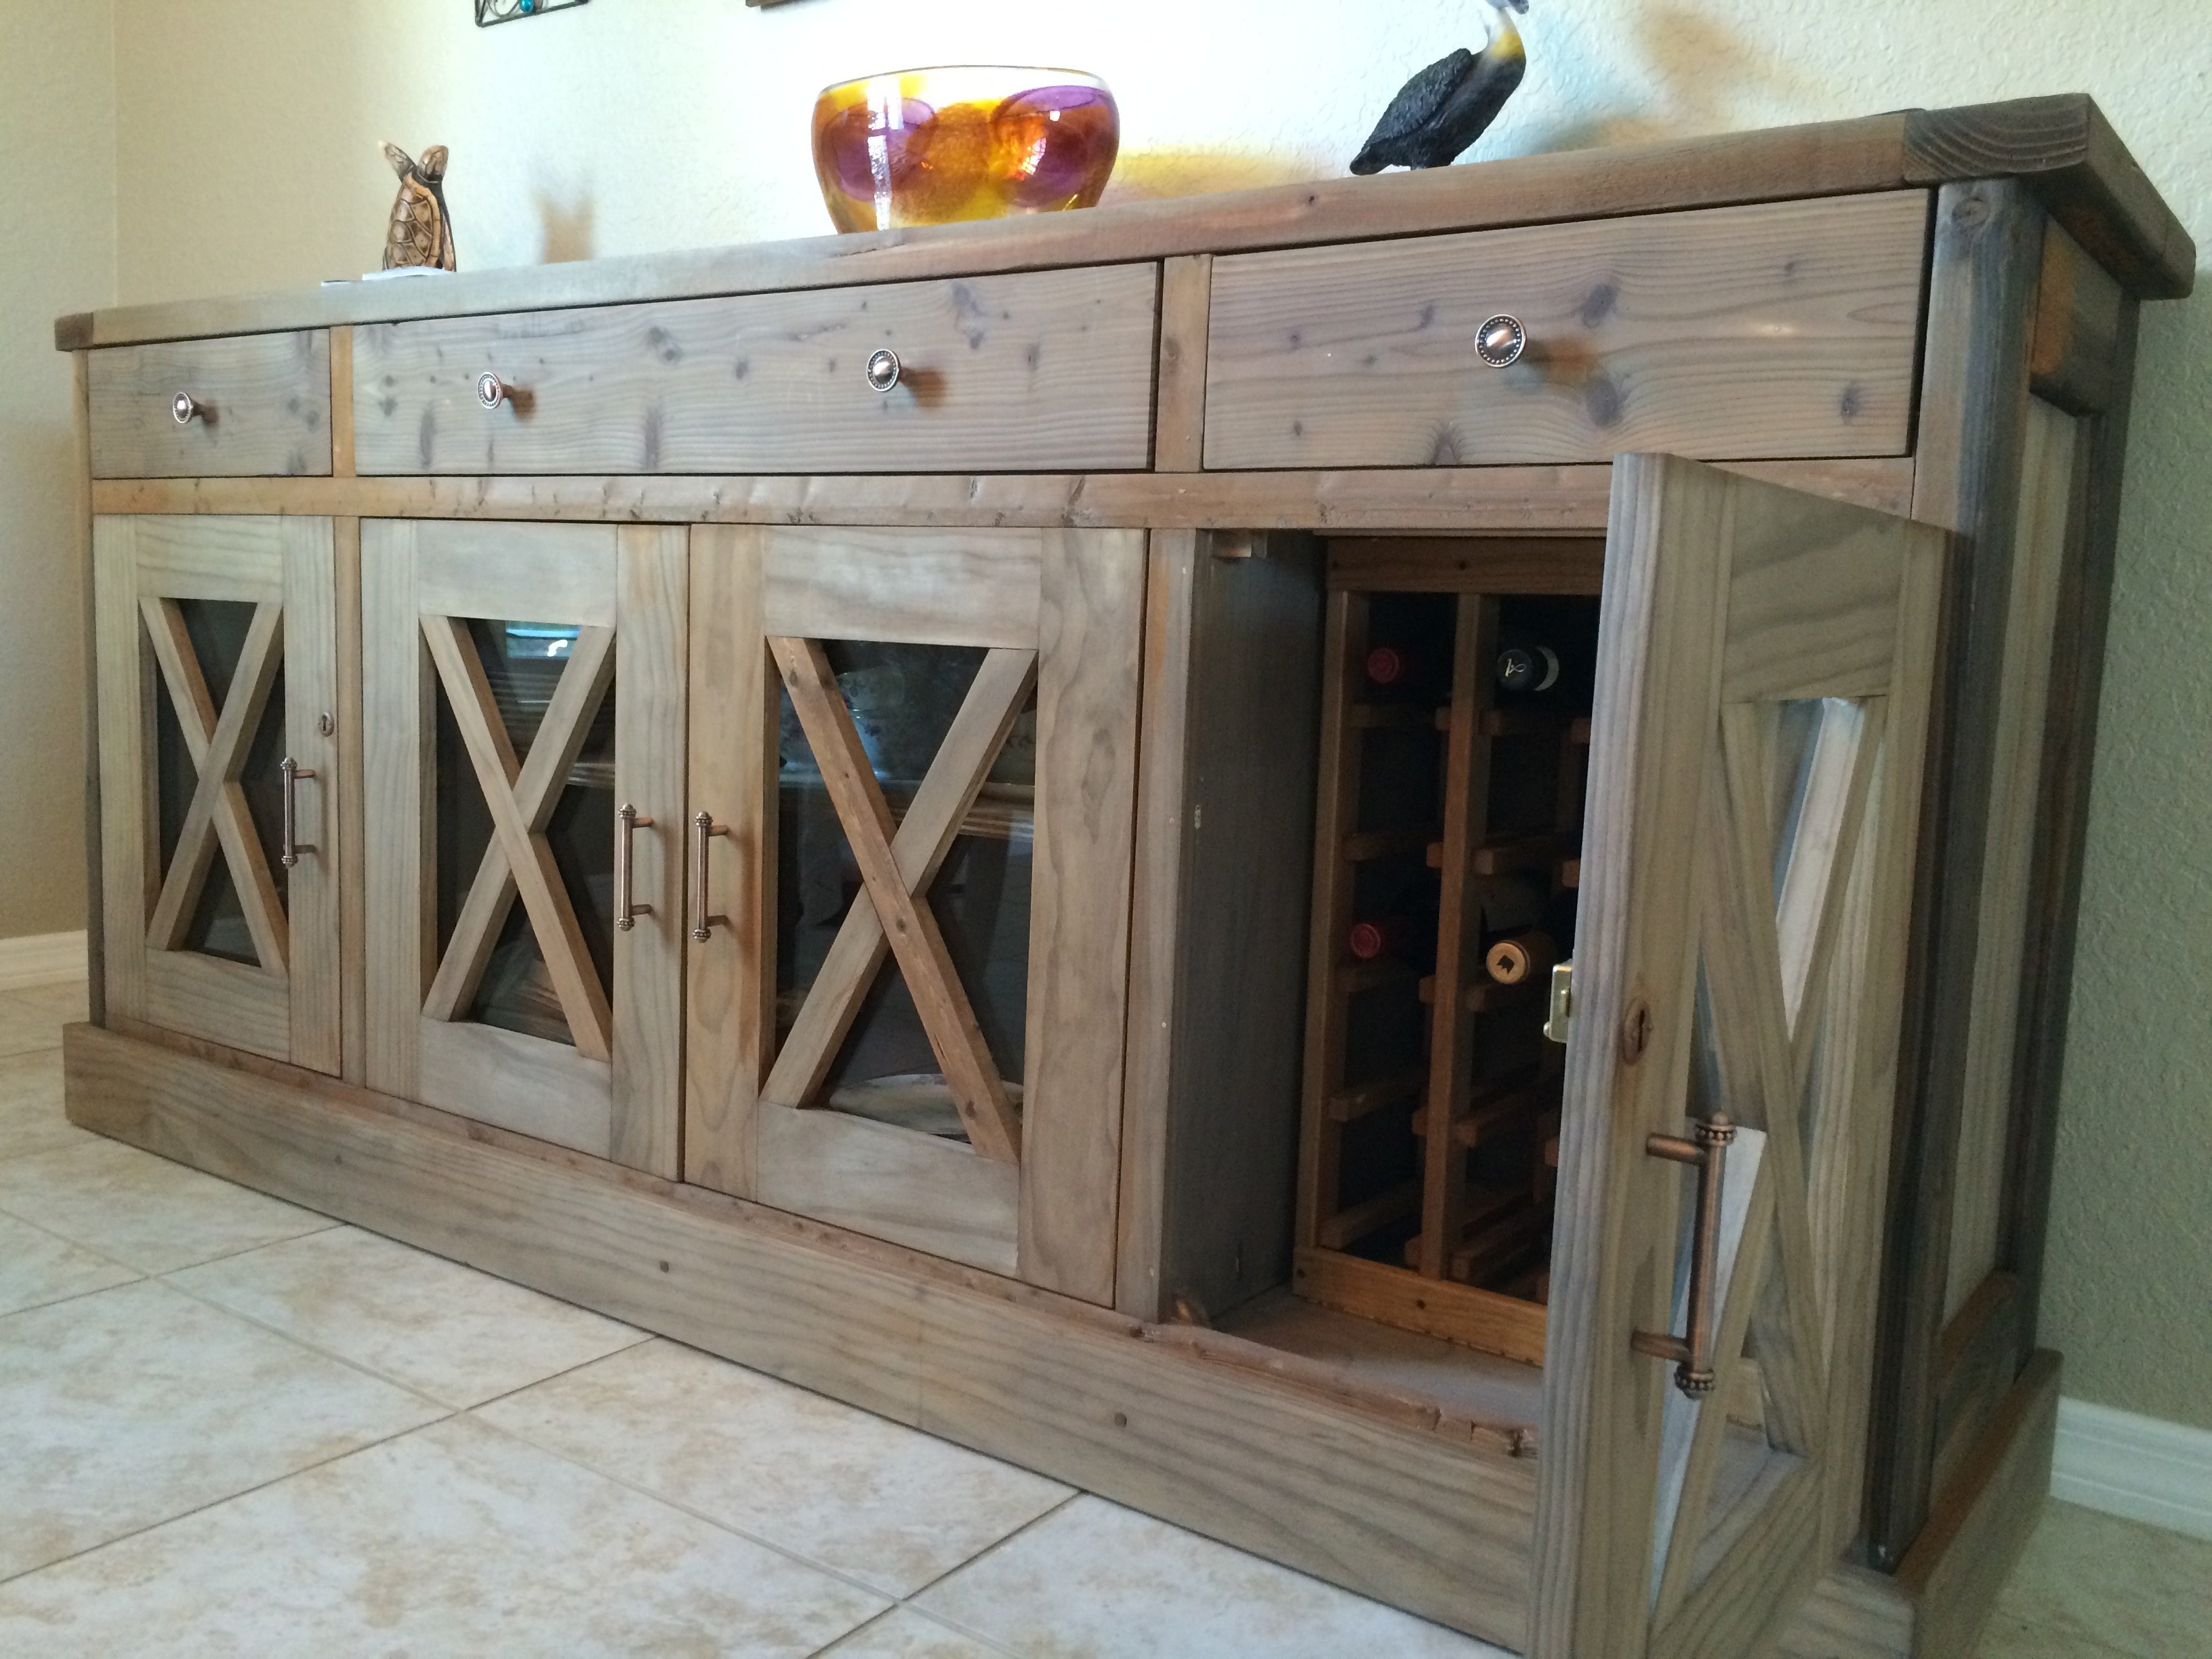
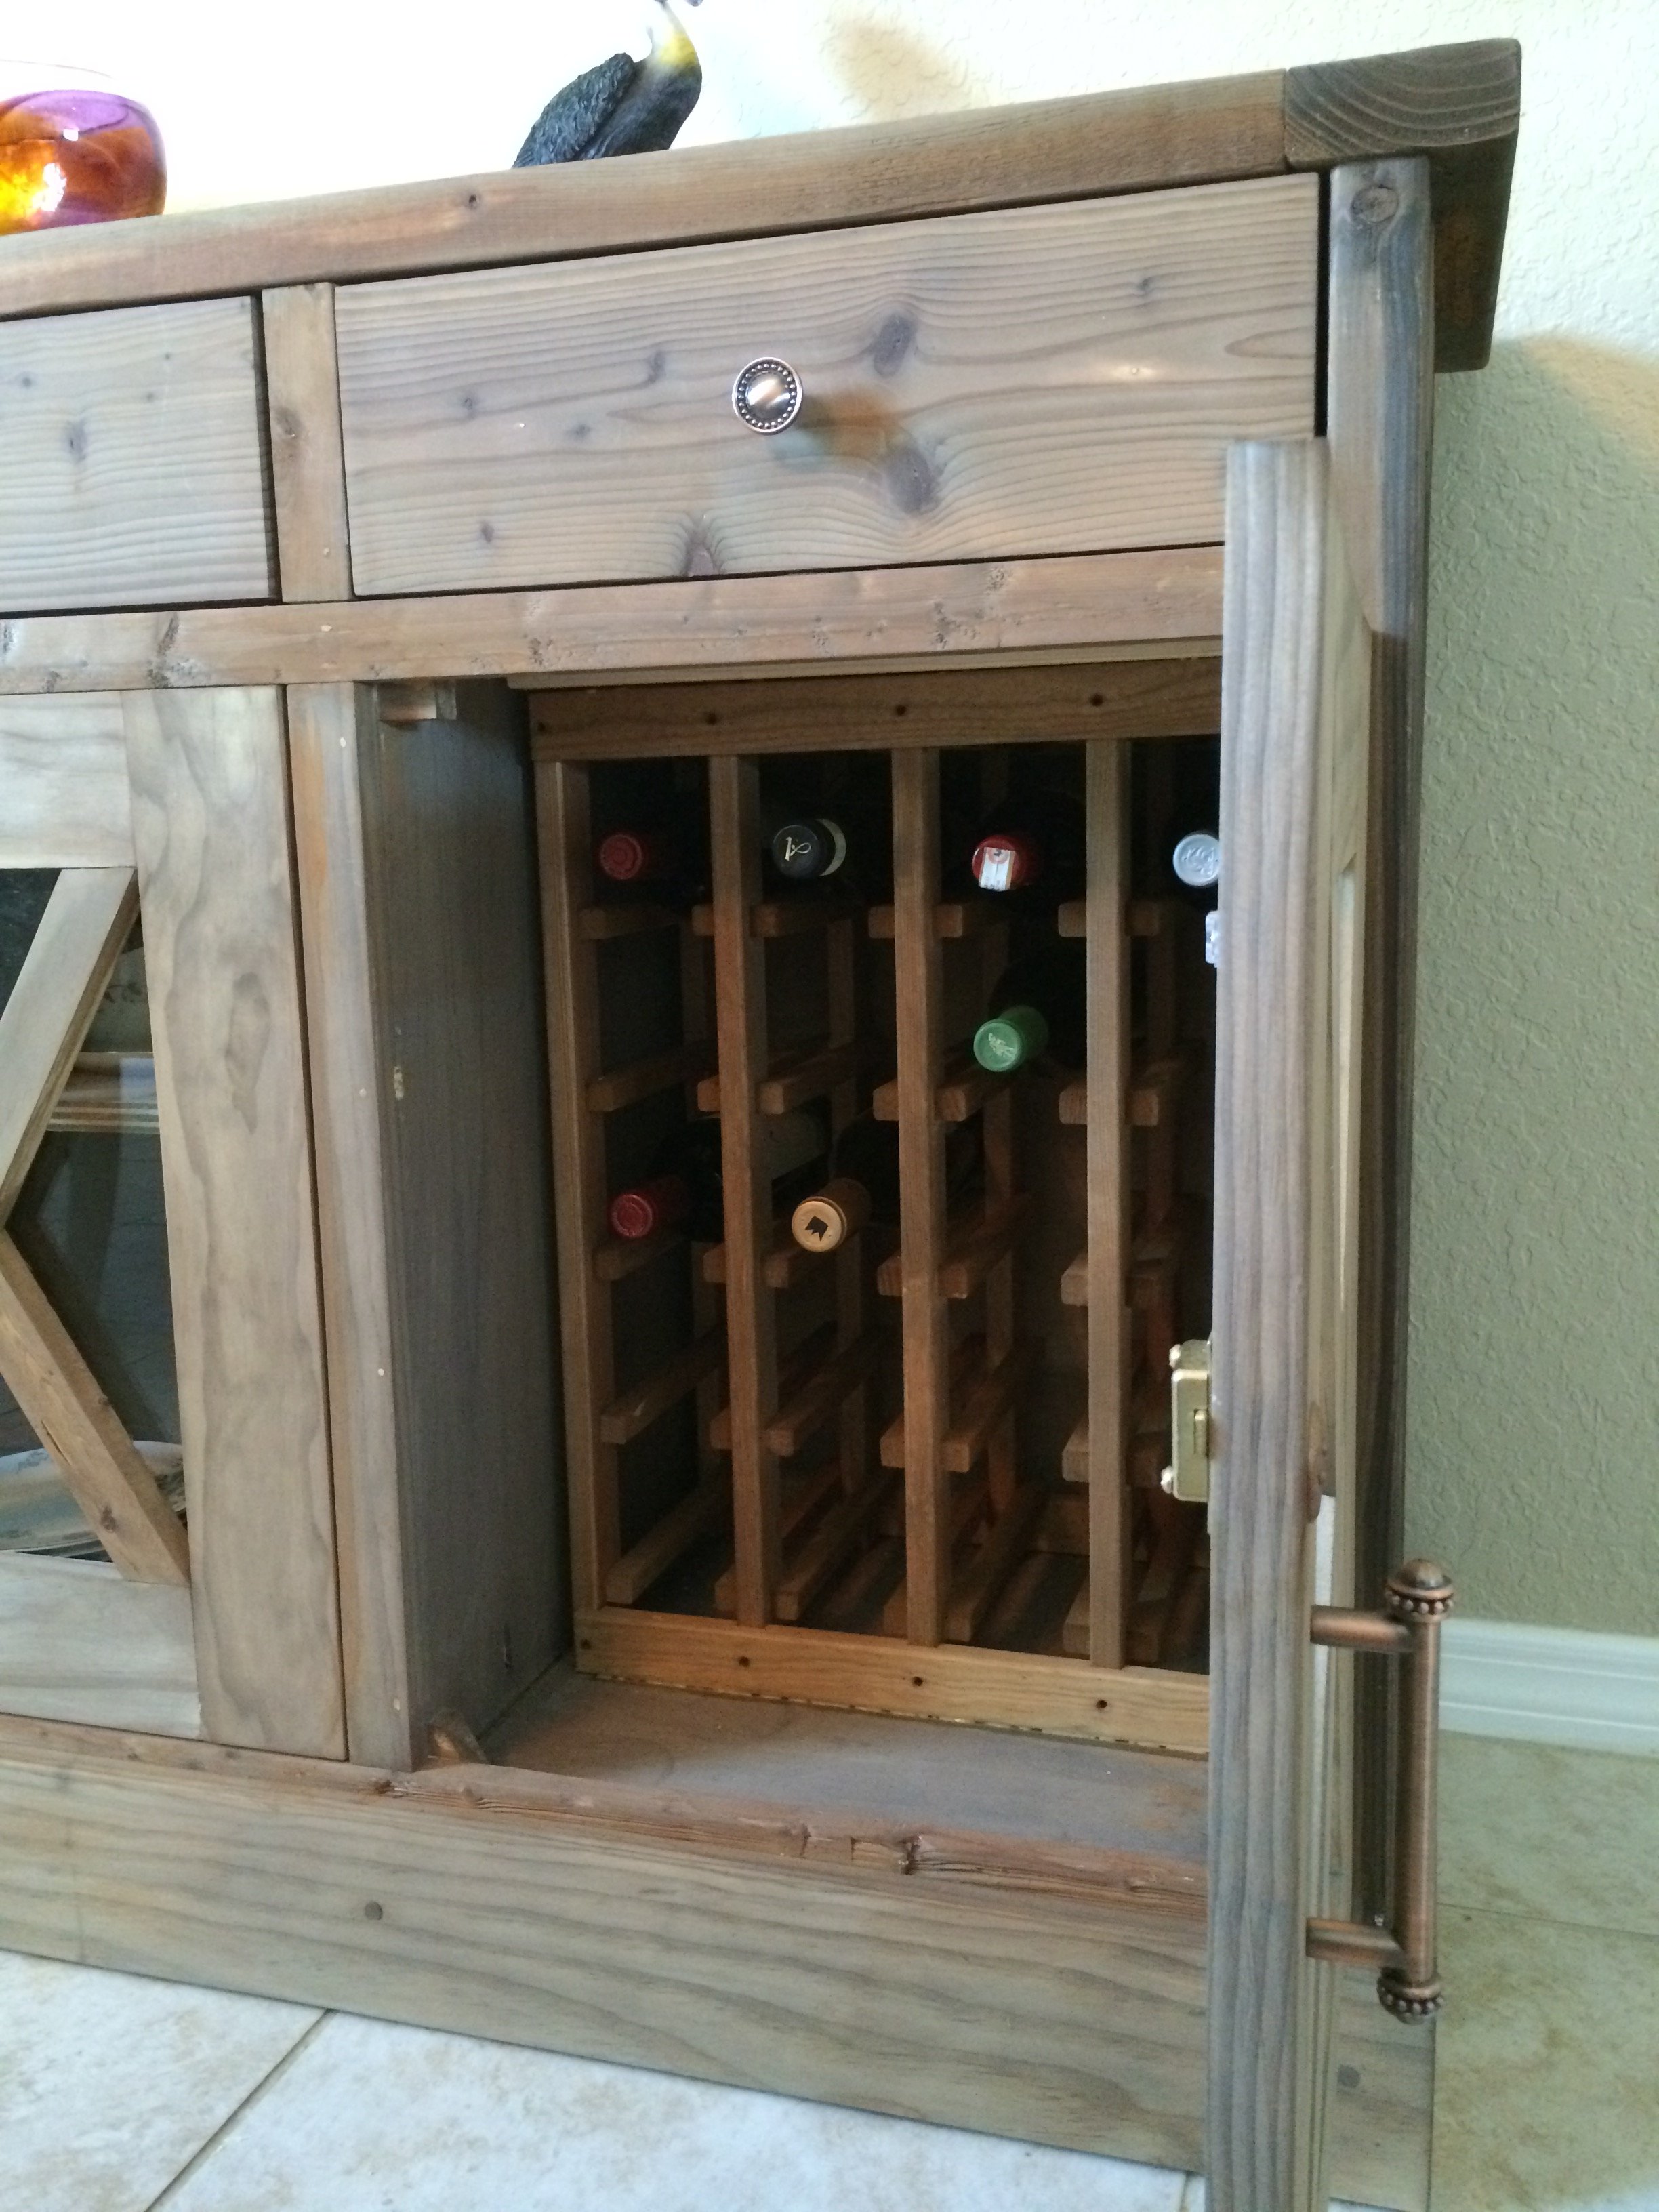
I made a few modifications from the original plans as I wanted to have some visibility into the cabinets. I used natural pine and finished with a tea, vinegar/steel wool solution to give it the reclaimed wood look.
Wed, 08/17/2016 - 23:42
Would you have plans available for the modifications that you made? This is beautiful!!
Mon, 07/22/2019 - 10:52
Do you have plans for the modifications you made on the doors? Thank you
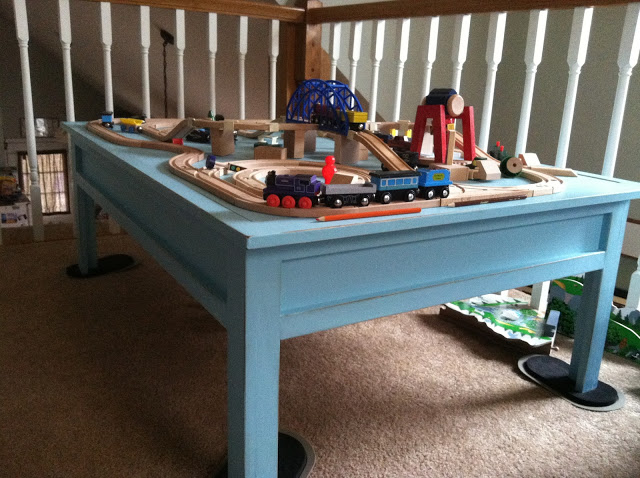
I made this train table for my nieces for Christmas. They LOVED it!
I used pre-primed MDF boards and plywood. I skipped the bottom shelf since I knew it would never actually be used as a coffee table and cut half circles out of the top for access so that it wouldn't need hardware.

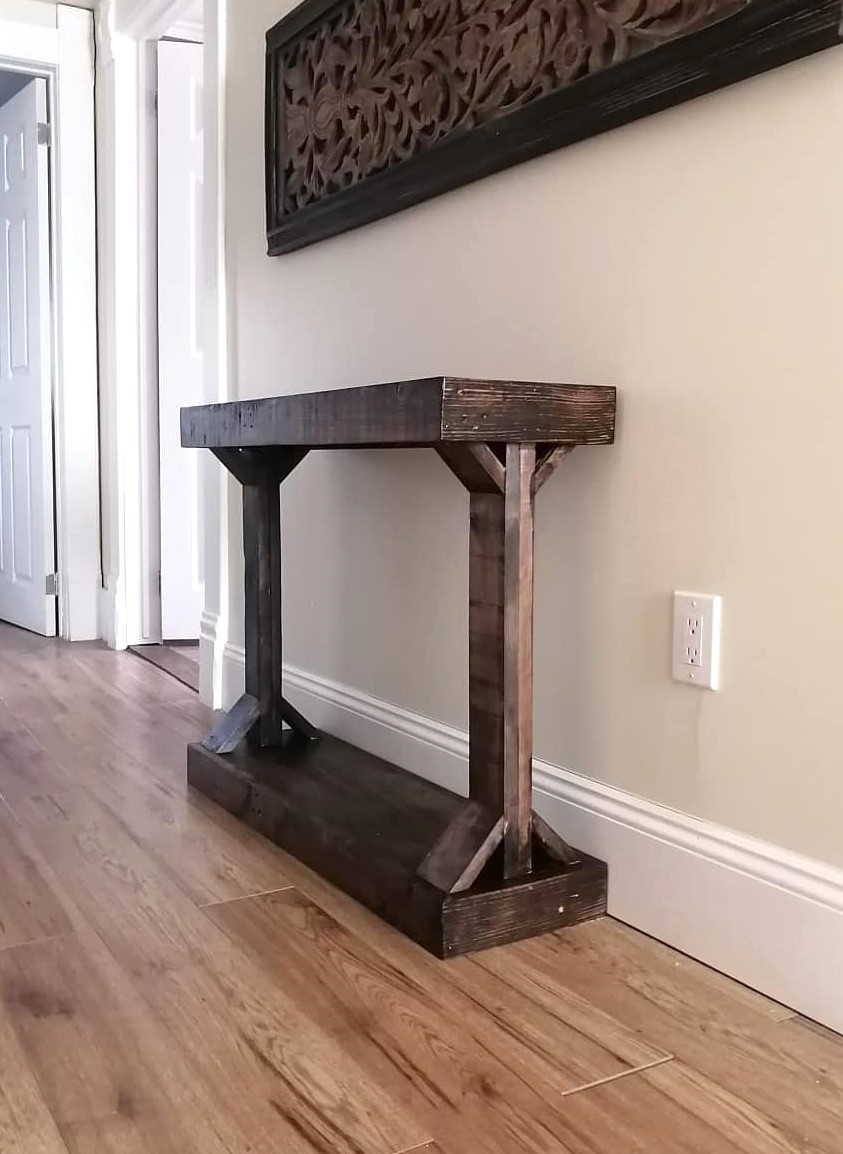
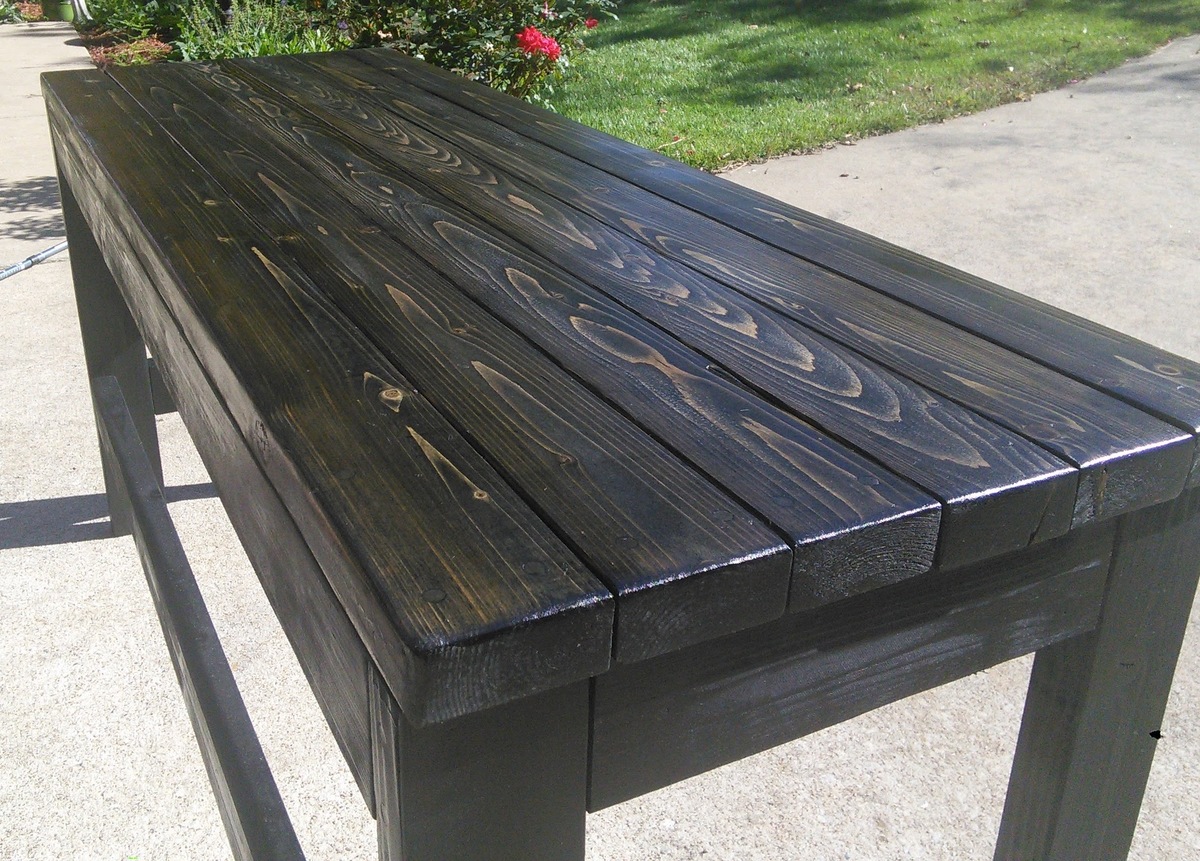
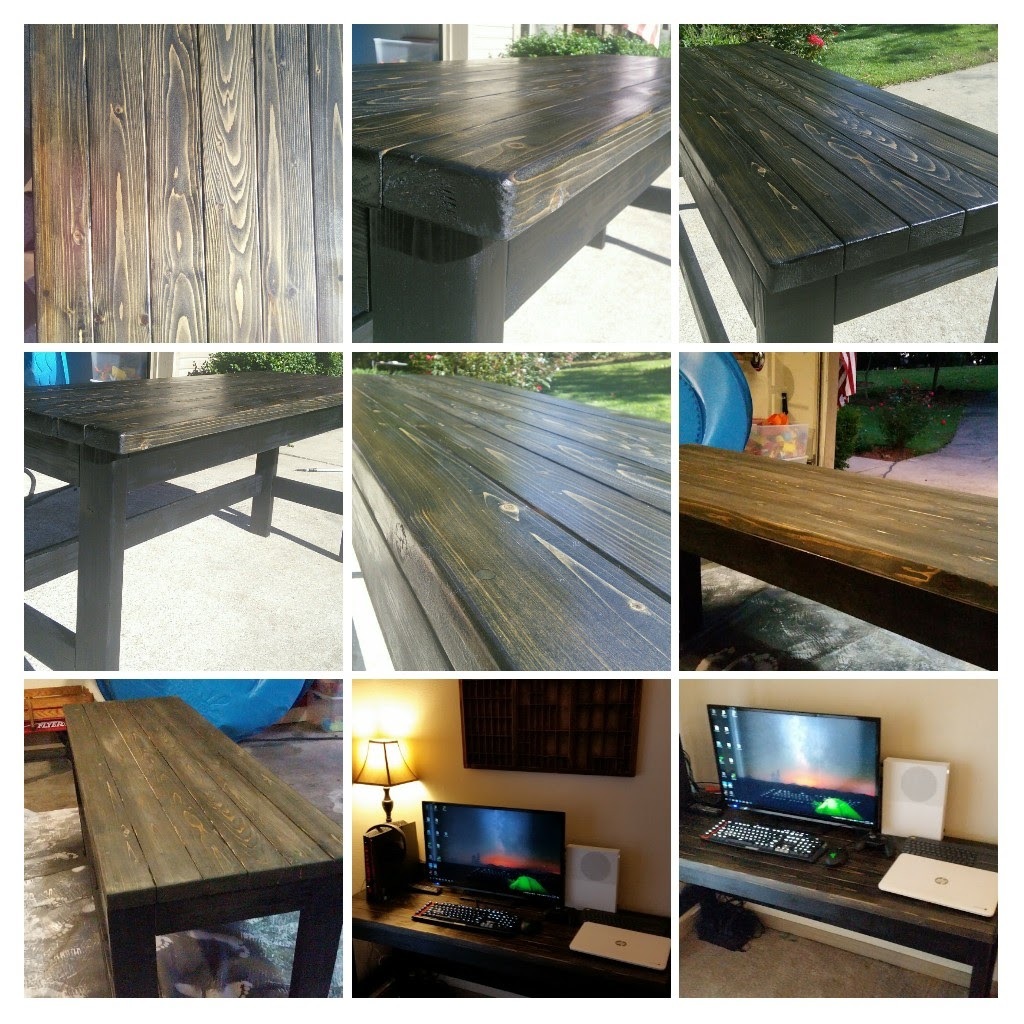
I made this table completely out of pallet wood. We have true 1x4 pallet wood which is hardwood. for the legs, I doubled up 2 pieces of pallet wood for strength. Every piece of wood is a 1x4. It turned out perfectly as I needed a narrow table for our 2nd-floor hallway. This took us a little longer than with cut lumber as there was a lot of planing and sanding since it was pallet wood. If we had used lumber it would have taken a few hours less.
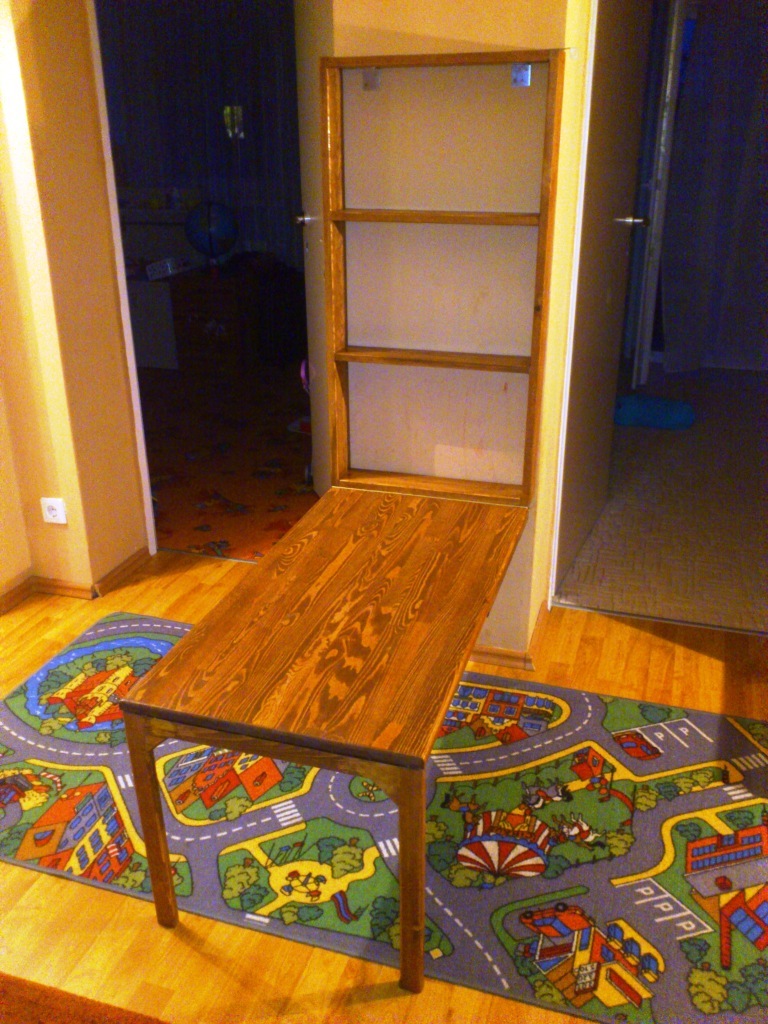
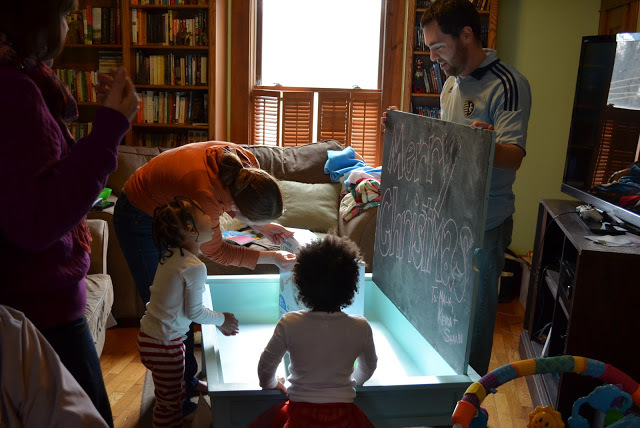
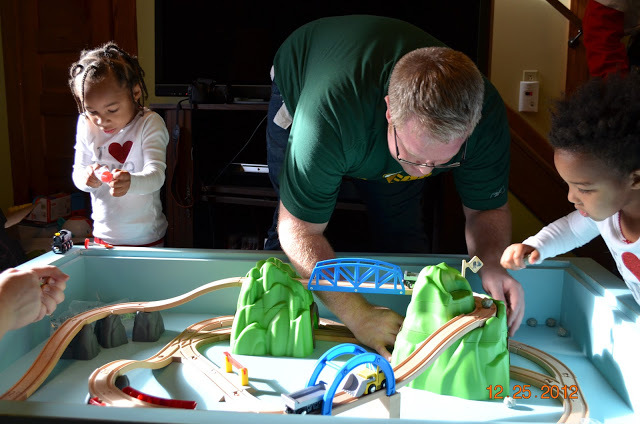
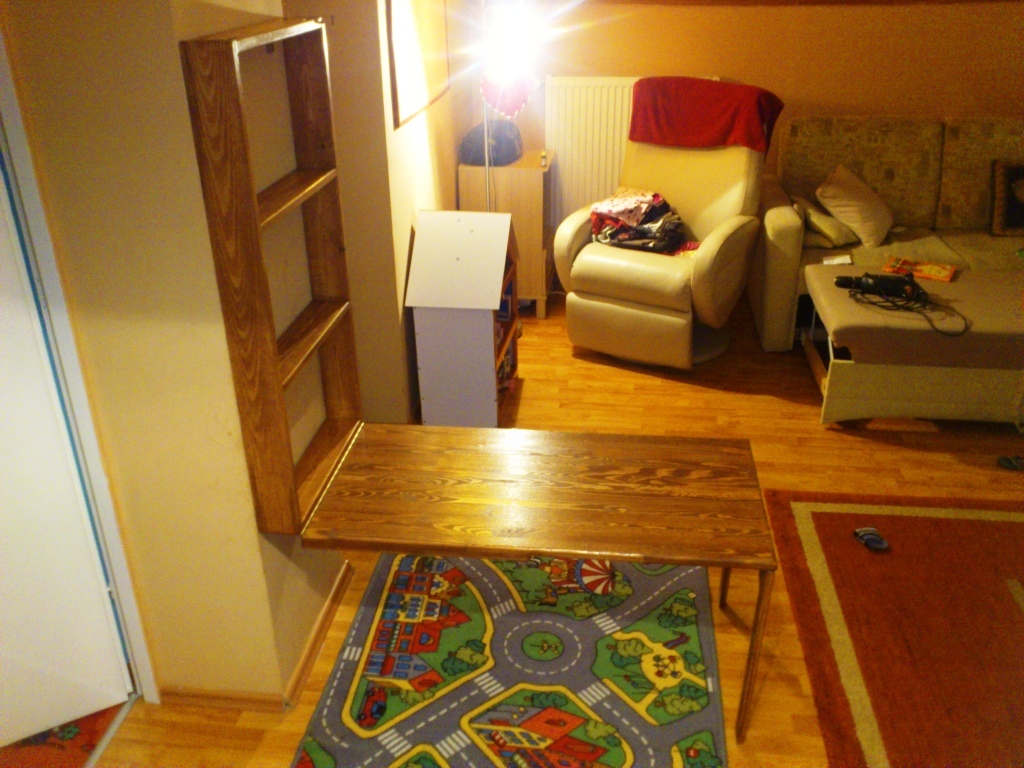
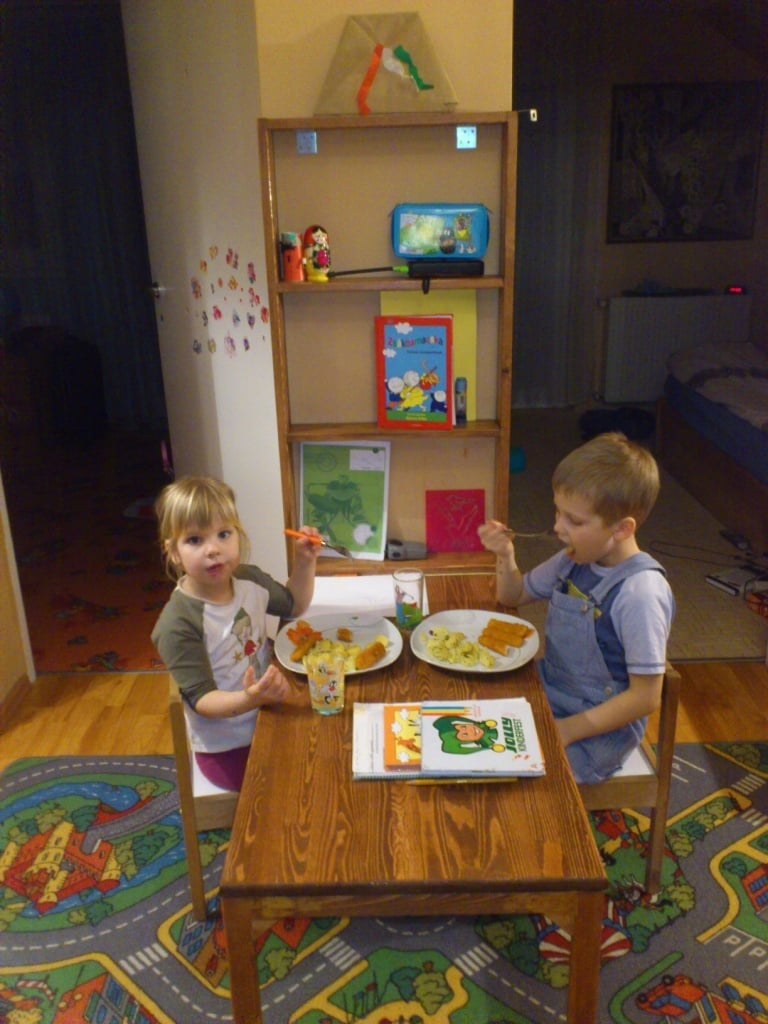
I saw this plan a couple of months ago, and knew right away that this is what we need for our kids - their old table was always filled with papers, crayons and they never had enough space to store whatever they did.
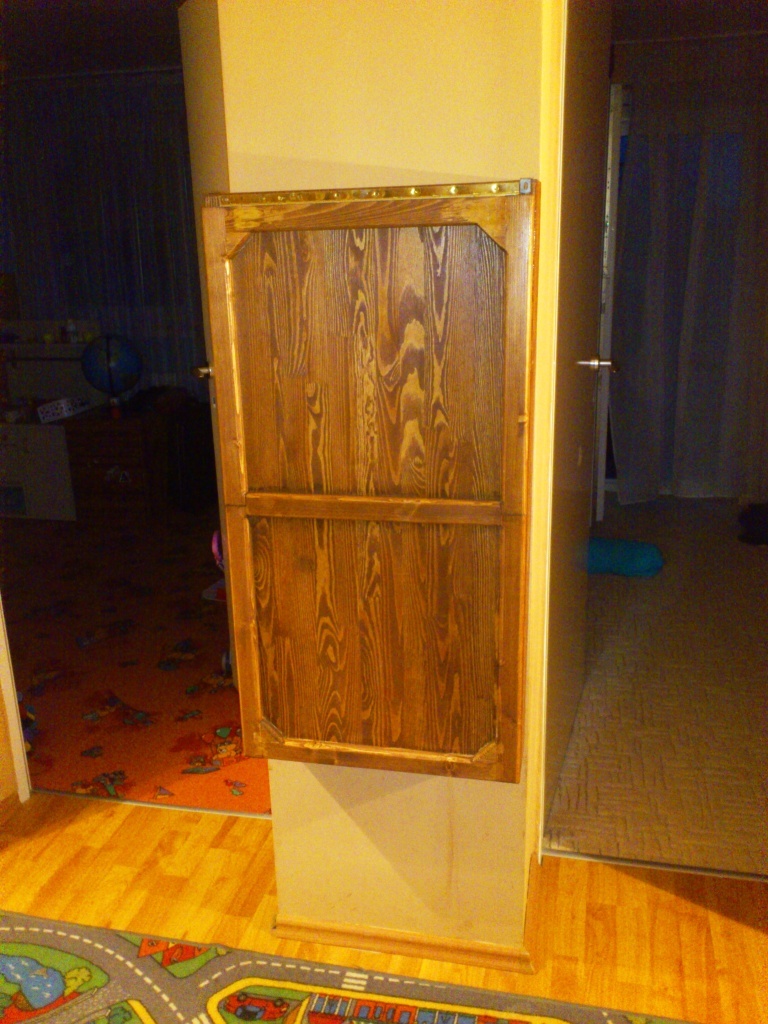
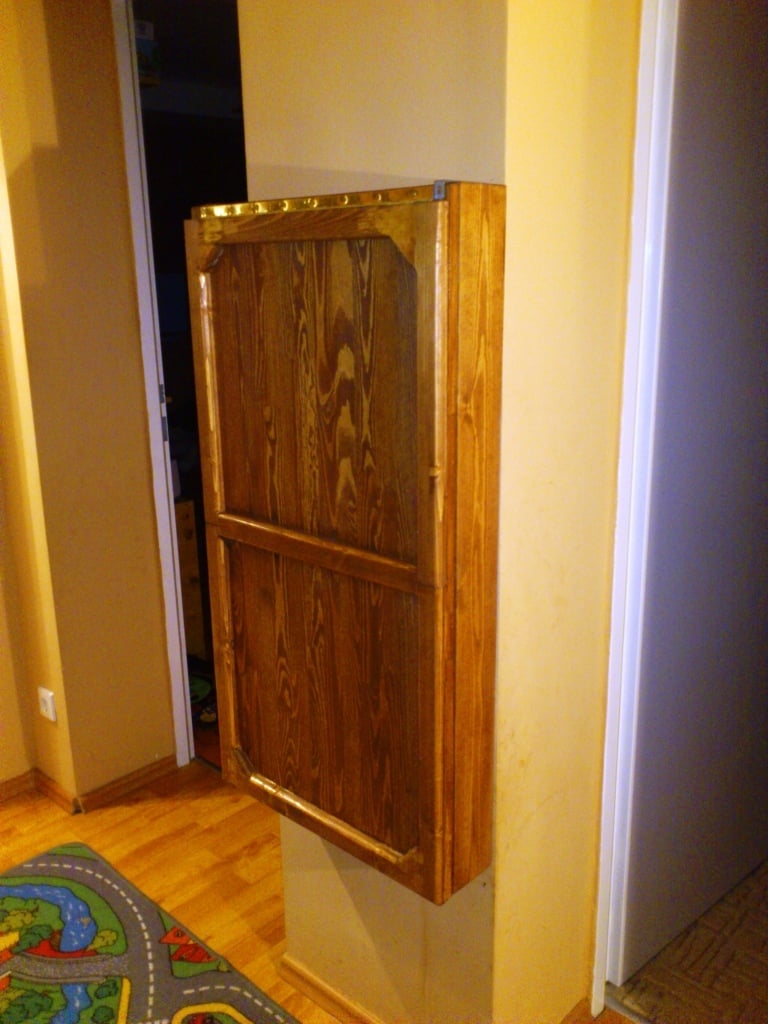
I made the table longer so that it would be enough for both of them, and added foldable legs to support the table top.
Since I didn't find the right hinges for the legs, I used a piece of 1x1 with wood dowels which are attached to the inner side of the legs when unfolded.

Fri, 03/22/2013 - 16:08
Well, I now know what I'm doing tomorrow! I'm going to make a small hinged one to go in our entryway because we have nowhere to put stuff while we're getting our shoes on. Yours looks great!
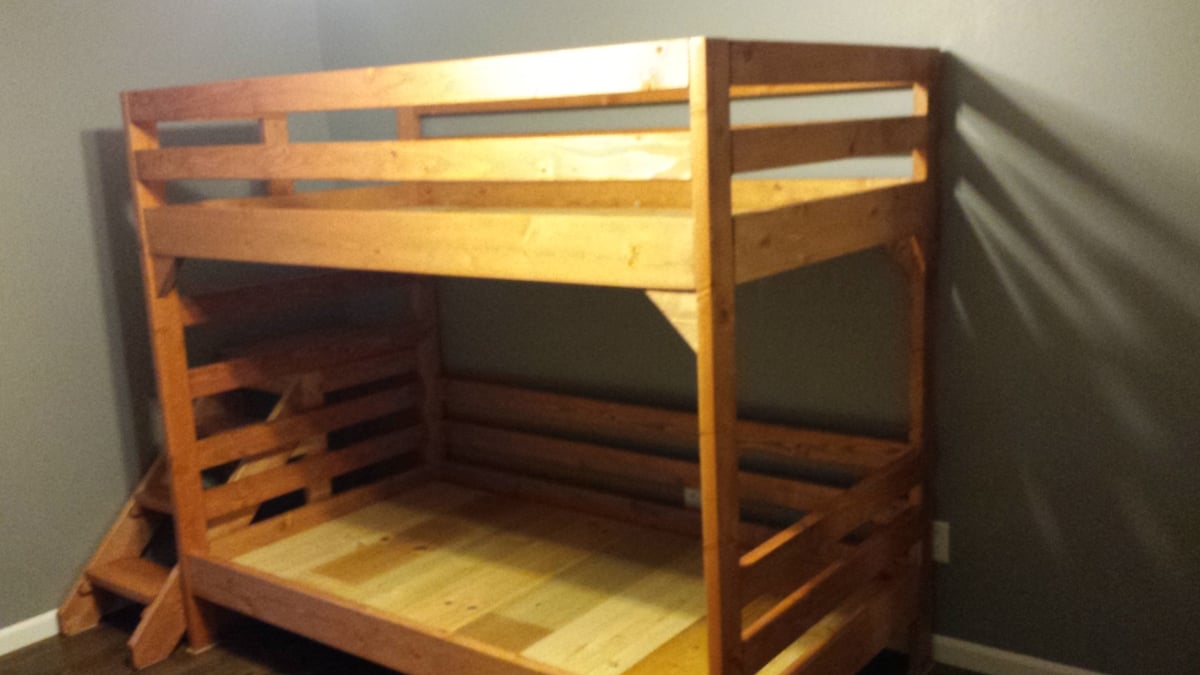
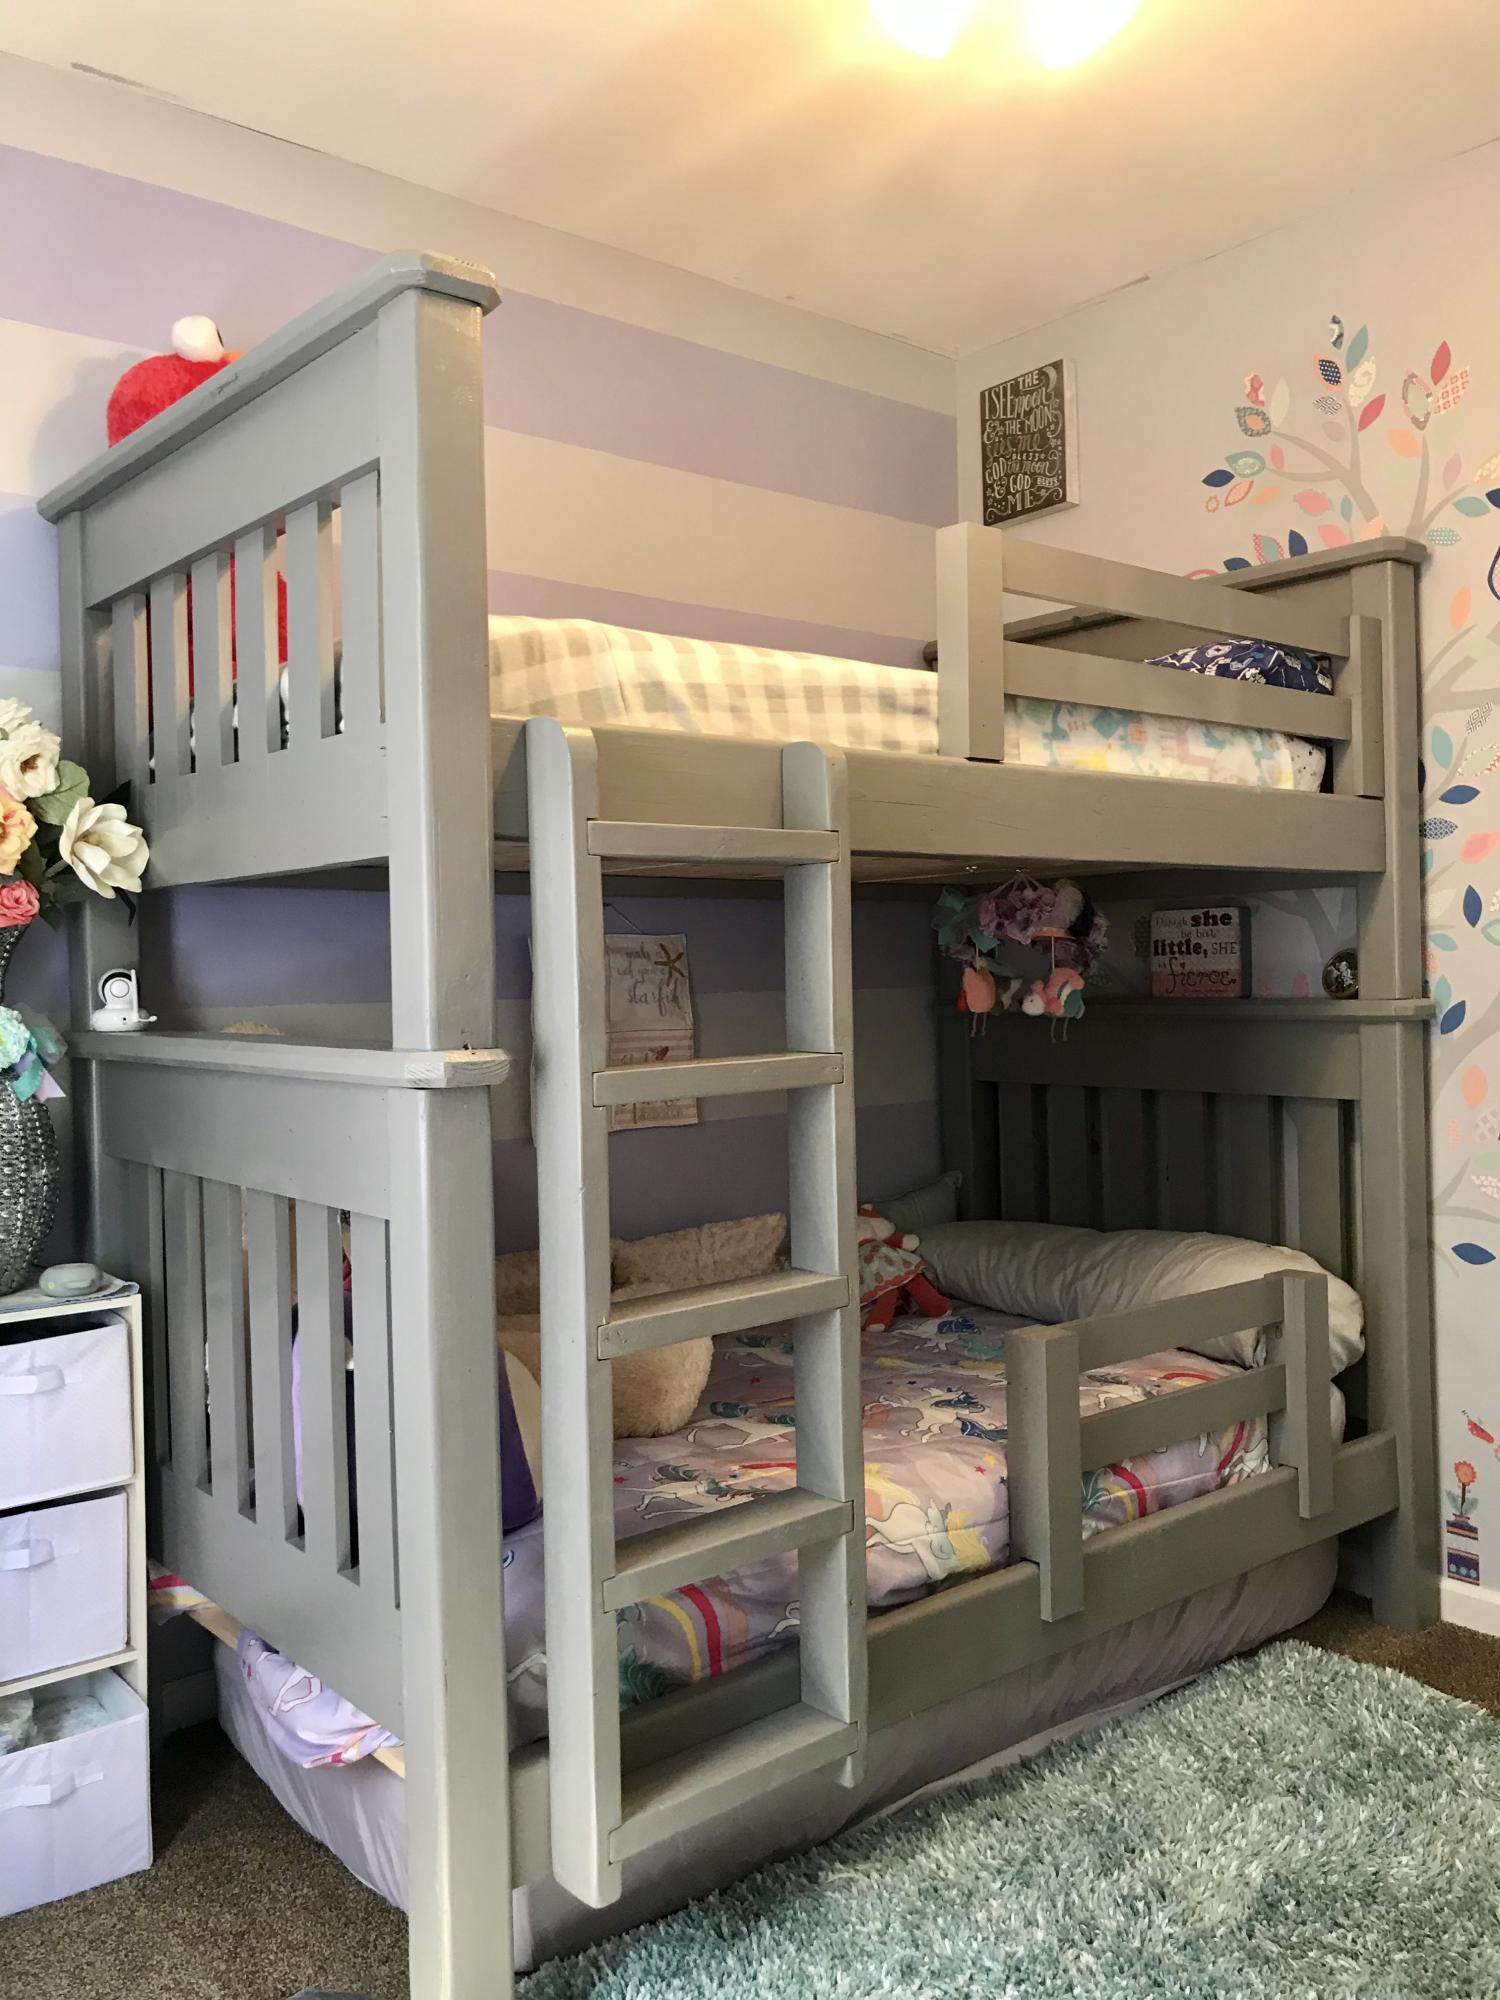
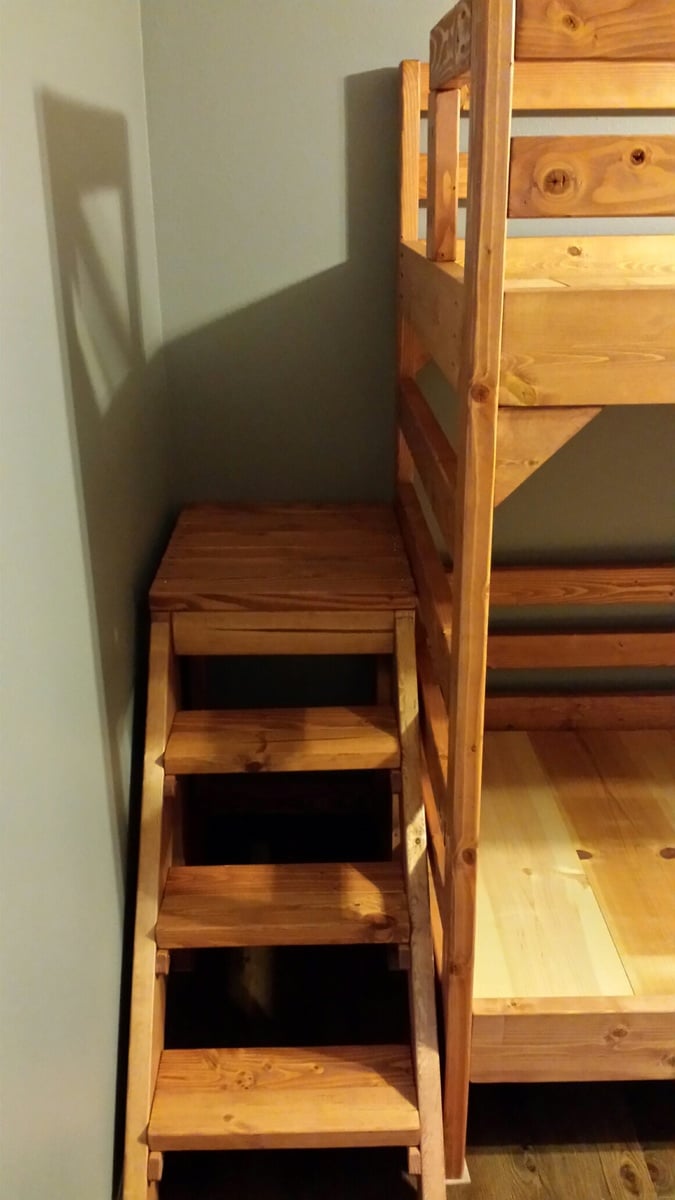
Using the Junior Height Camp Loft Bed plans...
I raised the height from 65 to 67 inches to better accomodate a bottom bunk. Added bottom rails and extra 2X4s for the head board.
I shortened the width and length of the stairs to better fit in the room, and in doing so, made a small mod to the post by the stairs to prevent the boys from falling down the stairs.
Kids Love them
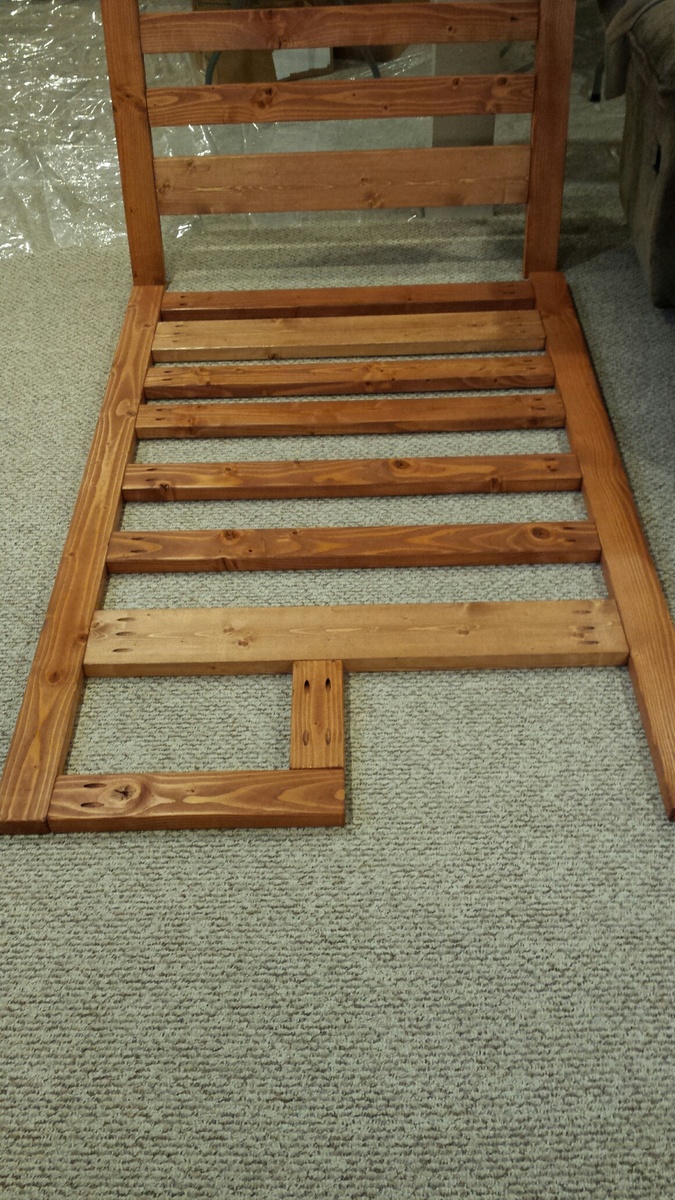
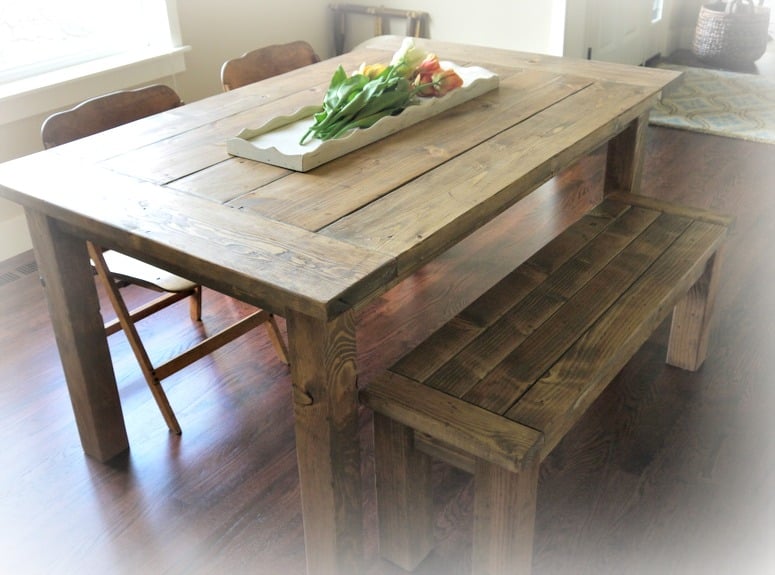
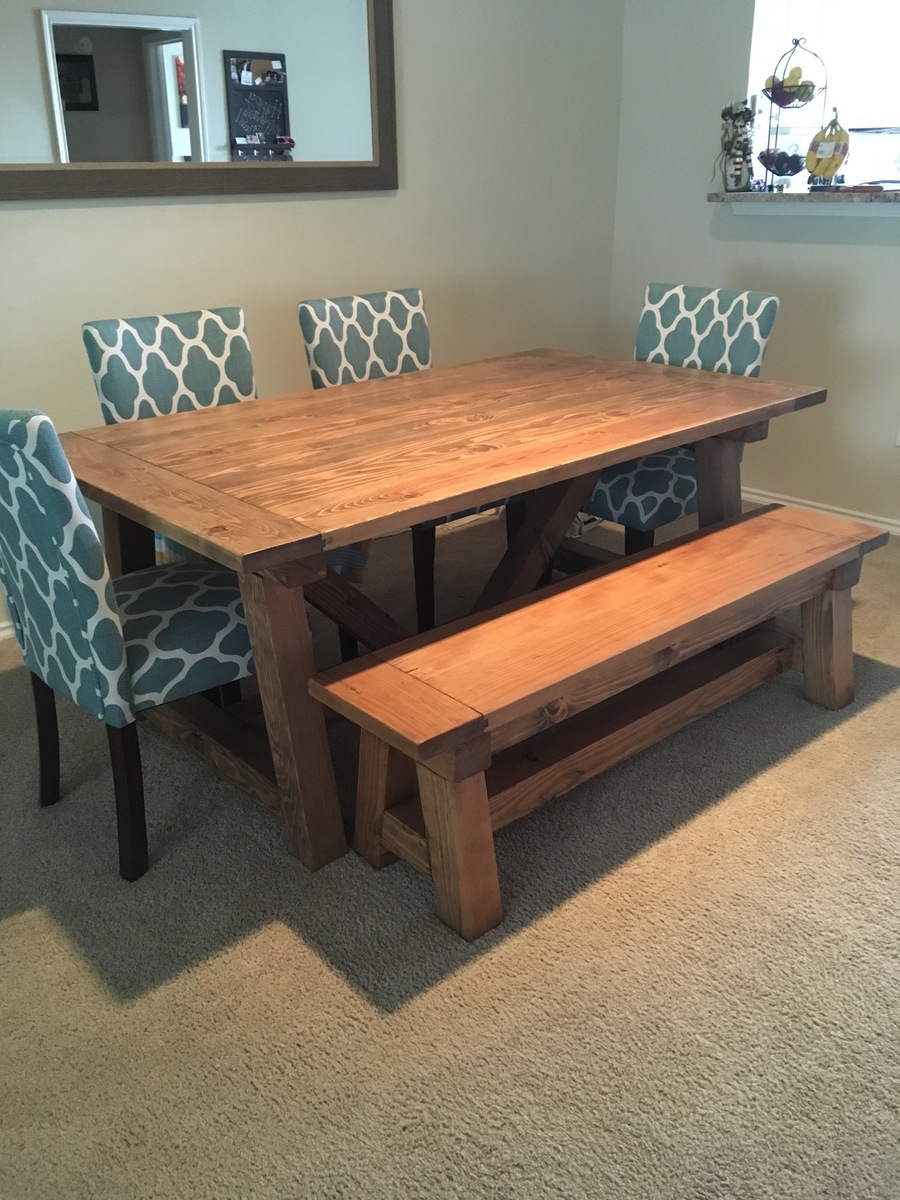
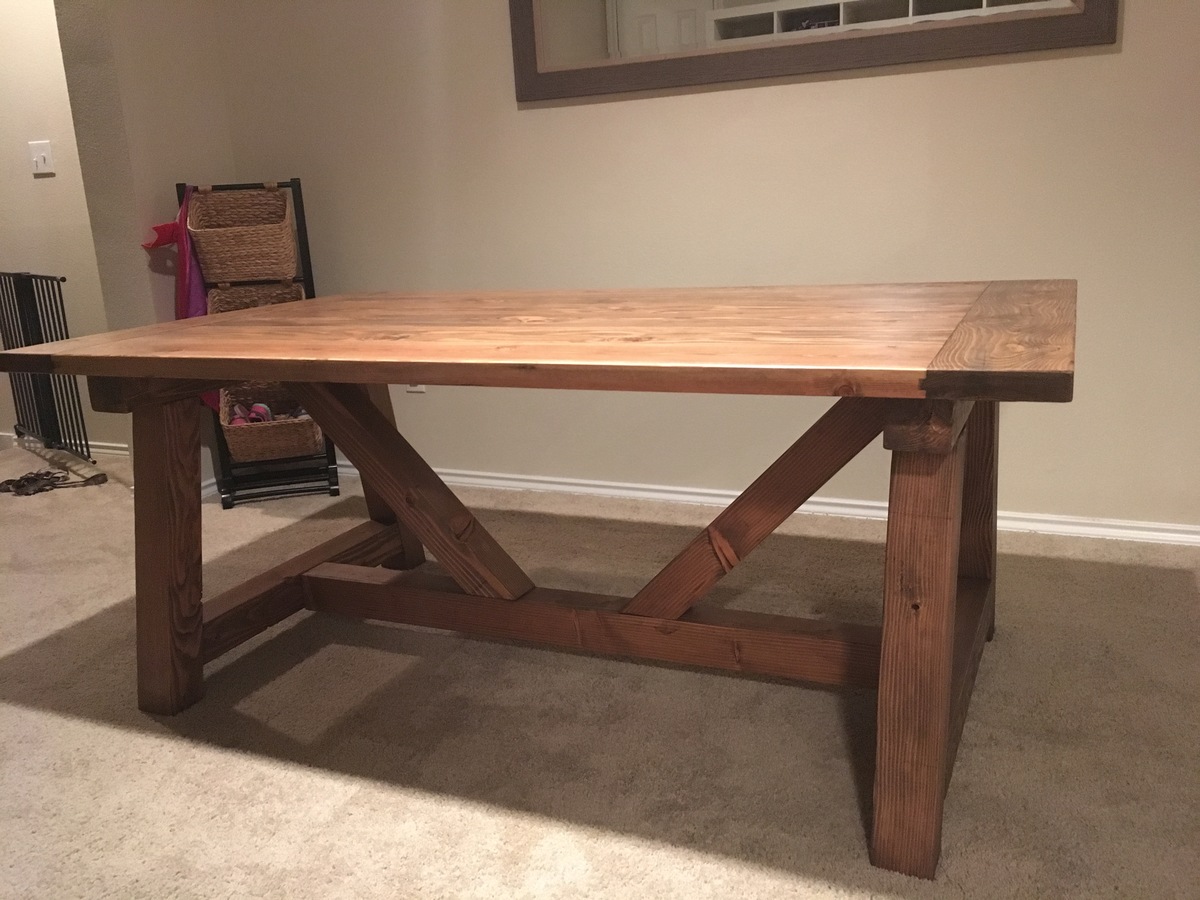
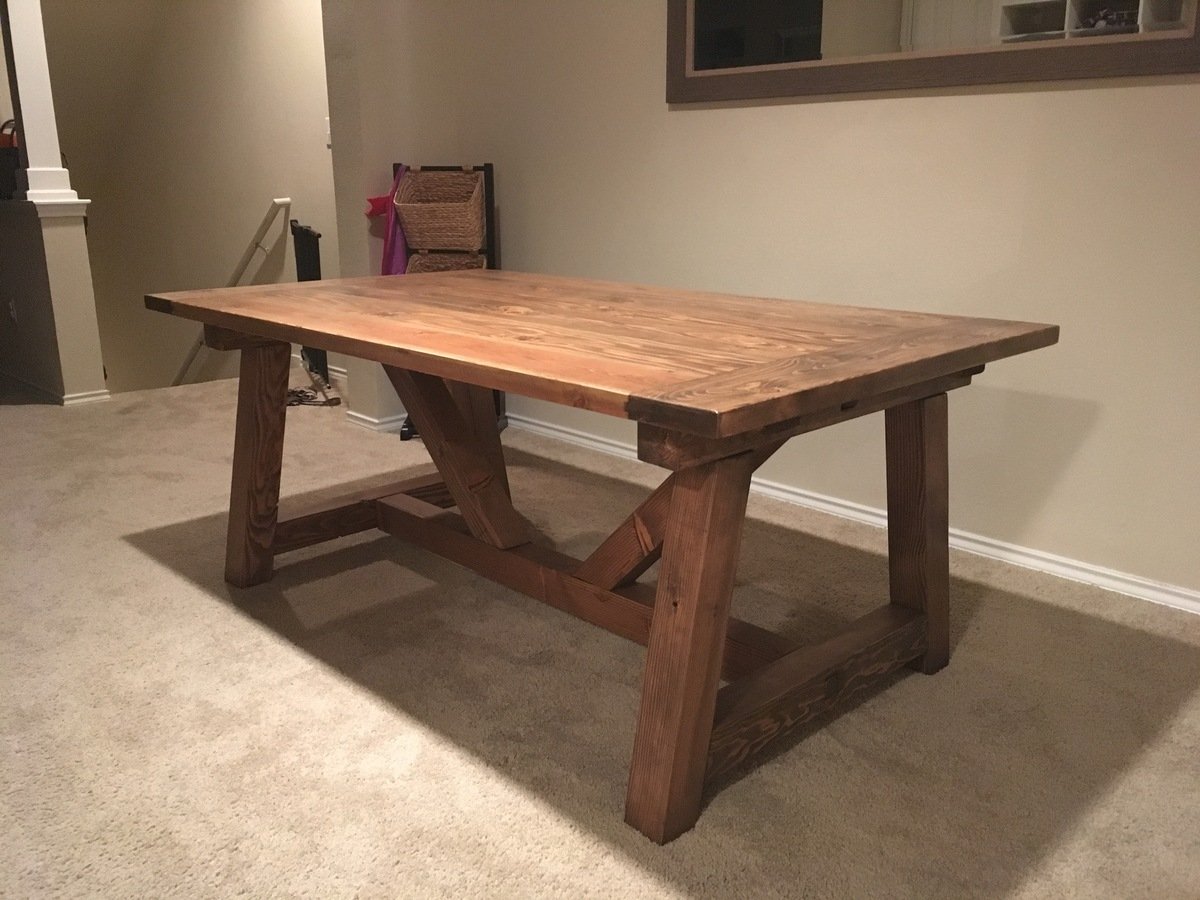
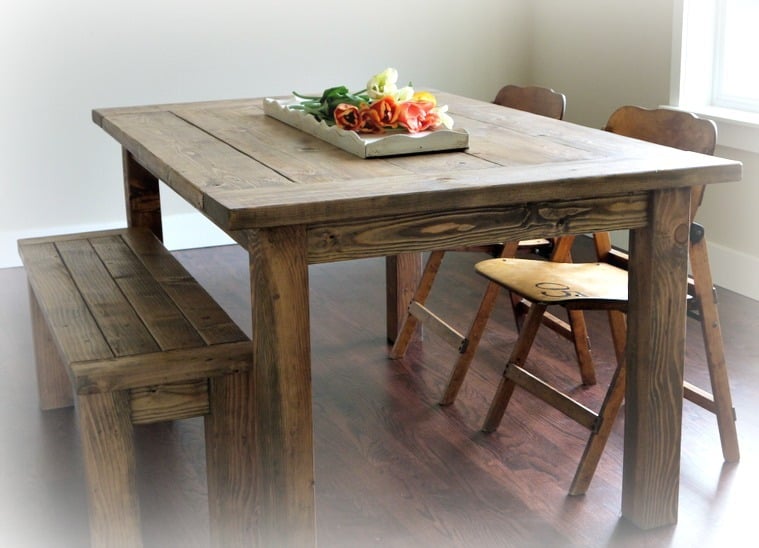
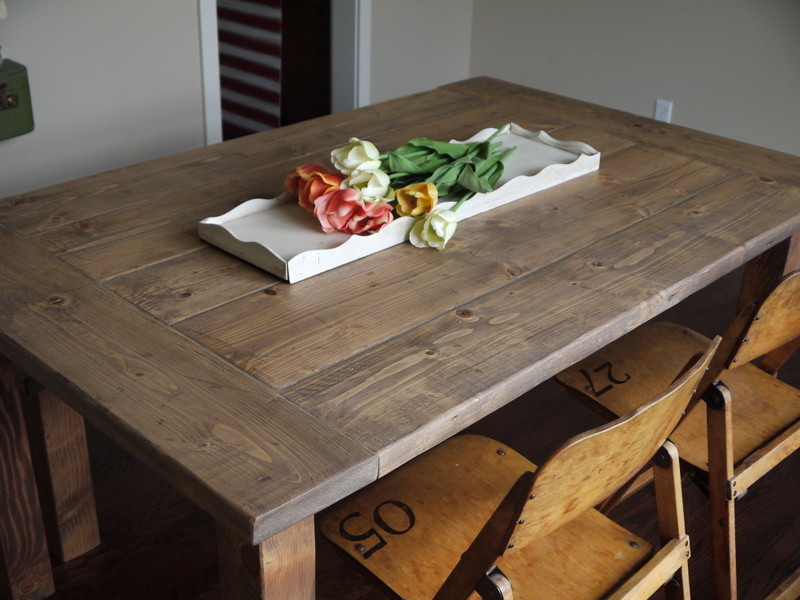
This is the third farmhouse table I built, although it is trifle smaller to fit in a smaller space. I think this one is just about 62” long. I also built a 48” bench to go along with this table, and I think they look so cute together!
Tue, 04/16/2013 - 08:59
I love your farmhouse tables! Did you make any changes to the plans when you took away the stretchers? I really want to make a table like this soon!
Sun, 12/06/2015 - 06:09
I'd like to know this too, as I'm not keen on having the bottle boards.
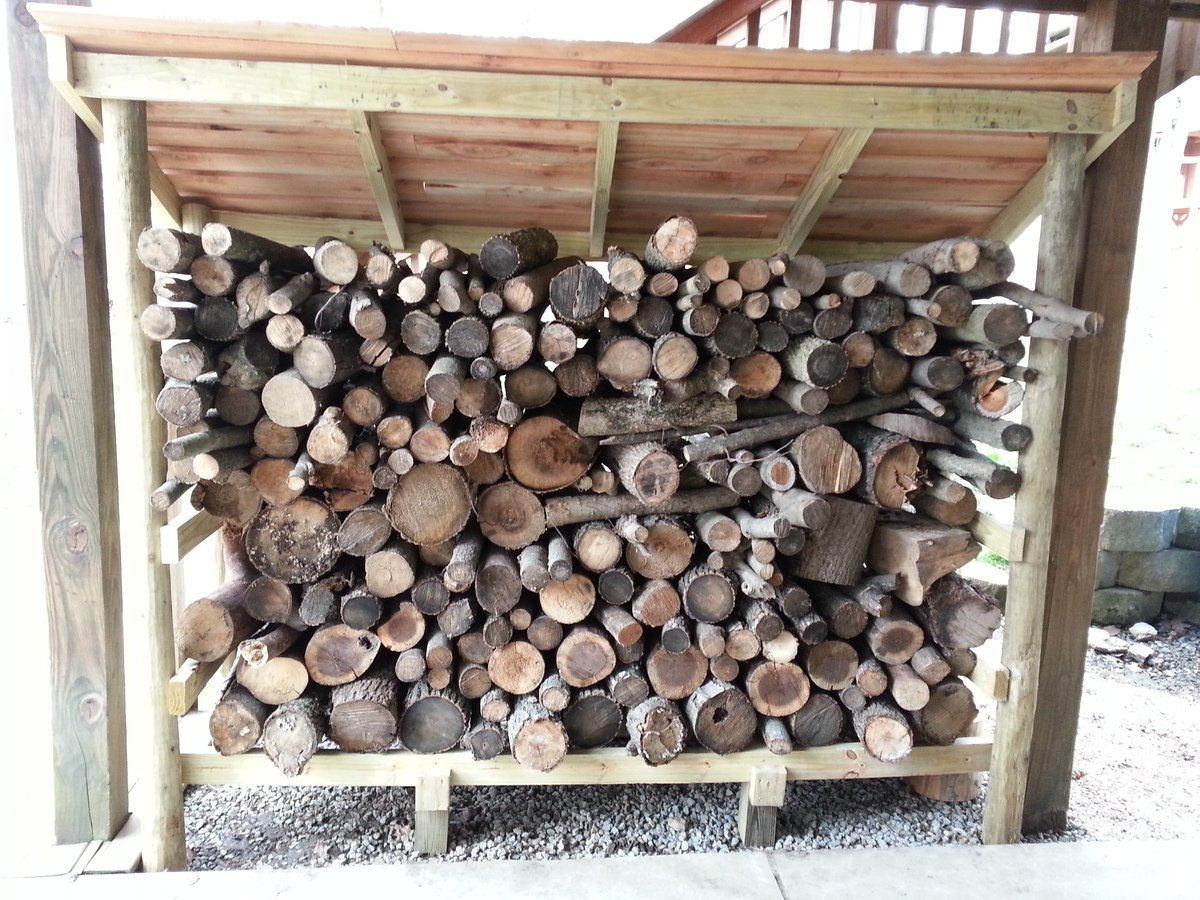
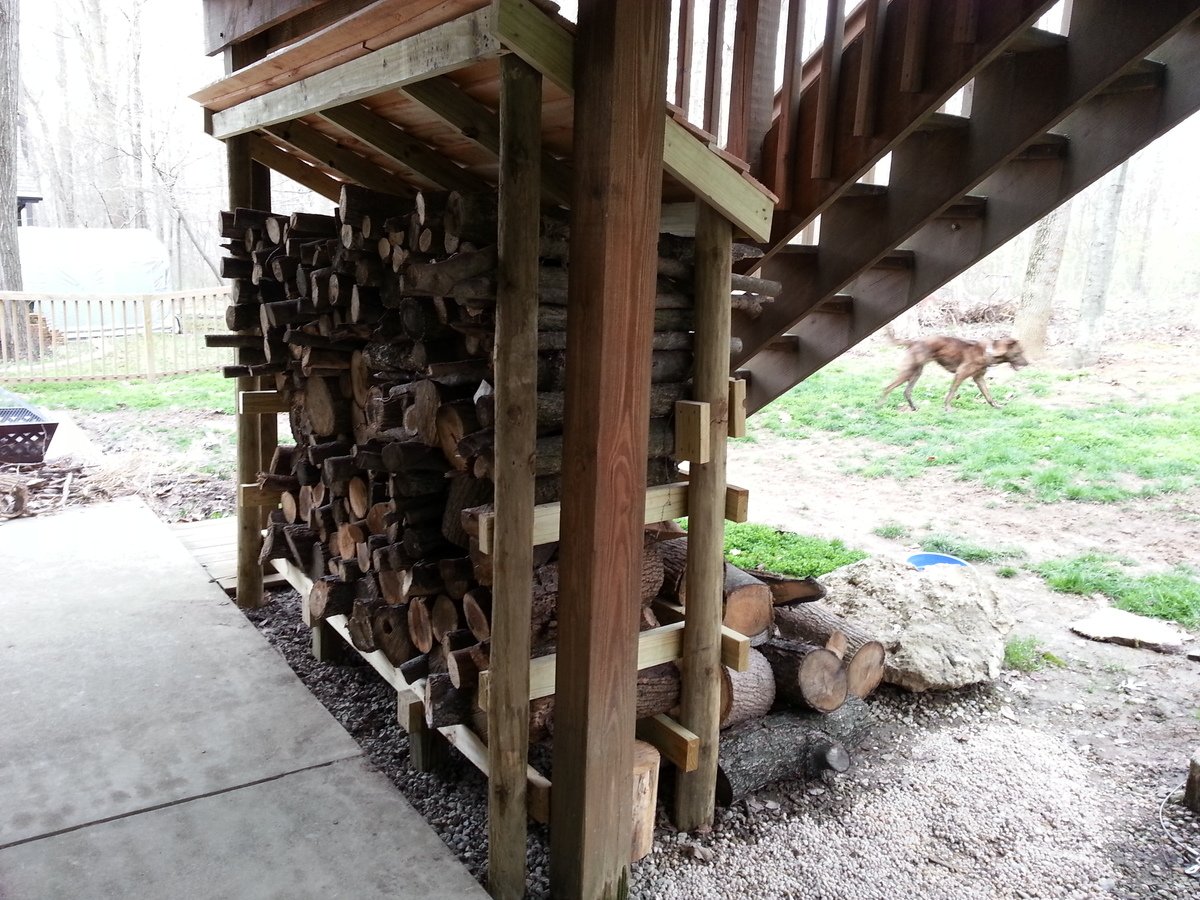
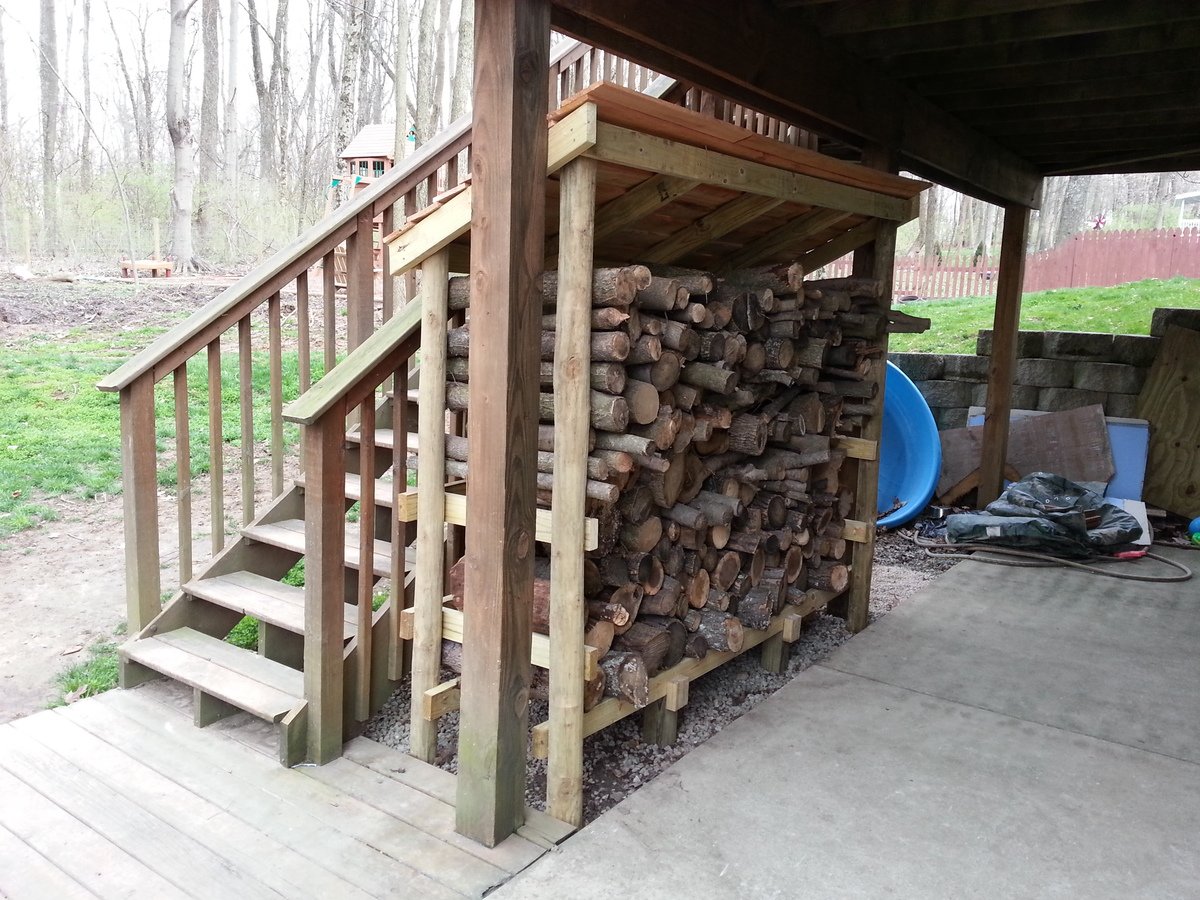
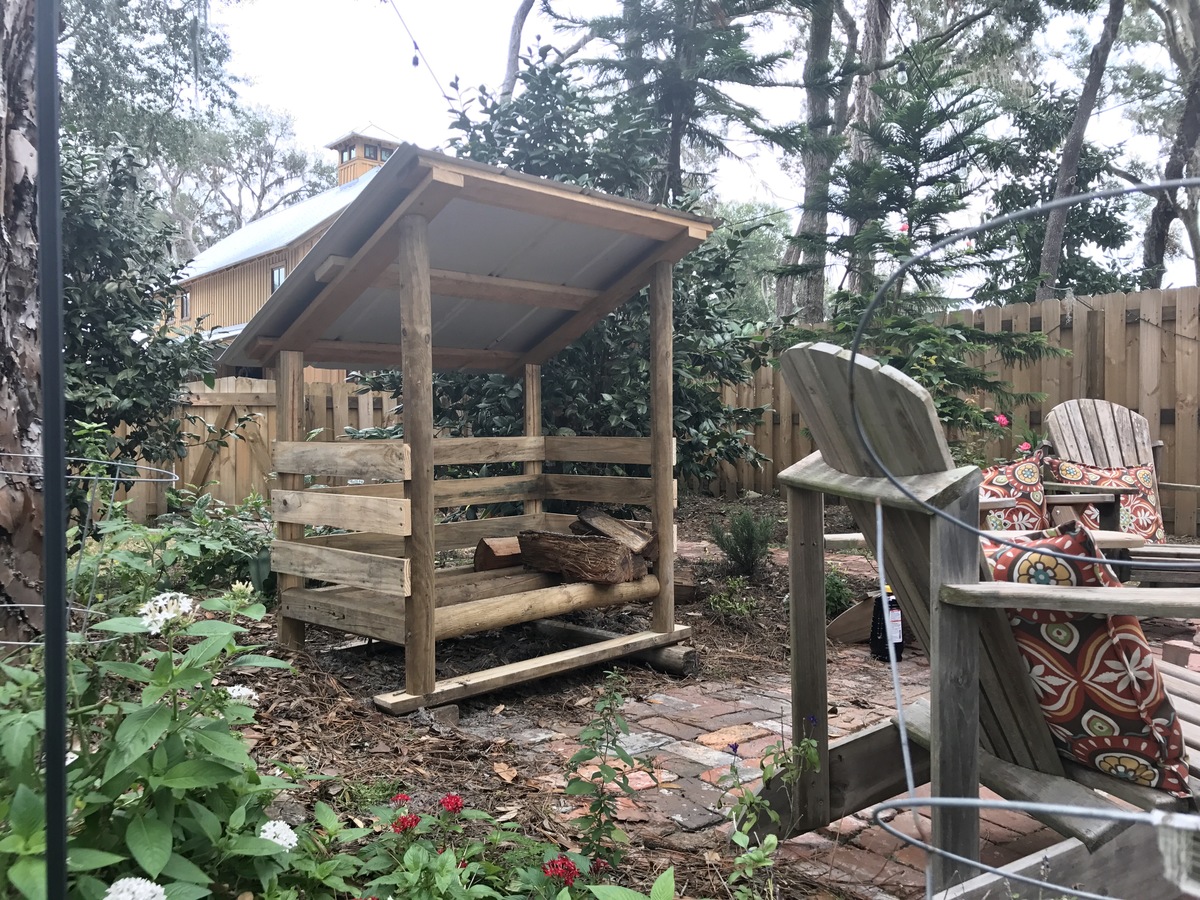
I used the basic design principles from Ana's site but decided to use 3.5x6.5 round fence posts (purchased at my local Tractor Supply Company) for a different look plus they are a little cheaper than 4x4 posts. I also used pressure treated 2x4s for some added strength and perhaps longer durability. I used Ana's cedar fence pickets idea for my roof (these pickets are used as walls on one of the other shed plans on this site). I didn't need a very robust roof as my firewood shed sits underneath the deck which provides a lot of protection from the rain. I attached the structure using 3 inch deck screws and the roof with 1.5 inch deck screws (nails would have been more than adequate for the roof but I had the screws on hand).
I did run into some problems due to my design changes. Most of my issues involved attempting to square up the round posts which are much closer in shape to a jagged stick than dimension lumber such as a 4x4 post. If I had to do it over again I would not have used the round posts. Constant tweaks and adjustments to the posts significantly delayed my build time and frustrated me at times. I was just barely able to wedge my woodshed in between the 2 deck posts which actually came in handy as I was able to secure the shed to the deck posts with 3 inch screws...making the shed very solid! The final issue I discovered after loading up my wood shed. The 2x4s at the bottom of the structure began to sag. I fixed this by using my floor jack to raise them up and placed 8 inch tall 4x4s underneath (2 in the front and 2 in the back).
Overall I'm happy with the way it turned out and I really love all the plans on this site...GREAT ideas!!