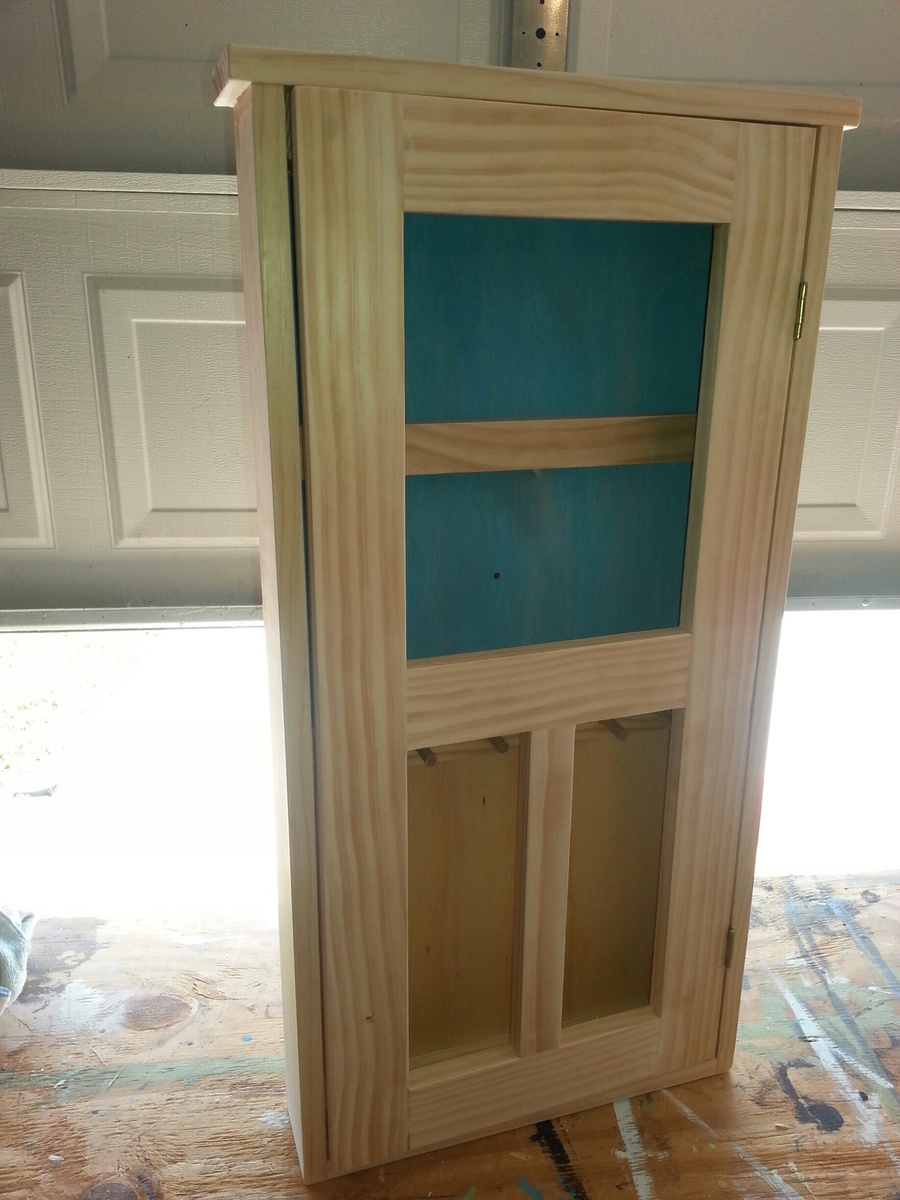
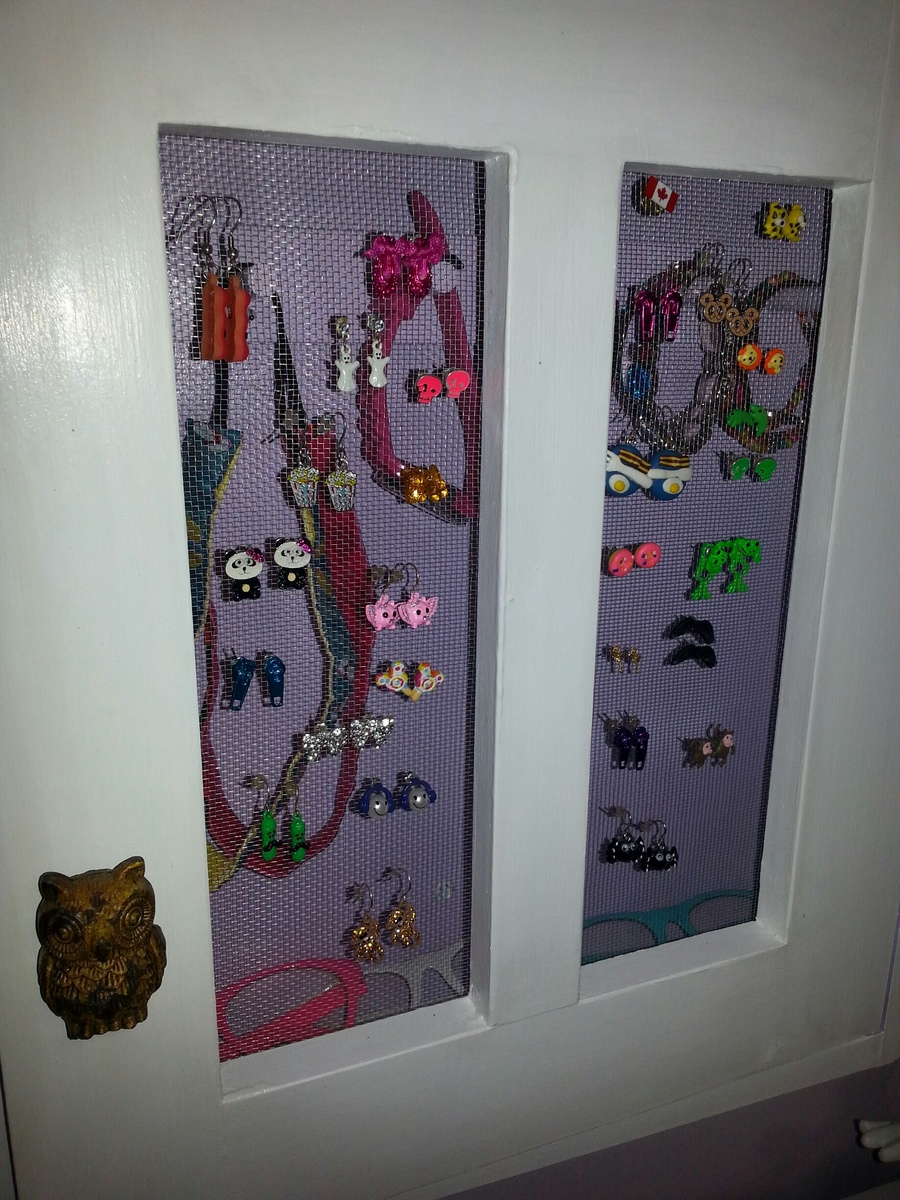
Wall jewelry cabinet
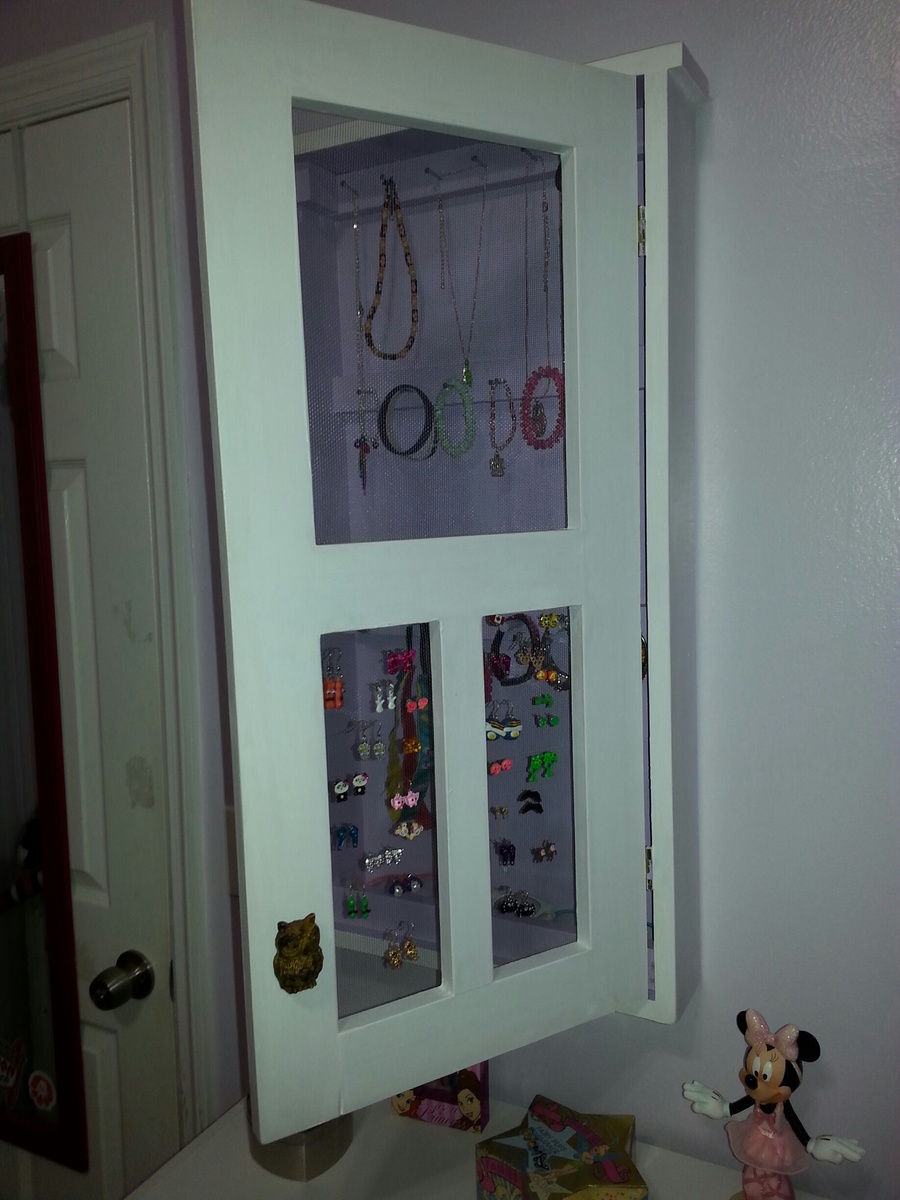
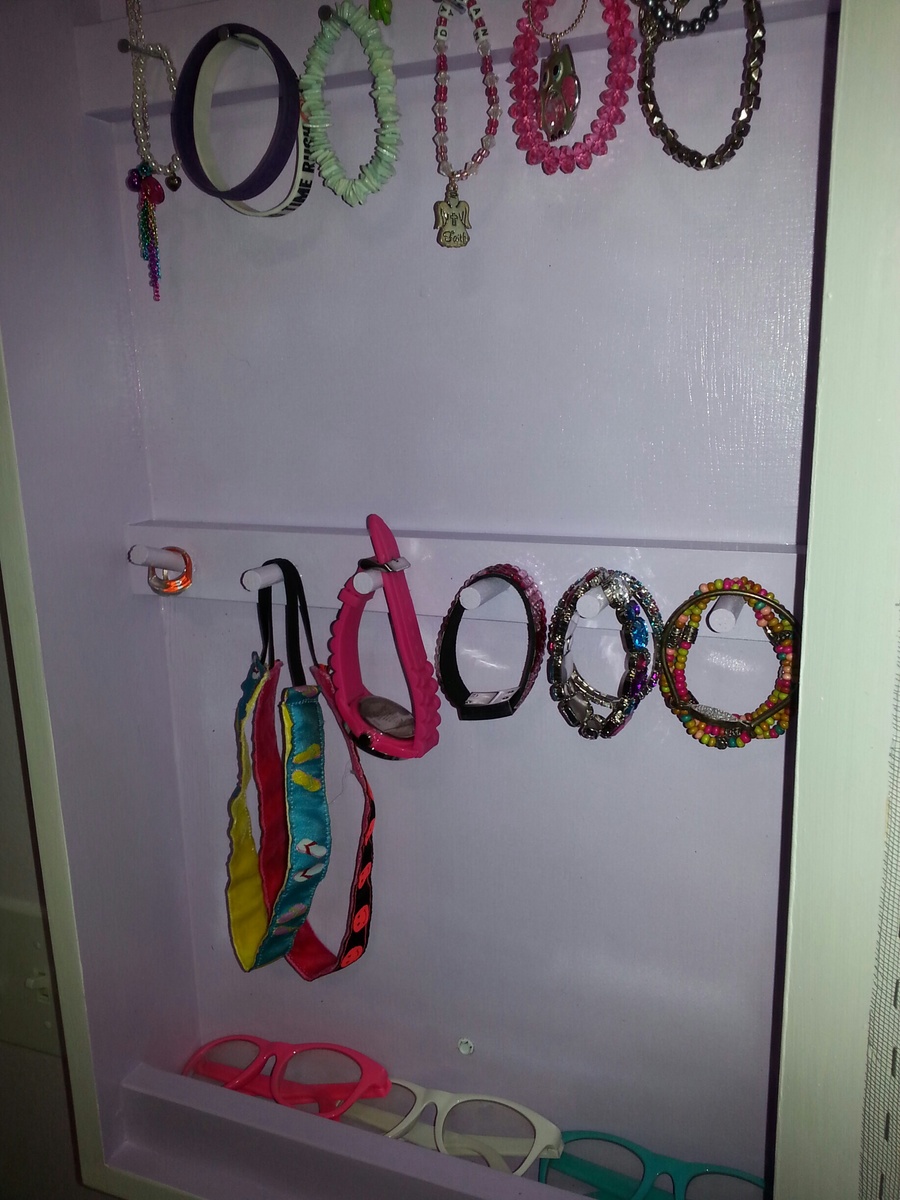
Needed something to help my daughter keep track of all her jewelry and especially earrings. This plan seemed to fit.
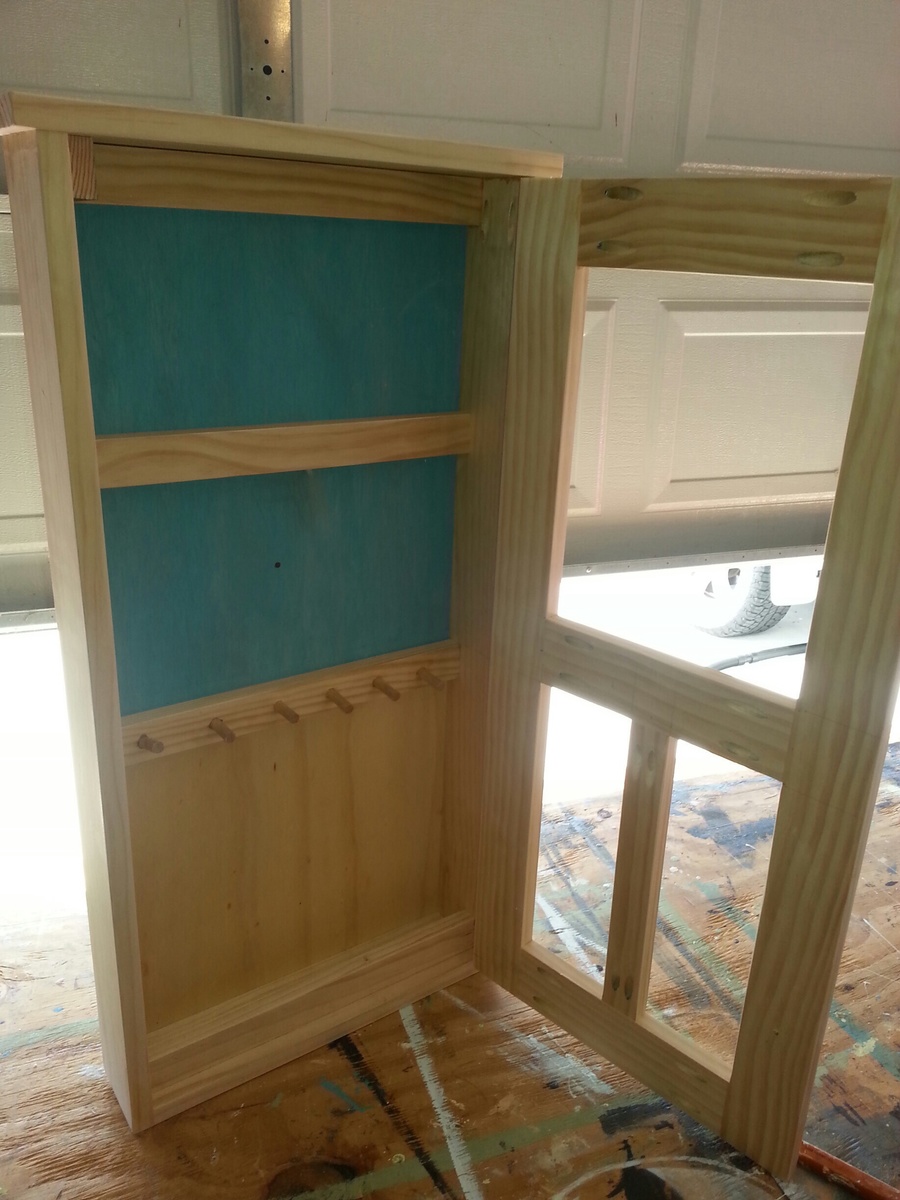
I decided to use small wooden dowels on one section and angled one for rings. For the doors I used metal window screening and stapled it on.
Built from Plan(s)
Estimated Cost
40.00
Estimated Time Investment
Afternoon Project (3-6 Hours)
Finish Used
Some behr Lemieux gloss I had left over from my daughters bedroom.
Recommended Skill Level
Beginner


Comments
JoanneS
Sun, 11/17/2013 - 17:53
Awesome project!
Looove this! What a brilliant idea for hanging the jewelry with dowels! And I absolutely love the "screen-door" look. It's fabulous!