Community Brag Posts

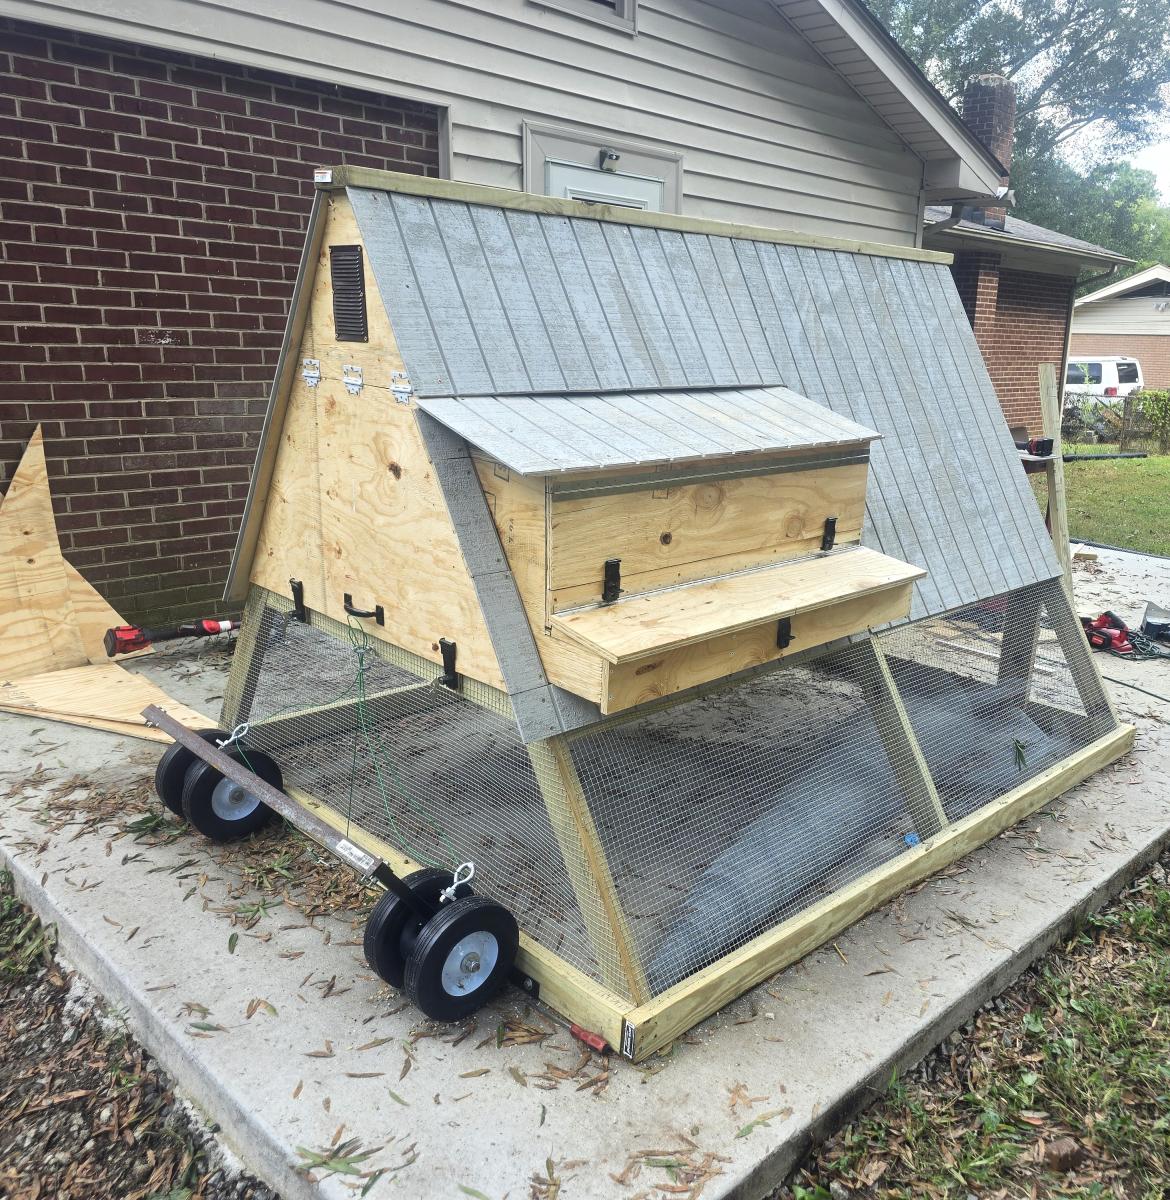
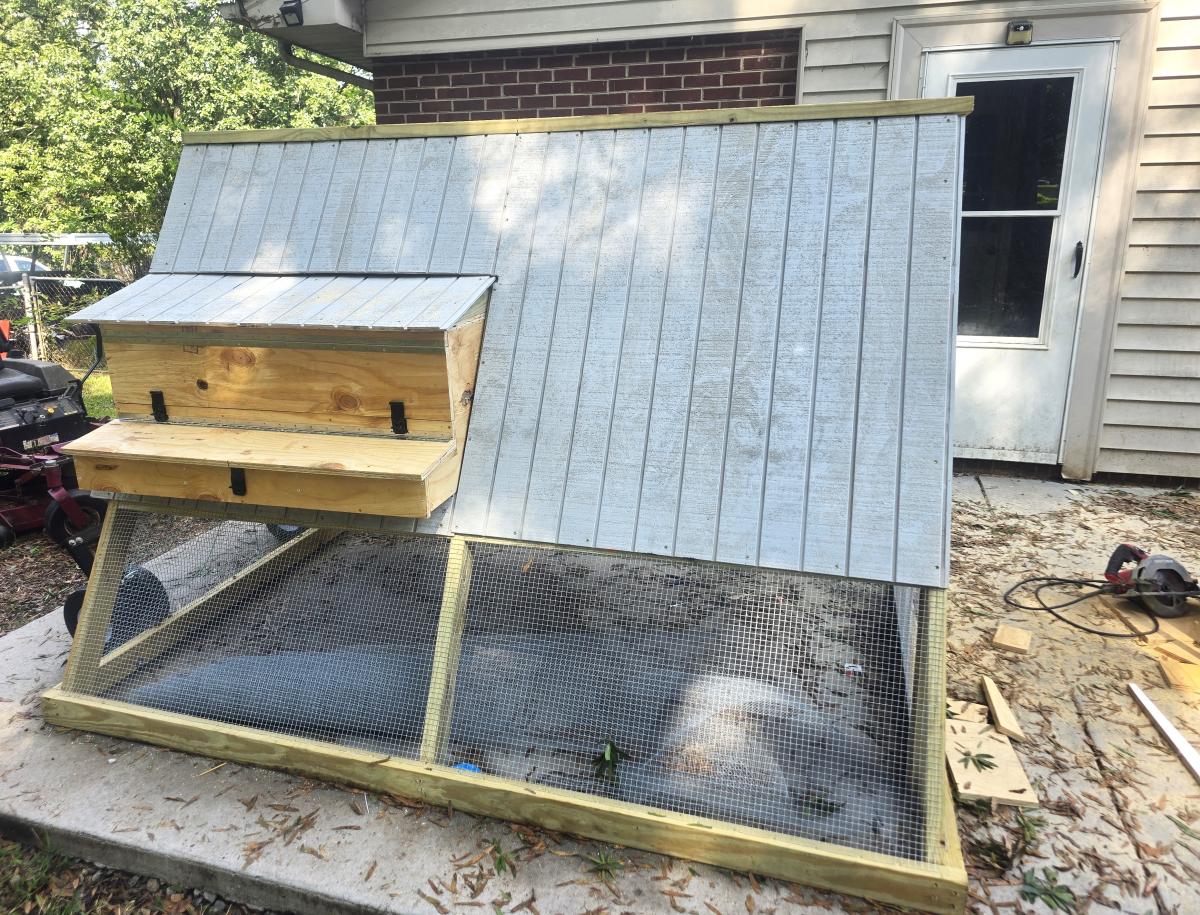
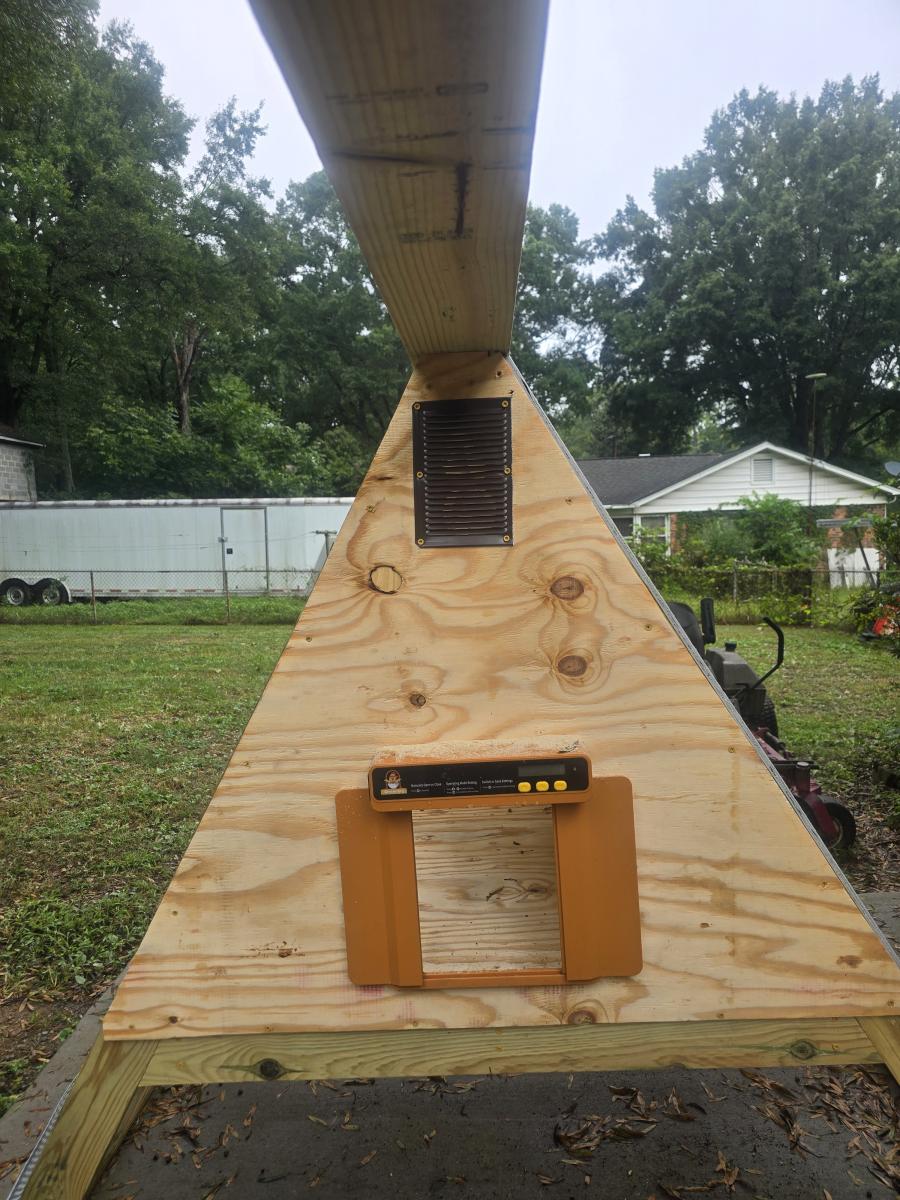
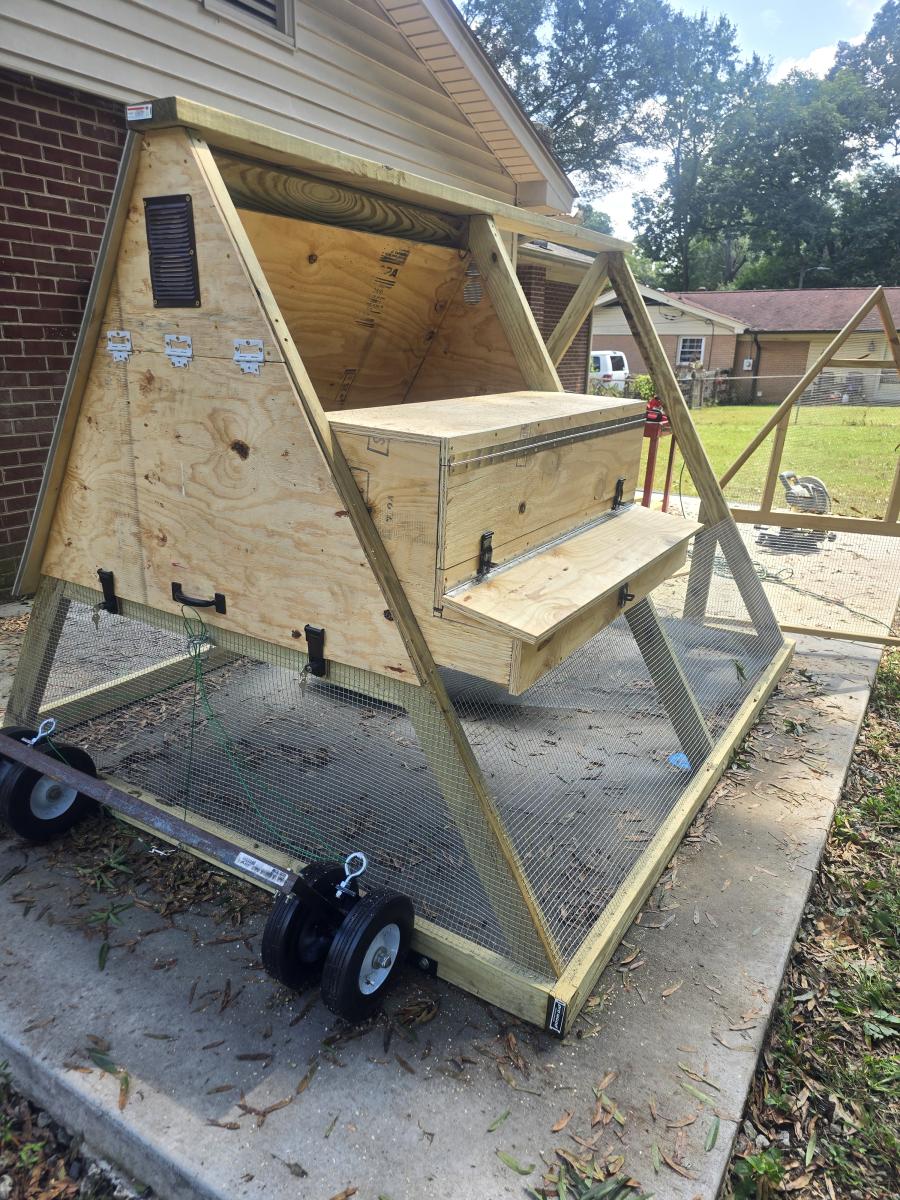
Custom A Frame Chicken Coop Tractor

Loved this project. Modified it slightly with a side mounted roll away laybox. Also I made my own dual linked chick lifts system.
Built from Plan(s)
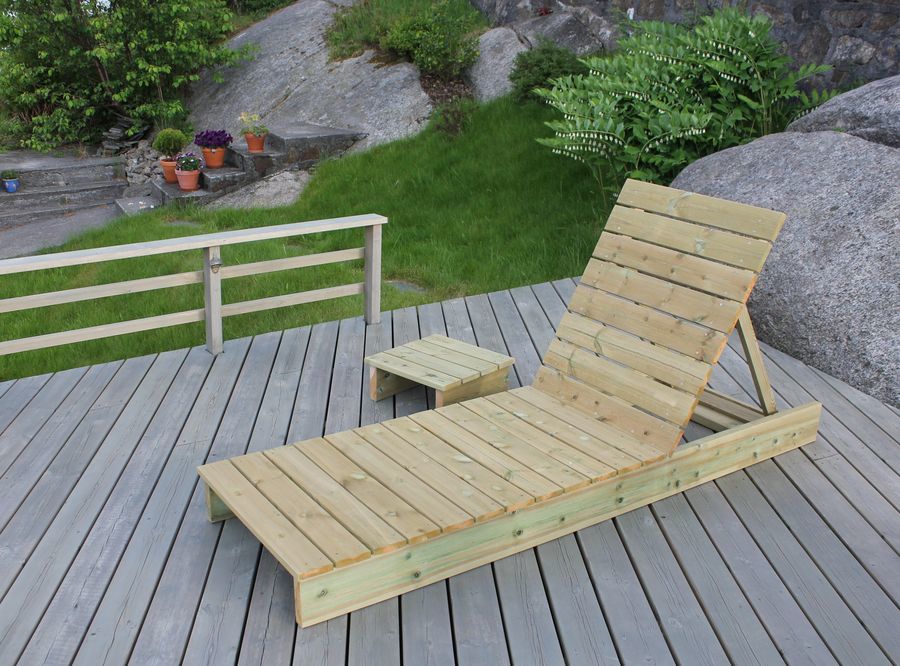
Garden lounger and side table
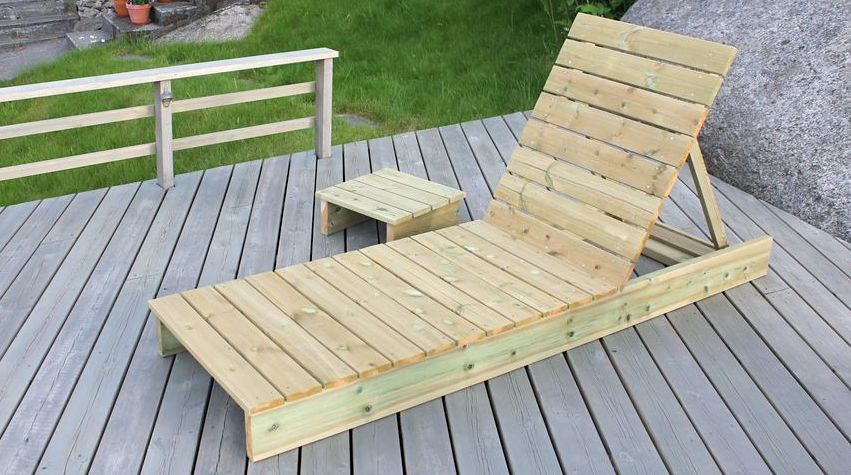
Solid garden lounger and side table to match our garden chairs and table.
Built from Plan(s)
Estimated Time Investment
Afternoon Project (3-6 Hours)
Finish Used
Saturating wood oil.
Recommended Skill Level
Beginner
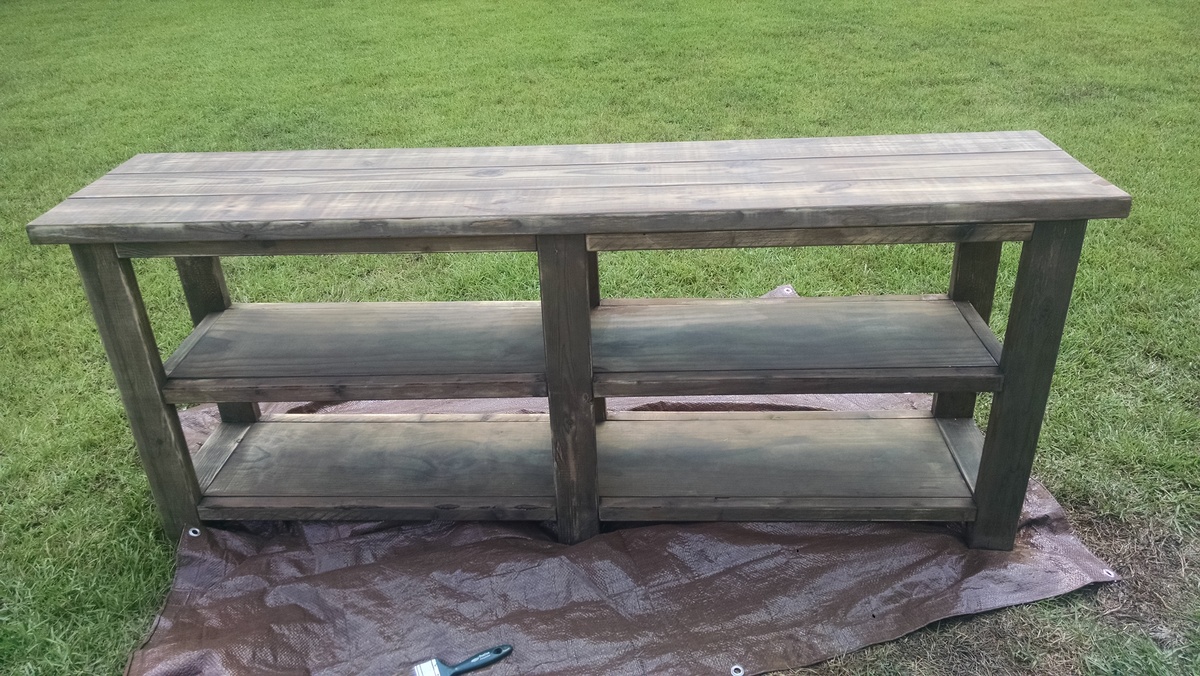
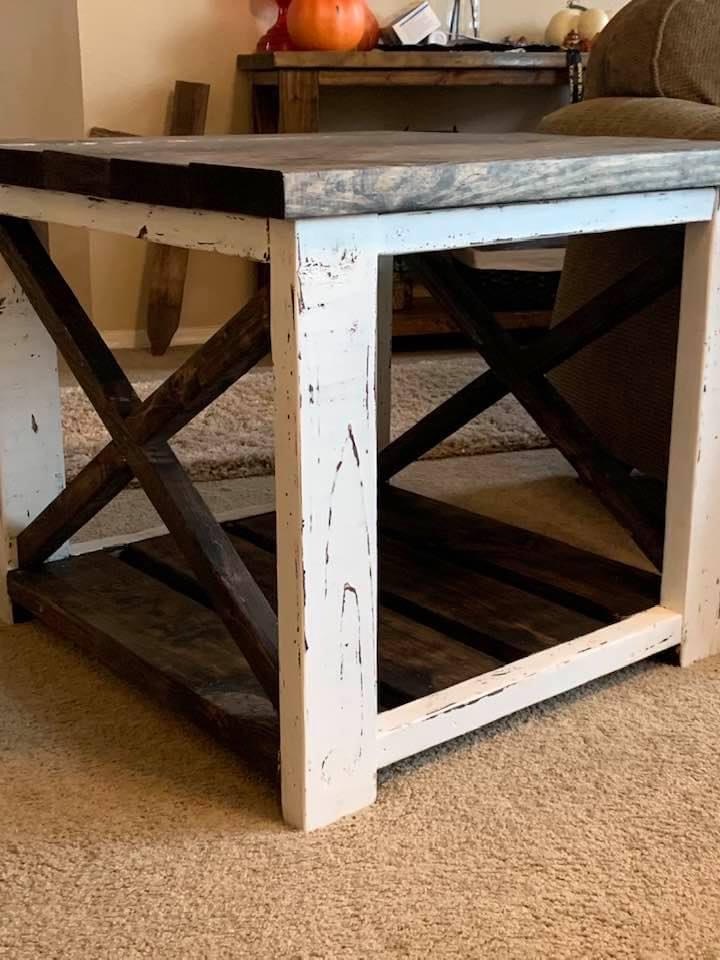
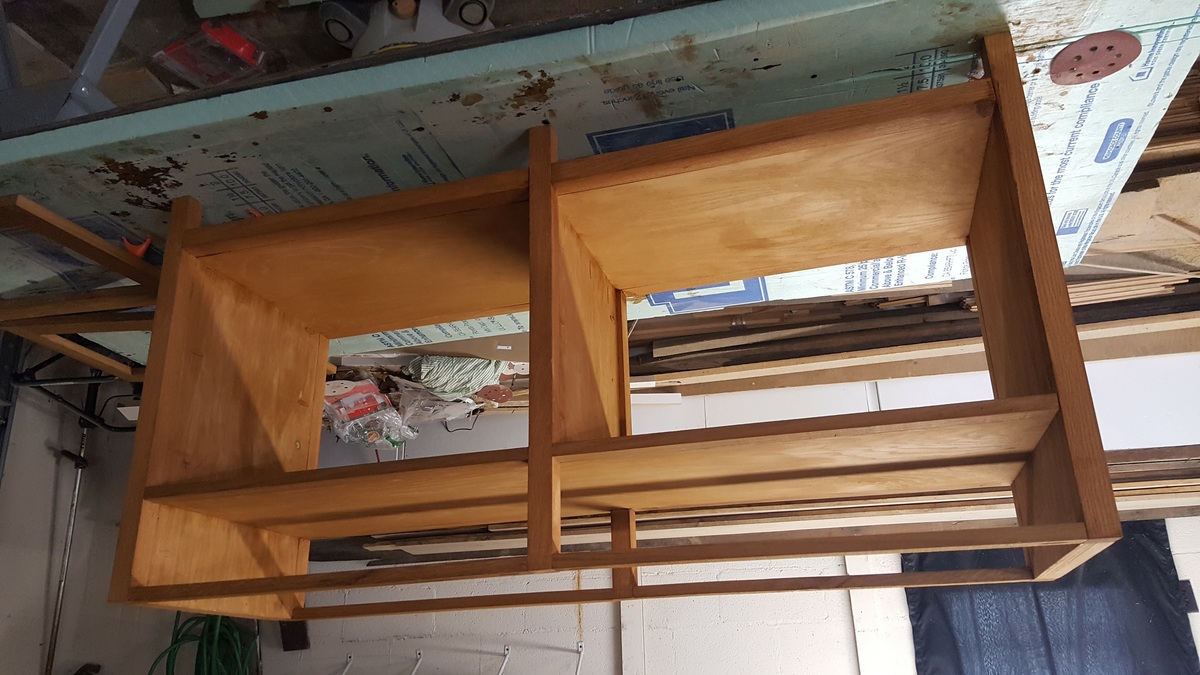
Rustic Console Table
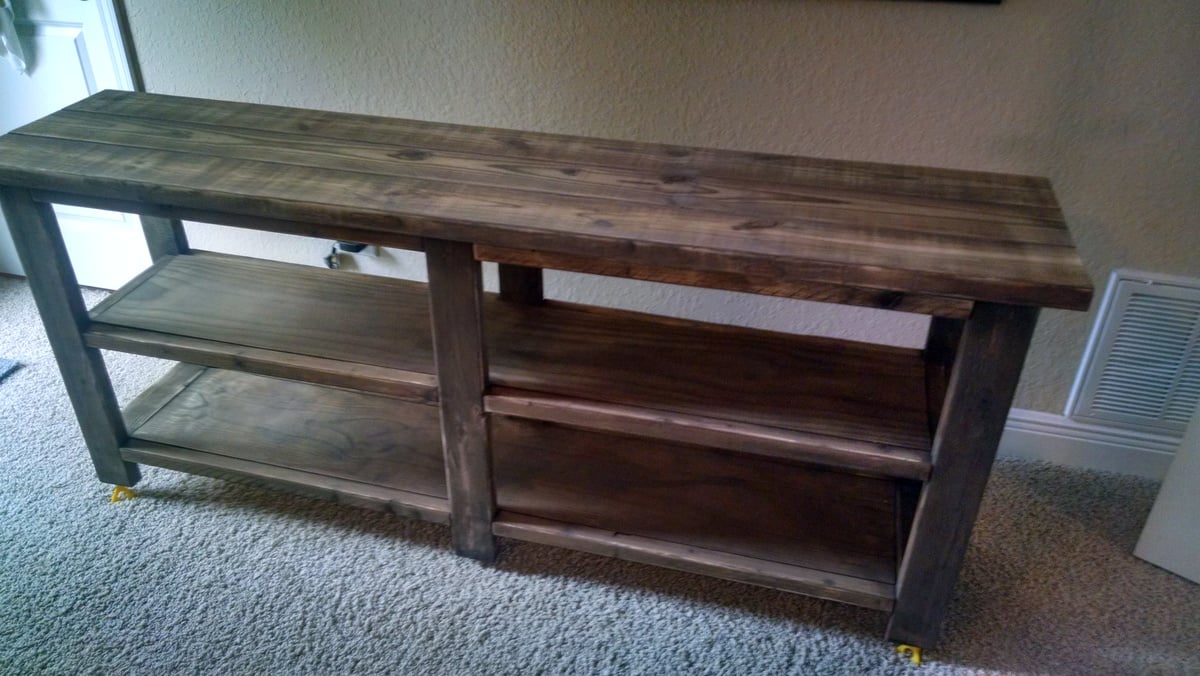
I followed the plan, and used plain pine wood. The wood cost $106 at my local Home Depot. The Kreg R3 Jr. Jig, Clamp and Screws I already had from a previous project. This is a weekend project. Biggest obstacle here is to make sure the shelves stay level. After it was built I sanded everything with 180 grit before going to the staining step.
Stain... I made a pot of STRONG Tetly Black Tea and painted the entire table. I decided to go with this Oxidizing Stain (http://www.sweetpickinsfurniture.com/2011/01/how-to-weather-new-wood.ht…) for the wood. The Black Tea increases the tannins in the wood, which makes a stronger reaction in the woodgrain after you apply the oxidizing solution. After the solution dried I sanded lightly with 180 grit again and now it's ready for Wipe-On Poly to be applied.
Just one small hint.. The Oxidizing Solution takes a few days to react, so plan accordingly. I let mine set for 7 days before use.
Built from Plan(s)
Estimated Cost
$130
Estimated Time Investment
Weekend Project (10-20 Hours)
Finish Used
Oxidizing Solution and Black Tea
Recommended Skill Level
Beginner
Braden Shoe Drawer, Hutch and Mail Sorter Entry System
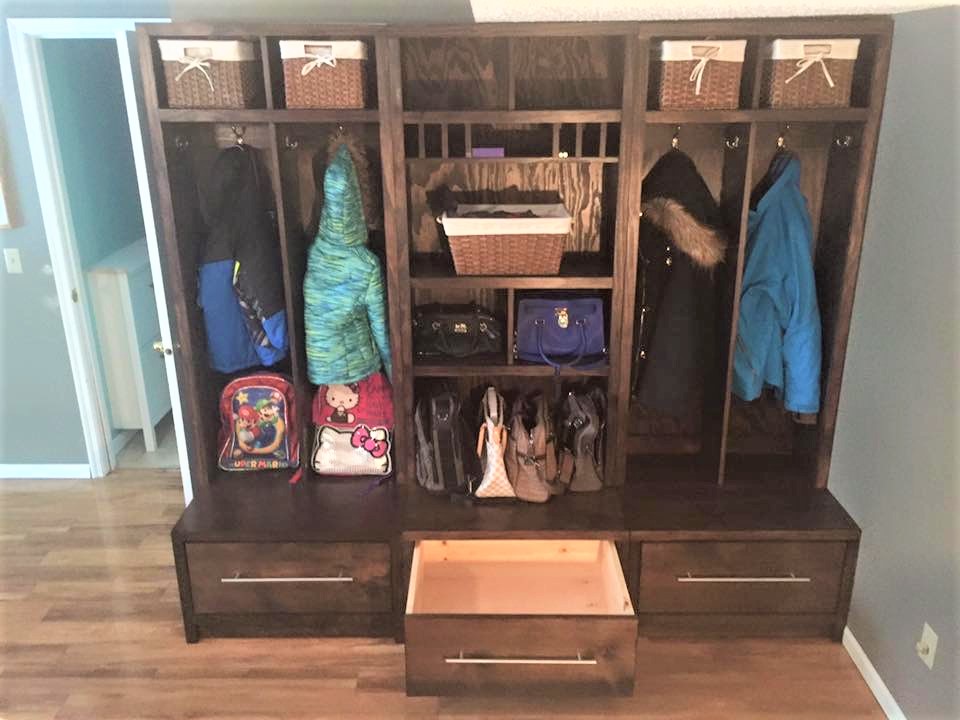
Thank you for helping our family stay organized and keeping our entryway clean.
Built from Plan(s)
Estimated Cost
$300
Estimated Time Investment
Week Long Project (20 Hours or More)
Finish Used
Varathane Kona
Recommended Skill Level
Intermediate
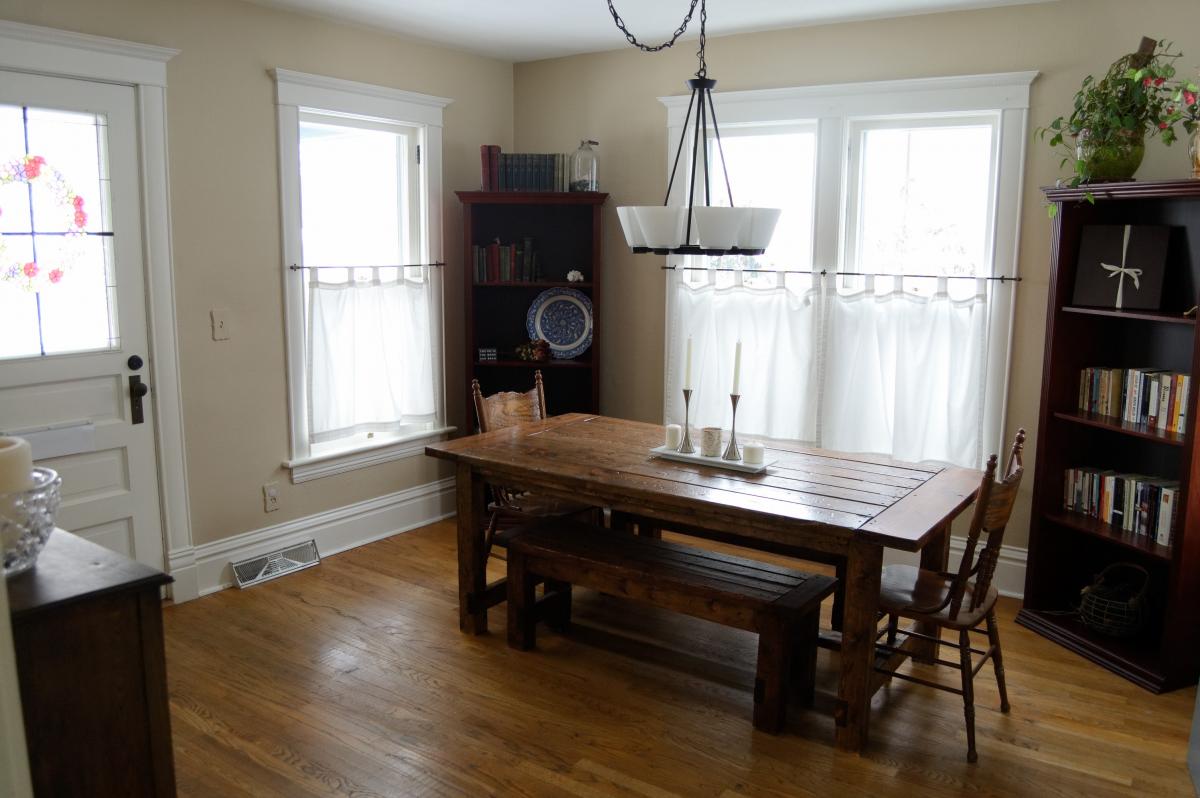
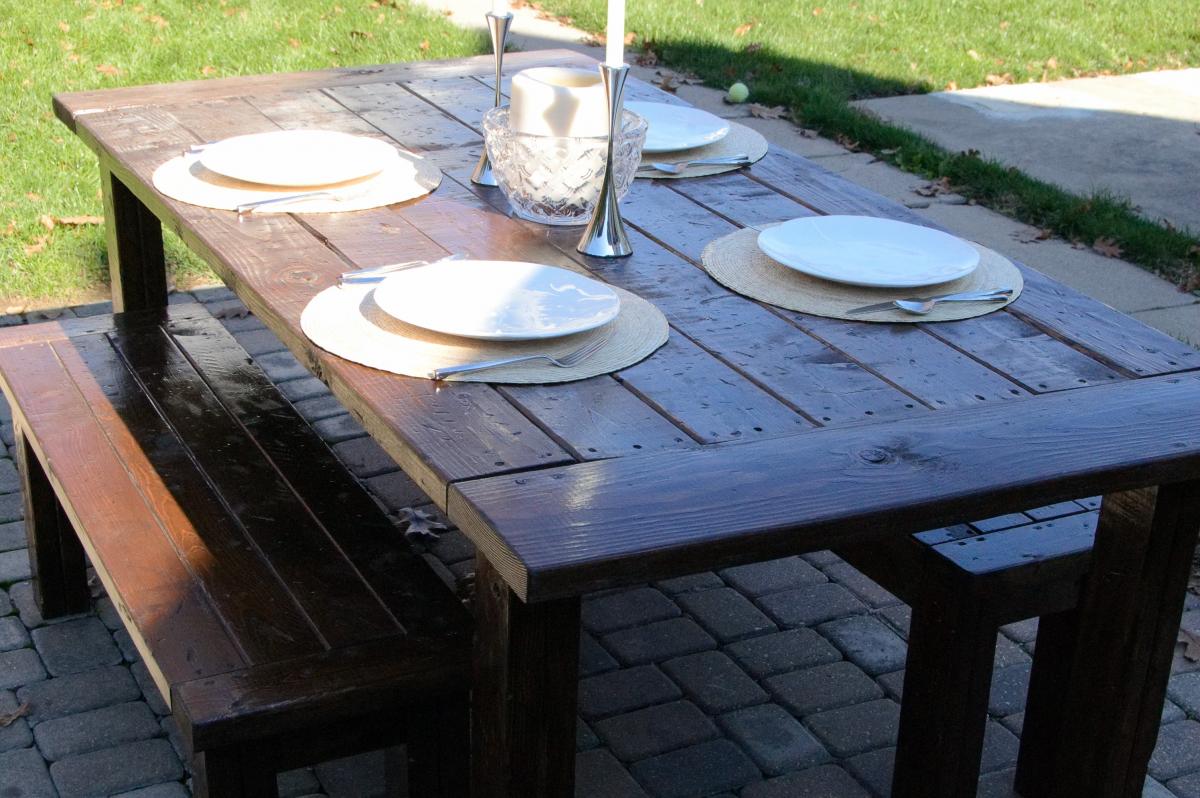
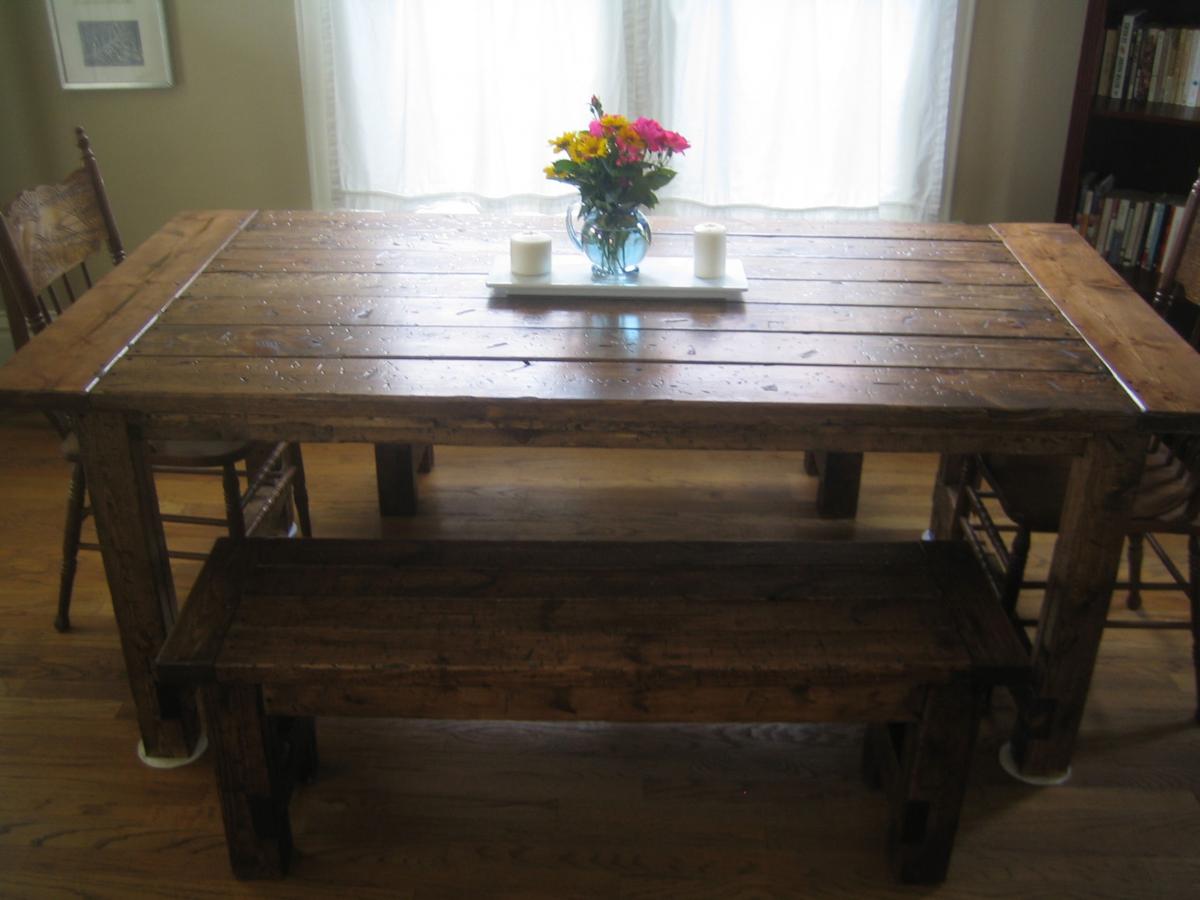
Rustic Farmhouse Dining Room Table w/ Benches
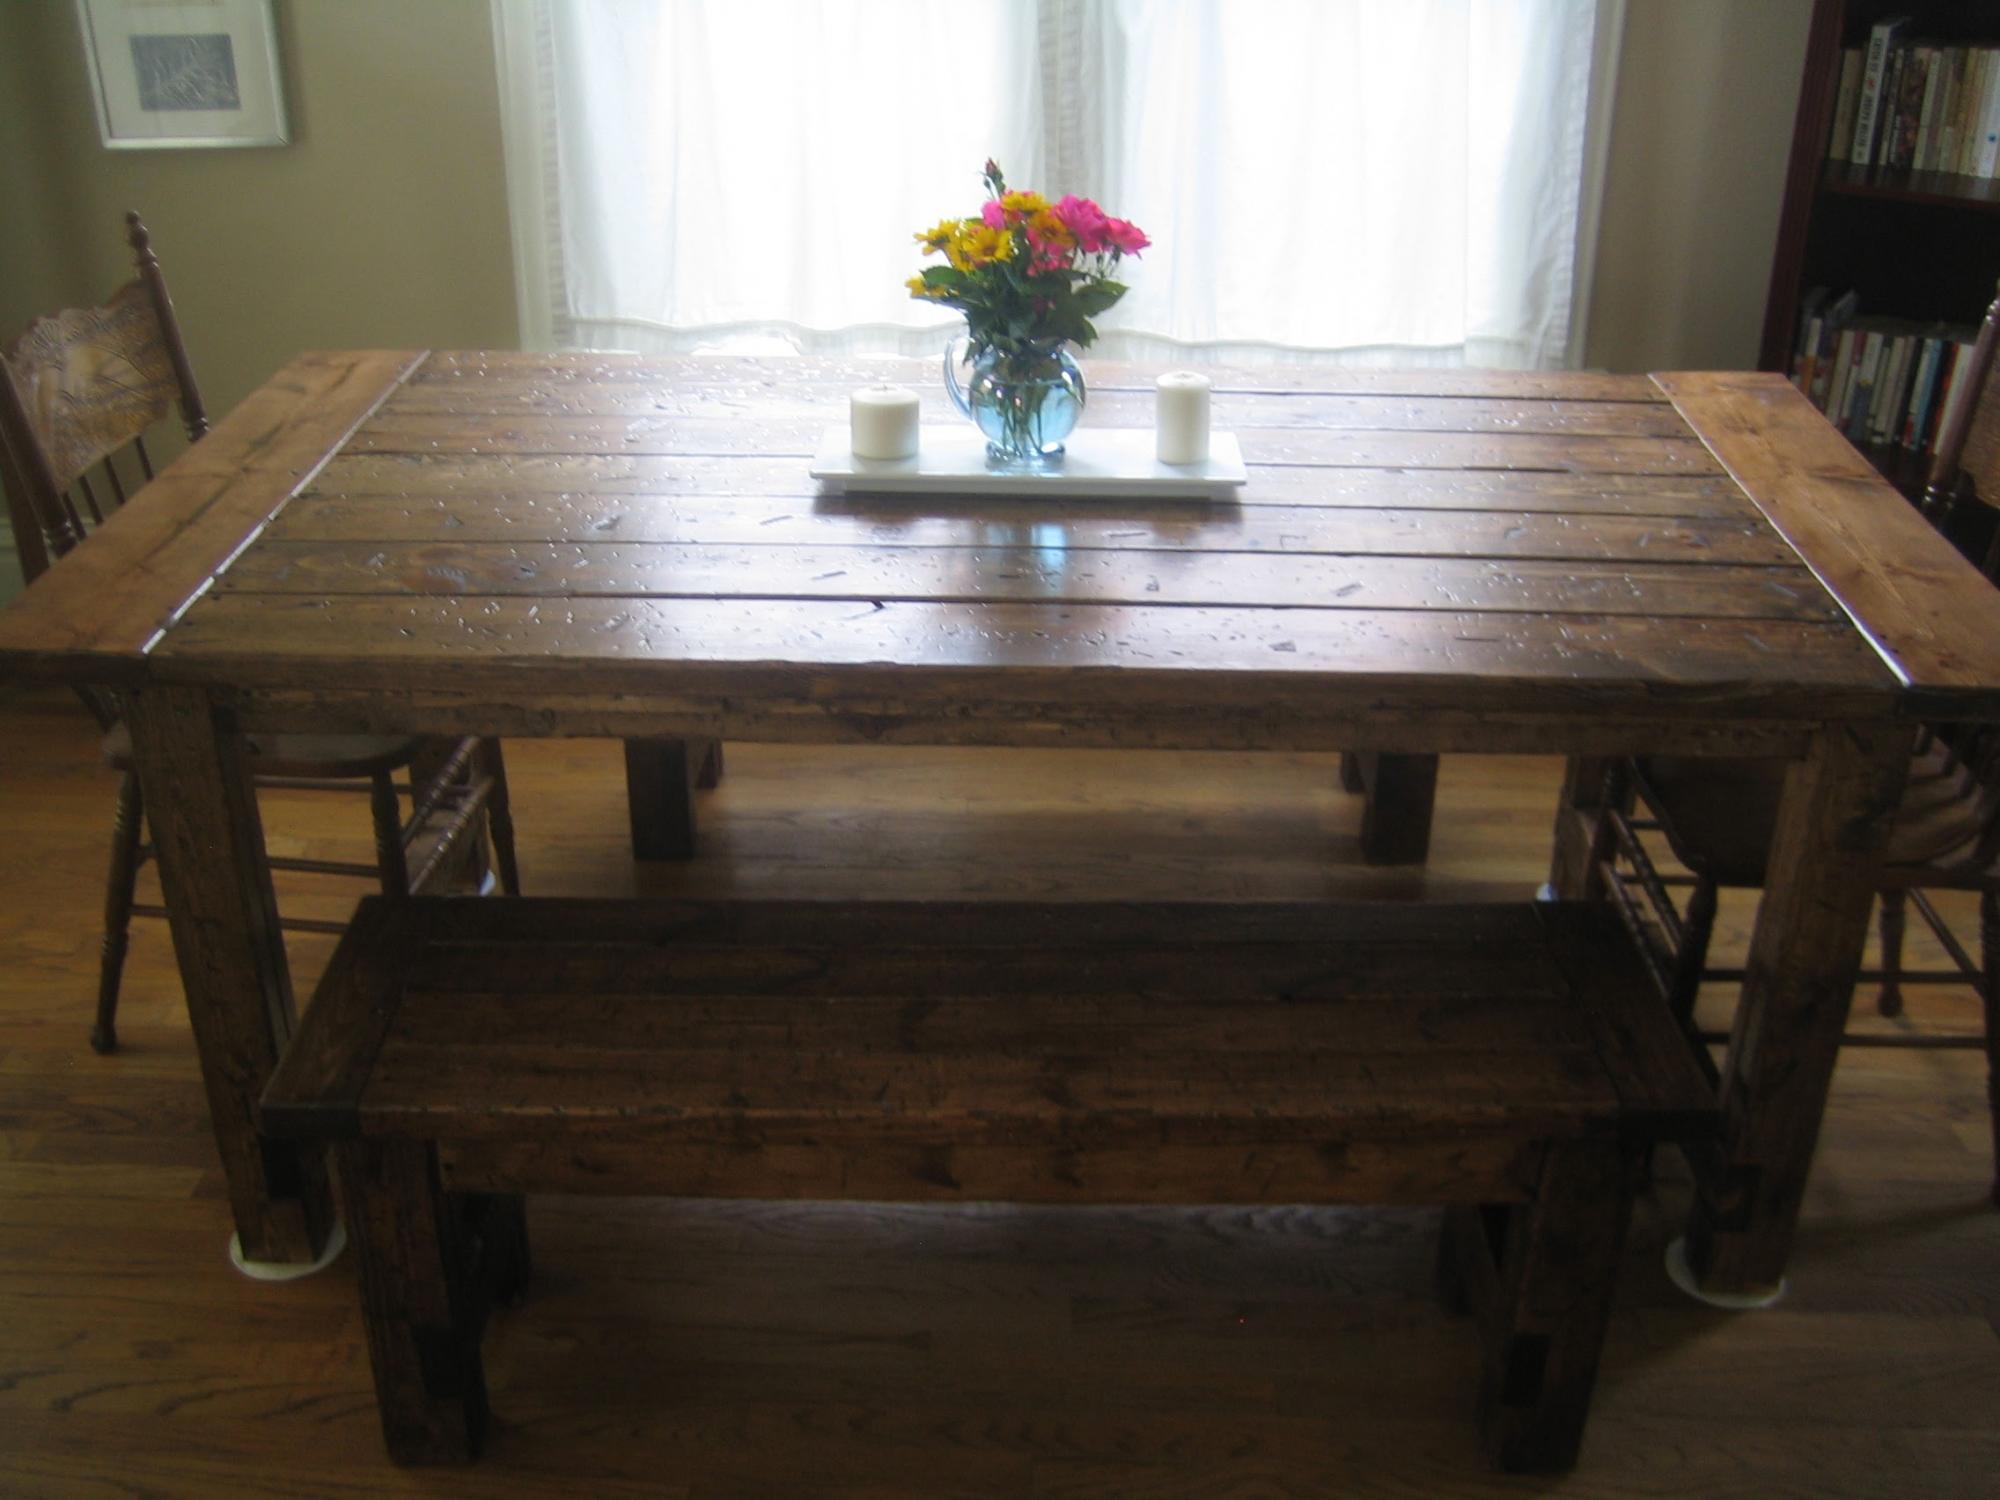
Made a vintage/rustic farmhouse dining room table with matching benches. Fairly easy DIY job. The notches were the most difficult. Quite heavy, so I suggest using less 2x2 for under-table supports. Turned out beautifully and very happy with it.
Built from Plan(s)
Estimated Cost
200
Estimated Time Investment
Weekend Project (10-20 Hours)
Finish Used
Stain and polyurethane
Recommended Skill Level
Starter Project
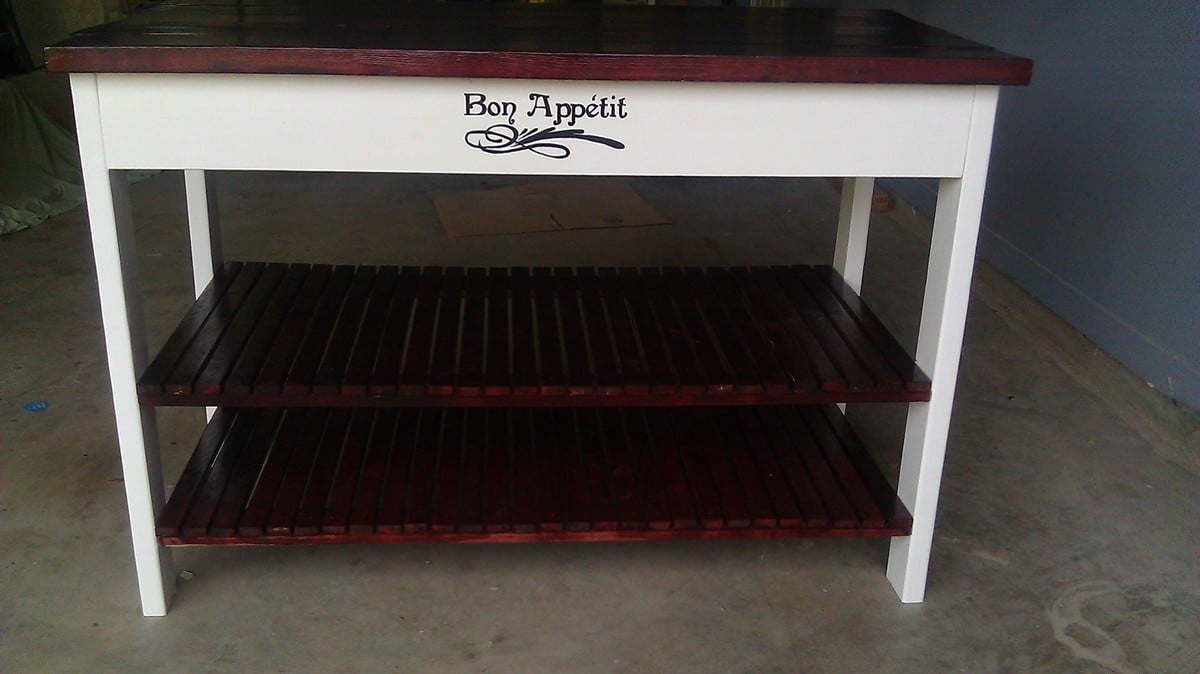
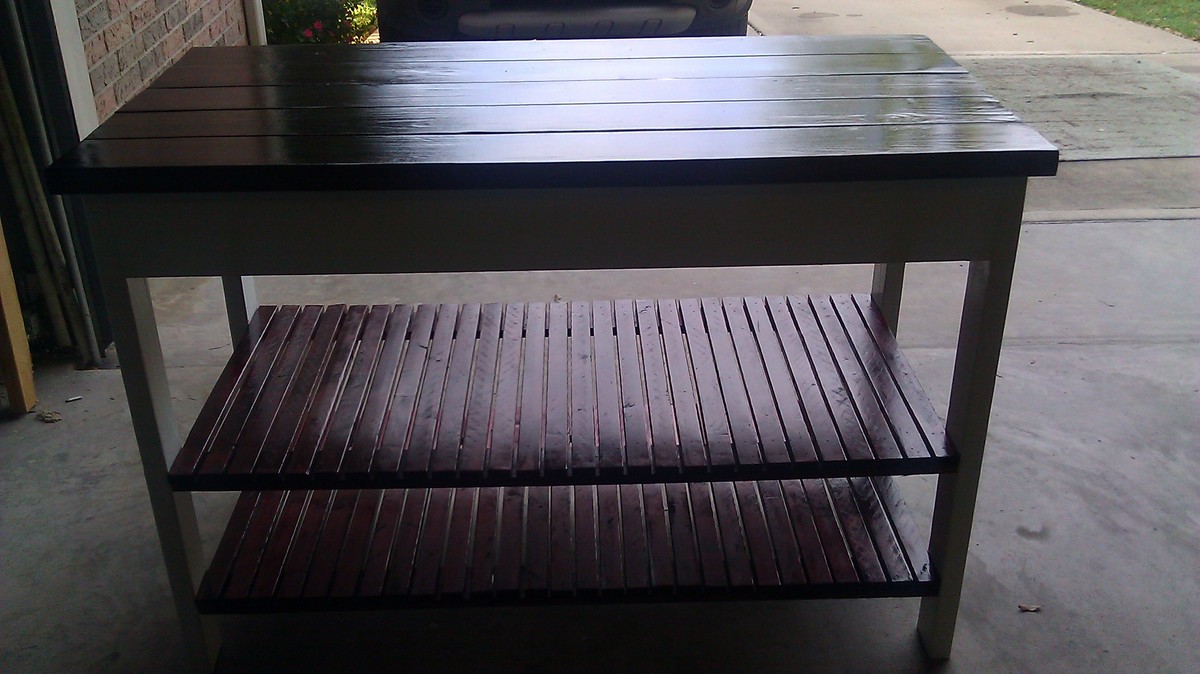
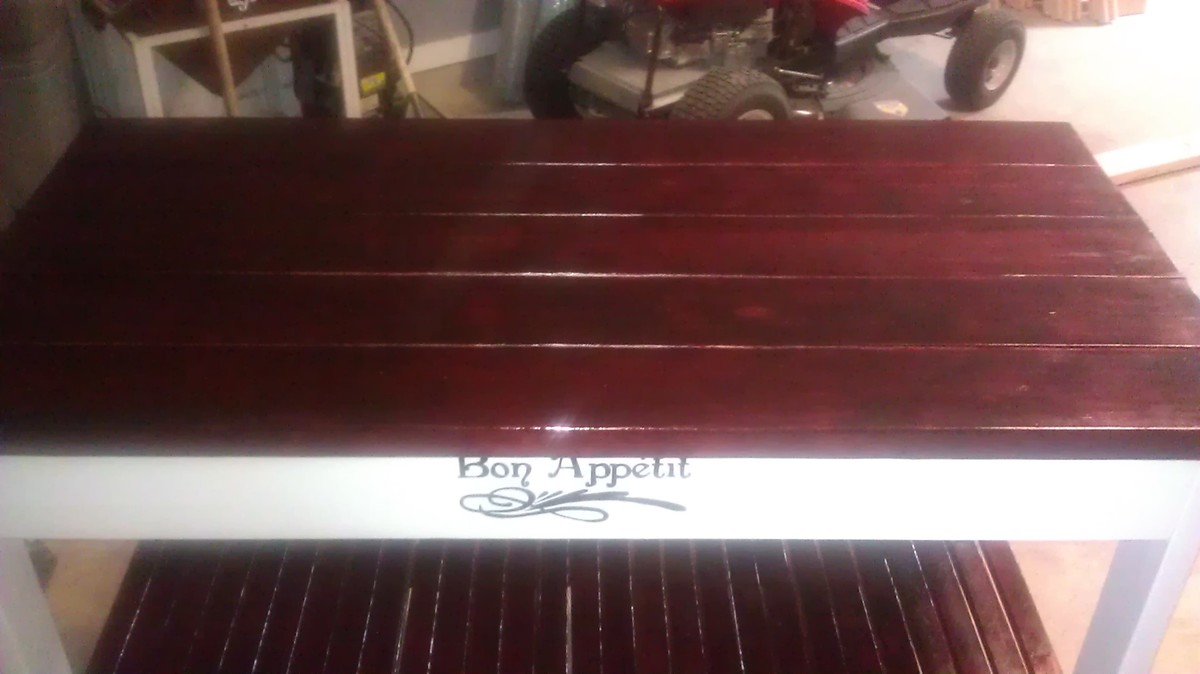
Bon Appetit Rustic Kitchen Island
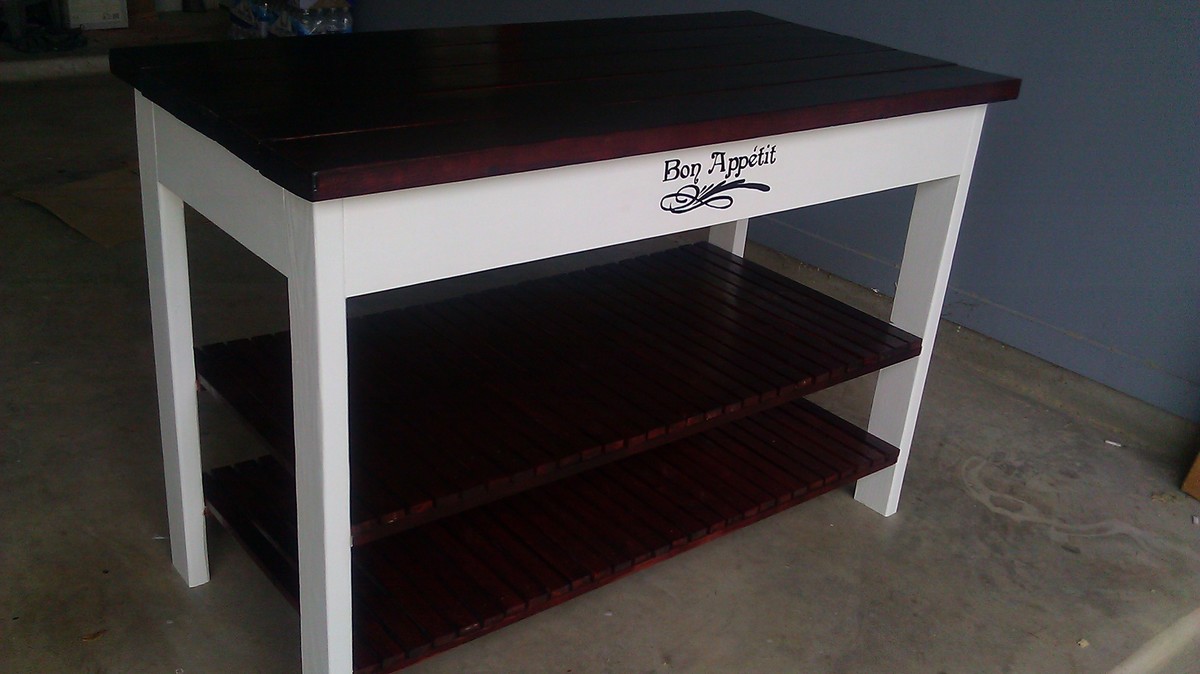
Here is the Easy Kitchen Island all finished. I learned to use my k-reg with this project. To attach the top I instead used corner blocks in each corner of the bottom unit and screwed the top in place. I found this made the piece more sturdy. for the 1x2's I used furring strips which are not very nice however I painstakingly picked through a large pile till I found ones that were straight and without knots. I then had to sand them like crazy. Saved a ton of money but worked very hard. This project actually took 19 - 1x2's rather than what the plan called for. When complete this piece was very heavy...I love it and have found the perfect home for it.
Thanks again Ana!
Janet

Estimated Cost
60.00
Estimated Time Investment
Weekend Project (10-20 Hours)
Finish Used
White gloss paint and Mahogany stain.
Recommended Skill Level
Beginner
Rustic tv stand
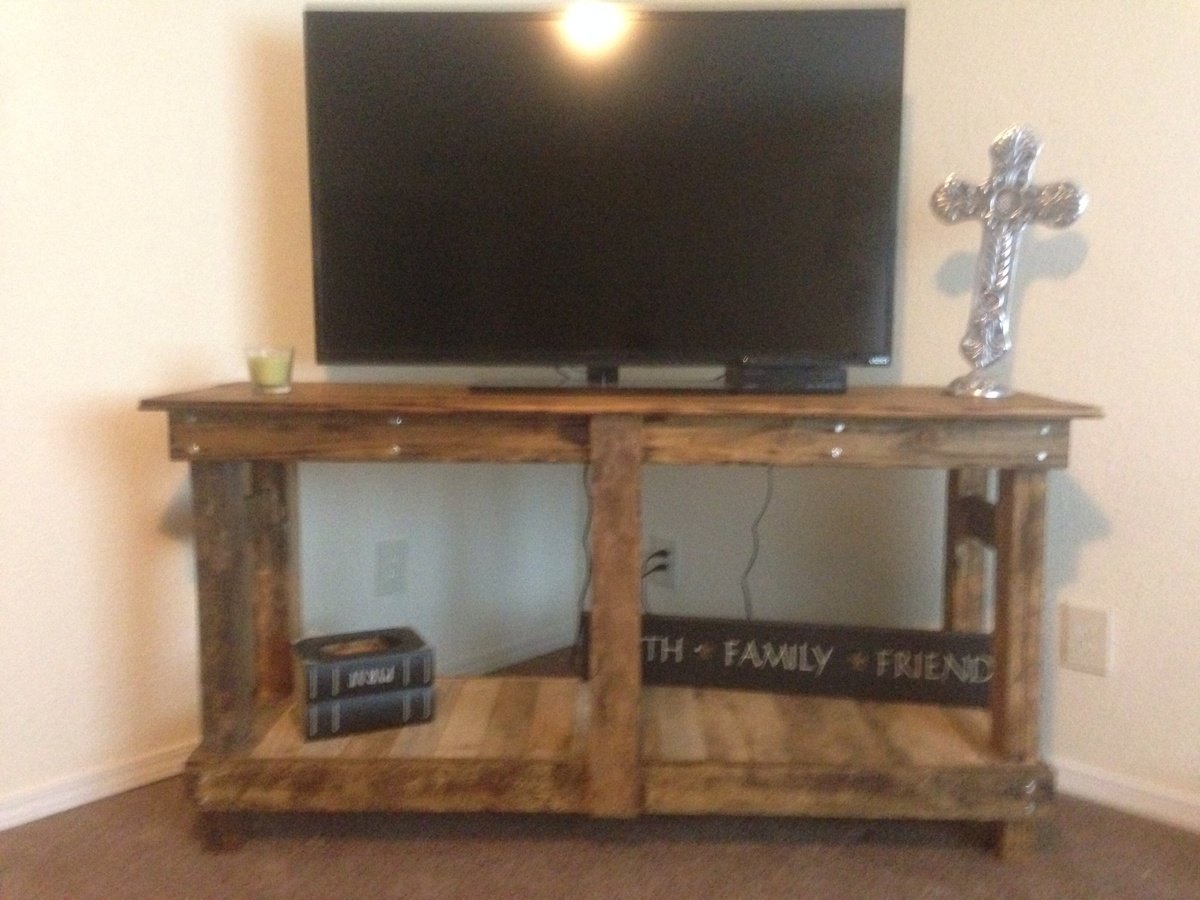
Rustic tv stand made from pallets and reclaimed ship lap and 2x4's
Built from Plan(s)
Estimated Time Investment
Day Project (6-9 Hours)
Finish Used
Minwax early american
Recommended Skill Level
Intermediate
Comments

Mon, 09/08/2014 - 11:32
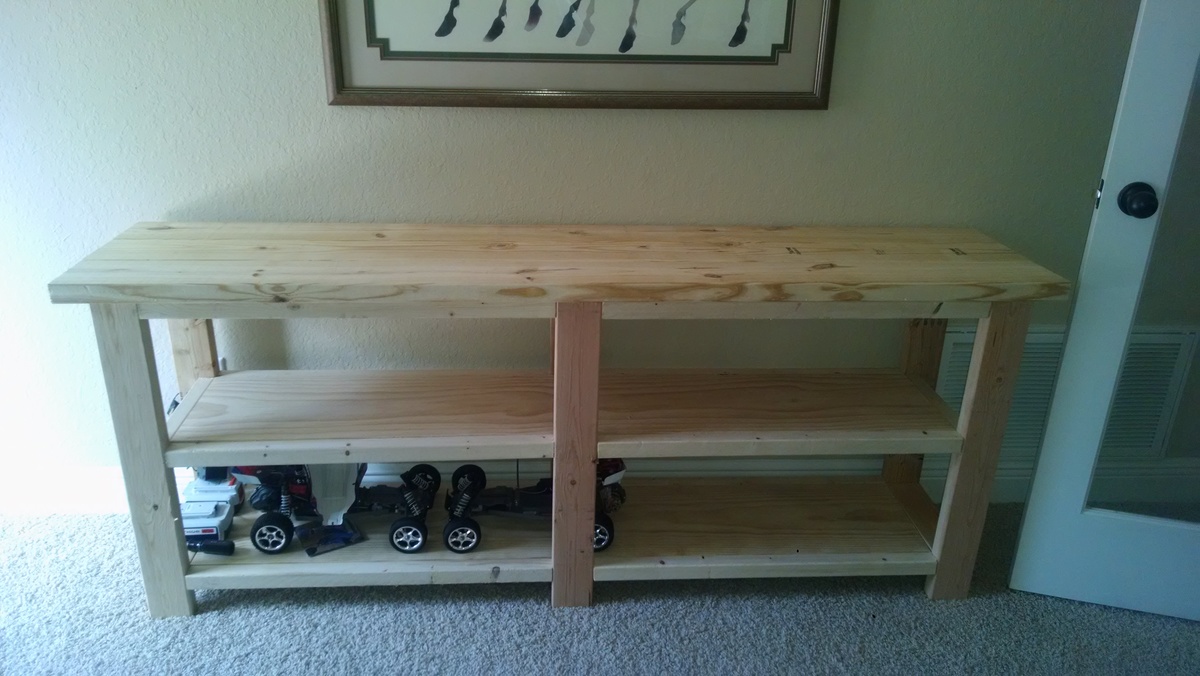
Beautiful Workbench Console!!!
This is so beautiful! I bet the reclaimed wood is even more beautiful in person!
Did you adjust the size?
Thanks so much for bragging!
Tue, 09/23/2014 - 20:39
Thanks Ana!!
I actually made this without the plans. I saw the picture on pinterest that wasnt linked to your site and just made my own plans for it. If I recall, I made it 5ft in length. BTW, big fan of yours! Your plans are so detailed and your pieces give me so much inspiration as a fellow furniture builder. If you have time I'd love for you to check out my facebook page, jennamaedesigns, and tell me what you think. I'm new to the building bizz but I love it! Thanks again for commenting

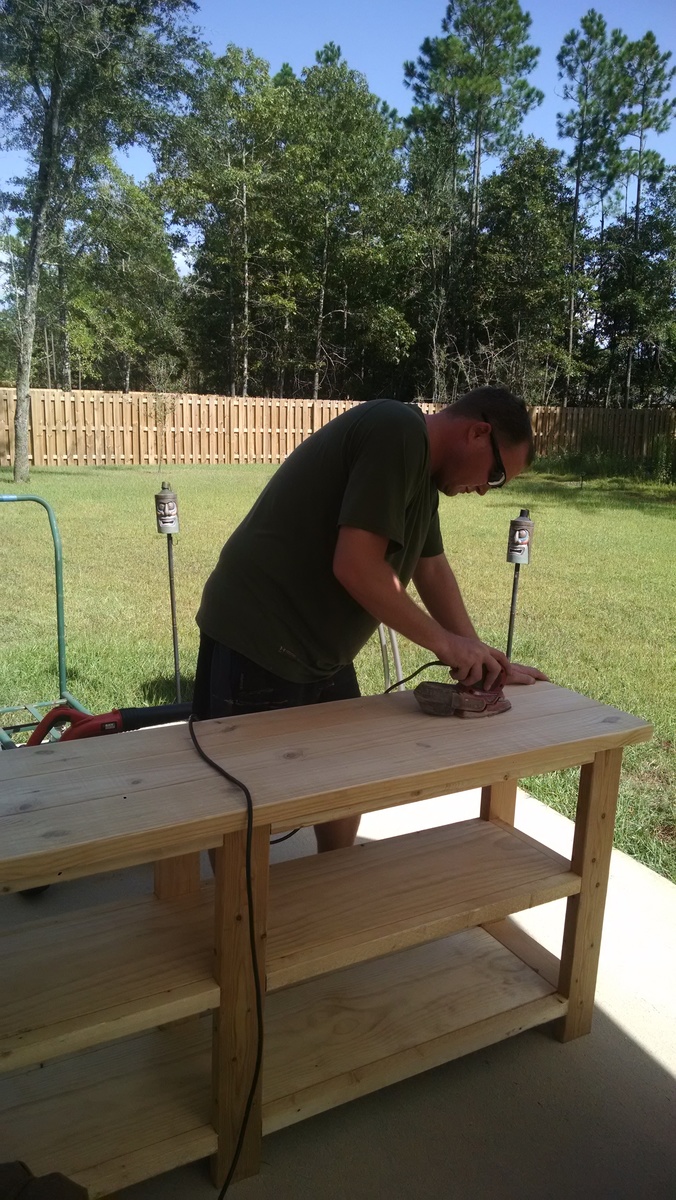
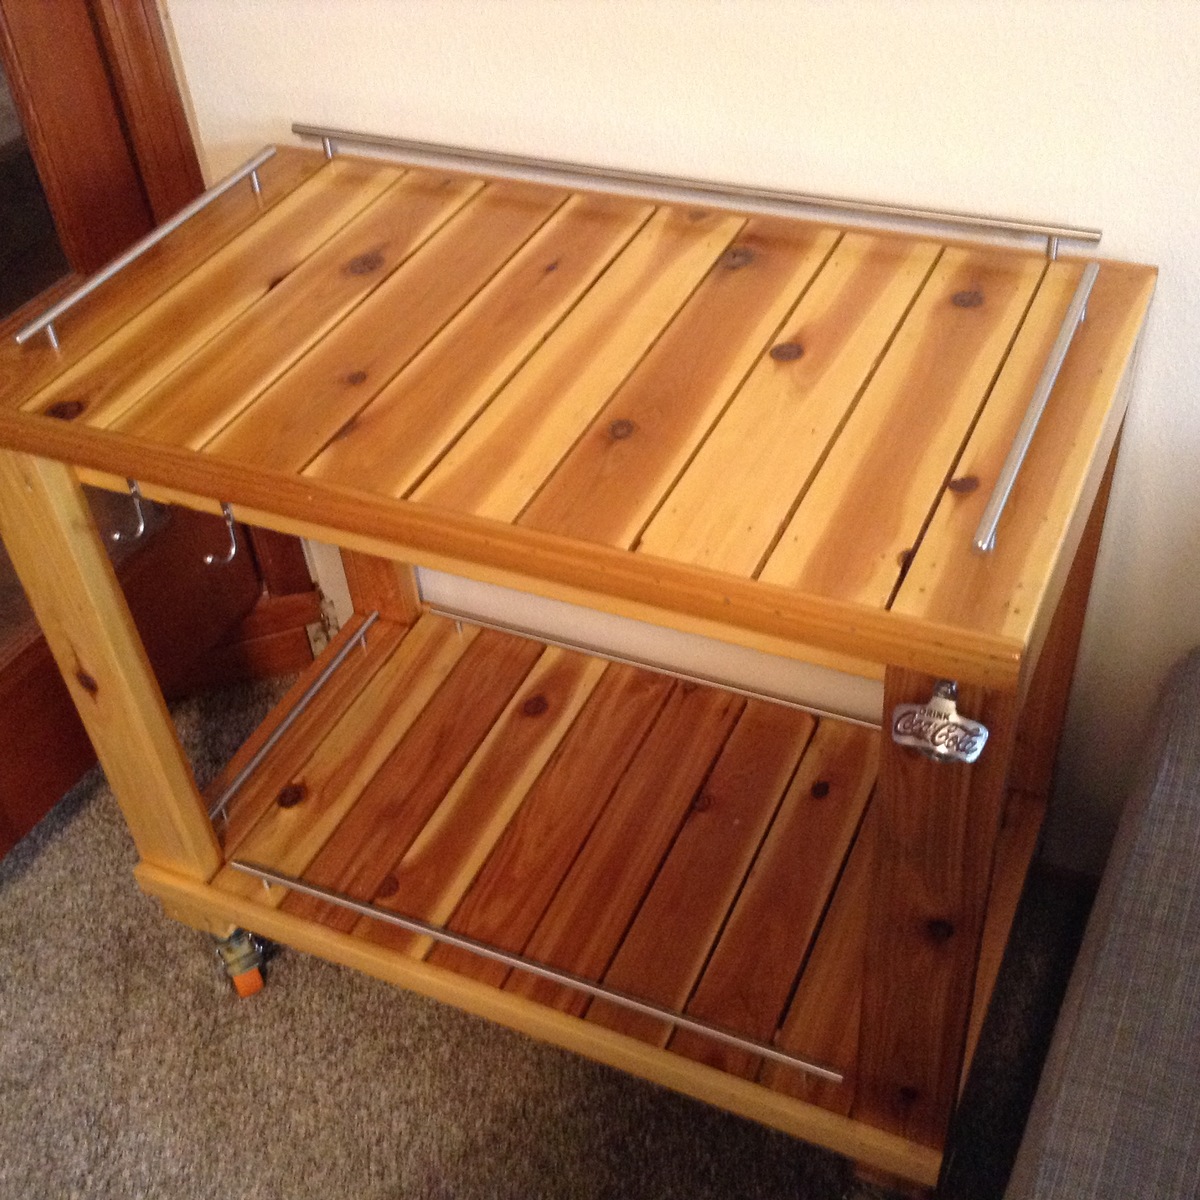
Thanks for a super project!
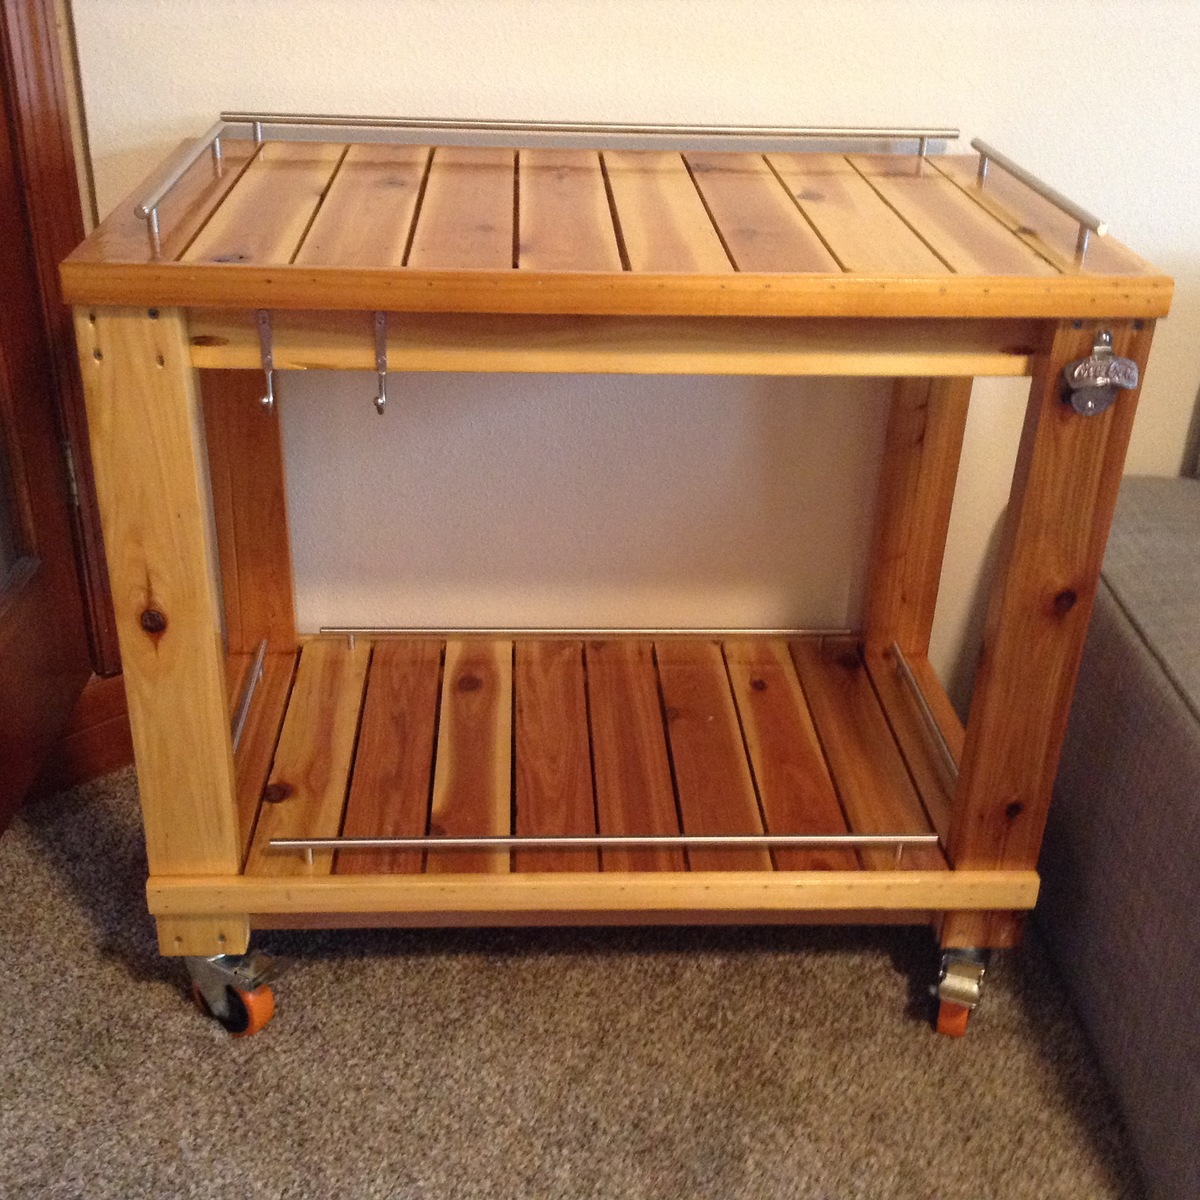
I used cedar, stainless steel rails and finished with marine spar varnish. Gave to my son for Christmas to hold his smoker/barbeque! Thanks for the super project idea!
Estimated Cost
$140
Estimated Time Investment
Afternoon Project (3-6 Hours)
Finish Used
Marine Spar Varnish
Recommended Skill Level
Beginner
Comments

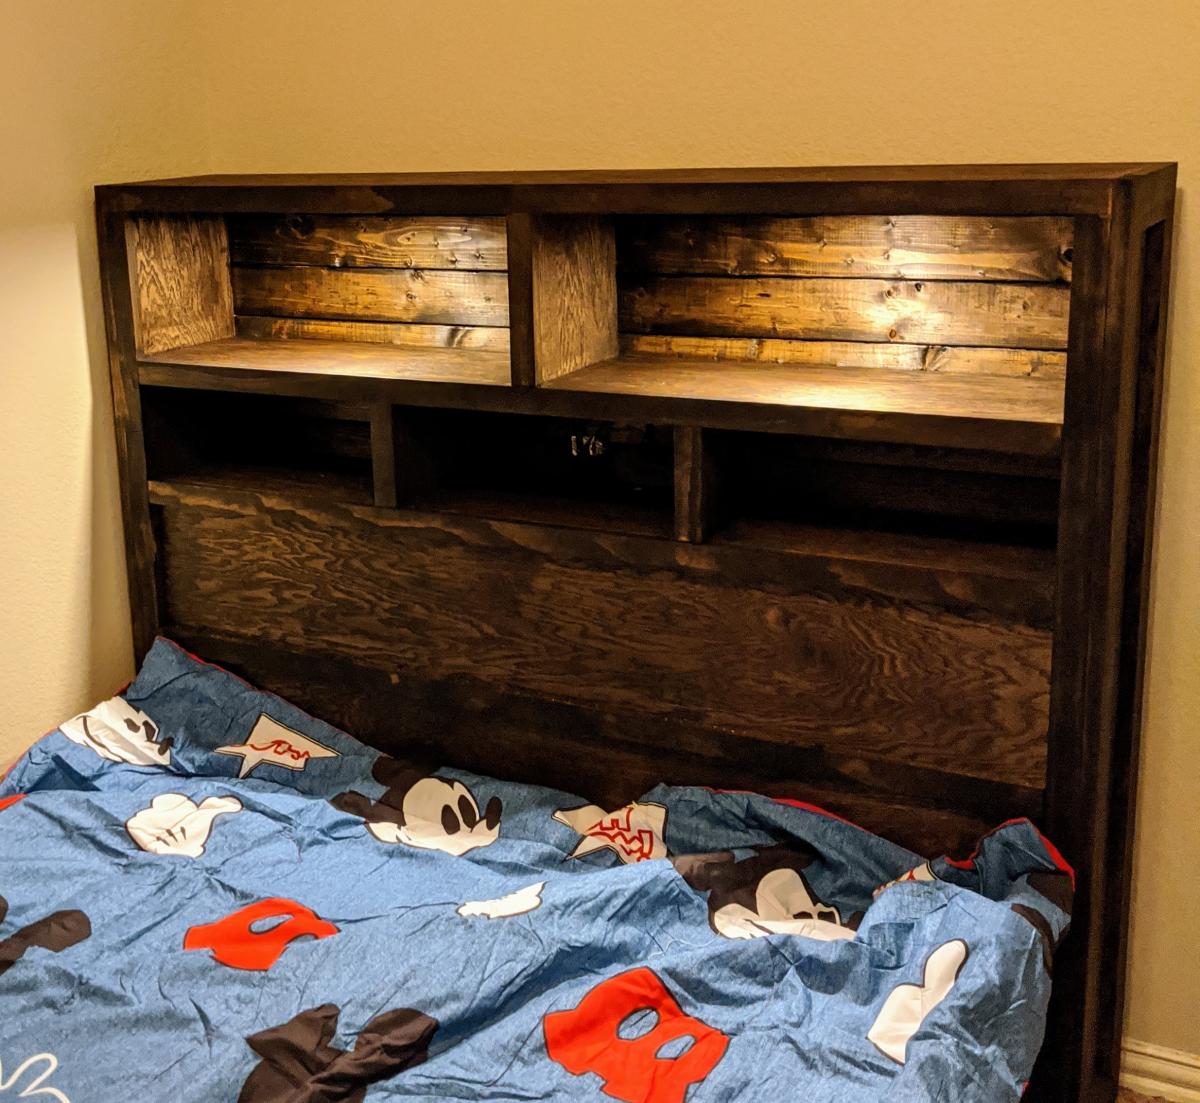
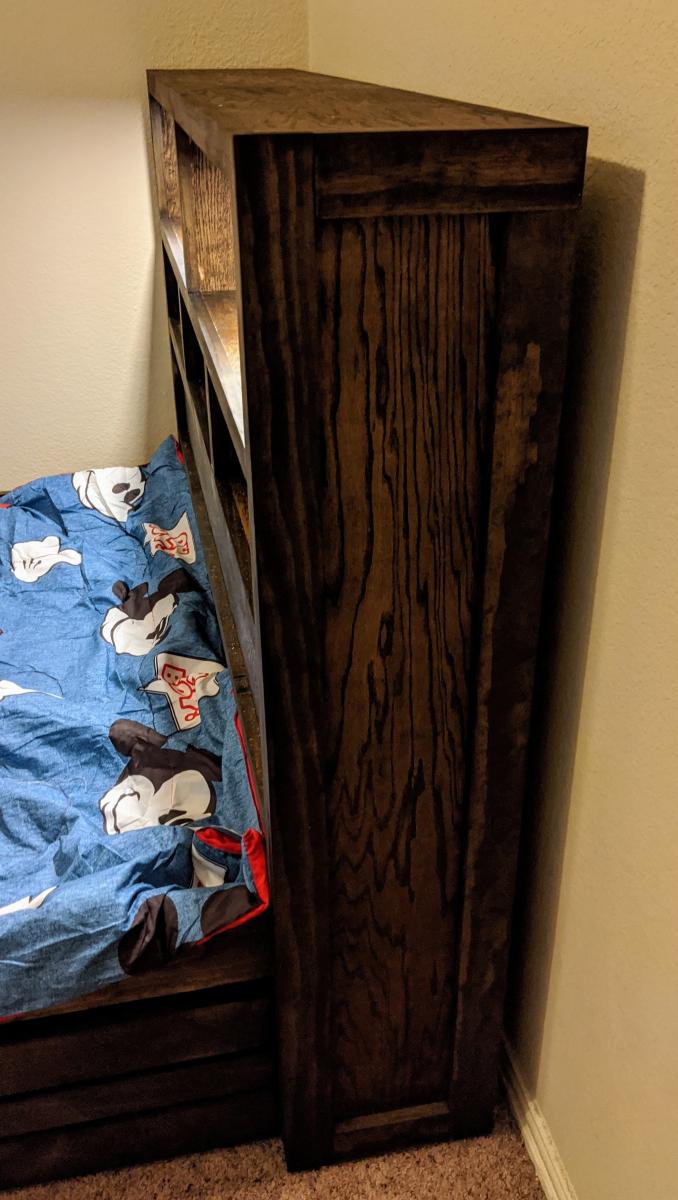
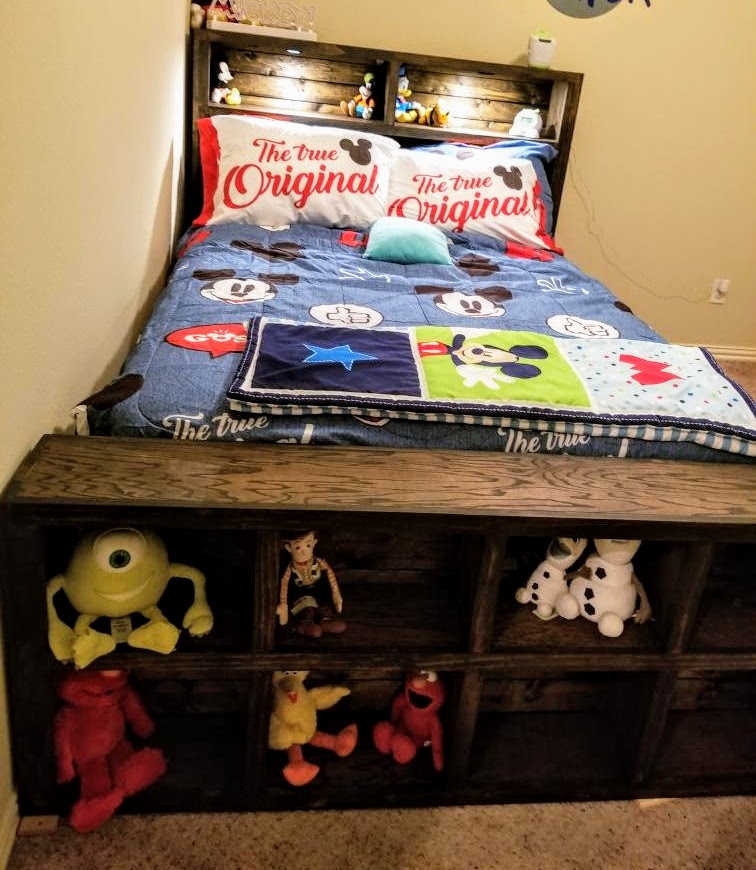
Nephew's Custom Bookshelf and Train Table Bed.

Today Tracie and I had the privilege of delivering a custom bed to my nephew south of Houston. His mom, my sister wanted to combine reading, trains, and of course sleeping. I delivered a bed with their selected color, dark walnut, hidden lights, electrical/USB outlets, a rollout train/play table, and a bed between two sets of bookshelves. Yes, it is all solidly built to be ready to hand down to the next generation. Please know I enjoyed this project while being inspired further to build more. I bragged recently that this would be the perfect bed for English teachers.
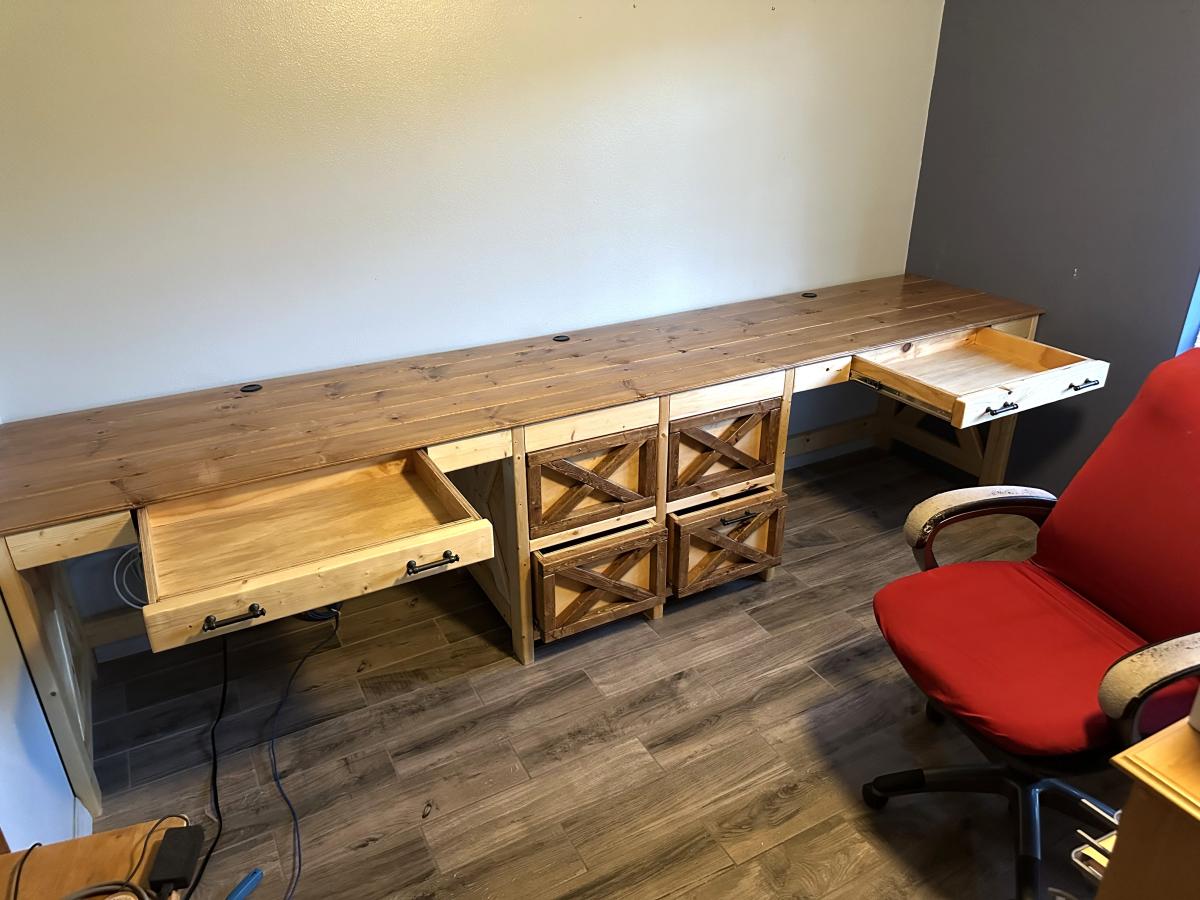
2 Person Desk System
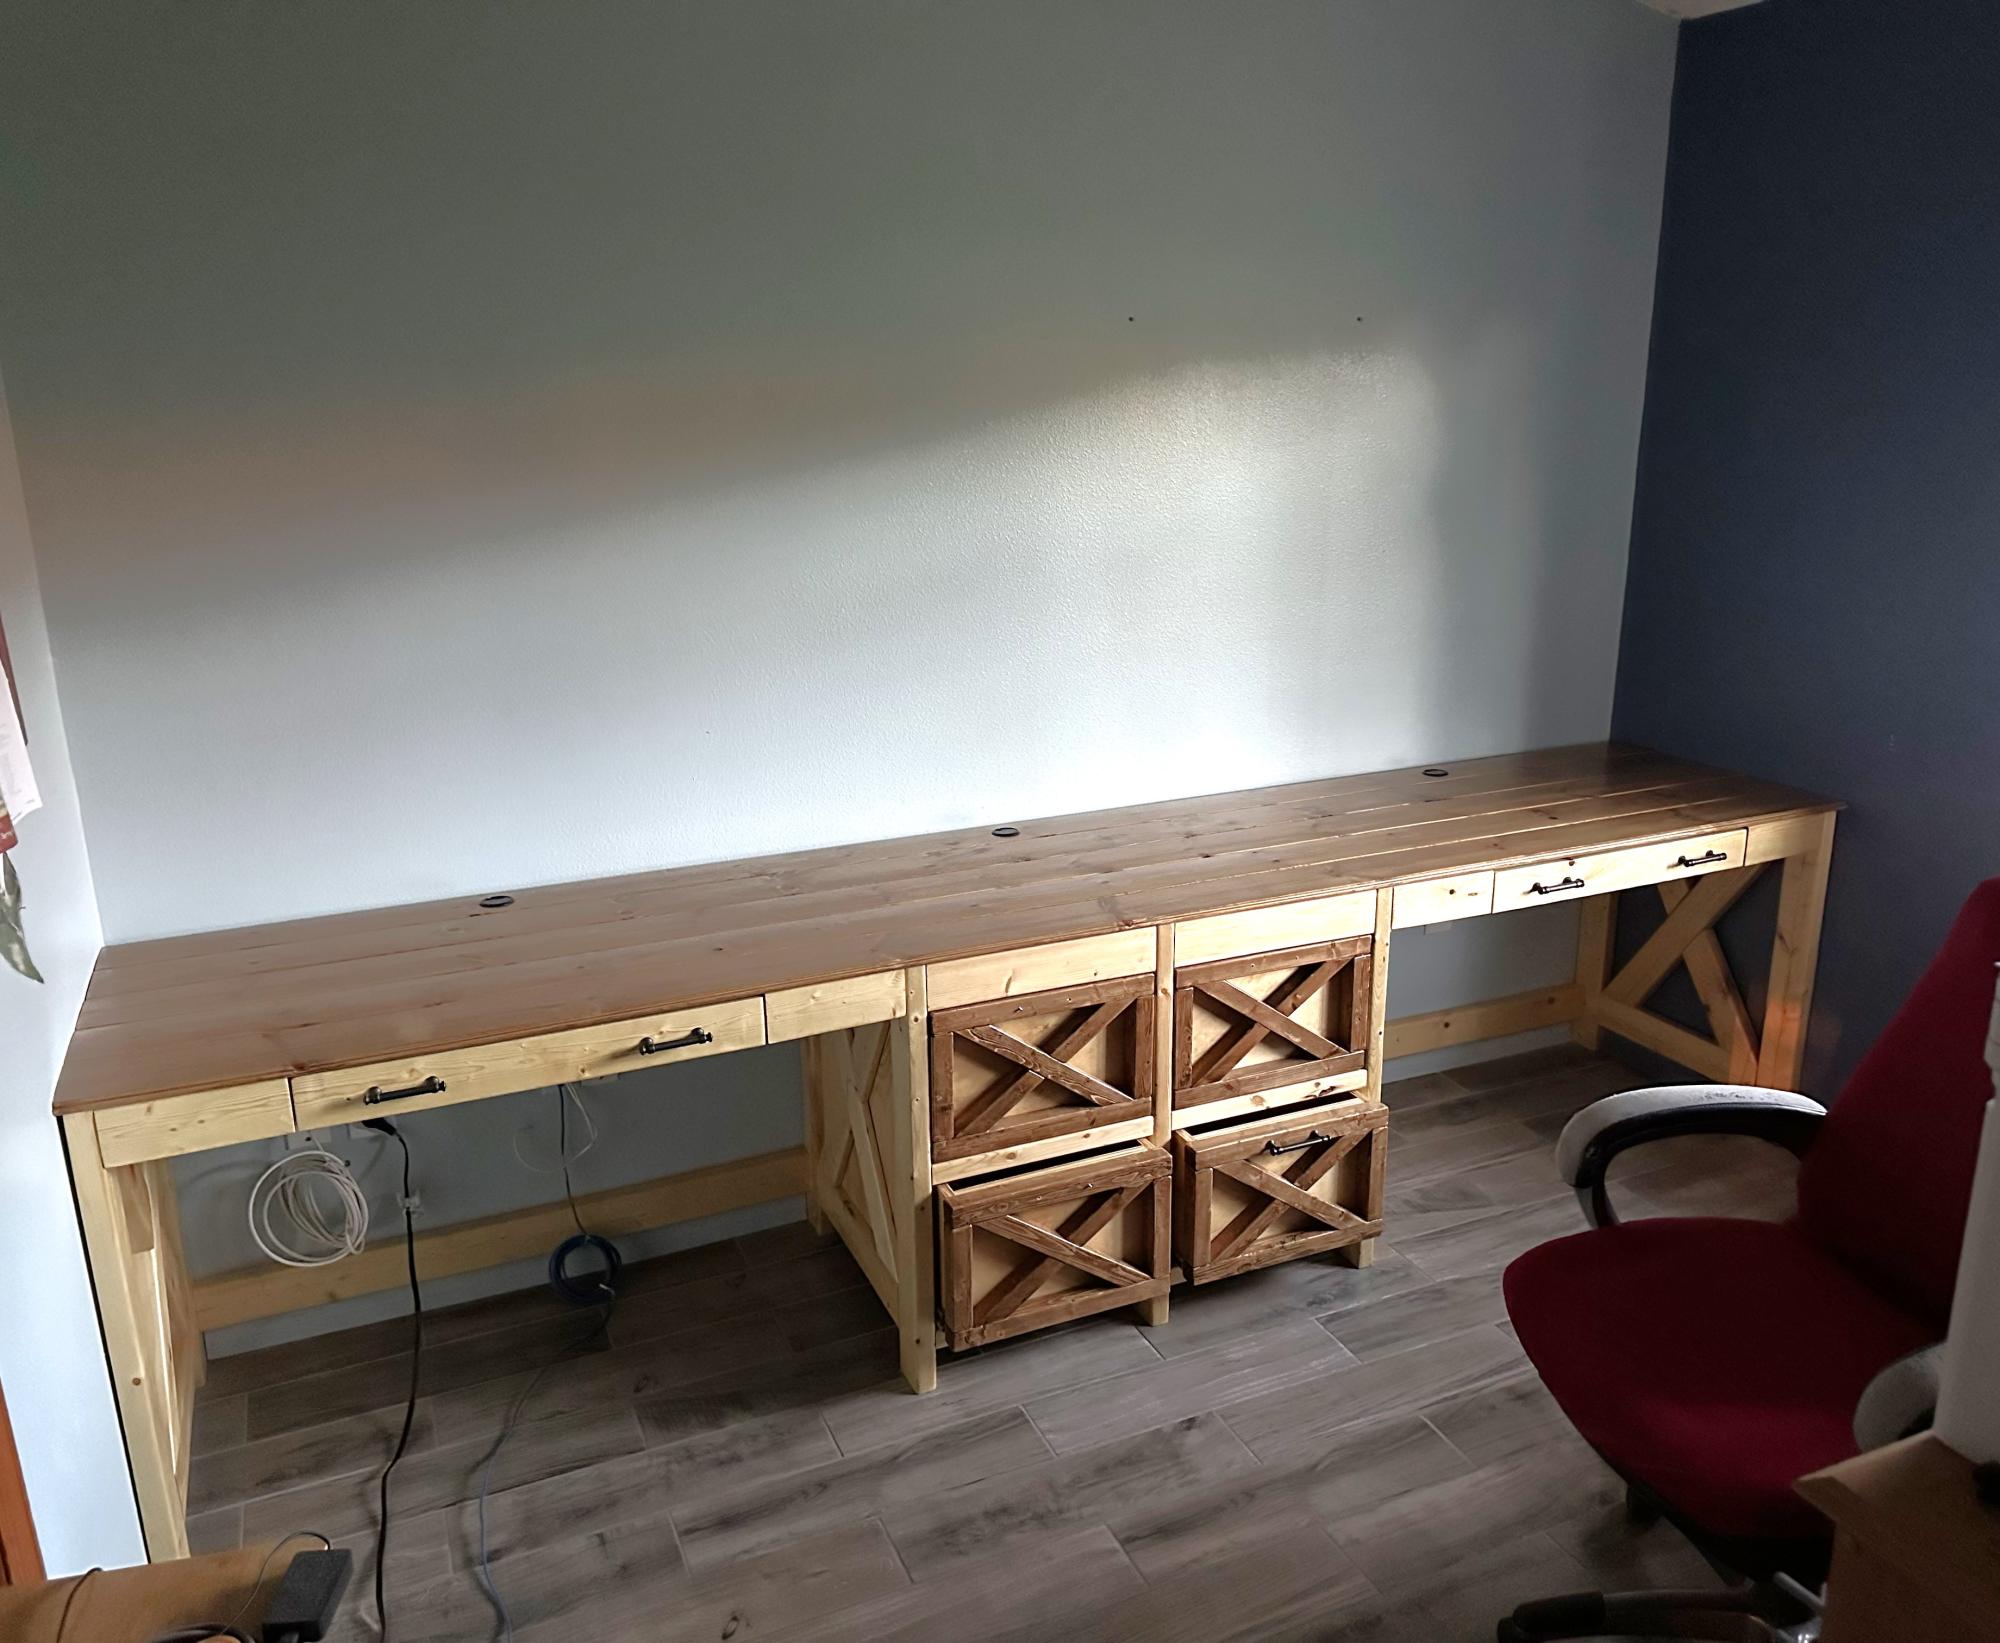
Took the farm house desk and mirrored it. It has four file drawers and a desk drawer on each end. The frame and drawers are clear coat polyurethane and the desktop is stained chestnut with warm satin polycrylic clear coat. -
Mike Godfrey, Spring Hill, Florida
Built from Plan(s)
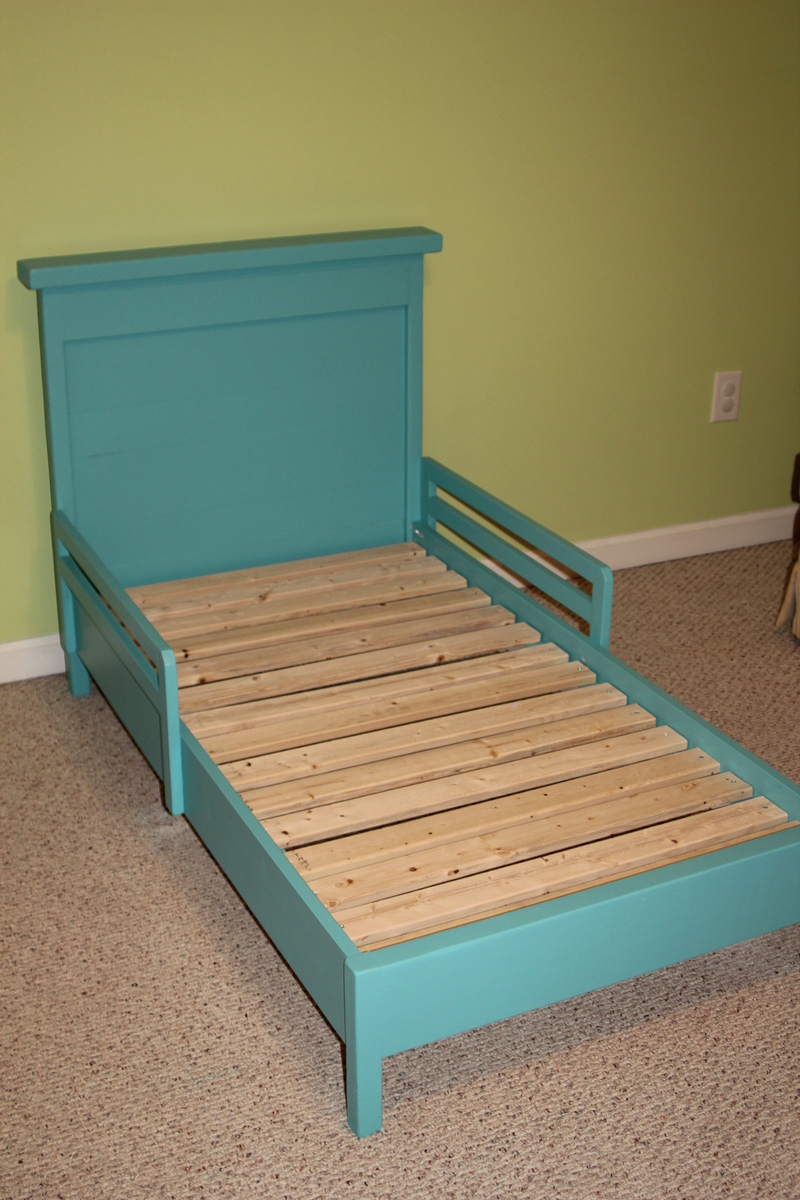
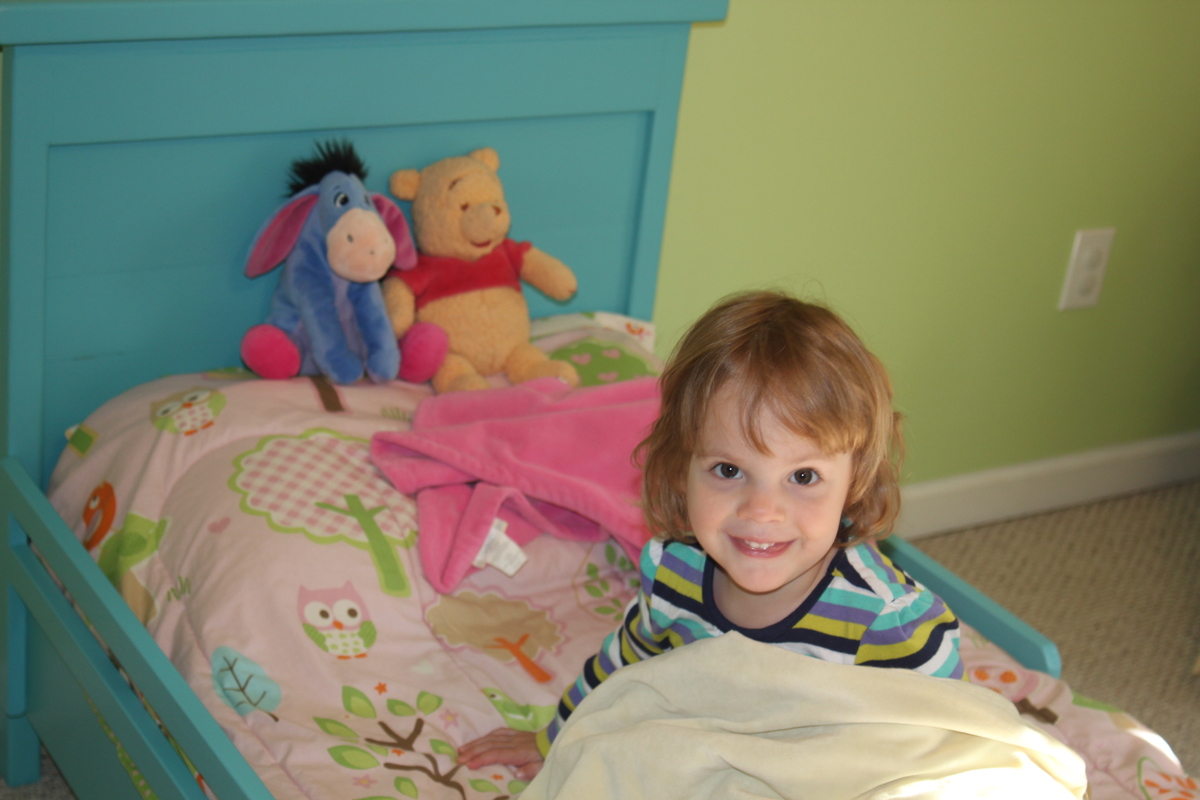
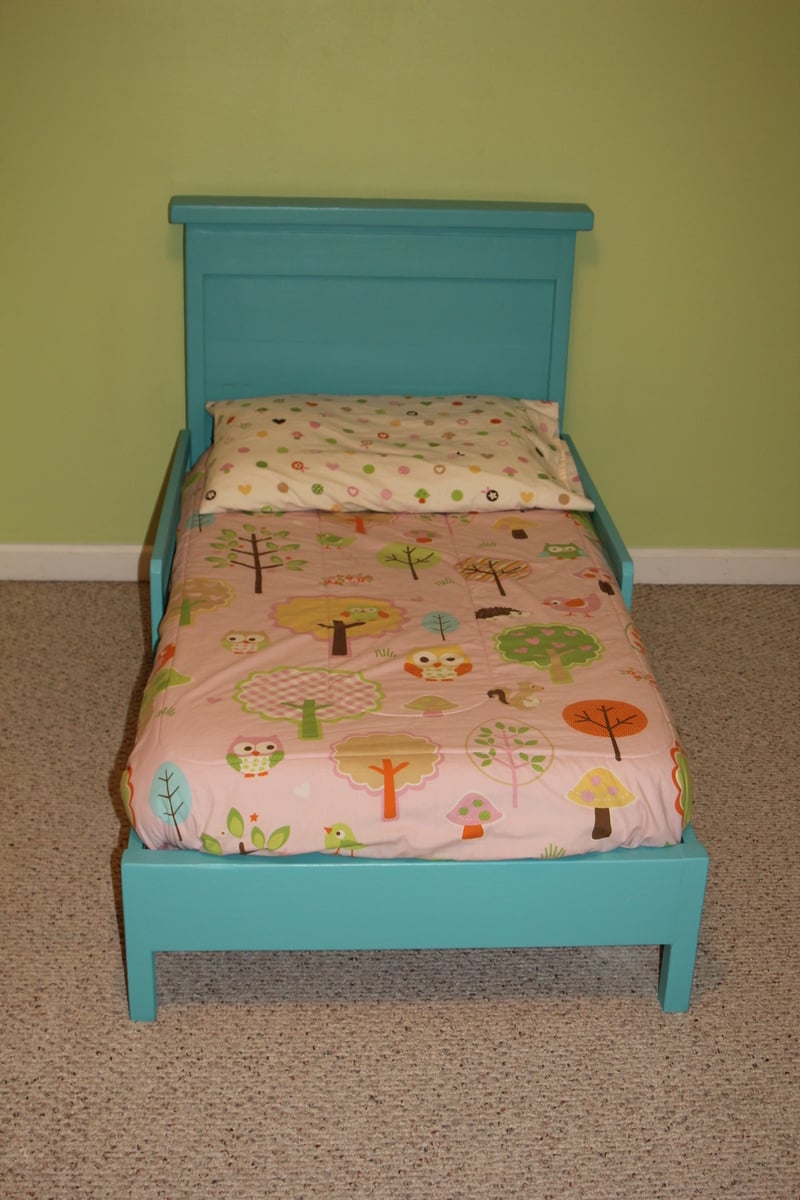
Traditional Toddler Bed with Rustic Headboard
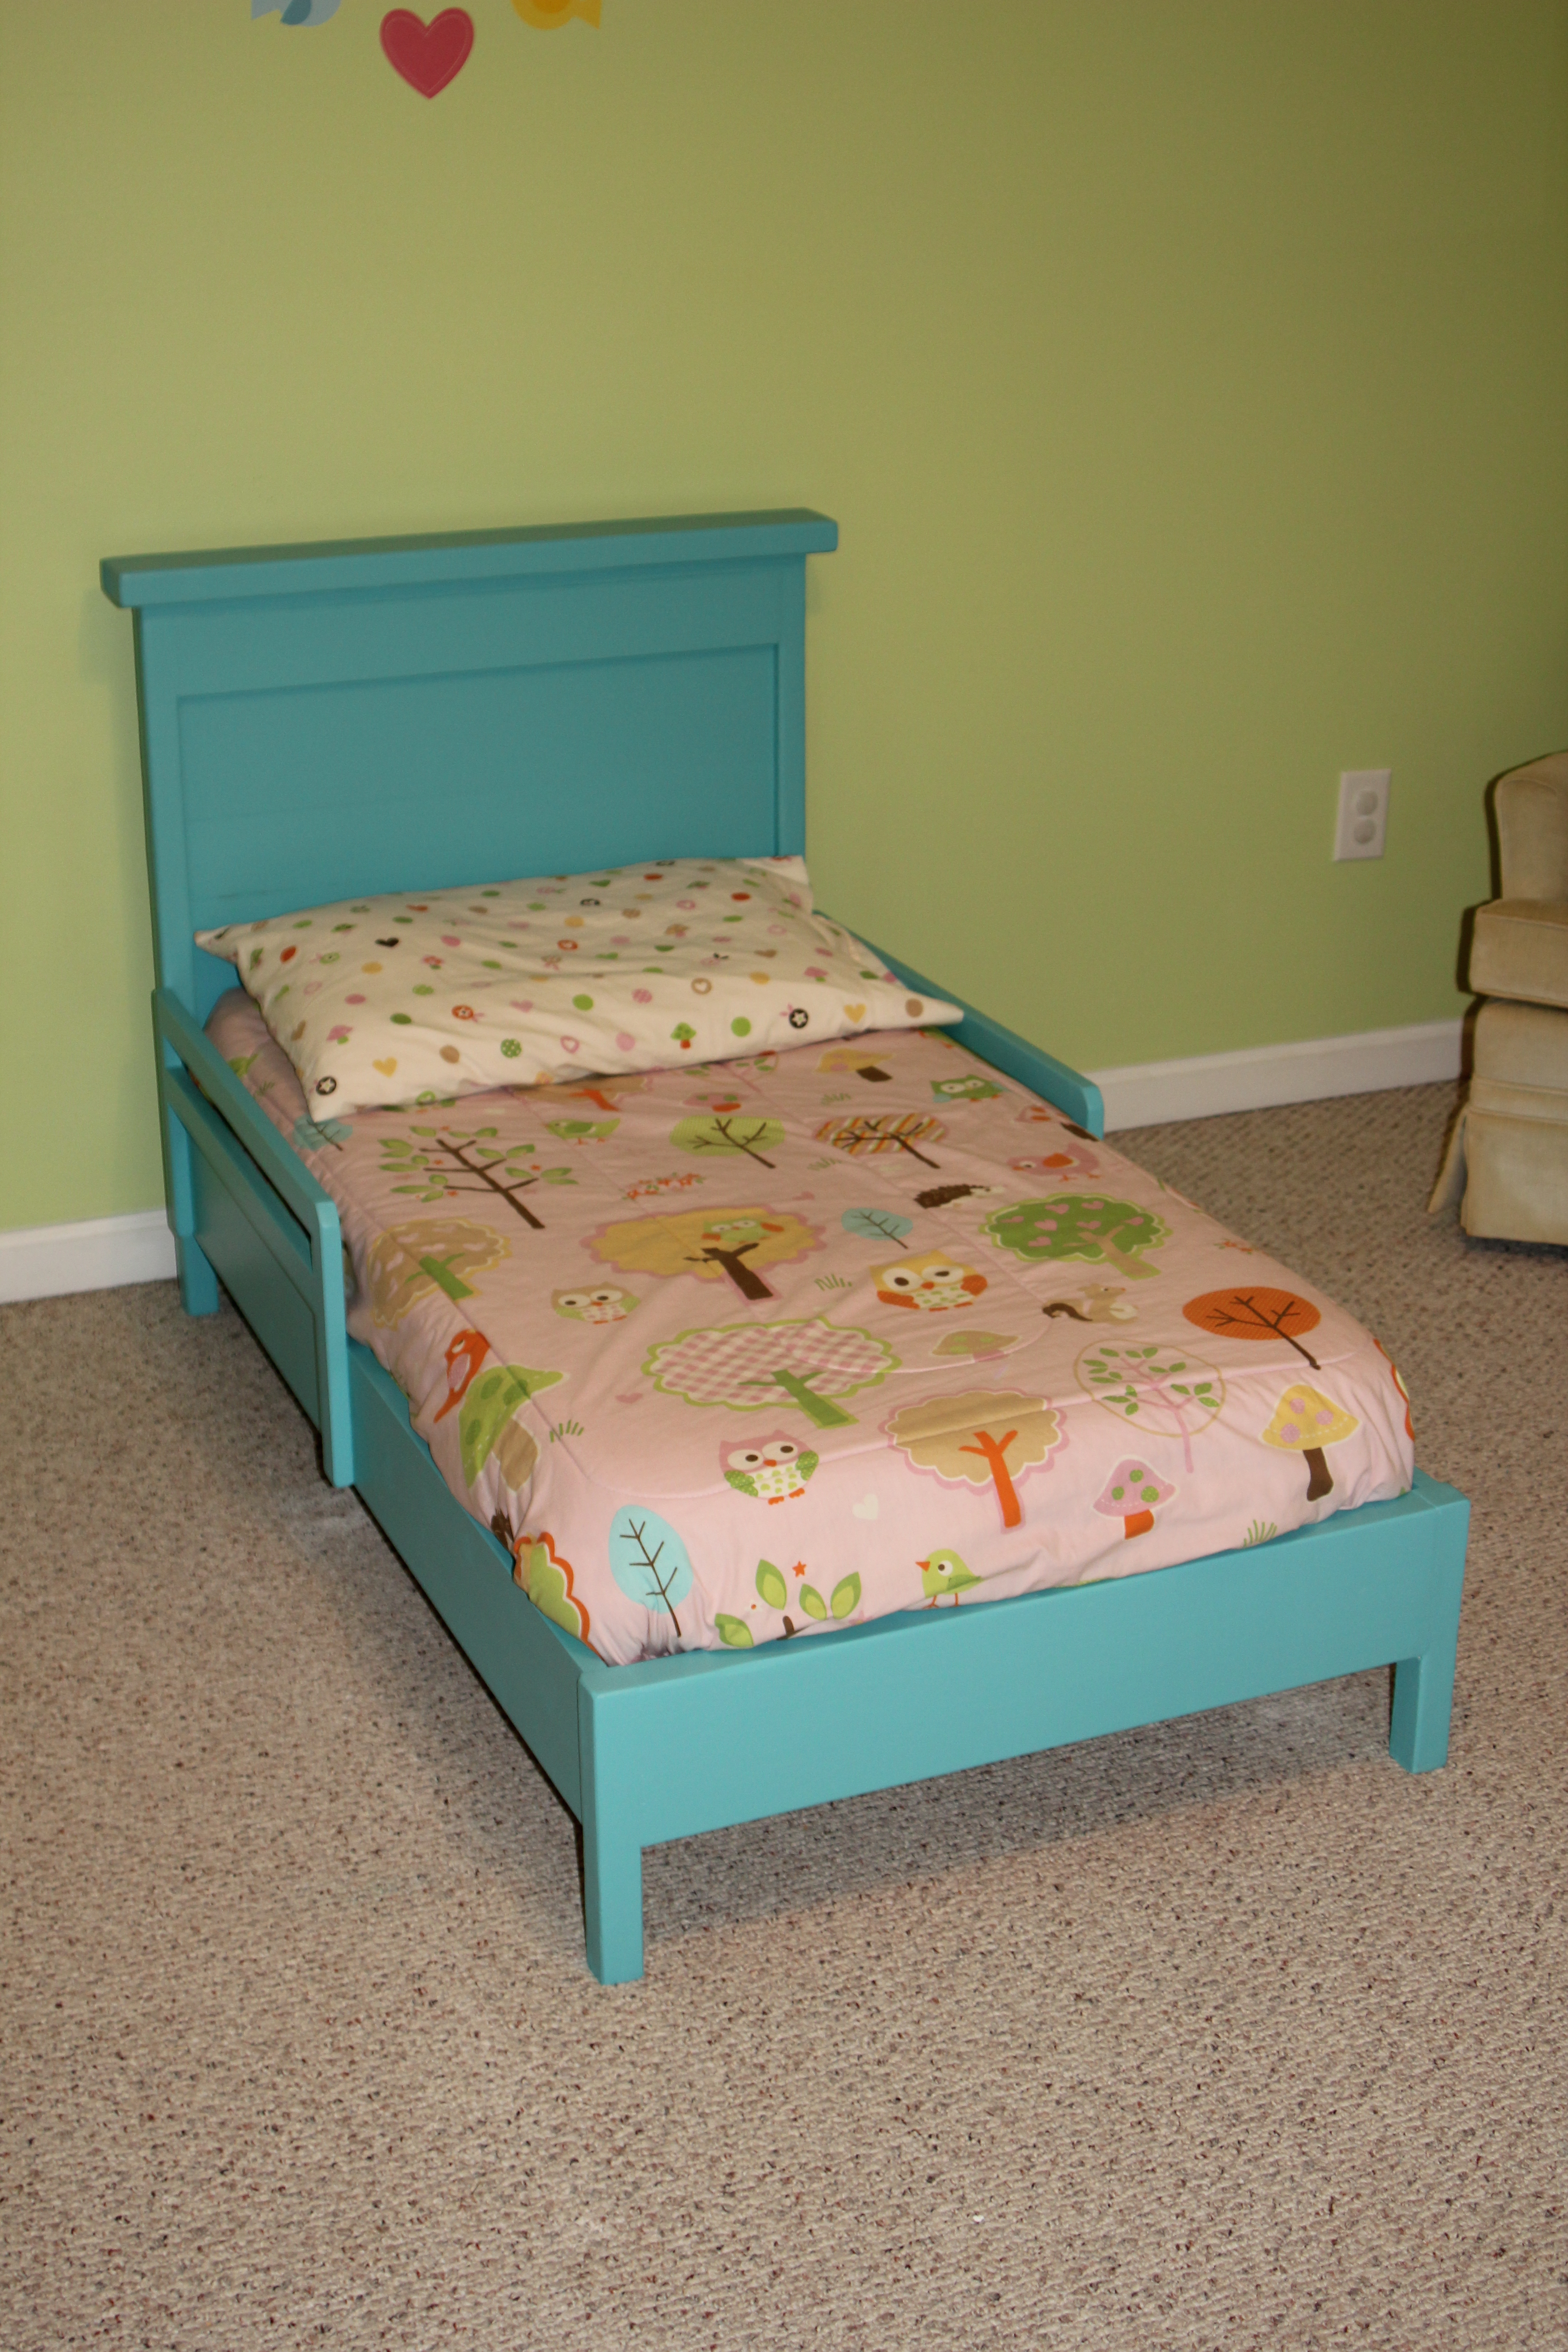
After my daughter started escaping from her crib I knew it was time to build her a new bed. I didn't think she was quite ready for a full size yet so I thought a toddler size would work for at least the next year.
I started with the Traditional Toddler Bed plans and scaled down the size of the Rustic Headboard and incorporated that. The biggest thing I learned in the process was to measure your mattress first! I don't think I realized the size variation in crib mattresses and ended up having to recut my slats and rails to accommodate my larger mattress. Also, our mattress is 5 inches deep, which means that the safety rails only extend about an inch over the top of the bed. This seems to be fine for my daughter and she hasn't fallen out - yet - but I think if you have a very restless sleeper or just want to play it safe, you might want to add an extra inch or two to the height of the guardrails.
I also used a 2 x 6 for the foot rail as this allowed the legs to be inset further and gave it a more solid look on the bottom.

Built from Plan(s)
Estimated Cost
$60
Estimated Time Investment
Day Project (6-9 Hours)
Finish Used
Valspar Primer and 2 coats of Olympic Premium in Caruso
Recommended Skill Level
Beginner
Comments

Bookshelf Cubby for Fabric Drawers
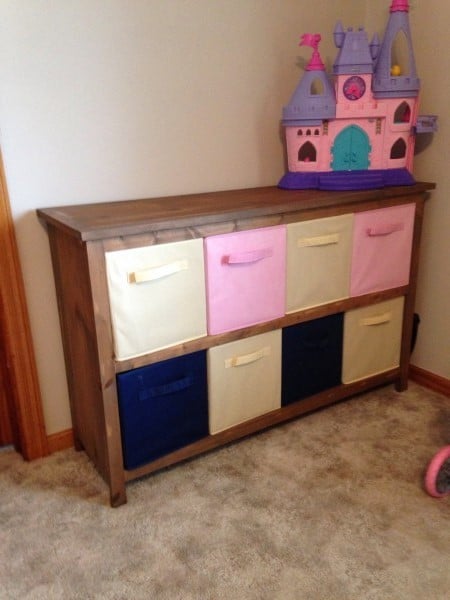
This was an easy build and I'm so happy with the finish. I used Hilary's oxidizing vinegar solution first. I didn't feel it was "grey" enough so I put on a coat of Minwax Weathered Grey. Let dry. Added a coat of Minwac Special Walnut and finished with Pastewax. Love, love, love! They are very sturdy!
Built from Plan(s)
Estimated Cost
$30
Estimated Time Investment
Day Project (6-9 Hours)
Recommended Skill Level
Starter Project
Moore Kitchen island
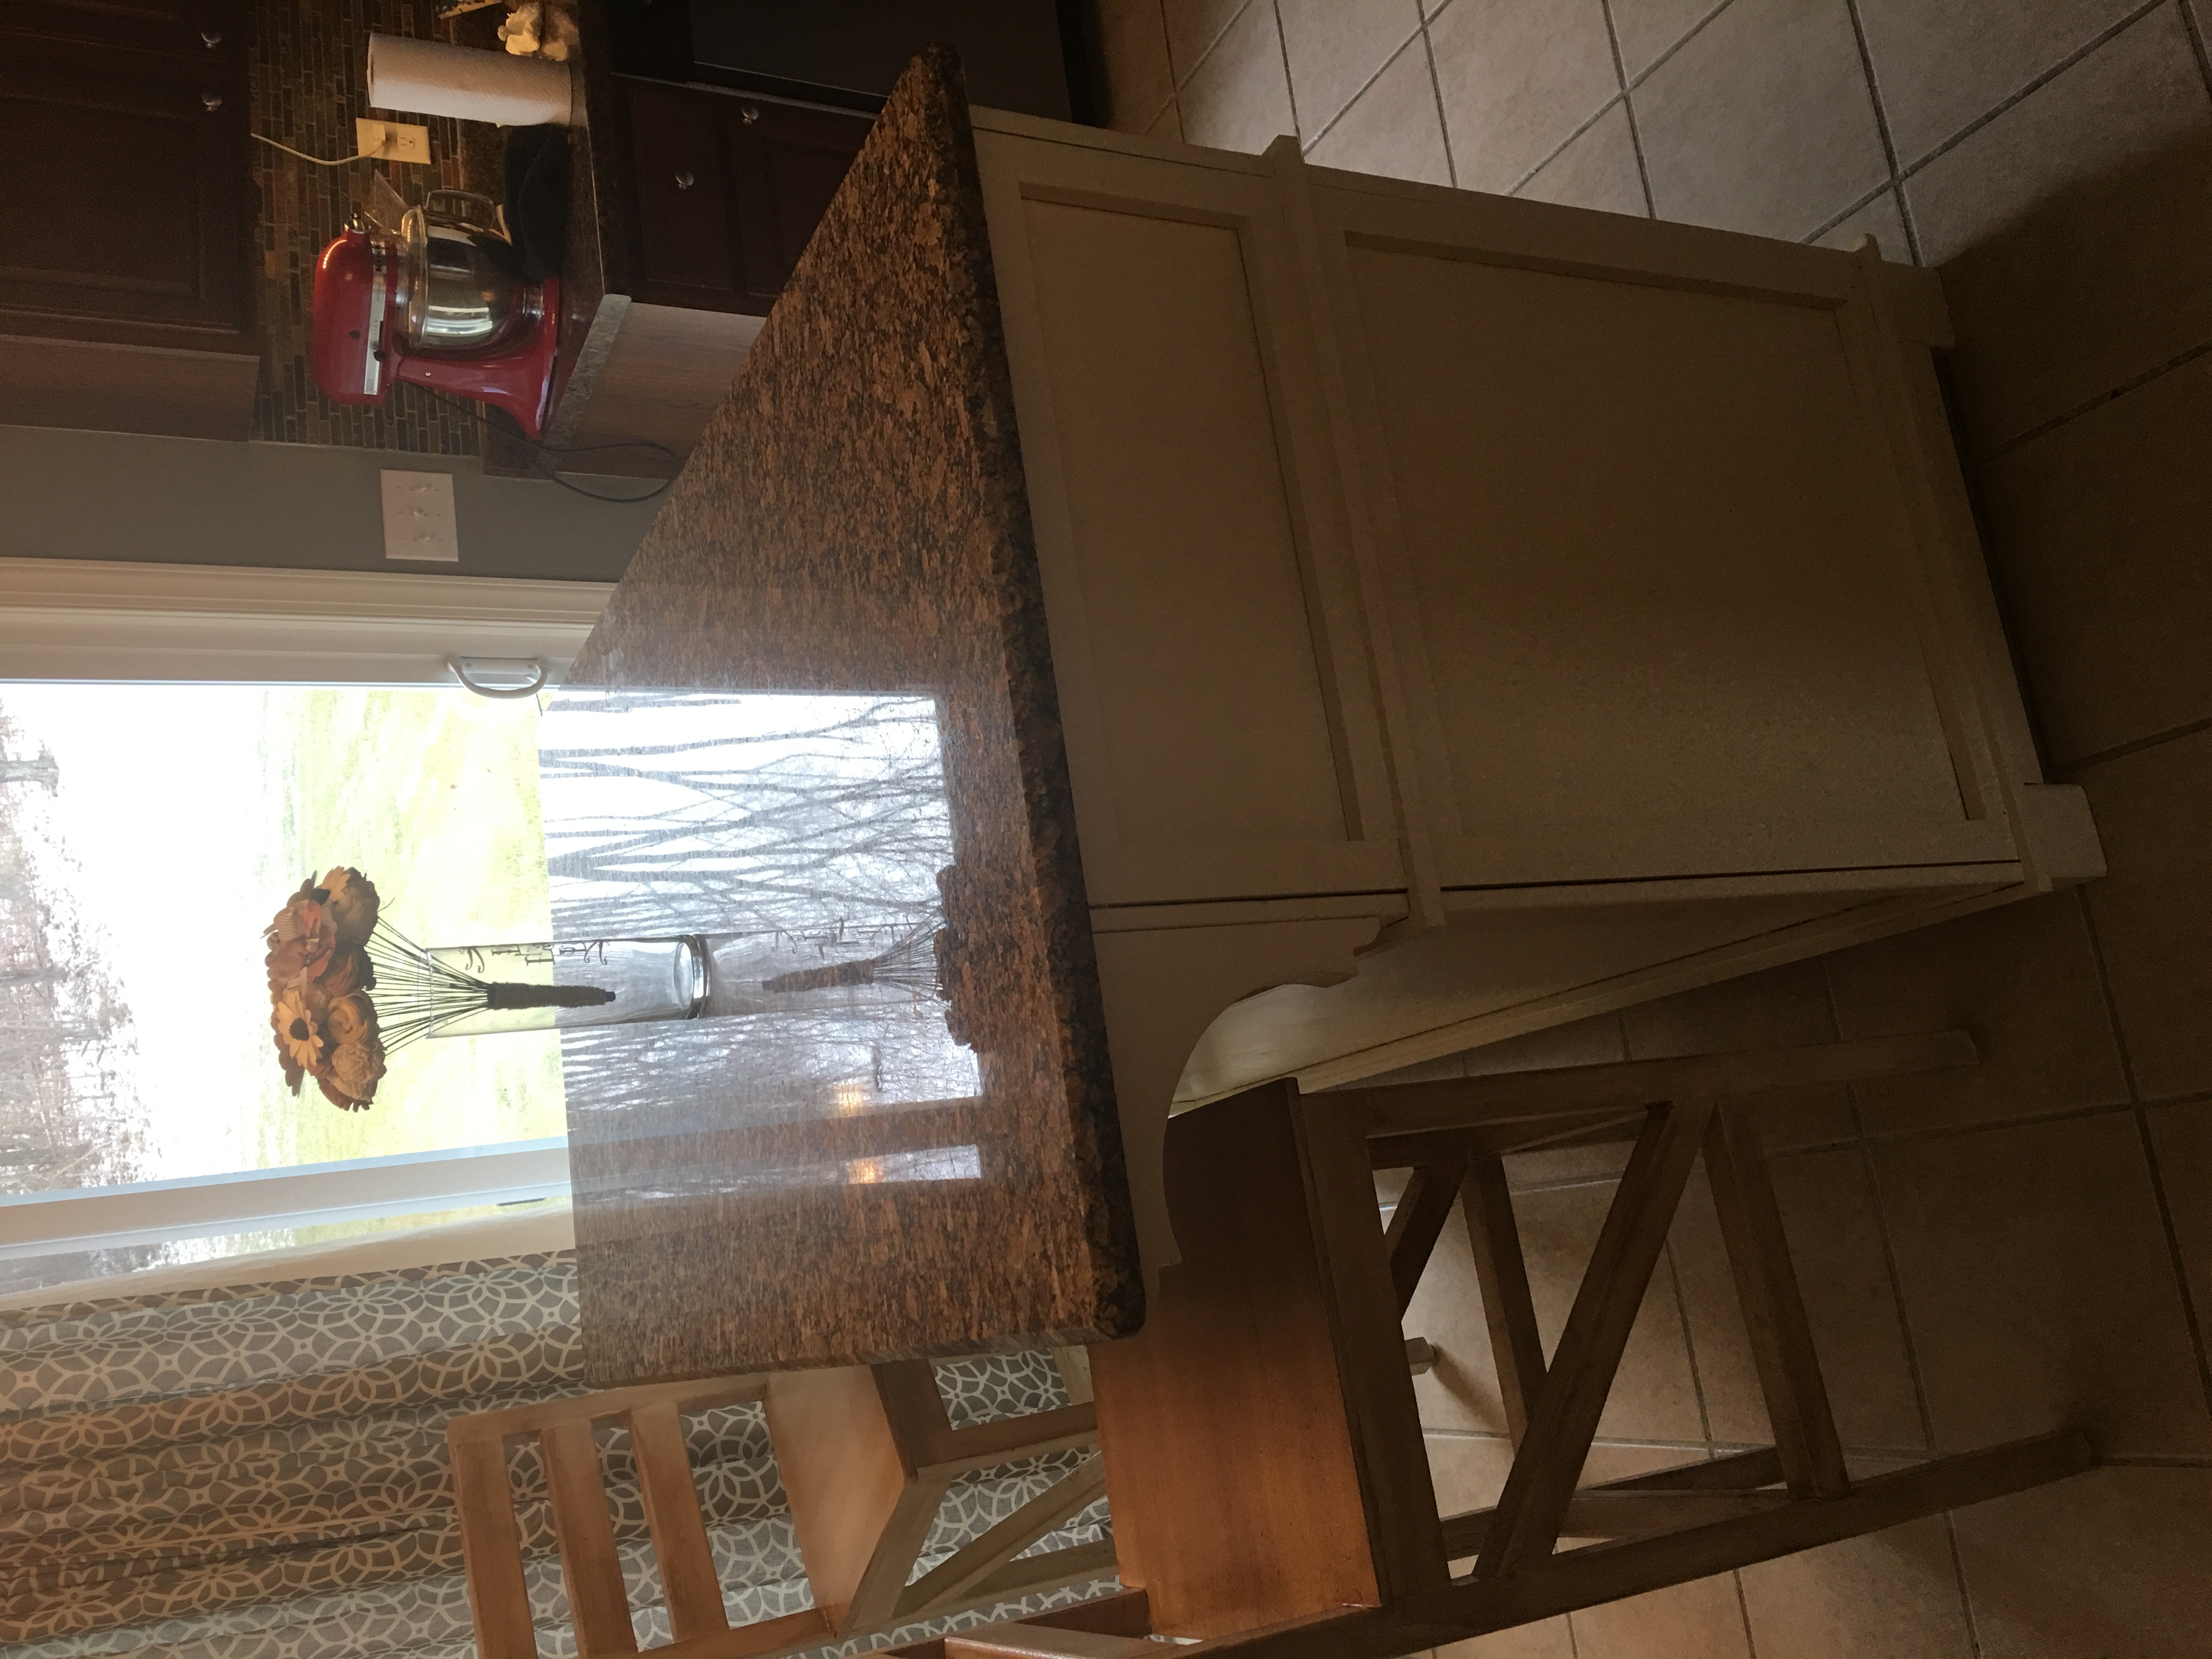
My wife wanted an island so bad and didn't like any of the plans but this one. This was my first big project but it worked out well. In the front middle section, I went with a two trash can sliding cabinet. Took me around 36 hours to complete. I also found plans for tall bar stools that I used and made the chairs with the island. We found a stone place that had scrap granite that we bought cut to size. My wife loves it. Great Christmas present!!
Finish Used
Behr antique white, minwax satin polyurethane
Recommended Skill Level
Advanced
Comments
Sun, 01/01/2017 - 19:01
I too am looking for the plans
All I see is a PDF with the dimensions but not the step by step plans. Can you please share the actual plans? I am hoping to build two of these to go on either side of our fireplace.
Cheers,
1st piece of furniture build
This was my 1st attempt to build a piece of furniture. Plans were easy to use.
Built from Plan(s)
Finish Used
Dark walnut stain, espresso spray paint (base), antique white (top coat)
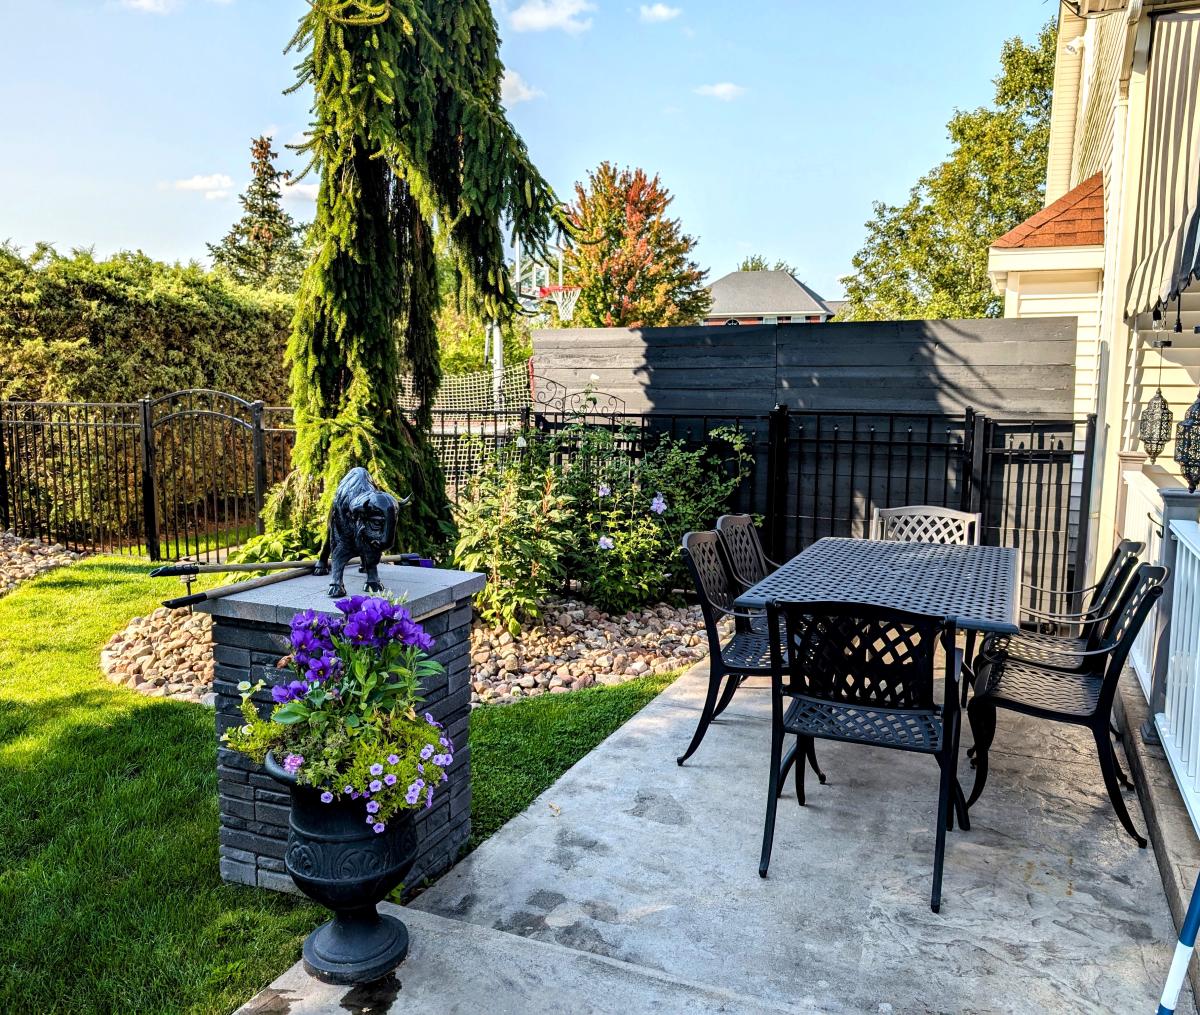
Pool Side Privacy Planter
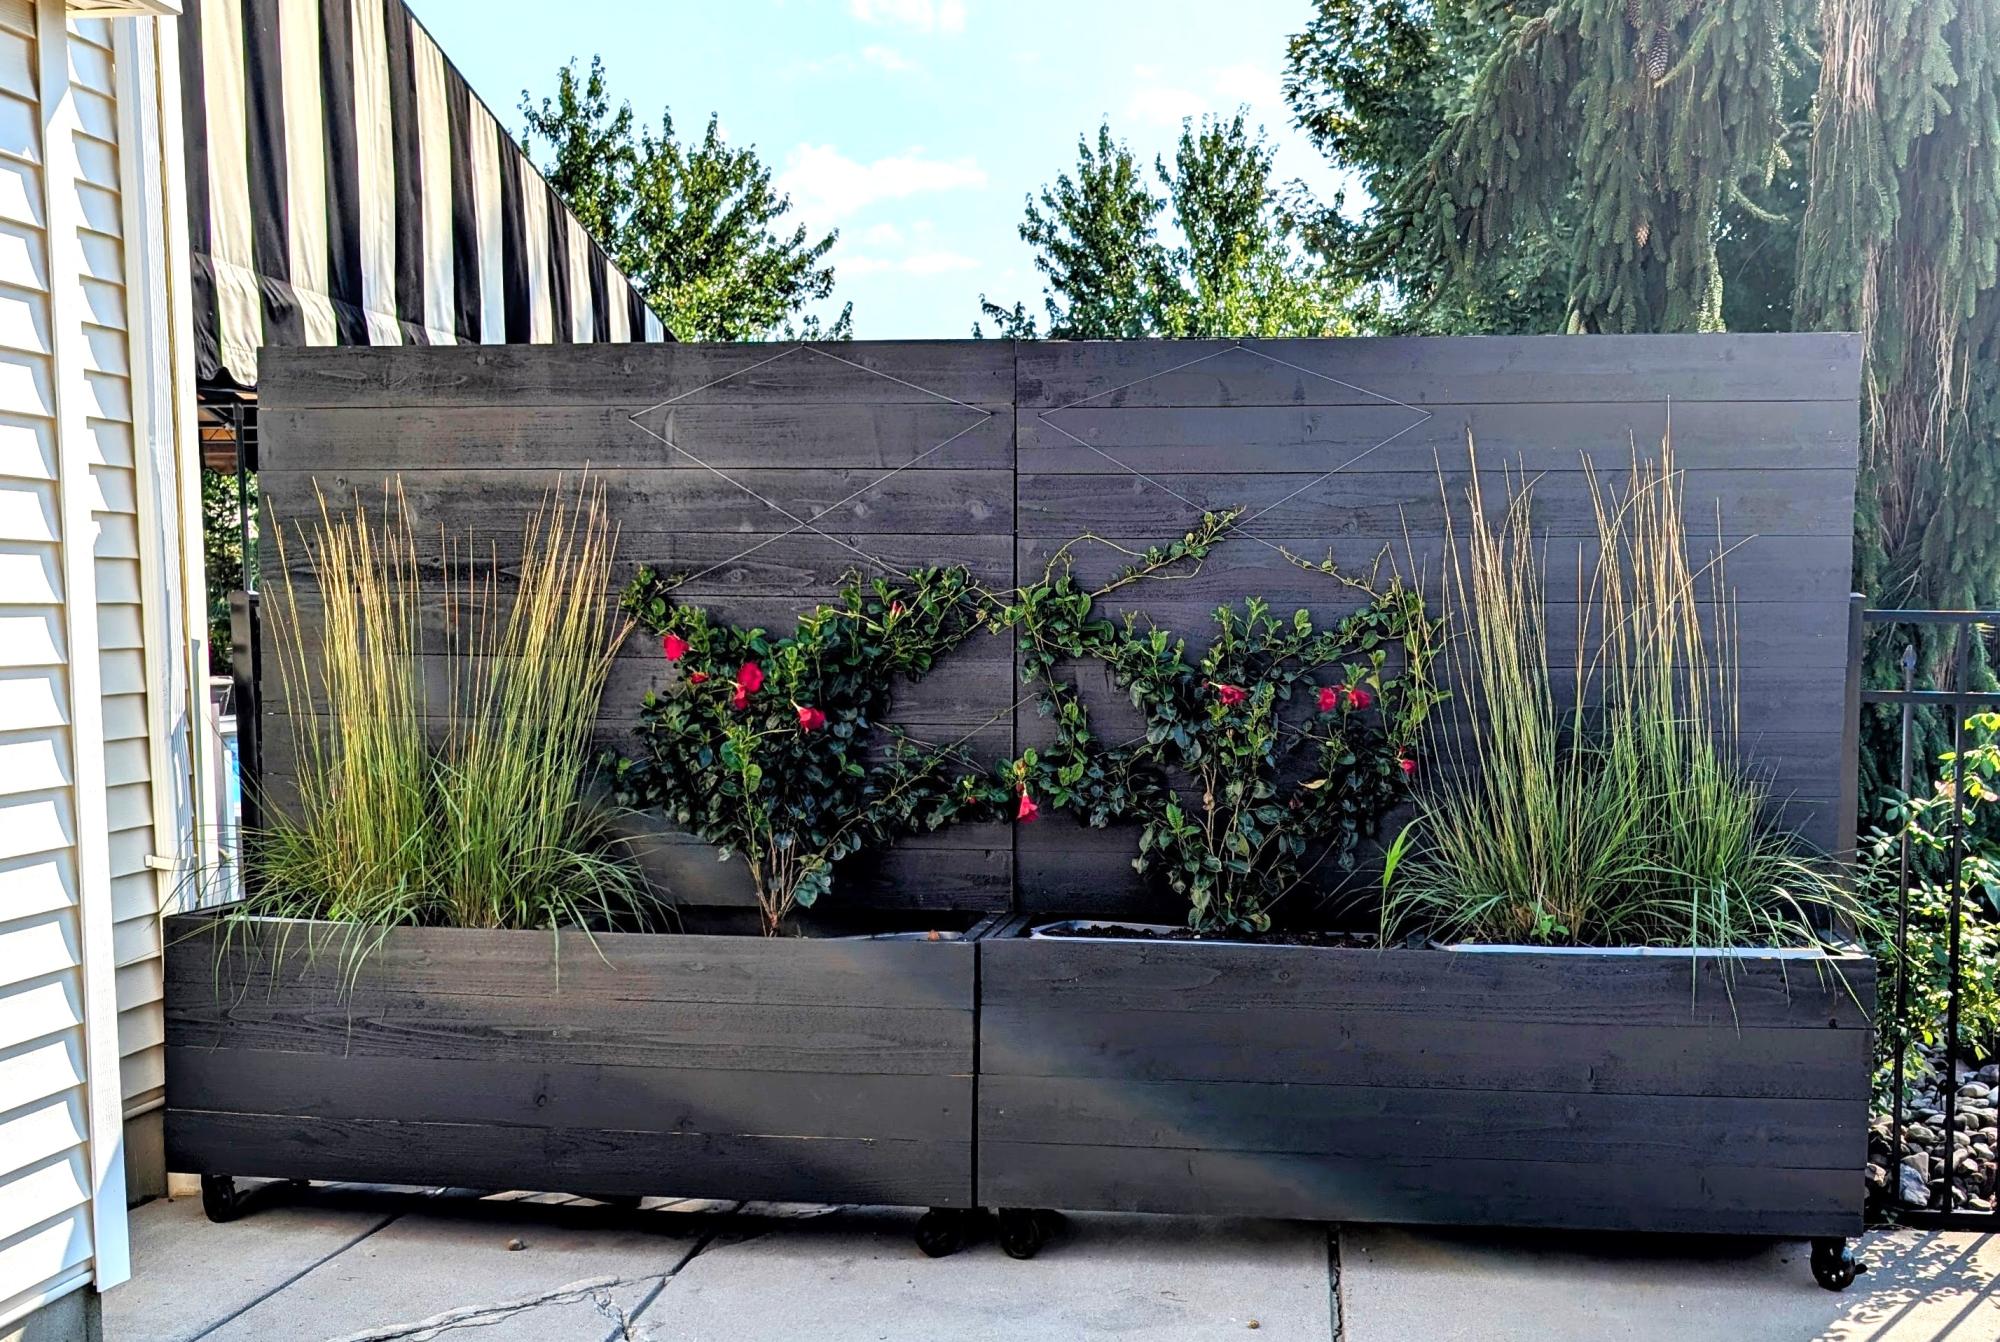
We built two of Ana's privacy planters for the top of our driveway to obstruct the view of our yard and pool from the street. We added heavy-duty casters for mobility, and cedar pickets to cover the back as well, since that side would be directly behind our eating area. Because of the casters, we had some trouble with stability, so we added cinder blocks to line the bottom, then on top of those, we used large storage bins inside of the planters as "liners" for the dirt and plants. It's the perfect solution for us, and we were able to construct both planters over two days- one day to build, another to apply the stain!
Built from Plan(s)
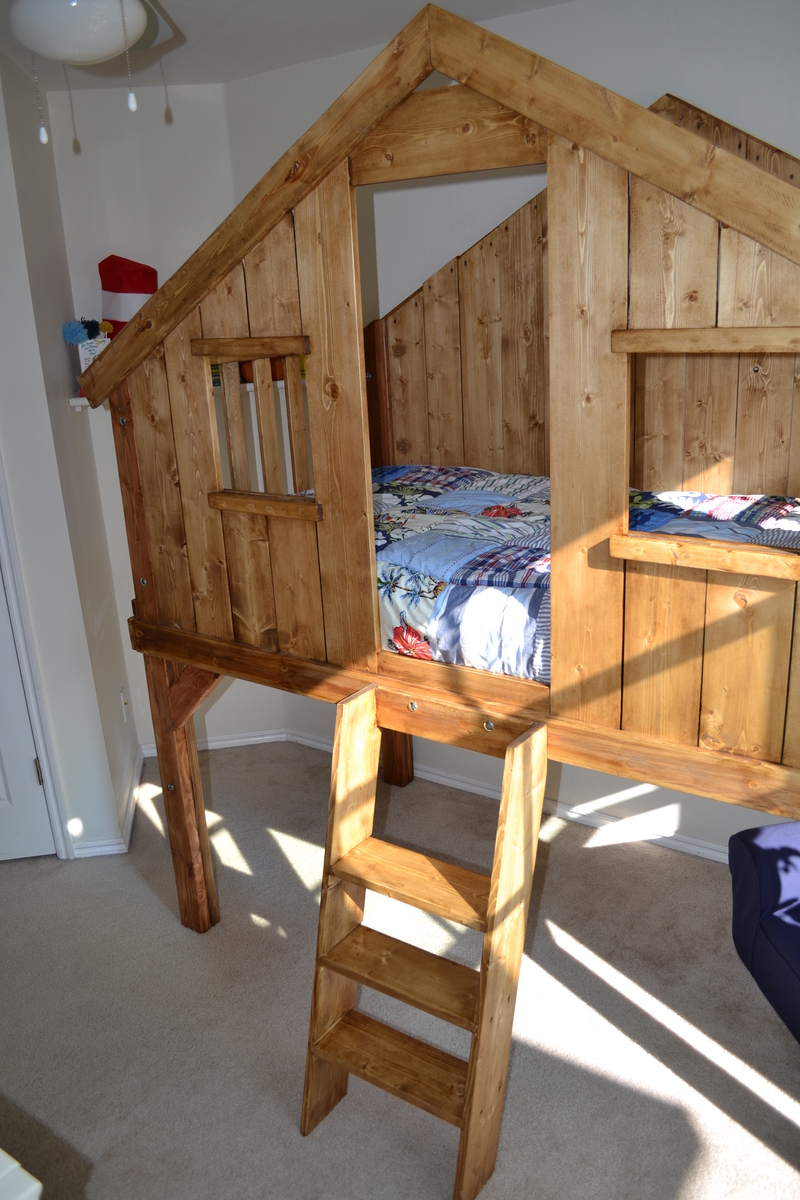
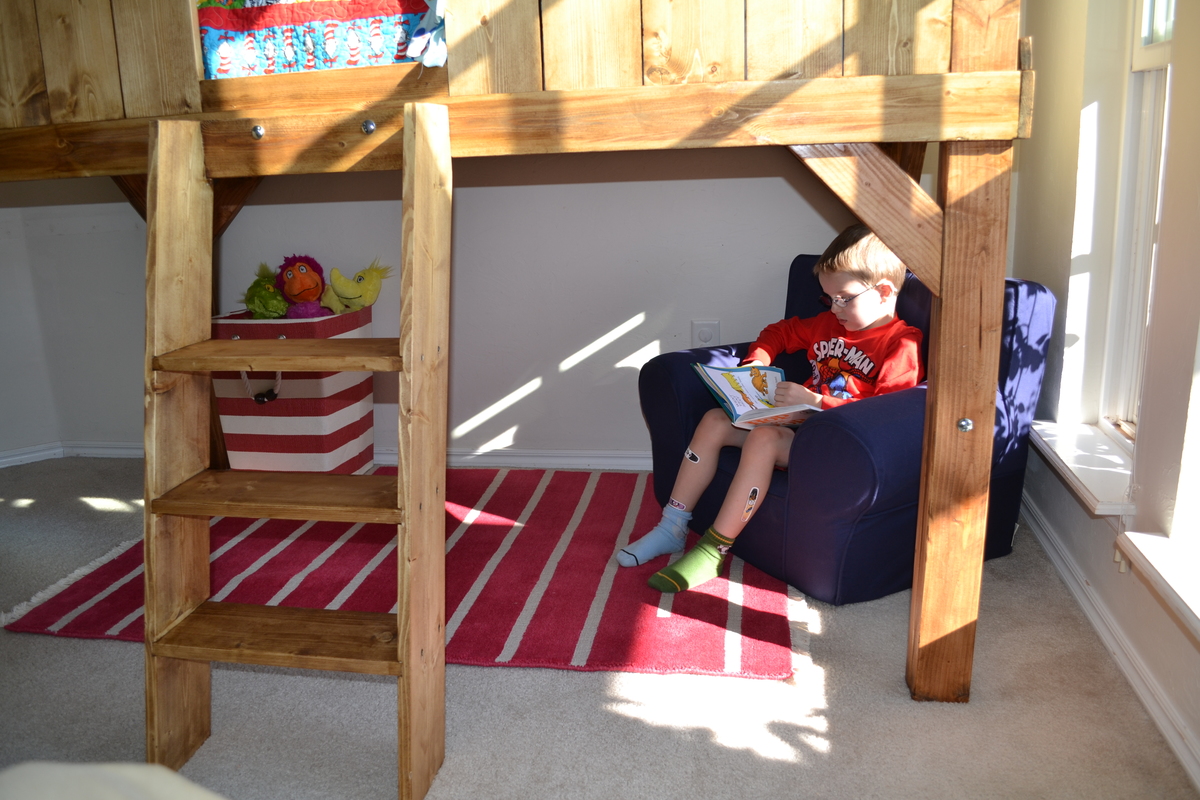
Clubhouse Bed - my first build
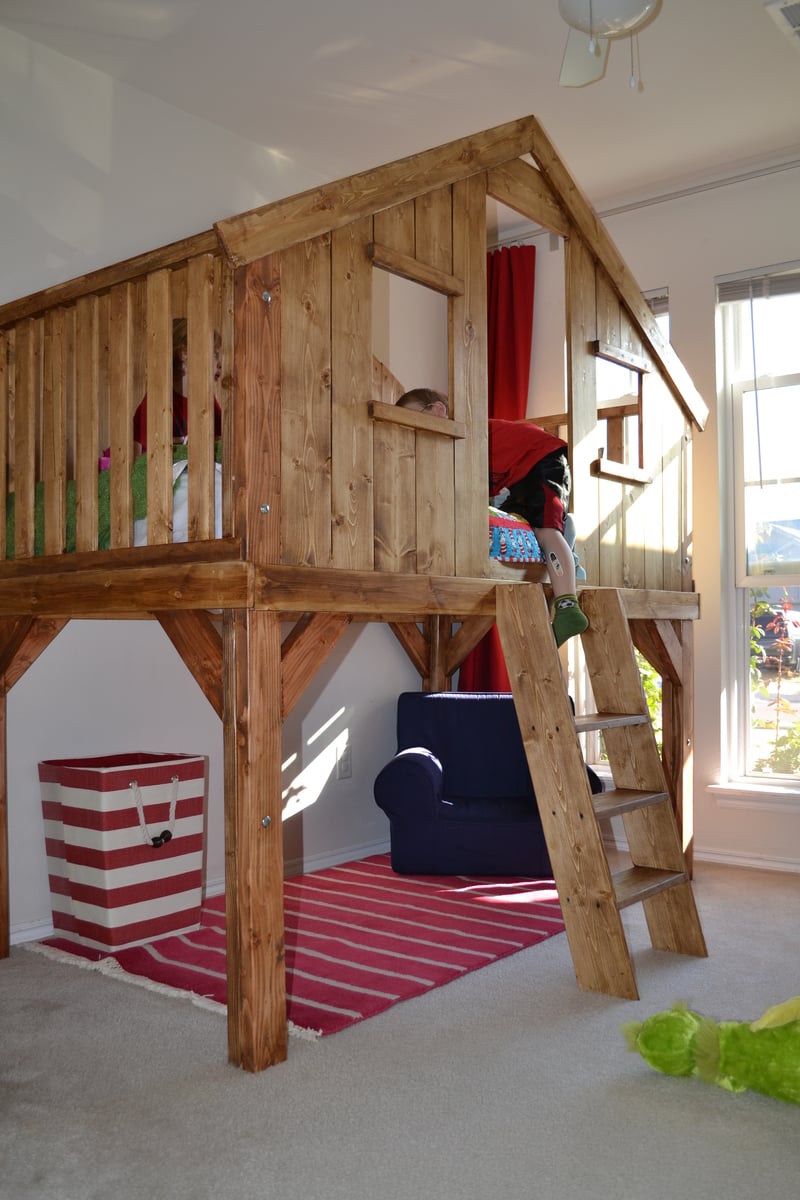
So we wanted to build a simple twin size bed for our 5 year old son. That quickly expanded into my wife wanting me to build this PB replica (which happens to be her favorite kids bed). My response was "honey, you really don't understand my lack of ability." She insisted and after a couple of weeks the bed is done! Using Ana's plans made this not only doable but much easier than I thought (this was my first build).
We changed the design very slightly because the original was a few inches too tall (we have a ceiling fan that would have hit the top). We simply shortened the top half of the bed by 3 inches. At the suggestion of a friend (who's mitre and table saws we used for the cuts) we used dado instead of pocket holes for the stairs. We also used a lot of countersinking instead of pocket holes (for example to attach the vertical slats on the side walls).
We bought the cheapest wood we could get at Home Depot. All the wood and stain and materials cost about $250-300 (I still haven't checked the receipts exactly). However, I was told (quite sternly) that I severely overpaid for the wood by not going to a lumber yard. We used a Minwax oil-based stain (mission oak). We only did one coat.
Now that we're done with this we can't wait to get started on the next project (right after I get my dissertation going).
Built from Plan(s)
Estimated Time Investment
Week Long Project (20 Hours or More)
Finish Used
Minwax oil-based stain - Mission Oak, single coat applied using rags.
Recommended Skill Level
Intermediate
Comments
Fri, 11/30/2012 - 07:07
It turned out amazing!
It turned out amazing! woodworking is addictive isn't it?
Fri, 12/07/2012 - 18:22
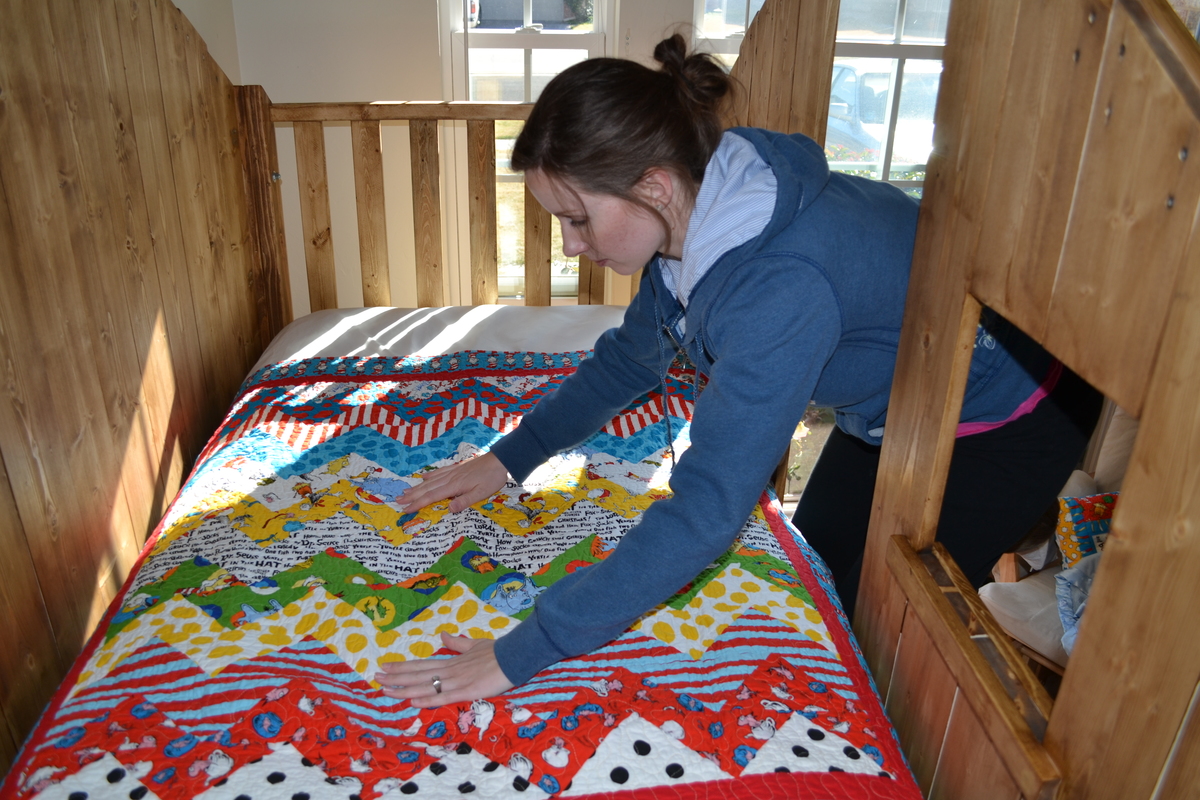
making the bed
I've been wanting to build this for our youngest son. He will be three before we make it and the fact that it is enclosed makes me comfortable with having him in a lofted bed, but it also looks like changing the bedding would be really challenging. Seeing your picture smoothing the quilt begs the question, how hard is it?
Nice work on the bed-what a first project!
Tue, 12/31/2019 - 08:41
How to shorten by 3”
Did you use the same angles at the top of the bed but remove 3” from the bottom of the cut? Would love to shorten this too but not great at making that type of adjustment without stated plans for it. Thanks for your help. [email protected]
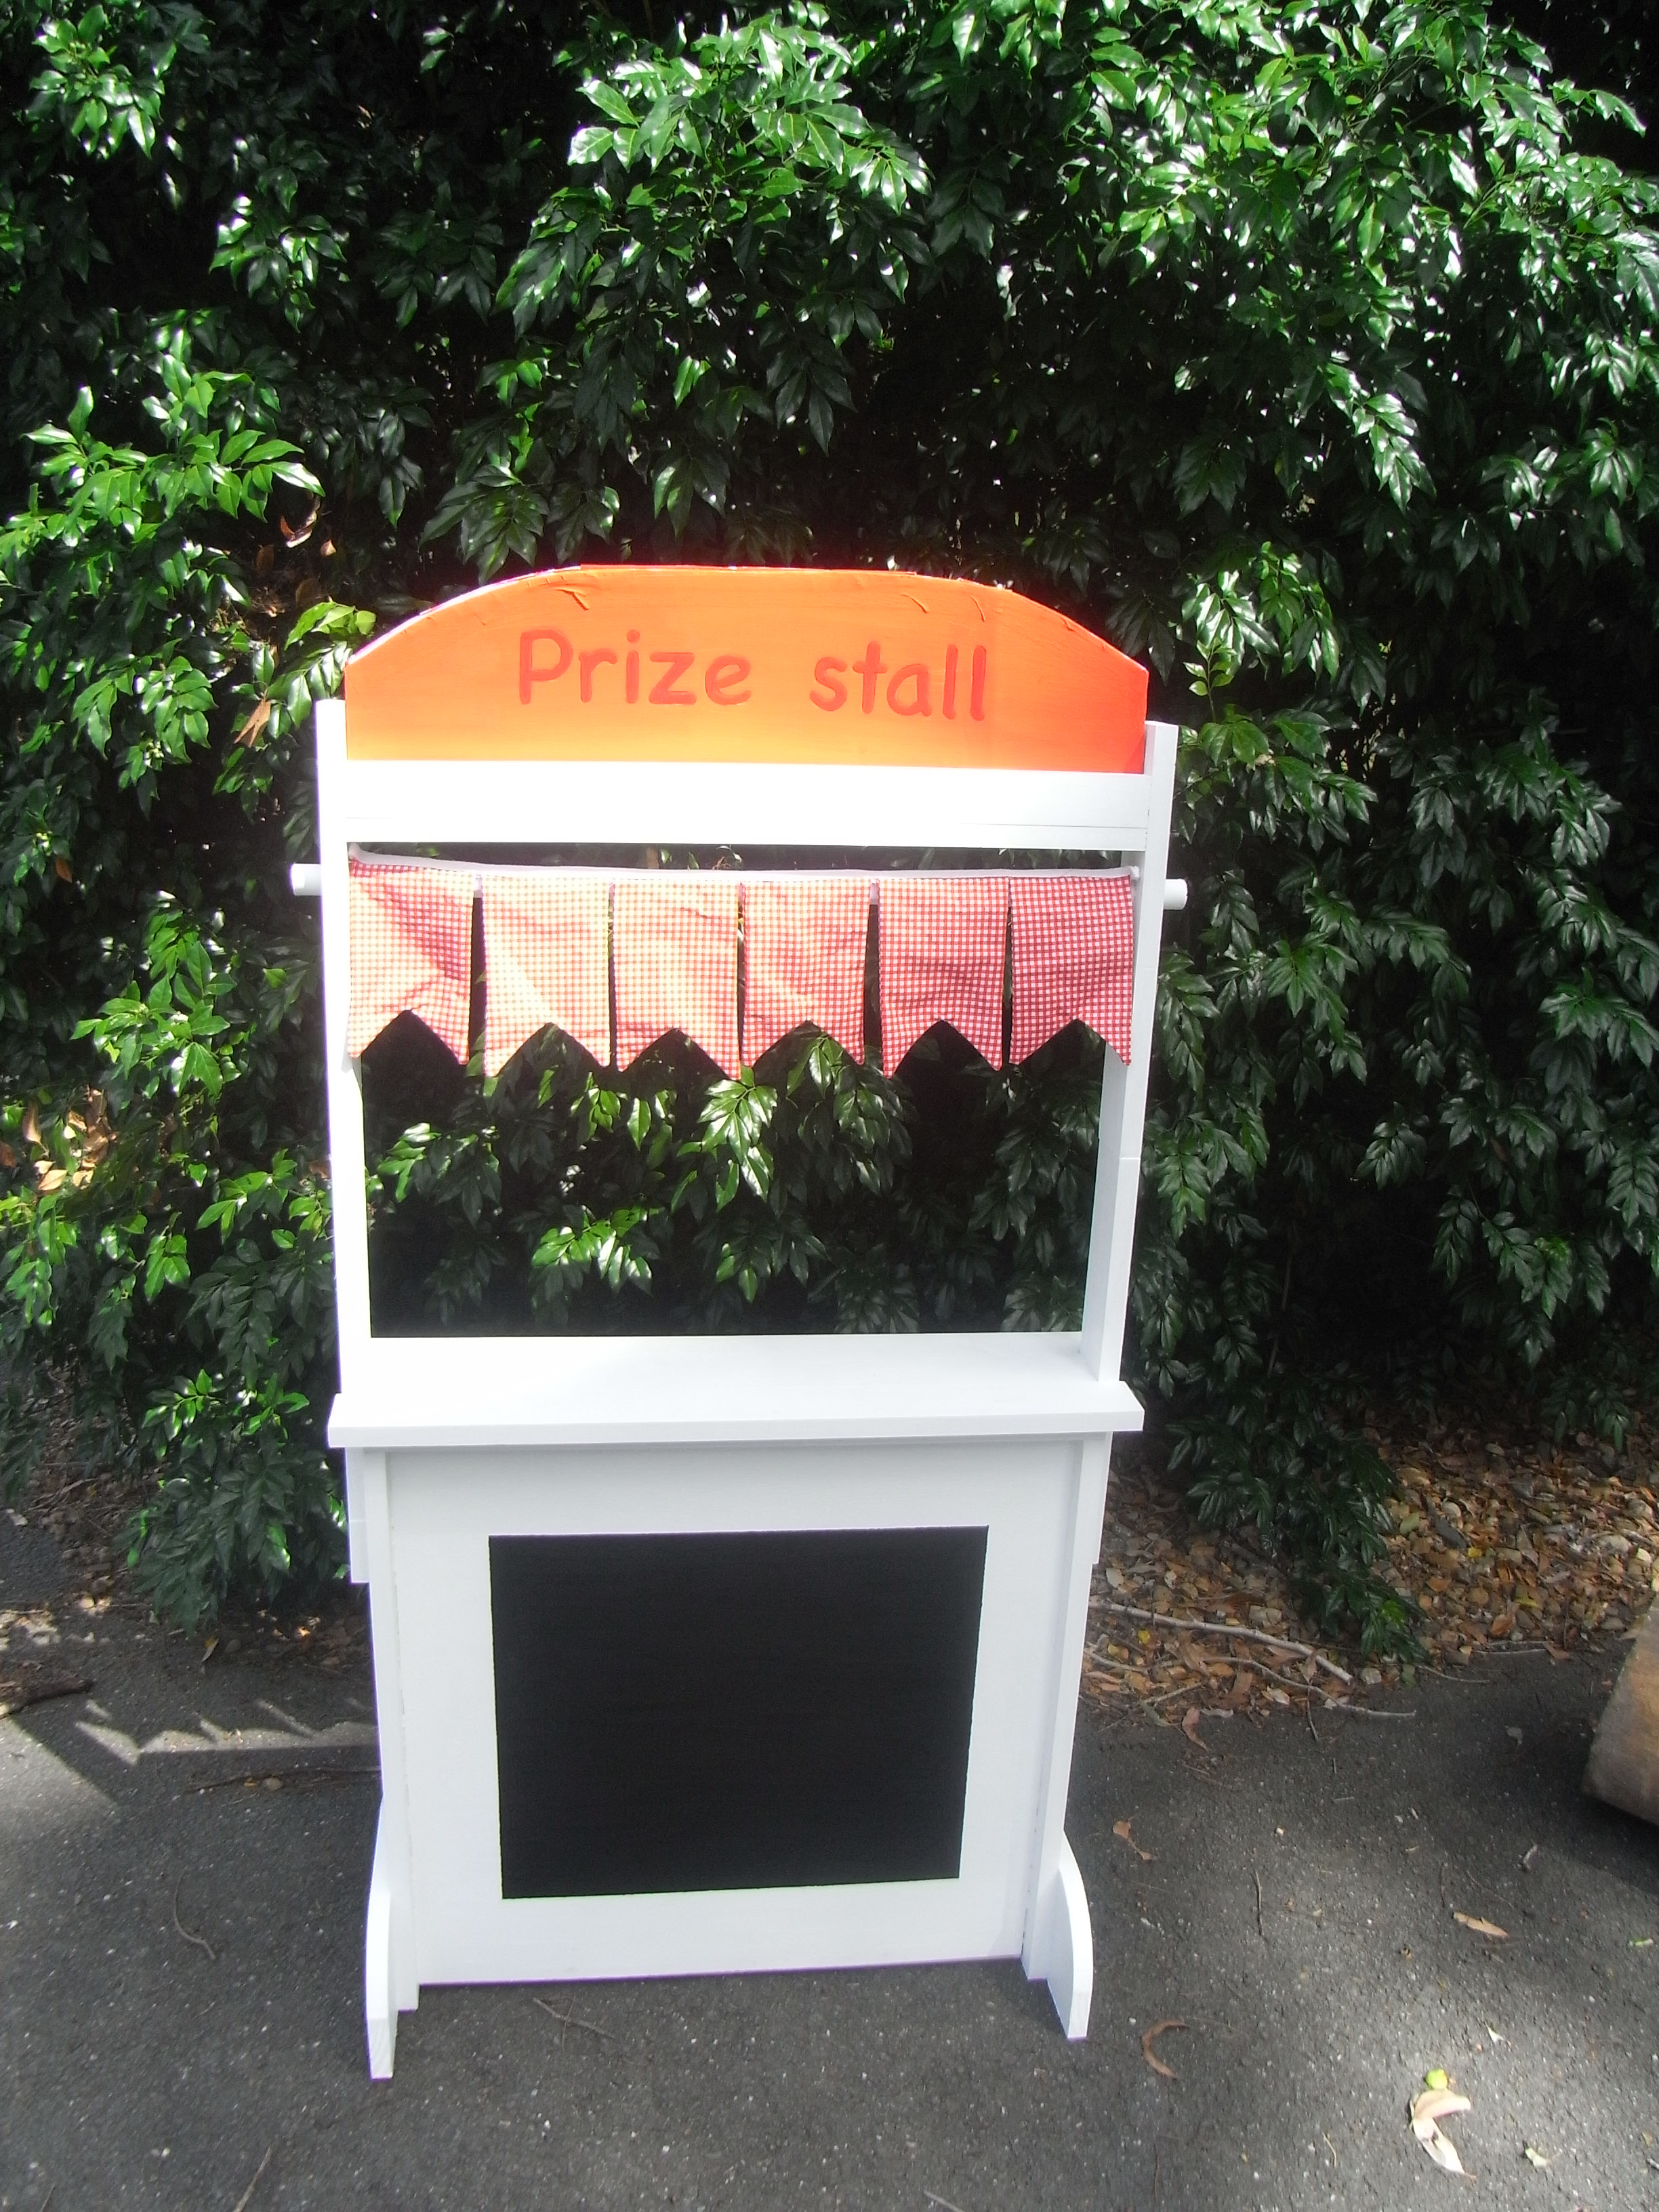
Changeable Play Stand
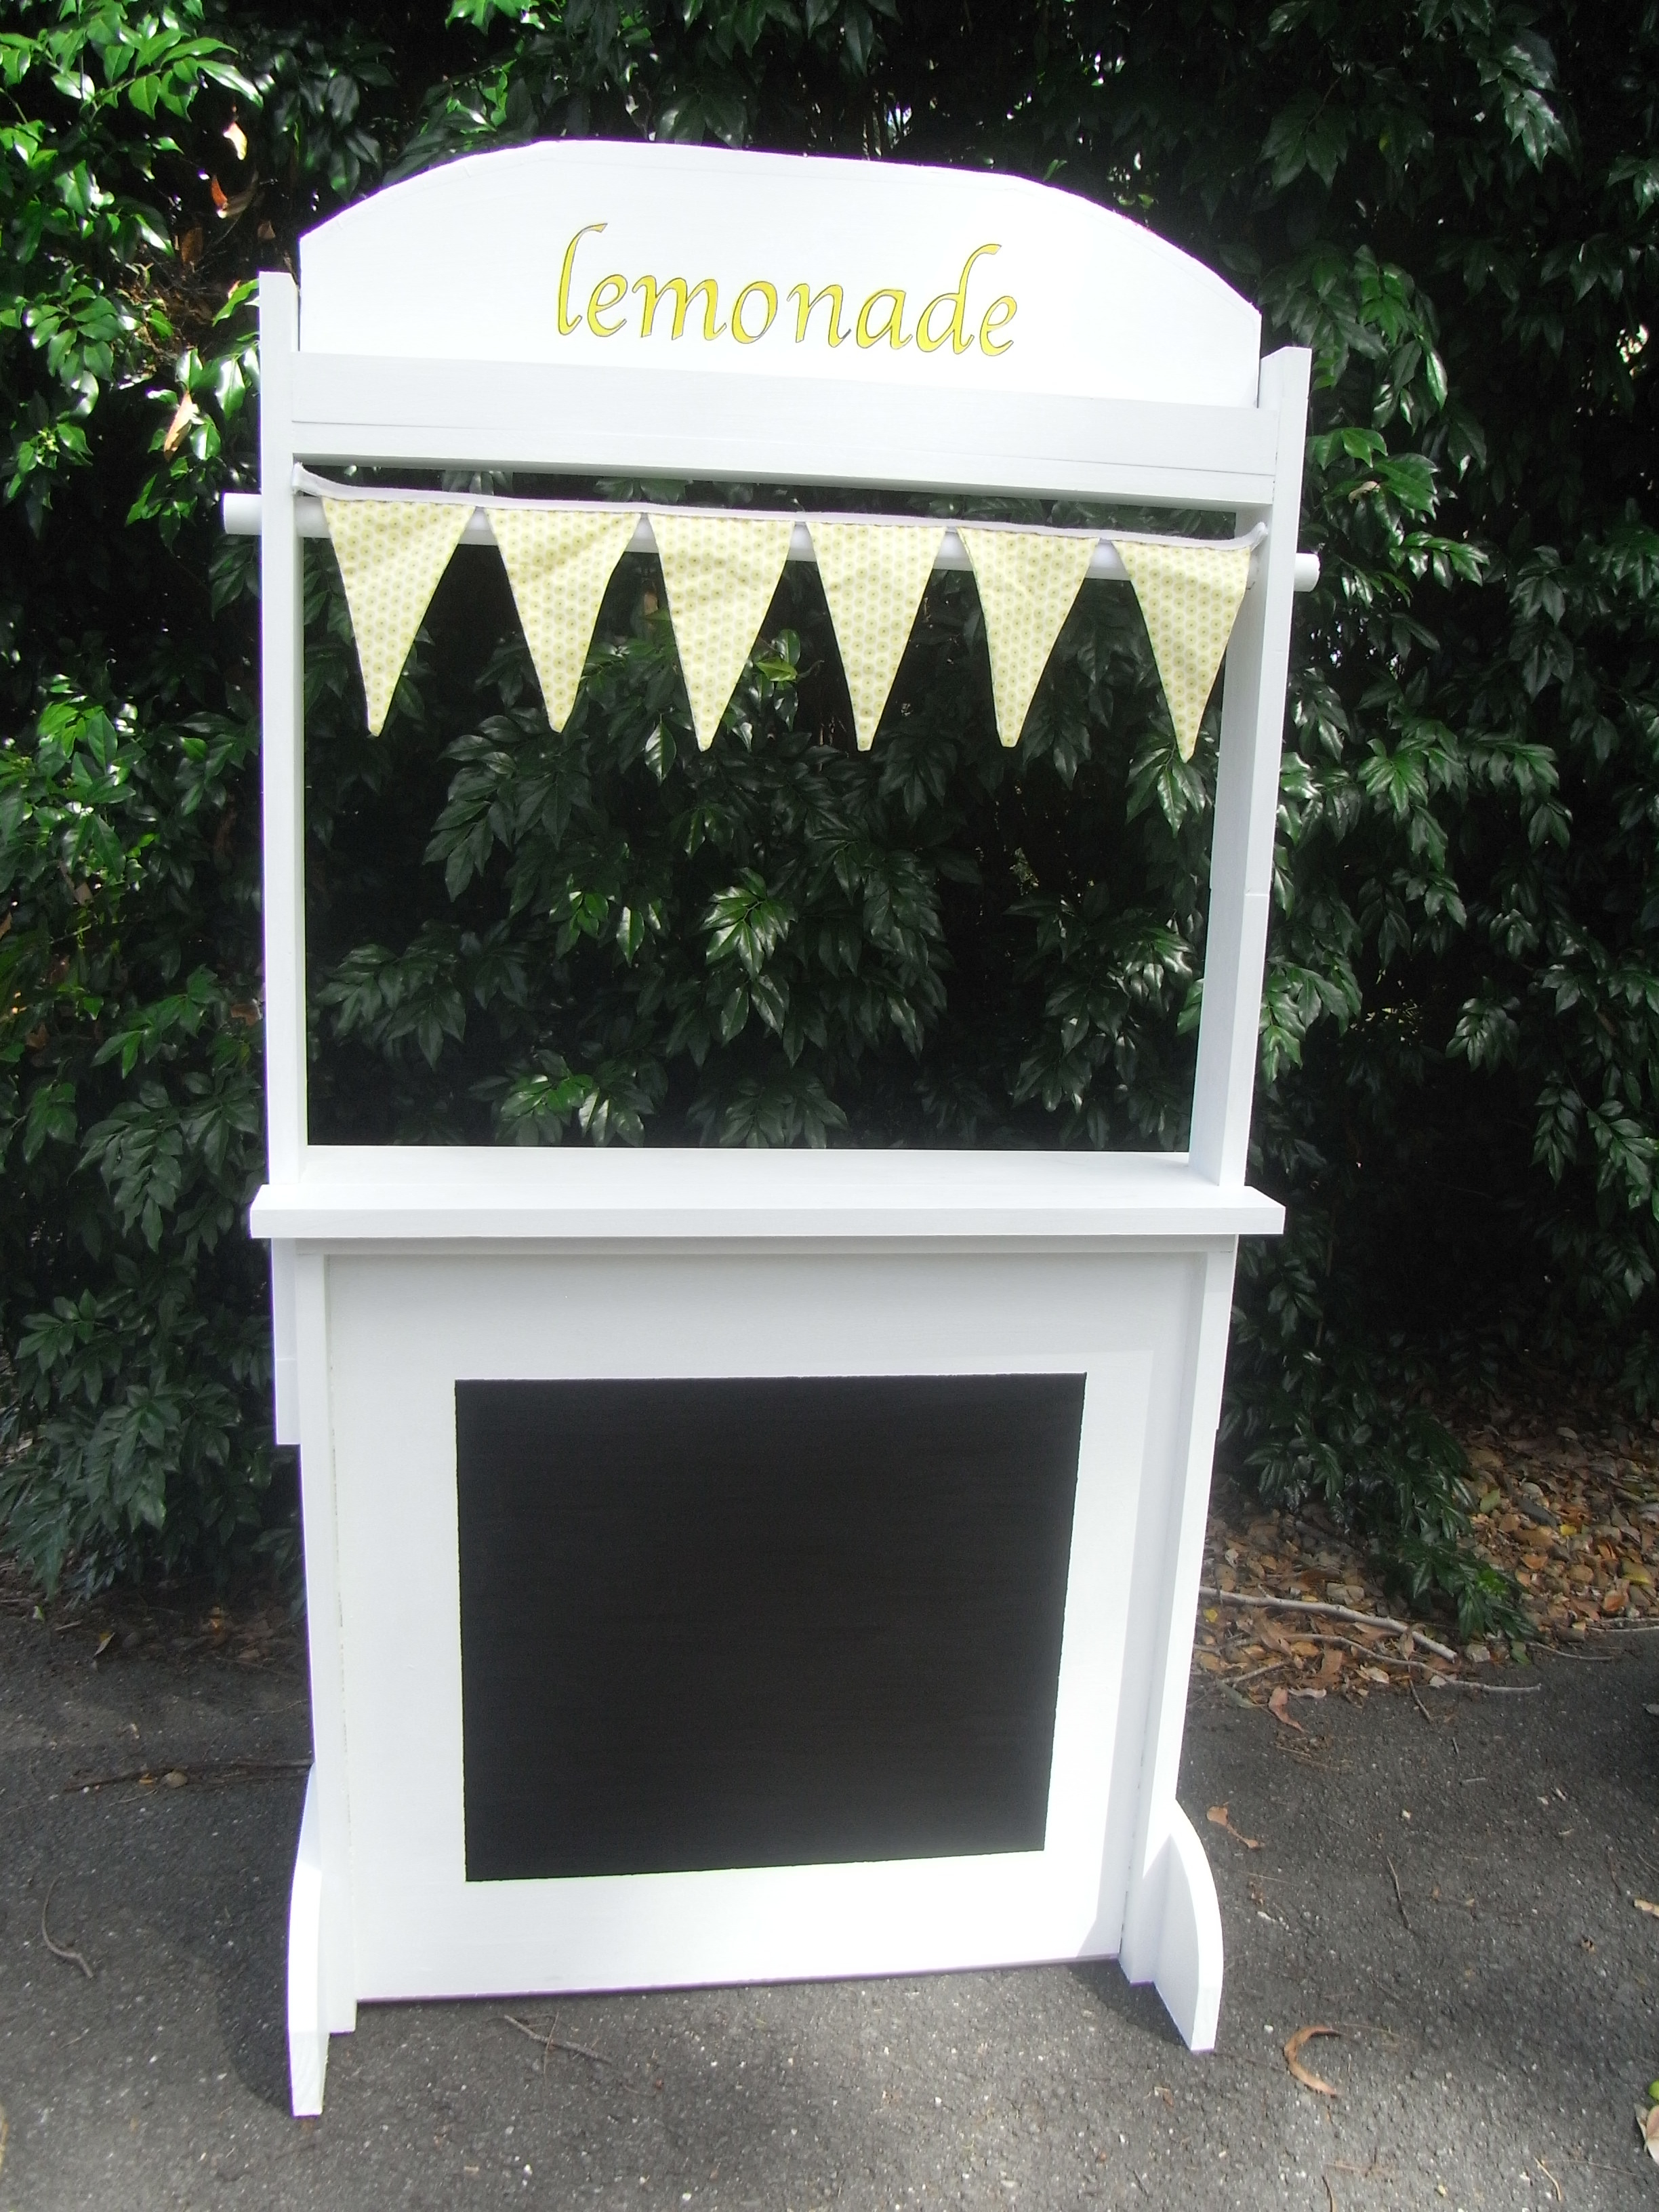
I love this, so did our son.

Built from Plan(s)
Estimated Cost
mostly out of bits and pieces found in the shed
Estimated Time Investment
Afternoon Project (3-6 Hours)
Finish Used
paint
Recommended Skill Level
Beginner
My attempt at the Benchmark Media Console

Had oak from my family farm that made up the top and trimwork. Purchased oak board for the legs. Sides and middle/bottom shelf from maple plywood. Decided against the flip down doors. Wasn't happy with he fit of the main doors due to a little off-kilter craftsmanship on my part, so will probably leave it open and add crates / some shelves the same height as the top row giving like 6", 6", and 11" or so.

Built from Plan(s)
Estimated Cost
$225 due to cost of Oak board (had to buy entire board $120, but have 5ft uncut left) and Maple plywood ($60), and used TransTint Vintage Maple dye instead of stain.
Estimated Time Investment
Week Long Project (20 Hours or More)
Finish Used
TransTint Vintage Maple dye mixed with water (about 1oz for a large mason jar) and Spray on Poly in Clear Satin. Wiped on dye liberally, wiped off excess as I went.
Recommended Skill Level
Intermediate
Leaning desk
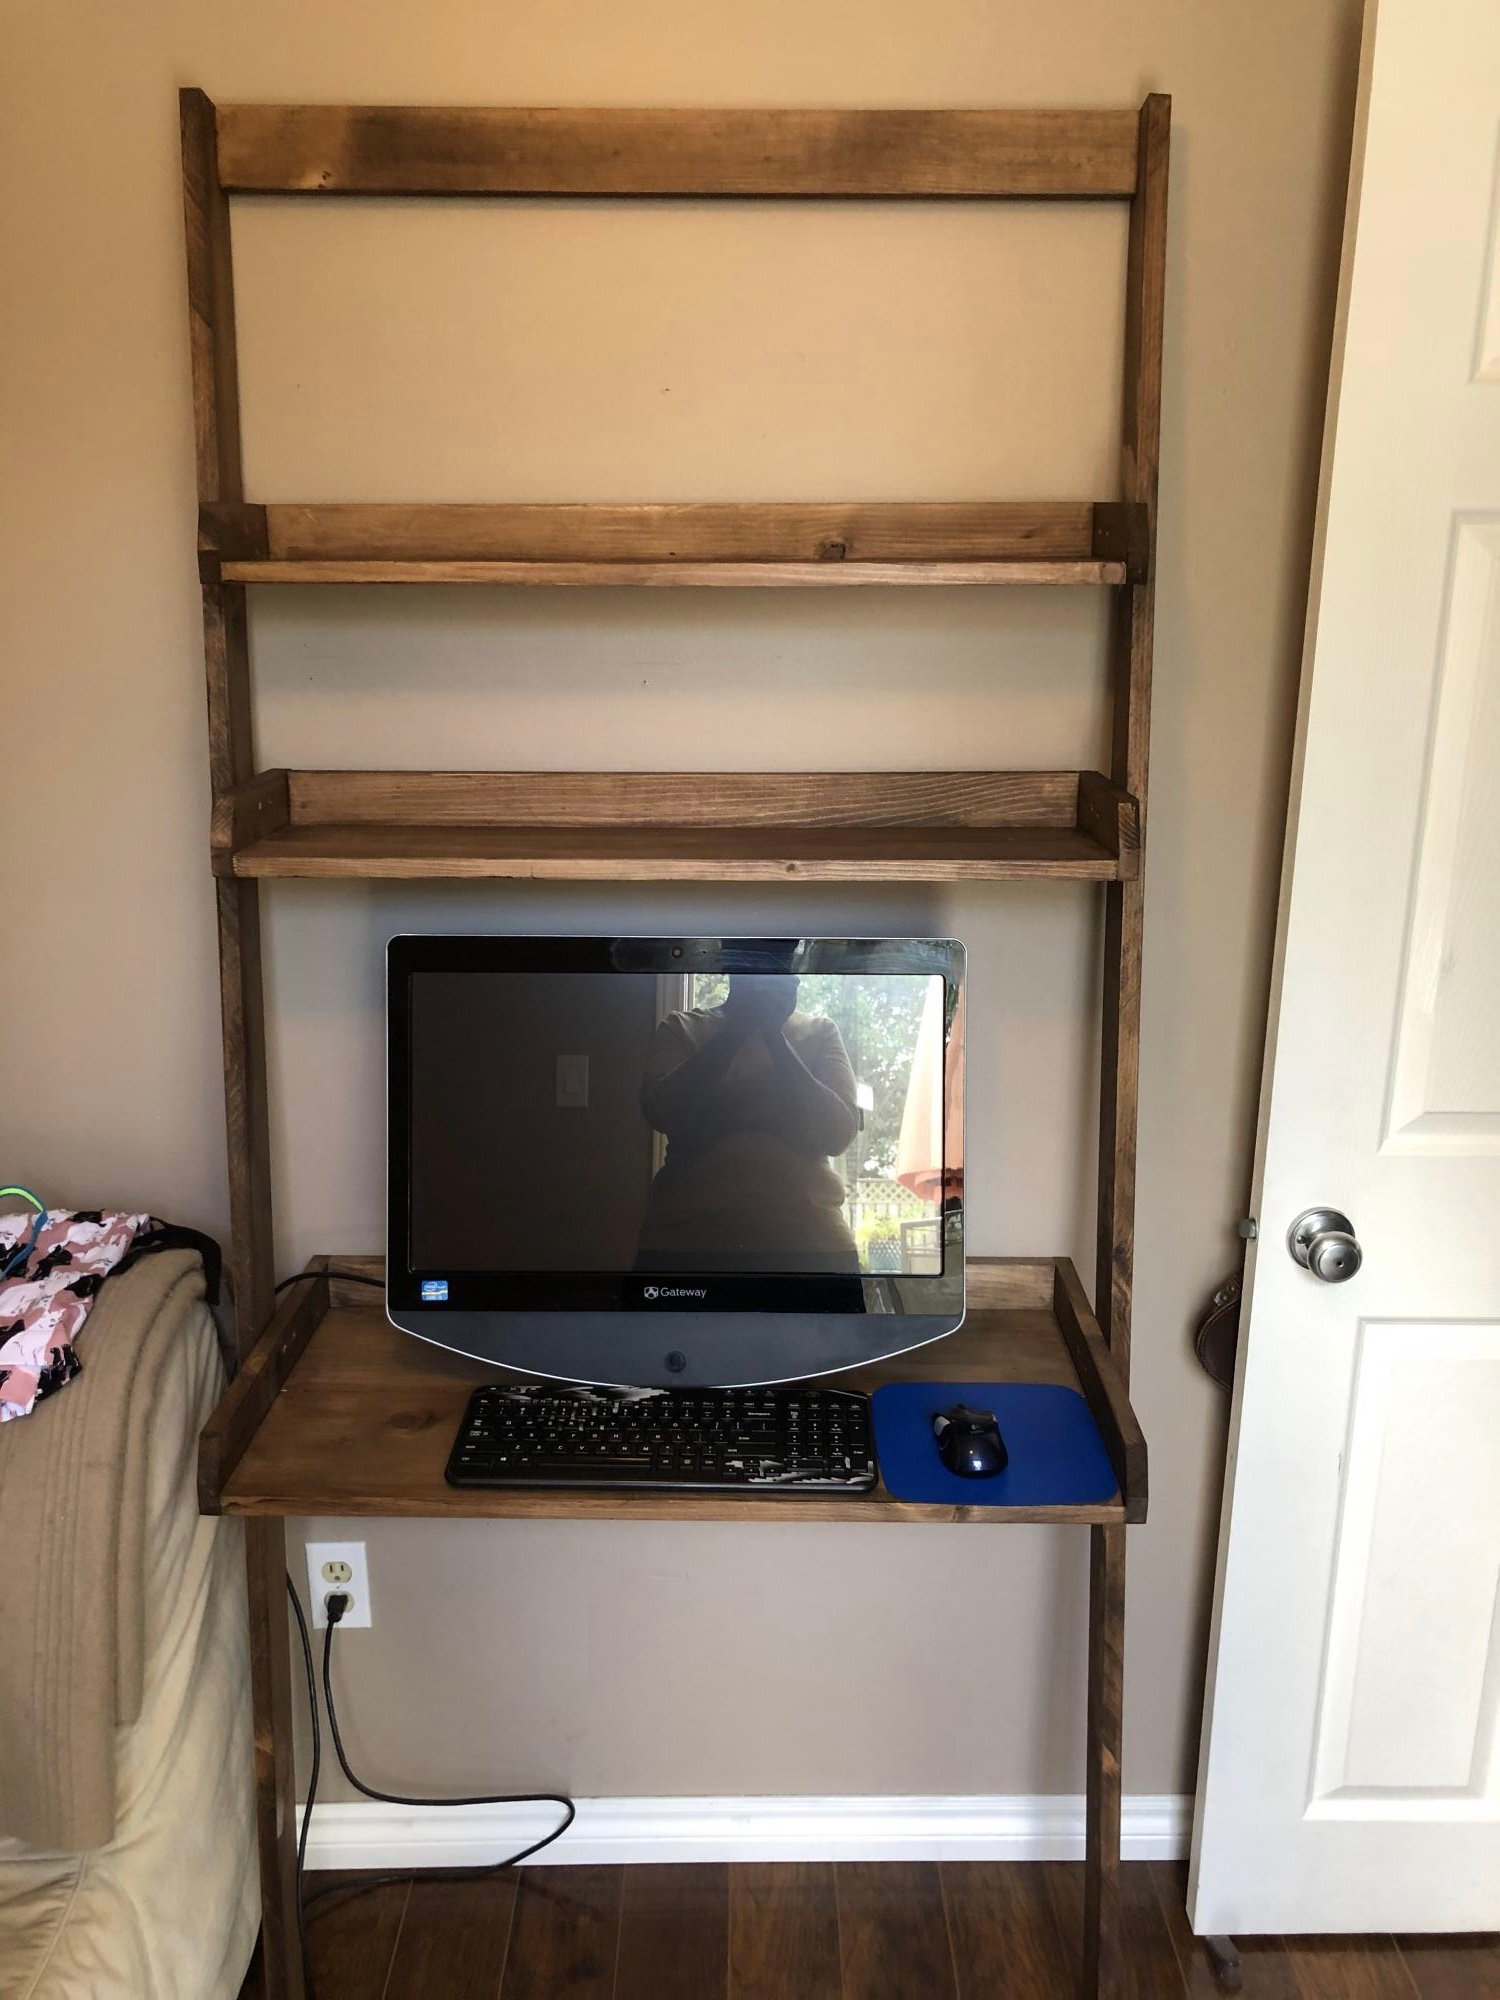
Love this desk and the plans are so easy to follow. Perfect for a small space.
Built from Plan(s)
Estimated Cost
$50
Estimated Time Investment
Weekend Project (10-20 Hours)
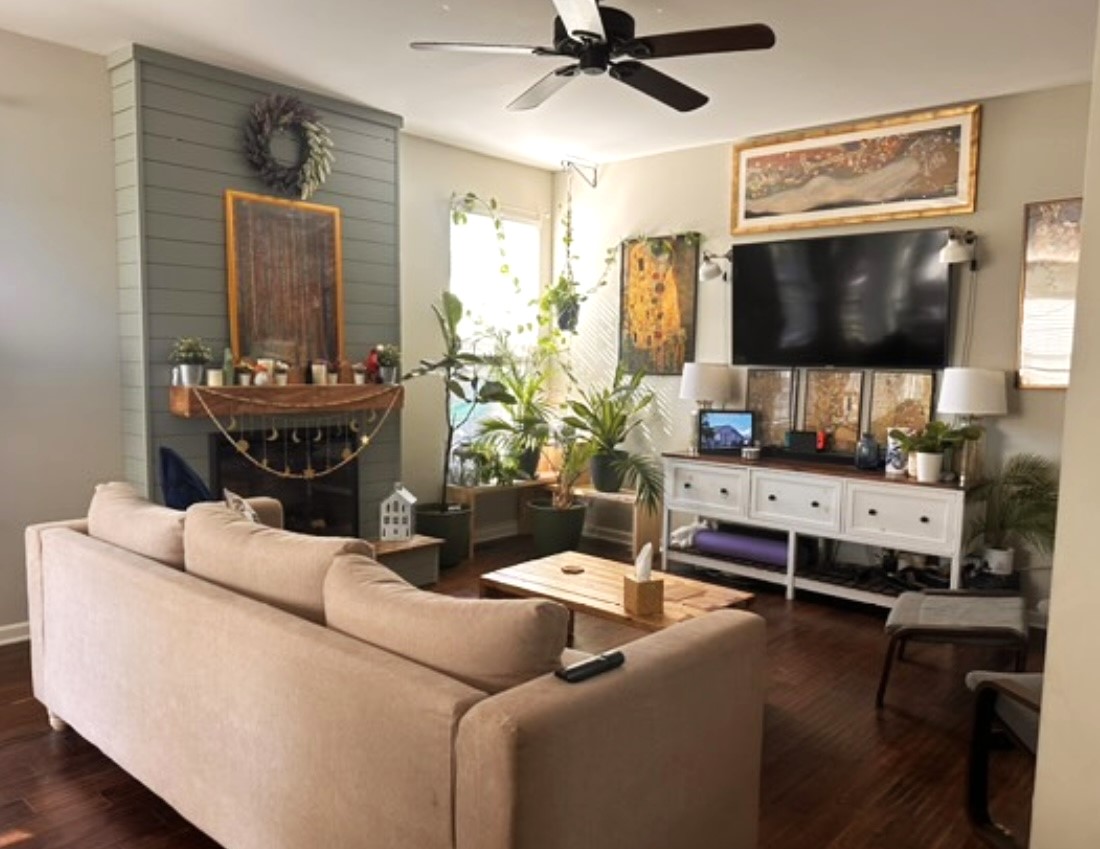
Electric Fireplace Wall with Hearth by Amanda Newman
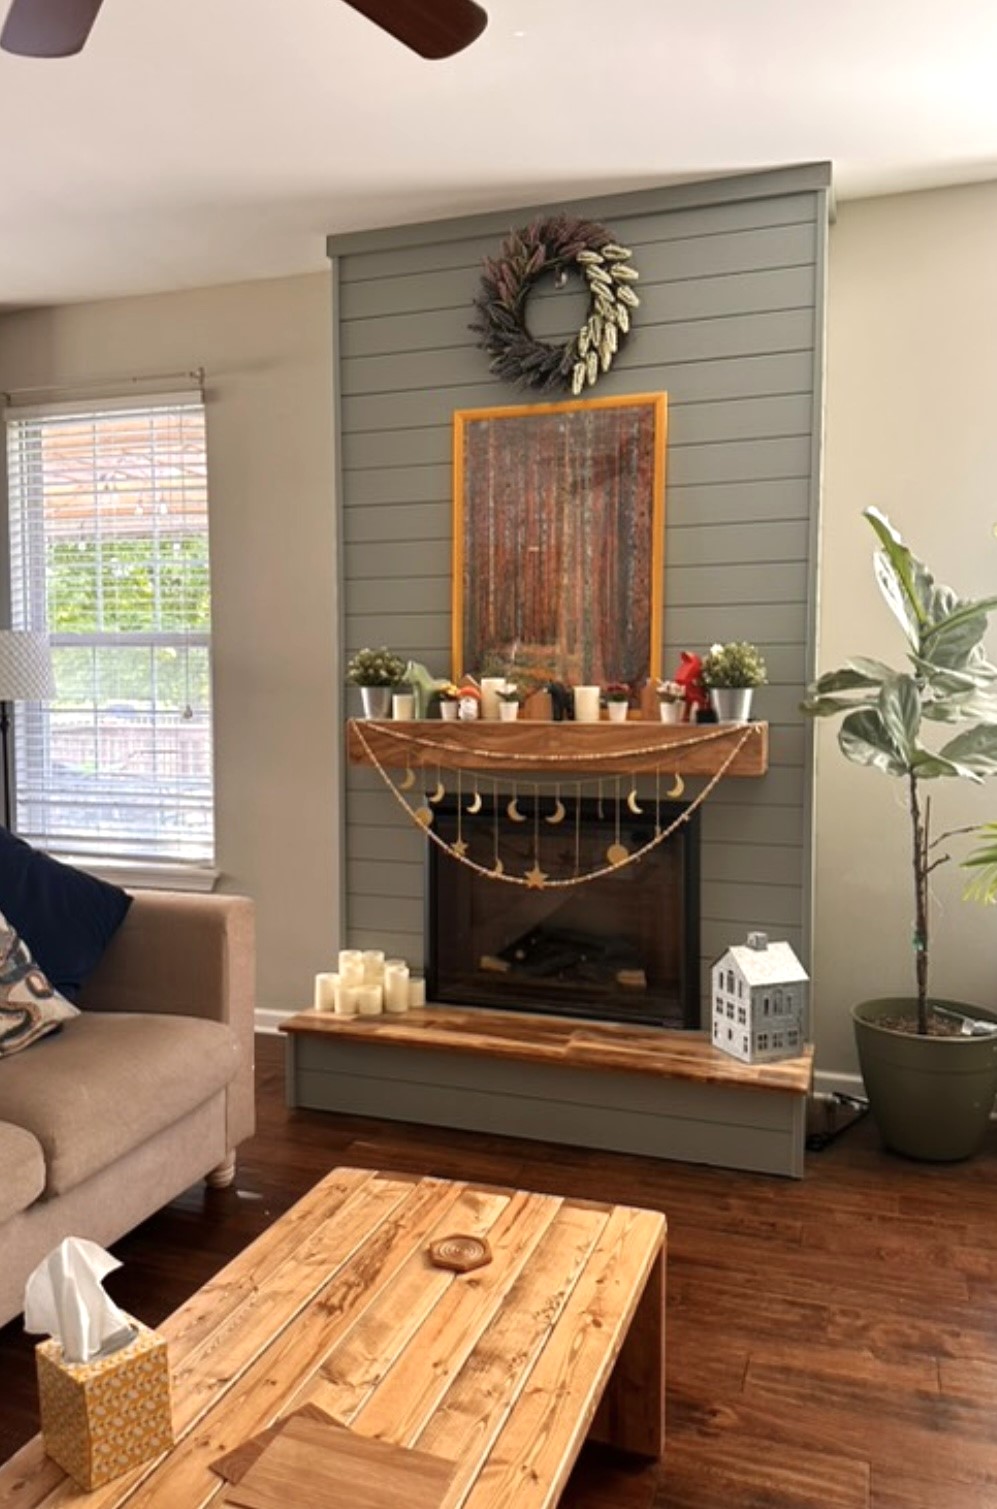
"9 years ago I built my first project, a table I needed to have for thanksgiving dinner. Luckily @anawhitediy had/has a fabulous plan for that and I learned as I went. Picking up wood for my latest build (a fireplace with electric insert) I had that same thrill as I had so many years ago. This time I had plans from @anawhitediy and a beautiful inspiration (and tutorial) from @simply.diy.home to get me going on my path."
Seasonal And Holiday
Comments
thewolfhouse16
Fri, 12/30/2016 - 20:44
Where did you get the hardware from?
I haven't got the doors on my console yet as I can't find the right hardware for the right price!
Looks great, love the shortened version!