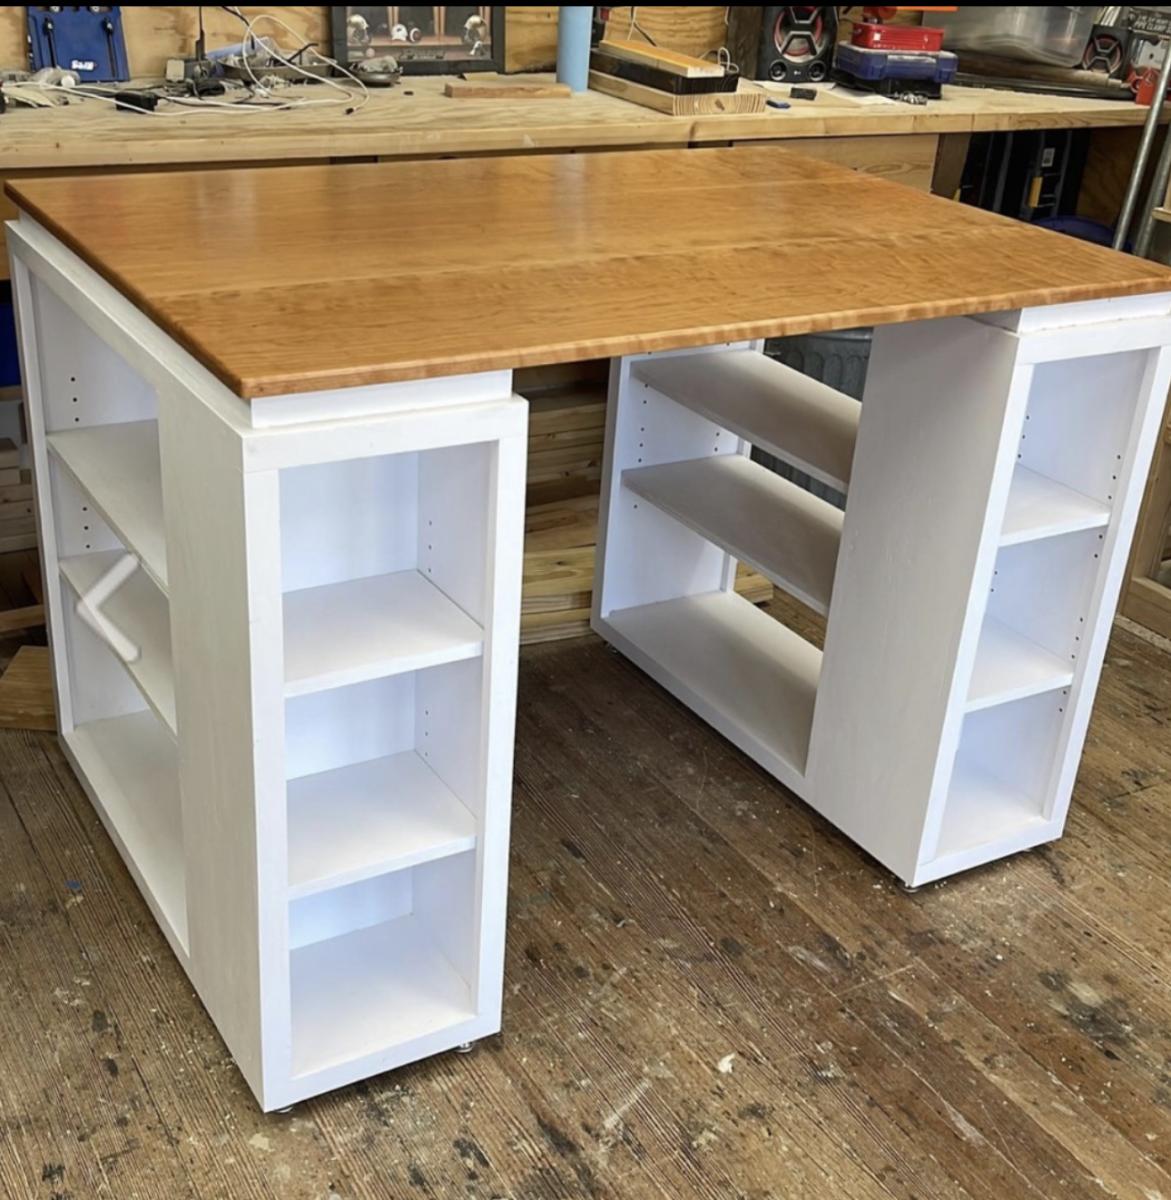
Craft and Homework Table
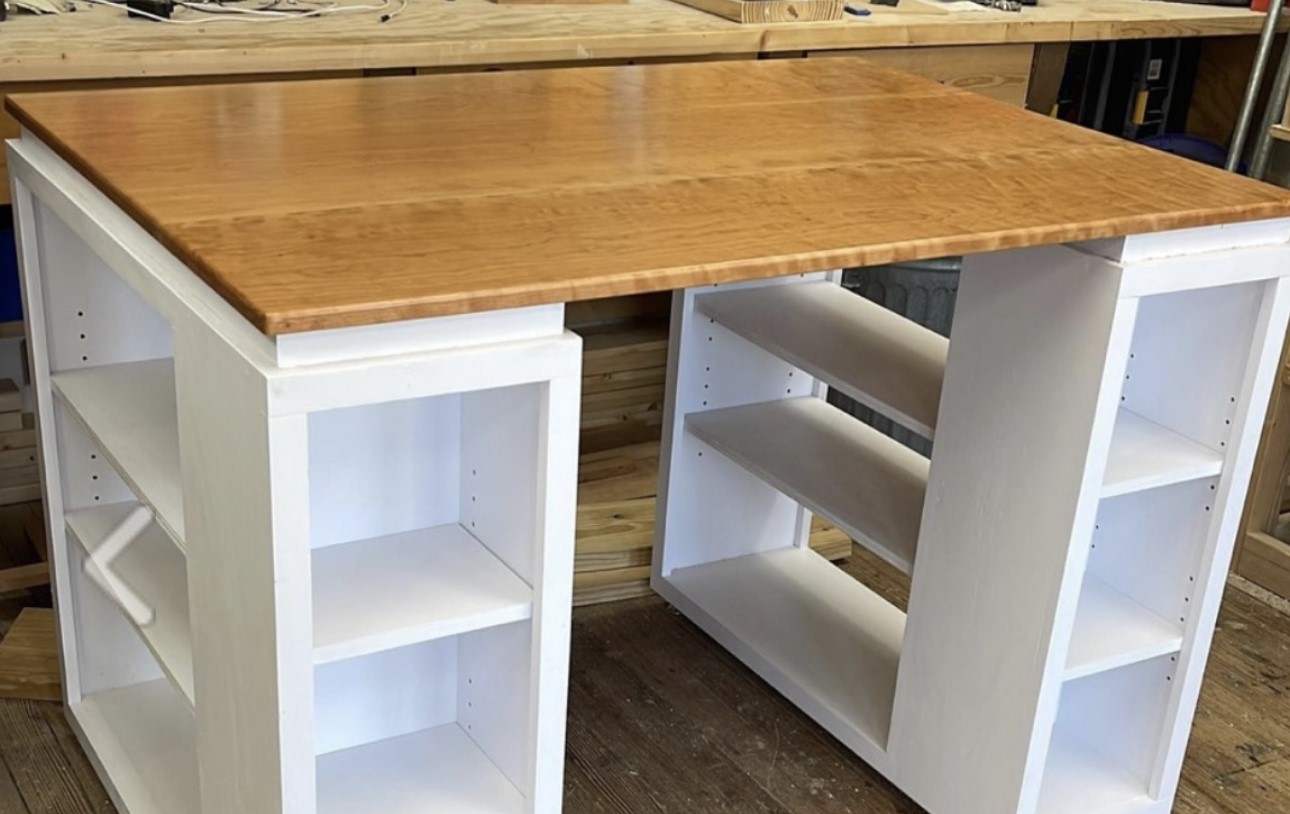
I used the plans for the modern craft table for this build and I had some curly cherry laying around begging to be use so I used that for the top.
Built from Plan(s)
I used the plans for the modern craft table for this build and I had some curly cherry laying around begging to be use so I used that for the top.
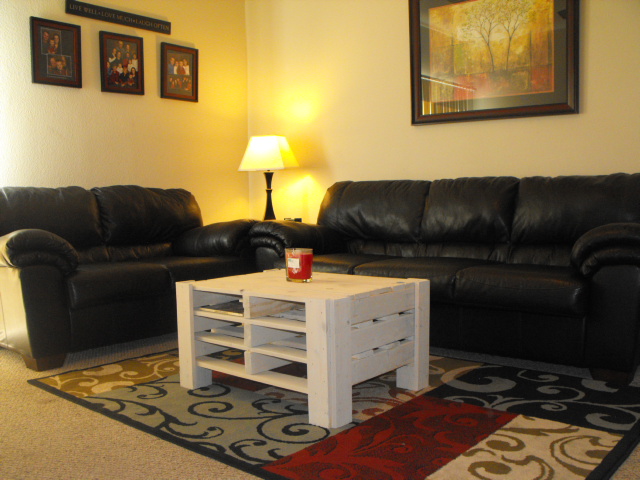
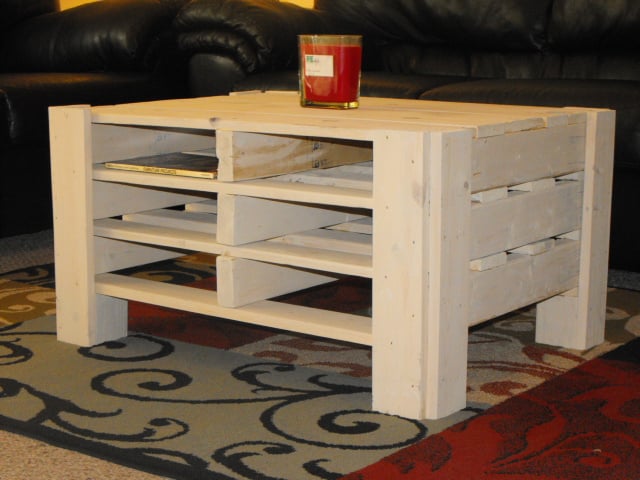
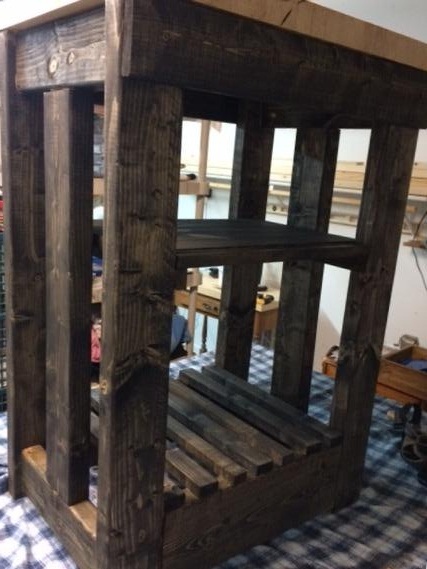
I seen the plans for a coffee table made out of pallets submitted by Aud builder and just had to try it. The company where I work has tons of pallets so it really didn't cost me anything. I added an additional pallet and left the casters off. In place of the casters I put 4, 4" 4x4's at the corners and then used 1x4 at each of the corners to connect the whole thing. Then I did the white wash on it. I loved the color and had a lot of fun putting it together.

Sun, 09/04/2011 - 16:25
I love how this turned out! Super clever storage using the pallets, perfect for books.
Fri, 09/09/2011 - 12:53
Thank you birdsandsoap! It looks great in my living room. Too bad I built it for my neice who just married. She loved it too :-)
Sat, 01/14/2012 - 18:37
This is so cool. Love it. Dont need a coffee table but this made me think it could work for shoe storage with different dimensions.
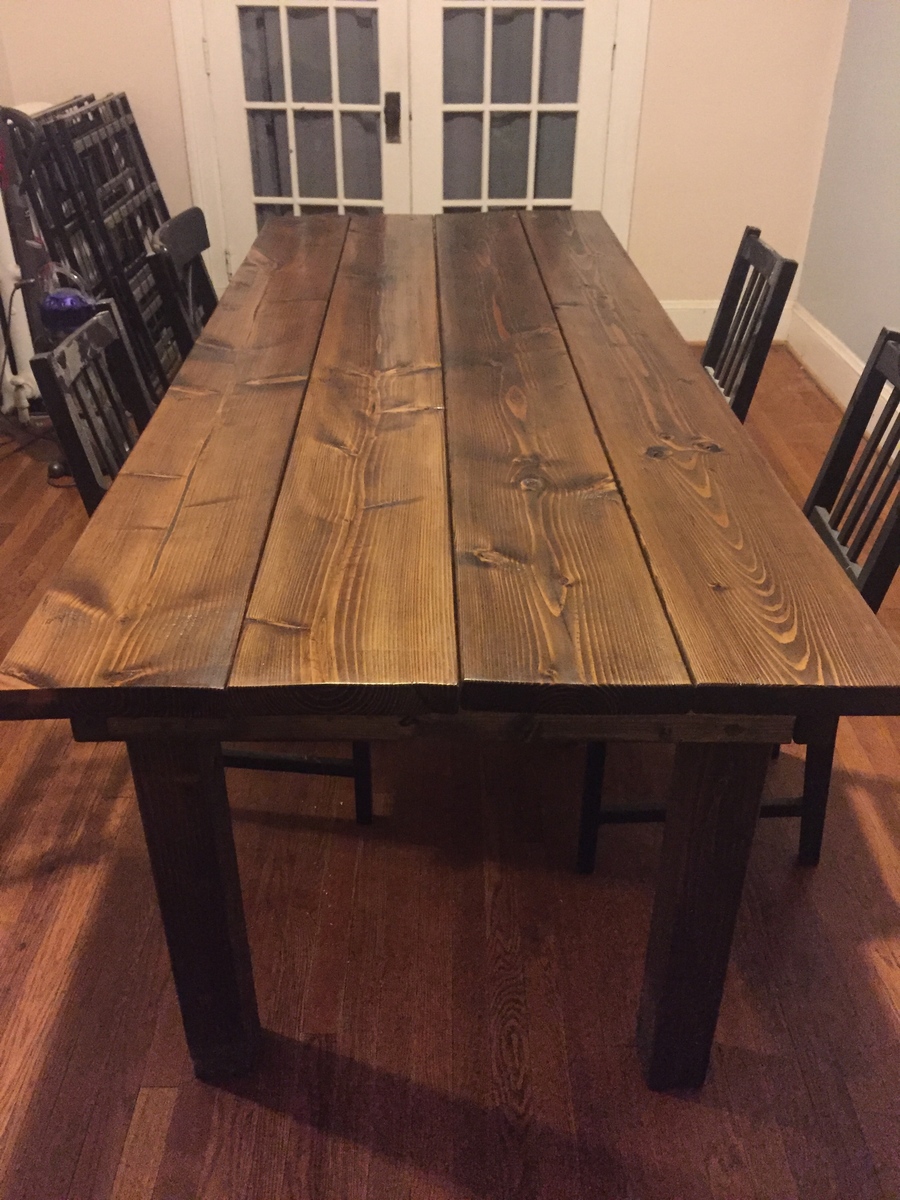
I worked on this over the past couple of months (would have been quicker, but you know..life gets crazy sometimes!!)
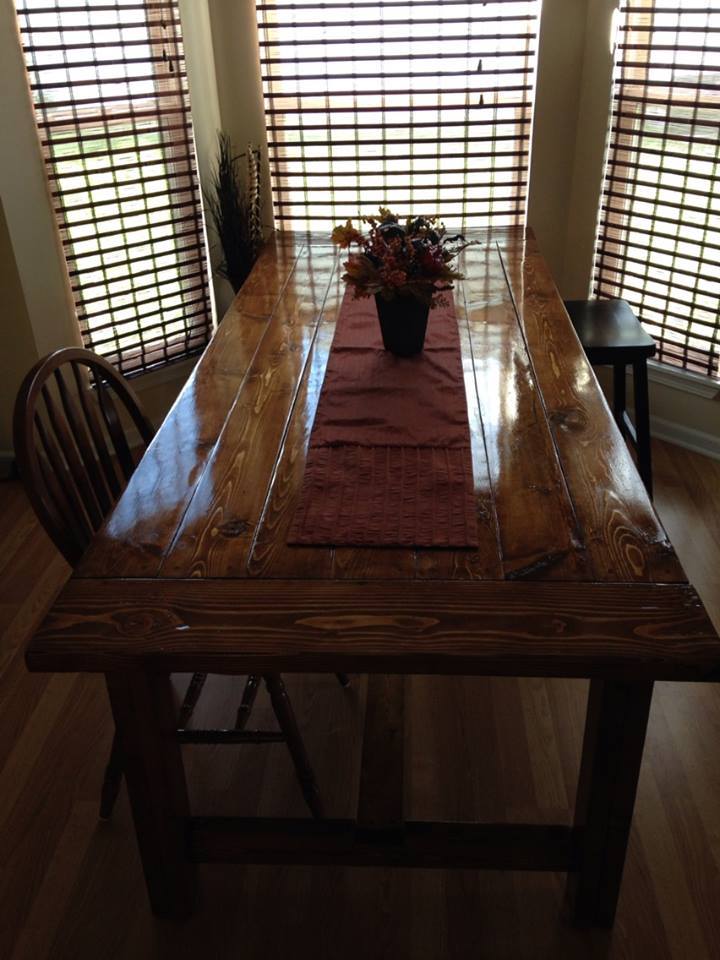
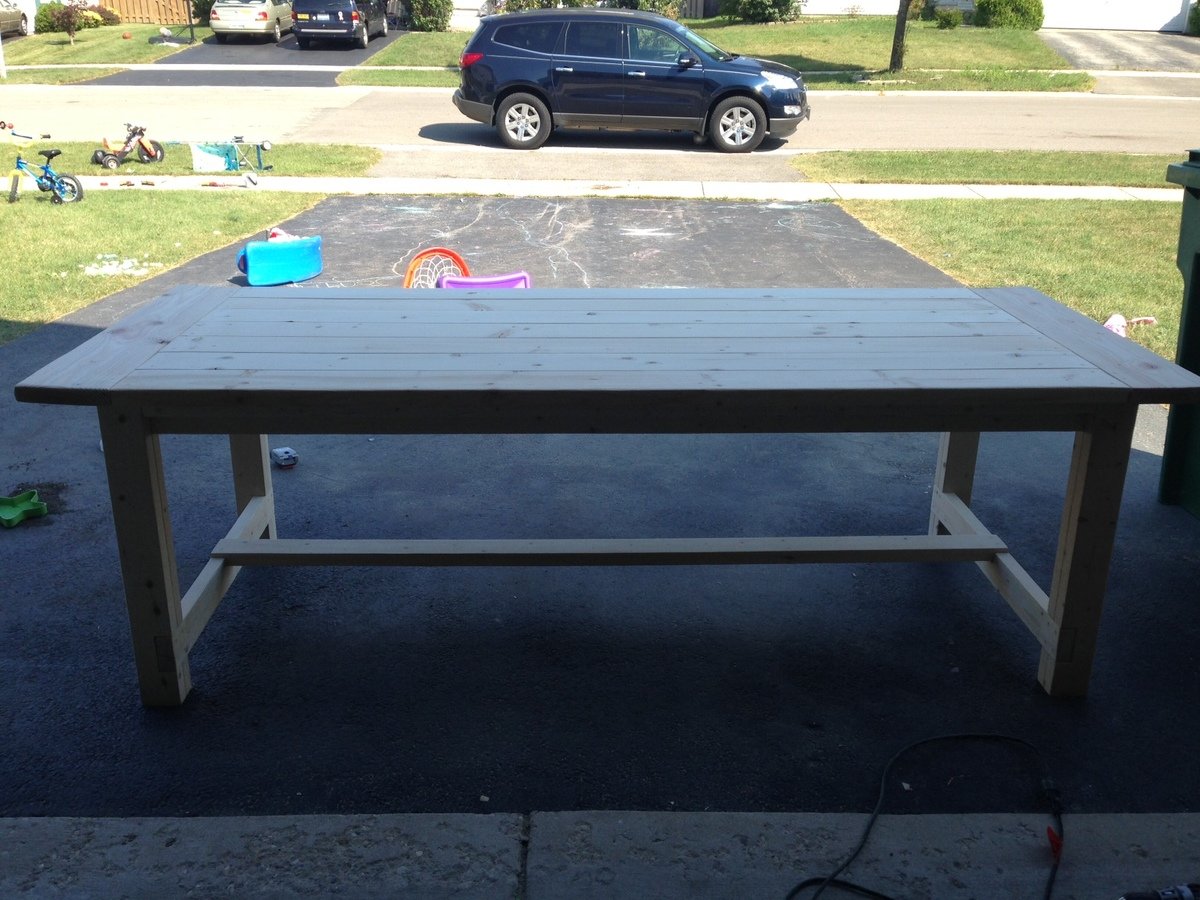
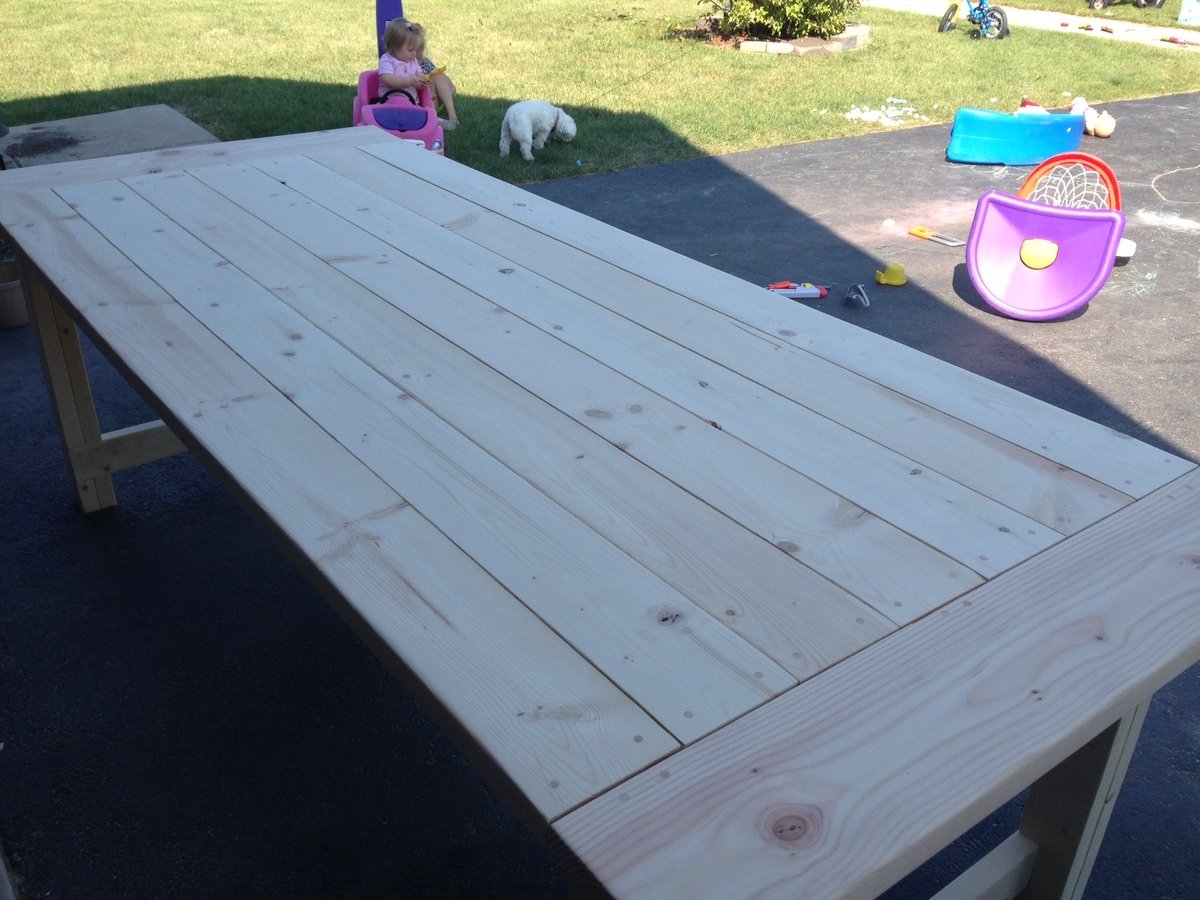
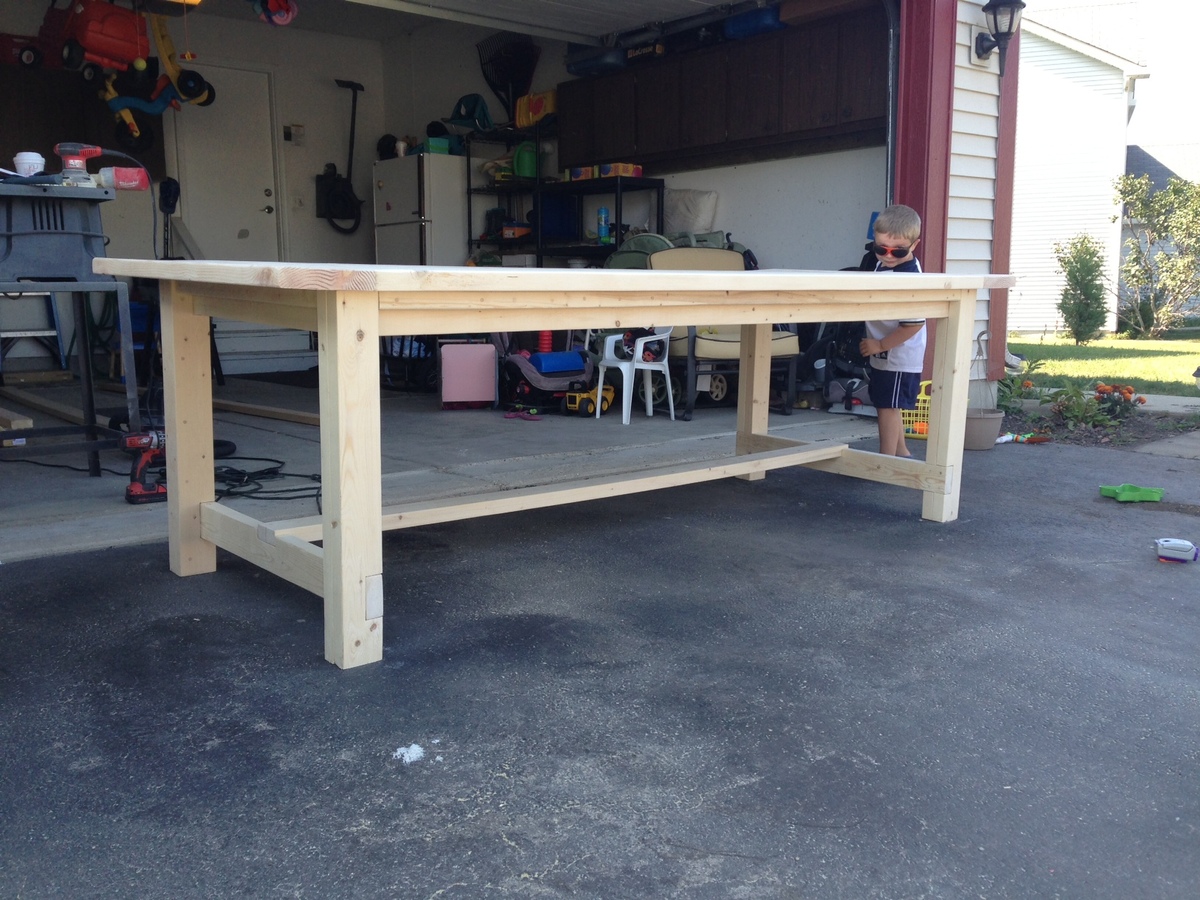
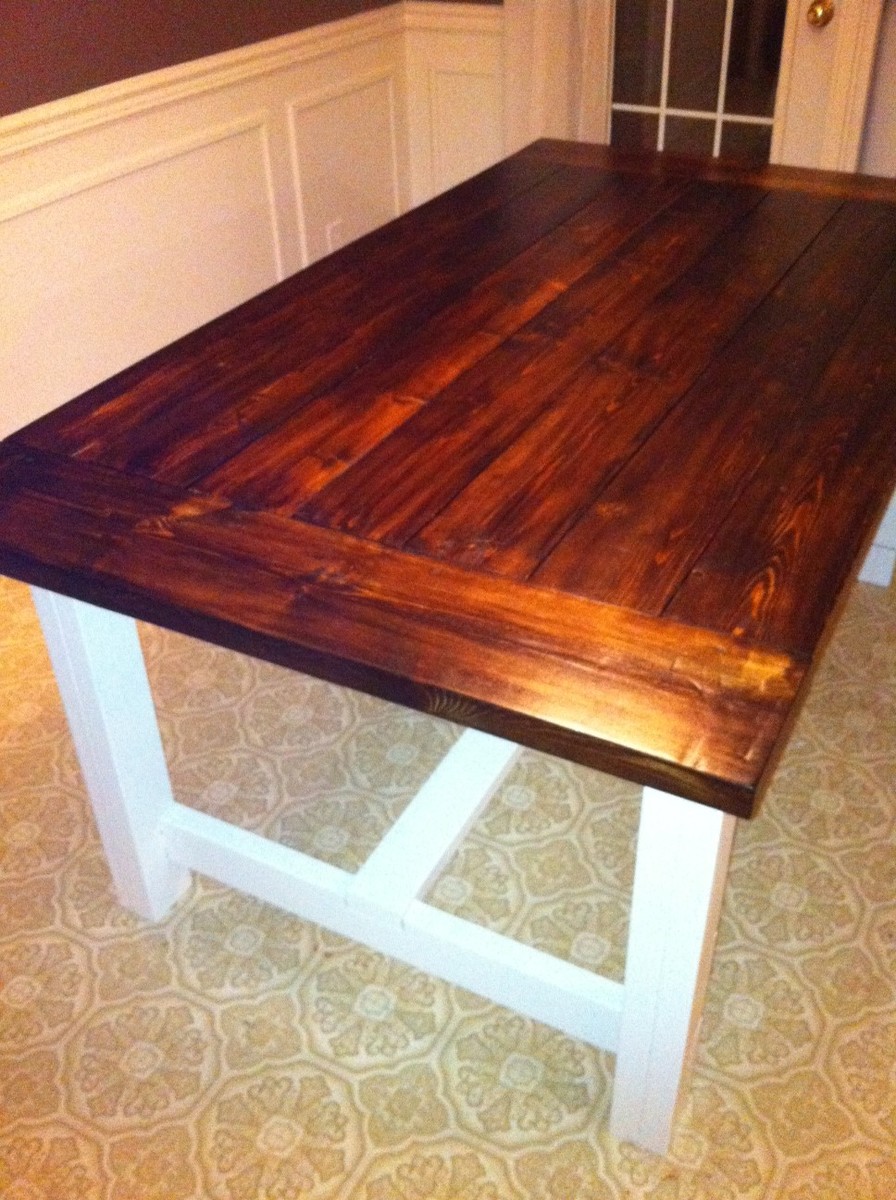
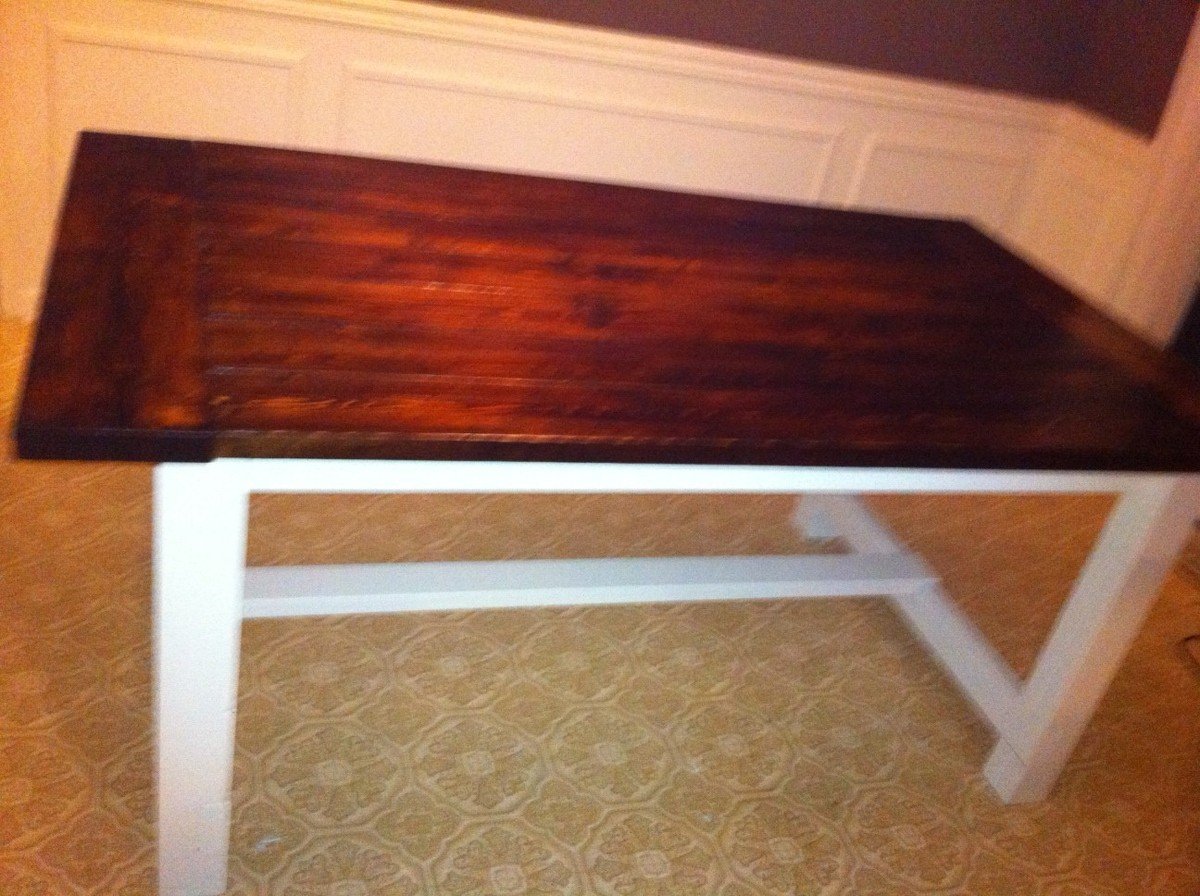
I used the farmhouse table plans to a tee and then stained and poly'd it. It turned out great!!! My Wife loves it and now all I have to do is build the benches. The wood is cut for them, just need to find the time to do it. This is my 4th Anna-White project. I have also built a bench for the end of our bed, some laundry cubbues, and a day bed.
I love this site and plan on using much more...I have friends and family wanting me to build them stuff...the only thing now...is how much do I charge..... :)

Mon, 09/23/2013 - 17:45
Great work!! I love the stain you chose too....wish I had space for a farm table.
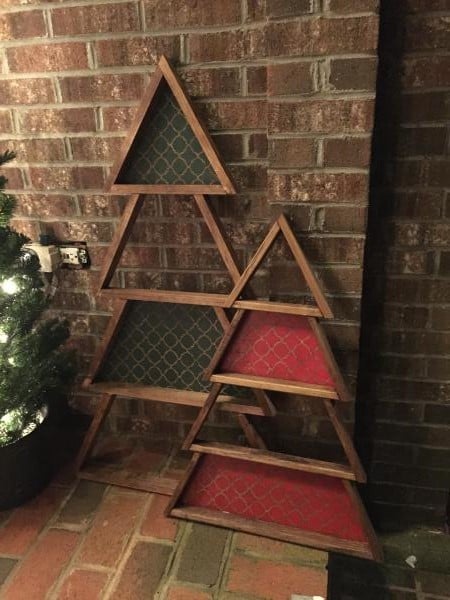
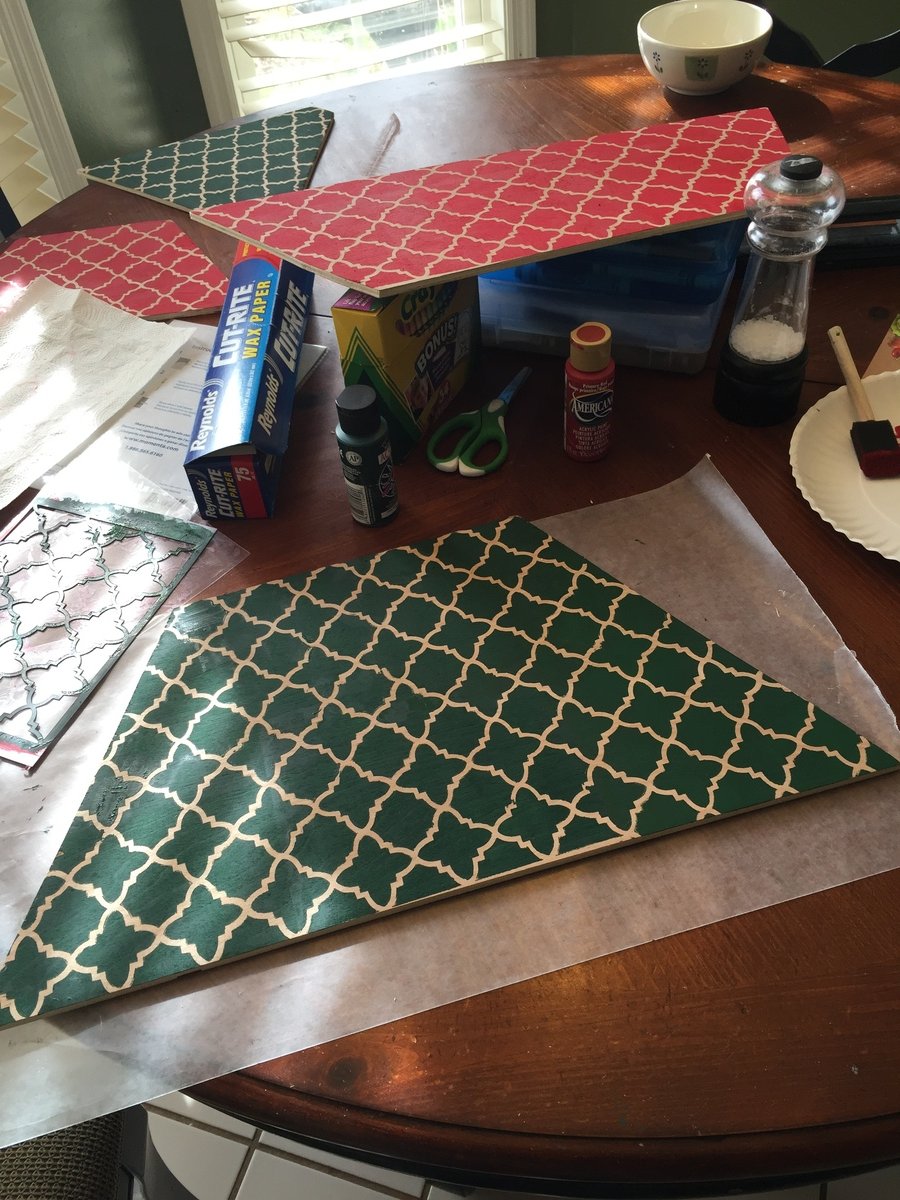
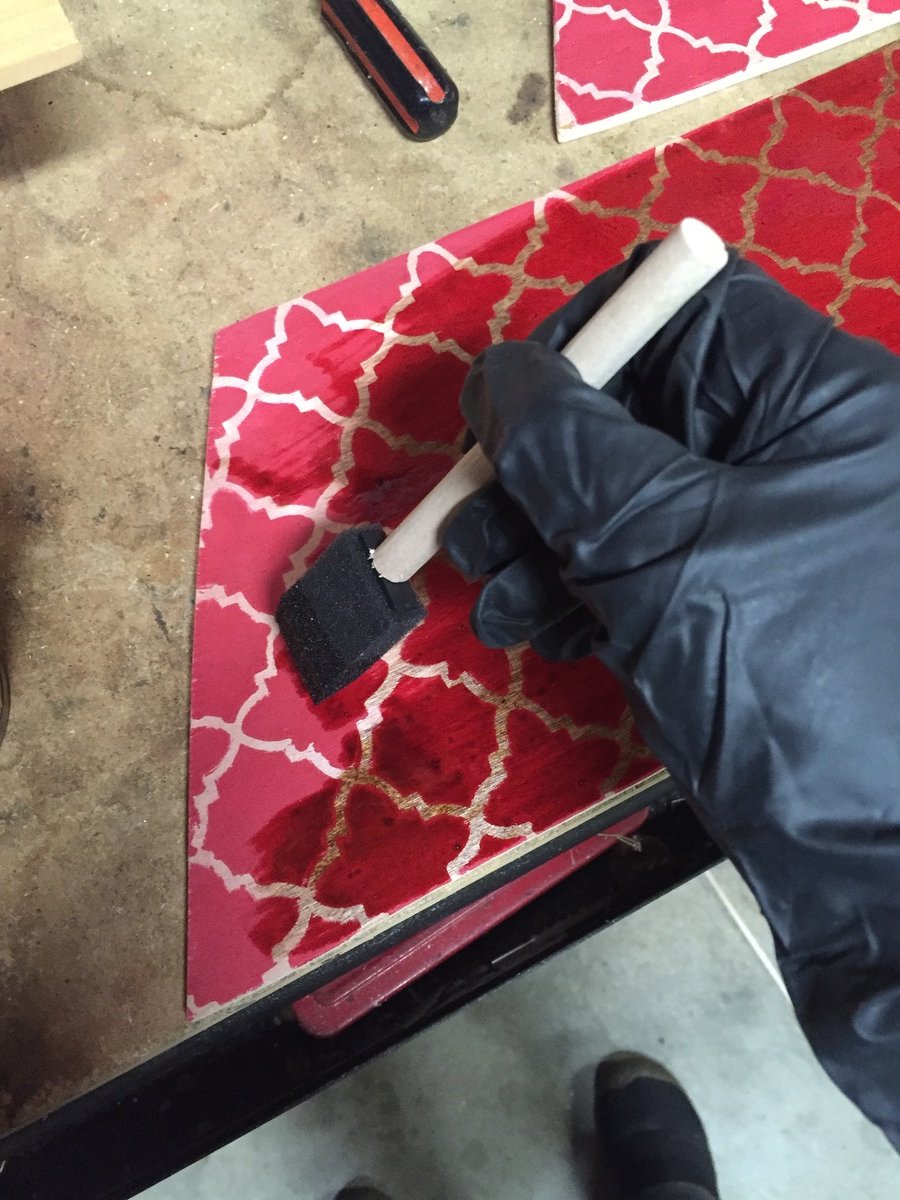
I used 1x2 boards for this project. The smaller tree is the size according to plans (minus the coat rack). For the larger tree, I added 3.5 inches to each piece. 1/4 plywood on the back and used a stencil for the design. I love the way it turned out.

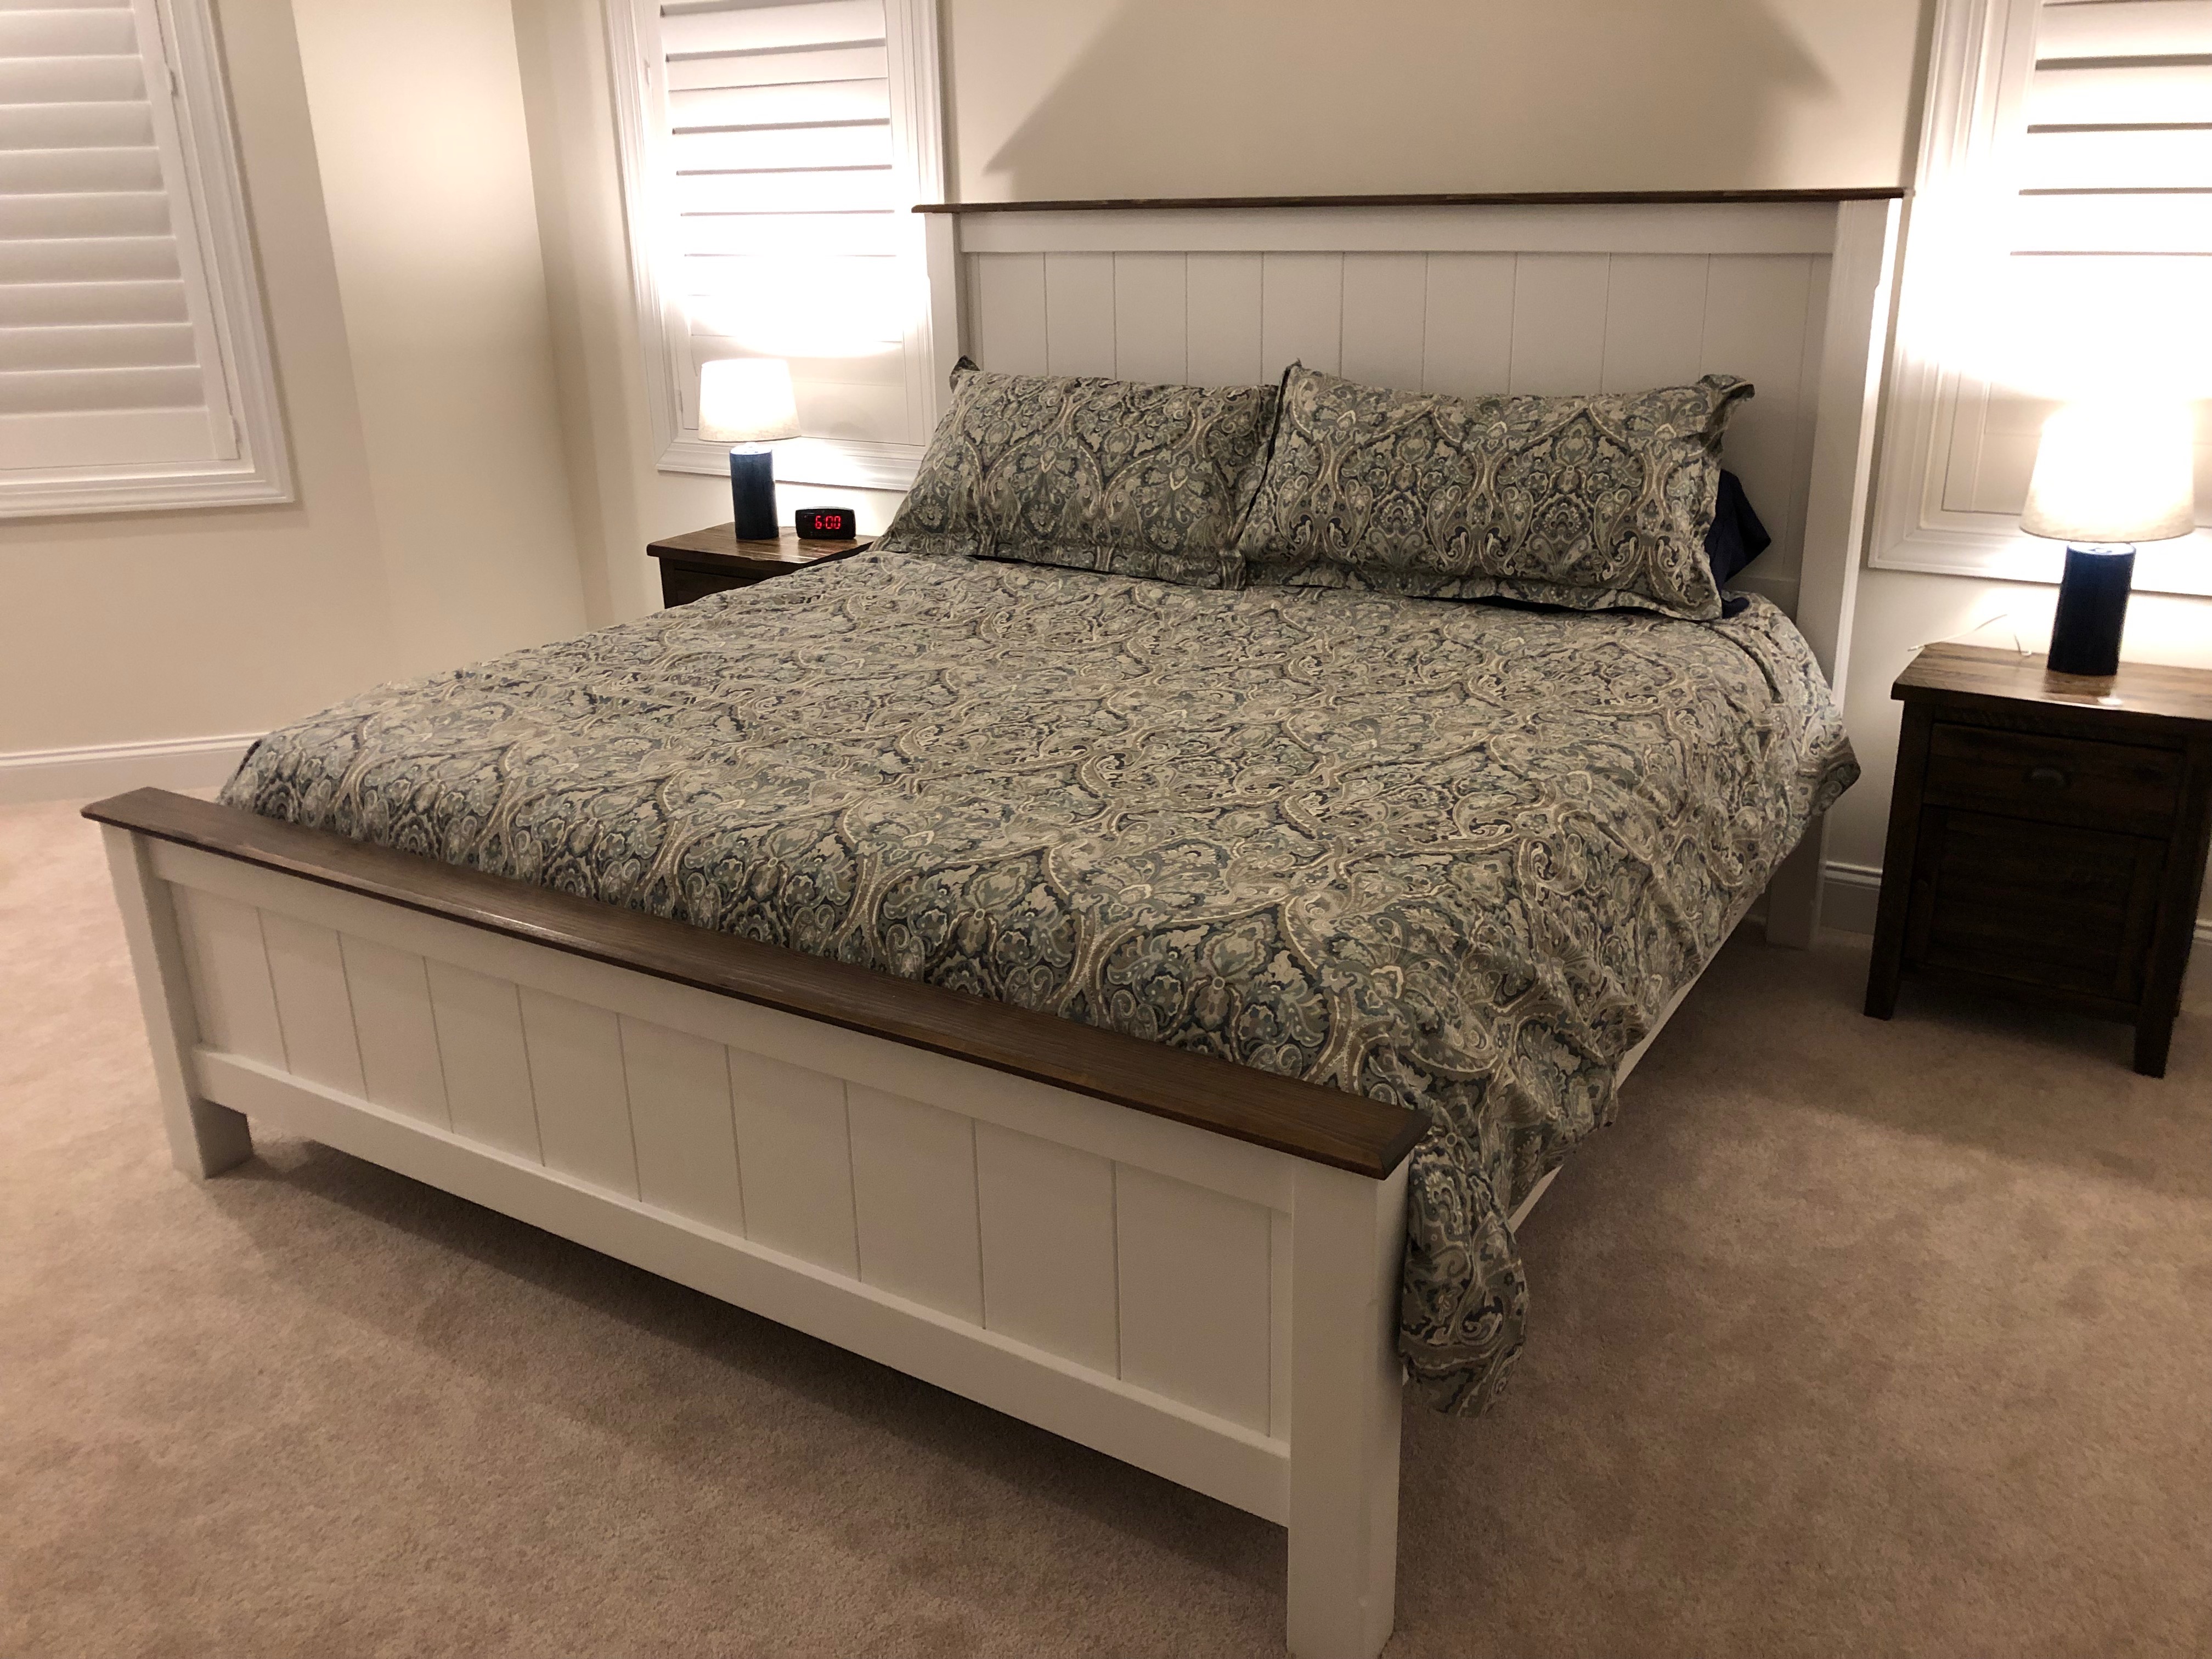
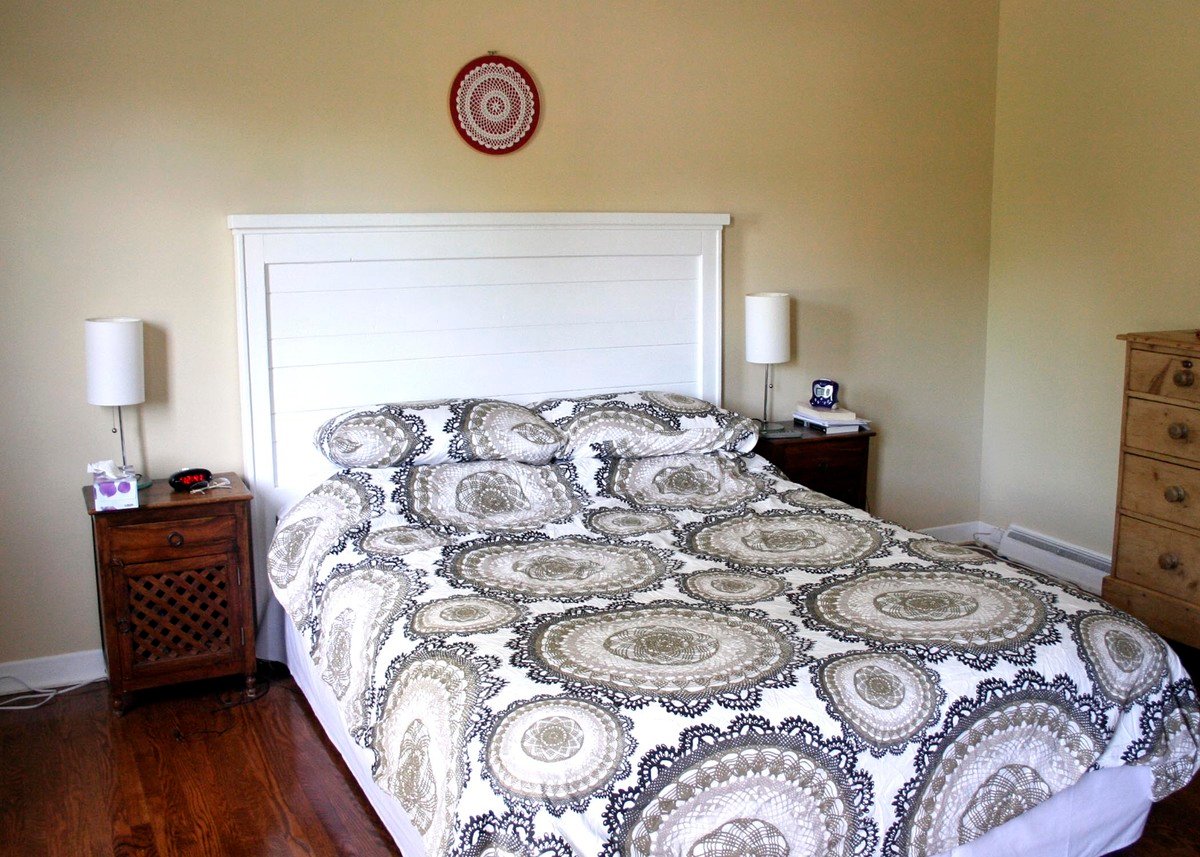
I pretty much followed the original plans. I added a chamfer on the outside corners of the posts and on the top boards on the head and foot boards. I also stained these to match the nightstands. Since I used a foam mattress, i built a platform by gluing/screwing a 2x4 inside the side rails. Then I set 1x6s on the 2x4 to support the mattress.
I use the free version of Sketchup to design the bed and estimate materials needed.
Lessons learned
It's not that difficult of a project. It is time consuming, though.
Fri, 10/16/2020 - 13:48
I love the look of your version. Do you have the SketchUp file anywhere that I can download? I would really like to make this version as I love your proportions and the color scheme.
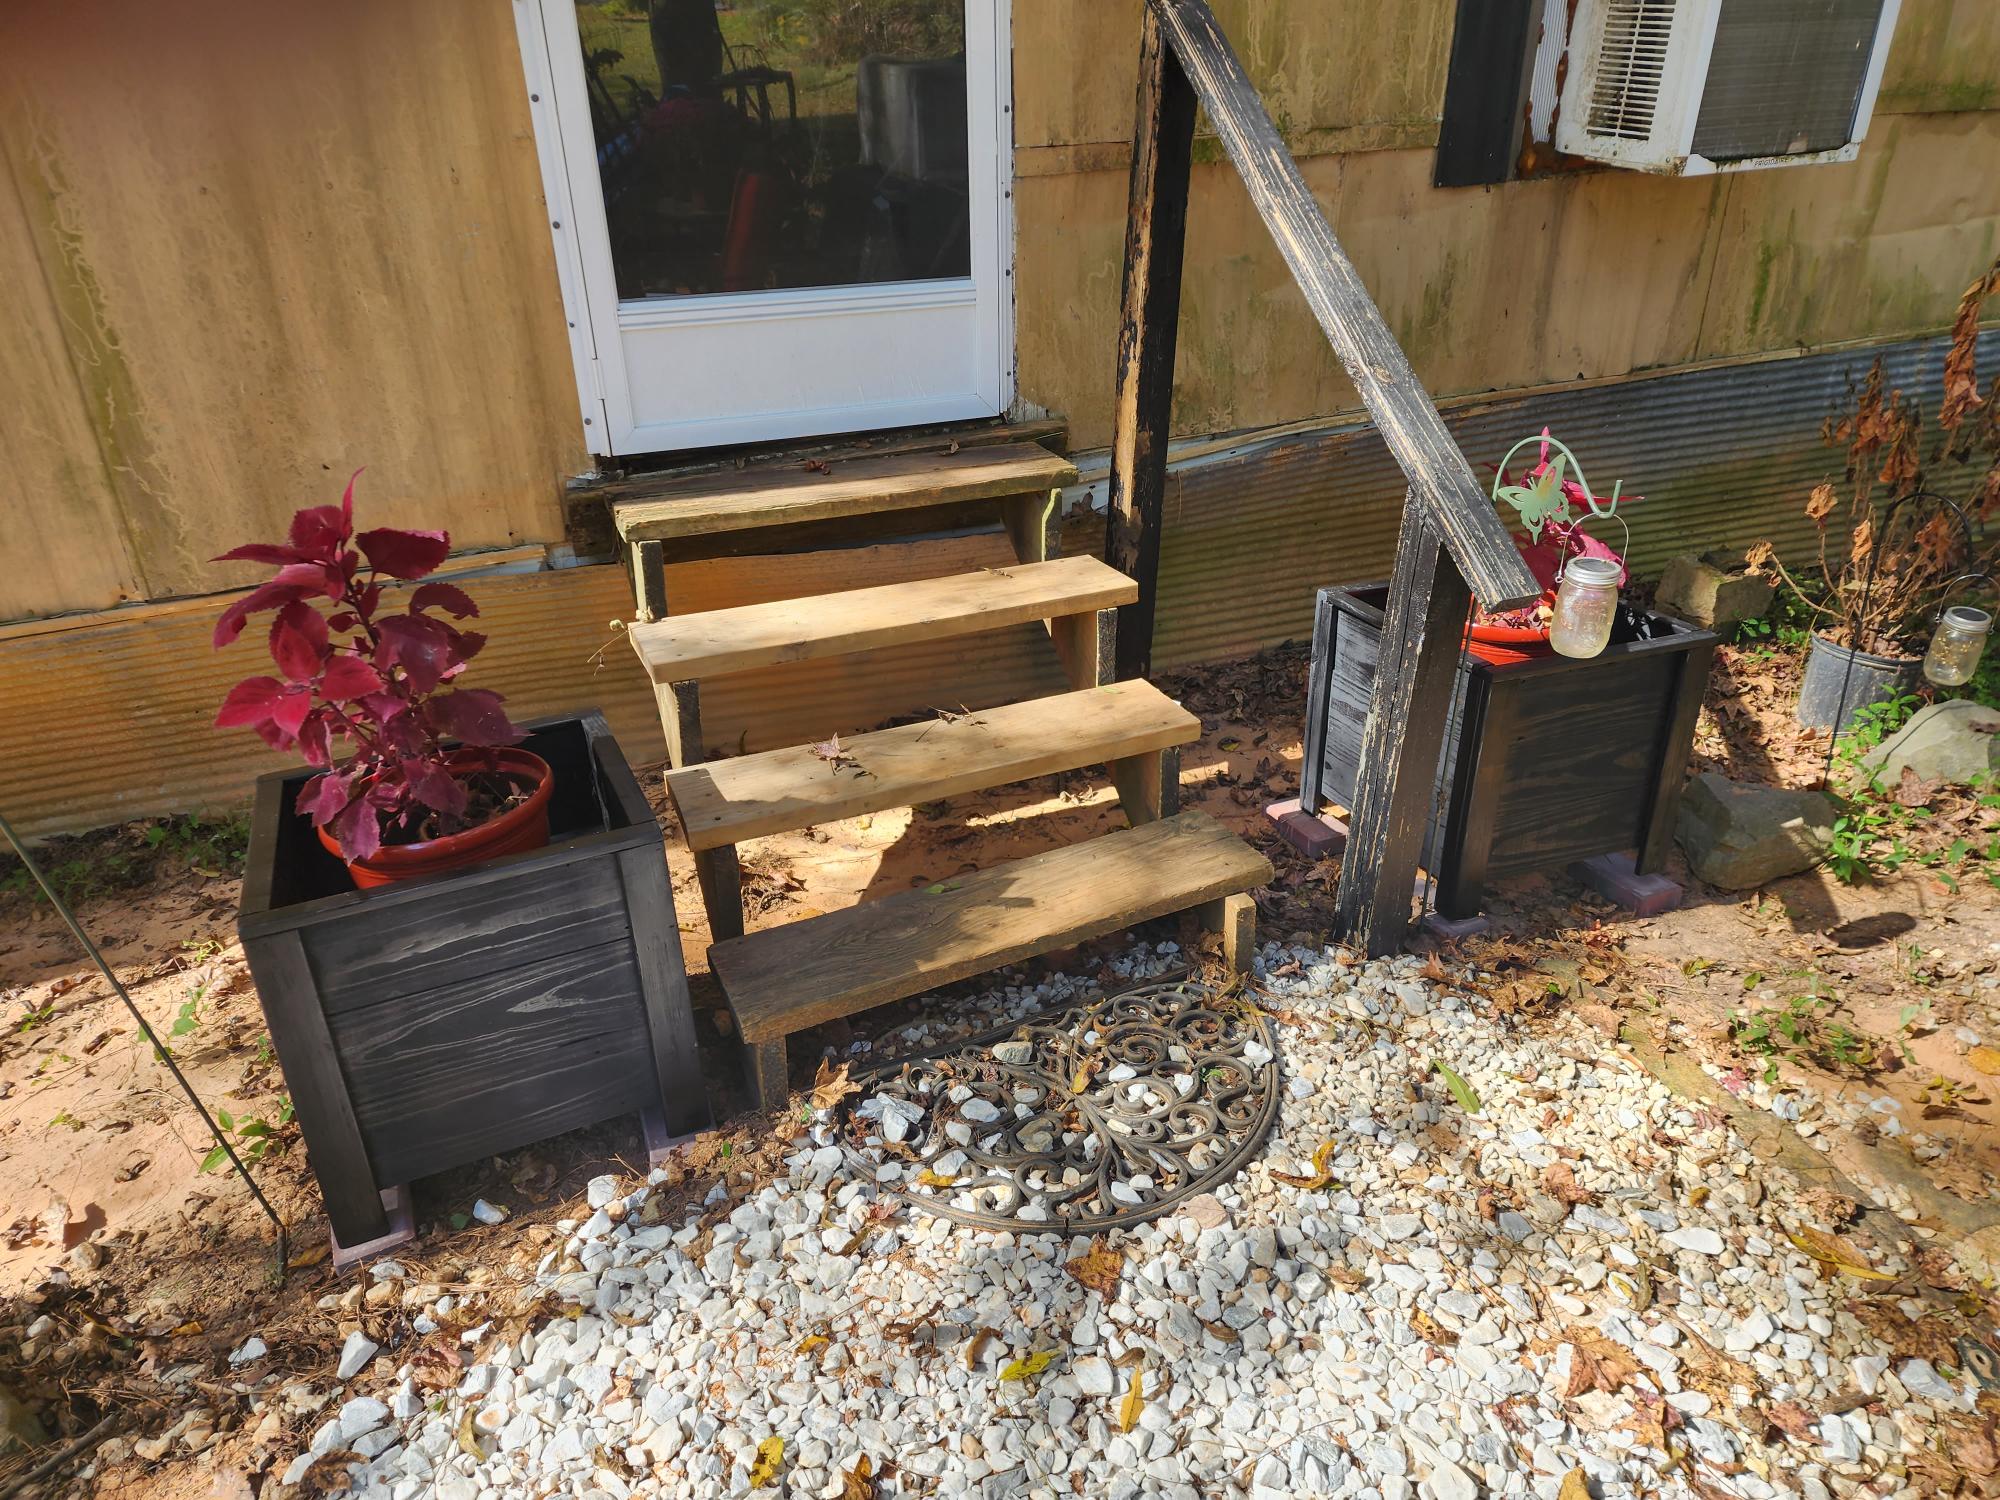
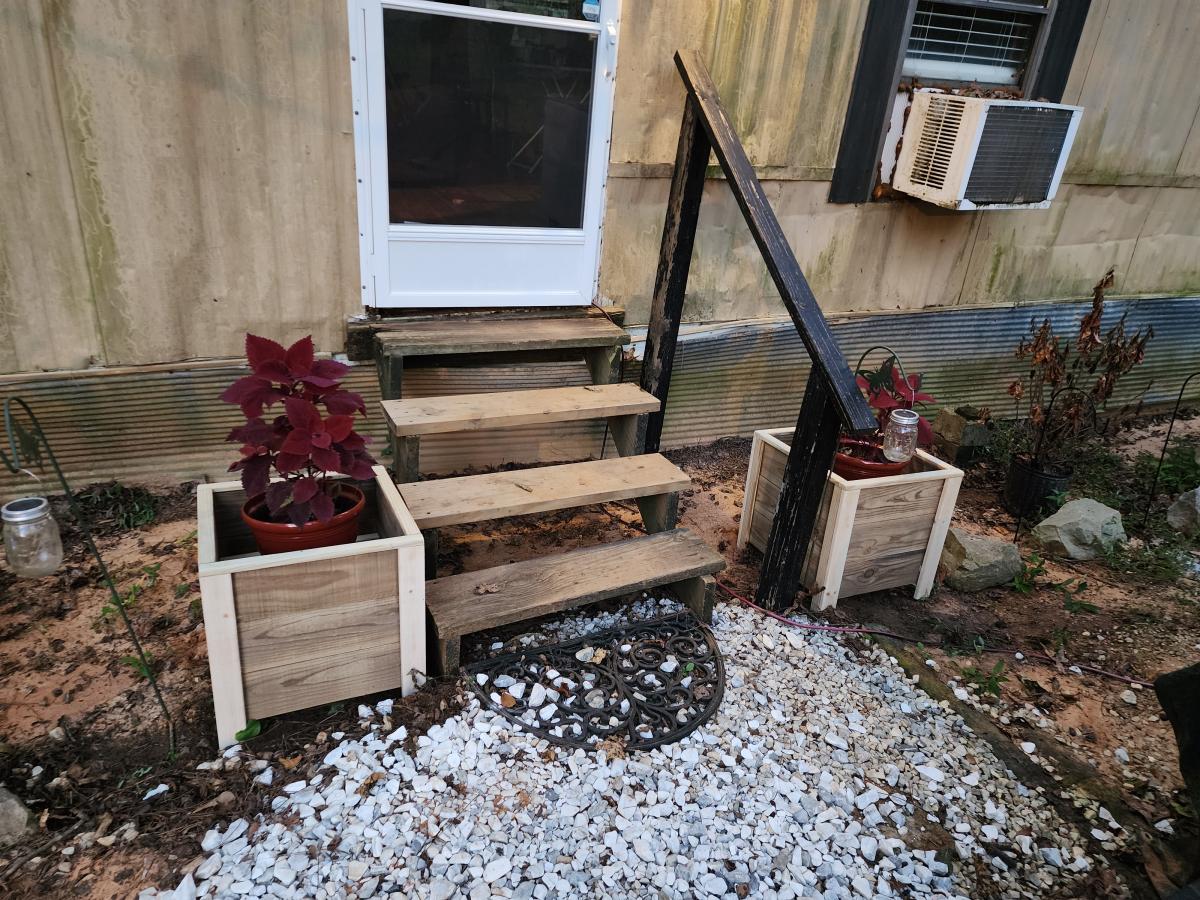
First time building planters. They came out perfectly.
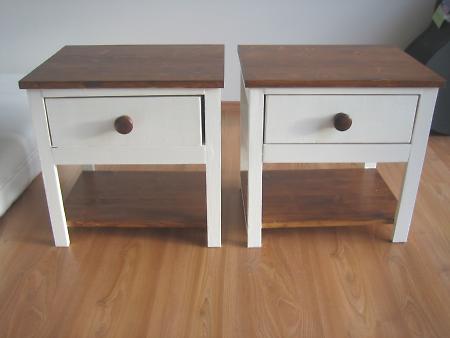
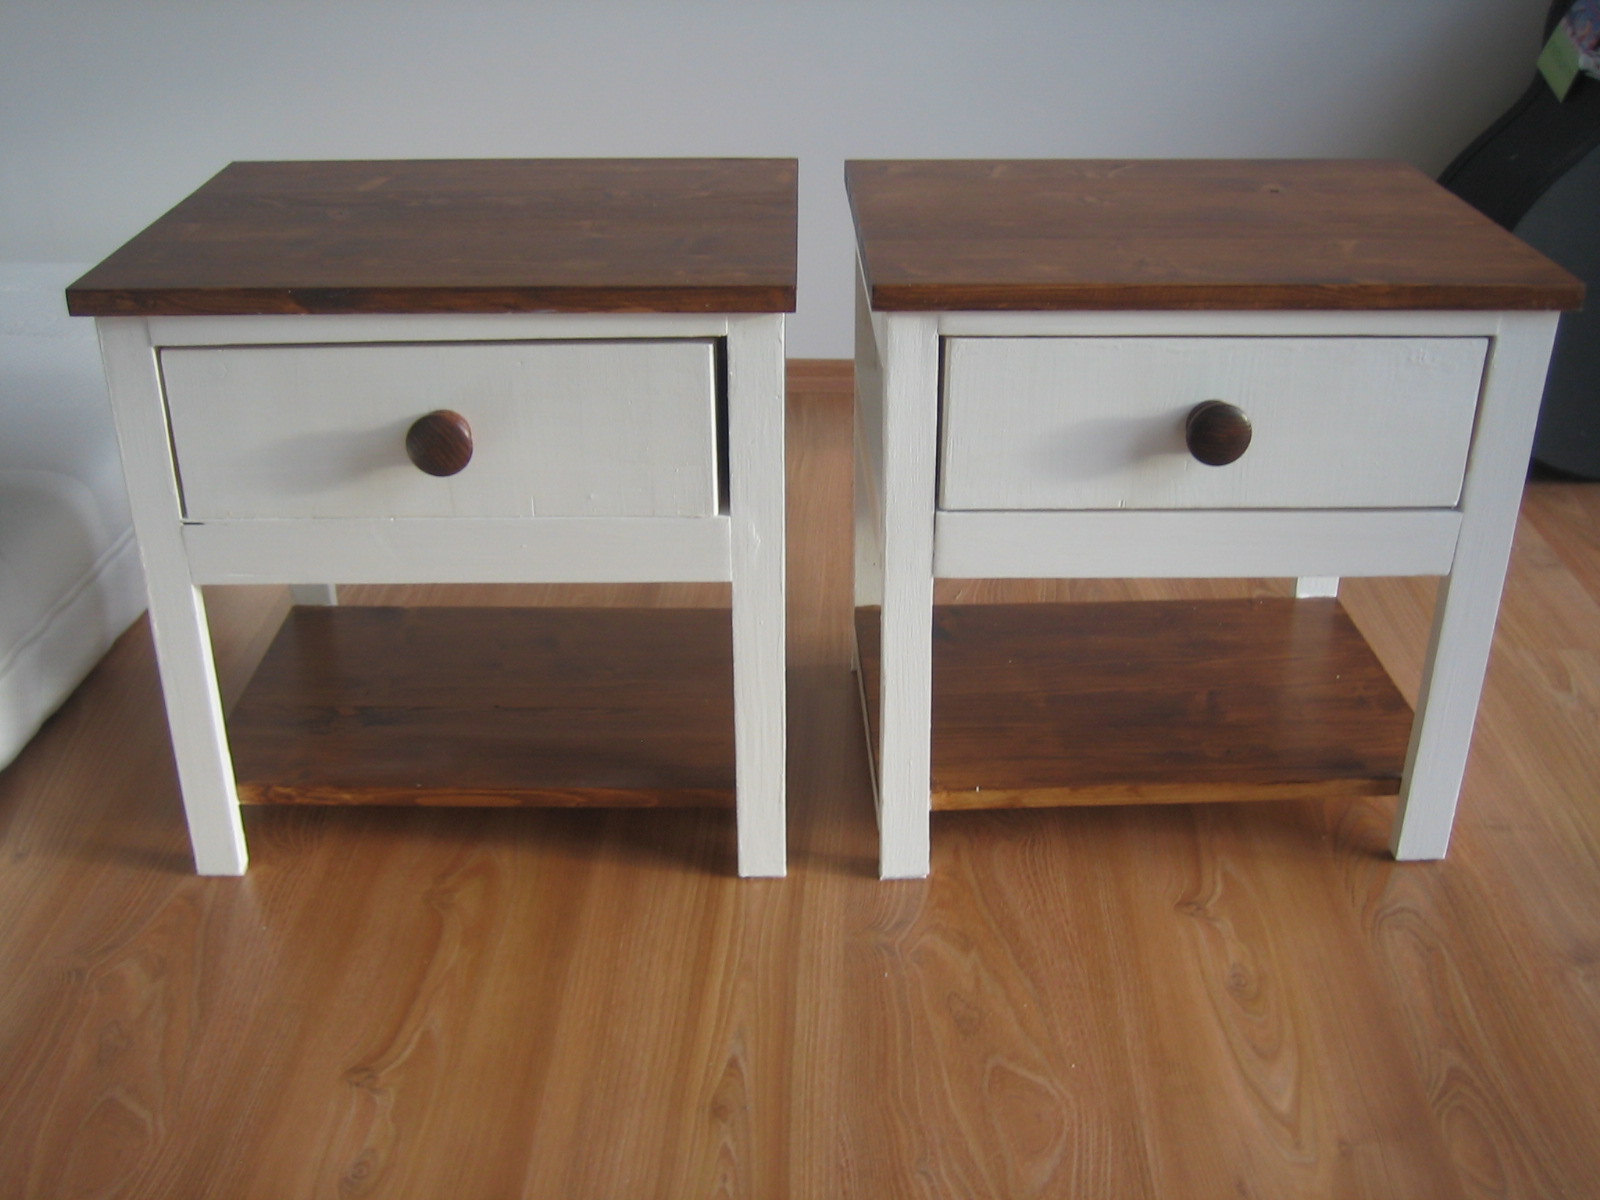
I built two of these bad boys!
I used the cheapest spruce wood as I knew I was going to paint them.
Not sure how much everything cost in the end - maybe €50. Am making 2 beds to go with them too but they'll be a little longer in the pipeline!
I cut the wood myself using my circular saw and joined the wood with pockethole screws.
I painted the tables white and then used a chestnut brown woodstain on the table tops, shelf and knob.
Hard to say how long it took me as I just did a bit every now and again when I had a bit of time.

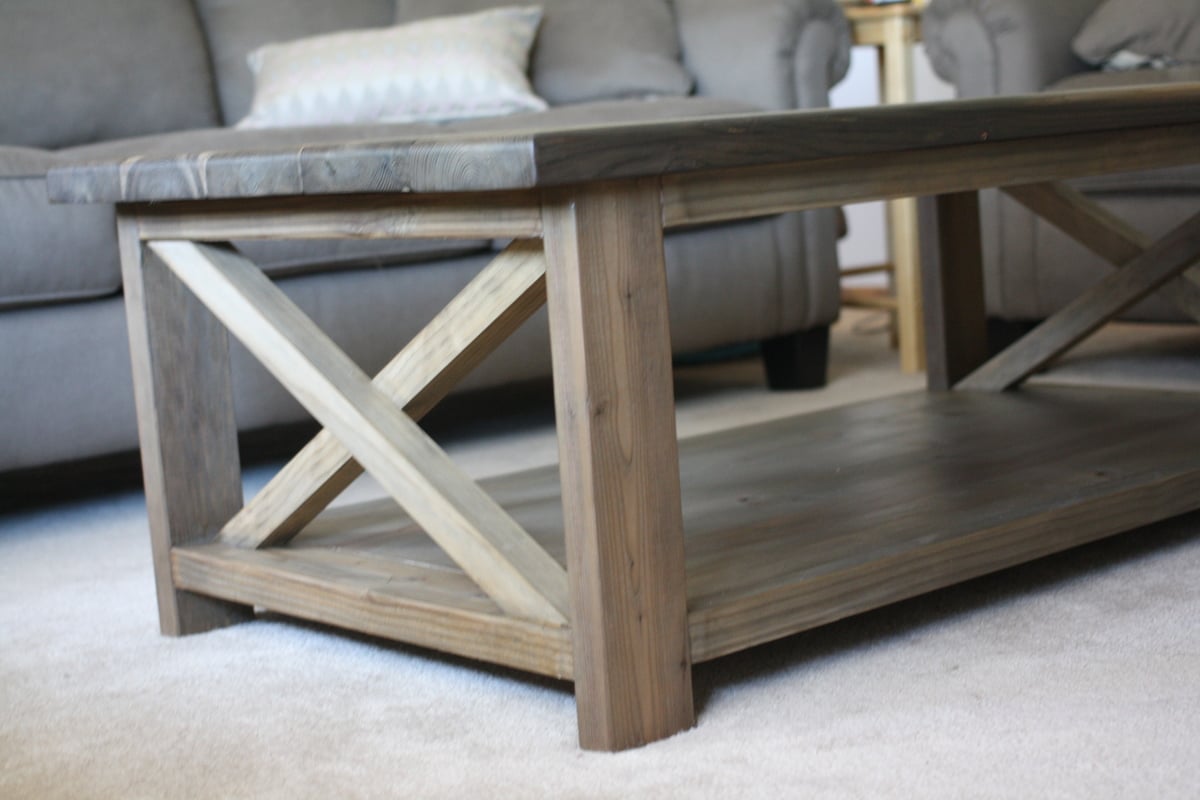
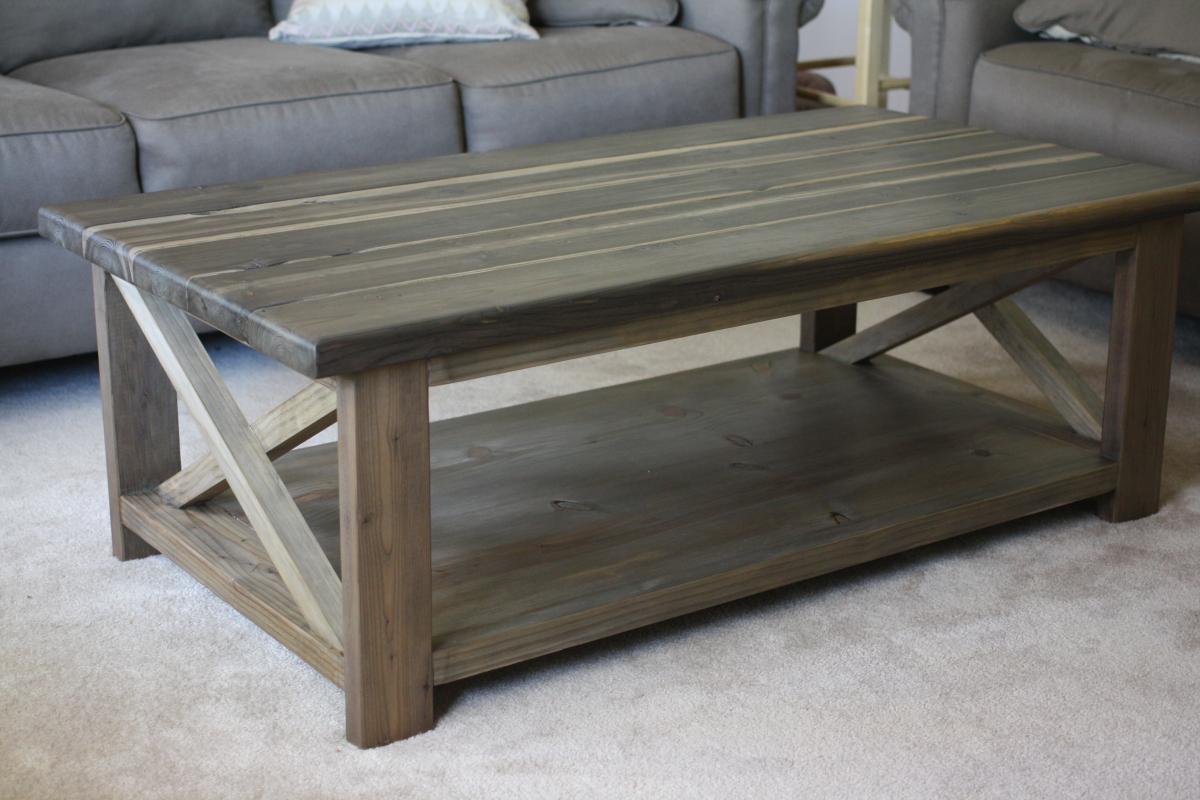
coffee table
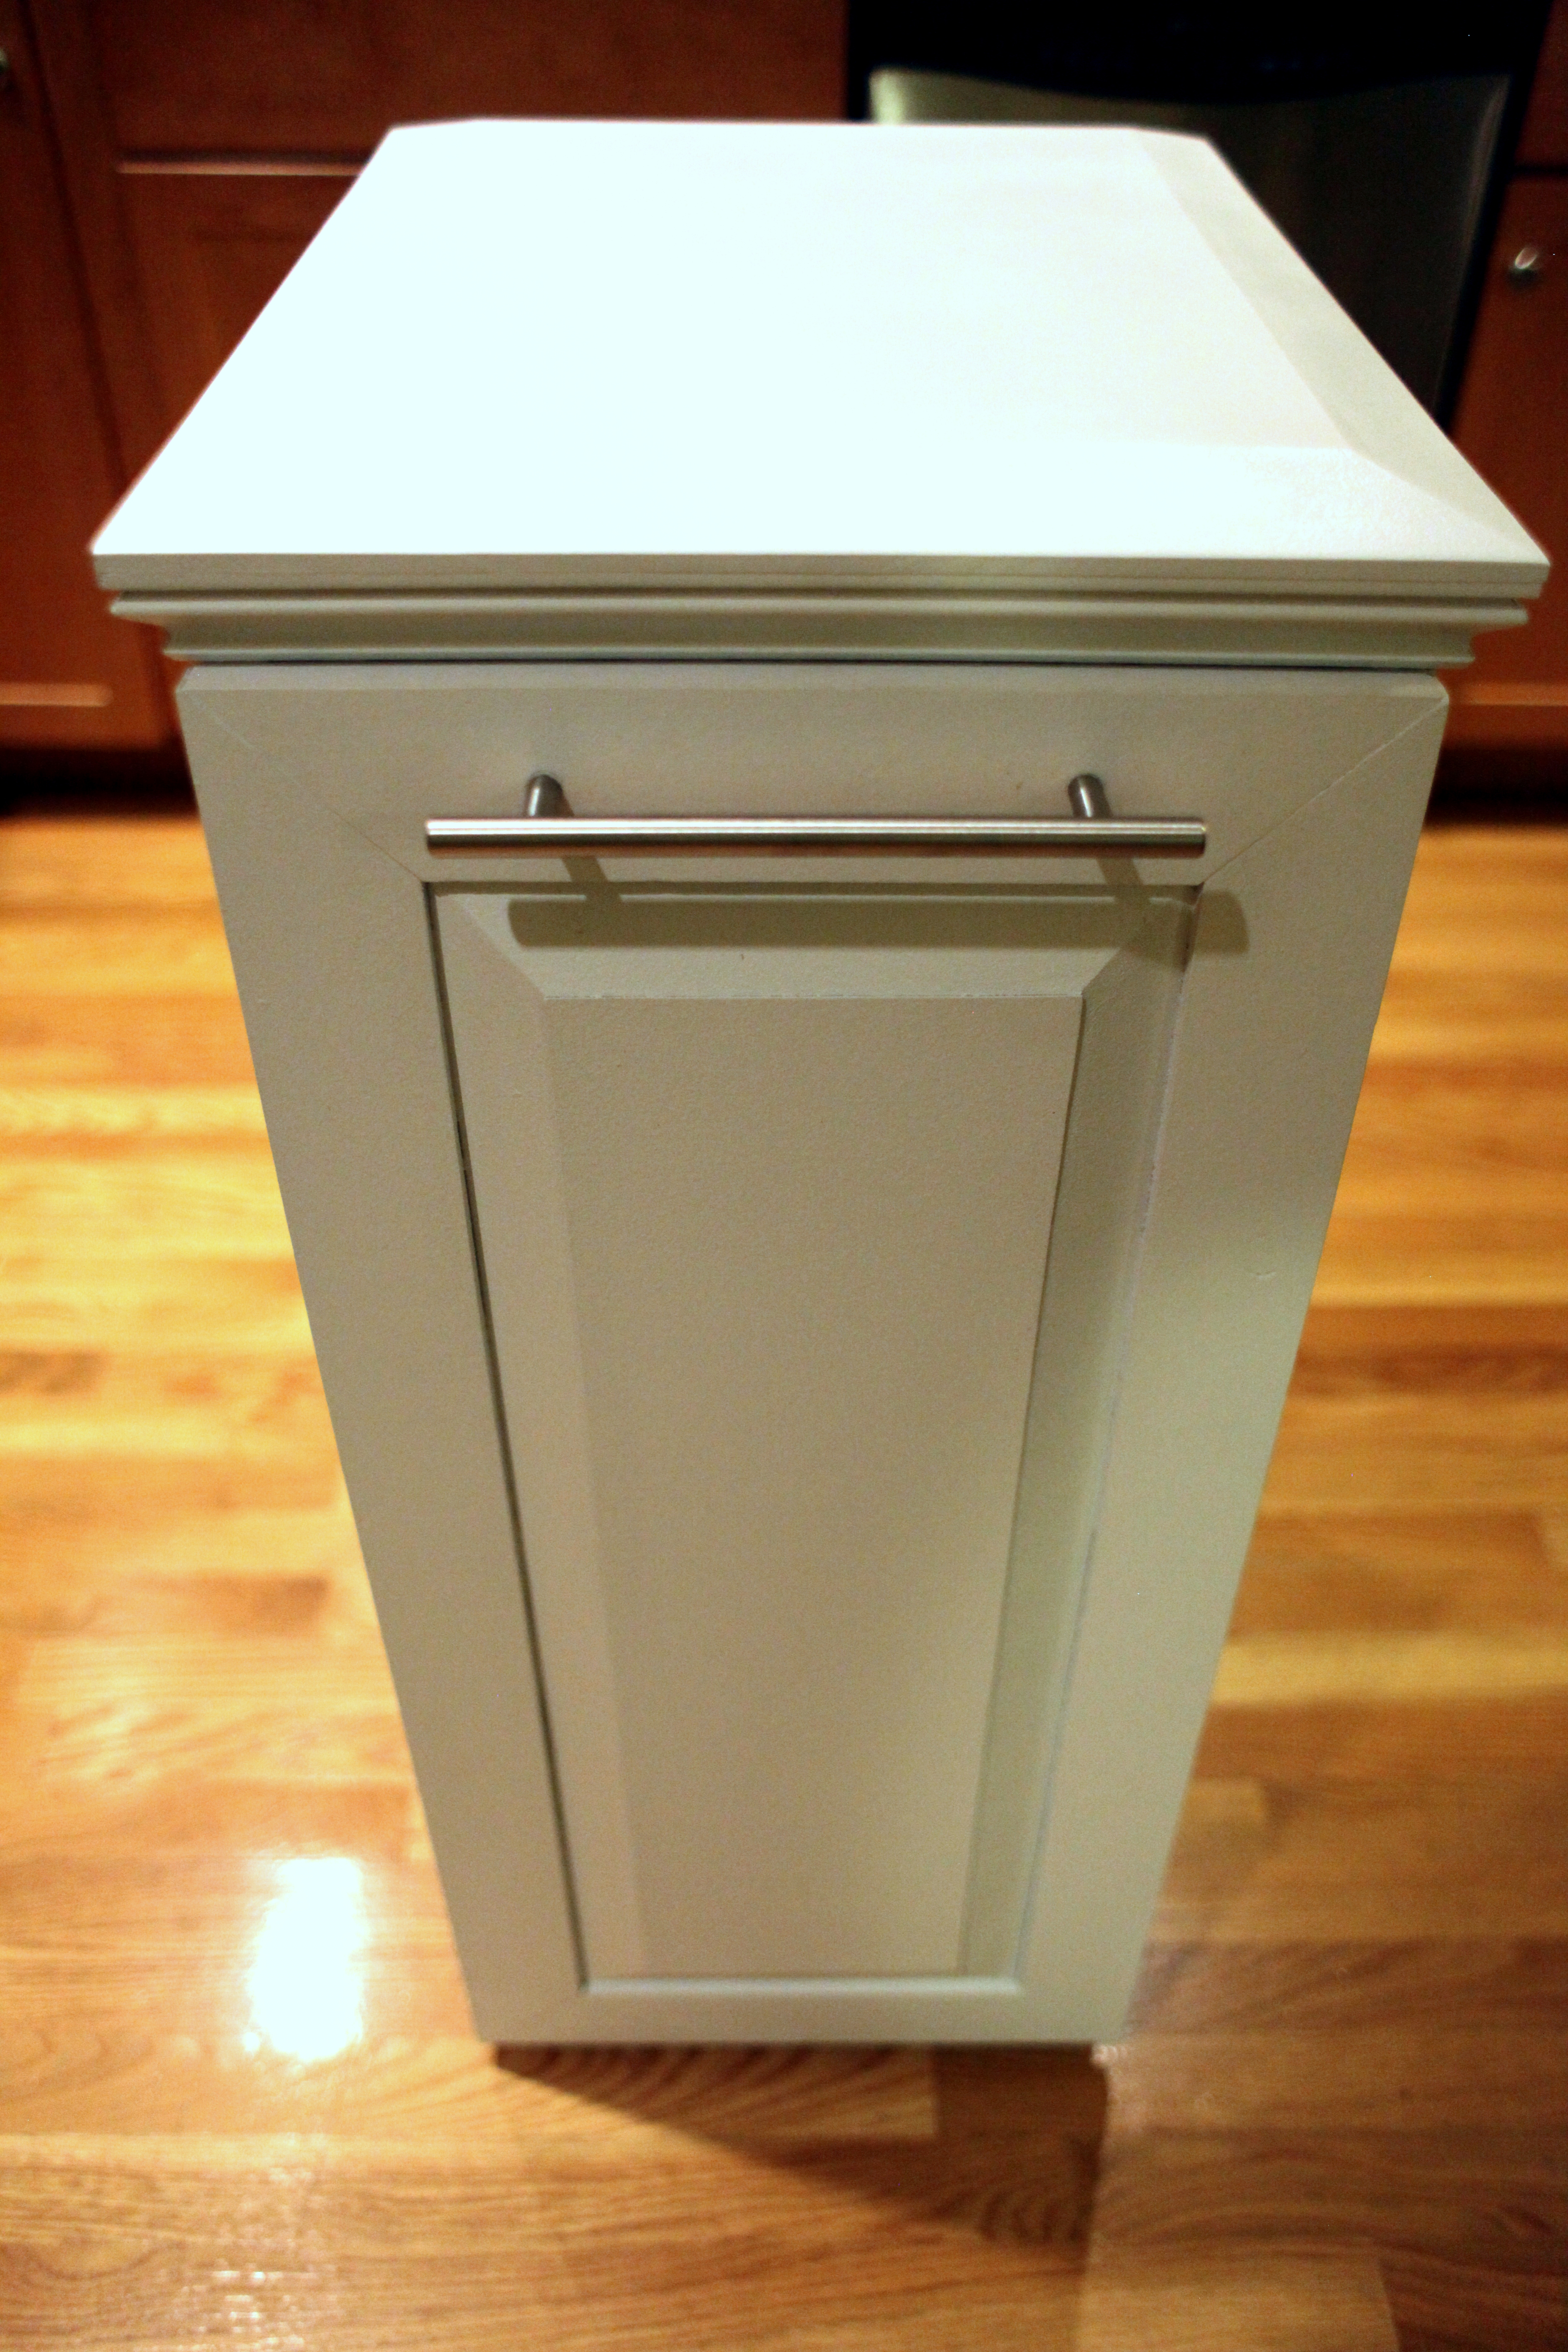
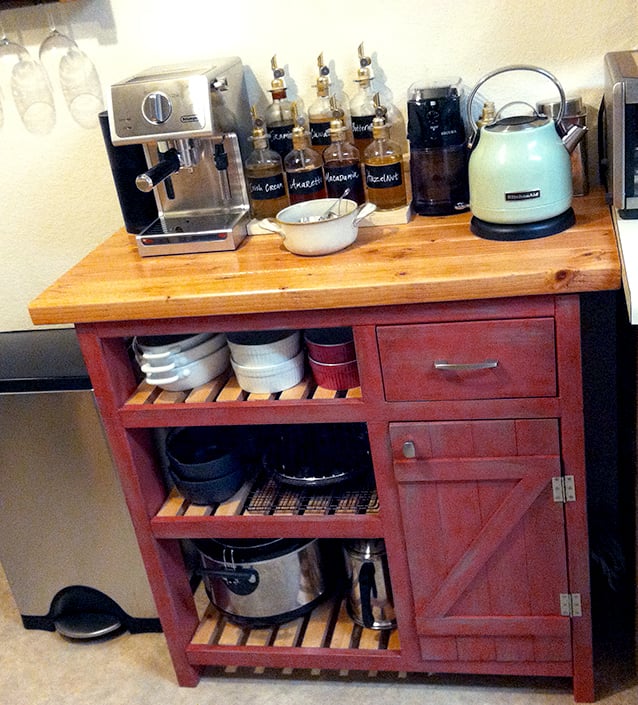
My version of the rustic rolling kitchen island. Really can't do the x's yet. It's all leftover wood and counter top. I use my other one similar to this as a coffee station.

Building a workbench seems to be a rite of passage for most serious woodworkers. The Entry Level Workbench shown here is a collaboration between myself and Kevin at Kev's Woodworks. I've detailed the design while Kevin and his son built the workbench as a father/son project.
All details including dimensions, parts list, tool list, and a full cost breakdown are included in the link if you would like to build your own bench.


I search many DIY entry benches and ultimately chose Ana White's, it was perfect what what we needed. Thanks for the vid, plans, post and tips that helped me build it. I'm currently browsing your other projects for the next one. Thanks so much
Fri, 12/16/2022 - 13:11
This looks fantastic, thank you so much for sharing, can't wait to see your next project!
Made by my husband.
Kitchen cabinet I made with raised panels.
Some more details at:
http://bendrea.wordpress.com/2013/09/22/kitchen-cabinet-2013/
My Second DIY project! It turned out PERFECT :)

Mon, 12/14/2015 - 11:34
Well done, It looks terrific! I like the stain color very much.
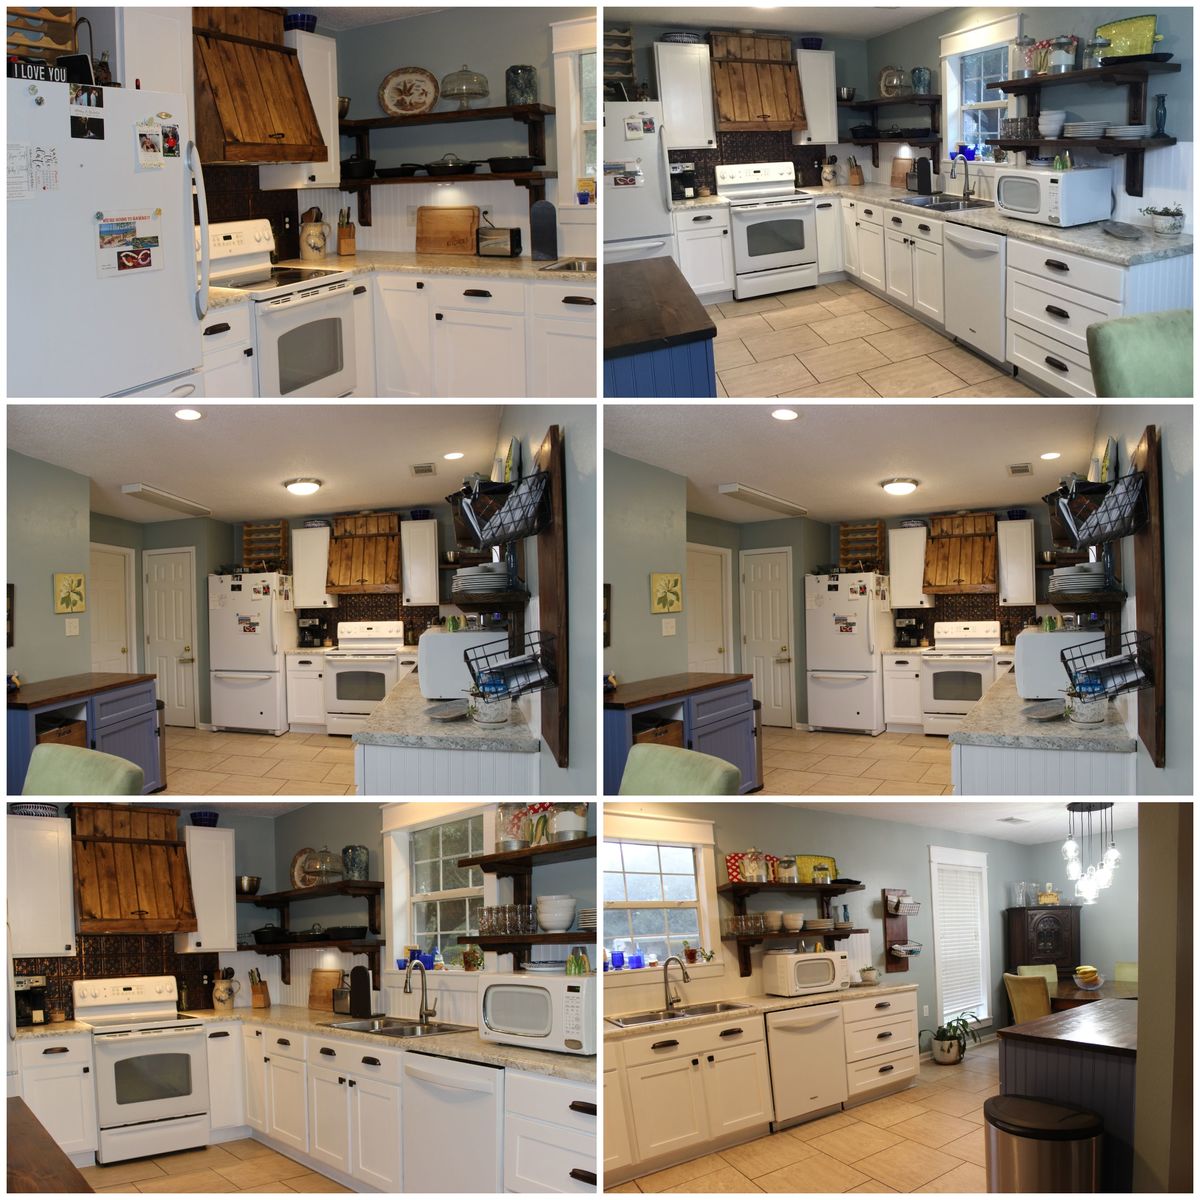
Finally, kitchen is done. We've been in this house almost 4 years and for me the kitchen was not efficiently functional. Dishwasher was on the wrong side of the sink, had a trashed compactor which we did not use, very little counter space, not enough drawers, etc.
The whole kitchen was gutted except for the cabinet over the stove which I covered and still has storage.
Thanks to Ana White for the plans and inspiration! Learned a lot during this process.
I love my new table! My wood was a little bit warped for the tabletop, so that's where I ran into the most problems, but I used a hand planer to smooth it down and it turned out perfectly!
Fri, 12/09/2011 - 06:33
Thats quite nice. I'll bet you spent more than half of the time on the finish. Great color choice.
This was a really fun starter project for me. I've never made furniture before and I ran into some issues, but I learned a lot and enjoyed myself! My husband and I live with my Father-in-Law who has all the tools I needed (though I'm going to purchase my own later on).
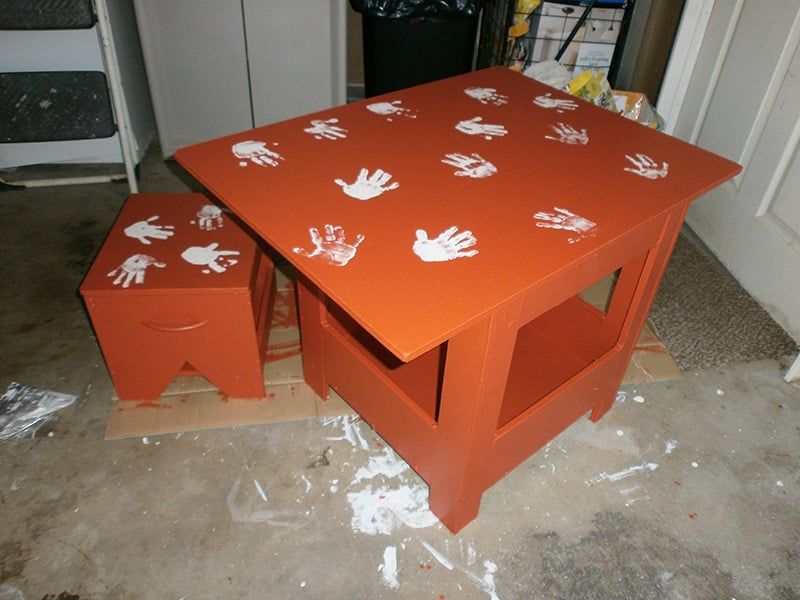
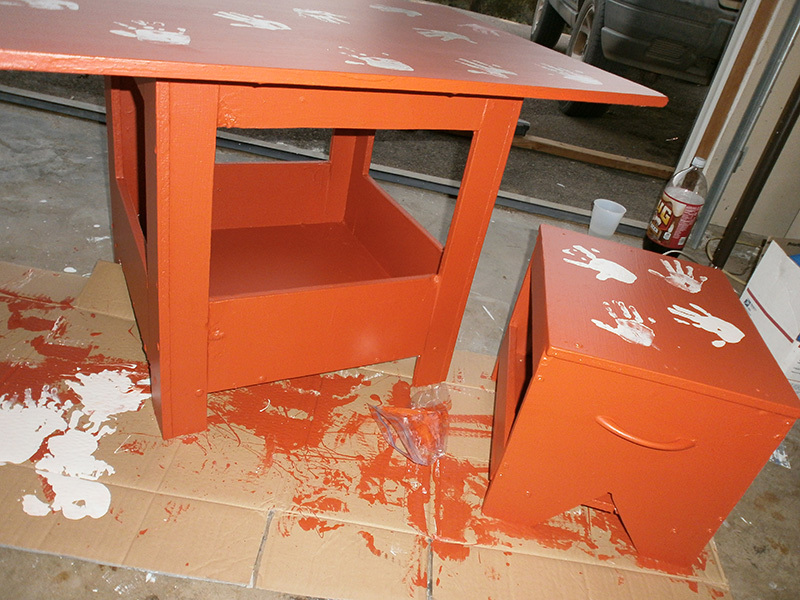
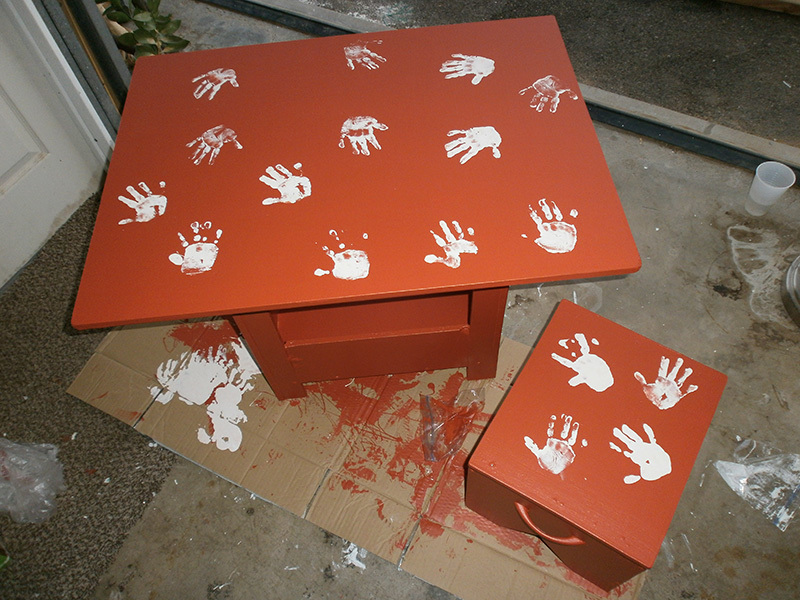
The stool and table plans are here: http://ana-white.com/2009/11/plan-kids-large-storage-play-table.html . I modified it slightly because I was using scrap pieces (two doors from a particle board wardrobe). I don't like particle board... but I figured since it's my first try, I wouldn't waste any cash since I had all the stuff here, even the nails and screws.
So I made the table about 2 inches shorter and the stool 1 inch shorter. I also used a rectangle top for the table with one side flush against the table side so I could put the set against a wall (i.e. three sides have overhang, the 4th is equal with the legs).
I painted both sets a dark red orange (my husband's favorite color) and let my daughter put her handprints all over in white paint . She LOVES it. And despite the 'wood' I used was particle board, it's pretty strong. I'm pleased. I will probably make another one with stronger material in the future.
Oh there were a lot of holes and such from the used board and some breaks from being thin, crappy board, but I was able to use filler one a lot of it and glue too. It's hard to tell it was a beginner job from a few feet away! Haha!
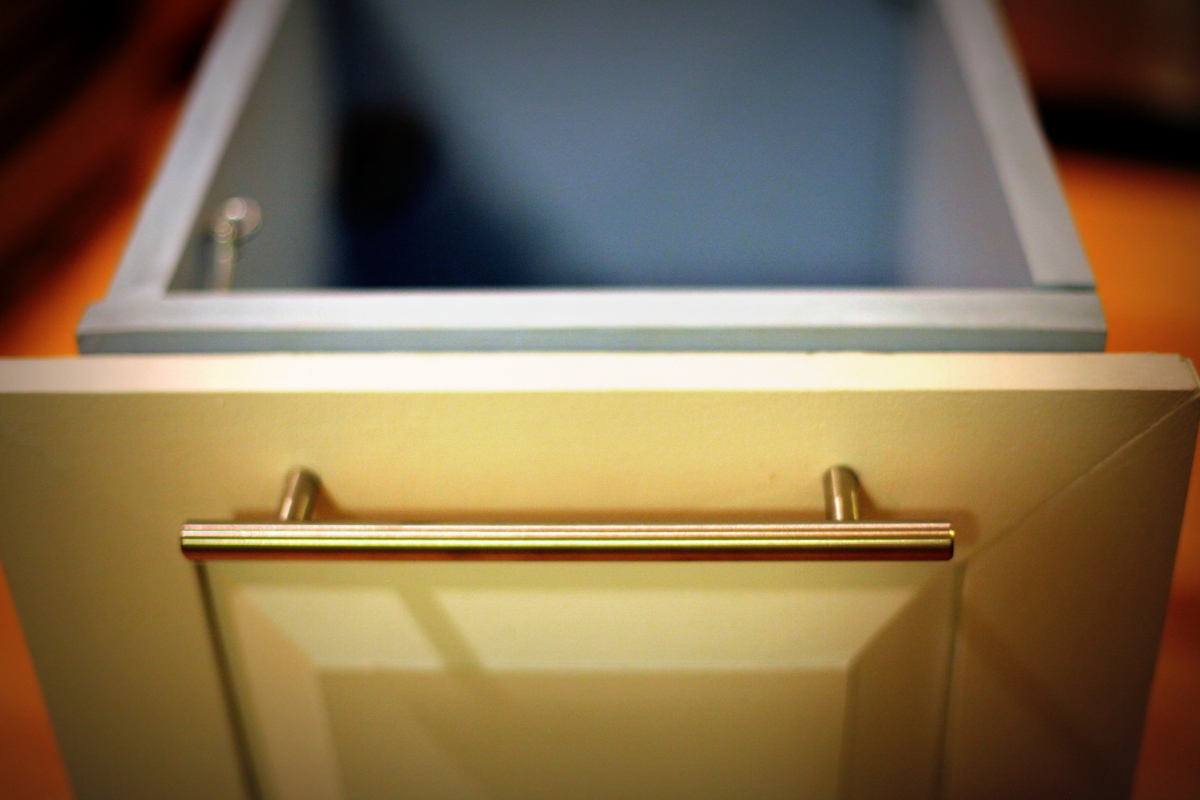
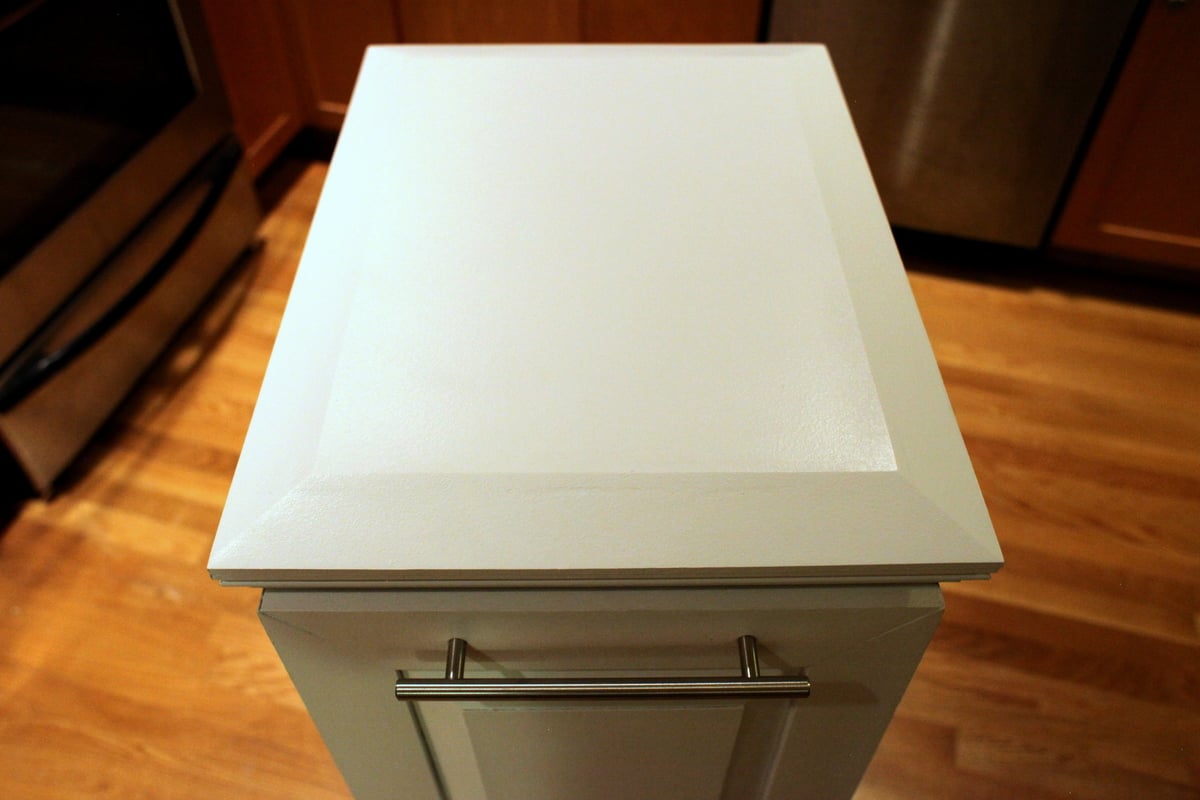
Used 2x4s for the top instead of 2x6s. All the shelves are 1x2s. My first attempt at a door and drawer - it kicked my a**!
Top stain: Minwax Golden Pecan
Then Minwax Polycrylic 3 coats

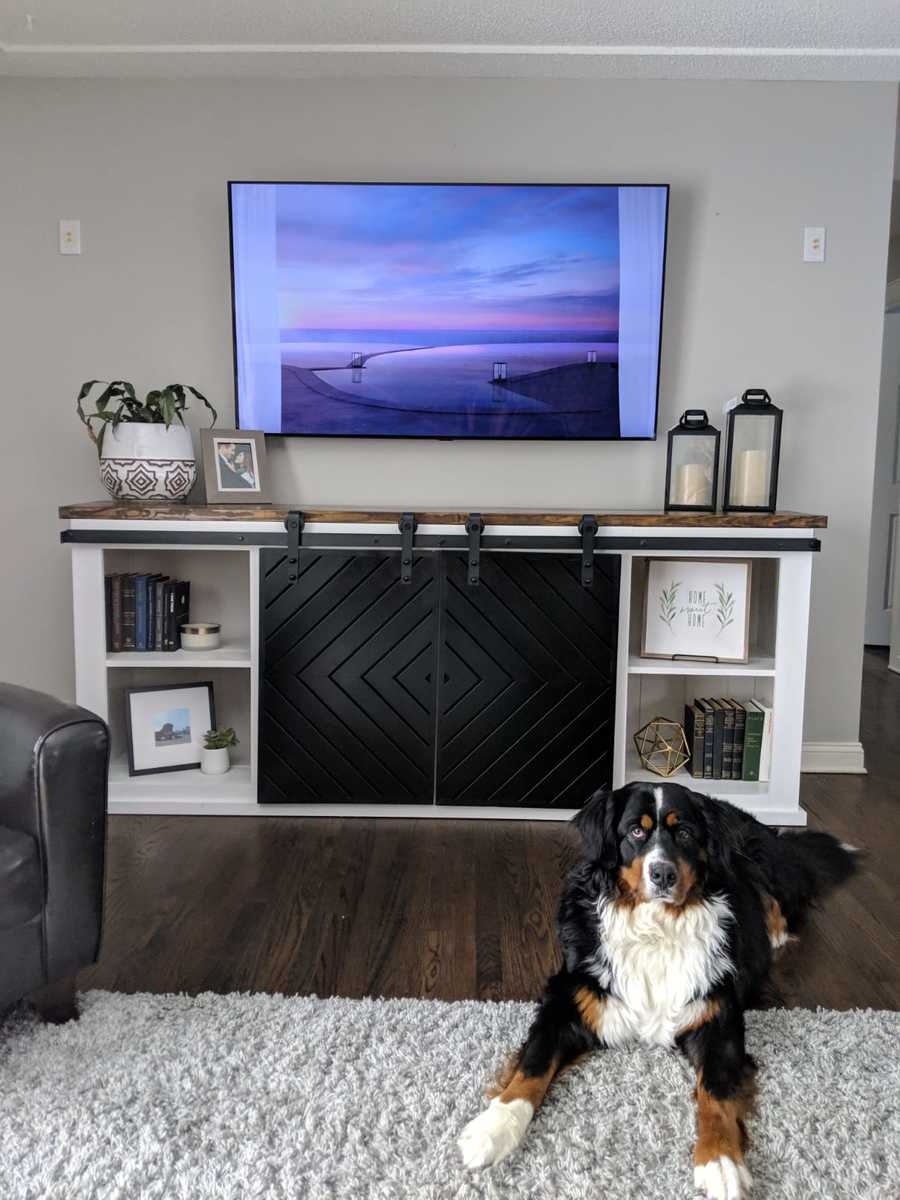
Had to build something to go with our brand new OLED TV. Combined Ana's 'Grandy Sliding Door Console' with a modified version of these modern barn door plans found at https://howdoesshe.com/build-a-fixer-upper-style-modern-barn-door/ from @angelarosehome to make the finished product shown here. My wife loves it (the pup doesn't mind it either)!
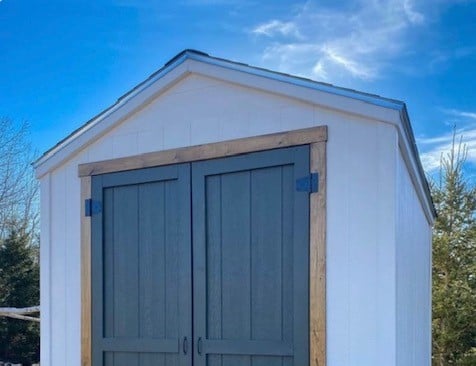
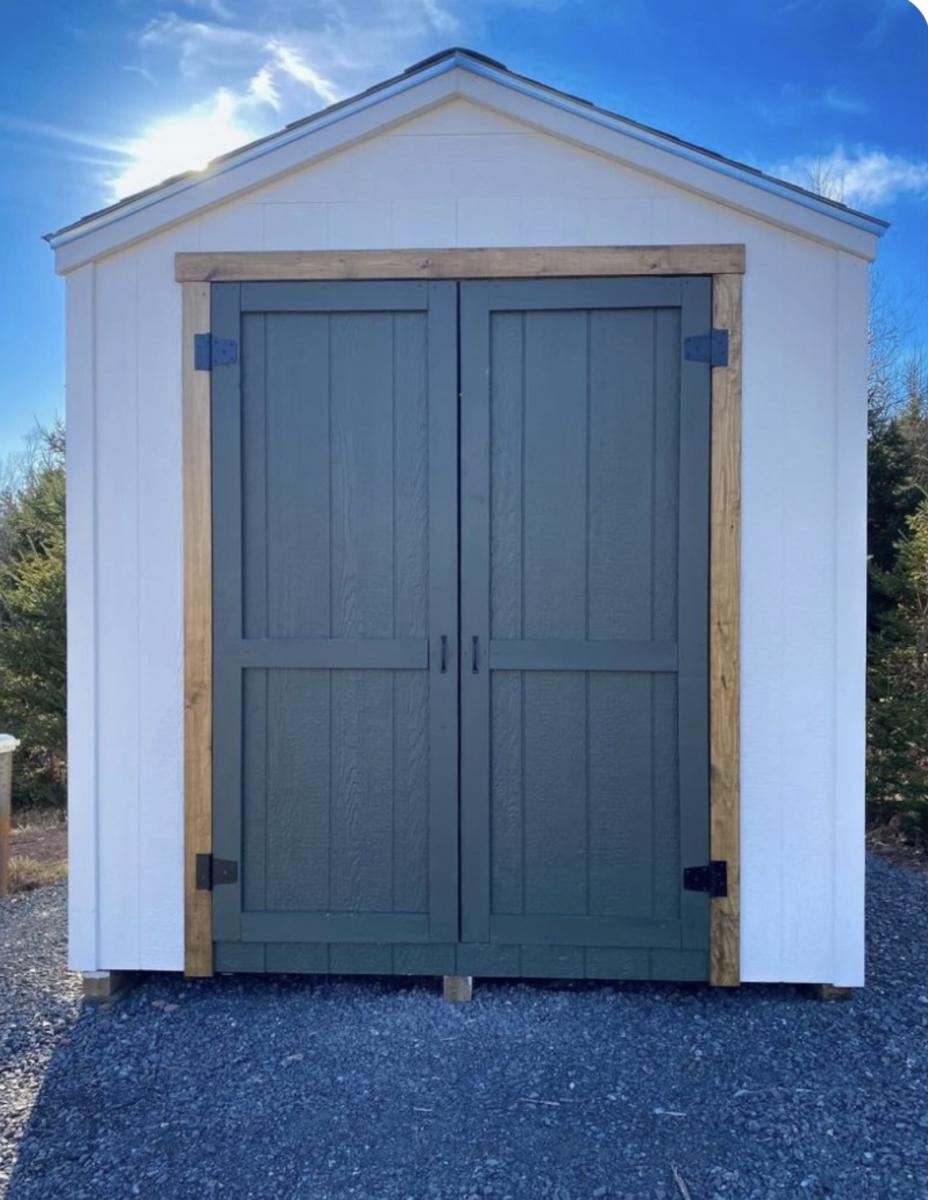
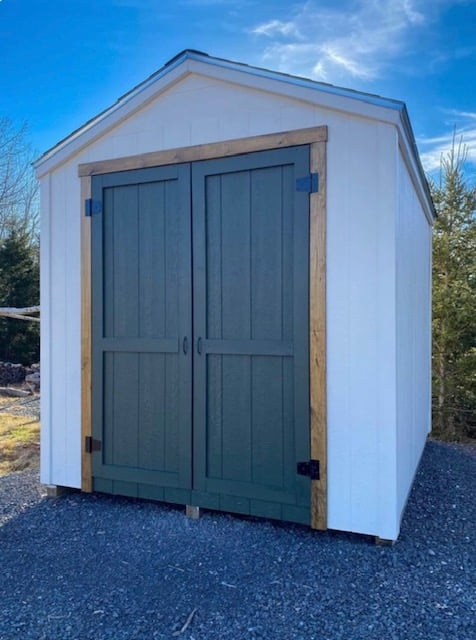
I made your 8x10 shed! Turned out so well, thank you for the amazing plans.
Julia Eliopoulos


Comments
Ana White Admin
Sun, 11/20/2022 - 12:32
Gorgeous Craft Table!
This is delightful, love the white base and stunning wood top! Thanks for sharing.