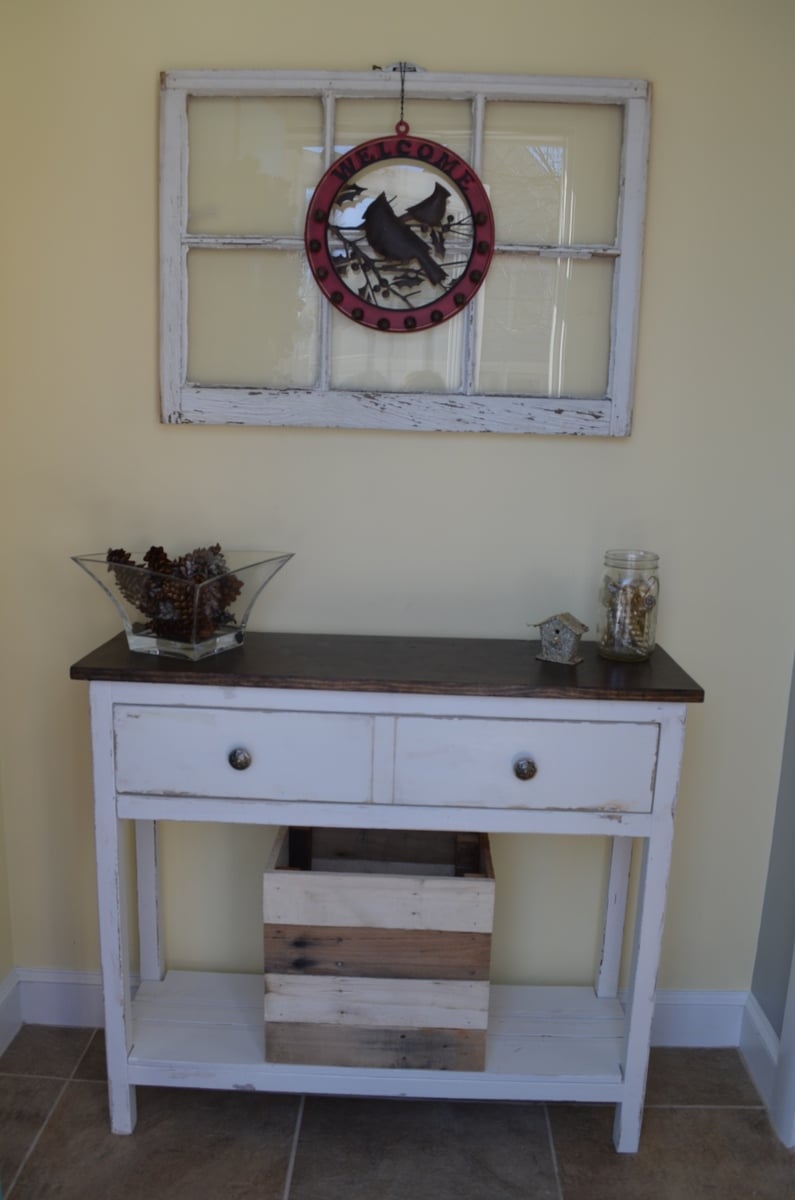
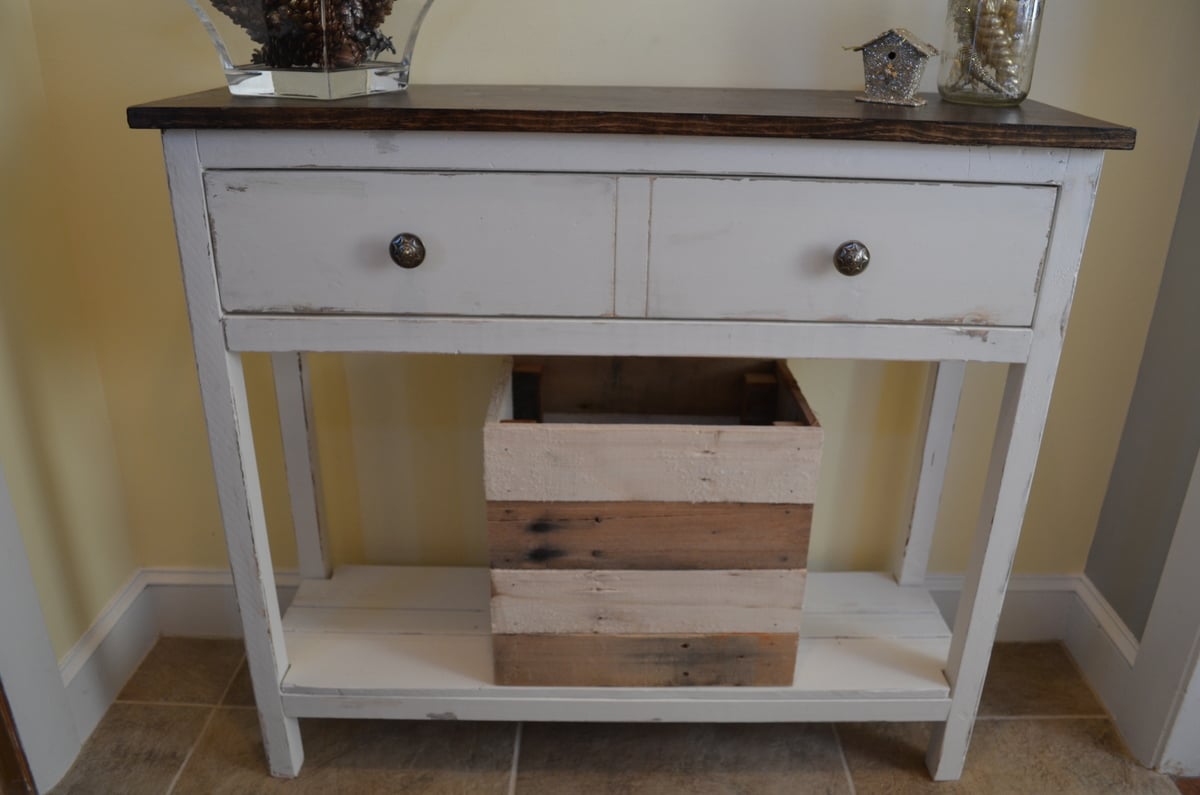
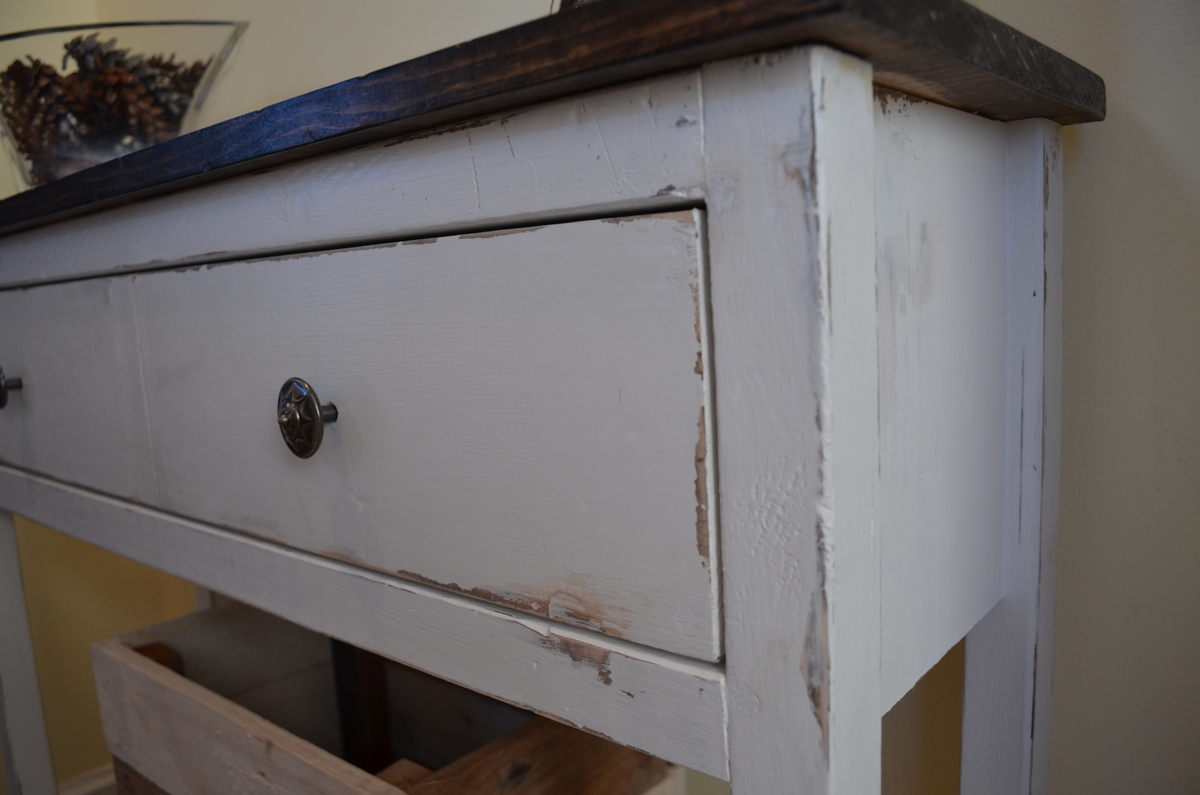
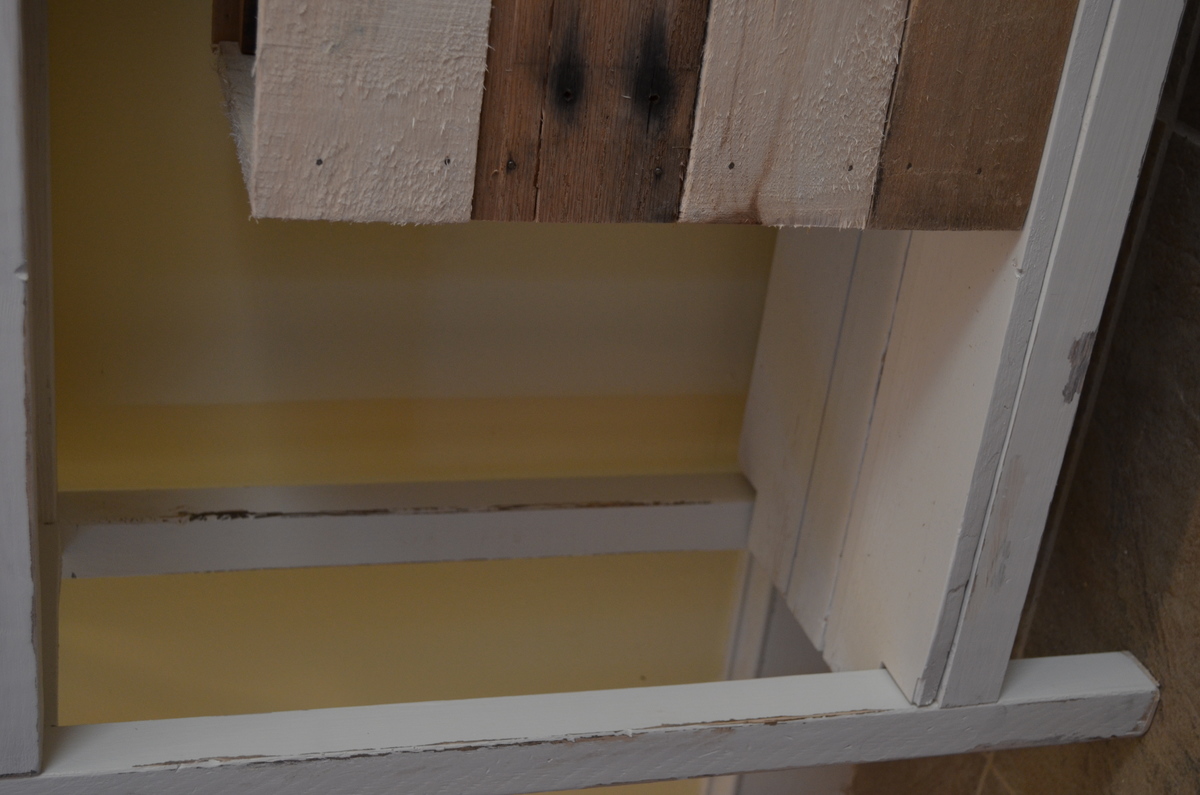
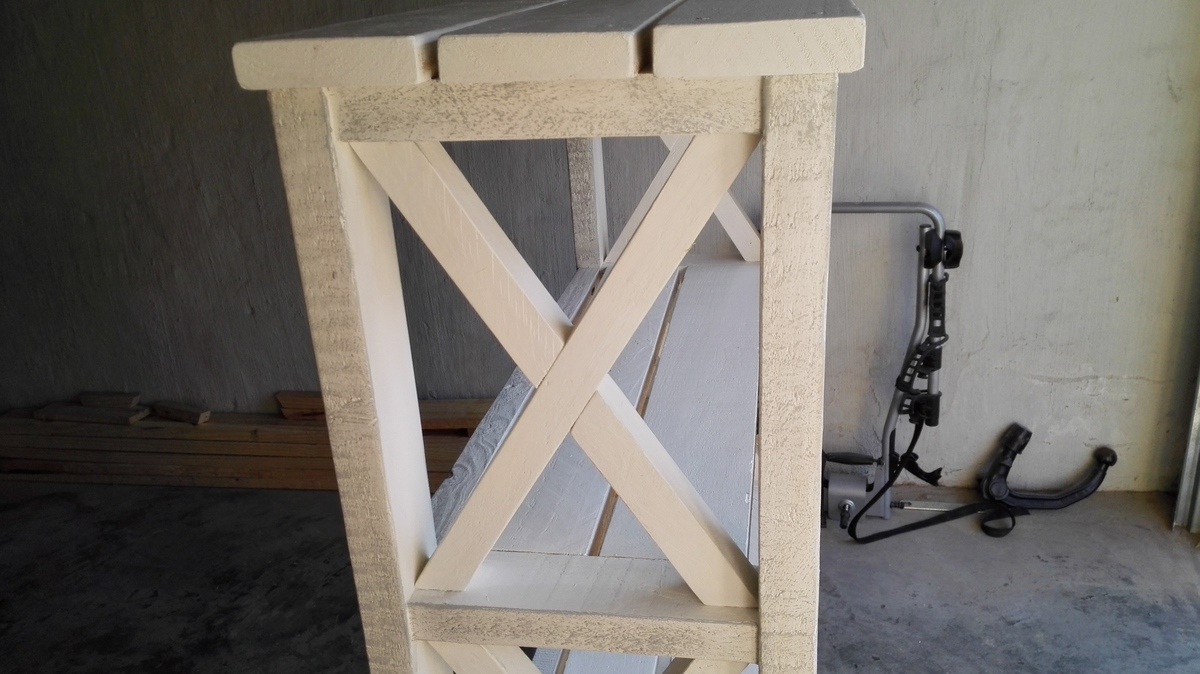
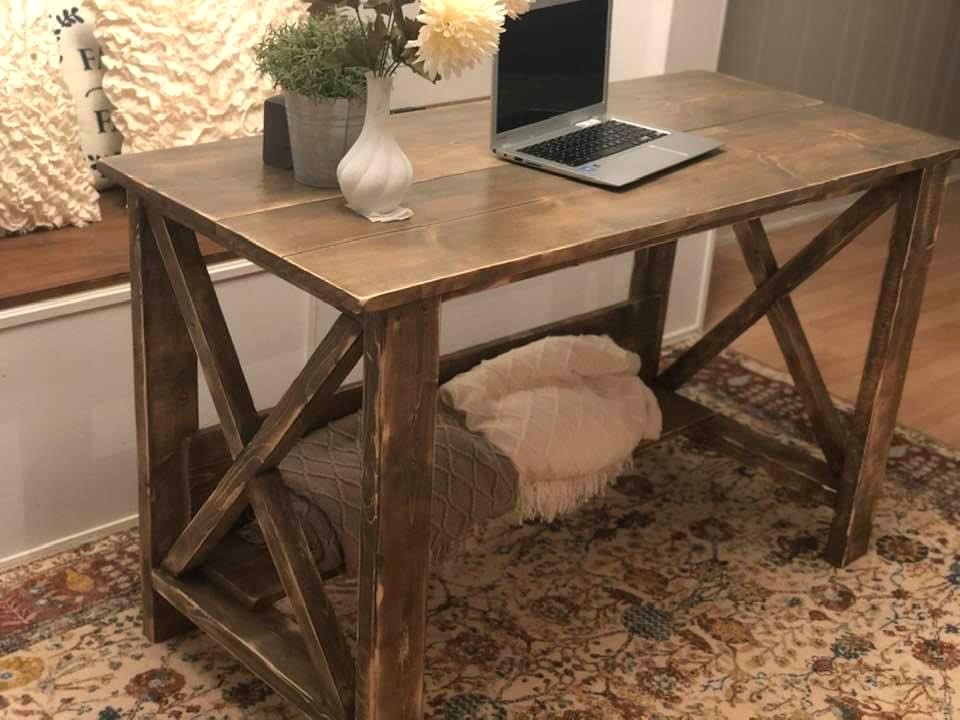
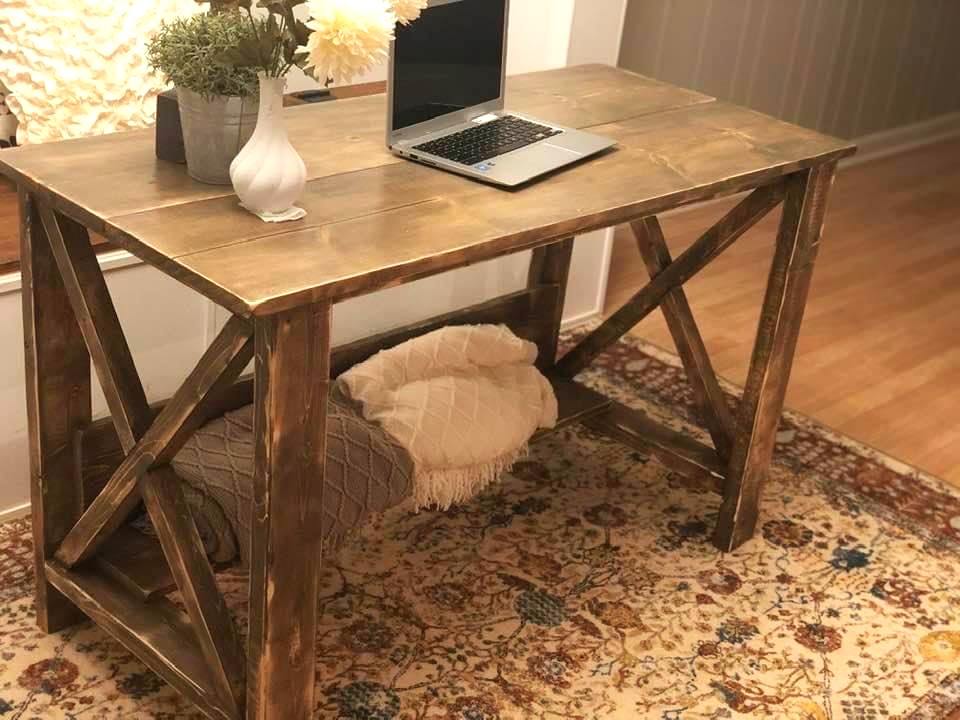
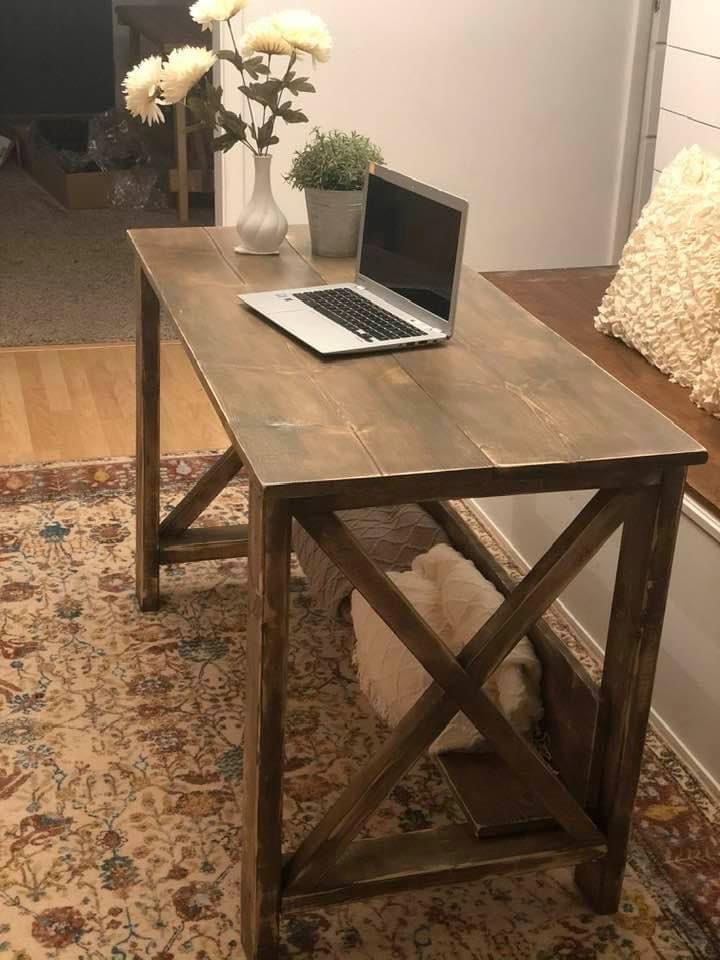
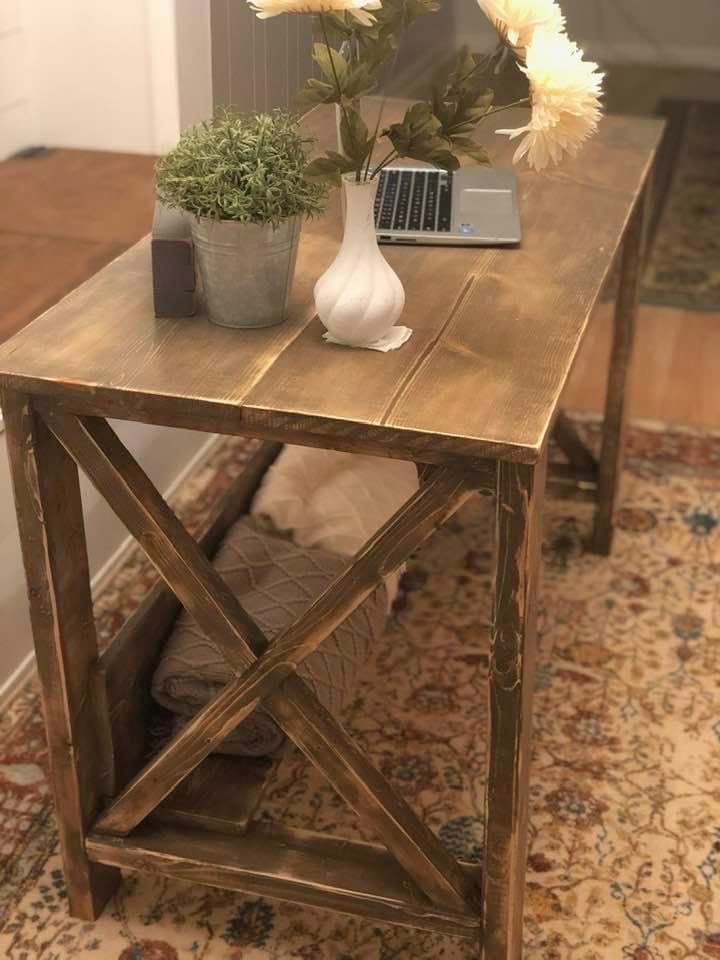
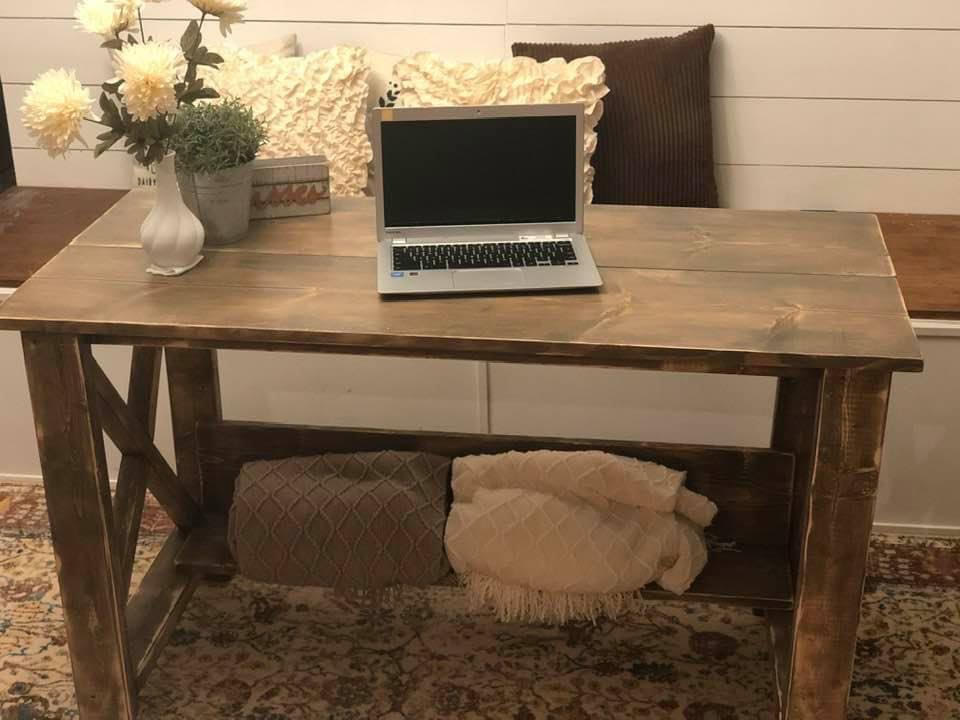
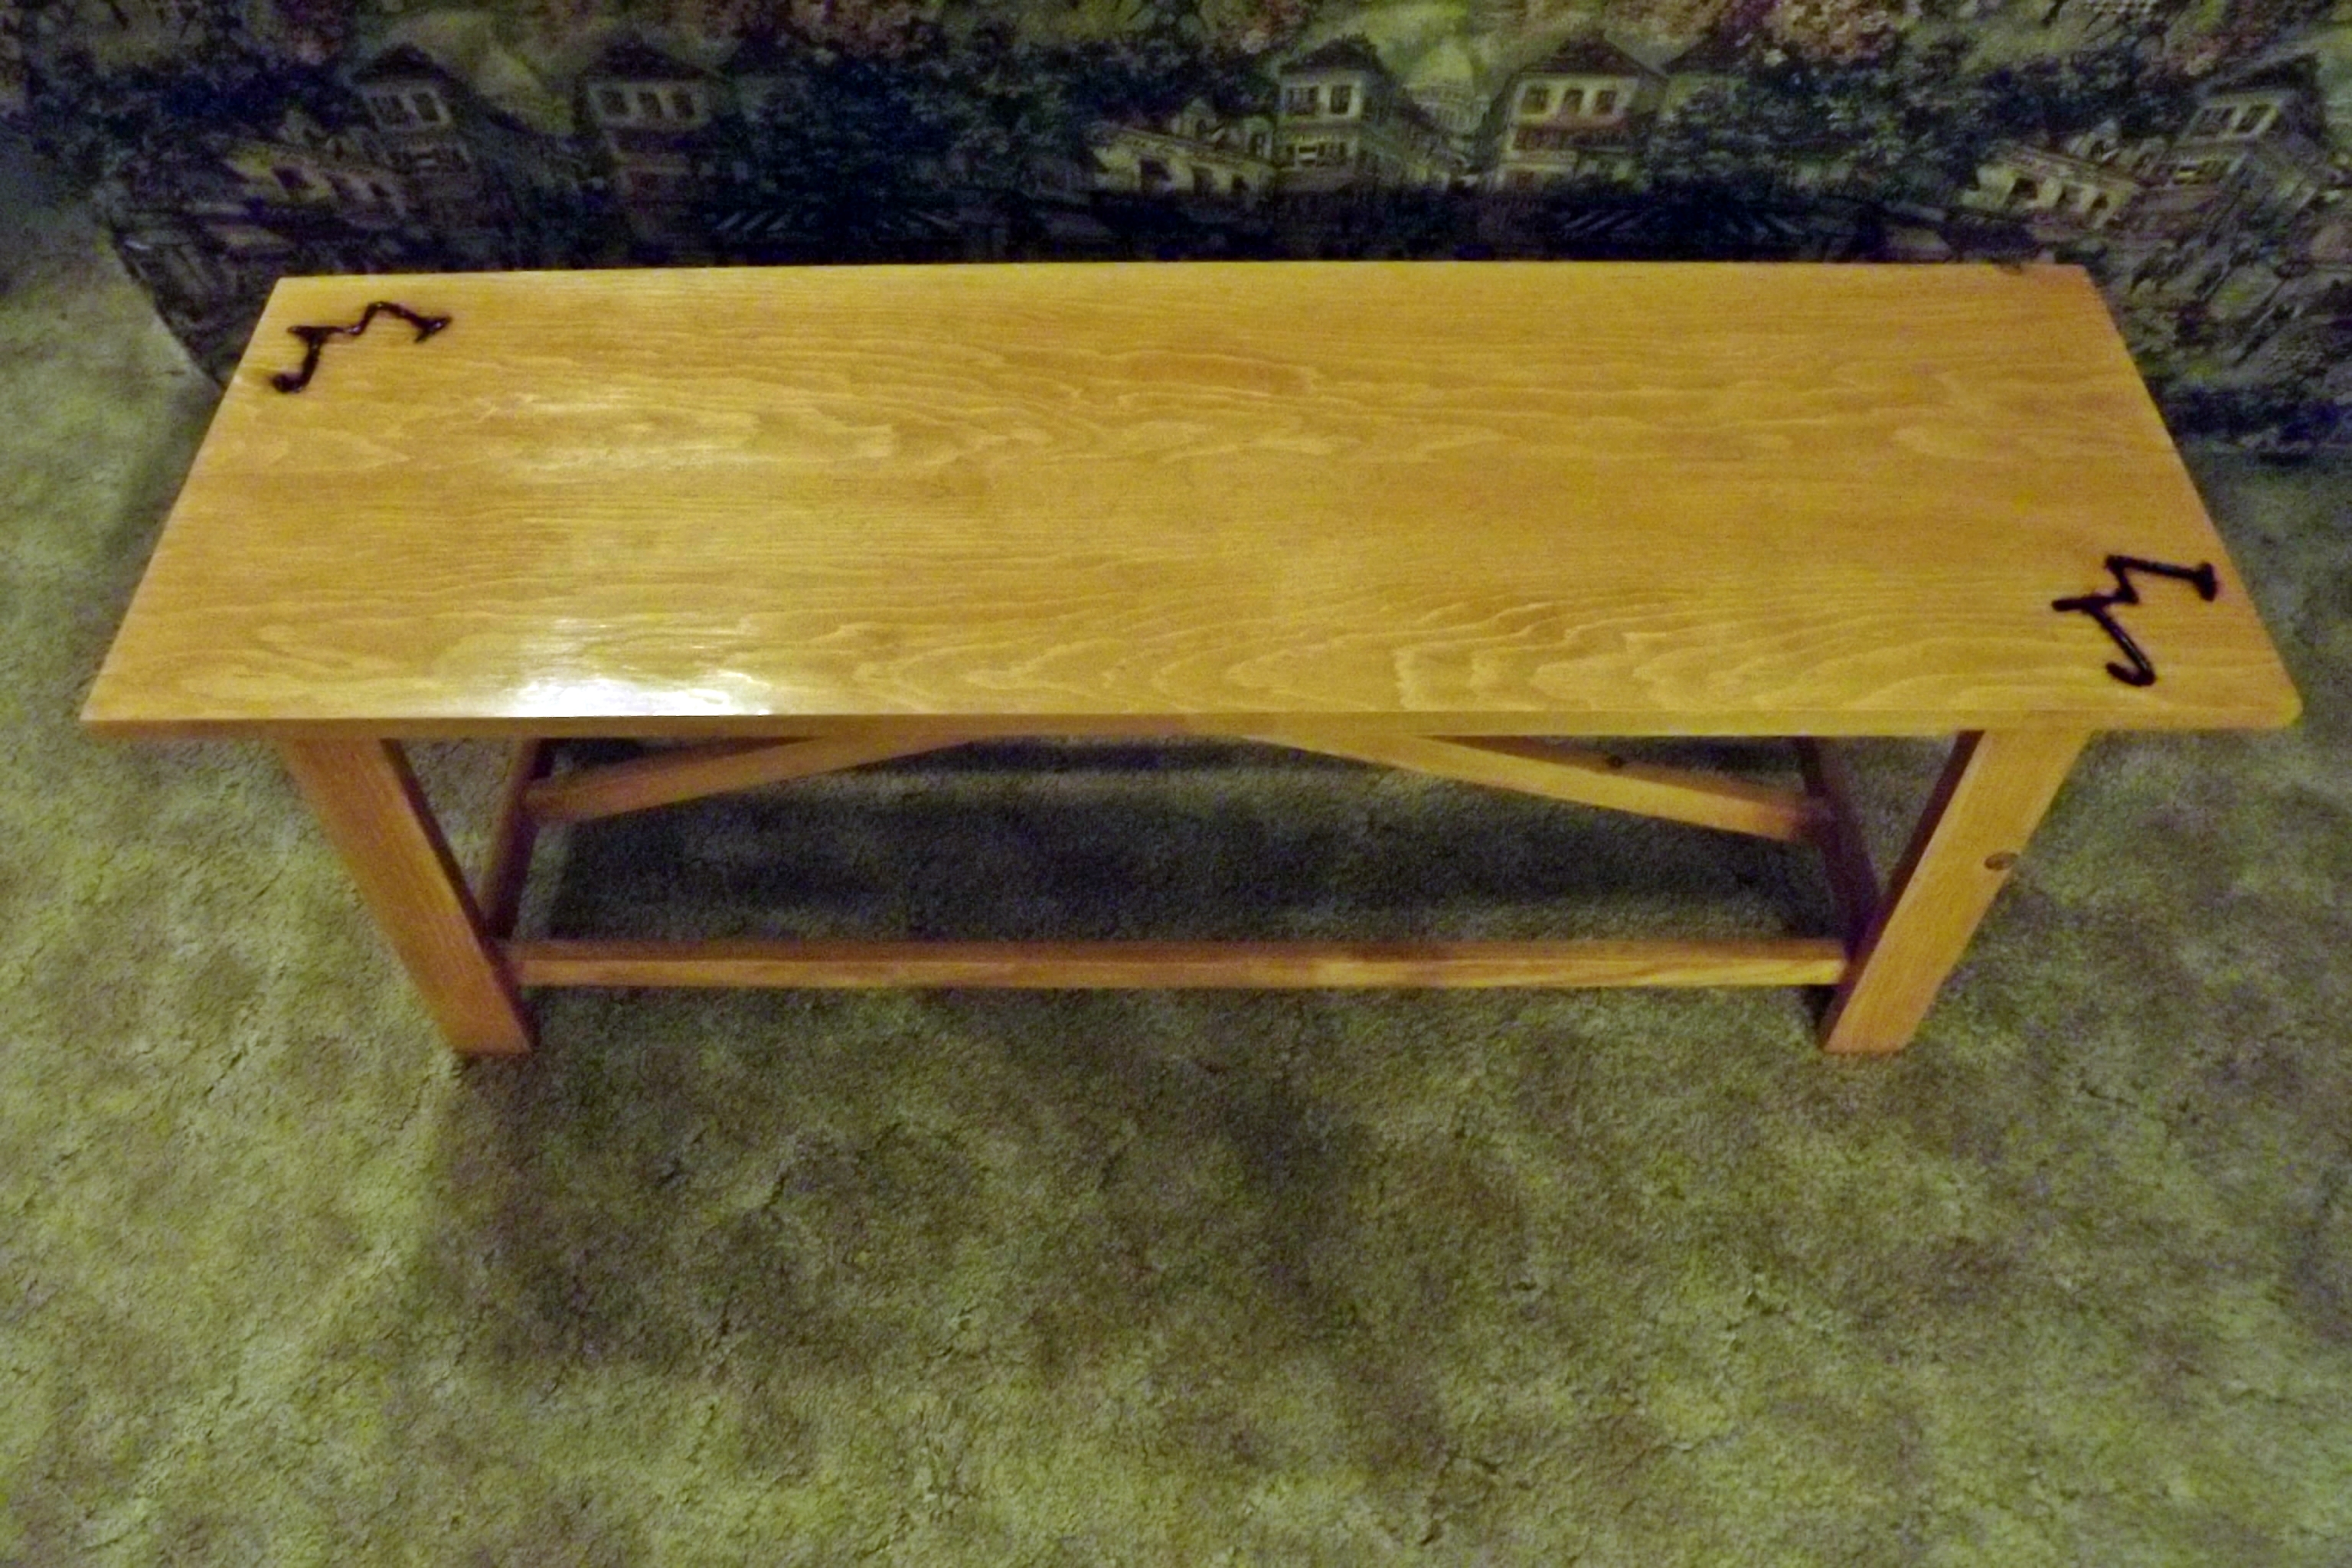
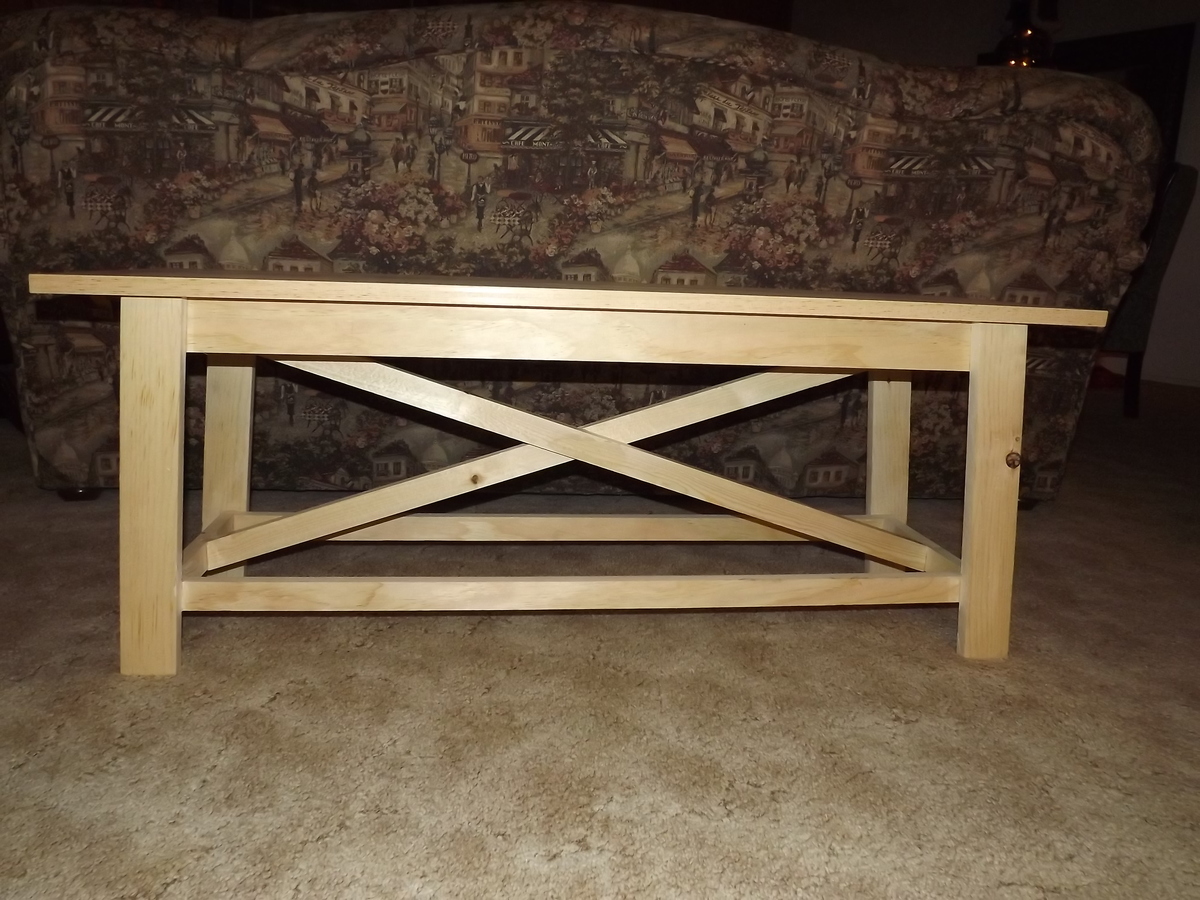
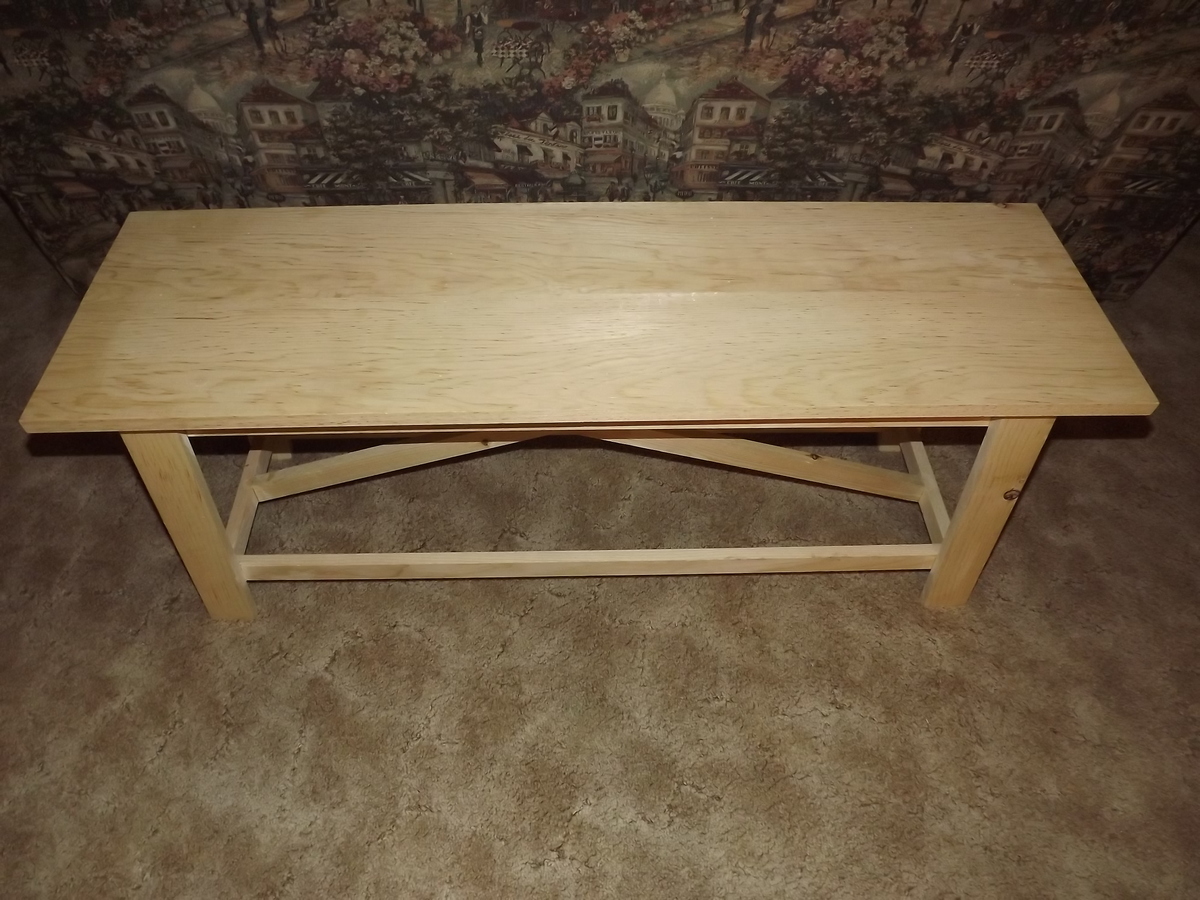
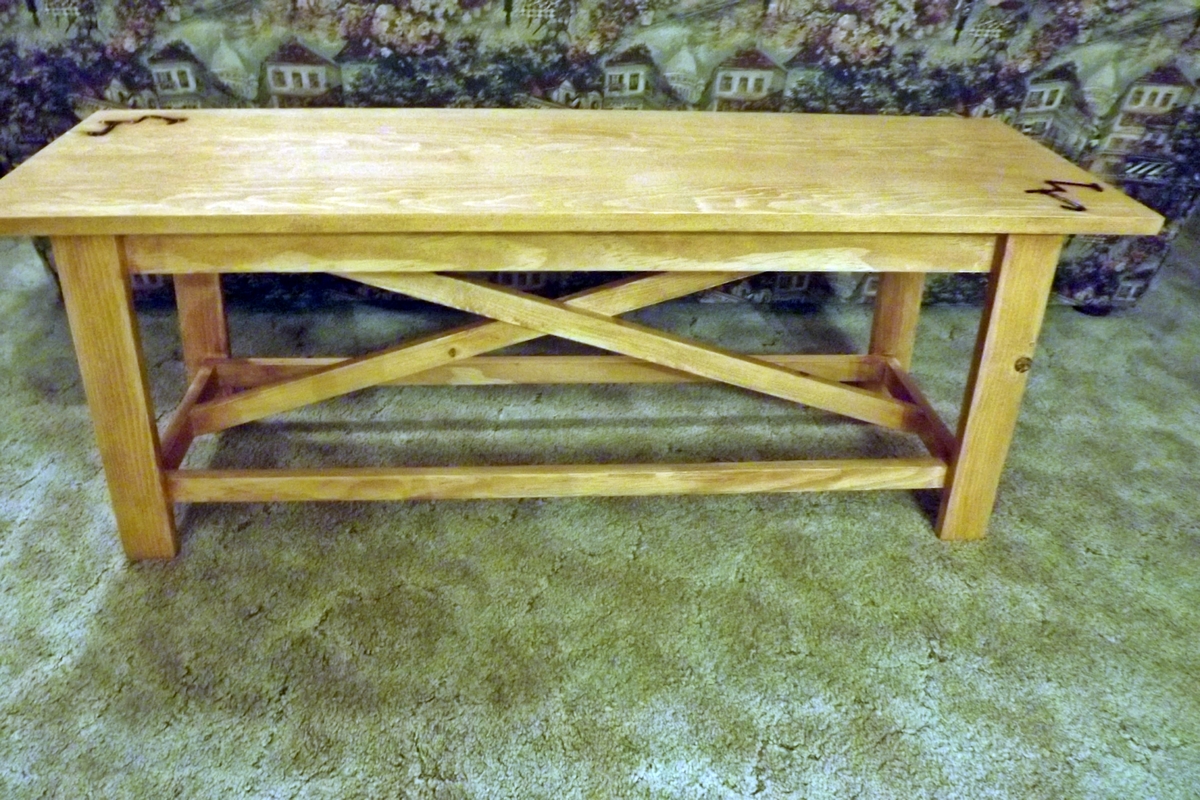
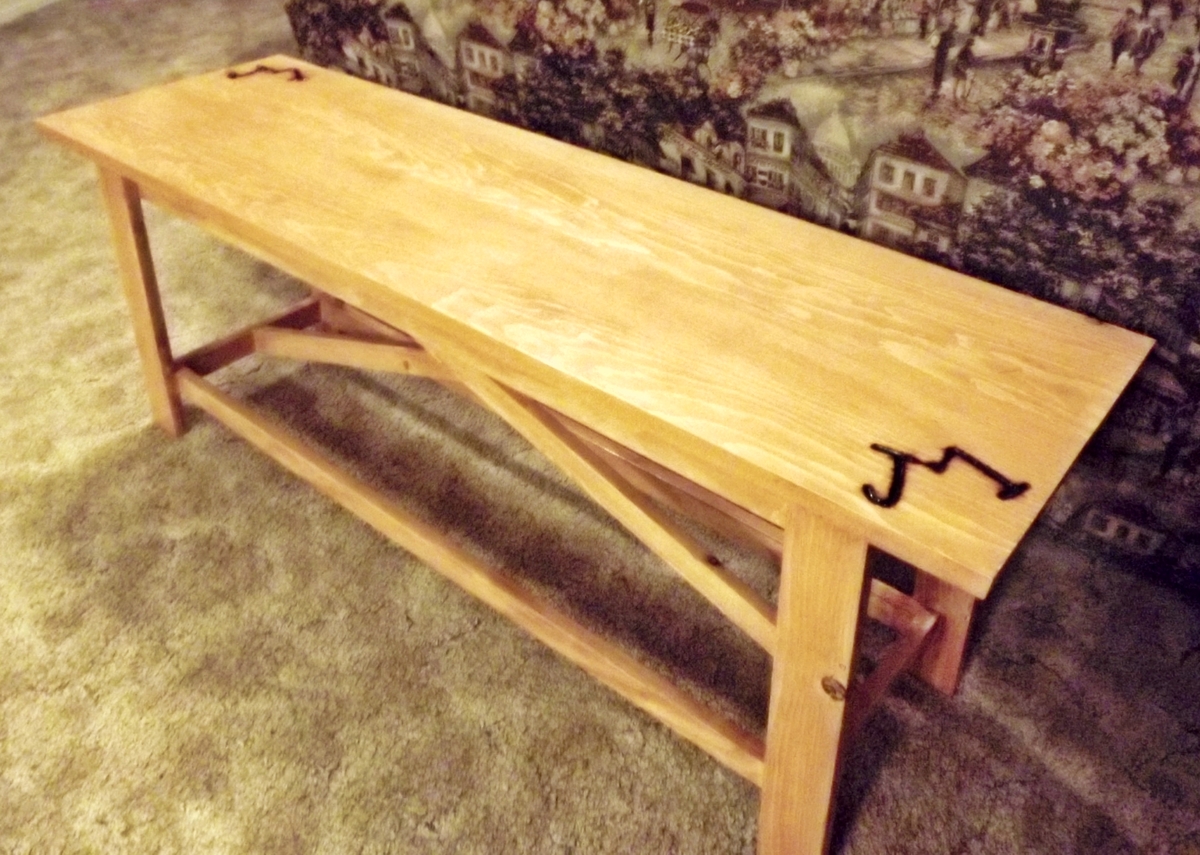
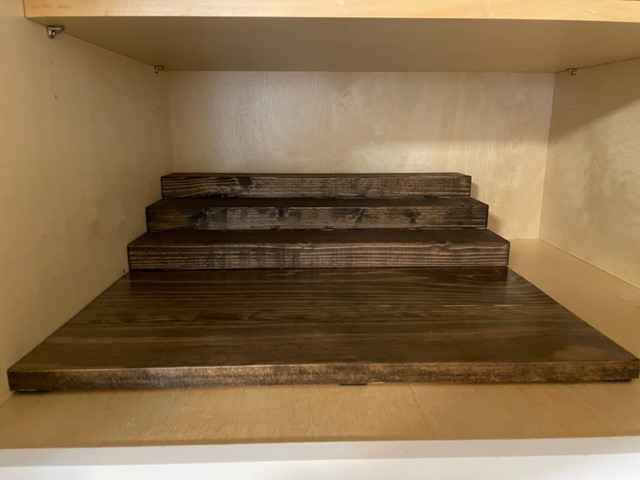
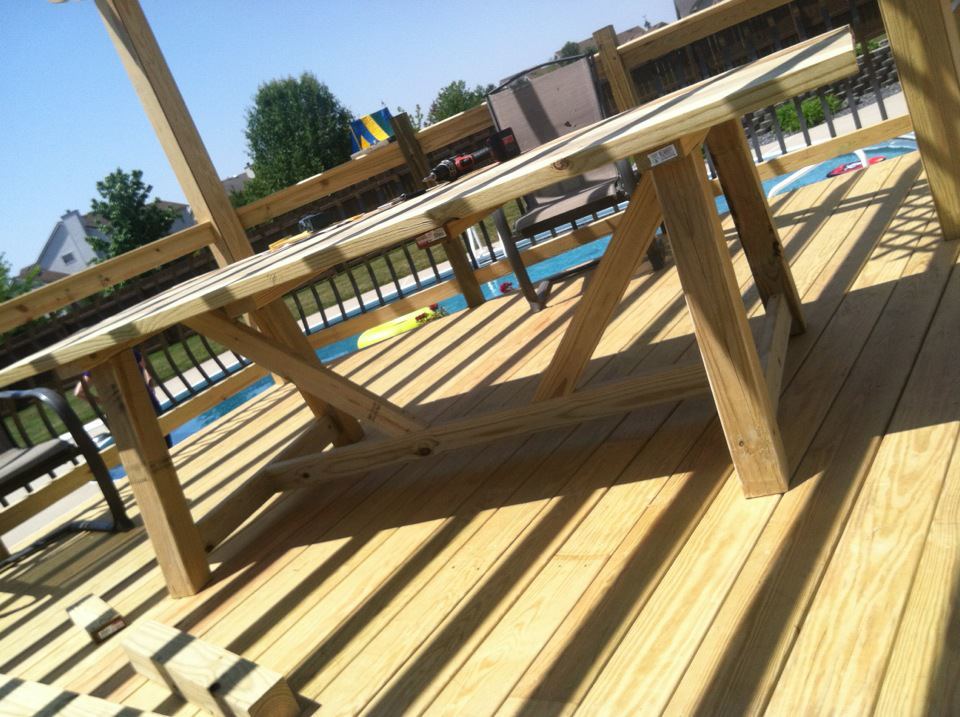
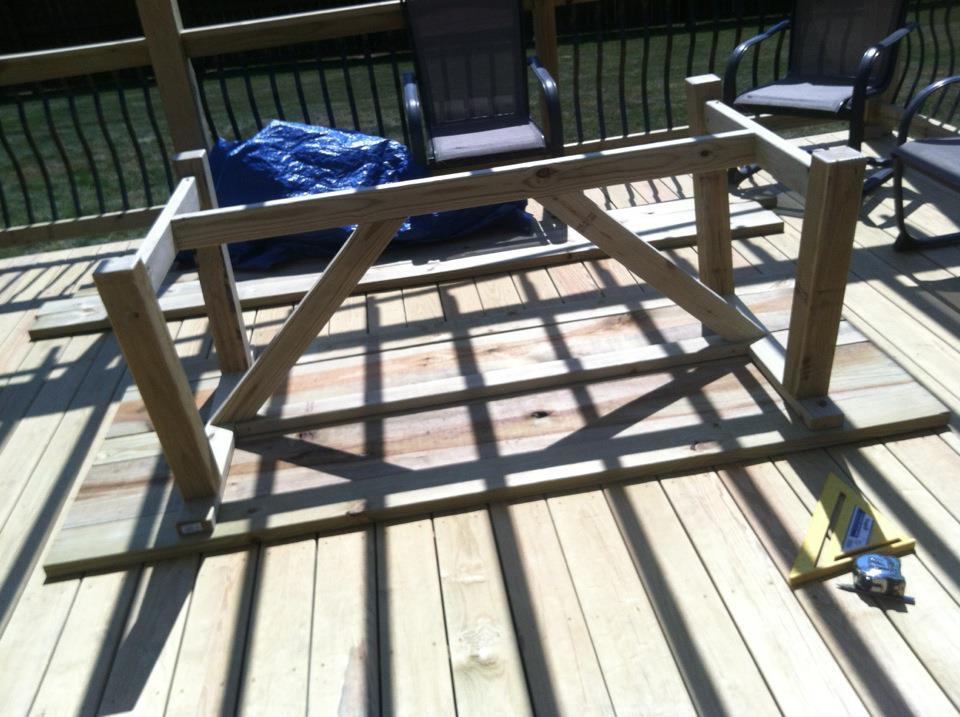
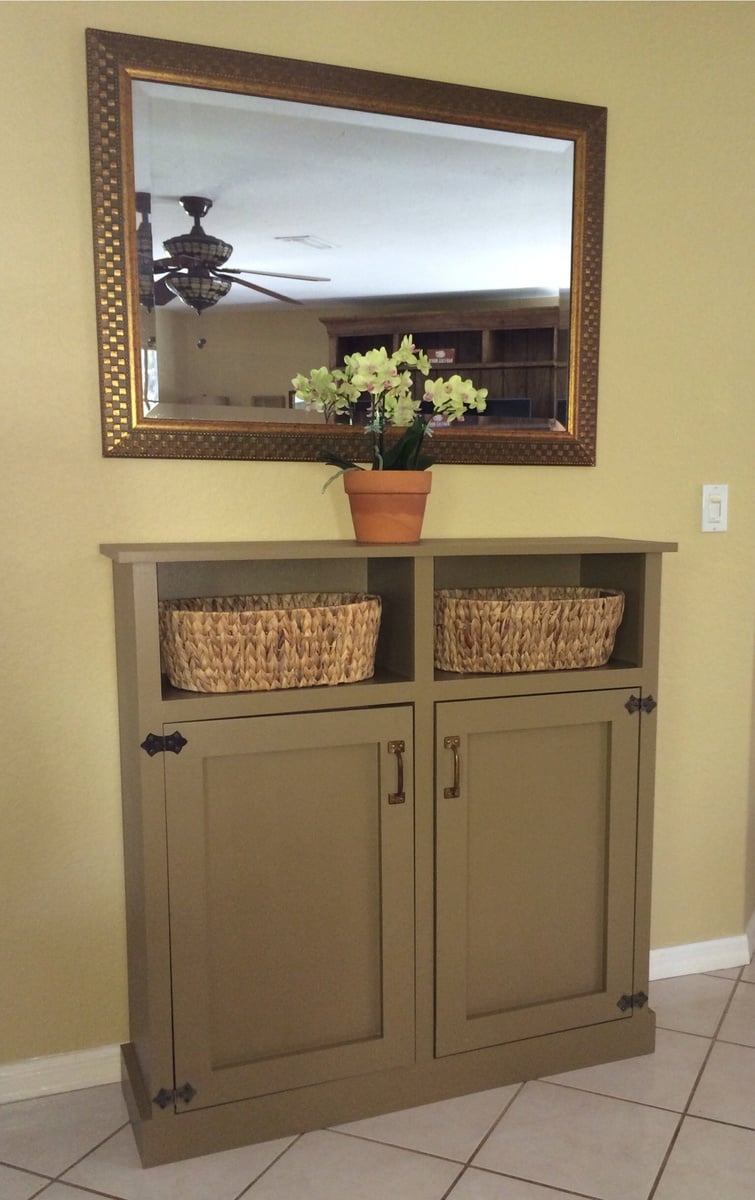
Community Brag Posts

Storage Daybed

Submitted by hilt_m on Thu, 08/09/2012 - 08:06

This is the 3 box storage daybed, as you can see I added an armrest on one end as it sits in a corner.

Tips for building this project: Buy a decent circular saw, I used a cheap one and really regretted it. Square your timber, I ended up squaring my timber using a sander, which wasn't as easy as it sounds. Check you measurements, the bottom of one of my boxes was a little short because I didn't double check the measurements and I ended up having to fix it with an extra piece of timber. 2 or 3 saw horses are a real help and lots of clamps.

I used the cutout outline from the link below but had to convert it all to metric since I live in Sweden, also a standard single mattress here isn't as wide but longer then the one used in the linked project. I didn't take this into account and ended up having to buy an extra piece of plywood.
http://ana-white.com/2009/12/plan-stratton-daybed-as-request-by-you.html

I got the single mattress and the pillows from IKEA.

This was a lot of fun and I look forward to spending many hours relaxing on my new daybed.

Built from Plan(s)
Estimated Time Investment
Week Long Project (20 Hours or More)
Finish Used
white paint
Recommended Skill Level
Beginner

Comments

Rusty Cottage

Thu, 08/09/2012 - 10:48

Nice job on the daybed, I like that you got through all your "dilemmas".

Your saw's bevel function (hopefully it has it) might be nicer than mine but you can try to adjust it.

I have a $50 dollar skil saw and my only complaint is how difficult it is to set the base plate 90 degrees to the blade. I even take care to set the circular saw between two 2x4 when not in use so that setting it on the ground doesn't change the angle of the foot plate to blade. I can cut 90 degrees with a speed square as a guide, but I can't adjust the saw right.

I will be starting assembly of my first furniture project with the wood I cut two days ago. I will see how the pieces go together.

Best of luck on your next project!

hilt_m

Sat, 08/11/2012 - 06:27

Thanks, I'm pretty pleased with it. Yes that was one of my problems as well, trying to get the base plate set at 90, I found that if I leaned on it too much it flexed a bit which isn't good. Also by the end I had a pretty blunt blade or I was getting pinching or something thing because the plywood had some shocking edges with splintering. What I would really like is a proper saw table, but for now that's just a dream. Good luck on your project.

AmandaKay

Wed, 08/21/2013 - 10:50

Hi there! I was hoping that someone on here had added the armrest! Would you be willing to post a pic of the end of the bed so that I can see how you configured it? Im goint to be starting this project soon for my daughter, and need to strategize some armrest ideas for hers.

Thanks so much!!

Pallet Nightstand

I used pallet wood to create a completely different look for this project. The frame and some of the trim pieces stayed the same, but there were a few edits made to support the pallet top, sides, and shelf. In addition, the drawer design changed a little bit to allow a false front instead of the inset one from the original plan.

More info in the link below!

Estimated Cost
$20
Estimated Time Investment
Day Project (6-9 Hours)
Finish Used
Minwax Natural
Recommended Skill Level
Beginner

Personalized vintage ammo crate

Submitted by OWJ3 on Sun, 09/04/2016 - 16:43

Created this as a gift for my uncle. I recycled an old pallet for the material. I used his birth date to create the ammunition shell specs and his name as the manufacturing company.  I found the vintage hardware on eBay and added a sliding shelf inside.  Lettering was created with stensils and spray paint. I distressed the lettering to match the vintage feel of the piece. 

Estimated Time Investment
Weekend Project (10-20 Hours)
Recommended Skill Level
Beginner

Comments

Roger C

Sun, 01/12/2020 - 15:33

Hiw can i see instructions  or dimensions  for this crate . id like to try it

Tall Loft Bed

Submitted by Anonymous (not verified) on Tue, 04/09/2024 - 07:27

My husband, Daughter and I built this loft bunkbed for our seven-year-old granddaughter‘s birthday. It turned out wonderful and she squealed when she saw it! Thanks so much for your online plans.

Jan Ott

Mudroom Storage Lockers and Bench

Submitted by Anonymous (not verified) on Fri, 04/19/2024 - 14:06

I really appreciated your garage/mudroom project guidance. I stumbled on it as I was trying to figure out how to design my project. I basically copied yours!! 😁

You also turned me on to pocket hole joinery. Previously I have used a biscuit joiner and find it very challenging. Thank you, I am a convert!

Don Arrowood

Large Modern Porch Swing + Ghetto Stand

Submitted by mrhelton on Mon, 09/10/2012 - 17:04

Made the swing then just kinda came up with my own frame.

Built from Plan(s)
Estimated Cost
$110
Estimated Time Investment
Weekend Project (10-20 Hours)
Finish Used
Just some semi gloss outdoor paint. Going to paint the frame in a few minutes.
Recommended Skill Level
Beginner

Comments

mikejillnelson

Tue, 09/11/2012 - 05:04

I have been considering making this bench for a friend but I wonder how comfortable it is...is it comfortable? Does it require a cushion? Is the back high enough to be comfortable leaning back in it for long periods? Also - how long did you wait to paint your pressure treated wood? I just recently learned you have to allow pressure treated wood dry out before painting...no one seems to tell you how long you have to wait though. Thanks for any help/opinions you share.

mrhelton

Wed, 09/12/2012 - 19:38

Honestly, it's not very comfortable. I think the seat part is a little too long, and the back is a little too short. We're going to put a beefy cushion on the back, and I think that's going to help because it will push us forward a little bit. It's not bad to sit in, but I definitely think it could be tweaked.

I let the wood dry out for 4 days (but I cut and assembled it the day I bought the wood). I'm not sure if that was long enough of not, but I was getting impatient, and, like you, couldn't find any real answers on drying time. It wasn't really that wet to begin, though. Hope that helps!

tracysmith

Thu, 09/13/2012 - 00:04

I thought my kids and I were the only ones who used "ghetto" as a way to describe things... but I have to say that your frame looks great, it serves its purpose so I have to respectfully disagree with you, it doesn't look anything like "ghetto" :-)

Joe (not verified)

Tue, 01/22/2013 - 10:02

Hey, can you post the dimensions of your frame? its exactly what I'm looking for. Do you have it screwed down to the deck? will it tip over?

Joe (not verified)

Tue, 01/22/2013 - 11:27

Hey, can you post the dimensions of your frame? its exactly what I'm looking for. Do you have it screwed down to the deck? will it tip over?

Sandpit with built in seats and lid - metric

Submitted by mrs_dt on Tue, 07/08/2014 - 01:49

This was our first build from this website and we are so pleased! Having seen very involved plans on an Australian website for a similar sandpit, I was so pleased to come across this version, with its far simpler design!
We wanted a slightly bigger sandpit, so I needed to do some modifications, and while I was enlarging it, I also converted to metric sizes, and designed specifically for the timber I knew I could buy locally (very obscure and inconsistent seeming German sizes). So the end result is a 1.5x1.5m sandpit, that has so far had 6 kids playing happily in it at once!
I've put in the drawings I used, and the cutting list for larger sizes in case anyone else is working in metric, or wants a bigger size!
Our other modification was to offset the shorter sections of the base to run along the front plank of the bench seat - there were two main benefits for this - we need a lot less sand, as there is none wasted under the seat, and the seat is supported and can't bow downwards!
The dimensions and layout we used are in the images.

Supplies

Timber
2 - 200 x 40 x 3000mm
6 - 120 x 24 x 3000mm
1 - 80 x 50 x 3000mm

Hinges
12 - 140mm long (the original design had 8, we went with three per edge to allow for the extra width)

Self tapping decking screws
18 - 5 x 80
48 - 5 x 50
96 - 3 x 20 (or enough for your hinges, depending on the design)

Paint
3 - 375ml PU Acrylic Paint, suitable for exterior use (top planks and seat supports)
1 - 750ml PU Acrylic Paint, suitable for exterior use (base)

Weed matting and staple gun

Sand
I calculated I would need 20 x 25kg bags - in the end we needed 11 - don't ask me where we went so wrong!

Cutting list

2 - 200 x 40 x 1500 (long sides of base)
2 - 200 x 40 x 1415 (short sides of base)

12 - 120 x 24 x 1495 (top slats - just under half a plank, to allow for waste)

4 - 80 x 50 x 245 (armrests / seat braces)
4 - 80 x 50 x 495 (back supports of seats)

I gladly paid 5 Euro for the wood to be cut in Hornbach - it should have been more than this, but the guy was generous!

12 hinges (the original design had 8, we went with three per edge to allow for the extra width)

On Sunday we had the idea, on Monday I drew up the plans, on Tuesday I went shopping! Once all our wood was home safely, we sanded it down - most edges weren't badly finished, but there were a few splinters that needed getting rid of!
The next two nights Mr W gallantly set to work with the paint brush. After two nights, the wood all had two good coats of paint and we were ready to start assembling on Friday.
I pre-drilled the base of the bench before the second coat of paint - three holes for each butt joint - with some careful measuring this made screwing the base together really easy!
The top planks were also pre drilled, but there unfortunately my tiredness made me make mistakes, and some had to be re-drilled! Spacing the planks out took a lot of time, but I am glad I made the effort. I used cereal box, and experimented with different numbers of layers - I knew I wanted a theoretical 5.4mm gap, but it took some time to get the right number of layers of carefully creased and concertinaed card!

Having got our spacing wedge sorted, we screwed the blue planks in place at either end of the base. We then assembled the green seat section, and the blue/yellow back rest. Following a tip from the comments section, we added the hinge to the seat/back combo first, as this ends up being on the underside. Once those two hinged sections were made, they were then laid in place on the base (card wedge spacers in place) and then the final hinges added. The final assembly took about 5 hours - but this was partly because we started outside, then had to move everything inside when a huge thunderstorm rolled in!

The next morning we got busy with the staple gun and tacked weed matting over the base, then it was hauled in to position and filled up! For us getting this done and dusted was important, otherwise it could have dragged on a lot, but we are terribly proud that it was done in less than a week from being fist conceived!
I hope the metric/enlarged plans are of use to someone else too. One other idea we had, which we didn't get round to building in, was a support bar to be fitted when you close the pit, so the kids can play on top as a stage when it is not being used for a sandpit!

Built from Plan(s)
Estimated Cost
150 EUR
Estimated Time Investment
Weekend Project (10-20 Hours)
Finish Used
Painted with two coats of Polyurethane Acrylic paint
Recommended Skill Level
Beginner

Pottery Barn Style - Full Size Headboard

Submitted by Oshynlover on Thu, 10/13/2016 - 03:21

My very first big project!  My 6 year old daughter was in need of a new bed and a room makeover so I decided to build her a headboard which then turned into a whole new room!!! 


I really wanted it to it to have some dimension to it so I added some moldings and a mini shelf to the top of it.  I basically just designed it myself, based on what some of the $1000+ pottery barn ones look like and spent hours at the hardware store finding the perfect moldings.  


For the main backboard I used plywood, however to keep it light I used a sheet of molding and added a round edge to make it seamless.  


My my daughter was so excited Mommy built her whole room. 

Estimated Cost
$150 The Moldings added cost but can be made for less than $100 without it. But why would you??? It looks SO much better!!
Estimated Time Investment
Day Project (6-9 Hours)
Finish Used
Behr Semi Gloss
Recommended Skill Level
Beginner

Comments

Wood Ledges

Submitted by SaraLodise on Sun, 07/13/2014 - 19:55

A nice quick build to add some decoration to the house. I made three ledges at 80" long. I had initially made them for a different room that could only allow 80" ledges, but ended up not being able to put them there because the wall was too curved to attach the ledges. Ledges have two coats of Miniwax Special Walnut Oil stain and Polycrilic.

All the "art" things were painted on old scrap from a years worth of ana-white projects. I used the three different stains I had left over (Miniwax Aged Oak Gel Stain, Weathered Oak Oil Stain, & Special Walnut Oil Stain) and alternated them on the three different types of wood scraps (Oak, pine, & maple). Then I "distressed" them with physical abuse and watered down acrylic craft paint. The designs were also acrylic craft paint. Then I sanded it all down to give it a worn look.

Built from Plan(s)
Estimated Cost
$37 in whitewood boards
Estimated Time Investment
Day Project (6-9 Hours)
Finish Used
2 coats of Miniwax Special Walnut Oil Stain + Polycrylic
Recommended Skill Level
Beginner

Comments

Collapsible Table for Craft Fairs

Submitted by Anonymous (not verified) on Mon, 06/03/2024 - 08:58

My wife wanted a collapsible table for her craft fair sales. I put a wooden dowel in the opening for her to drape packing paper over and hooks on the sides for gift bags. Easy plans to follow and it turned out great!

Todd Martens

Built from Plan(s)

Outdoor patio furniture

Submitted by Anonymous (not verified) on Fri, 07/24/2020 - 12:19

Thanks Ana, for the great plans and inspiration!

Estimated Cost
$450
Estimated Time Investment
Weekend Project (10-20 Hours)
Finish Used
Minwax stain & polyurethane ( Bombay Mahogany)
Recommended Skill Level
Beginner

Laundry Basket Tower

Submitted by KeithT on Wed, 11/16/2016 - 08:32

I built this for our laundry sorting needs using the Brook 4 tall and lengthwise plan. I modified the plan to take the baskets width wise, added a little more distance between baskets, and added guide rails above each basket (except the top one) to allow them to be partial pulled out without flipping out. I also beveled and slightly rounded the front of the guide rails just for looks. I think it turned out pretty good for my first woodworking project.
 

Built from Plan(s)
Estimated Time Investment
Weekend Project (10-20 Hours)
Recommended Skill Level
Beginner

Folding Work Bench

Submitted by Anonymous (not verified) on Tue, 08/11/2020 - 16:03

First build.

The plans and cut list were a tad off but I made a saw guide a cut it down from 36 to 24 after assembled.

I had HD do all my cuts but have since done my own!

Built from Plan(s)
Estimated Cost
Not sure bought tools, wood and hardware at same time ($160)
Estimated Time Investment
Afternoon Project (3-6 Hours)
Finish Used
None
Recommended Skill Level
Beginner

Sweet Pea Bed

Submitted by Anonymous (not verified) on Sat, 11/26/2016 - 16:24

This project cost us about $850CAN and took us around a week (5ish hours a day) to complete. My husband and I are definitely not carpenters so it's not perfect but it's pretty amazing :)

we made several alterations to the plans including making the bottom bunk larger to accommodate a double/full size mattress. We also made the "door" to the bottom bed larger with an opening of 30". Another alteration was we dropped the mattress cleats to 9" off the ground so that the mattress dat down in the bed. The bed is for our 2 year old so we thought she would have trouble getting in if it was much higher. This eliminated the storage area underneath but she has a large closets so we didn't think it would be an issue. 

The plans were great and pretty easy to follow. We are over the moon with how it all turned out! 

Estimated Cost
$850
Estimated Time Investment
Week Long Project (20 Hours or More)
Recommended Skill Level
Intermediate

DIY Wood Christmas Tree

This project was such a fun challenge for me!  I needed a table top version of this great Christmas tree shelf, so I modified the plans just a bit, and created an additional shelf. The little ornament blocks were fun to make too! 

Built from Plan(s)
Estimated Cost
$12
Estimated Time Investment
Day Project (6-9 Hours)
Finish Used
MinWax Dark Walnut
Recommended Skill Level
Intermediate
Back