Community Brag Posts

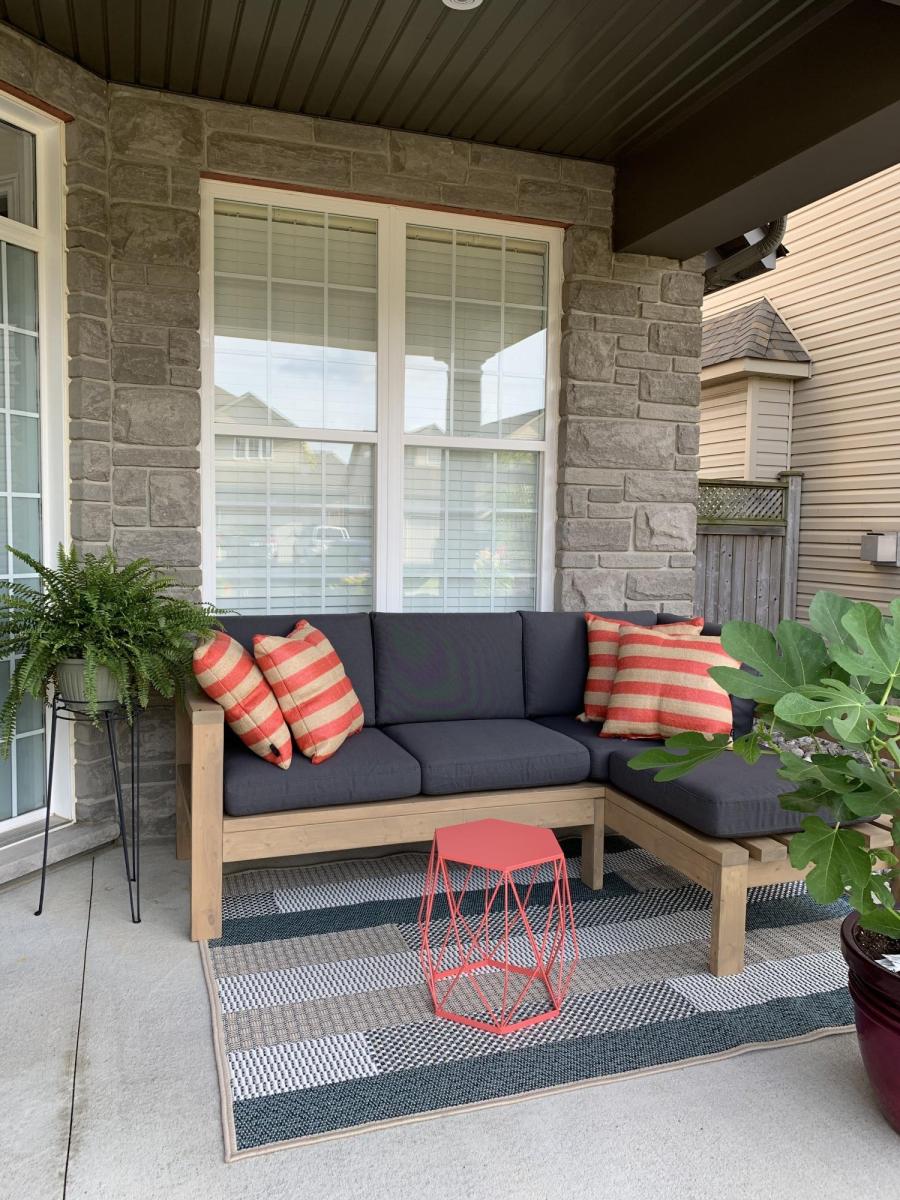
Outdoor Sofa - Front Porch

Submitted by mclaudeg3 on Fri, 11/06/2020 - 16:47

This project was quite easy and did not require many tools. The plan allowed me to adjust the measurements easily so it could fit in that space. I used regular 2x4’s and treated the wood with Mountain Ash colour in a semi-transparent stain from Sherwin Williams, I just love the colour! I build 2 - 2 seaters exactly the same. The one side has no arm, as I wanted it to look like a lounge chair. I love to sit in the corner and stretch my legs 😊. I bought the cushion covers from IKEA, and got good quality foam.

Estimated Cost
Wood ~$300
Estimated Time Investment
Weekend Project (10-20 Hours)
Finish Used
2 coats of semi-transparent Mountain Ash stain from Sherwin Williams.
Recommended Skill Level
Beginner

Comments

Seasonal And Holiday

End Tables

Submitted by bozarthm1 on Sun, 11/15/2020 - 16:22

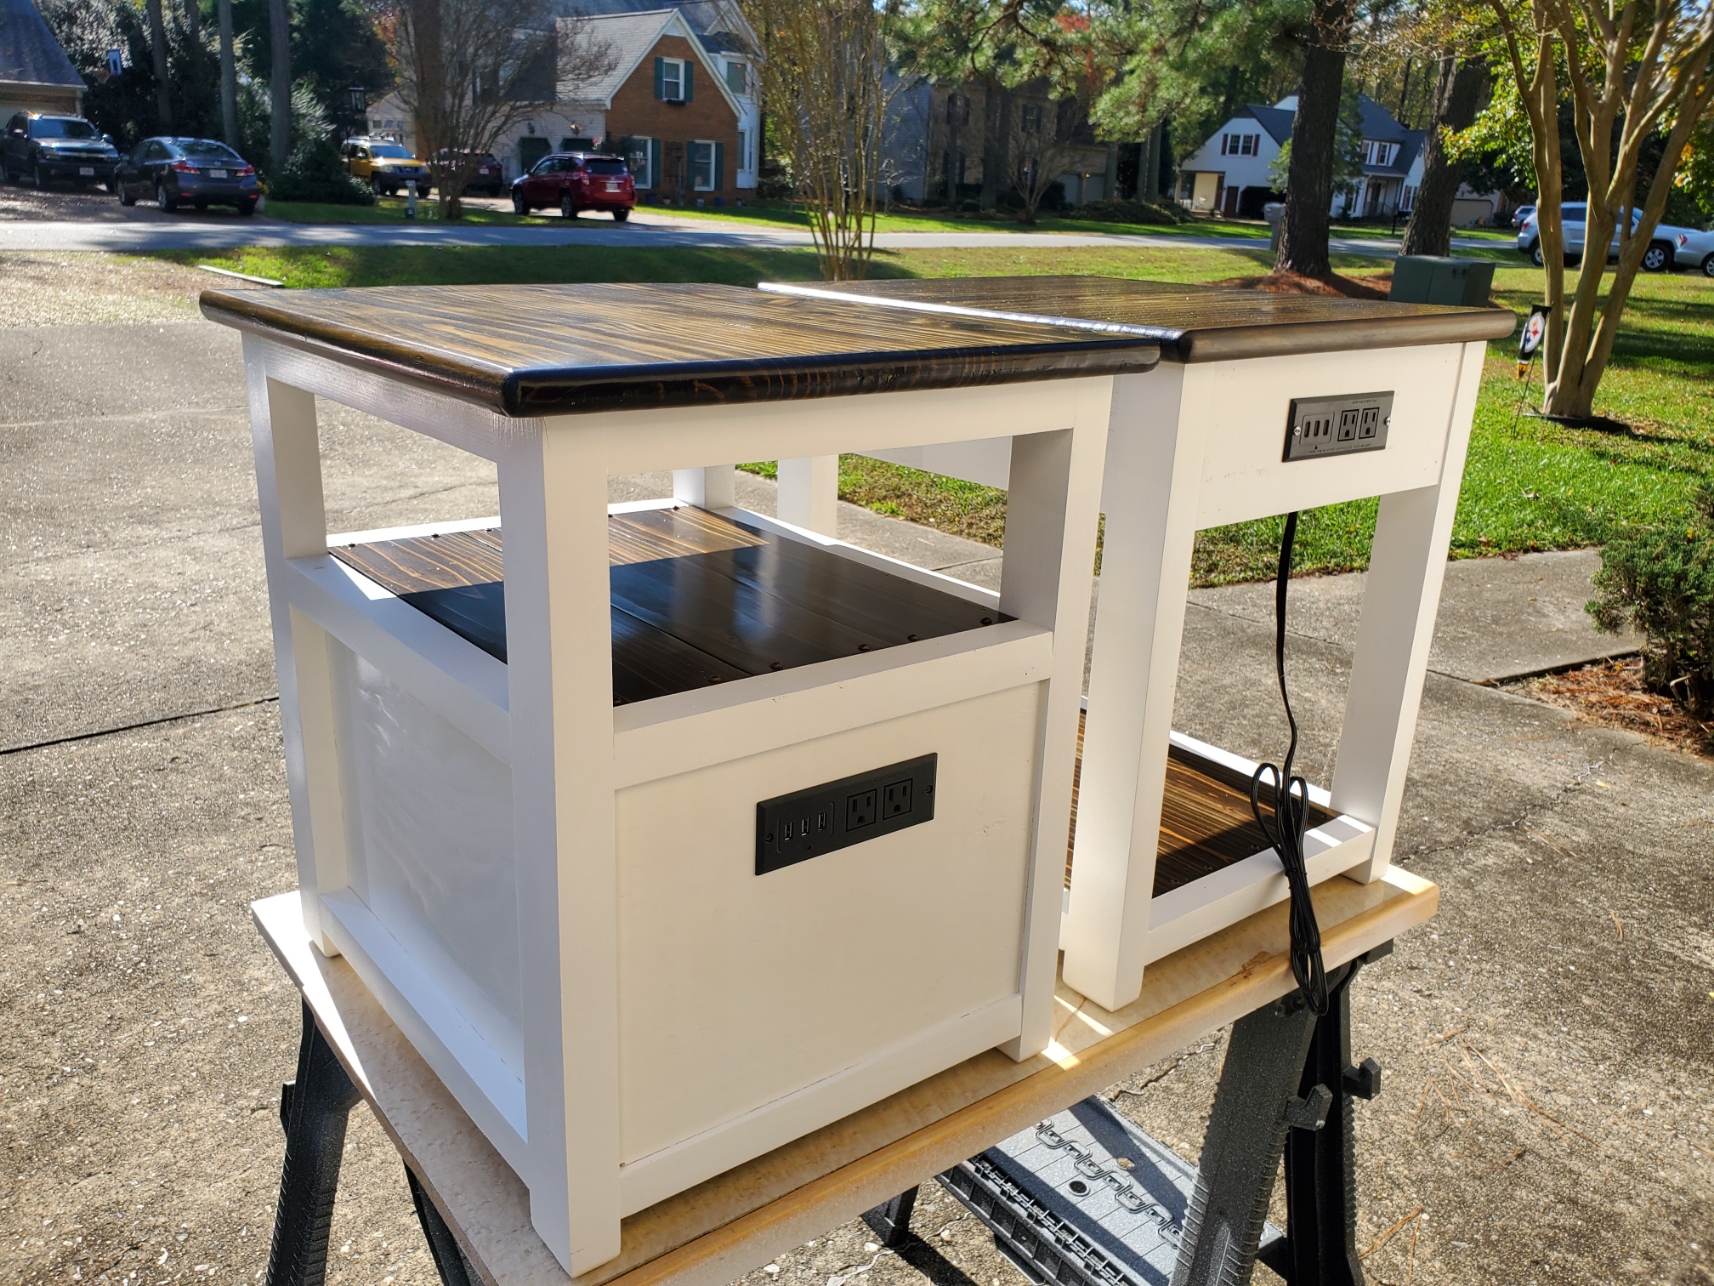
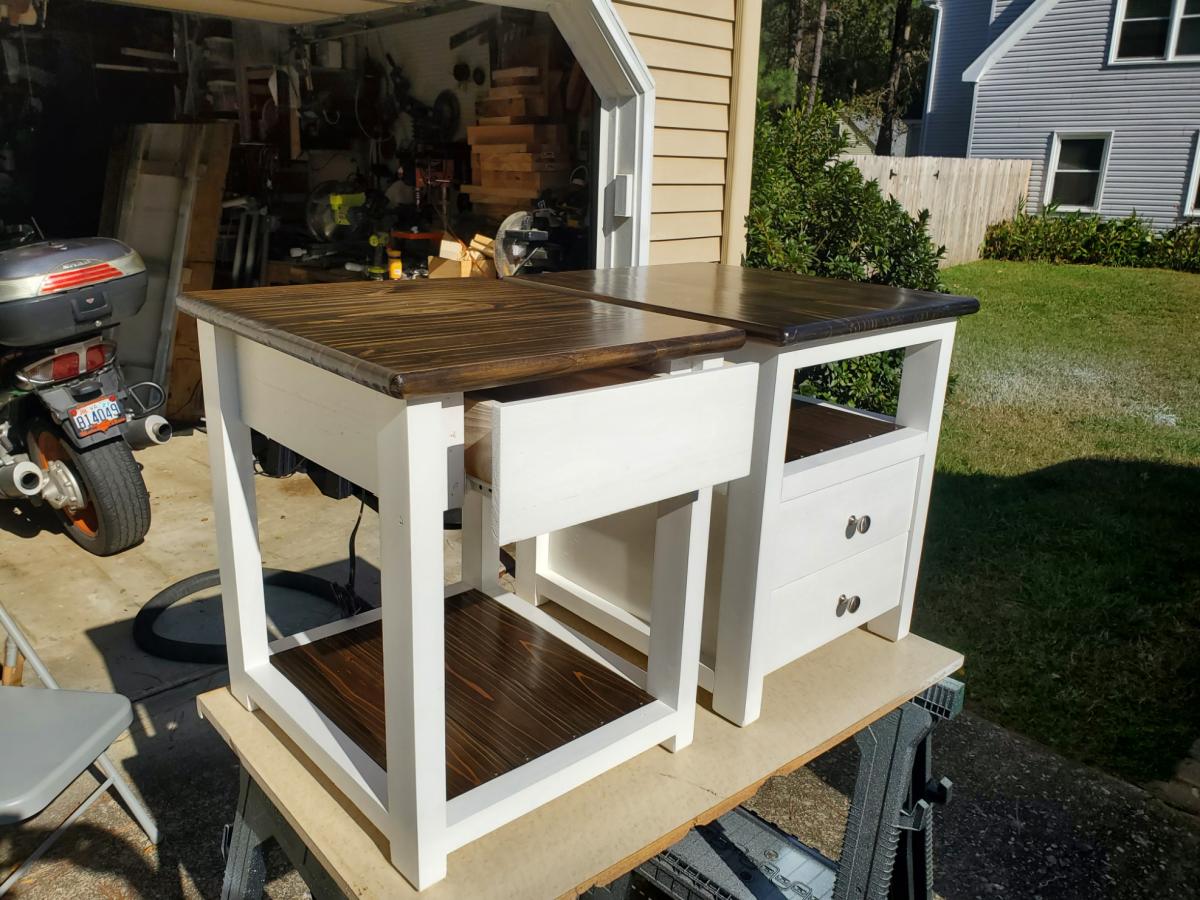
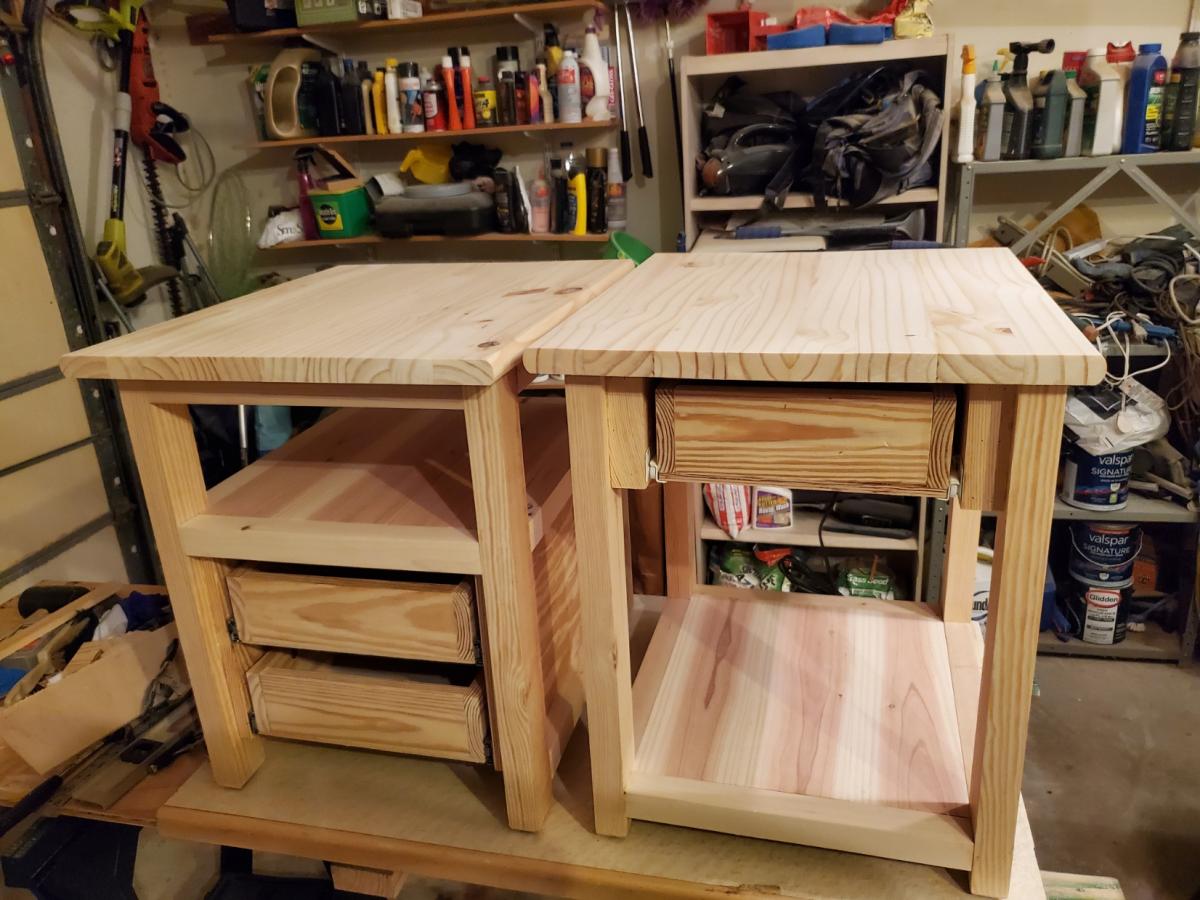
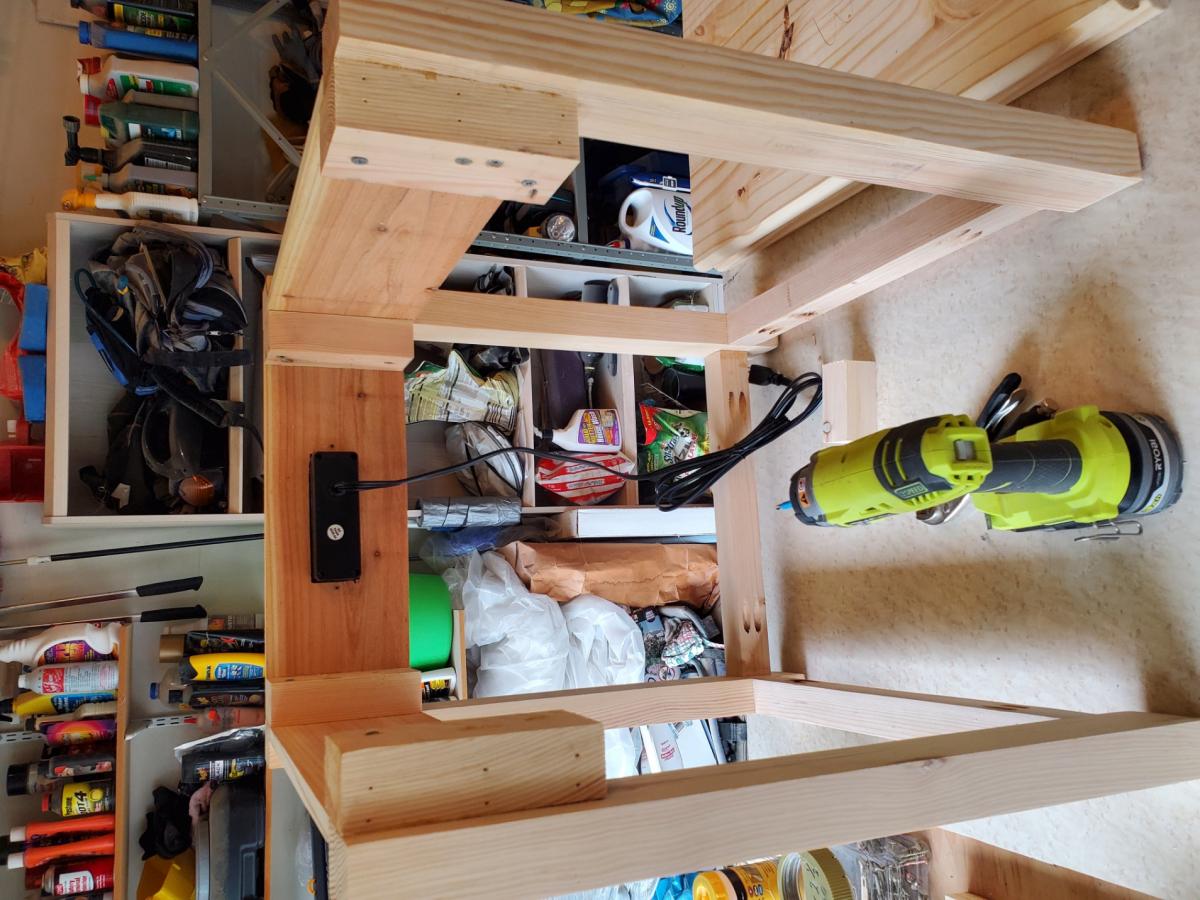
Built these two end tables from Ana's nightstand plans. Modified to add a shelf and drawers. I used stair treads to make the tops which give a nice thickness and strength. The shelves are cedar fence pickets. Shelf and tops are stained Jacobean with a semi gloss poly finish. Had to watch Ana's videos several times to get the build right, but spent much more time on the finish than the build. Added electric extension/usb outlet. Really happy with the project. THANKS Ana!

Estimated Time Investment
Week Long Project (20 Hours or More)
Finish Used
Jacobean stain, semi gloss poly, white primer and paint
Recommended Skill Level
Intermediate

Comments

bozarthm1

Sun, 11/15/2020 - 16:28

Project for my son. End tables with one and 2 drawers. Shelf and tops stained with poly, frames and drawer primed and painted. Tops made from Stair treads. they are 12" edge glued so just had to trim down and glue together. comes with one bullnose, rounded off the other sides with a 1/2inch roundover router bit.

American Girl Dollhouse Masterpiece!

Submitted by MendiB on Mon, 03/13/2017 - 12:06

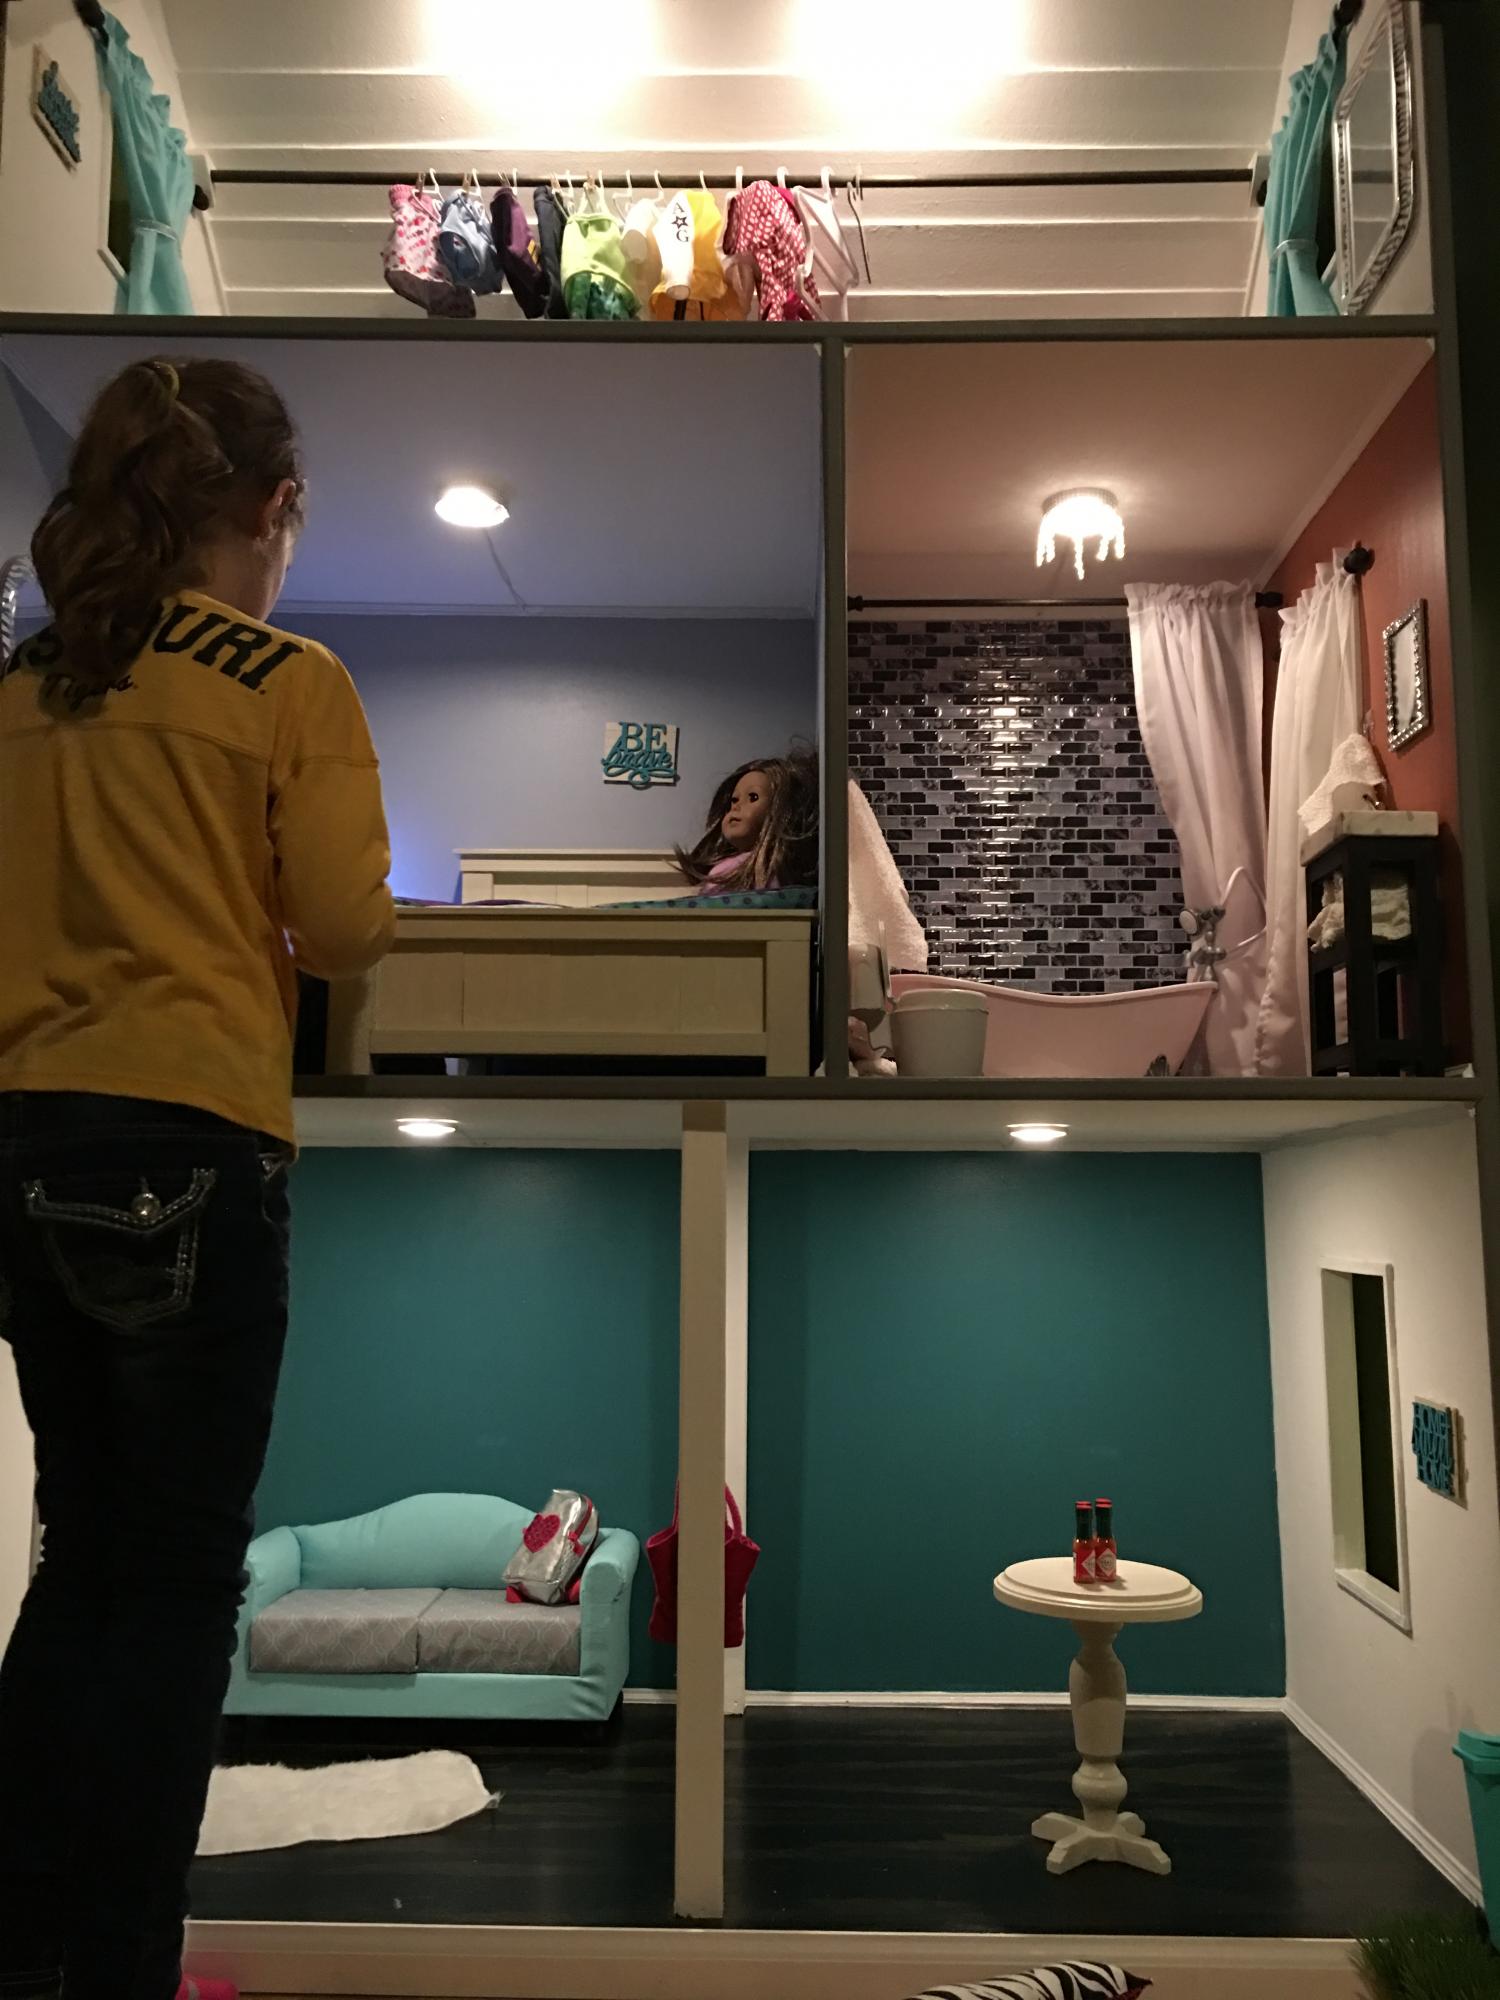
This dollhouse was super easy to make! Harper (the doll) wanted an open concept living/kitchen, and that is the first floor. Second floor are the bedroom and bathroom. Top floor is the closet. The roof is made from 3.5" slats of luan glued together and painted with black sanded paint. Notice the baseboards and crown molding? The window boxes are really cute, too! I still owe my granddaughter a garage and patio with pergola, and kitchen appliances and chairs, but that will wait until summer when she can help craft/build them. 

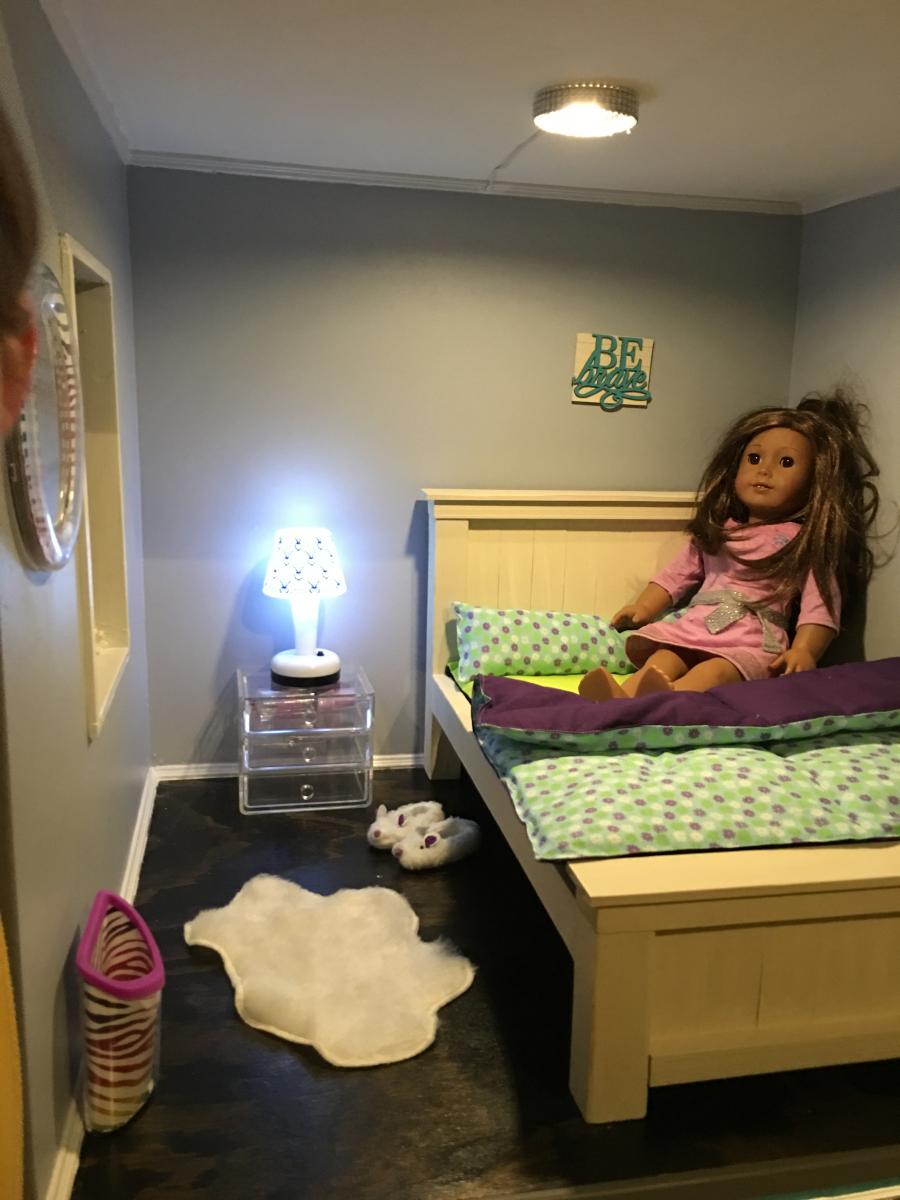
Harper's bed is modeled after the farmhouse bed plans available on this site, but I used smaller scrap lumber. I wanted milk paint but was unwilling to pay the high price, so I bought a sample jar of antique ivory paint and watered it down. It turned out great!

Estimated Time Investment
Week Long Project (20 Hours or More)
Finish Used
Kilz primer, Behr satin indoor paint (leftovers from our house)
Recommended Skill Level
Intermediate

My First Bed

Submitted by toolman81 on Wed, 01/20/2021 - 12:10

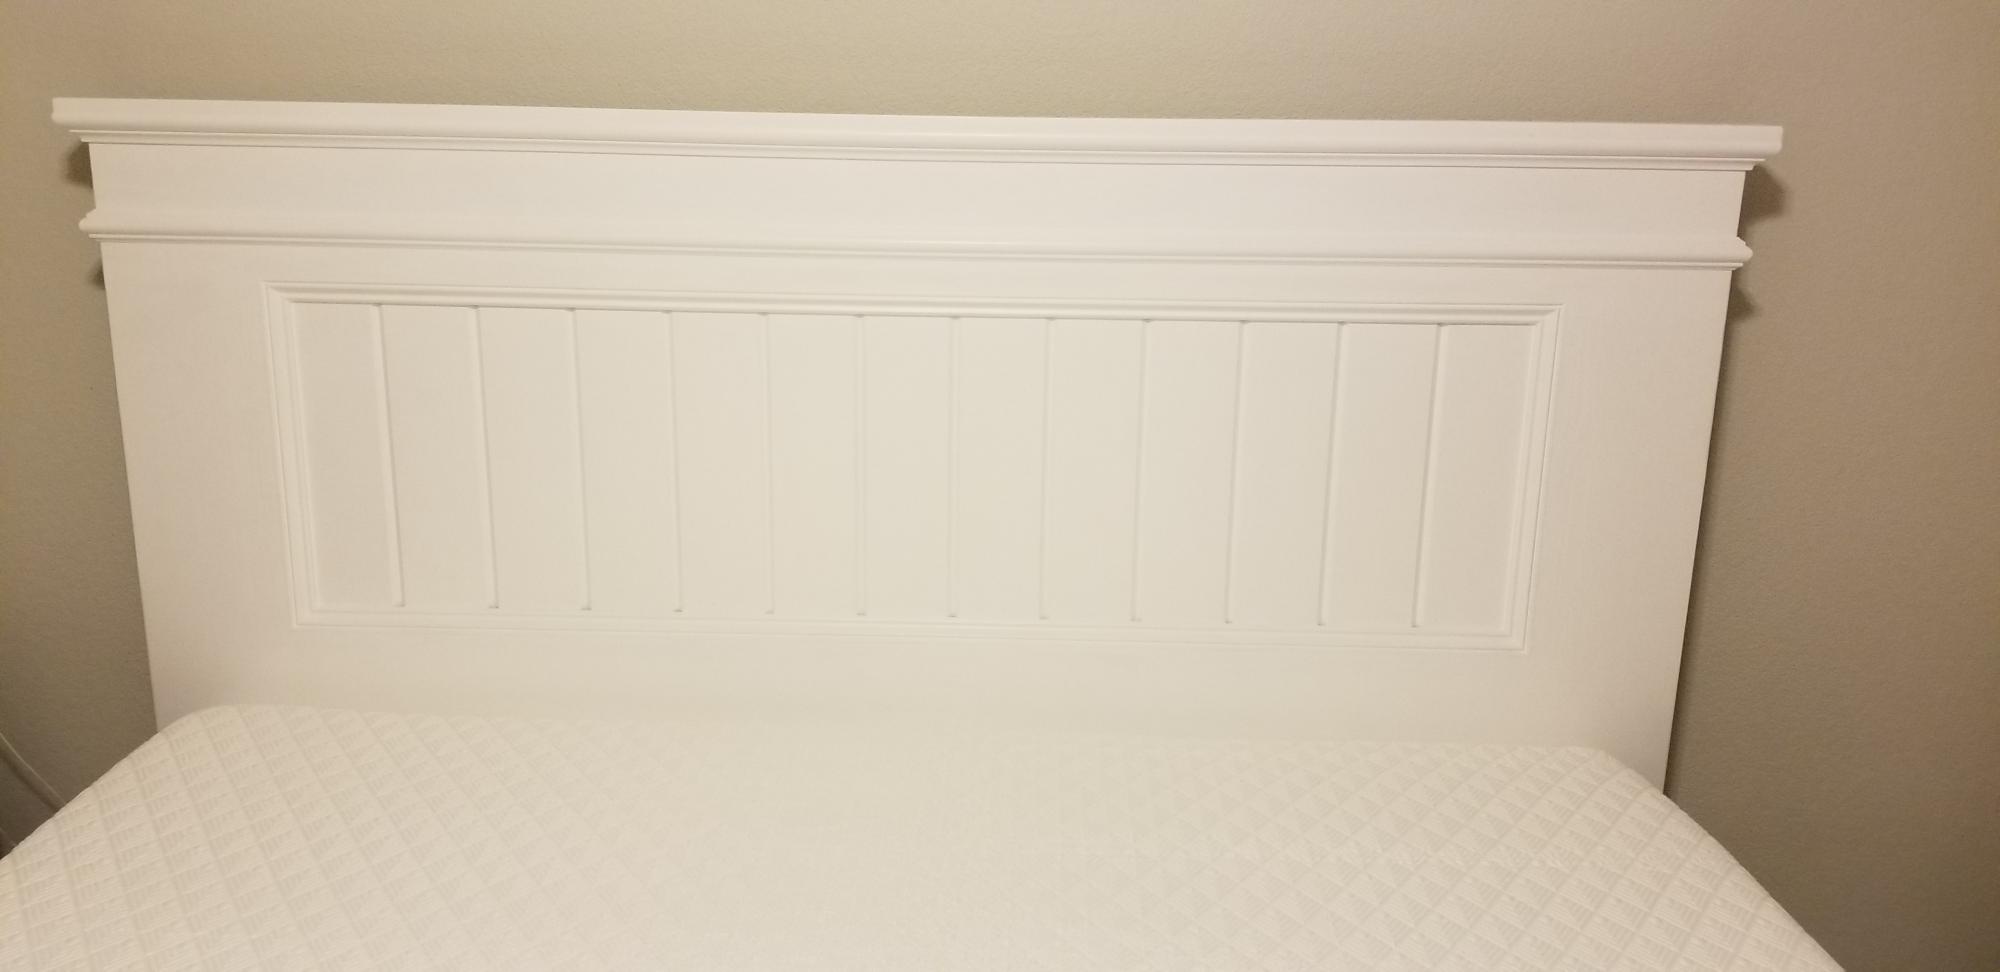
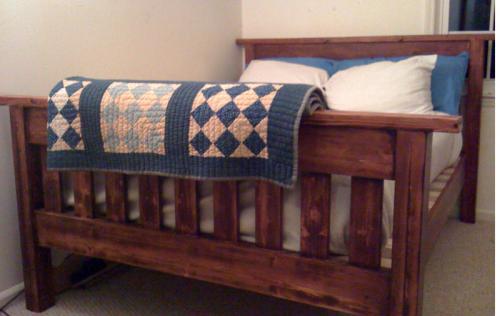
This was my first bed since we can not find any in stock due to the pandemic. I switched up the headboard legs to 2x6s for a slightly wider base. This helped with the mattress in a box we ordered. I built a simple frame using 2x8s, all basic lumber from the big box store, and used 2x6s for the footboard legs. I built the bed frame just about two inches shorter in width to give it some variation in sight lines. I finished it with basic white enamel paint and put 1x4 slats under the mattress. My wife loved it and it turned out well.

Built from Plan(s)
Estimated Cost
$380
Estimated Time Investment
Weekend Project (10-20 Hours)
Finish Used
White Paint
Recommended Skill Level
Intermediate

Double square X pedestal dining table

Submitted by eklein21 on Wed, 12/31/2014 - 11:44

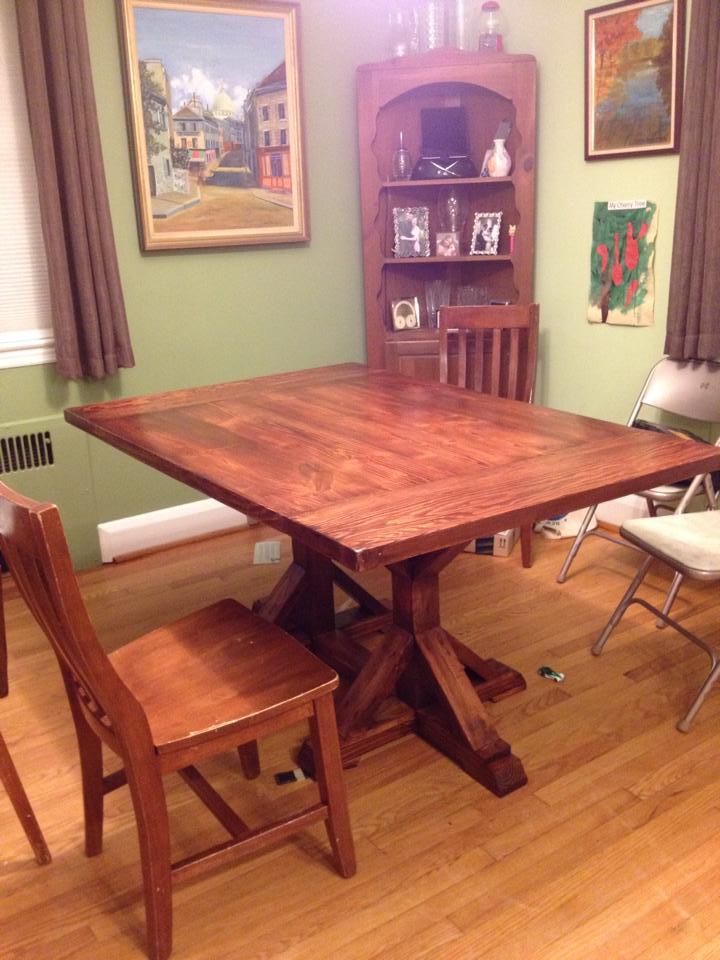
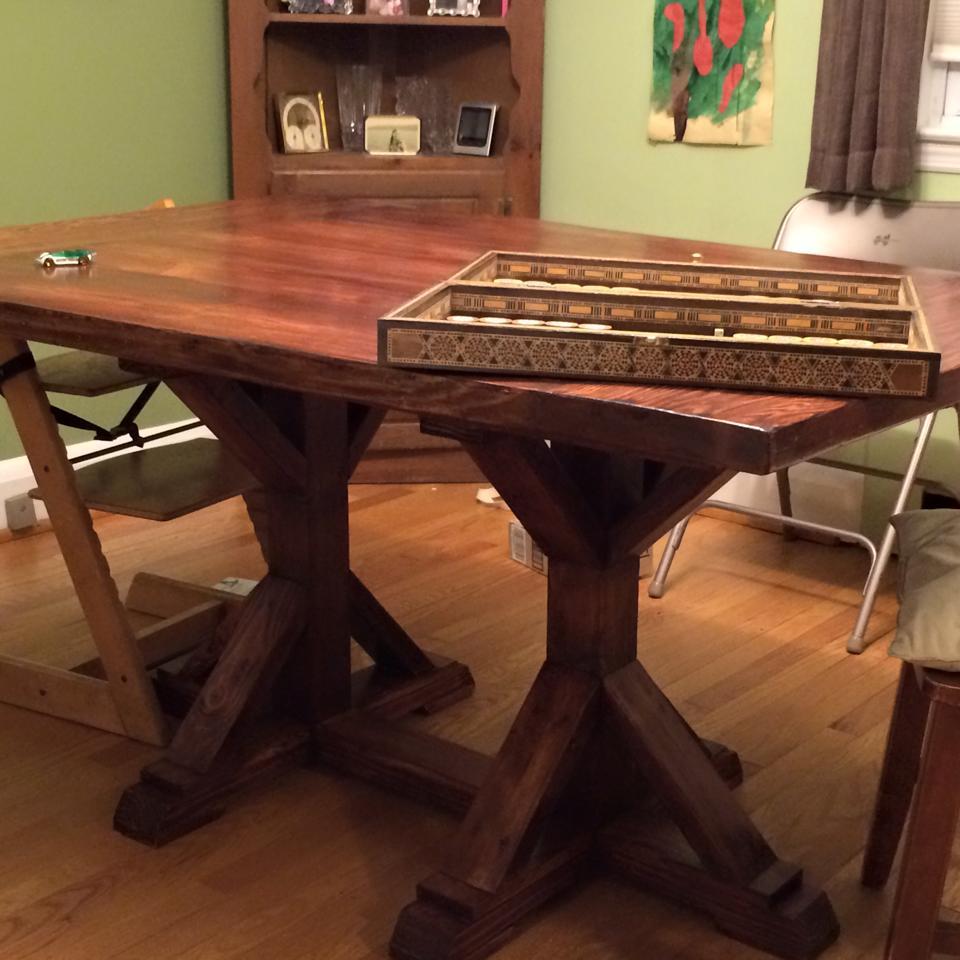
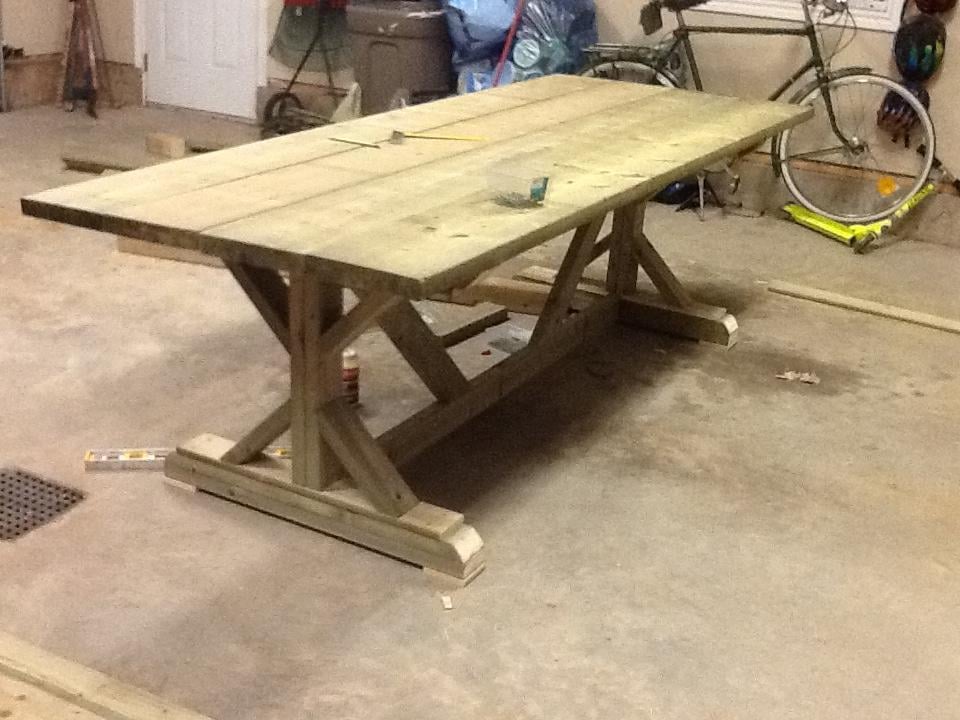
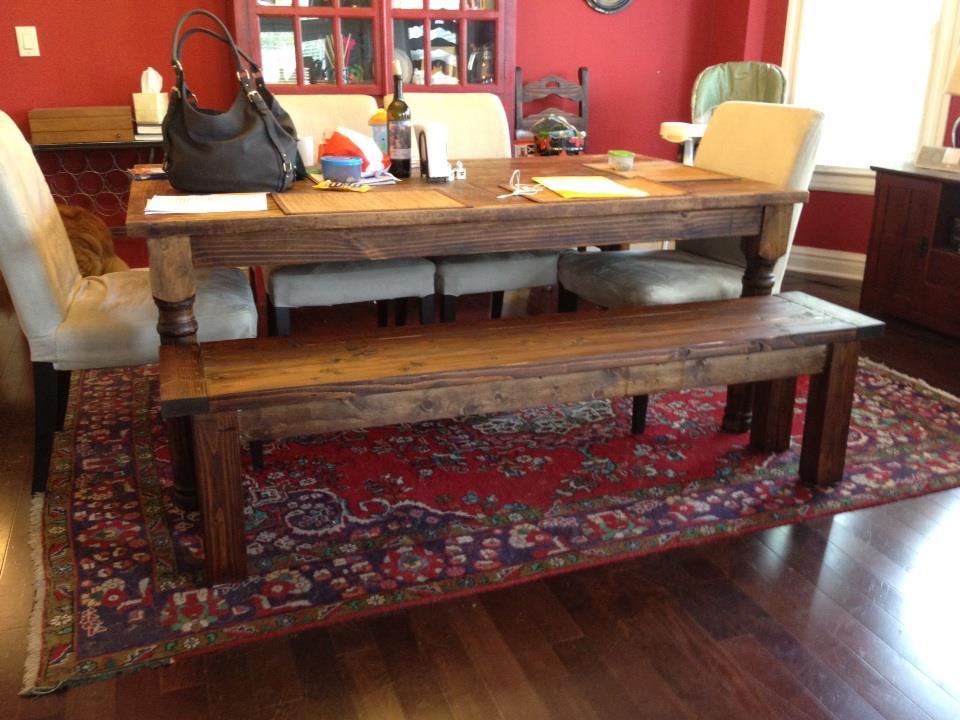
Thanks for the great plans. I modified them slightly by building a 60x40 farmhouse style top and a double pedastel. The other change is that I made the side 4x4s into 2x4s. 

Estimated Cost
~$200
Estimated Time Investment
Week Long Project (20 Hours or More)
Finish Used
General finishes gel stain in brown mahogony (https://generalfinishes.com/retail-products/oil-base-wood-stains-sealers/oilbase-gel-stains#.VKRQ2ivF9UM) and finished using general finishes arm-r-seal in satin (https://generalfinishes.com/retail-products/oil-base-top-coats/arm-r-seal-urethane-topcoat#.VKRRDyvF9UM) ... sealer is so strong it was harder to drill through then the wood when attaching the top to the bootom. Started with the pre-stain conditioner as well (https://generalfinishes.com/retail-products/oil-base-top-coats/pre-stain-wood-conditioner#.VKRRmyvF9UM)
Recommended Skill Level
Intermediate

Comments

traciw25

Fri, 08/12/2016 - 12:58

Your table looks great!  Love the farmhouse top and your revisions.


Would you mind sharing what dimensions you went for the table top and what width you went on the doubt pedestal length?


THanks so much!!! I hope I get to have one like yours someday soon :)

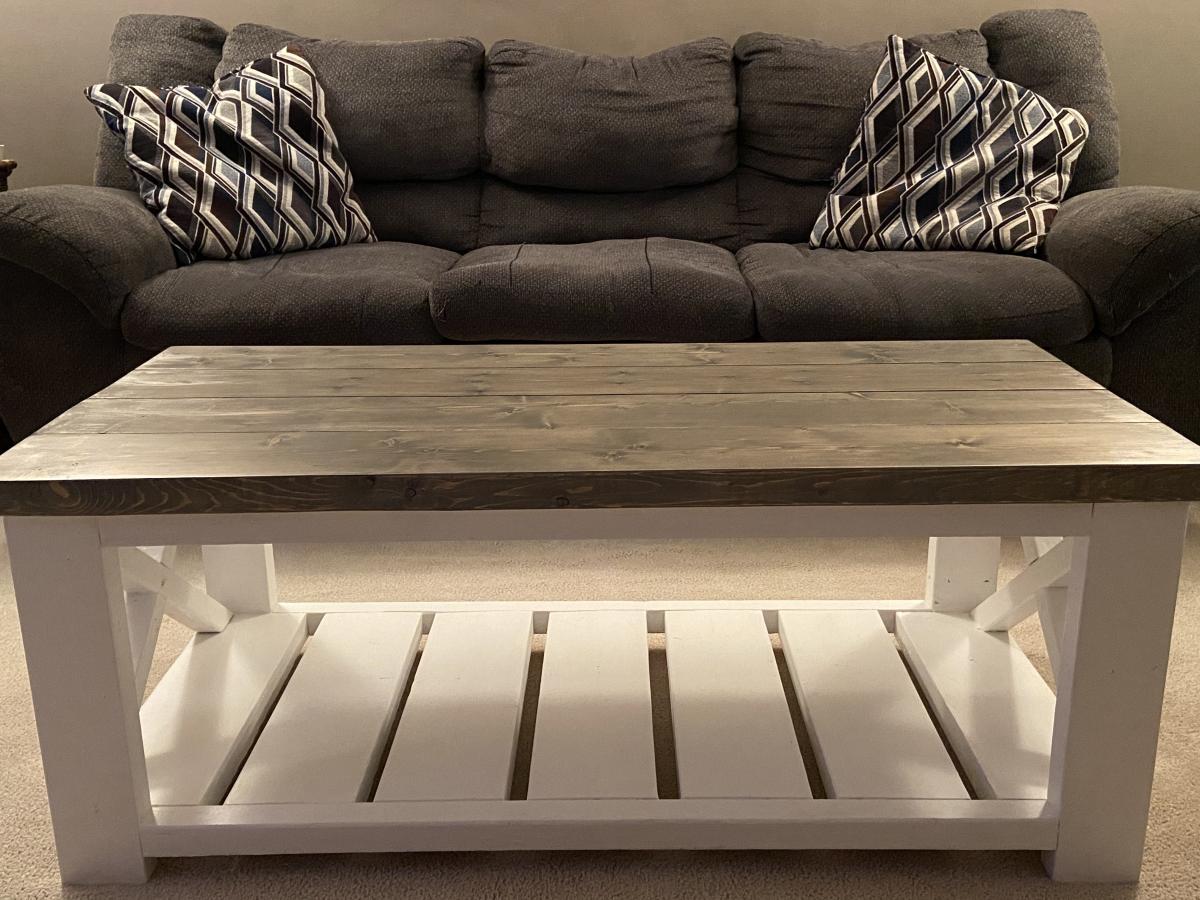
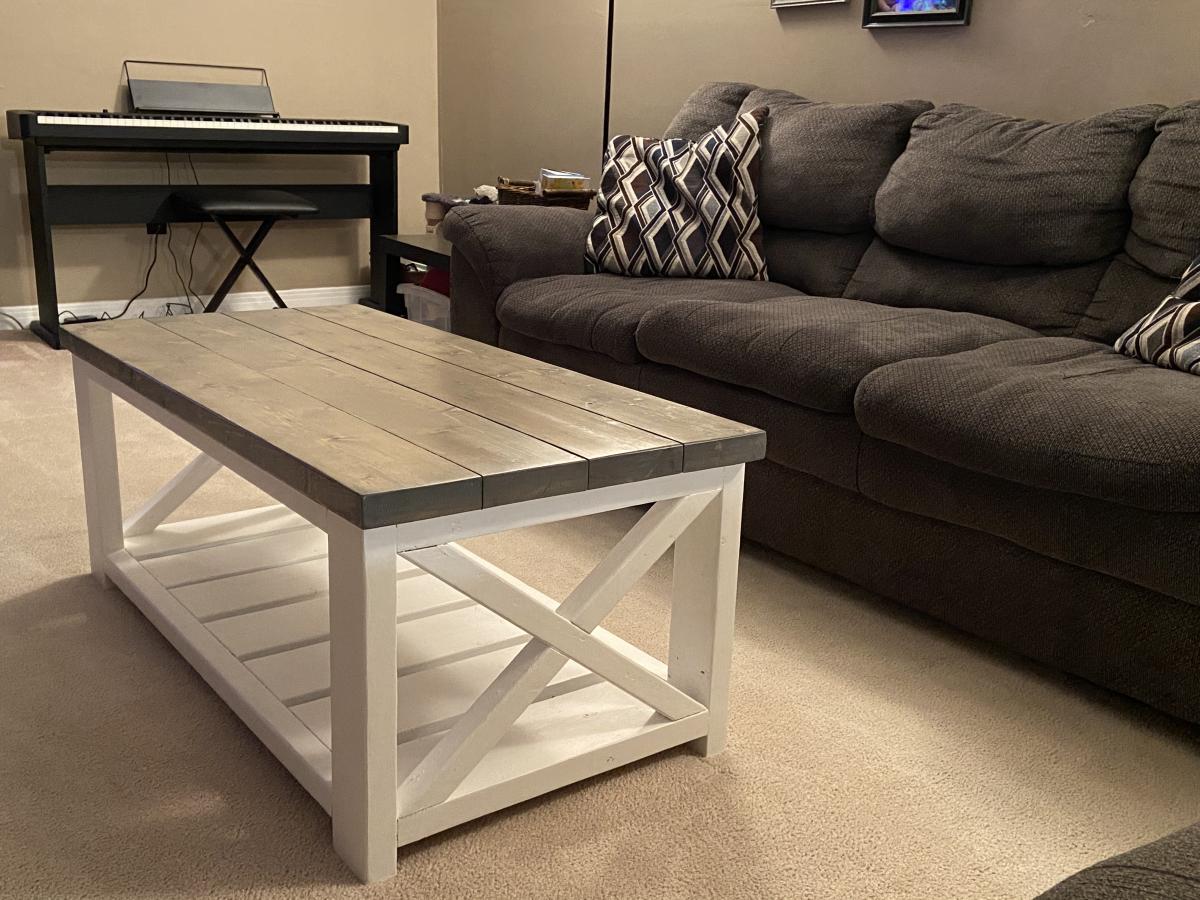
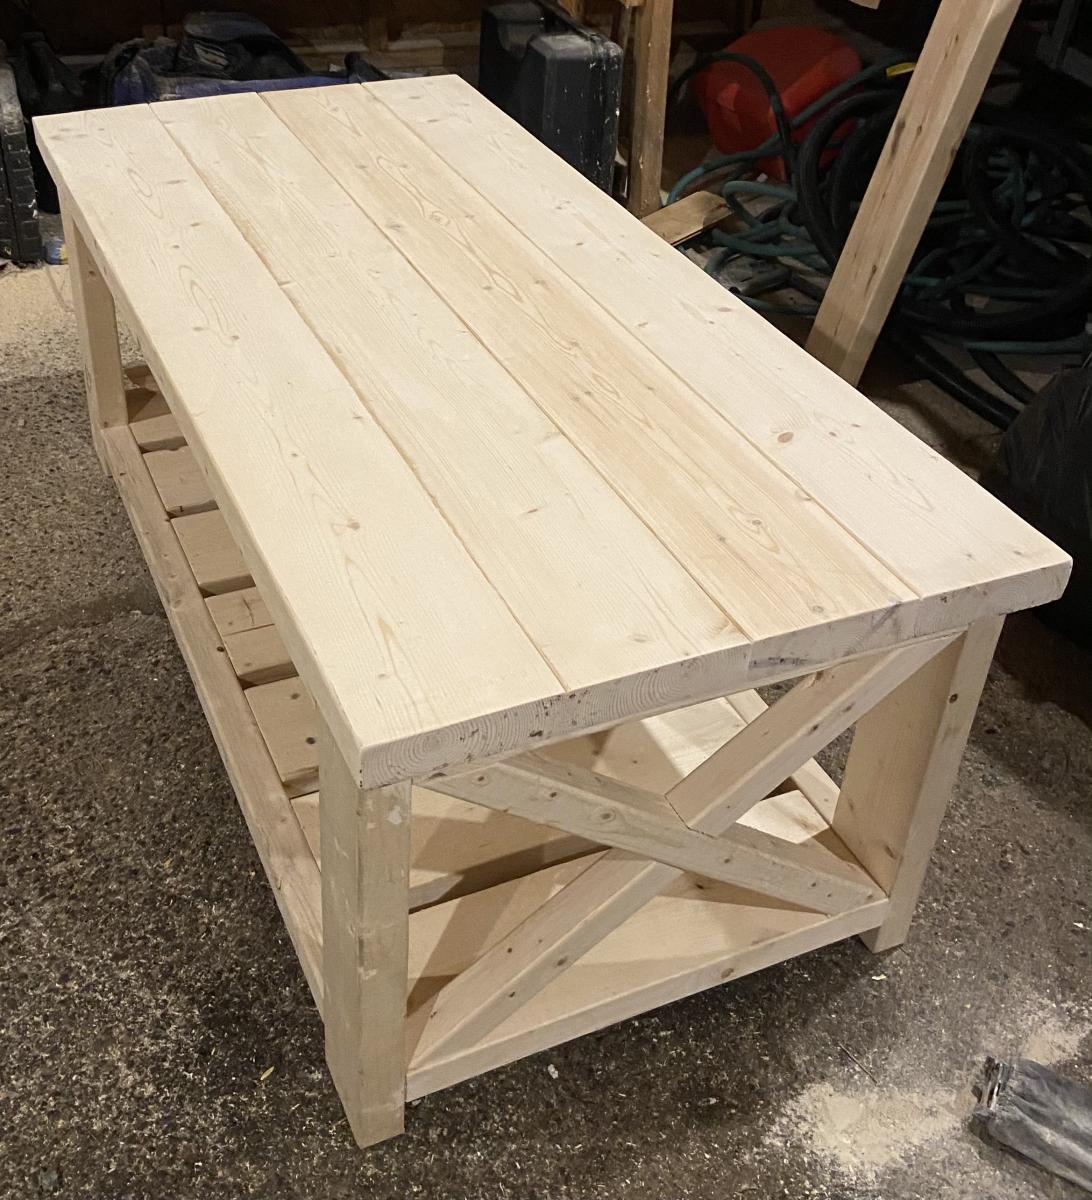
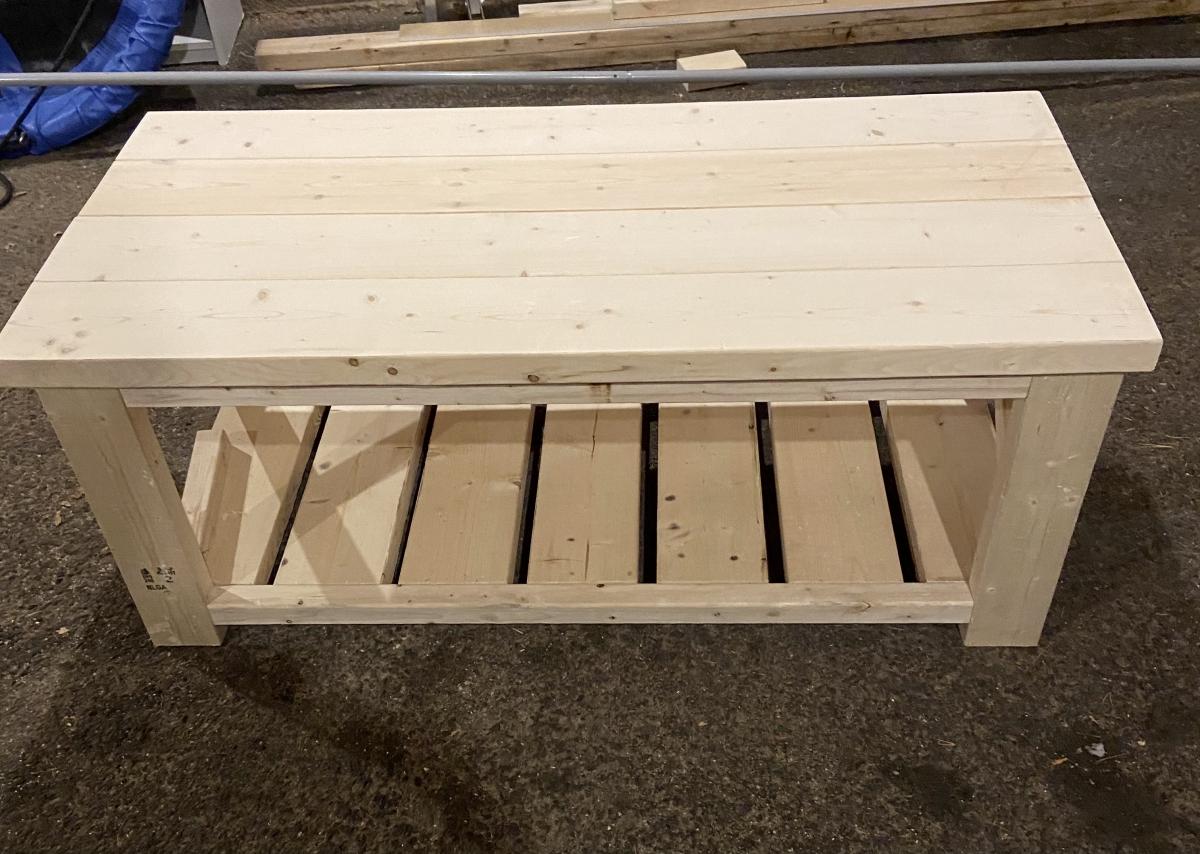
Farmhouse coffee table under 40 - ( 65 dollars Canadian)

Submitted by Anonymous (not verified) on Wed, 02/17/2021 - 15:50

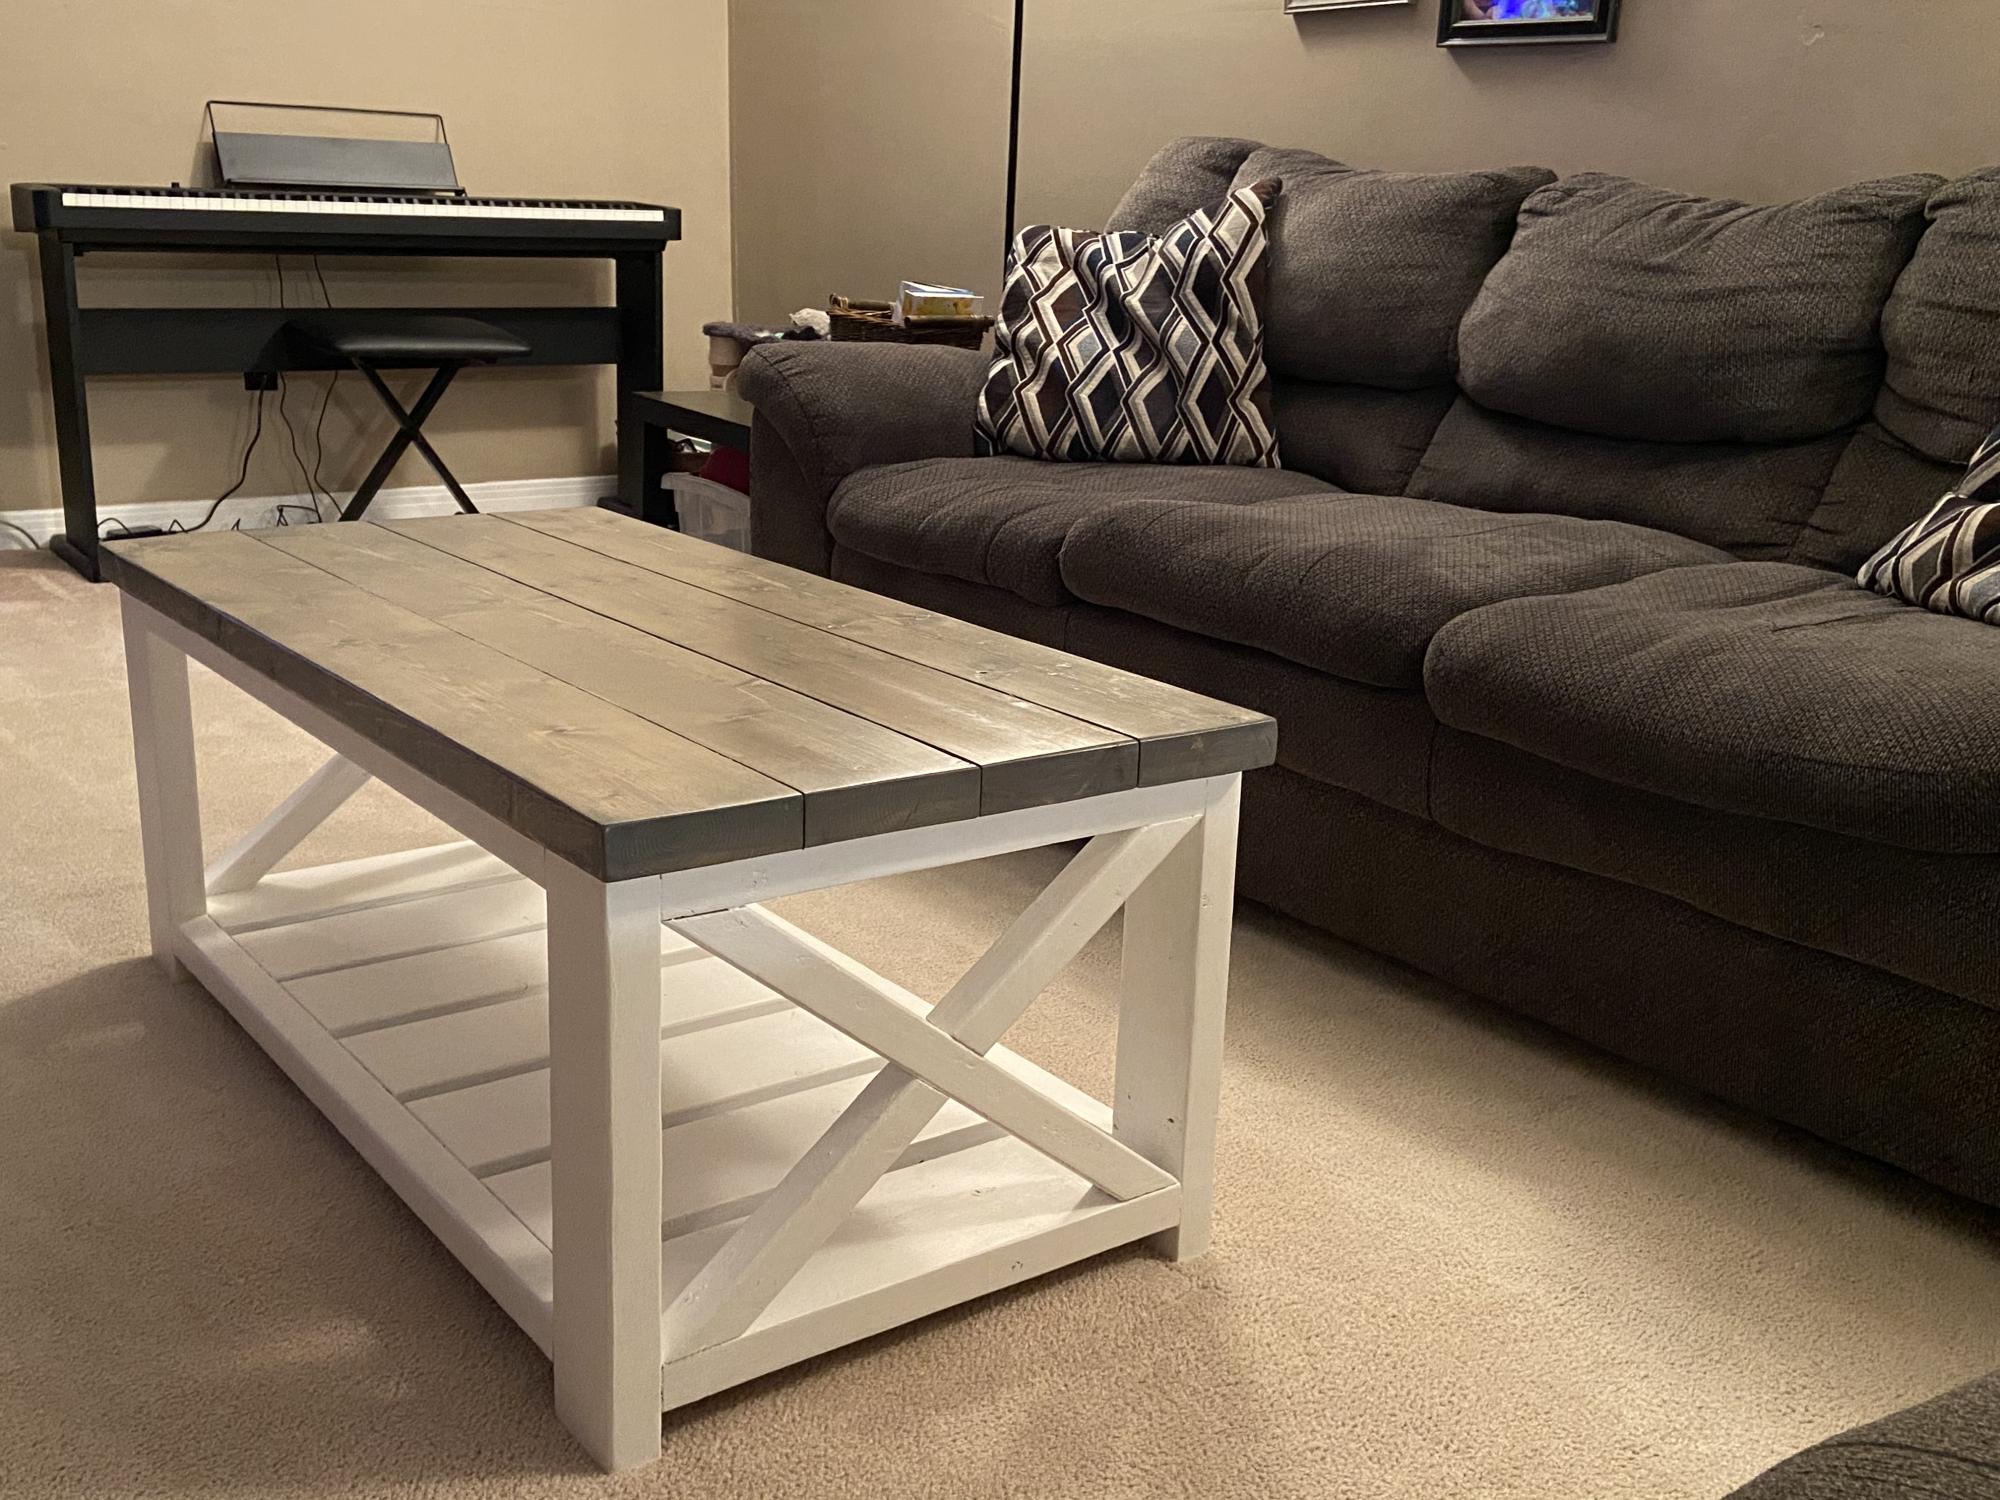
This was my first project and had tons of fun building it. Can’t wait to build to end tables to match.
The plans are so easy to understand. The only change I made was instead of exposed screws I used the pocket hole method

Estimated Cost
65 dollars ( Canadian)
Estimated Time Investment
Weekend Project (10-20 Hours)
Finish Used
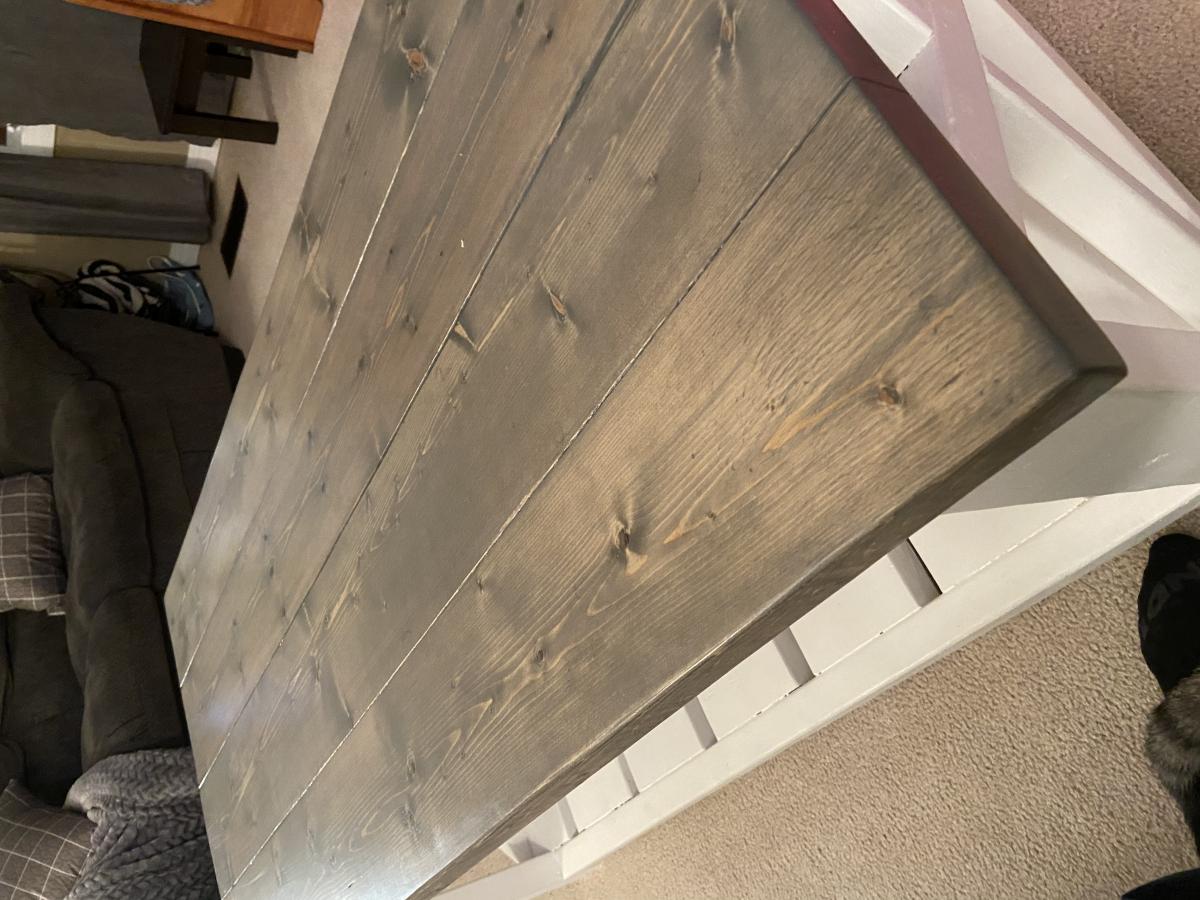
Minwax pre- stain wood conditioner, minwax classic grey ( 2 coats) minwax clear satin poly urethane.
Recommended Skill Level
Beginner

Comments

mh6558

Fri, 01/12/2024 - 08:33

This is beautiful and just the look I'm going for with the color scheme. I am wondering if it would be easier to paint the wood before constructing it? Also, what is the pocket hole technique? I think I would like the screws hidden too.

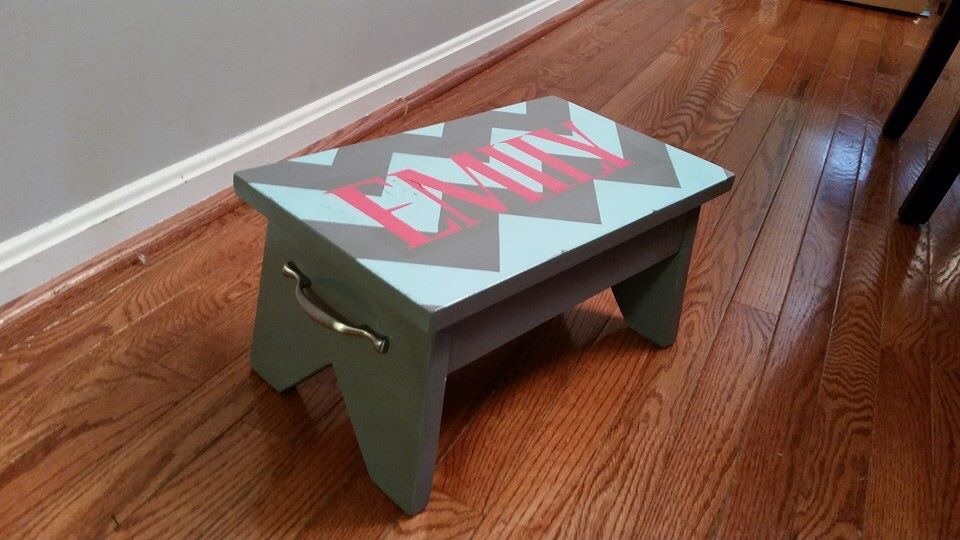
Chevron simple 1x10 single step stool

Submitted by Eplunkert on Thu, 01/08/2015 - 12:22

I built this stool for my niece's first birthday! It was super easy to build. The painting process was another story. In hindsight I should have just stained it but I wanted something fun and bright. I'm happy with how it turned out and I will definitely be making one for my nephew for his first birthday! Overall it took me about 2 hours to cut and put it together.

Estimated Time Investment
An Hour or Two (0-2 Hours)
Finish Used
Spray paint and spray clear coat
Recommended Skill Level
Beginner

Comments

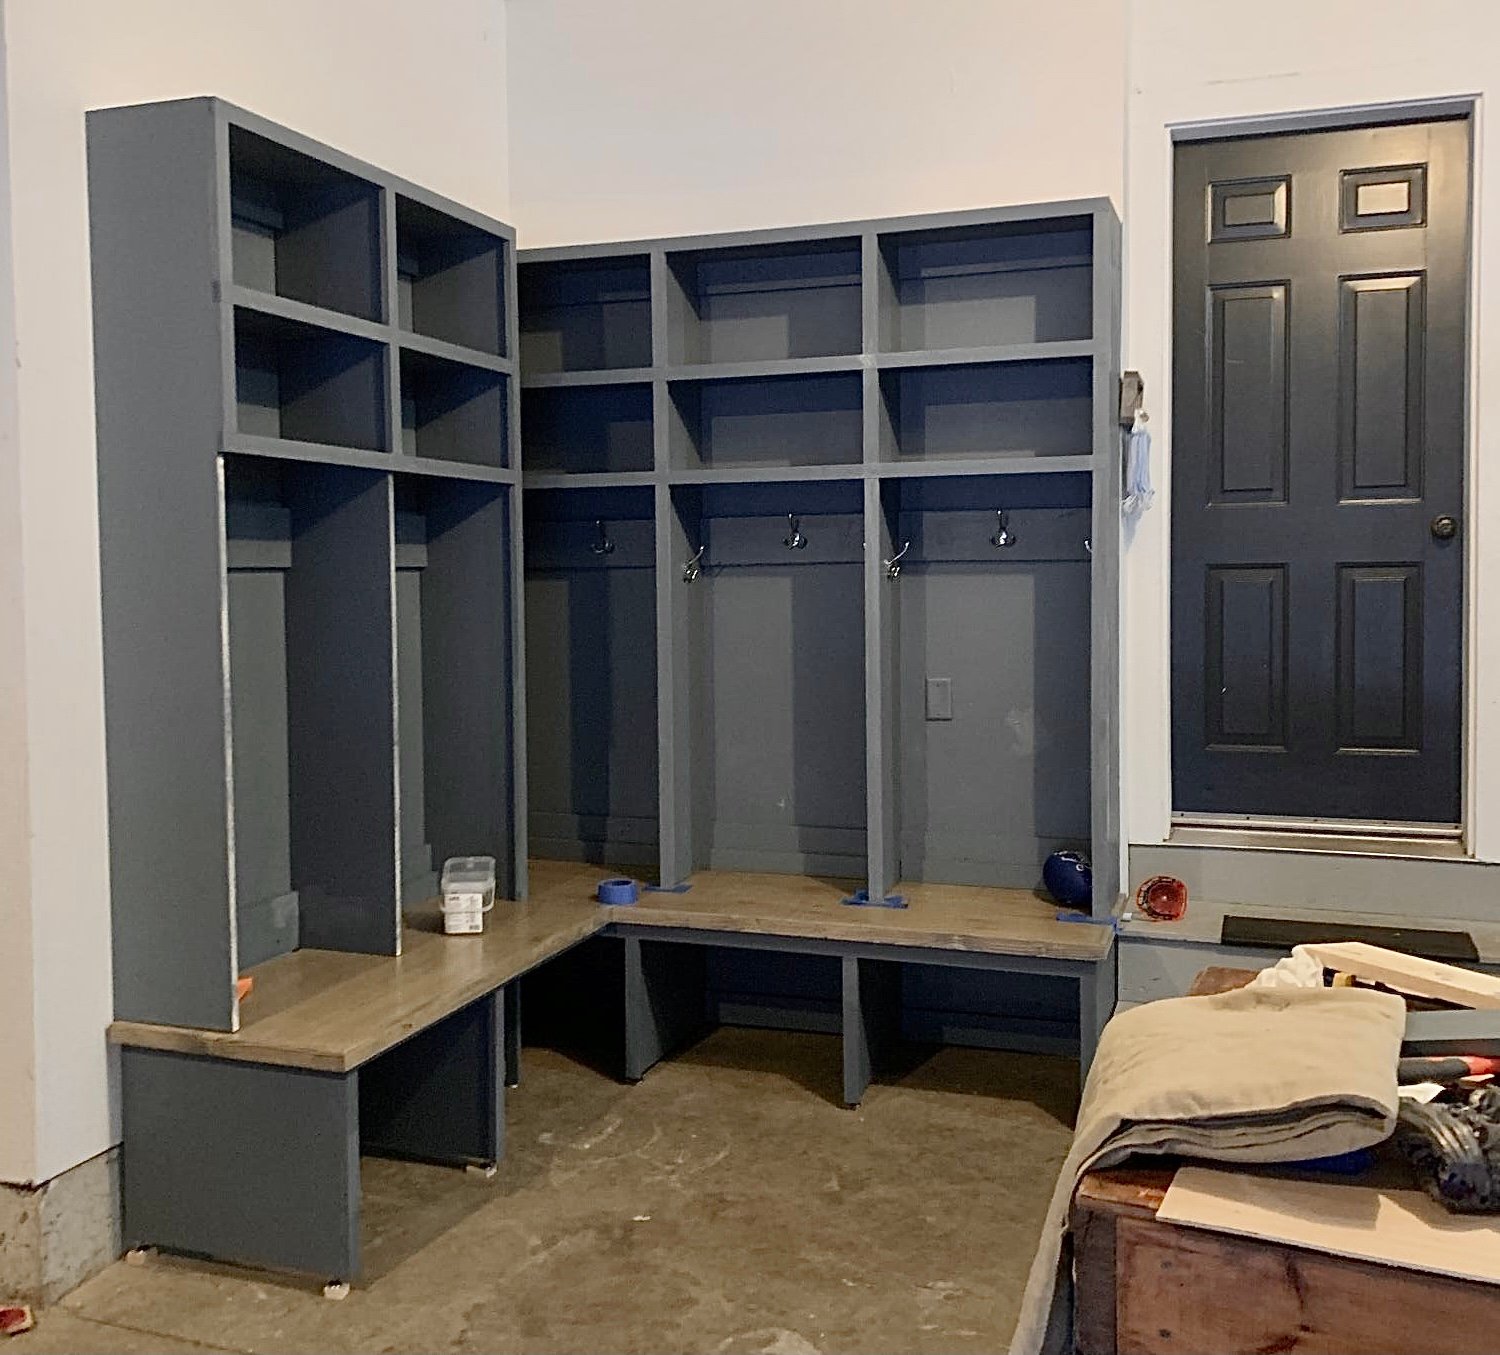
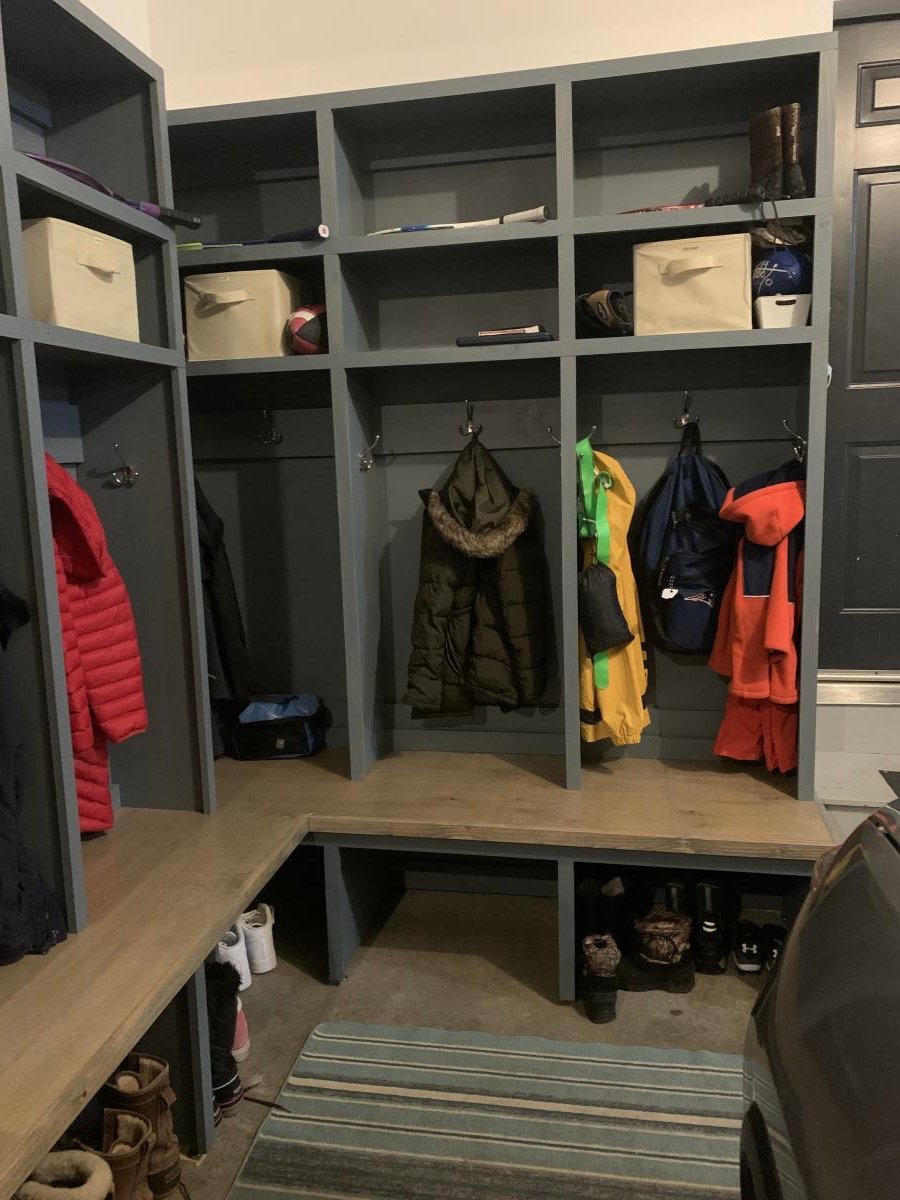
Drop Zone/mudroom

Submitted by Anonymous (not verified) on Tue, 03/09/2021 - 07:10

I used ShelfHelpNow which I LOVED! Got it delivered at the start of a snowstorm! Would never have made it then if I had to go get the wood myself!
Got so many compliments and requests
To build this.
Thank you for your easy plans and wonderful ideas!
In hindsight I would have either connected the two units or separated them more. I’m more a wing it/see how it goes type of builder for myself rather than a planner. 🤣
Diane

Estimated Cost
600 for carcass
Estimated Time Investment
Weekend Project (10-20 Hours)
Finish Used
Putting it together took a couple hours. Painting and waiting for things to dry took a lot longer!
Hopefully this will free up some room in my house for more utilitarian closet/pantry.
Recommended Skill Level
Intermediate

Media Center

Submitted by brittanyj on Wed, 01/21/2015 - 08:59

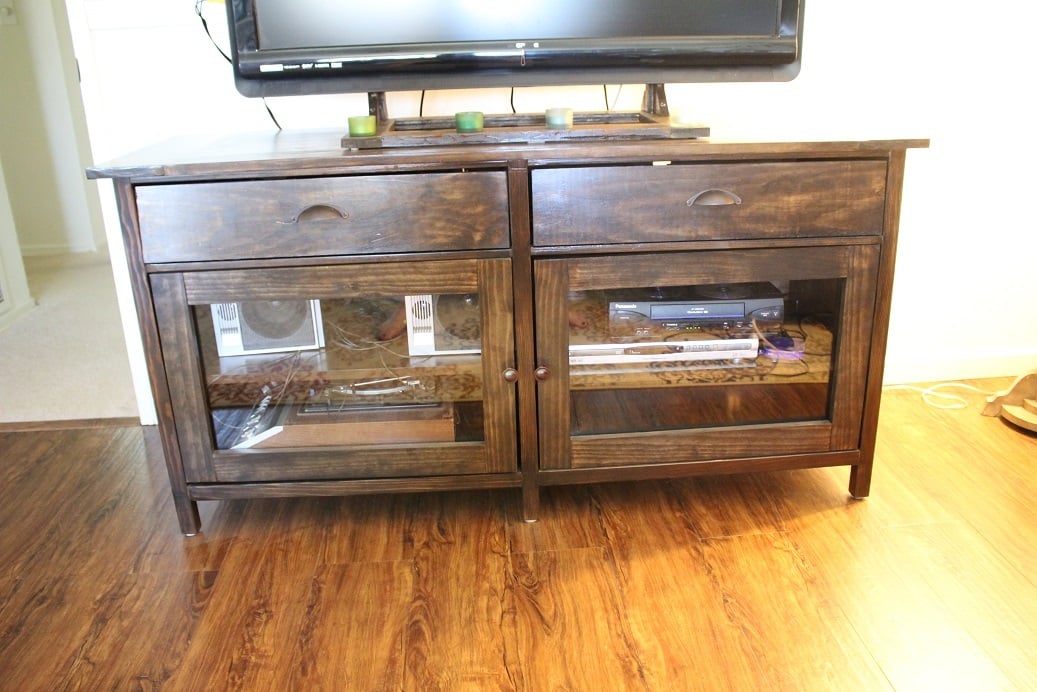
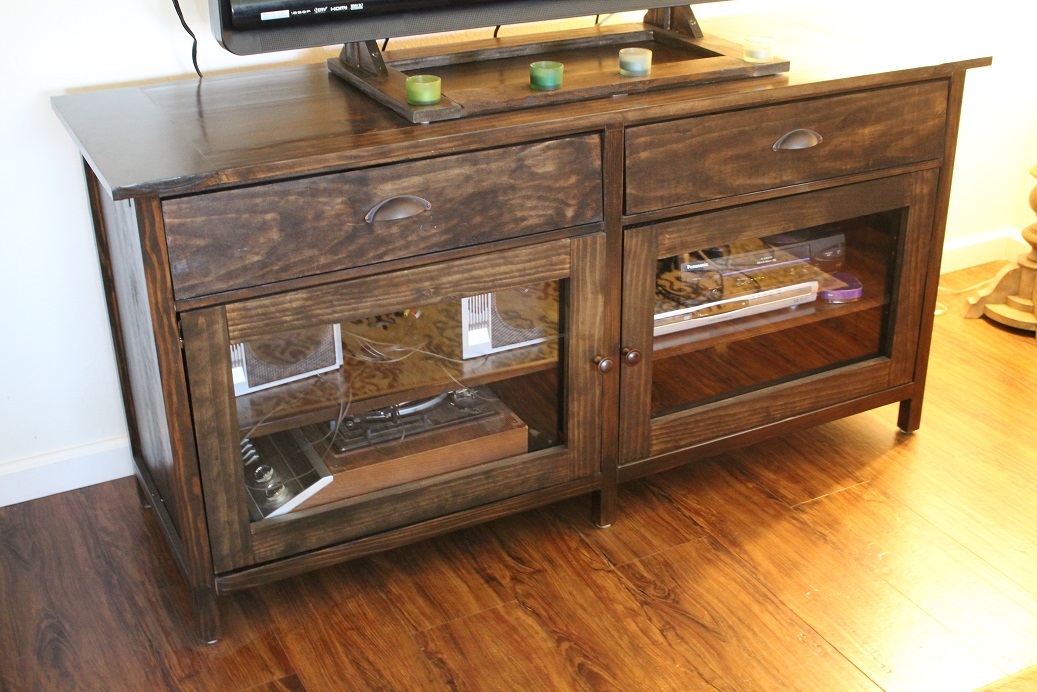
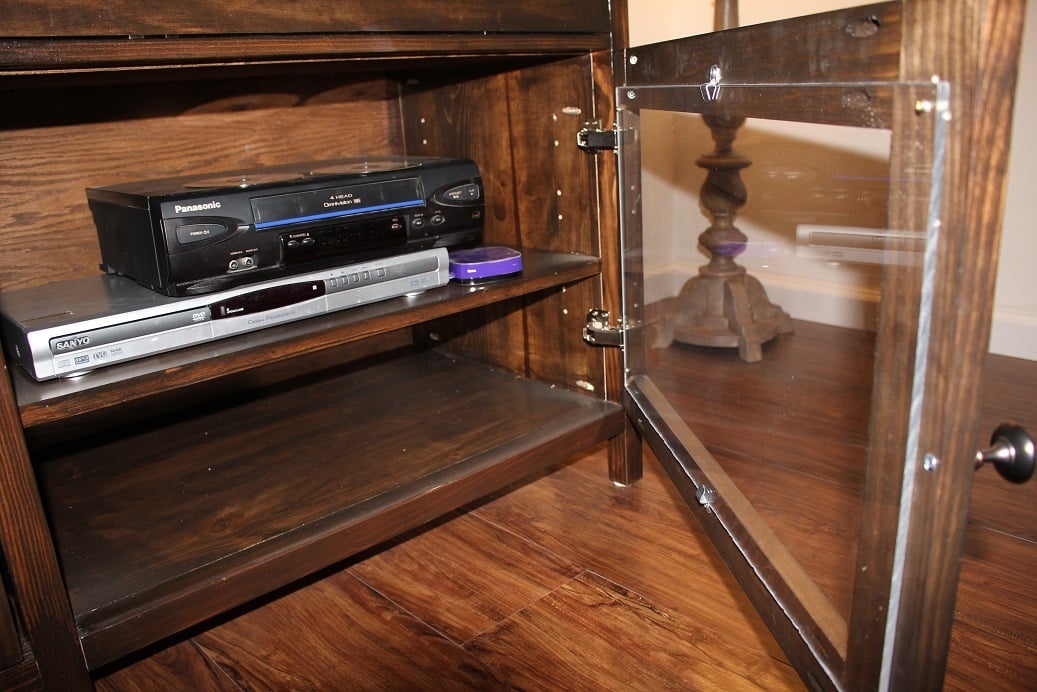
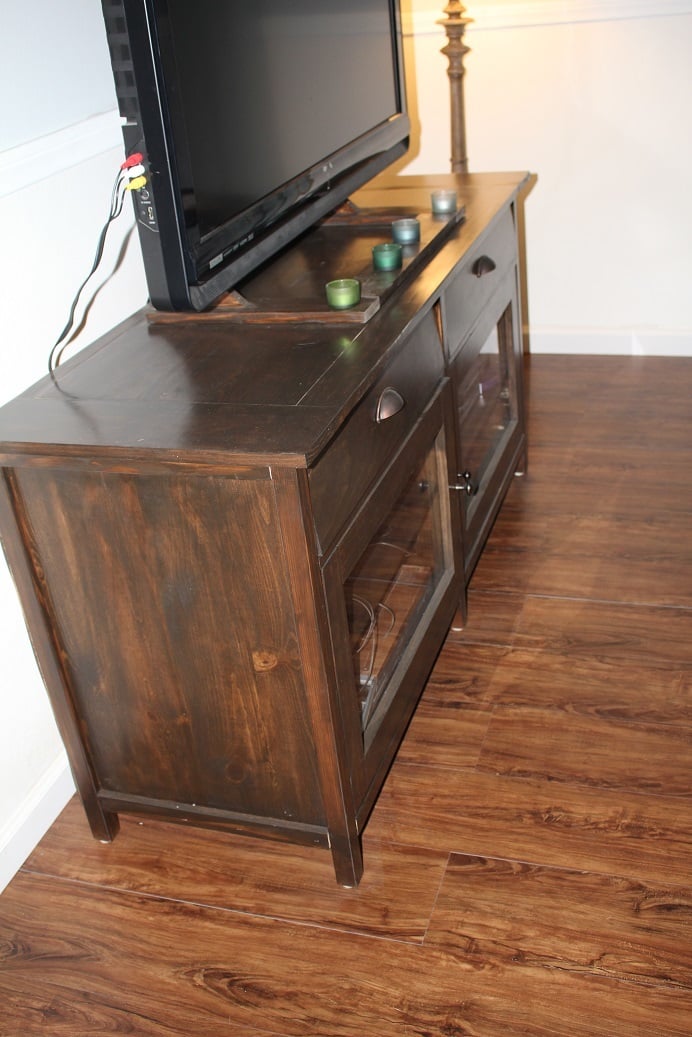
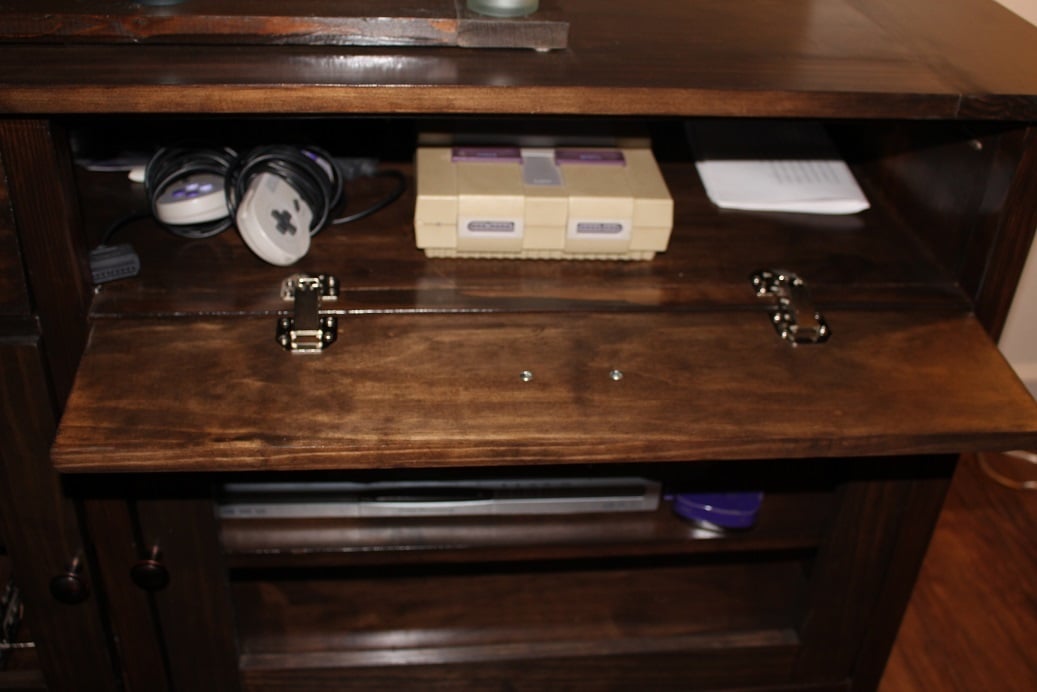
Made this media center for a DIY TV show at my home and I think I'm proudest of this project!  It turned out so beautifully.  Shelf pin jig was used for movable shelves inside, ORB handles and knobs, a very smooth poly'd top, and plenty of room for our components.  The doors were the hardest part.  Being inset, they just didn't want to fit and would scrape the frame.  Lots of repositioning of the hinges.  The thick acrylic for the doors was a little difficult as well- it cut easily enough in the table saw, but screwing in threatened breakage.  It was also hard to fit them where their fasteners didn't compete with the knobs or shelves.  I also made the TV stand to match the media center (and because I didn't want to buy one!)  Love this project!

Built from Plan(s)
Estimated Cost
$120
Estimated Time Investment
Weekend Project (10-20 Hours)
Finish Used
kona stain, poly
Recommended Skill Level
Intermediate

Comments

DIYER_MD

Wed, 01/21/2015 - 14:37

This turned out nice. I did notice that you are showing the pocket holes on the inside. In the future you can get the Kreg pocket hole plugs to fill these holes. You glue them in the holes and you can then sand them down even and you will not see any of the holes.

Great job.

Farmhouse Hall Tree

Submitted by brino on Sat, 05/29/2021 - 07:53

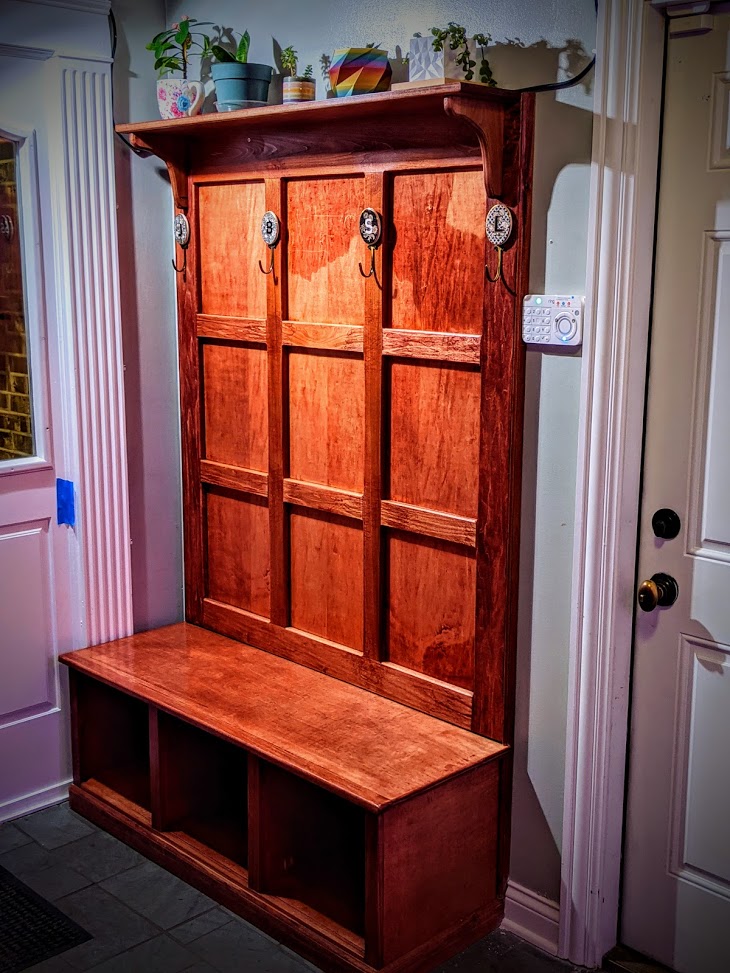
Added a shelf for plants at the top, coat hooks.
I mounted the back panel to the wall so I could remove the supports between the bench and the back panel.

Built from Plan(s)

Comments

Kitchen Table

Submitted by MikeB on Wed, 05/24/2017 - 09:27

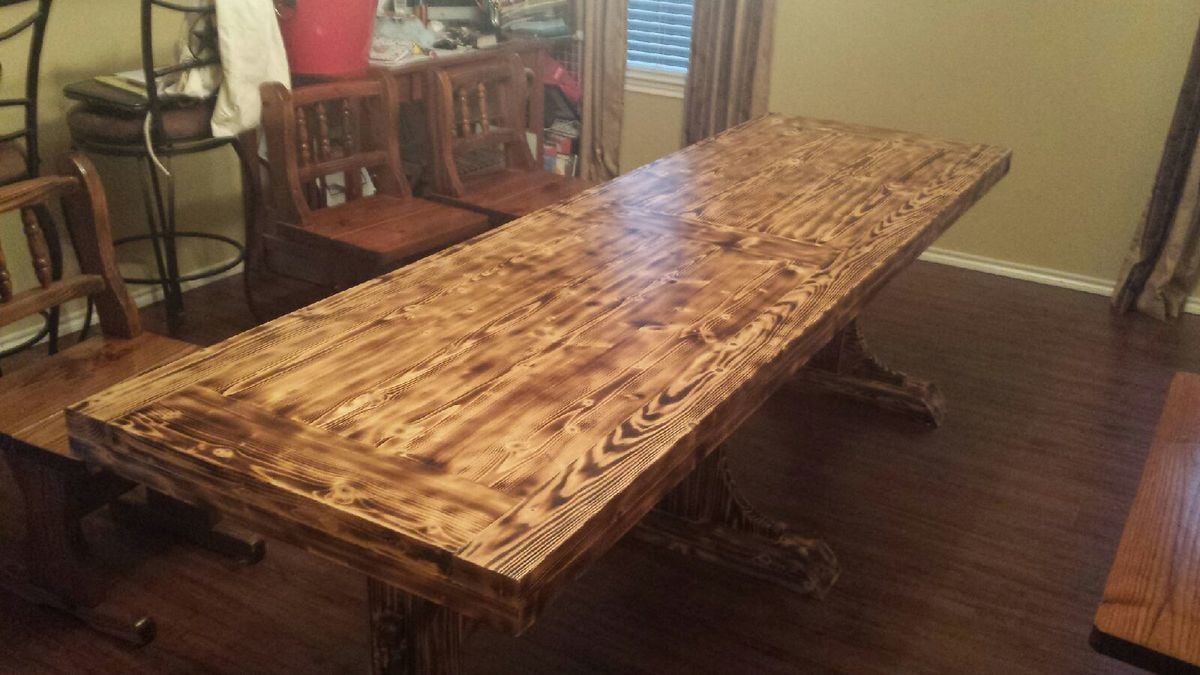
My wife wanted an 8 foot long table, but wanted it to be a little narrower that as standard table. This one ended up being 97.5" x 29" I used a torch to scorch the wood then apply poly finish.

Built from Plan(s)
Estimated Cost
250.00
Estimated Time Investment
Week Long Project (20 Hours or More)
Recommended Skill Level
Intermediate

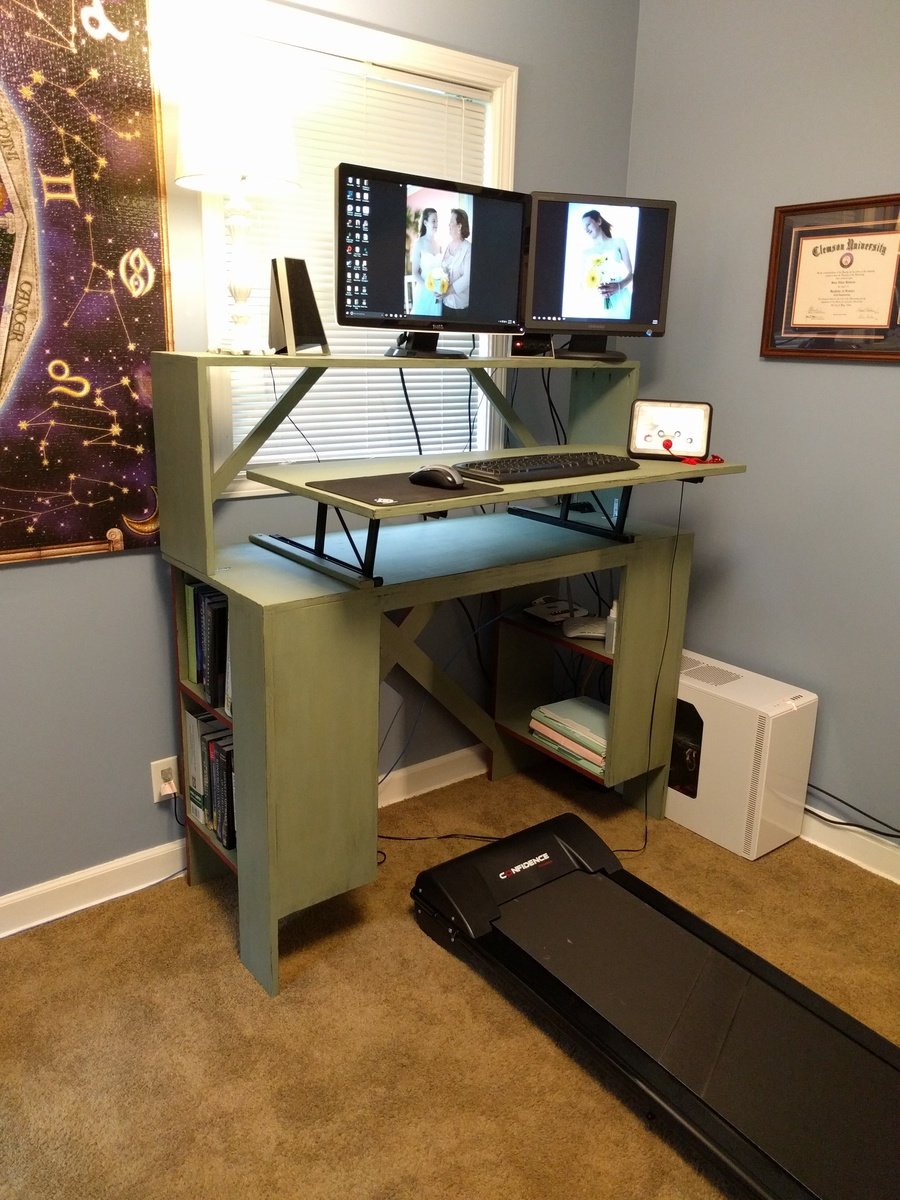
Standing/Walking Desk w/ Bookshelves

Submitted by SaraLodise on Sun, 06/04/2017 - 15:34

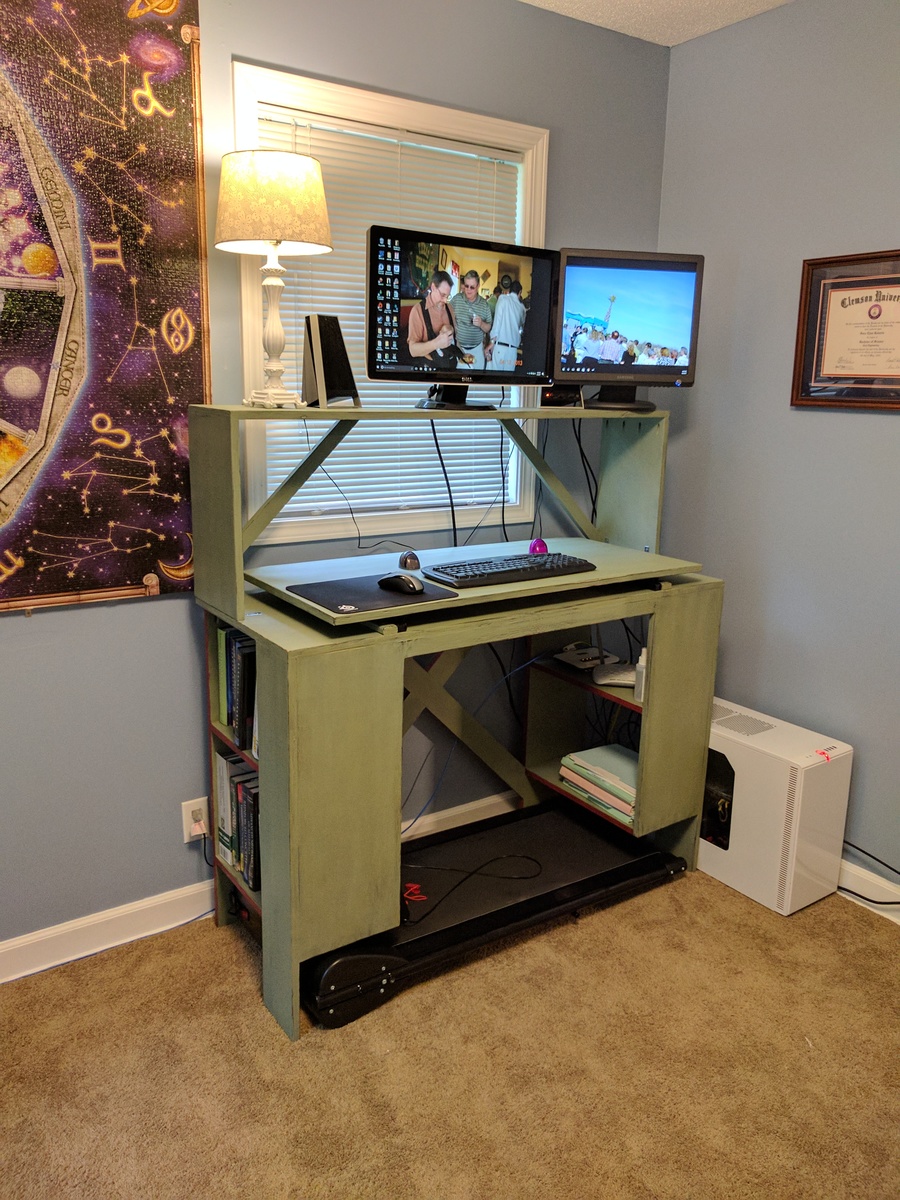
Standing/Walking desk with side bookshelves built in. Desktop folds up and out so keyboard is at correct level for my height while walking on treadmill. When folded down, keyboard is at acceptible level for standing on ground. Desk designed so that the small walking treadmill can slide under and be out of the way when not in use.


Lifting Hinges used are Woodtek Coffee Table Lift Mechanism:  https://woodworker.com/coffee-table-top-lift-mechanism-lr-mssu-164-228…


Estimated Cost
Lumber: (1) 23/32 Plywood 4x8, (1) 23/32 Plywood 4x4 = $45...Lifting Hinges: $57...Finishing: 2 pints of General Finishes Milk Paint + Acrylic Topcoat = $56...TOTAL = $160
Estimated Time Investment
Weekend Project (10-20 Hours)
Finish Used
1 coat of General Finishes 'Lamp Black' Milk Paint...
2 coats of General Finishes 'Basil' Milk Paint...
Sanded w/ 120 grit to achieve a distressed look...
1 coat of General Finishes 'Yellow Ocher' Glaze Effect for patina...
1 coat of General Finishes 'Flat on Flat' Acrylic Topcoat on high traffic areas
Recommended Skill Level
Intermediate

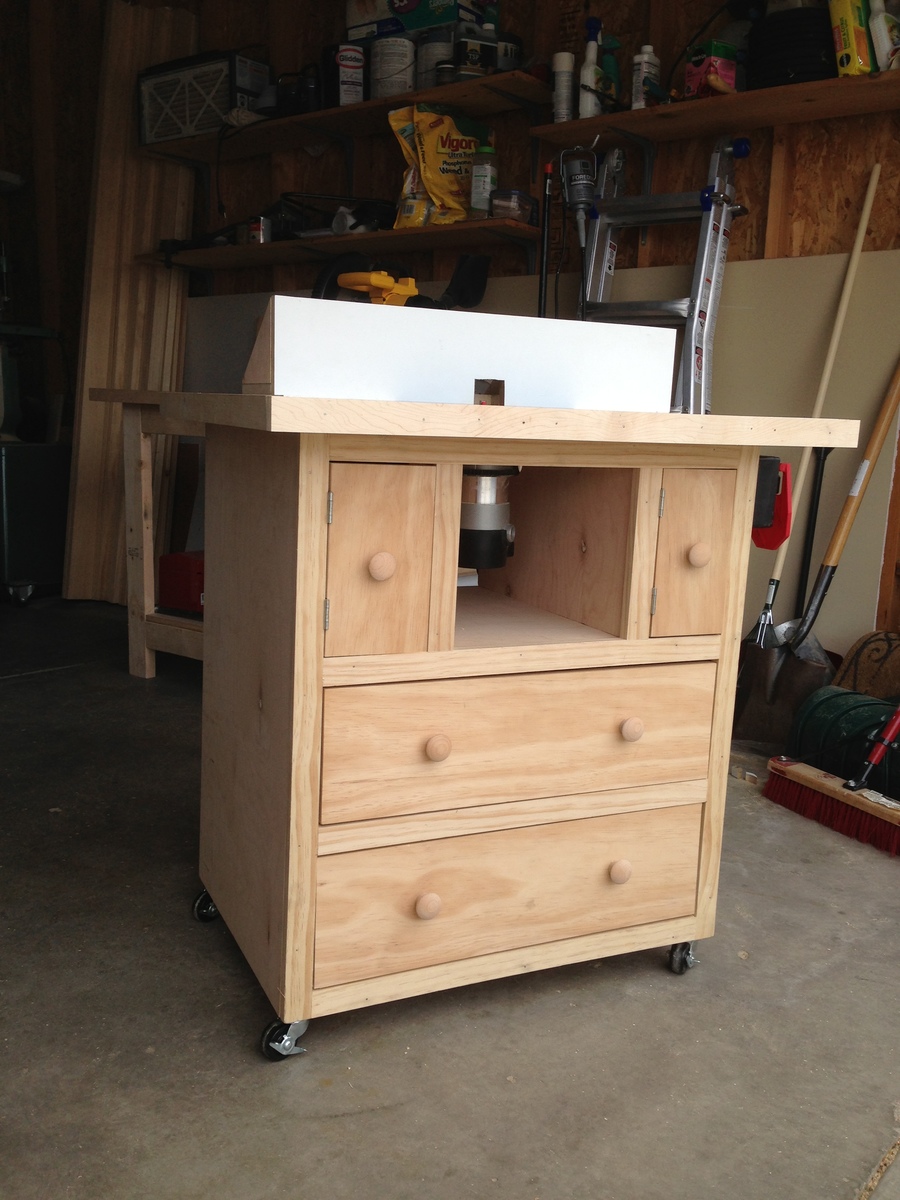
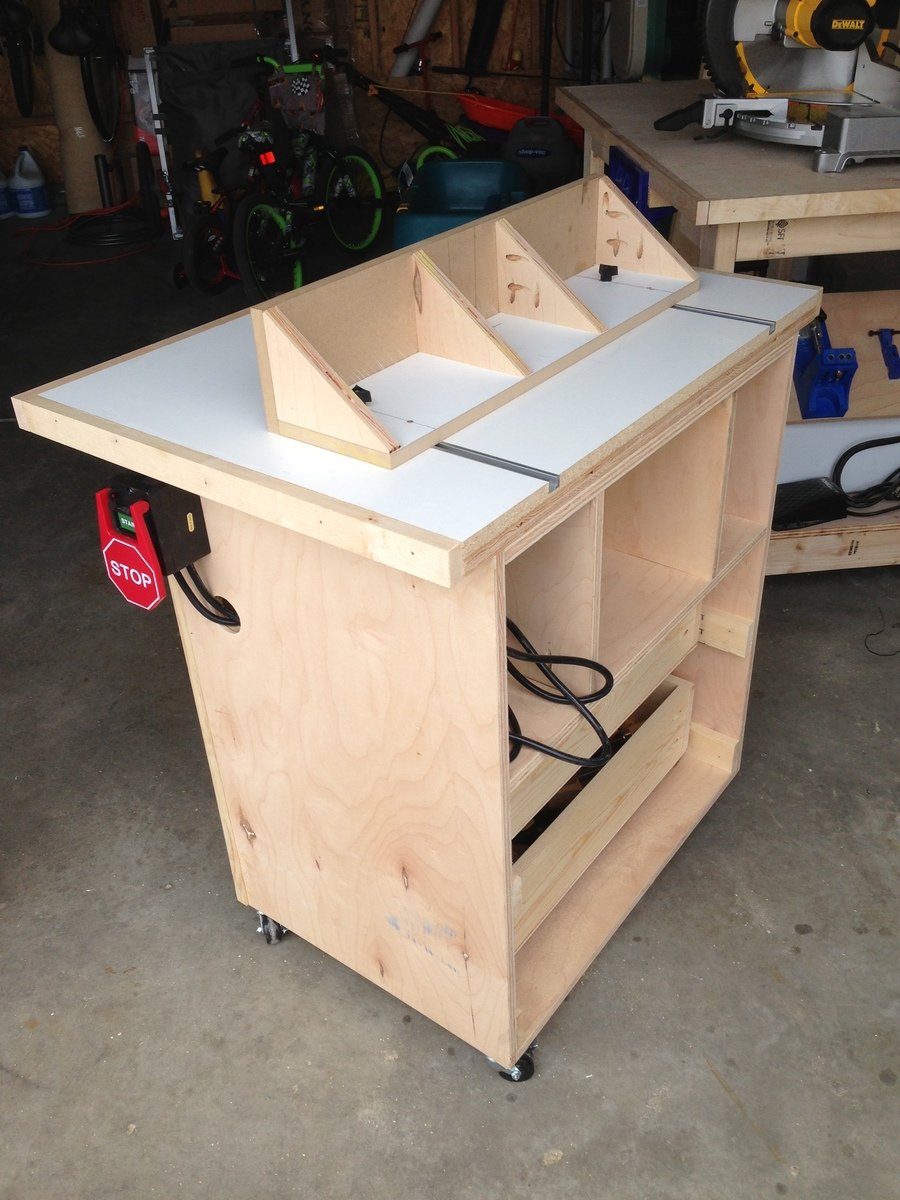
Router Table

Submitted by benbutler on Sun, 04/21/2013 - 10:51

My wife has been asking for new dressers for the boy's room for a while now but every time we go out shopping for them I am very disappointed in the quality of what is available. So I decided to make them myself. I have not made any furniture before and needed a few tools to help me out and thought what better way to get both the practice and the tools then build my own router table.

I searched the web for plans and found these great ones. I loved these plans but wanted to make a couple of changes anyway. I decide to build the table top as well as the cabinet and decided to make it a little taller to fit me better. Due to the changes and making the table top it took me 2 days to finish, 1 day for the cabinet and 1 for the top and to put it all together. (Not having used a router before it took me a while to get the template just right to cut in the insert.)

It works great and looks great in my shop. Now on to the dressers.

Built from Plan(s)
Estimated Cost
350 with the router
Estimated Time Investment
Weekend Project (10-20 Hours)
Finish Used
none
Recommended Skill Level
Beginner

Comments

custom desk

Custom sized desk to fit between a radiator and wall. Combination of cubby desk with added lower shelving and upper hutch with shelf unit.

Built from Plan(s)
Estimated Cost
$200.00
Estimated Time Investment
Weekend Project (10-20 Hours)
Finish Used
Desk top surface: 2 coats Minwax cherry stain plus finishing paste.
All other pieces:
1. one coat Kilz primer
2. two coats Behr off white satin
3. distressed with 220 grit sandpaper
4. Minwax cherry stain
5. one coat Minwax satin poly
Recommended Skill Level
Intermediate

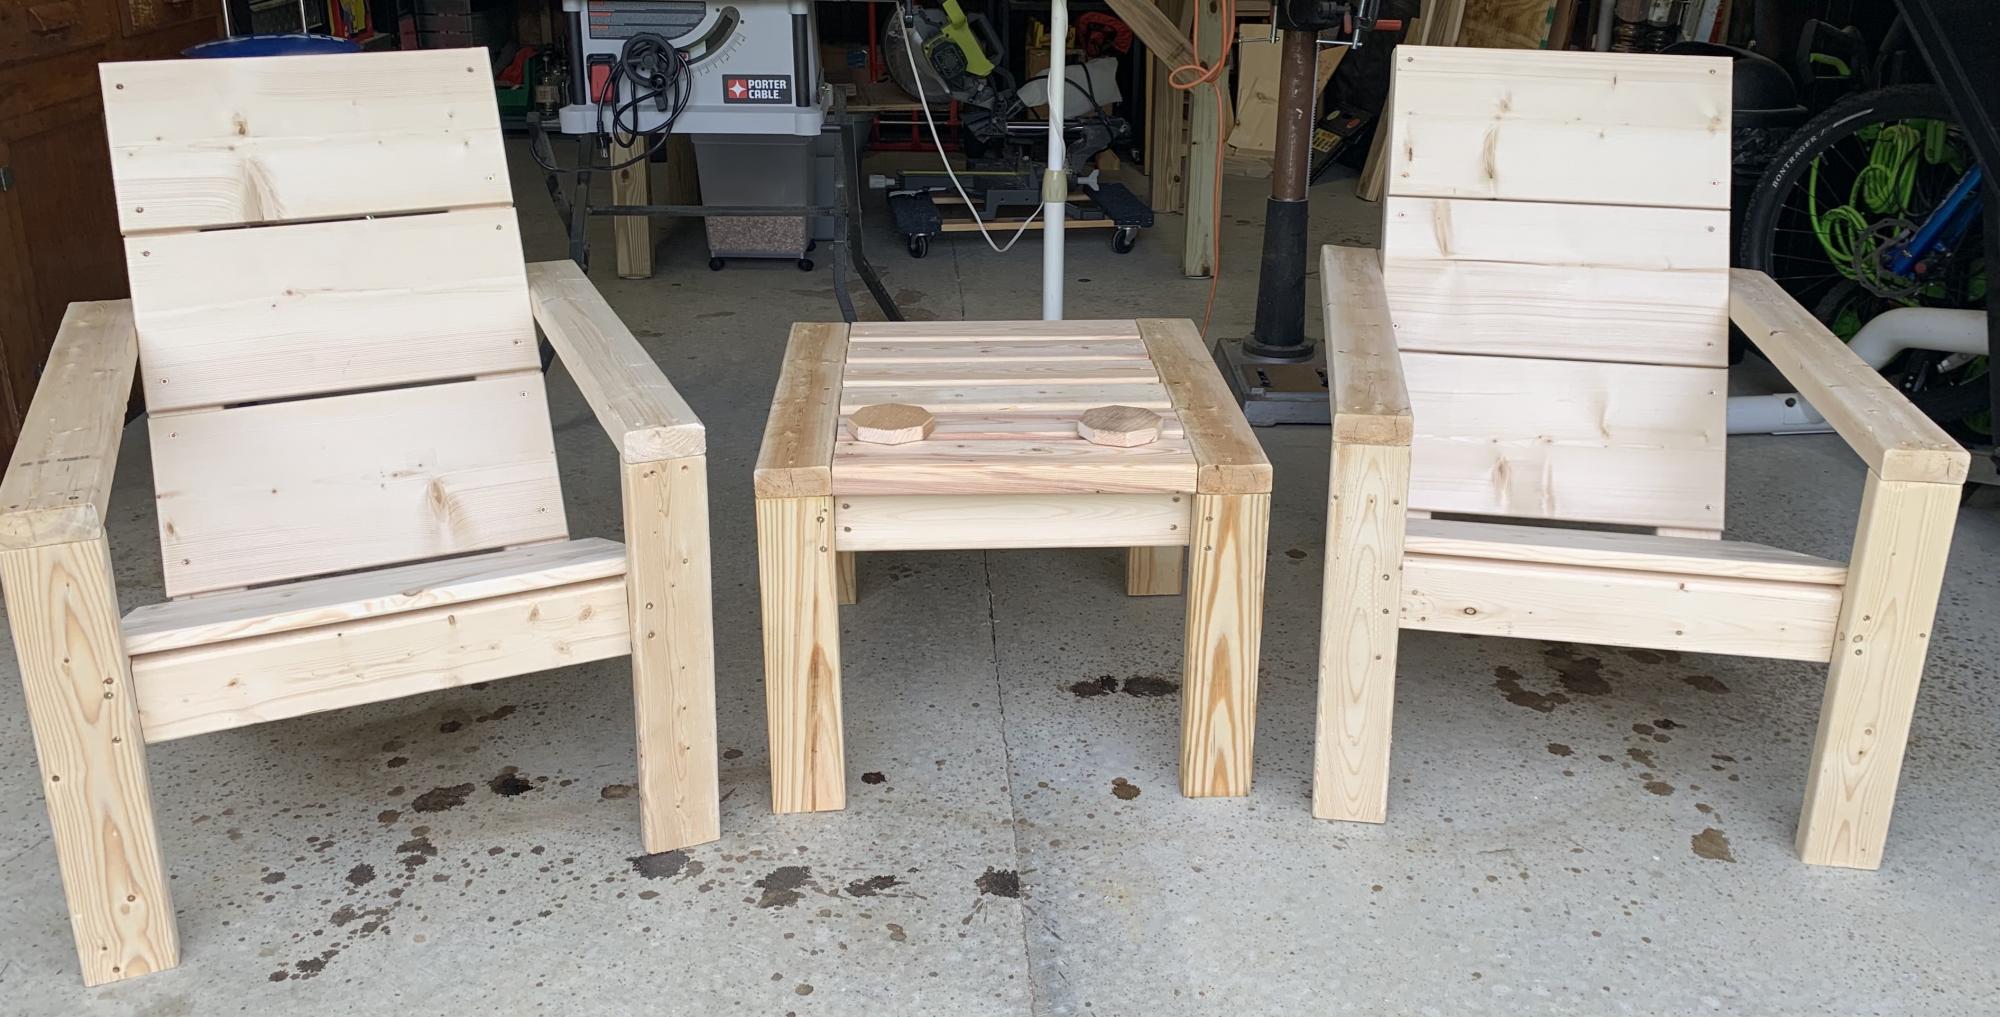
Adirondack Chairs and End Table

Submitted by Anonymous (not verified) on Mon, 10/04/2021 - 15:15

Hubby’s first Ana White project! Love these! Just need to stain.

Comments

Who's Afraid of the Simple Bed?

Submitted by QueenMahin on Thu, 03/10/2011 - 21:11

Building Ana’s farmhouse doll bed went so well that I felt ready to take on a full-sized bed.

Each project seems to come with its own set of lessons. I learned the hard way about the “Measure twice, cut once” rule with a couple of “oops” cuts that sent me back on another trip to the Blue store.

Sourcing untreated 4×4′s was also an issue. I ended up gluing and screwing 2×4′s together to use as the headboard and footboard legs.

The biggest issue, though, was my own fear. Sure I hit some stumbling blocks during the build, but resolved them and got the headboard and footboard all put together… and then choked. Who the heck makes her own bed? Is this really going to work? I delayed and delayed the final steps of screwing the siderails to the legs and attaching slats until I finally had to give myself a stern talking-to and a self-imposed deadline! Has anyone else ever been scared to push through to the final steps?

OK, here goes! I wasn’t sure that I understood the step about toenailing lagbolts through the end of the cleats into the legs until I got out the drill and tried it. Yup, it worked just fine! Next came the slats, and then when I hoisted the mattress on and saw that I had built a bed…. Well, I don’t even know how to describe that feeling of success and empowerment. Wow!

Ana, I wish I could thank you for all that you do.

Estimated Cost
$100
Estimated Time Investment
Week Long Project (20 Hours or More)
Finish Used
Paint or Stain Color/Type:Minwax American Chestnut
Finishing Technique: Was stuck in indecisive mode for a while and sanded and stained and sanded and stained, which resulted in a kind of weathered looking finish. Not what I thought I was going for, but now I count this as a success story and I love it!

Recommended Skill Level
Intermediate

Fancy*farmhouse table and benches

Submitted by Michael M on Mon, 05/27/2013 - 08:52

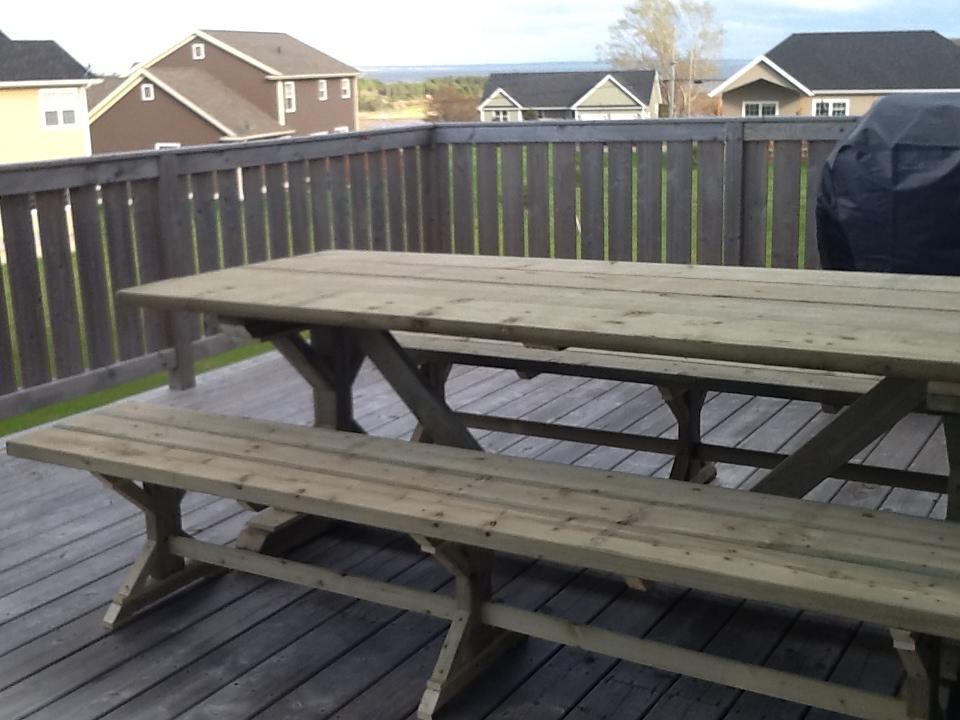
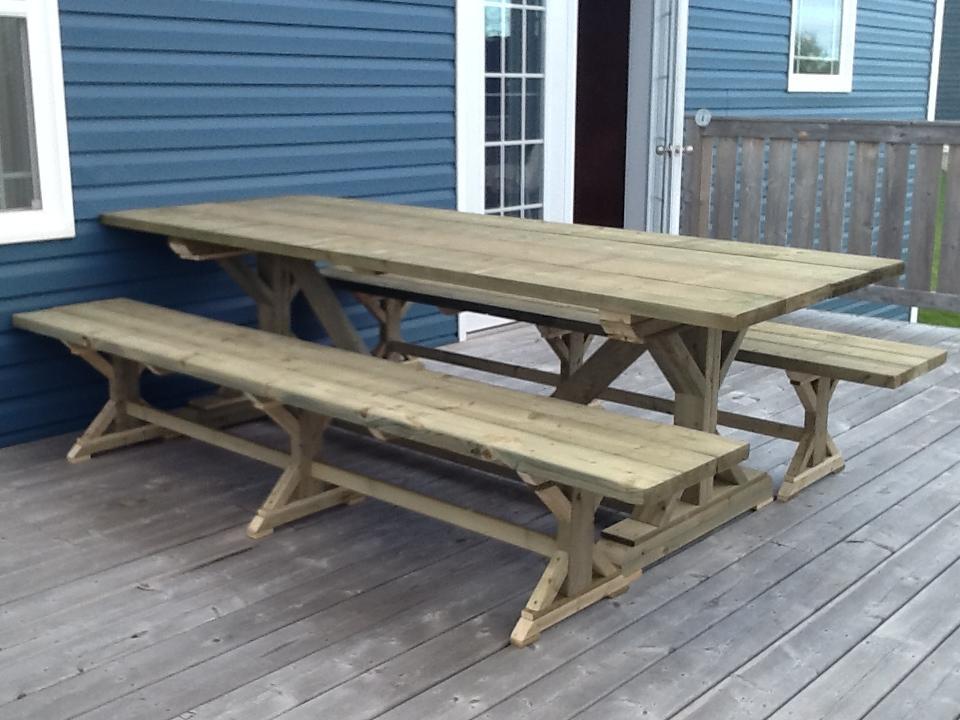
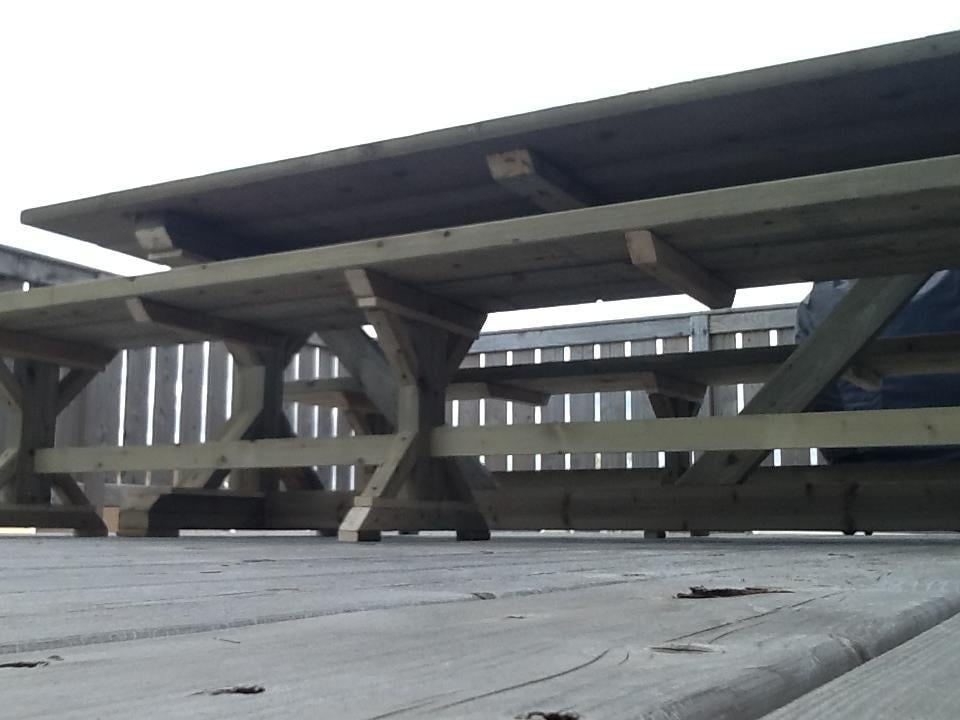
Used pressure treated (copper) and will allow to fade to grey with sun and sea air. Built to enjoy PEI mussels, lobster and beer in the open air and not too worried about the finish or surface. The table took 3 hours, start to finish - benches x 2 took longer at about 7 hours. Am getting a little lateral movement with the benches so will replace the 1 x 3 spacer with 2 x 4 and may add a diagonal 2 x 2 support as well (to match the table). I don't have/didn't use a Kreg so that may be the issue...?
Plans on Ana White are fantastic - I made the see-saw this weekend too in about an hour....thanks!

Estimated Cost
$120 in wood and $20 in screws for table and benches
Estimated Time Investment
Day Project (6-9 Hours)
Finish Used
Outdoor table and seating
Recommended Skill Level
Intermediate

Modified Ann White Table

Submitted by Anonymous (not verified) on Tue, 10/05/2021 - 17:07

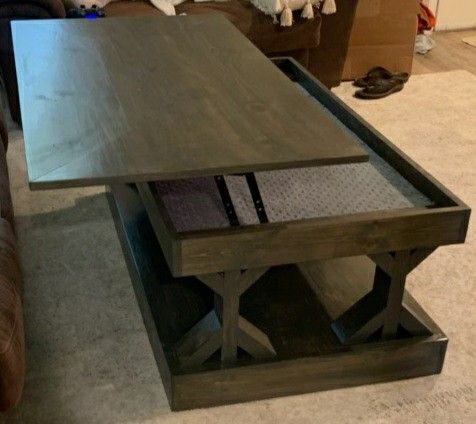
This is a modified version of your Farmhouse Coffee Table.

Comments

A bench for a future table

Submitted by Al Lulu on Fri, 05/31/2013 - 14:59

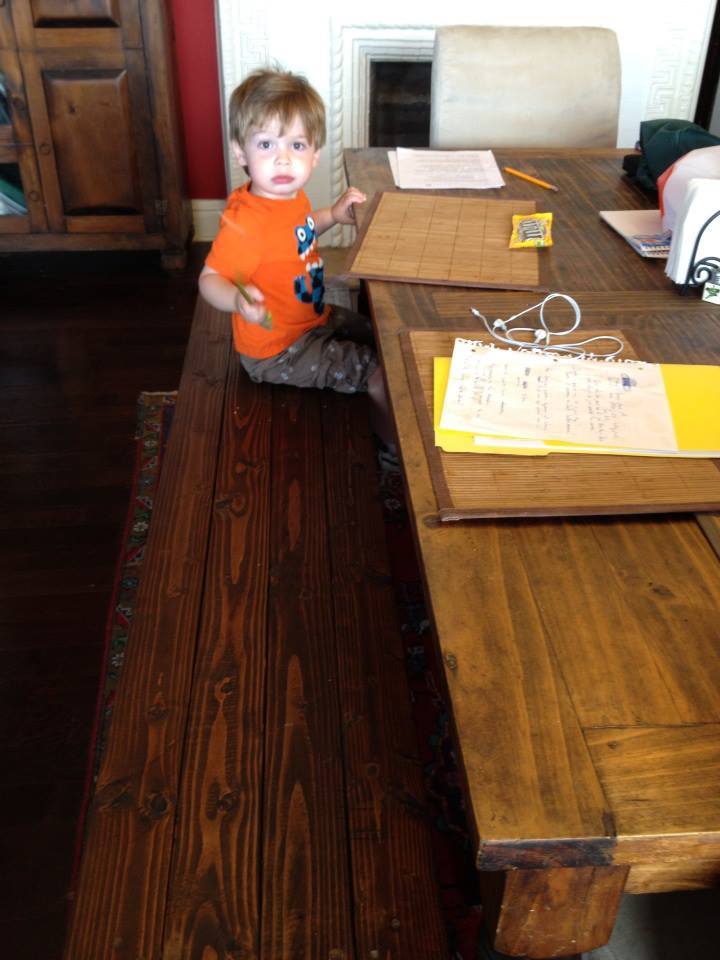
This is the third project I've done from this site and the first that came out absolutely perfect. The others were GREAT but this one....it just soared.
Took me all of 1 afternoon to build and 3 days to stain and finish. I used Early American by Minwax to match the existing dining room table.
My goal is to build the table that goes with it.
But, for now, this is the perfect addition to the house.
One thing.
The plans for this bench call for 1x4s for the breadboards and that doesn't make sense. I think it's a typo.
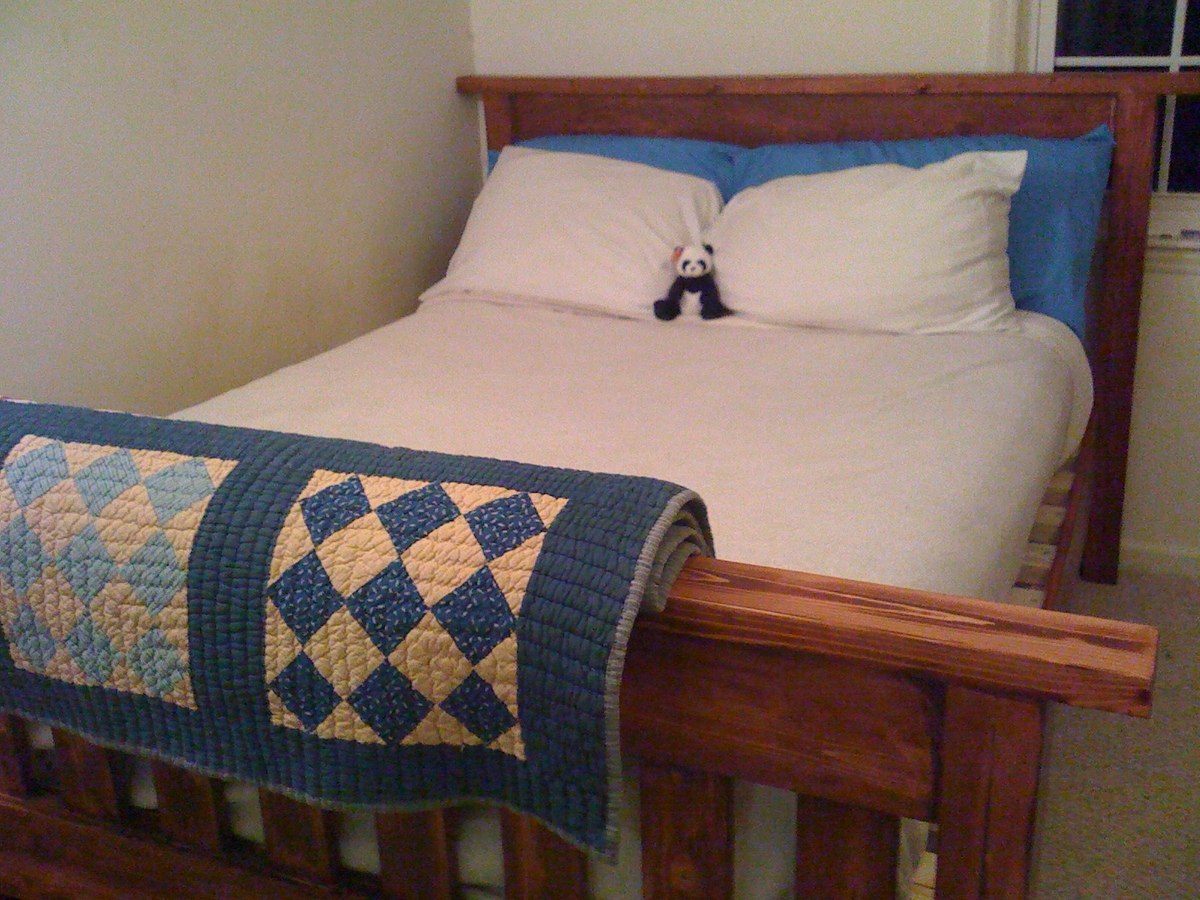
You will need extra 2x4s to make the project really soar. But, heck, who can't use an extra 2x4 lying around?
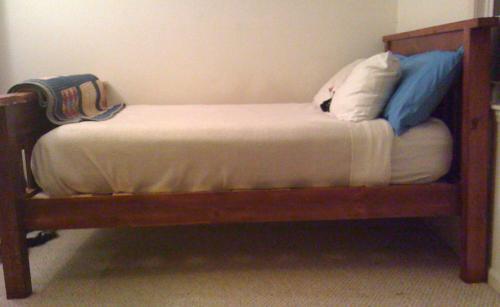
Estimated Cost
$40
Estimated Time Investment
Afternoon Project (3-6 Hours)
Finish Used
Minwax Early American
Varathane satin
Recommended Skill Level
Beginner

Comments

Outdoor 2x2 end table

Submitted by Anonymous (not verified) on Sun, 11/07/2021 - 04:19

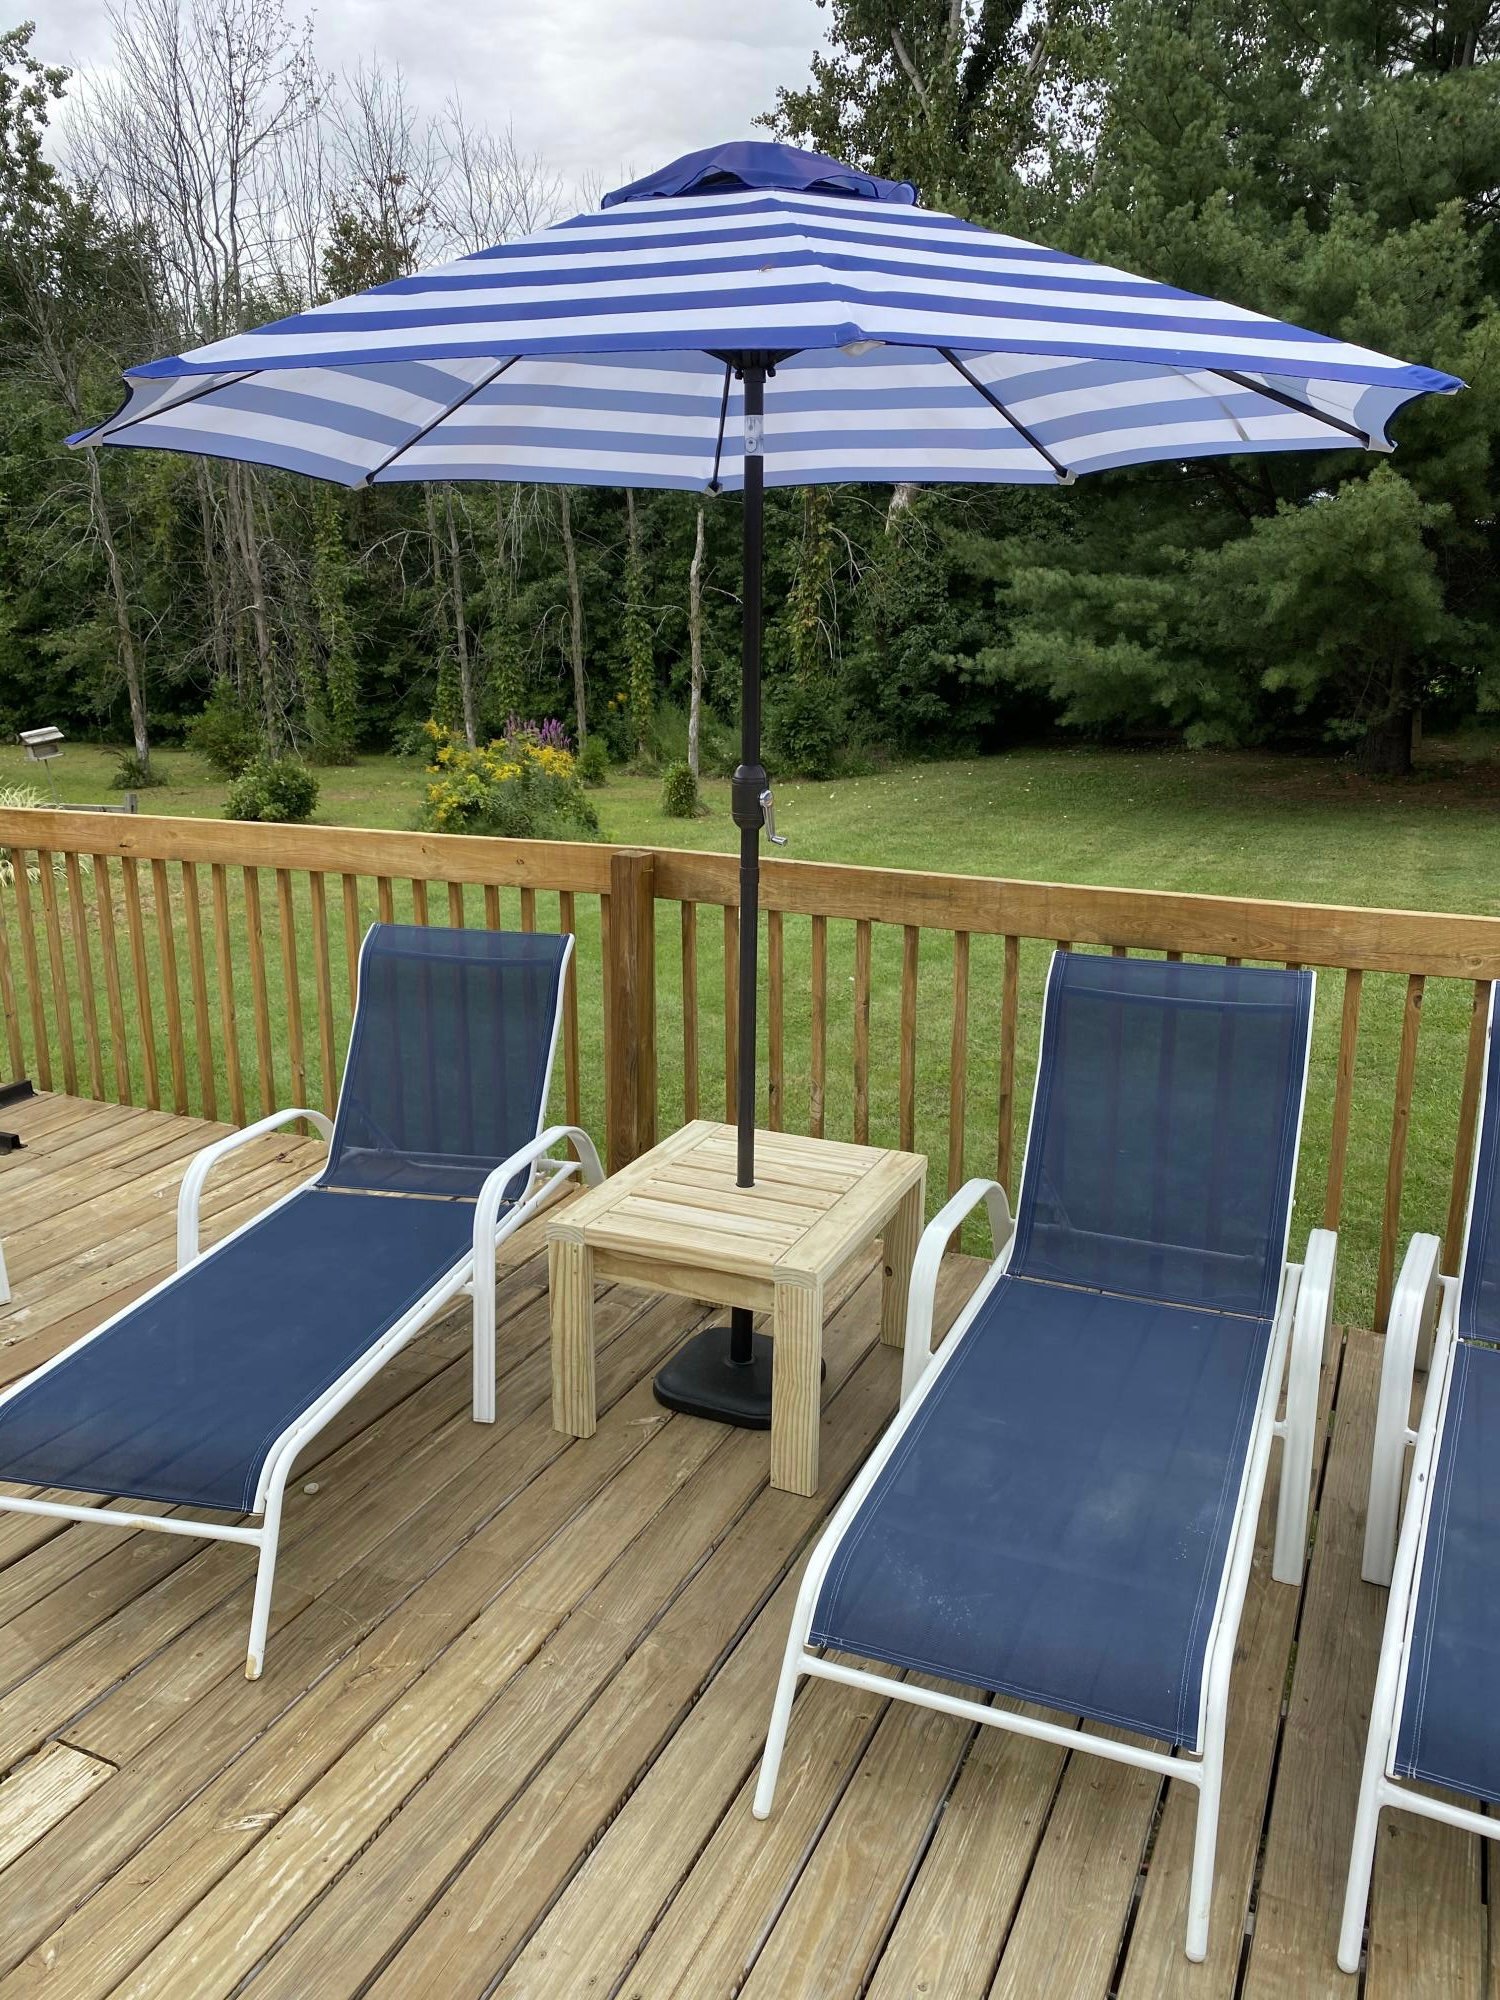
I made the end table a little taller than the instructions and the top boards further apart for rain to fall thru, then drilled a hole so it can be used as an umbrella stand too!

Built from Plan(s)

Comments

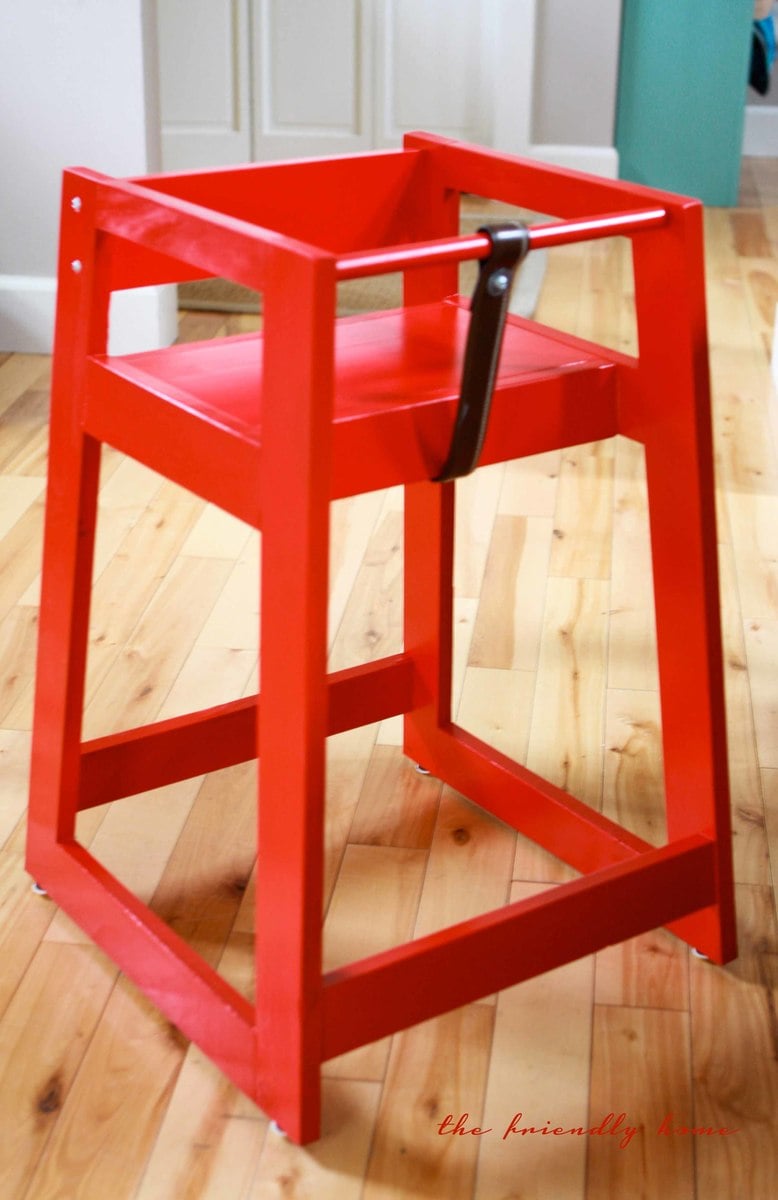
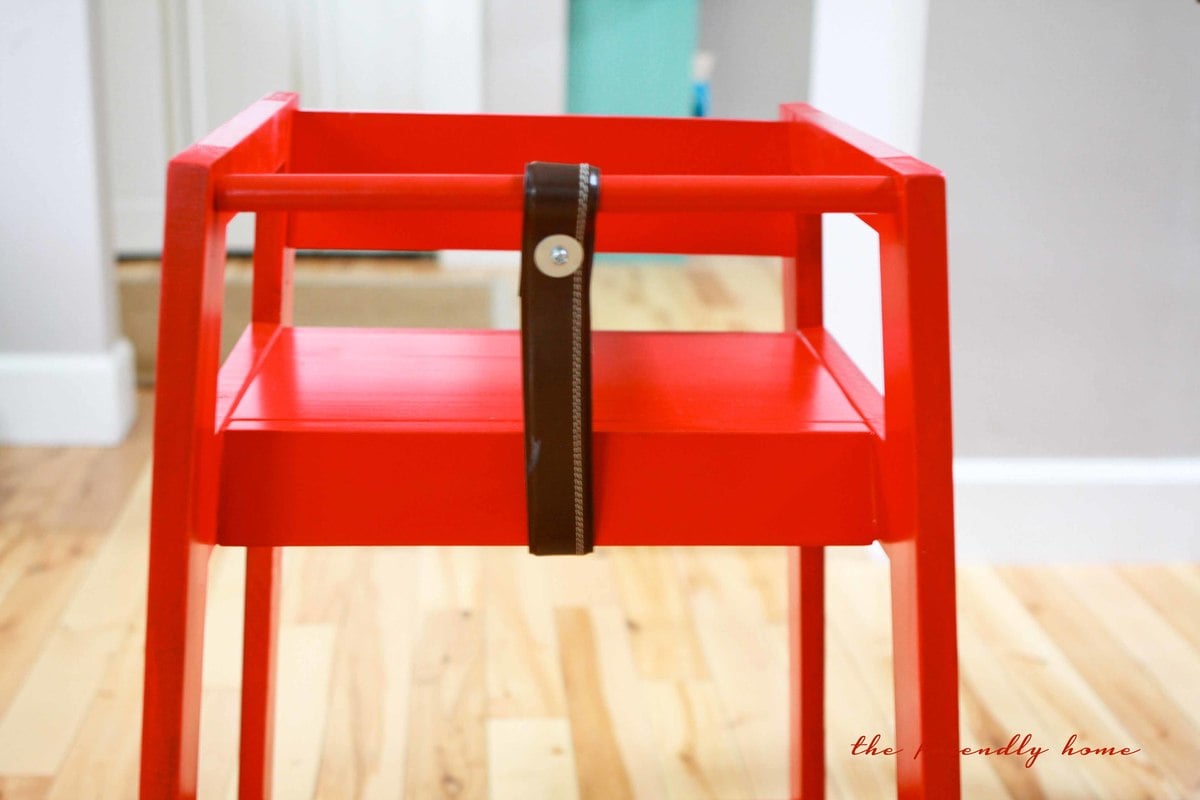
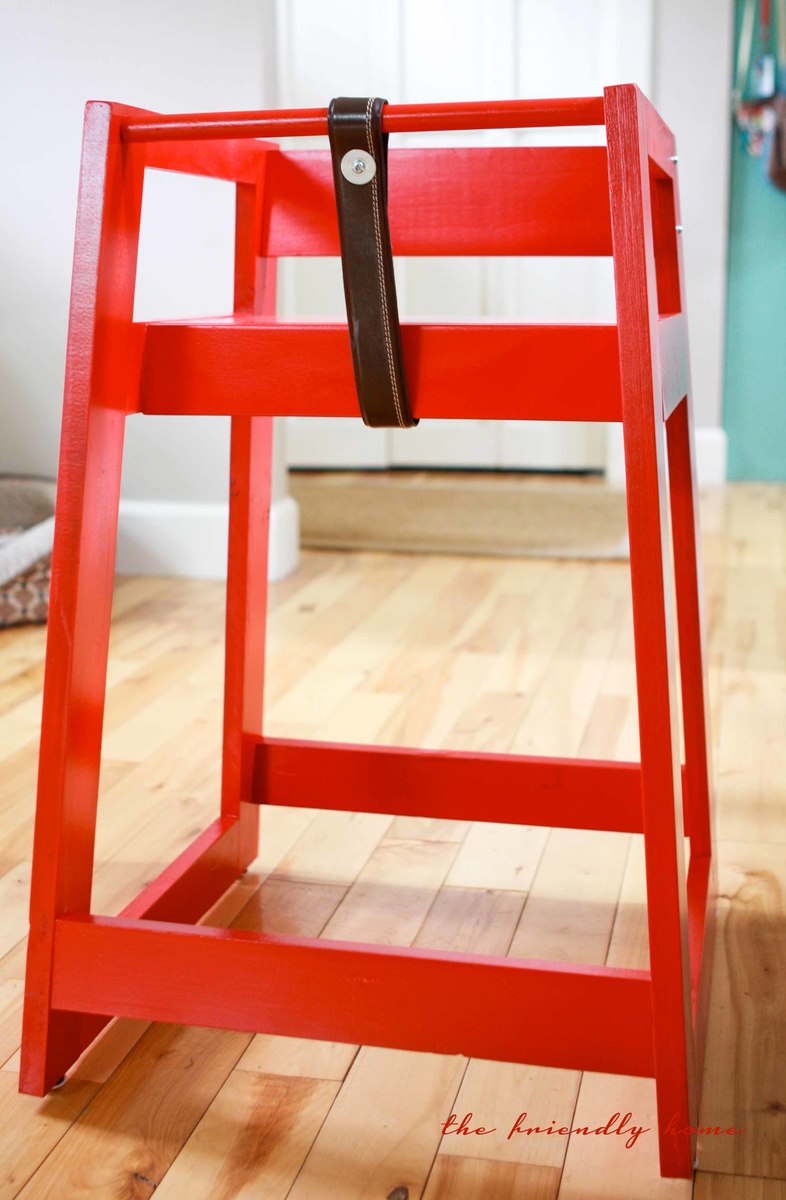
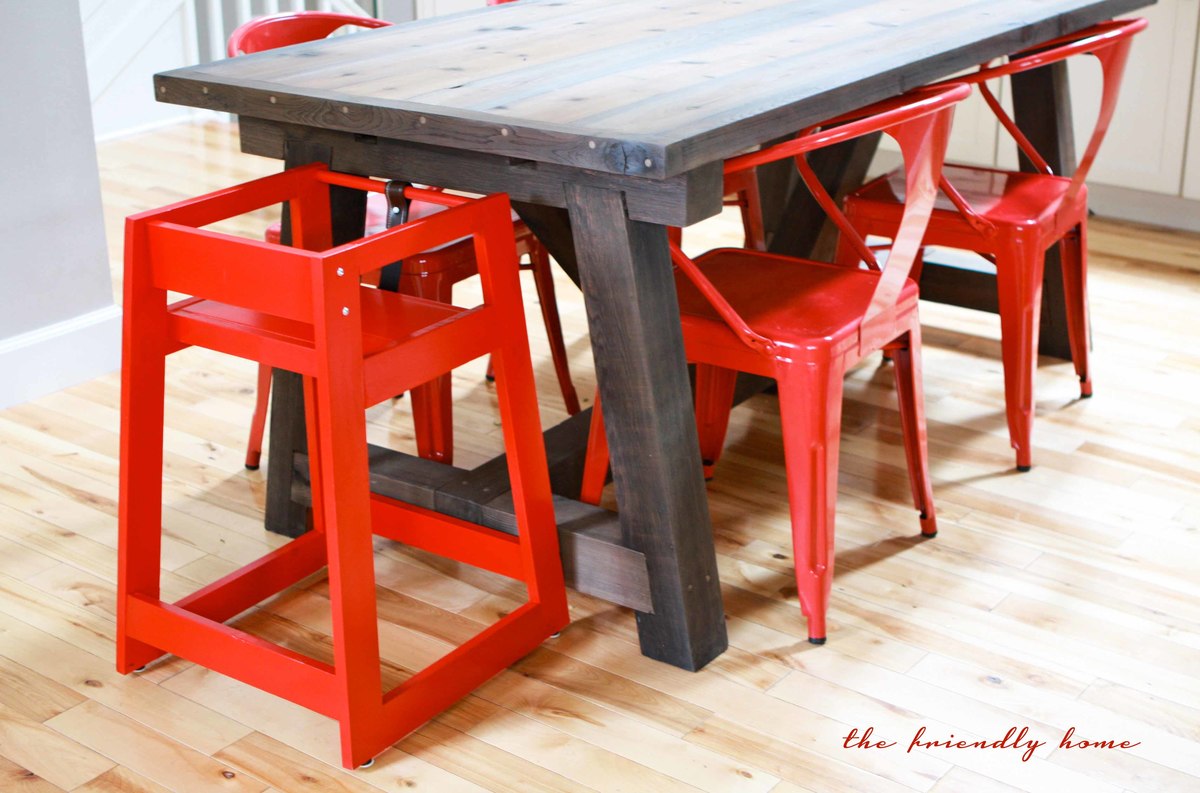
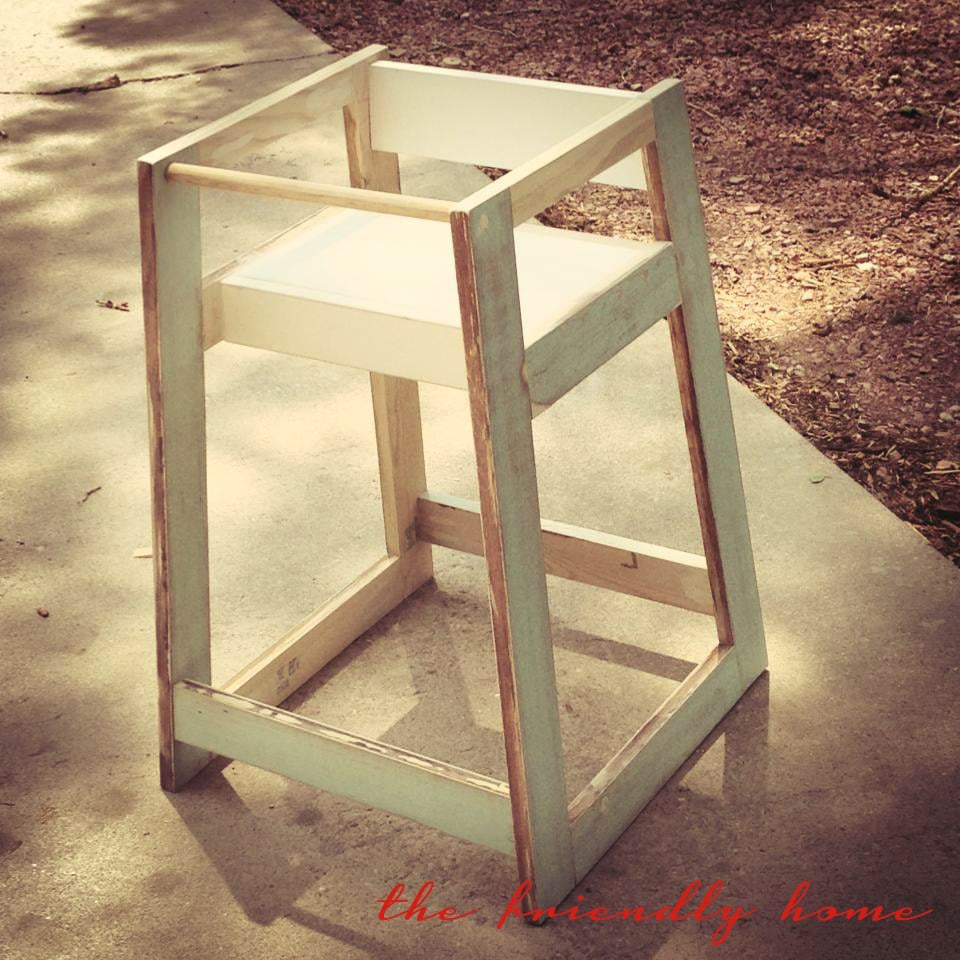
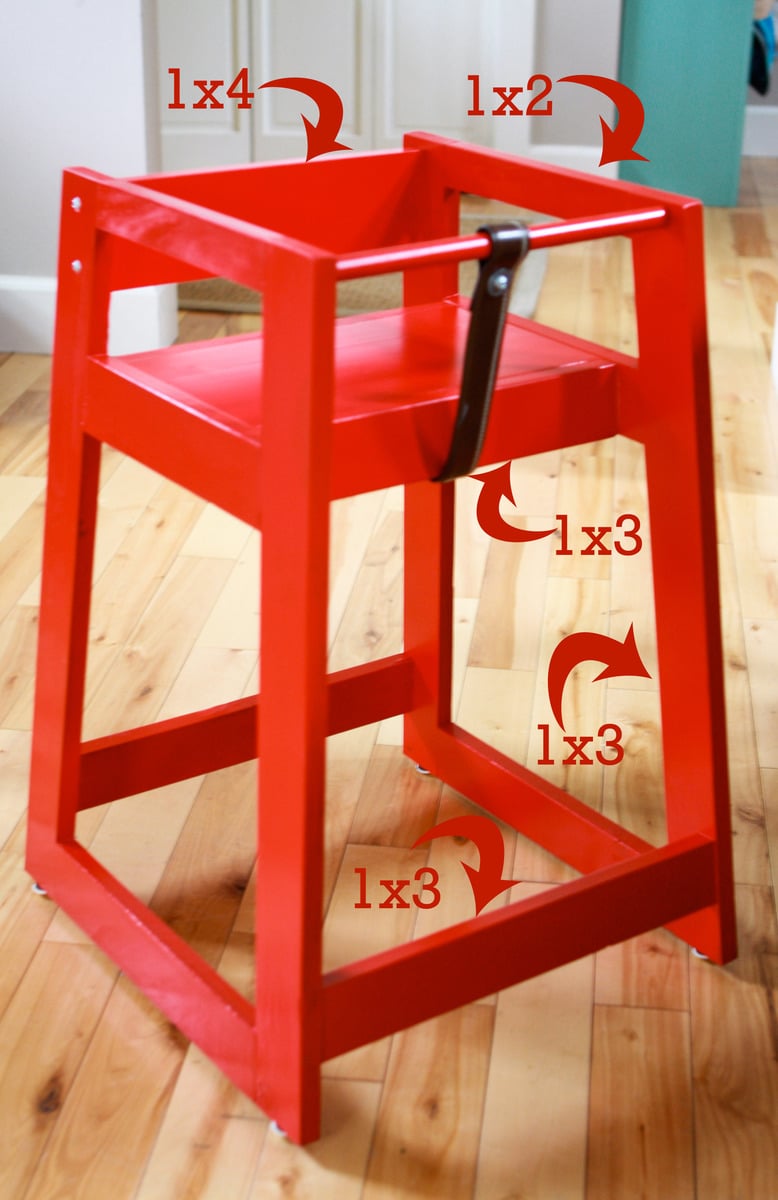
Restaurant High Chair from scraps

This took me longer to build than I expected -- maybe because I was working from scraps and had to figure out what would fit where along the way. Also, I initially cut all the side pieces with parallel cuts. Oops. So I had to re-do them all.

For more info, check out my blog post!

Built from Plan(s)
Estimated Cost
$14 for paint and furniture glides -- had the rest on hand.
Estimated Time Investment
Day Project (6-9 Hours)
Finish Used
Gloss Cherry premixed paint by Valspar.
Recommended Skill Level
Intermediate

Comments