Providence Picnic Table by Falafel and the Bee
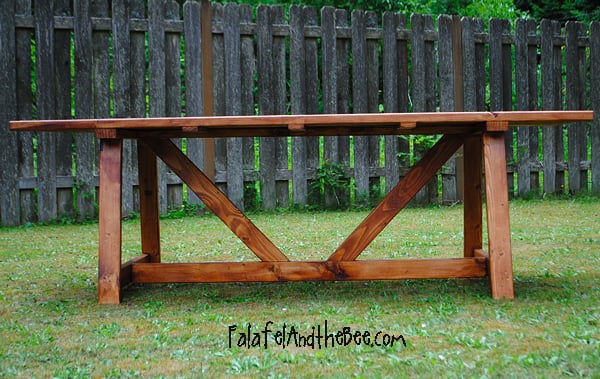
This is my second large wood project...and both from this blog! The plans were fabulously easy. This was the first time I used my miter saw, and it was a great way to break it in.

This is my second large wood project...and both from this blog! The plans were fabulously easy. This was the first time I used my miter saw, and it was a great way to break it in.
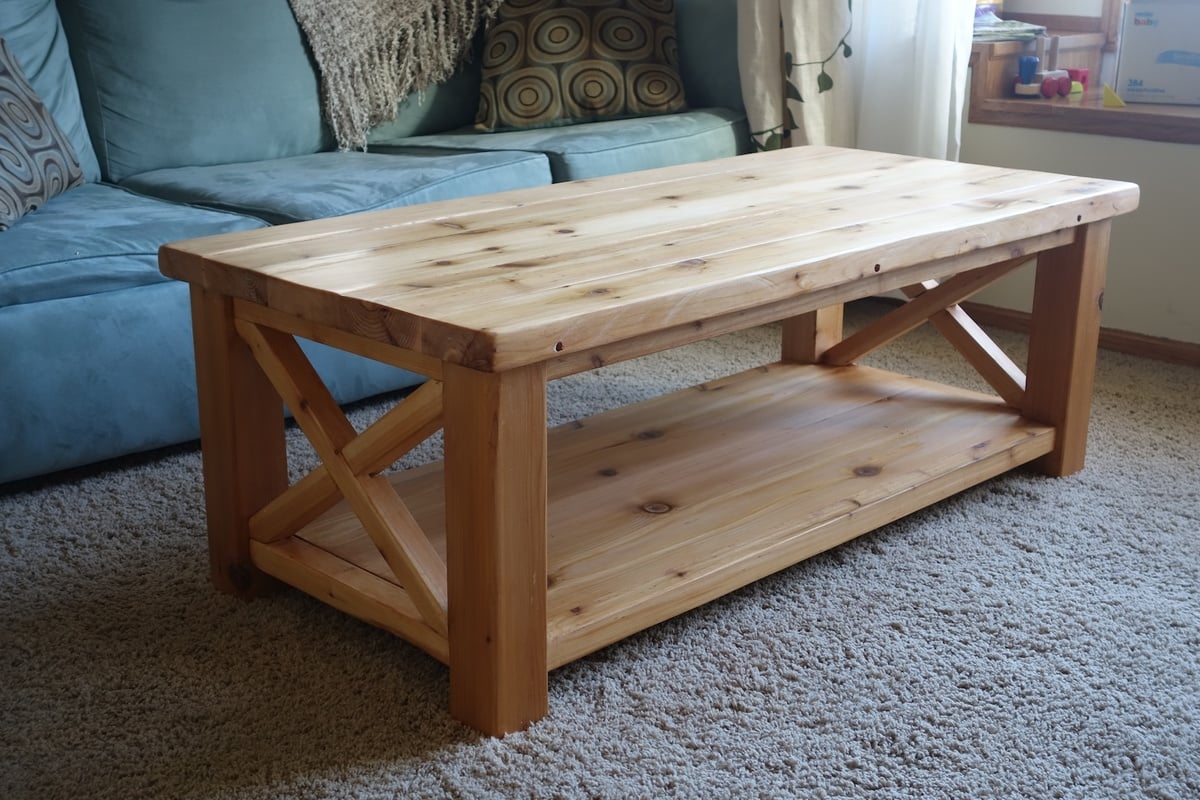
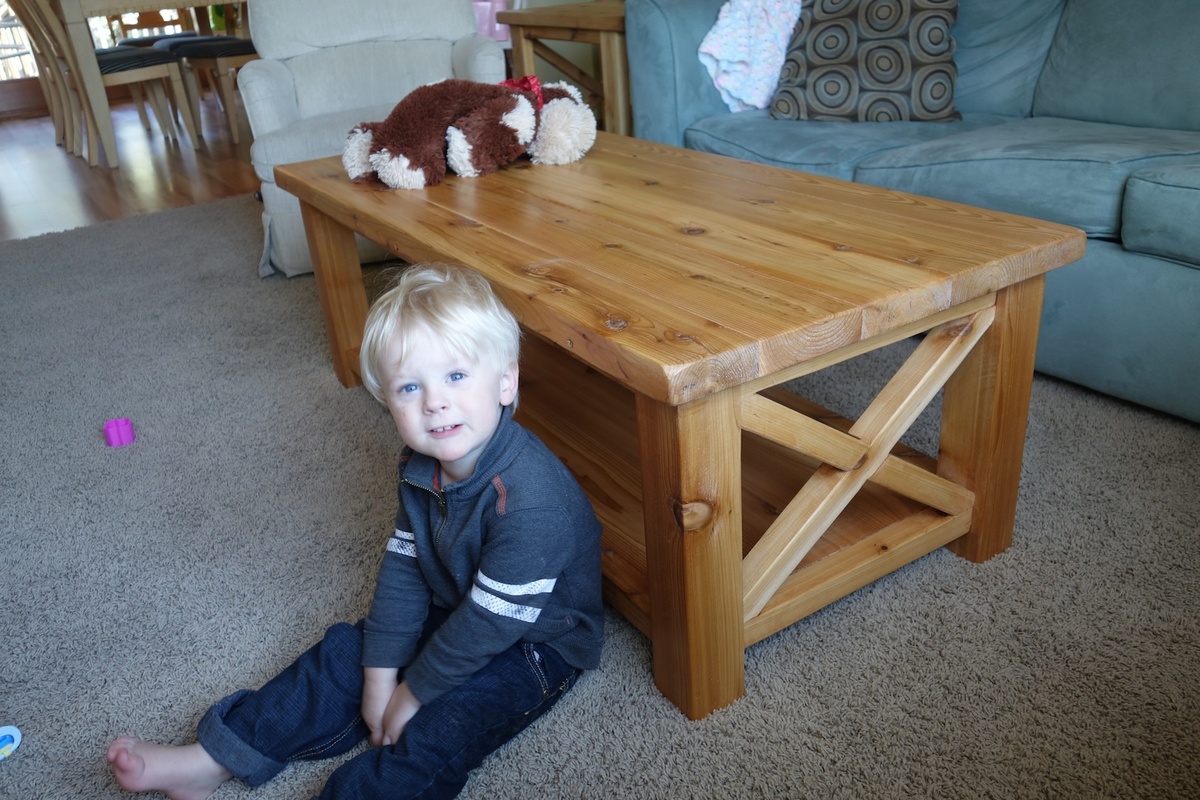
This is my first real piece of furniture I've built. We decided to build it in Western Red Cedar because our local home improvement store had a good selection of it. It was pricier than pine, but it holds stain really well and is really beautiful.
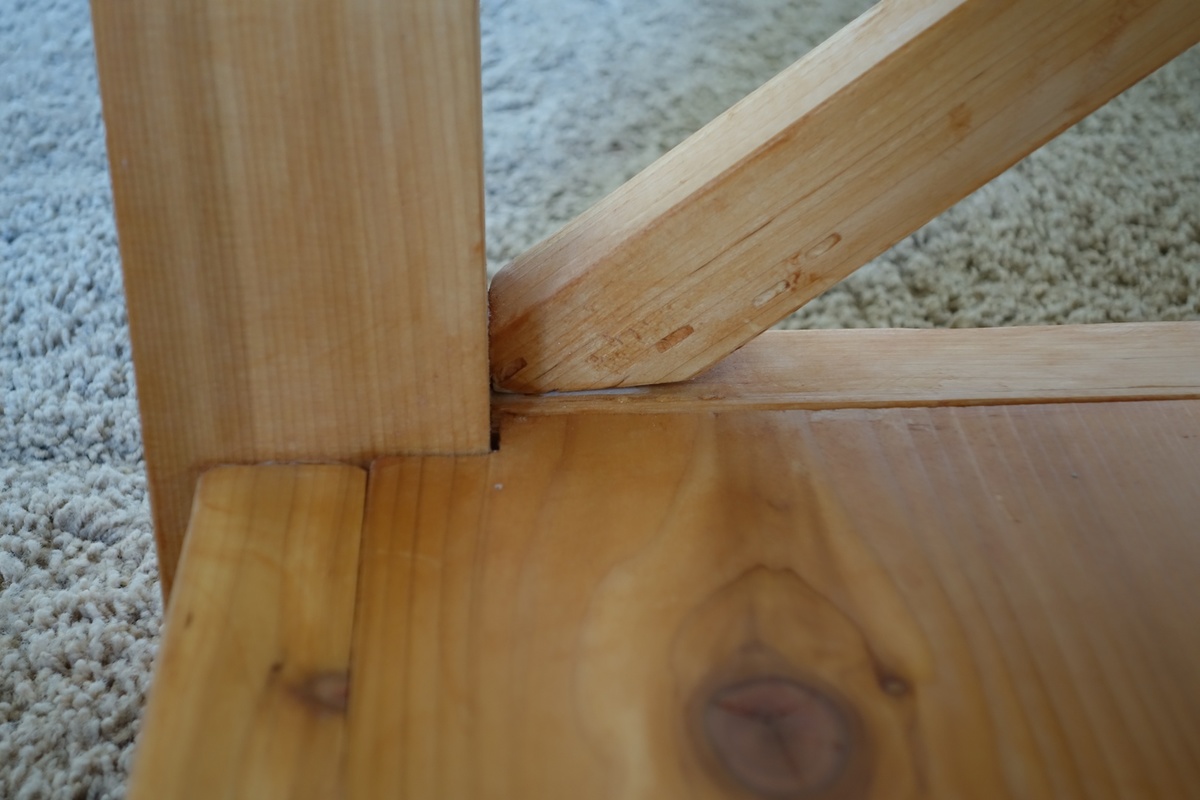
I modified the plan and bought a 4x4 for the legs, then I cut that down to 3" x 3" exactly with my table saw. That way it doesn't look like a standard cut of wood, but something more custom. As a result I had to put corner notches in my bottom piece so that it would fit in with the legs. That was tricky to do, but would have been easier if I had a jigsaw
I made a few measuring errors and had to correct it by trimming down the table top so there was only an inch overhang on the edges. So this is actually a few inches less deep than the plan called for, but it worked out ok I think.
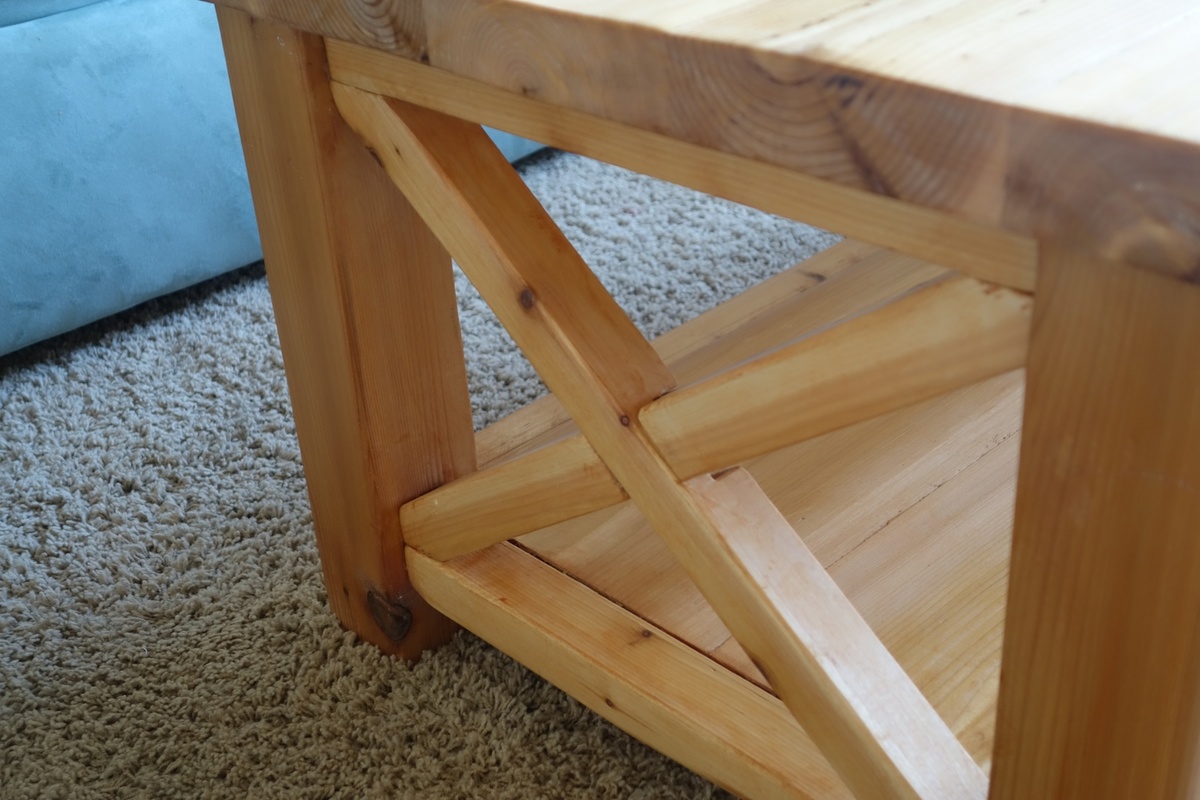
With the X's I laid them on top of the legs and traced a line to cut rather than trying to cut an exact miter. I also traced it so that I'd cut a bit off of the top and side of the corner so that it fits in nice and snug on both edges.
I also traced the intersection lines. Then I set my table saw (don't have a circular saw) to 1/2 an inch and just cut out several notches in between the intersection lines so the to X pieces could overlap each other. A "halved joint" I believe it's called.
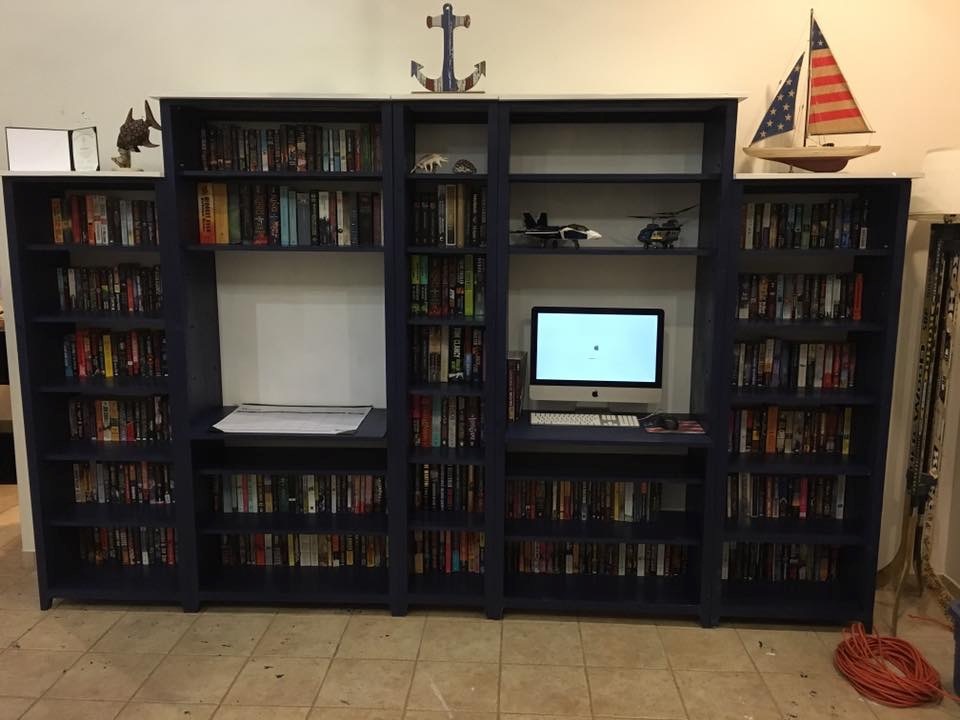
Wife wanted bookcases for all our books and a desk/work area for her calendar. I decided to modify the Channing Bookcase to suit our needs. We built 5 of them to fit the wall. We did not attach the back trim piece on the shelves to give them a recessed look. Convinced the wife to let me buy the Kreg K4 system, which saved my sanity for the over 500 pocket holes we had to drill in this project. Thanks for the plans!
Tue, 05/26/2020 - 14:10
Lovely! This gives me hope that I may be able to create the piece I want for my living room space. We own so many books.
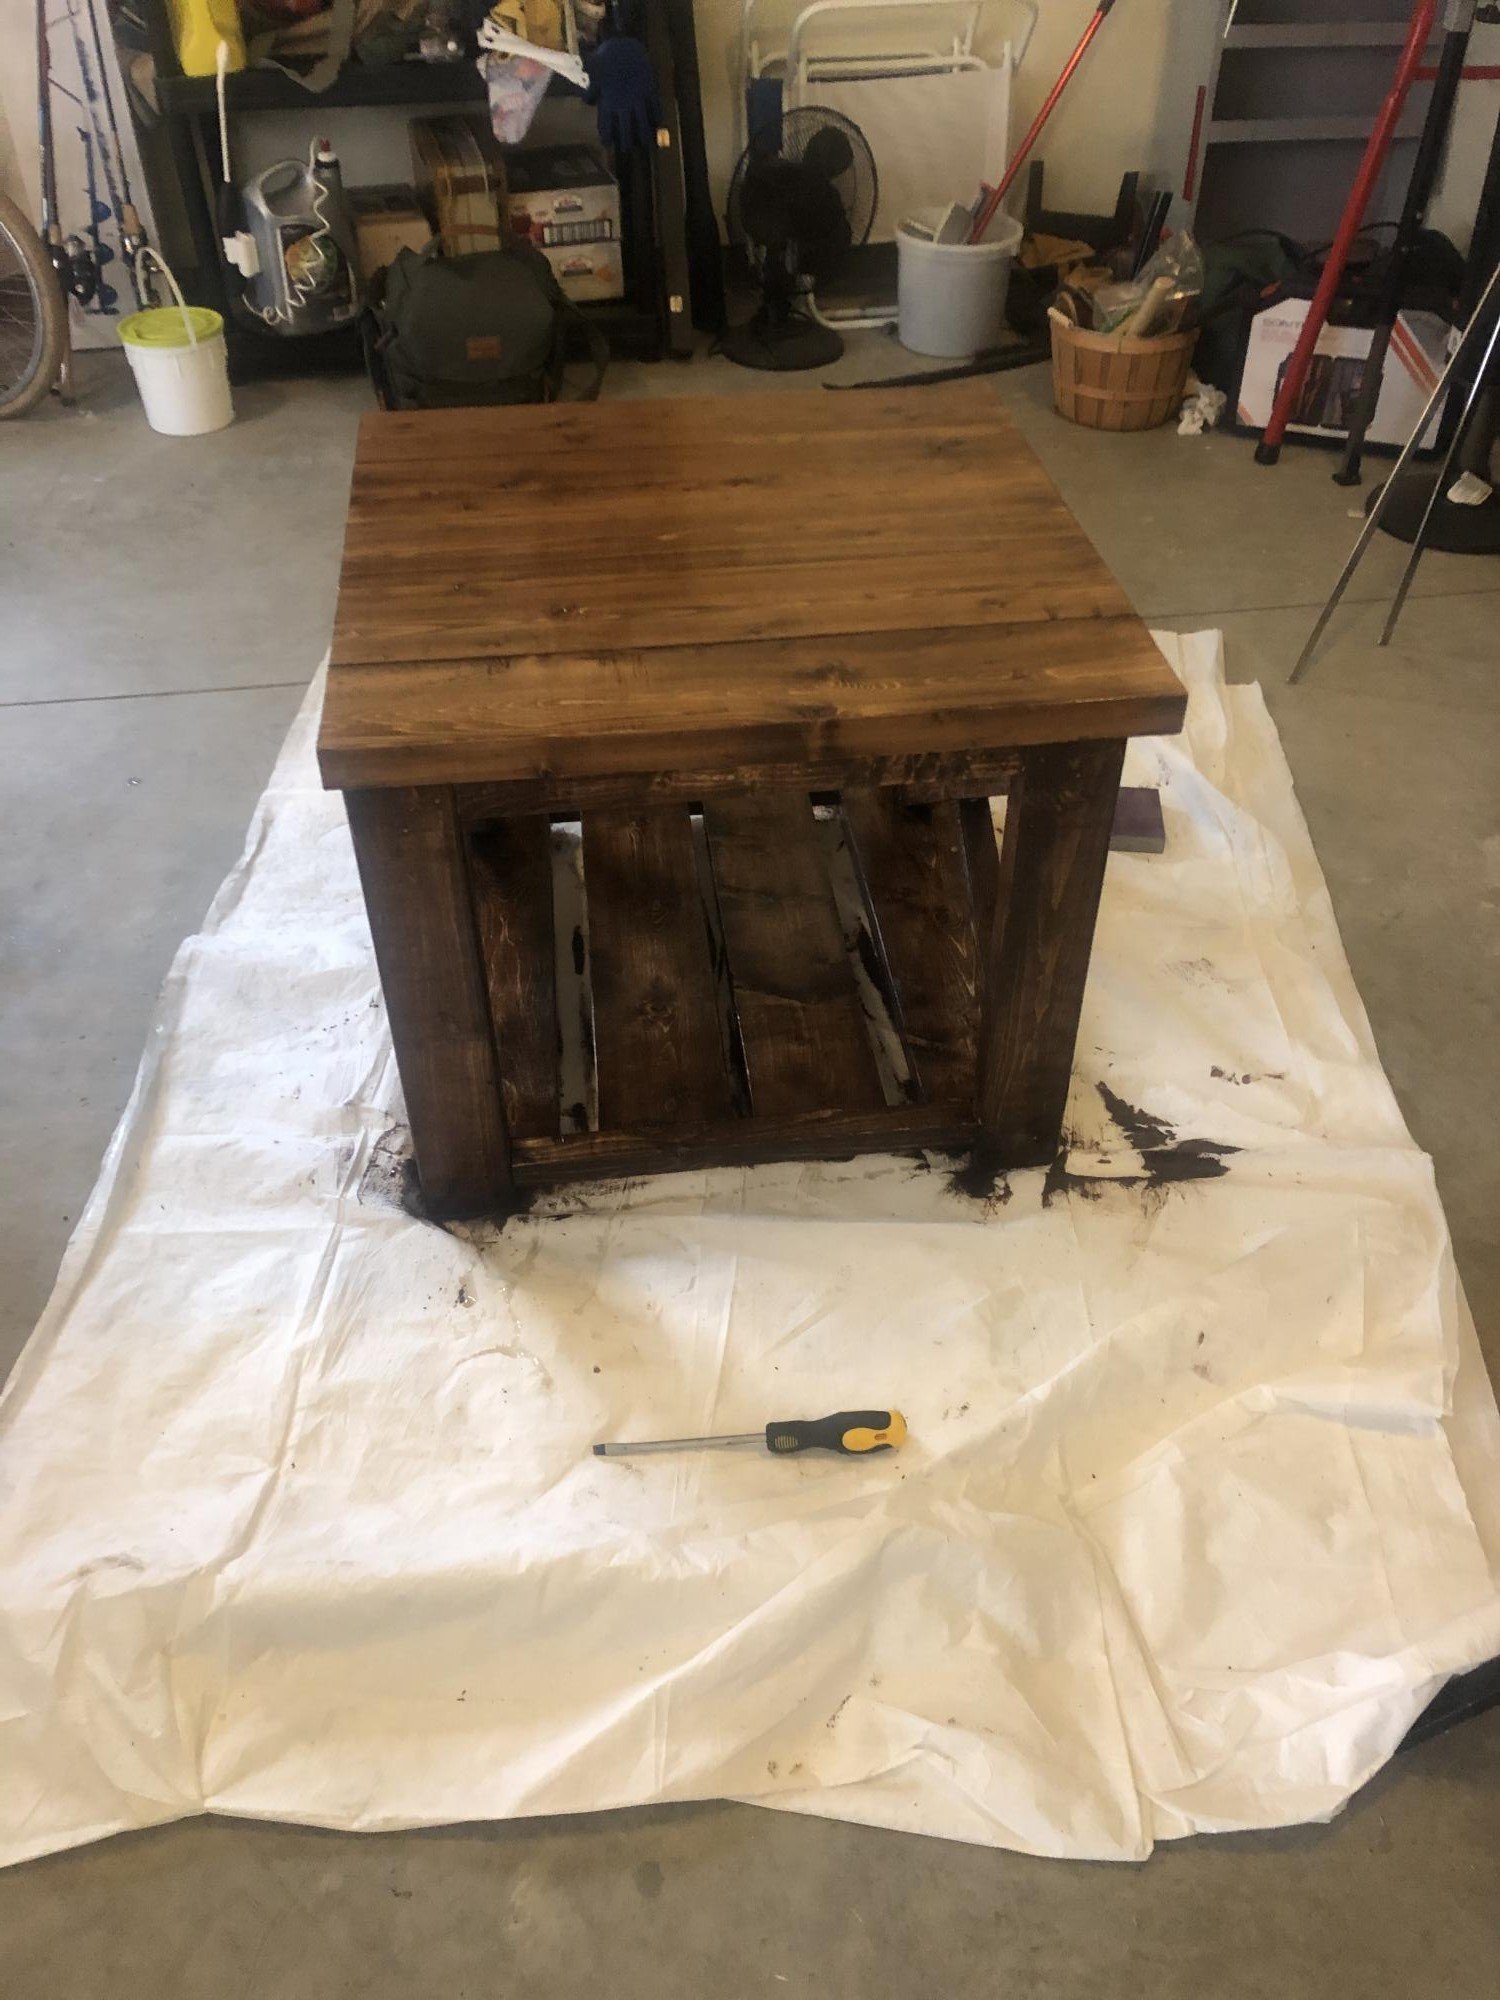
Doing the whole set of rustic coffee/end tables 1st one done! Thanks for the plan!

My first Ana White project. My friend Shelley and I are RN's, and she got me hooked on woodworking. I started with cushions from Lowes ( in the sizes that you recommended)to see if I loved the sectional for a few years. I loved it so much I decided to have custom Sunbrella fabric ones made. Even though the custom ones were more expensive, it has been worth it. They go perfect with my California Mission style home. Now I want to add the armless one and make it a U-shape. I did add a piece at the bottom back of each sofa to hold the cushions in. The seat cushions would slide out the back when sitting on the sofa. I made the coffee table to match. Our family loves it!
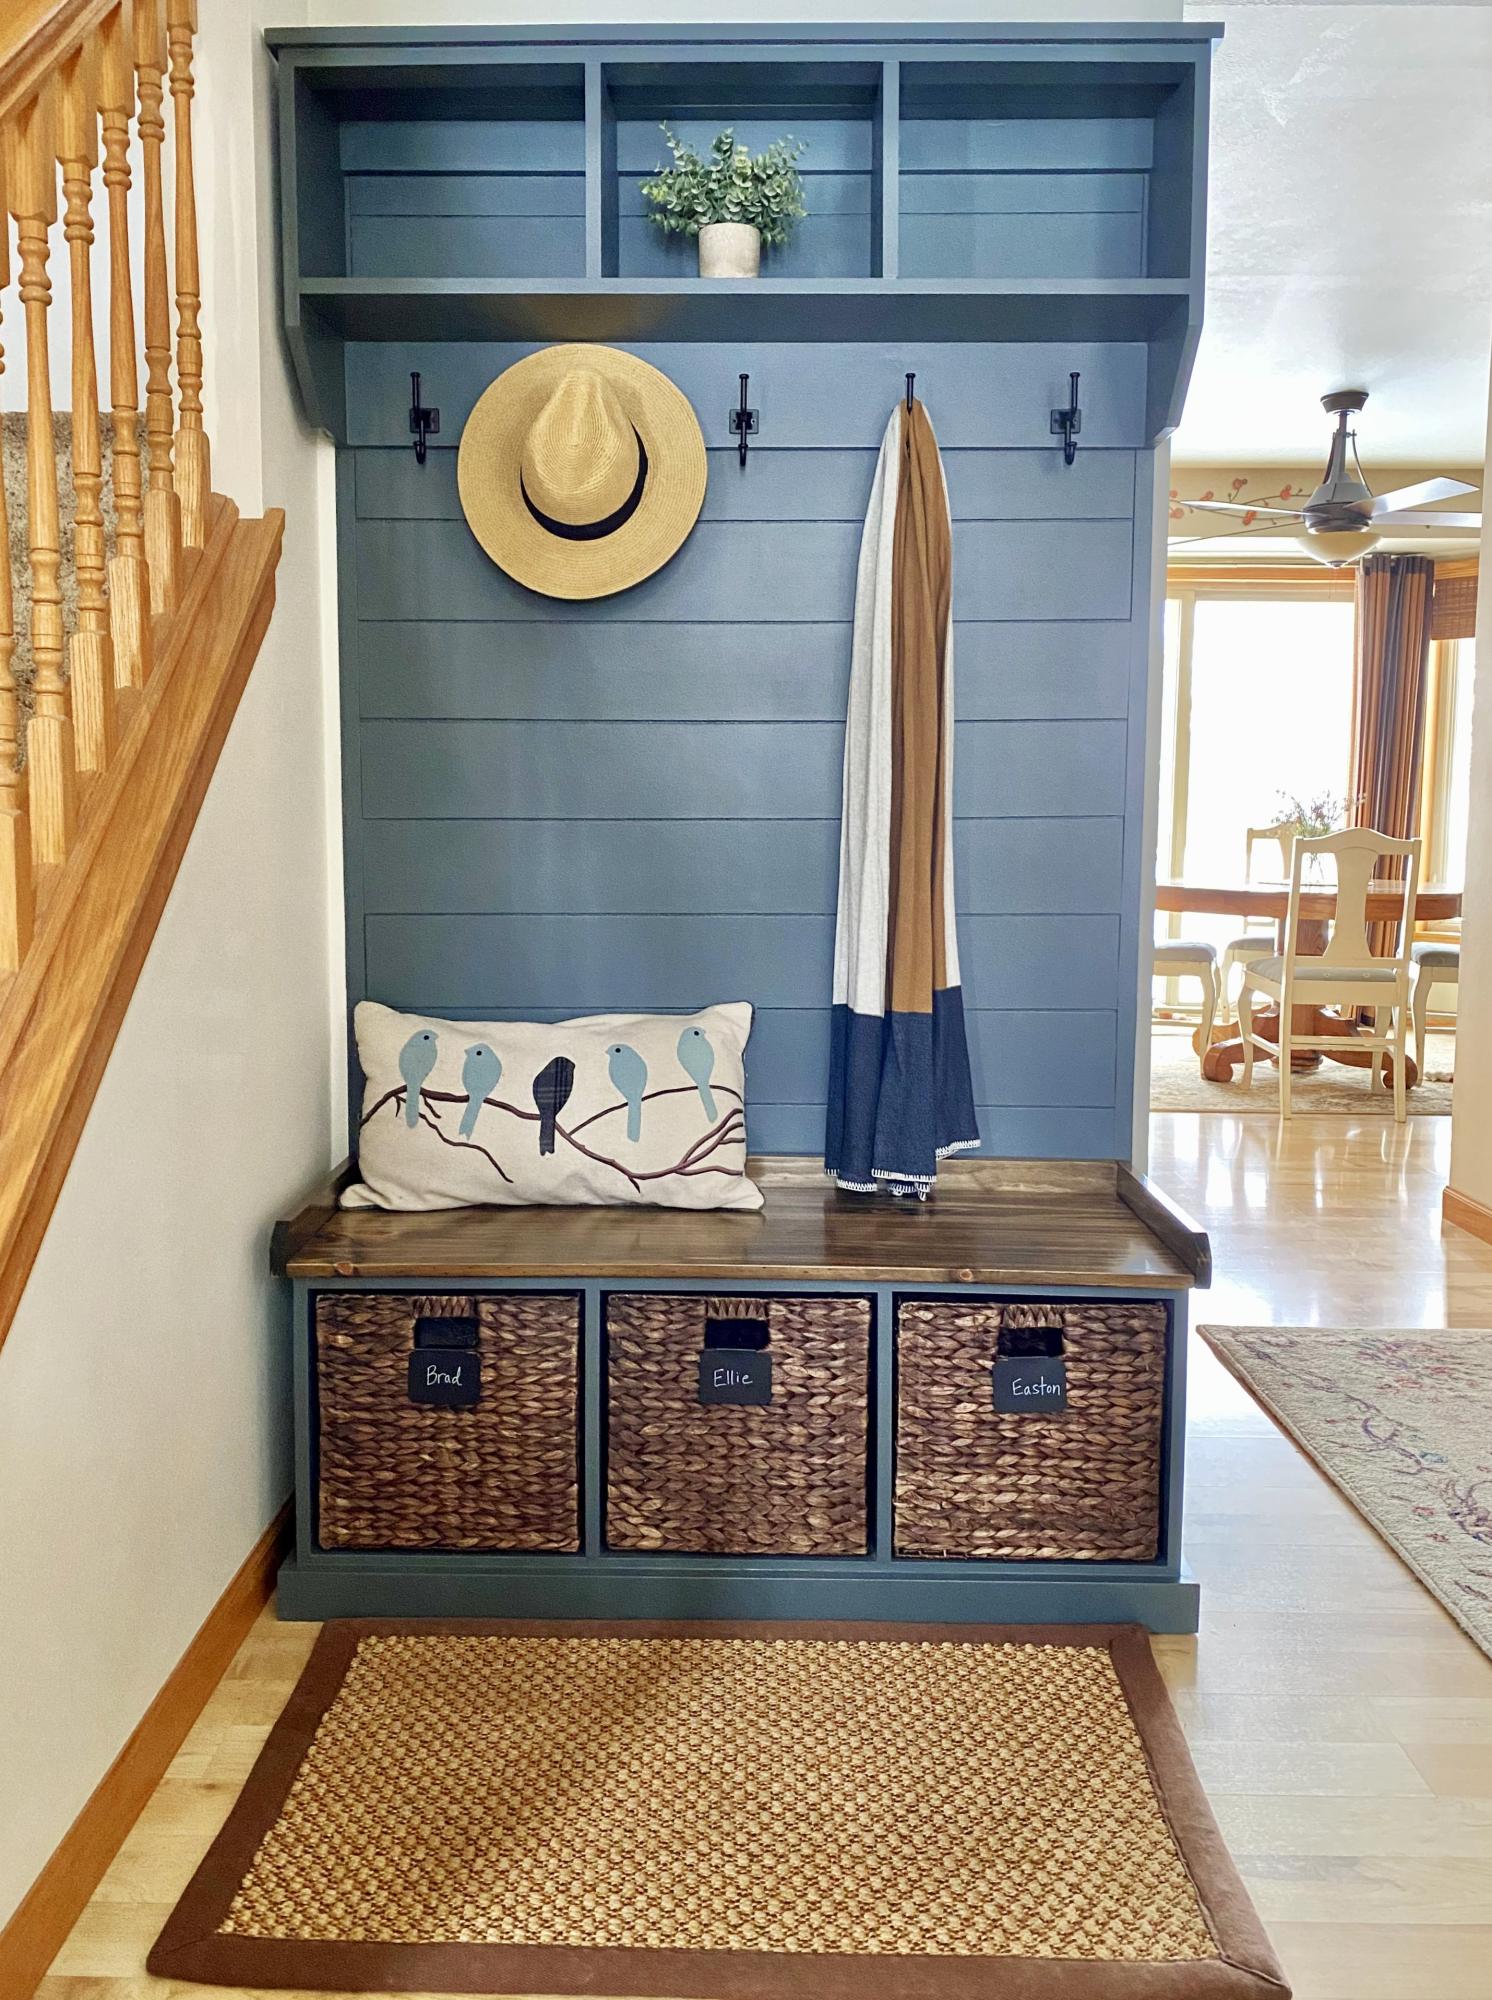
I used plans for the Essential Entryway Bench and Shelf with Hooks, tying them together with a shiplap panel. This was my first big project using a Kreg jig and Rip-Cut. Many more to come!
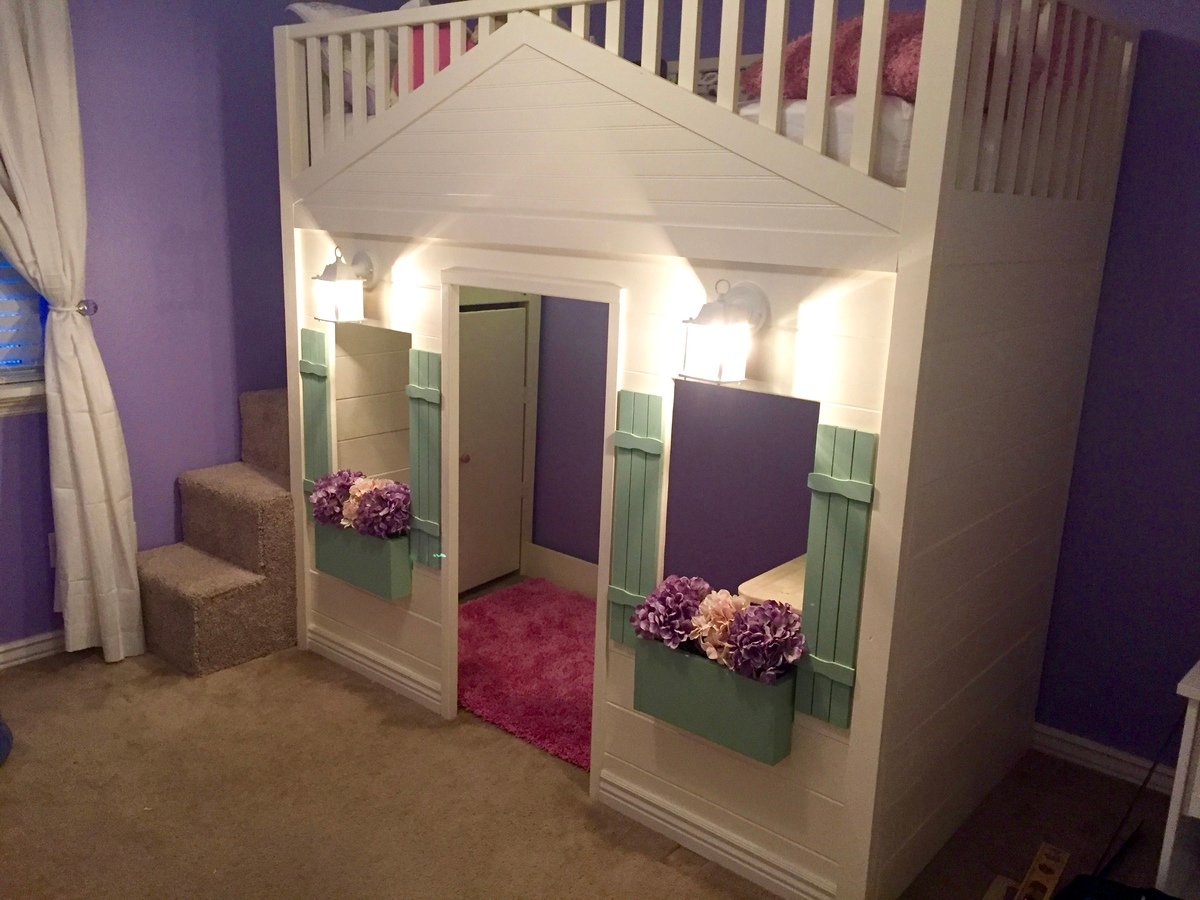
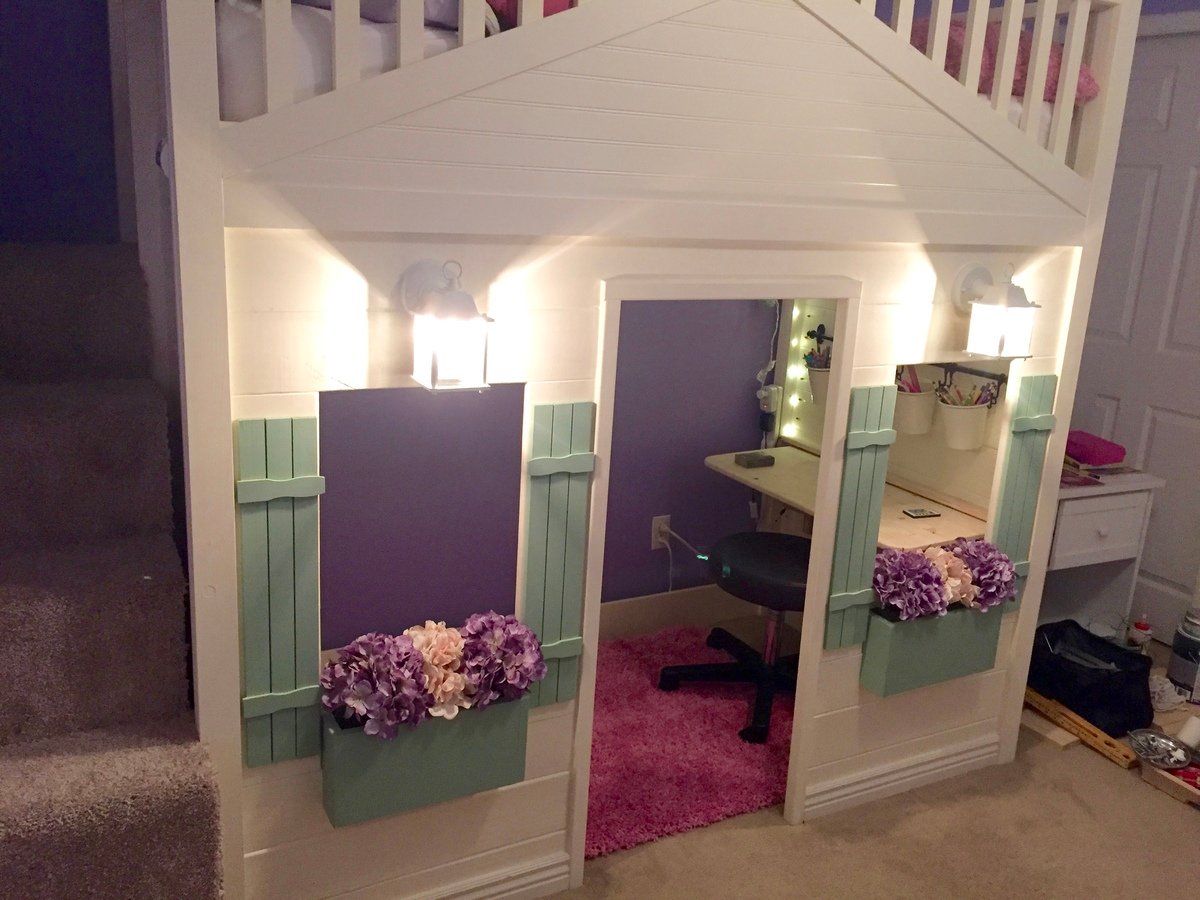
We took the loft bed plans and modified a bit for our daughters bed. We made it a little taller including the doorway. Instead of a ladder we did a set of carpeted stairs with entry to the underneath space through a door on the inside and added a light for a 'secret' hideout. Everything else were just some added features. We built flower boxes and added foam blocks with silk flowers. For the gable we used bead board. For the shutter we used small wood strips and the horizontal pieces are just the free paint sticks from lowes cut down. We then added wired in lights hooked up to her light switch. (she loves this part) Then he built a fold down desk that can be opened or closed for when they want to play in there. The school supplies we used the rod and tin buckets from Ikea kitchen area. Over it took about 6 weeks to do everything between watching the kids and working. Cost for materials and the extras came to a little over $600.
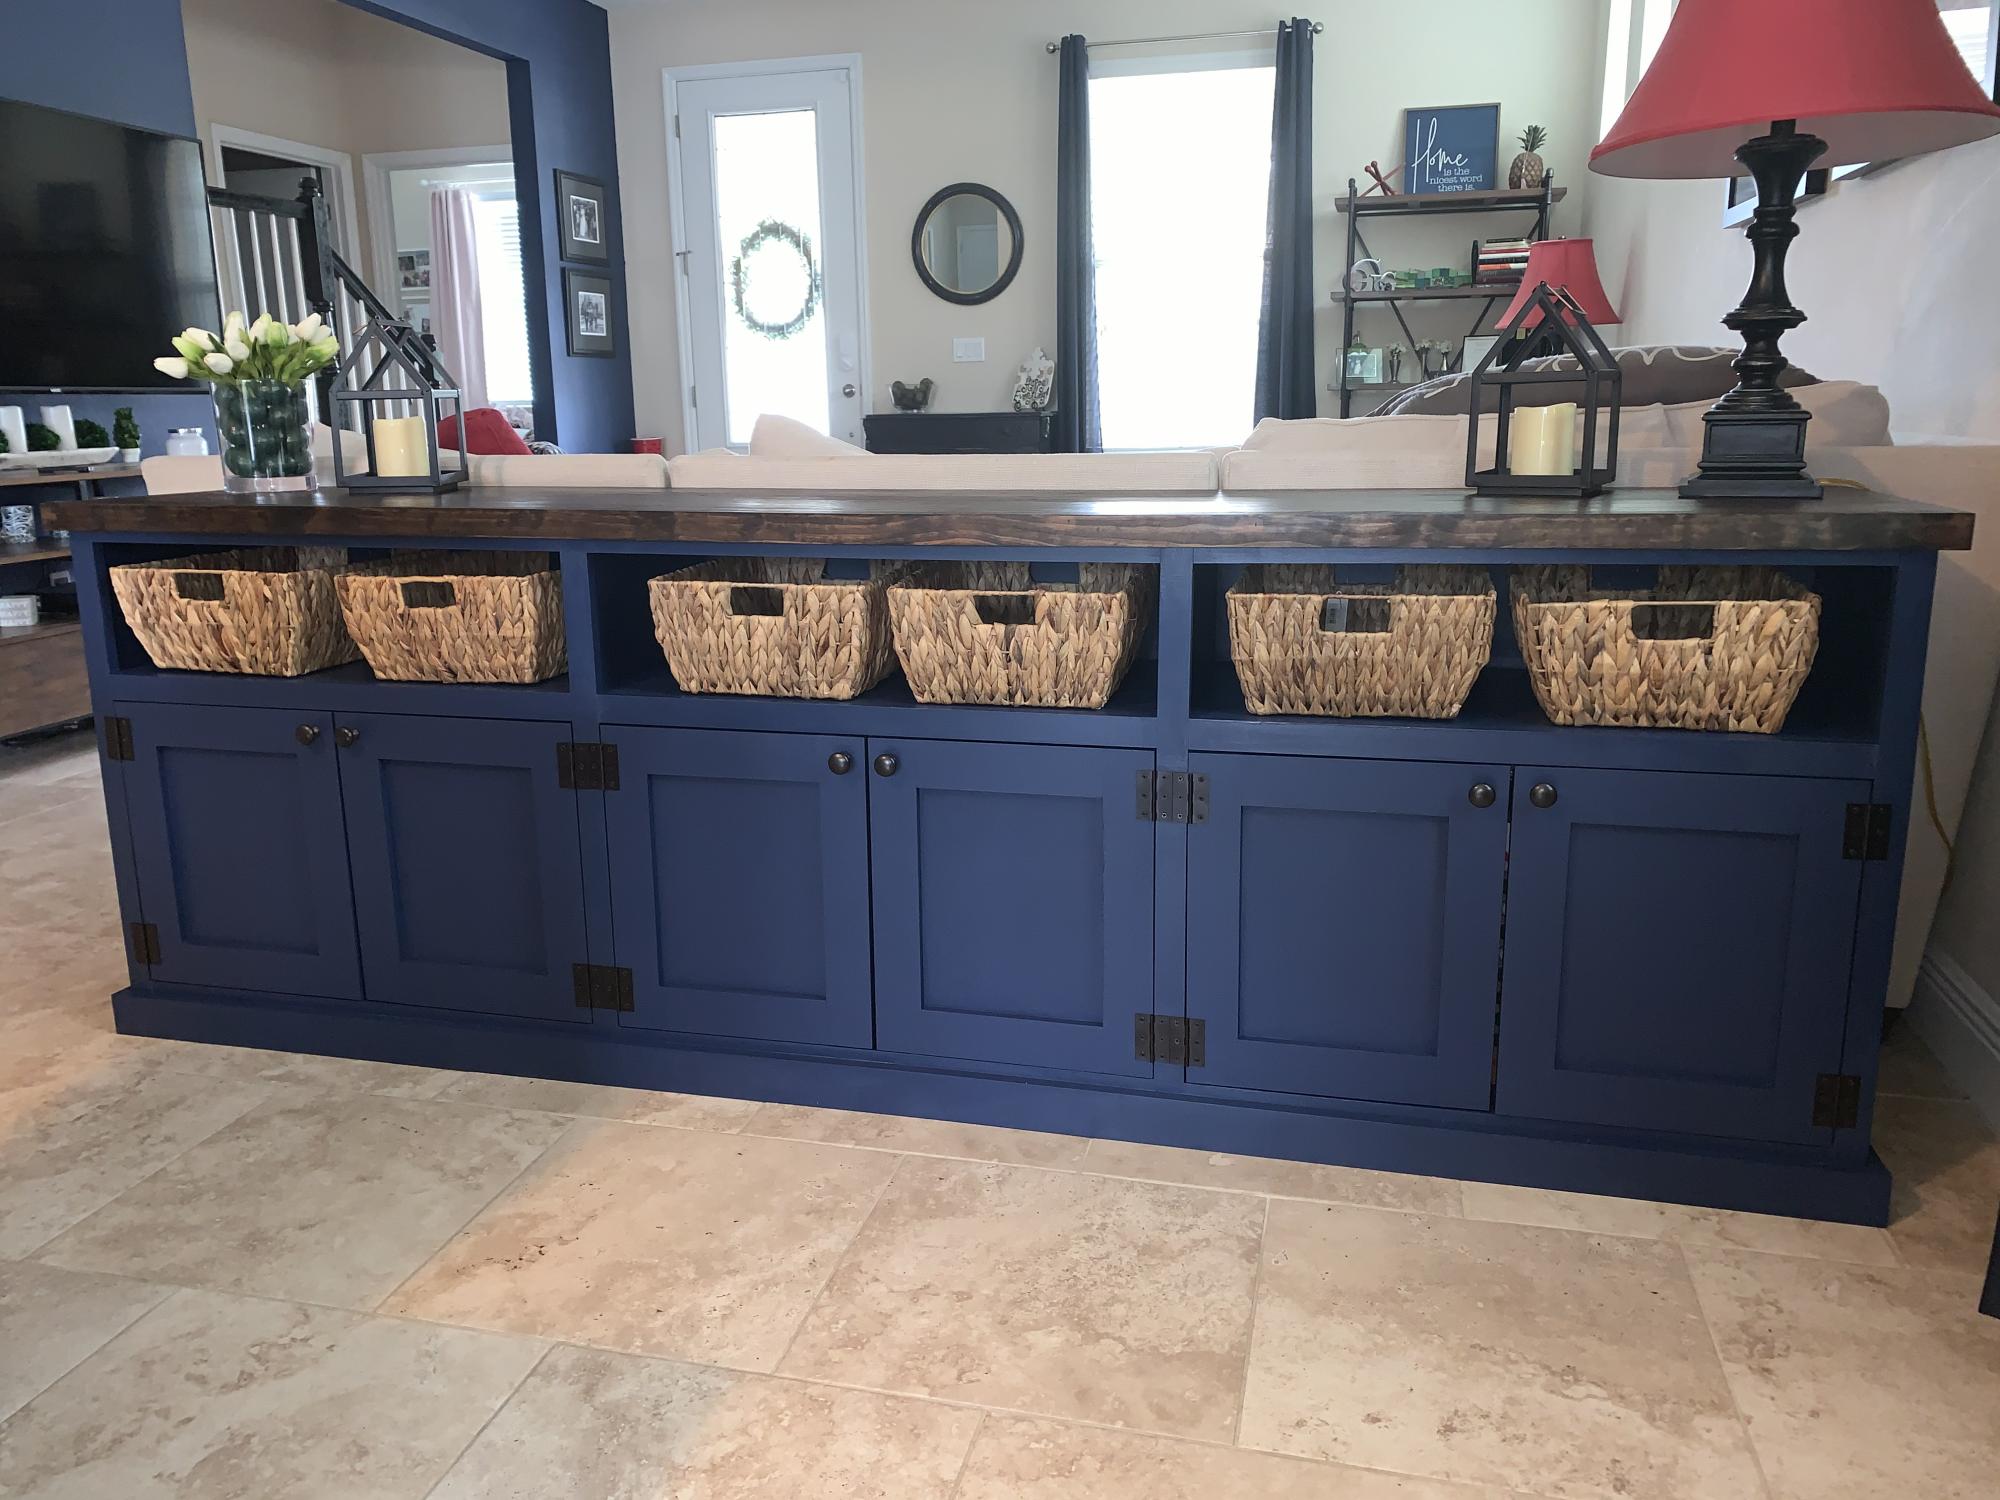
Used the plan for a double-entry console to make a triple cabinet to go behind the couch and serve as a board game console and sideboard for the dining room.
Lowered the total height to 34 in to fit behind the couch. The total length is 8 feet.
For the plywood top I edged them then pine boards to make the top look more like a solid piece of wood and stained it.
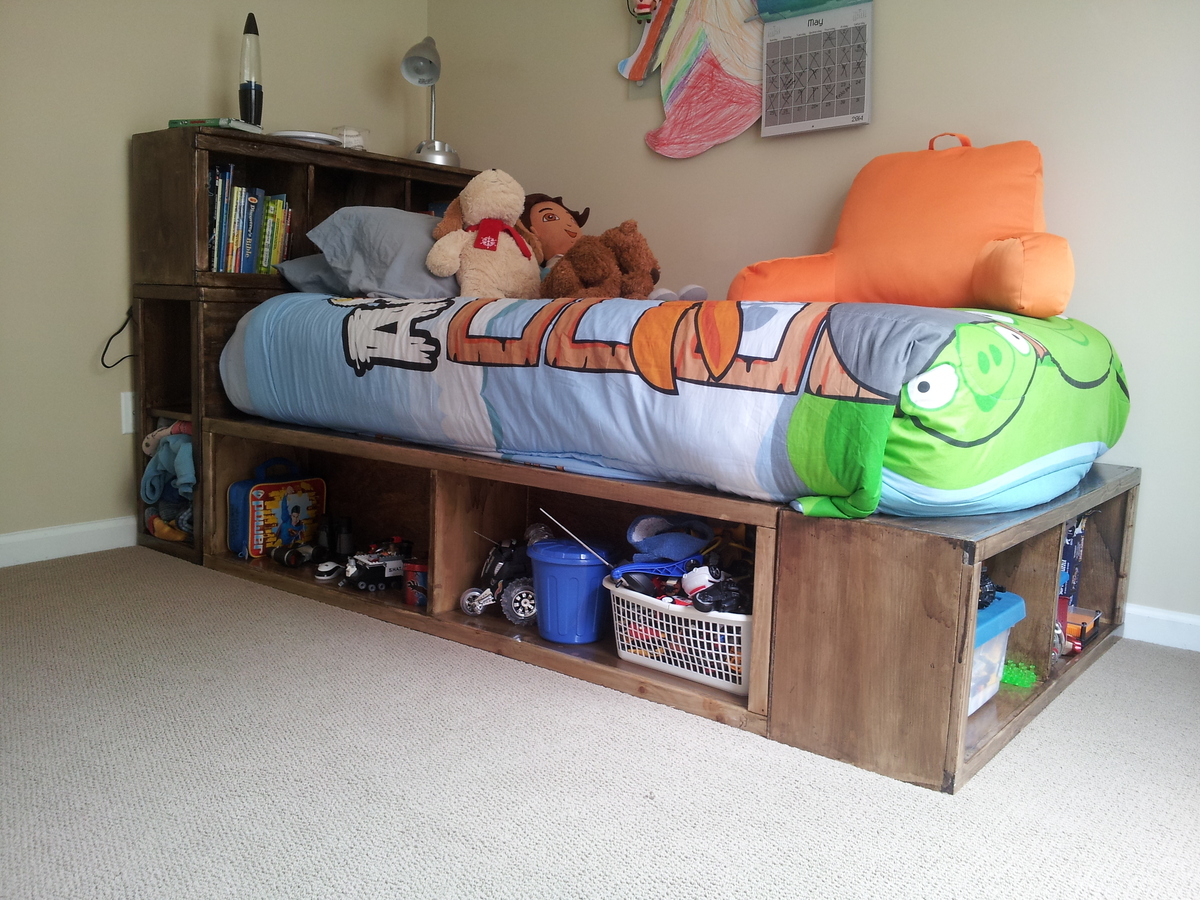
Son's bed (age 9) first build and he loves it! I'm pretty psyched too!

Cluckingham Cottage wasn’t built in a day, but it WAS built by a DAME!
A-frame instructions were pretty helpful considering the builder knows nothing about construction. I made a few modifications to accommodate my 5 chooks + 2 bantams . Sturdy and tight structure.
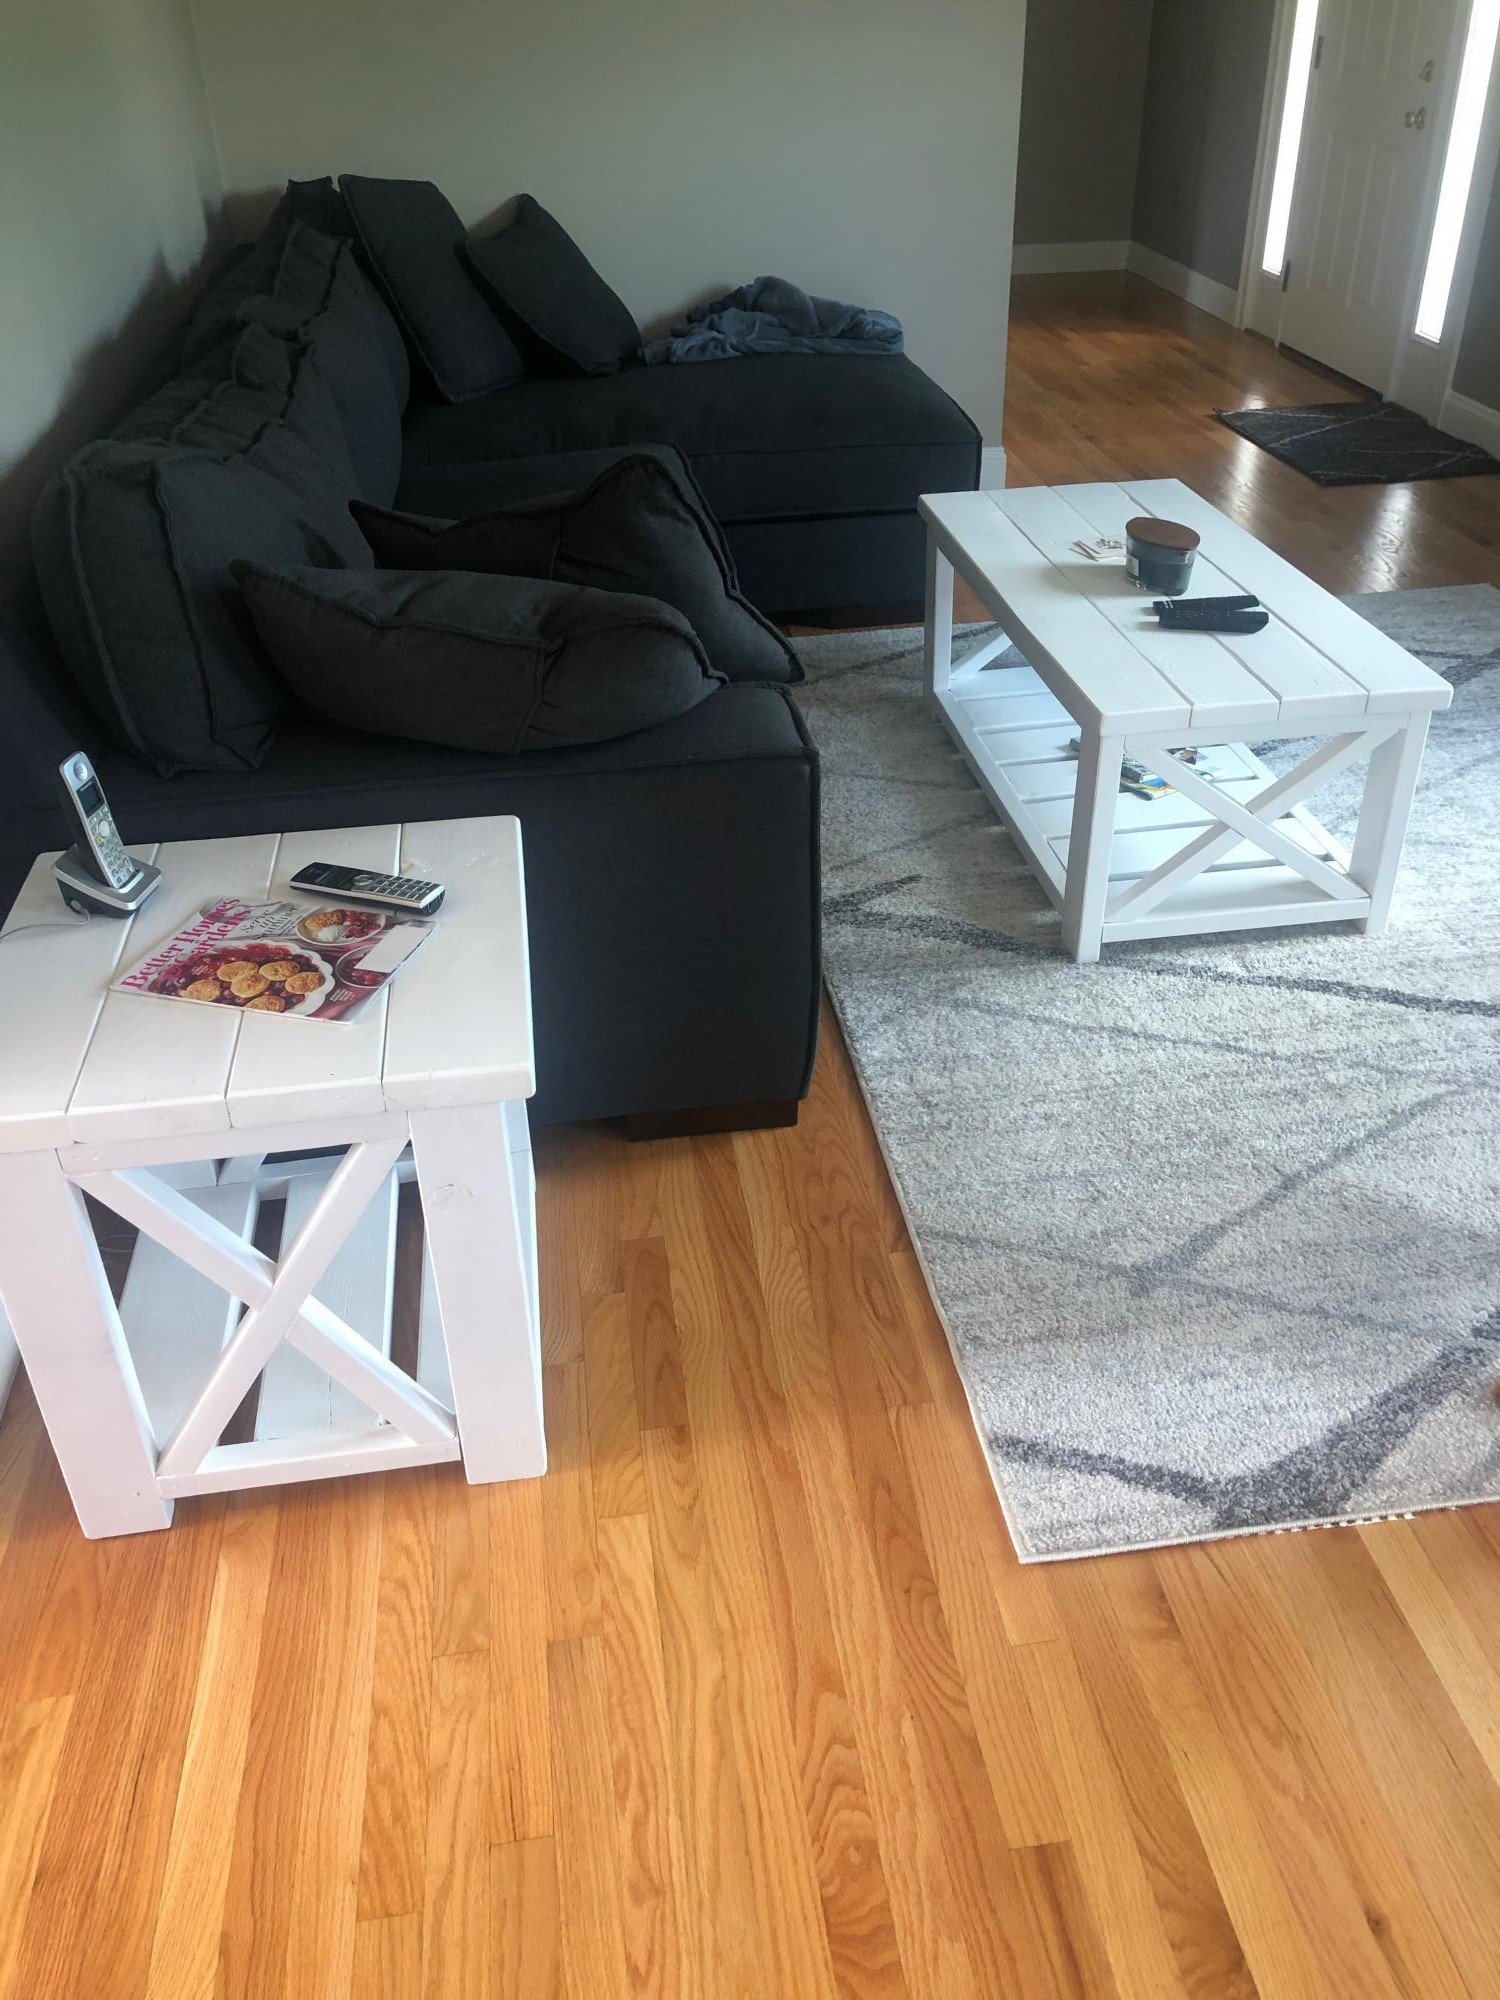
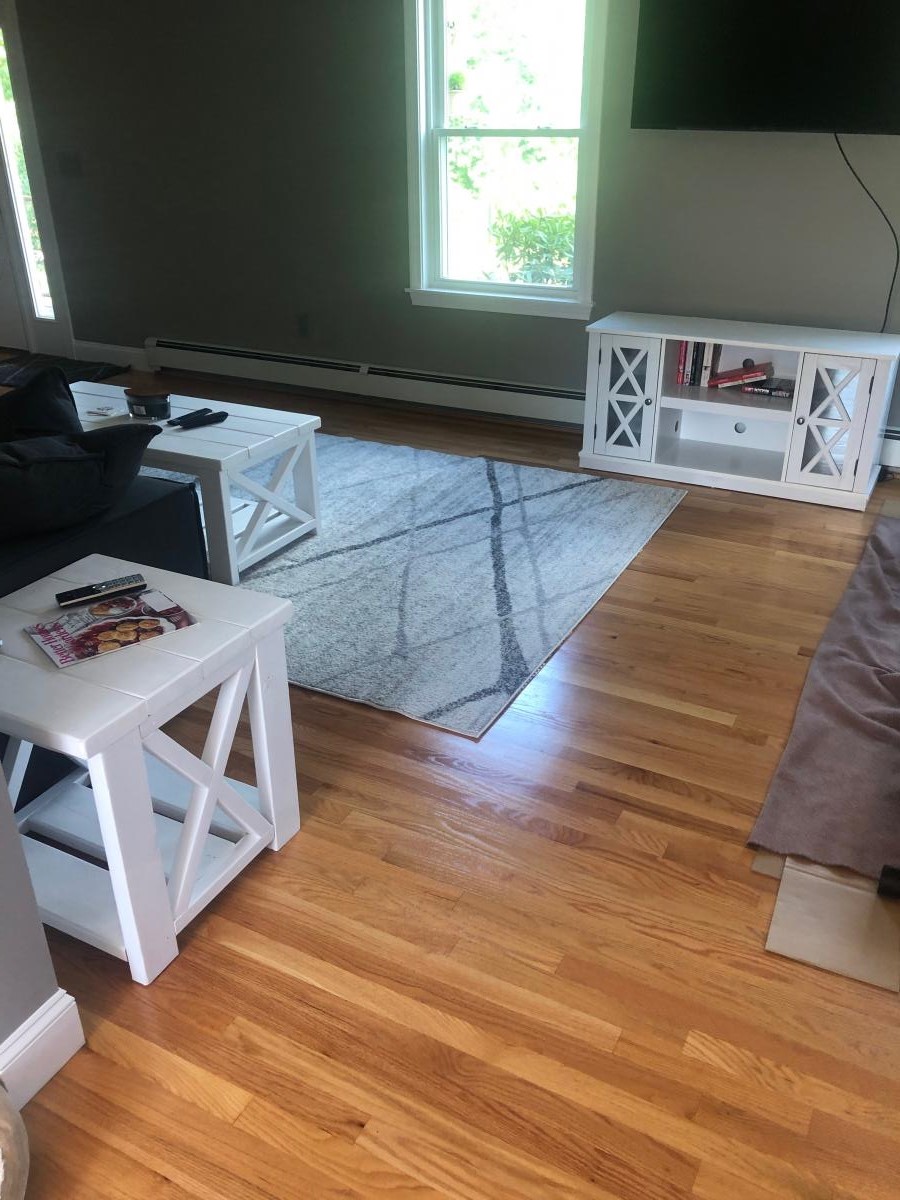
My mother wanted something to match the table she got for under her TV, and I found the plans here for the x-style coffee table and small end table to be very fitting. The crosses were pretty difficult with just a hand saw, but with the help of my brother in law we got these done in a few days.
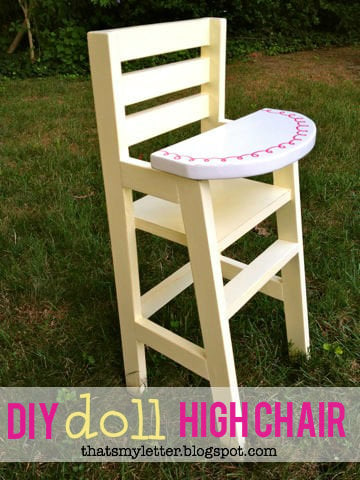
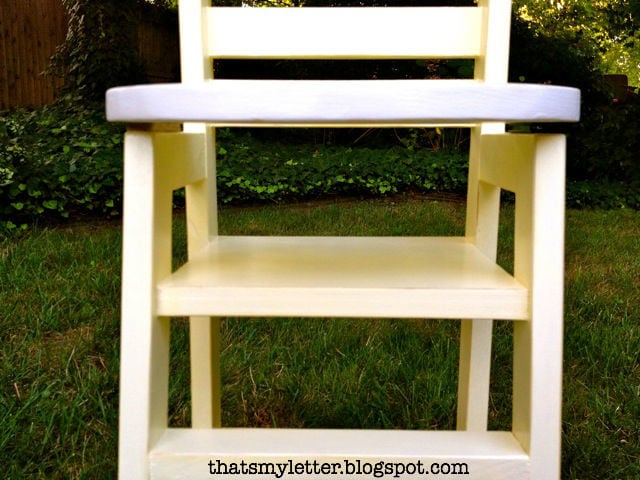
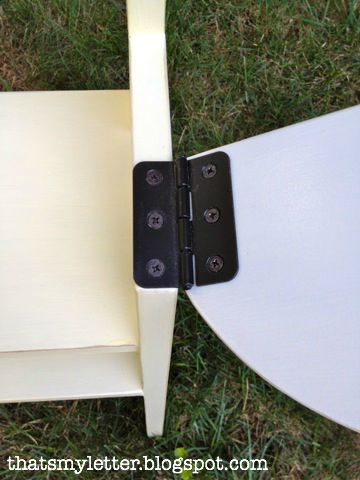
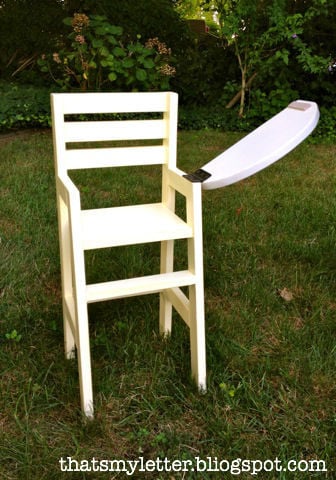
doll high chair with movable tray
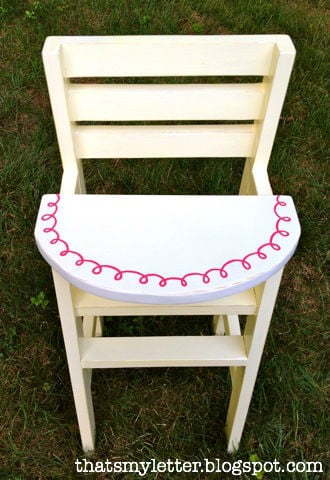

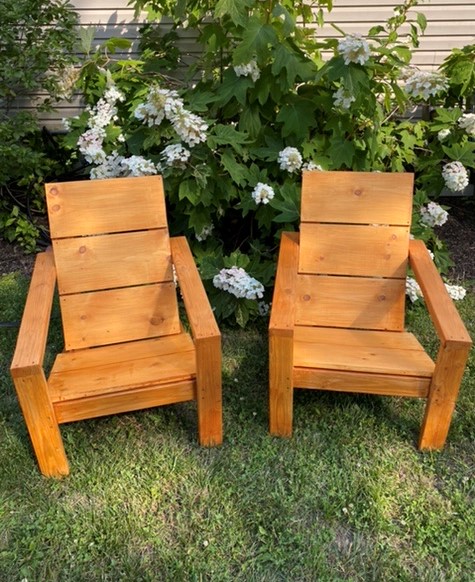
This was my first time building something and I was thrilled with how they turned out. Thanks to Ana for creating such easy to follow plans. I look forward to many more projects to come!
My wife and I loved the version that Finns-Dad made but we wanted it to be rectangular. The top is 1x6s around the edges with 1x4s in between. The frame is 1x4s. The bench tops are all 1x4s with 4x4 legs. There are 3/8 inch lag bolts in the legs. We did 4 coats of the urethane.
This was my first major project, and while there are many things that I would do differently if given the opportunity, we're still very pleased with it.
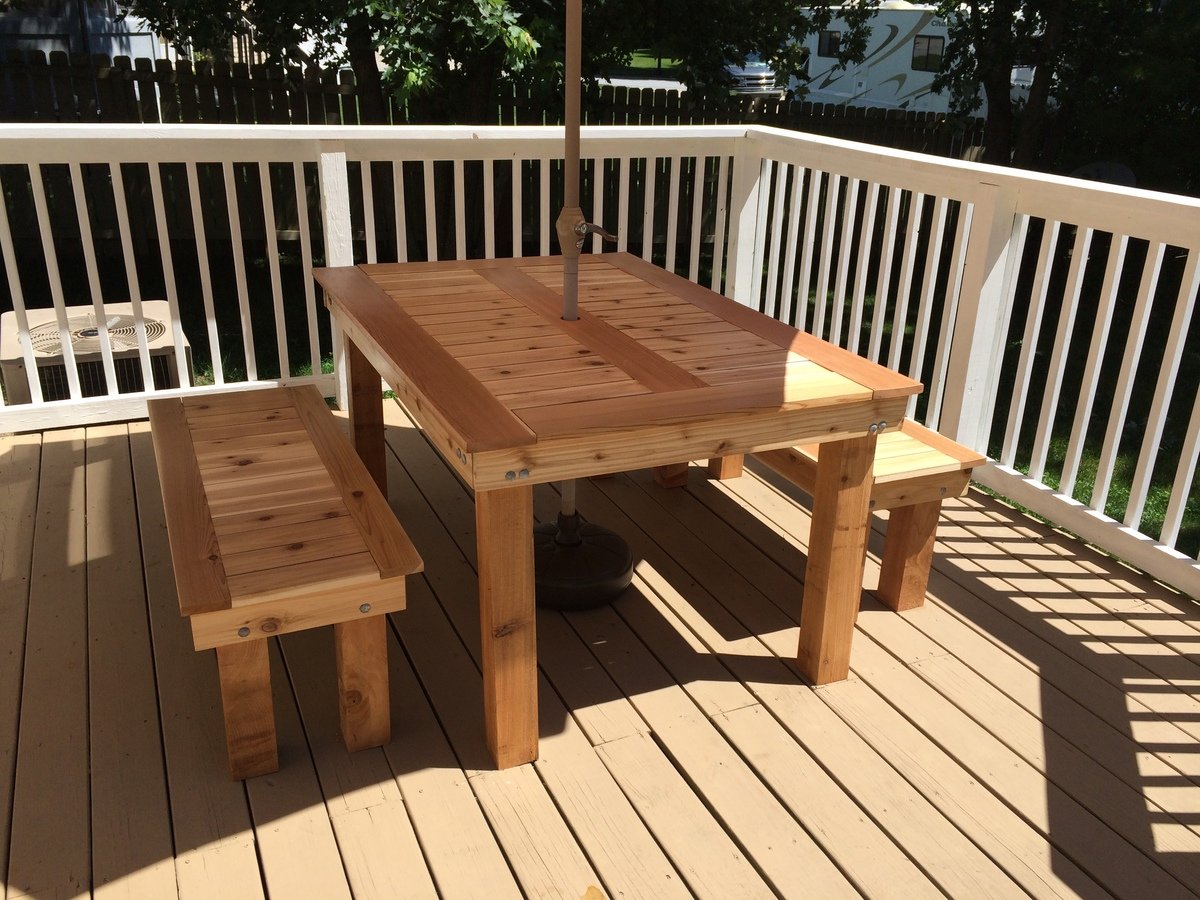
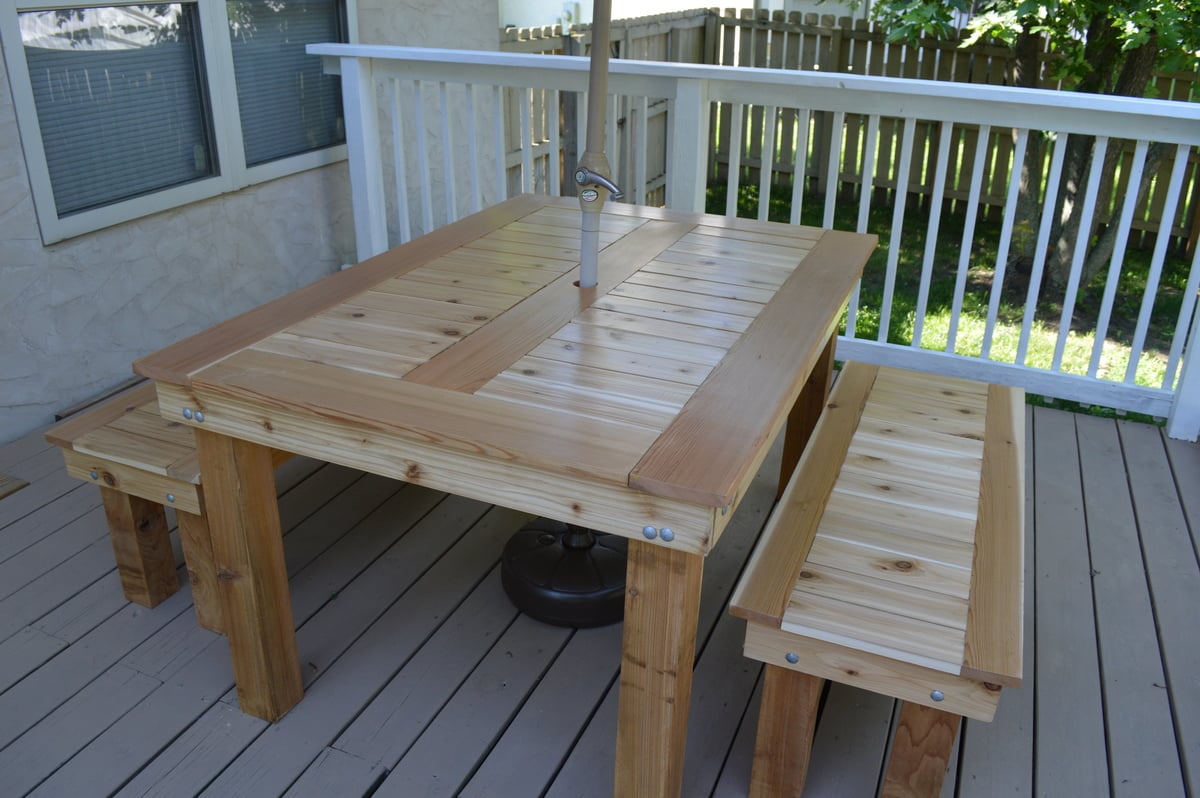
Thu, 01/01/2015 - 09:04
I really like the changes you made to this table, it looks really nice.
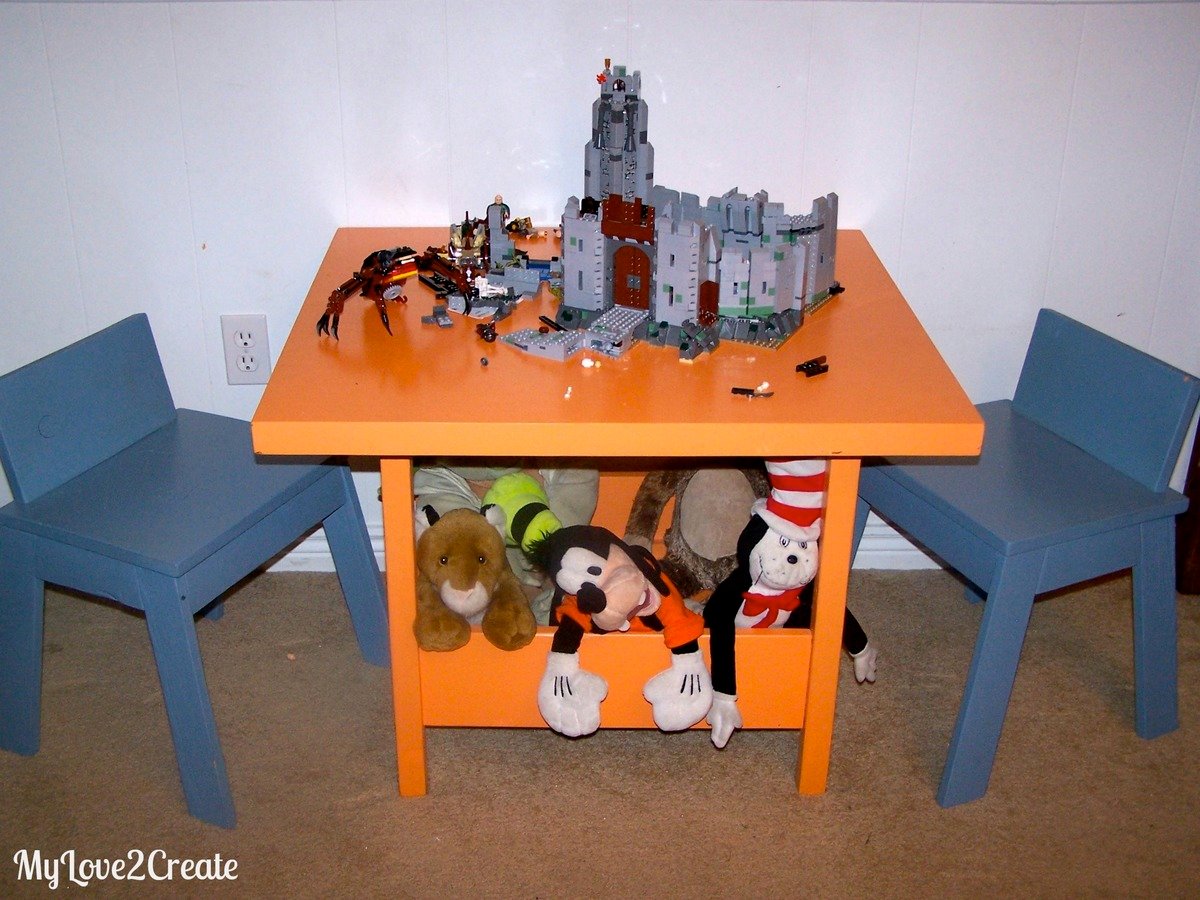
I made this for my boys and they LOVE it! I opted for a square top, since the flower would not have gone over well...Plus I found a square top for $1 at the Restore and who can pass that up, and the legs were free. The rest of the wood was from the Home Depot Cull bin or furring strips. The chairs didn't get rounded (no jig saw) and I didn't add a hole (not a big enough drill bit). But my boys love them and use them all the time!
Thanks Ana for such great plans!
Check out more at http://mylove2create.blogspot.com/2012/10/diy-kids-table-and-chairs.html
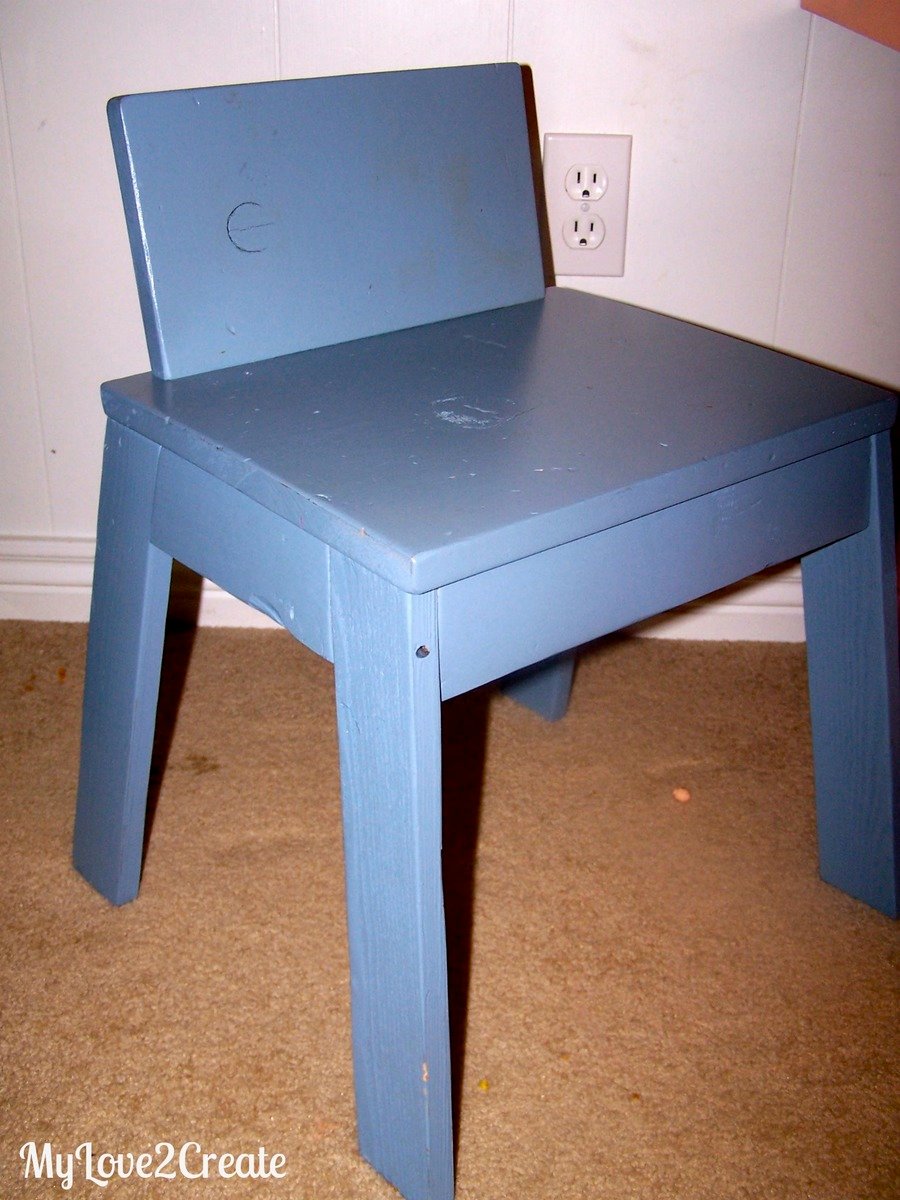
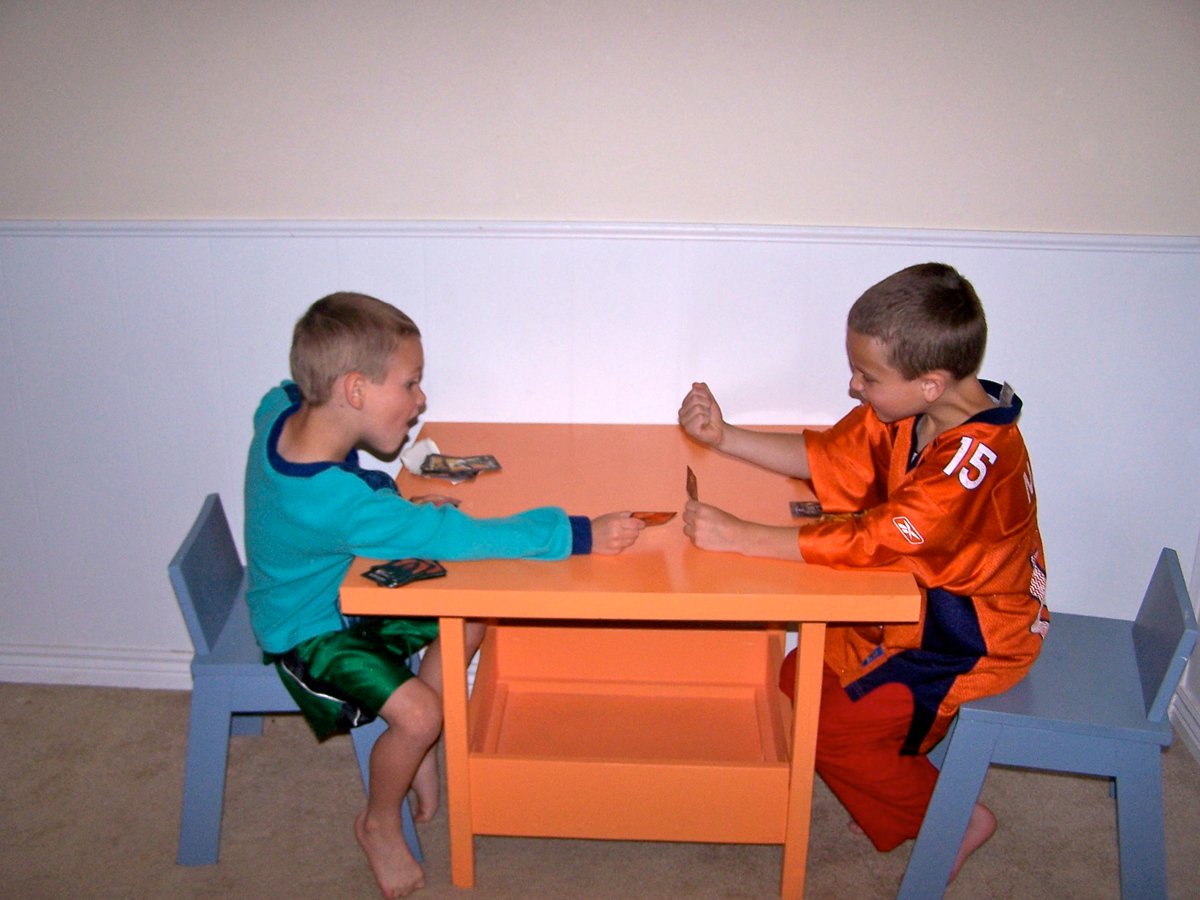
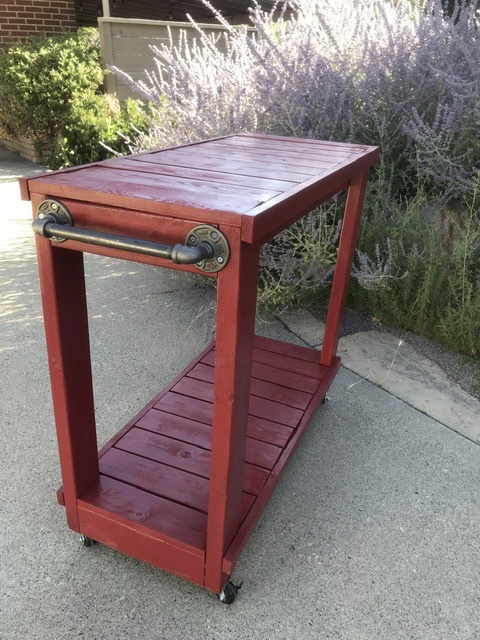
Fun and easy build. Took ~4h all in.
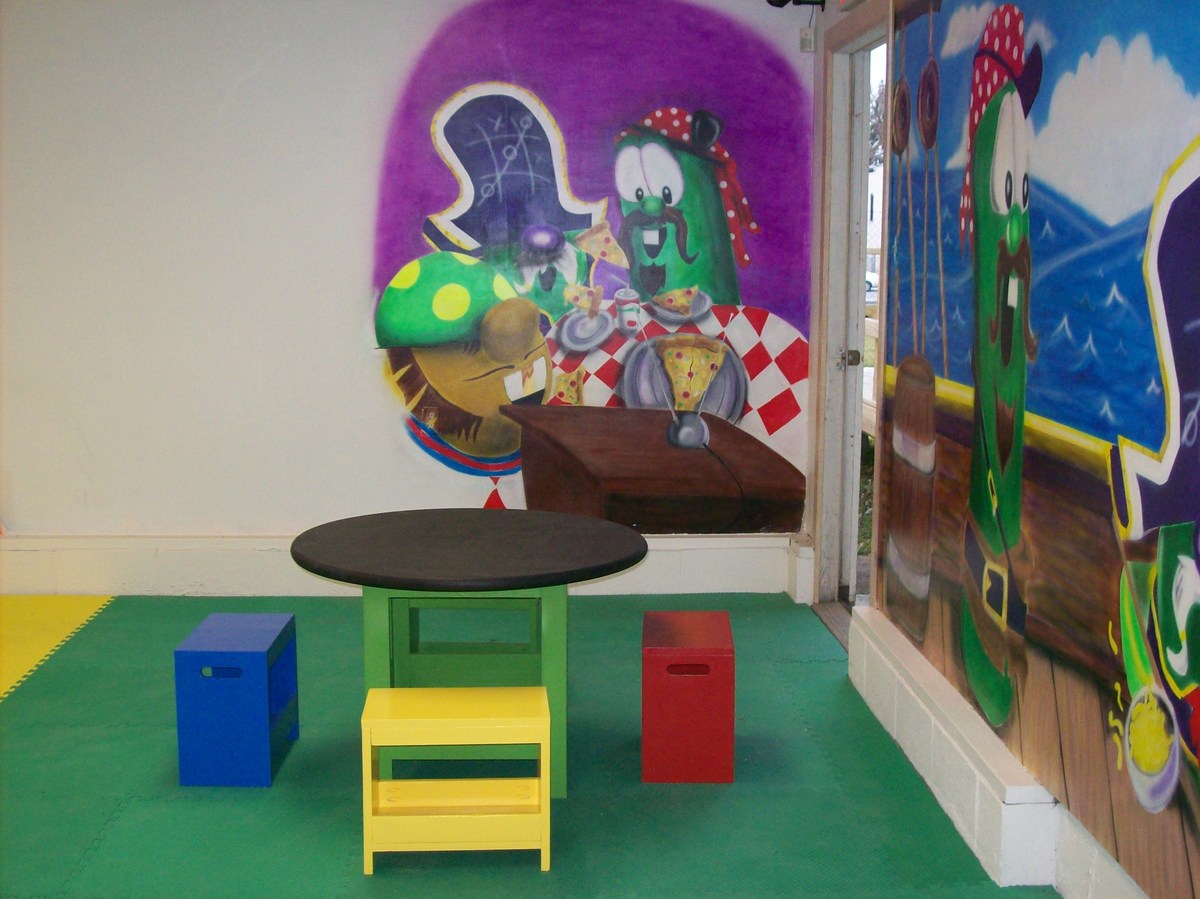
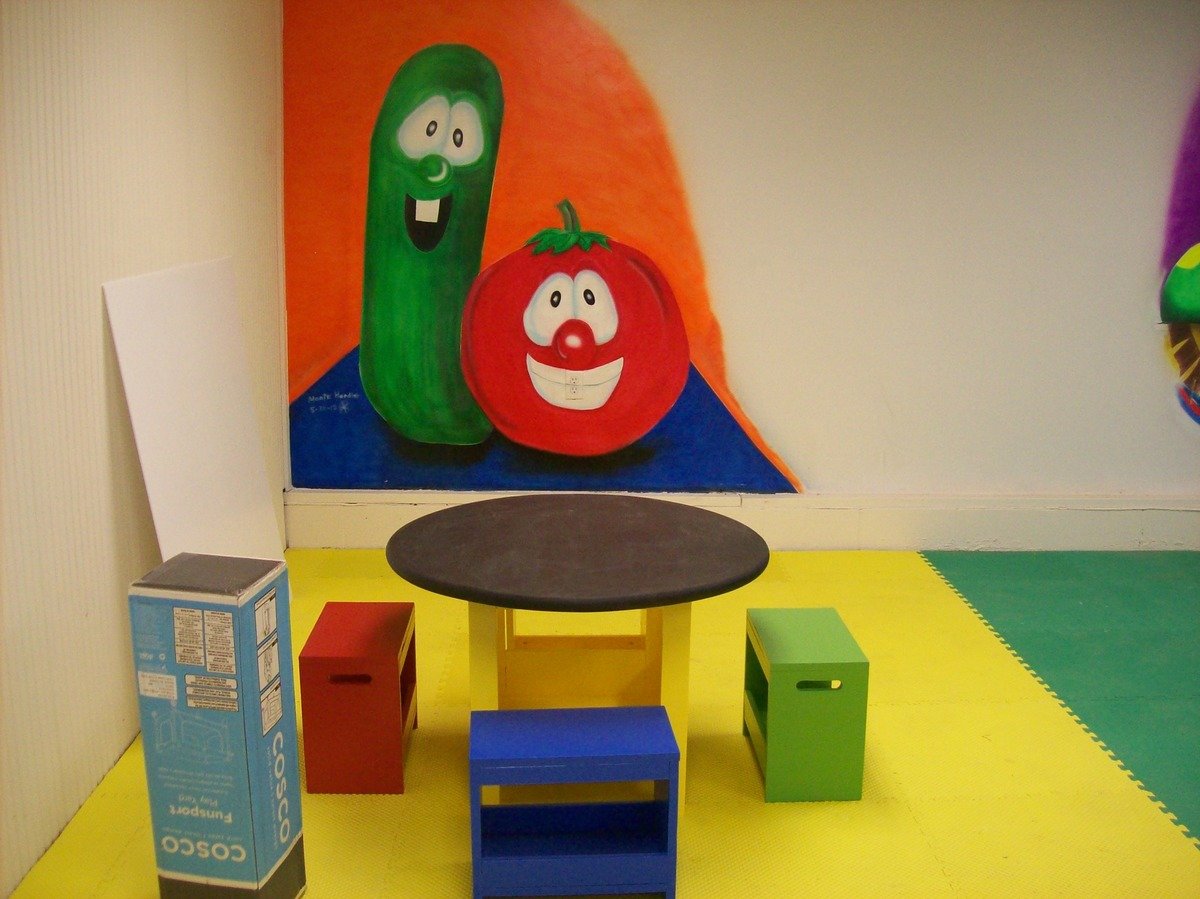
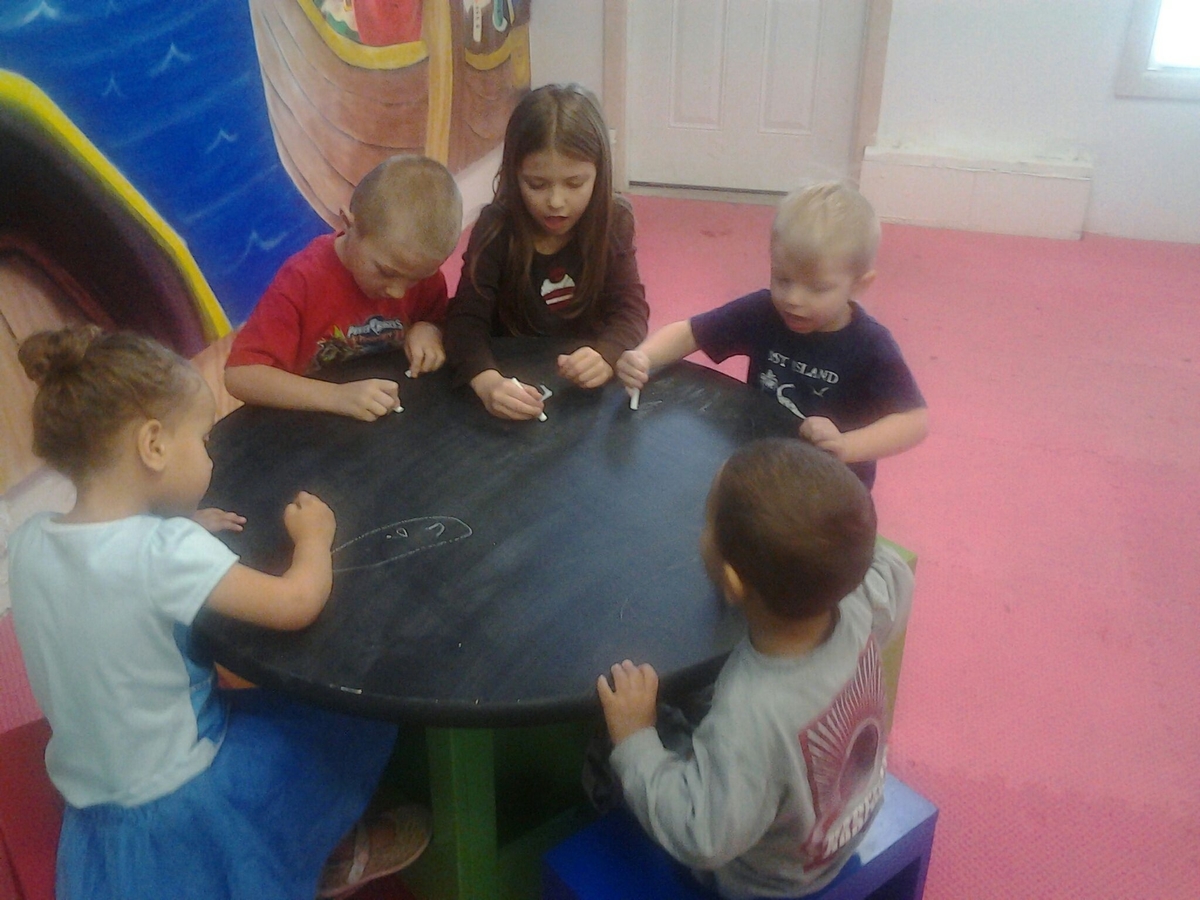
We built three of these for a women and children's shelter. We had friends help us with various aspects of the project. The colors are definitely more vibrant in person. Table tops are painted with chalkboard paint. Because we built three, it took three weeks with some down time here and there. Haven't sat down and figured cost but I know other bragposts have included them if you are curious.

Wed, 10/24/2012 - 20:49
This is beauitful I love the colors! The children are going to love them too! Keep doing God's work!
Mon, 02/25/2013 - 20:57
It is amazing that you built these for a women and children's shelter. You are truly using your talents for good. :) Thank you for the inspiration.
In reply to What a Blessing! by yurra-bazain
Wed, 02/27/2013 - 17:47
Thank you for the sweet comment. God gives us gifts that I feel we should bless others with. Heading over to check out your blog! :)
Fri, 06/28/2013 - 22:27
Hi! I absolutely love the colors you used (and the chalkboard paint is pretty awesome as well). I did have a question. I saw your question about the type of material to keep costs down. The 1 in material in my town is way more expensive than 3/4 in quality Purebond plywood. Do you think the plywood would hold up? This would be much more cost effective and leave some change to do a couple of extra small projects. Thank you in advance for your help!
Tue, 07/23/2013 - 05:12
MrsPowers, I am just now seeing your comment, my apologies! I don't see why the plywood wouldn't hold up, but unfortunately, I am not the one to ask. I am still quite the novice! I had asked about material for the top because I originally didn't want to buy the pre-made round tops. However, time got away from us, so we ended up just biting the bullet and buying them after all. If you are on Facebook, you will probably get a question answered quicker there. Ana's wall name on Facebook is Knockoff Wood. Best wishes on your future projects and sorry I couldn't be of more help!
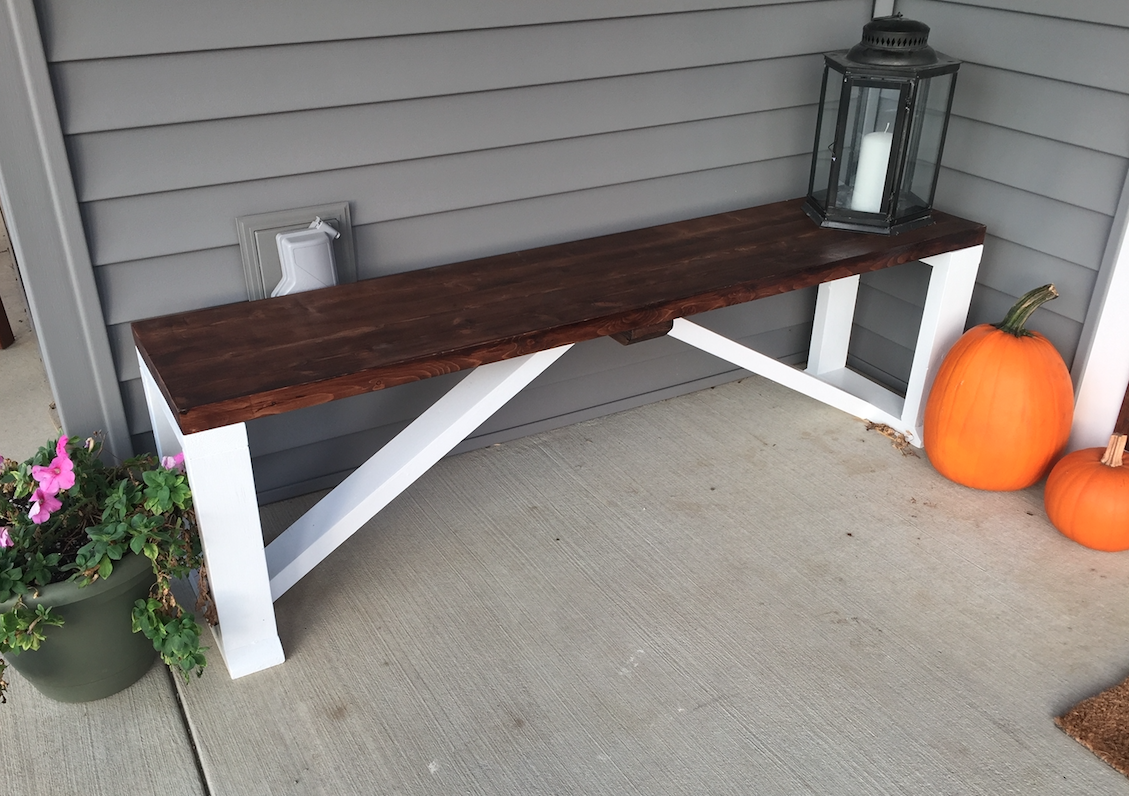
My wife has been asking me for quite some time to build her a bench for the front porch. I finally found some time to make one. I looked at a lot of different benches on Pinterest, YouTube and other websites and I presented the options to her, and she liked this design the best. She only had one request and that was for the top to match the front door and the frame to be white. I have a step-by-step video of how I made the Farmhouse Bench (Click Here) to see the video.
The table top is modified from Ana's farmhouse table, the base is modified from the storage table and the chairs are modified from the extra tall bar stool. This project took me the weekend to complete, because of those darn chairs!!!
In reply to Gorgeous by patrickhosey
Sun, 11/04/2012 - 06:52
For the ladder I used straight 2x2s and 2x3's. I like the look of the straight back. I didn't want pocket holes on either side, so I used 3" screws through the legs into the 2x3s. I used a scrap 2x3 as a spacer.
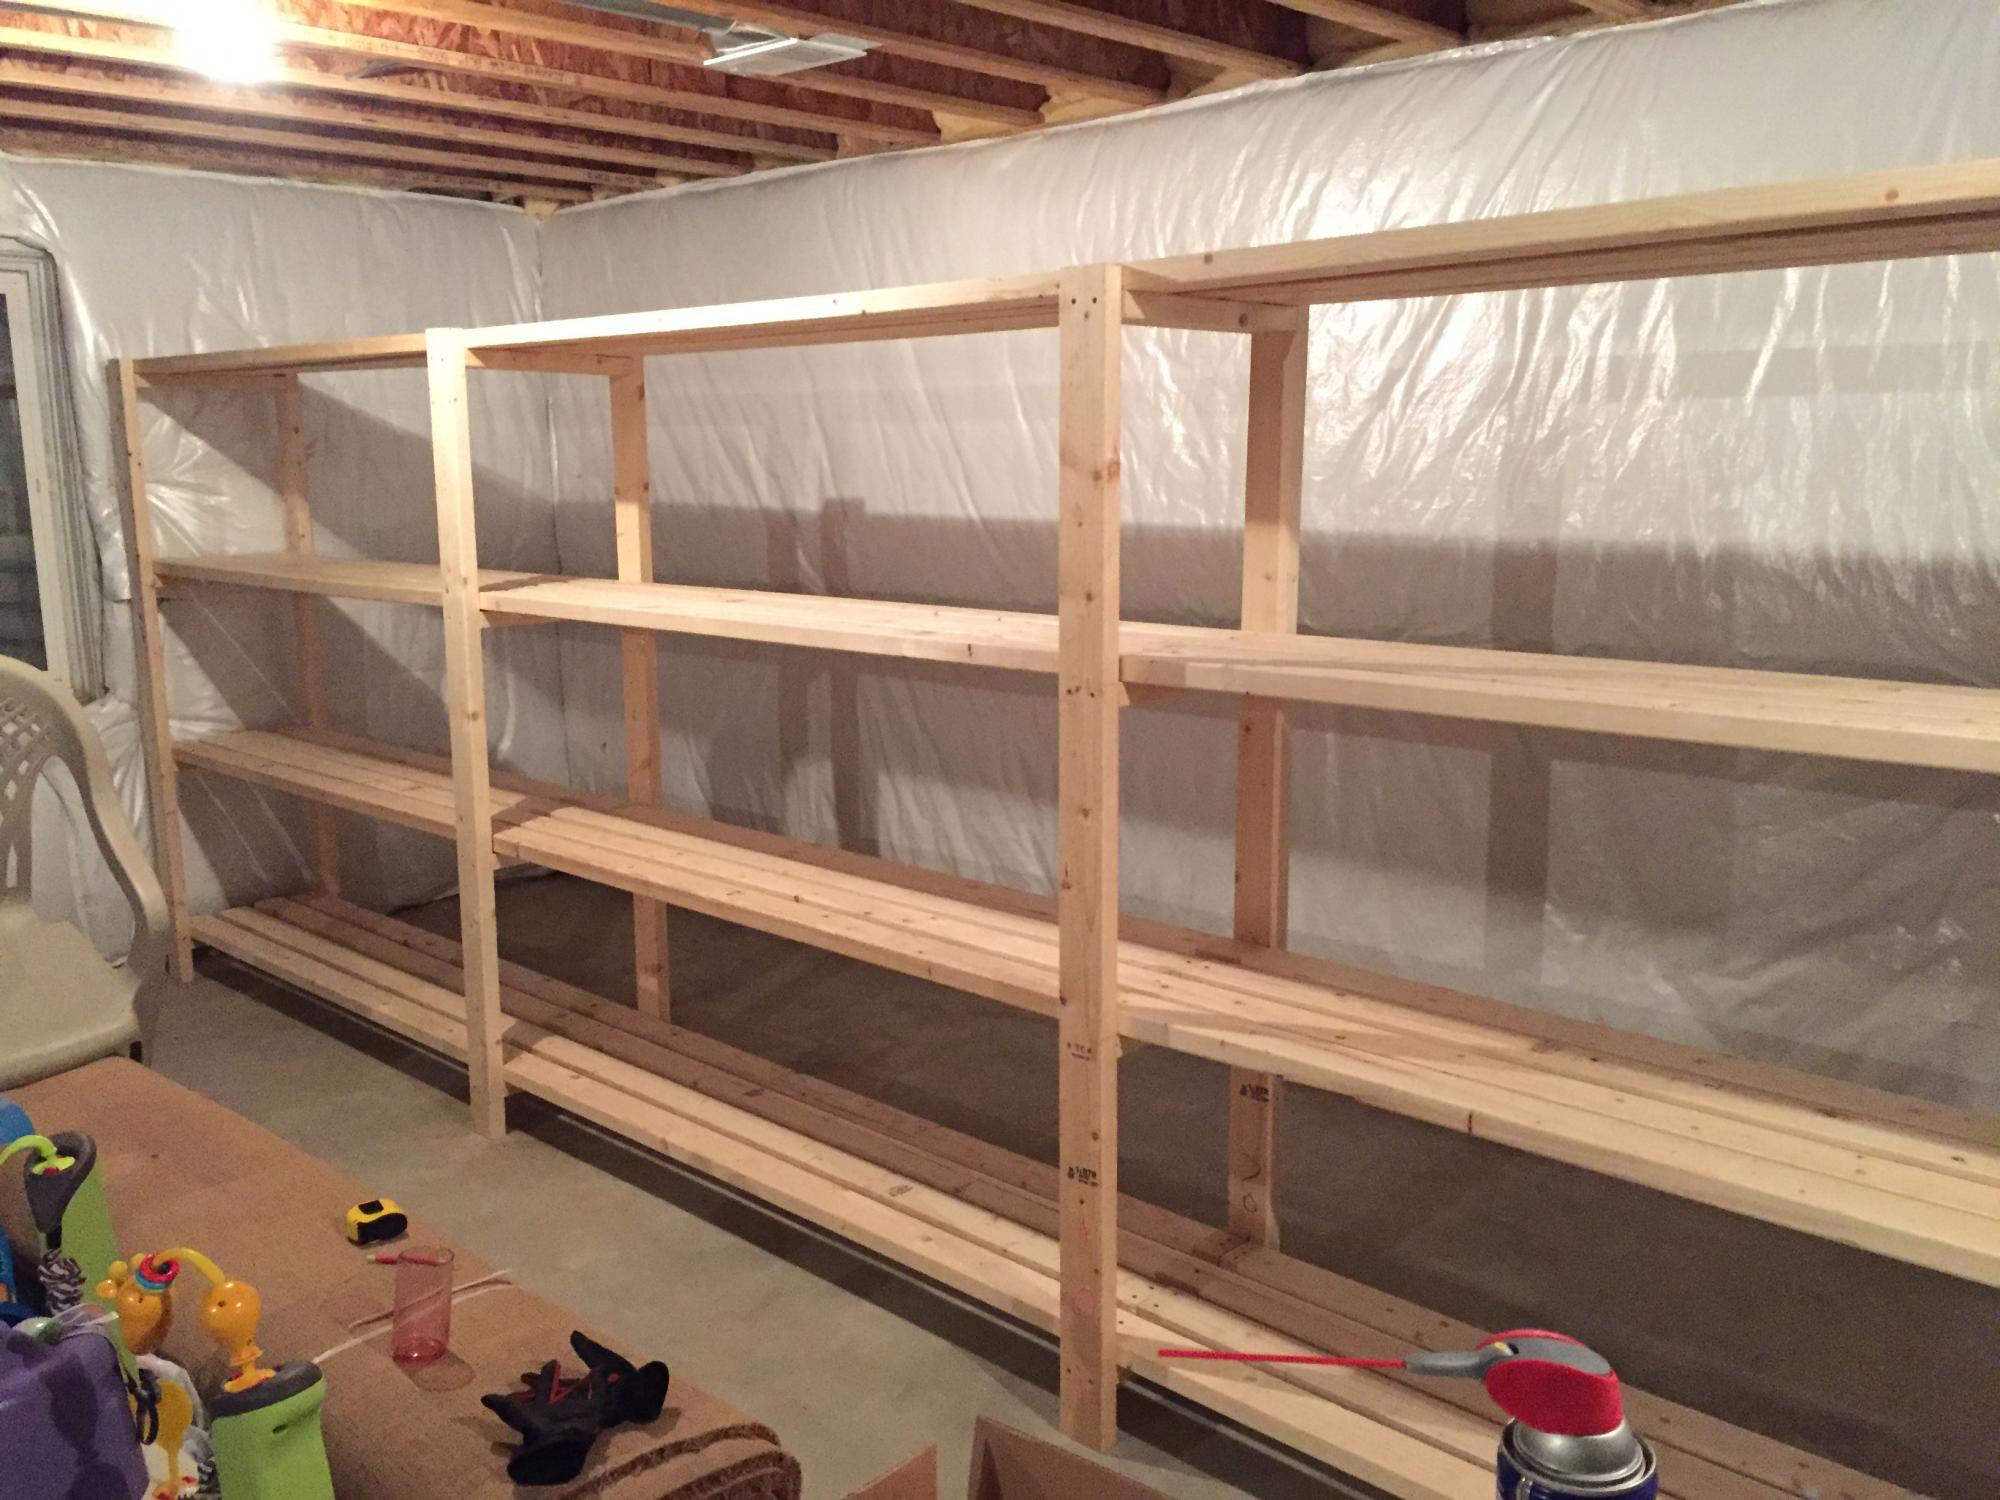
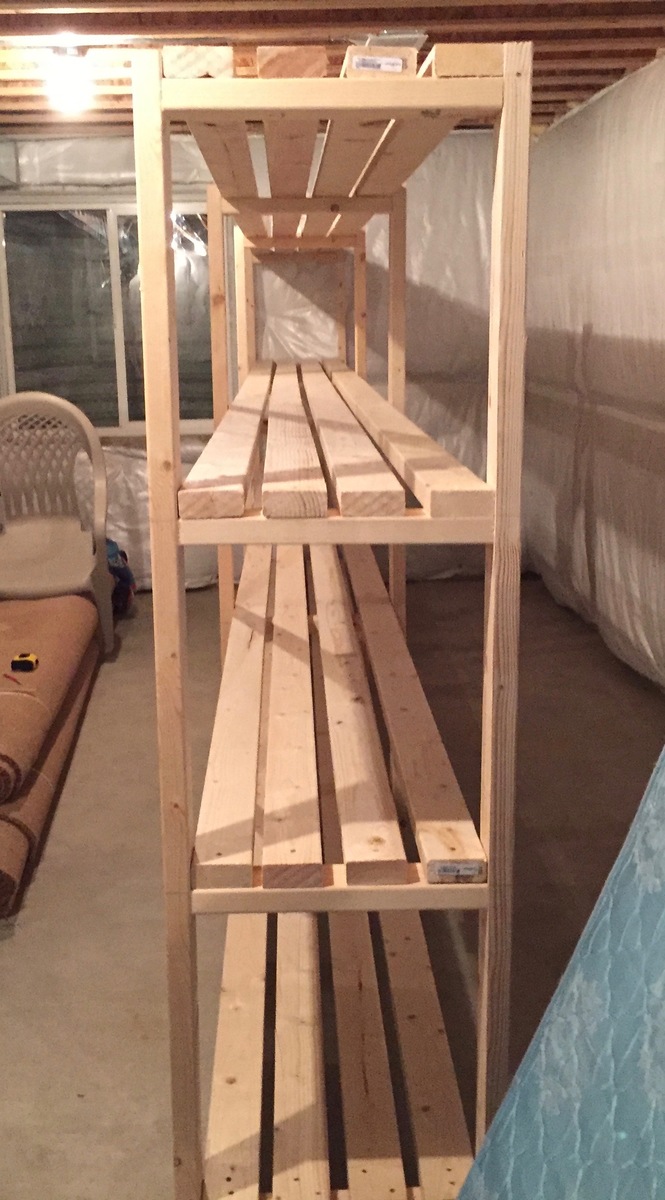
Thanks for the instructions! Here's my version. I haven't built much of anything before, but I needed it in my basement to handle kids' stuff. My version is 18 feet long. I combined a 12-foot and 6-foot 2x4 to get that length, which meant less cutting, which I had done at Lowe's (for free). I used the 6-foot 2x4s throughout the shelf to ensure it was strong (in other words, I didn't want a 12-foot "section" and a weaker 6-foot "section" added on).
I was able to get everything in my car but the ride home was slow. I also had to use my egress window to get the 12-foot boards in the basement.
Total cost for me was about $170 including a couple boxes of screws and wood glue. I could've easily spent double the cost on store-bought shelving. Thanks for the plans!
We started with the basic chicken shed coop plans and modified it some. We wanted the peak to be in the front for ease of access and to allow leaves from tree overhead and rain and snow to fall to the back away from the entrance. The windows raise from the inside using 1/8" wire secured on the inside with a rope cleat hook.
We added Dutch doors. We added latches for the pop door to keep it iopen or closed as needed. Dutch doors also have decorative latches and eyehook latches to secure them when they are fully open. I rested the shed on 12 in. x 8 in. x 12 in. concrete patio pier blocks to allow drainage. we extended the roof about 6 " to allow for extra protection and avoid dripping whe it rains.
On the inside I have a roost and a poop deck. Hanging from the poopdeck I have their feed to keep it off the floor and keep shavings, etc. from getting into the food. The poop deck and the floor are covered with comercial grade tile to facilitate easier cleaning.
Sat, 03/14/2015 - 02:50
Hi!
I love your coop and the modifications you made - I was planning on doing the same thing with the placement of the door. I was wondering if you could post a couple of photo of the inside of the coop? I'm especially interested in where you placed the roost.
Thank you so much for sharing!