X Desk
X Desk built without drawers and a Batman themed desktop
modge podge desktop
polyurethane
X Desk built without drawers and a Batman themed desktop
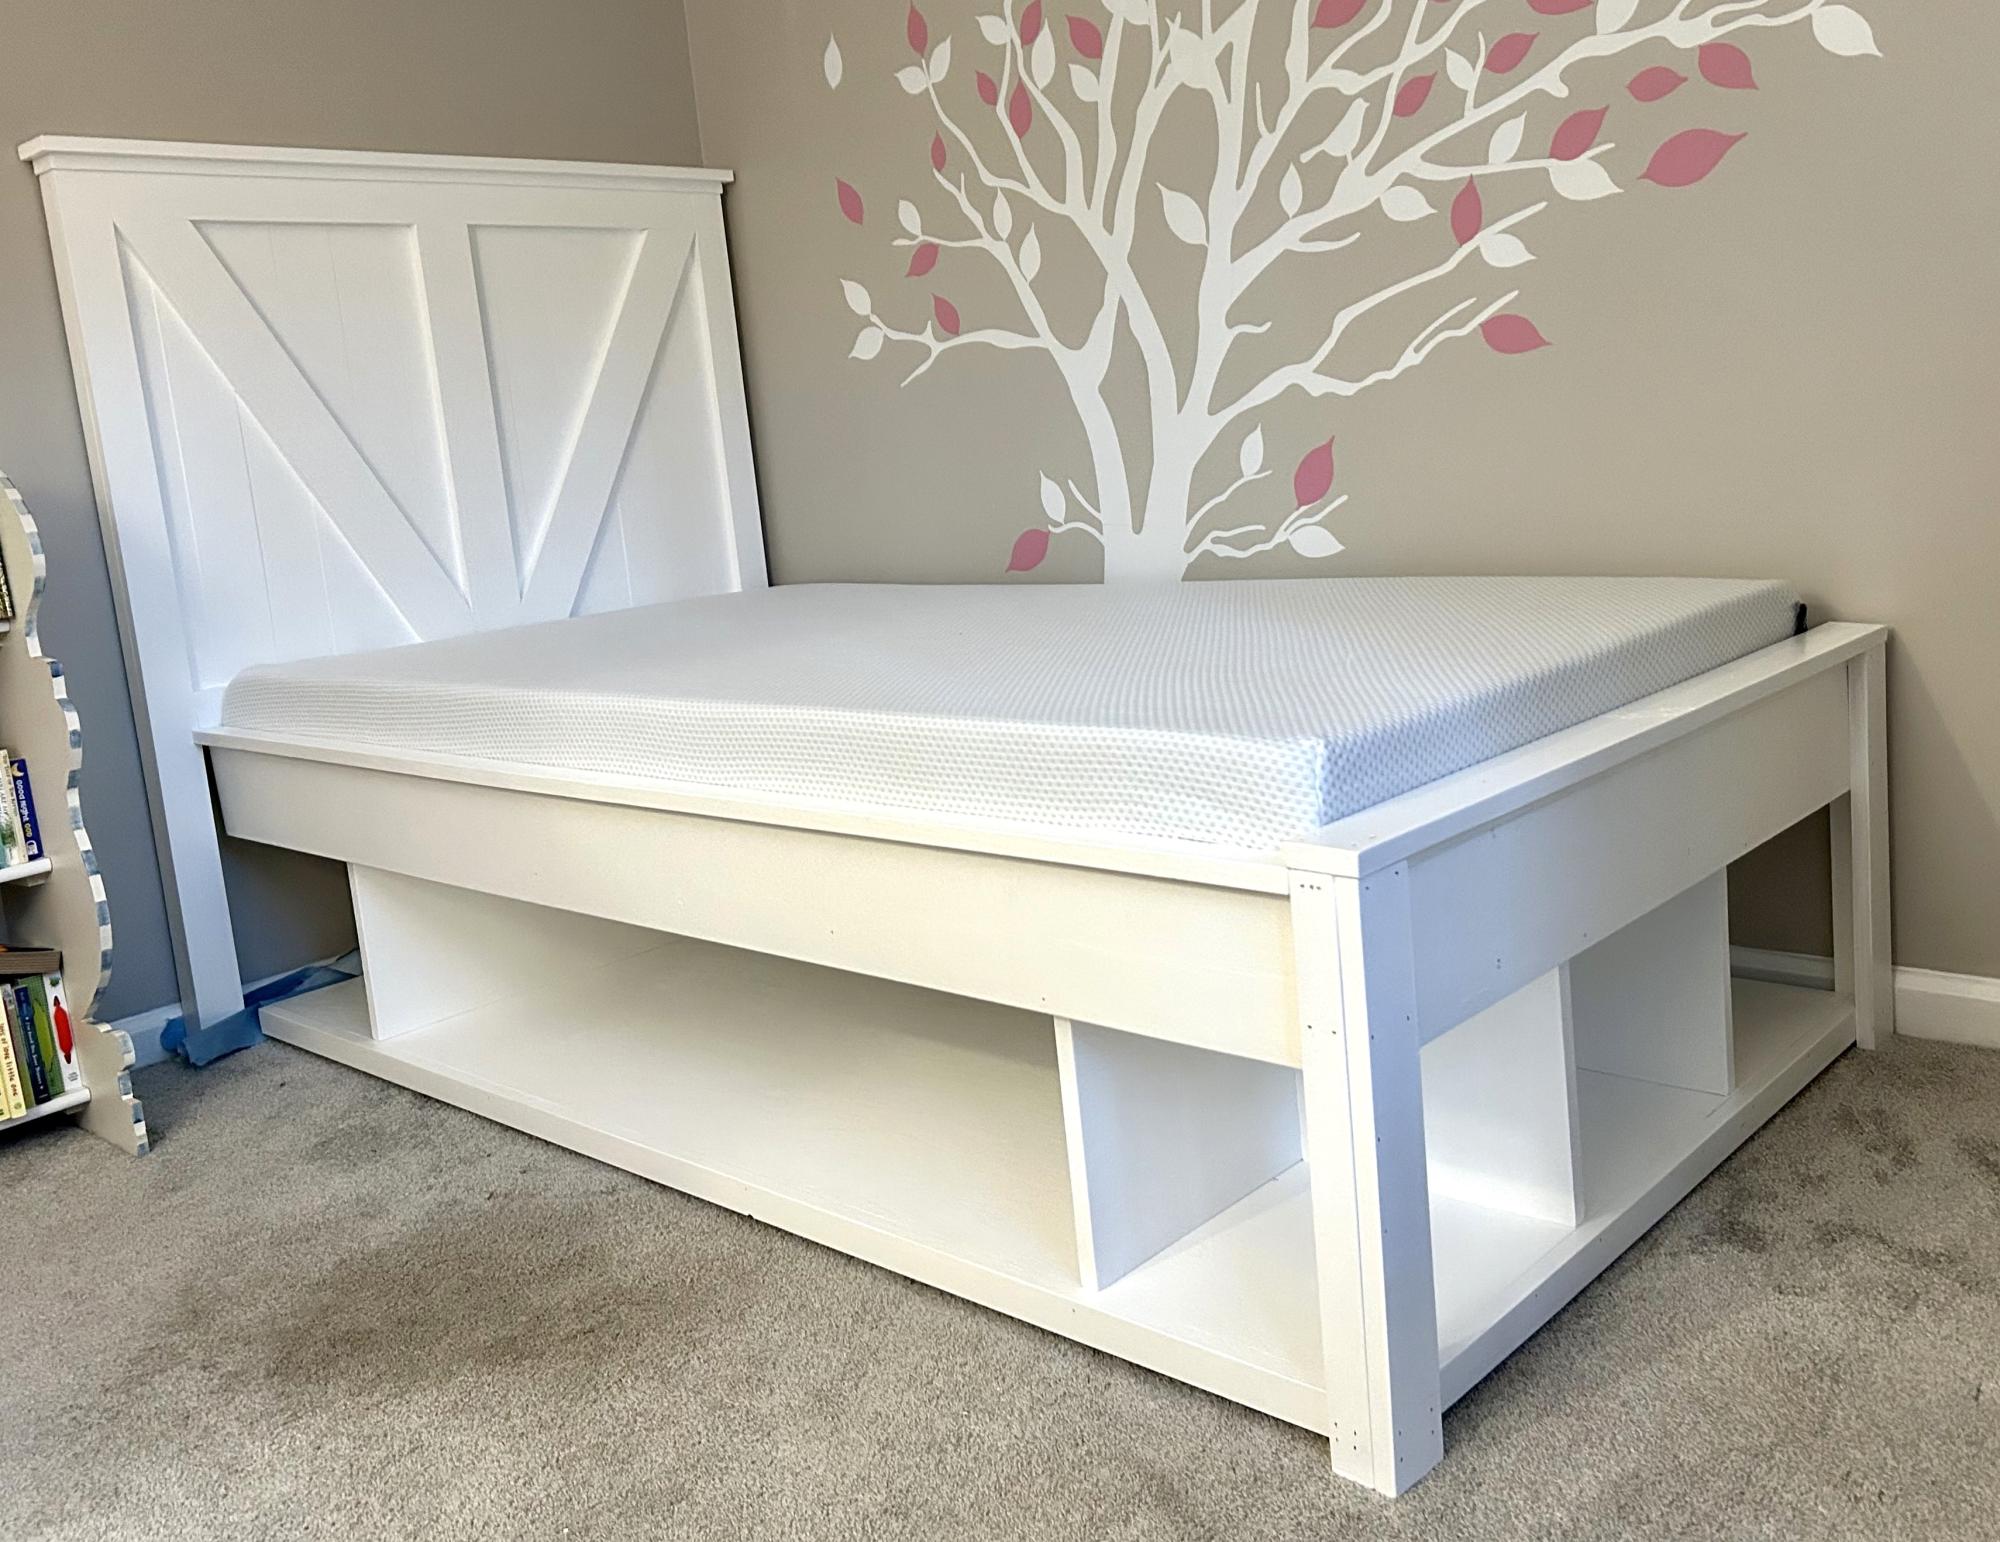
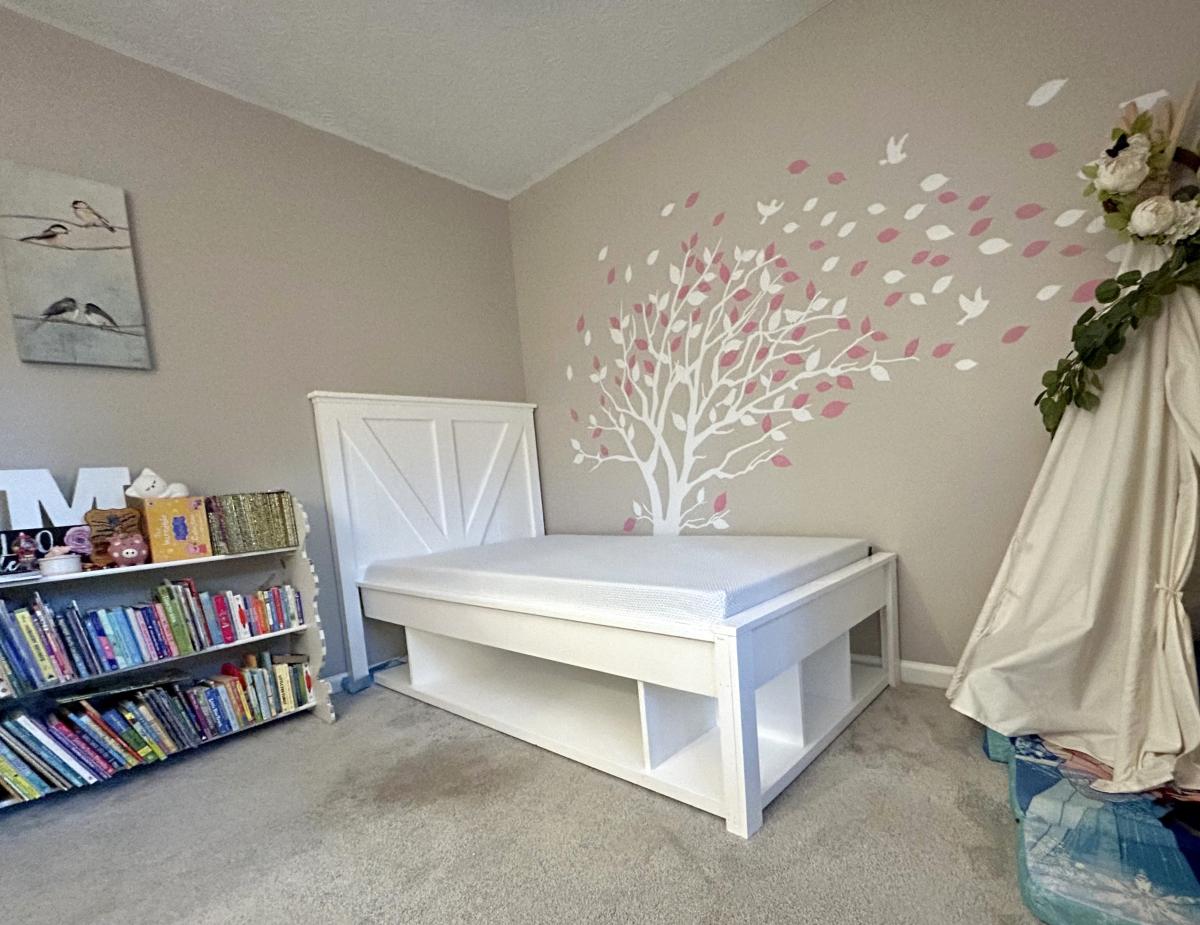
Love this build! We decided to flip the head board pieces because our daughters initials are MNW and we thought it looked more like a M and a W this way.
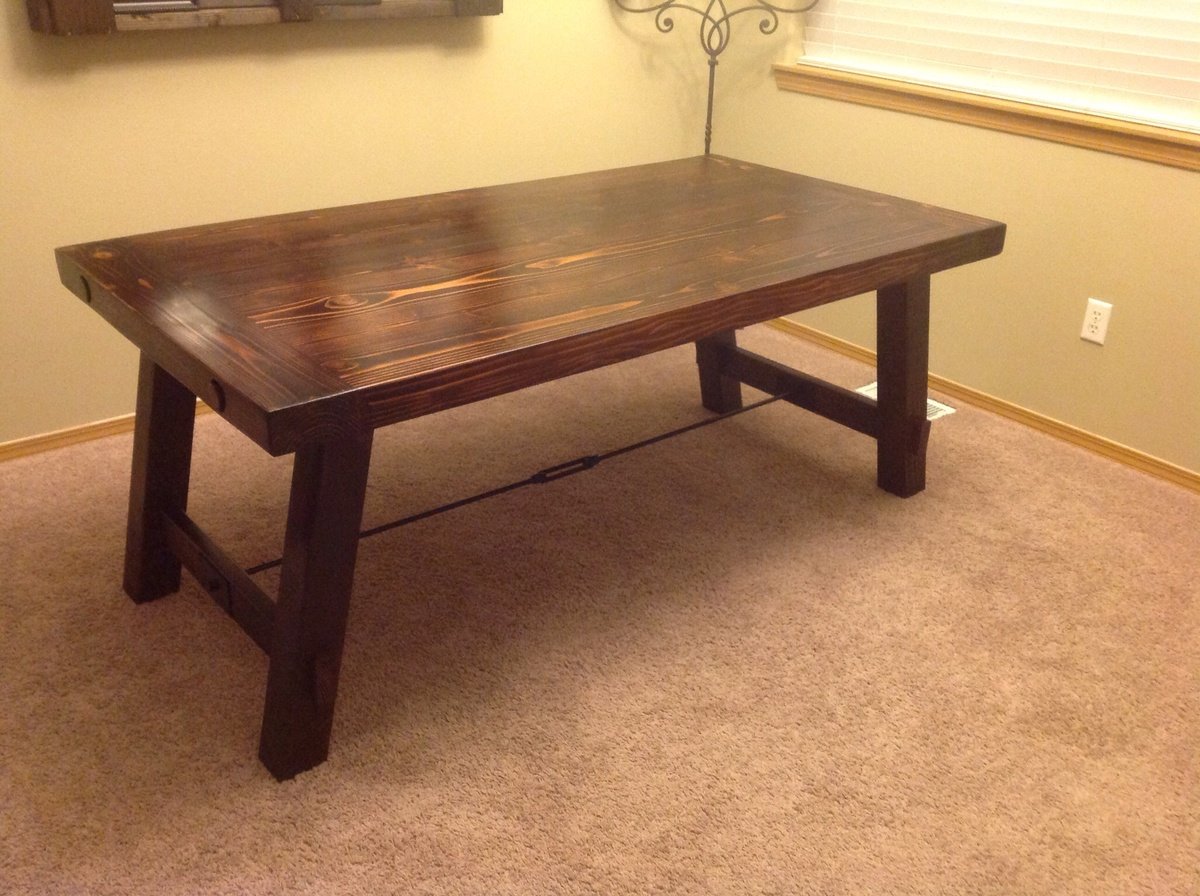
This was my first project and I completed it all by myself! I think it came out well :) My husband did not like the original table despite my love of it. I asked him if I made the table if I could then have it. So what started out as a dare (my husband thought I would not be able to do it) became a reality. I am really excited to tackle more projects and have gathered quite a few upcoming projects to complete.
I did a slight variation of the plans, I used 2x6s for the top and 4x4s for the legs. I located a planer and was able to remove the rounded edges of the boards. I wanted the thickness of the PB table so the thicker boards were my choice. I also used a solid welding bar threaded on both ends for the rod.
Mon, 01/13/2014 - 20:35
I love LOVE the thicker top. It looks fabulous! Great job :)
In reply to I love LOVE the thicker top. by Mrswhetstone1
Thu, 01/16/2014 - 09:39
Thank you :)
Mon, 06/09/2014 - 23:04
I like your version of this!
How did you attach the table top to the leg supports? Or aka, what does the underneath of the table look like? And how did you attach the breadboards to the long boards of the tabletop?
My email is [email protected], since that is probable faster than commenting back and forth on here.
Fri, 09/19/2014 - 02:10
I am also wondering how the thicker top is attached. Please share! You did a fabulous job!
In reply to Want to duplicate! by Jeana Hayes
Thu, 01/01/2015 - 21:12
To get the wider top I glued two 2x6 together than planed them so they look like one solid piece. I didn't really follow any plans just kept building a little at a time. I don't really think you can mess anything up if you just keep doing a little at a time. Let me know if you have any other questions! Love to help :) Happy building!
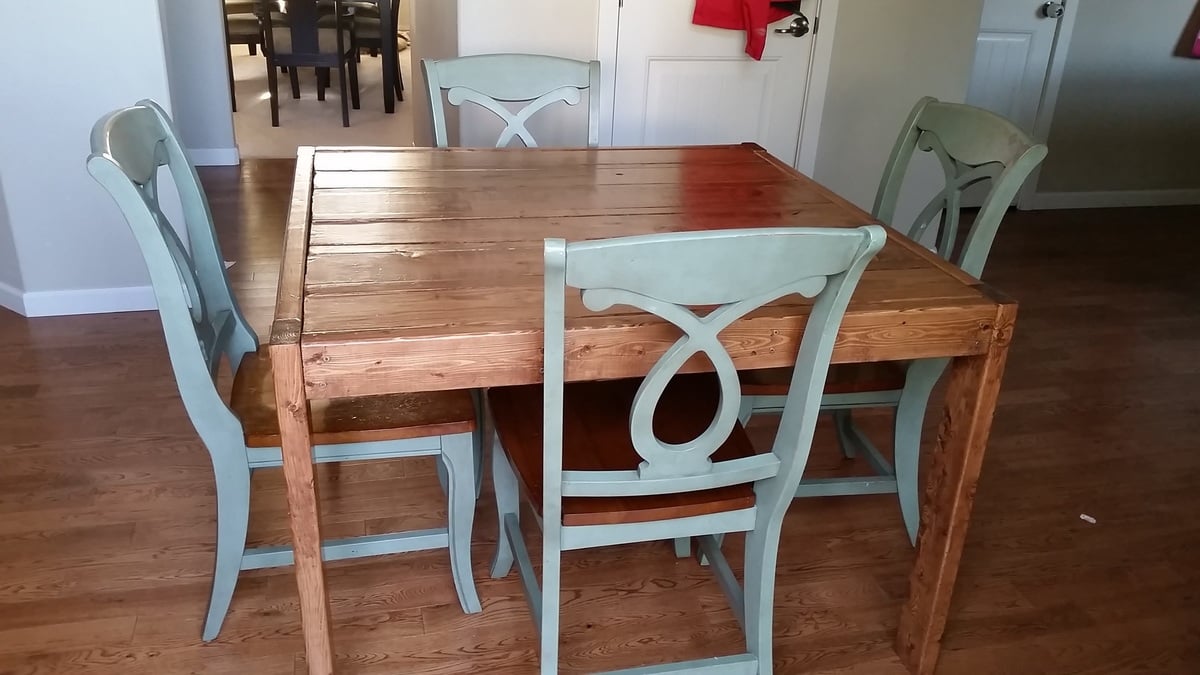
We modified this table to make it larger for our growing family. It measures 42" (10 inches larger than the original plan). We added 10 inches to the length of the 2X6's and added 5 2X2's to increase the width of the width of the table. We love the interest it added to the table. 3 coasts of minwax cherry and three coats of minwax helmsman poly.
I loved the look and design of Ana's Simple Bunk Bed but due to limited space in our home, needed a triple bunk bed. I wasn't interested in the hassle of a trundle so I decided to modify the simple bunk bed plan and make it a triple. I have to say, I was a little worried about how sturdy it would be but this plan is so solid with the 4x4 posts that there is no need to even even think about that for another second!
I changed the ladder so that it was attached to the side rails of the bunk bed as someone had posted they did earlier and decided to add another little ladder for the middle bunk so my little one wouldn't have to leap from the ladder to get into her bed. ;D
In order to do a triple in our home (with 8 ft. ceilings), I needed to bring the height down so I made the bottom bunk sit on the floor with the legs only being as long as the height of the headboard. I also made all the headboards and footboards only as tall as the footboards in Ana's original Simple Bunk Bed plans.
This was my first build and there are definitely things I would do differently to make this work better if I had it to do all over again. I would make the legs a little shorter on the 2nd and 3rd bunk so that there is more head room for the person on the top bunk.
All in all though, I had a great time building this and can't wait to try some more of Ana's plans!!!
Mon, 01/13/2020 - 09:09
This is absolutely gorgeous. How has it held up? If Would you mind sharing the plans for this as I too have low ceilings and will have to tweak the dimensions a bit.
Thank you.
Mon, 11/01/2021 - 21:30
Do you happen to have the exact plans for this triple bunk? I saw that you modified the simple double bunk to fit your space but I'm wondering if you drew up plans wih measurements to make it easier for beginner folks.
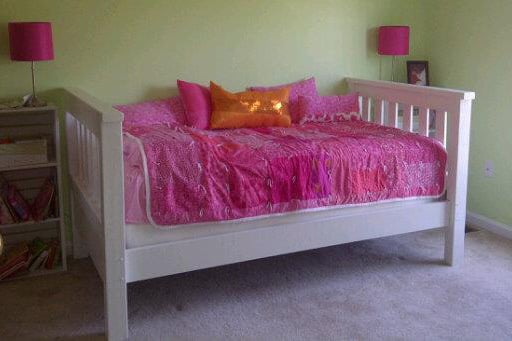
My dad used the plans for the Simple Bed - twin size and built two. Then he took the headboards from both to build the bed for our daughter's room. It sets against a wall, so it looks like a daybed since both ends are the same height. She loves it! The other bed will have both foot boards and will be used in our son's room when he is old enough for a twin bed. Our daughter loves the bed and our son can't wait to get his....and we all love that Pap made it just for them! :)
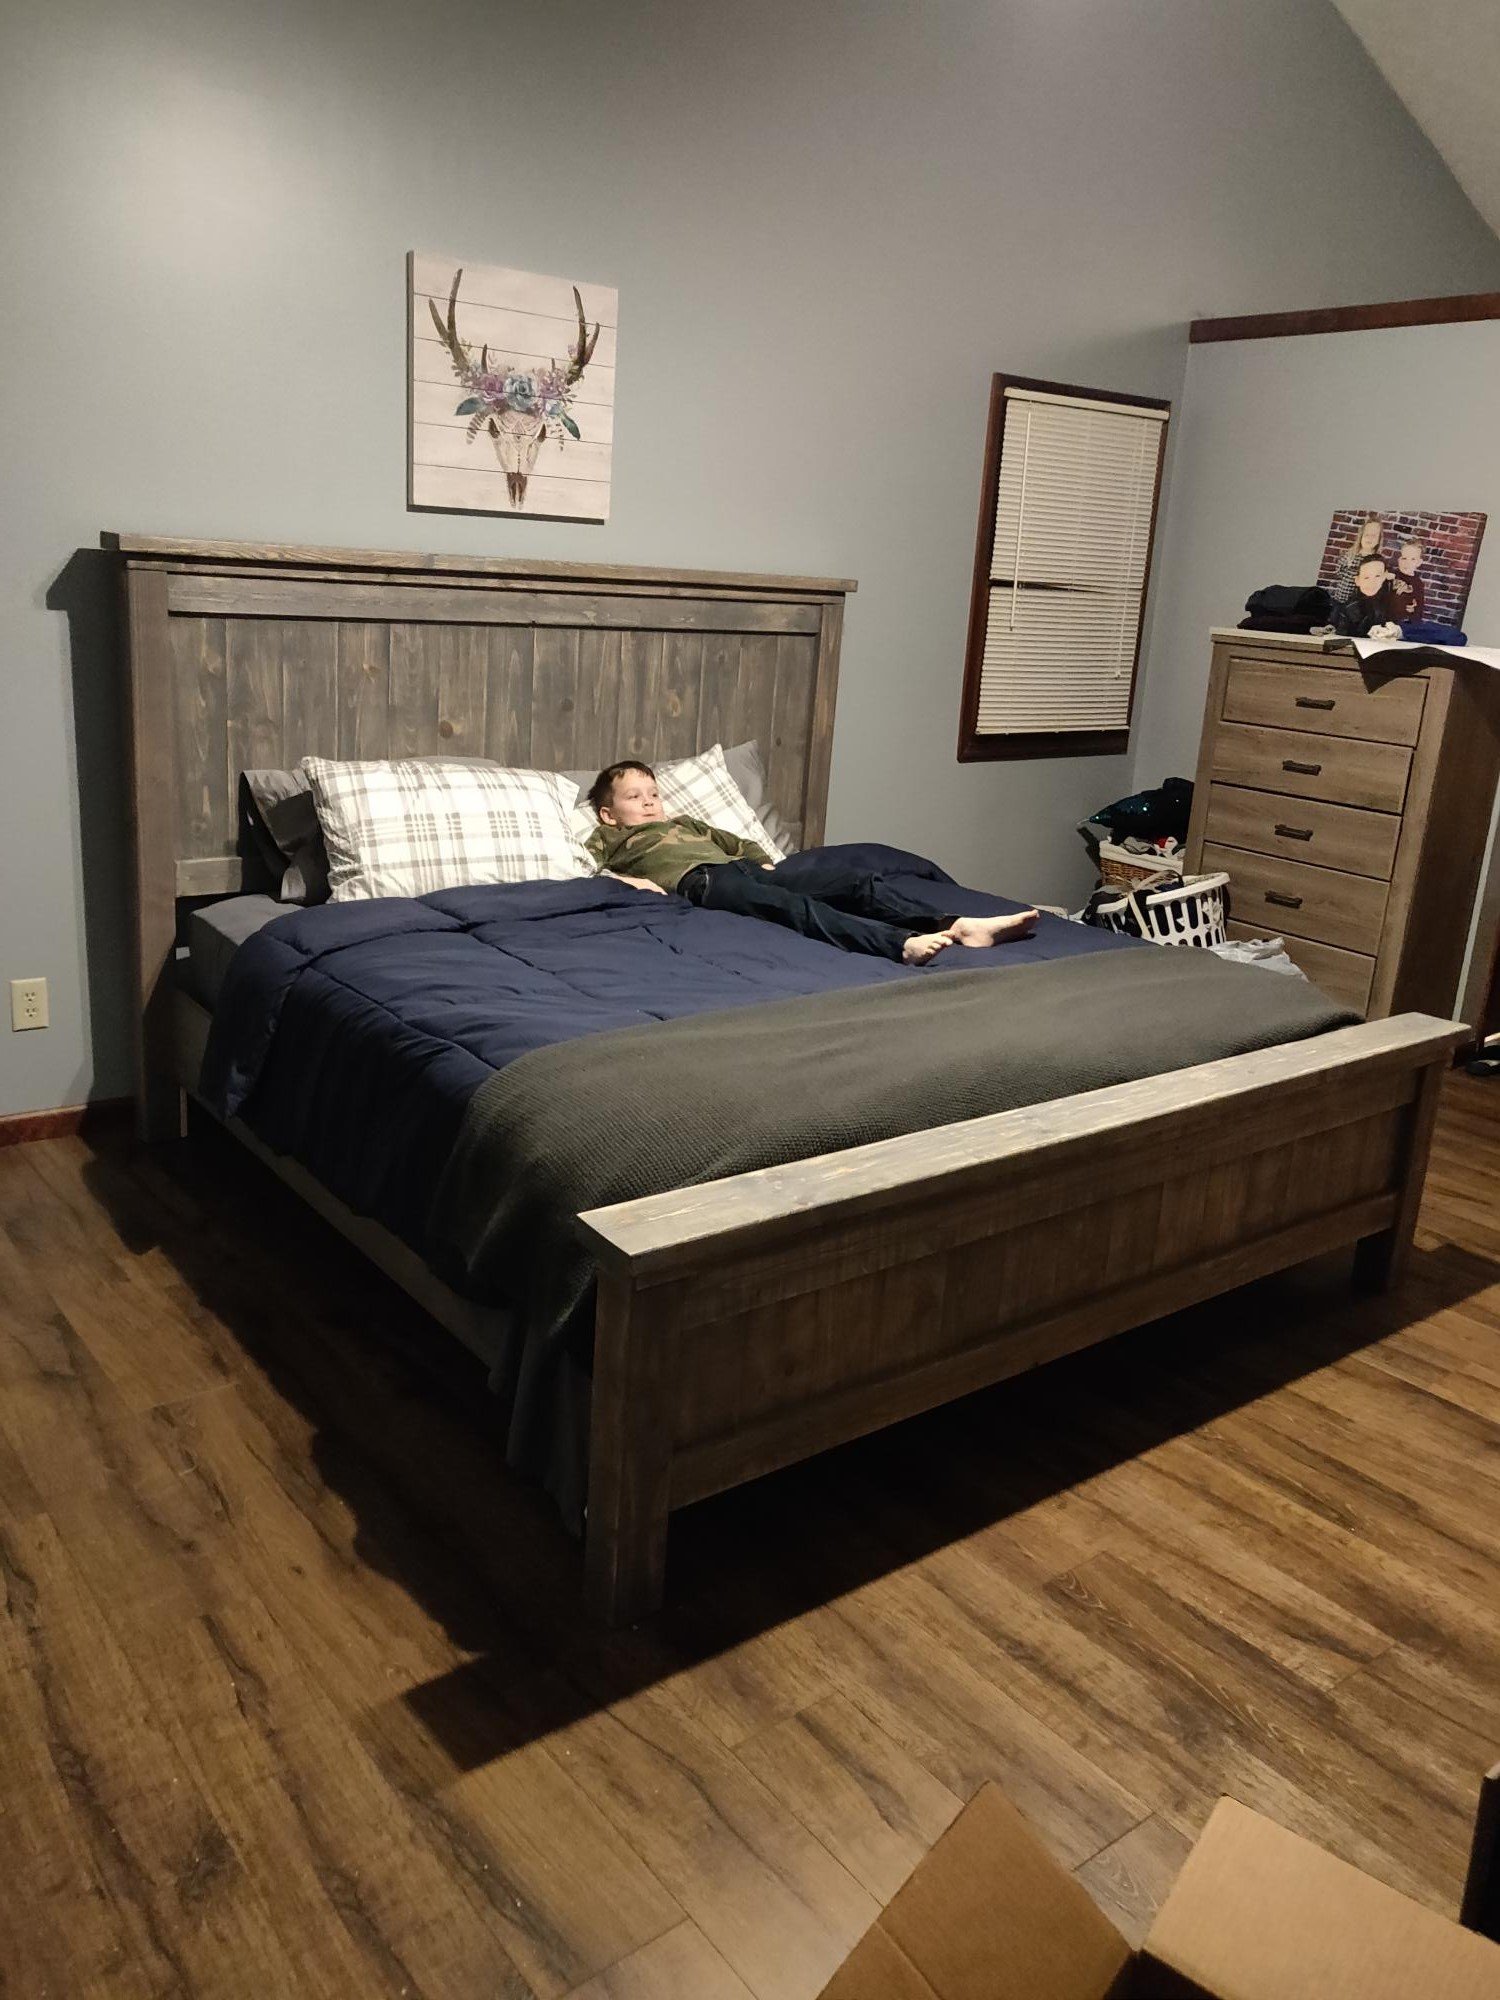
We got to move into our new house and commited to a mattress straight on the floor until we got our bedframe built. Exactly one month later and we are feeling human again in our sleeping arrangements, lol.
The sofa table desk and end tables is next. I am hoping to get a good floating media center plan soon too using a cleat system. * Hint, Hint
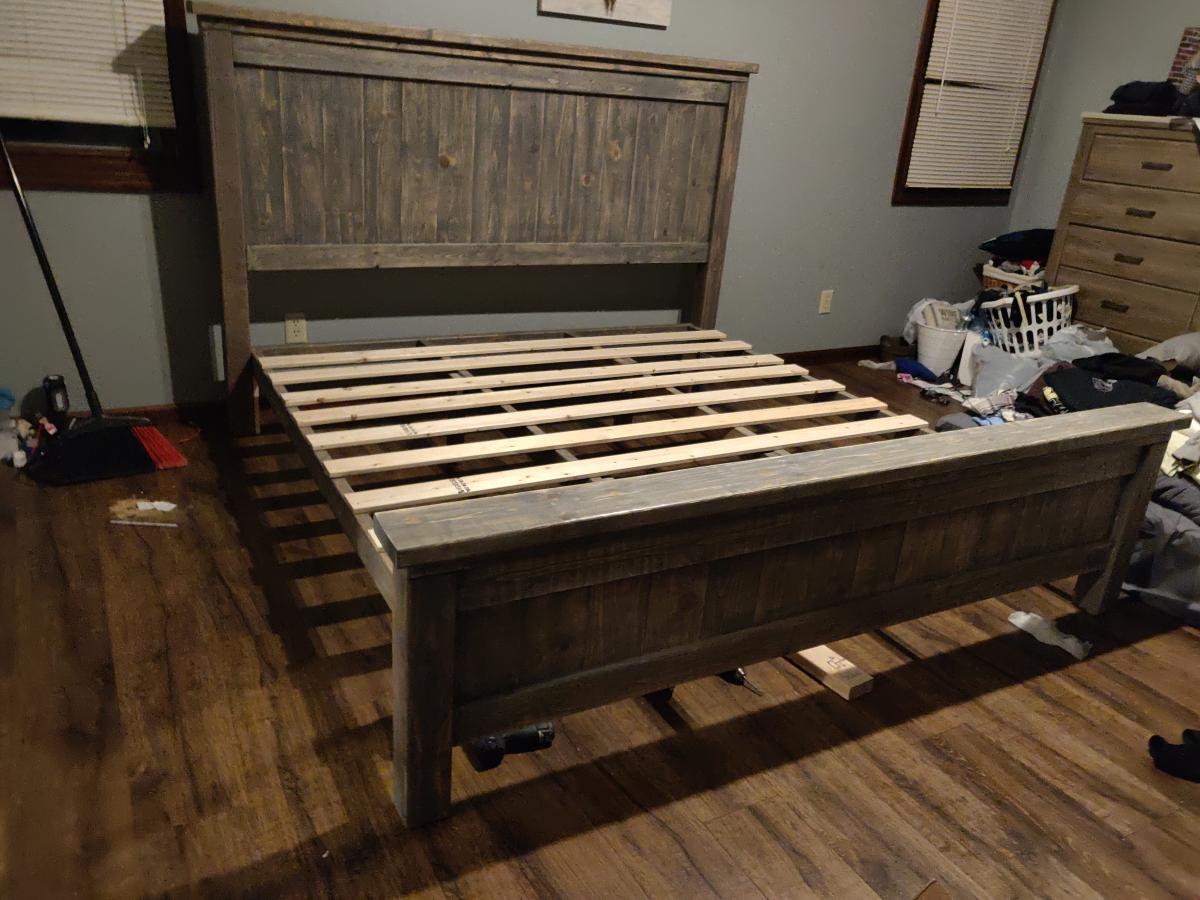
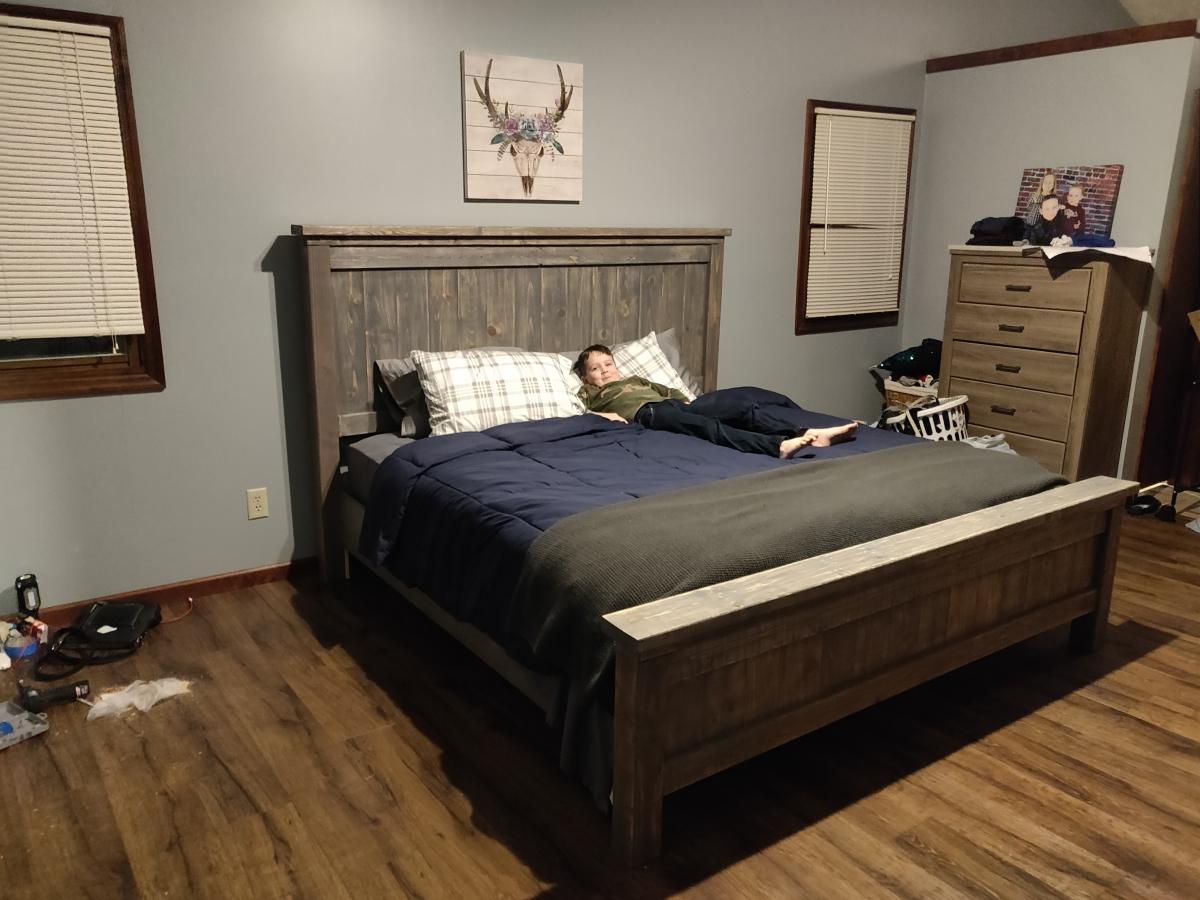
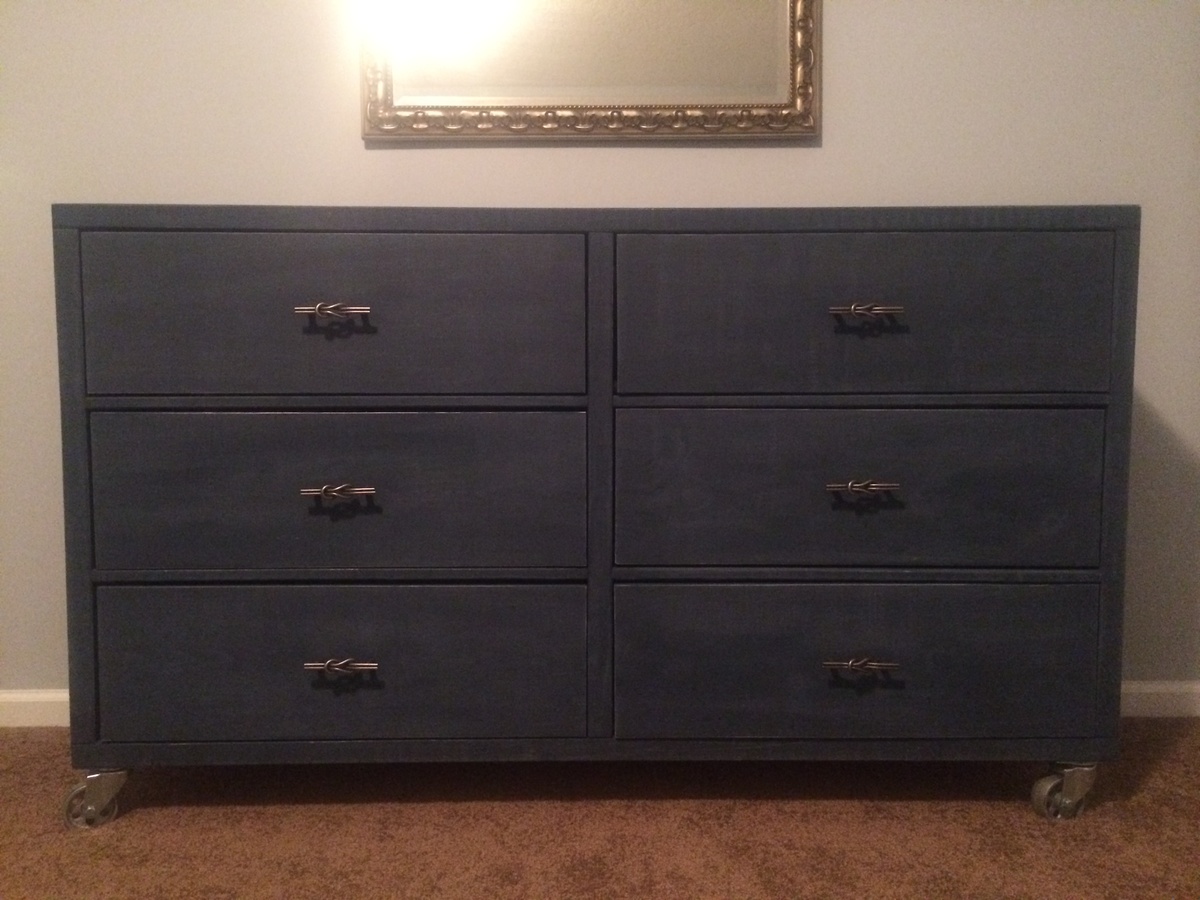
We need bedroom furniture desperately! So, I decided, for my second build I would start in our bedroom! The dresser first, because I was going crazy without a place to put my clothes!
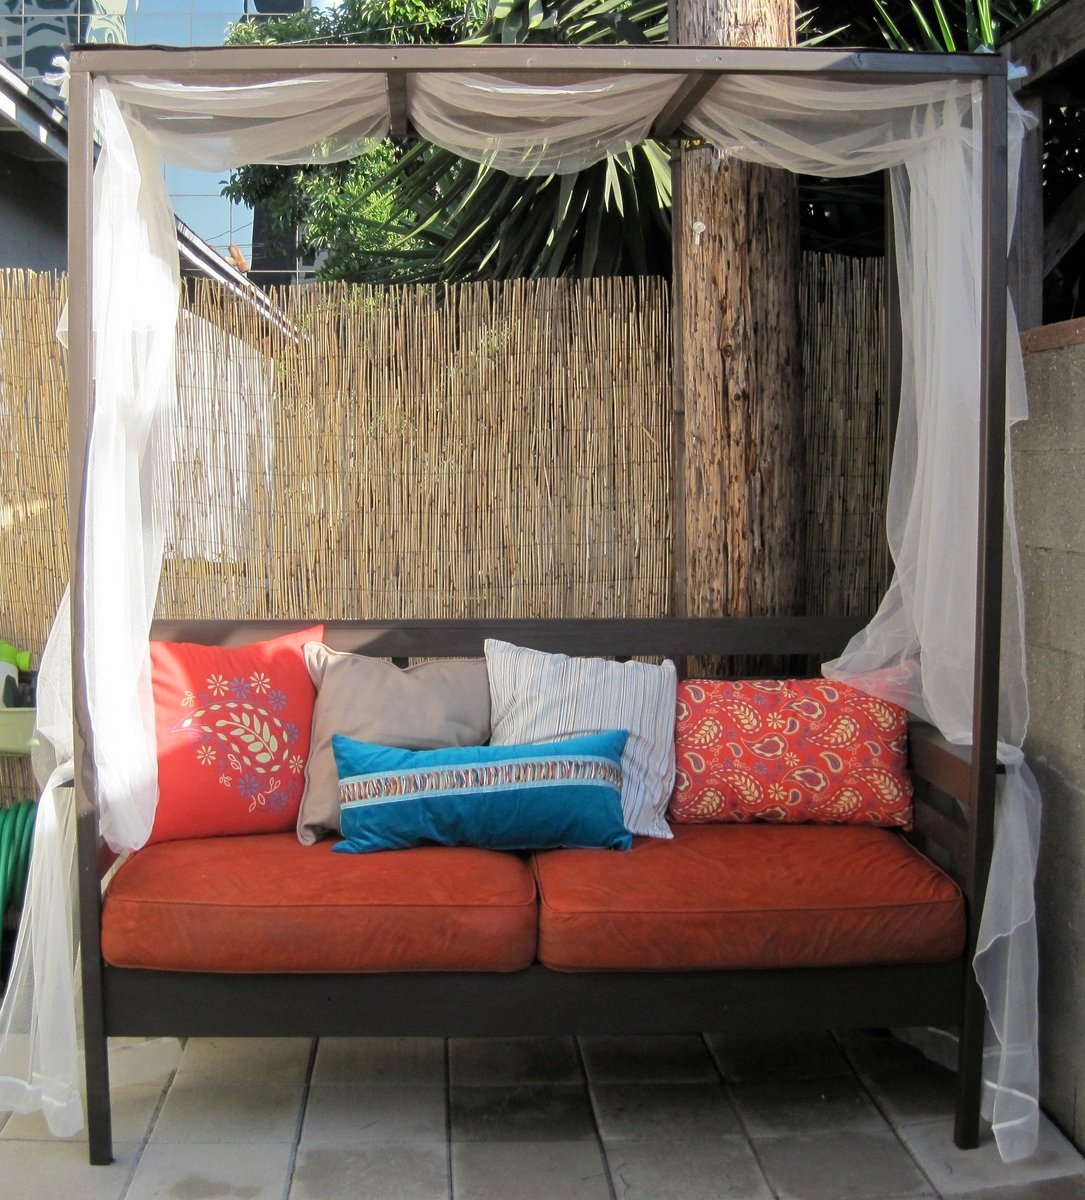
Thank you anawhite.com for this project! It was exactly what I was looking to build for my outdoor space. The outdoor daybeds with this look are WAY too expensive for us to buy and these plans were just what I needed!
My husband and I built (and painted) this project over one weekend. Not included in that time are 2+ hours shopping for materials on the friday night before and extra hours over the next few days to buy pillows, tie on the drapery, and finish the cushions.
We actually changed the plans to make more of a smaller 'daycouch' rather than a 'daybed' because we had some old cushions from a loveseat we just got rid of that I wanted to repurpose. It worked out great for our small space. If you do change the proportions keep in mind that a 1X3, 1X4, etc., are not exactly 3", 4", etc.
This project is totally doable, so go for it! The only things I would recommend are that you have some skills with power tools, know a little about carpentry (the directions are pretty spartan), and paint the pieces beforehand (if you have the patience; it really does cut down time on painting all those slats).
*Important note: the materials list is missing 2 2"X4"X8" (for the 2 cleats) that you need to complete the project.
Fri, 07/13/2012 - 23:26
Thank you! We are pretty happy with the way it turned out. If you do the project please post a pic!
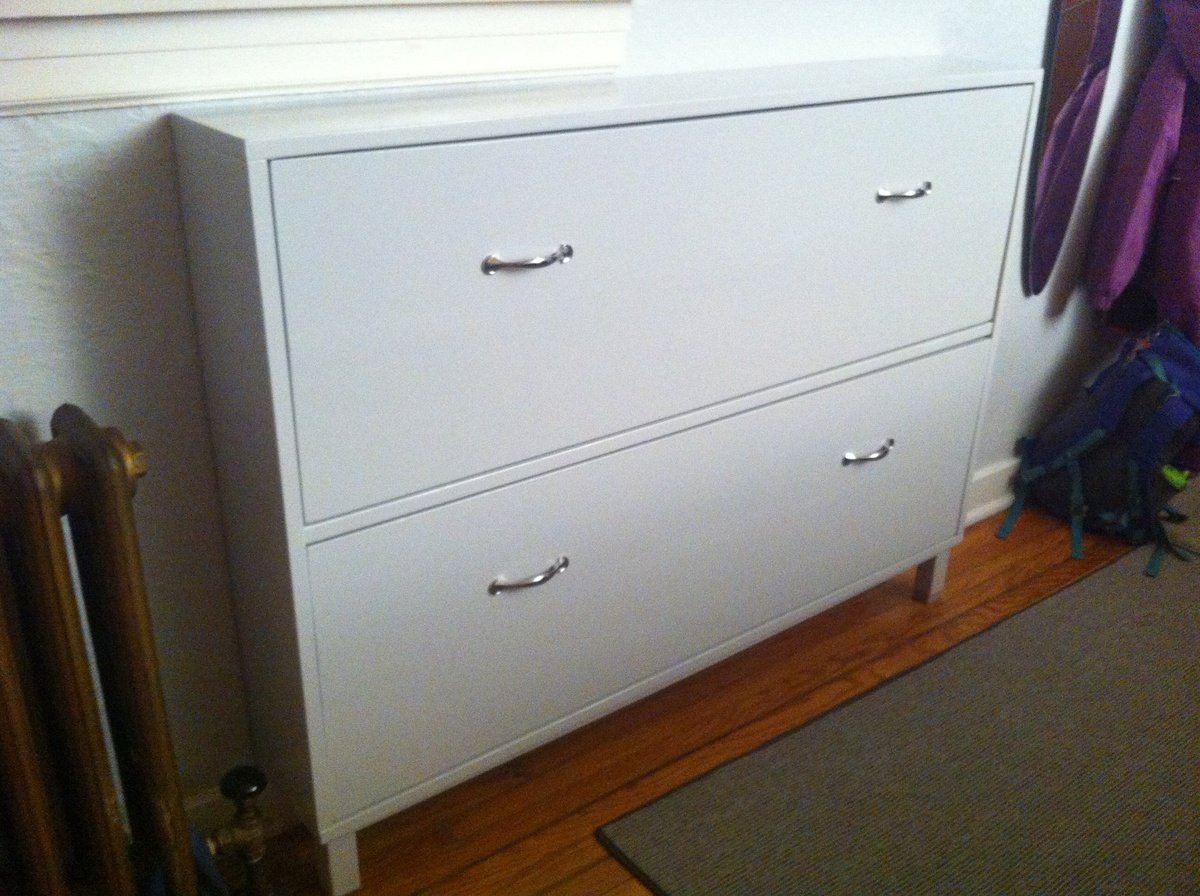
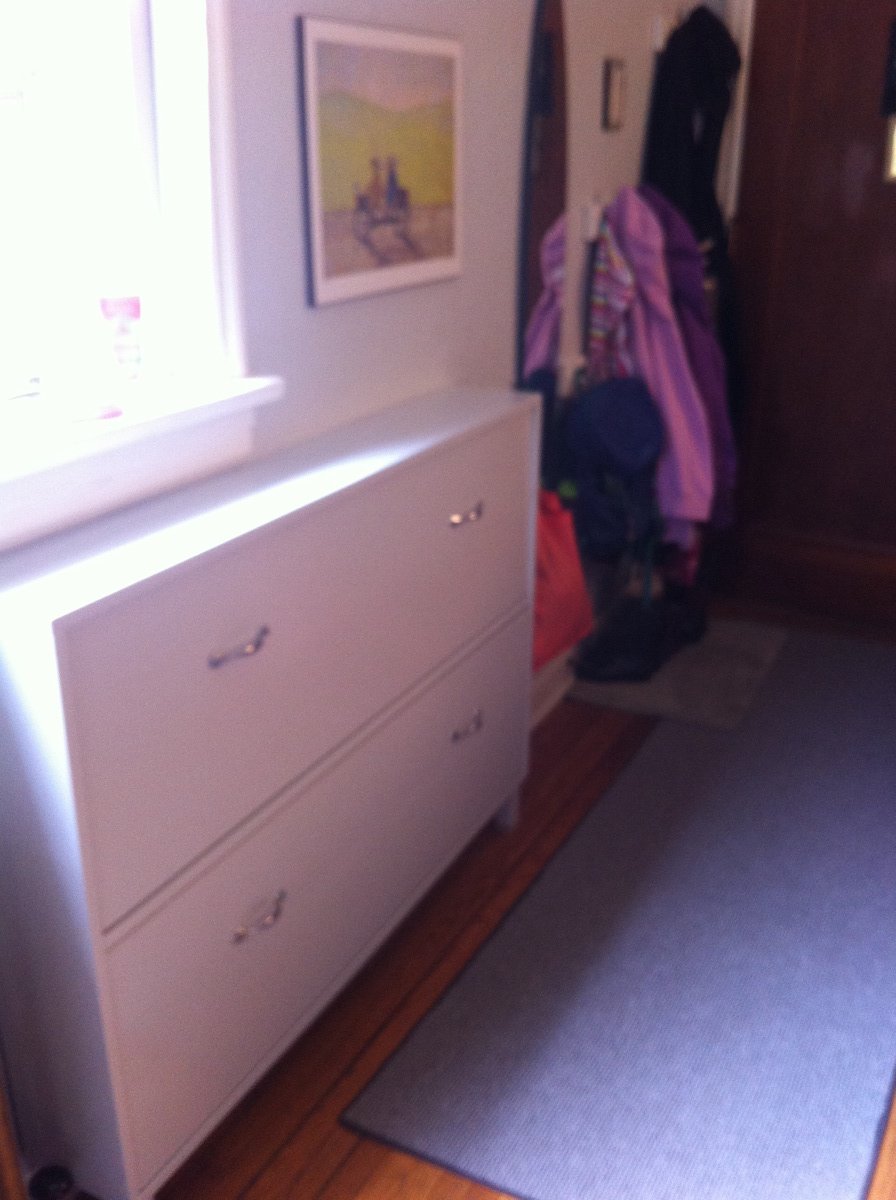
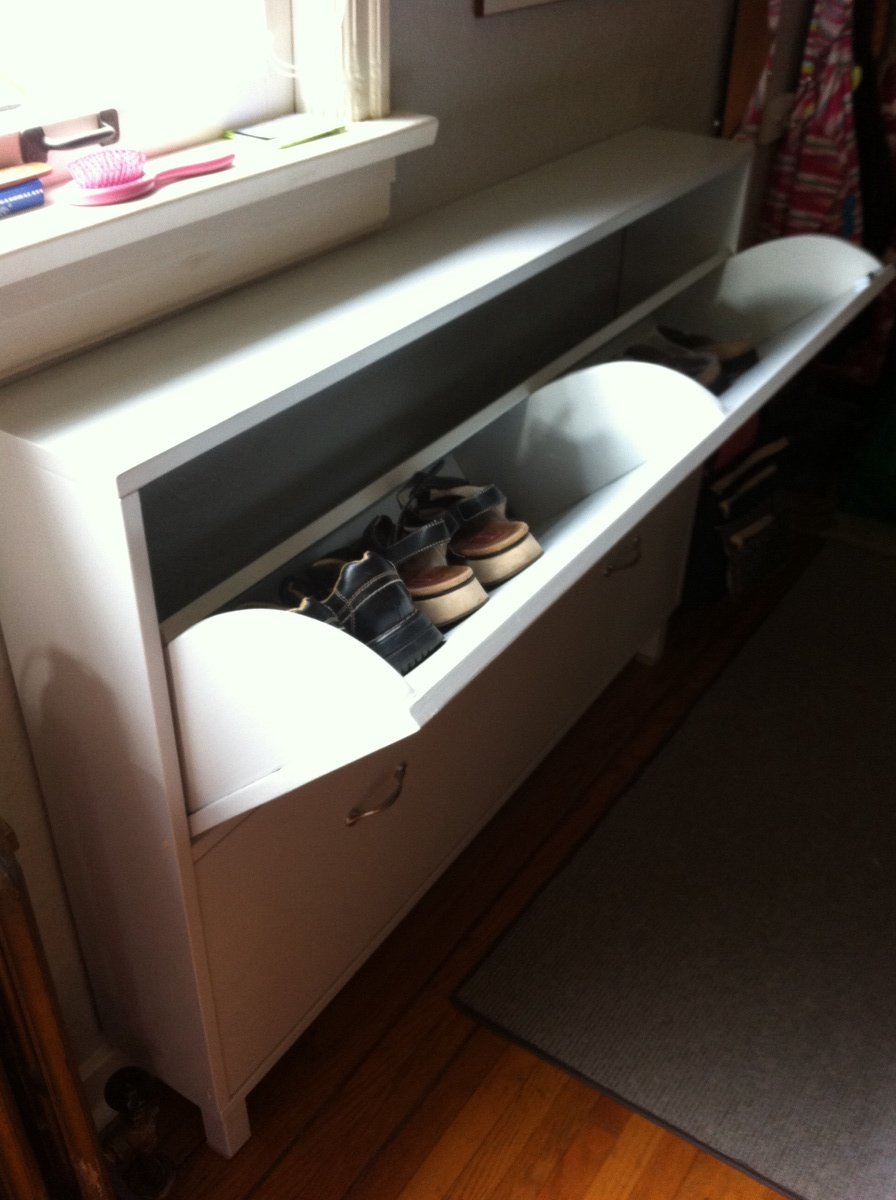
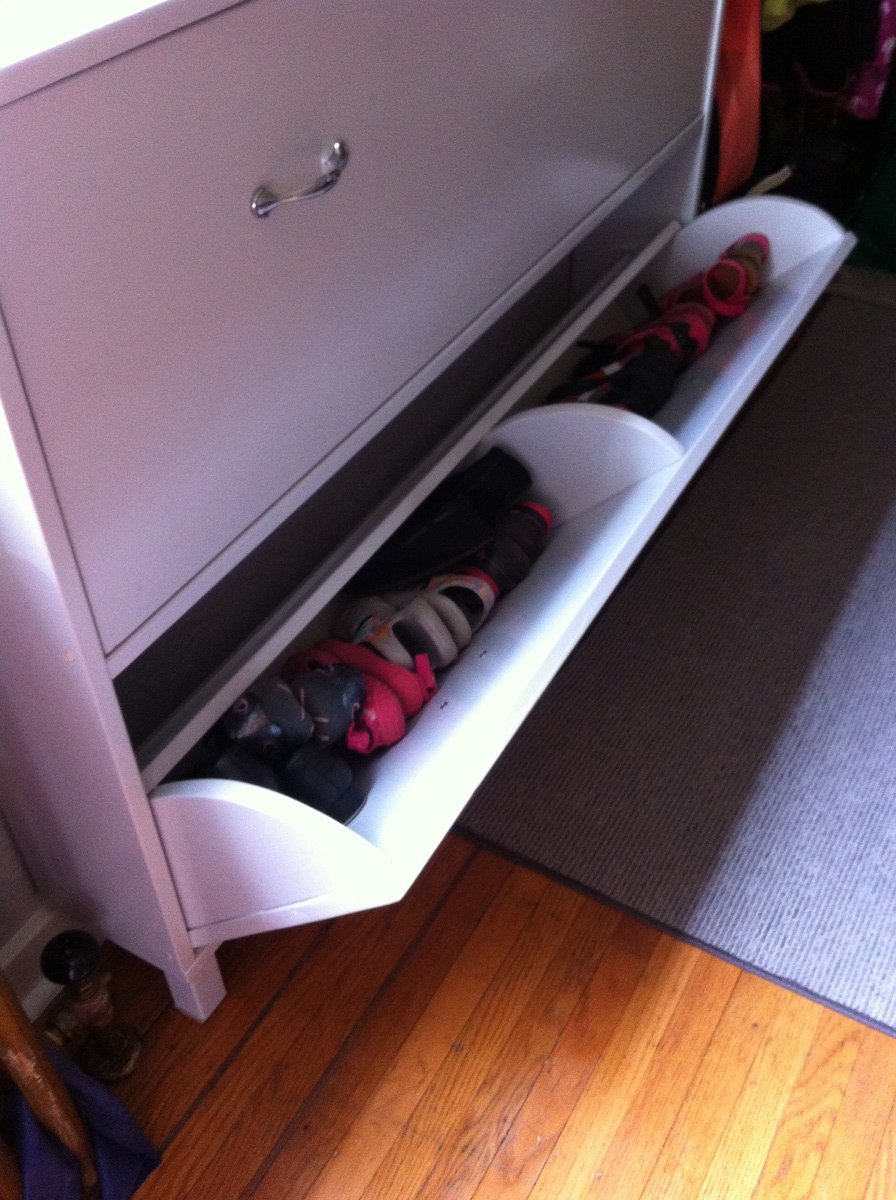
Had a horribly messy front entrance so really needed this shoe cabinet. It's dimensions suited my space better than an Ikea one, and accommodated more shoes. This being my first project, I am glad I started with this instead of a loft bed, since I made alot of mistakes (& corrections) along the way. Although some of the problems occurred because of pieces that ended up being convex. I chose to fill in the gap between the two boards on the front of each bin. It worked out really well.
Really love the Kreg Jig! So worth the investment.
Could not figure out how to properly use magnet catches. Did apply one to one side of the top drawer but it doesn't work too well--pulls the bin too far in.
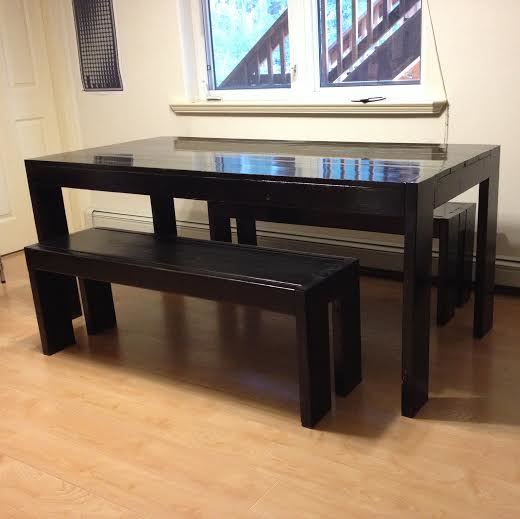
I worked on the benches and table for three weekends. All are finished in Ebony by Rustoleum. I used the non-Kreg plans for the benches and the updated Kreg jig plans for the table. I spent a lot of time at Home Depot selecting straight, flat boards for the table top. I literally dug through all of their 1 x 6's and laid them out on the floor in the store to find a good fit. I finished the benches with three coats of Minwax semi-gloss, and I finished the table with three coats of Minwax gloss. I prefer the higher gloss so I may put a coat of gloss on each bench so they all match. I also put some heavy duty furniture felt on all of the legs so they slide easily across the wood floor without scratching! I've been using a sad hand-me-down table and folding chairs for the past couple of years. I couldn't be more pleased with how this turned out.
I live in Alaska and the lumber for the benches cost about $35. The lumber for the table cost $65. I spent about another $100 on wood conditioner, stain, polyurethane, screws, sand paper and a brush. So all total, I have about $200 invested.
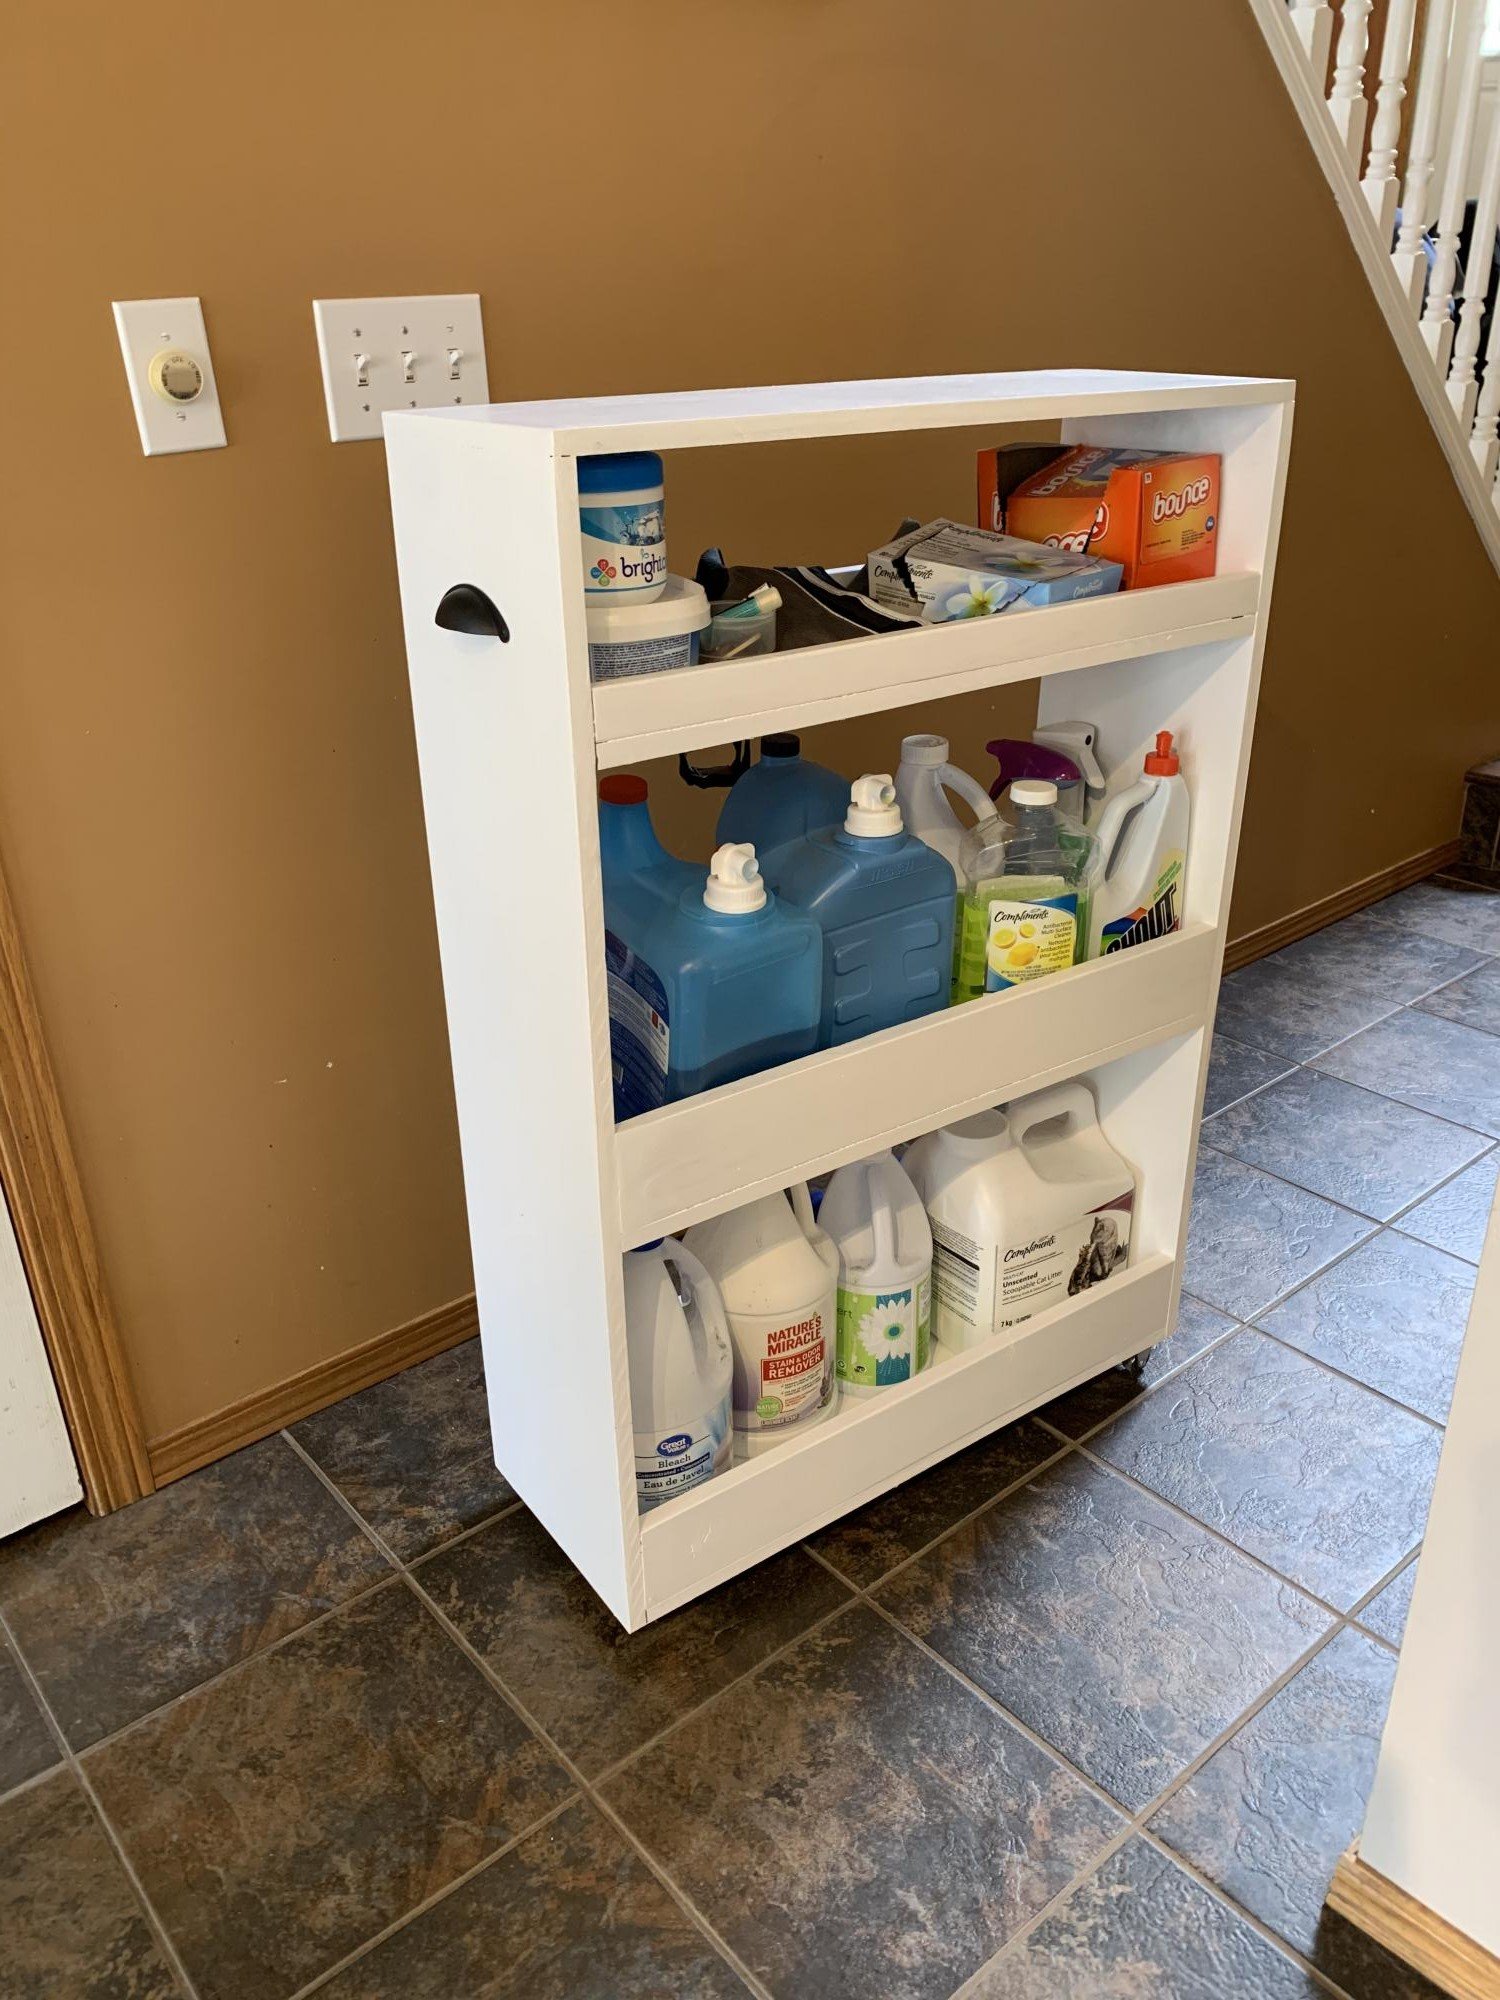
My husband and I have been inspired by your website and are getting started with wood working projects. We did this cart on the weekend. We used MDF board for the front, back and shelf bottoms because we had it laying around after replacing our garage shelving. I’m pleased with how it turned out given that we are just beginners. I do think we’ll have to invest in a table saw. Not a fan of working with MDF board. We used the example found on Infarrantlycreative.net but changed it up slightly. (Sorry about the first photo, I can’t seem to delete it)
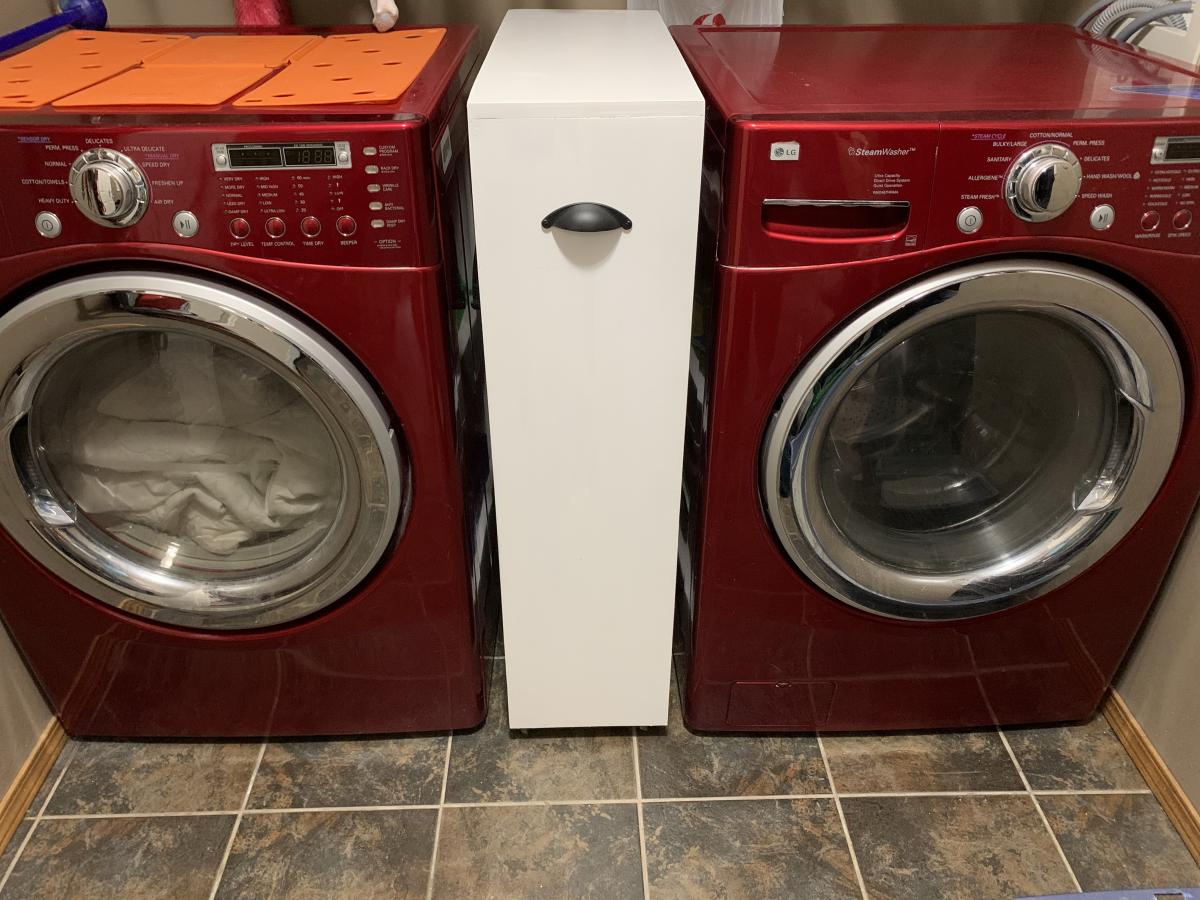
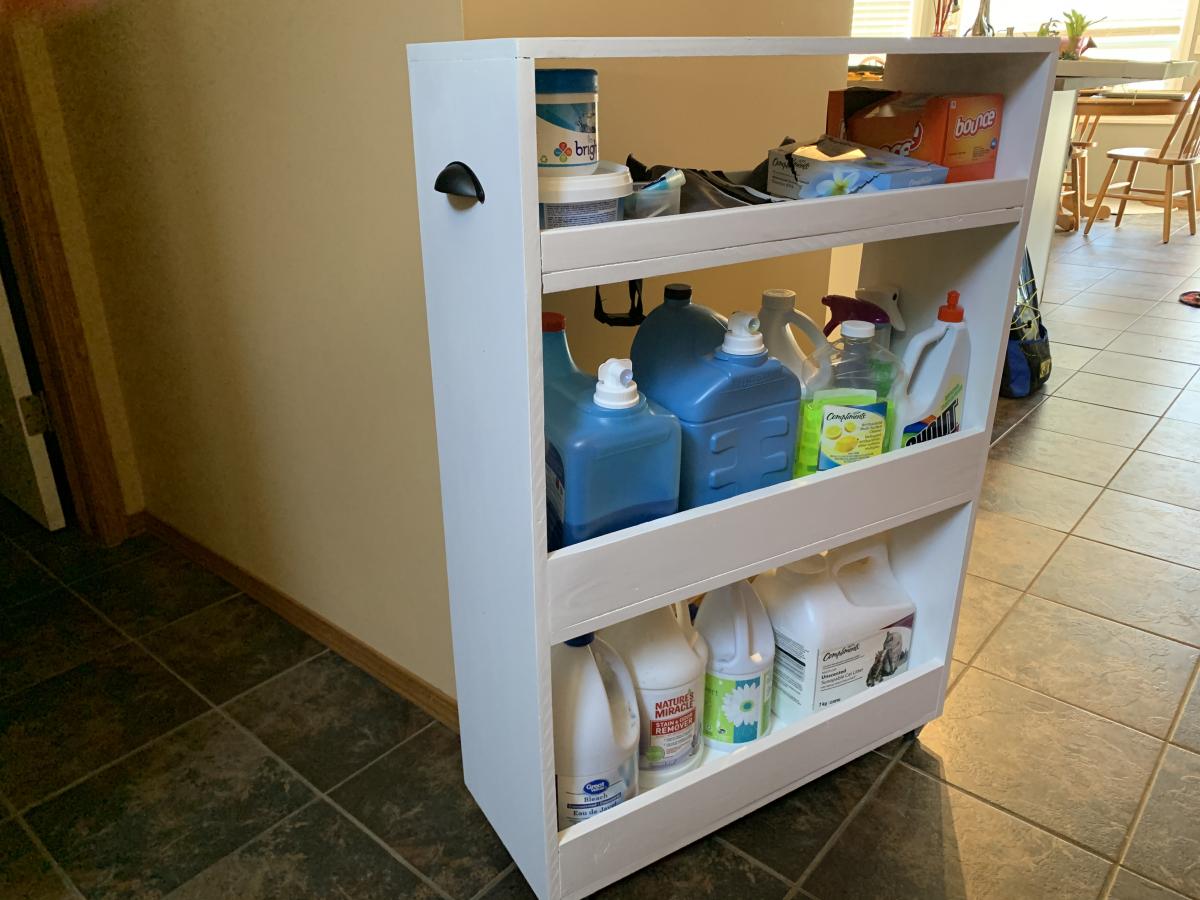
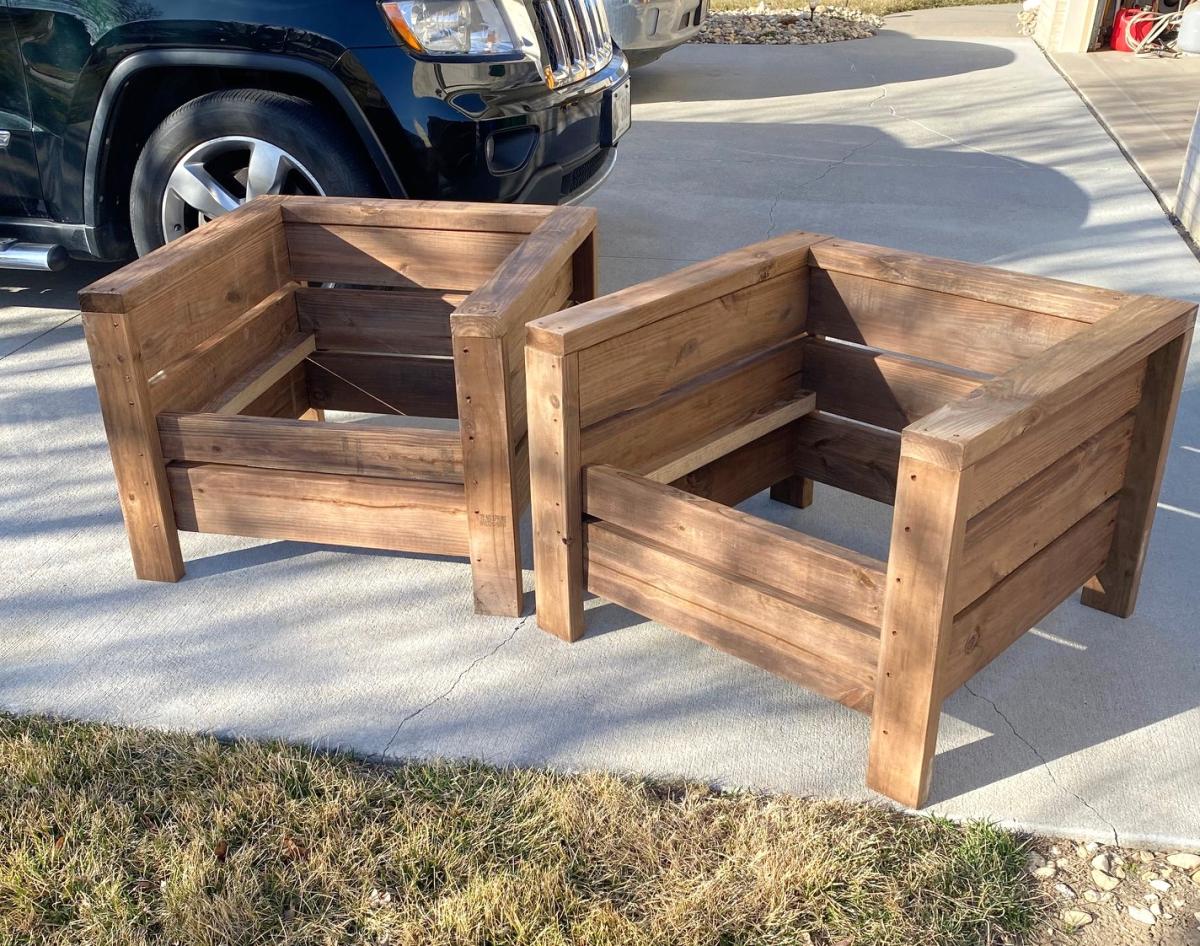
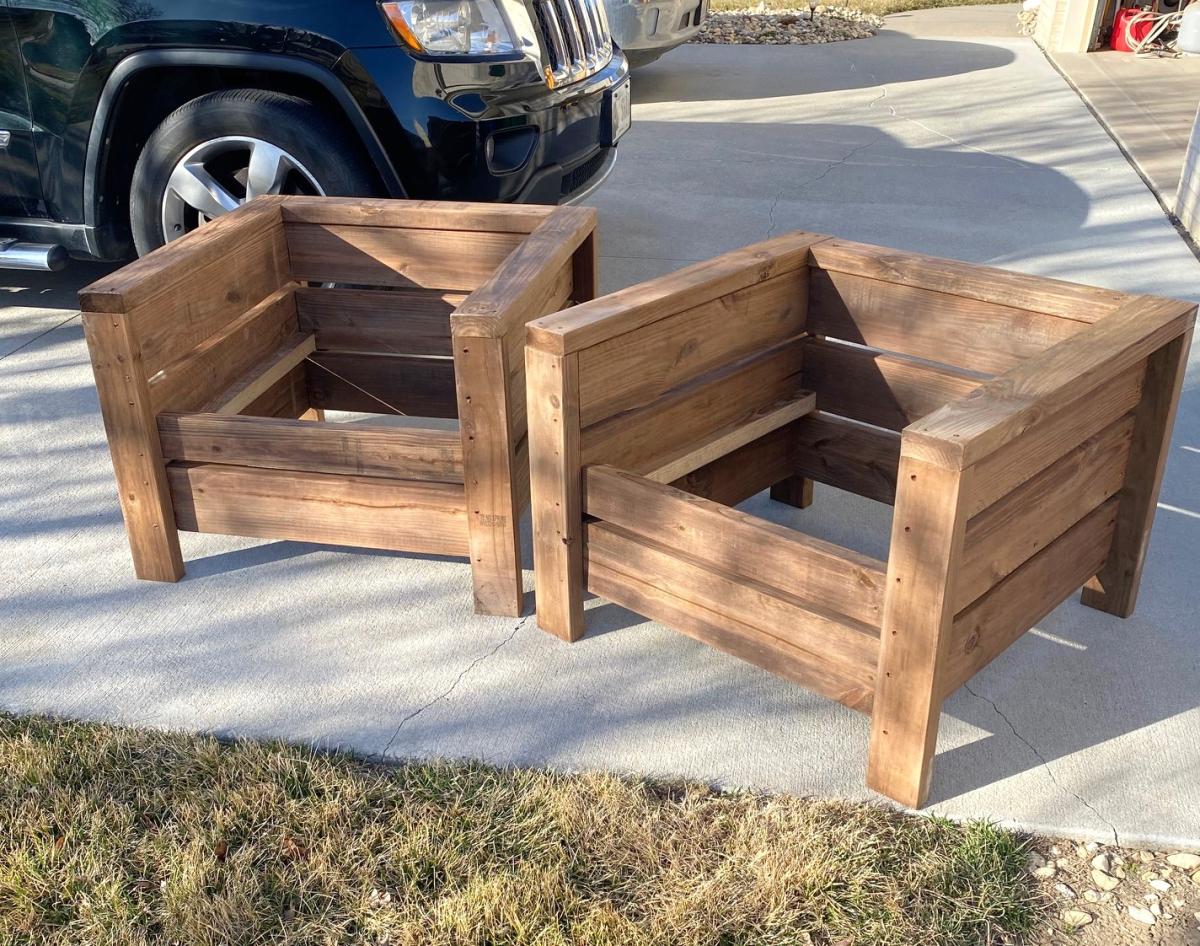
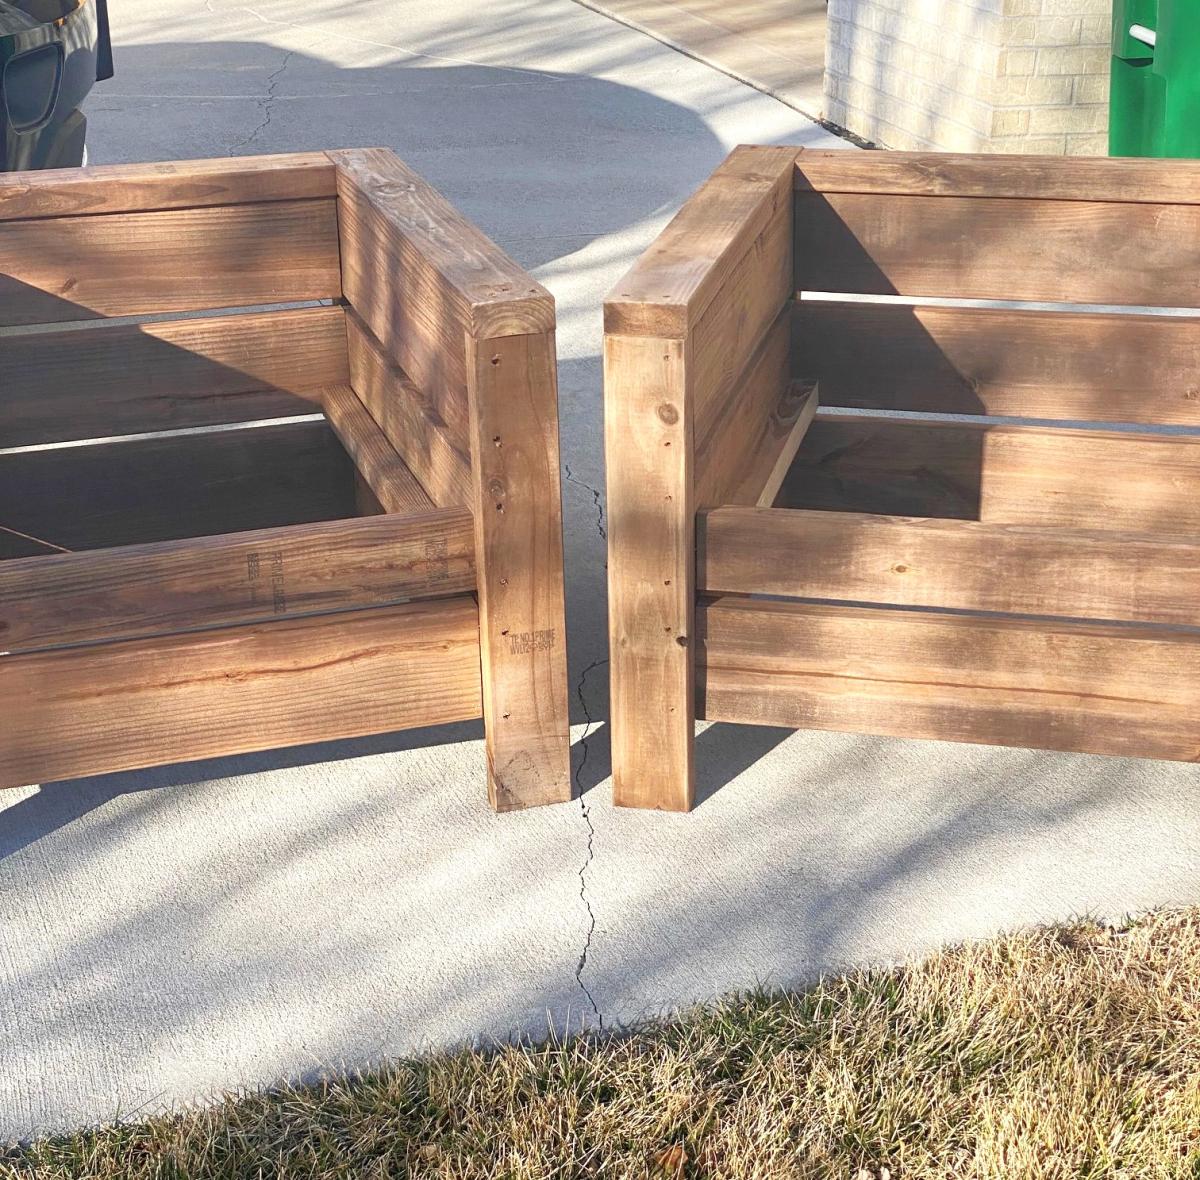
Seen these plans a couple years ago and finally have gotten around to making a set. This was a fun and really easy to follow set of instructions and I think they turned out really nice.
Jeff, with LaBrie Family Woodworking LLC
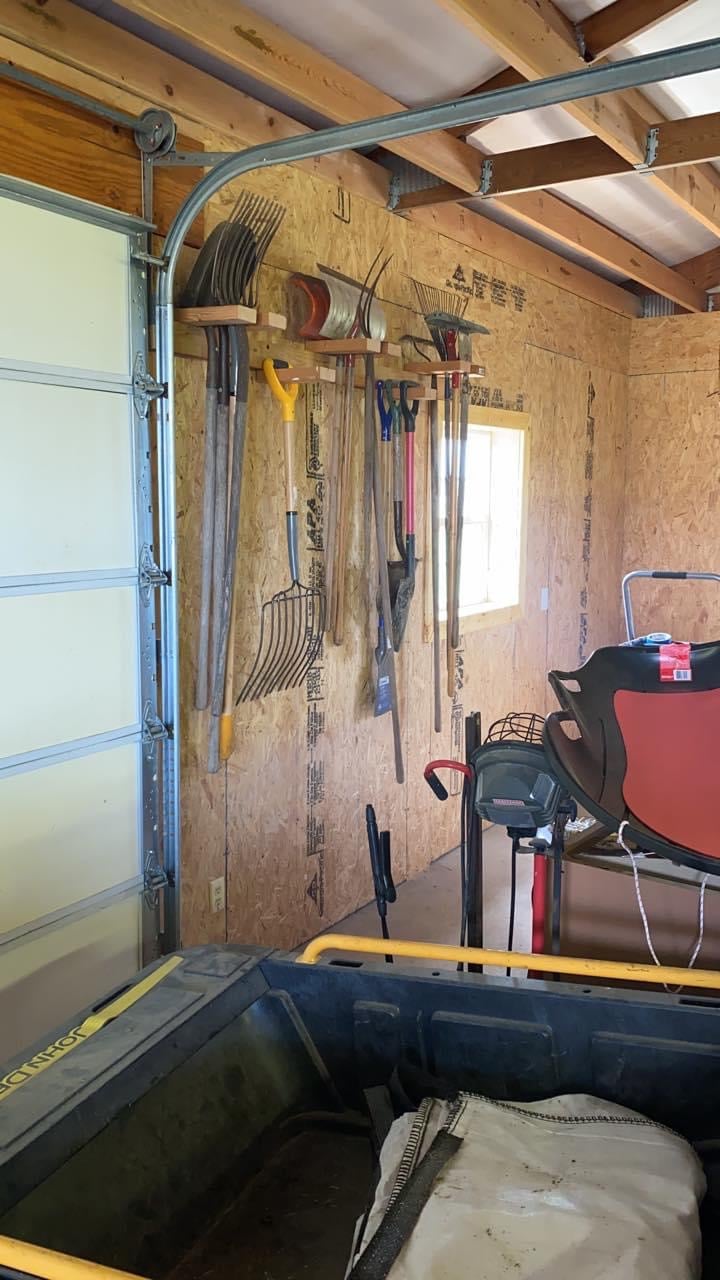
Had all my tools leaning up in the corner of my shed until I saw your post. Thanks
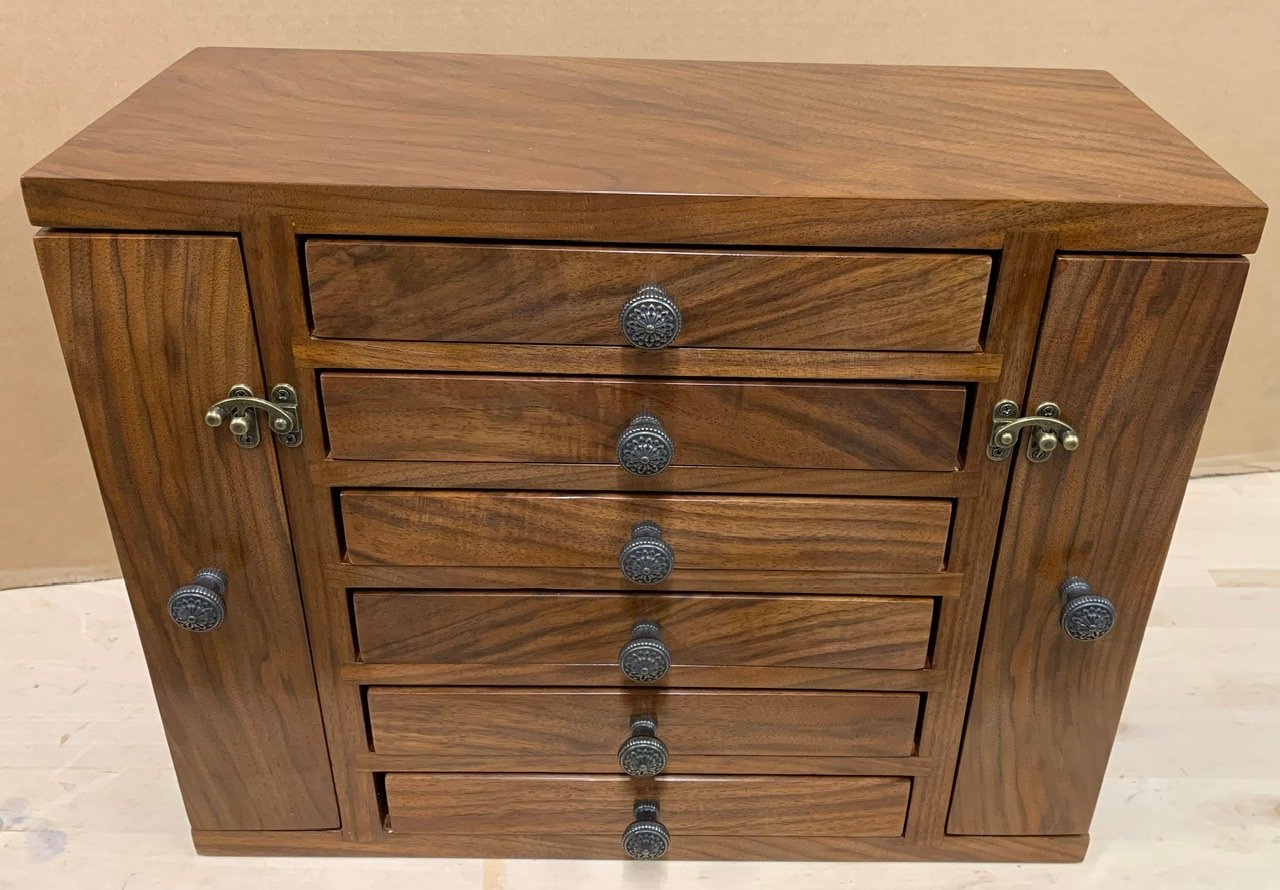
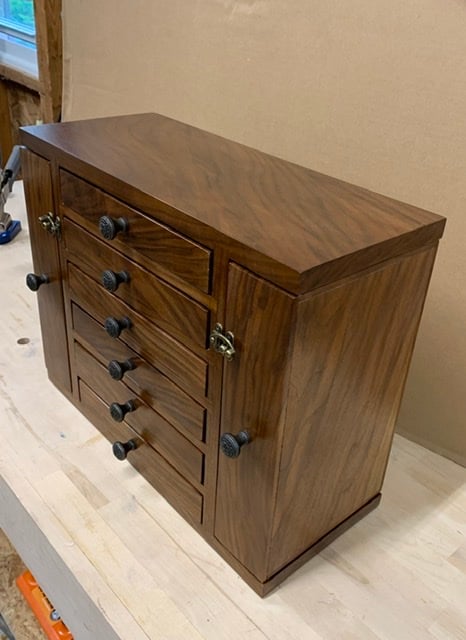
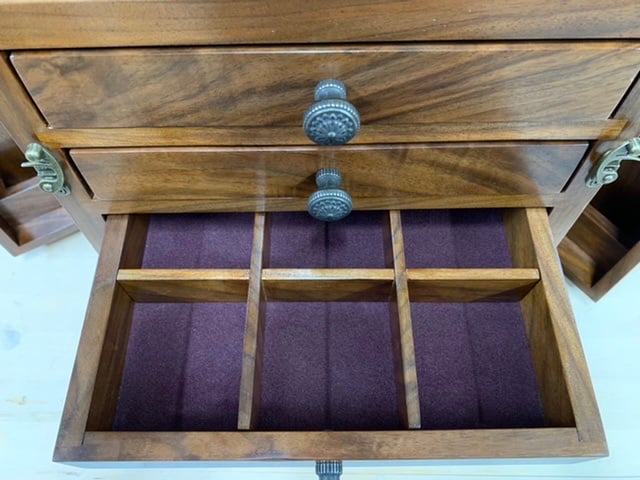
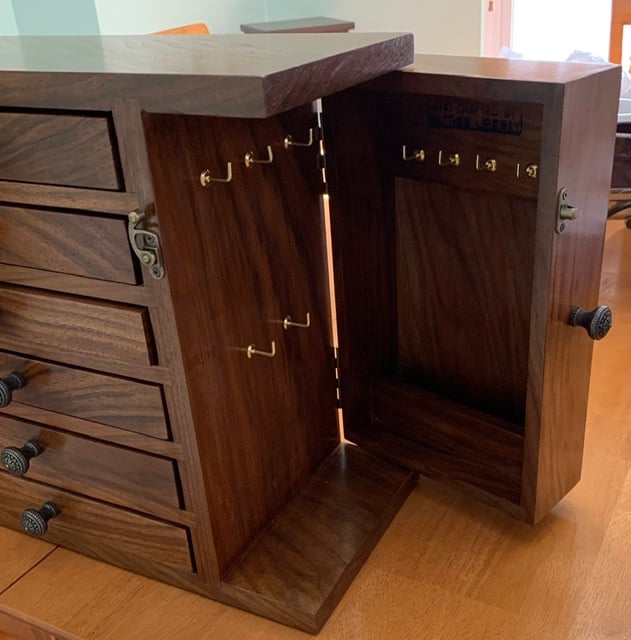
Great plans and a fun build. I made some modifications. My drawers are 1.5” high and 10” long. It allowed for 6 drawers. Overall height is 13.75” and length is 17.5”.
I used rabbits and dados rather than butt joints. There is flocking in the drawers.
I made this using the $10 Cedar Tiered Flower Planter plans. Painted Red White and Blue with stars.
It's a little twist on Ana's Coat organizer. Turned out really useful and did not cost me anything since I ussed scrap wood. I wish I would build have built one for coats as well.
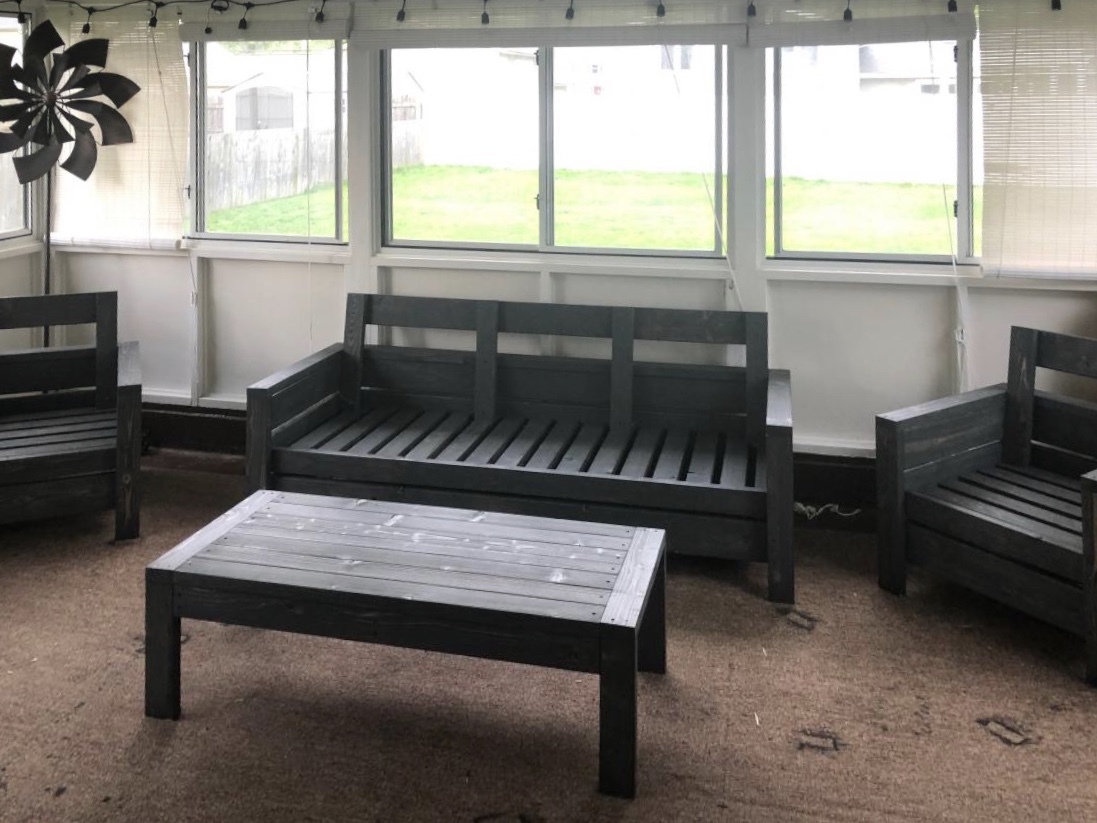
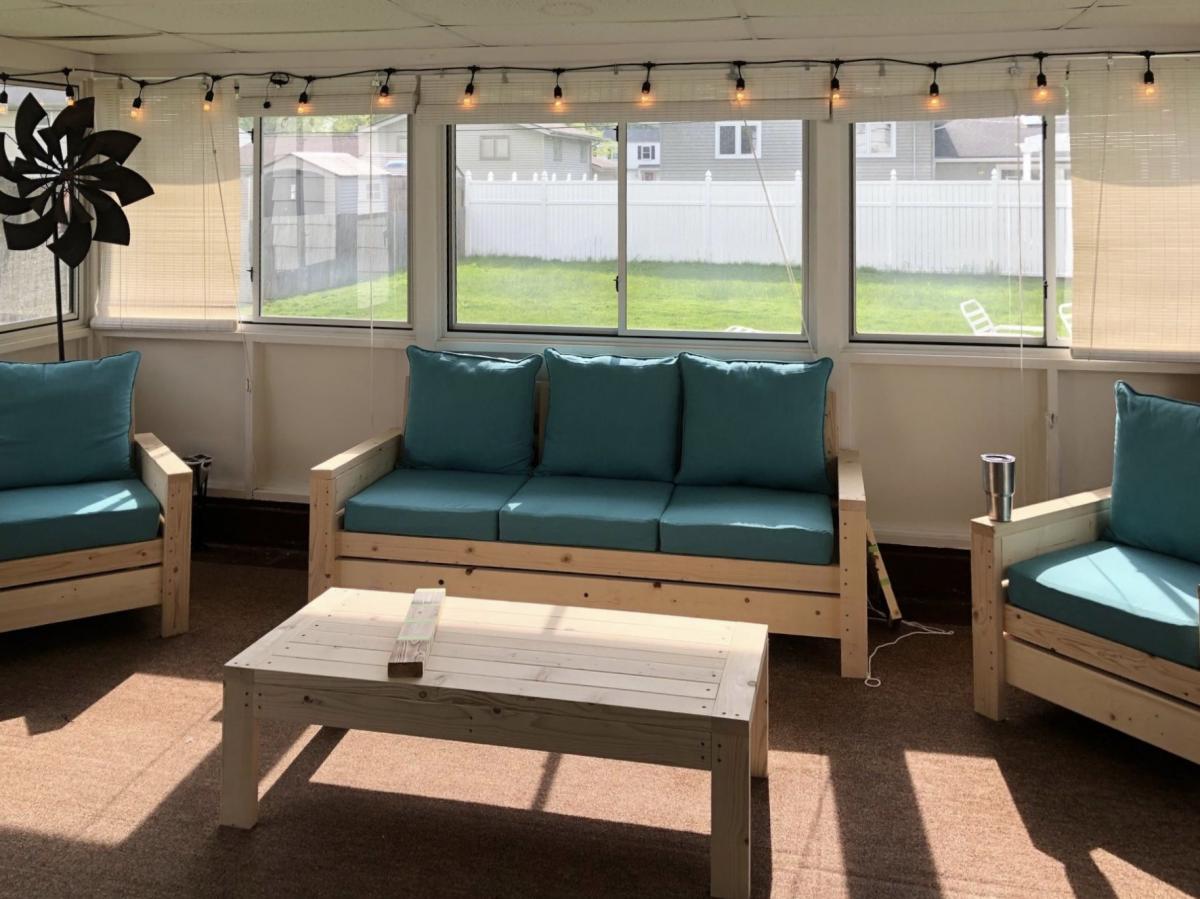
At the start of the COVID situation, I decided to make a furniture set for my three seasons room. I figured, i had all the tools, so why not. We used the Modern Chair and Modern Love Seat ( but extended the love seat for 3 seats). I added a middle support on the couch to accommodate the longer length. I also added the backs, because we found out that the cushions we ordered liked to fall off the back. I just made a 10 degree cut on 2x4's and added a 2x6 piece for the top of the backs. I also ripped a 2x4 down to make the table top close to seamless ( I did not properly join the 2x4's) It was a great project, my wife and i enjoy doing these projects together. We cant put a children's play set together, but we can create things from scratch.
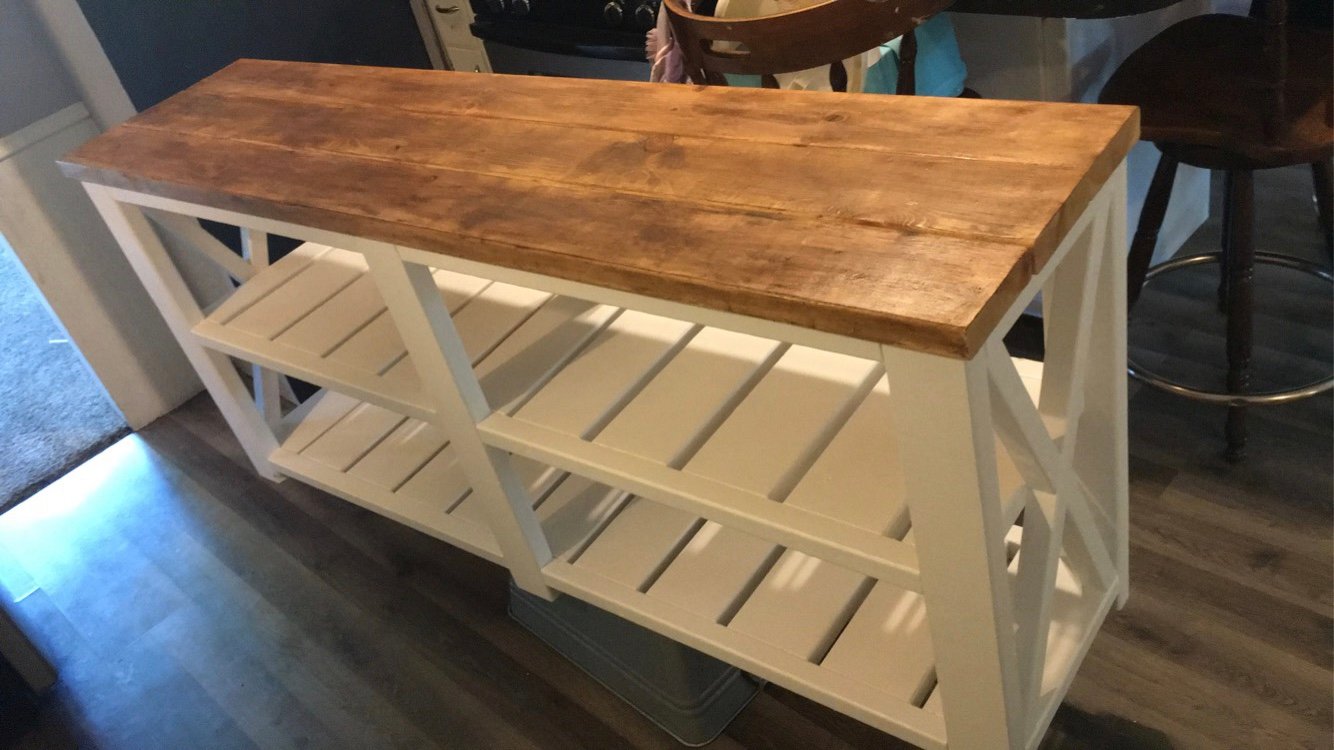
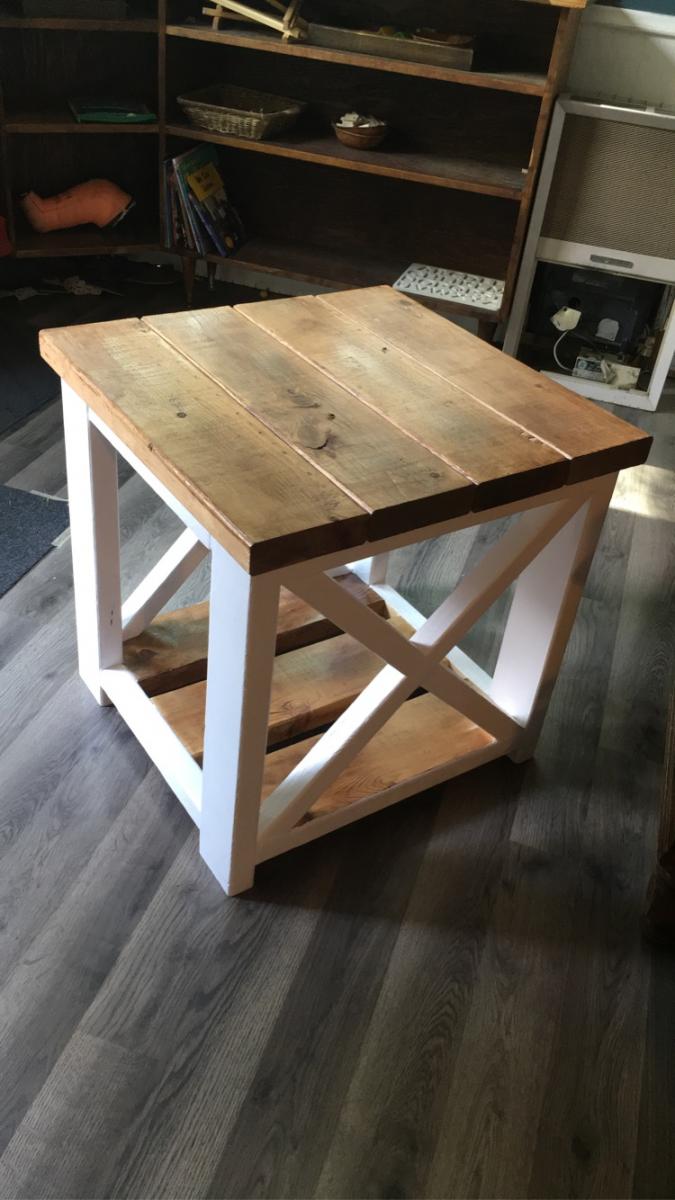
Had fun with this one
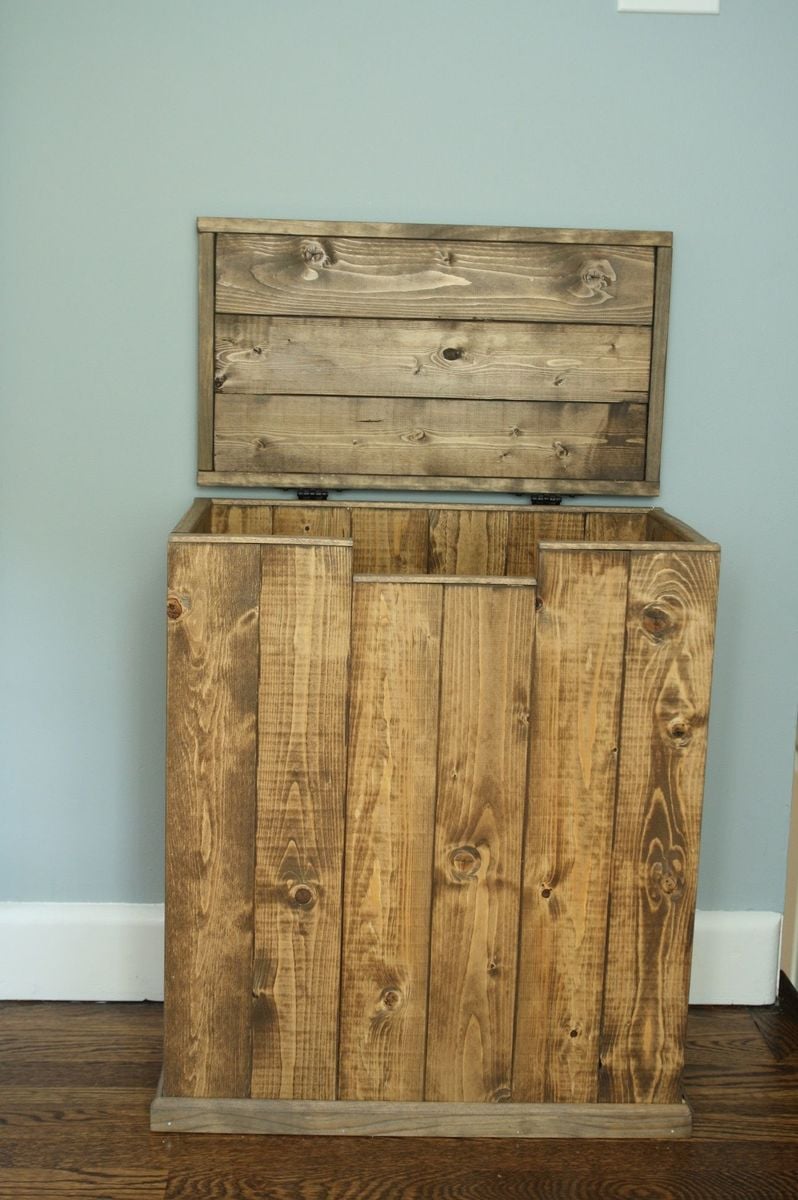
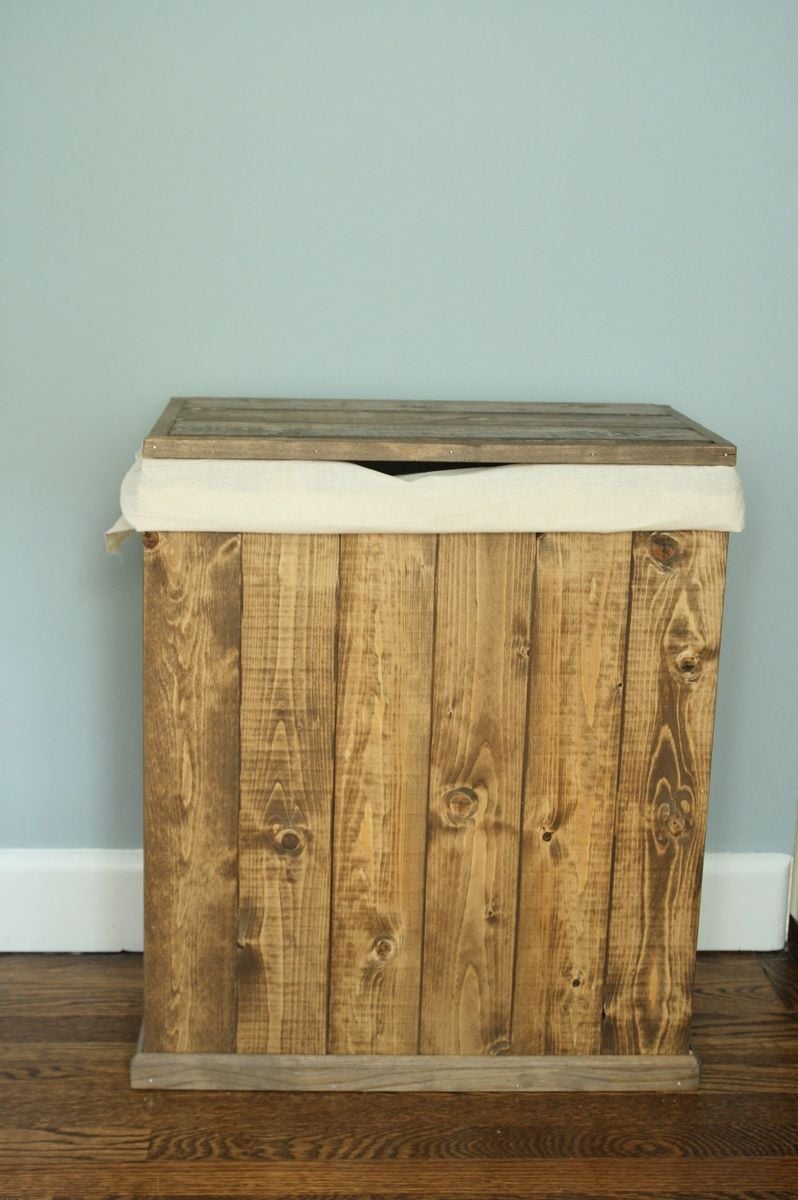
My family is expanding, which means more laundry! (I am 39 weeks pregnant now) So I decided to build a big enough hamper for us (two adults, one toddler who constantly dirties his clothes). For finish, I tried to mix two stains "weathered oak" and "dark walnut" and I think it came out really nice! I must admit I love my new hamper!
Tue, 07/16/2013 - 12:54
I would love to replicate!! It is beautiful :)
Wed, 04/01/2015 - 05:00
I liked this design of hamper you made. After looking at your photo and doing some figuring I started working on my own yesterday. So far I like it, although I think mine maybe taller. Again I really like your idea here.