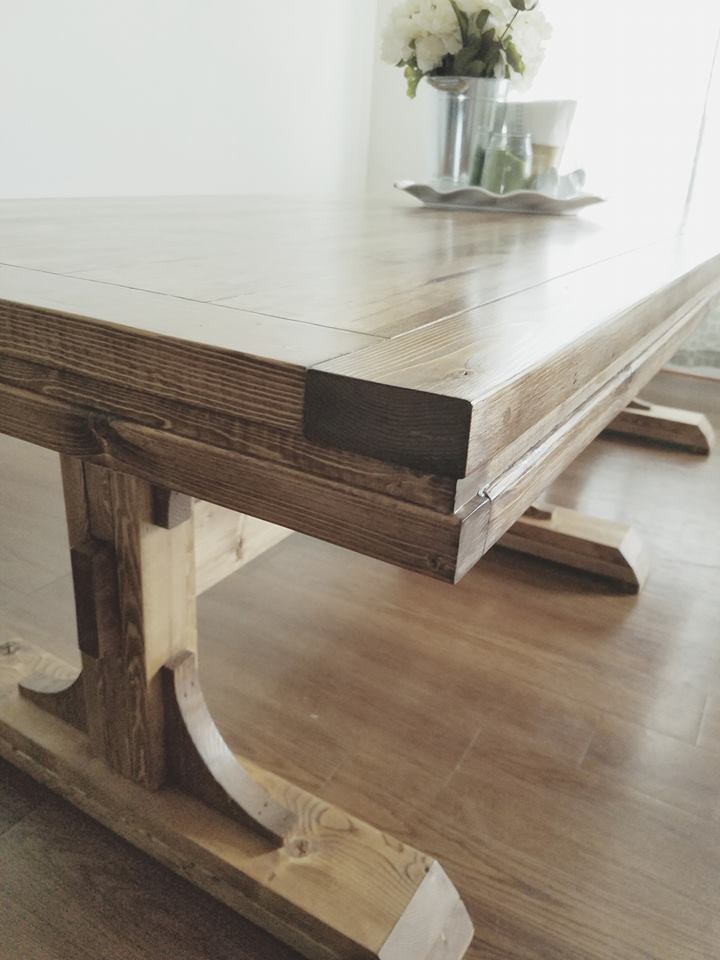
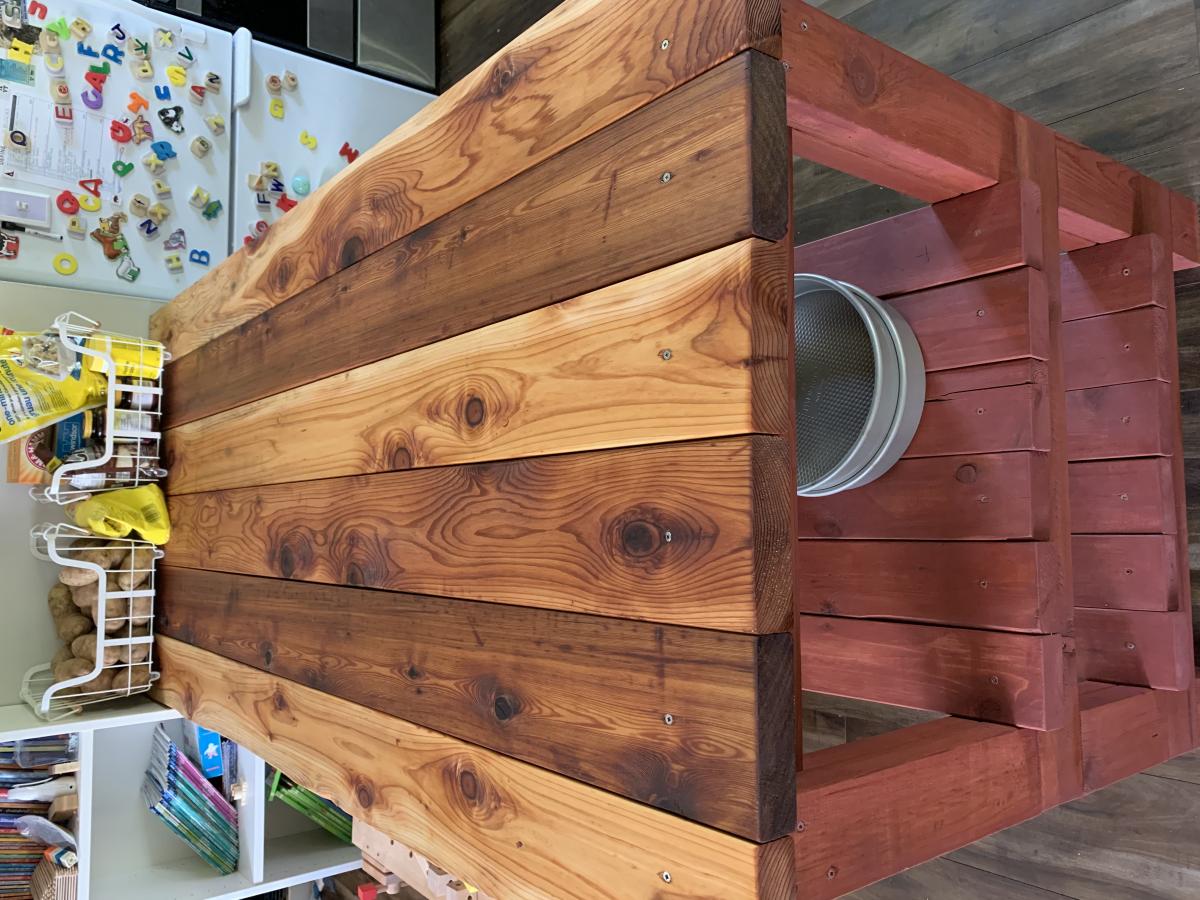
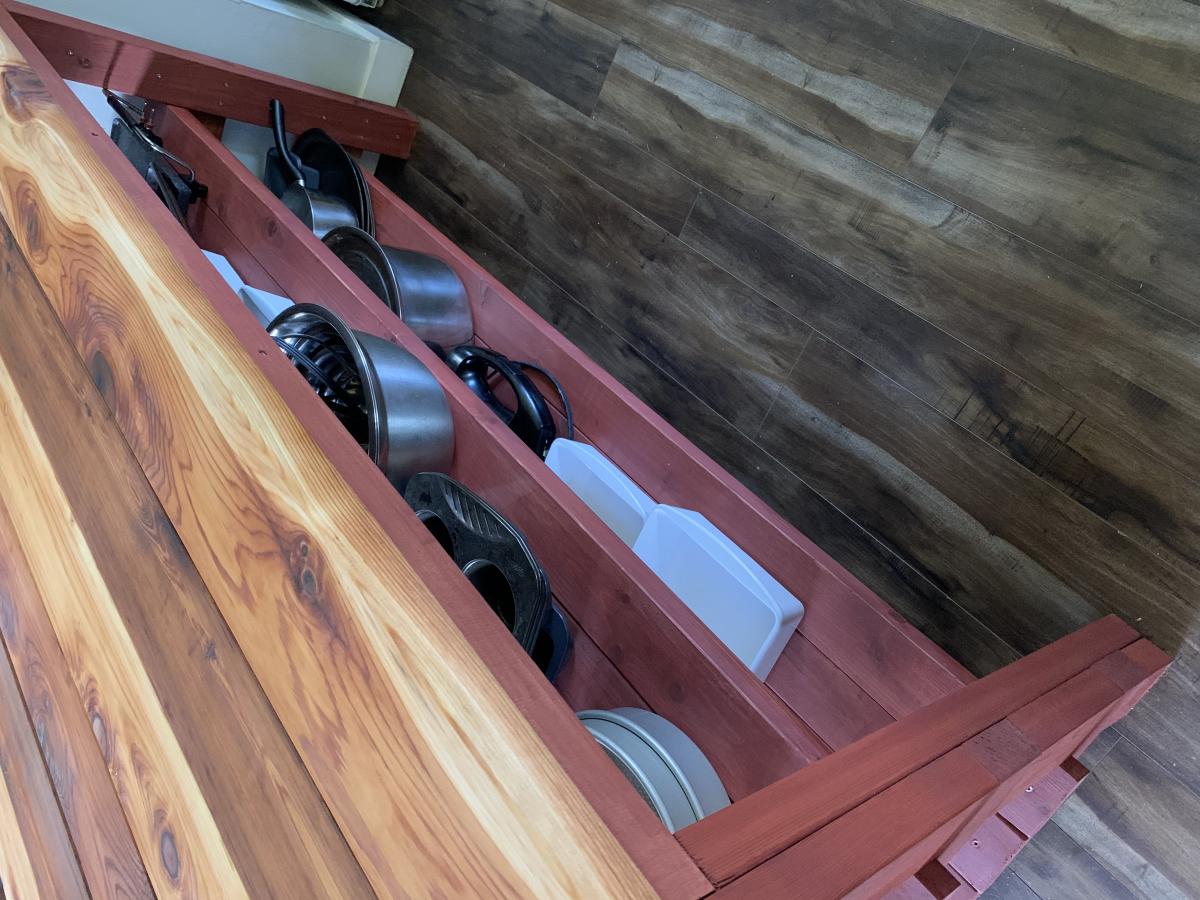
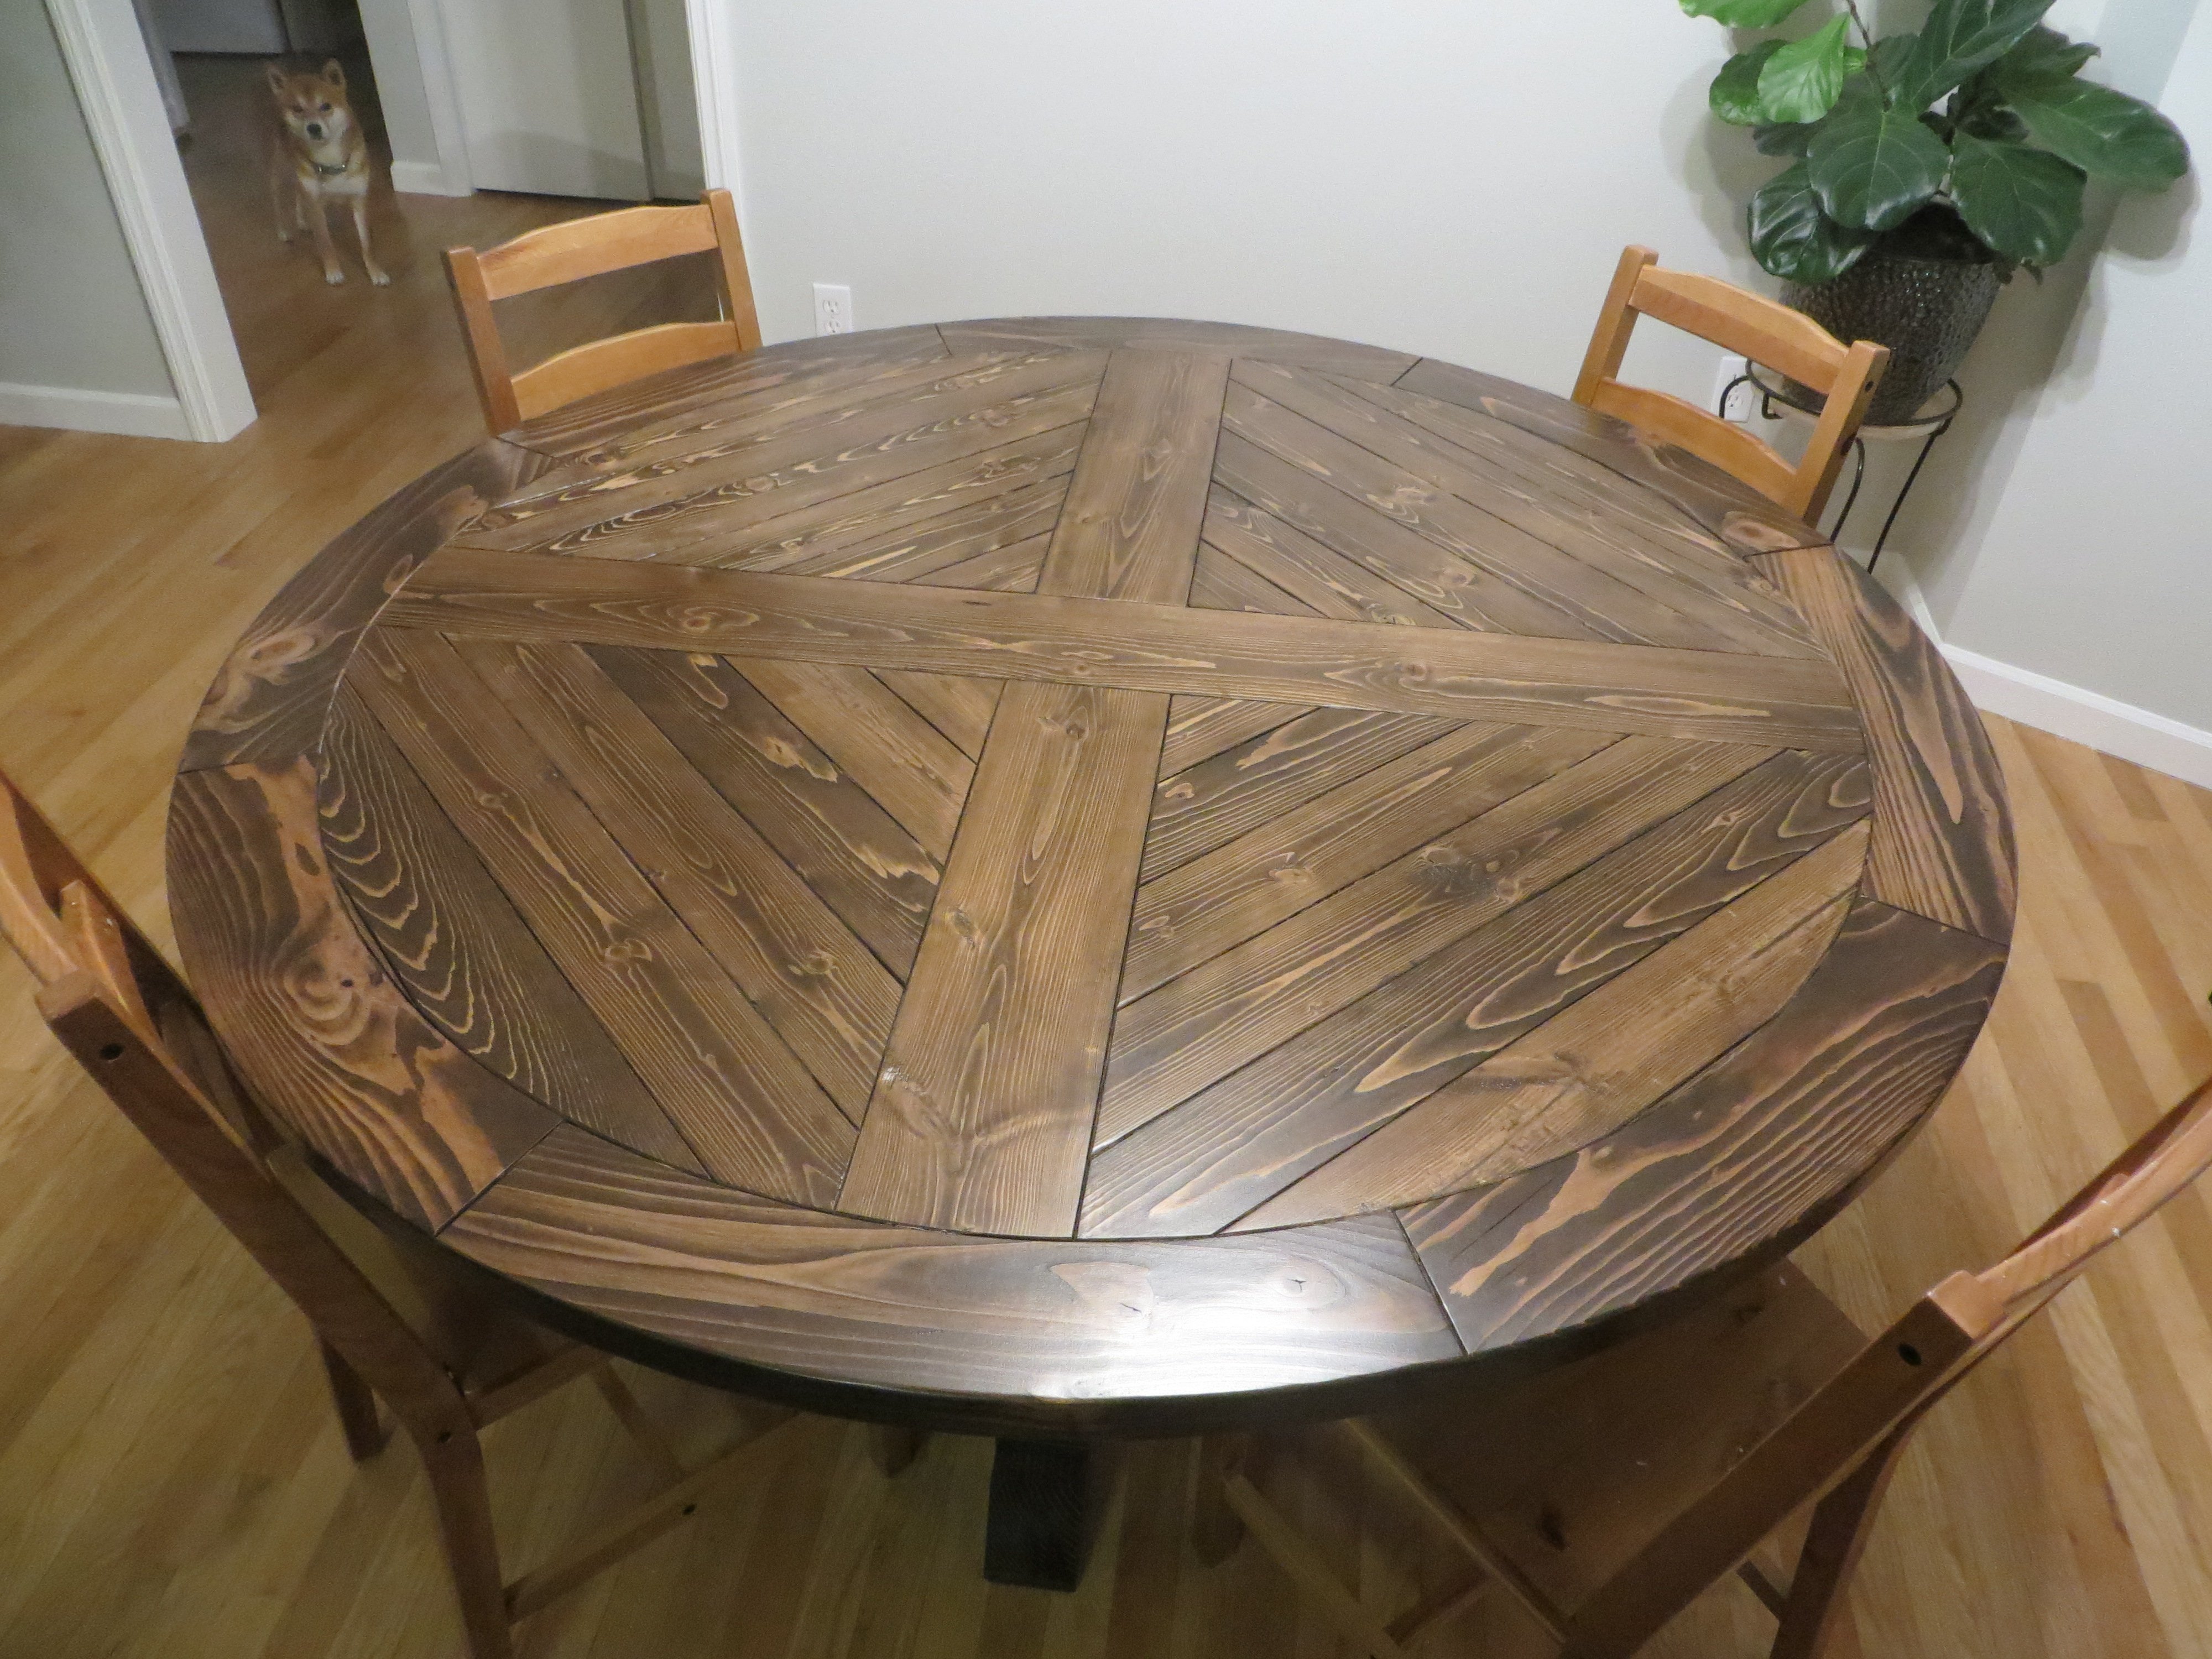
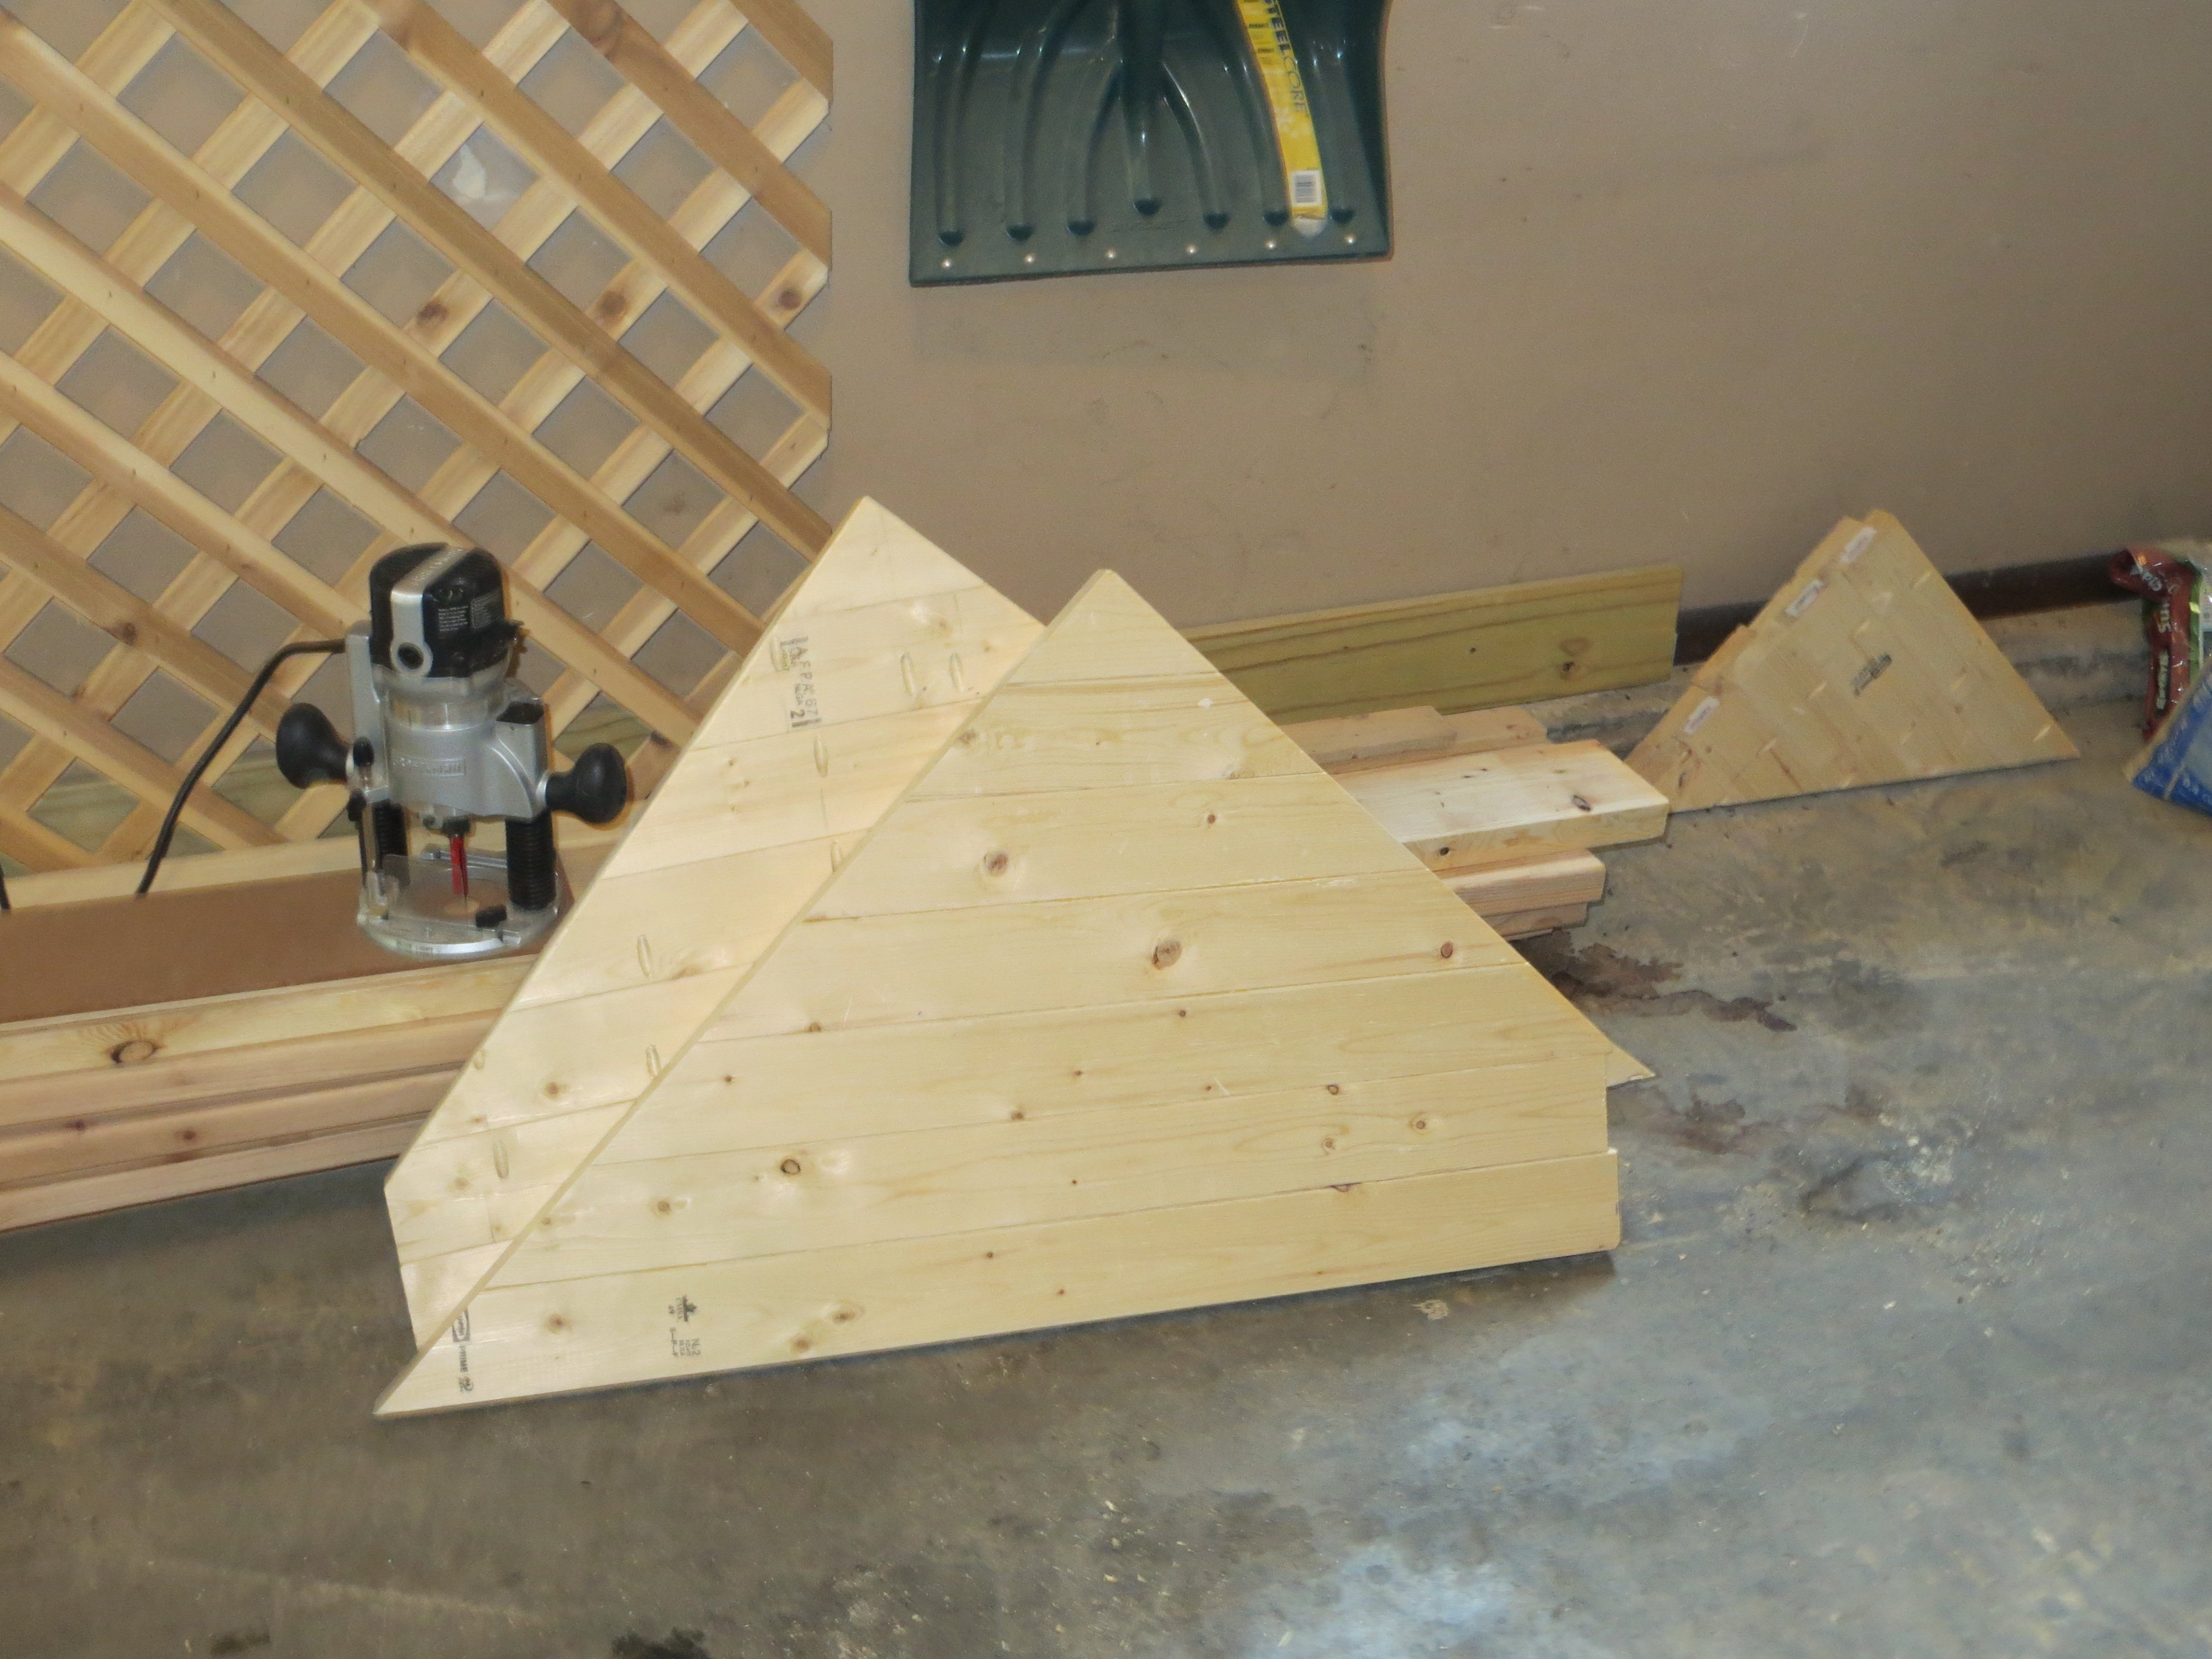
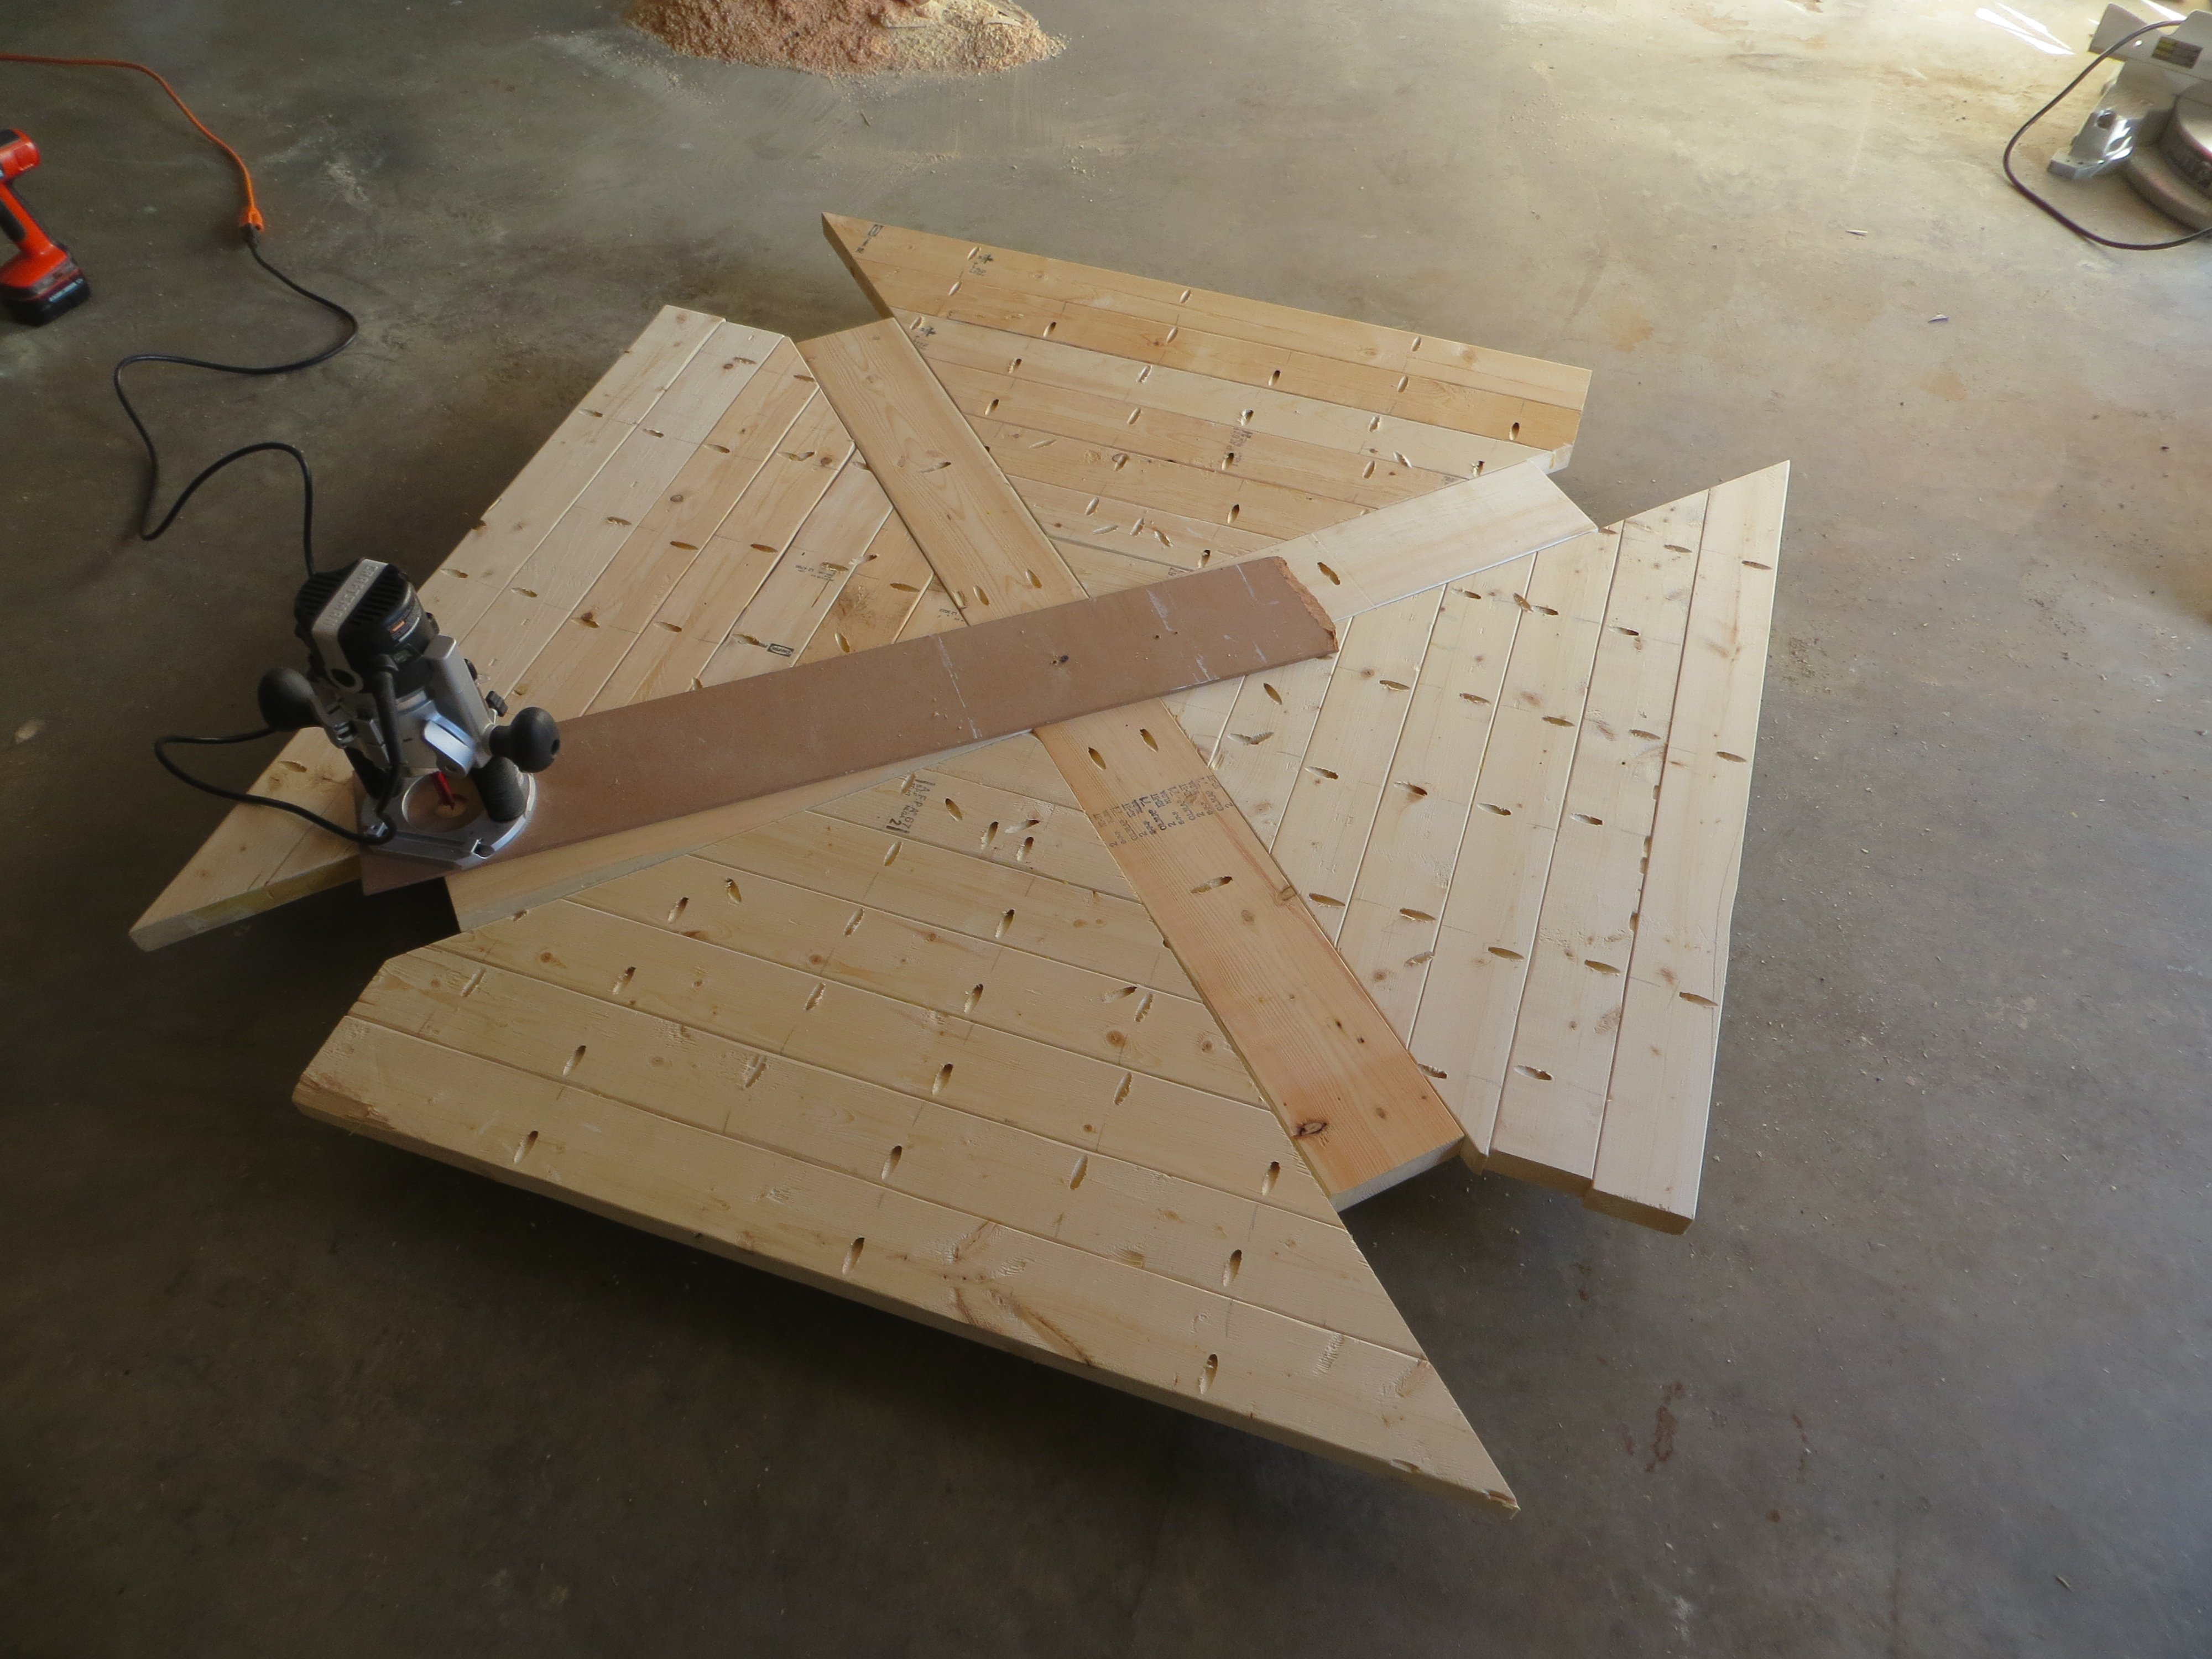
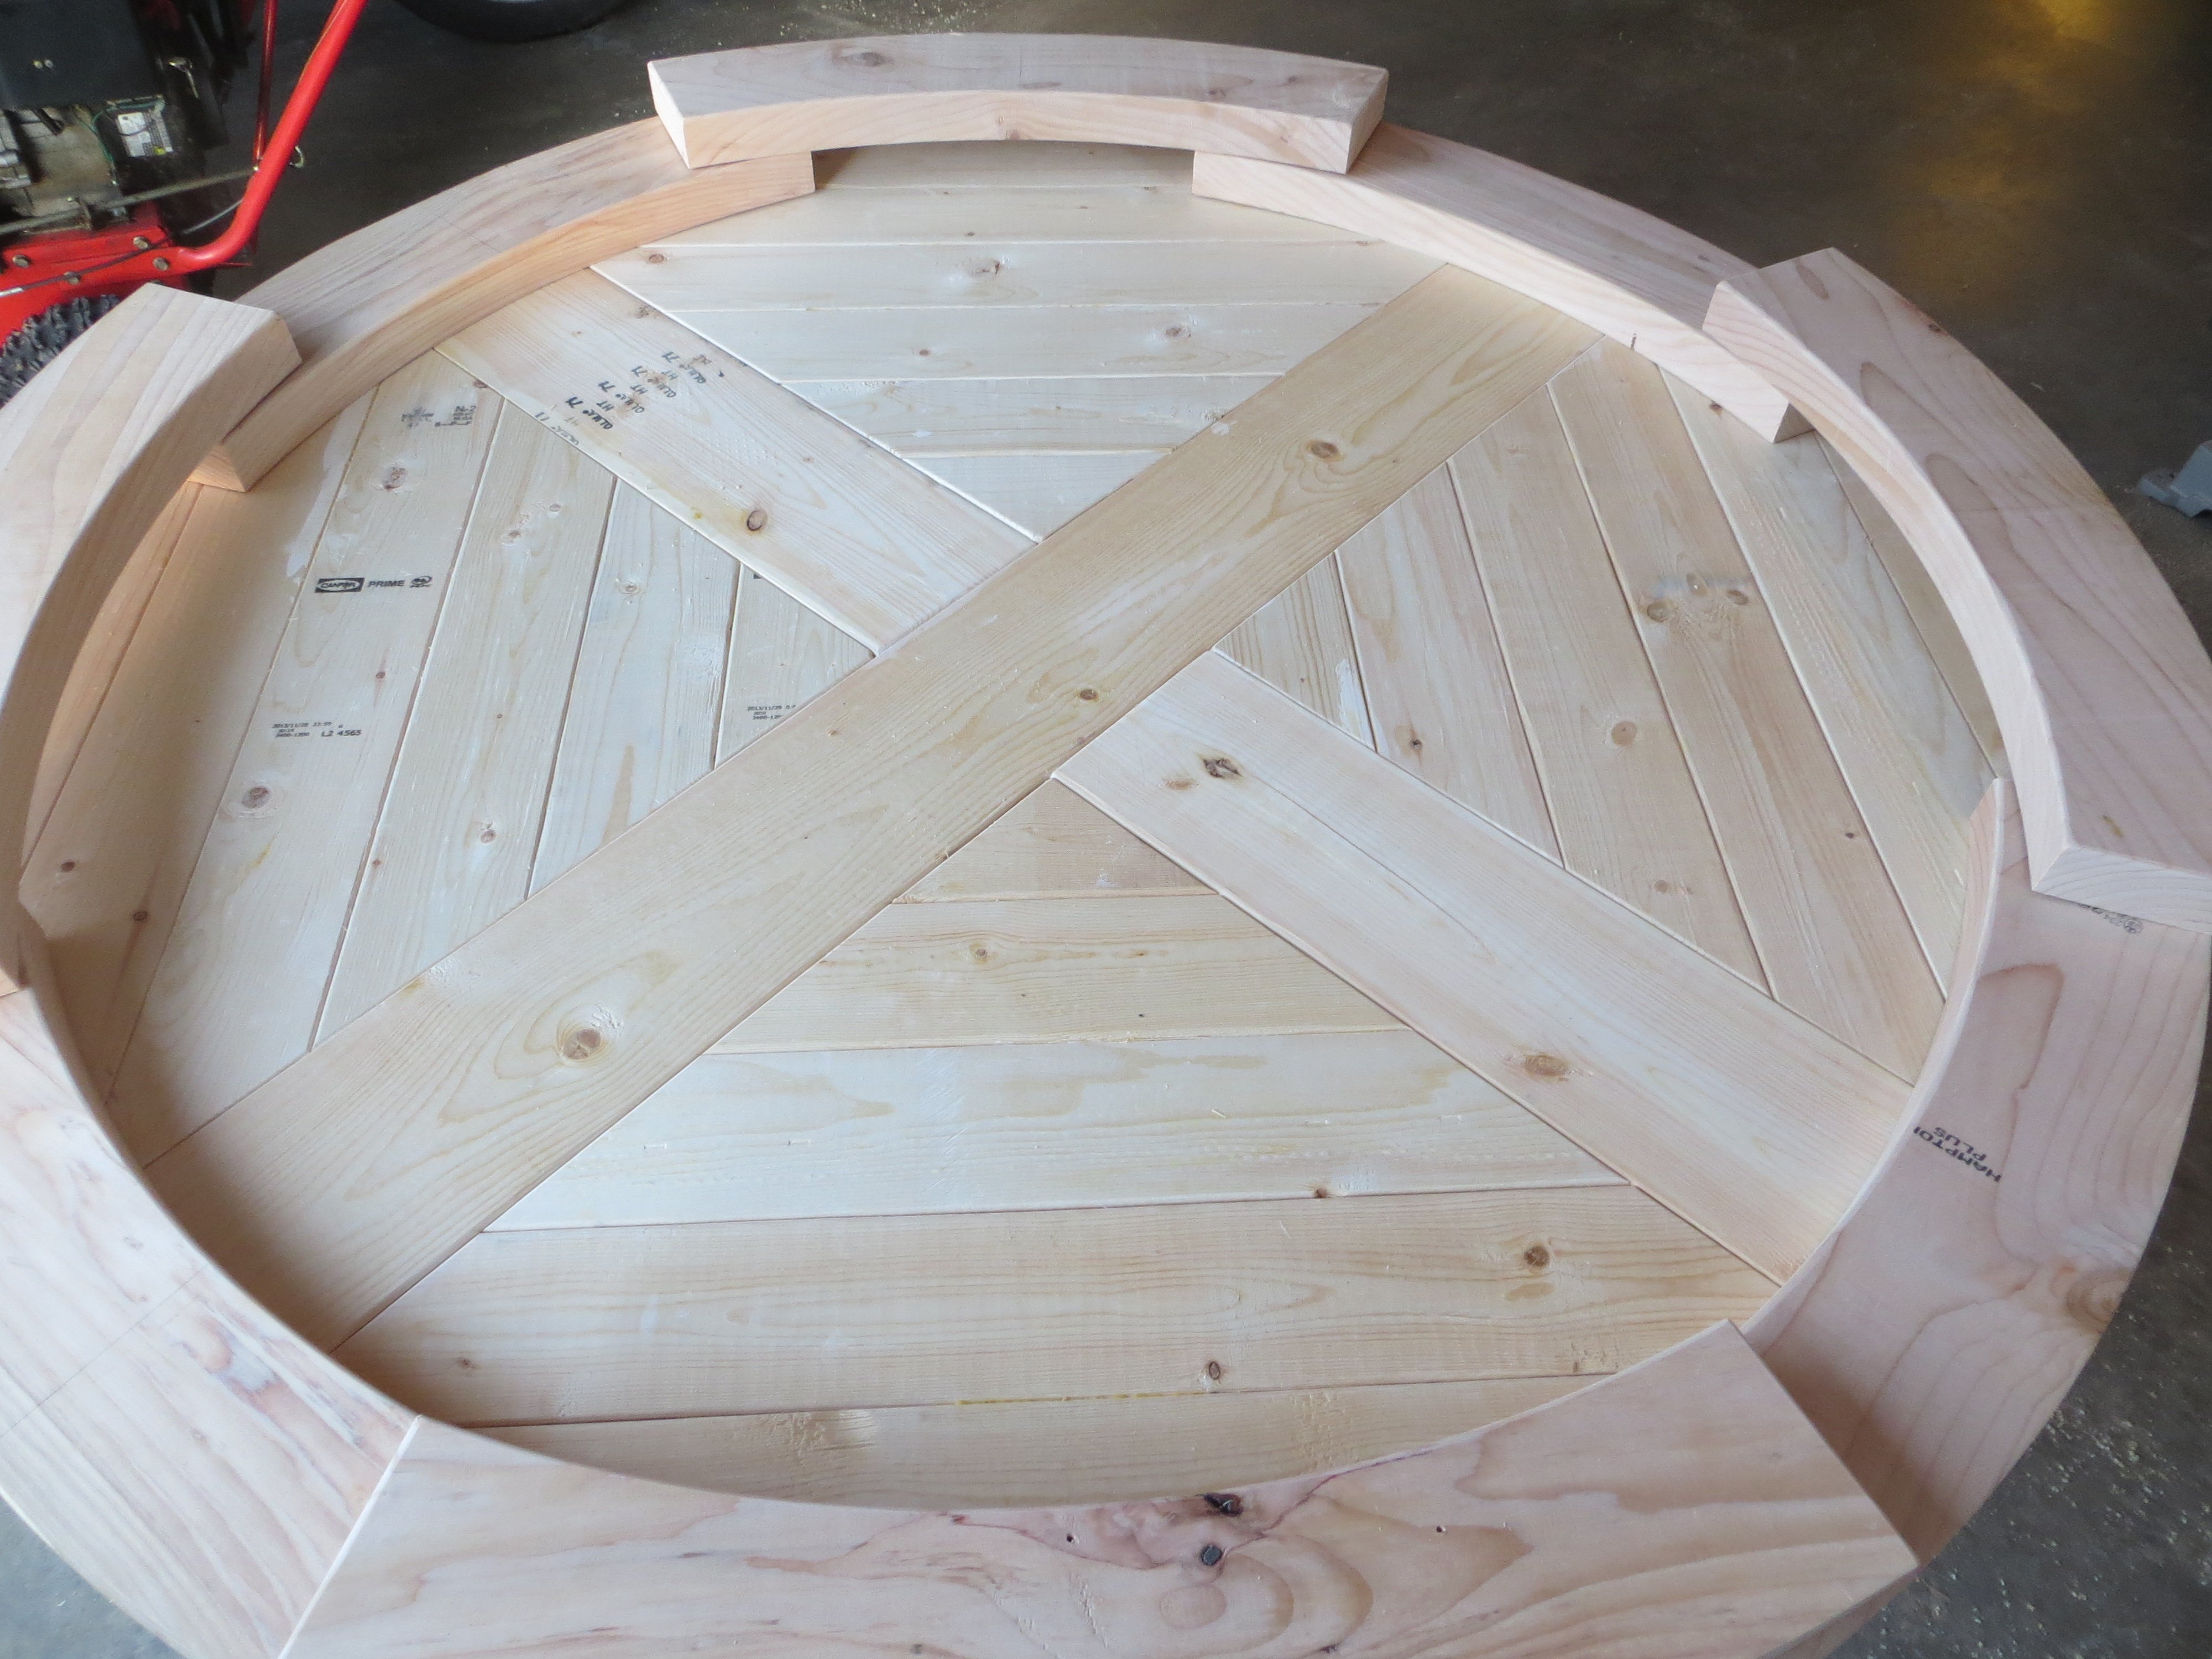
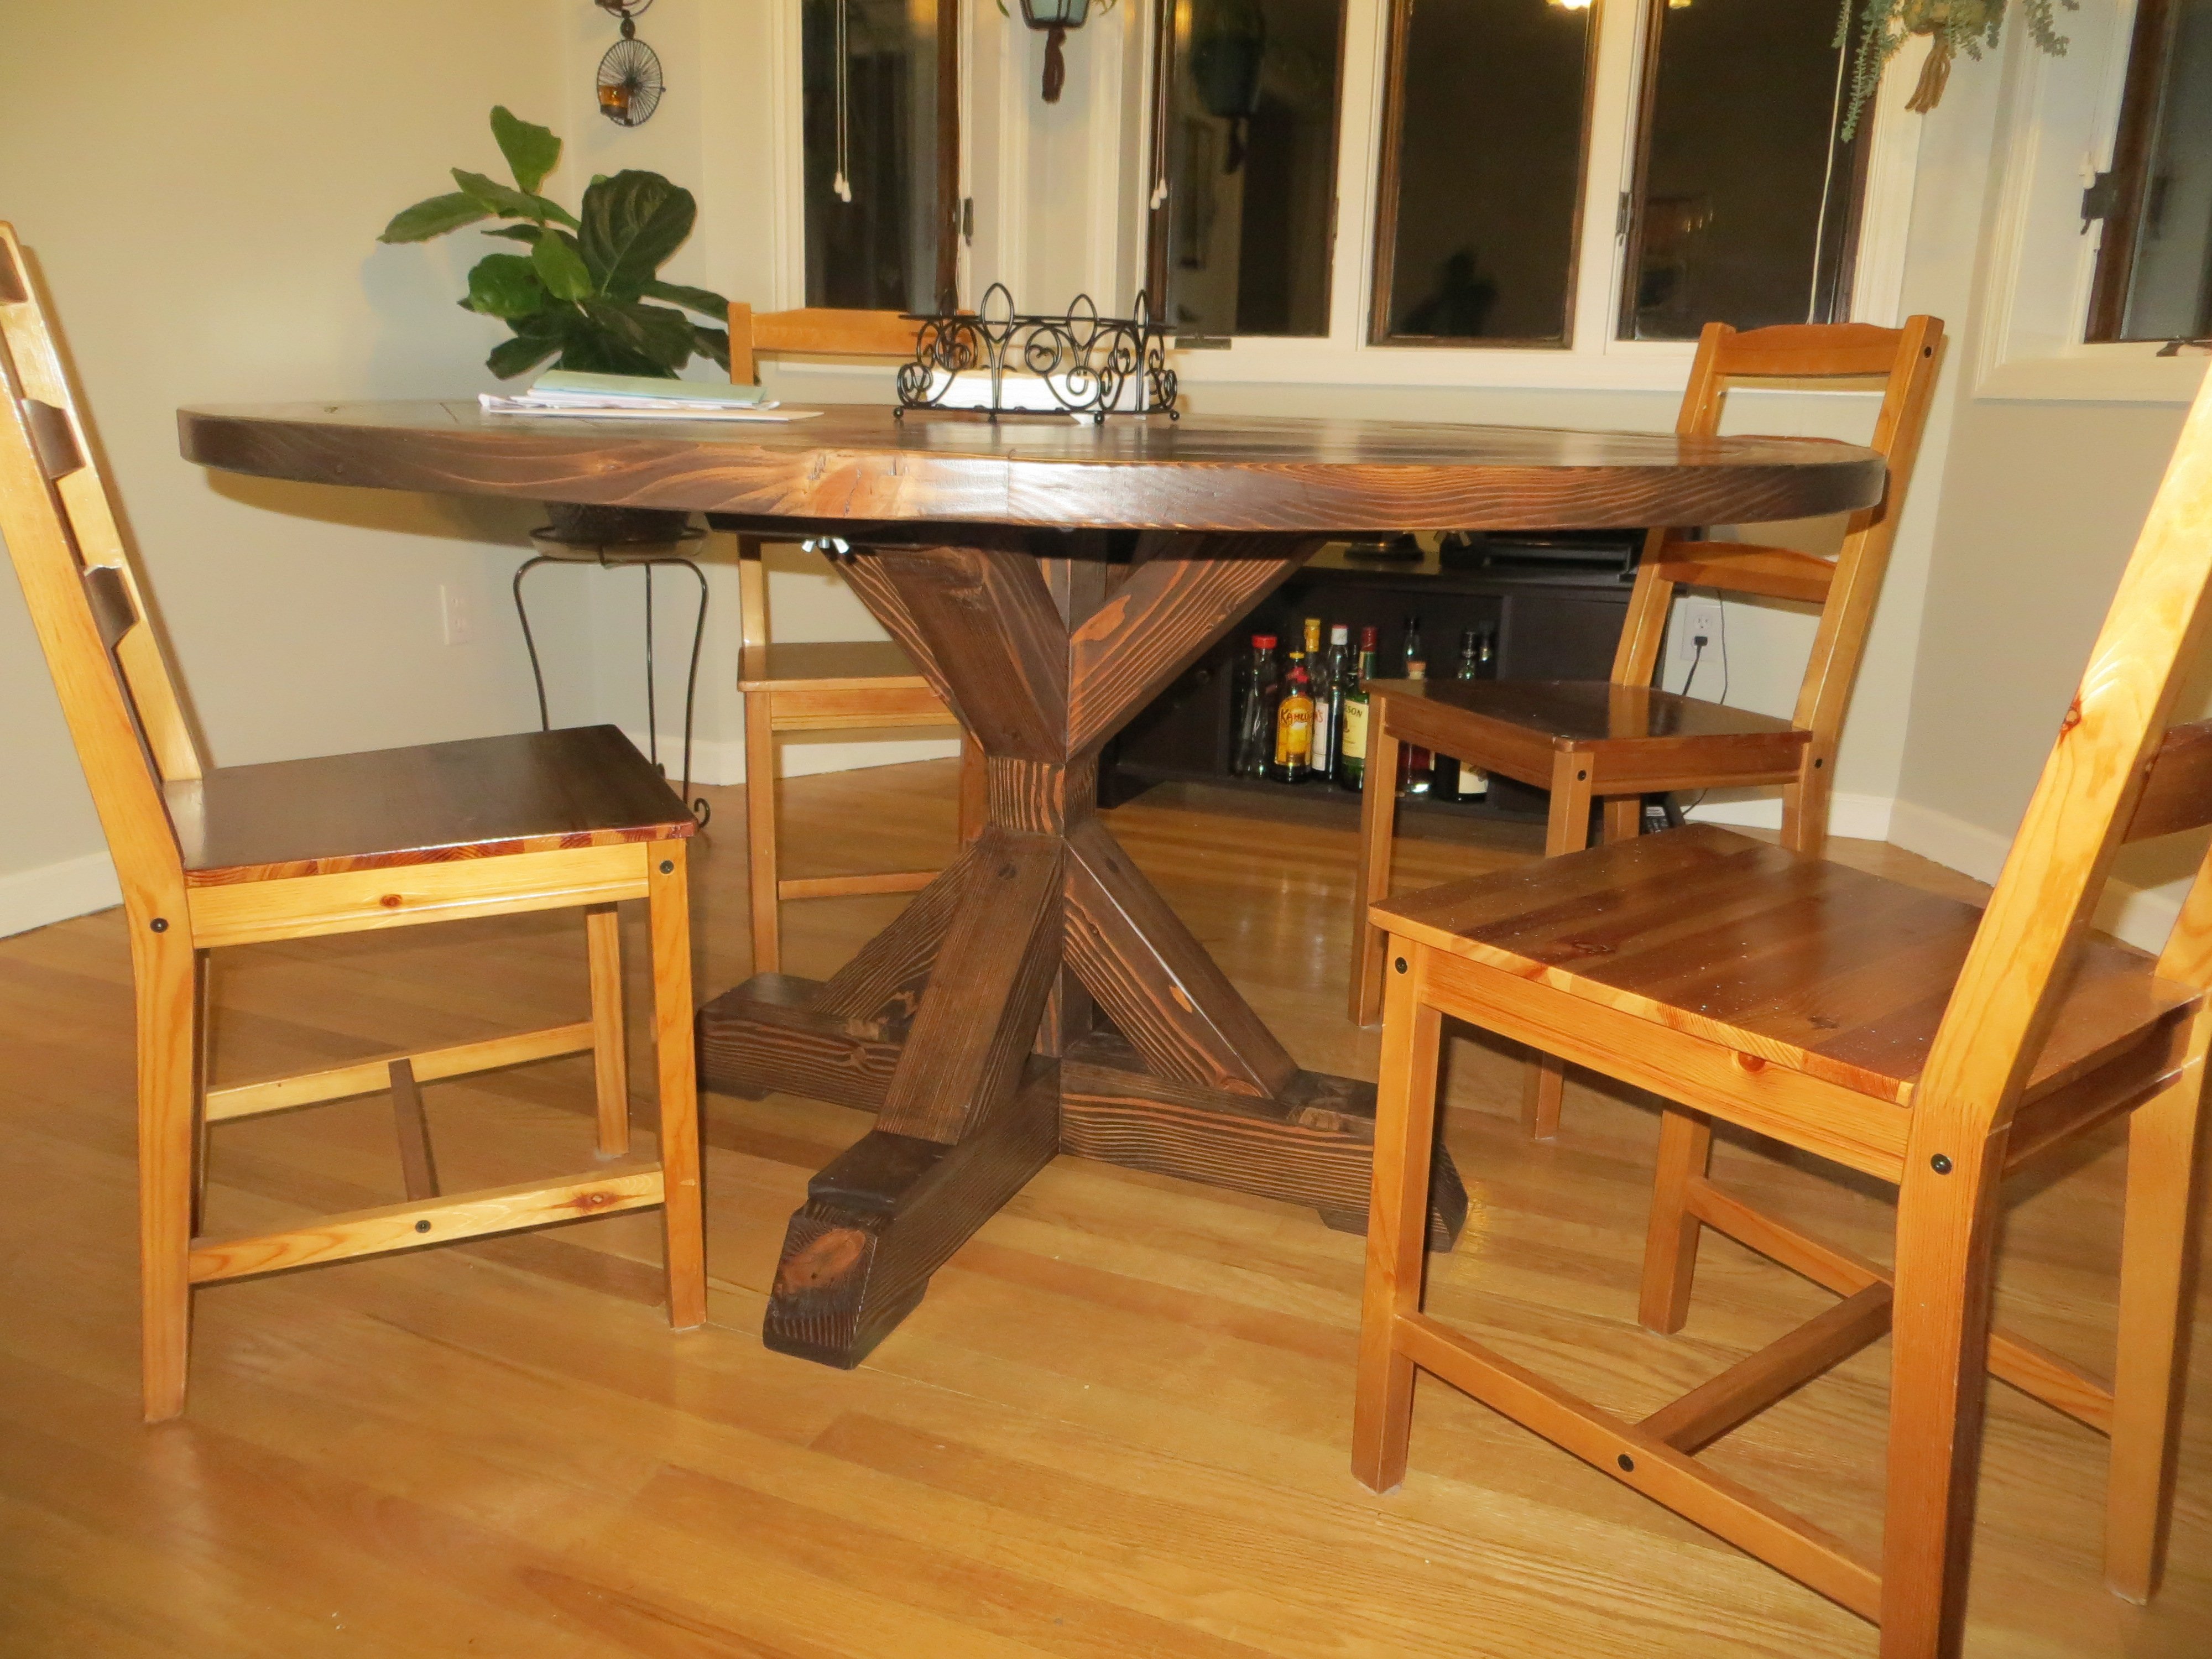
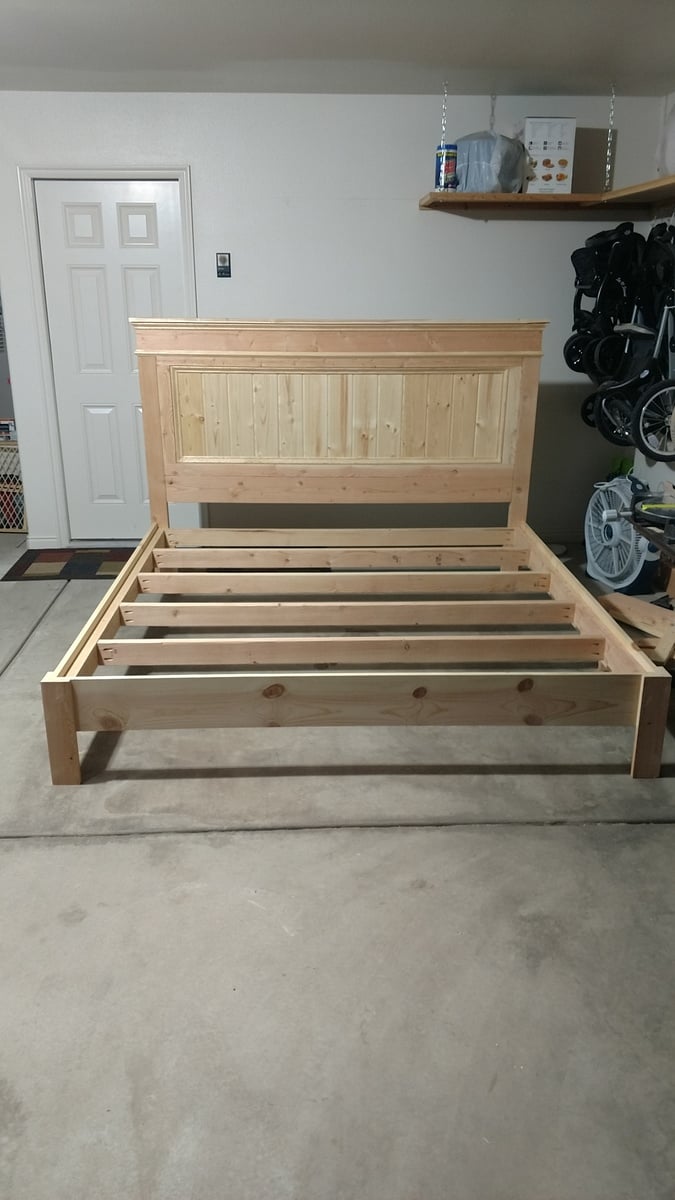
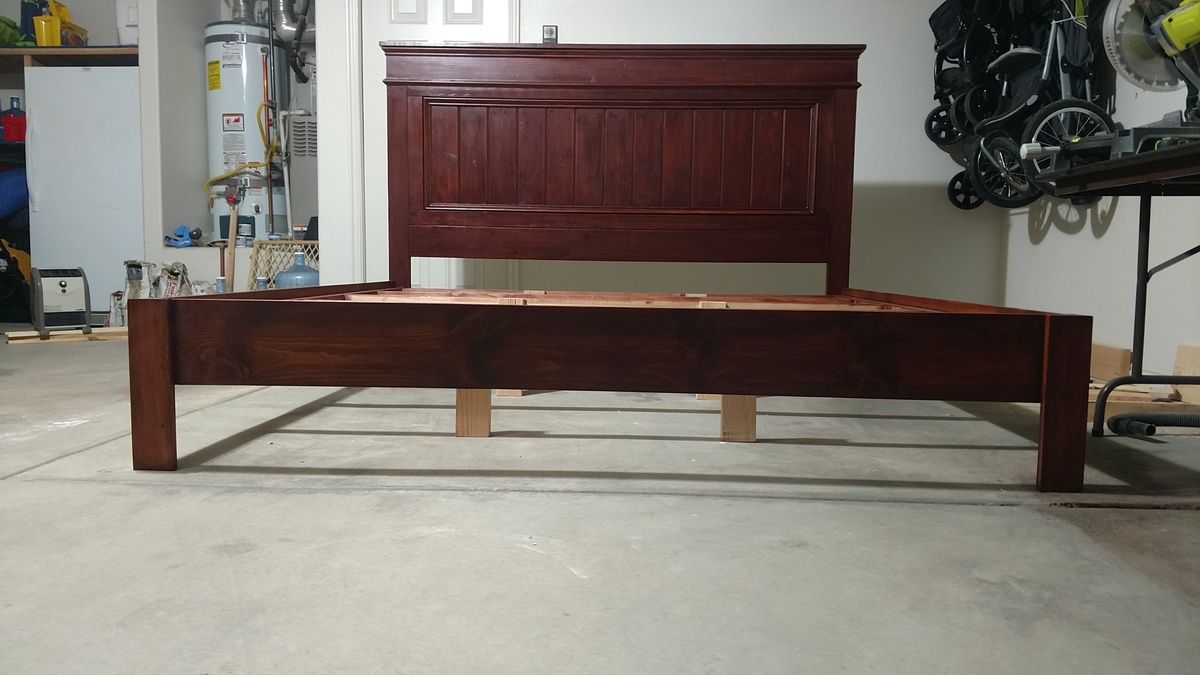
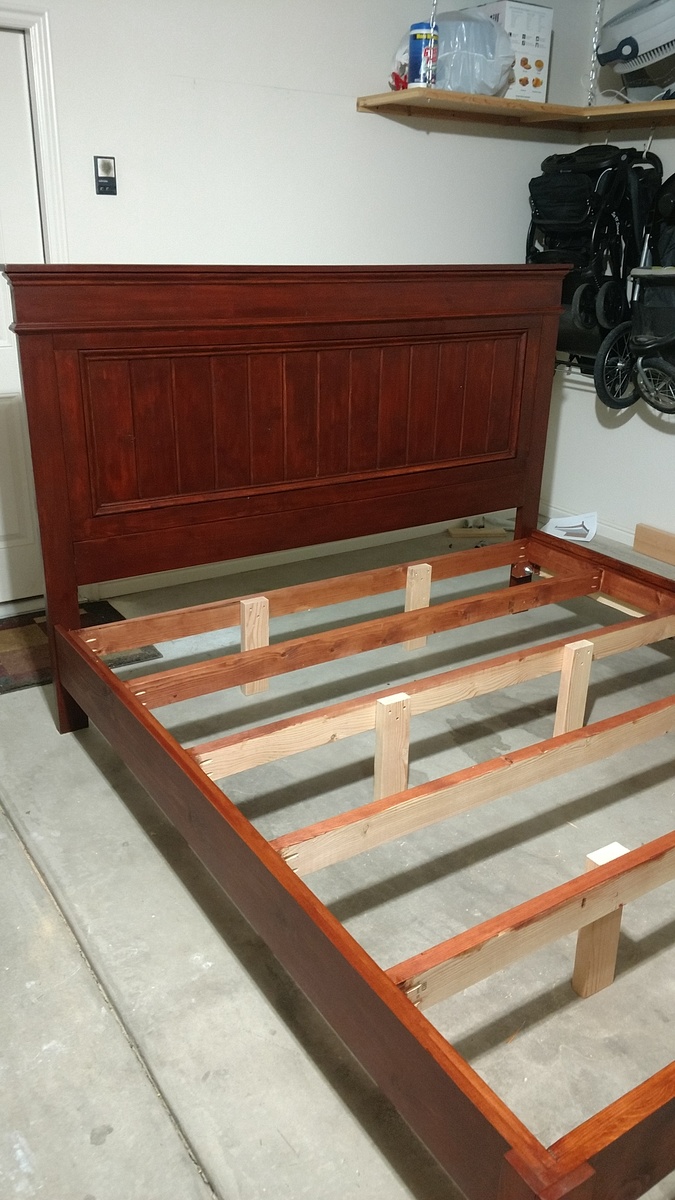
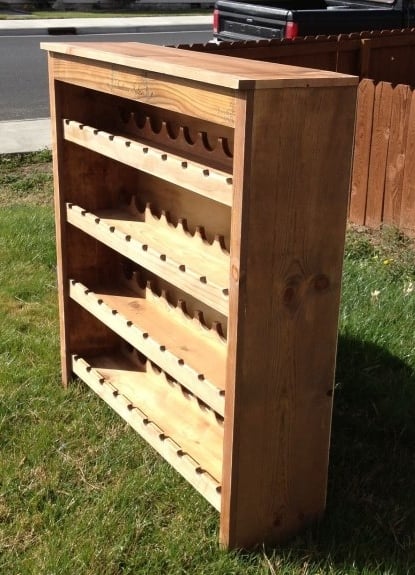
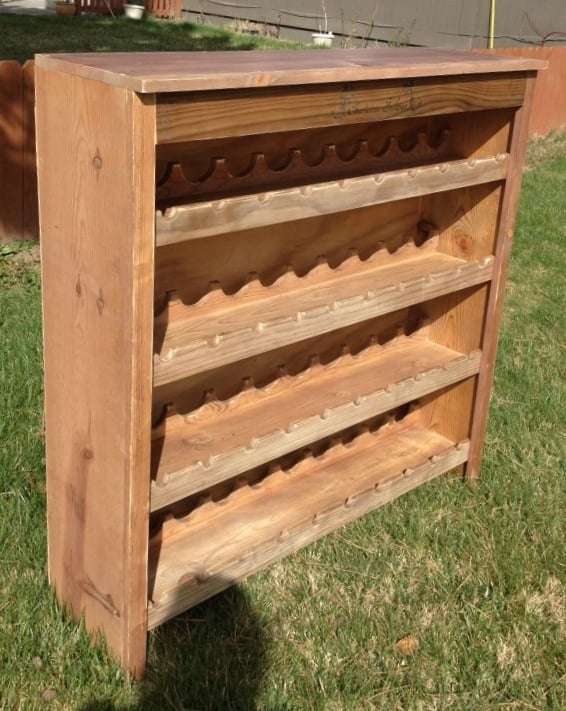
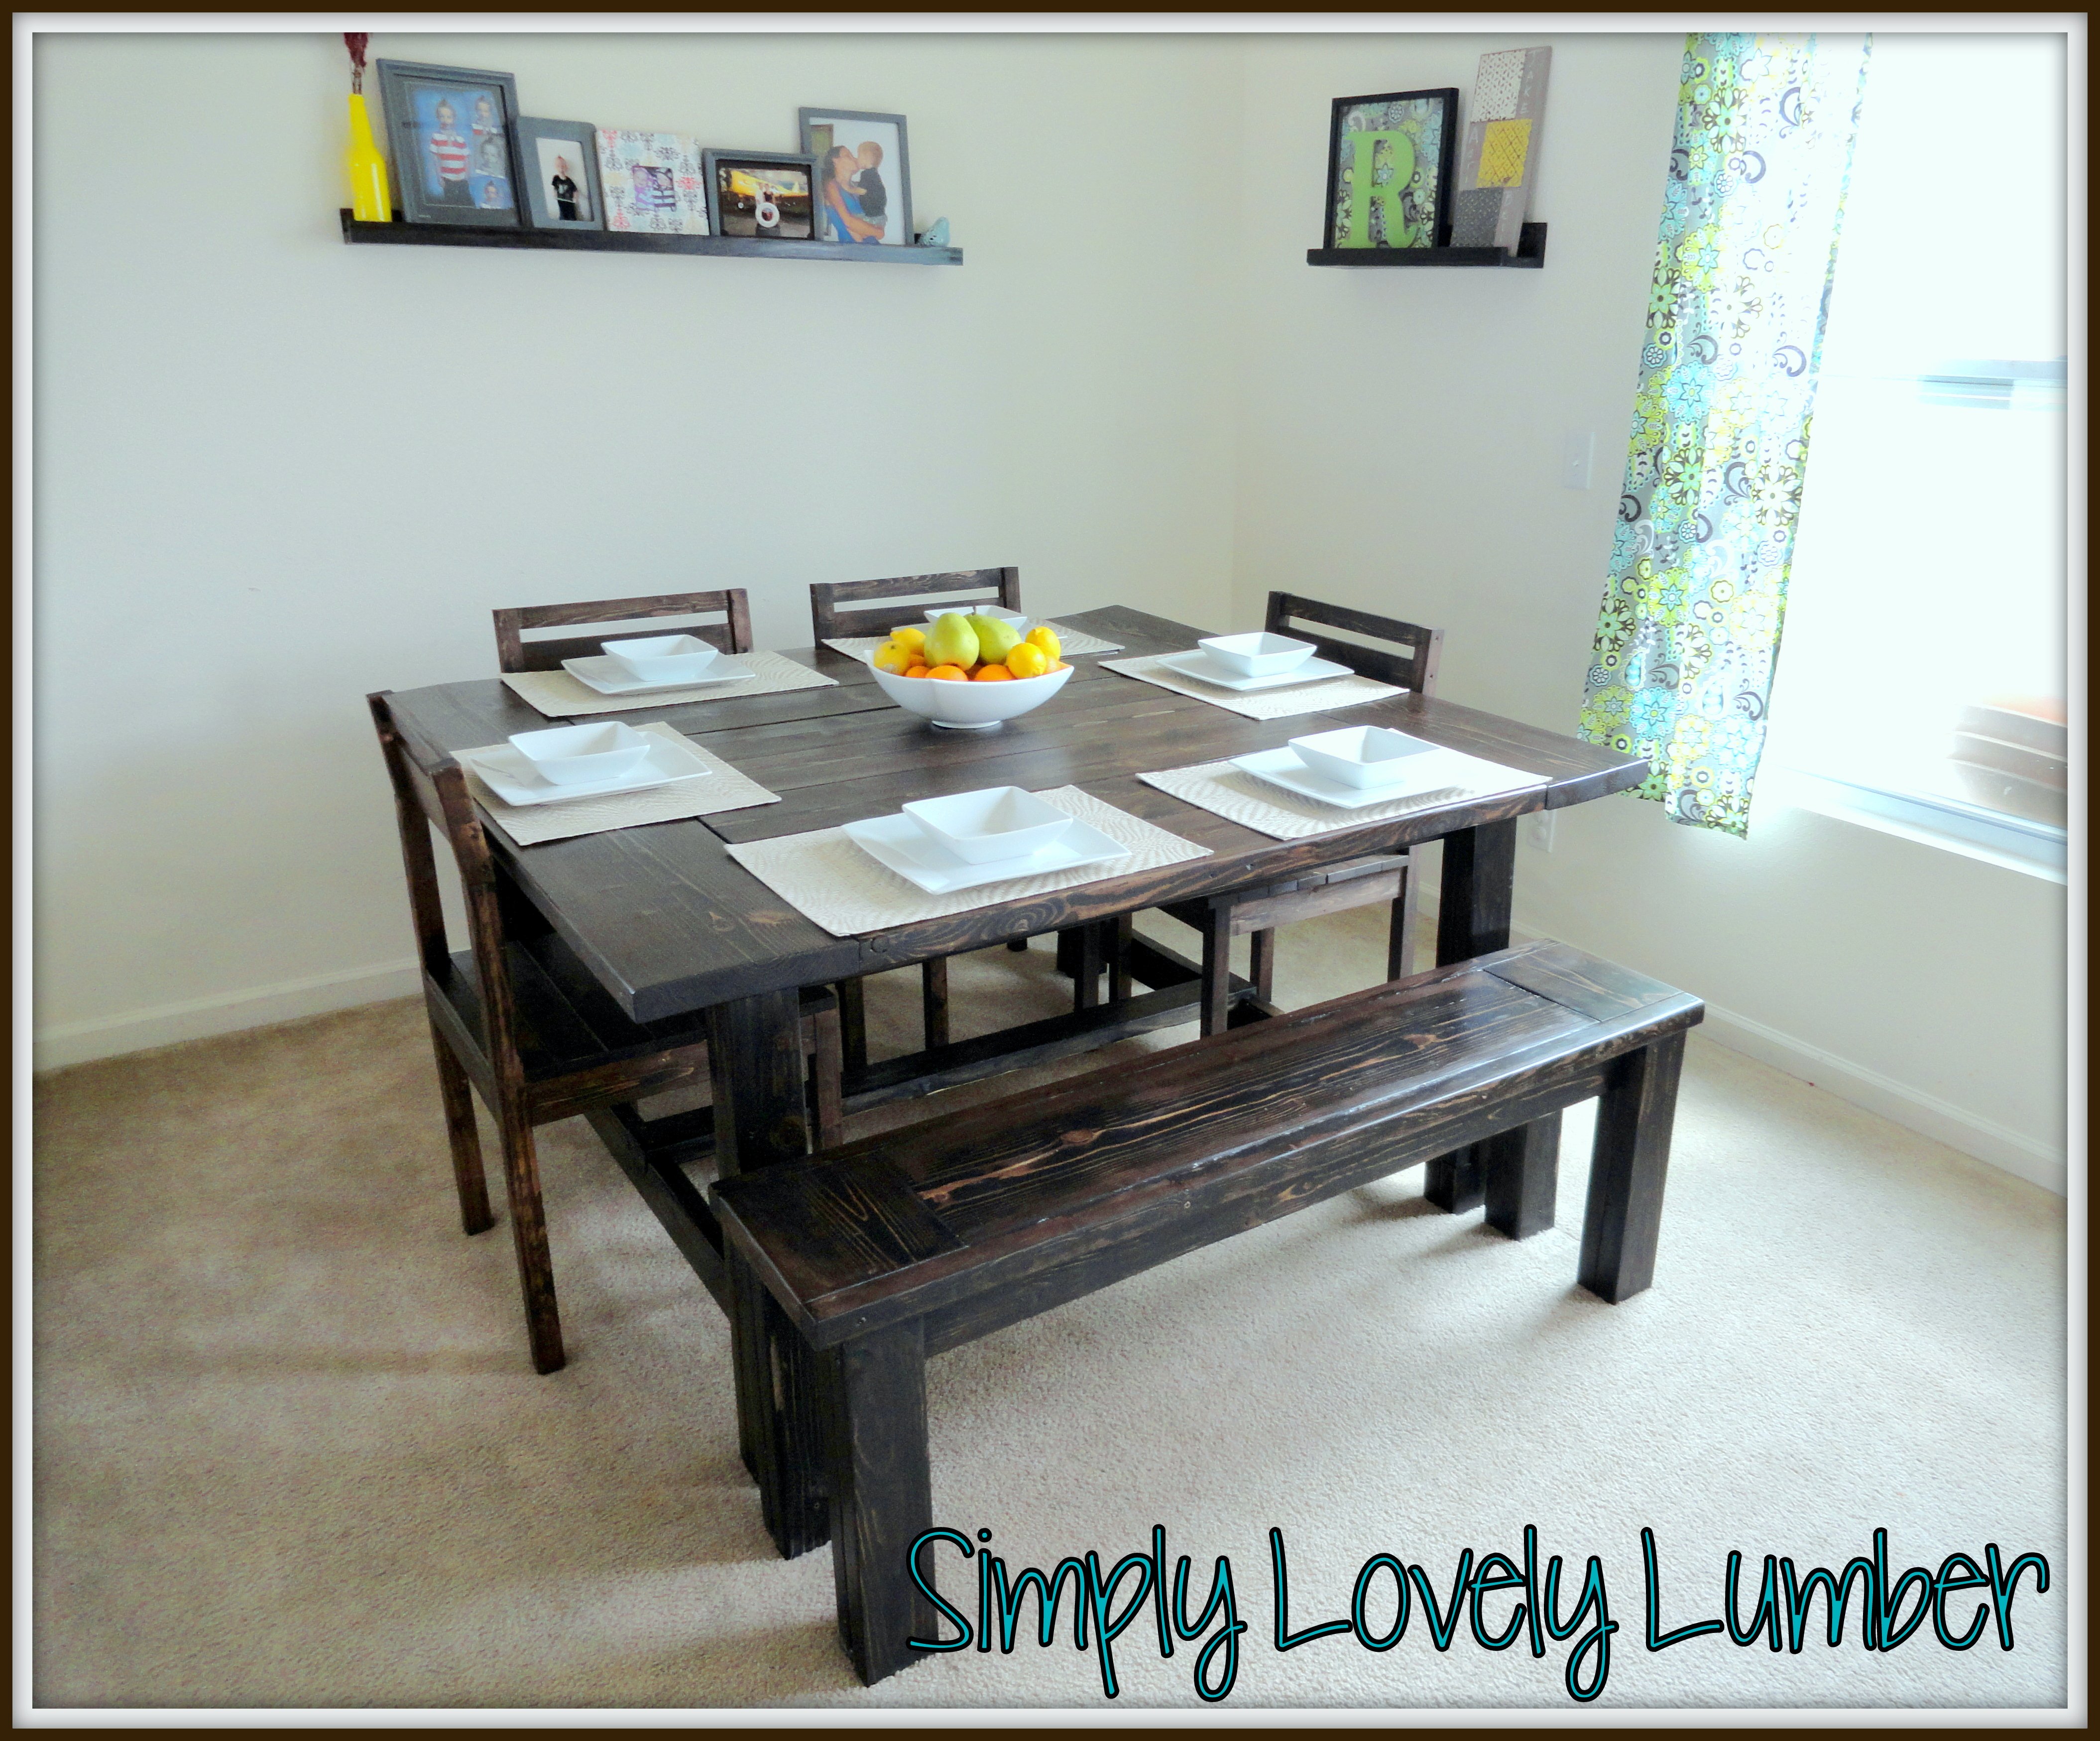
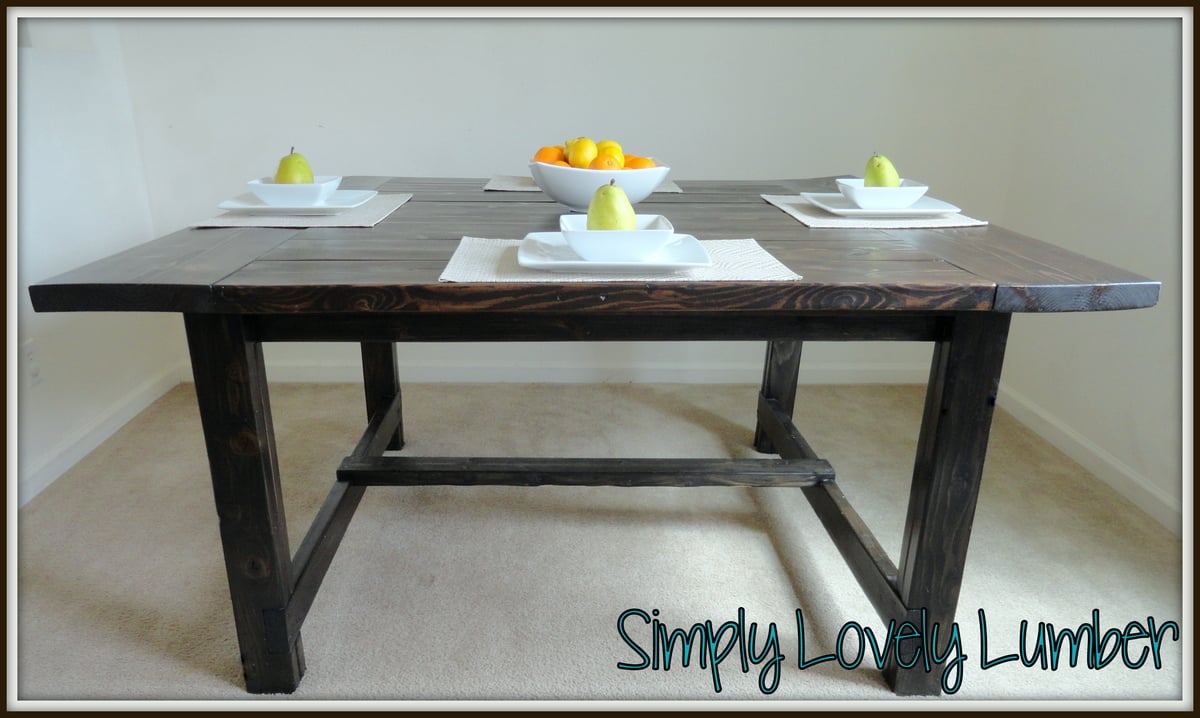
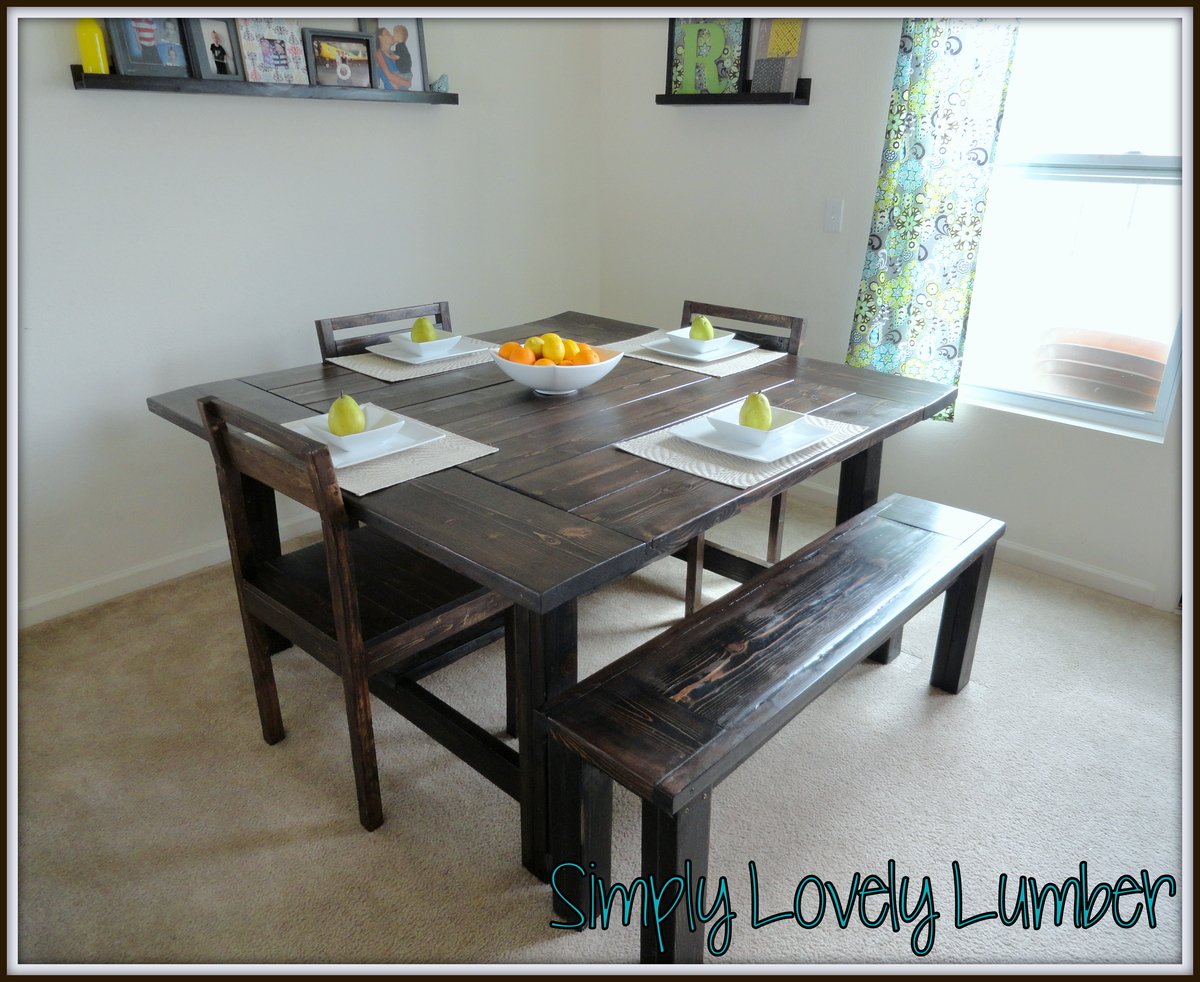
Beautiful Table

We have been eyeing this table for years now...finally the military has brought us to the east coast where we have room to do some wood work hobbying! This table is sturdy and beautiful. Love that we can break it down into so many pieces for our moves. Thank you Ana White!!
Built from Plan(s)
Estimated Cost
140 for wood, hardware, stain and sealer
Estimated Time Investment
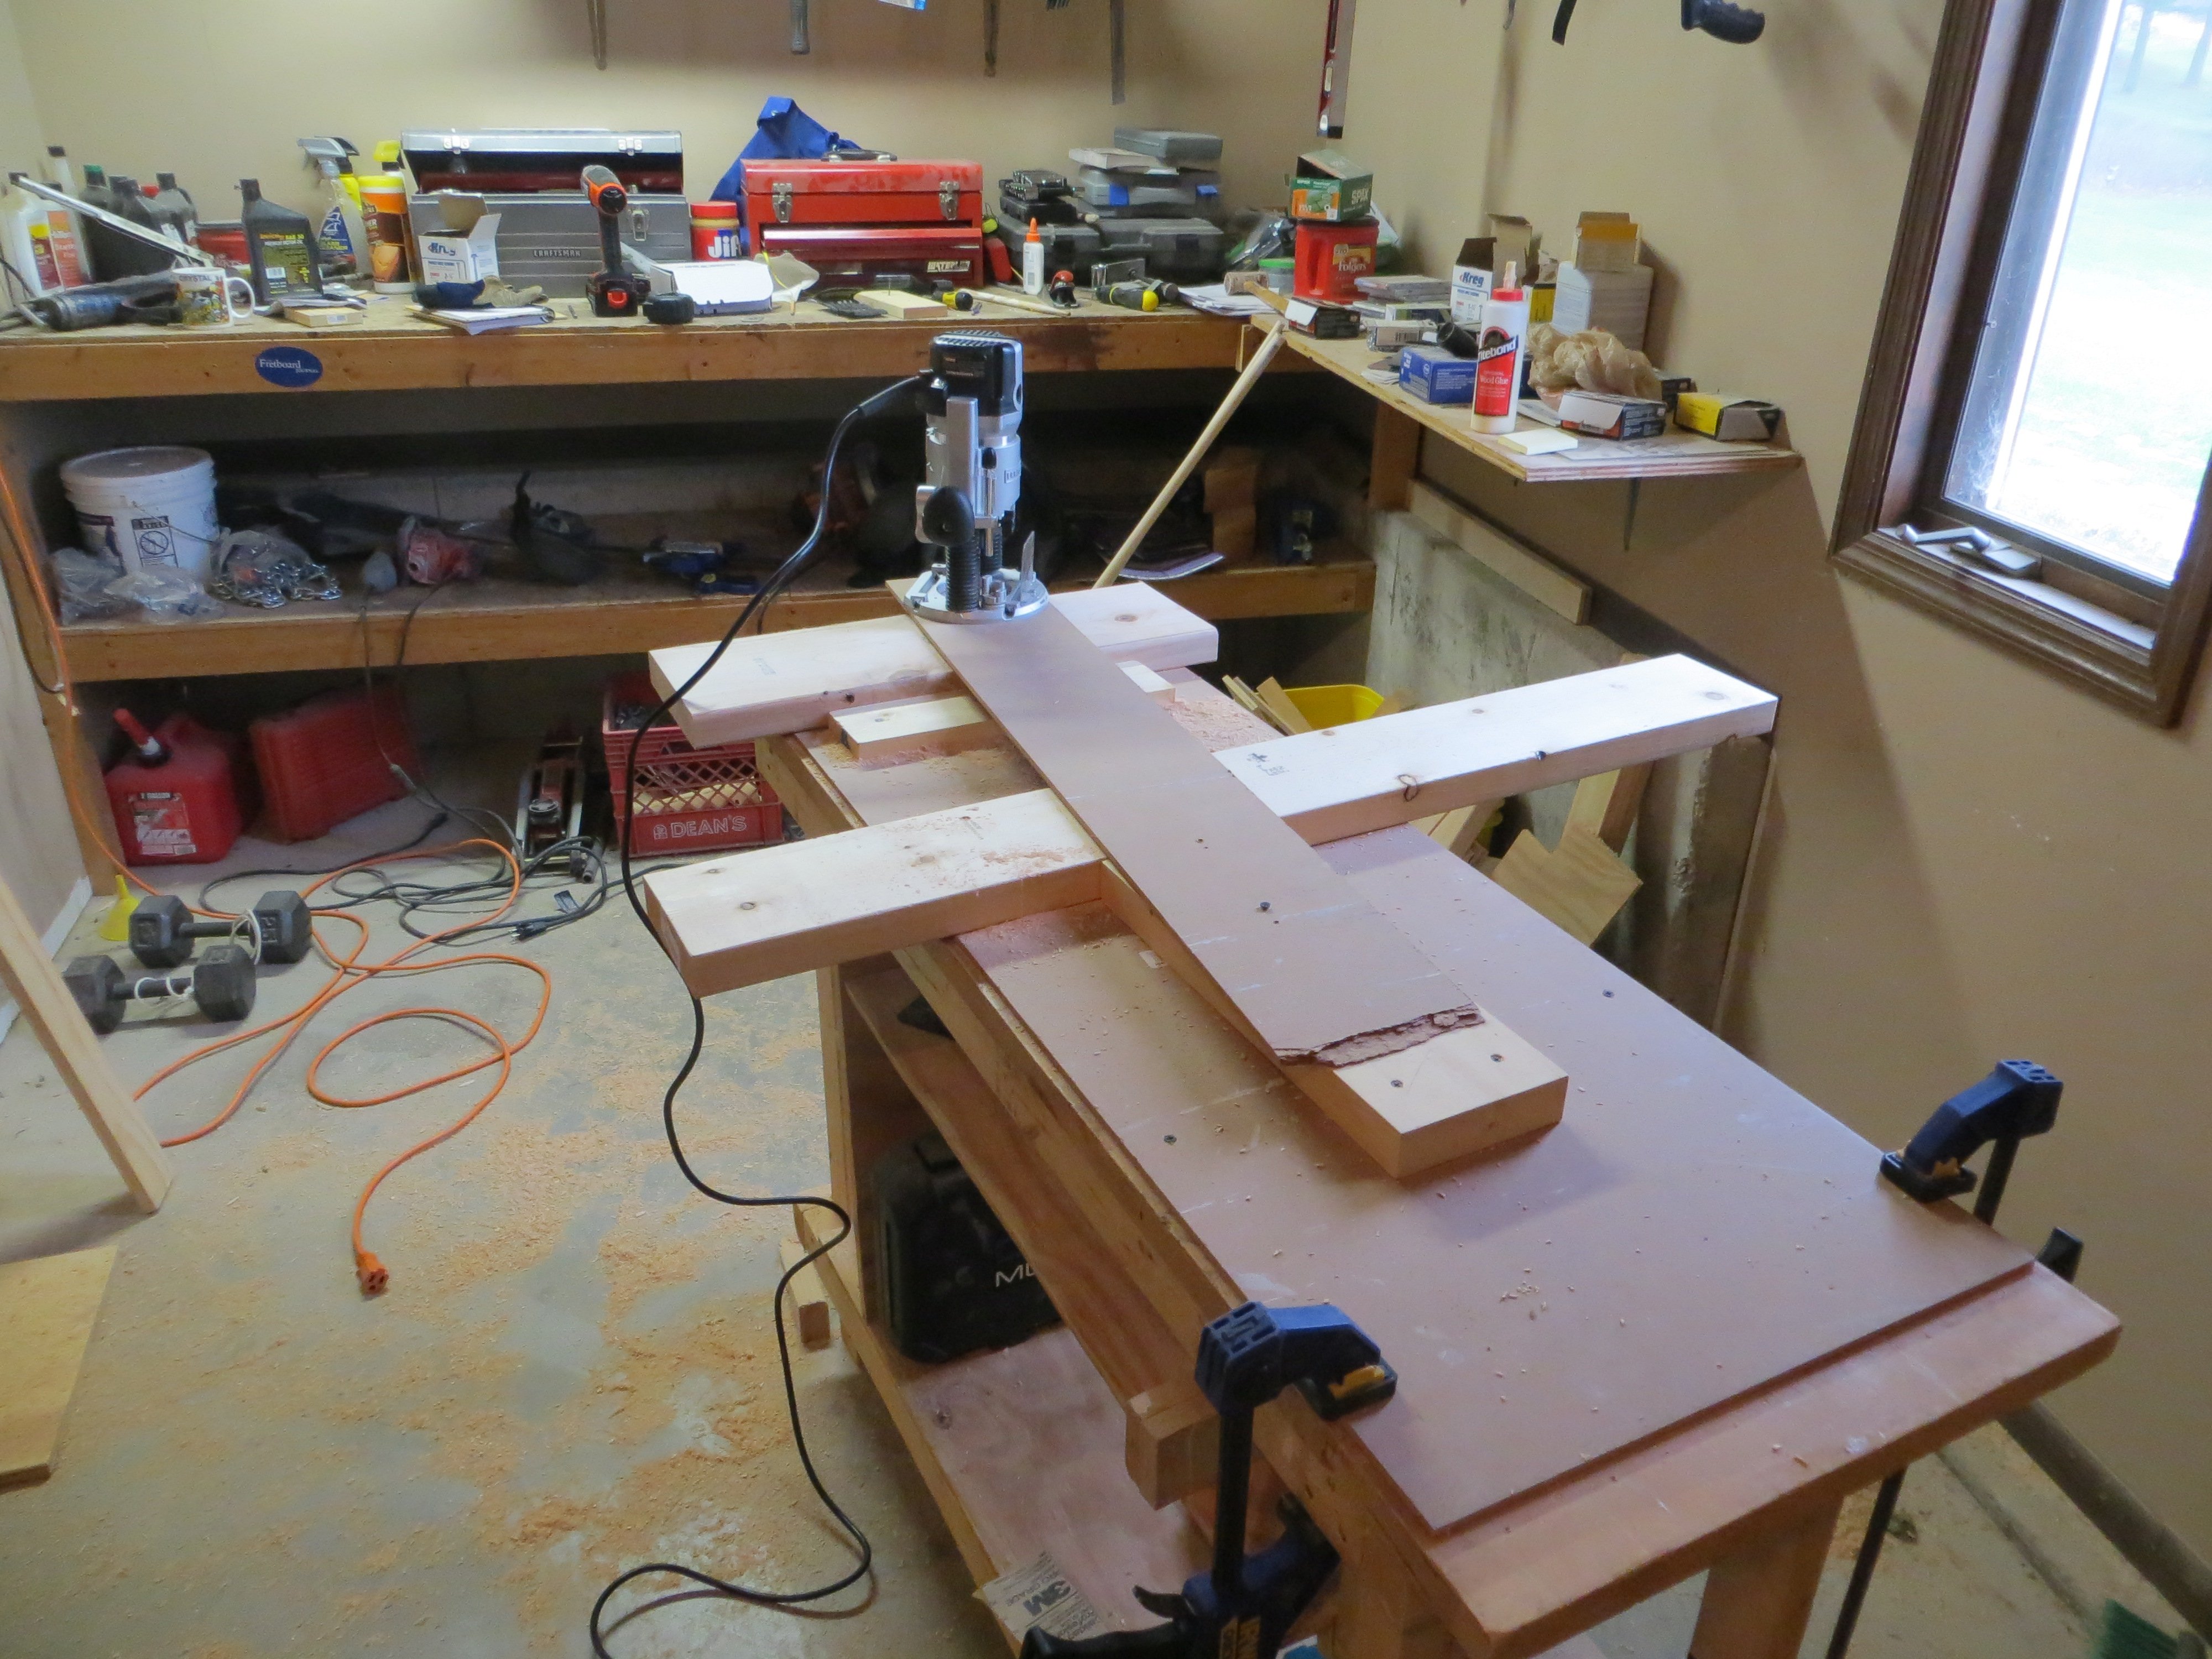
Weekend Project (10-20 Hours)
Finish Used
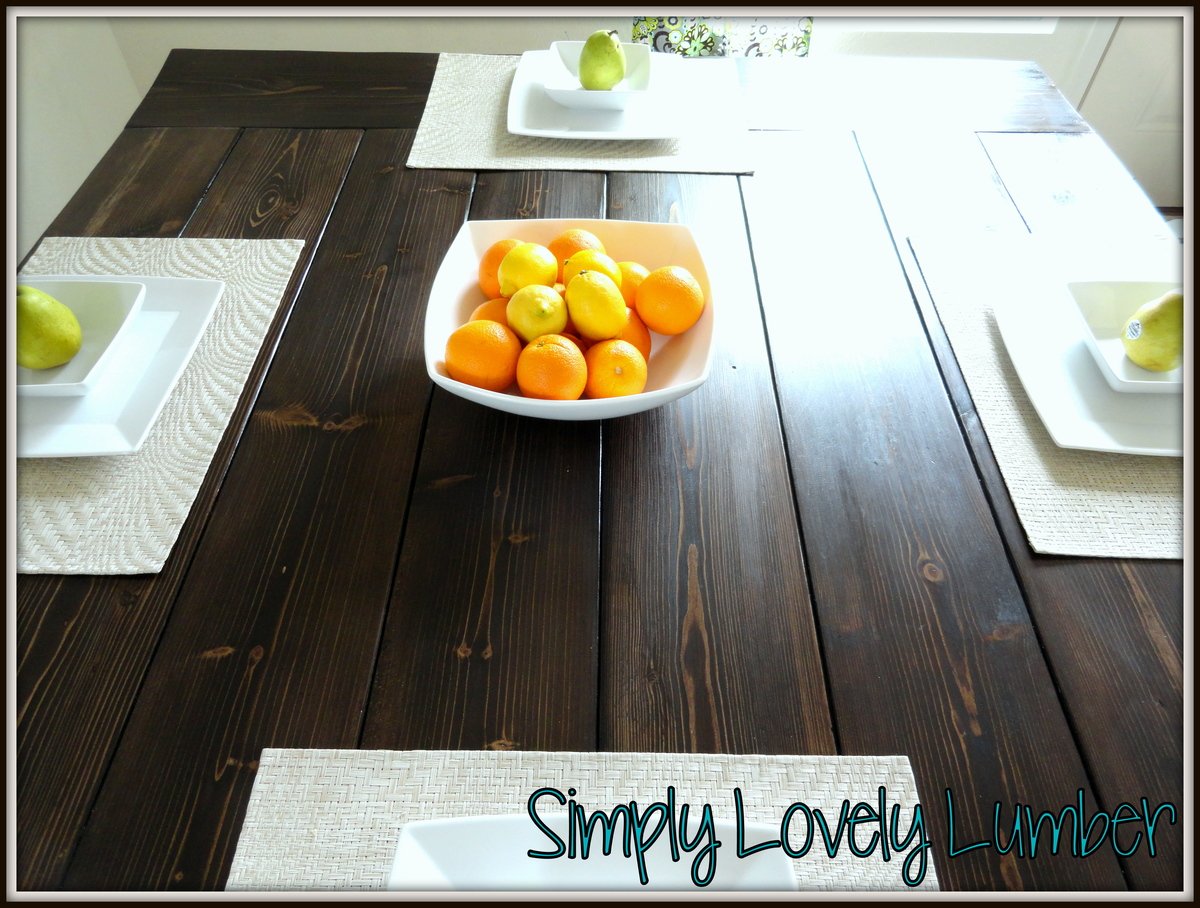
Minwax Early American, Varthane semi gloss poly
Recommended Skill Level
Intermediate


Comments
Ana White Admin
Mon, 11/07/2016 - 12:31
Stunning!
Excellent job, well worth the wait I'm sure:) Thanks for sharing!
katieweil
Wed, 05/08/2019 - 14:49
Link please
Can you please link the original design plans for this table? I really like it!