Community Brag Posts

DIY Benchwright Table and Bench
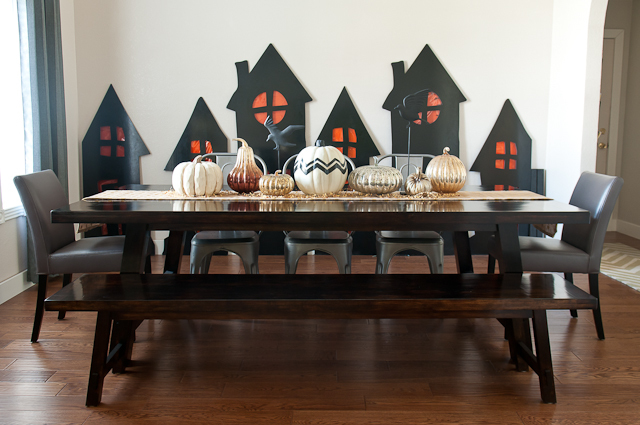
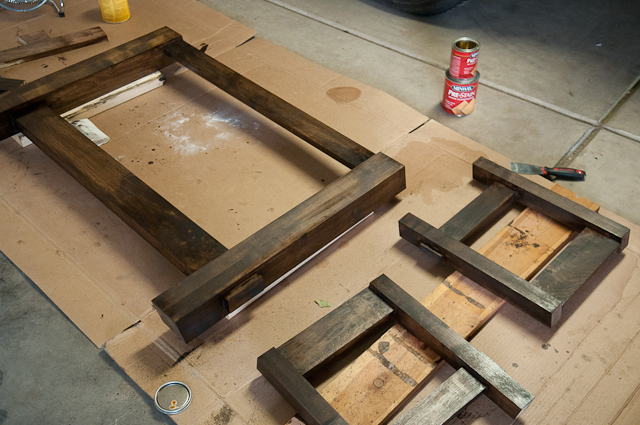
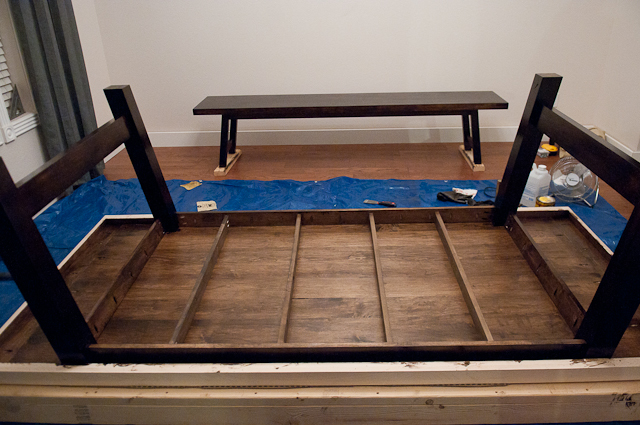
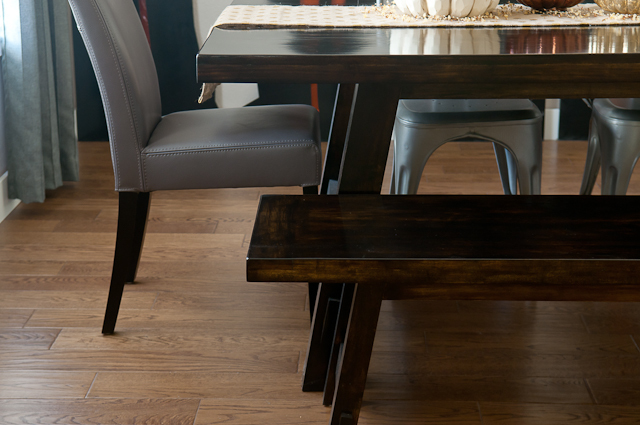
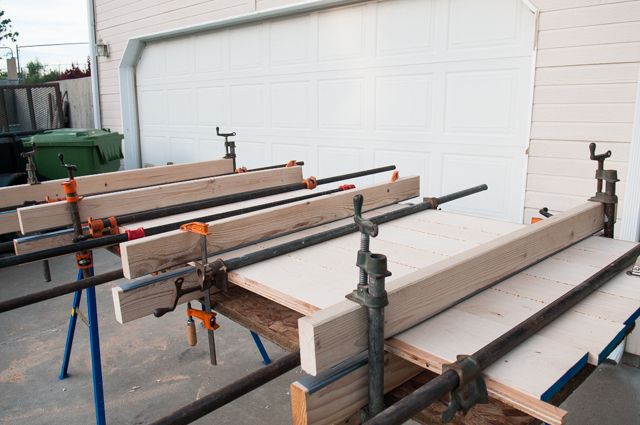
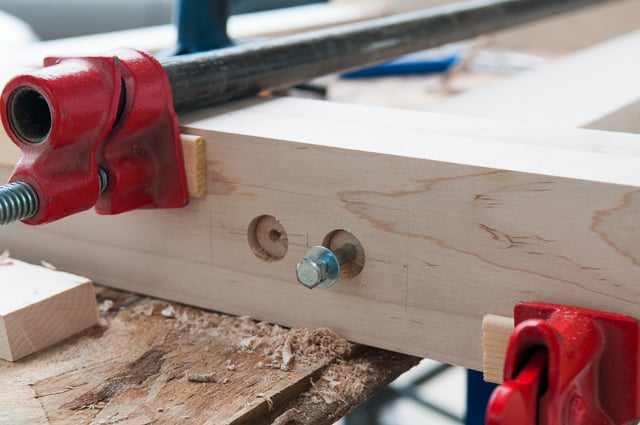
My husband says I have impeccable timing with all of my projects – I say there’s never a bad time to start a project! Case in point – my farmhouse table. I was five months pregnant visiting my parents in Idaho (I live in Arizona) and I decided that it was a good time to finally build the table I had talked of for two years. There’s no time like the present, right? My dad questioned my ability to get the table back to AZ safely, but I threw caution to the wind and would figure it out later! I built the table and matching bench out of hard maple and followed plans based on the Pottery Barn Benchwright series. I had never worked with hardwood before and there was definitely a learning curve. Luckily my dad had some experience with hardwood and he was able to lead me in the right direction. I pieced together the table top and bench top, and then assembled the legs, but kept them unattached from the table top. I built a wooden frame to transport the table to Arizona and attached it to the top of my car. In the heat of an Arizona summer, I proceeded to finish the table by staining it with an espresso stain from Minwax and then attaching the legs. Finishing projects like this always take more time than I anticipate and this table was no exception. After days and days of staining and days and days of drying, I sealed it with a wipe on poly. I lost count of how many coats I applied, but I know it was more than 15. Yes, 15. Wiping it on doesn’t apply a thick layer, so I did a lot of layers. I had to protect it from my 4 kids! I finished just a few weeks before I had the baby. Timing is everything. :) To see more details on the project check out my blog at lifewithfingerprints.com
Estimated Cost
$600
Estimated Time Investment
Week Long Project (20 Hours or More)
Finish Used
Minwax espresso stain with satin wipe-on poly
Recommended Skill Level
Advanced

Comments

Seasonal And Holiday

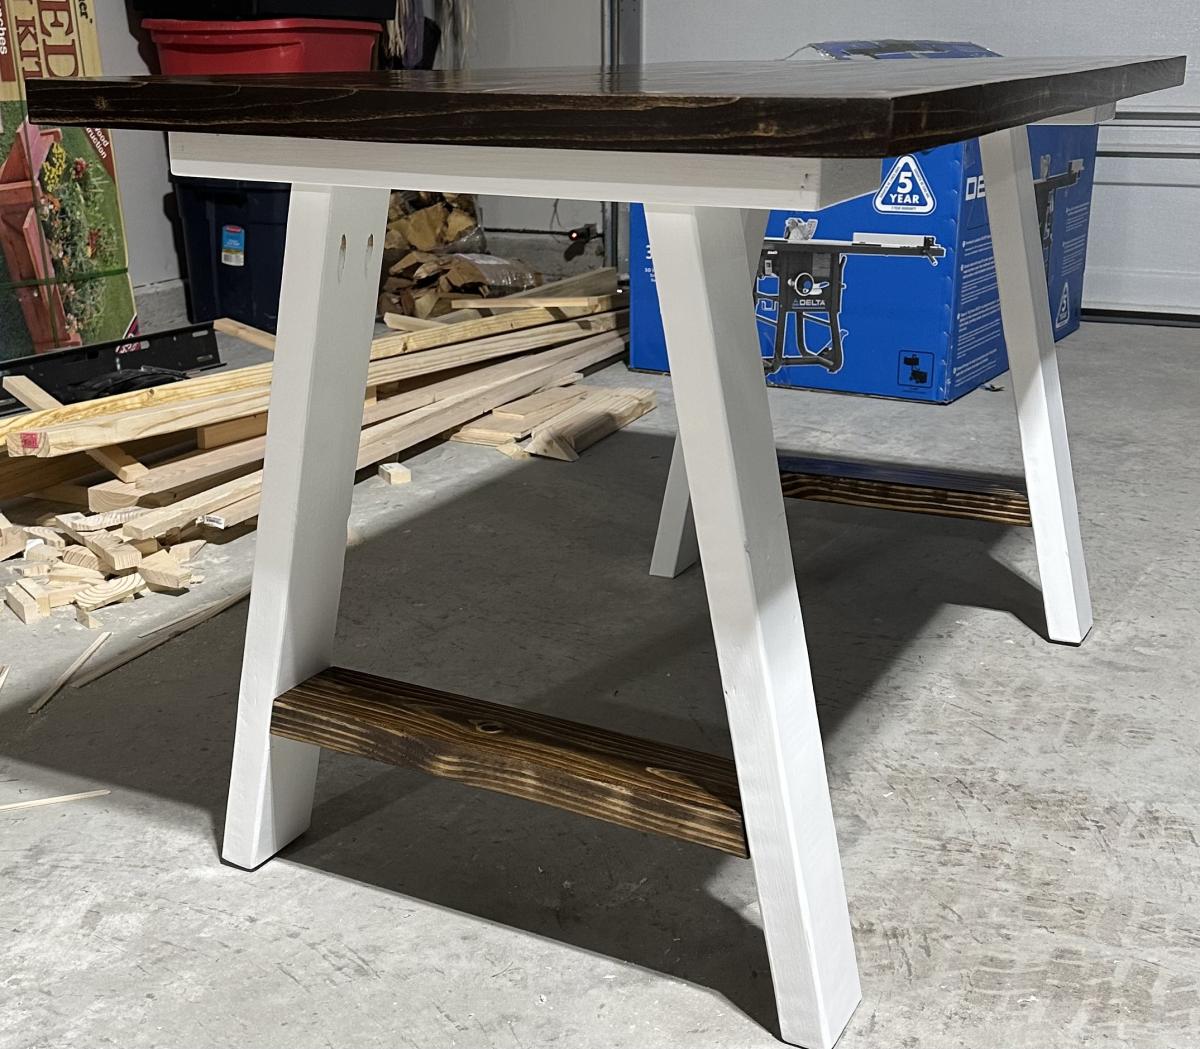
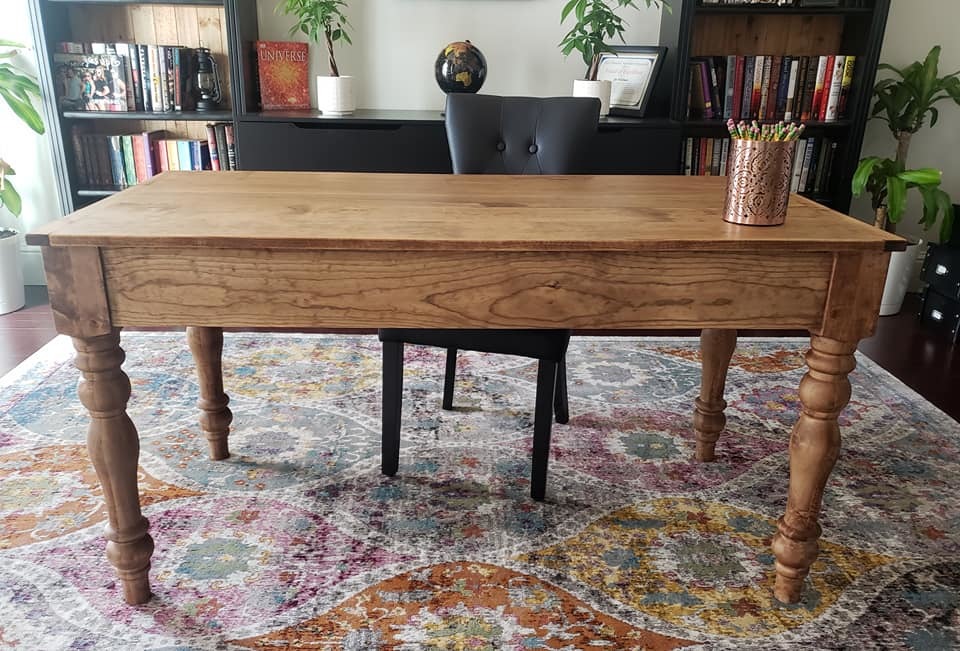
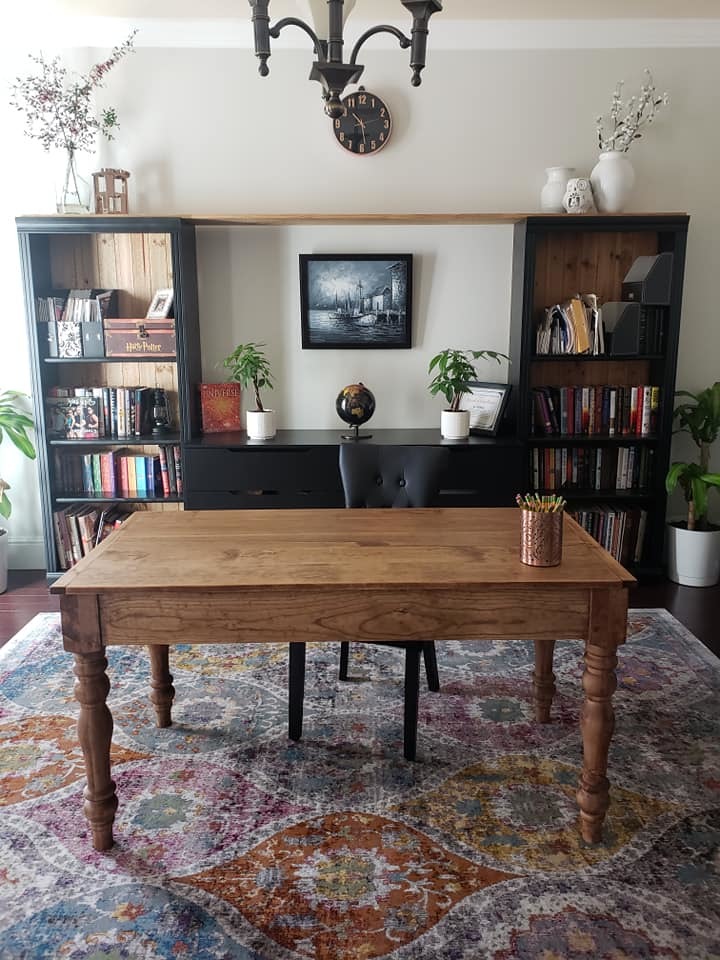
Trestle Desk with 2x6 laminated top

Submitted by Anonymous (not verified) on Sun, 05/07/2023 - 16:31

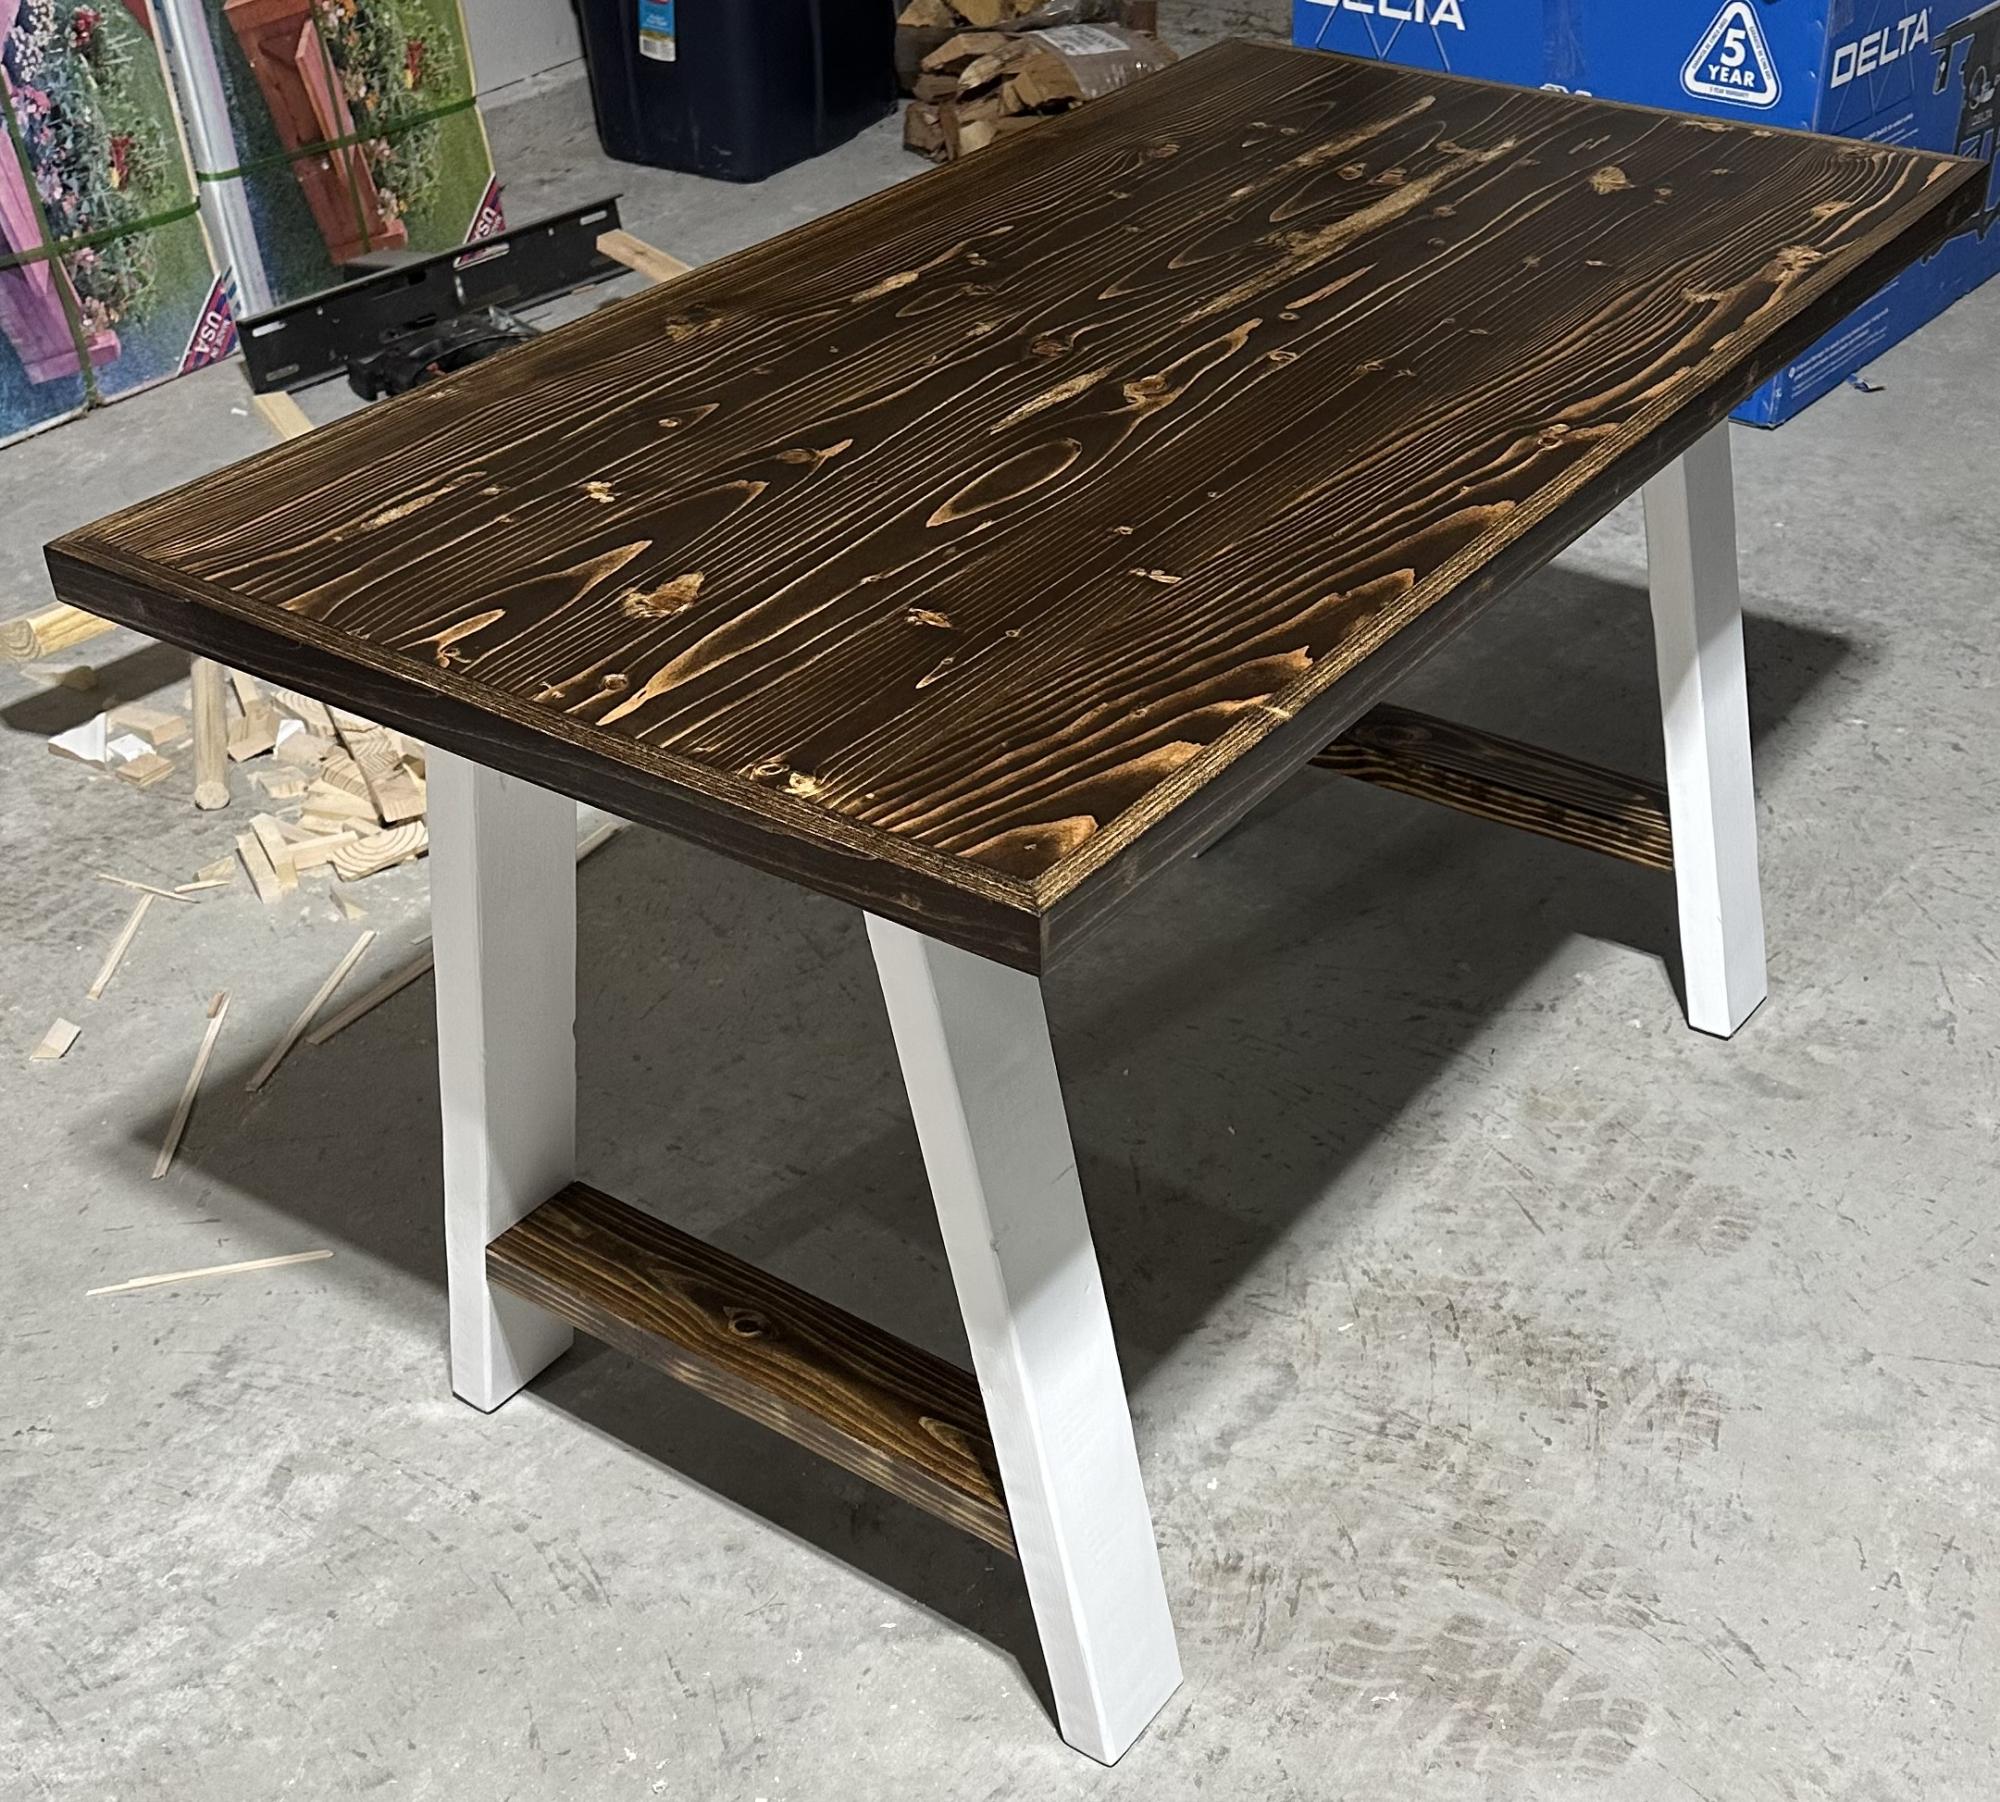
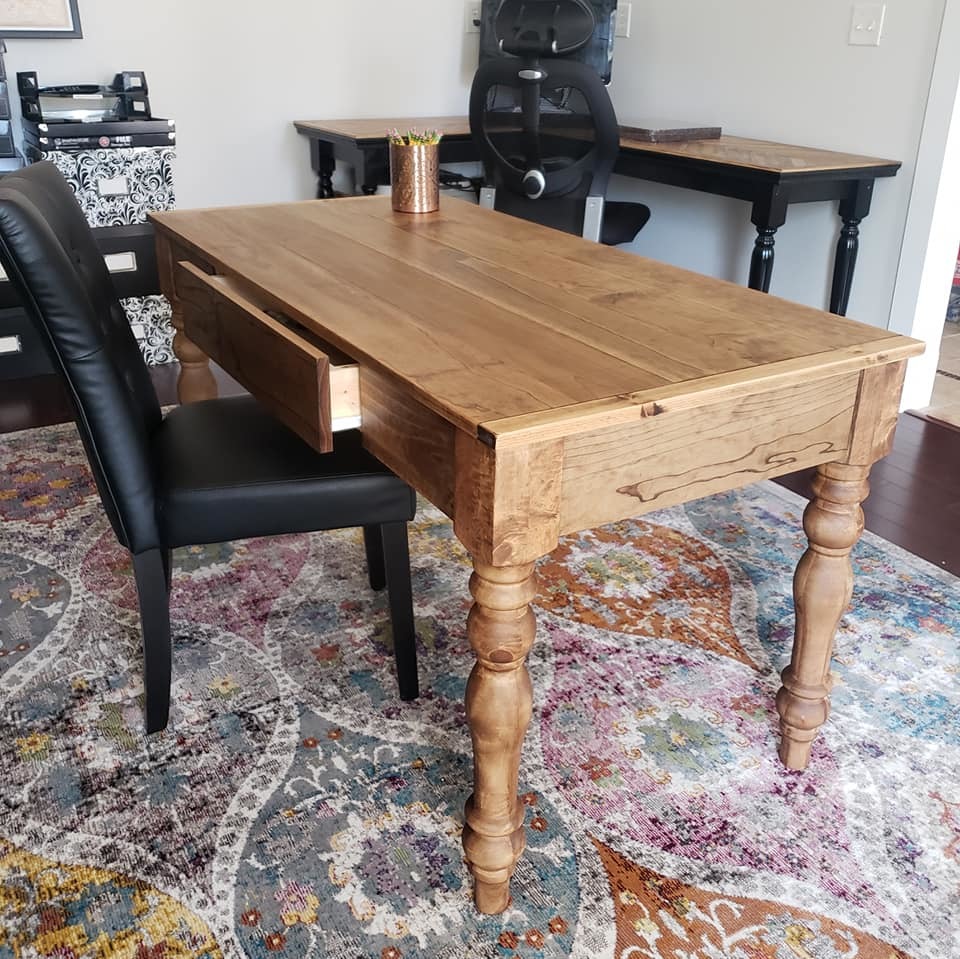
Started with simple small trestle desk idea. Decided to edge glue the top. Finished with poly and paste wax. Didn’t turn out too bad for the first project.

Built from Plan(s)
Comments

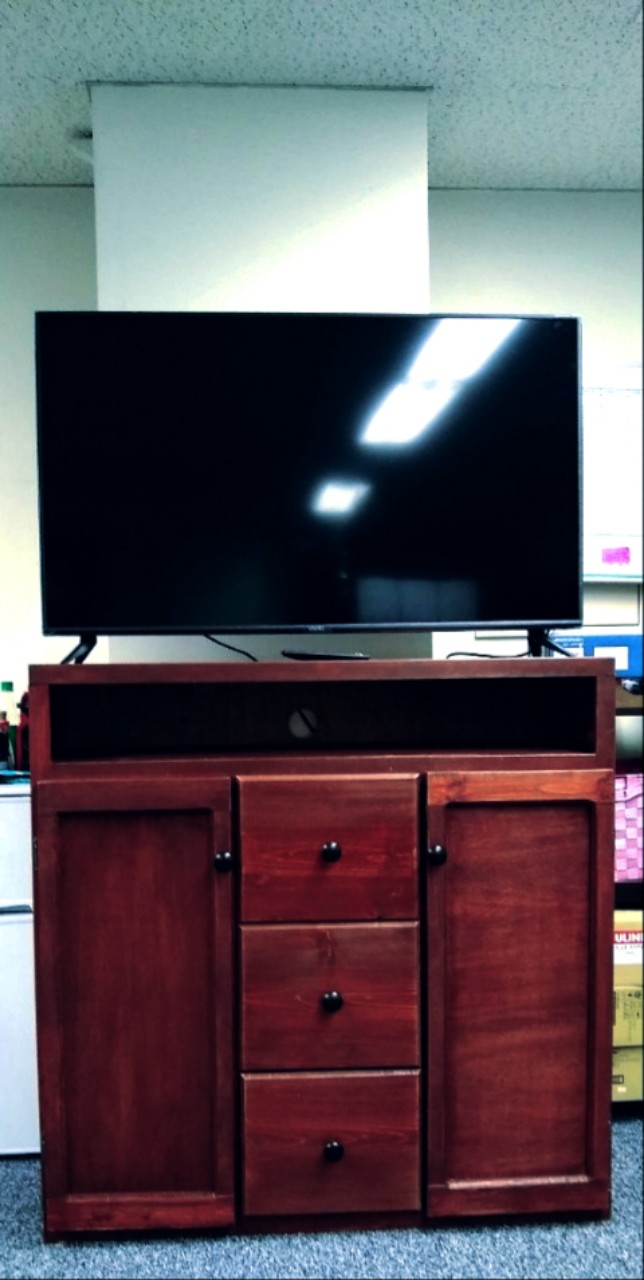
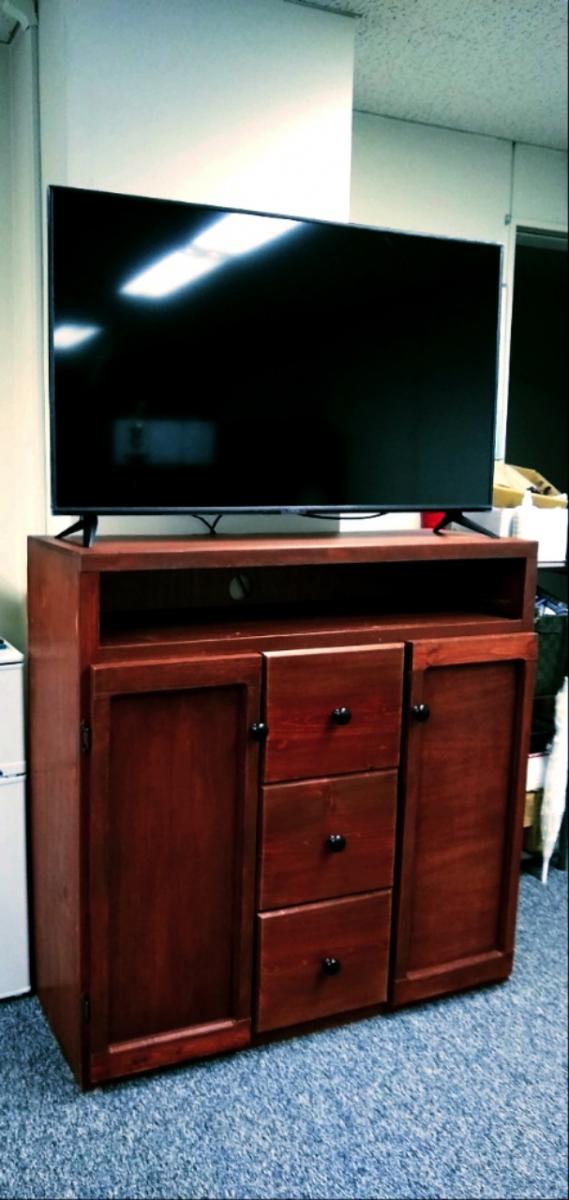
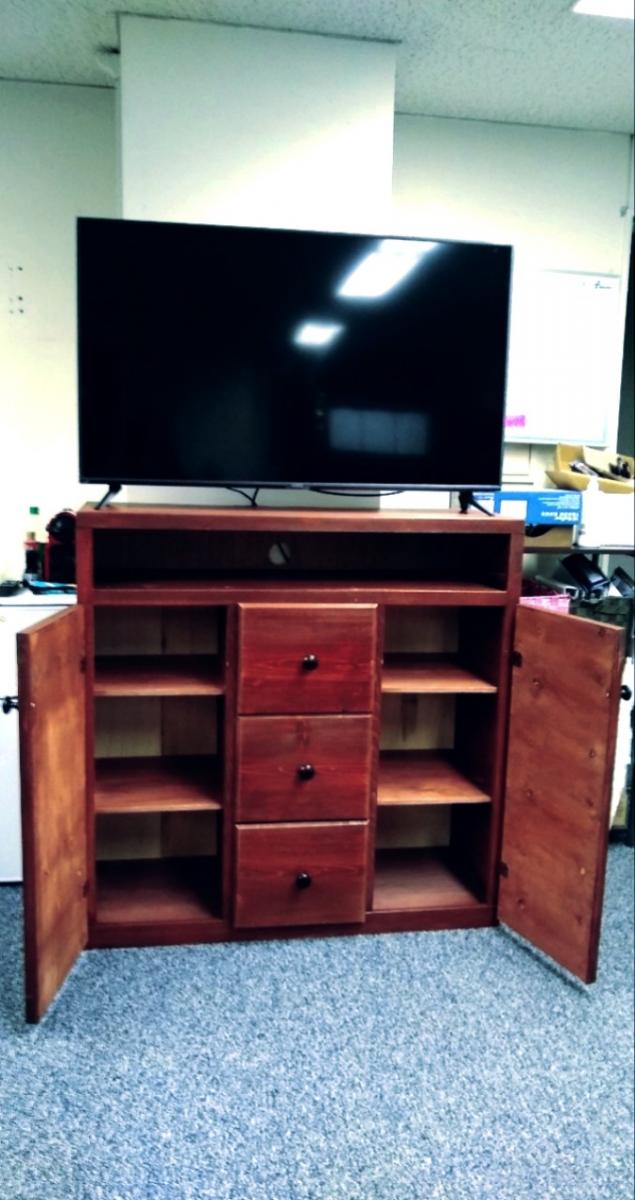
Extra tall TV stand

Submitted by Anonymous (not verified) on Tue, 09/10/2019 - 04:53

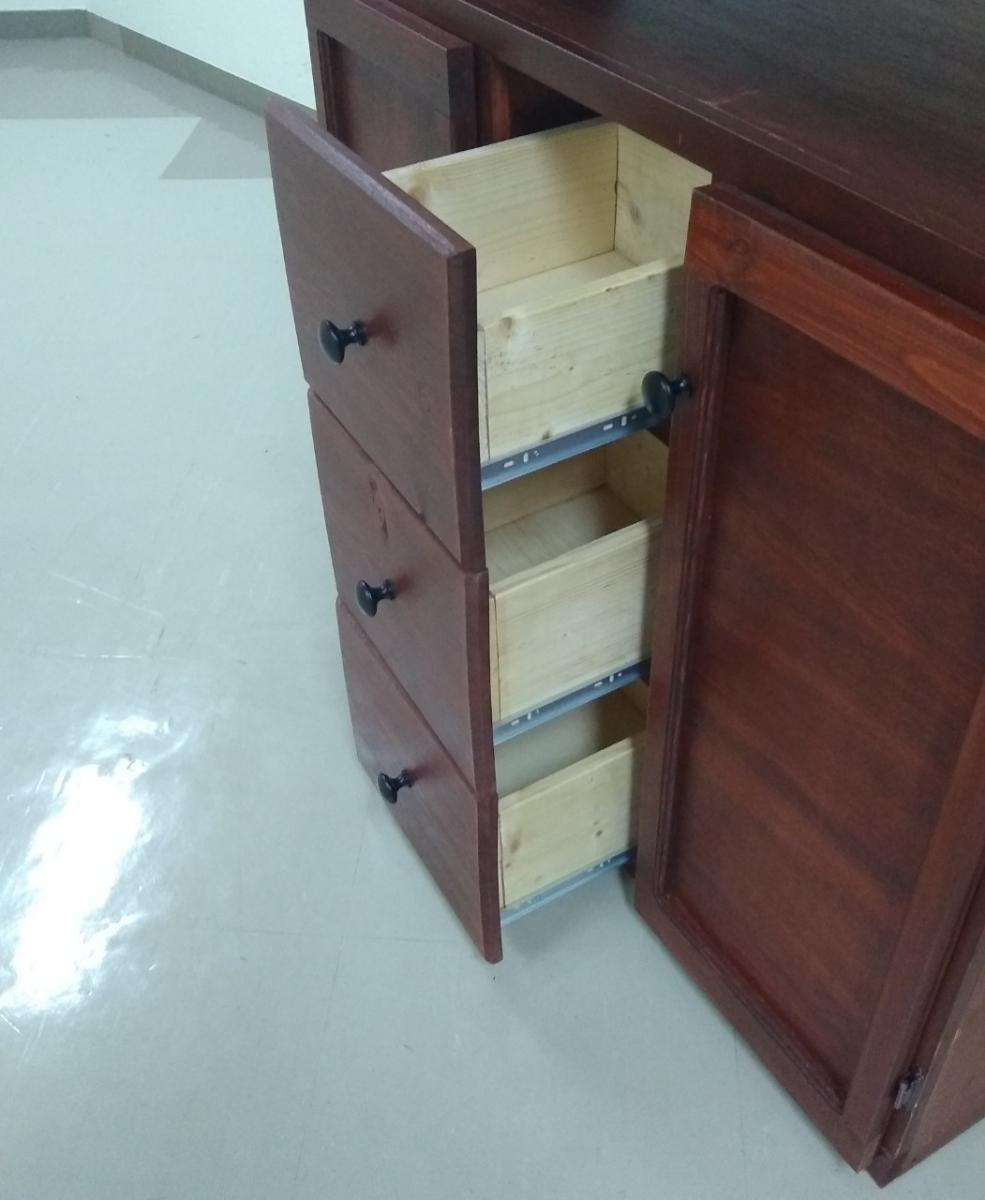
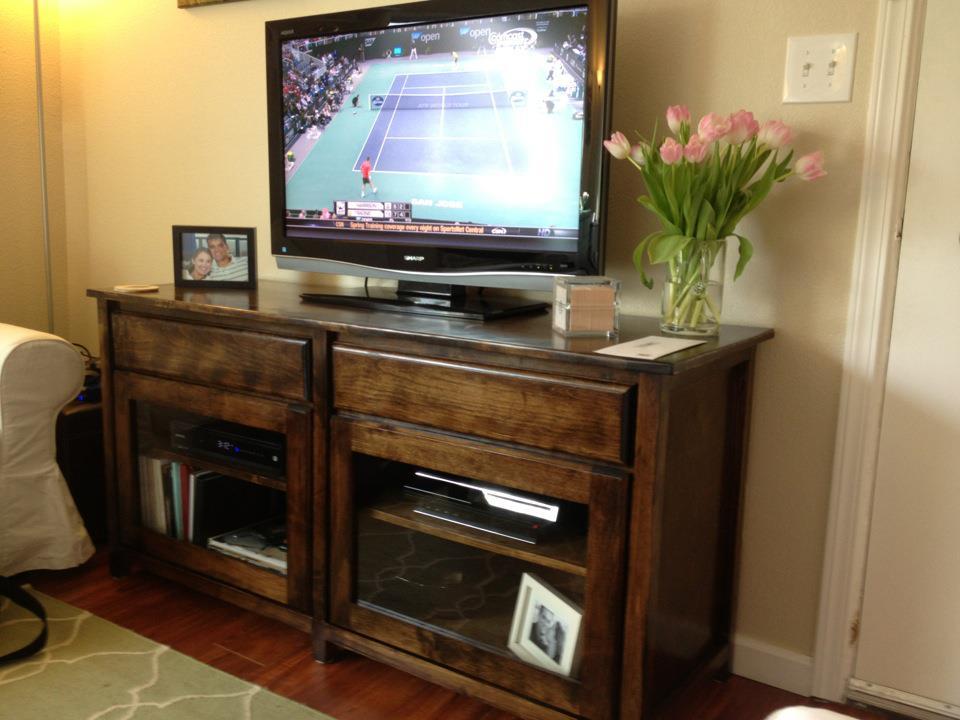
Modified console plans. Used my router to make the doors look fancy. This was a fun build! Thanks for great plans.

Estimated Cost
200
Estimated Time Investment
Weekend Project (10-20 Hours)
Recommended Skill Level
Intermediate

Comments

Outdoor chairs w/ accent table

Submitted by bnakka on Wed, 09/25/2019 - 18:18

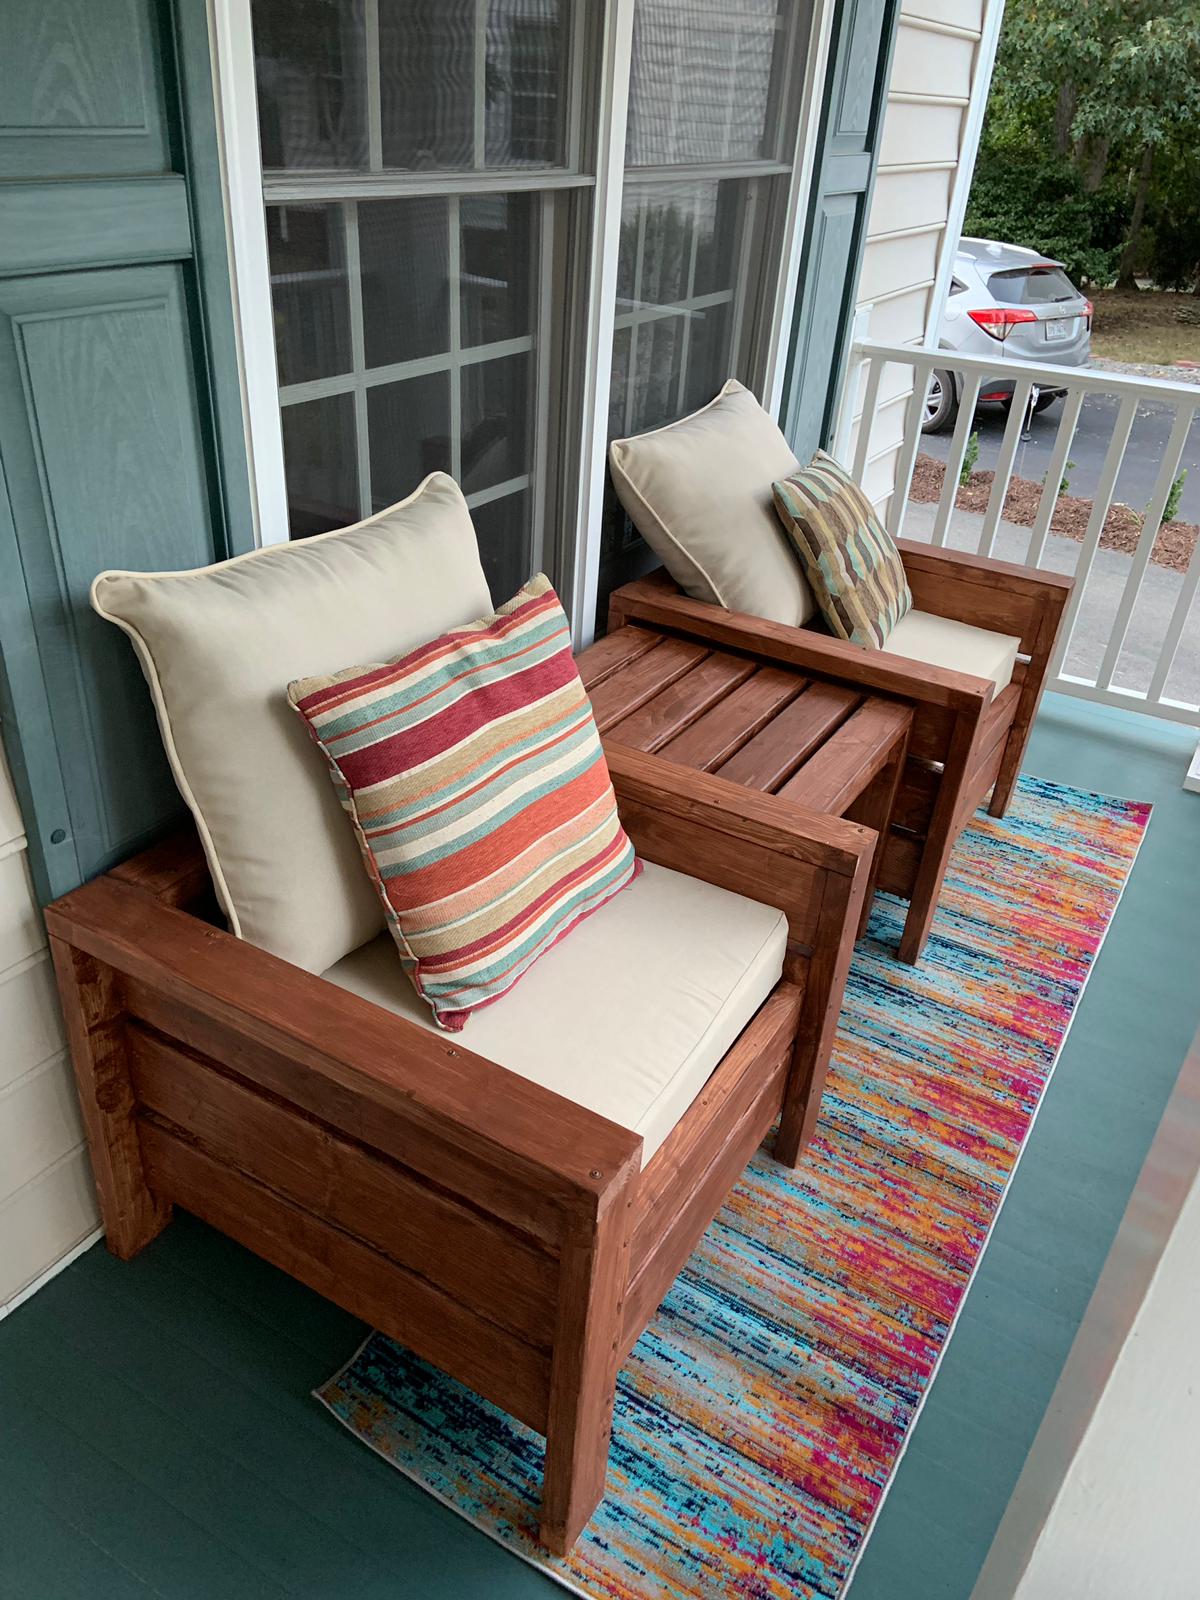
I have bookmarked these plans for my front porch a year ago. Finally last Saturday I decided to finish. 

I had to change the chair dimensions to fit 24" x 24" cushion, and the accent table leg height from 13 1/2" to 20". 
I also forgot sanding the surface too fine makes staining so hard and fine sawdust is not good to be around. 

Estimated Cost
80 for the furniture (100 for cushions and carpet)
Estimated Time Investment
Afternoon Project (3-6 Hours)
Finish Used
Behr Premium (Russet). Finish the wood before you assemble. If you want the cushions to be snug take off half inch more than the recommended specs.

Found the cushions on wayfair for around 30 a piece and the carpet for 40. I am using old pillows I already have in storage.
Recommended Skill Level
Intermediate

Tilt Out Trash Bin

Submitted by loniwolfe on Tue, 01/10/2012 - 13:34

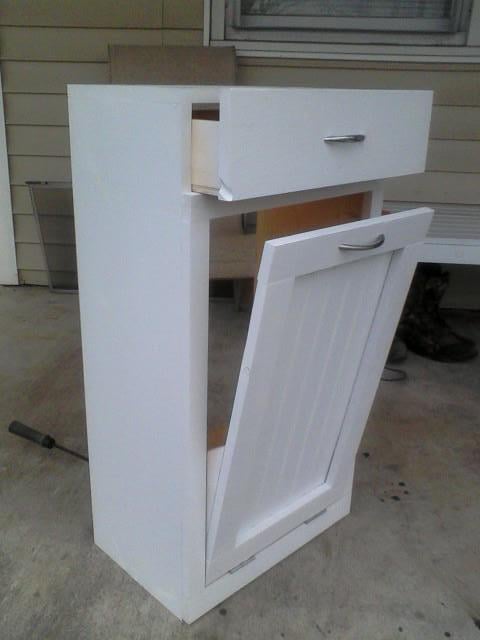
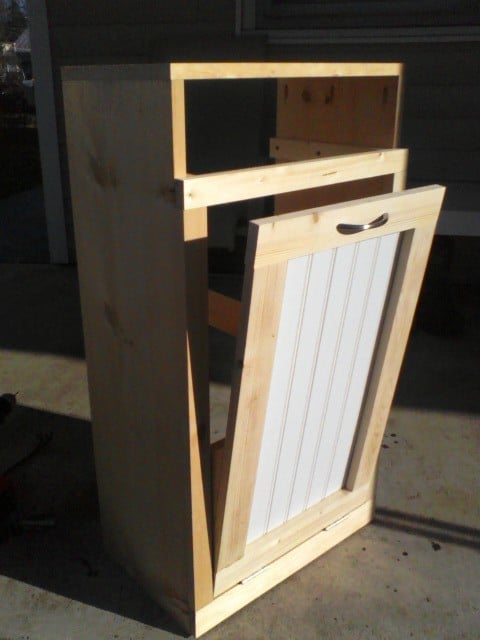
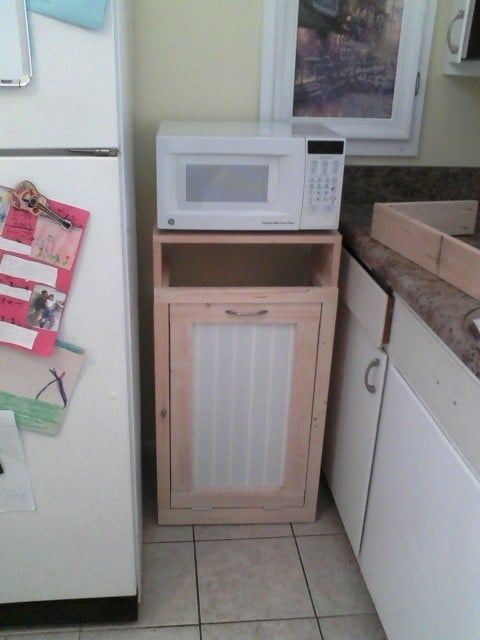
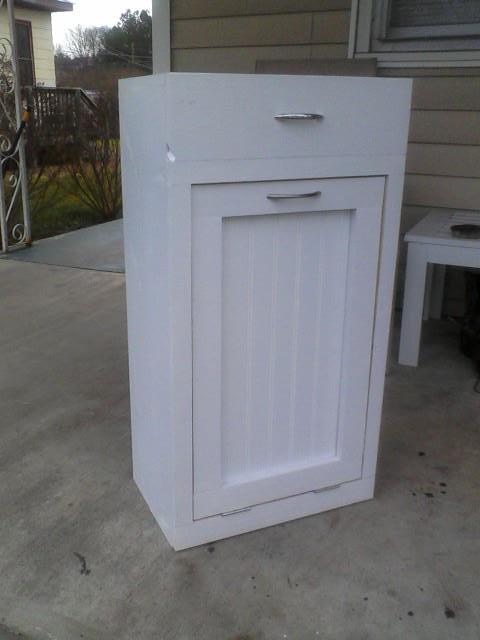
Our large lap dog finally discovered he could easily get whatever he wanted out of the trash, so I built the tilt out bin to help keep him out of trouble. lol. I made it cabinet height so we could move the microwave off the counter, and added a drawer to the extra space to keep garbage bags and such in.

Estimated Cost
$60
Estimated Time Investment
Afternoon Project (3-6 Hours)
Finish Used
minwax spray primer and white spray paint (I hate painting, lol)
Recommended Skill Level
Beginner

Comments

guest (not verified)

Sat, 01/14/2012 - 07:27

Looks clean and simple. I like it!

Aryanna and Aaralyn's first big girl bed

Submitted by Spolitte on Sun, 01/15/2012 - 22:49

We needed a bed for our girls but had very little time to build one. My husband found Anna's site and we were excited to give this project a try. In today's market it's easy to spend a lot and not get much with regards to quality or longevity. At least, if we build it, we know the quality of the material, the workmanship and the love that go into whatever it is we are making. Without the encouragement and easy to follow plans and instruction I doubt we'd have been able to accomplish so much. Our girls just love their new bed.. THANKS ANNA! Now... on to the next project. The folks at our local hardware stores are getting to know us by name! ;-)

Built from Plan(s)
Estimated Time Investment
Week Long Project (20 Hours or More)
Finish Used
Semi-Gloss, no voc paint. We did a lot of filling and sanding but the results were worth it. We also added a bit of shoe molding to soften the look of the head and foot boards.
Recommended Skill Level
Beginner

Comments

Coffee table

Submitted by Anonymous (not verified) on Wed, 10/02/2019 - 16:02

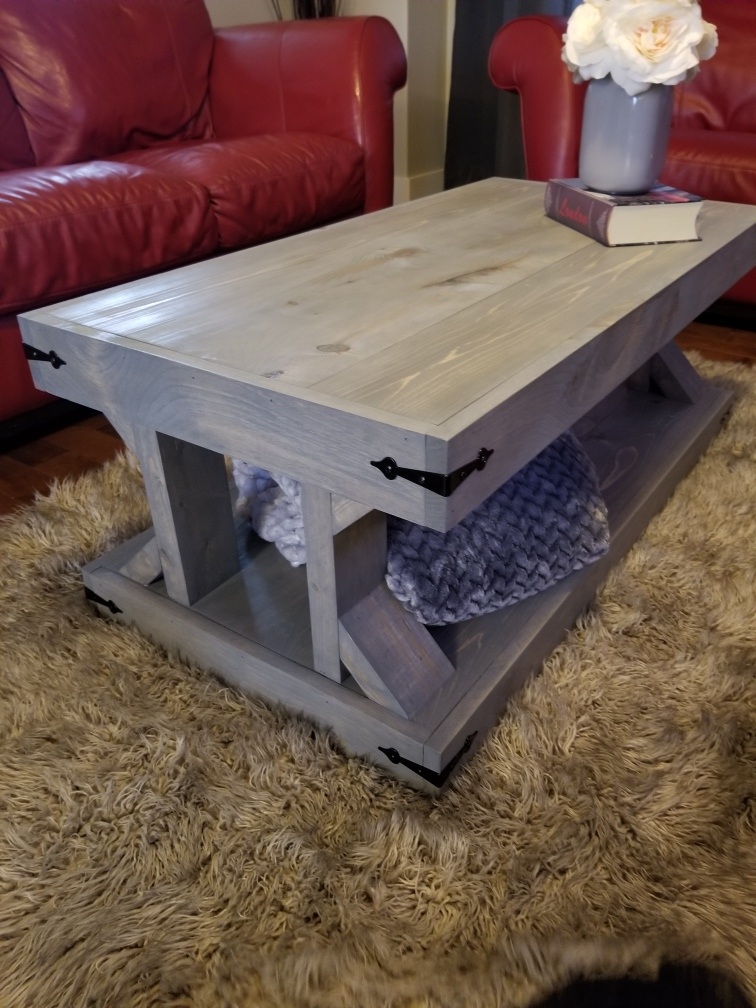
My first build

Estimated Cost
80
Estimated Time Investment
Afternoon Project (3-6 Hours)
Recommended Skill Level
Beginner

Comments

Narrow console table

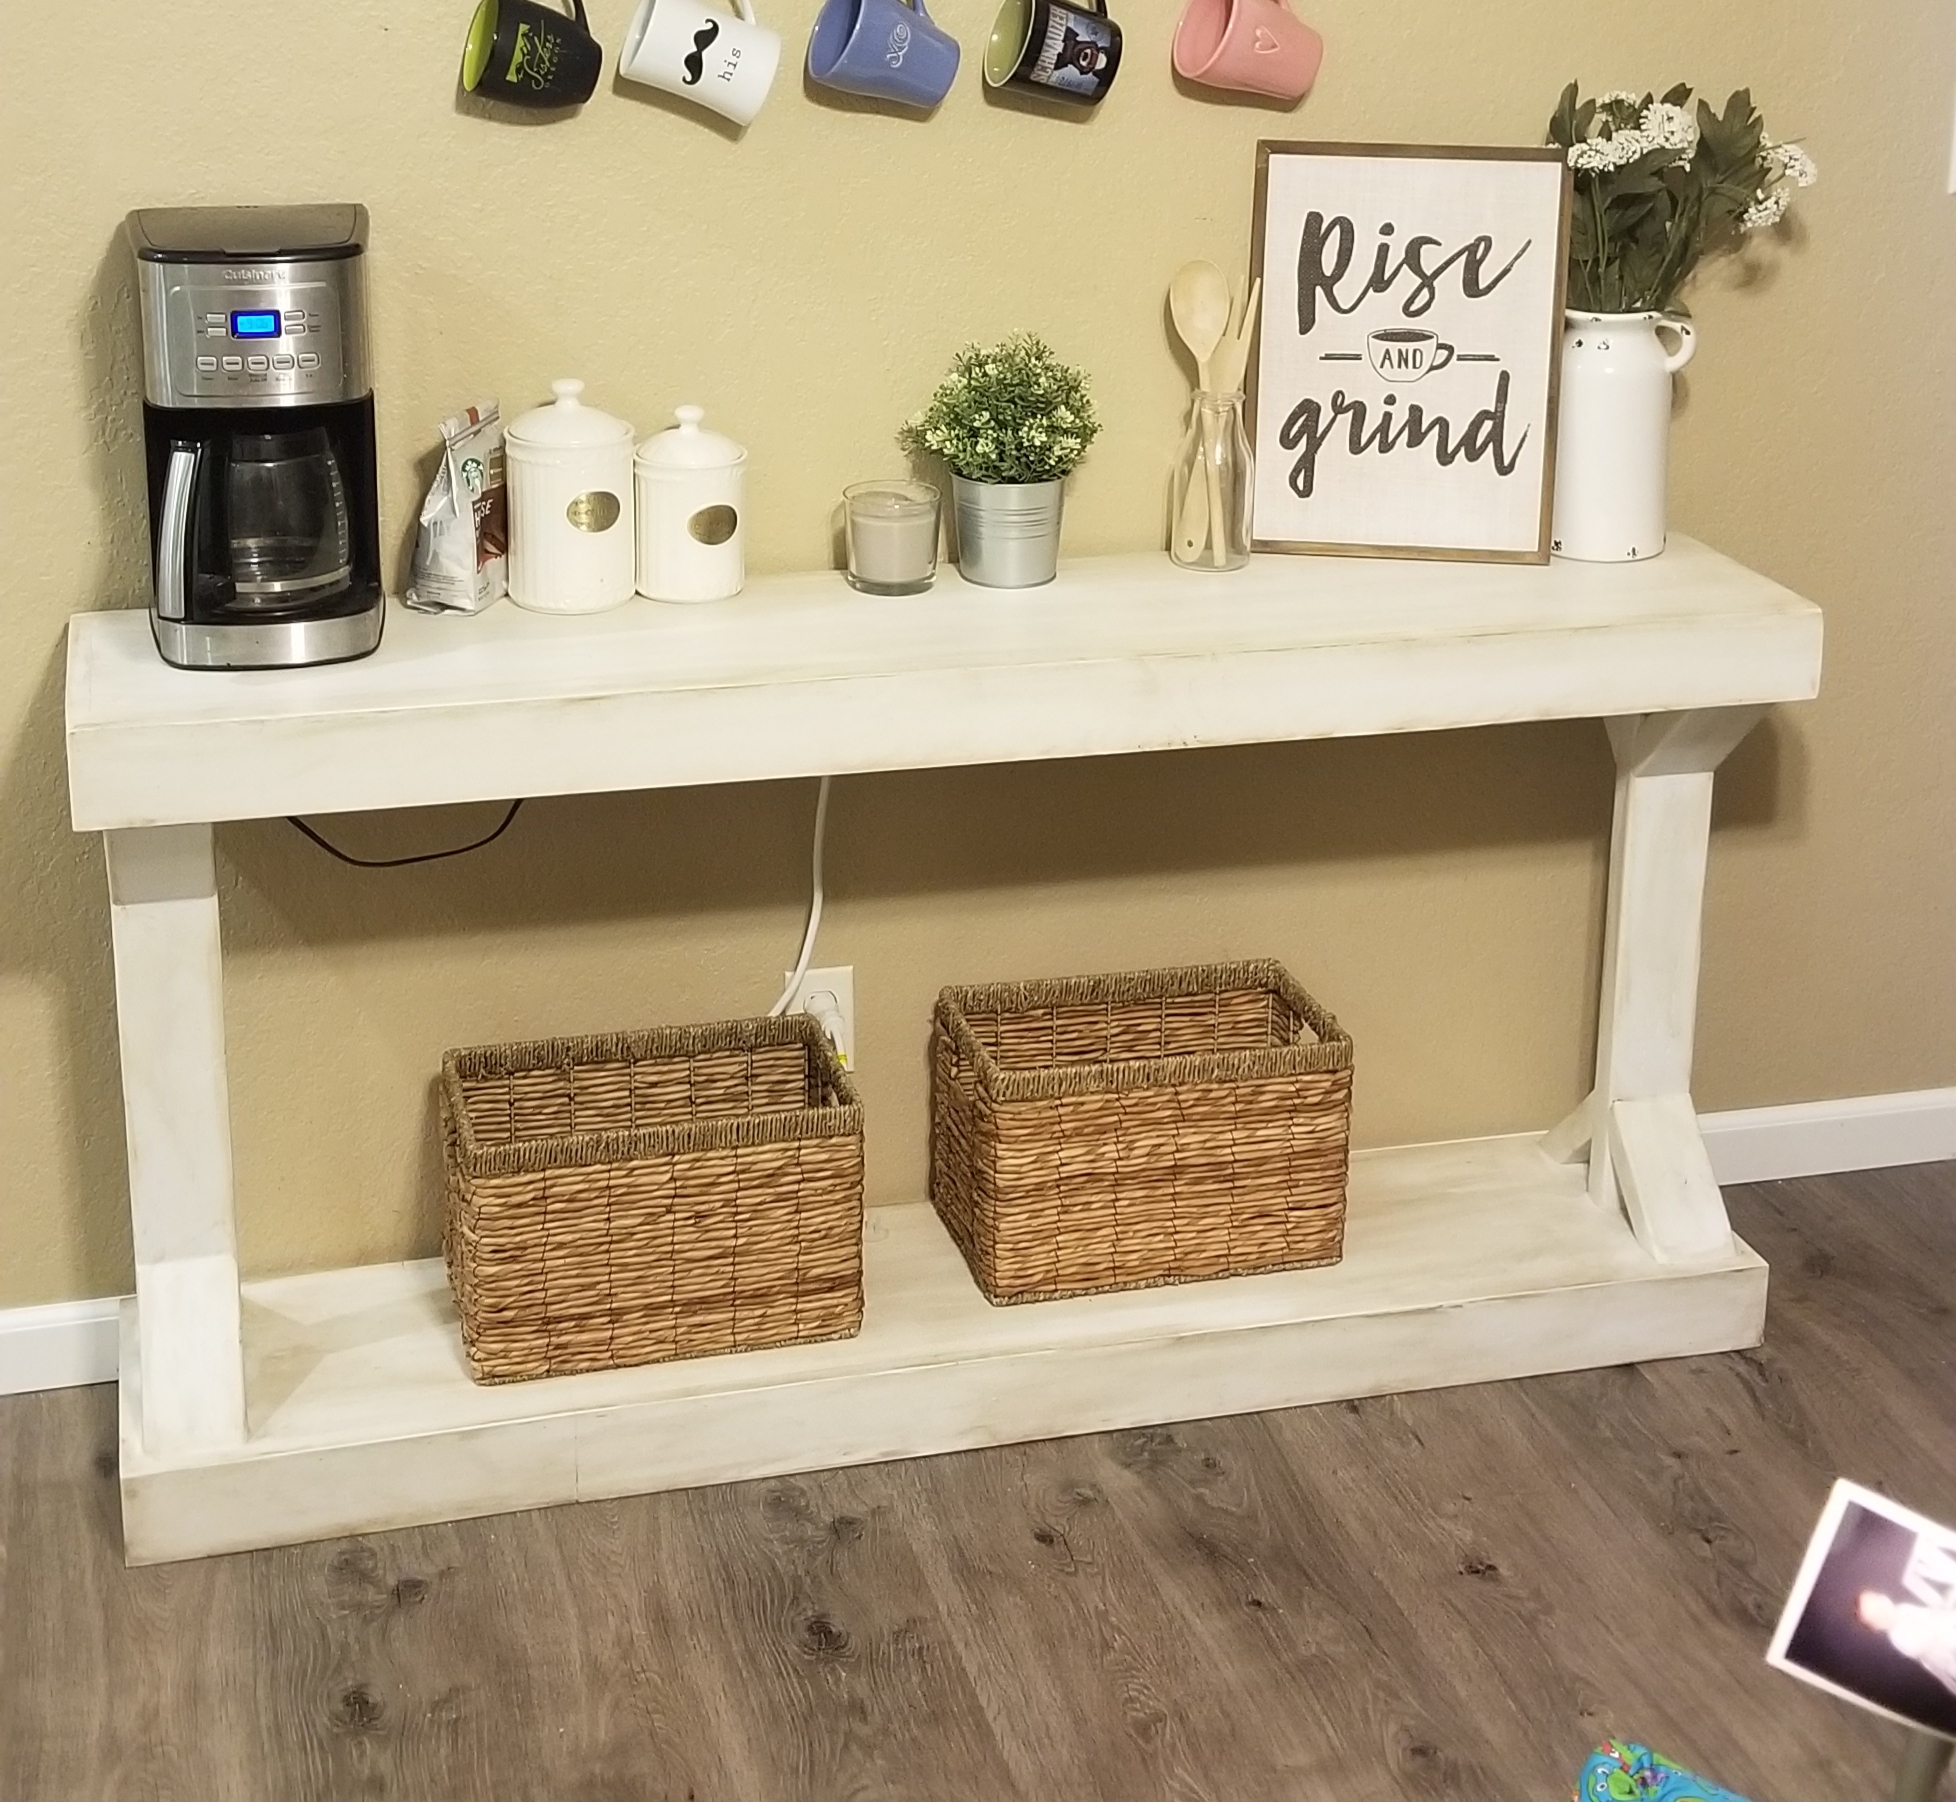
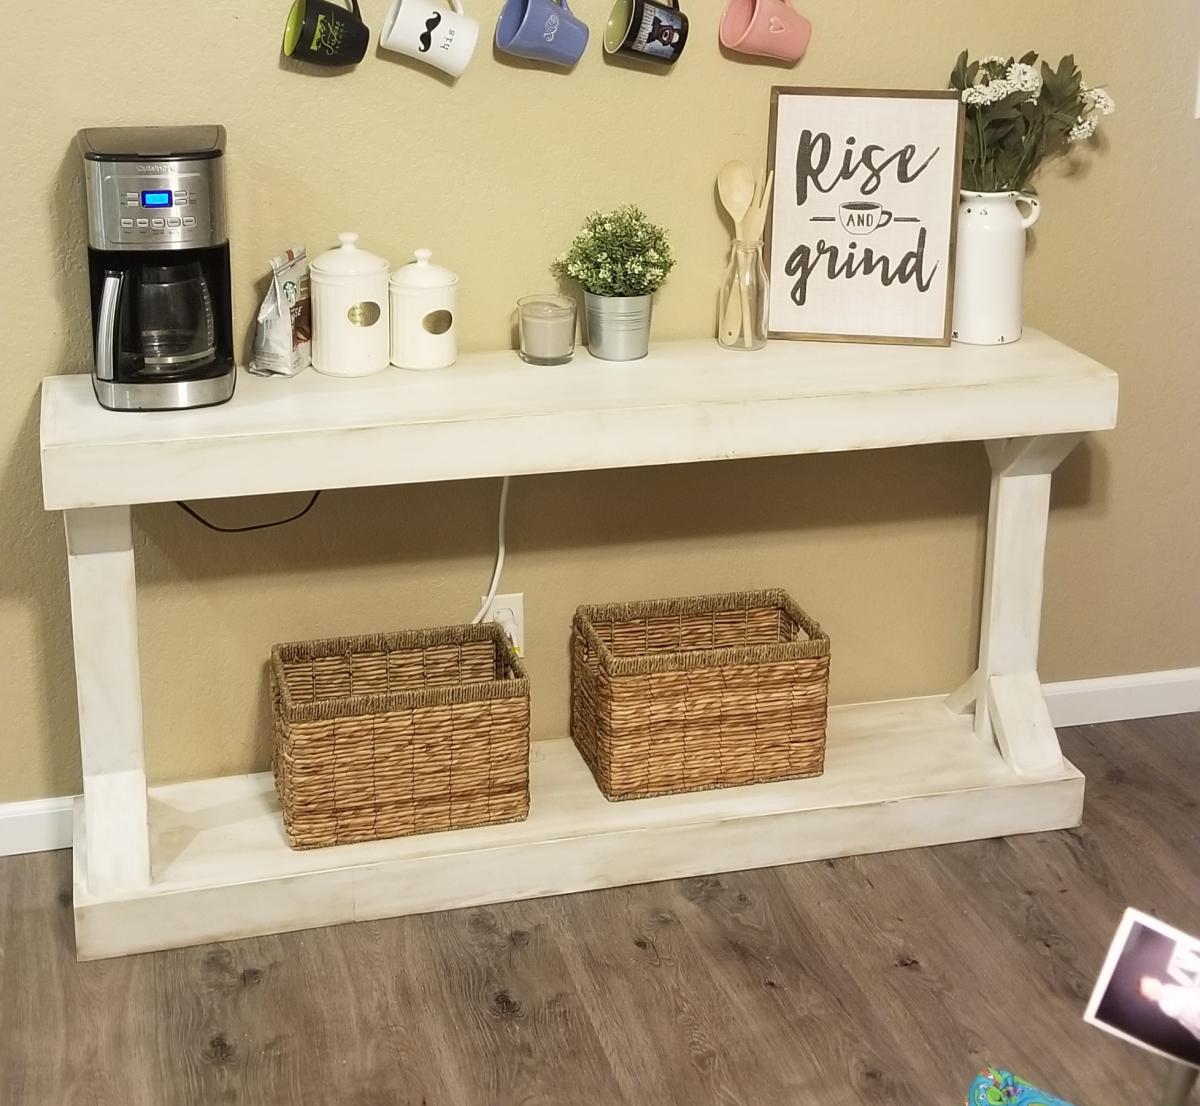
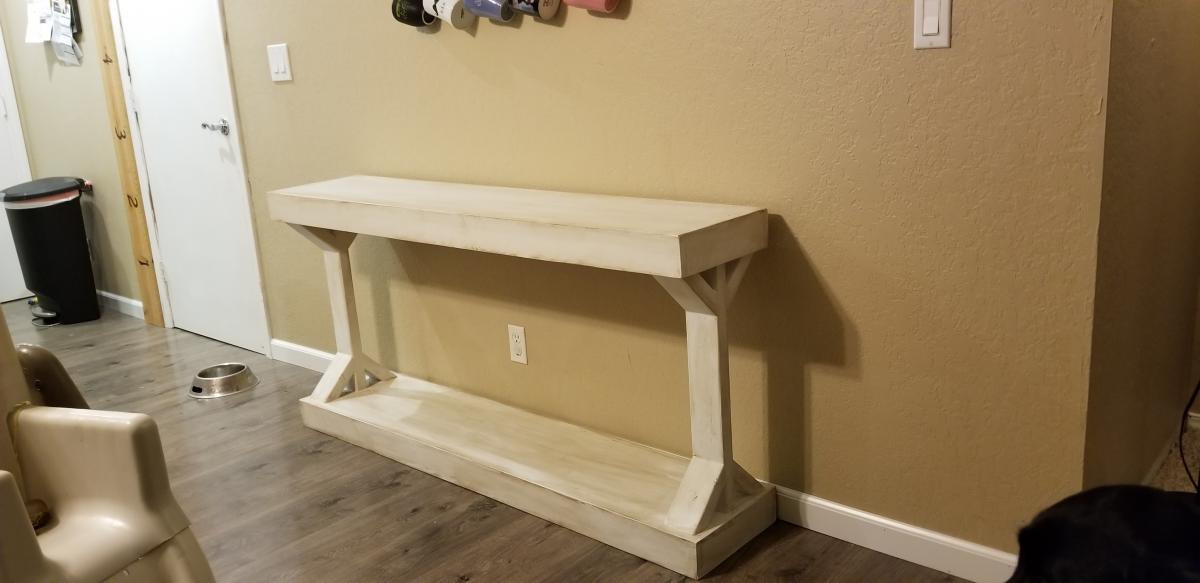
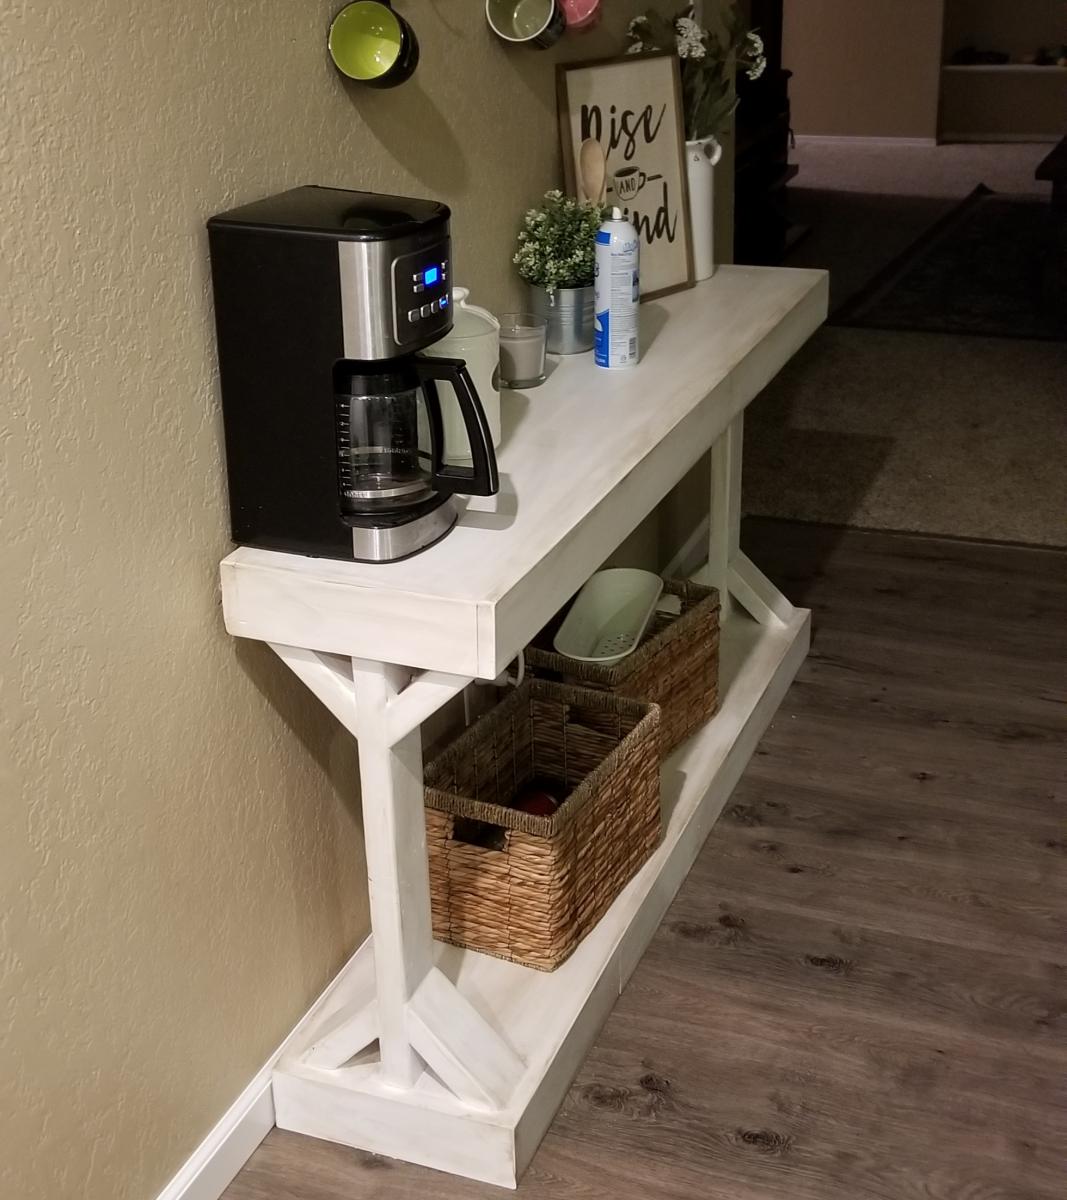
Attempted this plan, but I used 2x12 boards and made it 5ft long for my wife's coffee station.

Estimated Cost
40
Estimated Time Investment
Afternoon Project (3-6 Hours)
Recommended Skill Level
Intermediate

Comments

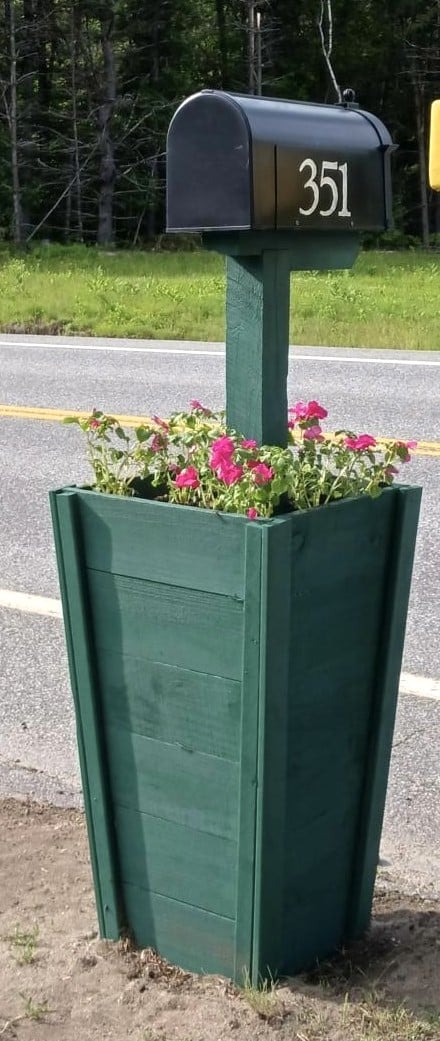
Tall Wood Planter

Submitted by Anonymous (not verified) on Thu, 06/15/2023 - 11:51

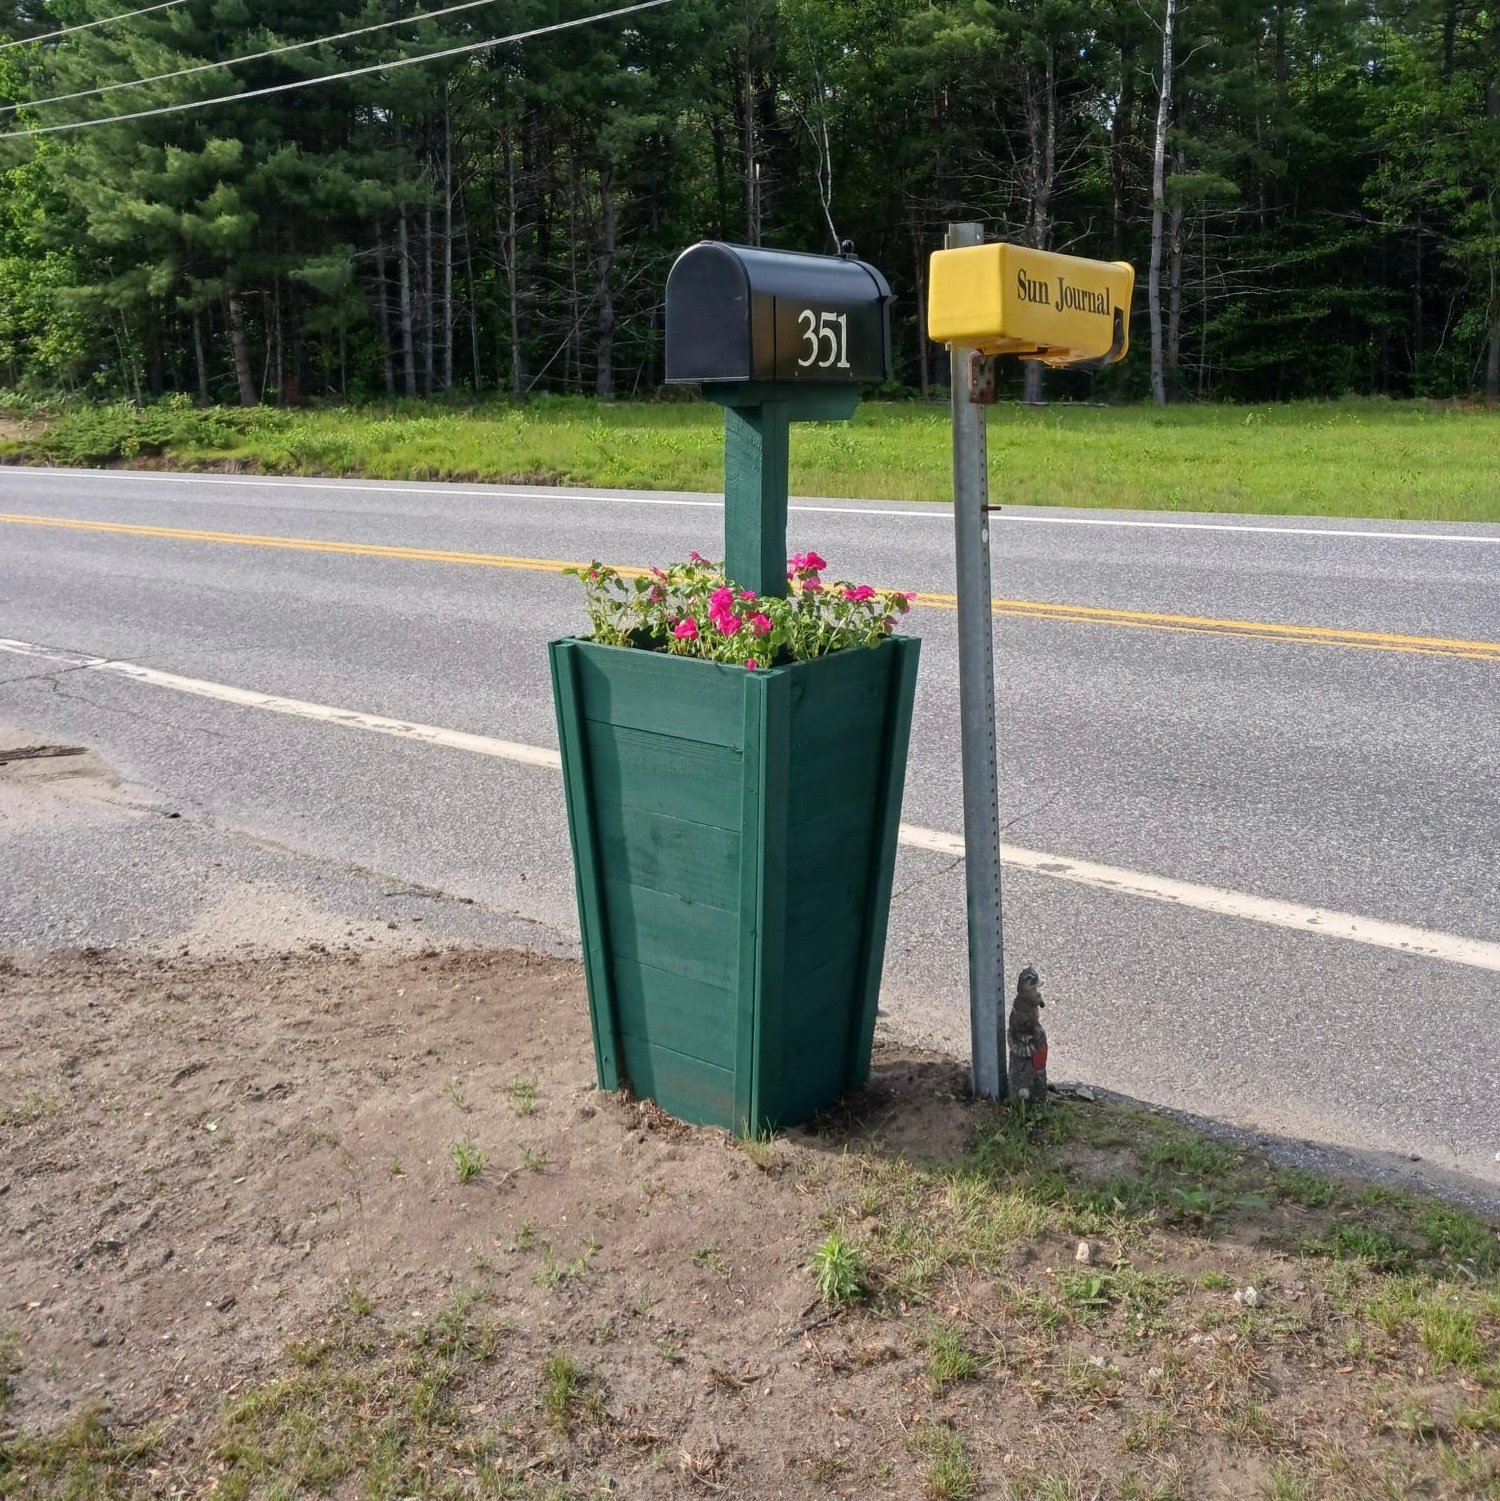
Thank you, Ana, for providing such great plans and video so I could accomplish the mailbox planter. It took me a lot longer than it did you, but I got it done! Had a hard time finding cedar pickets in my area, but ended up using the dog-eared ones as that's all I could get. Keep up the phenomenal content on your site...it is very much appreciated!

Built from Plan(s)

Comments

Seasonal And Holiday

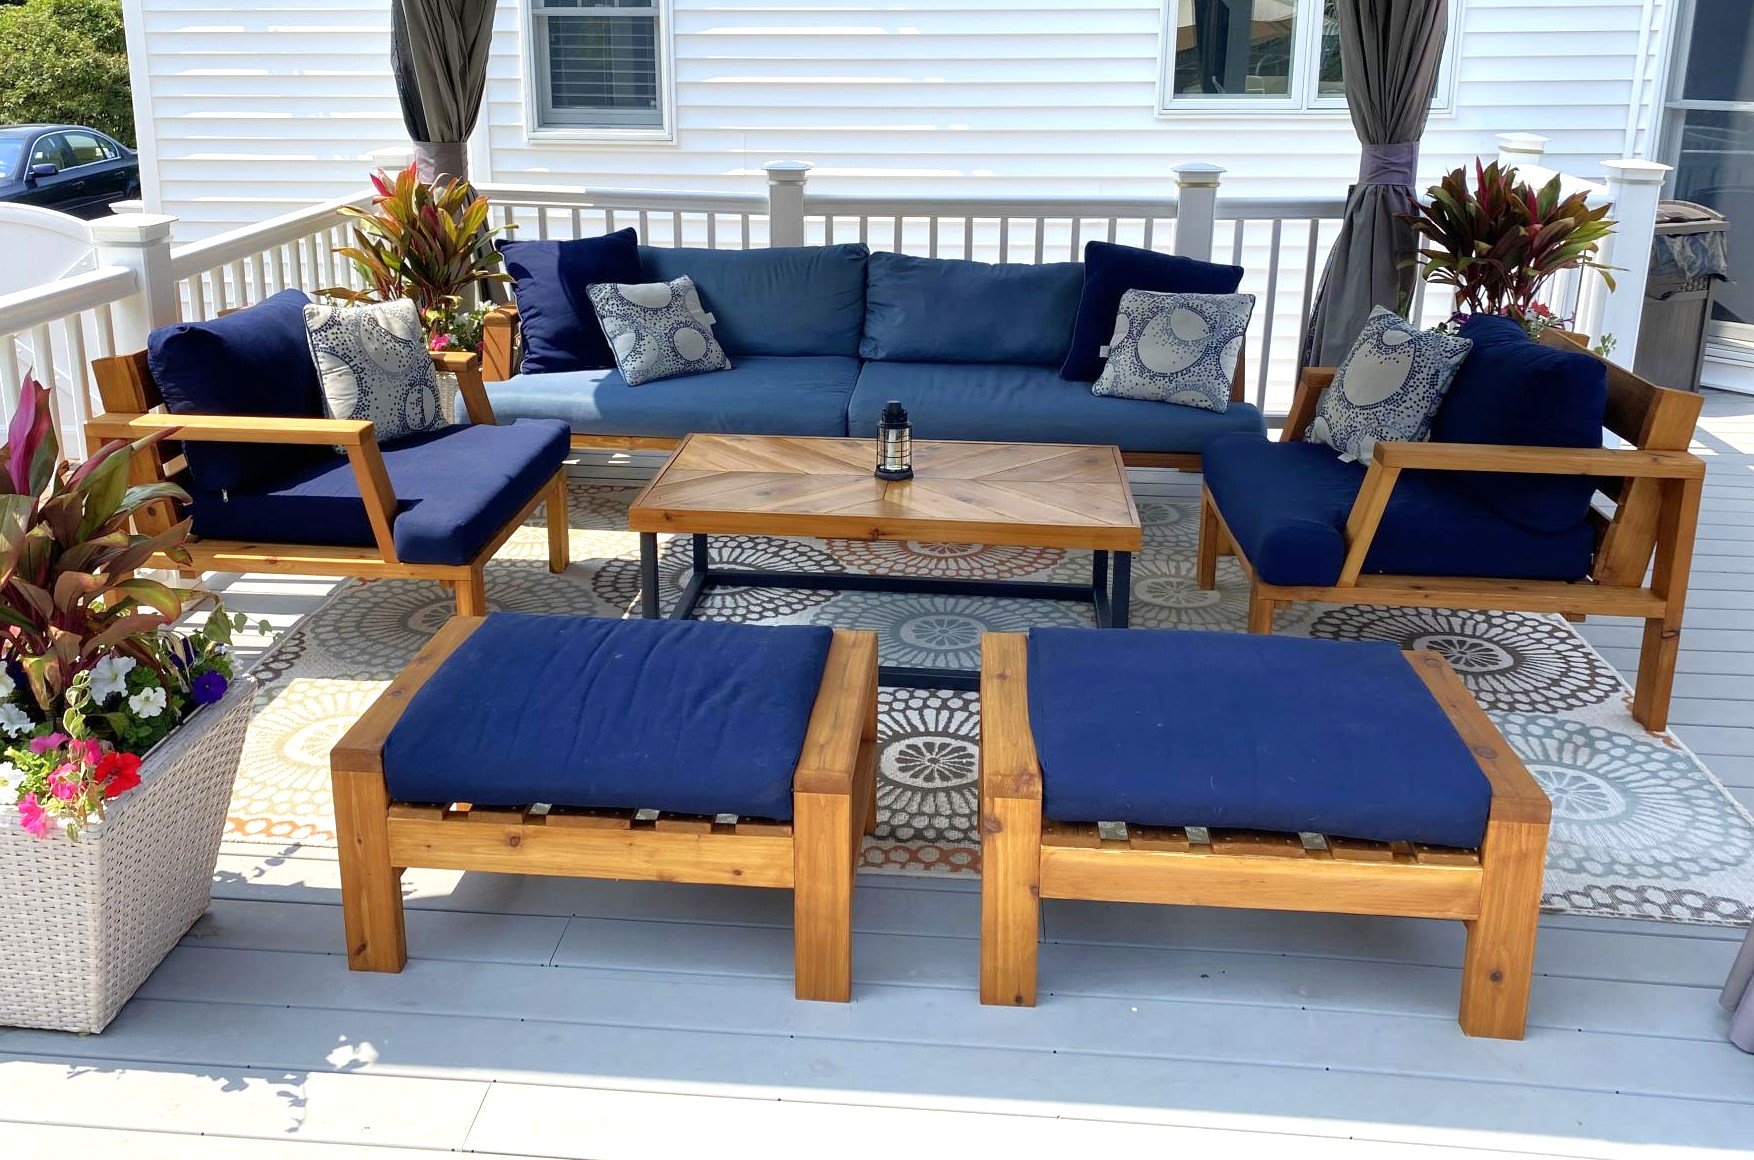
Outdoor Patio Furniture

Submitted by Anonymous (not verified) on Tue, 06/20/2023 - 09:32

Our outdoor furniture from Costco was falling apart but the cushions were still in great shape so I decided to design the furniture around the existing cushion dimensions. I used all Cedar wood and stained it with Australian Timber Oil Honey Teak stain. The table design was from a picture I saw on another site.

Comments

Seasonal And Holiday

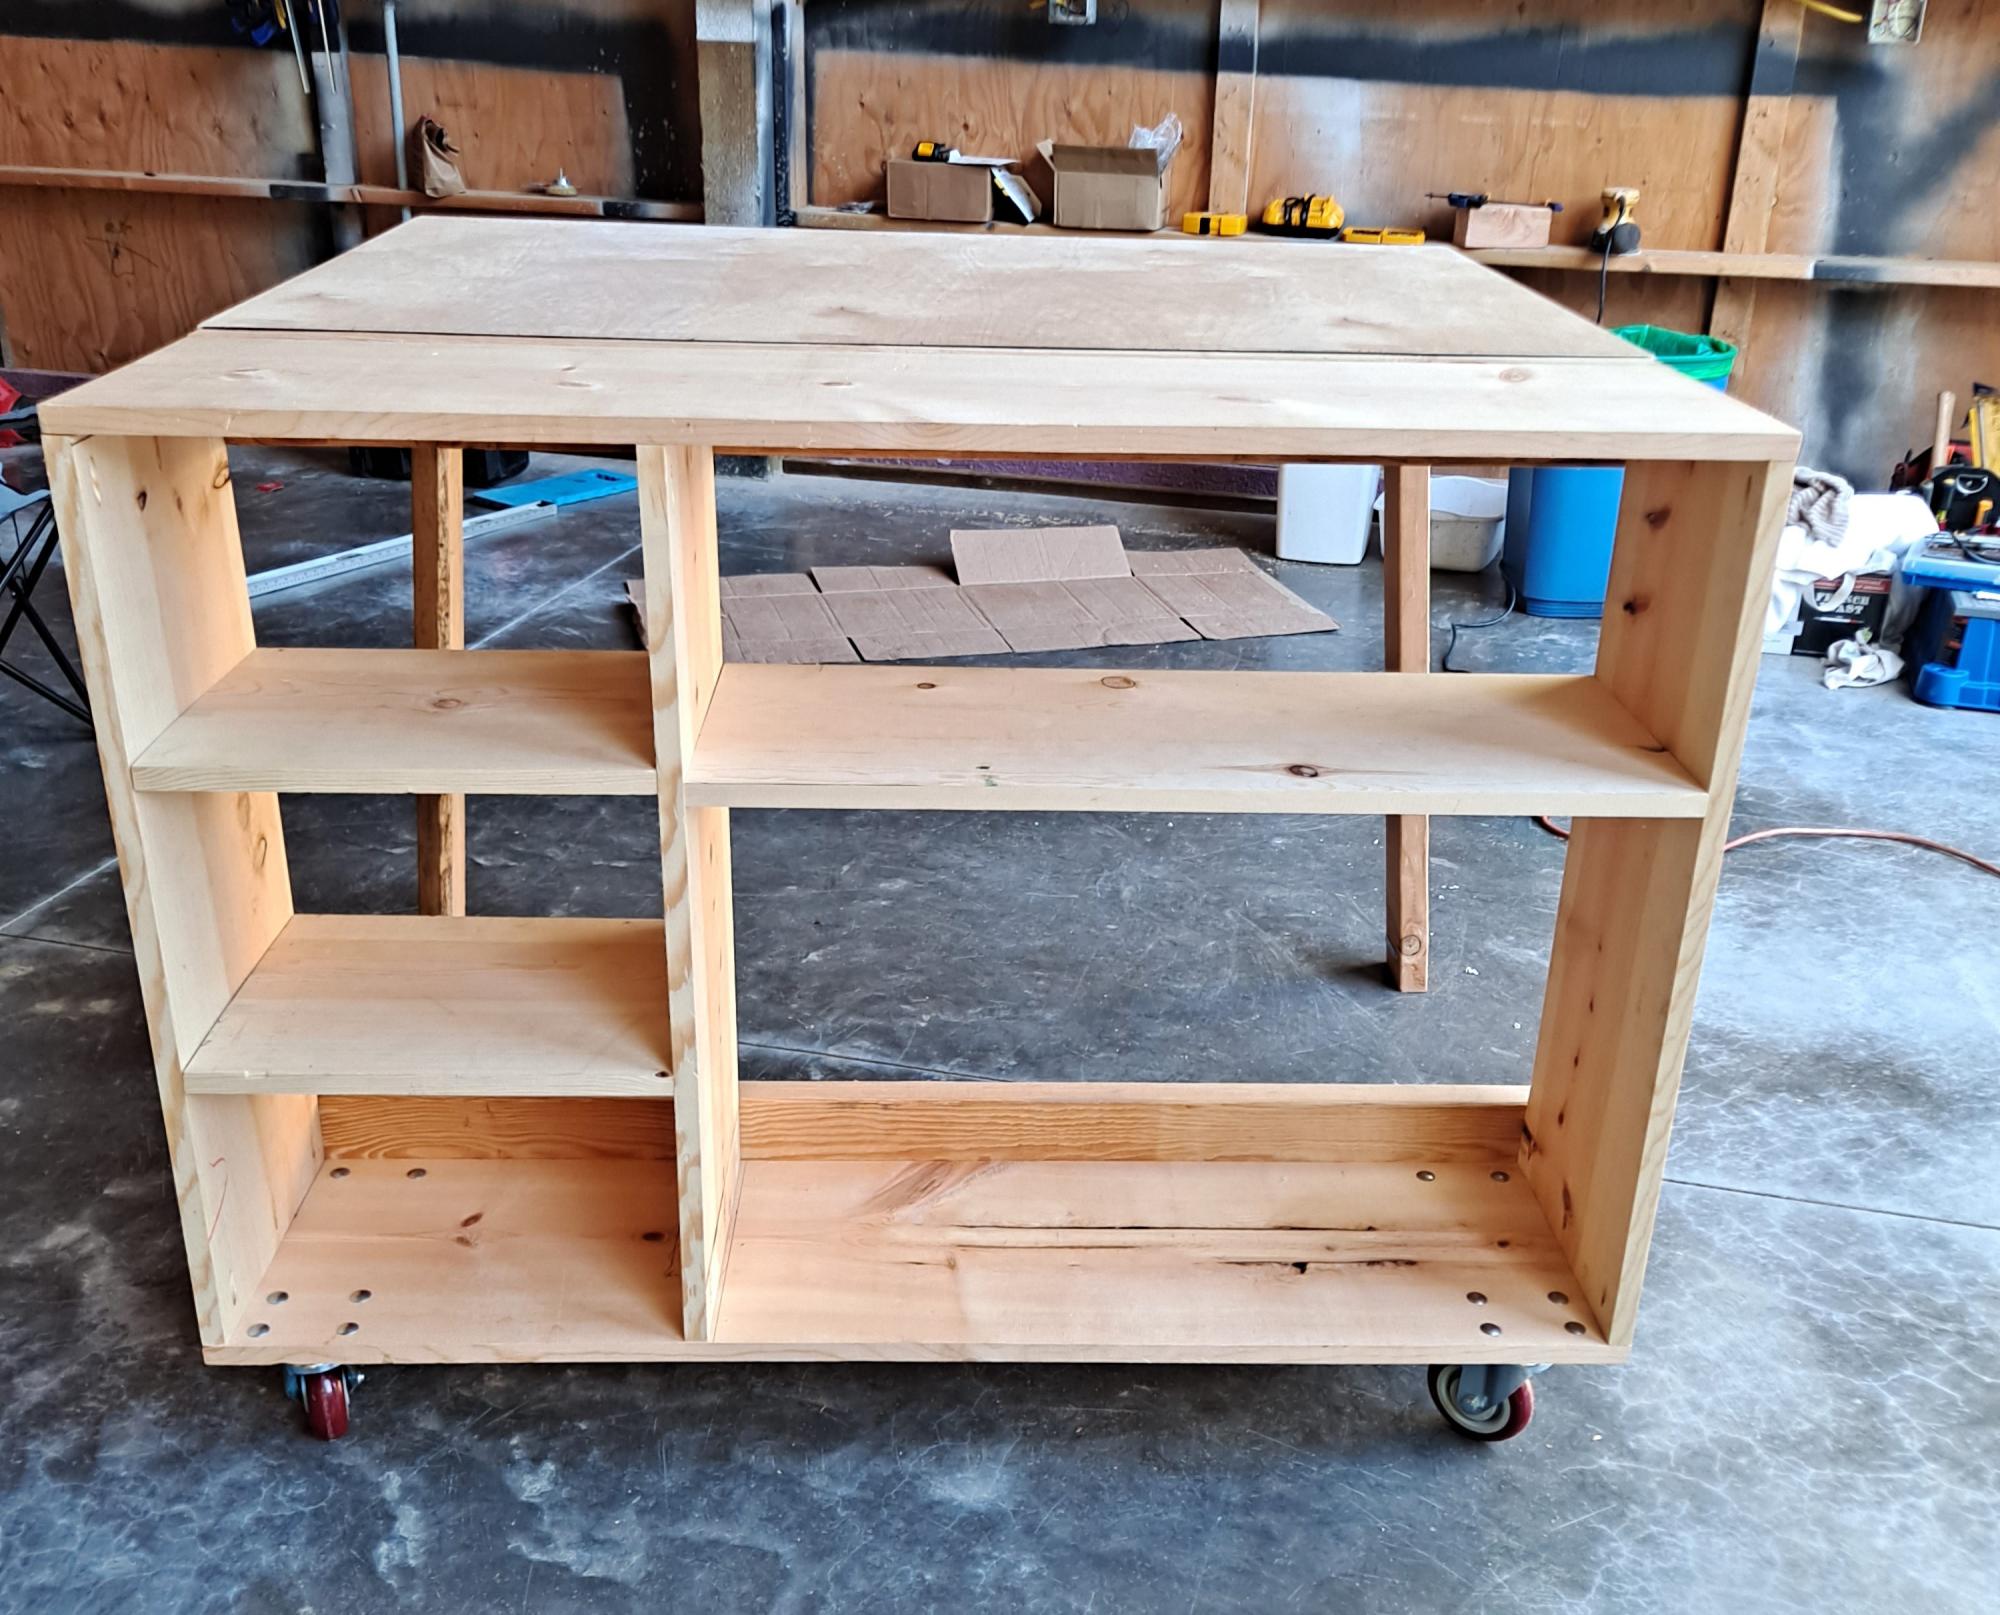
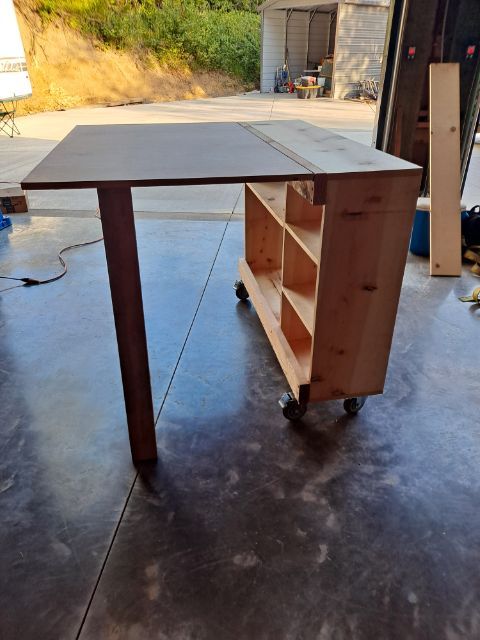
Folding Worktable

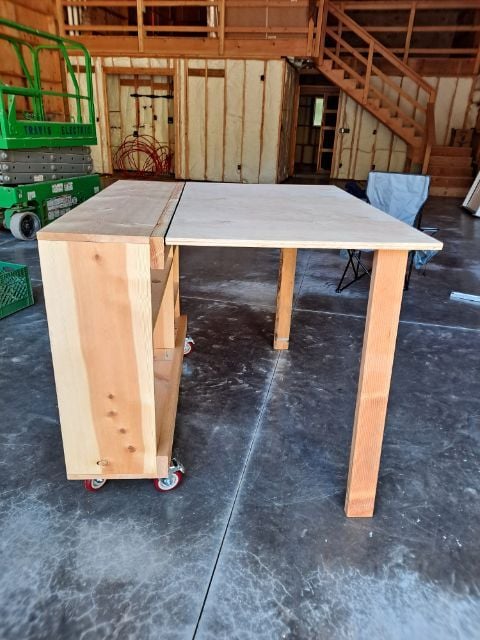
Made the portable worktable as my craft table. I'm limited on space so the fold down table was just the key. Thank you Ana. You are an amazing carpenter & inspiration to me. You make your plans so easy to read & follow. Thank you so much. I can't wait to make more of your plans. ❤️

Jodi Inman


Built from Plan(s)

DIY Potting Bench

Submitted by Anonymous (not verified) on Sun, 07/02/2023 - 11:37

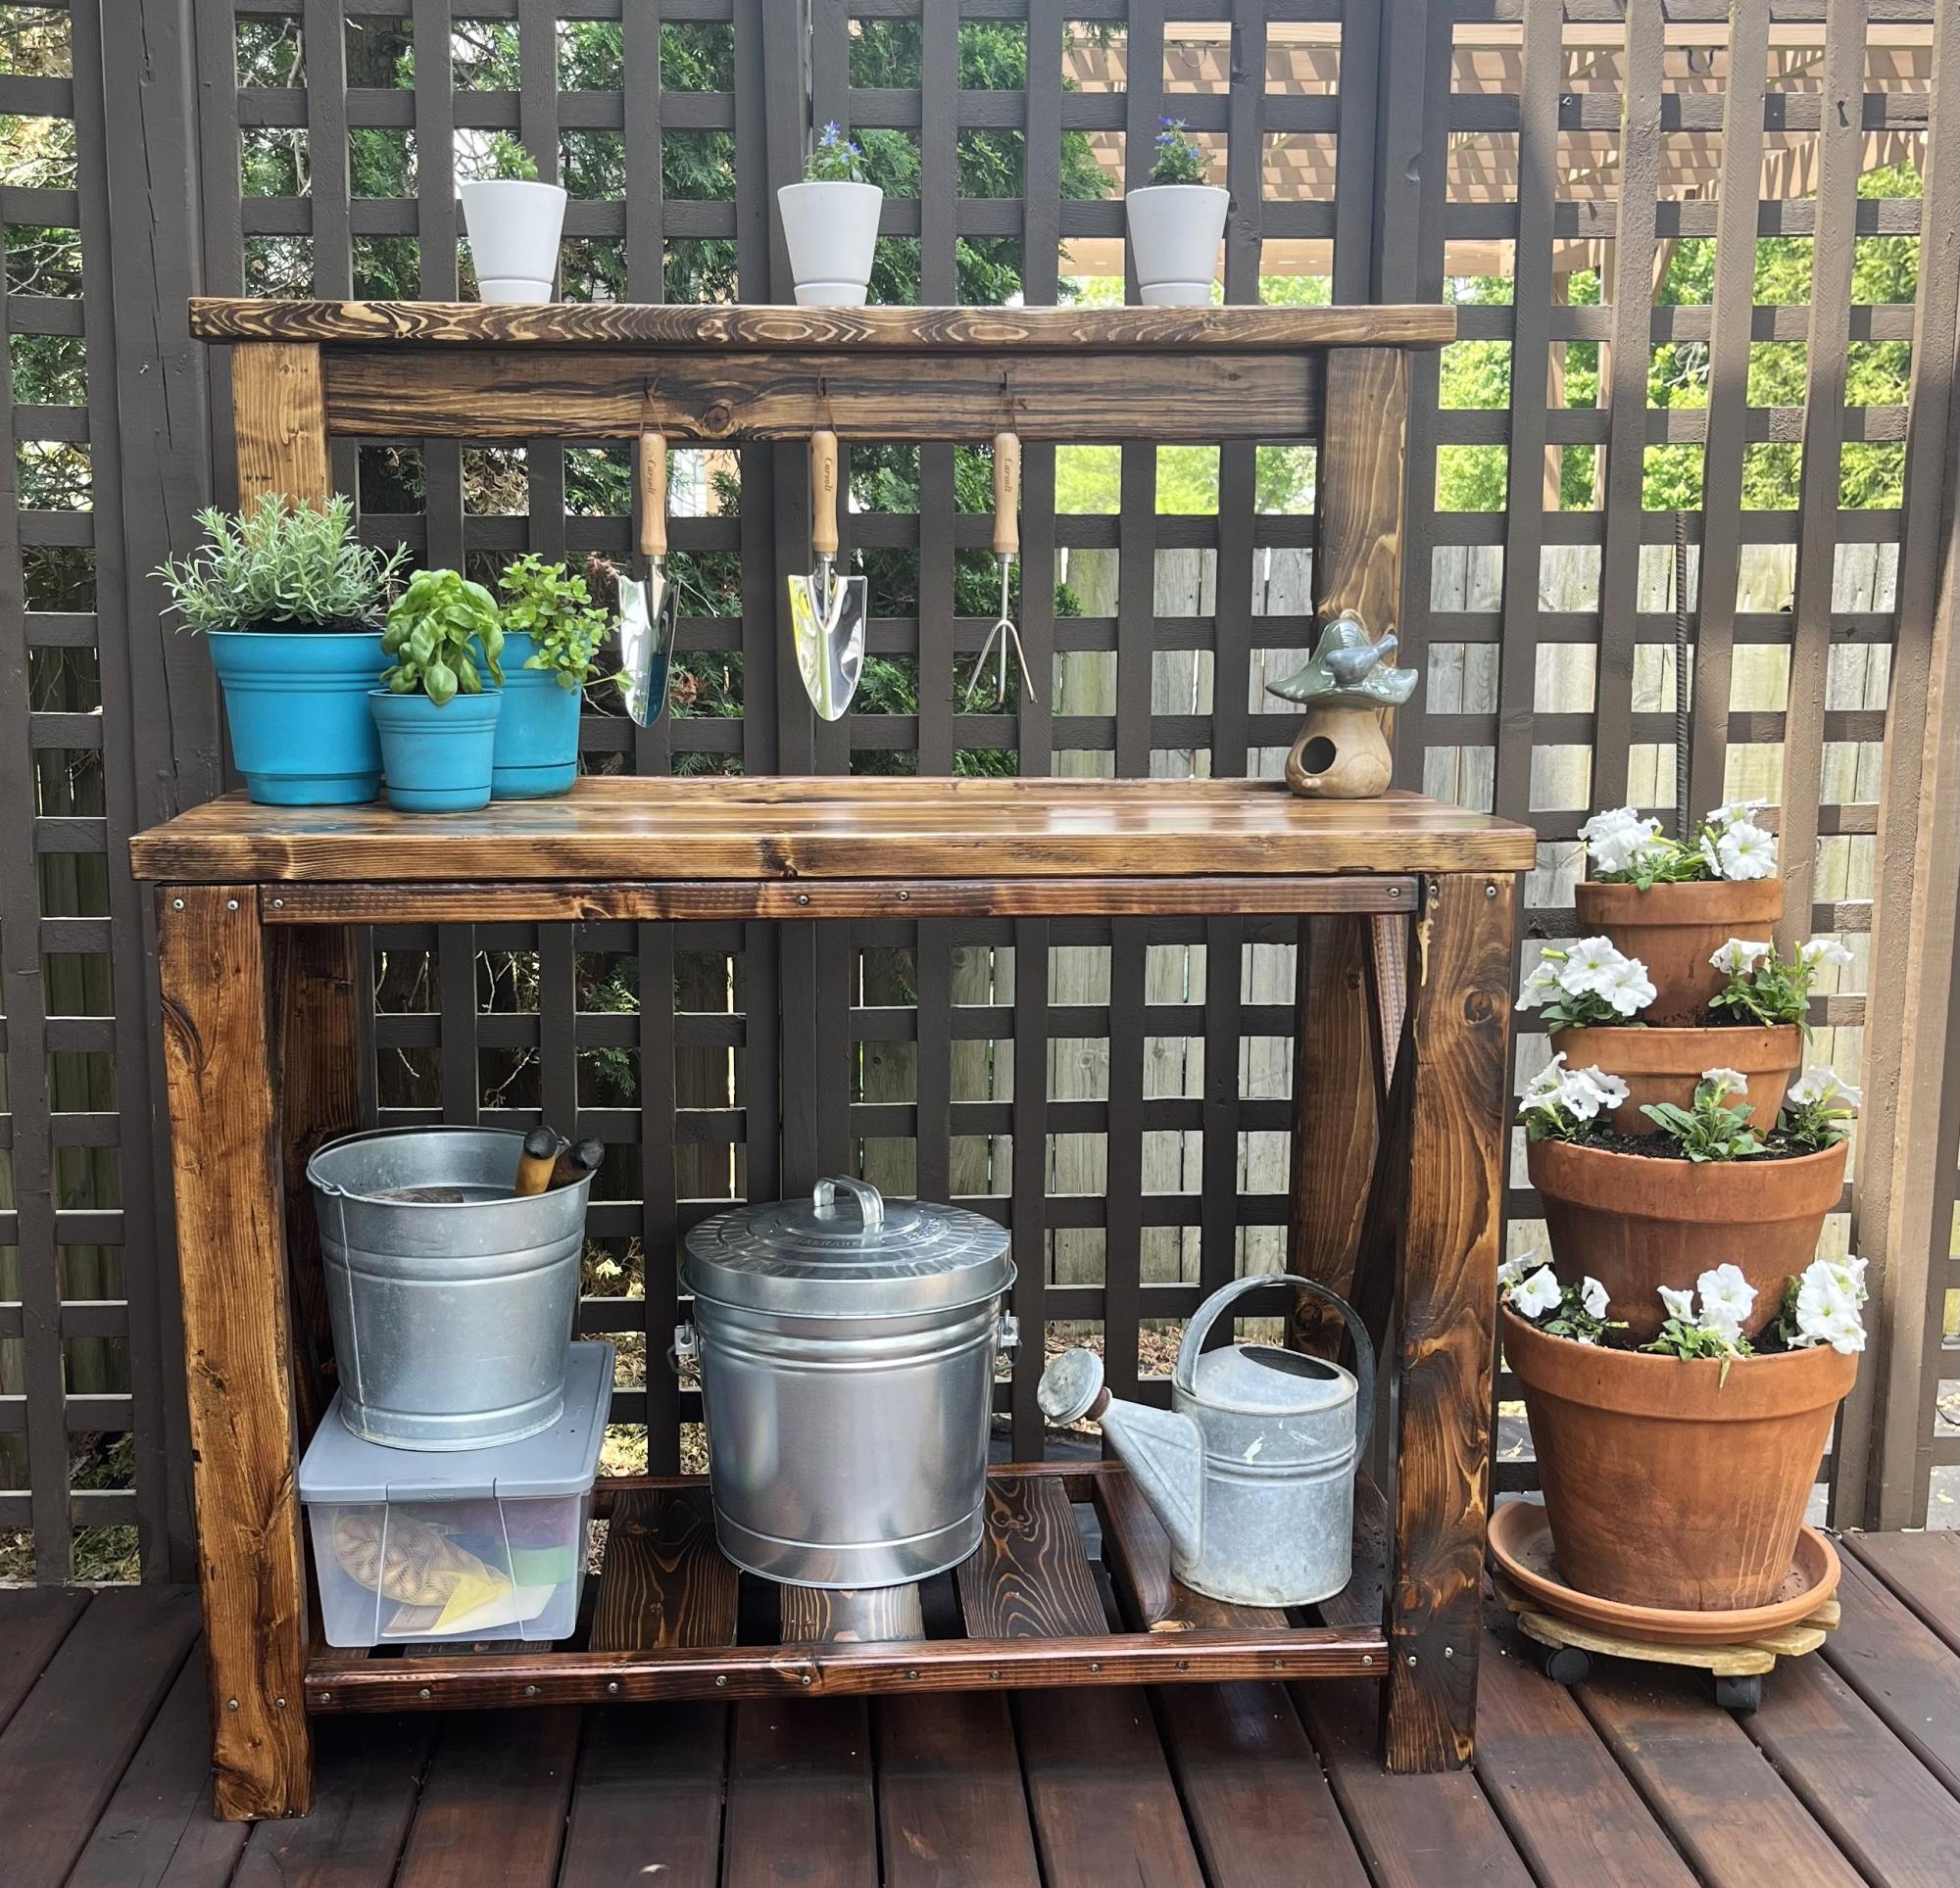
Such an easy build with a little woodworking experience. I am in love with this project and am so excited to have done it myself!

Amy

Built from Plan(s)

Pottery Barn Benchmark Media Stand

Submitted by akswartz85 on Wed, 02/22/2012 - 18:16

My dad and I built the Benchmark Media console!We made a few minor adjustments but pretty much stayed to the plan.

Built from Plan(s)
Estimated Time Investment
Week Long Project (20 Hours or More)
Finish Used
Minwax Jacobean, polyacrylic gloss
Recommended Skill Level
Intermediate

OLD ENGLISH FARMHOUSE WRITING DESK

Submitted by kwildman on Mon, 10/21/2019 - 11:59

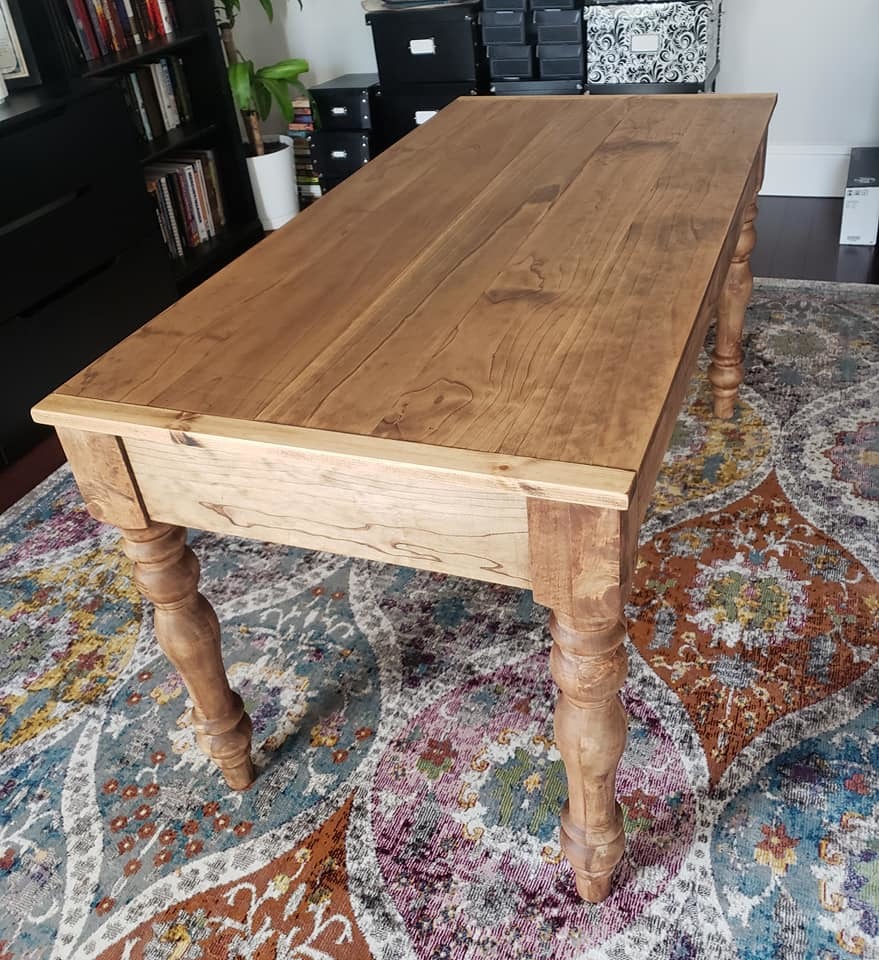
I modified the Small Old English Style Farmhouse Dining Table plan to build a writing desk.   

I used five 1x6 boards for the top for a width of 27.5 inches.   I made my desk 56 inches in length.  I put the drawer on the long side like a pencil drawer.   I did use the legs that Ana recommended in the plan.   

I watched the video Ana posted on how to make the drawers for this table and it was so helpful.  I just made it like Ana did in the video but on the long side instead of the short ends.

I love how it turned out.  I used Watco dark walnut danish oil and Minwax dark wax for the finish.  

Estimated Cost
225
Estimated Time Investment
Day Project (6-9 Hours)
Finish Used
Watco dark walnut danish oil and Minwax dark wax for the finish.  
Recommended Skill Level
Intermediate

Rustic bench

Submitted by Brian on Sun, 03/04/2012 - 08:39

Fun little bench to make for our front porch. We liked it so much we built 2 more smaller ones one for each of the kids to go with mommy and daddy's bench. Bought all the material at the home store and decided to use stain since it was going to stay outside. Used the same method with all my other projects sanded using 180 than 220 grit, wood filled all the cracks and the Kreg Jig made this simple.

Estimated Cost
30.00
Estimated Time Investment
Weekend Project (10-20 Hours)
Finish Used
2 in 1 stain samples
Recommended Skill Level
Beginner

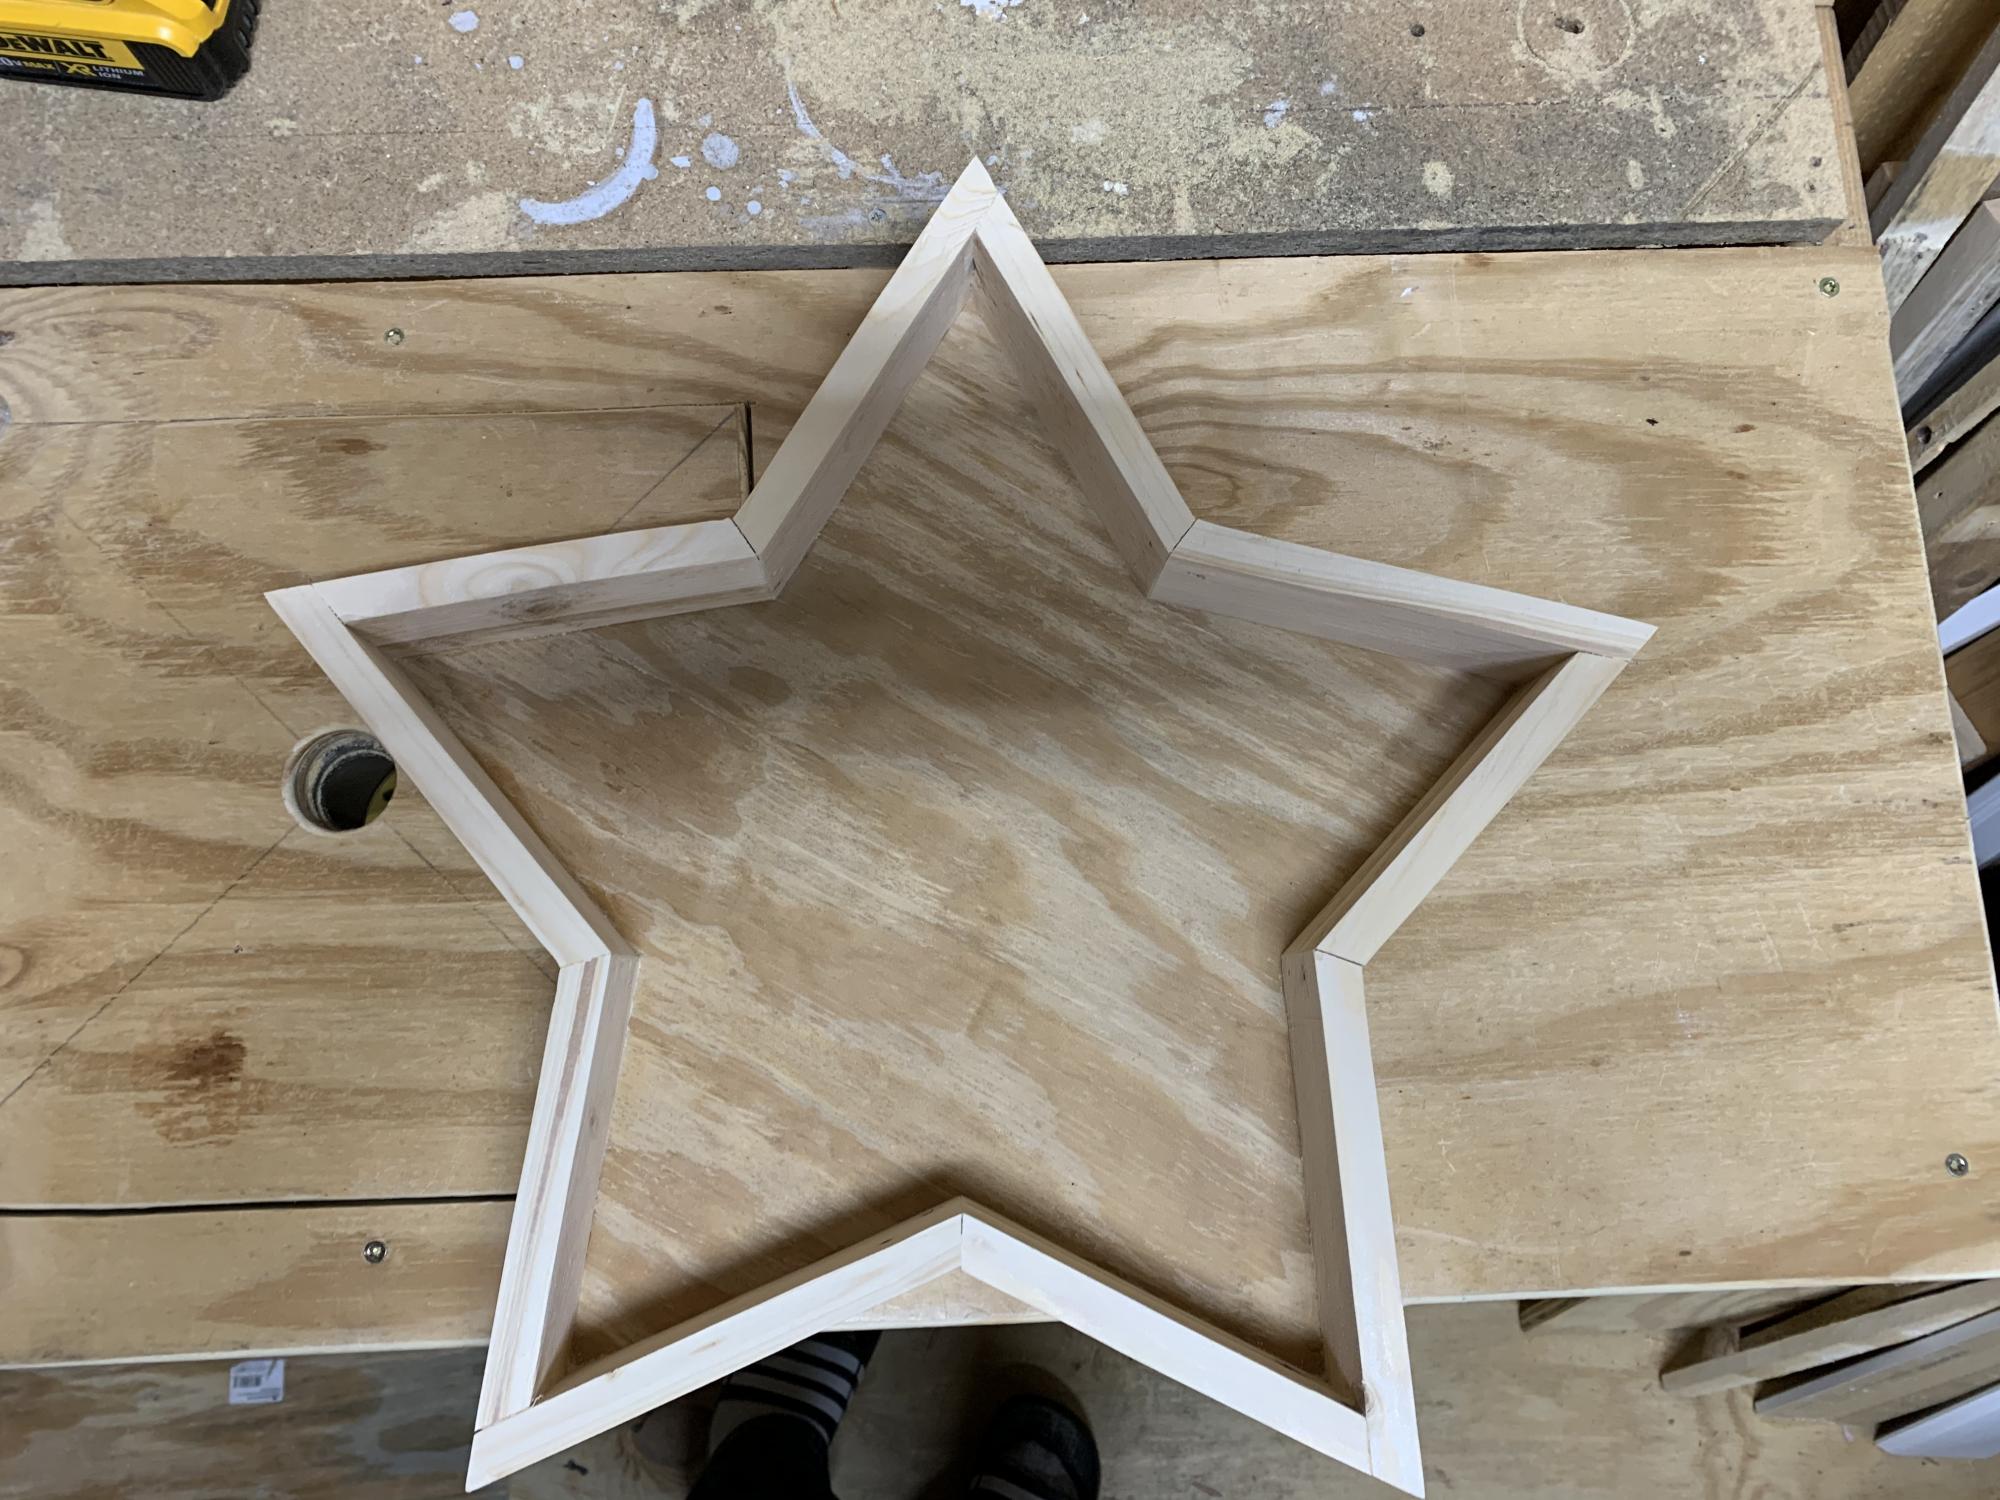
Wood star

Submitted by Anonymous (not verified) on Tue, 12/10/2019 - 17:53

First project in my back porch turned into a makeshift wood shop

Estimated Time Investment
An Hour or Two (0-2 Hours)
Finish Used
Non yet , still going tru options
Recommended Skill Level
Beginner

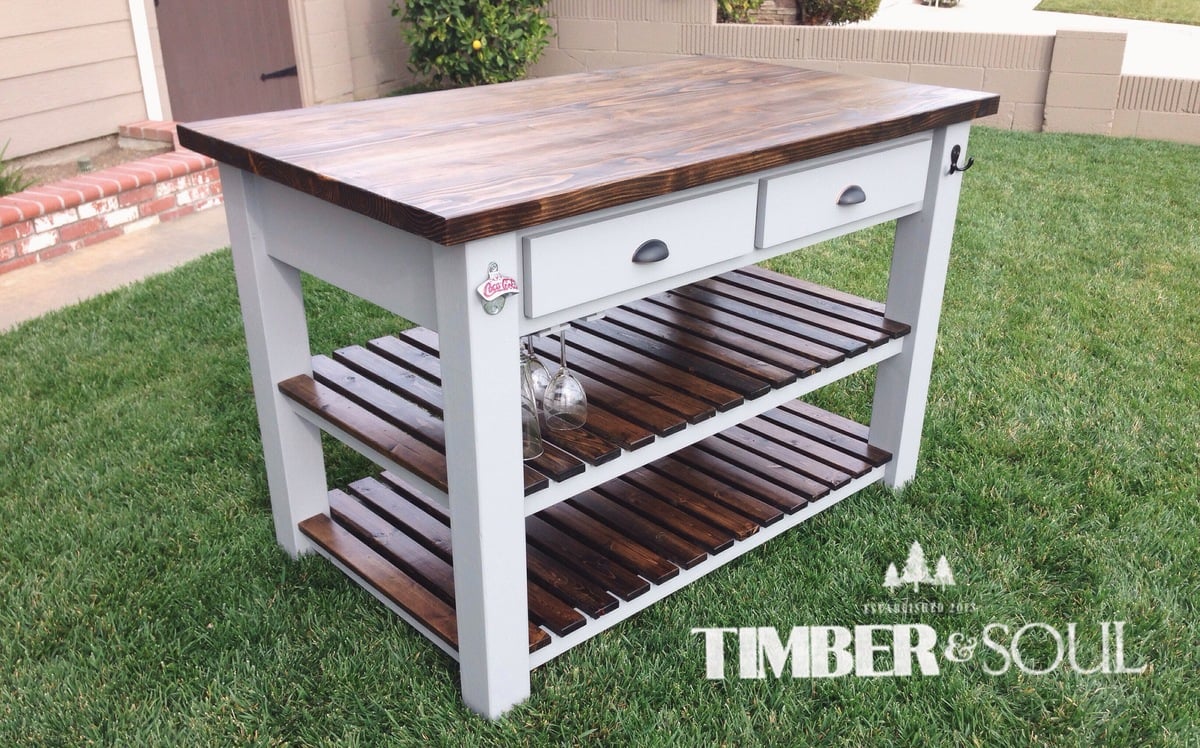
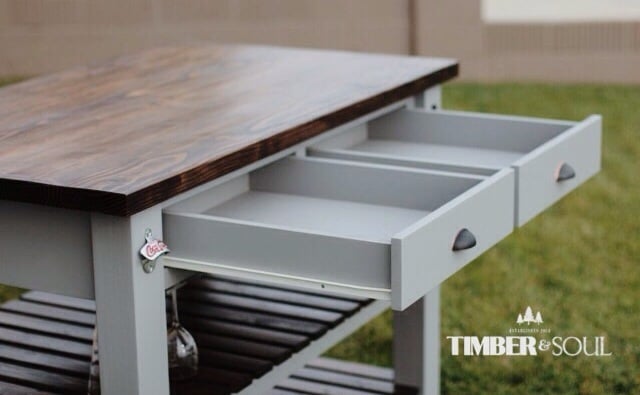
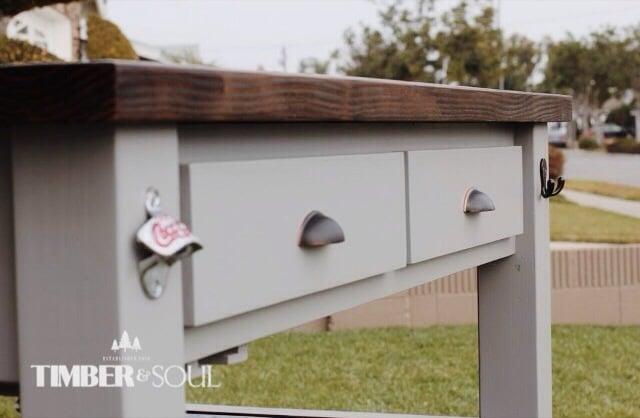
Kitchen Island

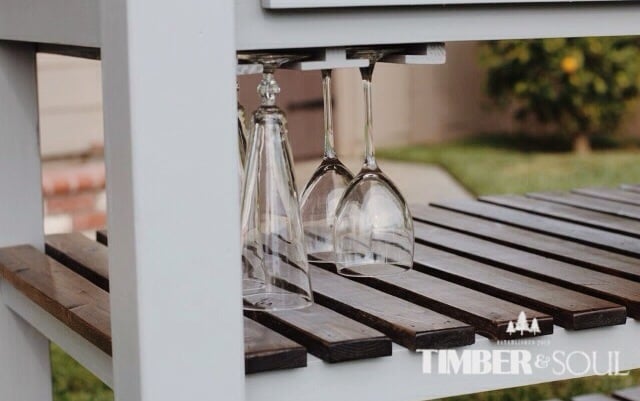
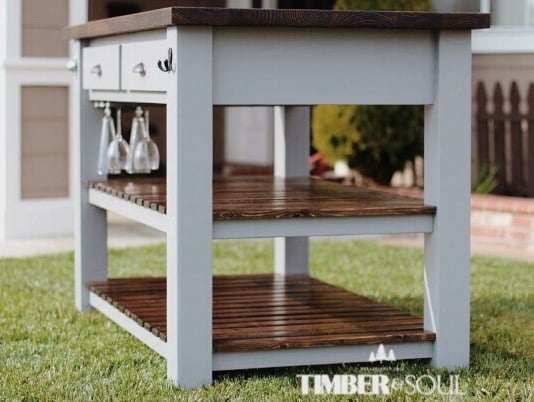
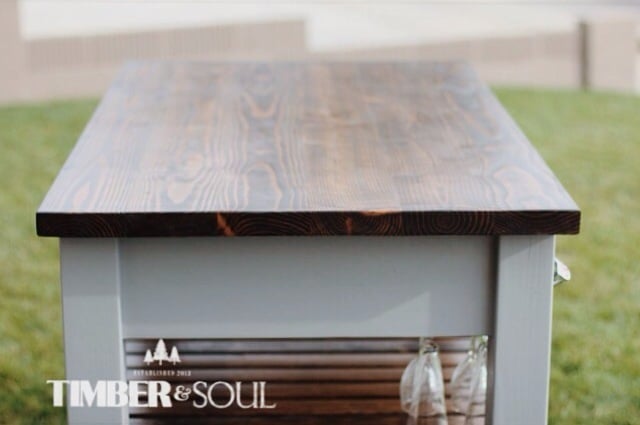
Kitchen Island built from ana white's plans. I attached a wine rack to the underside and changed the design of the shelves to support more weight.

Built from Plan(s)
Estimated Time Investment
Week Long Project (20 Hours or More)
Finish Used
Summit grey paint by sherwin williams and jacobean stain by minwax
Recommended Skill Level
Beginner

Comments

alpinecwt

Wed, 01/15/2014 - 09:34

Really like the contrast between the stain and the paint. Great job on your new kitchen island.

dragonsbb16

Tue, 09/02/2014 - 12:19

Did you use pocket screws for the shelf supports? Also, what were your dimensions for the shelf supports and shelf tops? They look like about 2 1/2" wide for the tops and 3" for the supports. Thanks in advance.

My version kids play grillKids wood play grill

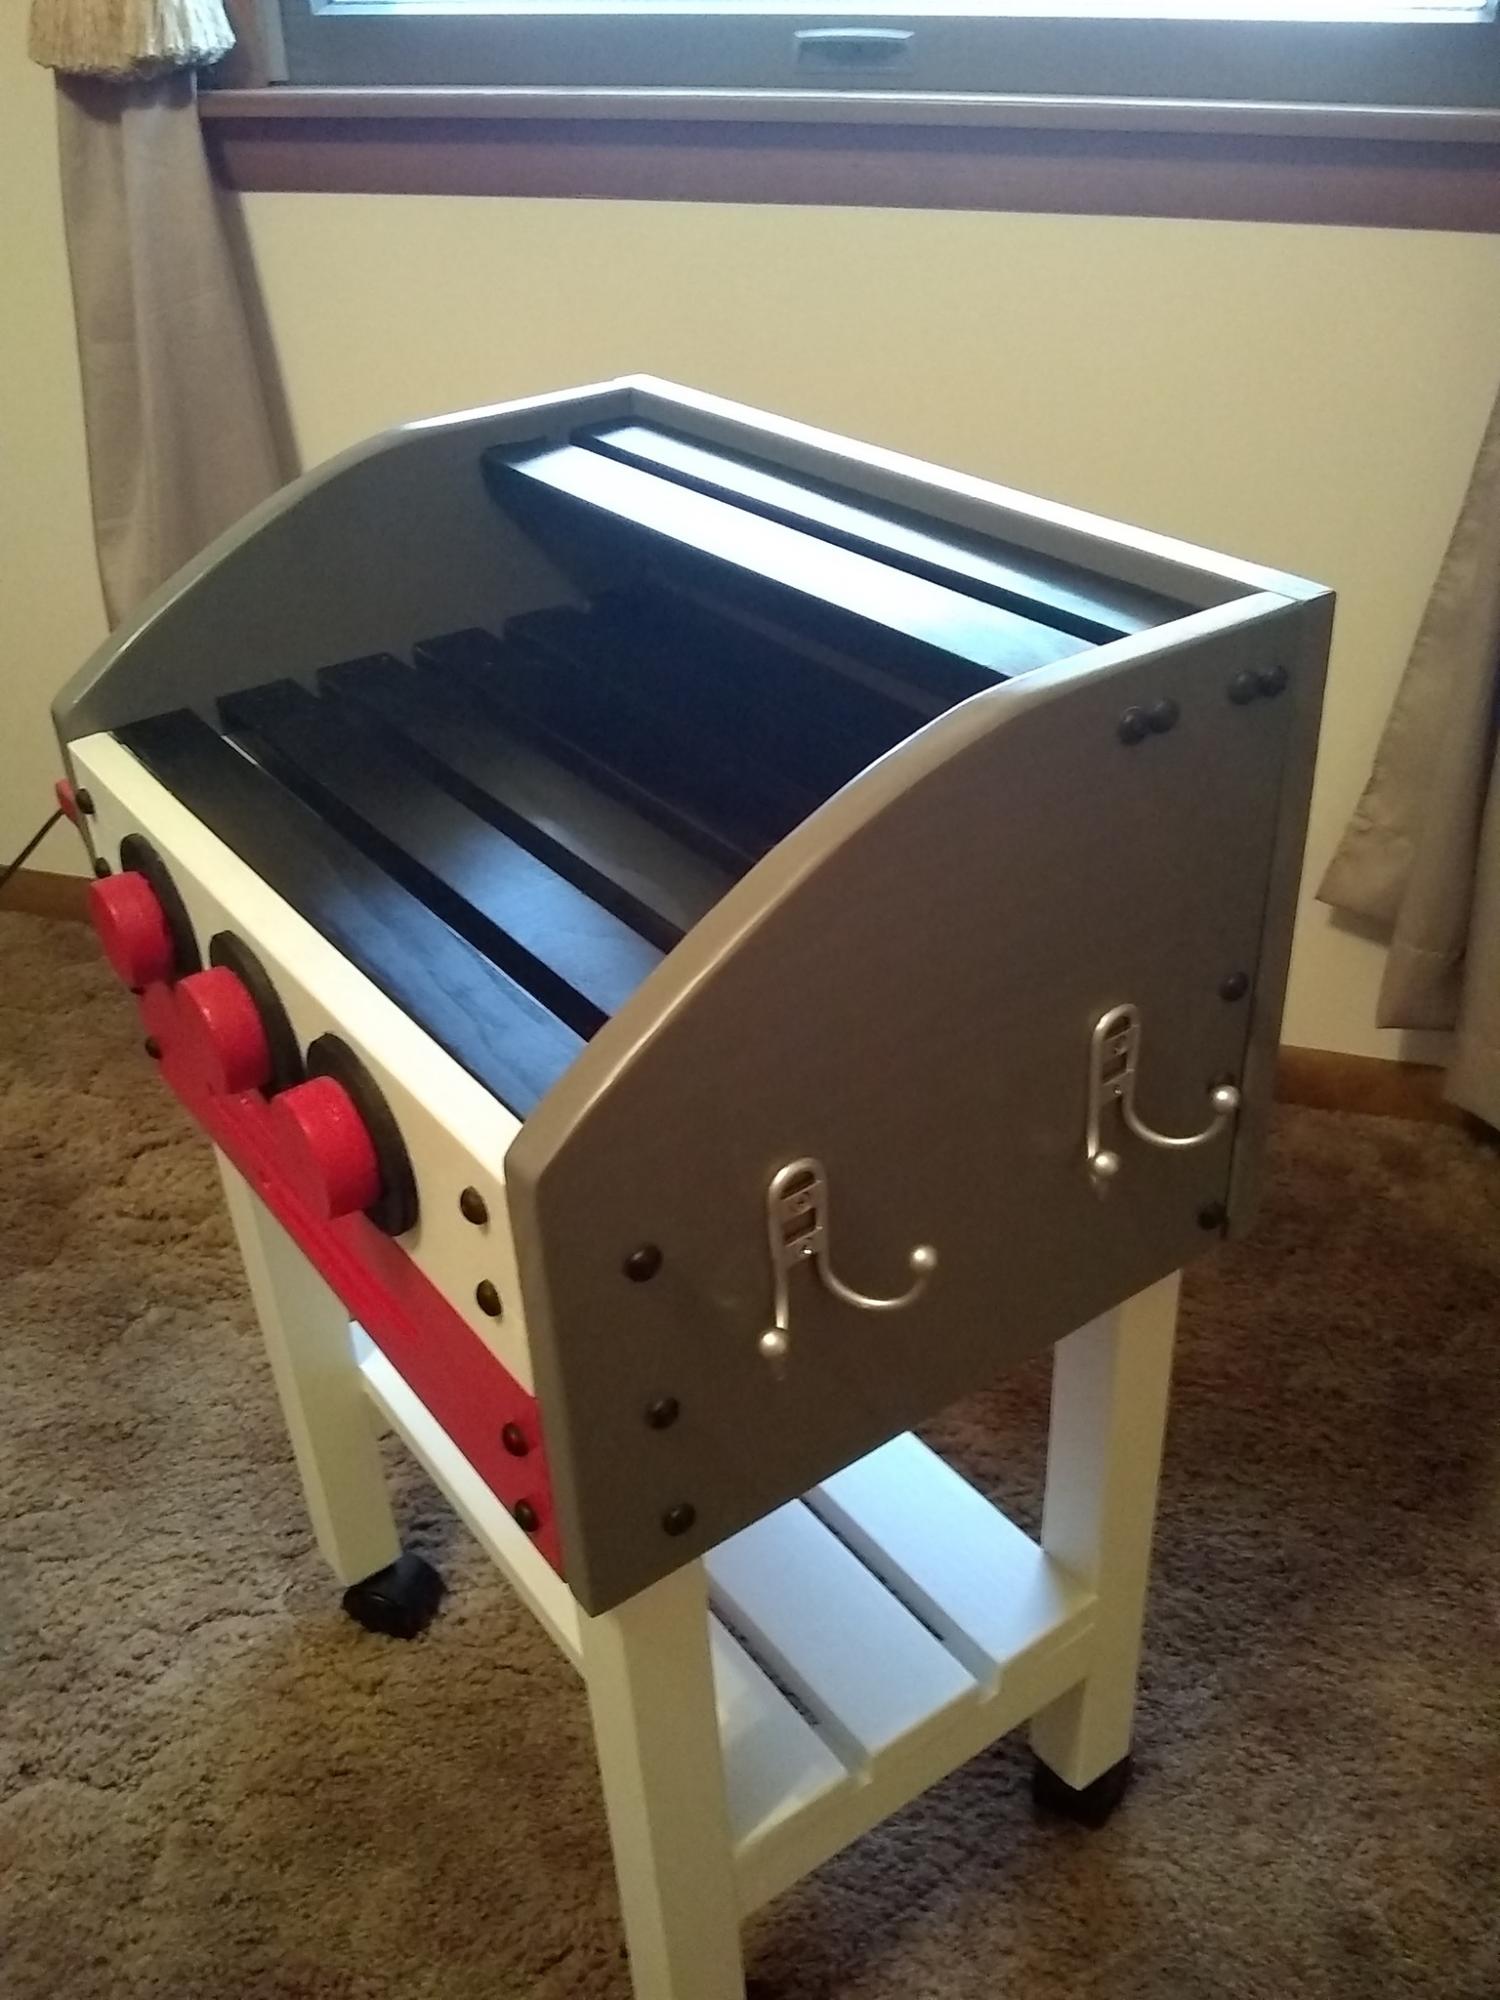
As in a lot of plans I made them to fit my needs. This one was no different. I love Anna and her site. Sometimes things are not always clear. With simple knowledge you can solve most of the problems. I made this version for my 5 year old niece for Christmas. I decided to use 1x12 in place of the plywood . It was easier  to work with and made it much stronger With the solid wood I think I lost 1/4 inch in height. I also had extra 1x3 boards I used them for bottom shelf. For the dials I used what I had. I used my hole saw and filled in center with filler. It was cheaper than buying a dowel. I think it is easier to mount the shelf before you put the sides on. Top grill I stayed with 1x2 I thought it looked much vetter that 1x4 board. I finished it off with castors I think that put the icing on the cate and made it even better. She loved it.

Built from Plan(s)
Estimated Cost
$70
Estimated Time Investment
Weekend Project (10-20 Hours)
Finish Used
Satin Spray paint
Recommended Skill Level
Intermediate

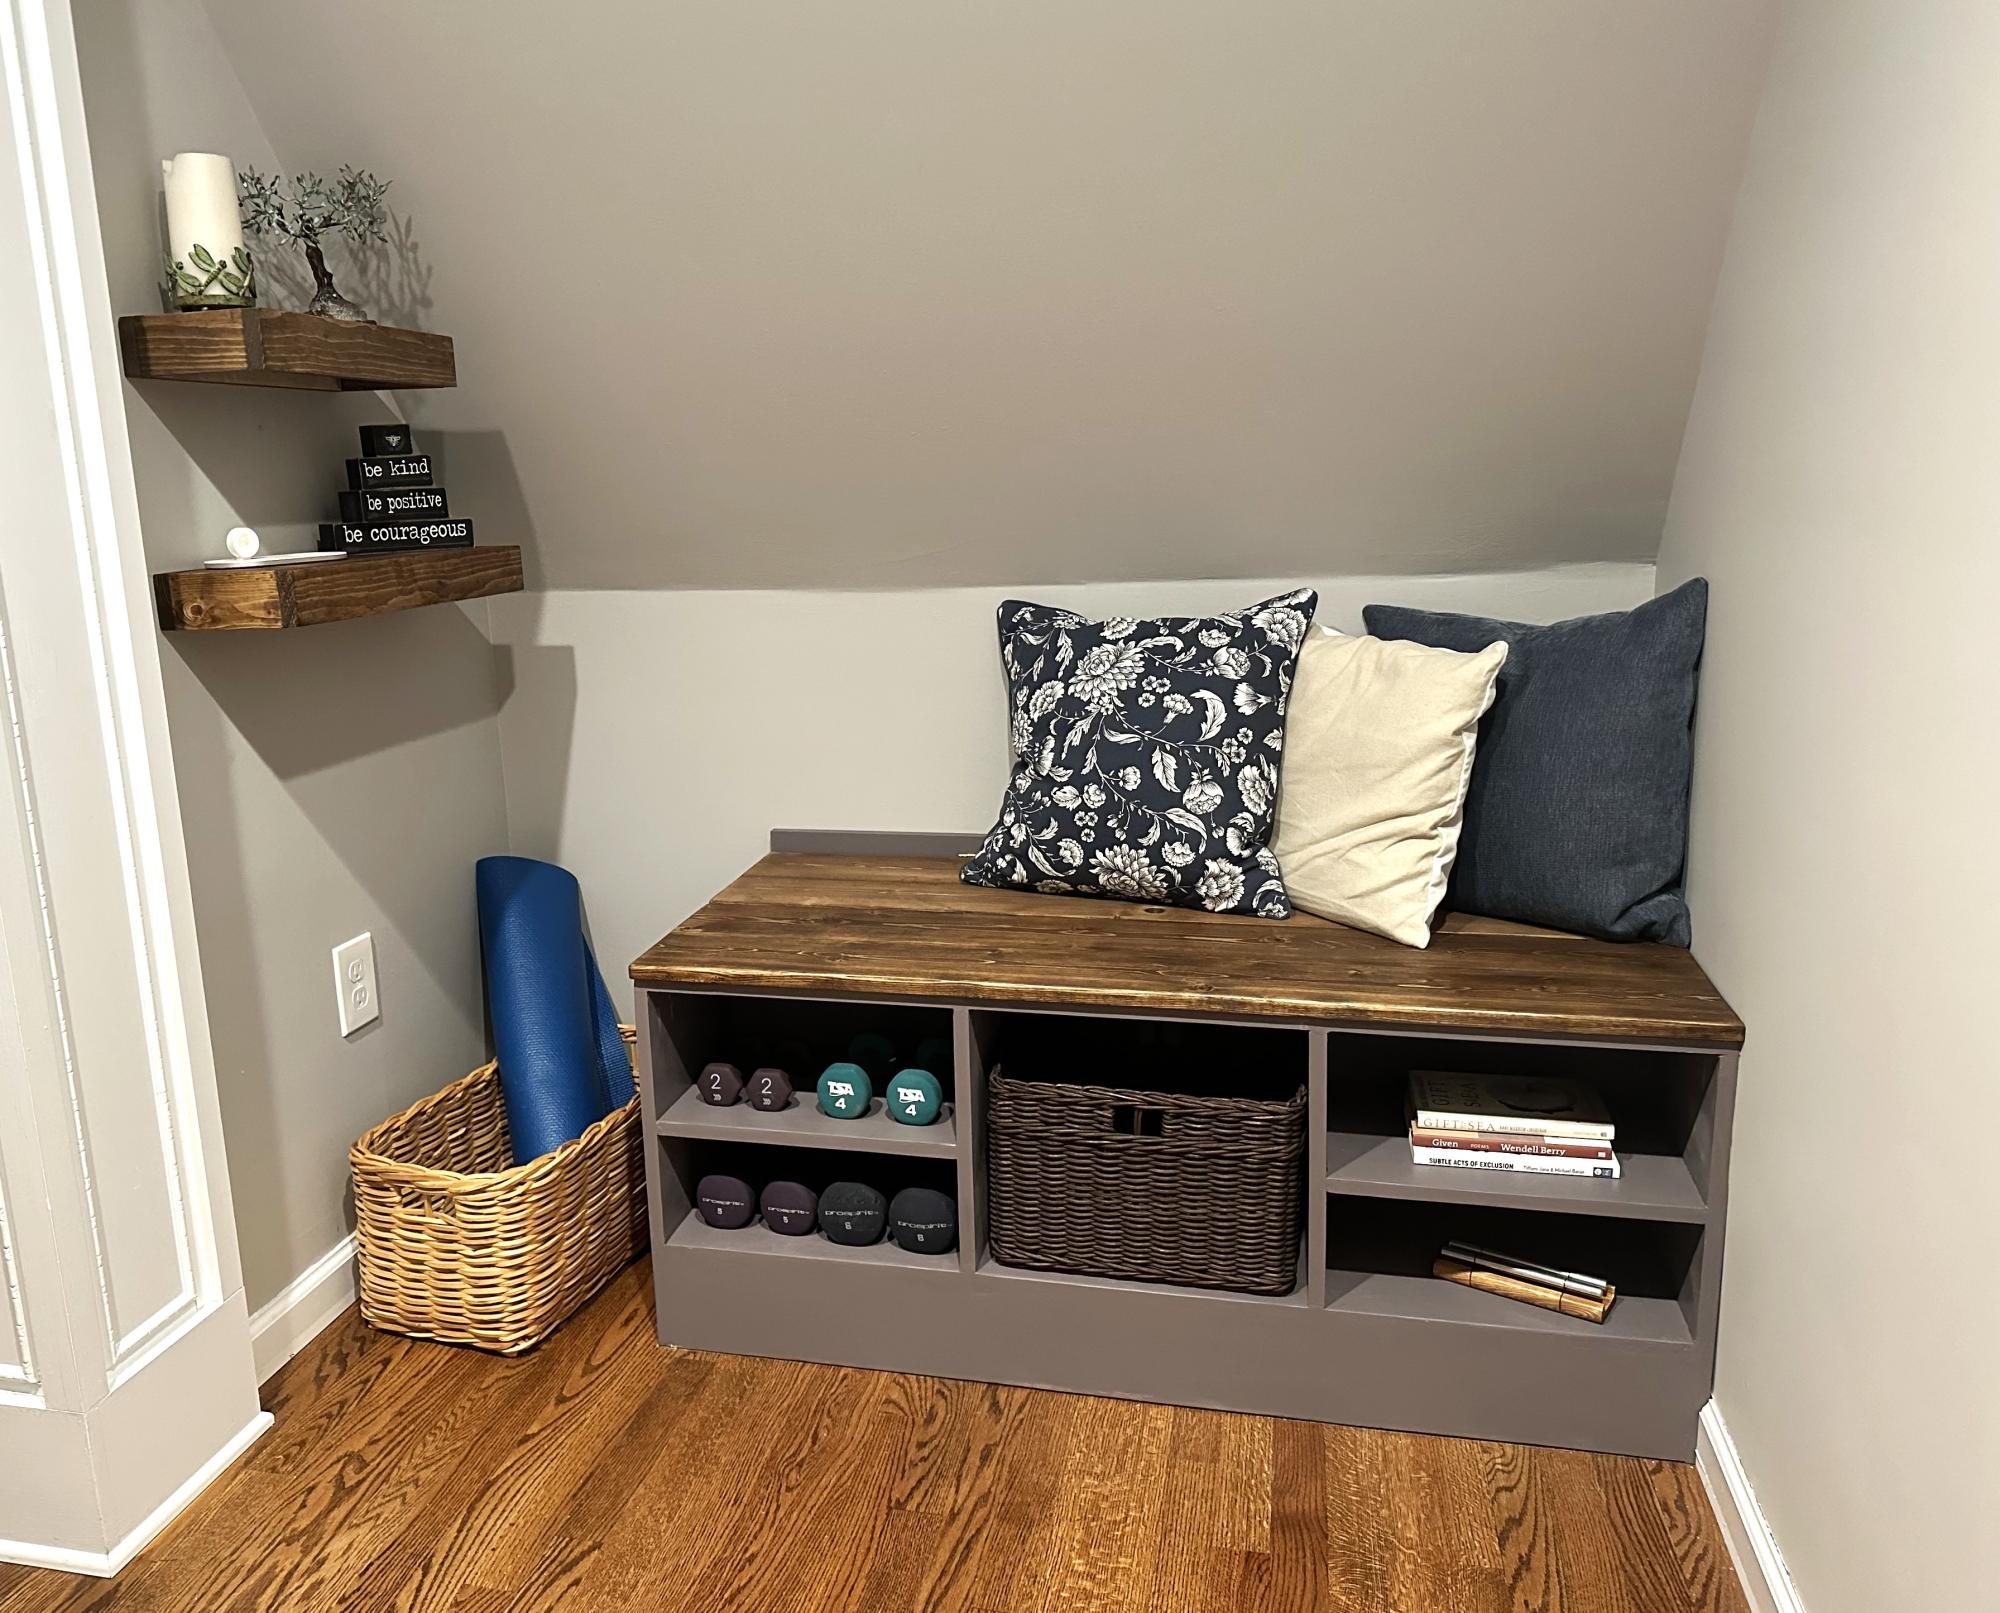
Home Gym Yoga Nook

Submitted by kellystern on Thu, 09/07/2023 - 11:06

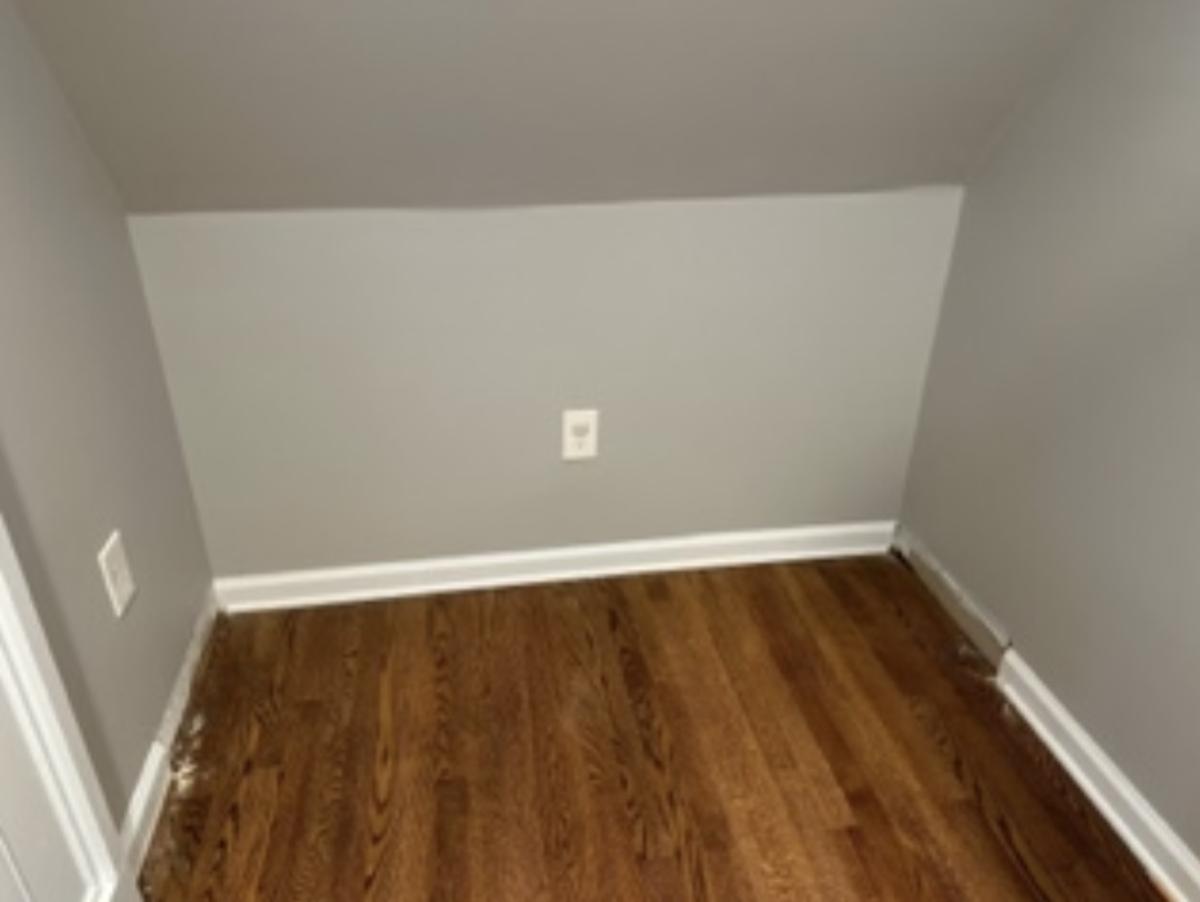
Exercise/Yoga nook. Built using the base plans from Ana's Shoe Bench Front with Hidden Storage and Easy to Build Floating Shelves.


Comments

6'x6' Box

Submitted by Anonymous (not verified) on Wed, 04/20/2016 - 19:22

I found these plans online and was just waiting for the kids' grandpa to come out and build it. Could be built in one afternoon (depending on how many trips to your local Home Depot, and availability of the correct tools)
Modifications from original plan:
6x6 instead of 4x4
Brackets to hold patio umbrella for shade
Added seat gussets for additional support
Added "wooden flange" around bottom of box to run lawnmower on
One additional center back support on each bench
One centered handle (instead of a handle on each end)
Stapled landscape weed barrier fabric onto the bottom
Sanded all exposed edges

Materials:
4@2x10x8'
12@1x6x6'
2@2x6x12'
8 hinges
2 handles
3 1/2" decking screws (for attaching 2"x boards)
1 5/8" decking screws (for attaching 1"x boards)
2+ 1 1/4" 2-hole straps for metal conduit (for attaching patio umbrella*)
*Our patio umbrella pole was 1 1/2" diameter, but 1 1/2" straps had too much play, so we used 1 1/4" straps and misc flat washers to adjust the snugness to the pole
Cut lengths:
2@2x10 cut to 72" (long sides of the box)
2@2x10 cut to 69" (short sides of the box)
Cut one each of the following out of a 12 footer:
2@2x6 cut to 75" (long side "flange")
2@2x6 cut to 64" (short side "flange")
No cuts were made to the 12 1x6's
Used one leftover 2' from the 2x8x10's ripped in half cut to 11.5" for arm rests
Used two leftover 2' sections from the 2x8x10's ripped in half cut to 21" for back supports
Used the last 2' cutoff to make two seat gussets (cut about 9 1/2" off and then ripped it at 45 degrees)
Used the remaining piece (ripped in half length-ways) to attach to the center of the backrest for additional support and as the attachment point for our handles
We decided to do one handle in the center of the backrest so one reasonably strong adult could open the lid
The bottom "flange" was assembled with the box upside down. Basically a 2x6 screwed to the bottom edge of the box allowing 1 1/2" overhang all the way around
After making cuts, but before assembly, we recommend using a quarter-sheet pad sander (or similar) with 60 grit paper to break all of the edges and round over any ends or corners that will be in contact with sandbox users
Followed other general assembly instructions

Built from Plan(s)
Estimated Cost
$300 with umbrella and sand
Estimated Time Investment
Day Project (6-9 Hours)
Finish Used
We live in a very arid climate (Utah) so we chose not to varnish or paint this project
Recommended Skill Level
Beginner
Back