Community Brag Posts

Modified and Expanded Loft Bed, Shelves, and Desk
Submitted by mickelsn on Mon, 11/25/2019 - 20:09

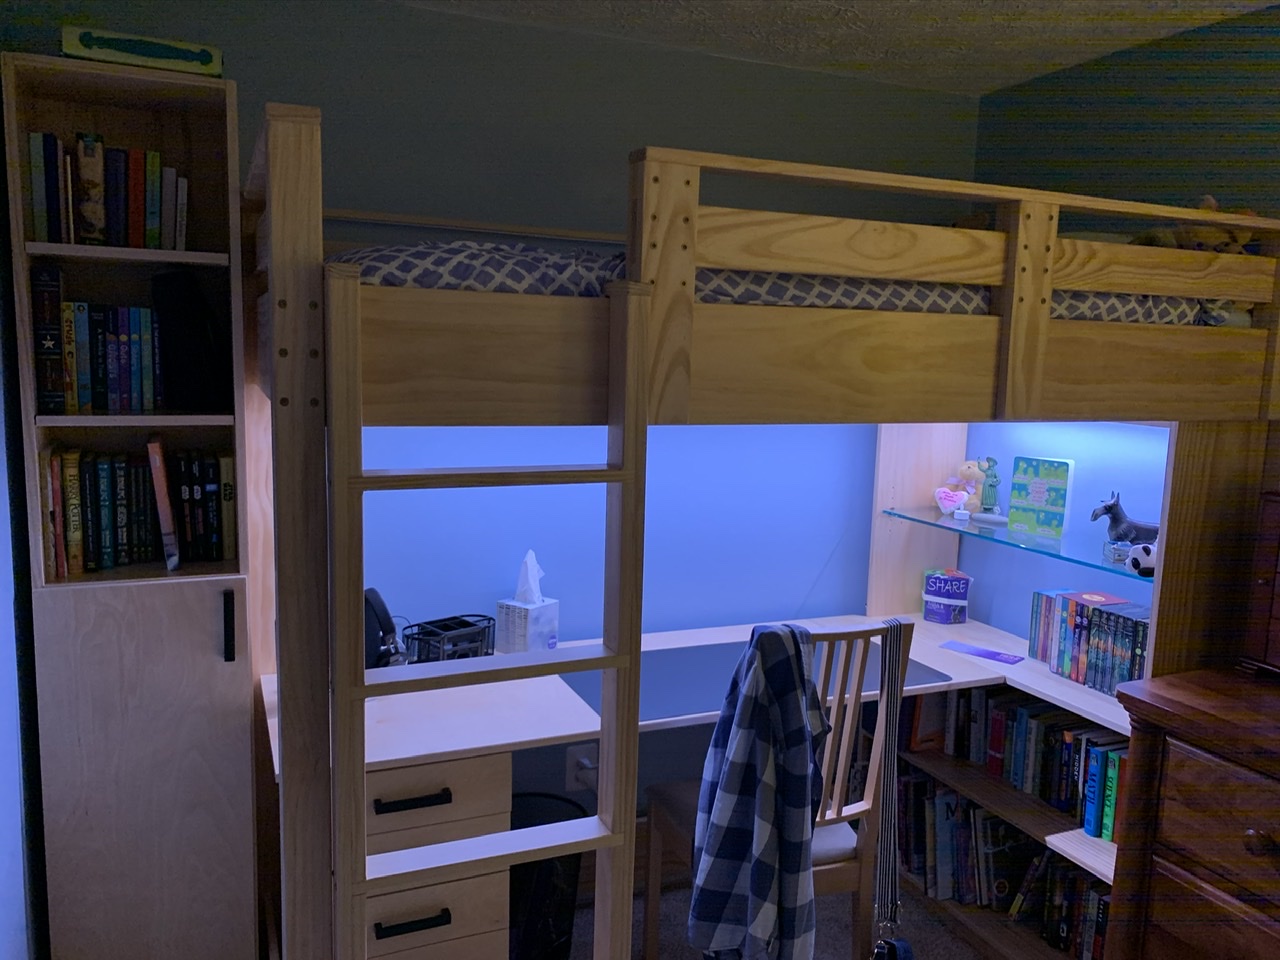
My daughter desperately needed a new loft bed for her small bedroom as she became a teenager. After looking a long time, I finally decided to   take the plunge and make something custom after we couldn’t find a bed that met her needs (she’s VERY tall for her age). Thank you for posting the loft bed and bookshelf plans to this site, as they were great to work from and customize! This is my first woodworking project of any kind, and it came out great with these plans.

We followed the Loft Bed and Loft Bed Bookshelf plans pretty closely, but we did make some changes as we went...

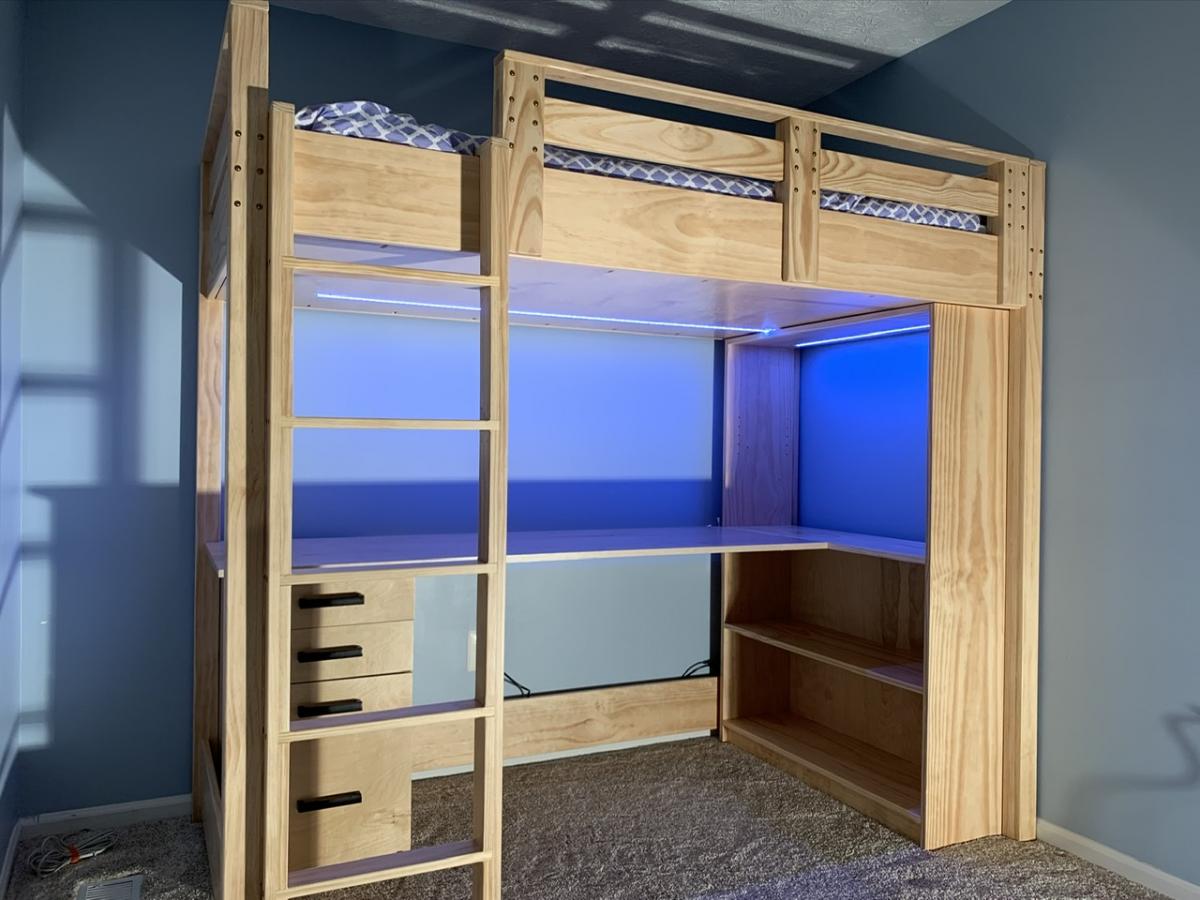
First, we tweaked the guard rail design to make it removable by adding back vertical posts. This way, the front and back posts slide over the front rail and it no longer needs to be screwed in place. This is a nice tight grip for safety, but it’s much easier to make the bed by removing the guard rail and dealing with the mattress. If you do this, just make sure the back vertical posts are shorter than the front ones to make room for the cleats and slats on the inside of the rail! This also means the top of the rail is made with a 1x3 instead of the 1x2 in the instructions.

We also decided to use a vertical ladder design rather than an angled ladder. We did this for space considerations in the room; it’s a bit harder to get up the ladder, but not that much. This also helped avoid any weird angle cuts with my basic tools. We also made the ladder about 3” wider than the one called for in the plans.

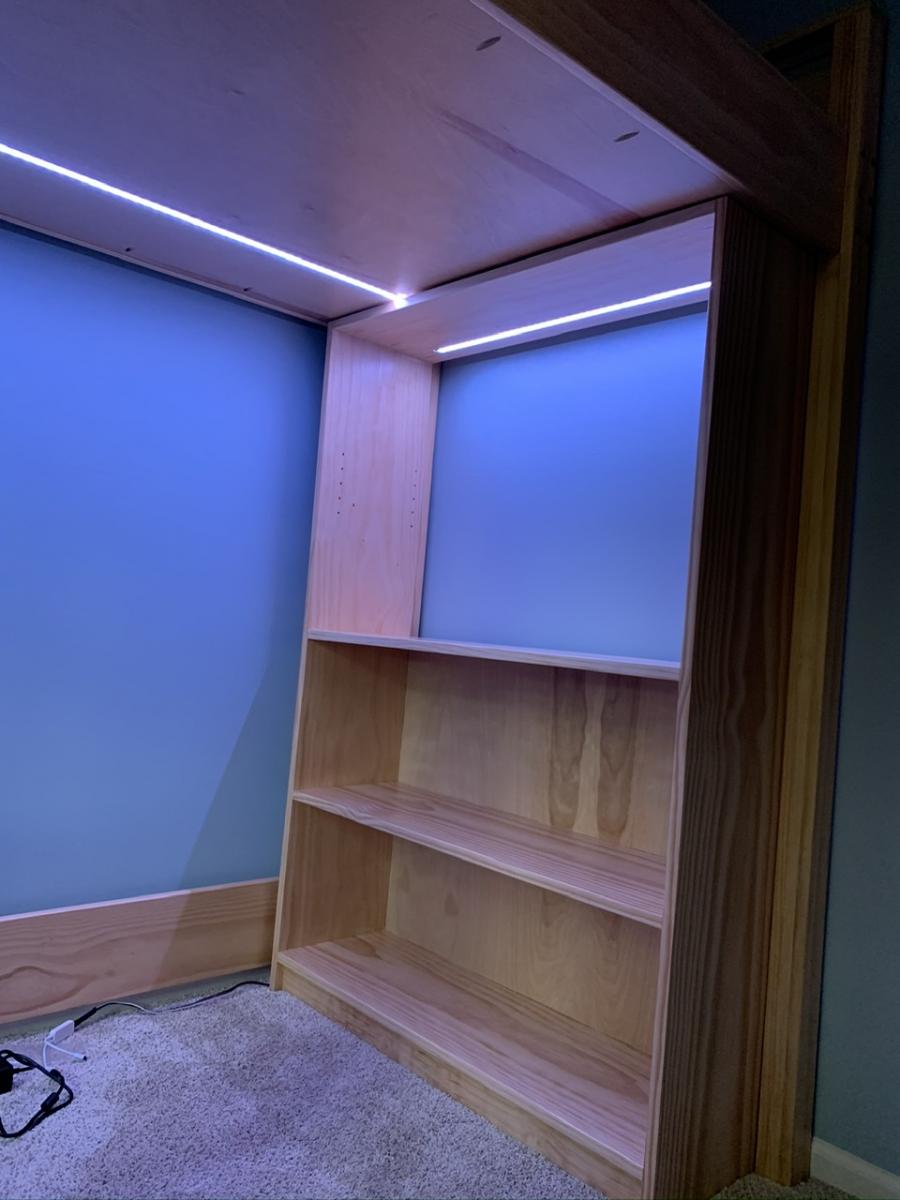
One of my favorite features was adding a 3/4” plywood “ceiling” above the desk. We did this by moving the long side cleats upward by 3/4” of an inch in the plans, and using pocket holes roughly every 10 inches around the perimeter of the plywood. We used this to hide the bottom of the mattress and all the bedding from view when sitting at the desk. It also provides for LED strip lighting above the desk, which is installed by routing out a pathway in the board and installing the lights within an aluminum channel for heat dissipation and to allow installation of a plastic diffuser over the lights. The wiring for the lights lives in the ~1.5” gap between the board and the slats thanks to the 1 x 2 cleats.

In the shelving, we made the upper shelf in the wide bookcase adjustable with the help of a Kreg shelf pin jig. We also ordered a 3/8” tempered glass shelf for this area to let more of the LED light strip we installed in the top of this shelf shine down as well. Again, this was installed in a routed-out pathway that holds an aluminum channel, and the wiring goes up through both the bookcase top and the plywood bed “ceiling” panel to join into the power. We got the strip lights, aluminum channel with diffusers, power supply, and controller from Amazon.

To get power to the LED lights, I routed out a channel for 5-conductor wire in the middle board of a rear leg assembly. Before gluing up the leg, I coated the wire with silicone spray to avoid the glue adhering to it so I could slide the wire around as needed. With a little bit of chiseling, this wire is able to come out of the slide-in joints for the upper and lower wide rails on the back of the bed. On the top, these wires go into a splitter and then to the two sets of LED light strips. On the bottom, the wires to into the LED controller which is mounted to a scrap board along with the power supply that stands on end in the 3/4” gap between the back side wall of the bookshelf and the bottom bed rail.

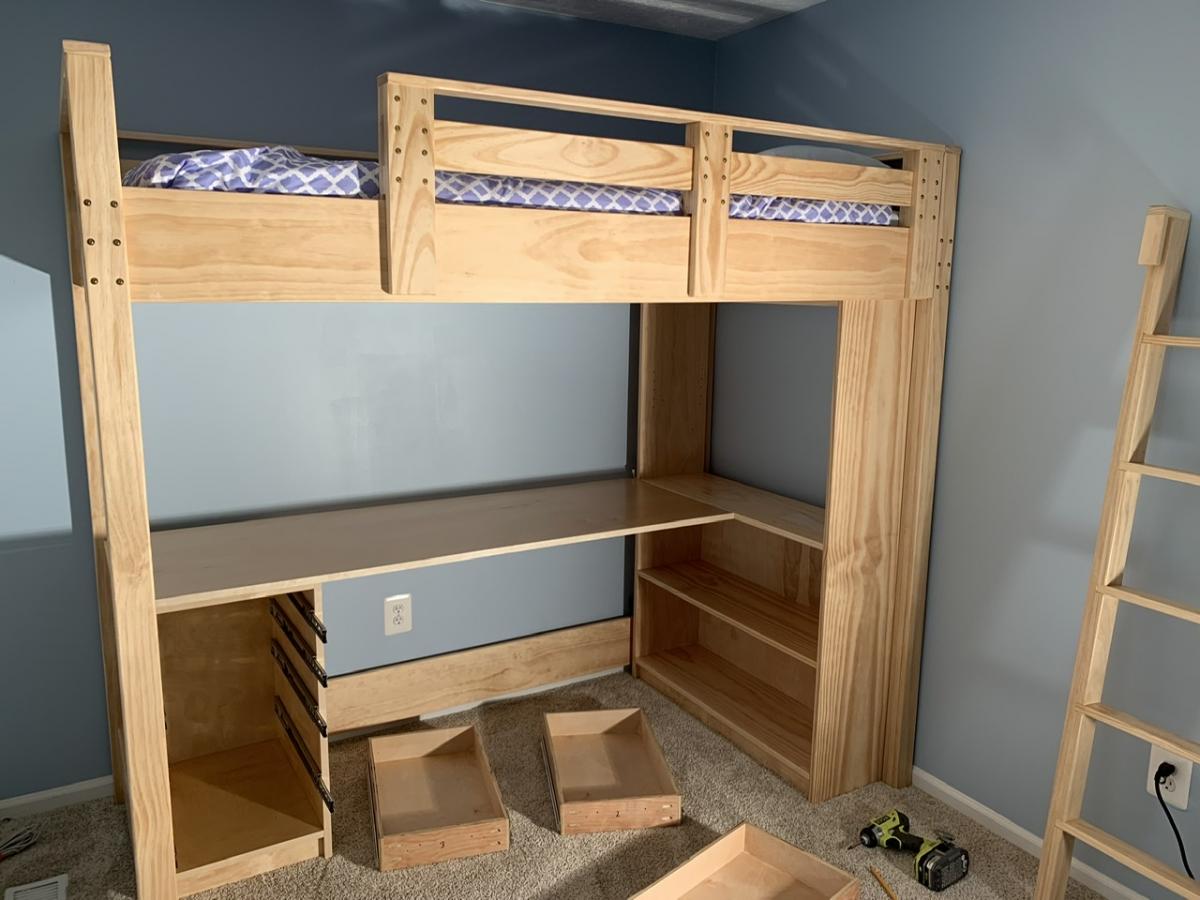
We created a custom-designed file drawer unit as the pedestal for the desk opposite the wide bookshelf. This was modeled roughly after Ikea Alex drawers with three narrow drawers and one file drawer. The carcass is about 14 1/2” wide by 21 3/4” deep by 29 1/4” tall and made of 3/4” plywood. The drawer boxes are approximately 12” wide by 20” long made of 1/2” plywood with 3/4” plywood fronts. We used full-extension soft-close drawer slides and positioned the cabinet so they have nearly full extension behind the ladder. Four wooden dowels are used on the top corners to align and secure this end of the desk surface.

Speaking of the desk, it is a piece of 3/4” plywood approximately 24” deep by 64” long. One end rests on the file drawer cabinet, and the other end is flush with the middle shelf of the bookcase and attached using two 6” by 5” 14-gauge galvanized T-straps usually used in framing applications. These are screwed upwards into the bottom of the desk and shelf from below, and are holding up quite well. This avoids the need for desk legs by the bookshelf.

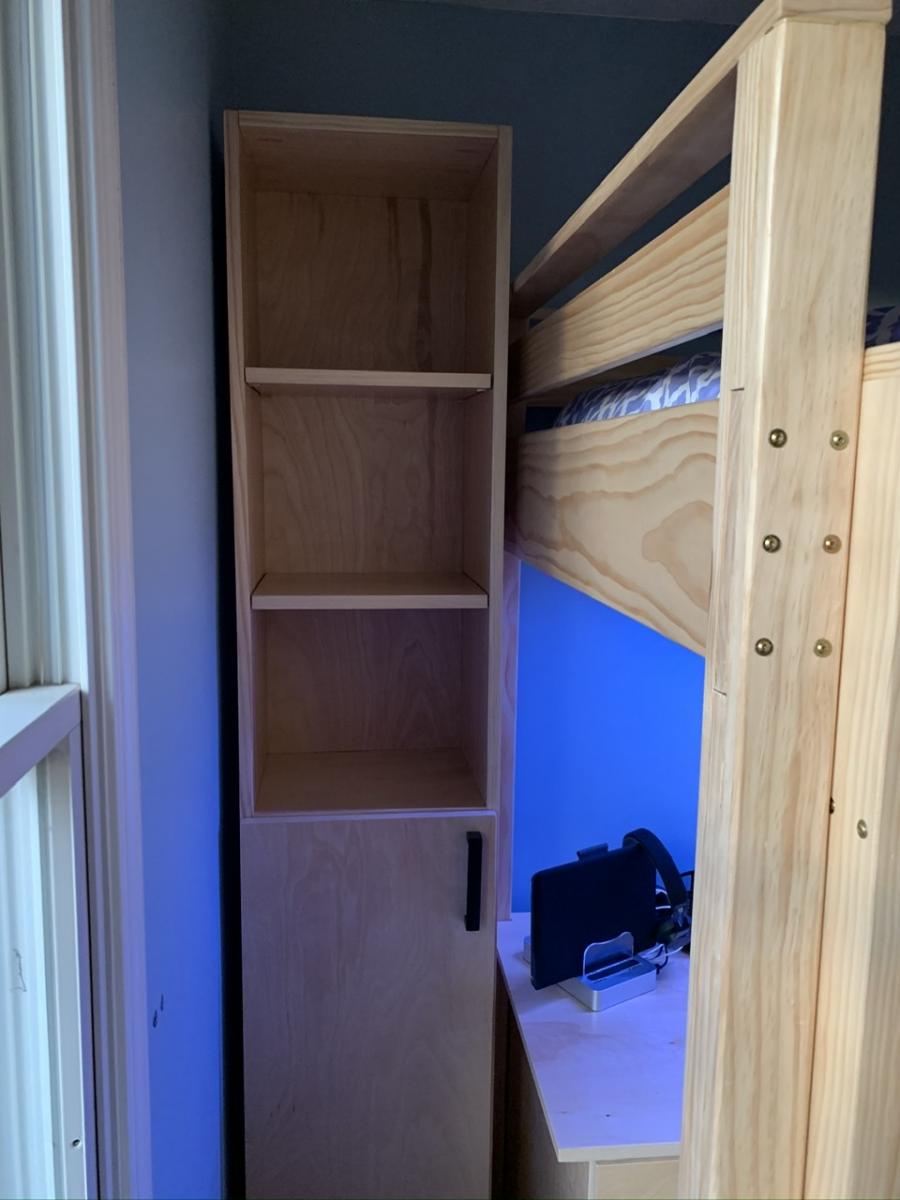
We then adapted the techniques used for the wide bookshelf to build a narrow bookcase (79” tall, 14 1/2” wide) out of two more 10-foot long 1x12 boards. This bookcase sits between the end of the bed and the corner of the room to finish out the look and provide more storage. The top, middle, and bottom shelves are fixed and there are a total of four adjustable shelves (two in the top half, two in the bottom half). We also cut a door and installed it using a pair of full-overlay euro hinges. With these dimensions, the tall bookcase is also capable of working with 11” x 11” x 11” storage cubes just like the wide bookshelf.

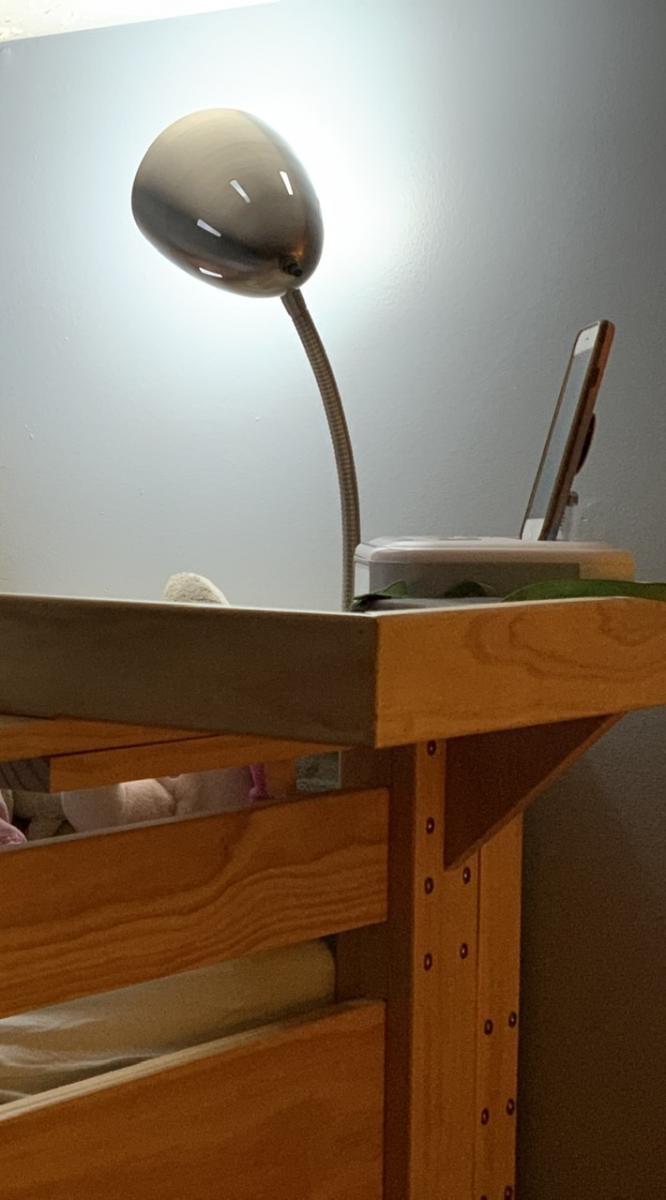
The finishing touch was to create a shelf that attaches to the guard rail and provides a place for my daughter’s alarm clock to sit and be within easy reach. This shelf is made around a piece of the scrap 3/4” plywood that is approximately 21” long and 9” deep. I used leftover 1x3 pine that I glued and nailed to the outside perimeter of the plywood flush with the bottom to hide the layers in the plywood while providing walls around the shelf. I also glued and screwed another 1x3 piece to the front of the plywood, this time flush with the top, as the first piece of a U-shaped grip to slide over the top of the guard rail. Another 1x3 scrap was then positioned, glued, and brad nailed to this front piece to finish the grip. I then cut a triangular piece of wood from a 1x6 to provide additional support under the shelf against one of the vertical pieces of the guard rail. This piece is held in place with counter-sunk screws that go through the top of the plywood shelf down into E-Z Lok threaded inserts in the top of the triangular wood support. The whole shelf assembly is only attached to the guard rail so that I can still easily remove the rail to change bedding on the mattress.

The whole project is constructed out of Home Depot select pine boards and birch plywood. Throughout construction, I used a 3/16” round-over bit in a router to eliminate sharp corners pretty much everywhere on the bed itself (legs, rails, ladder, etc.). I didn’t use this on the bookshelves, the file drawers, or the desk. Edge banding was used to hide any exposed plywood edges. I used 200-grit sanding discs and an orbital sander to sand the various pieces during construction and before finishing. The entire thing is finished with two or three coats of Minwax Polycrylic water-based polyurethane, sanding between coats, which gives this a nice smooth finish and lets the richness of the wood grain come through.

Hopefully the pictures I’ve posted can help understand the write-up on modifications to the project. I enjoyed building this a lot, and my daughter really loves what this did to her room to make it much more usable! That was worth all the effort and time right there.

Ana, thanks a million for the plans!!
Estimated Cost
$750 in materials for wood, LED lighting, tempered glass shelf, etc.
Estimated Time Investment
Week Long Project (20 Hours or More)
Finish Used
Minwax Polycrylic, Satin finish. Used Shur-Line 3.5” x 7” White Fiber pads to apply on most flat surfaces, with foam brushes to get into corners and apply to edges. For complex pieces like the ladder and guard rail, used Minwax Polycrylic Satin spray. Sanded between coats with 320-grit sandpaper in all cases. Used two coats when doing pad application; four coats when doing spray application.
Recommended Skill Level
Beginner

Horse Tack Storage Shed

Submitted by Anonymous (not verified) on Wed, 08/30/2023 - 09:09

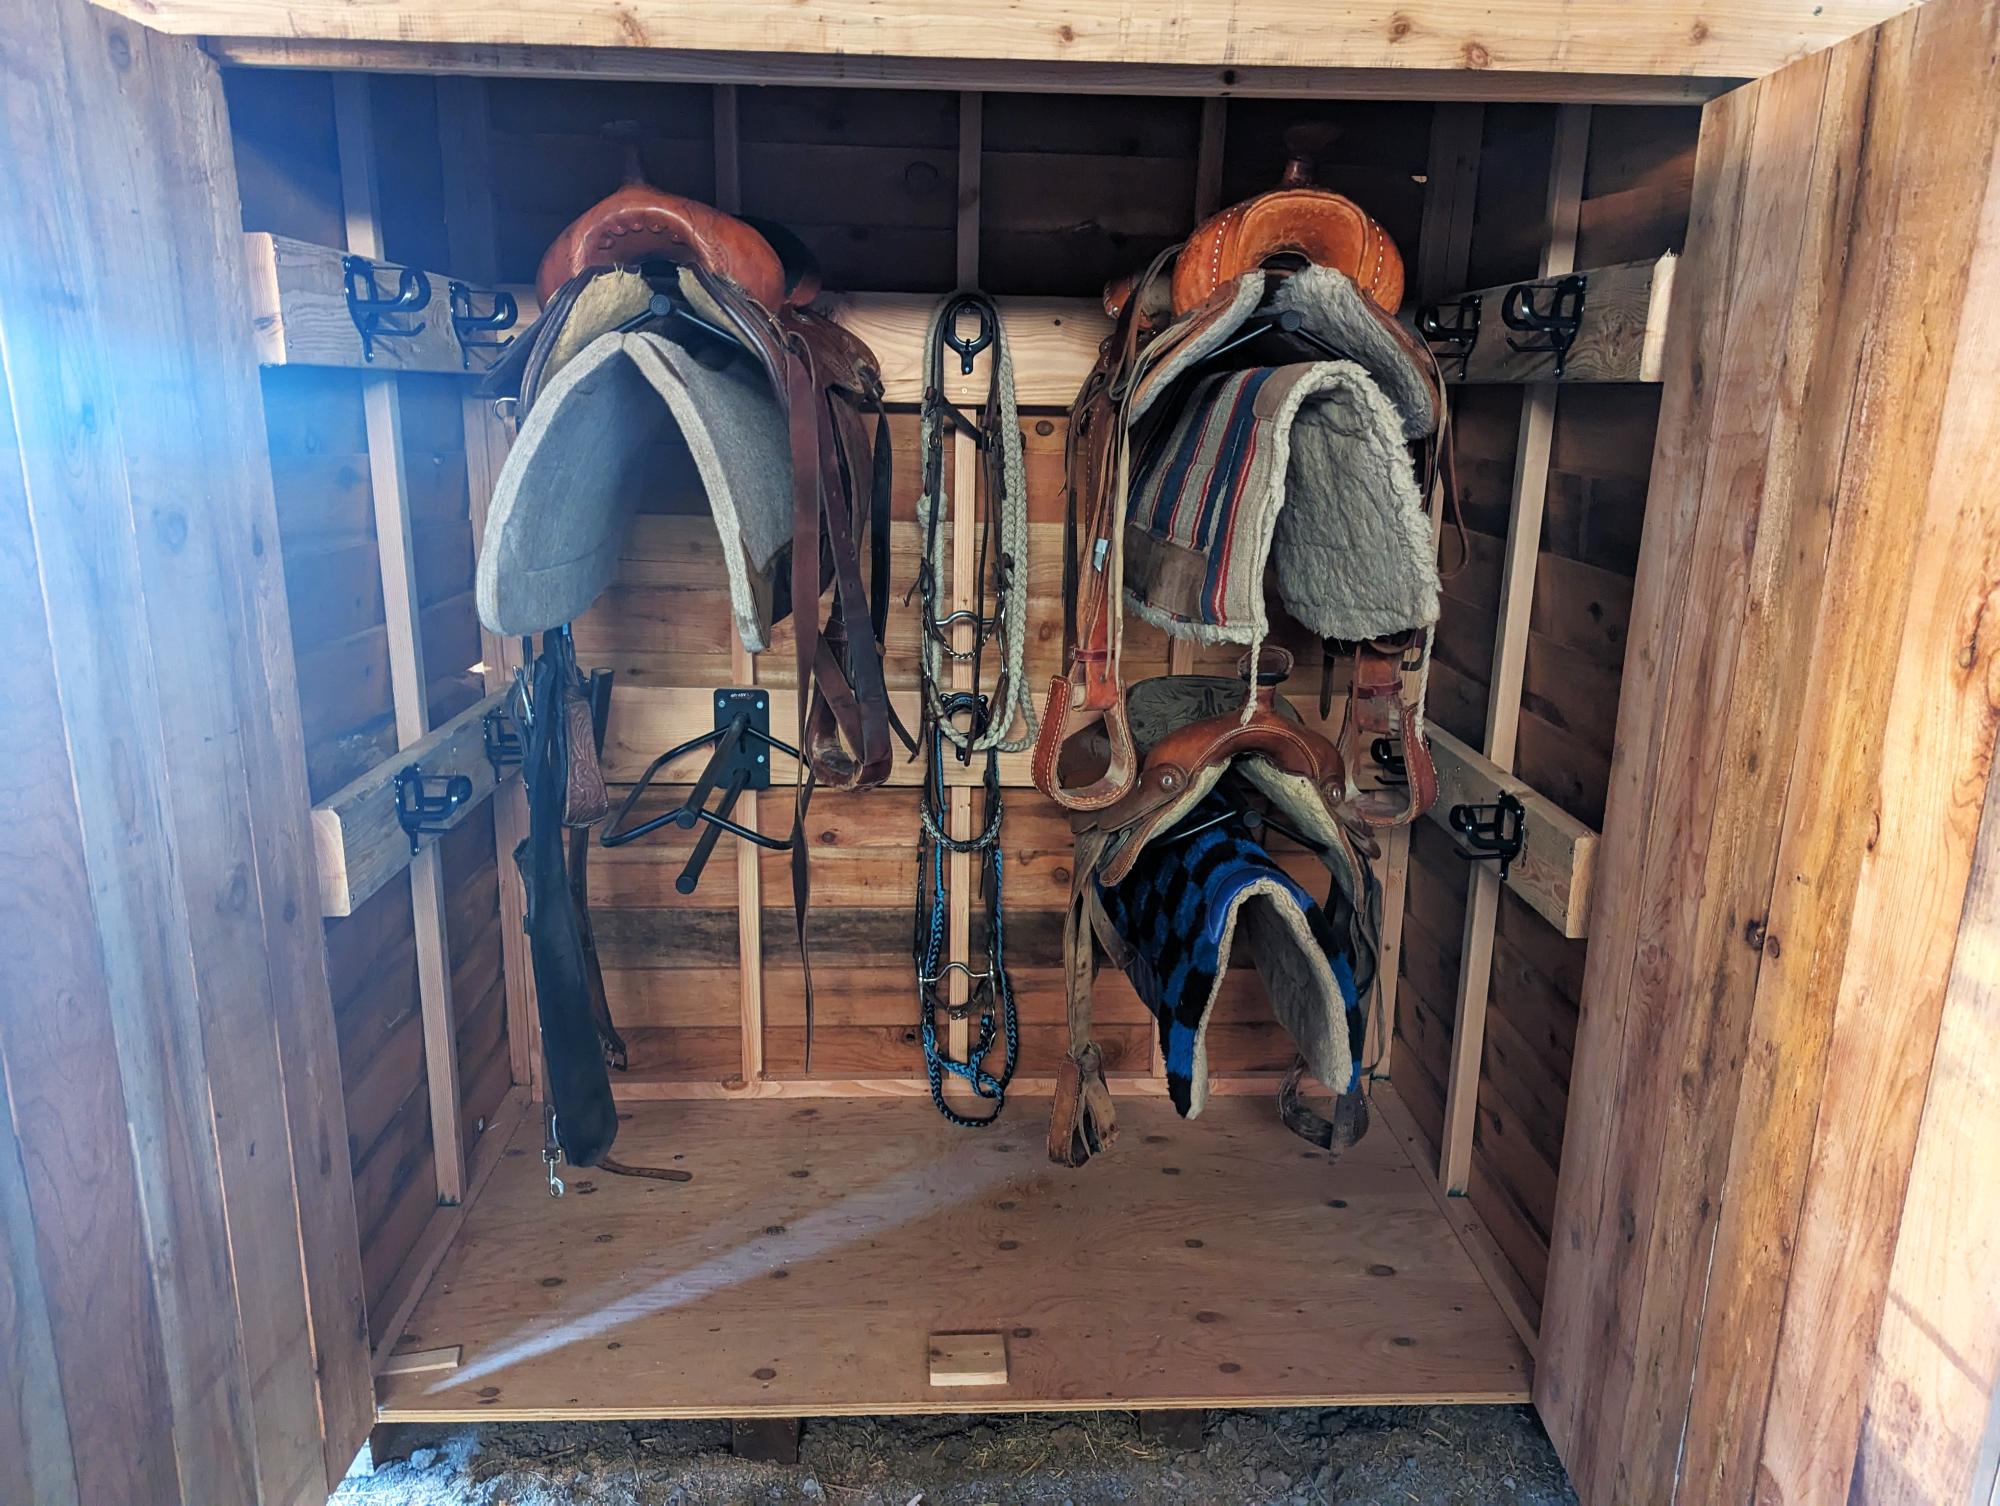
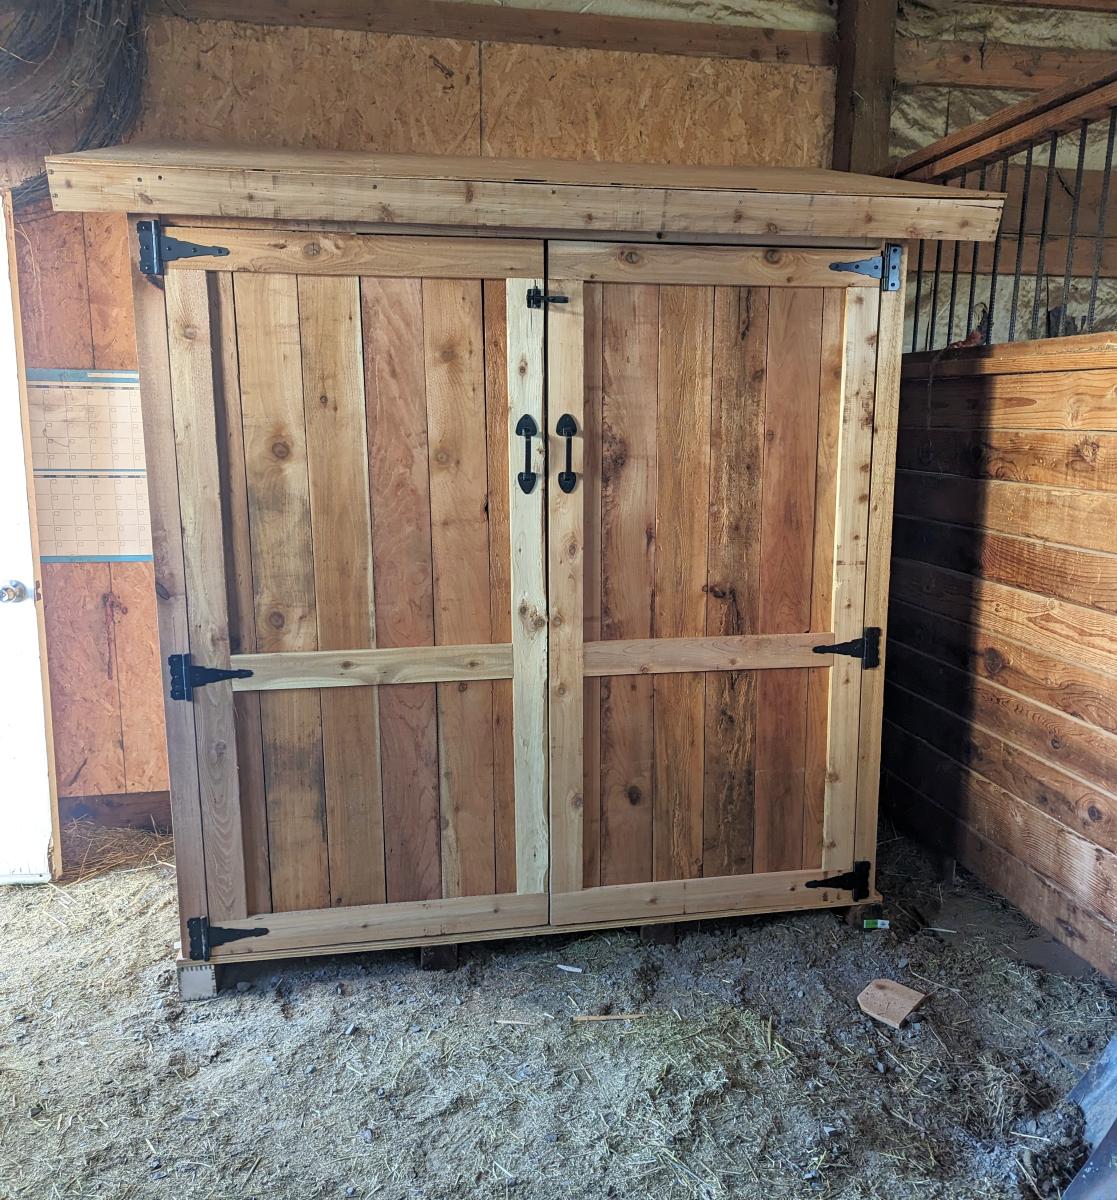
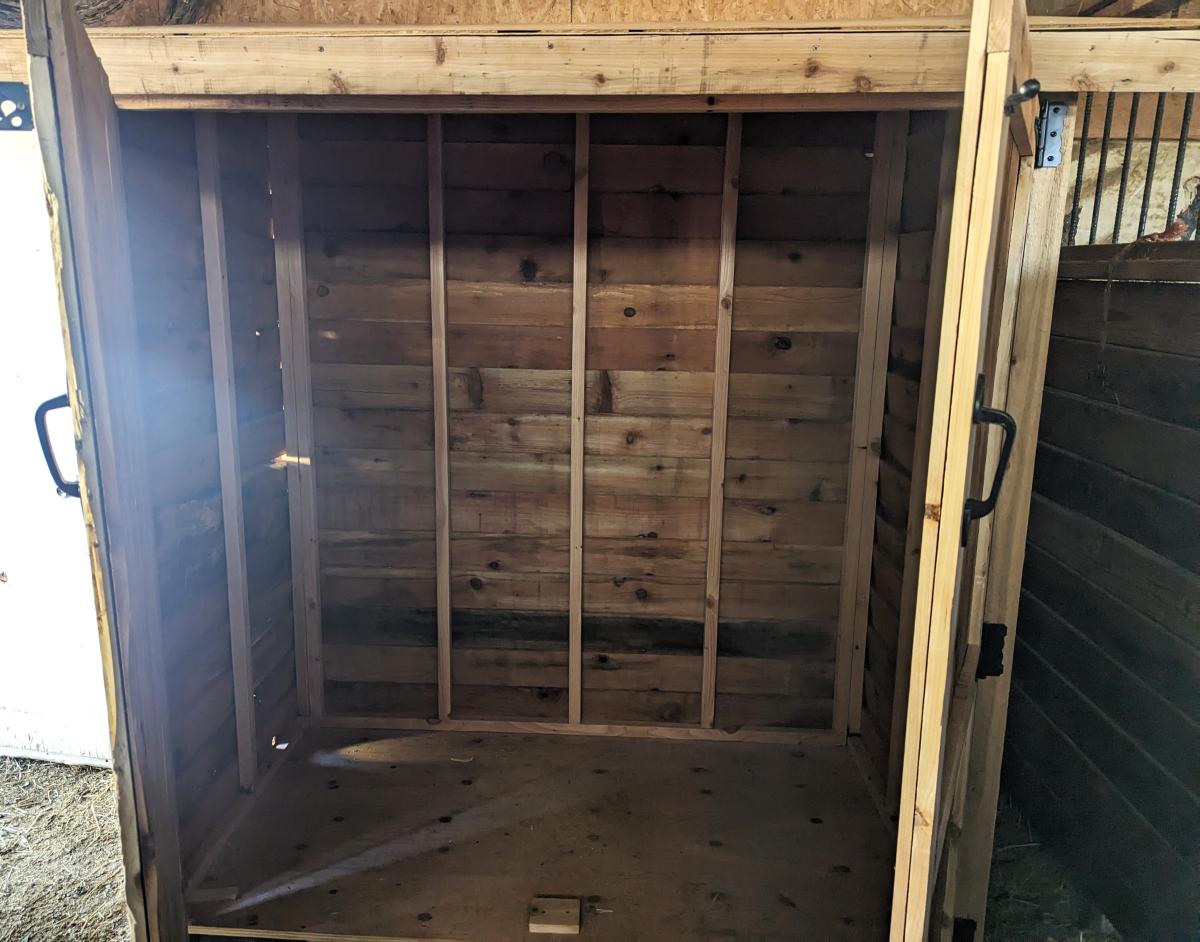
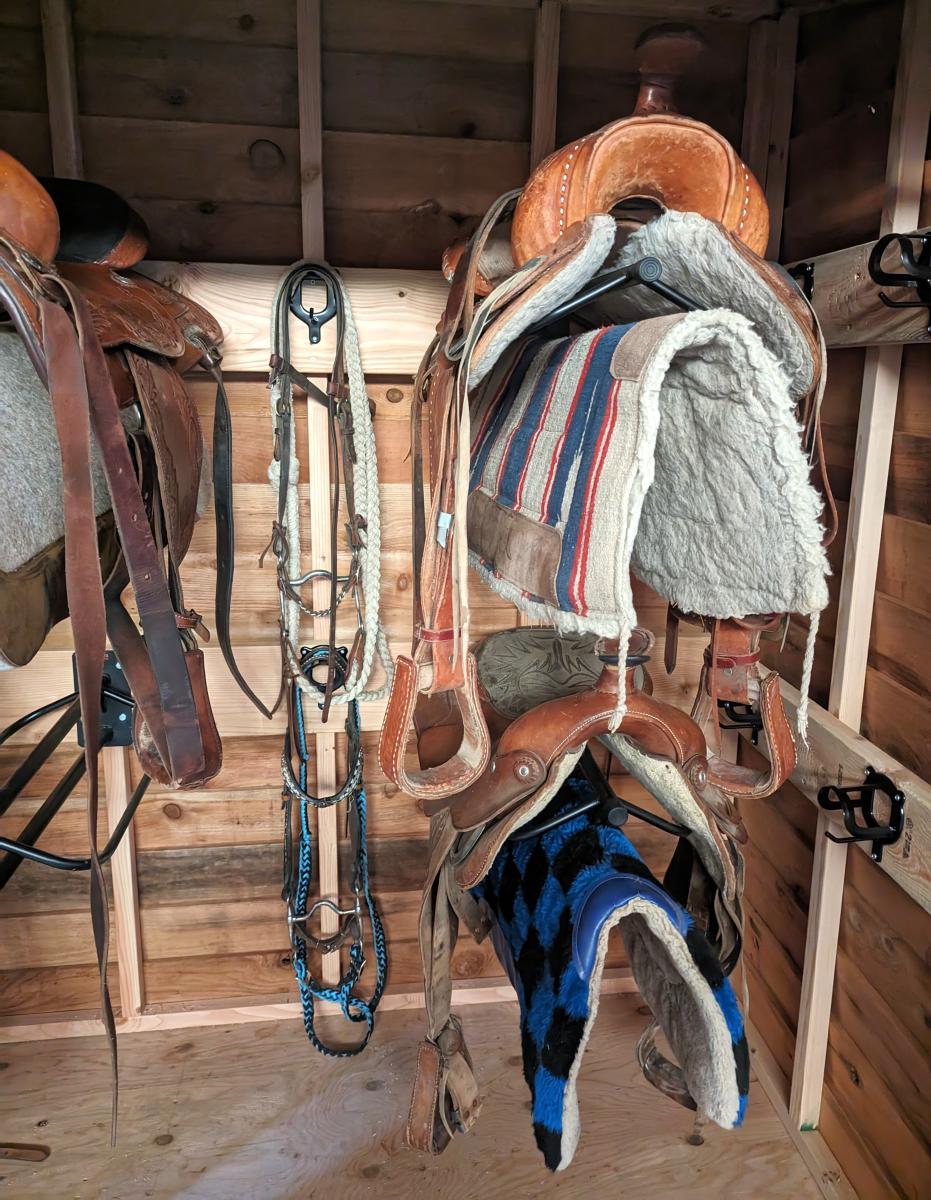
We have been in need of a place to store our horse tack for several years, and finally got around to it. We modified the small cedar shed with a little extra support and added saddle racks and bridle hooks. Super pleased with how it turned out!

Gabi Johnson

Built from Plan(s)

Comments

Seasonal And Holiday

Privacy Planter Fence

Submitted by Anonymous (not verified) on Fri, 09/08/2023 - 08:25

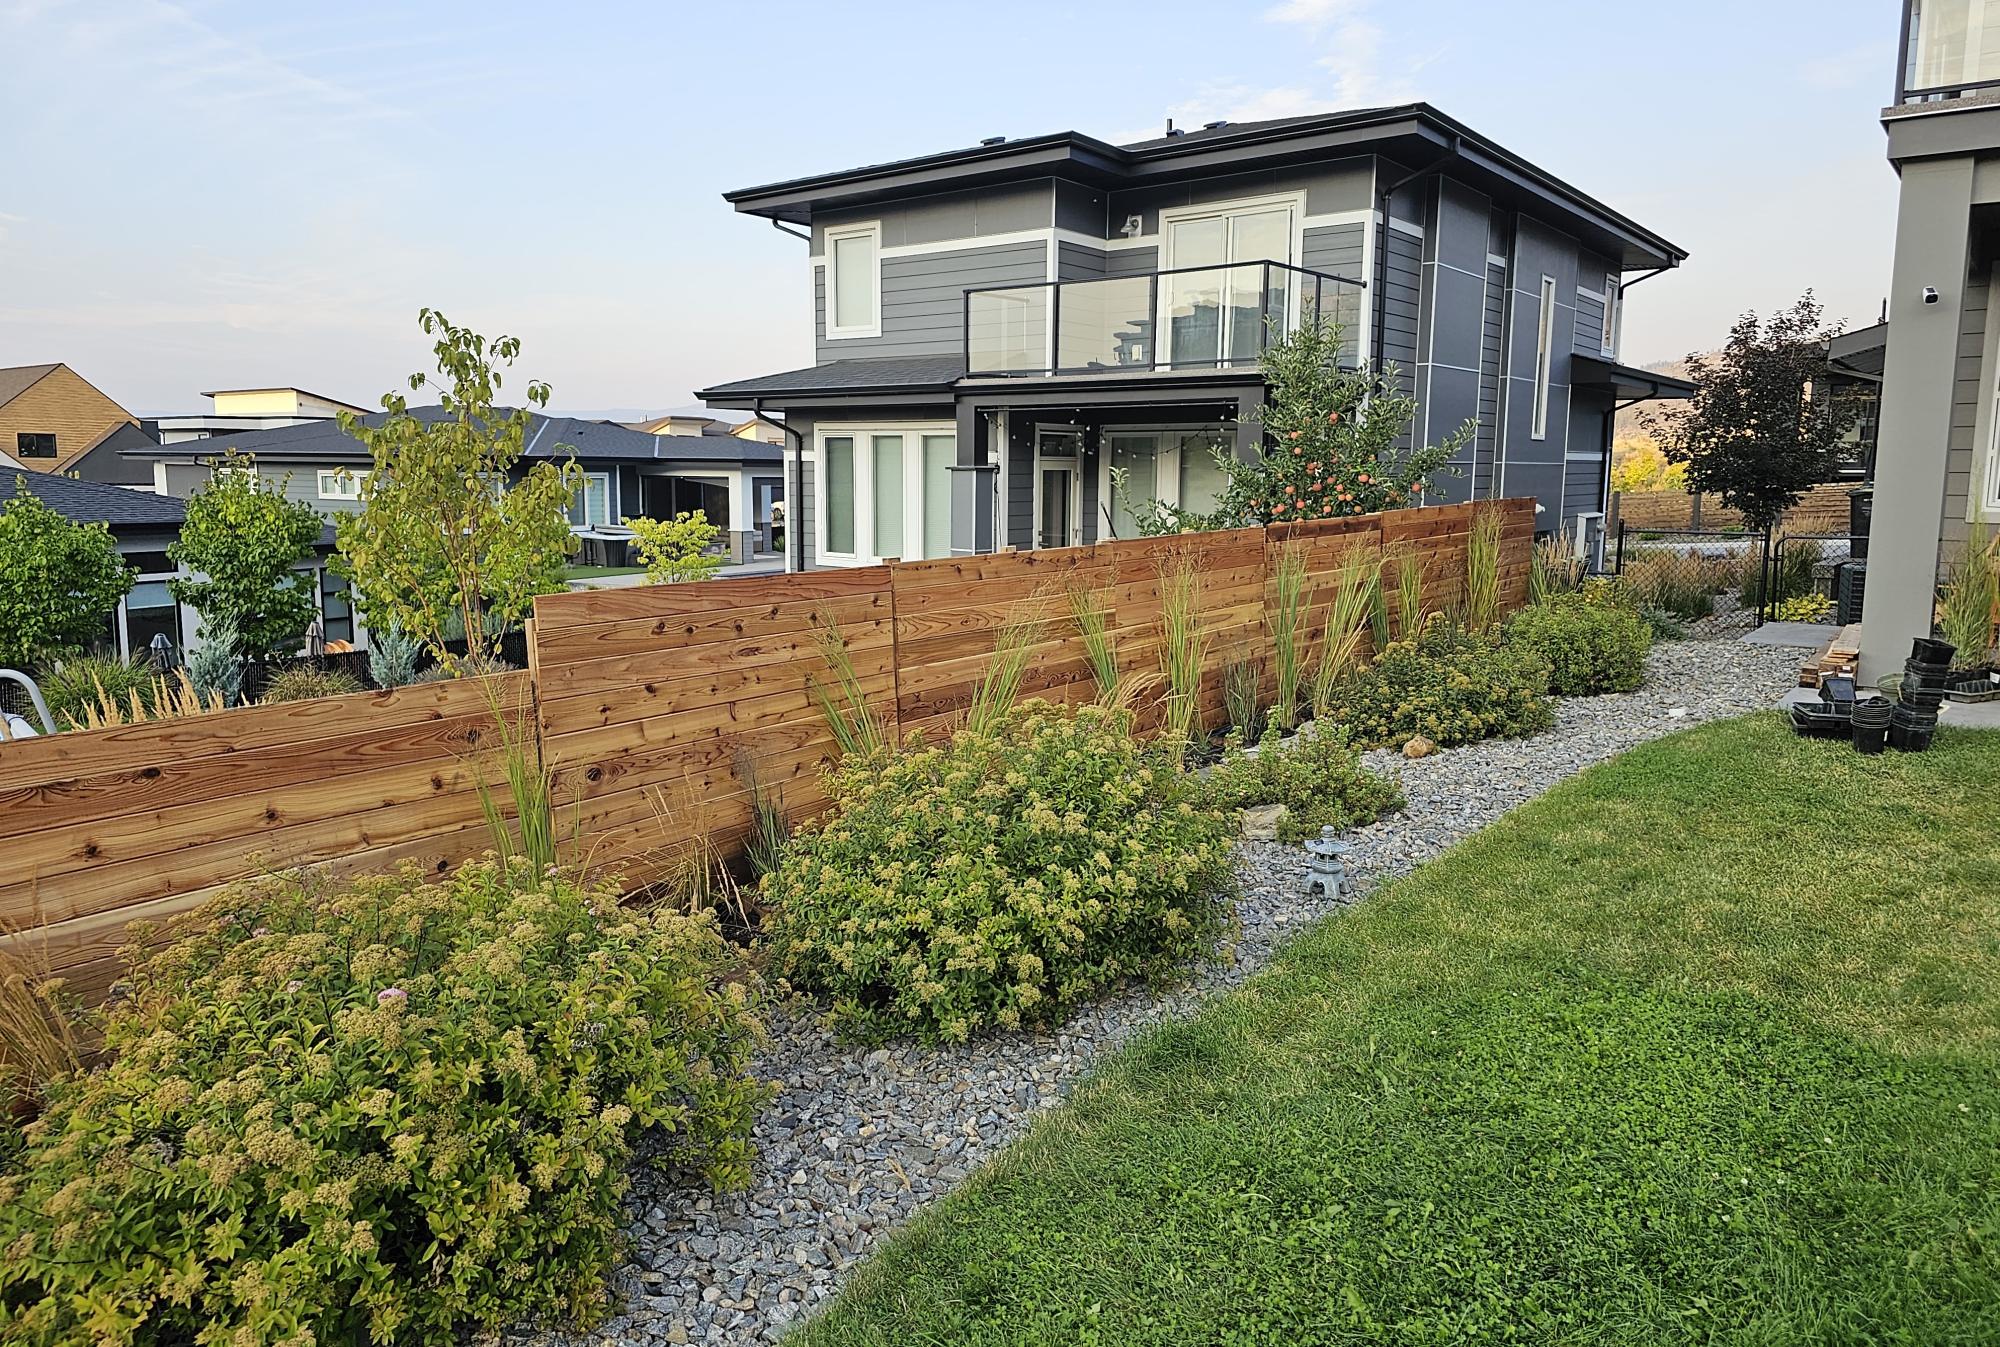
Created a privacy planter fence, using multiple planters. Most of the bases were custom sizes due to the existing rock wall. Tongue and groove cedar utilized and coated with linseed oil. I ensured the frames were square and plumb which the directions omit for some reason. Great week long project!

Kyle

Built from Plan(s)
Seasonal And Holiday

Farmhouse Dining Table

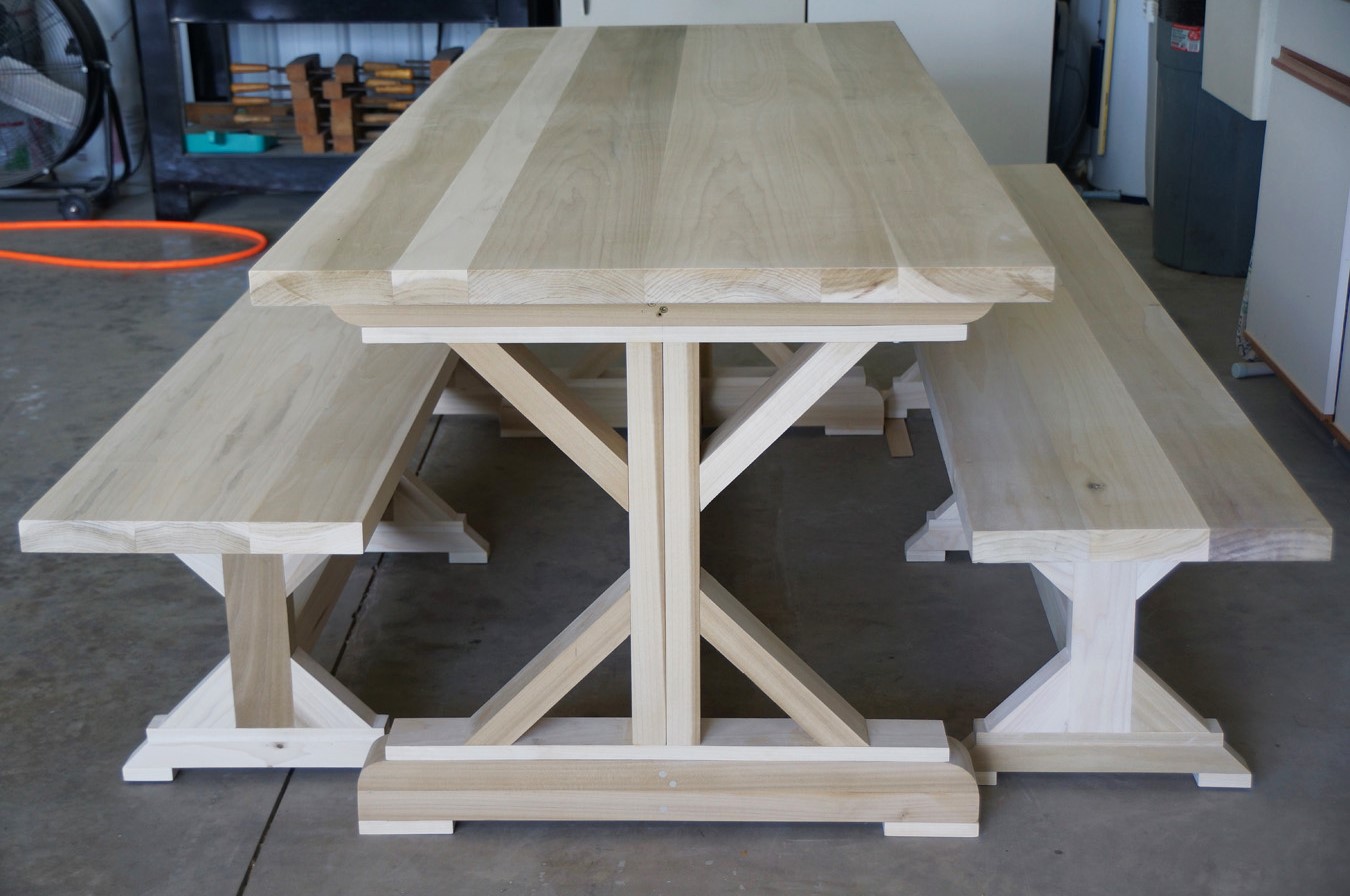
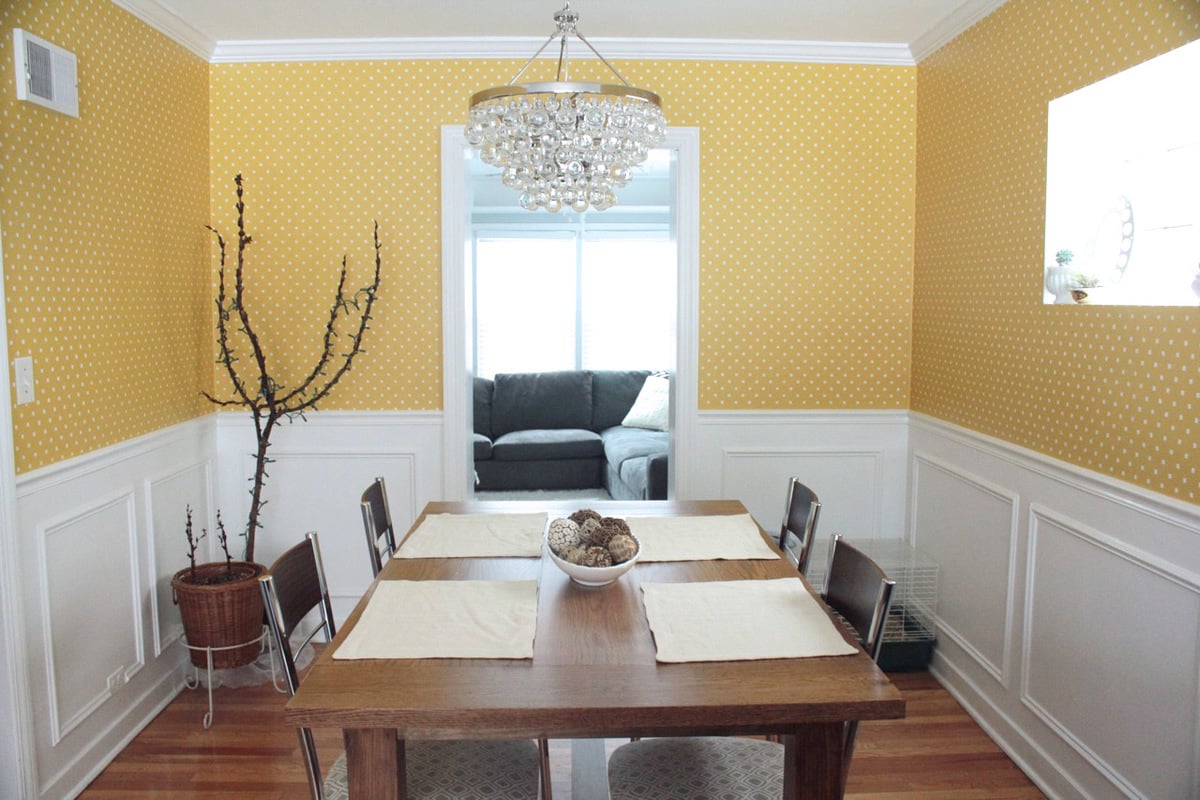
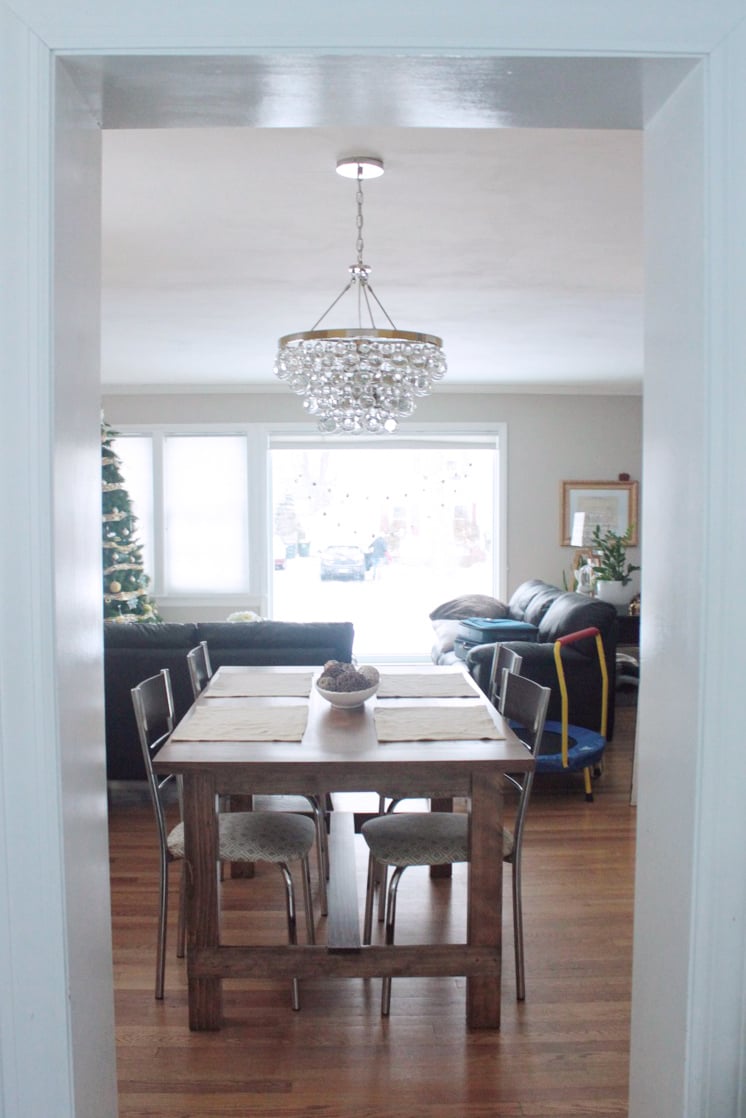
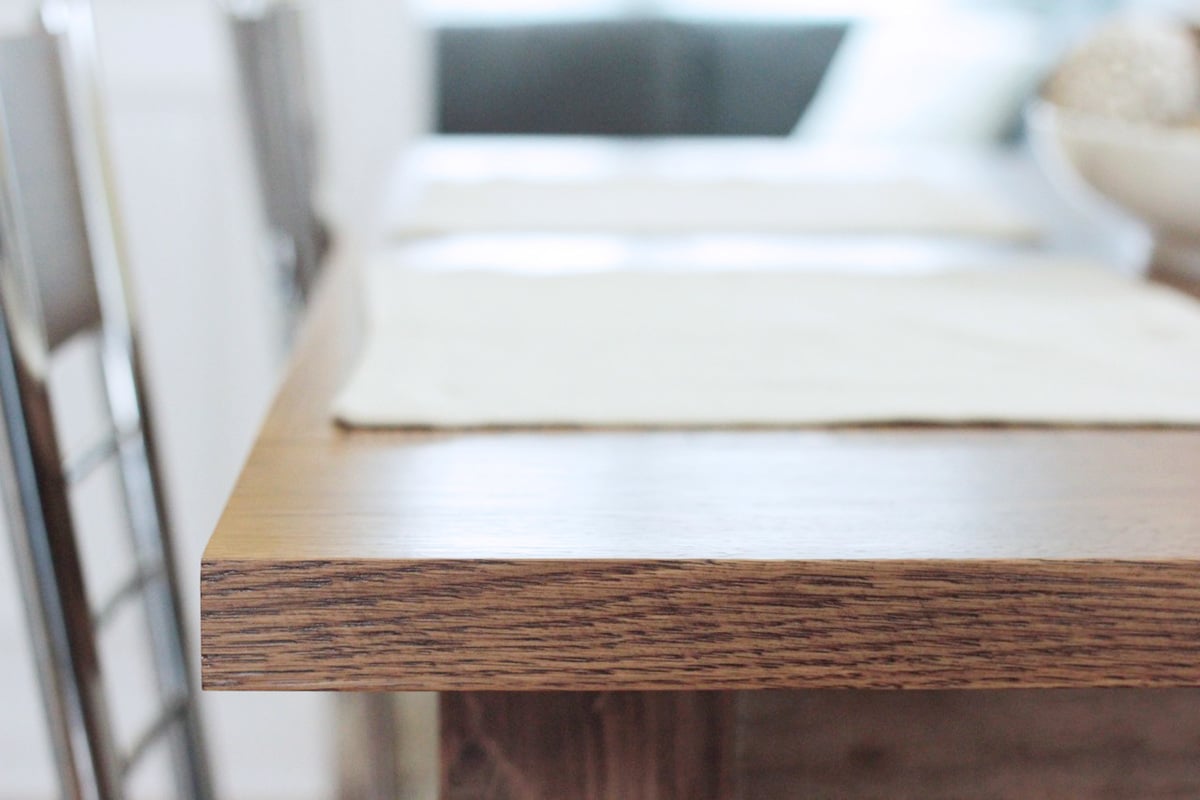
Fish made the tabletop from white oak and the base is pine. We still need to build a bench for one side and purchase new chairs, but we are IN LOVE with this table...and it somehow has allowed us to dine as a family more.

Estimated Cost
$300
Estimated Time Investment
Week Long Project (20 Hours or More)
Finish Used
Minwax Special Walnut, two coats
Recommended Skill Level
Intermediate

Comments

Modern Farm Bench

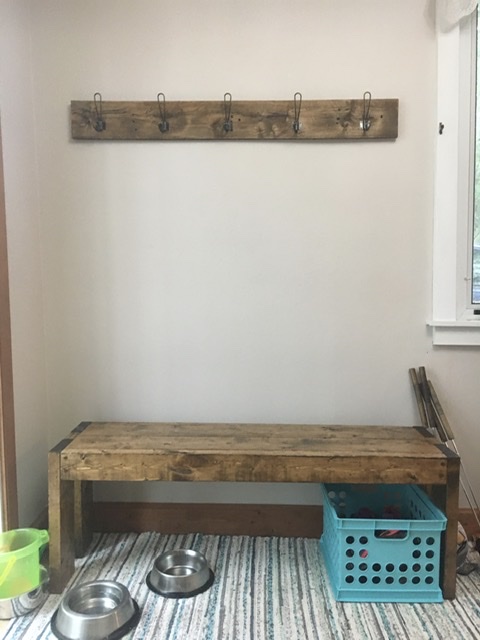
This was my first Ana White build, and I’m hooked. Super simple for a beginner to make. 

Built from Plan(s)
Estimated Time Investment
Afternoon Project (3-6 Hours)
Finish Used
Minwax walnut stain
Recommended Skill Level
Starter Project

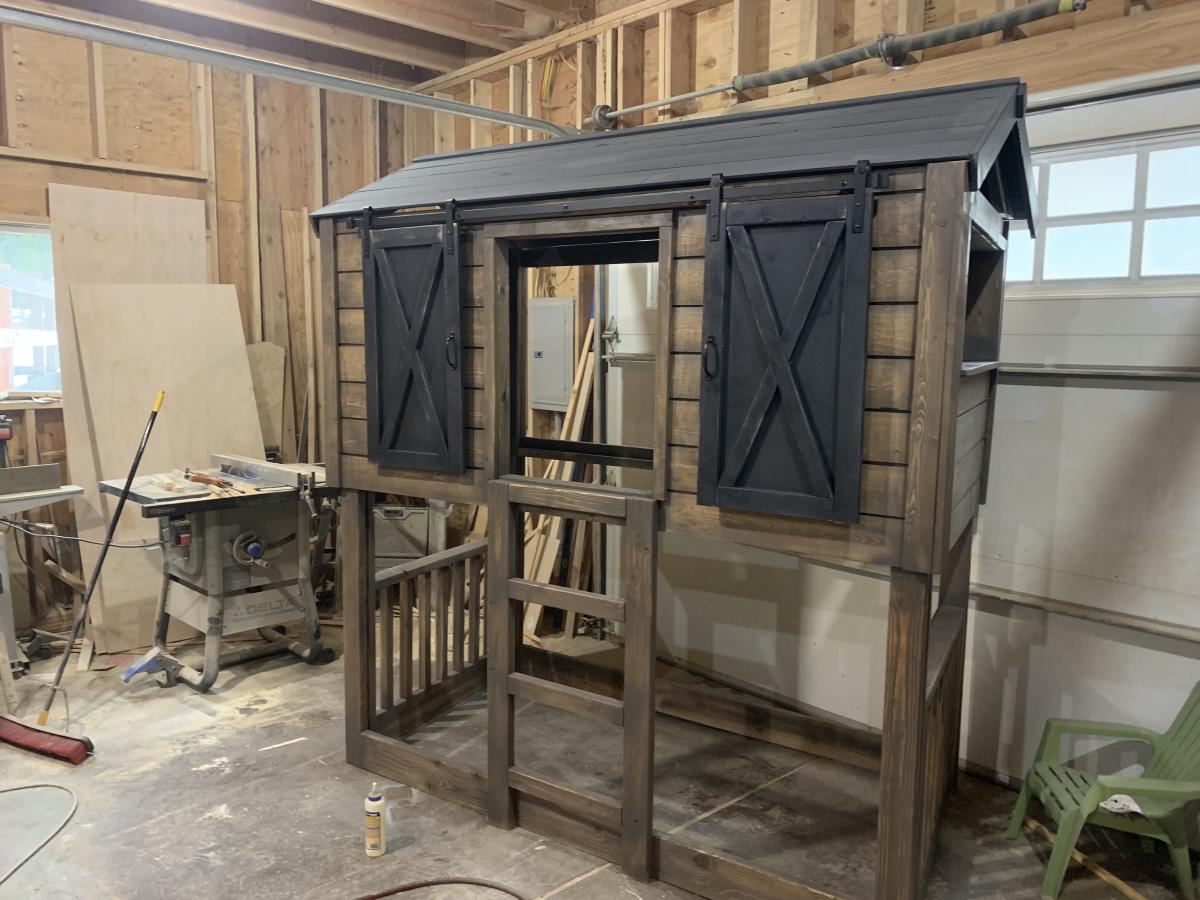
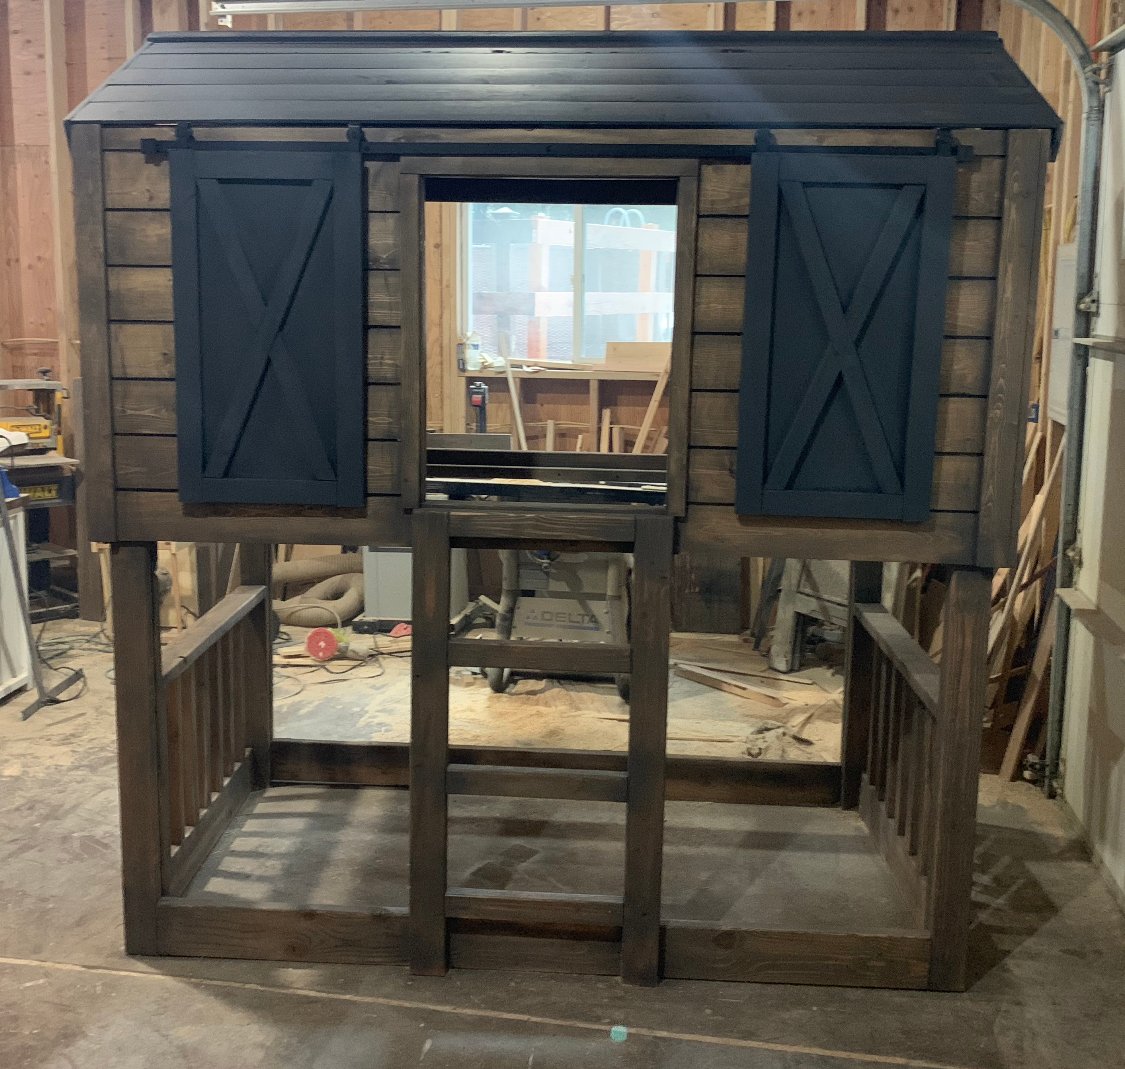
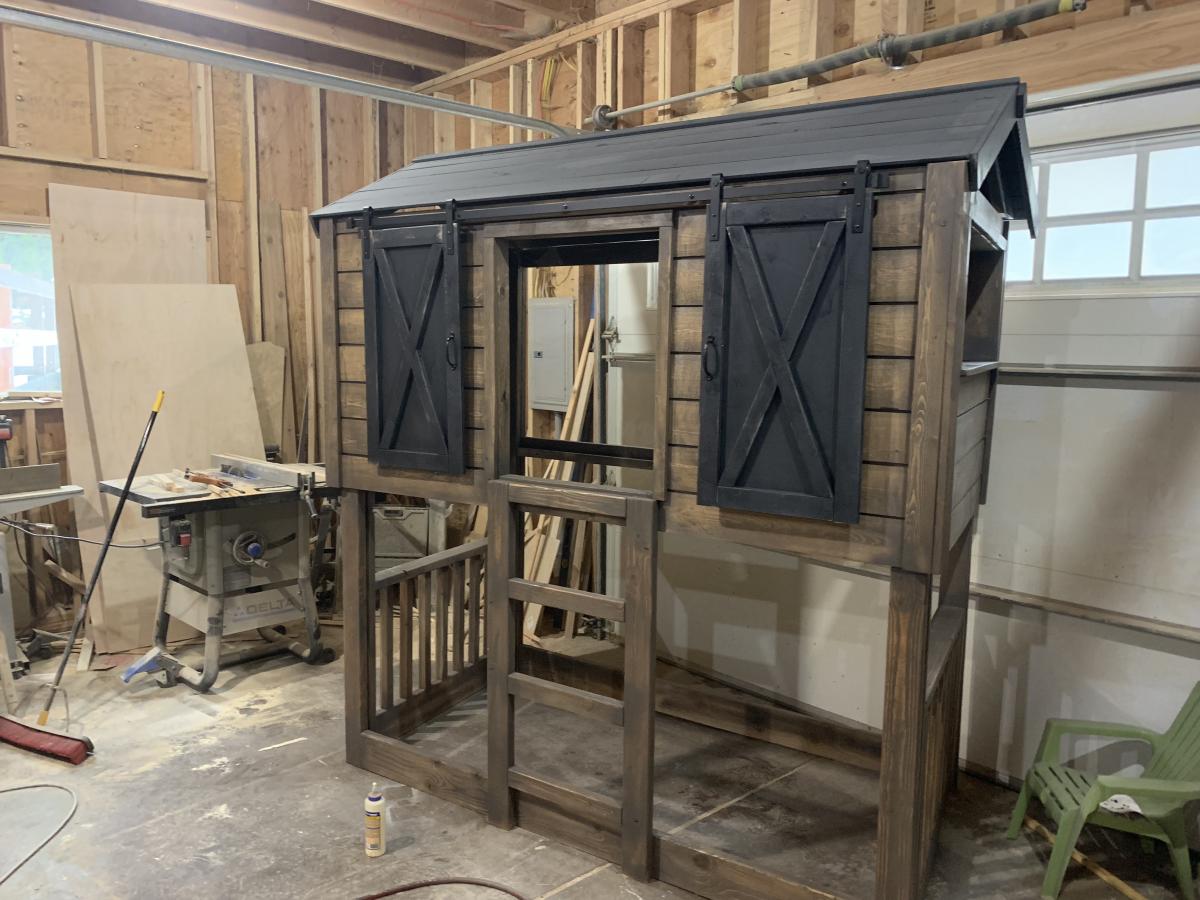
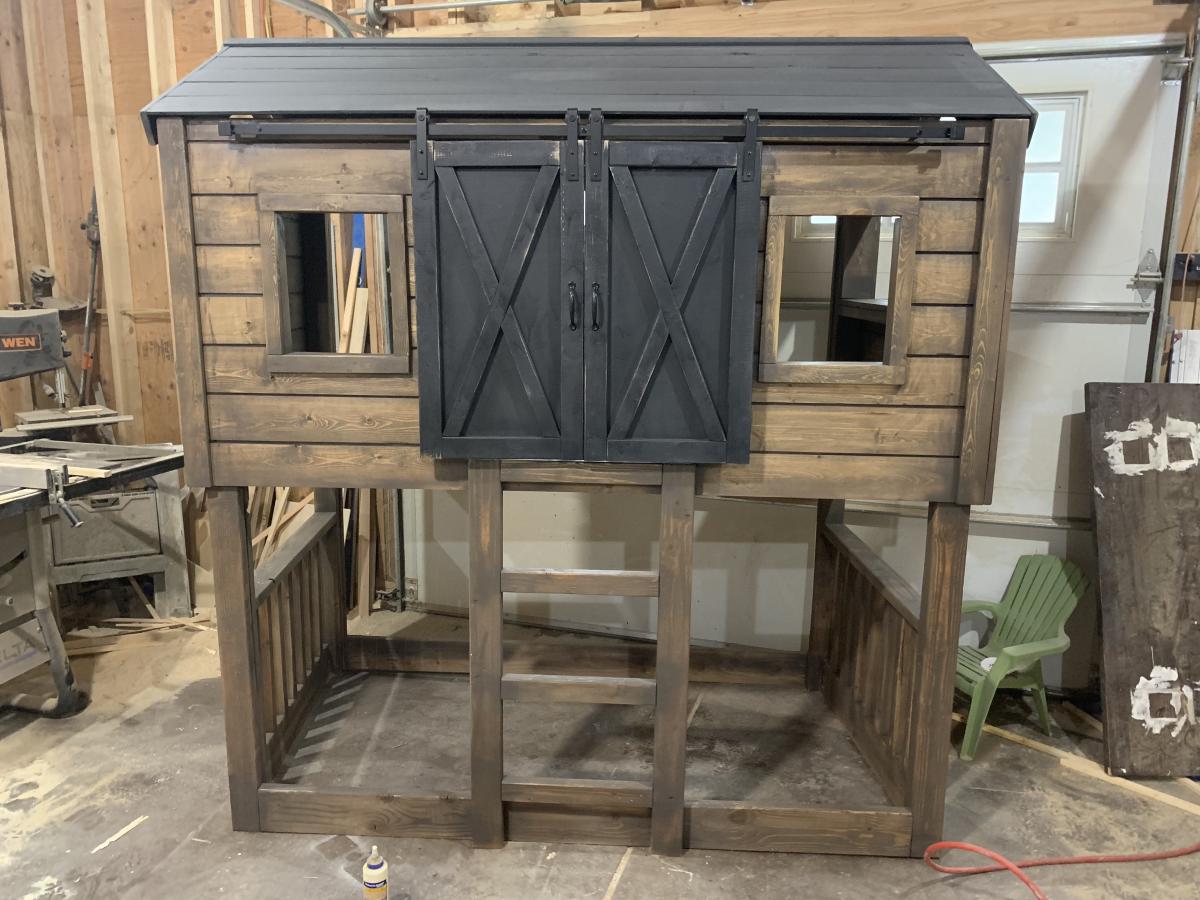
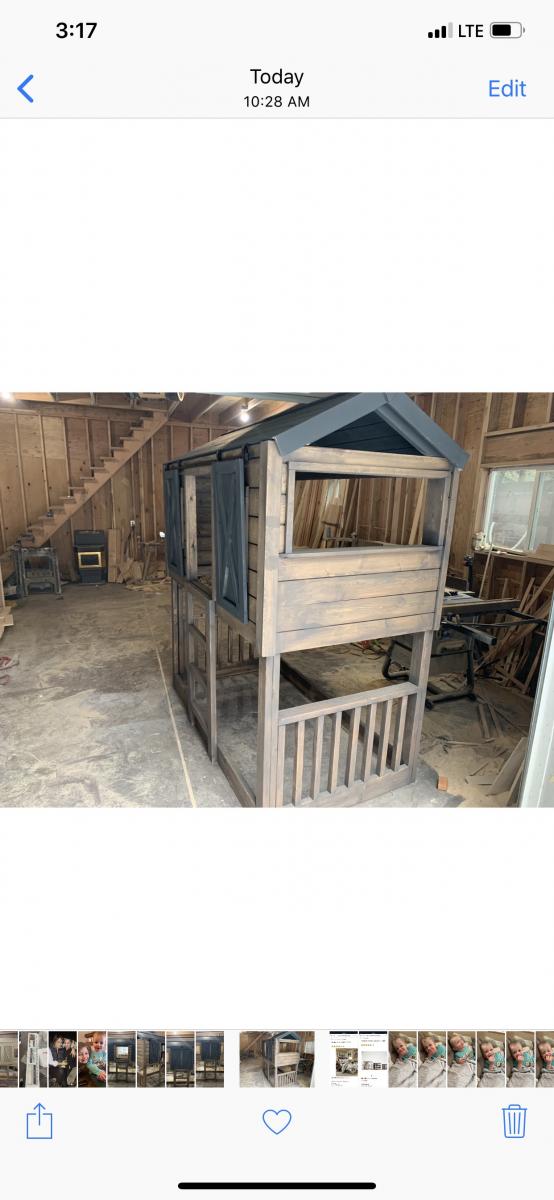
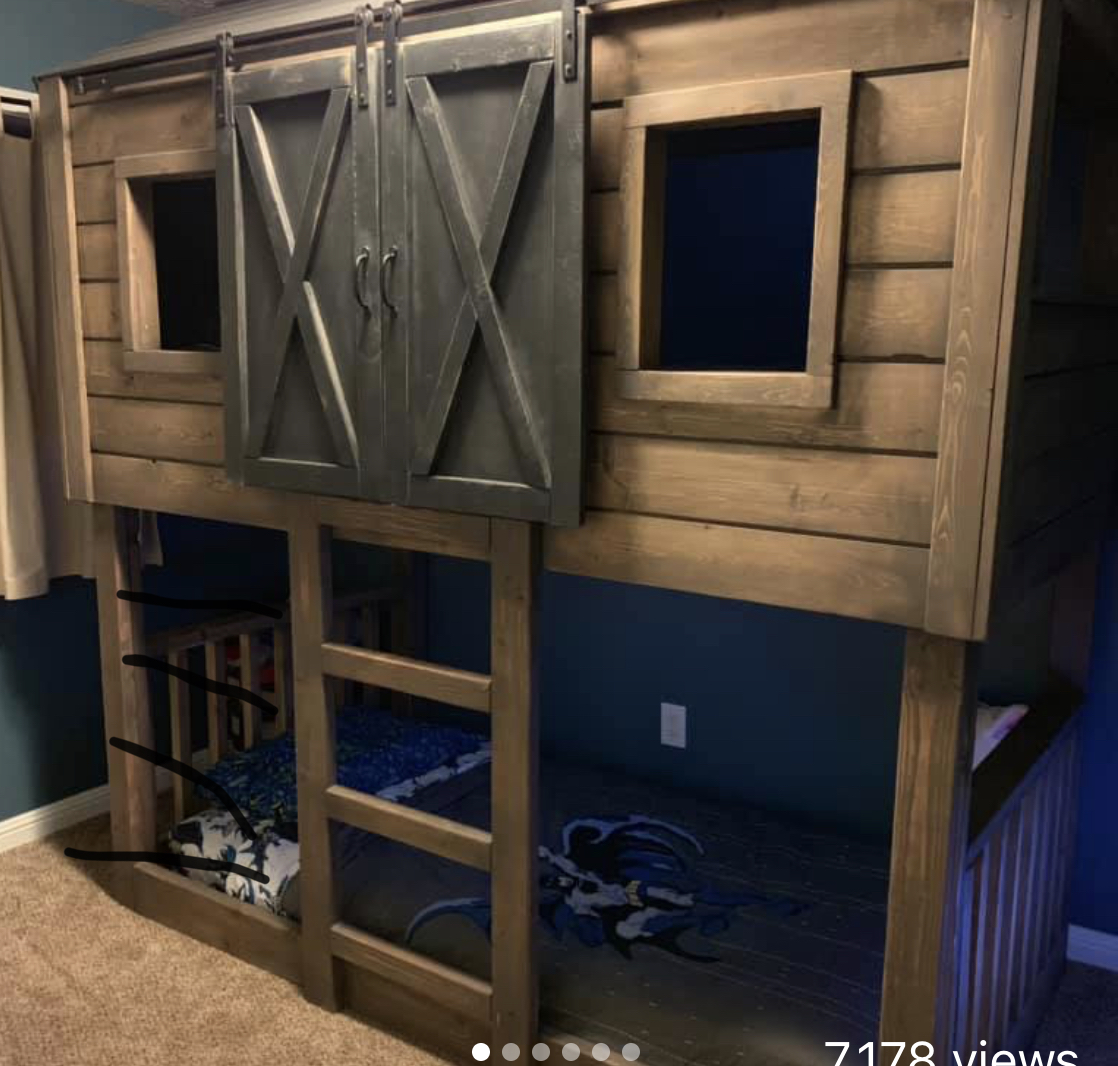
Kids Cabin Bed with Barn Doors

Submitted by Anonymous (not verified) on Sun, 02/16/2020 - 21:21

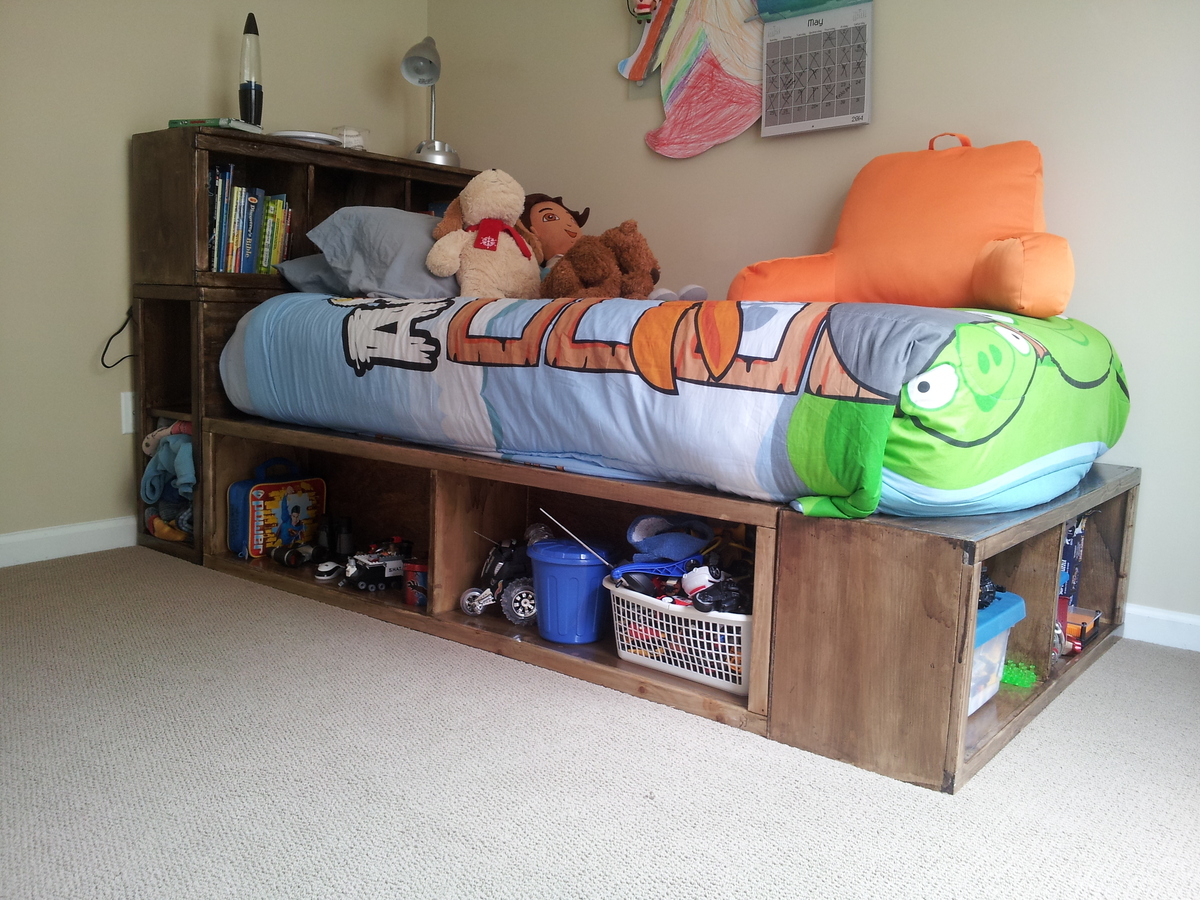
Hand made kids fort bed

Estimated Time Investment
Day Project (6-9 Hours)
Recommended Skill Level
Intermediate

Comments

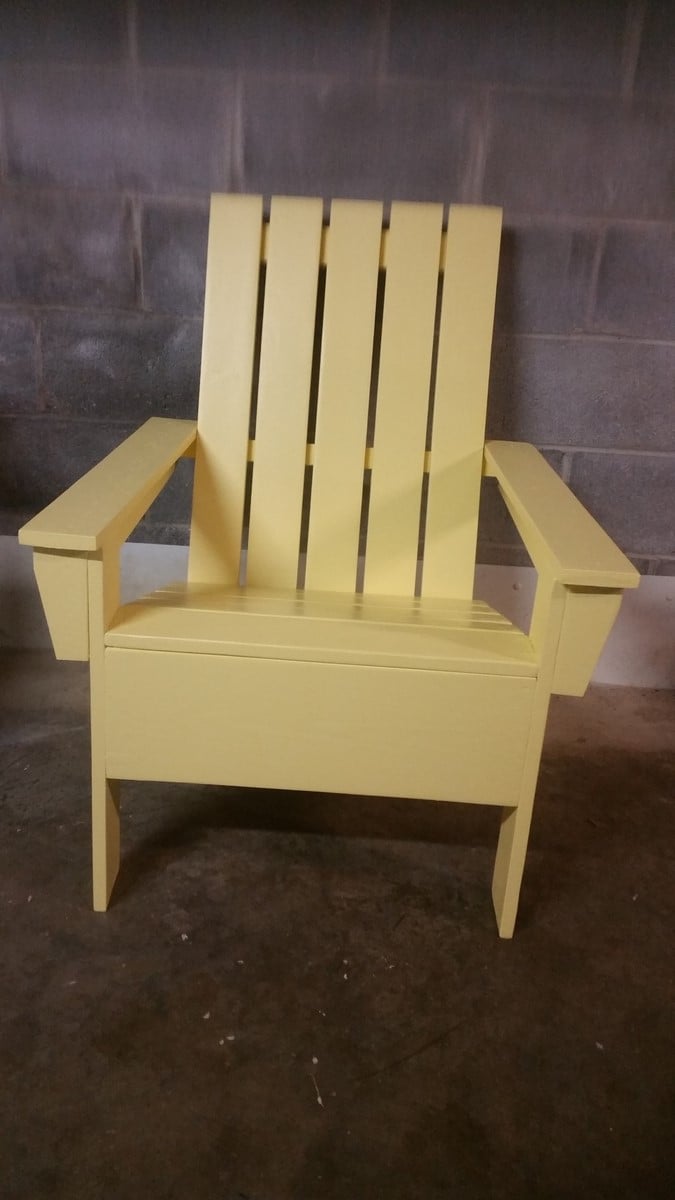
My first Adirondack chair

My first attempt at building an Adirondack chair. Ana's plans were easy to follow and very accurate. I would classify myself as a Beginner+.. Recently suffered bad thumb cut making cedar planters. Always think safety first. 

Built from Plan(s)
Estimated Cost
$55.00
Estimated Time Investment
Week Long Project (20 Hours or More)
Finish Used
Glidden Latex. One coat of primer and 3 coats of Glidden canary yellow latex.
Recommended Skill Level
Beginner

Farmhouse Bench

This was our first build. I have always wanted a rustic table and bench set, but they are so expensive. We already had a miter saw and jig saw, so I thought why not. We did not use a pocket jig when we built this, so we had to brainstorm for the bread boards. I found these really long screws at Lowe's and they worked great. I actually love the way they look. We are going to use the screws on the next bench even though we have a Kreg Jig now. Soon I will have my dream table without spending $2,000!

Estimated Cost
$20
Estimated Time Investment
Afternoon Project (3-6 Hours)
Finish Used
I distressed the bench using a sock with two bolts in it. I also used a hammer, but was very careful to not hit it so it looked like a hammer imprint. I used: Minwax Pre-Stain wood conditioner, followed by Minwax Red Mahogany #225, and finished with Minwax Fast-Drying Polyurethane Clear Gloss. I put I think 3 coats of stain and 3 coats of Poly.
Recommended Skill Level
Beginner

Comments

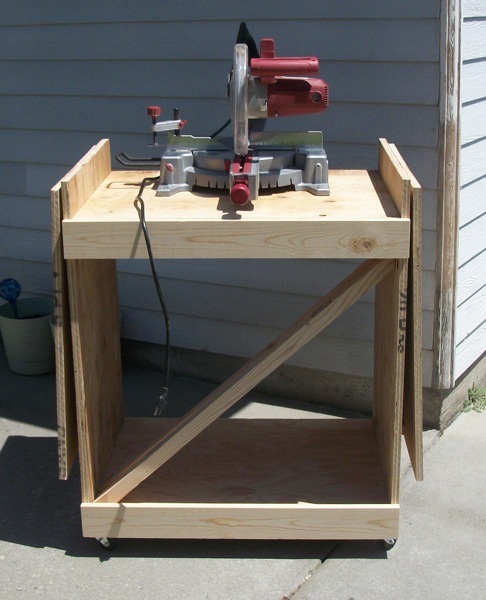
Miter Saw Cart

Submitted by tracysmith on Mon, 06/11/2012 - 13:24

Love this plan, it was easy to do. I did modify it a little as did another member with longer support arms. I just purchased an extra 2x2 and cut it to fit! Thanks for the great plans!!! Hope to see more shop furniture on here soon!
Built from Plan(s)
Estimated Cost
$45
Estimated Time Investment
Afternoon Project (3-6 Hours)
Finish Used
None
Recommended Skill Level
Beginner

Comments

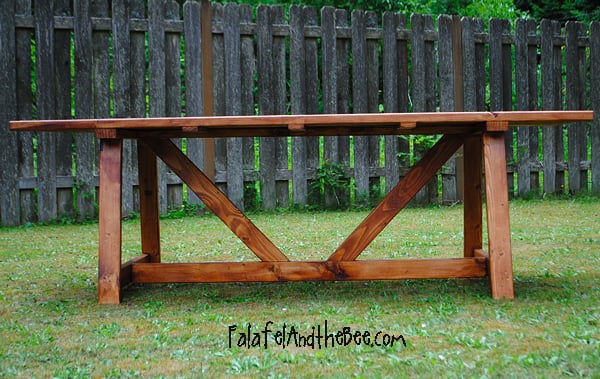
Providence Picnic Table by Falafel and the Bee

This is my second large wood project...and both from this blog! The plans were fabulously easy. This was the first time I used my miter saw, and it was a great way to break it in.


Estimated Cost
Under $120.00
Estimated Time Investment
Weekend Project (10-20 Hours)
Finish Used
Benjamin Moore Arborcoat Transparent Teak
Recommended Skill Level
Intermediate
Seasonal And Holiday

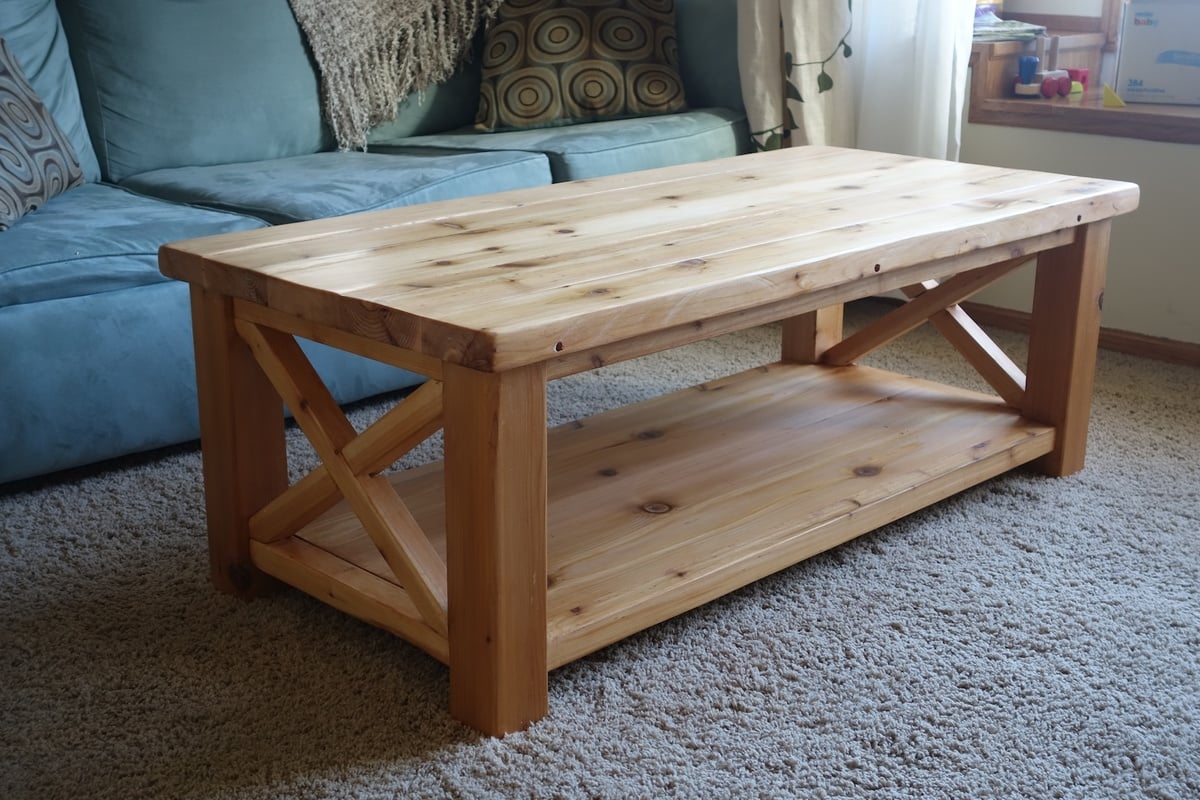
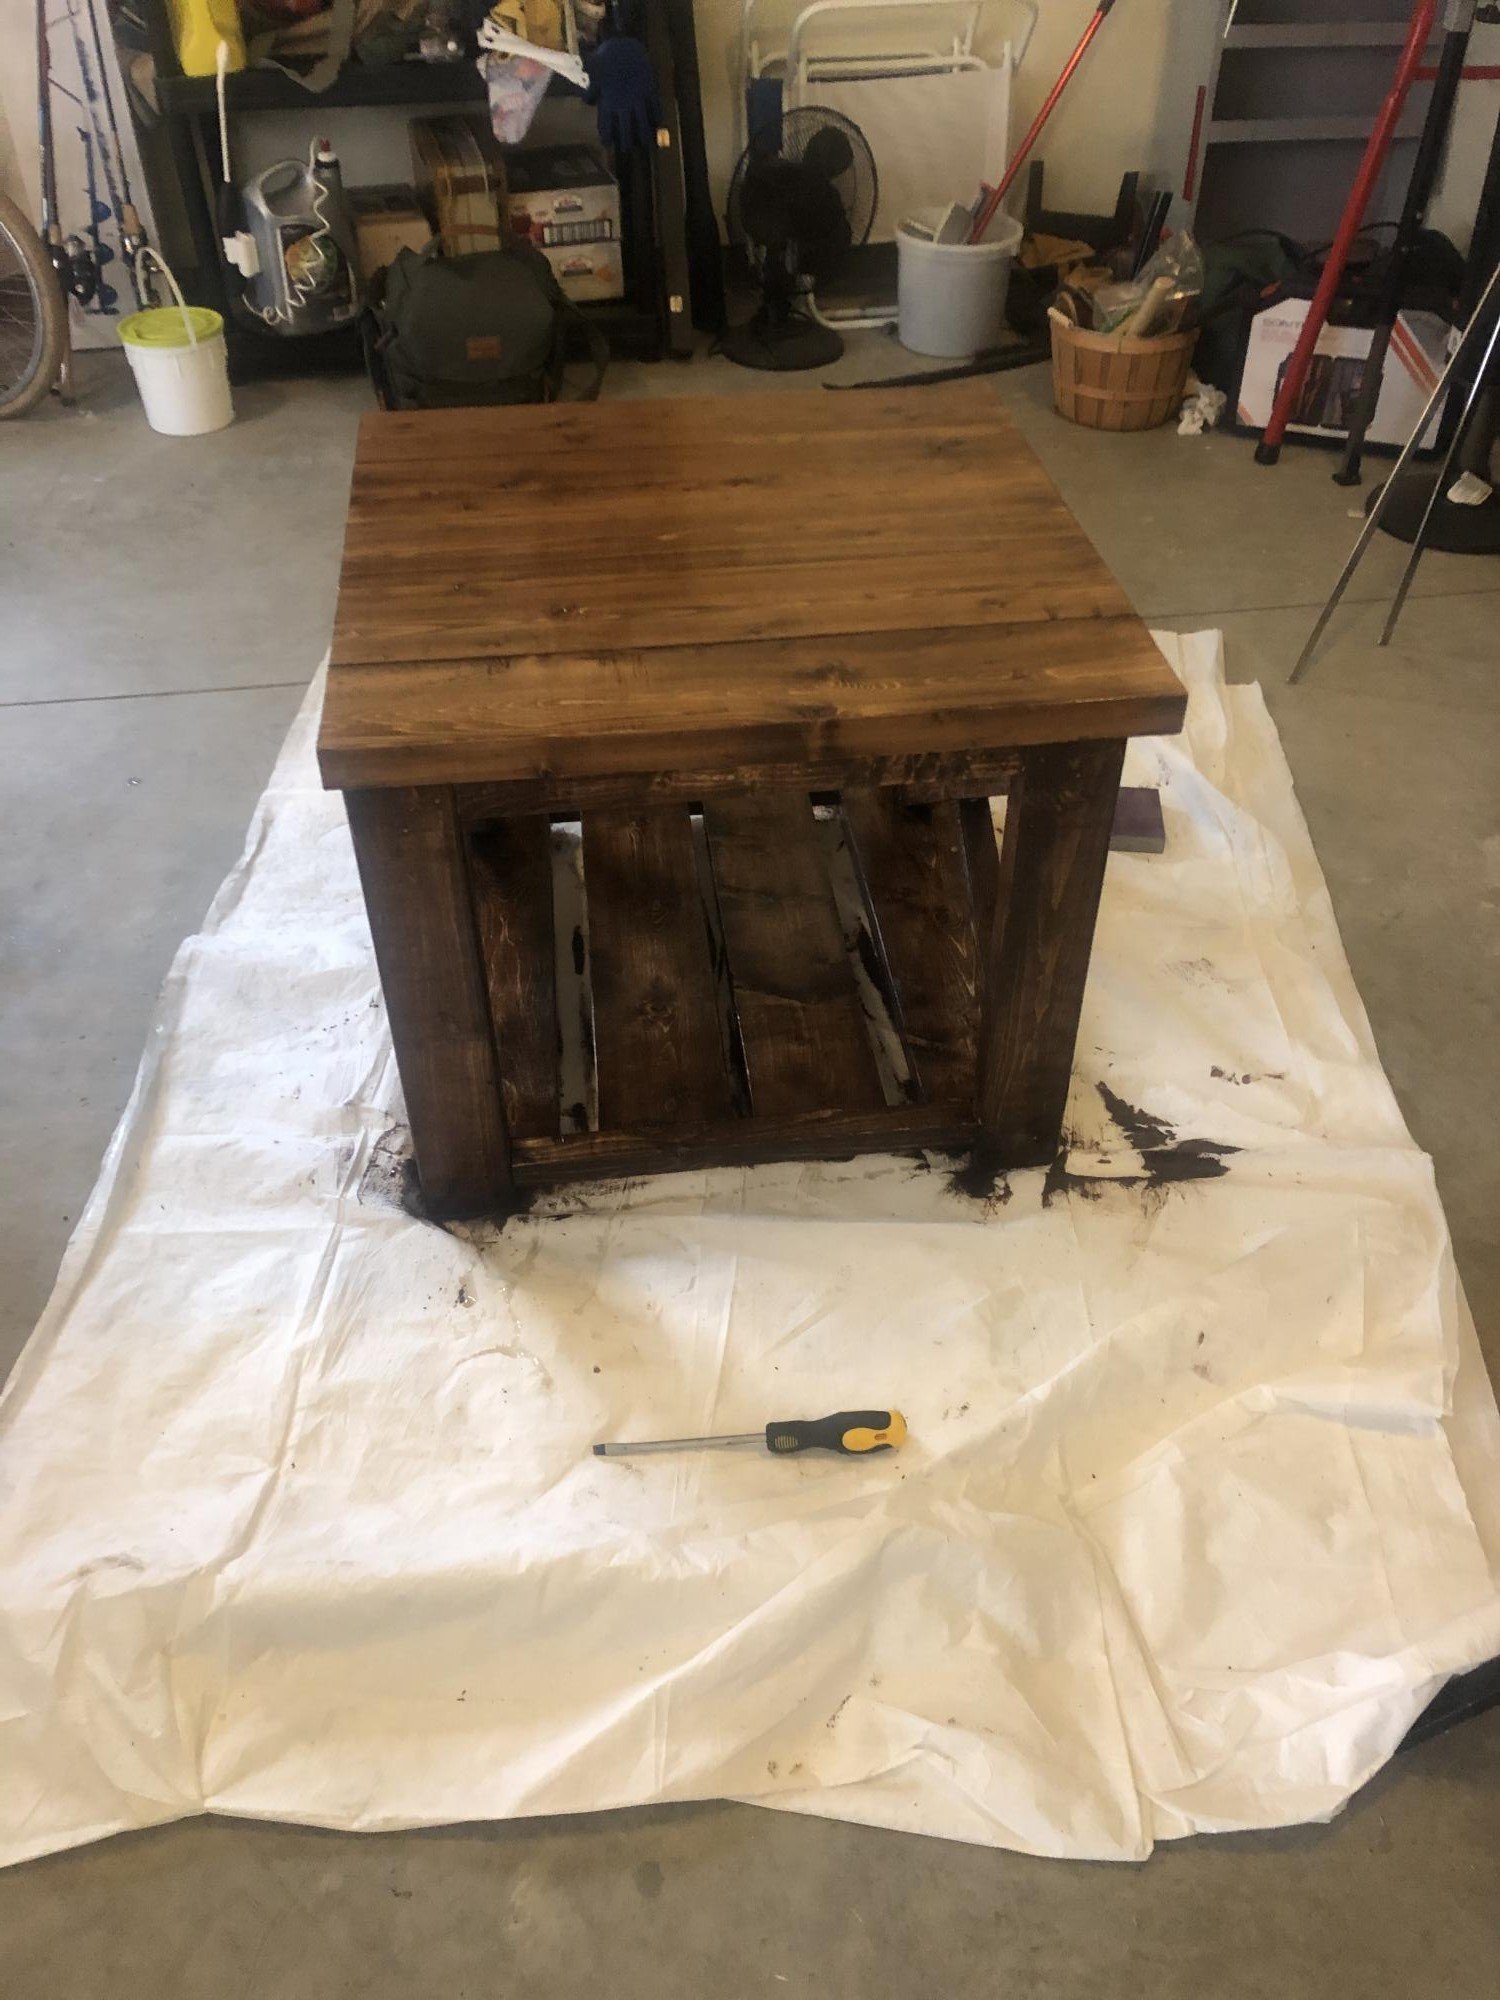
Rustic X Coffee Table in Cedar

Submitted by daveJay on Fri, 04/11/2014 - 07:16

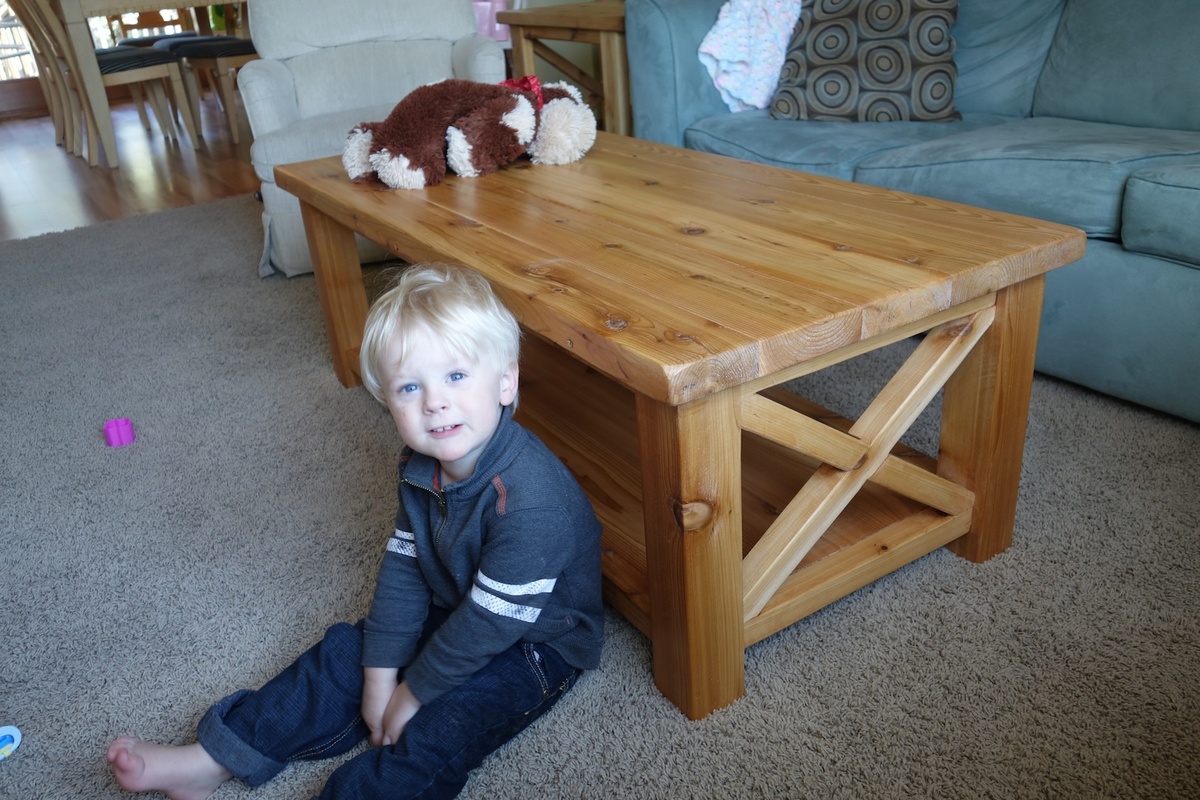
This is my first real piece of furniture I've built. We decided to build it in Western Red Cedar because our local home improvement store had a good selection of it. It was pricier than pine, but it holds stain really well and is really beautiful.

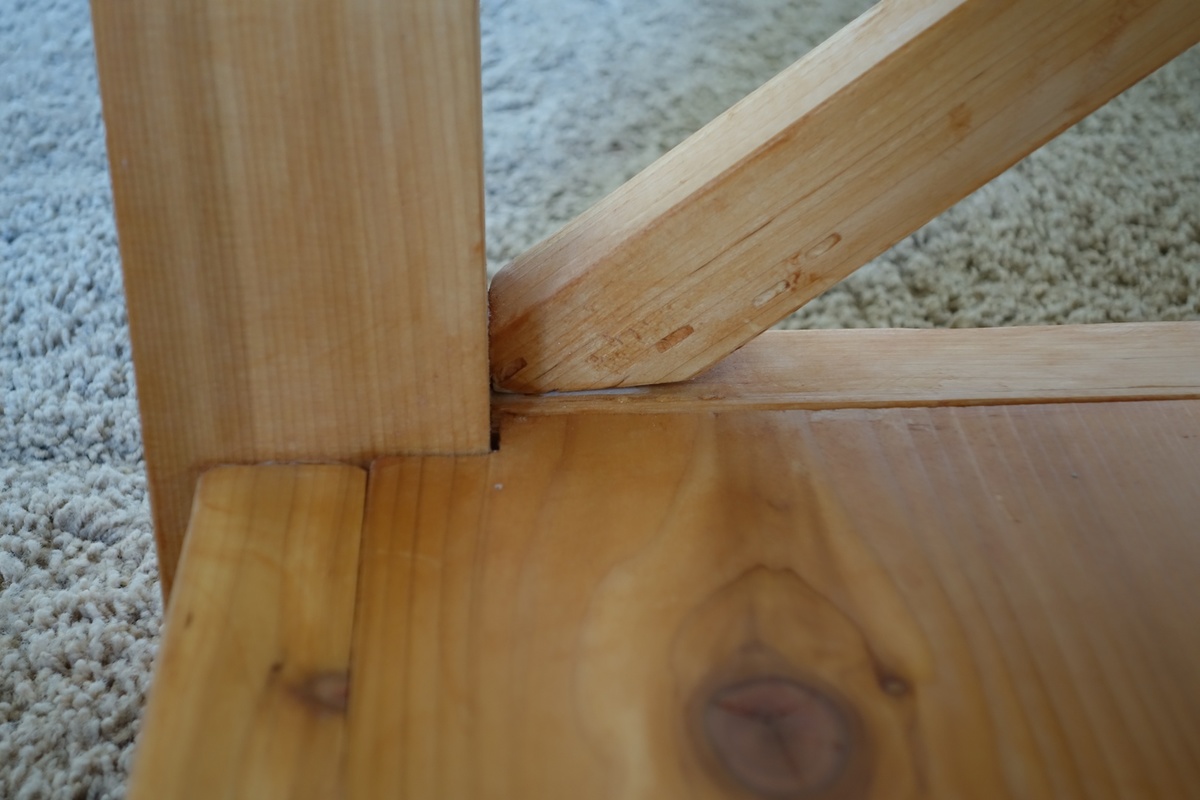
I modified the plan and bought a 4x4 for the legs, then I cut that down to 3" x 3" exactly with my table saw. That way it doesn't look like a standard cut of wood, but something more custom. As a result I had to put corner notches in my bottom piece so that it would fit in with the legs. That was tricky to do, but would have been easier if I had a jigsaw

I made a few measuring errors and had to correct it by trimming down the table top so there was only an inch overhang on the edges. So this is actually a few inches less deep than the plan called for, but it worked out ok I think.

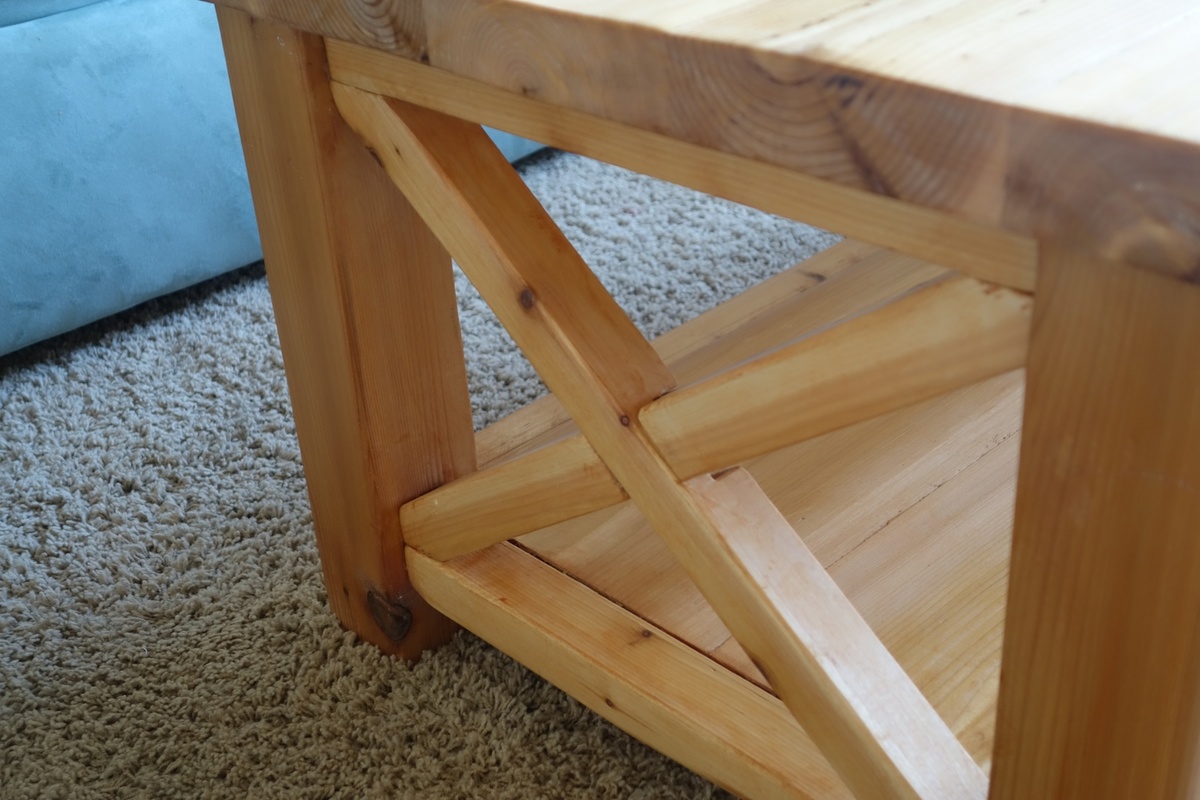
With the X's I laid them on top of the legs and traced a line to cut rather than trying to cut an exact miter. I also traced it so that I'd cut a bit off of the top and side of the corner so that it fits in nice and snug on both edges.

I also traced the intersection lines. Then I set my table saw (don't have a circular saw) to 1/2 an inch and just cut out several notches in between the intersection lines so the to X pieces could overlap each other. A "halved joint" I believe it's called.

Built from Plan(s)
Estimated Cost
$120
Finish Used
I finished it with a coat of Minwax Honey Maple gel stain followed by some Minwax Paste Finishing Wax. Just put a thin layer of wax on, wait for it to dry several minutes and then buff it out with a clean rag till it's got a nice shine.
Recommended Skill Level
Beginner

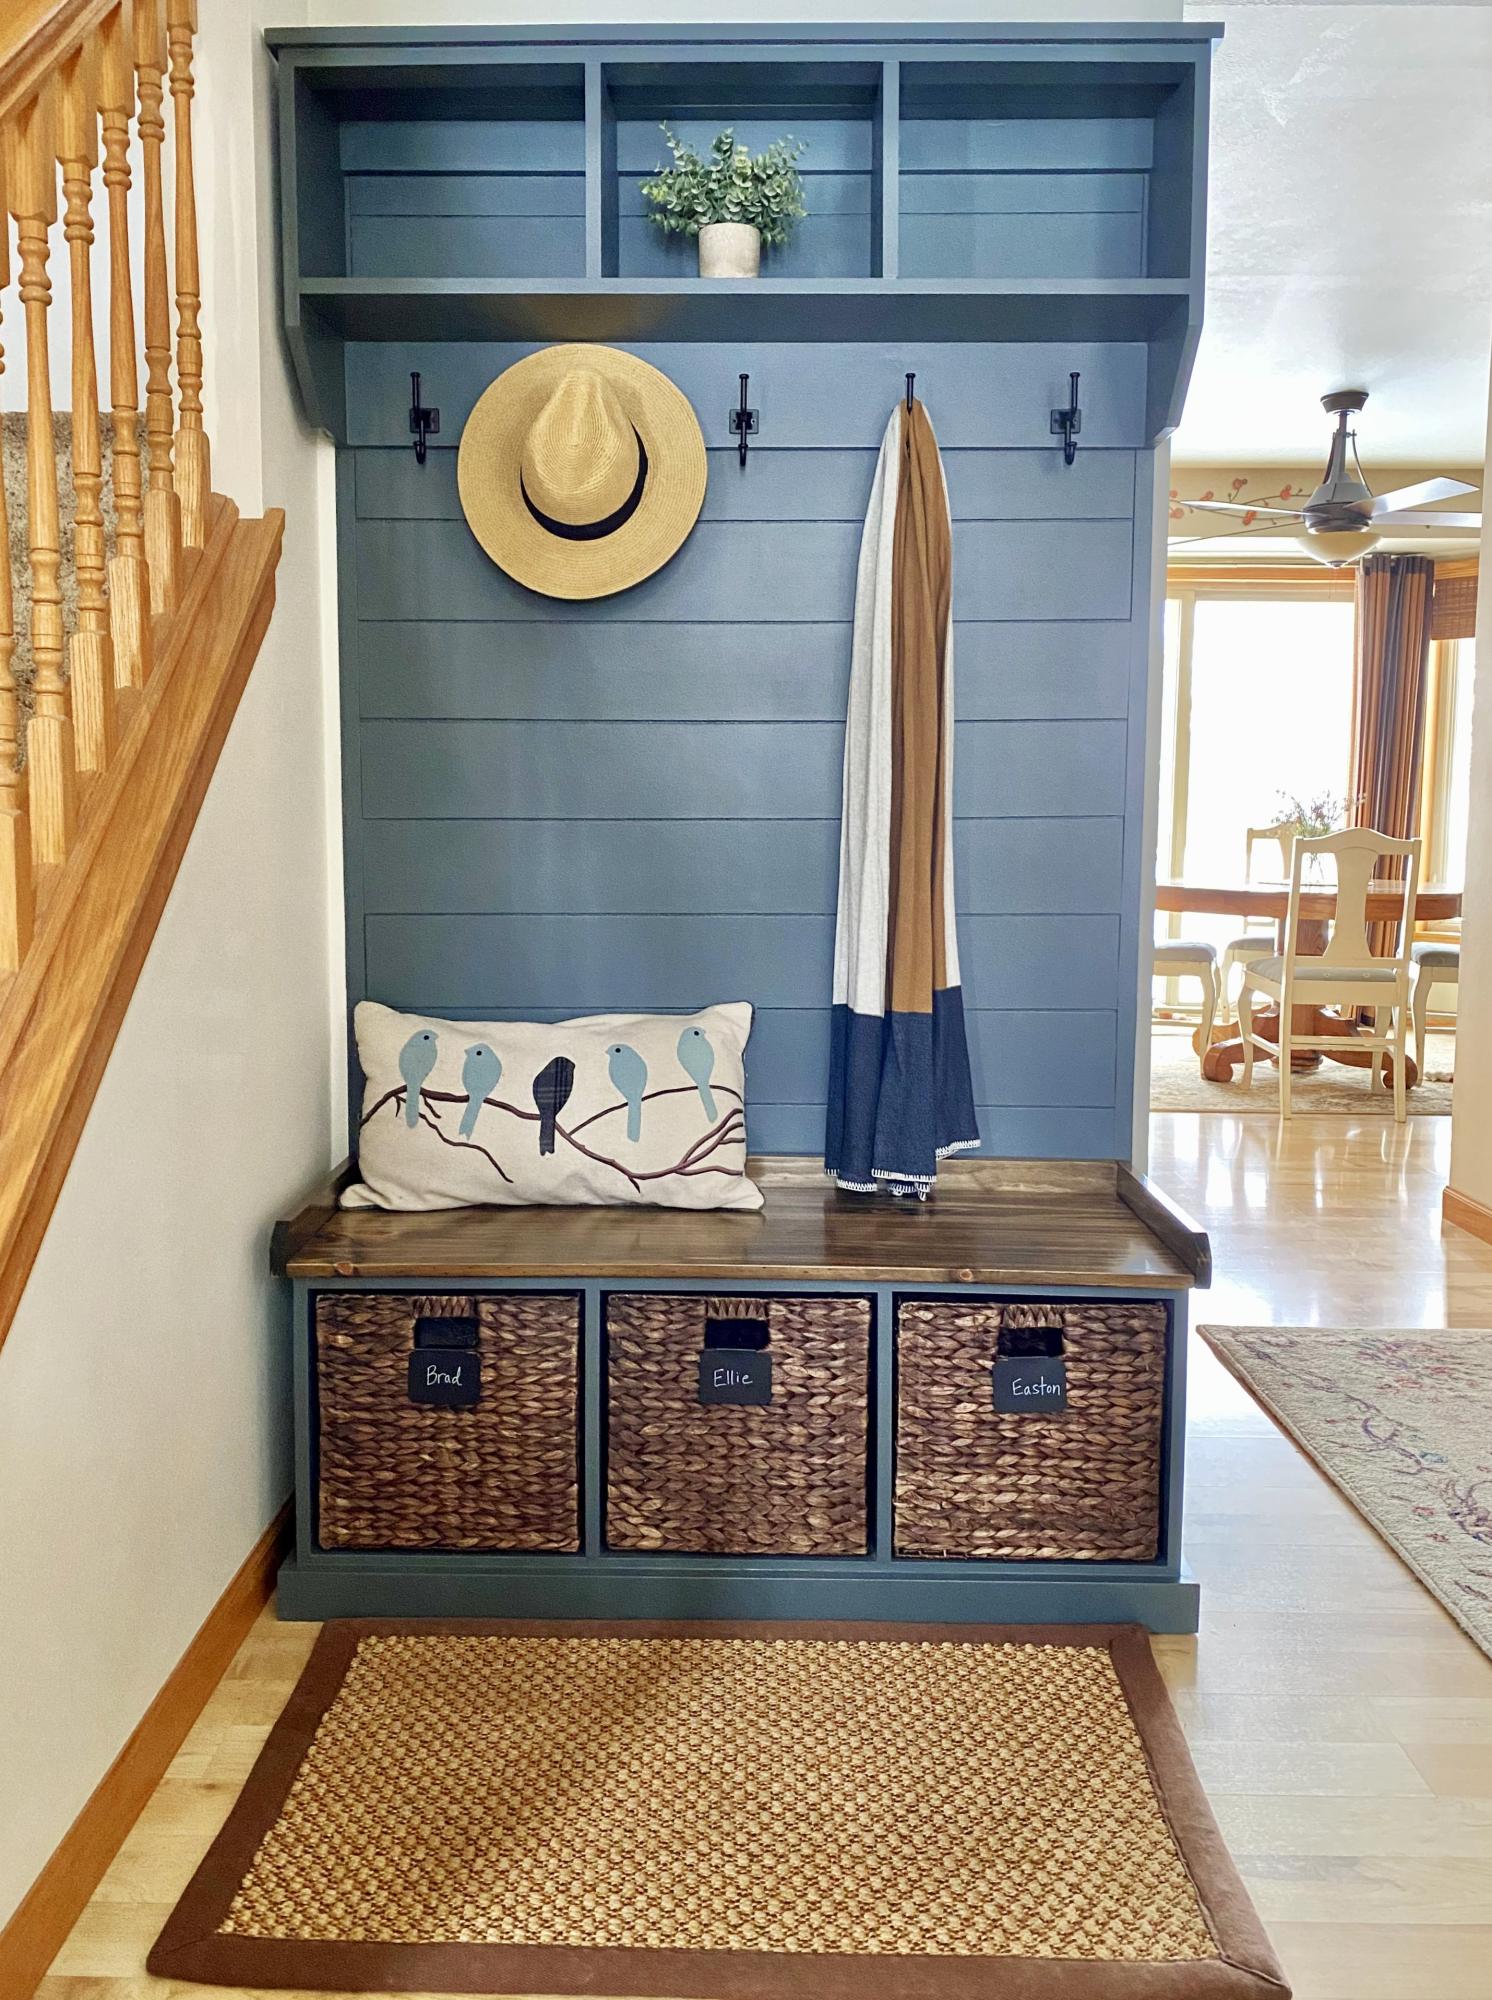
Channing Bookcase/Desk combo

Submitted by Maremilina on Sun, 07/10/2016 - 23:24

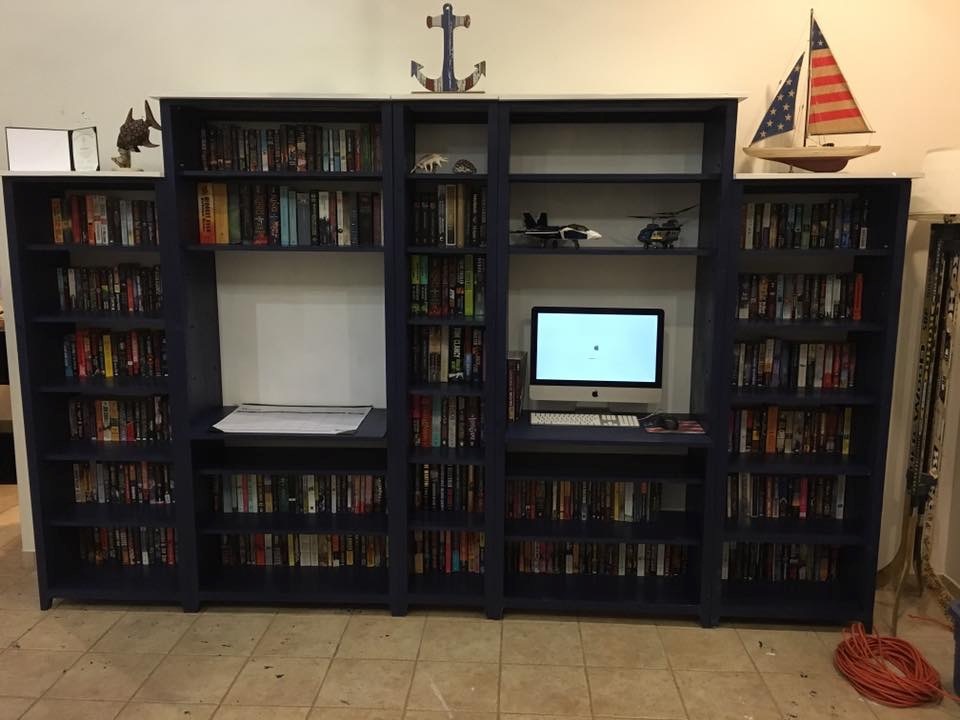
Wife wanted bookcases for all our books and a desk/work area for her calendar.  I decided to modify the Channing Bookcase to suit our needs.  We built 5 of them to fit the wall.  We did not attach the back trim piece on the shelves to give them a recessed look.  Convinced the wife to let me buy the Kreg K4 system, which saved my sanity for the over 500 pocket holes we had to drill in this project. Thanks for the plans!

Built from Plan(s)
Estimated Cost
With paint, about $350 but we live in Guam, so prices are significantly higher!
Estimated Time Investment
Week Long Project (20 Hours or More)
Finish Used
Behr Marquee interior semi-gloss dark navy blue and ultra pure white (top and back).
Recommended Skill Level
Intermediate

Comments

Rustic end table

Submitted by Anonymous (not verified) on Tue, 05/05/2020 - 15:38

Doing the whole set of rustic coffee/end tables 1st one done! Thanks for the plan!

Built from Plan(s)
Estimated Cost
50
Estimated Time Investment
Weekend Project (10-20 Hours)
Finish Used
Black walnut
Recommended Skill Level
Beginner

2x4 sectional outdoor sofa

Submitted by Anonymous (not verified) on Tue, 05/12/2020 - 08:10

My first Ana White project. My friend Shelley and I are RN's, and she got me hooked on woodworking. I started with cushions from Lowes ( in the sizes that you recommended)to see if I loved the sectional for a few years. I loved it so much I decided to have custom Sunbrella fabric ones made. Even though the custom ones were more expensive, it has been worth it. They go perfect with my California Mission style home. Now I want to add the armless one and make it a U-shape. I did add a piece at the bottom back of each sofa to hold the cushions in. The seat cushions would slide out the back when sitting on the sofa. I made the coffee table to match. Our family loves it!

Estimated Cost
building materials for sofa $250. Custom Sunbrella Fabric cushiosn $2000
Estimated Time Investment
Weekend Project (10-20 Hours)
Finish Used
Stained with Carrington Minwax and sealed with spray Shellac
Recommended Skill Level
Beginner

Comments

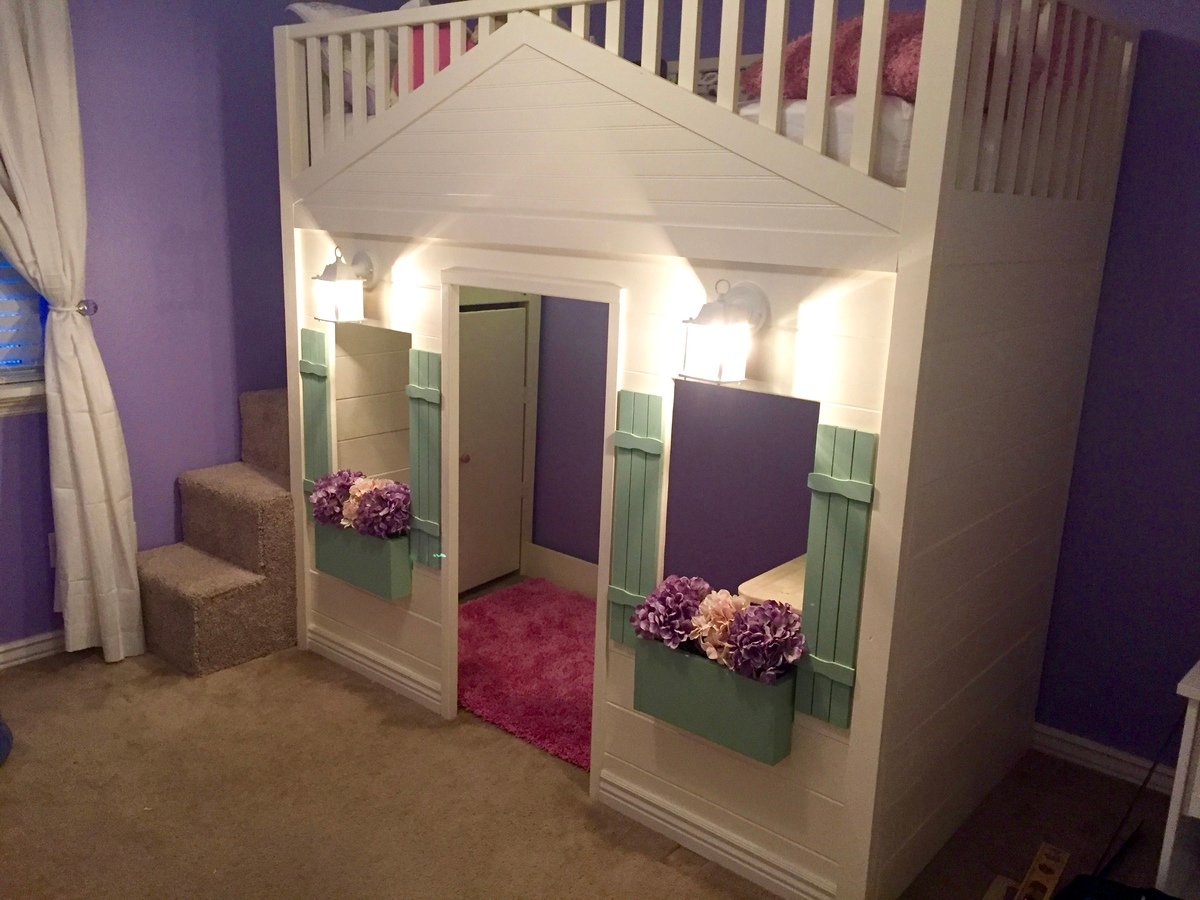
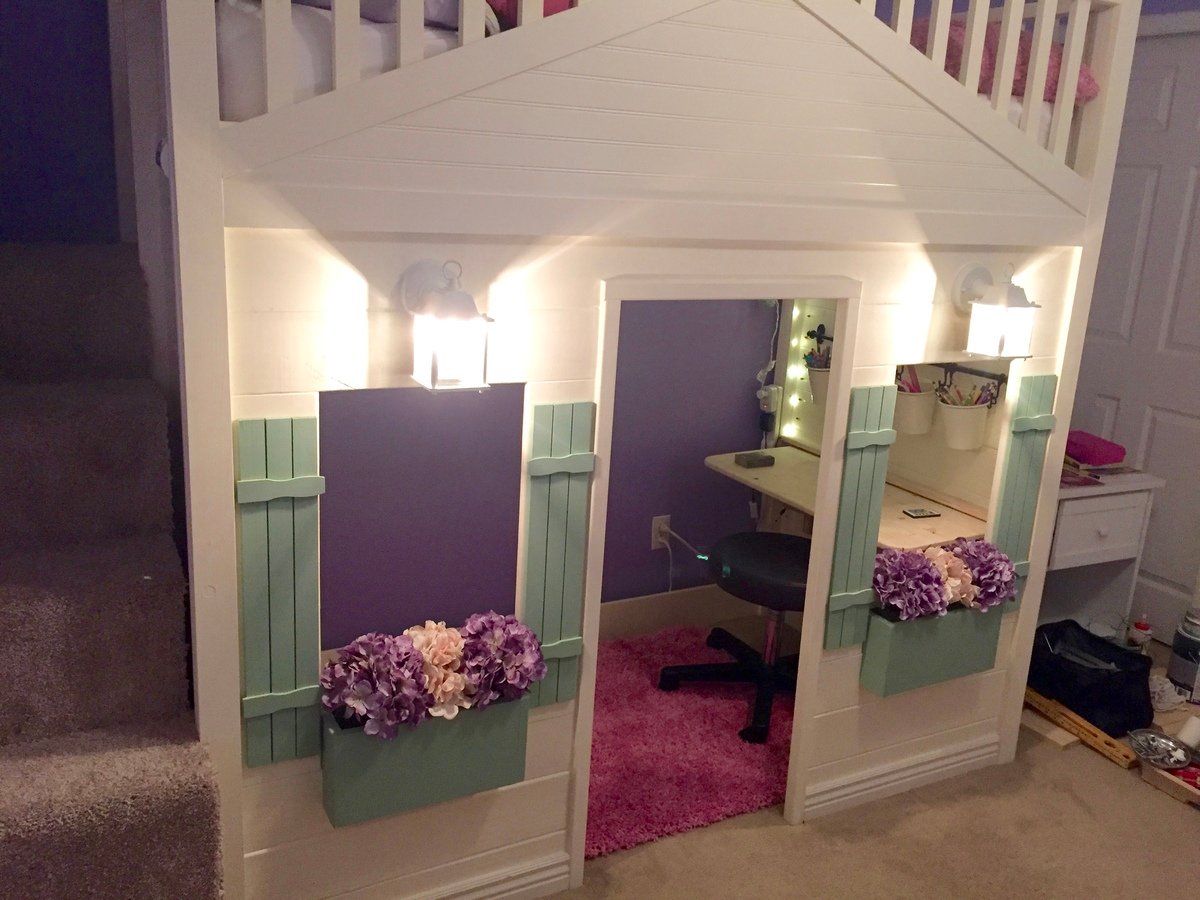
Cottage Loft bed playhouse with stairs, lights and desk

Submitted by kadnetop on Fri, 08/19/2016 - 10:18

We took the loft bed plans and modified a bit for our daughters bed. We made it a little taller including the doorway. Instead of a ladder we did a set of carpeted stairs with entry to the underneath space through a door on the inside and added a light for a 'secret' hideout. Everything else were just some added features. We built flower boxes and added foam blocks with silk flowers. For the gable we used bead board. For the shutter we used small wood strips and the horizontal pieces are just the free paint sticks from lowes cut down. We then added wired in lights hooked up to her light switch. (she loves this part) Then he built a fold down desk that can be opened or closed for when they want to play in there. The school supplies we used the rod and tin buckets from Ikea kitchen area. Over it took about 6 weeks to do everything between watching the kids and working. Cost for materials and the extras came to a little over $600. 

Built from Plan(s)
Estimated Cost
$600-$700
Estimated Time Investment
Week Long Project (20 Hours or More)
Finish Used
White color= Behr -Polished Pearl (we matched it to annie sloans Old White)
Green trim color- Valspar- green trellis
Recommended Skill Level
Intermediate

Sideboard/Game Console

Submitted by jakegarner on Wed, 06/03/2020 - 14:19

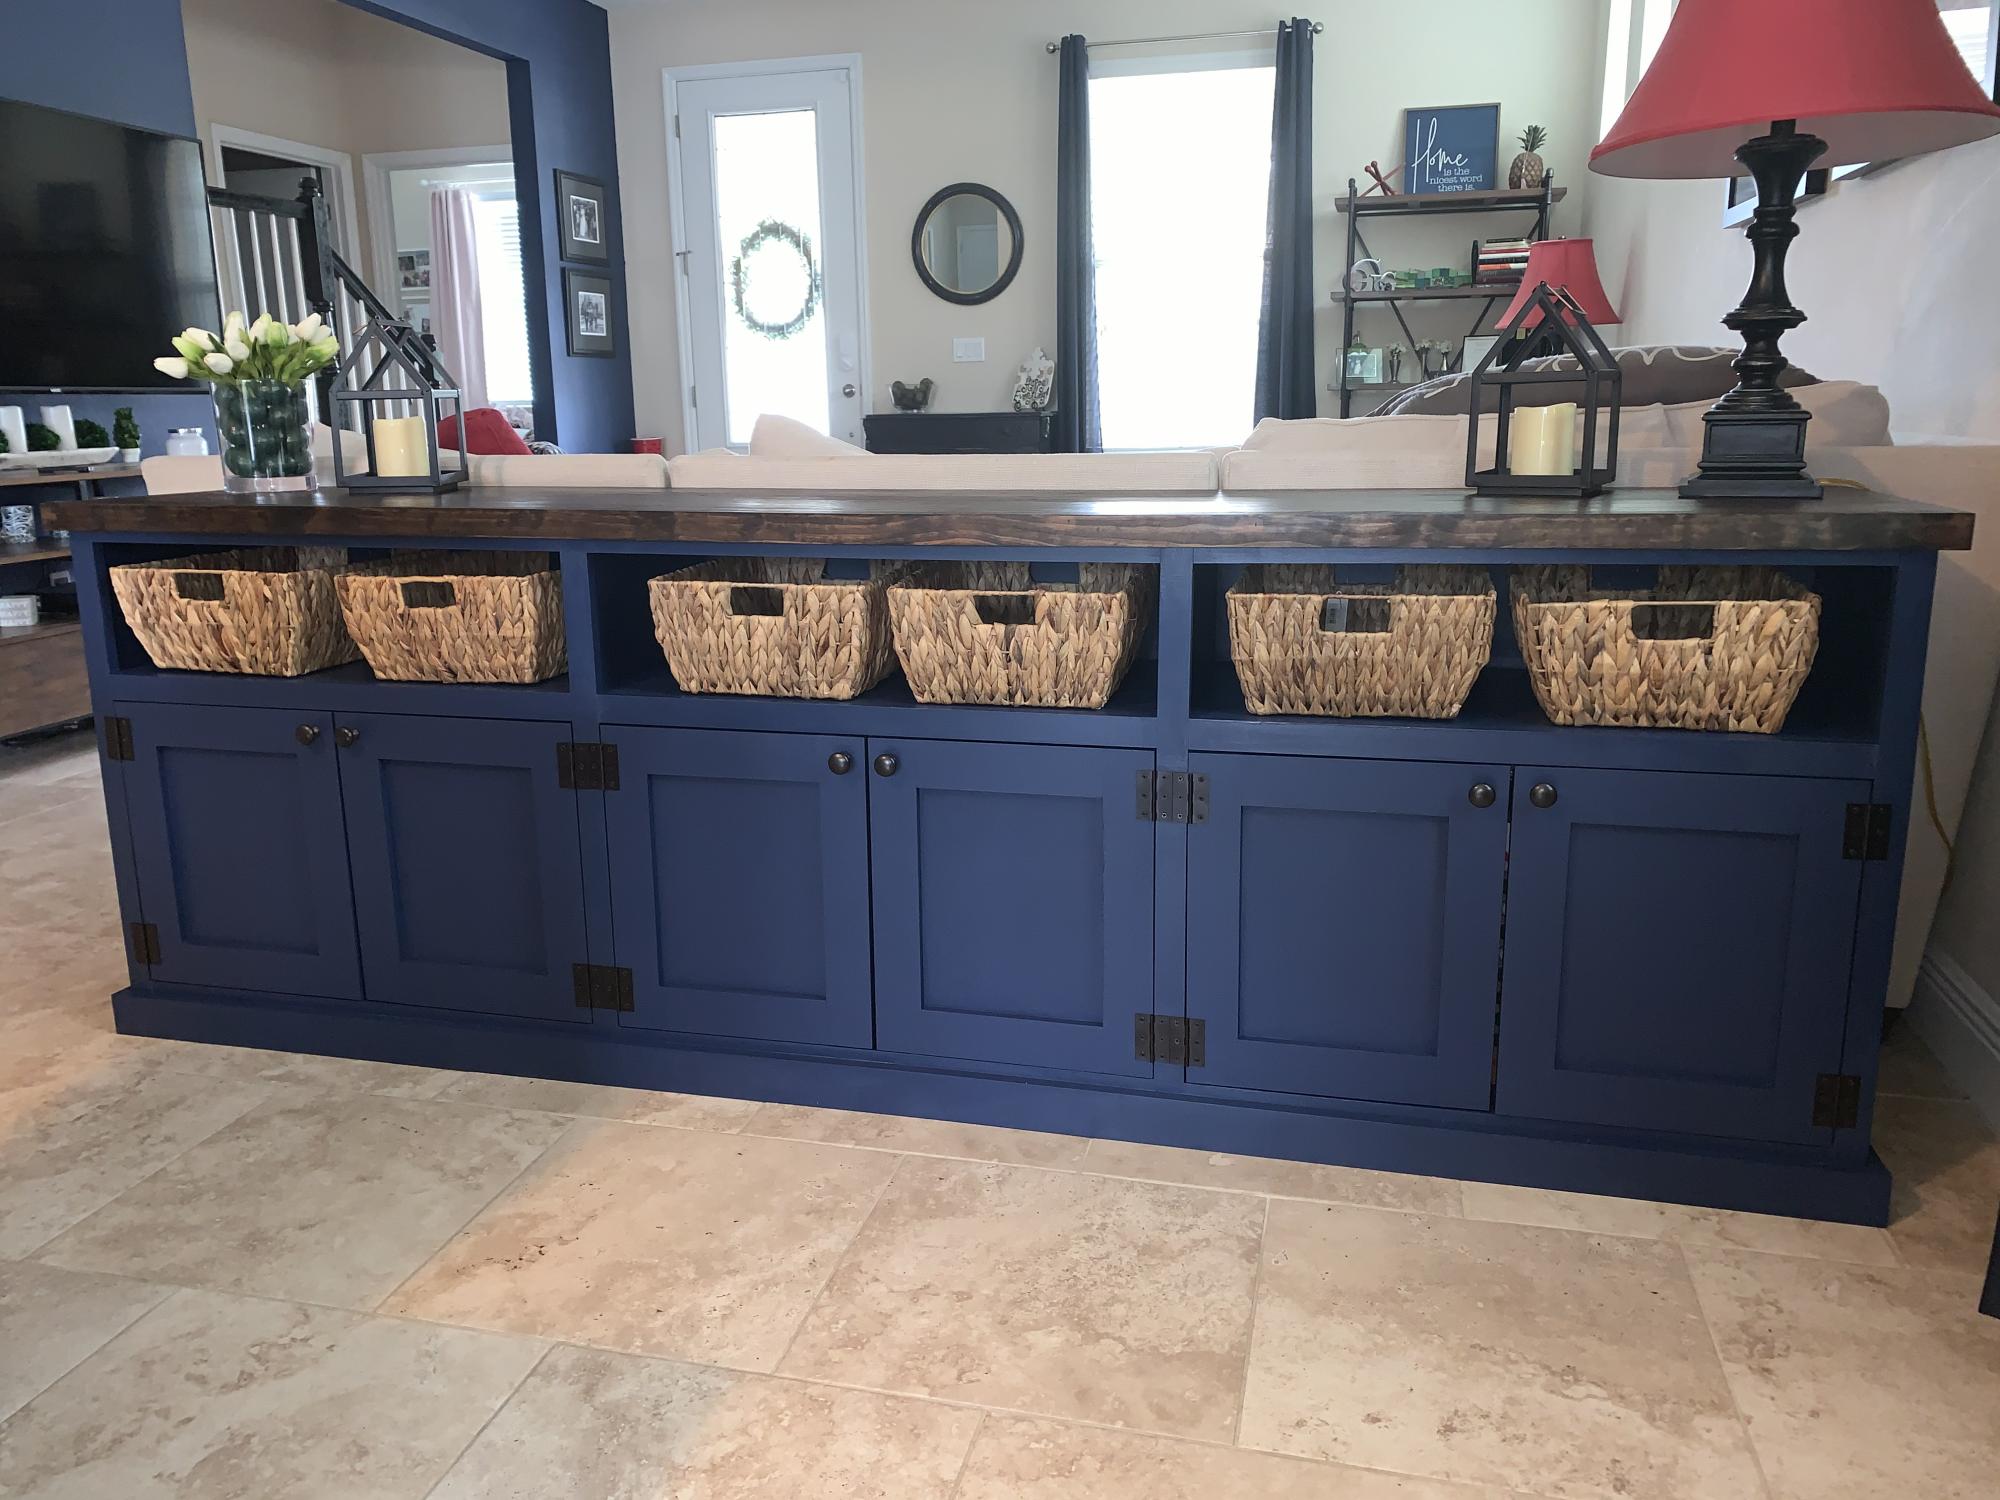
Used the plan for a double-entry console to make a triple cabinet to go behind the couch and serve as a board game console and sideboard for the dining room.

Lowered the total height to 34 in to fit behind the couch. The total length is 8 feet.
For the plywood top I edged them then pine boards to make the top look more like a solid piece of wood and stained it.

Estimated Cost
$300-400
Recommended Skill Level
Intermediate

Comments

Cluckingham Cottage

Cluckingham Cottage wasn’t built in a day, but it WAS built by a DAME!
A-frame instructions were pretty helpful considering the builder knows nothing about construction. I made a few modifications to accommodate my 5 chooks + 2 bantams . Sturdy and tight structure.

Estimated Cost
Under $400
Estimated Time Investment
Weekend Project (10-20 Hours)
Back