Rustic Farm House Table
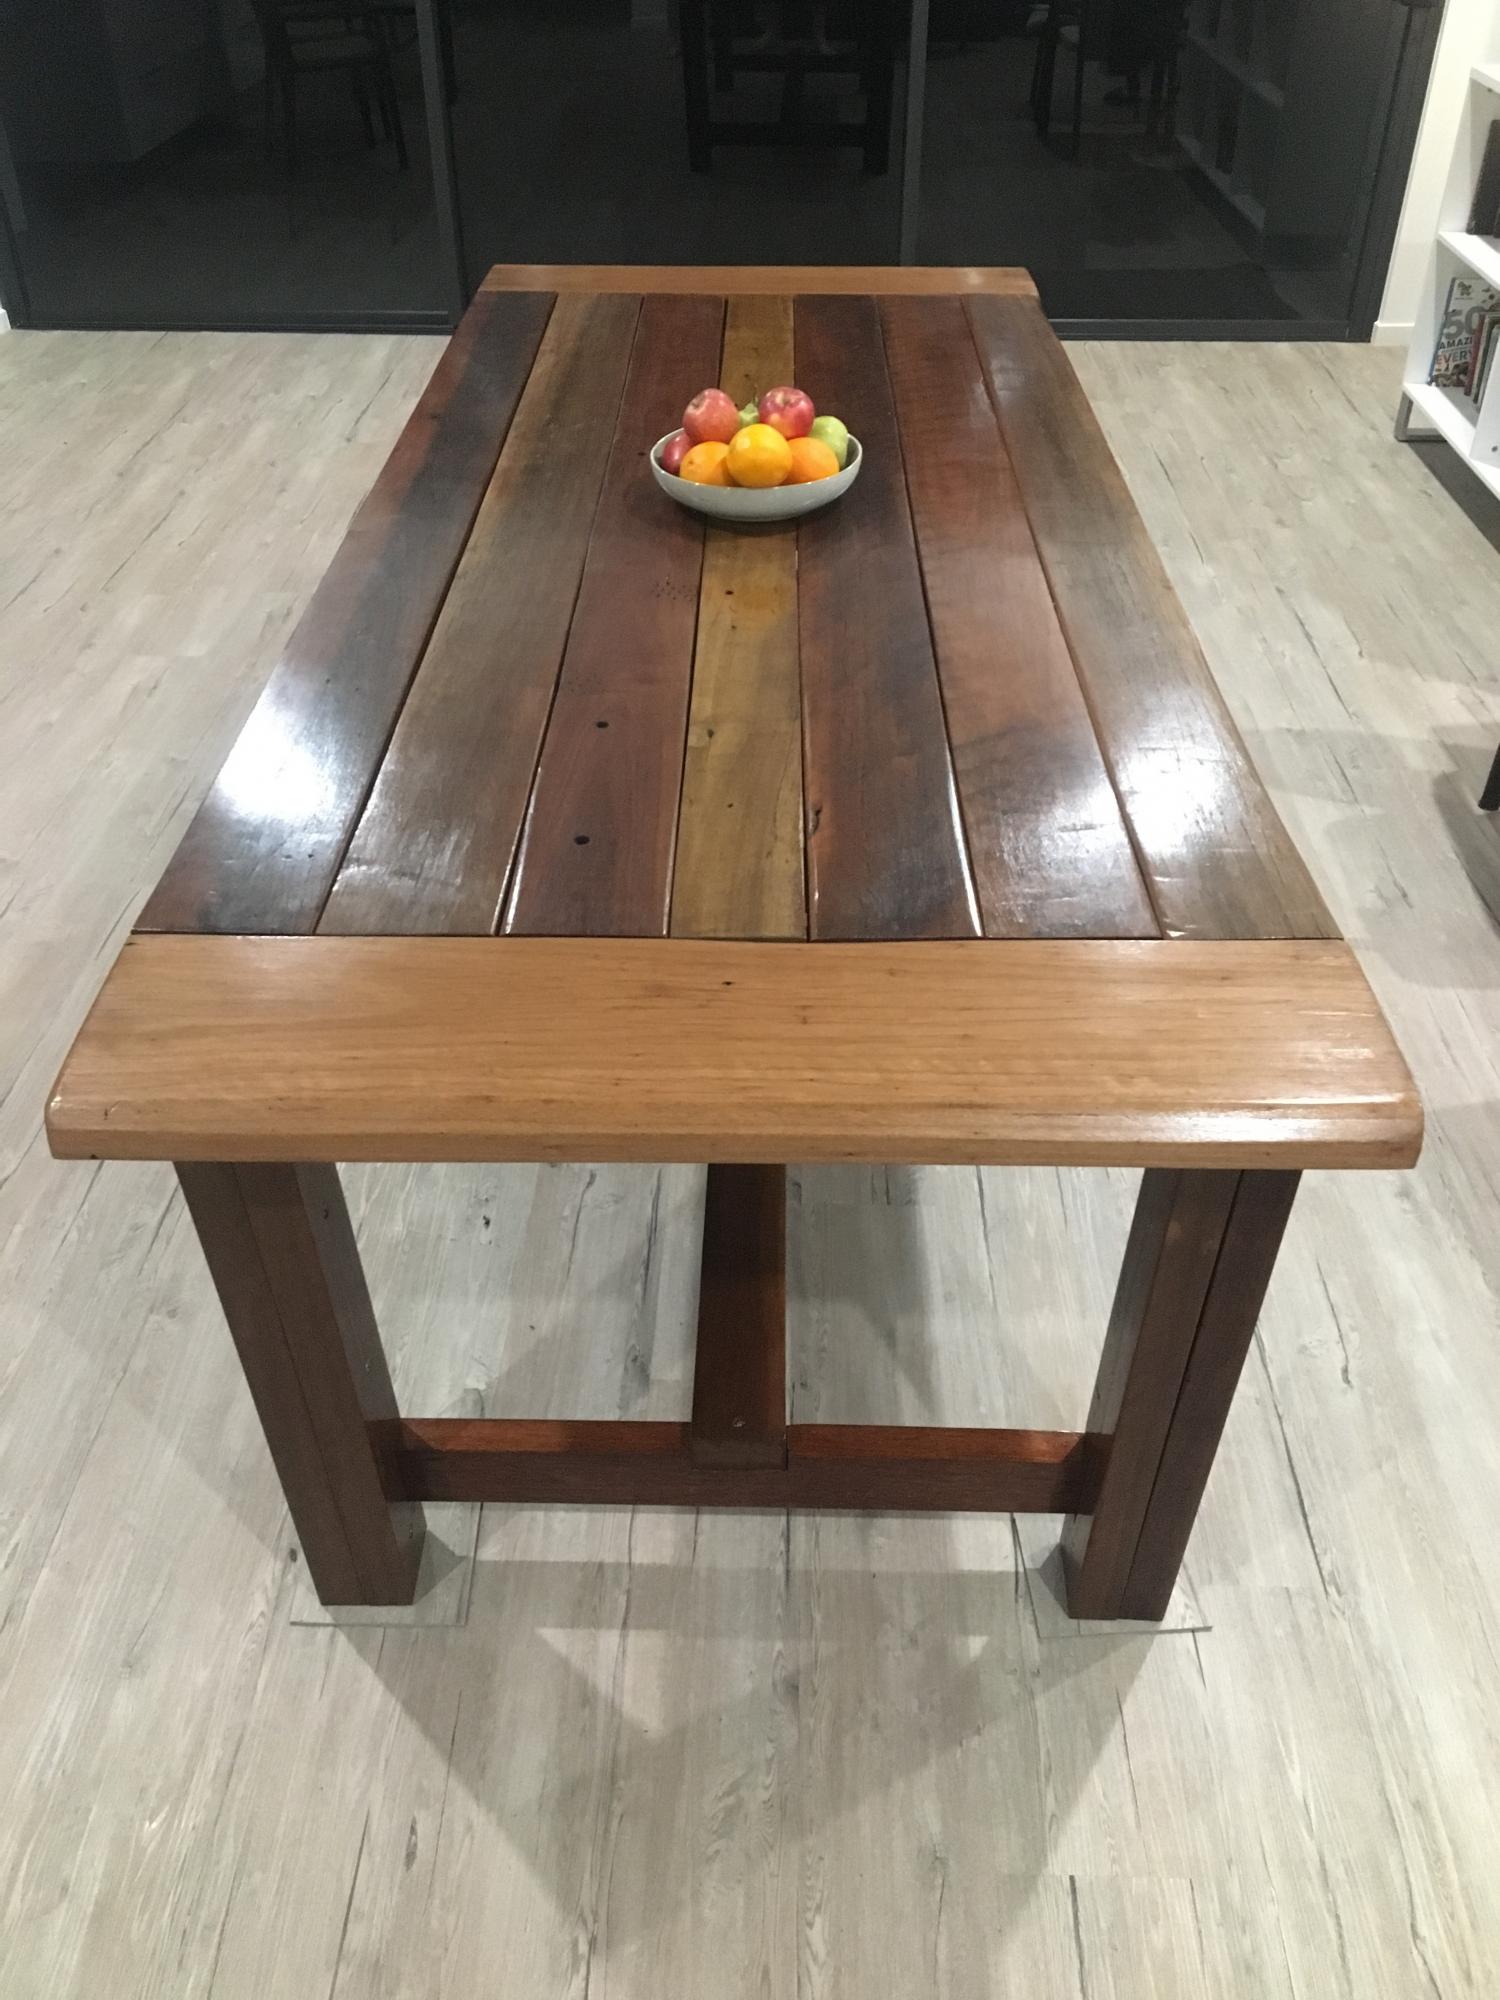
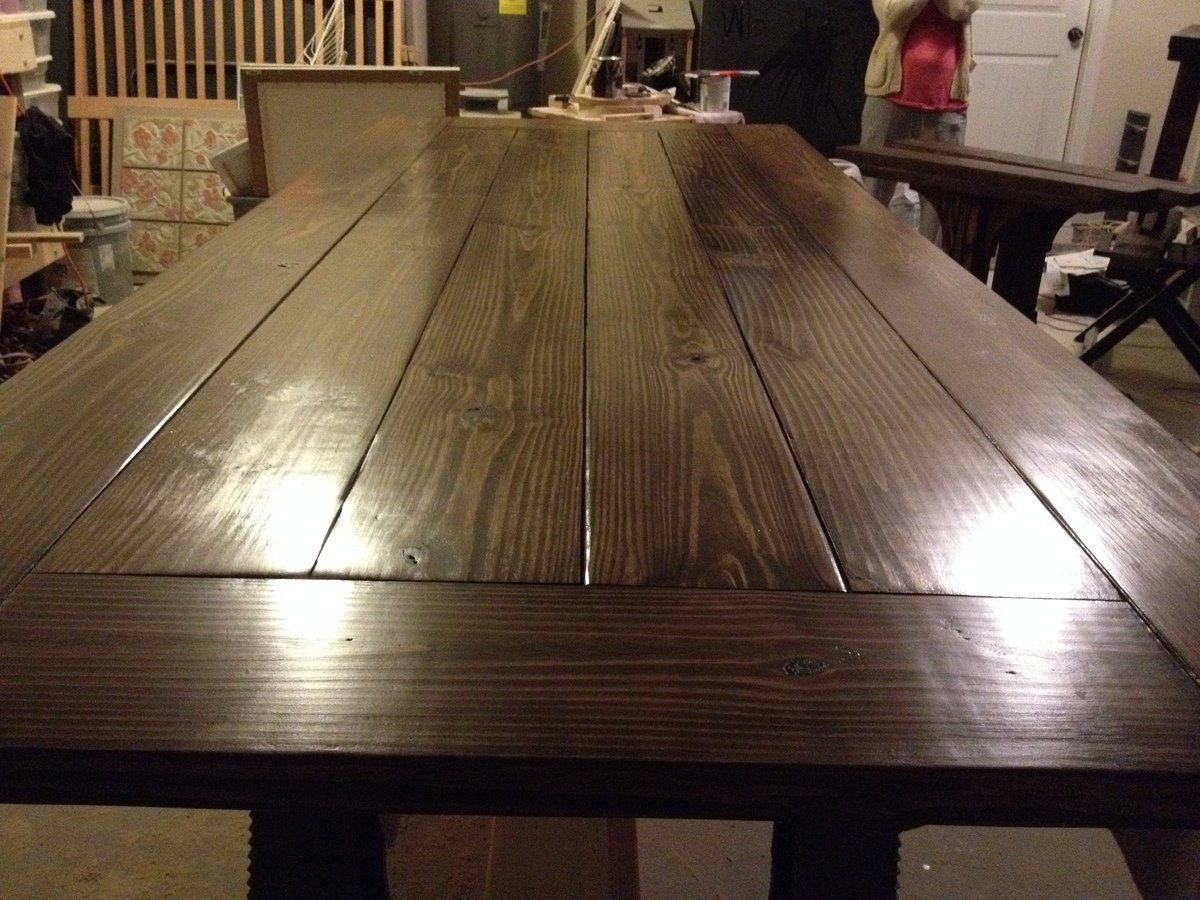
First Crack at any wood work since high school. All timber used was reclaimed hard wood, hours of
planing,sanding and clamping (its heavy). A few mistakes but that's learning.
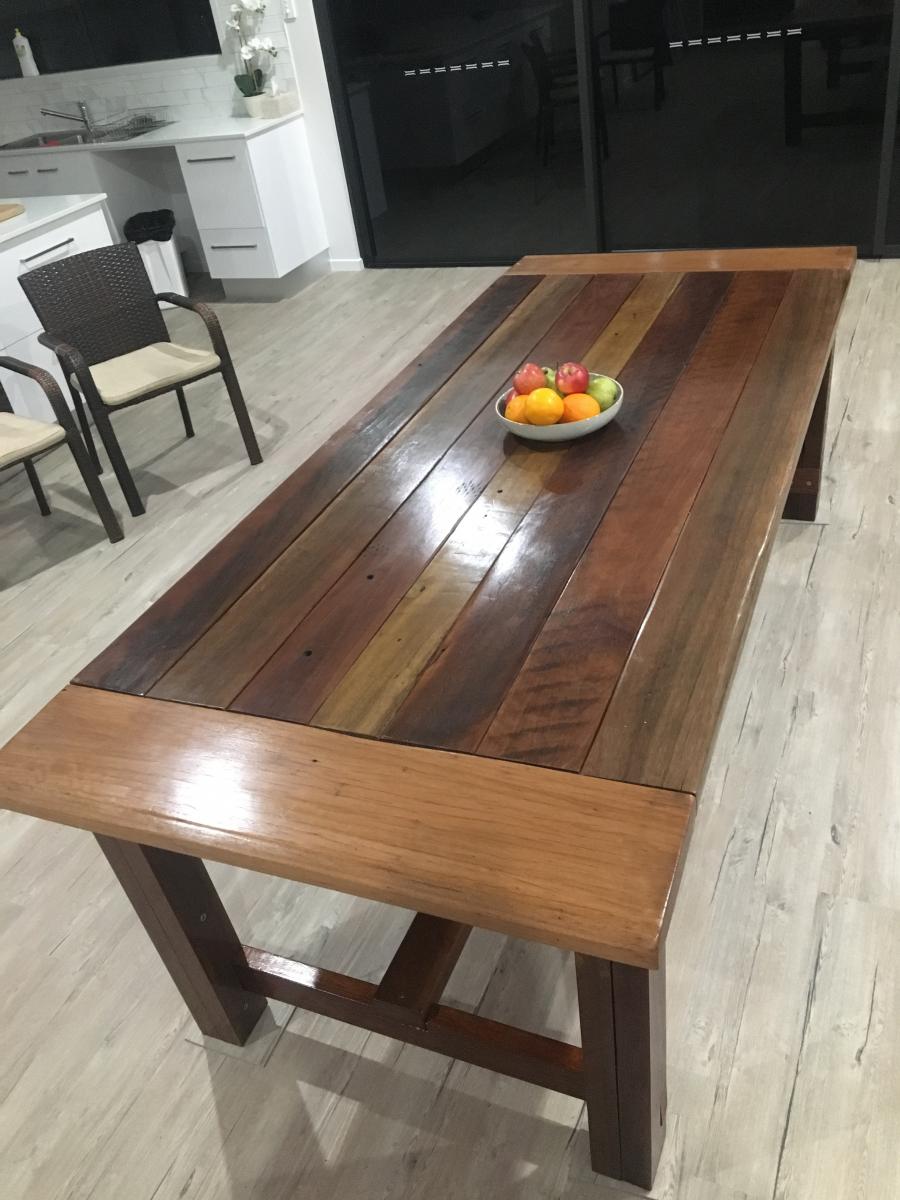

First Crack at any wood work since high school. All timber used was reclaimed hard wood, hours of
planing,sanding and clamping (its heavy). A few mistakes but that's learning.

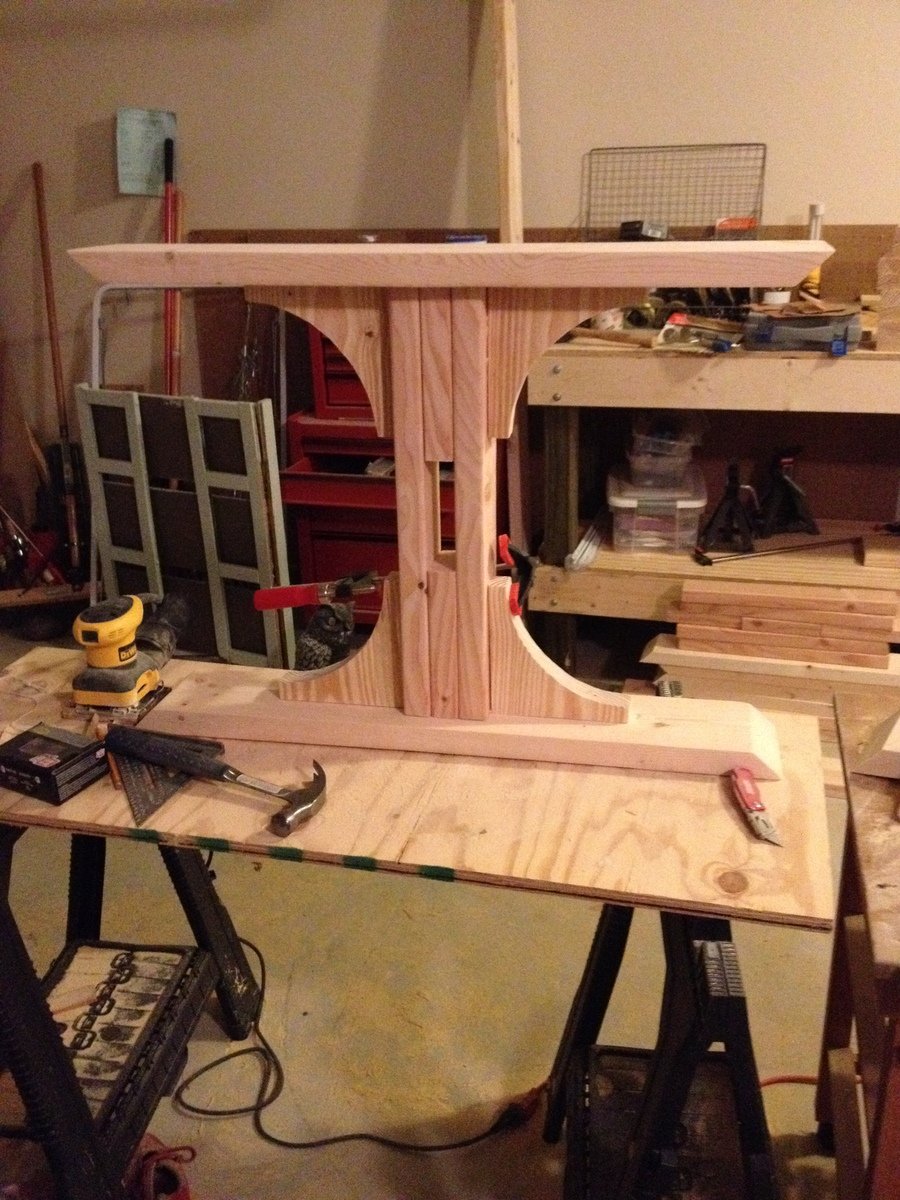
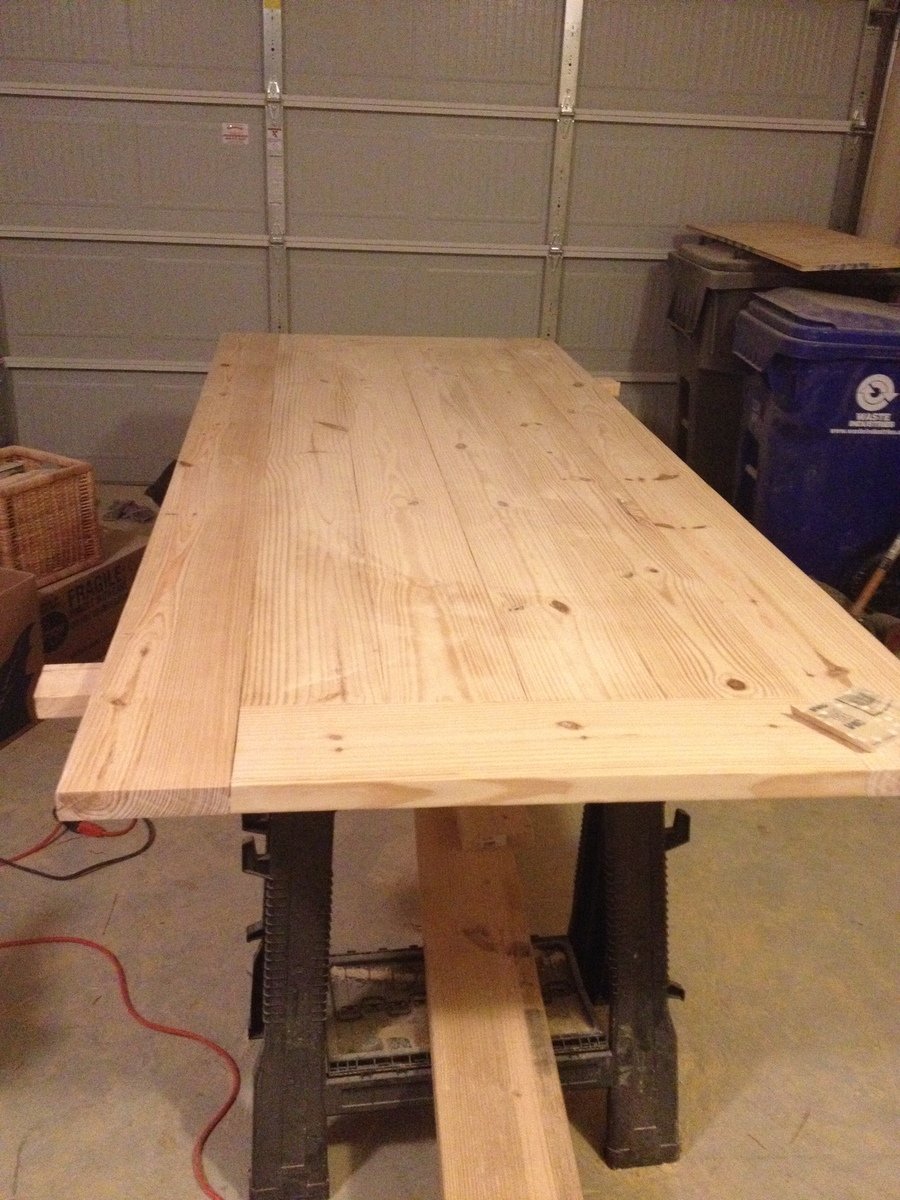
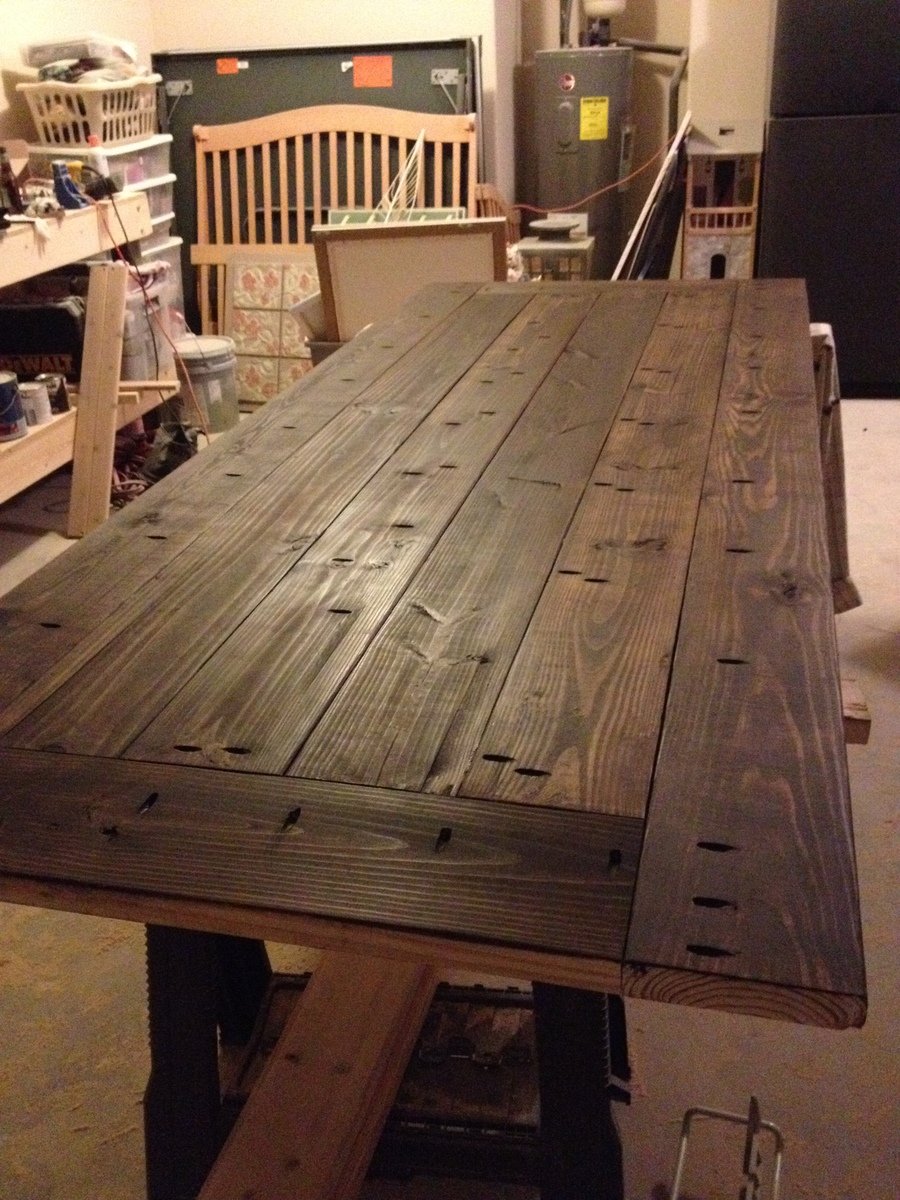
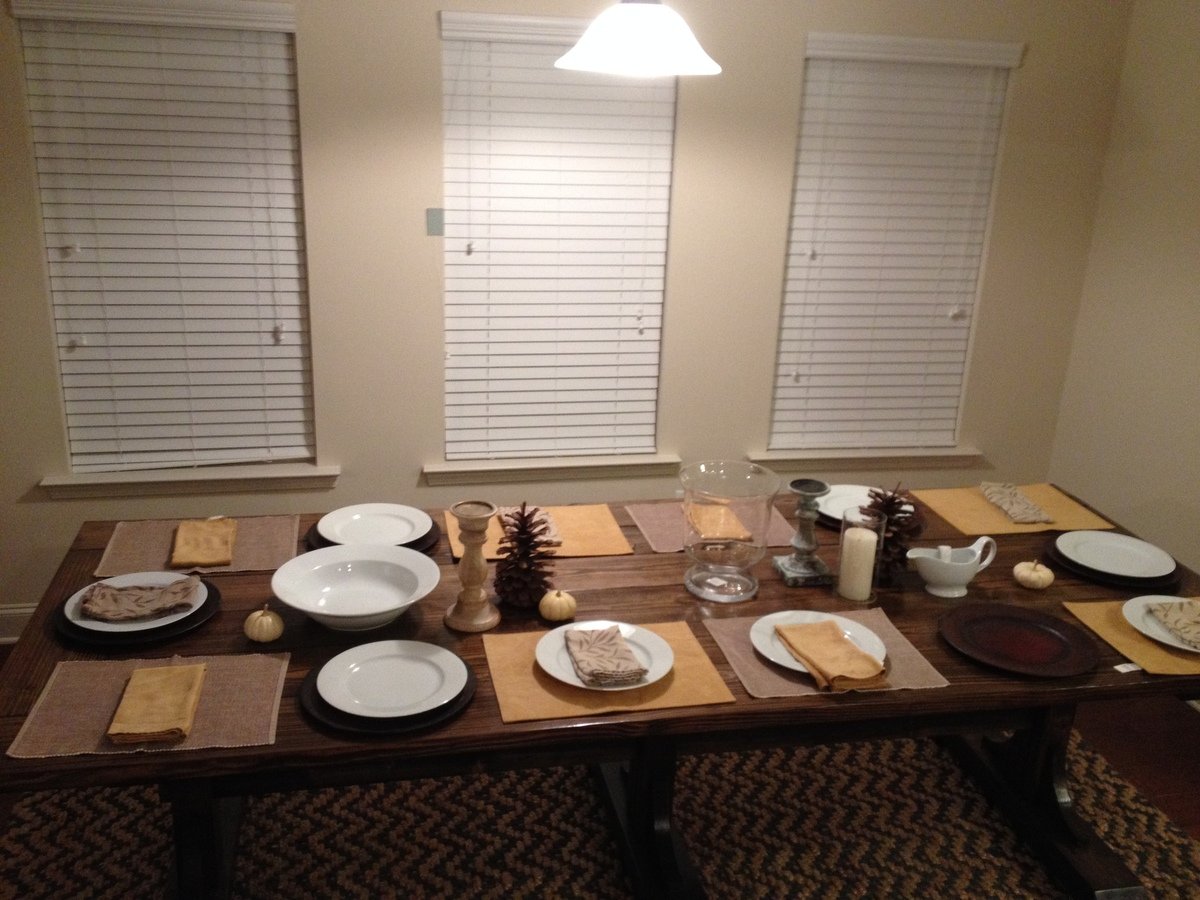
My wife and I built this table for our new home. It is a hybrid of the triple pedestal table and farmhouse table top. I modified the table top to give it a little more stability on the ends.
I had built two outdoor chairs with love seat (modified from the sofa plans) with 2x4s. The cushion seats were 24" x 24". Where to store them? I modified the Modern Cedar Outdoor Storage Bench plans to make the box wider, higher, longer to accommodate the cushions. With five boards comprising the top, it's a bit wider than the box so I didn't need to carve in an opening.
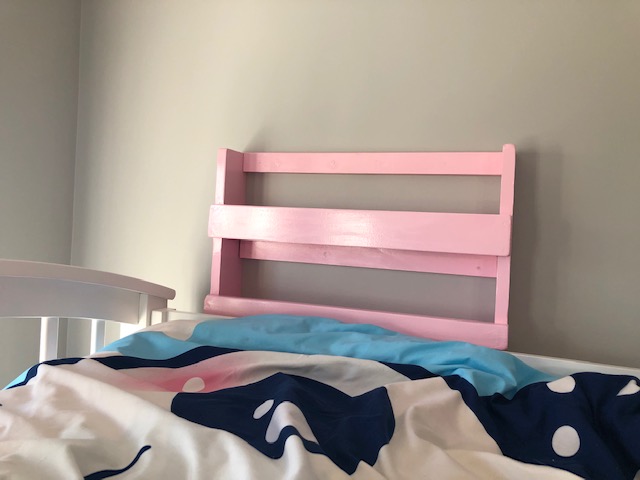
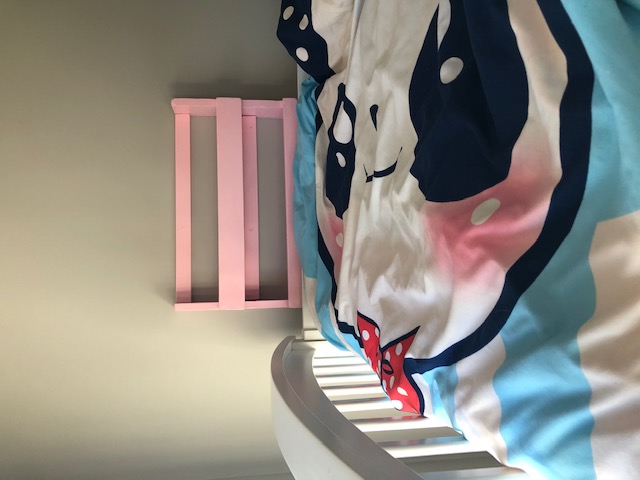
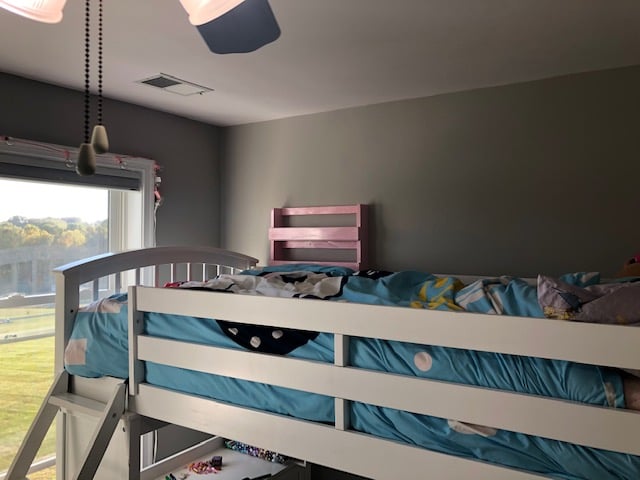
My daughter asked me for a shelf near her bunk bed to put books, glasses, pen, etc. on. I found this plan and made it that day. Self cost less than $15!! She loves it. It was super simple to do!
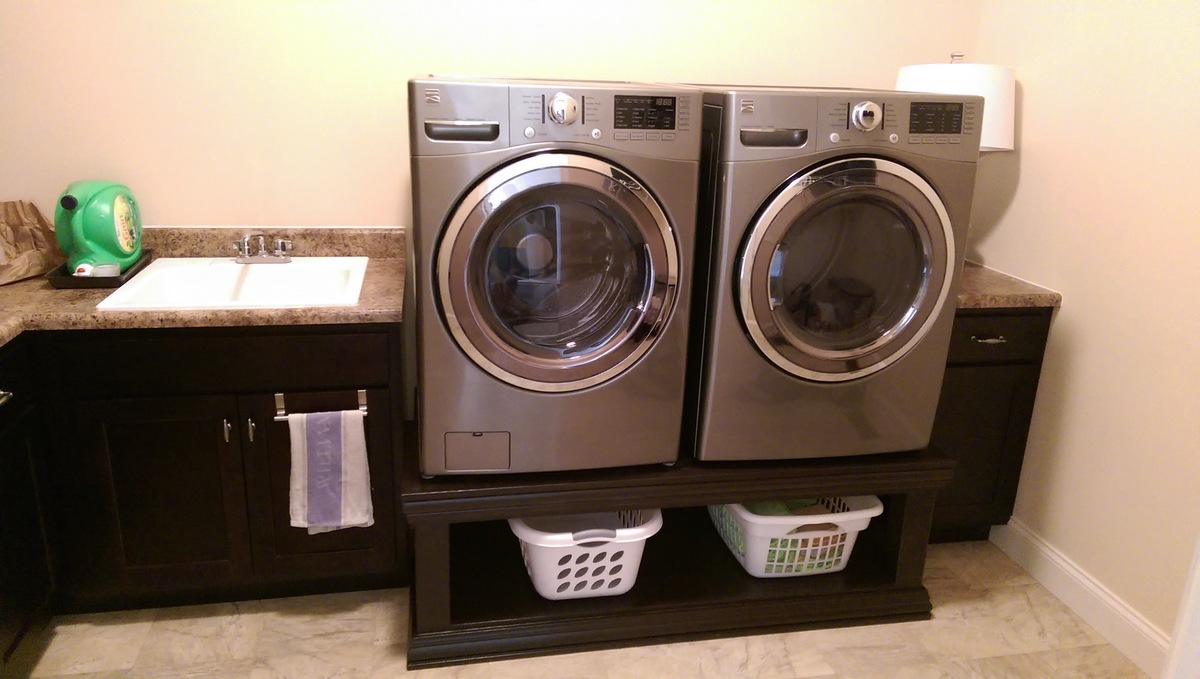
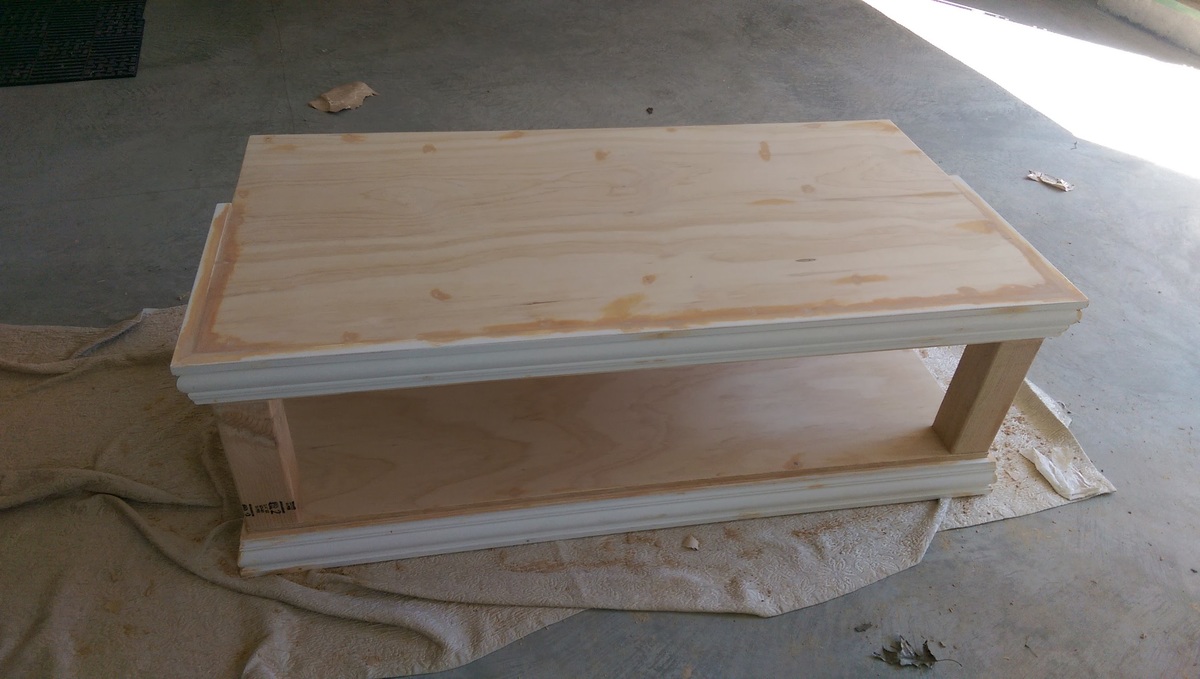
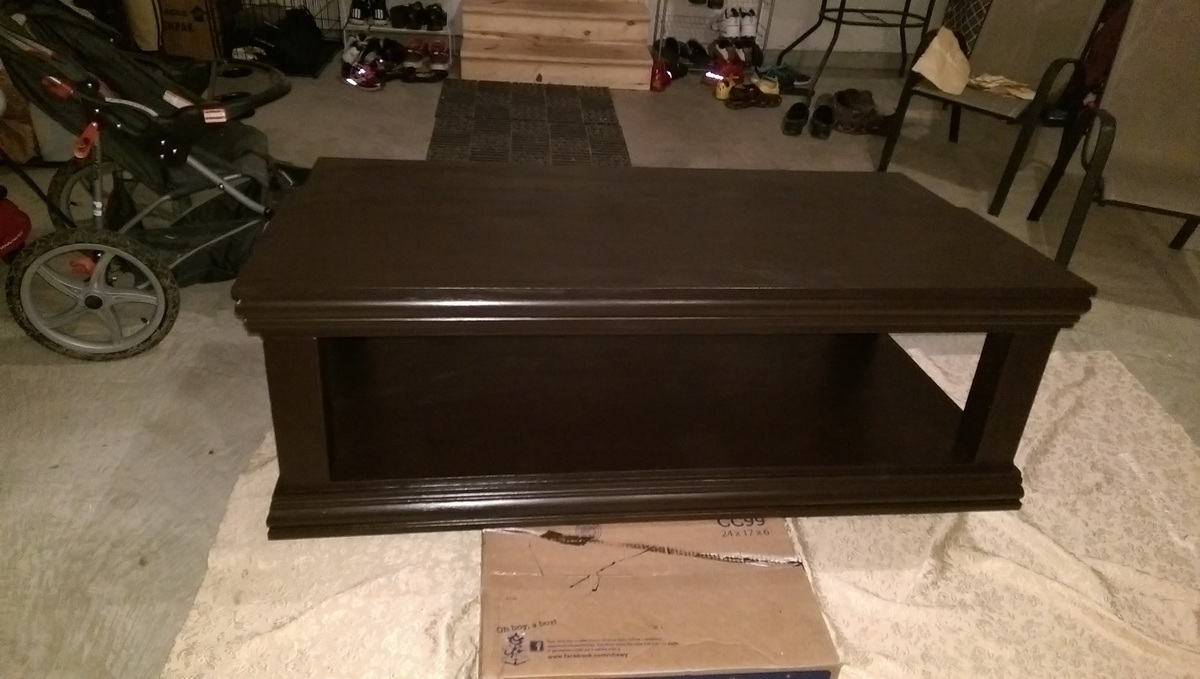
I similarly was looking for something to store laundry baskets underneath and didn't want to shell out $500+ for pedestals that were less functional. Without being particularly handy, this was a relatively easy DIY project that turned out great. Adding the baseboard trim made a big different in the overall look and the dark paint to match our cabinets helped in pulling it all together. We made the height 12" (instead of 11") for the storage component and cut the width by 2 inches to allow room for the baseboard trim to wrap around the side. Otherwise it was built the same as the original design without the extra trim.
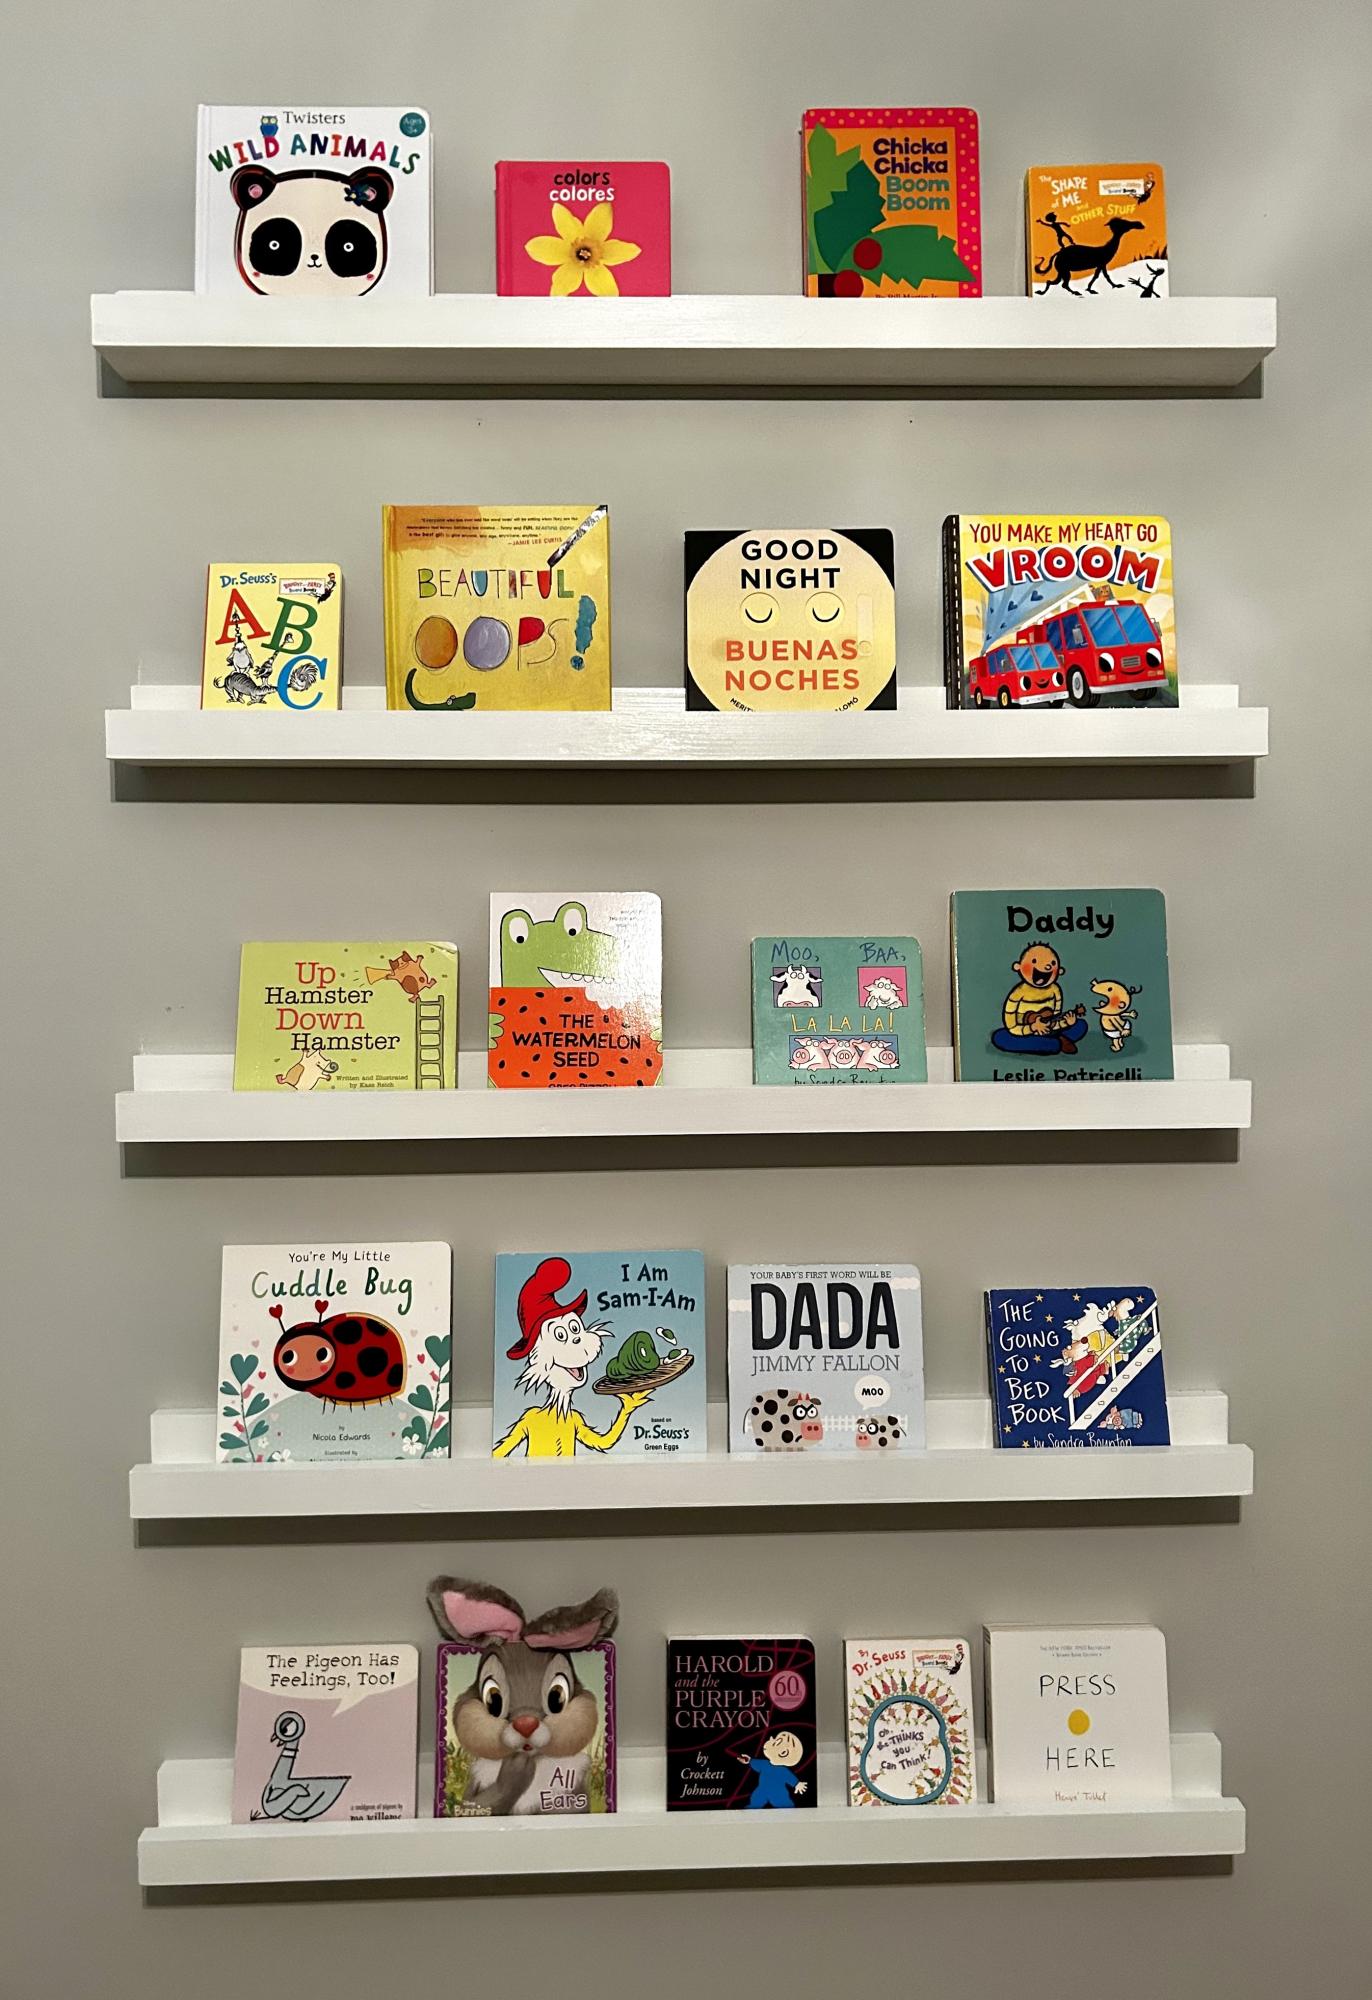
Nursery photo ledges. Shortened the shelf depth using a 1 x 2 instead of a 1 x 3.
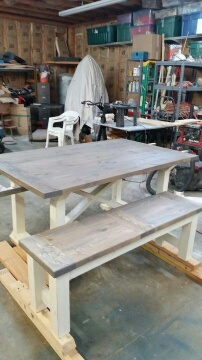
Made this for my Son and His Wife. They love it.
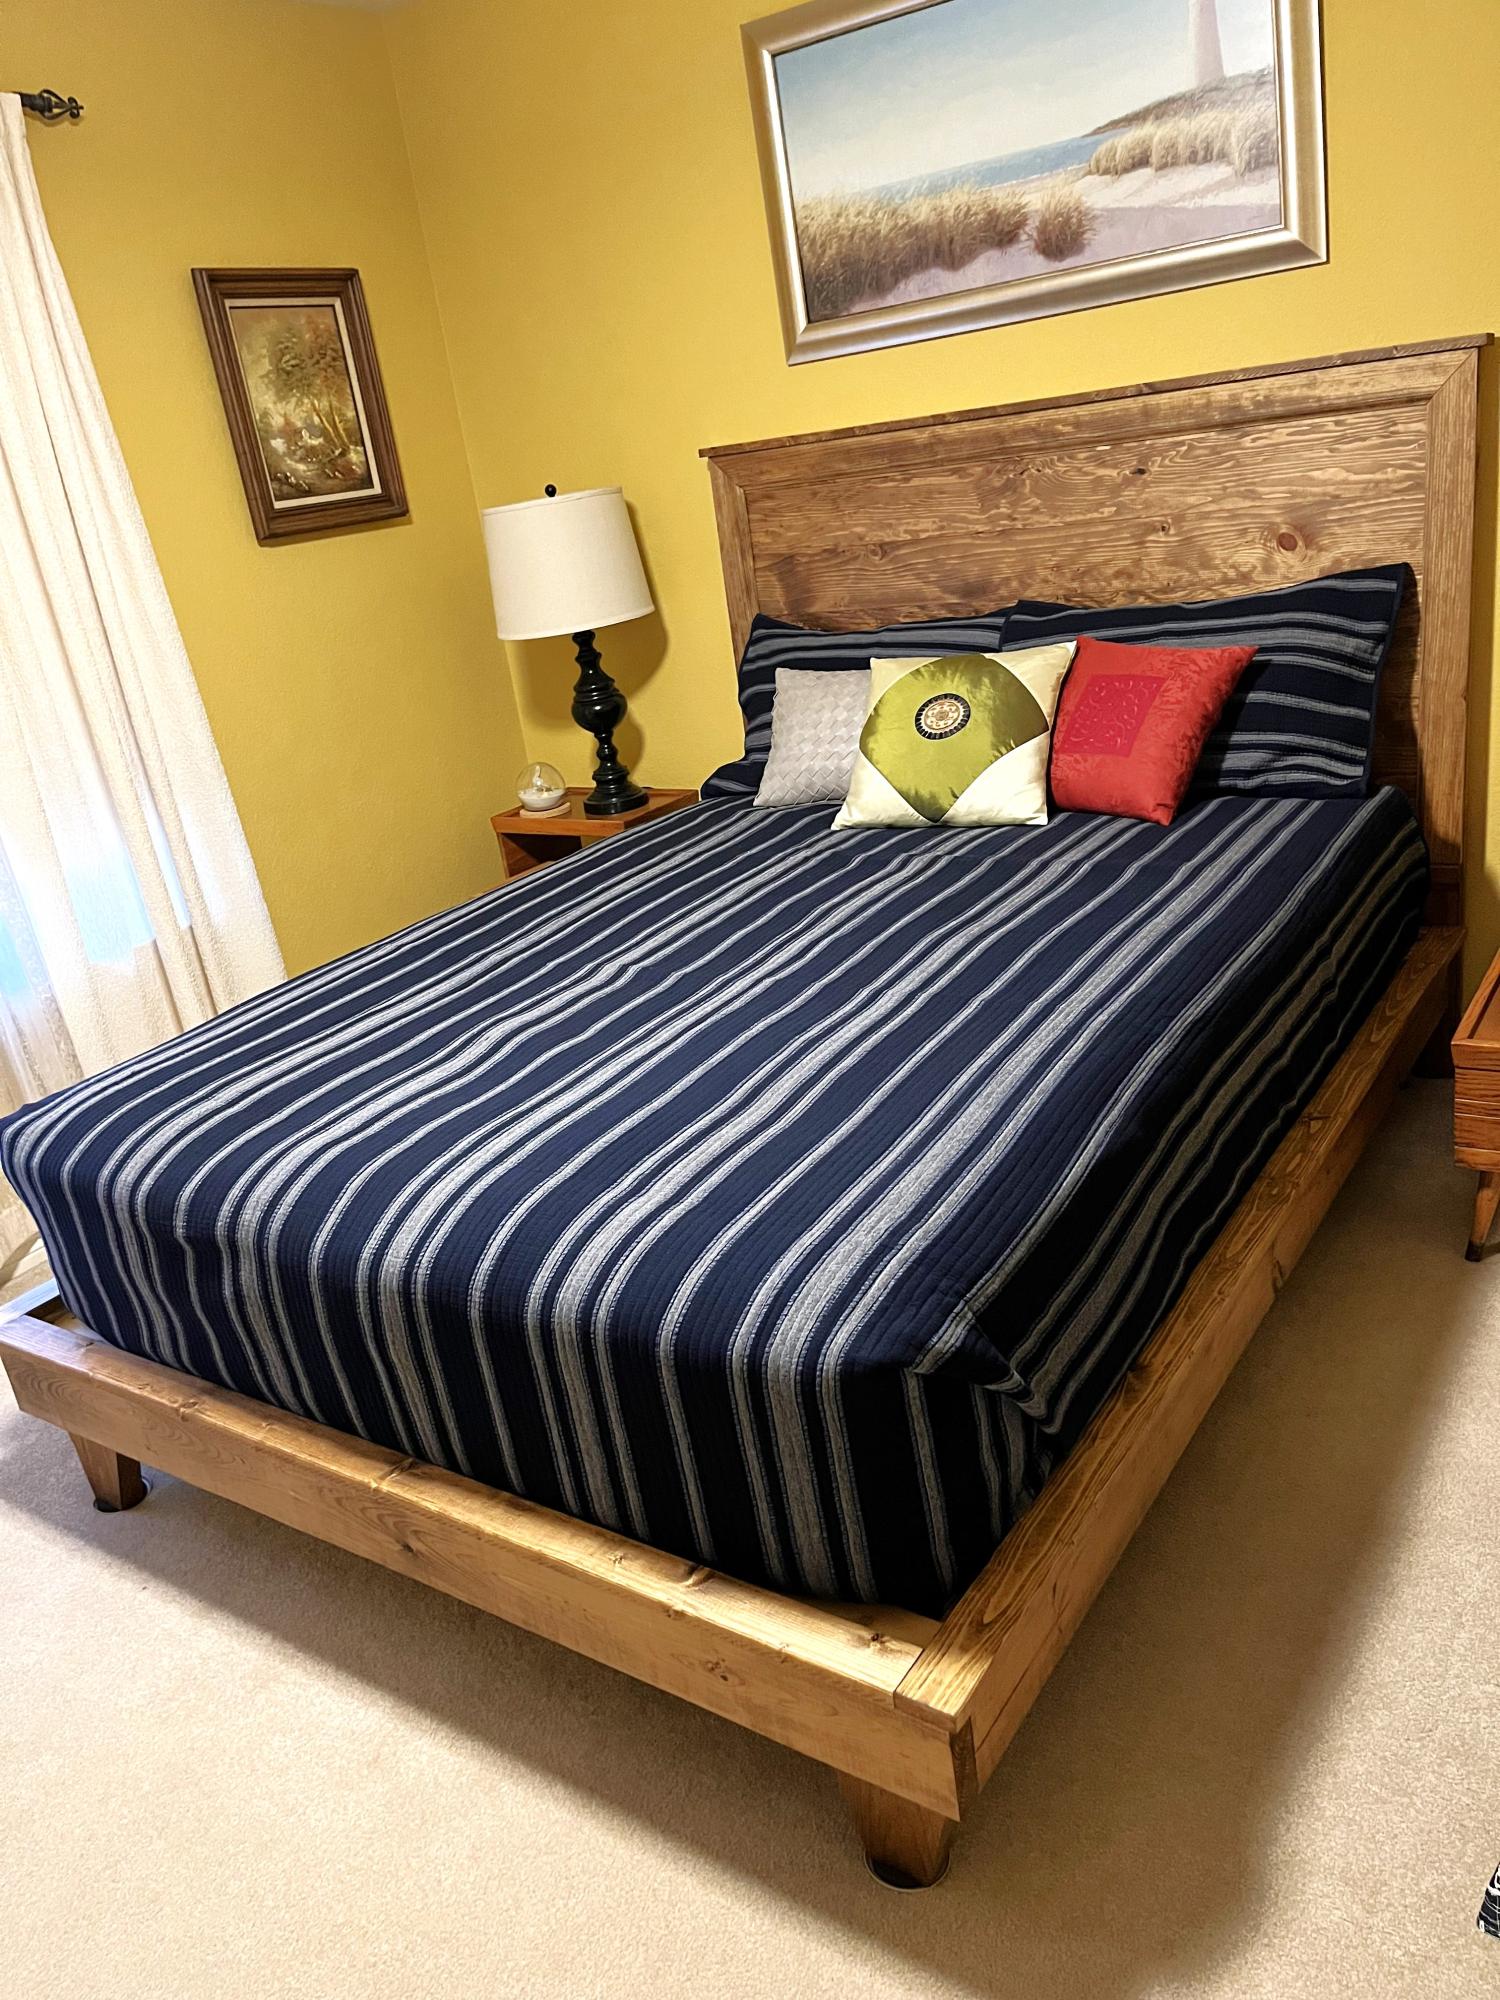
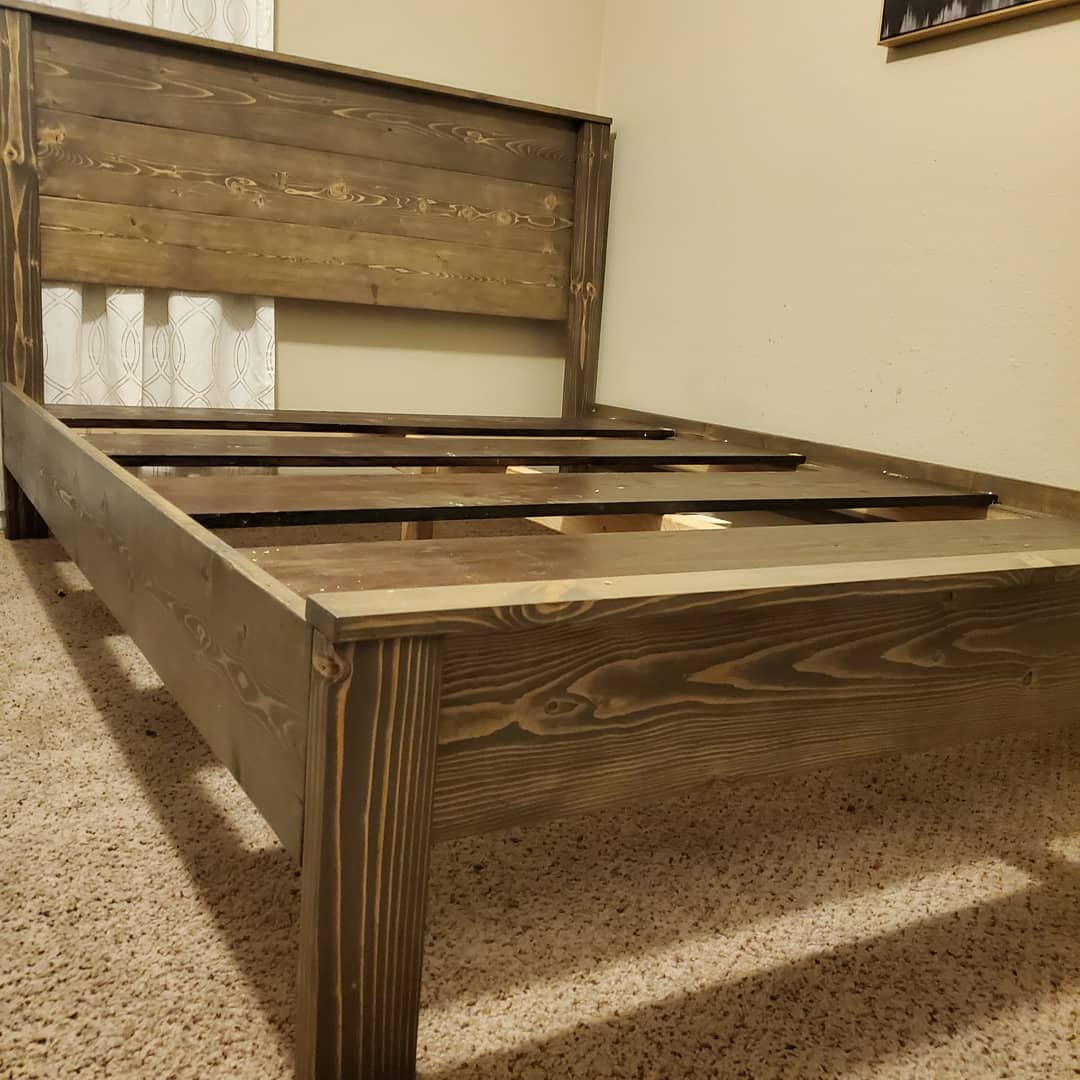
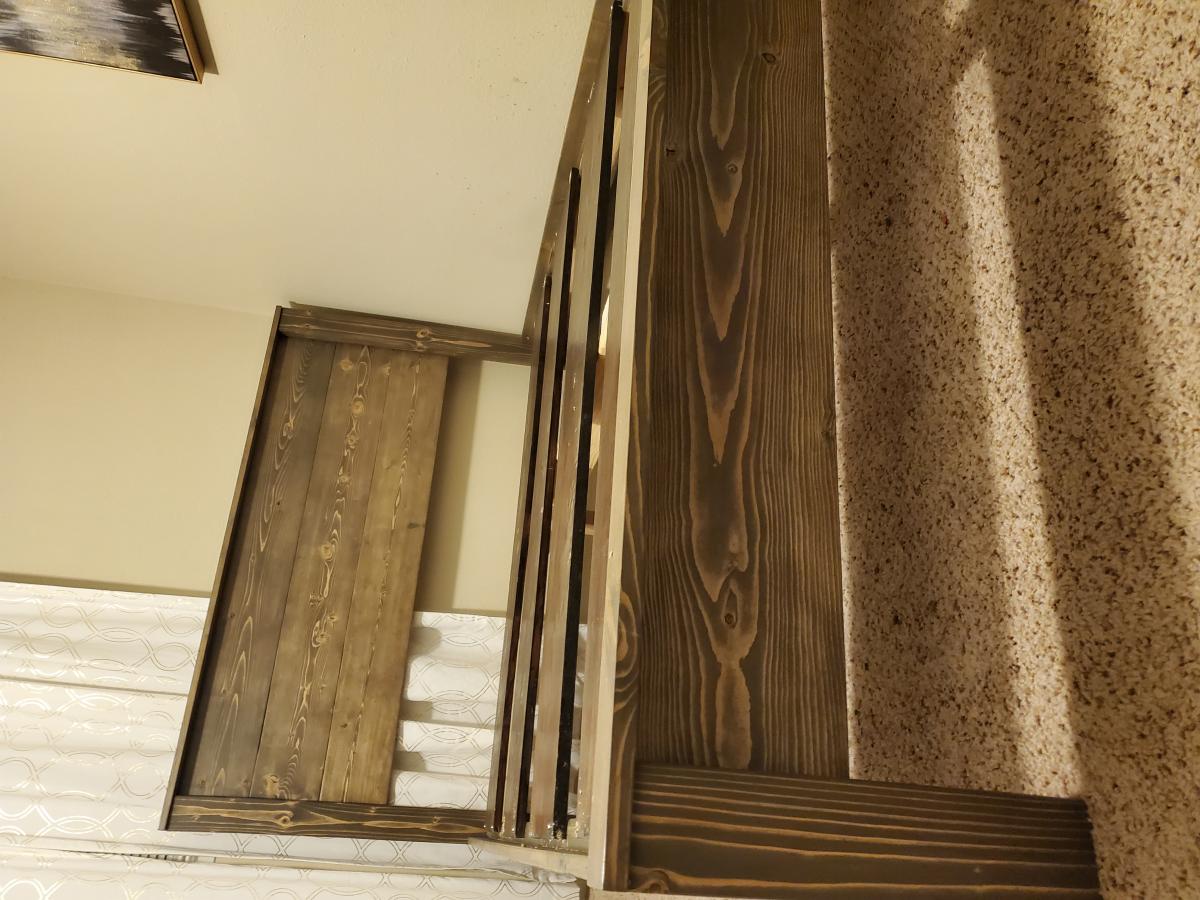
Spruced up guest room by replacing full size bed with Ana's design for a queen size headboard and frame. Love the result! Thanks Anna
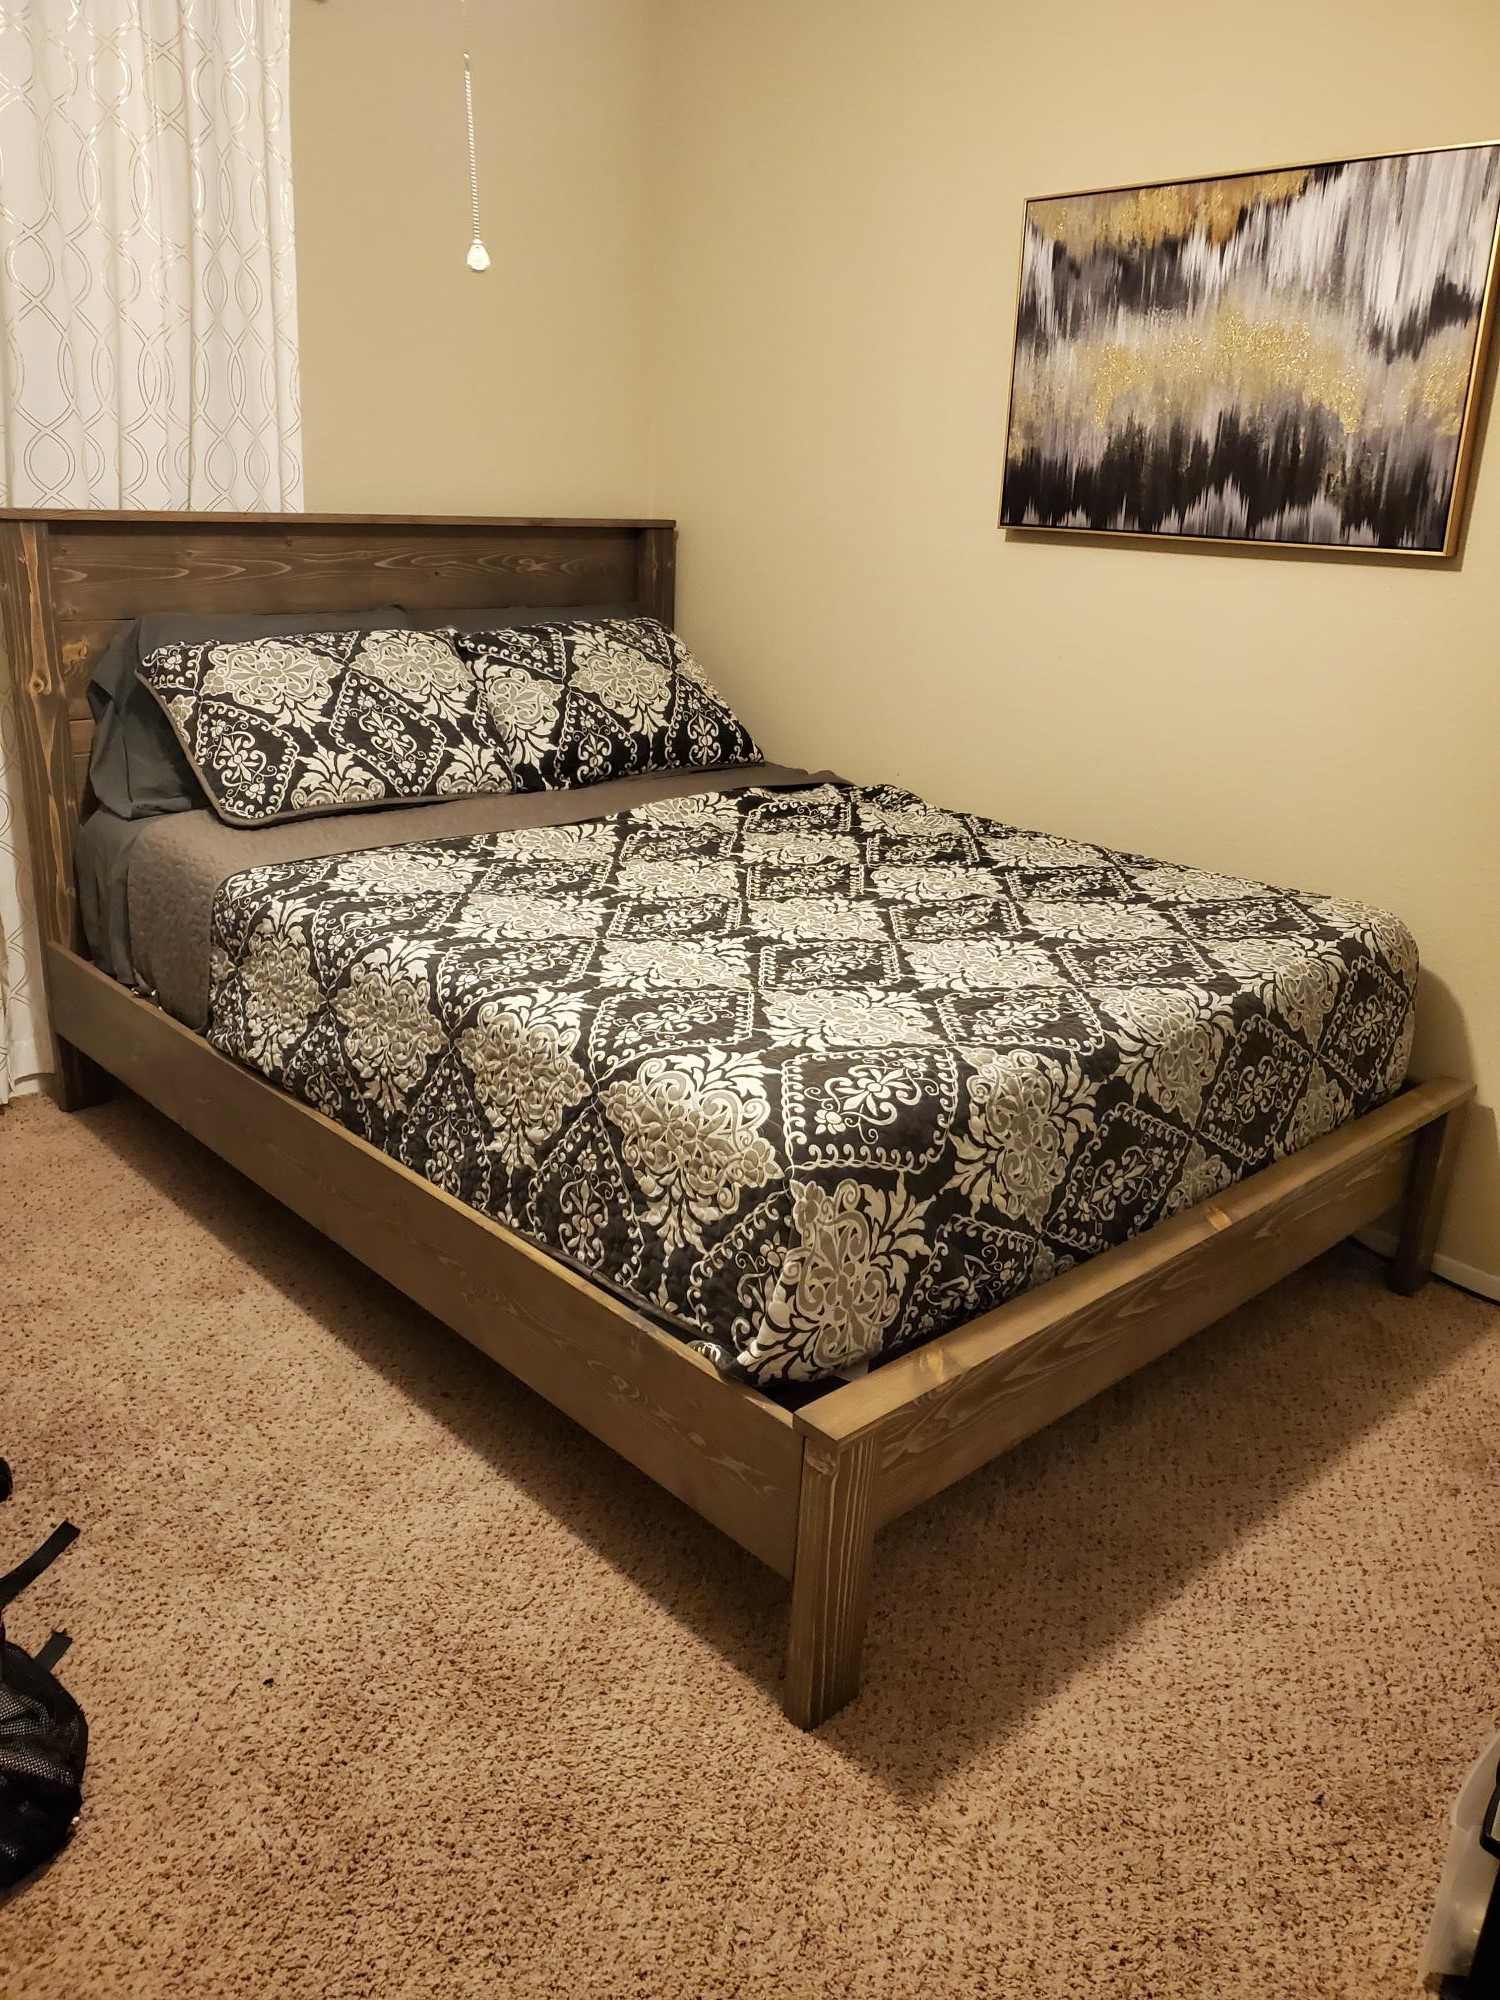
Queen size built according to plans. Stained in Briarsmoke by Miniwax.
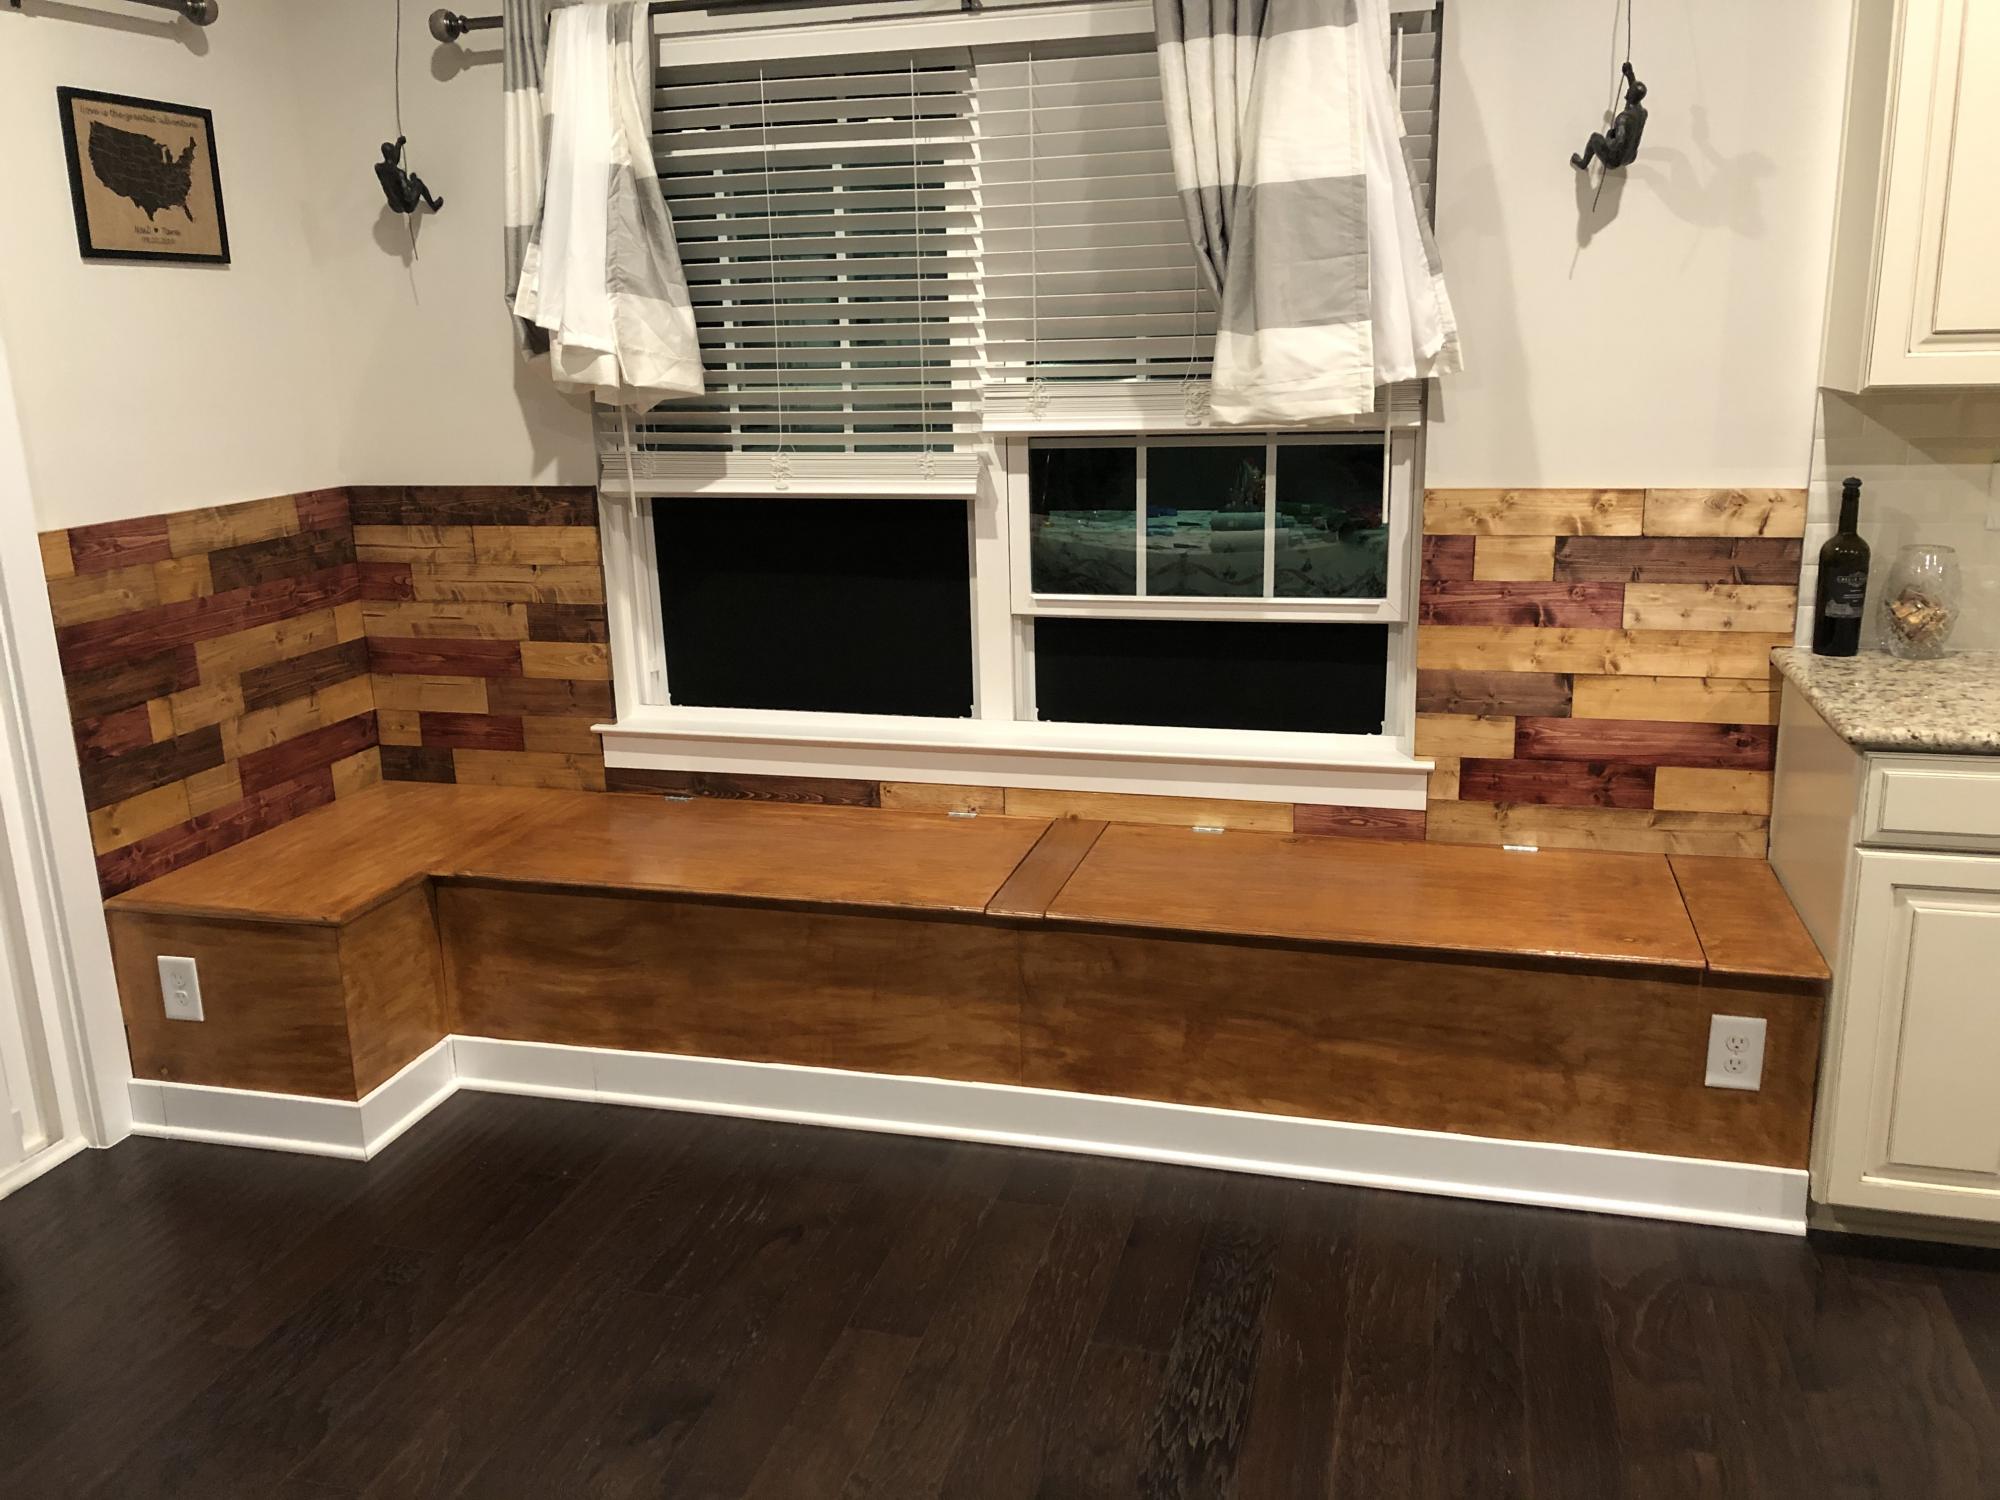
Modified the benches a little to be opened without removing a cushion. Cushions to come. We made our own paneling for the back and reused the original trim. Table to come.
Idea and plans from another brag Breakfast nook.
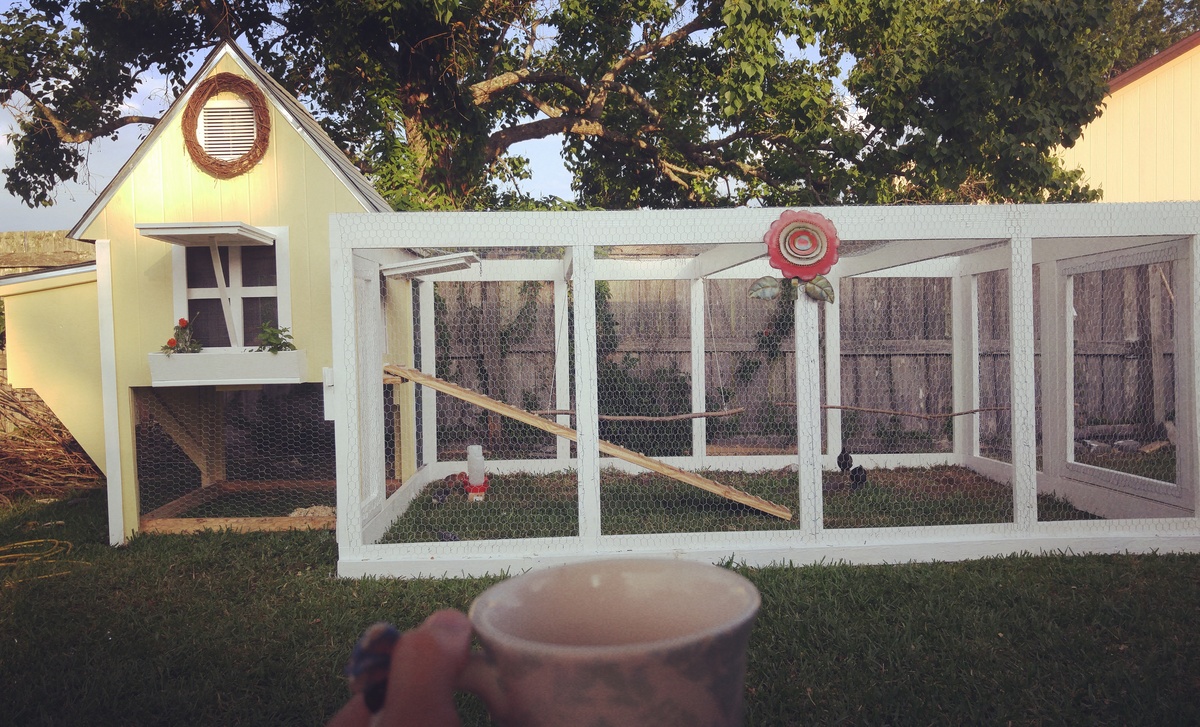
My husband bulky this coop from pallets and used Ana White's chicken run plans. Took us a weekend to build the run.
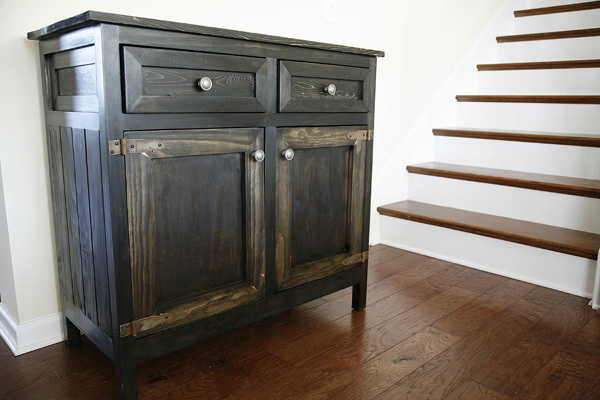
First project from own design and wanted to share as pretty pleased with how it turned out. Sides are 4 by 2s with a routed 45 degree grove on each edge to give some detail. Wanted to make the drawers stand out so I added the edging detail.
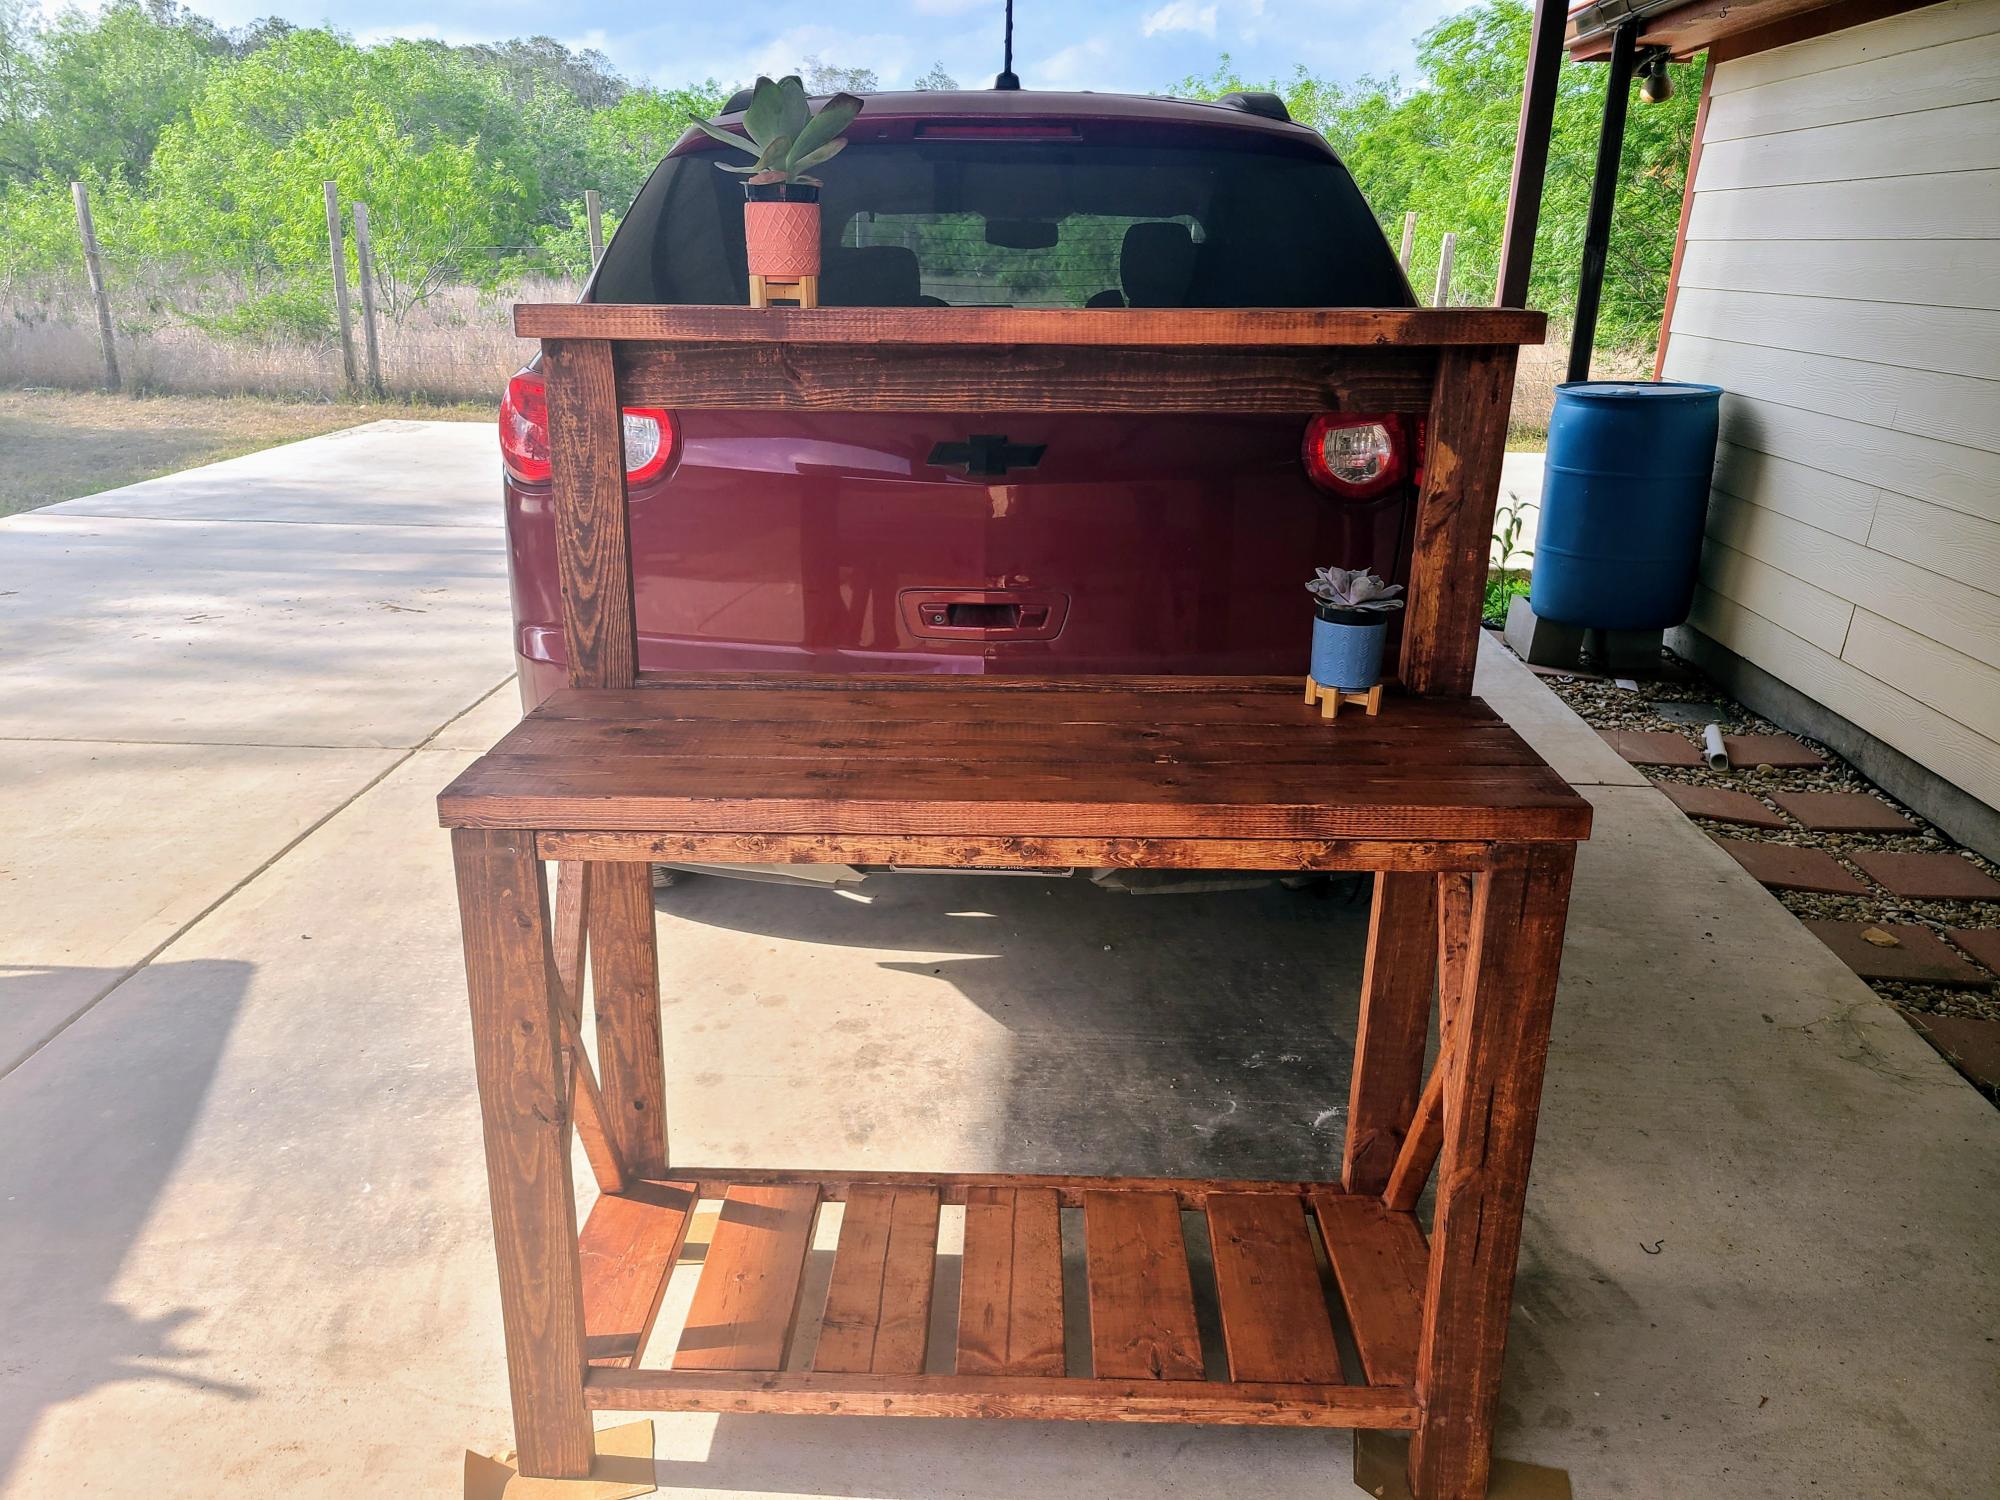
My husband and I decided to turn this potting bench into an indoor coffee bar. Great project for first timers, like myself. 😊
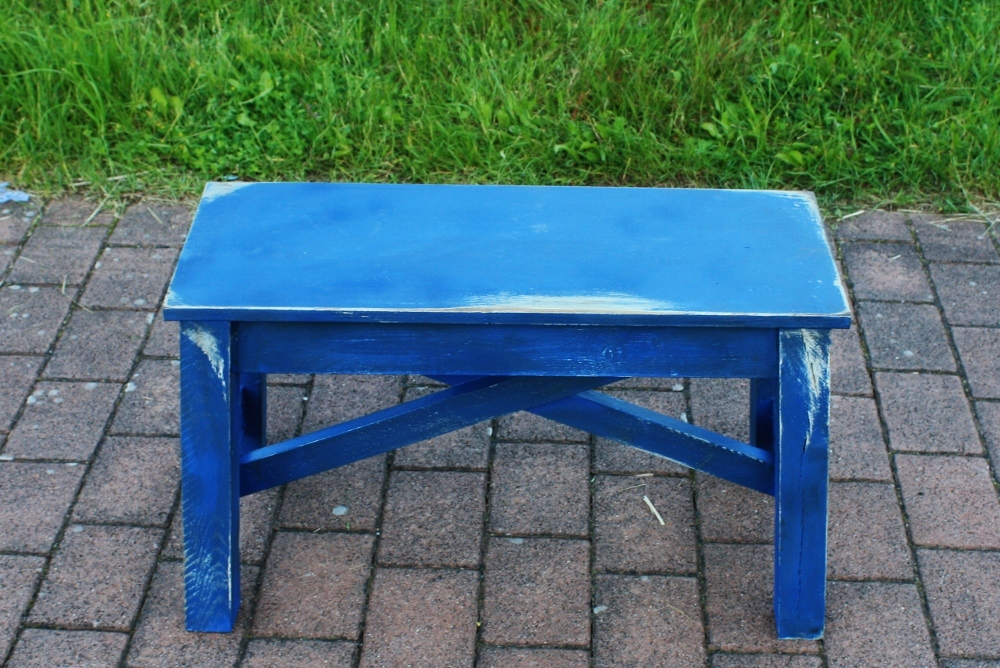
I have been redoing furniture for quite some time, but had never actually thought of making my own furniture, until I ran across Ana's blog. Now I am so addicted! My husband is very handy with his tools and can follow plans fairly easily (unlike me) so I definitely had to enlist his help with this project. We are stationed overseas in Germany so our project costs us a bit more than it would have if we were stateside, but still quite a bit cheaper than purchasing the similar one at Pottery Barn.Since it was our first project it did take us a bit longer than normal, but still easy enough to do. I absolutely love how this turned out and now my husband and I are ready for our next project of a rustic console table that we made our own plans for.
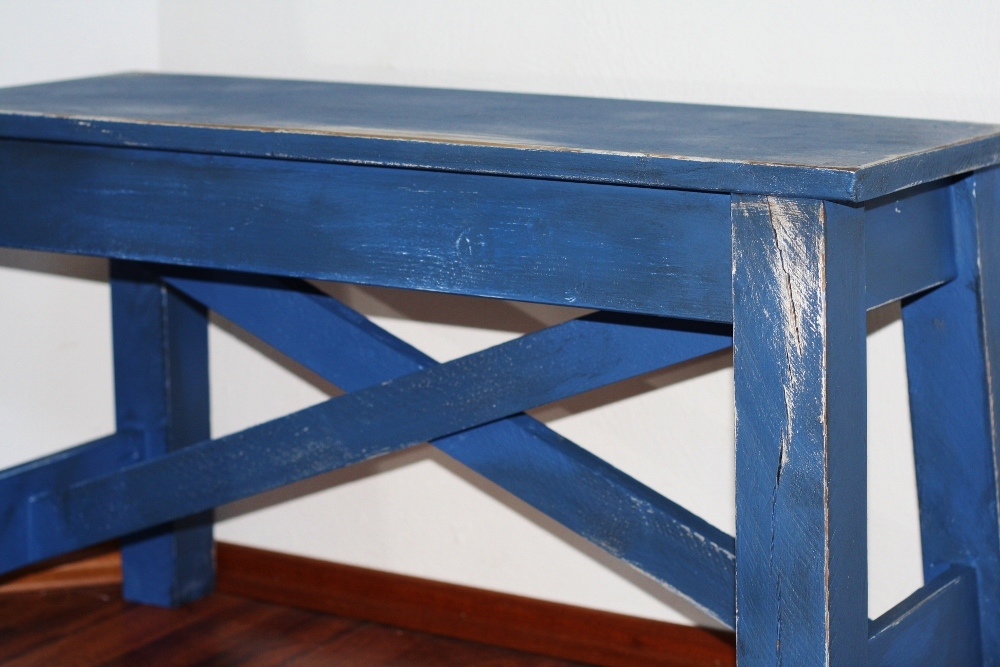
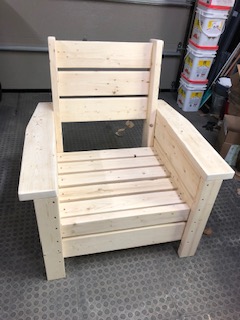
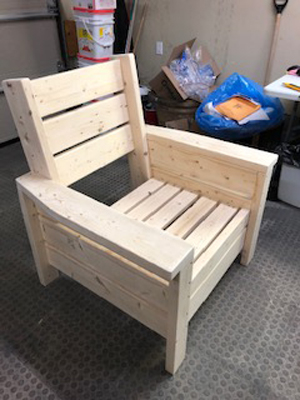
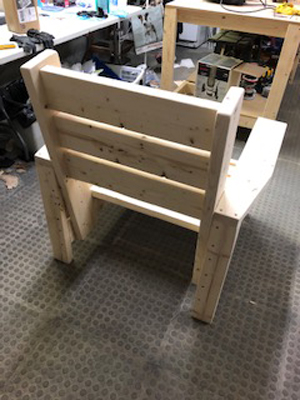
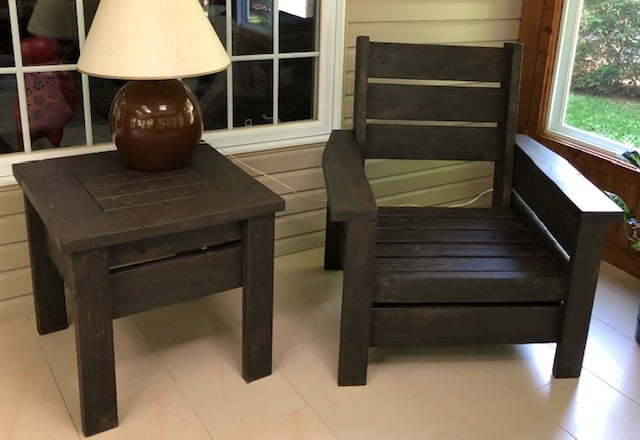
Modified with a high back and modern adirondack arms.
The base of the chair is built exactly to the plan except that the arms are done in a modern adirondack style.
The back was made independently to fit inside the base and then attached to the plan base.
Very comfortable but very heavy chair even without the modified back.
Not stained yet obviously.
Cushions are hard to find I think I would make it slightly smaller next time and maybe even find the cushions first and alter the plan to fit.
Tue, 06/09/2020 - 09:11
Stained with Saman: Urban Grey mixed with some left over brown 4:1 and now has a companion side table
Wed, 06/24/2020 - 07:33
Do you have the plans for the table you built? Im a brand ne beginner. I am trying the modern outdoor chairs and live this table with them.
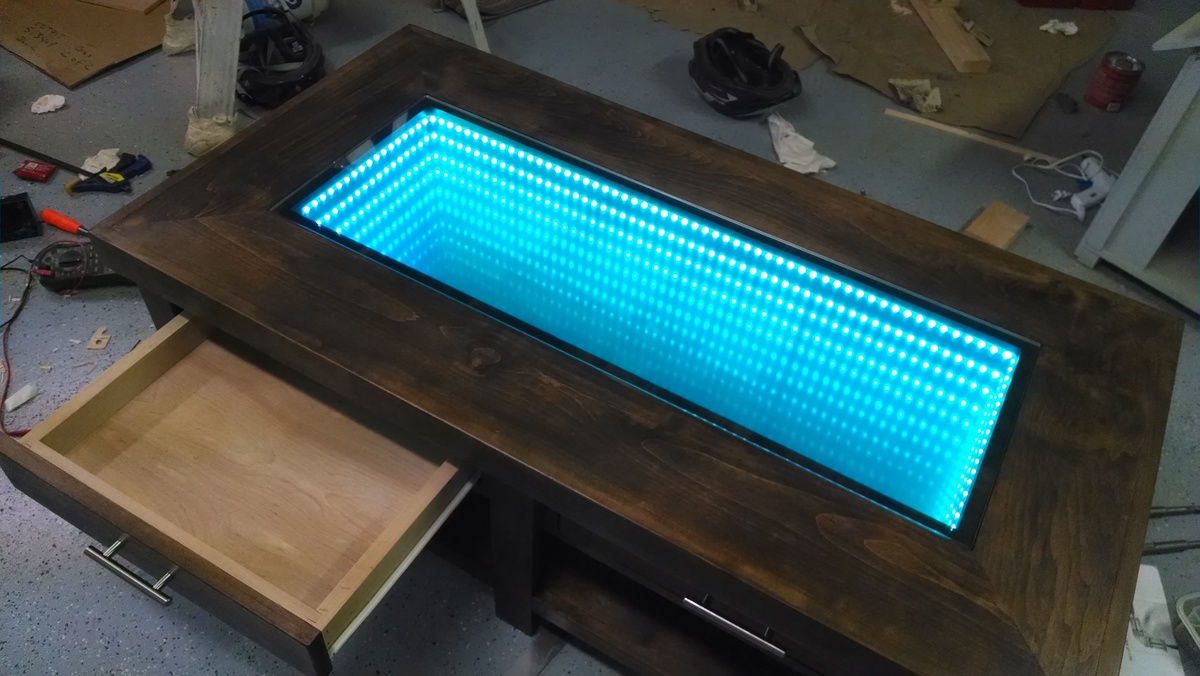
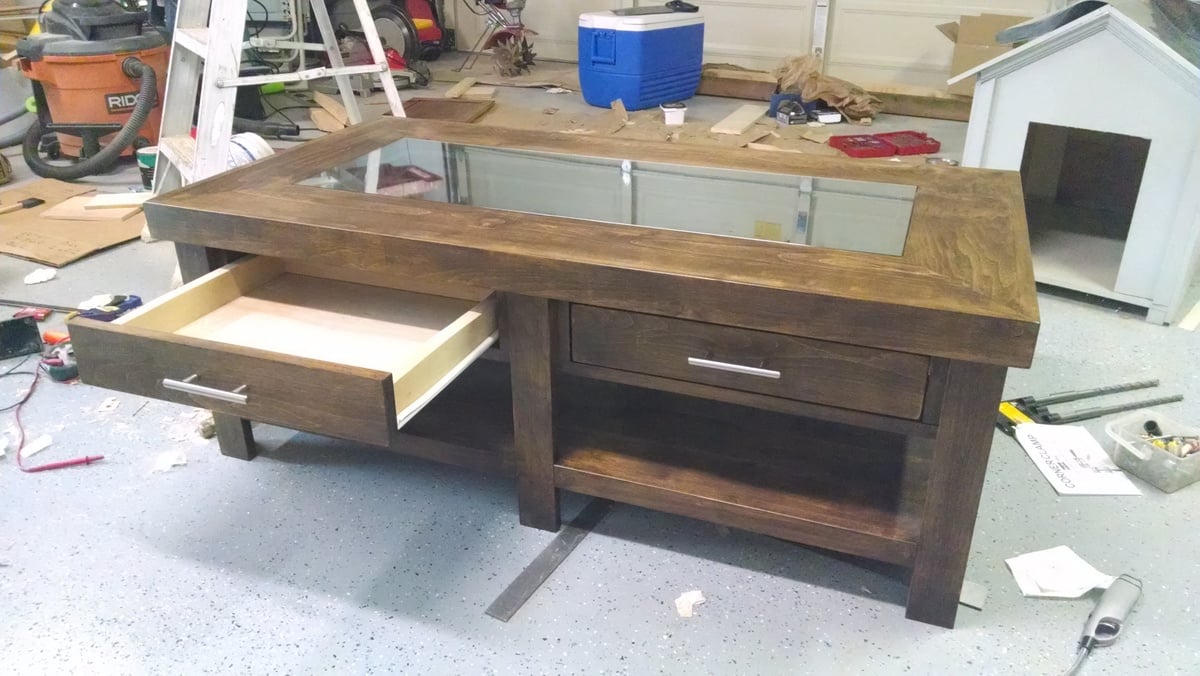
Used the Benchwright Coffee Table for all of the base which was very easy to follow. I used rough cut Alder, which I would not try to do again (way too many linear feet to cut!). I've done drawers before, and I've found that it's easier to attach the slides to the drawer box and the horizontal pieces that attach to the table. After that, attach once of the horizontal pieces first, and shim the other before attaching to the table. The top is 3 boards tall and is comprised of 1 layer of birch plywood, 1 layer of spacers, and the mitered edges on the top. The infinity mirror feature comes from a row of LED's sandwiched between a mirror (base) and glass with a semi-transparent mirror film (also known as one way mirror).
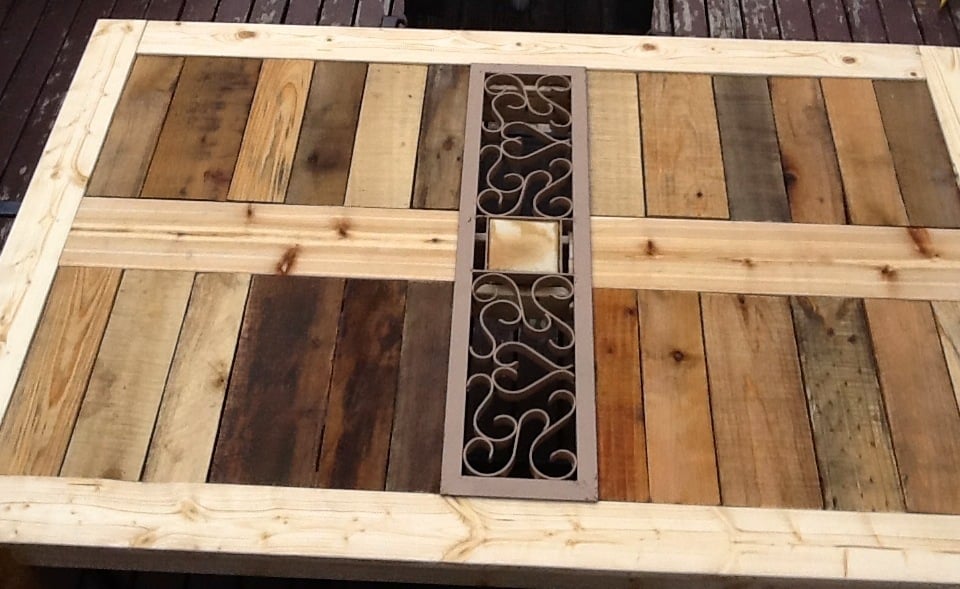
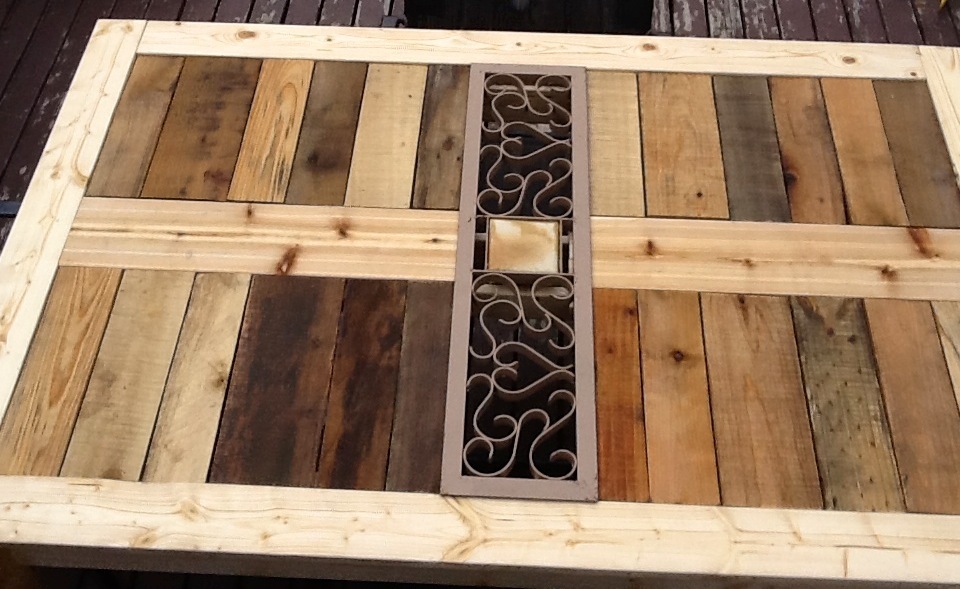
Loved all your tables!! I was inspired by the tweaked plans of Modified Simple Outdoor Patio Table and made mine out of pallets :-) (Only the top slats, not the frame and supports)
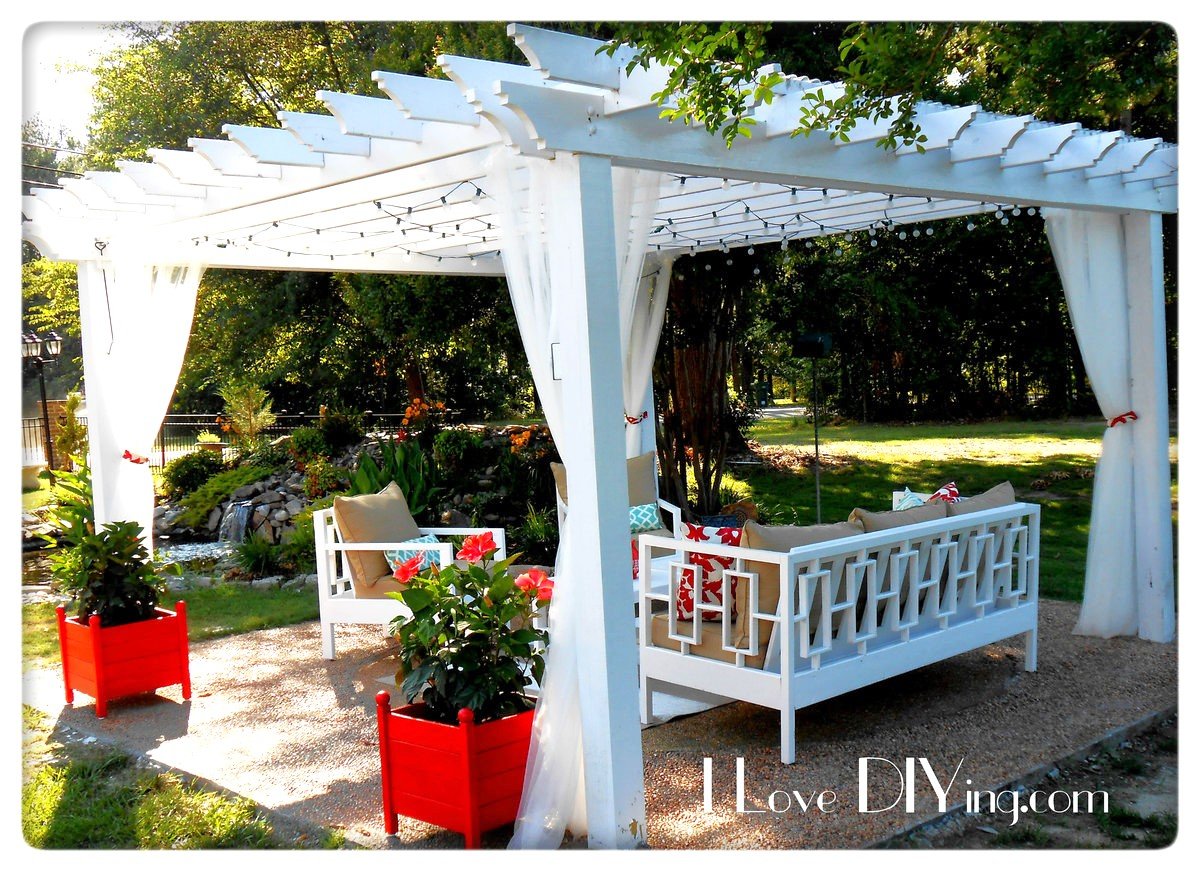
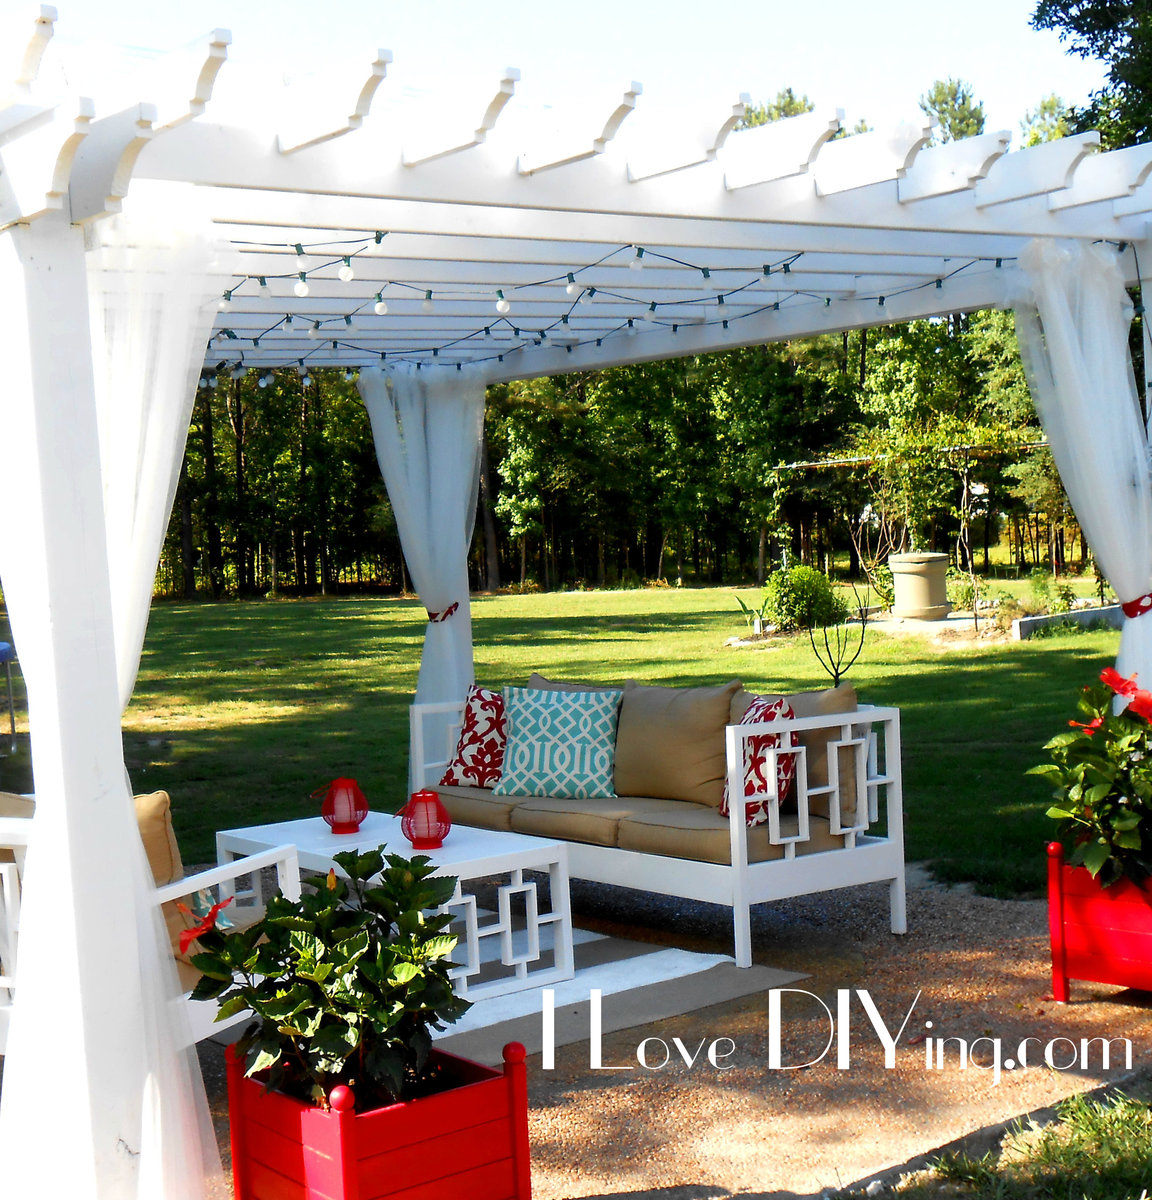
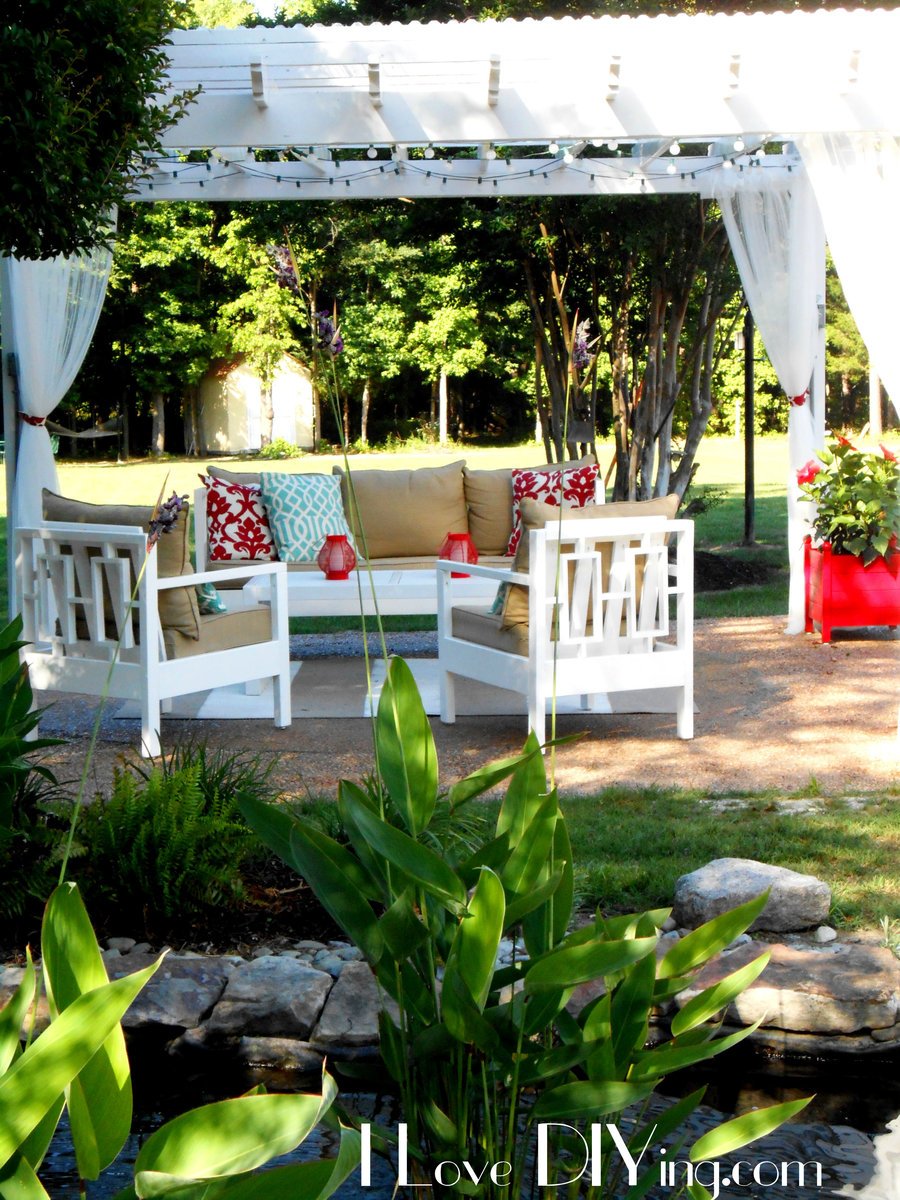
The pergola is finally complete! I'm sure I'll be adding some more things, but for now....I'm happy. I can not take credit for the Pergola, my husband built that, but there are lots of projects inside to tell you about. I built the sofa, coffee table, 2 chairs and 2 planters. It's a great spot for entertaining or just sitting with glass of wine. I really loved the Rectangles Daybed , but I really had no use for a Daybed, so with a few modifications, I came up with the sofa version. To make it more comfortable I used the slanted back idea from the simple outdoor sofa plan.I love how it turned out and it was fairly inexpensive too. Lumber cost was around $50. I used 2x 6′s, 2×2 furring strips, 1×2 furring strips and 1×4 furring strips. You really have to pick through the furring strips, with some patience I was able to find pieces that would work well for my project. Using the more expensive would would make things much easier, because there would be much less sanding and filling involved…but I love a bargain!! When I first built the sofa for this collection, it was for our covered porch. I was not intending to build any matching pieces. When we moved it to the pergola, I decided to build these 2 chairs. I used plan from the simple outdoor chair and modified the back to match the sofa. The lumber for the chairs cost about $25 per chair. I bought some 2X2 quartz tiles from the Habitat ReStore for $3 each! I thought they would work perfectly for the tabletop. I sketched up a quick design to match the other pieces and came up with this. I used 2×3′s and 1×2′s. The lumber cost was about $15. I also used the Square Planters with Finials plan. I love these planters do much and they were so simple! Thanks for all the fantastic plans and inspiration!!
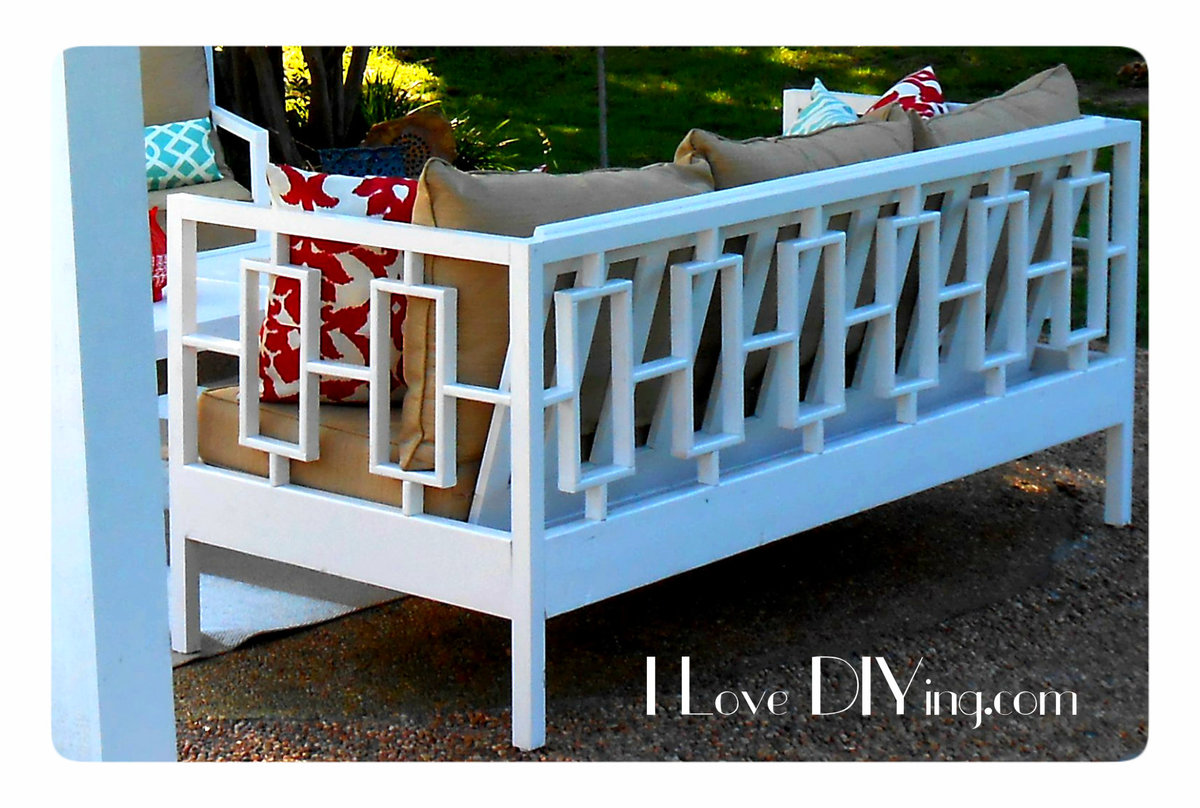
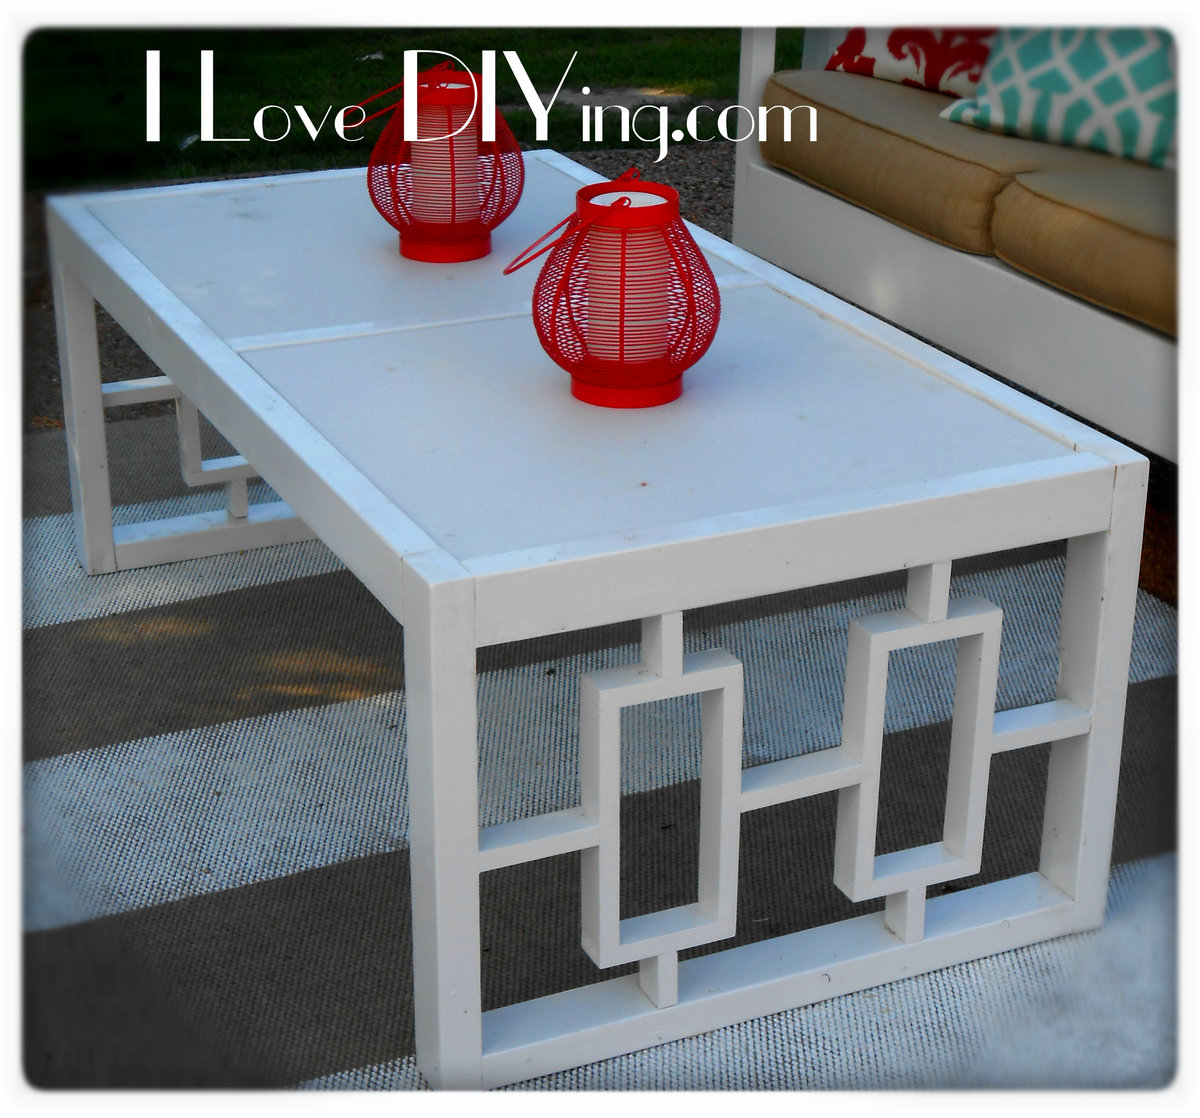
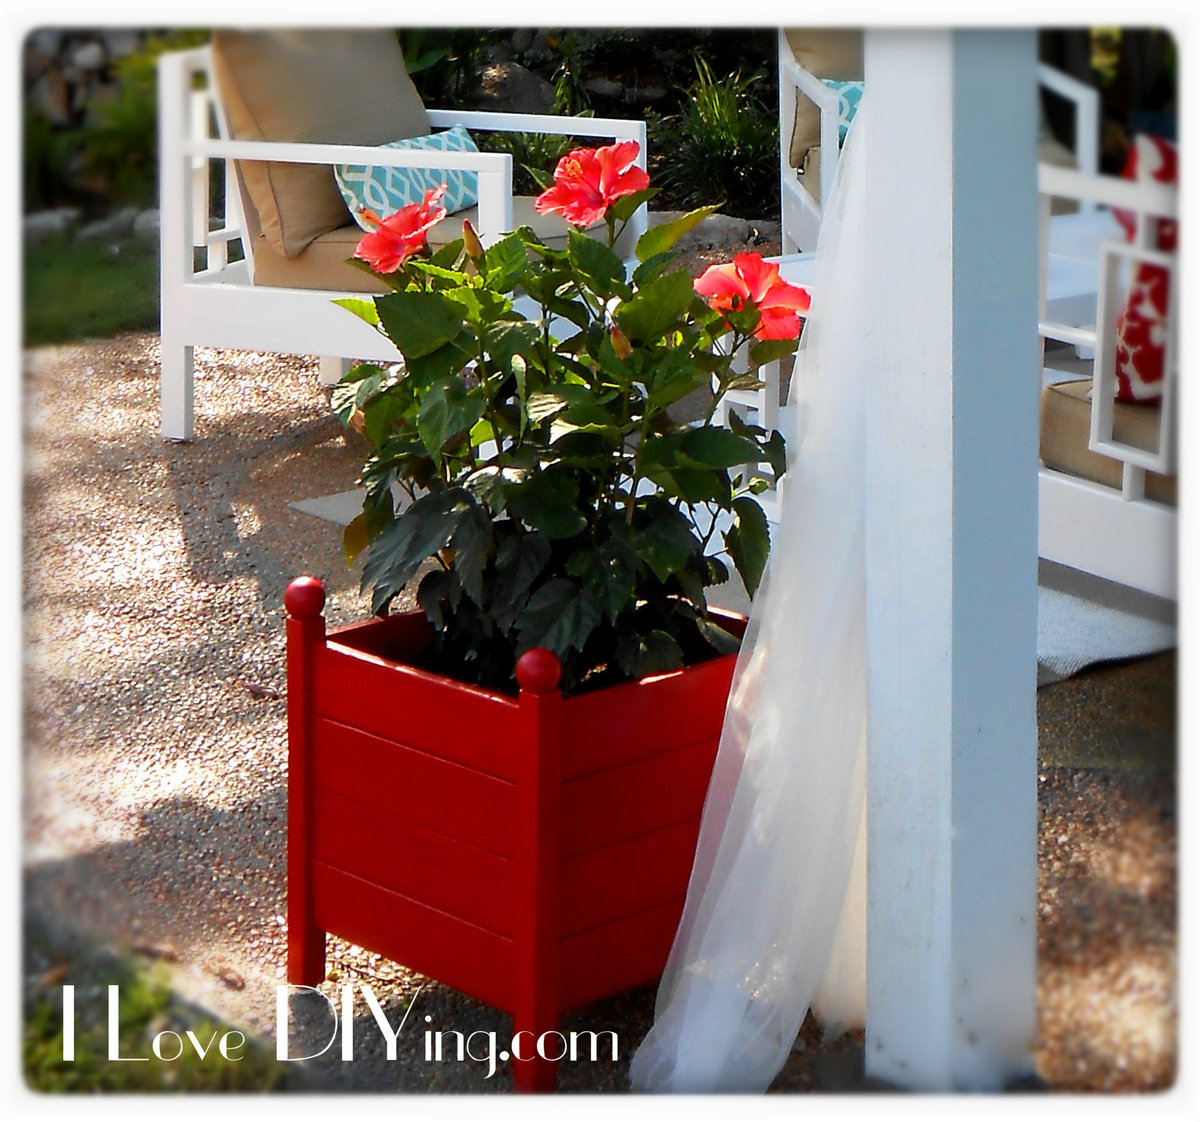
Tue, 06/10/2014 - 11:05
Thank you so much Ana! I really love your work and can't thank you enough for all the fantastic plans!!
Thu, 05/12/2016 - 21:30
What a lovely space! Including the water feature behind the pergola. I'd love to pull it straight from your photos and drop it into my yard! (I'd better get to work!!) Thanks for sharing.
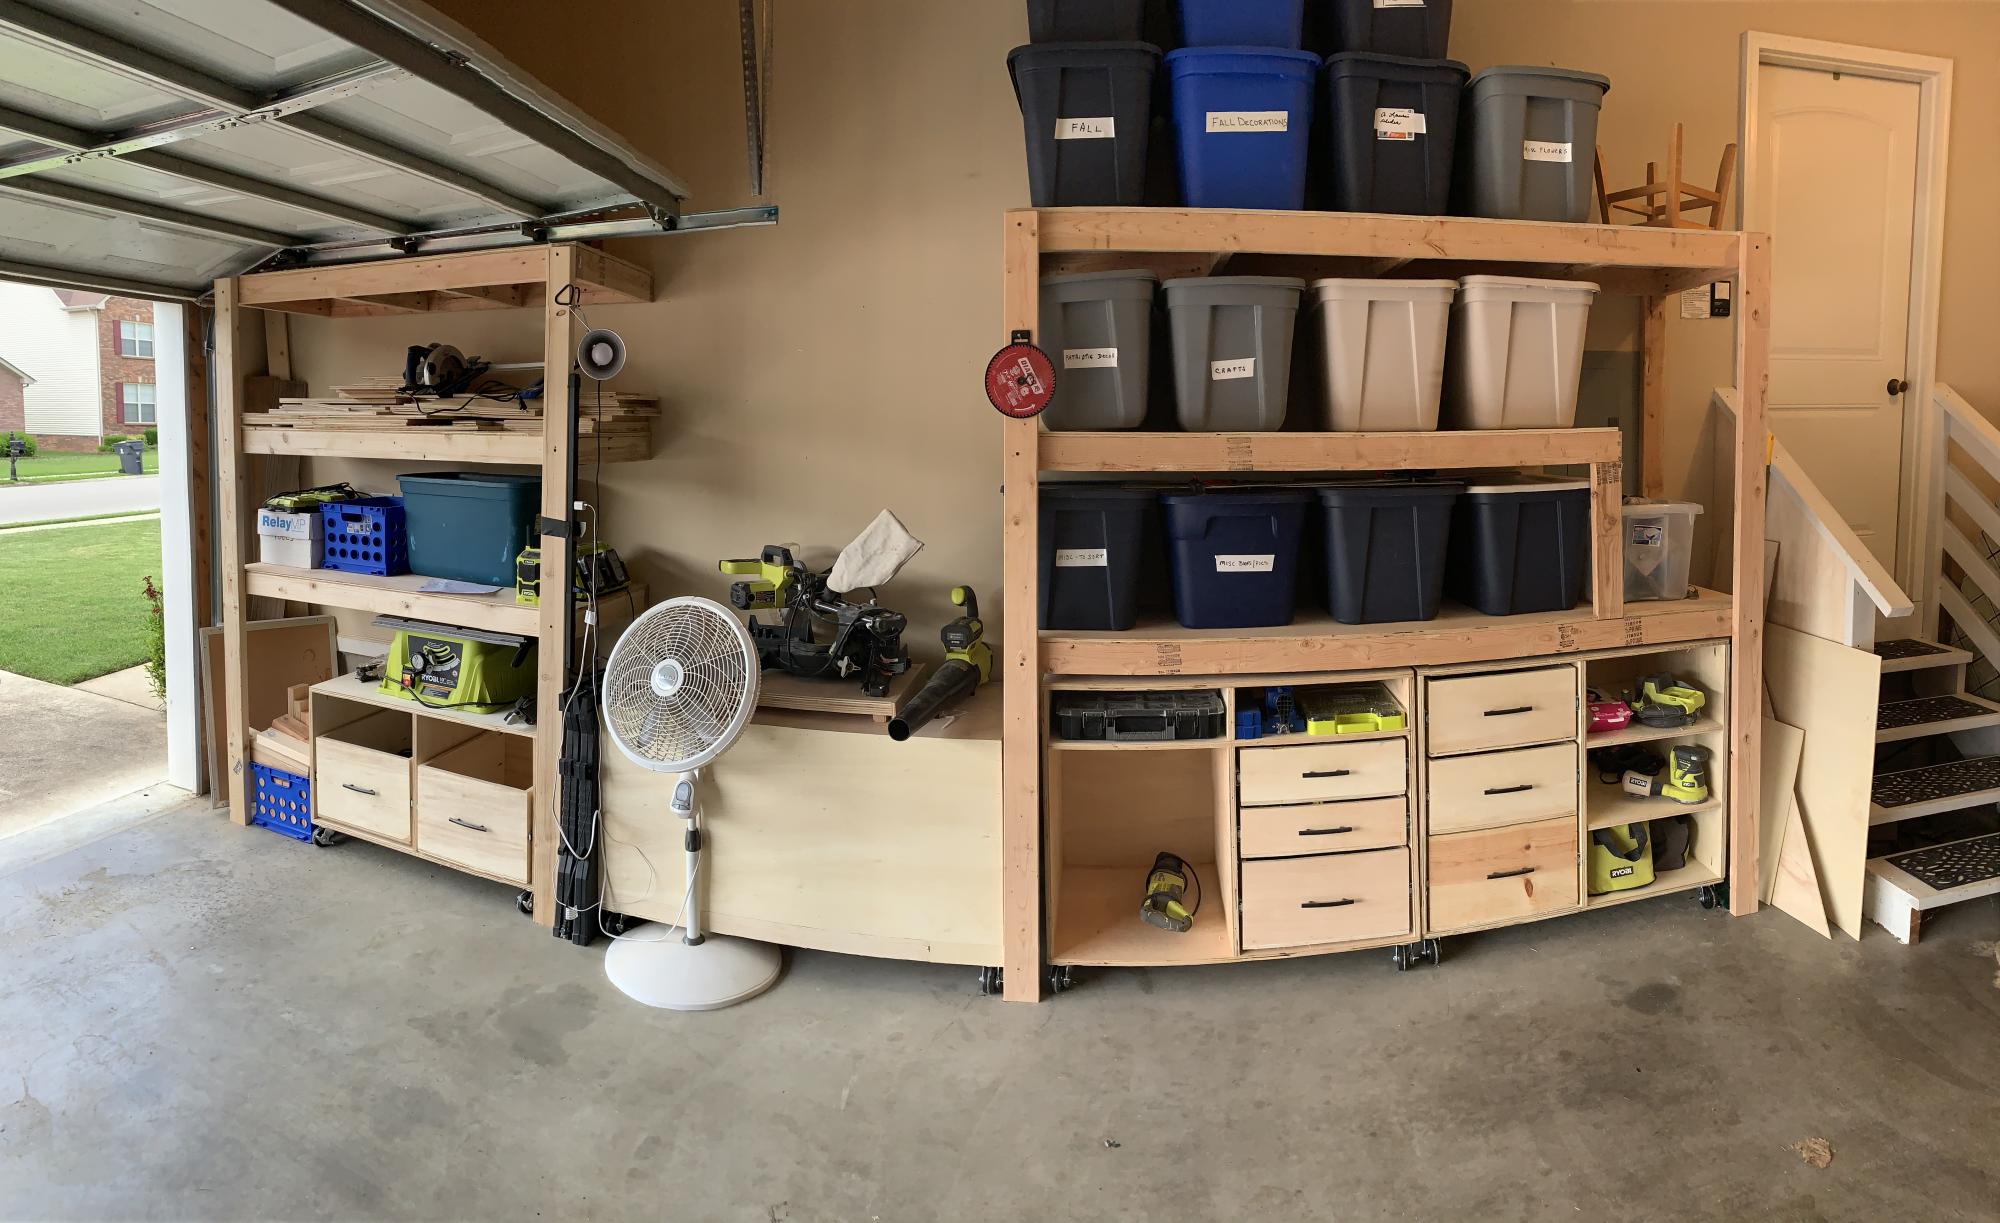
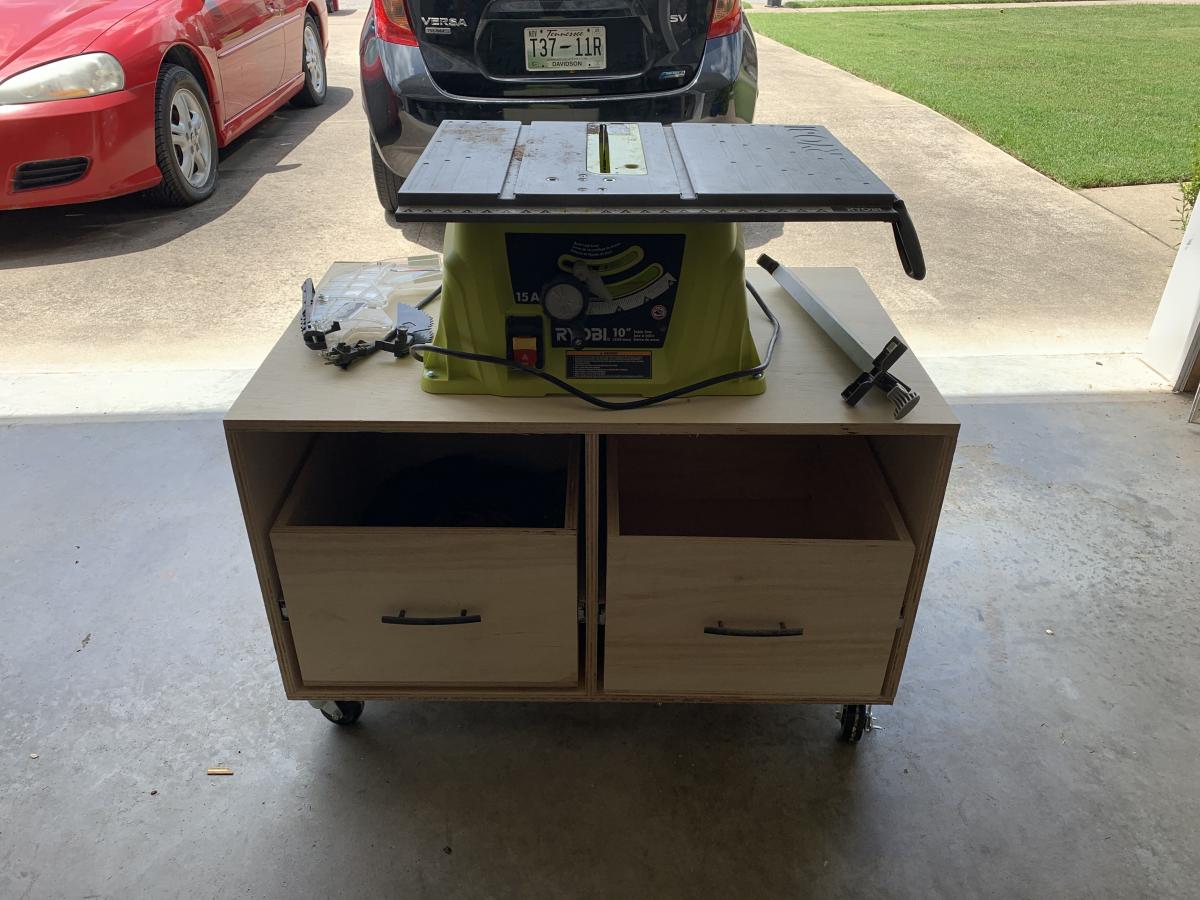
I bought a whole workshop full of Ryobi tools second hand from my brother over a year ago. I started researching workshop plans and came across Anna White’s Ryobi Nation Dream Workshop. I downloaded the plans and spent about 2-3 months working on it in my spare time. I made a lot of mistakes along the way but I’m pretty happy with it overall!
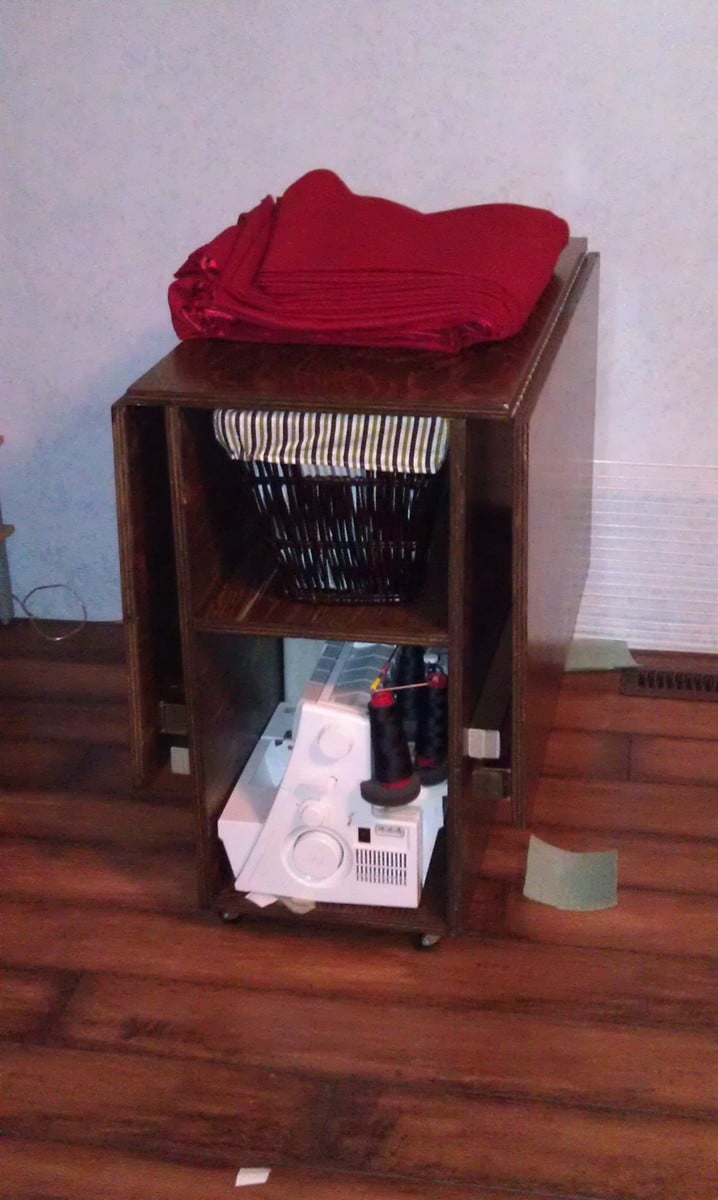
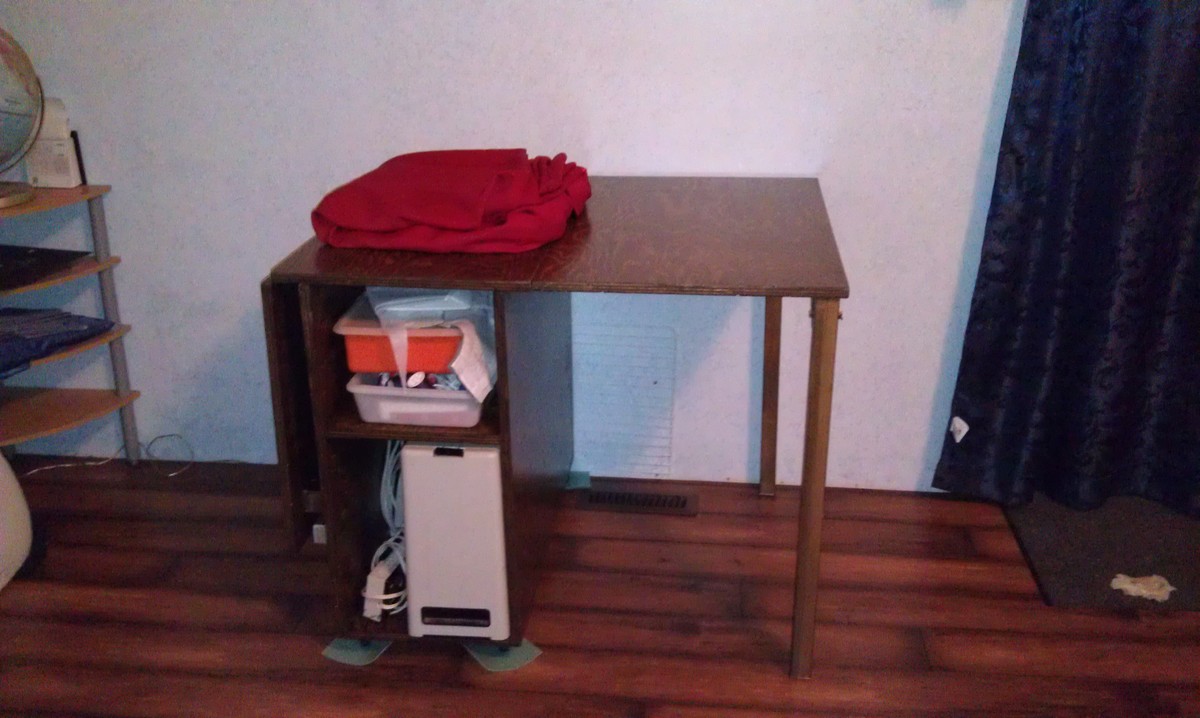
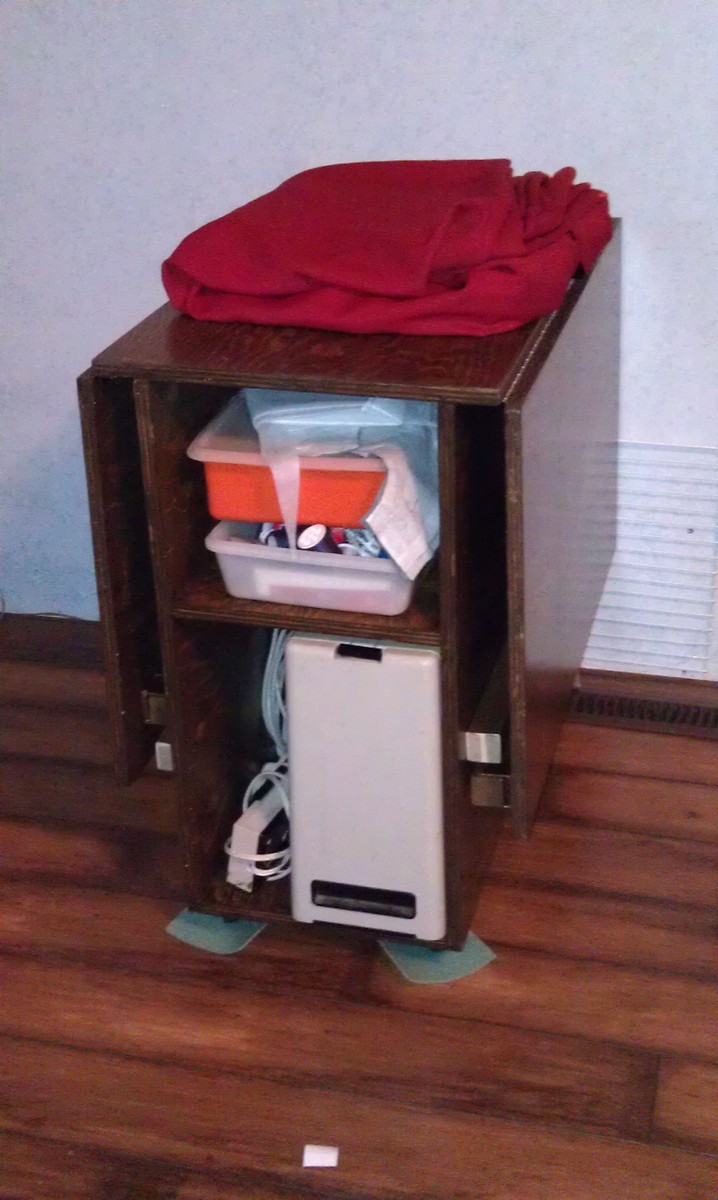
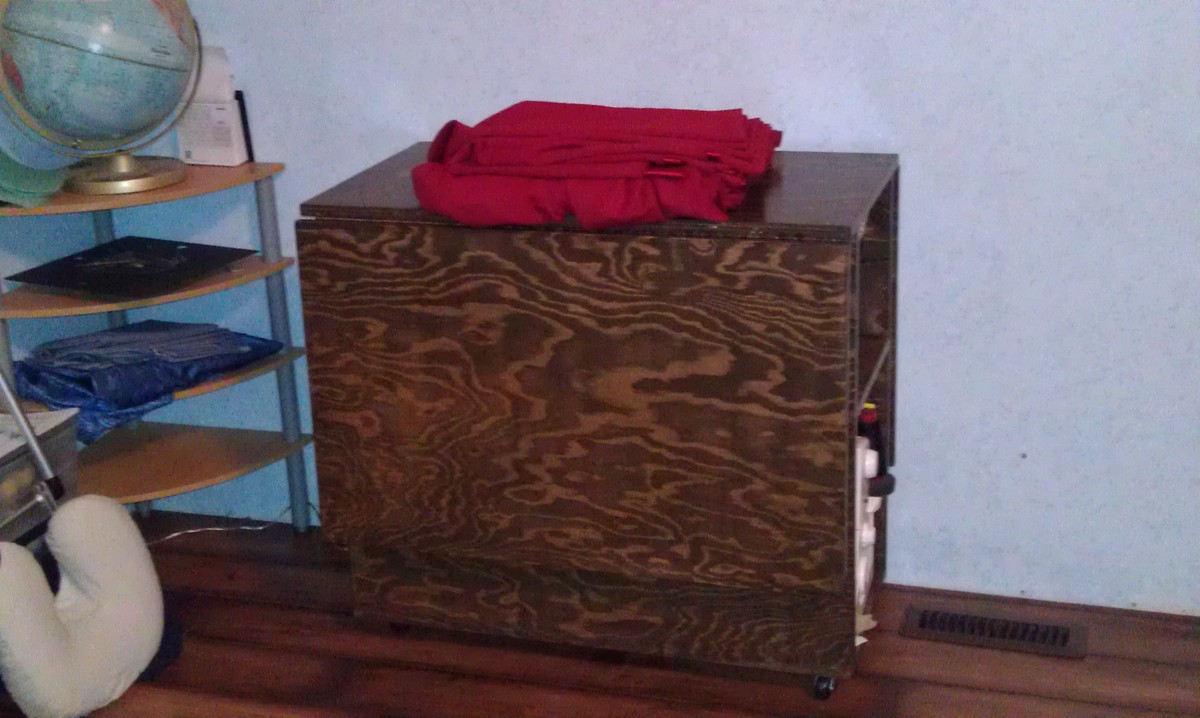
I made this sewing table using Ana Whites Sewing table for small spaces plan. I used 3/4" fir plywood.
I did however make changes to use continuous hinges (aka piano hinges) and upgraded the legs to 2x2's. I used folding leg brackets from Lee Valley Tools found here: http://www.leevalley.com/en/hardware/page.aspx?p=40035&cat=3,41306,41309
It's finished with a dark walnut stain, and three coats of water based varathane. All told this project took about a week. I had the pieces cut for me by the lumberyard, but they still required sanding before assembly. Then assembly took another afternoon. Staining & finishing took the longest, probably 3 days, since I could only work on it in the late afternoon - evening.
Approximate Costs:
$30.00 Hinges, screws, & 2x2's for legs, paint brush
$20.00 Stain & Finish (some savings here as I had some leftover from another project)
$30.00 Folding leg brackets
$50.00 Lumber Costs (this can vary wildly depending on your wood selection)
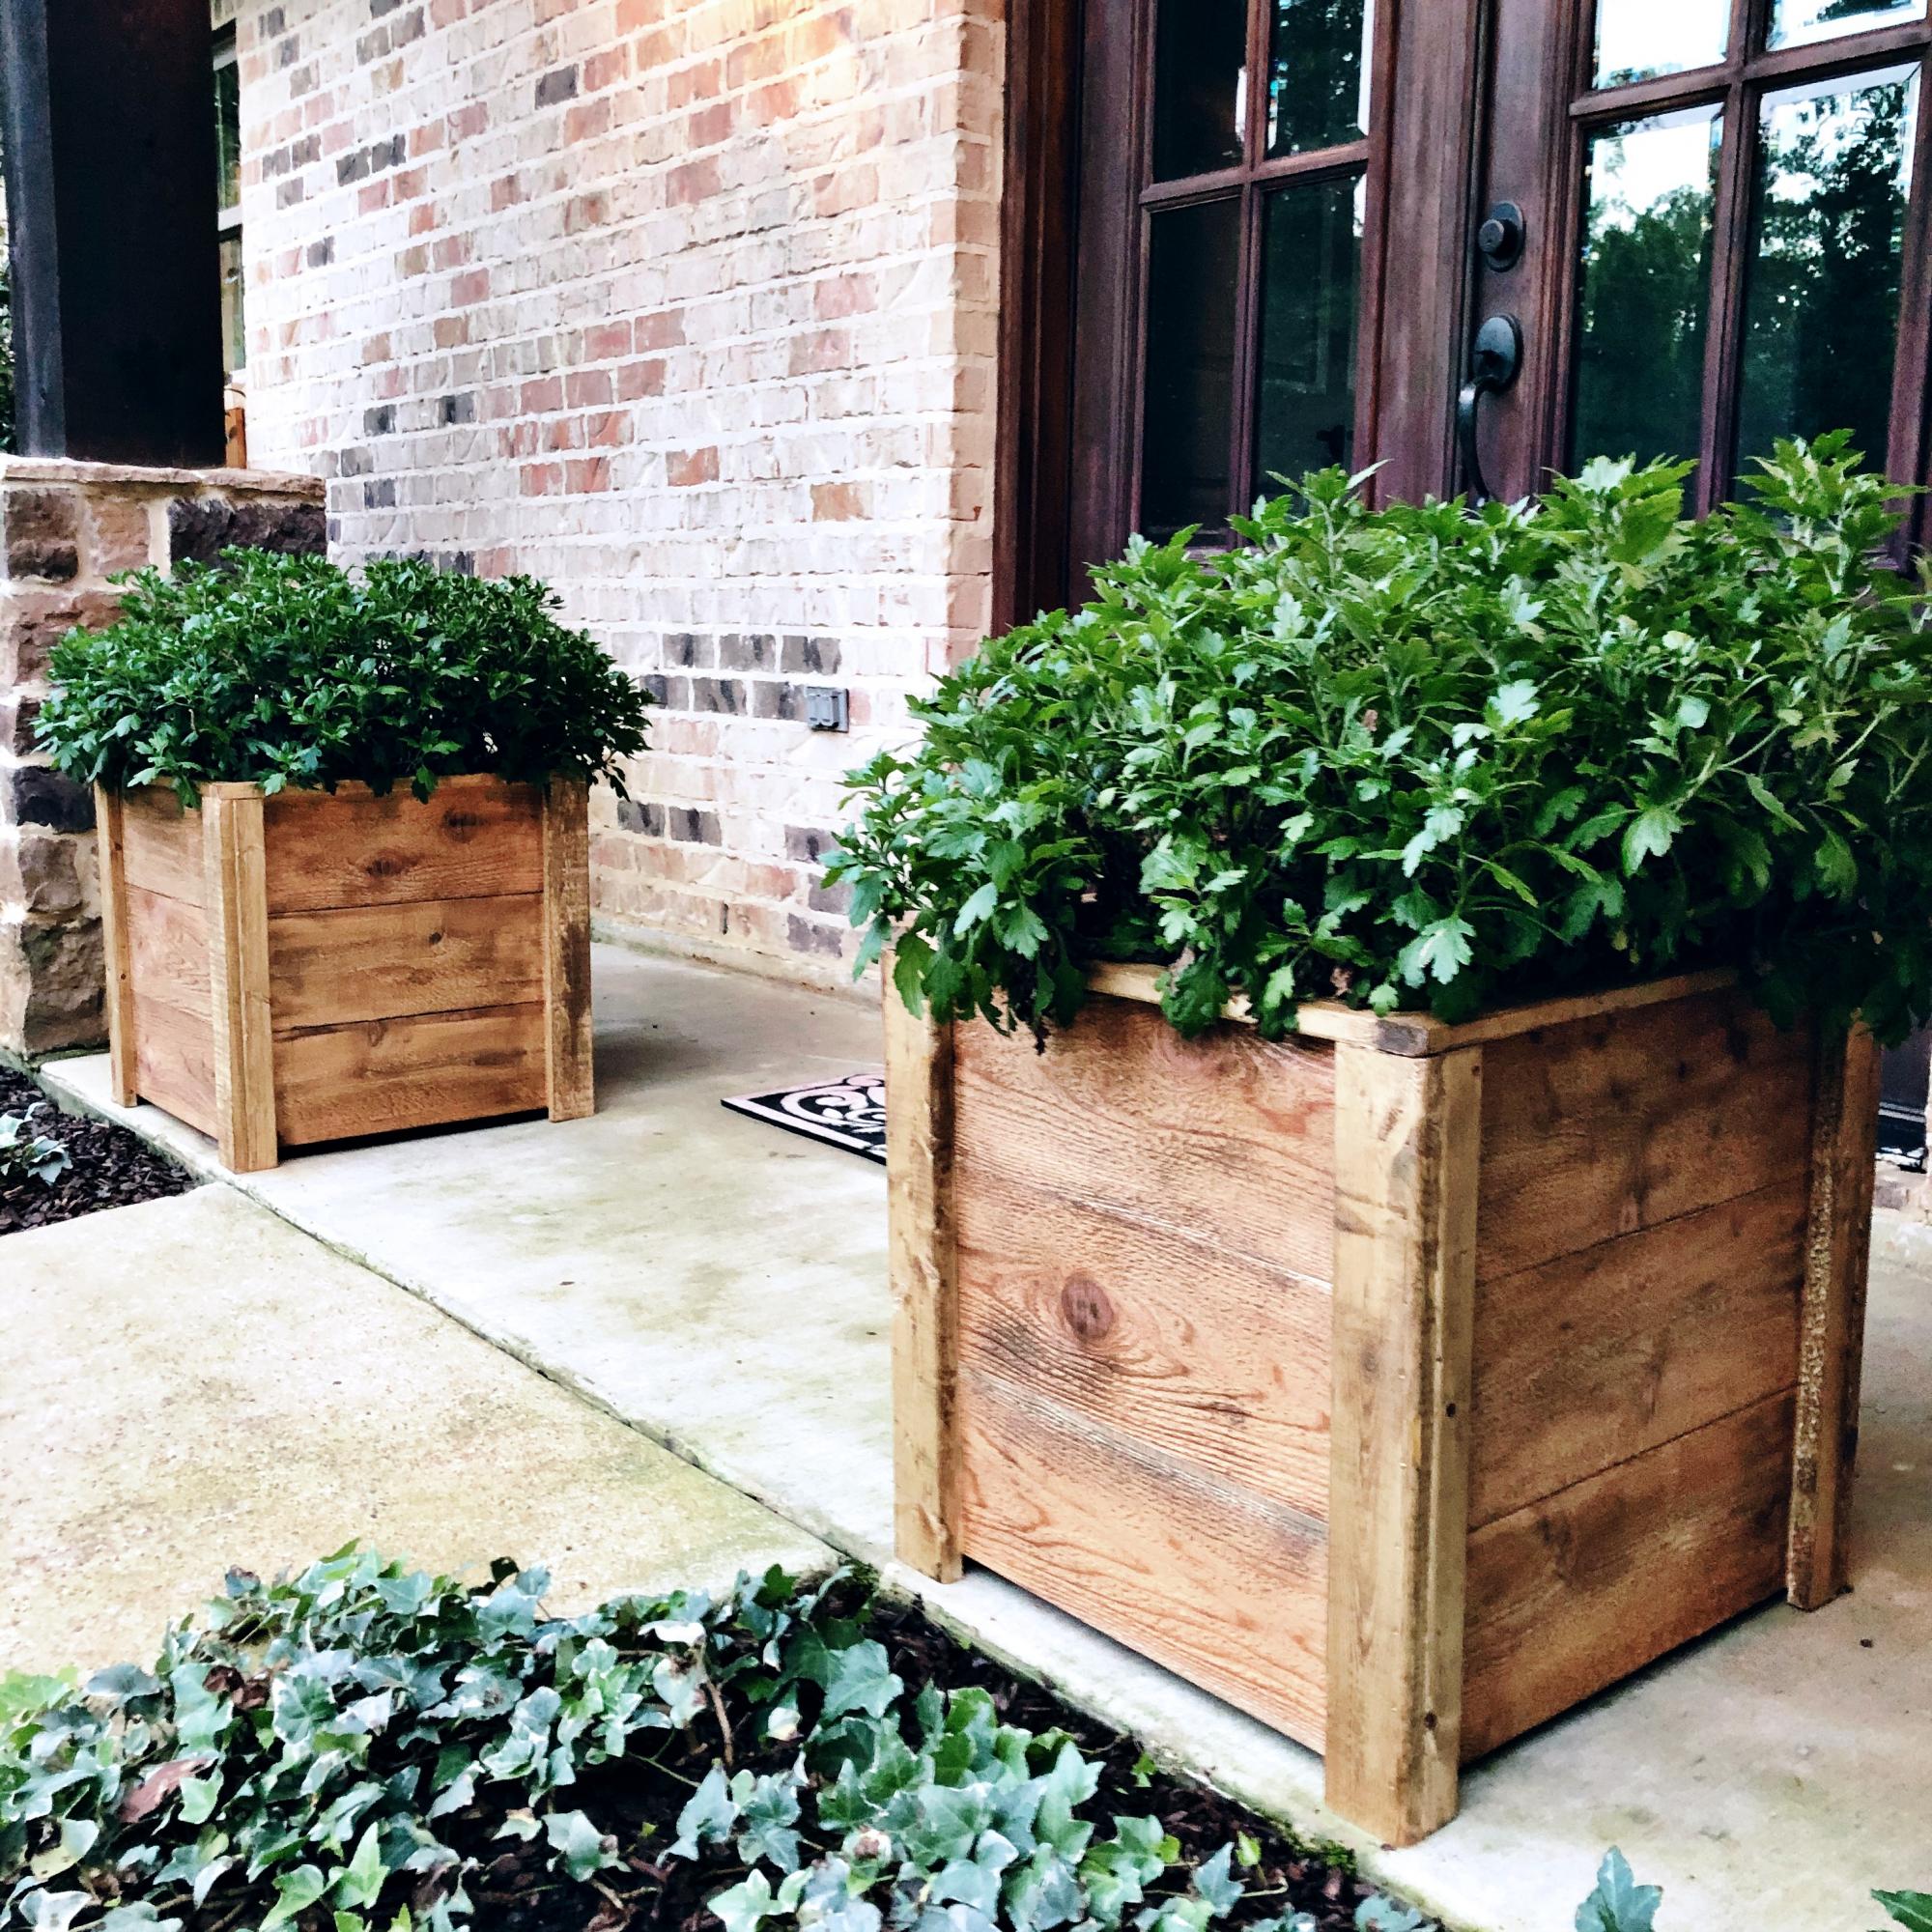
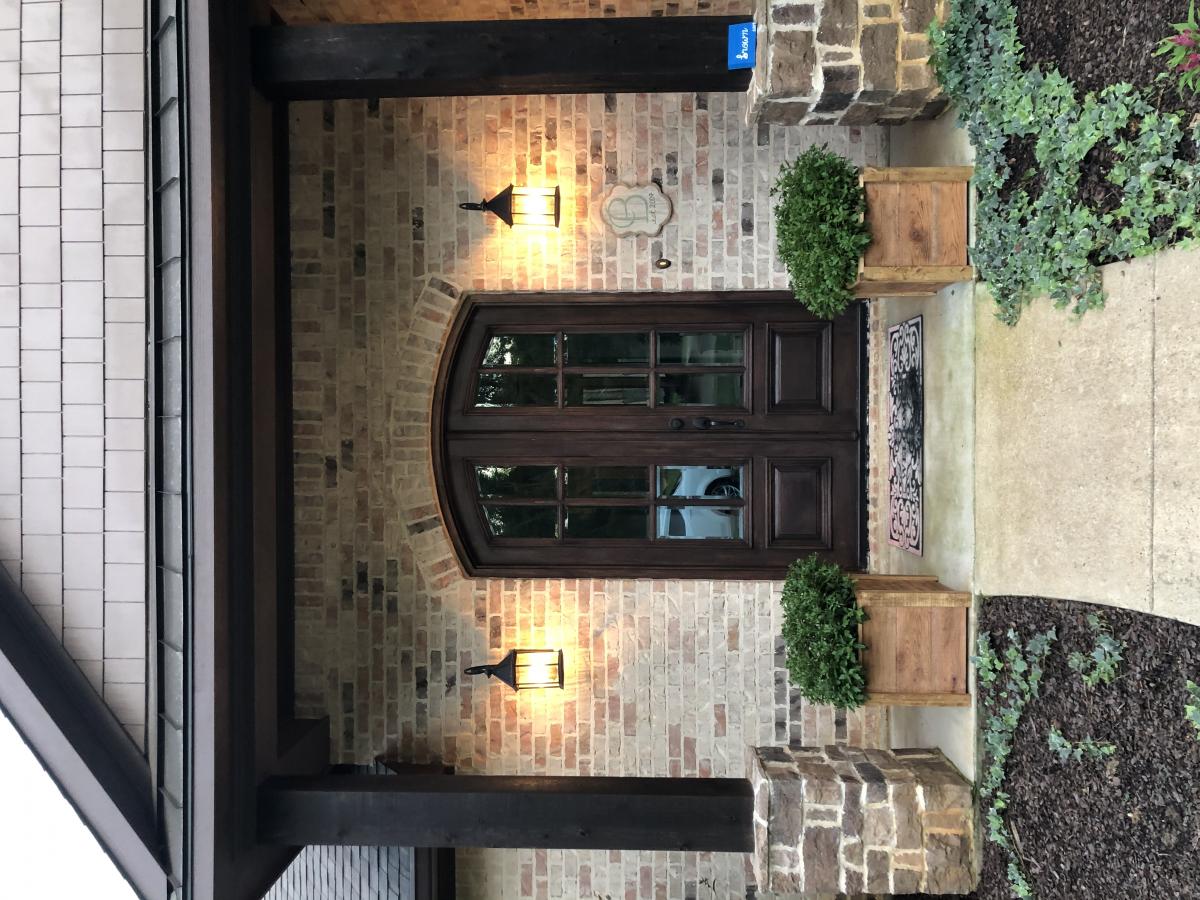
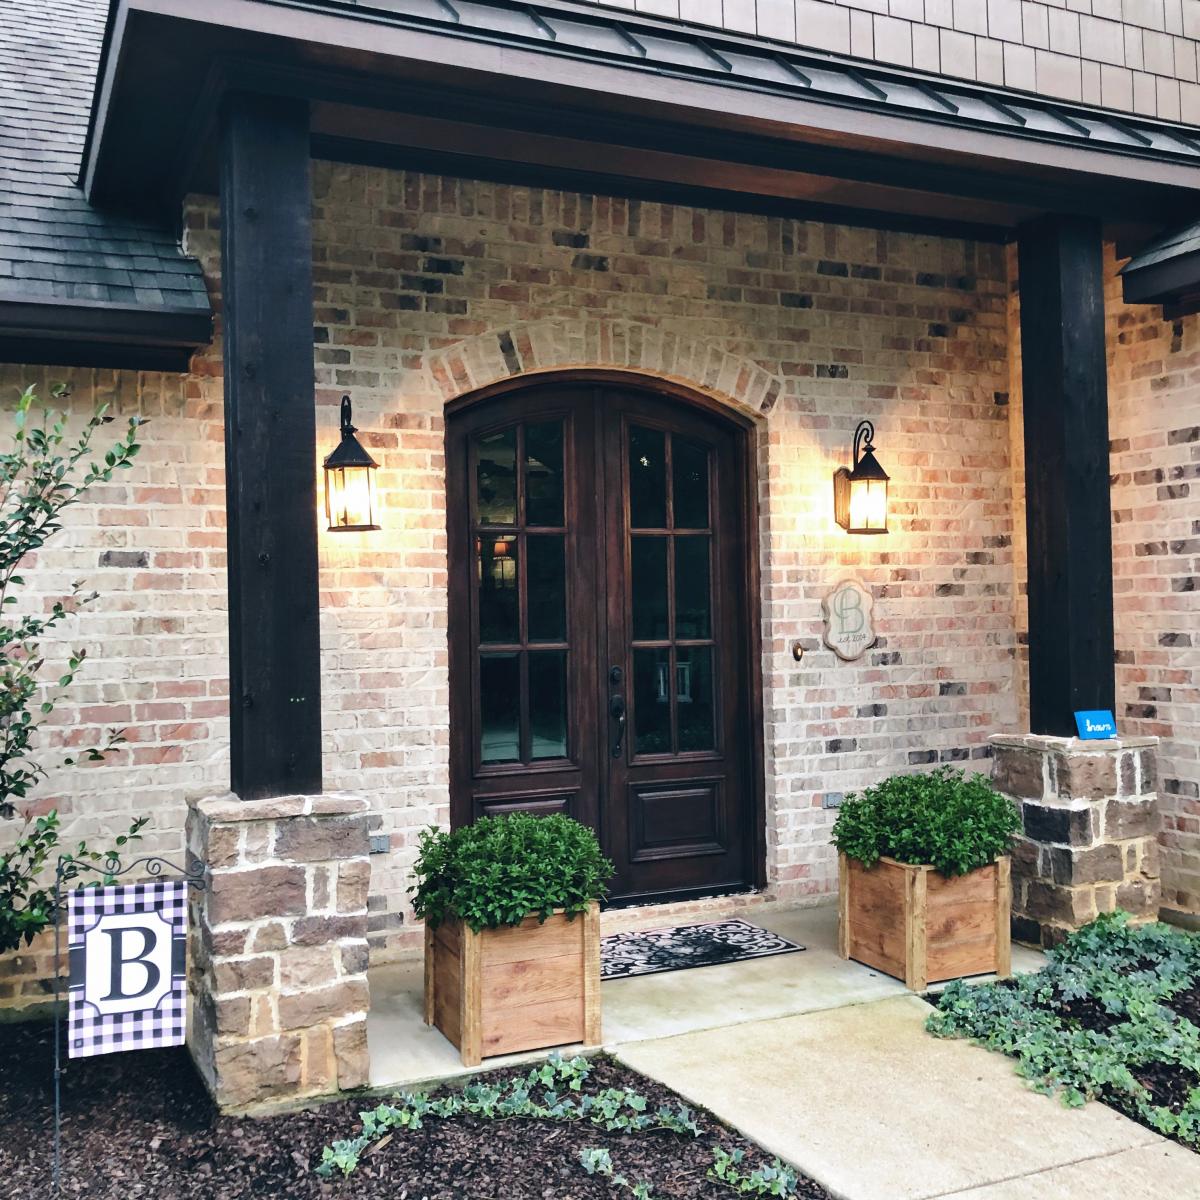
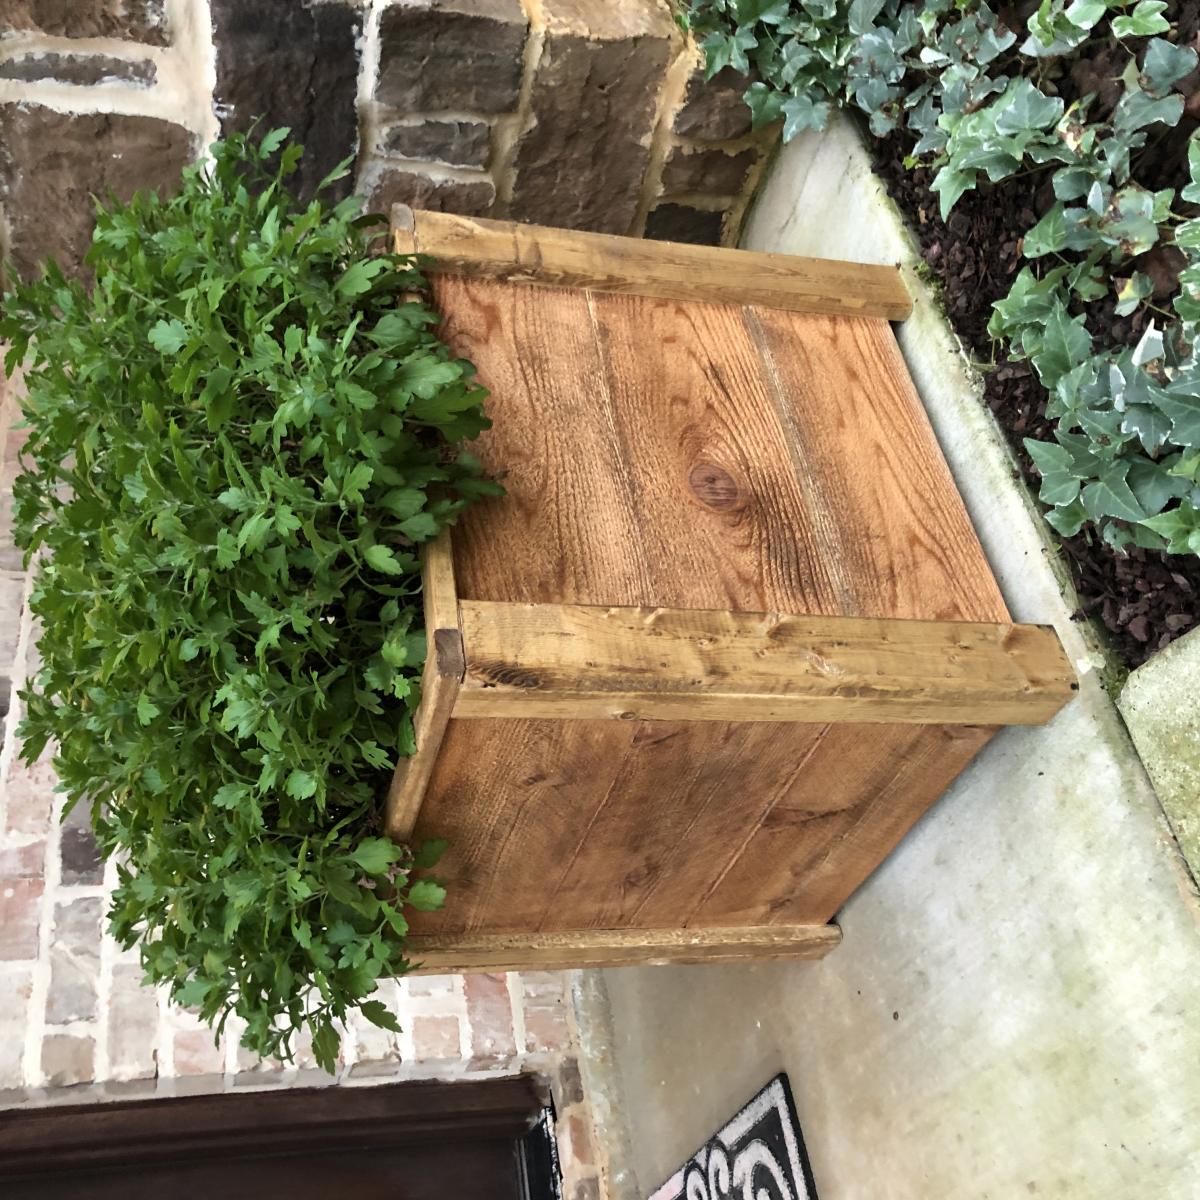
These were a quick weeknight build! And.... My very first “all by myself” build! I’m really proud of how they turned out and love how much style they add to my front porch!
