DIY Planter Boxes
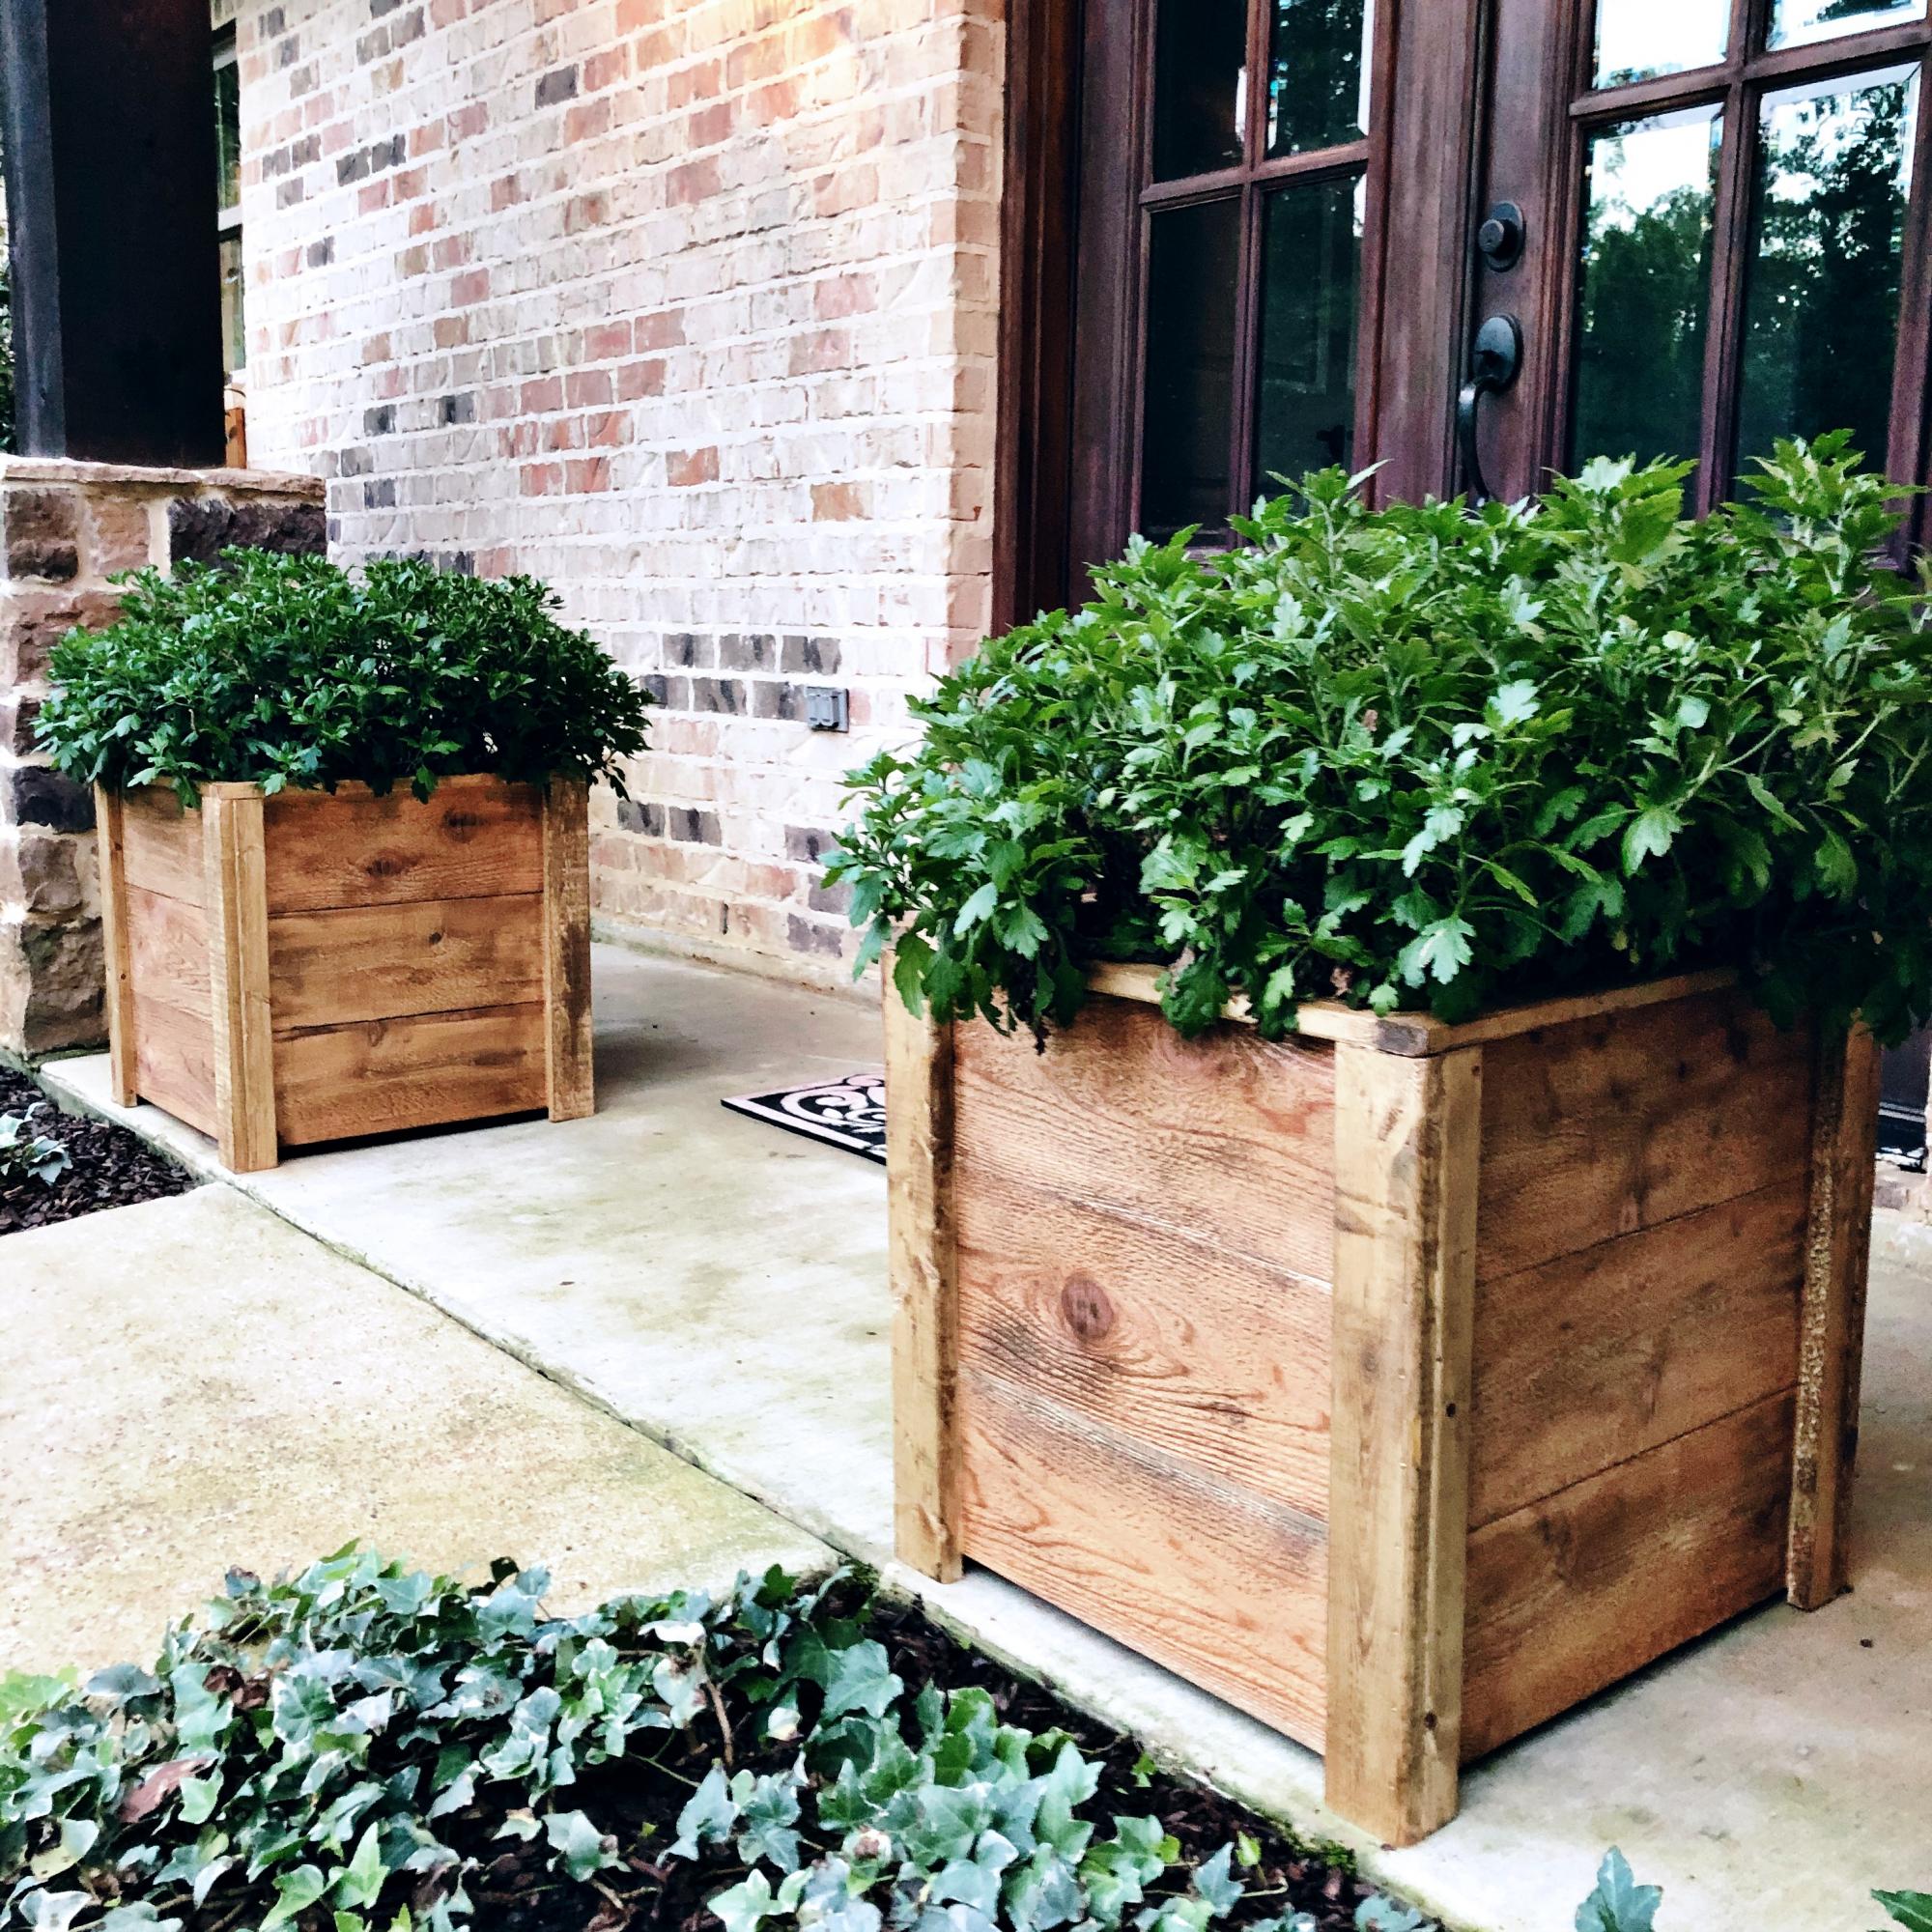
These were a quick weeknight build! And.... My very first “all by myself” build! I’m really proud of how they turned out and love how much style they add to my front porch!
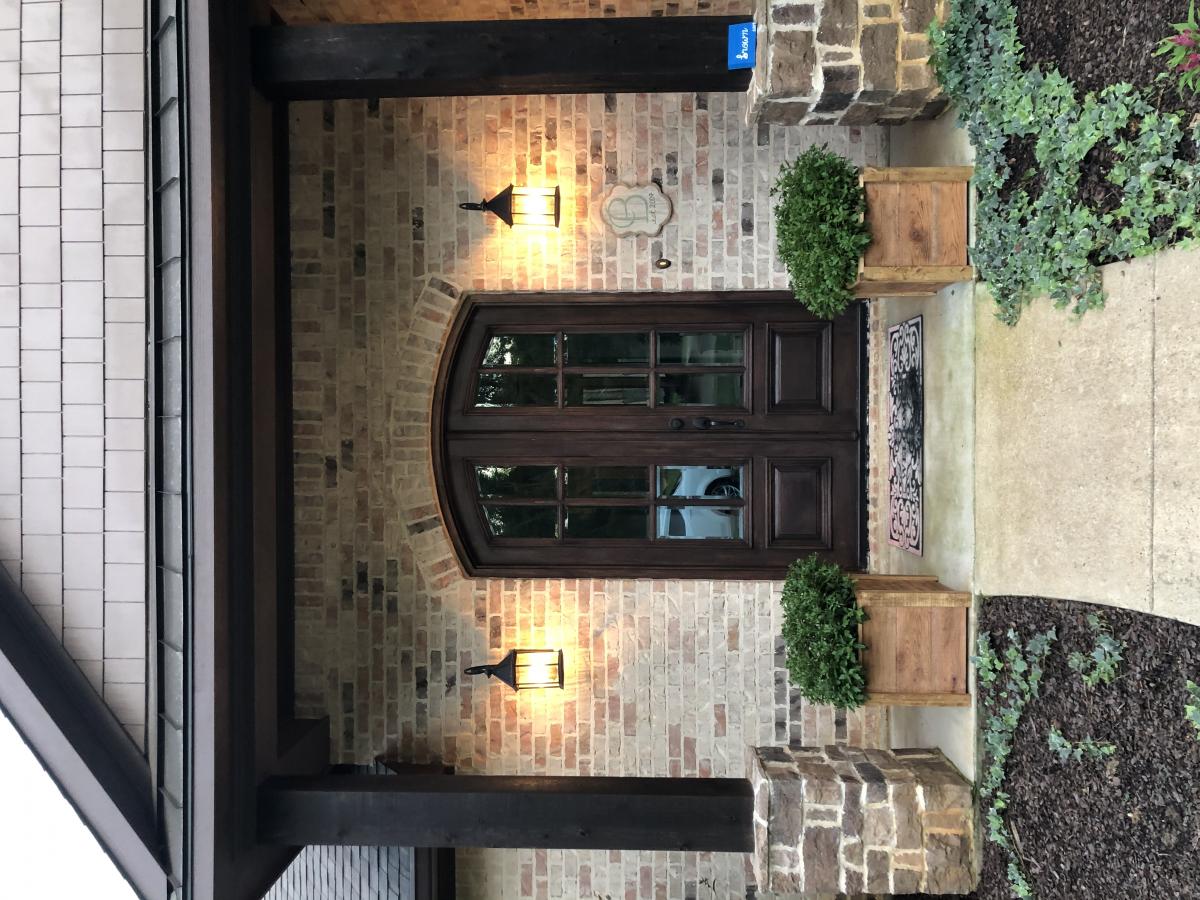
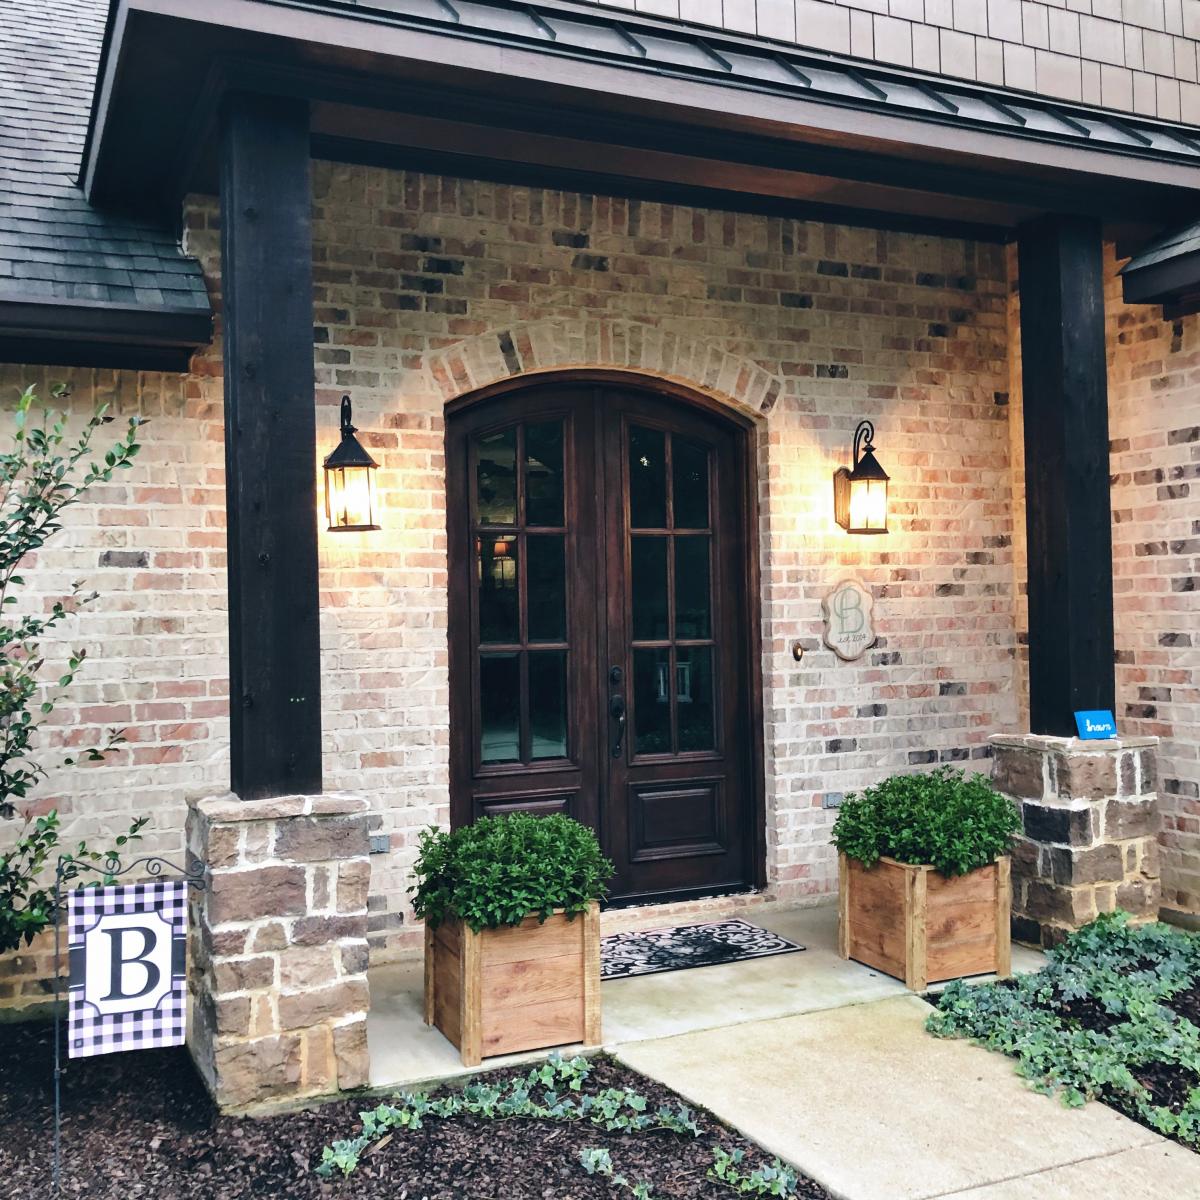
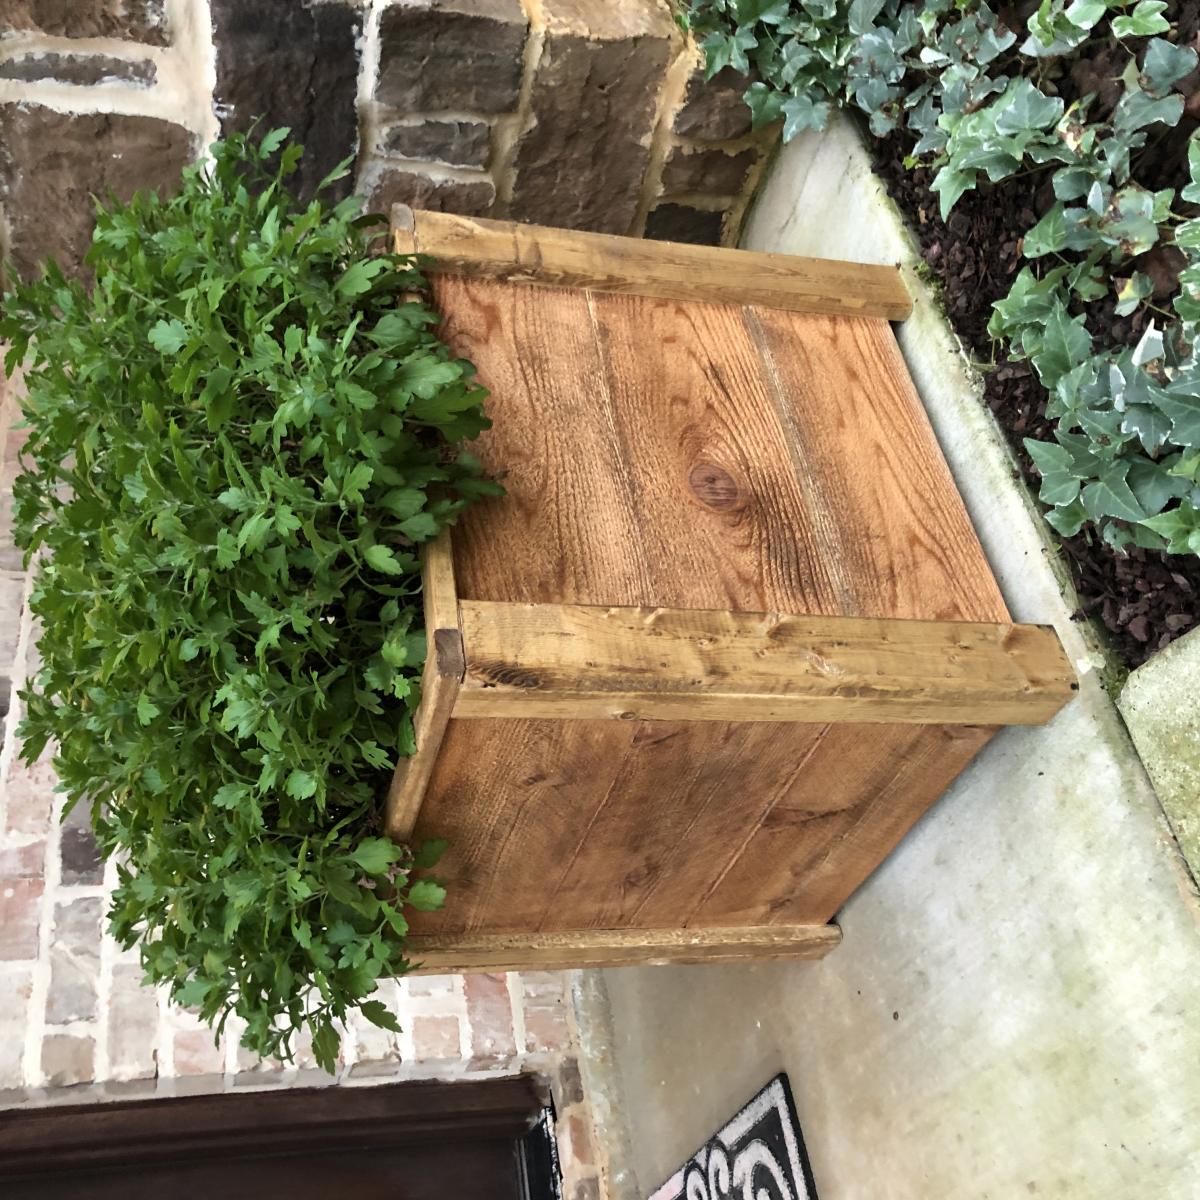


These were a quick weeknight build! And.... My very first “all by myself” build! I’m really proud of how they turned out and love how much style they add to my front porch!


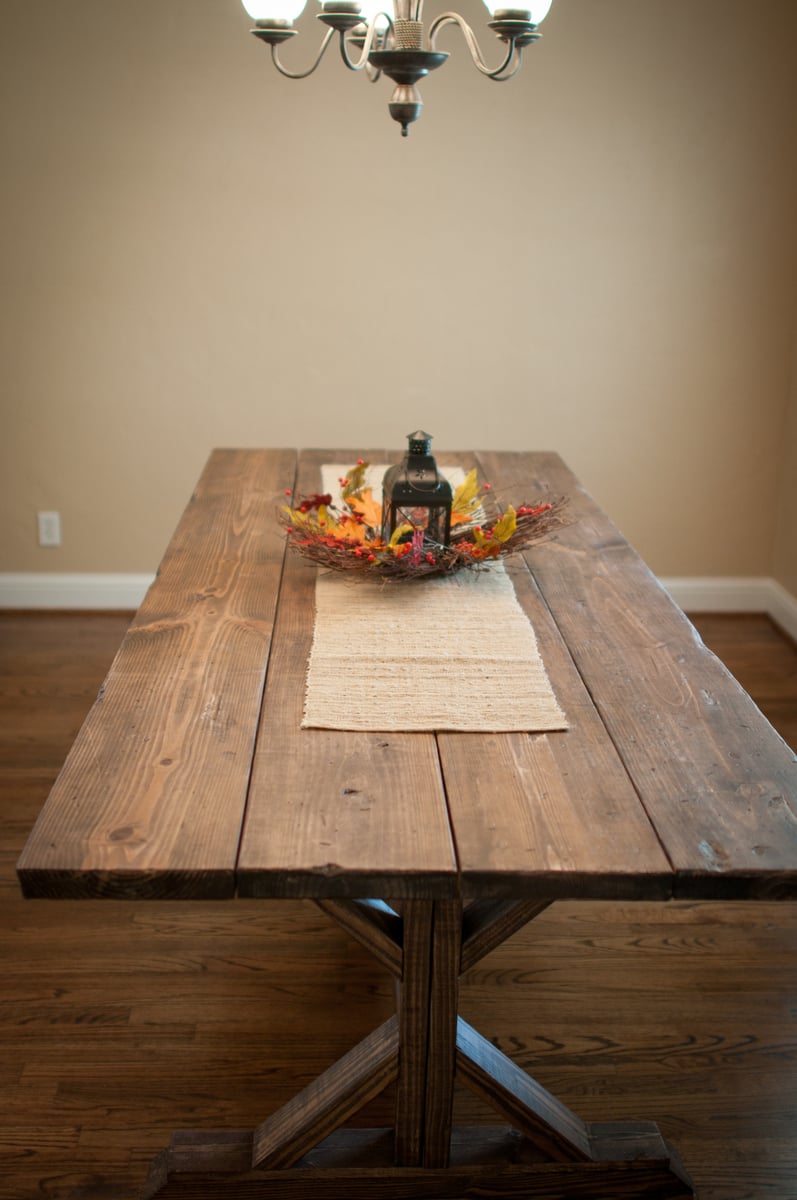
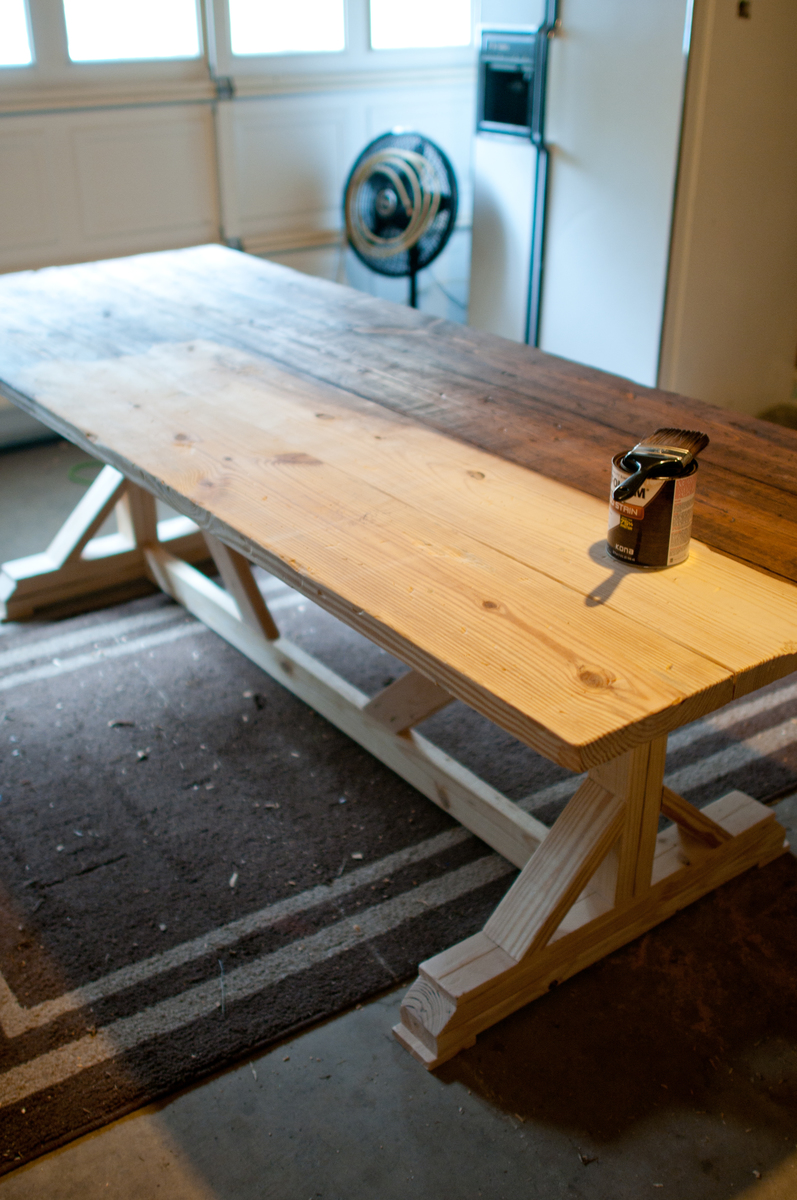
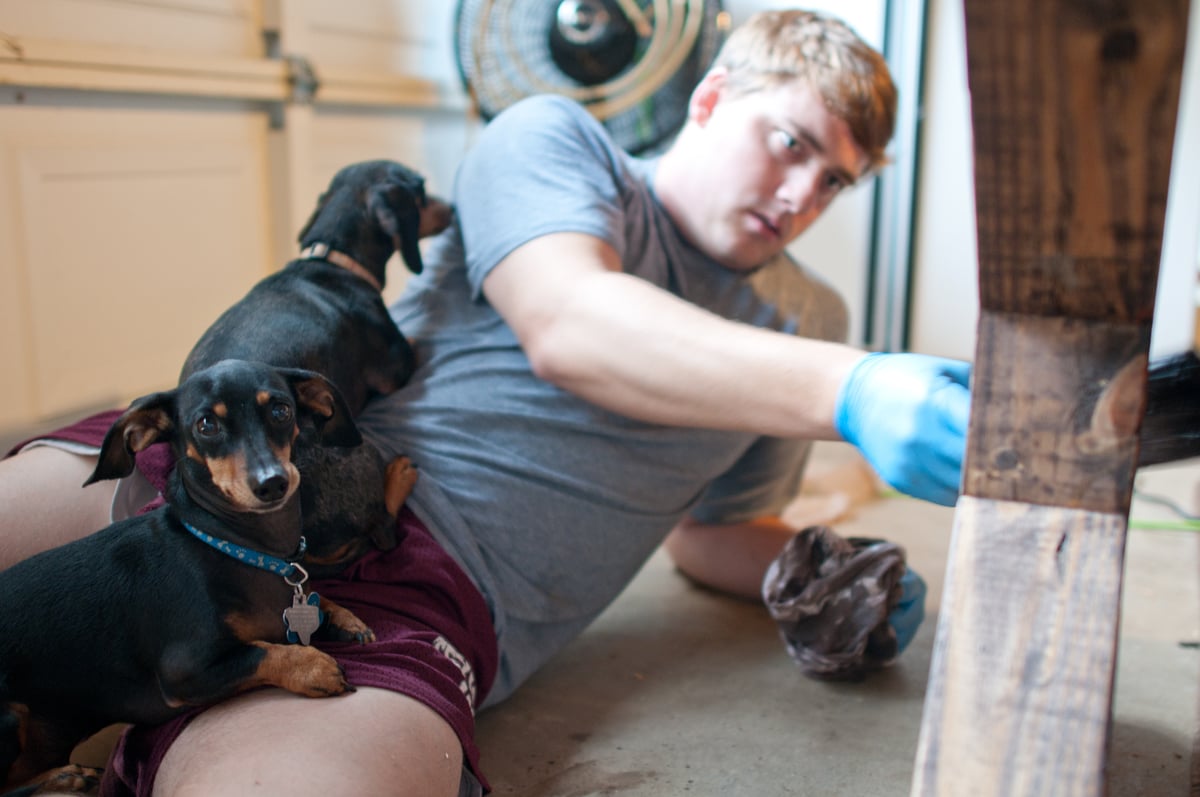
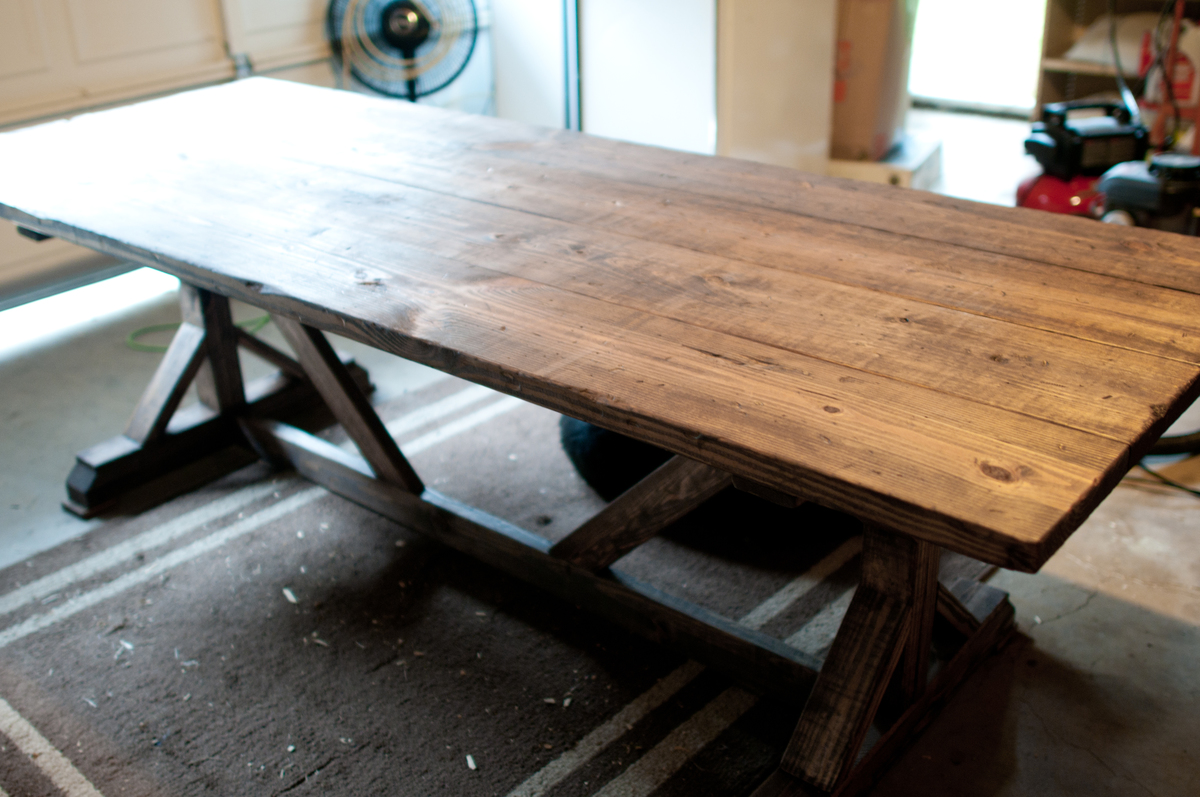
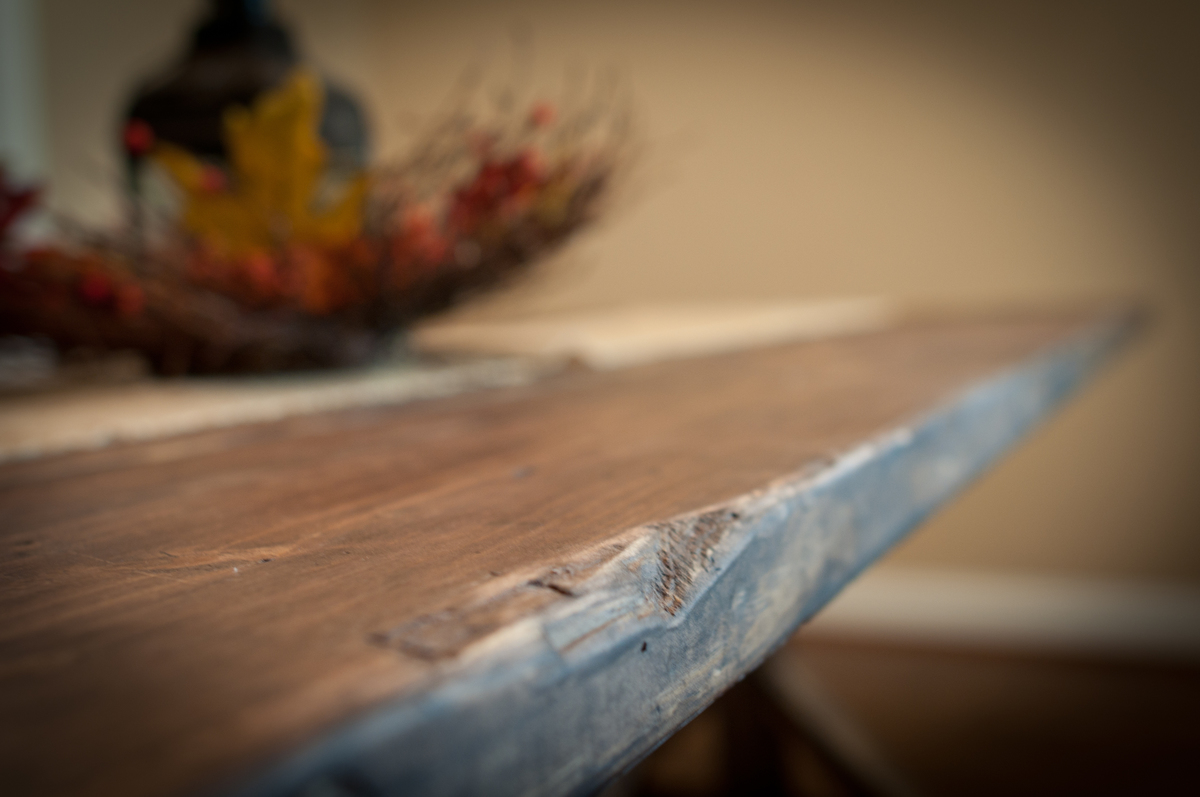
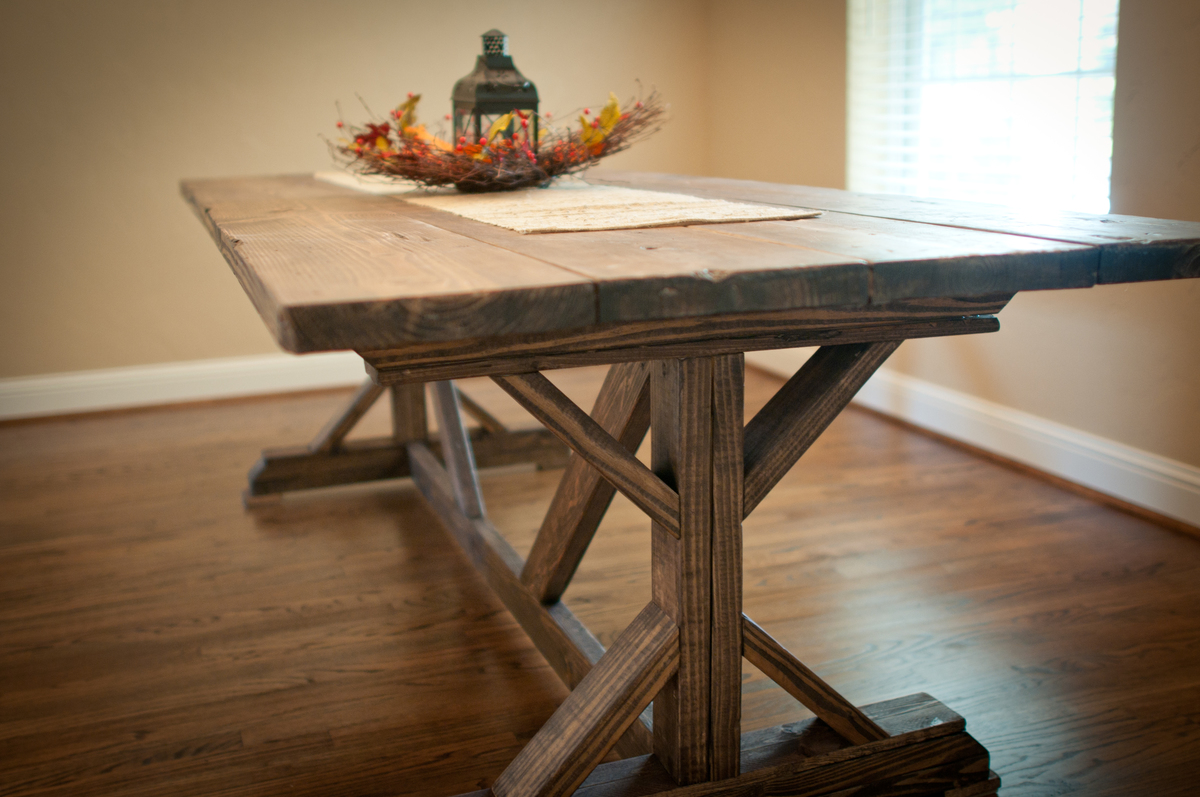
This project was pretty dang easy. My husband and I whipped this out one weekend and were pleasantly surprised with the outcome. It now sits in our dining room and we LOVE it!! We used Rust-o-leum's Kona stain and it could not have been more perfect of a color. We used a brush to apply in sections and wiped it off immediately. Before staining we beat it with chains, hammers, screws, etc. And we also scraped it up and gouged it out with screw drivers, crowbars, and any other items we could find. Be sure and sand it down really well. We finished it off with a matte finish polyurethane. Thanks for the designs! We are on to table number 2 now! Jordi
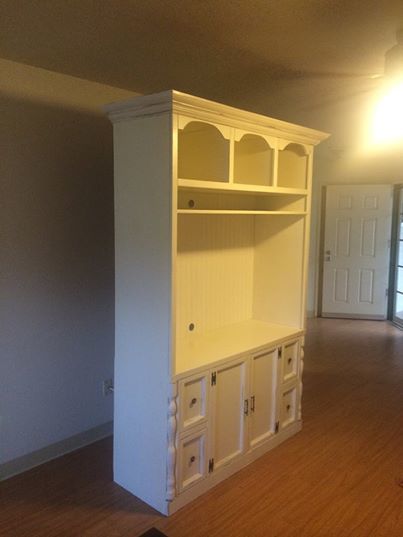
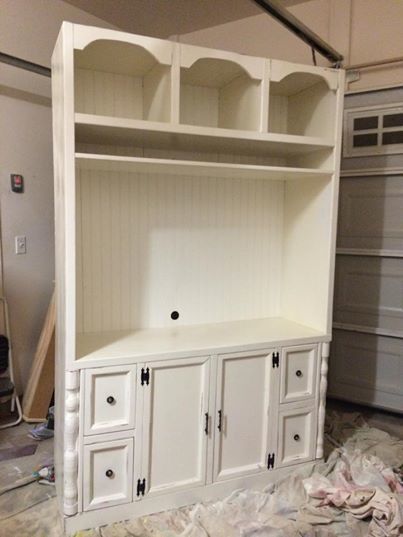
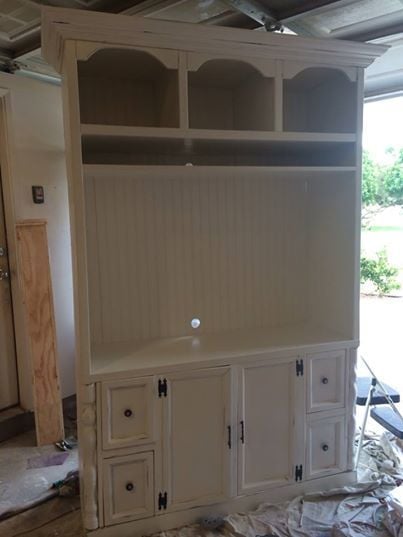
Swiss coffee Entertainment Center... Distressed. All Trim work made by me.
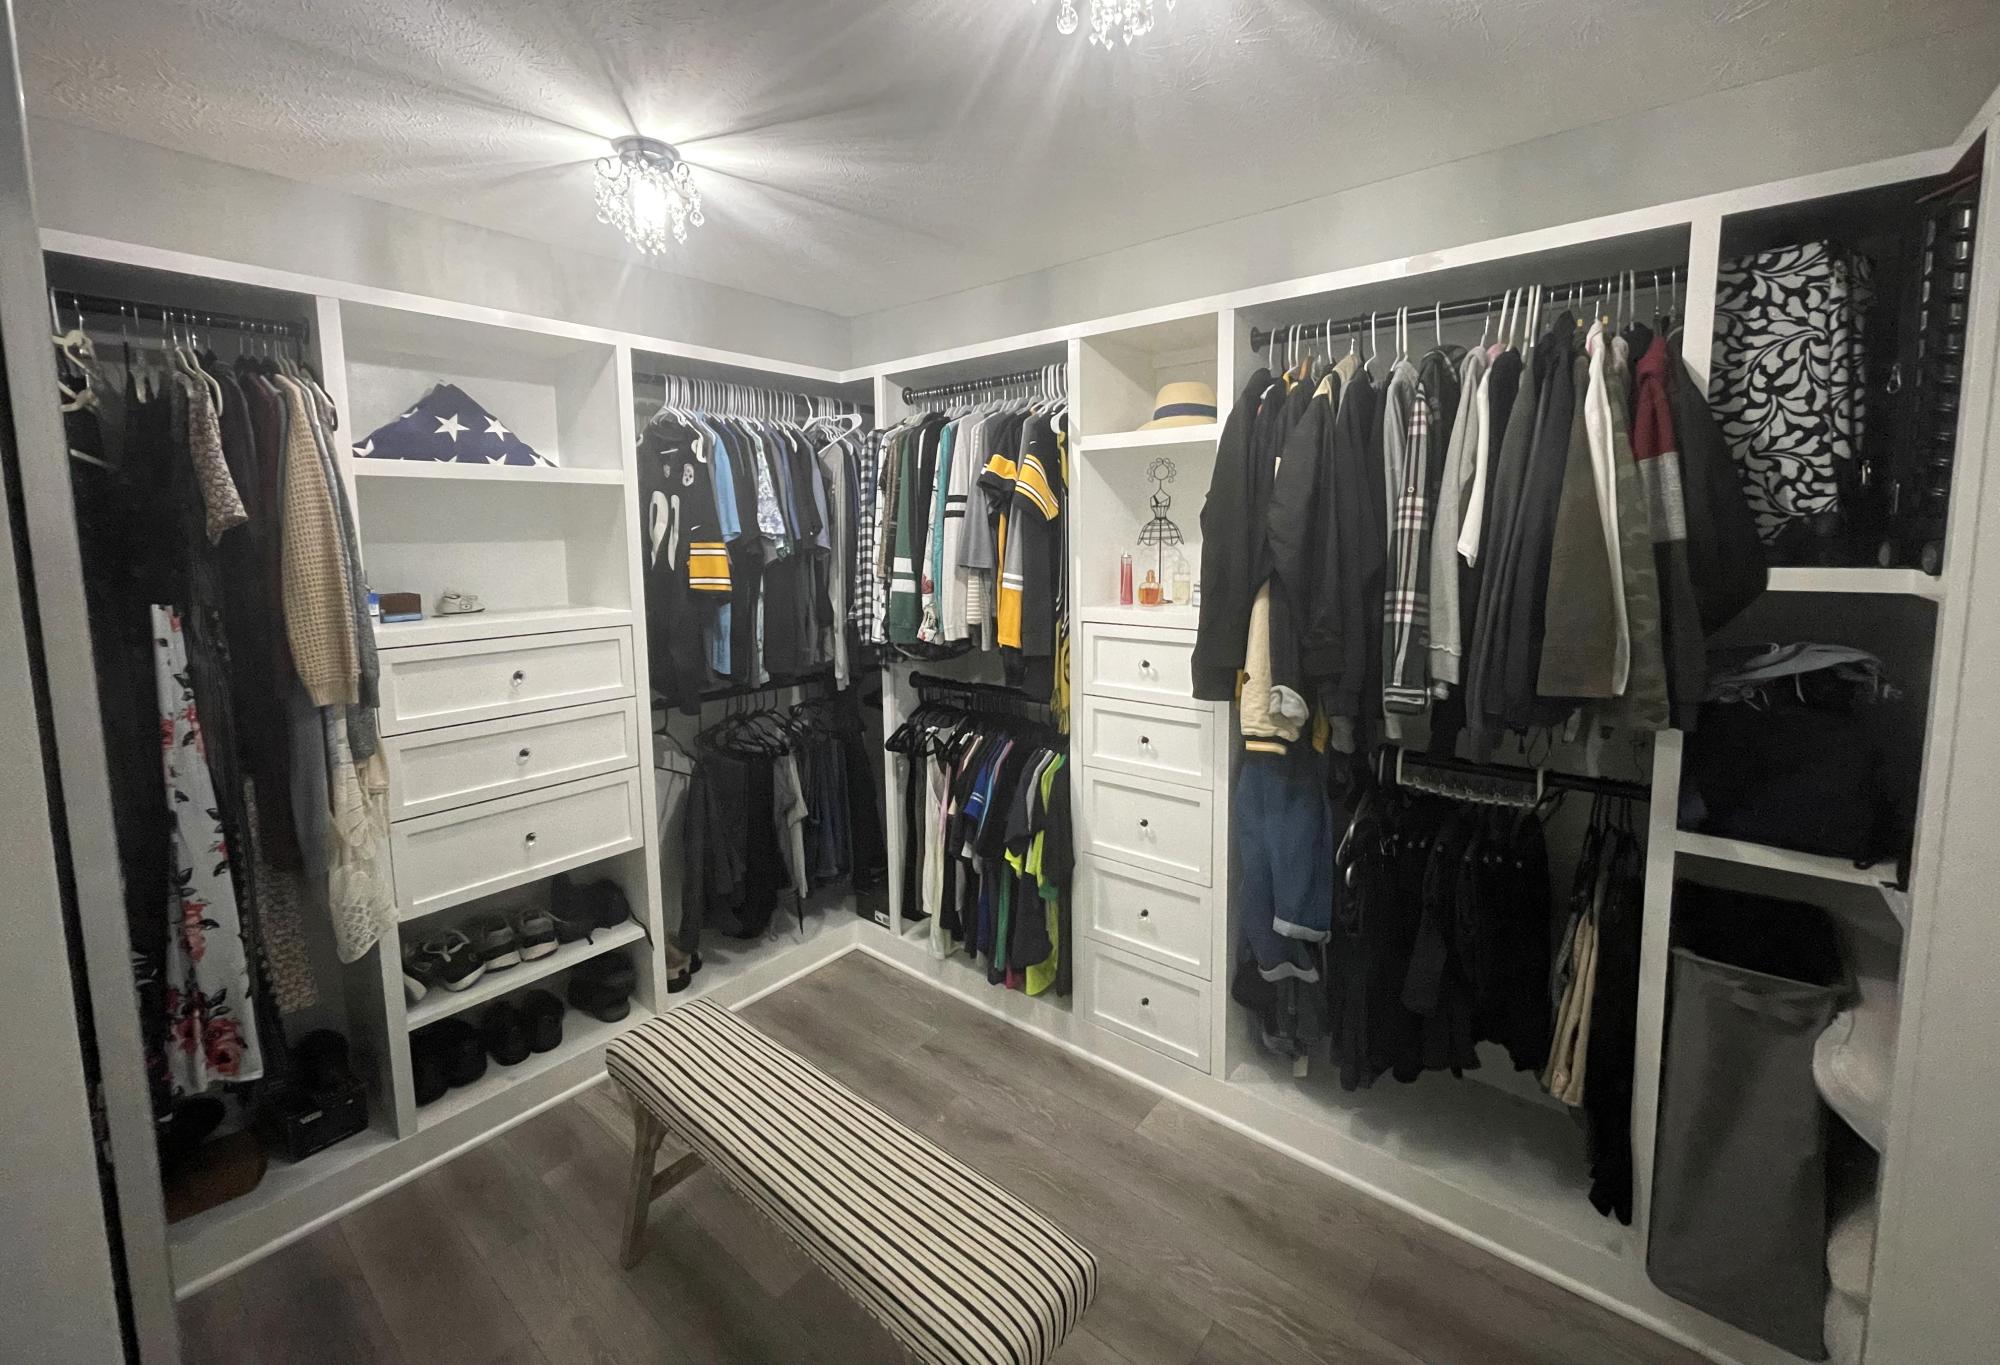
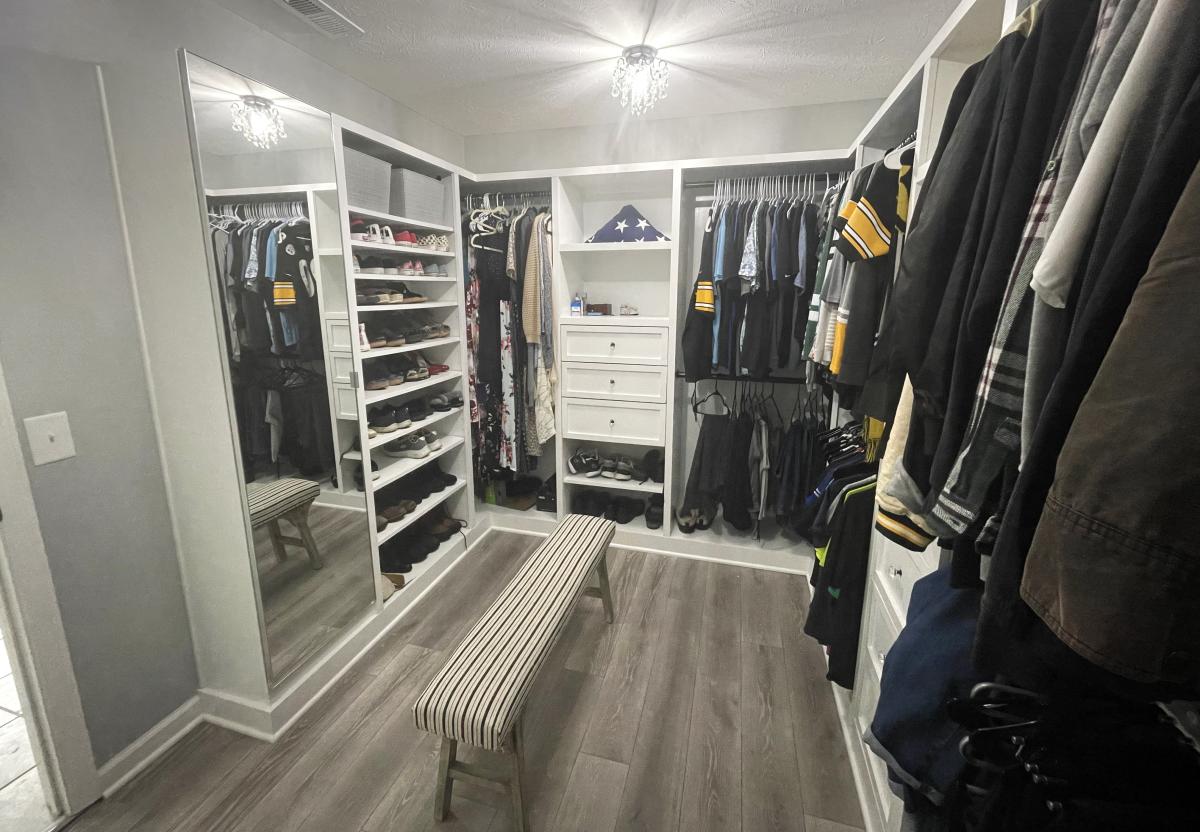
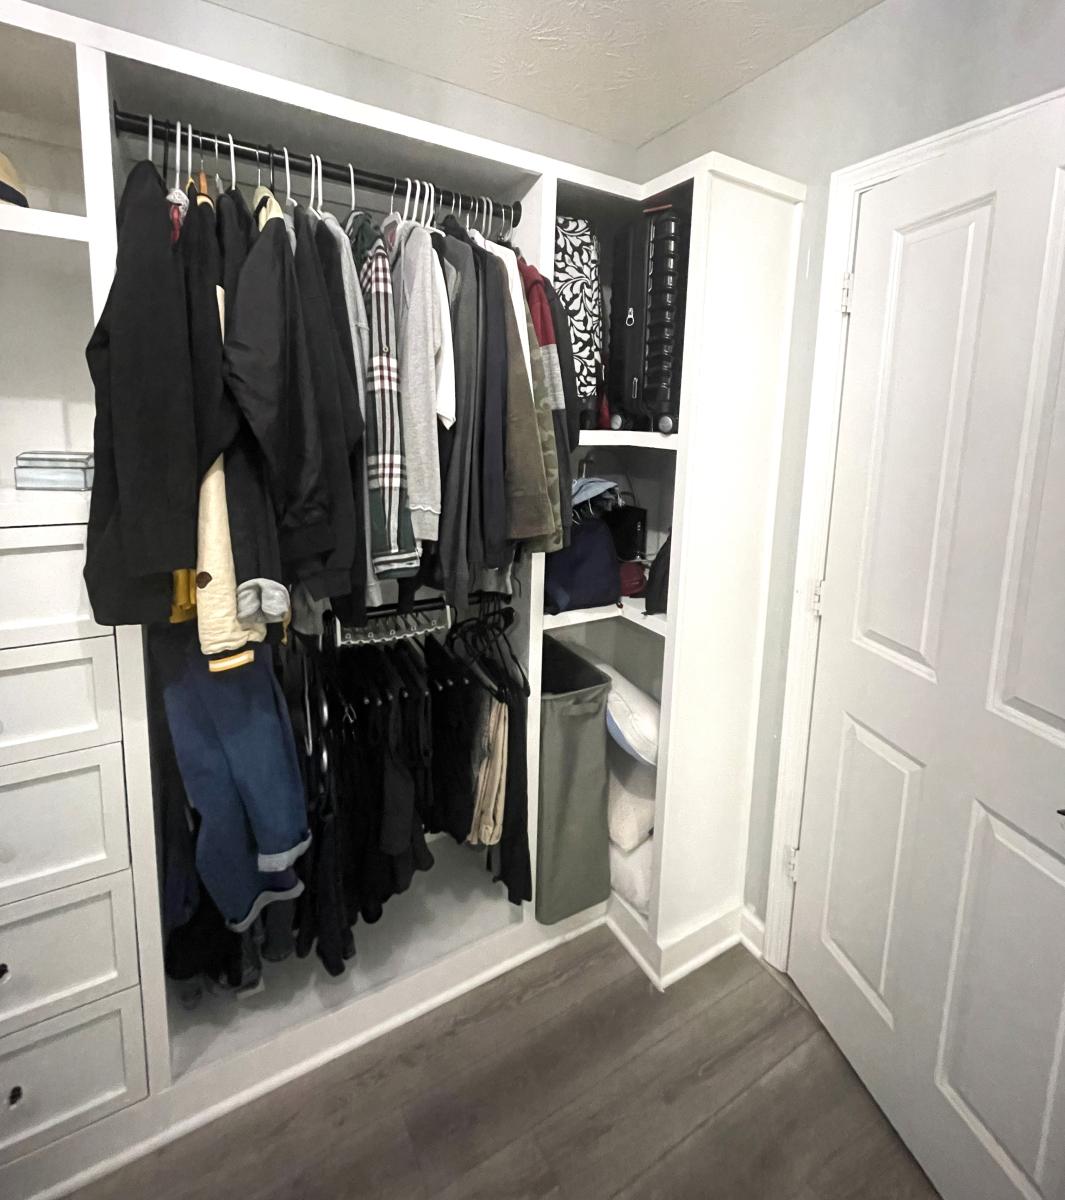
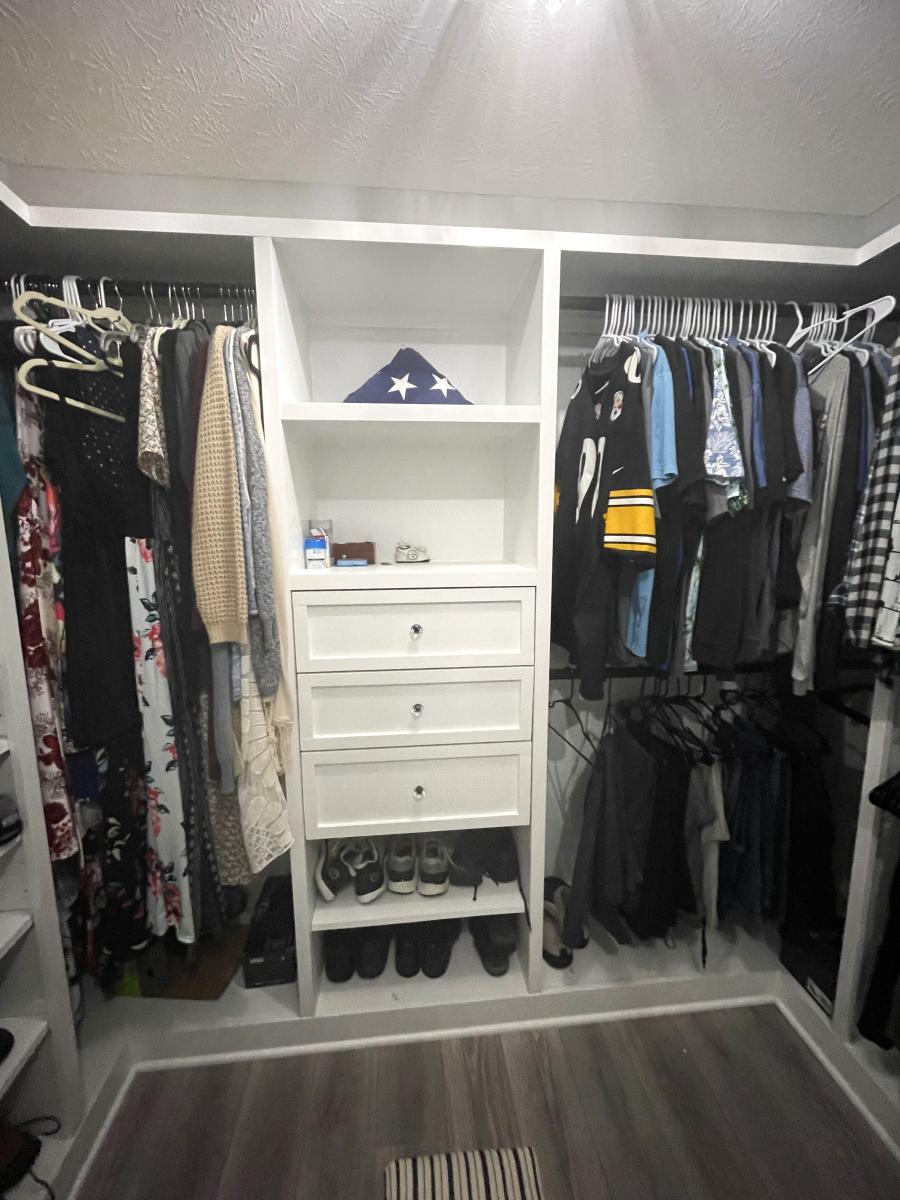
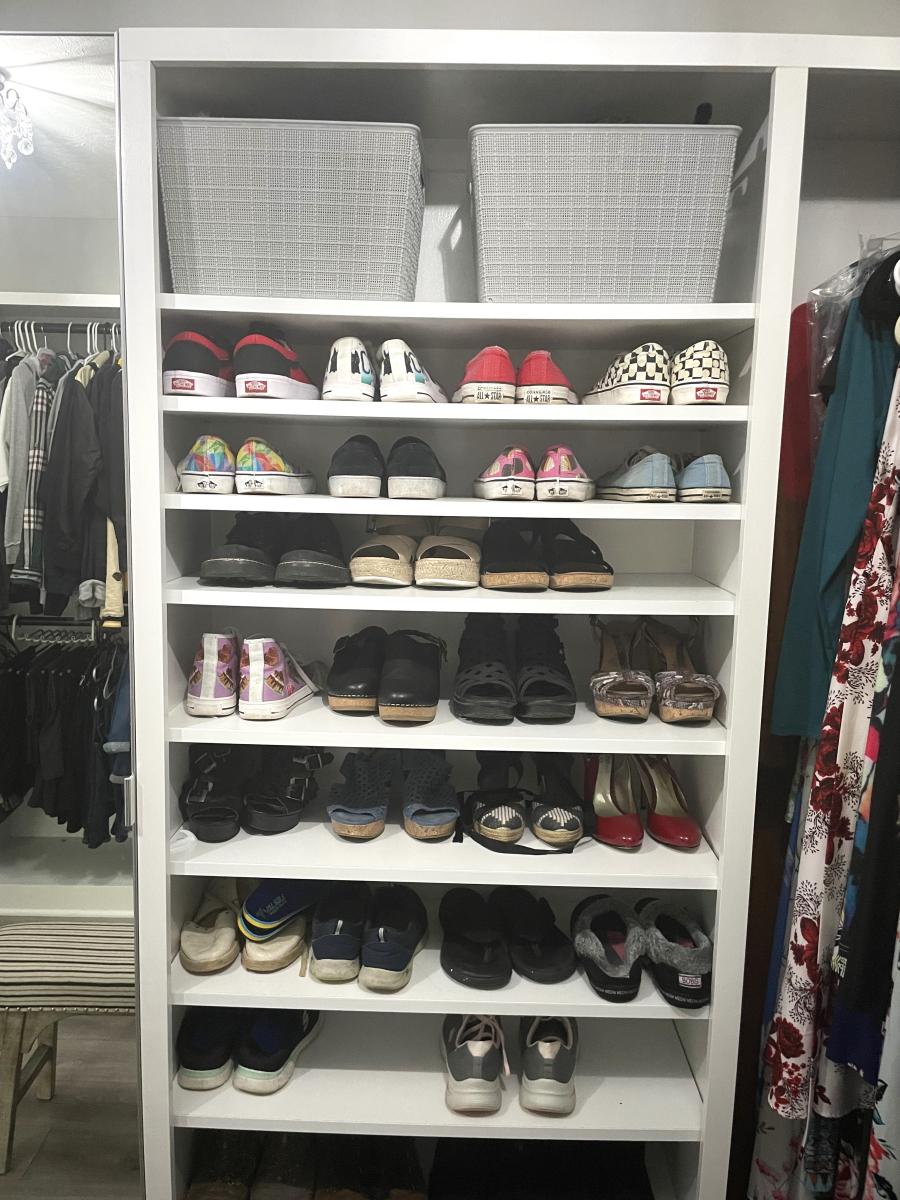
I used the Tower Closet system as a base for my closet remodel. I wanted drawers and space for my long dresses. I also have internet/cable coming in through a closet wall so I needed to accommodate that which turned into a corner unit designed to fit laundry basket and suitcase storage. Overall I used 4x8” paint grade 3/4” plywood from HD which I had them cut down to 16”. The 3rd strip was slightly less than 16” so I ripped those down to make the shoe wall at 12” deep. The back and right wall are 16” deep and the shoe wall 12”. I bought the IKEA mirror door and built a cabinet to fit it. I store my tall boots, belts and scarves in there. I used my Kreg shelf in jig in the shoe wall and bought refinished 12” shelves for the shoes in 8 fit sheets and cut them down to fit. The entire closet is trimmed with 1x2” pine and painted with BM Advance Paint (best cabinet paint IMO). The floor was left over from a rental property. Overall cost about $1200. Hubby doesn’t need as much drawer storage as I do so we made a small shoe rack just for him. My favorite part is the matching drawer handles to faux crystal chandeliers for a feminine touch.
Michele B
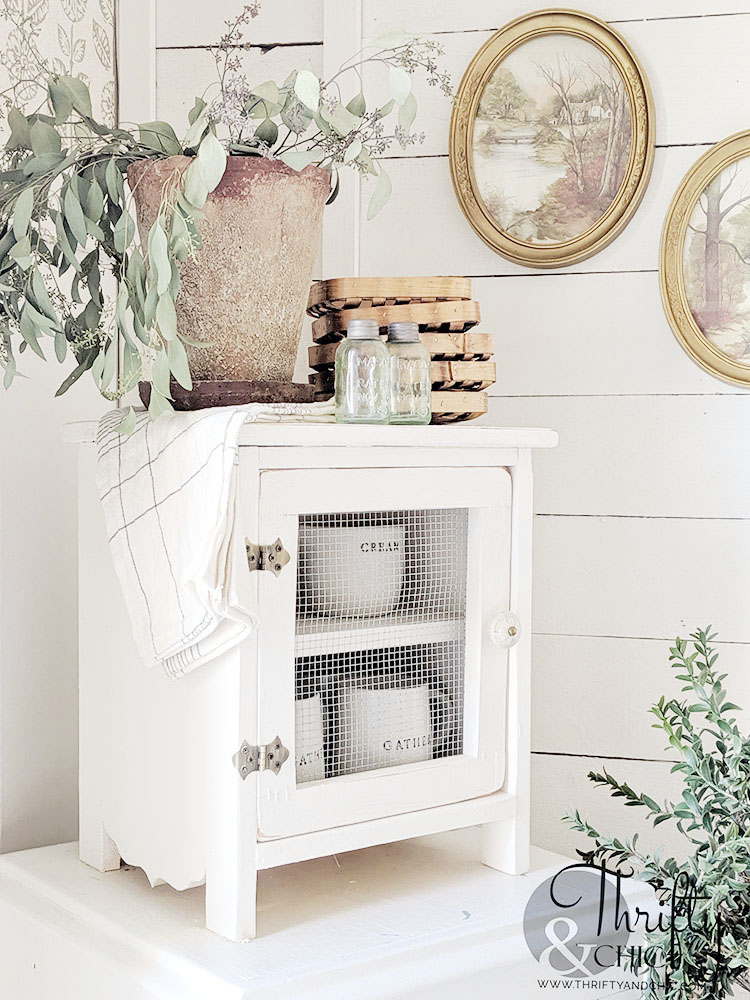
Making pie safes have apparently become a hobby 😂 these things are just so cute! They can be made from pretty much just scrap wood you have lying around, some glue and nails. I’ve painted mine and have stained them. This time around I added the cute design to the side bottom and bead board to the back.
Visit Thrifty and Chic for the full tutorial with modifications!
This was a build for a client's daughter's new bedroom. The clients added lights to the head board but I could not post the pic. I also built a cute bedside table mostly out of remnants of the bed to match.

Just My Size Closet!
Built this from Ana's plans with a few modifications.
Started with a big empty box after ripping the old stuff out and finished with this look.
Adjustable shelves and all !

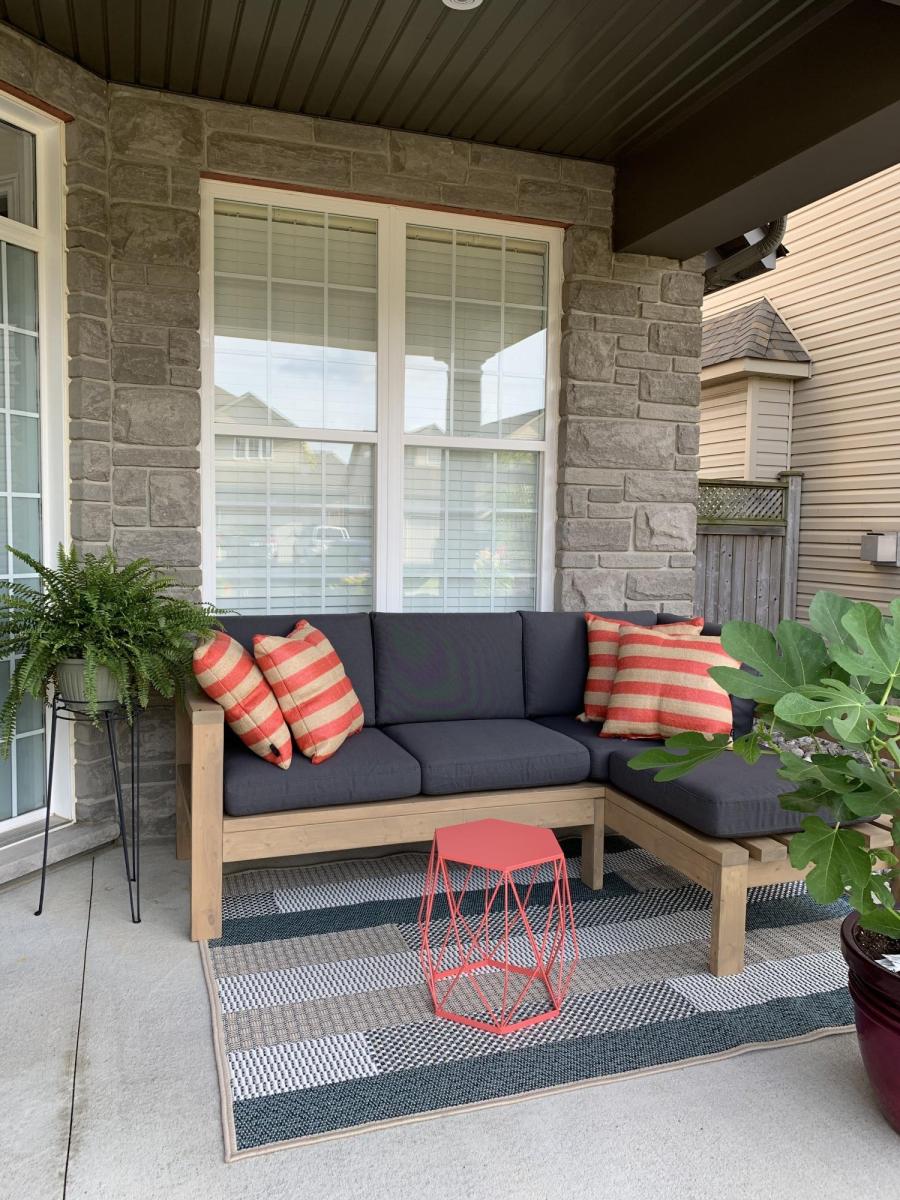
This project was quite easy and did not require many tools. The plan allowed me to adjust the measurements easily so it could fit in that space. I used regular 2x4’s and treated the wood with Mountain Ash colour in a semi-transparent stain from Sherwin Williams, I just love the colour! I build 2 - 2 seaters exactly the same. The one side has no arm, as I wanted it to look like a lounge chair. I love to sit in the corner and stretch my legs 😊. I bought the cushion covers from IKEA, and got good quality foam.
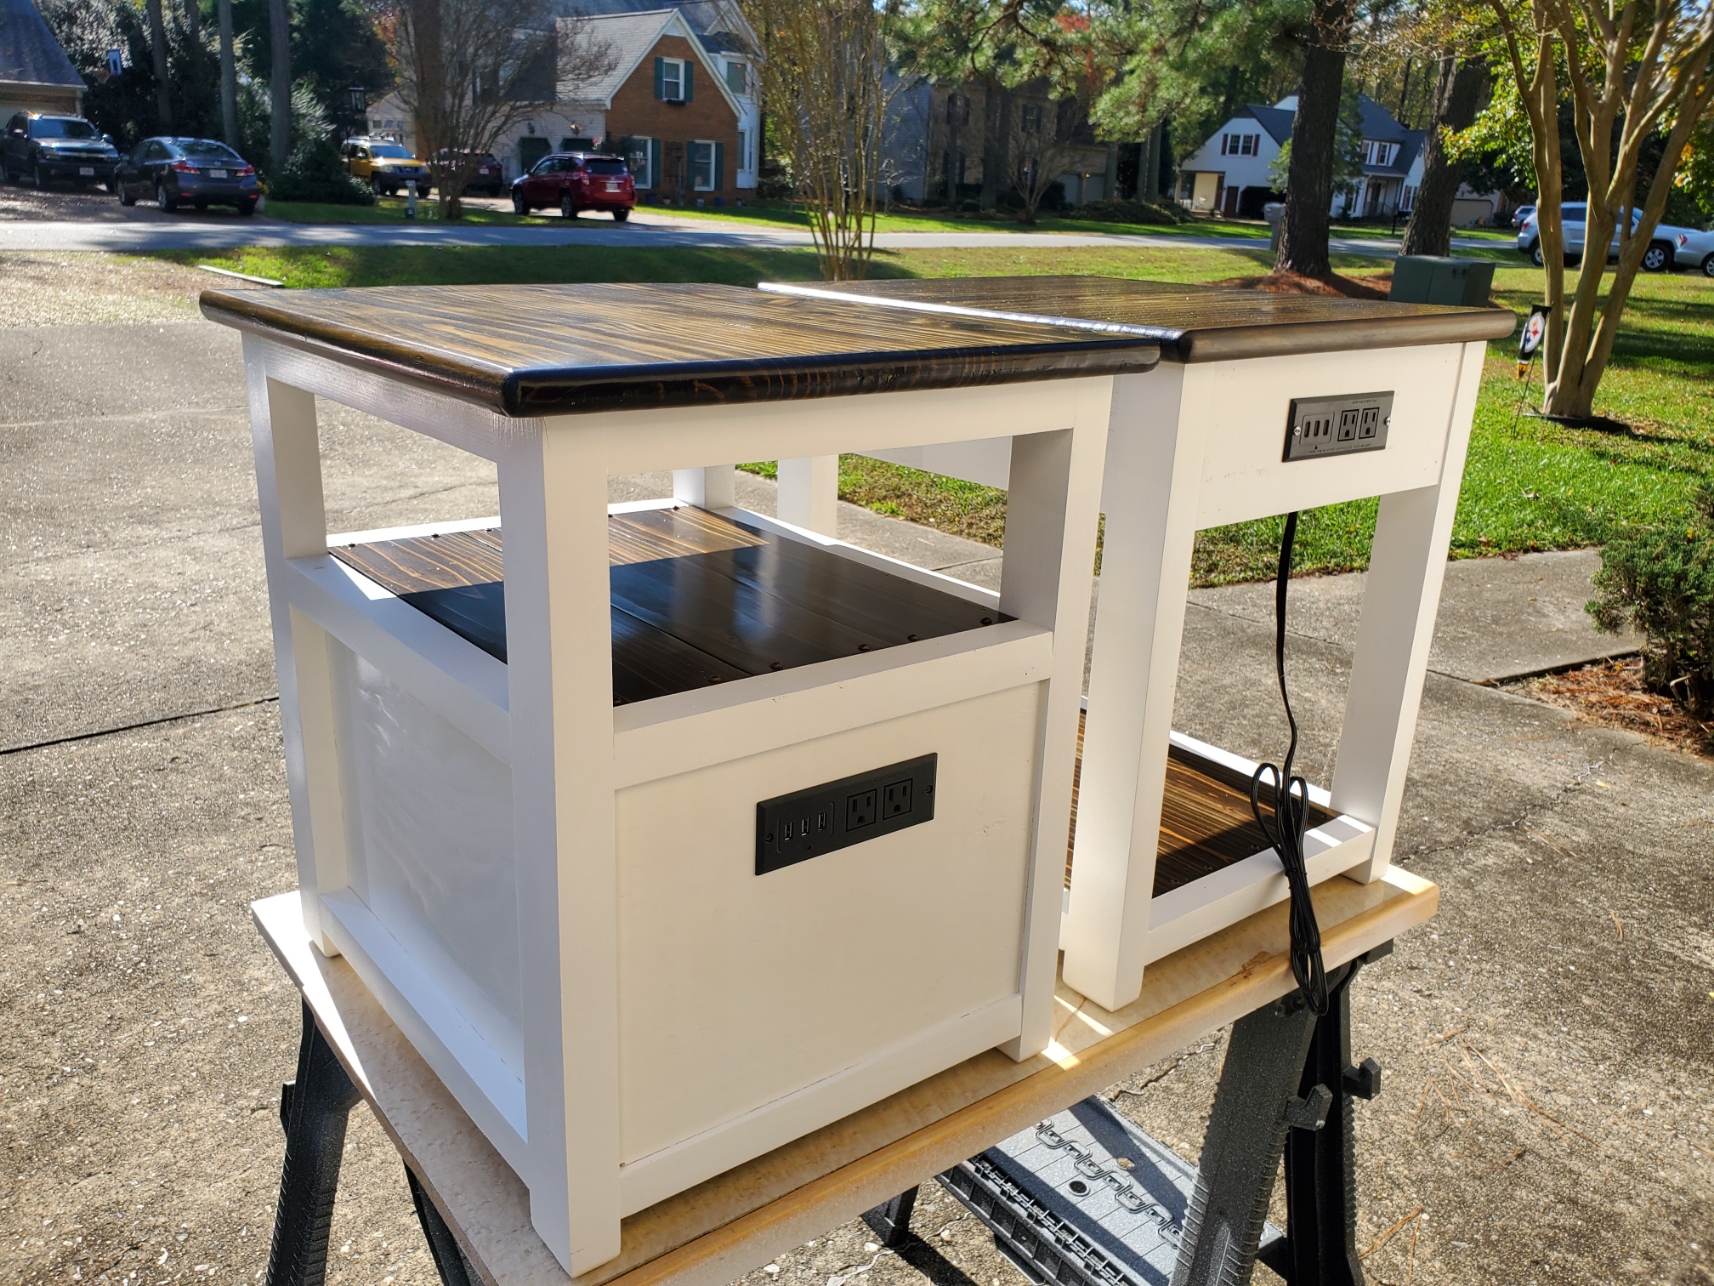
Built these two end tables from Ana's nightstand plans. Modified to add a shelf and drawers. I used stair treads to make the tops which give a nice thickness and strength. The shelves are cedar fence pickets. Shelf and tops are stained Jacobean with a semi gloss poly finish. Had to watch Ana's videos several times to get the build right, but spent much more time on the finish than the build. Added electric extension/usb outlet. Really happy with the project. THANKS Ana!

Sun, 11/15/2020 - 16:28
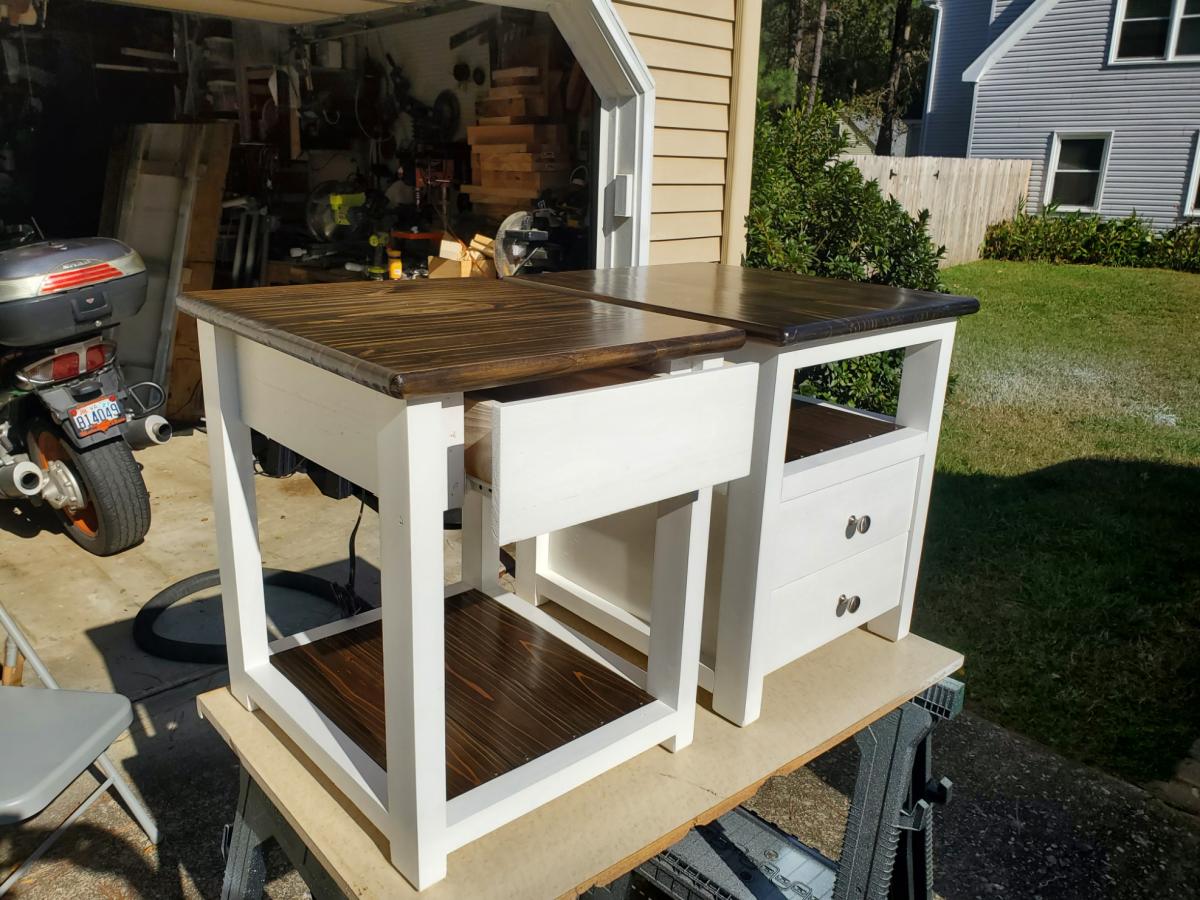
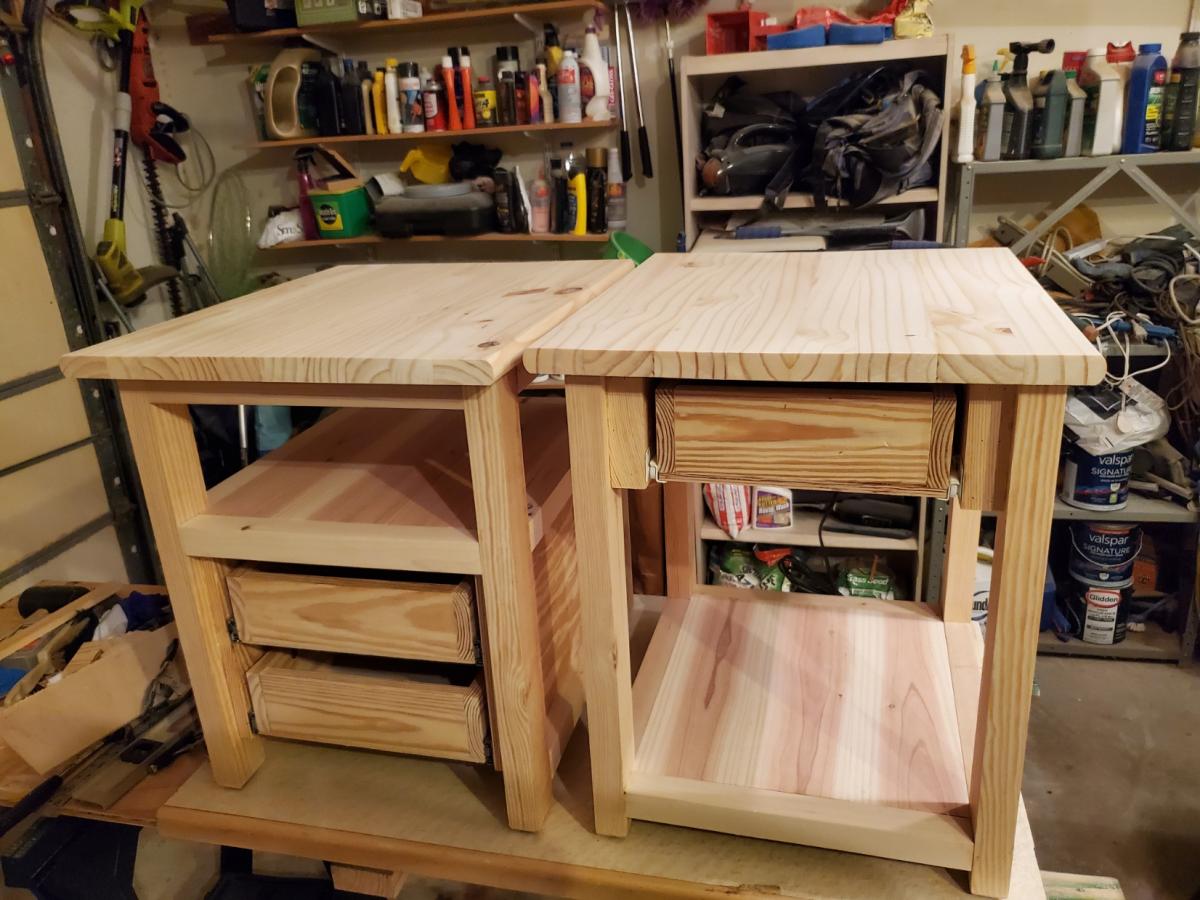
Project for my son. End tables with one and 2 drawers. Shelf and tops stained with poly, frames and drawer primed and painted. Tops made from Stair treads. they are 12" edge glued so just had to trim down and glue together. comes with one bullnose, rounded off the other sides with a 1/2inch roundover router bit.

Made from your Fancy X-desk plans. Dark Walnut & clear gloss polyacrylic Miniwax finishes.


I built this based on the idea of the mimi storage bench and hutch. We will use this in our garage next to or shoe rack. I built this primarily from 1x6 cedar fence pickets, a few cedar 1x2's and a couple cedar 2x4's.
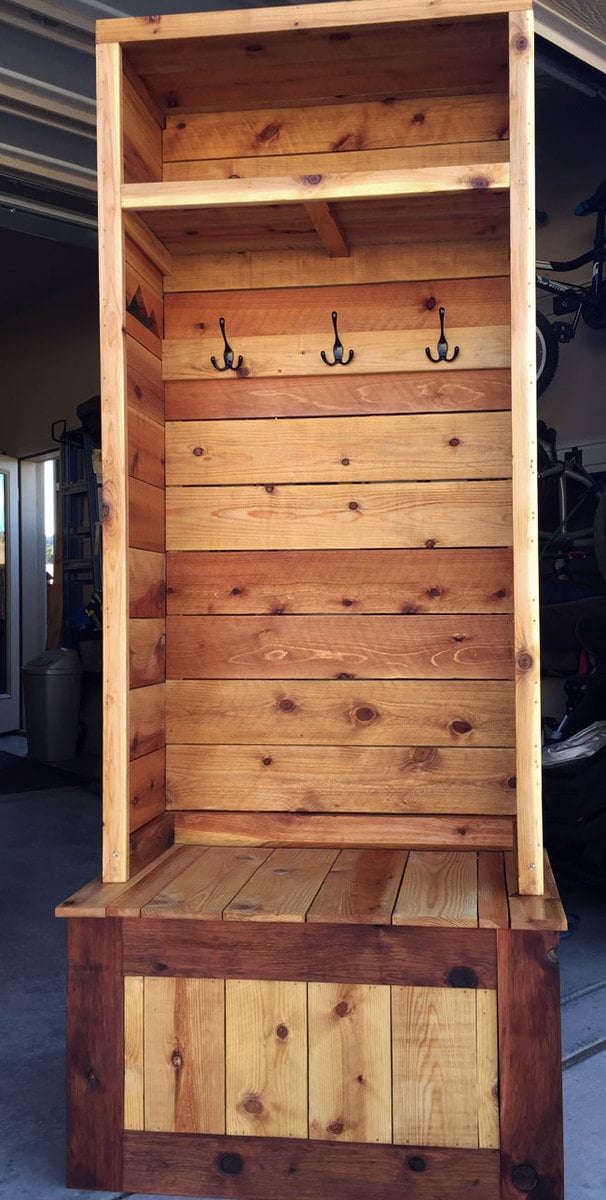
The lid lifts for off season shoe storage. All bench joinery is with pocket holes and the cedars pickets are attached with pneumatic 1 or 2-1/2" nails.
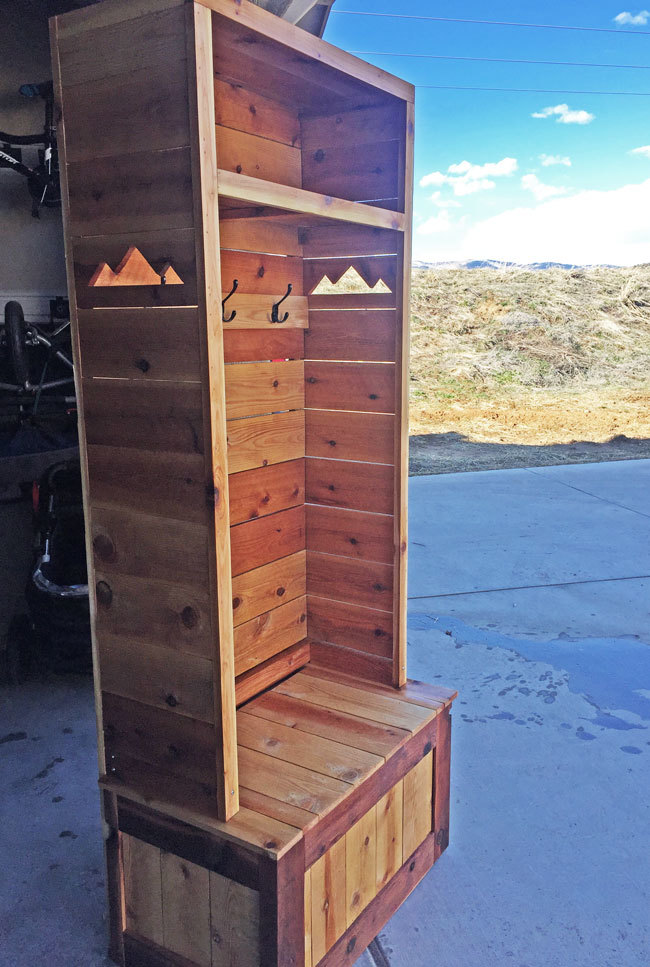
I used my speedy square's 45 degree angles to trace out the mountain silloutes and then cut them out with my jigsaw. I paced myself on the project and my four year old helped quite a bit with measuring and handing me the next board. We're excited to have a little spot to change shoes and grab the jackets. Feel free to check out my Instagram for other random projects or are family fun instagram.com/fotosnapper


We built this bed for my three and a half year old son and gave it to him for Christmas. He and also my almost two year old daughter LOVE it! We did modify the plans a little: we added a handle for getting into the bed from the stairs and also added more slats for support.


Fri, 12/26/2014 - 18:19
This is amazing! Great job on the details. I would have loved that as a kid. :)
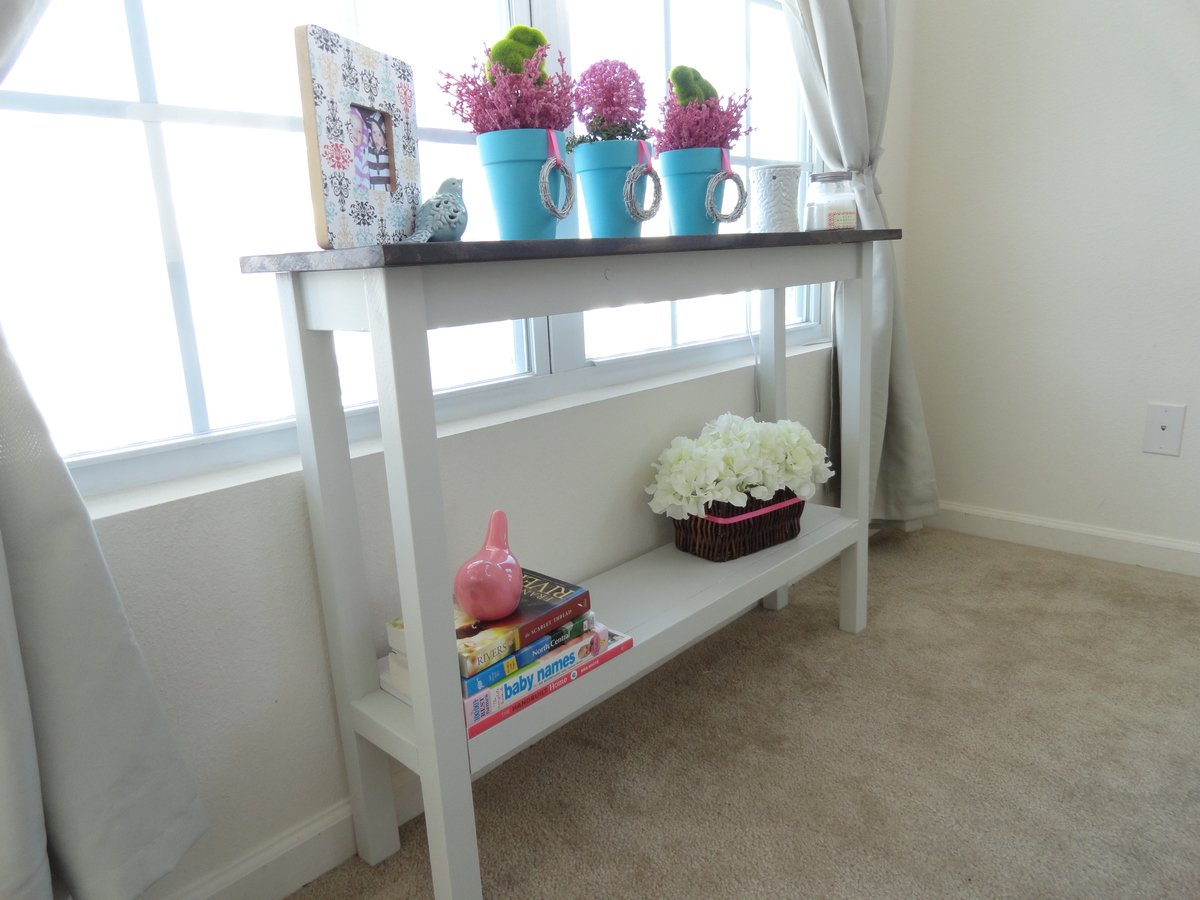
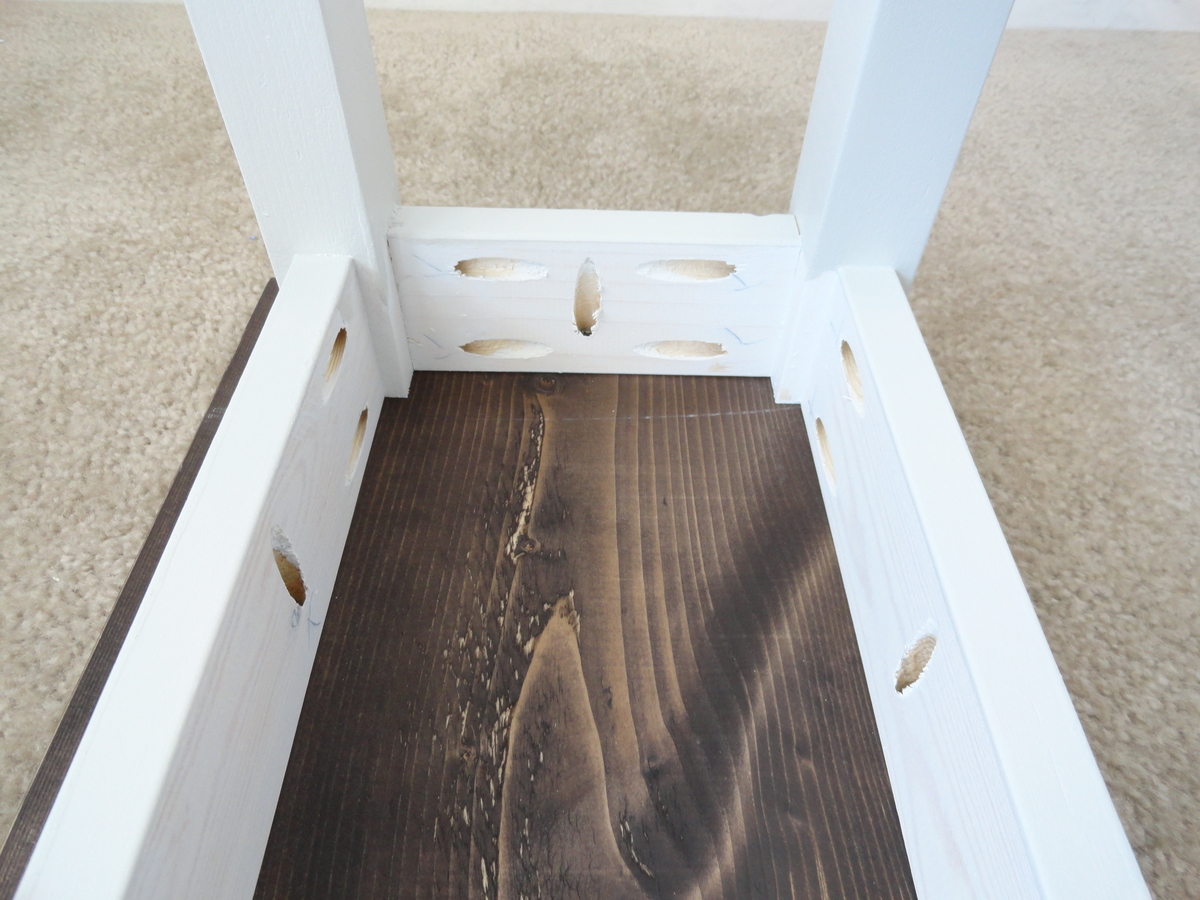
I built this table after seeing a similar one on your site. Mine is built with 2x2 legs, a shelf, and just one piece of 1x12 for the top. I was wanting something for in front of my window but this one is to small so I will eventually build a bigger one for in front of my window and move this one. Thanks for the inspiration!!
Mon, 01/31/2022 - 03:53
Would you have the plans/dimensions you used to build this table? It looks just the right size I need. Thank you!
Welcome to our labor of love. This is our first build and while my bf did most of the work, it was a great project for us as a couple. It was definitely work, but well worth it. We love the way it fits perfectly in our courtyard and people keep commenting on how high-end it looks. Thanks for the plan, Ana! The project took a little longer than it probably should, since it was the first project for us. You should account fort he time it will take to cut, sand and stain your pieces before assembly. There are times you will need to allow for the lumber to dry etc.
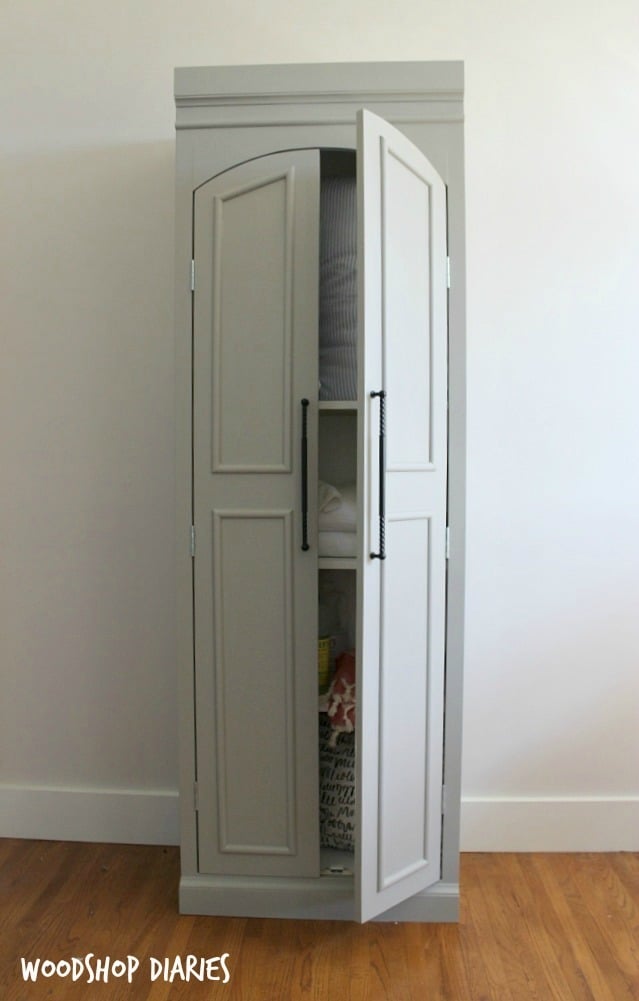
This pantry cabinet was inspired by a design from Ballard Designs. I needed something a little less deep for my space and couldn't afford the $1900 price tag. I was able to build this one for just around $100 and was able to customize it to fit my own space requirements. The arched doors and half round moulding add a nice touch. This versatile cabinet could be used for linens, kitchen storage, crafts, or just about anything else you can think of!
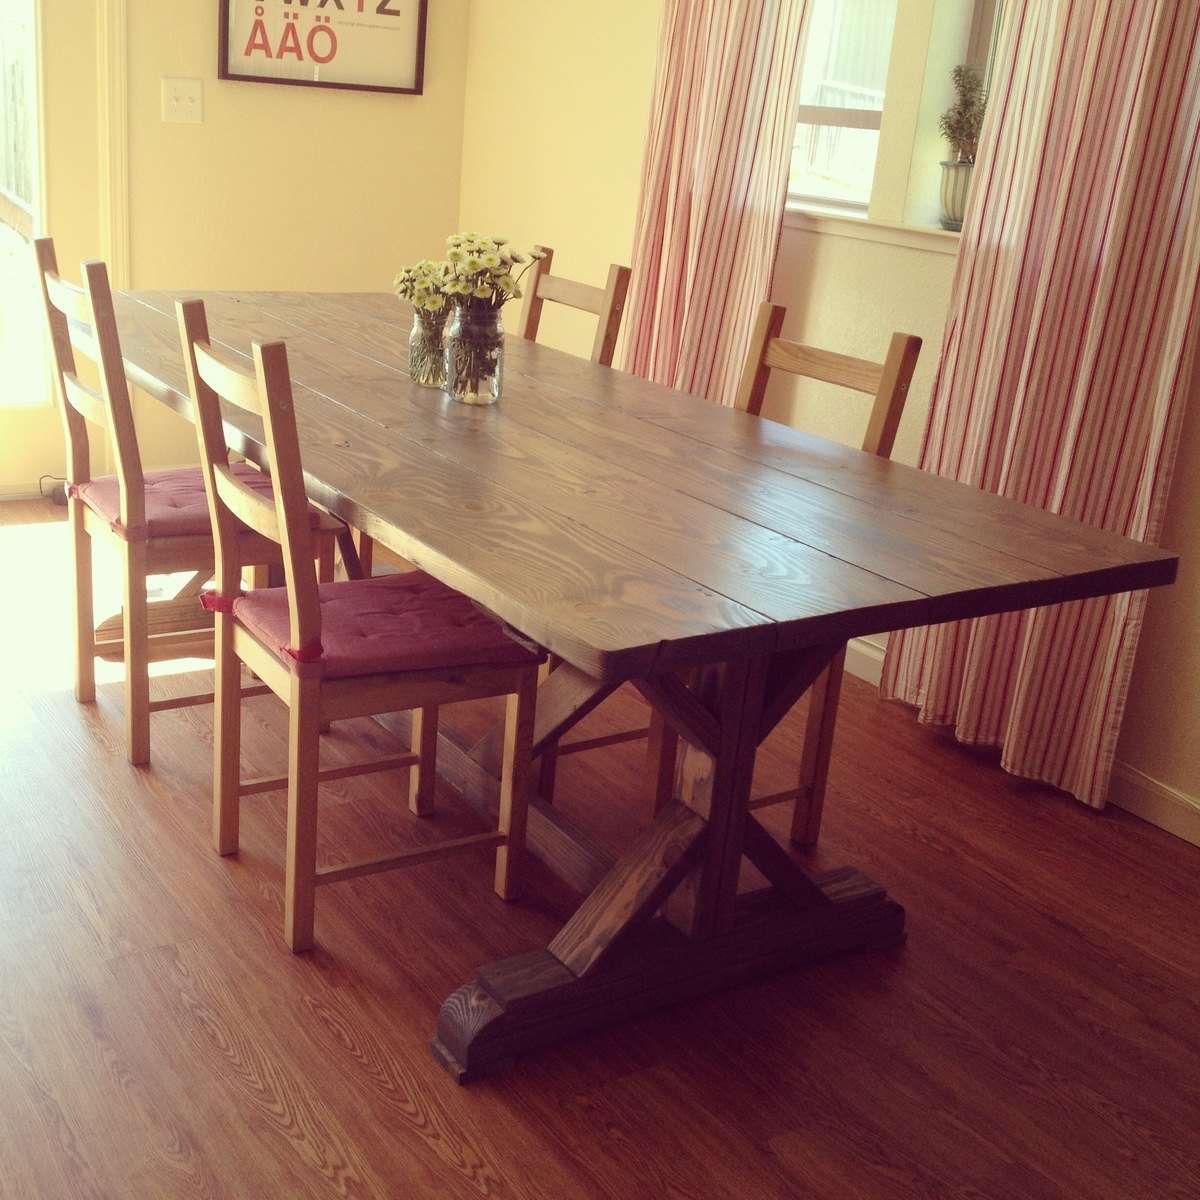
This project was super easy, my husband and I did this together while I was 9 months pregnant with our other 2 kids and dog running around the whole time! We made the table and 2 benches for $250 including lumber and finishing supplies. Check out my blog for details.
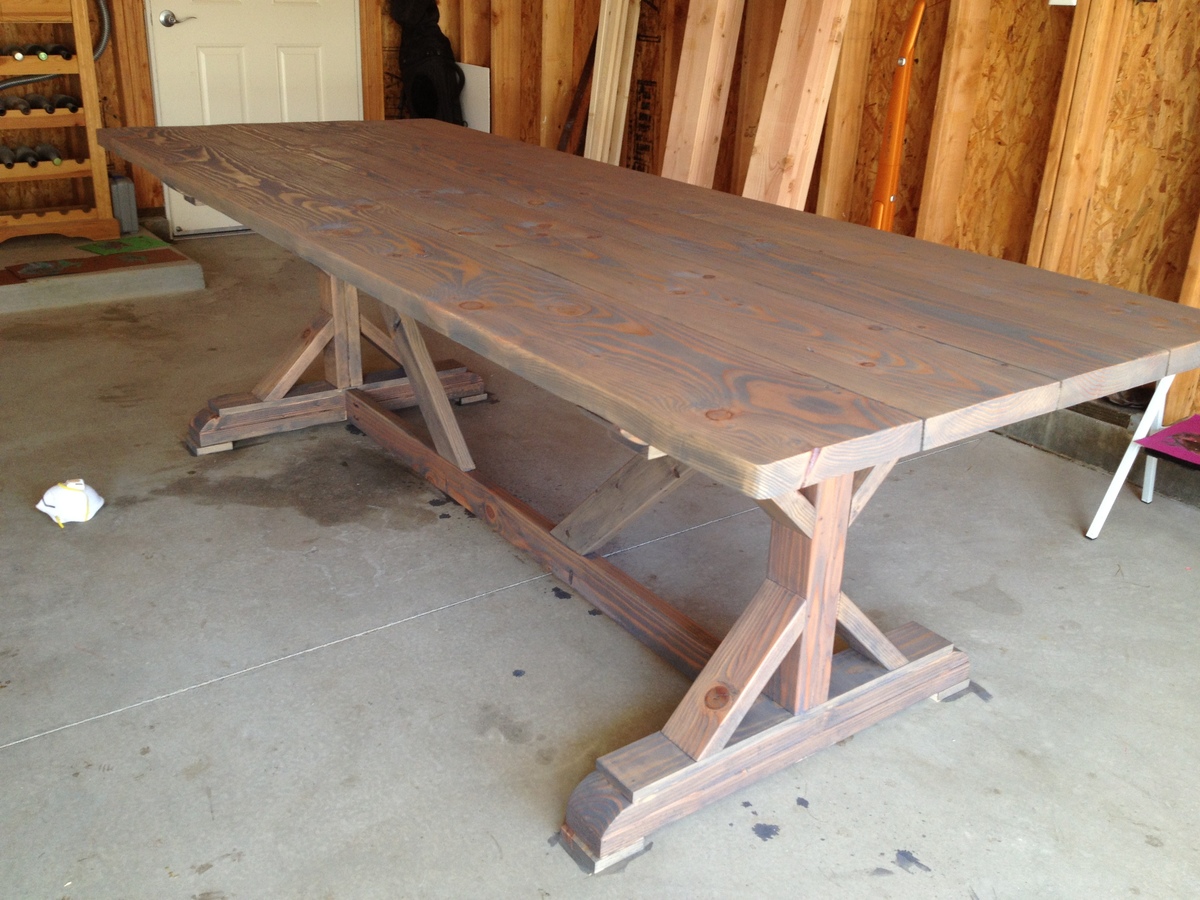
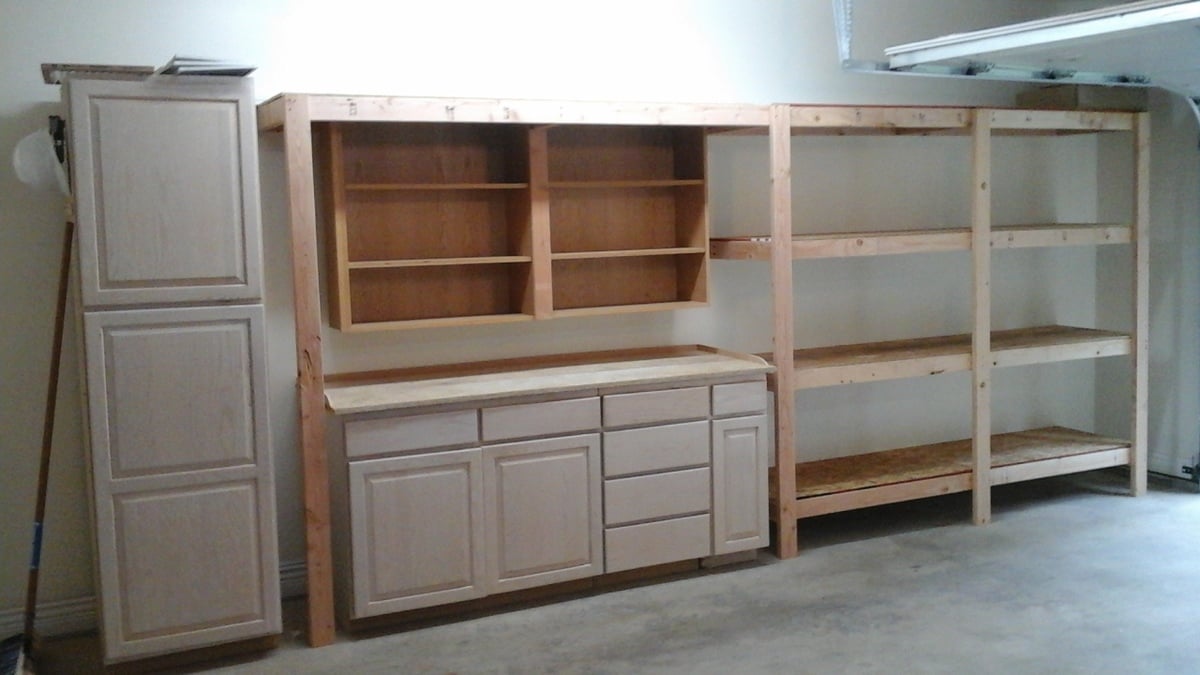
Thanks to Ana's 2x4 storage plan and a neighbor's discarded kitchen cabinets we now have a very clean and convenient storage area in our garage. It even features a work bench and sorting area.
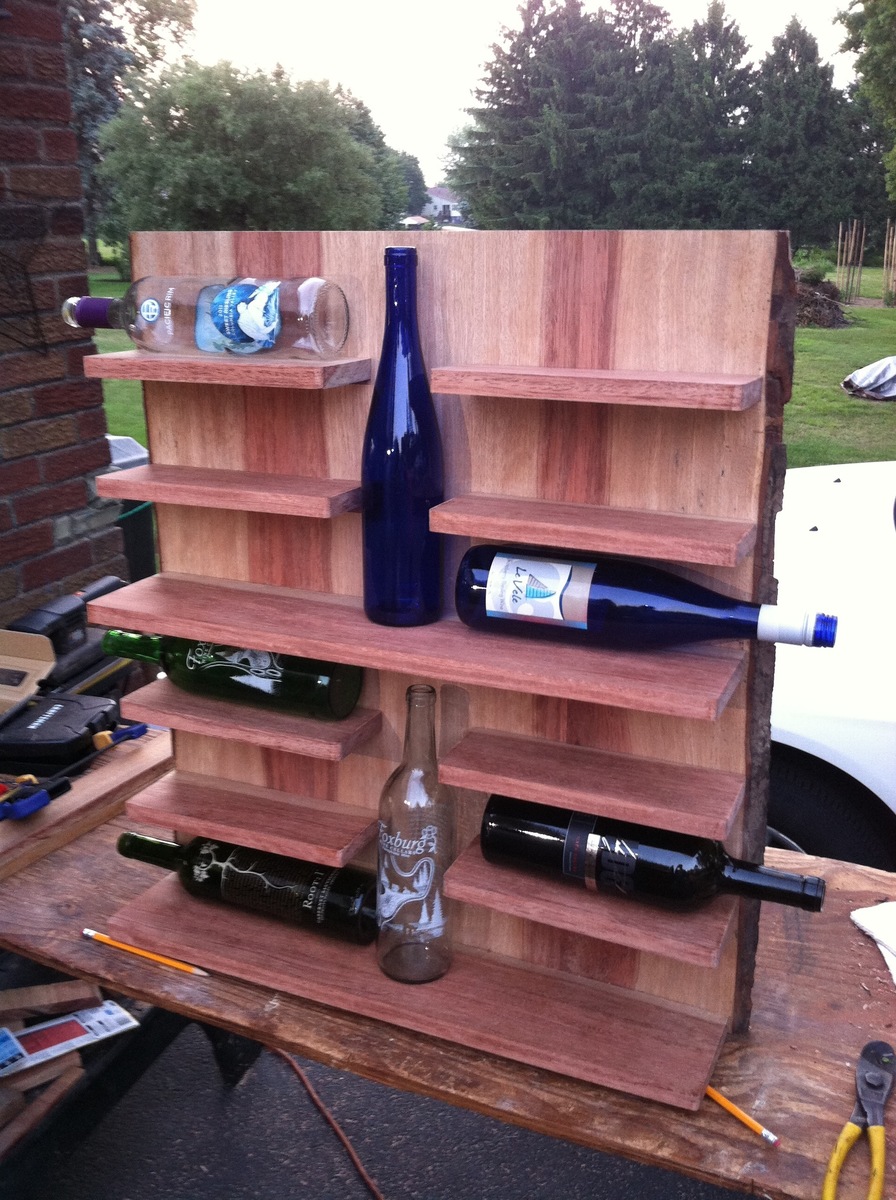
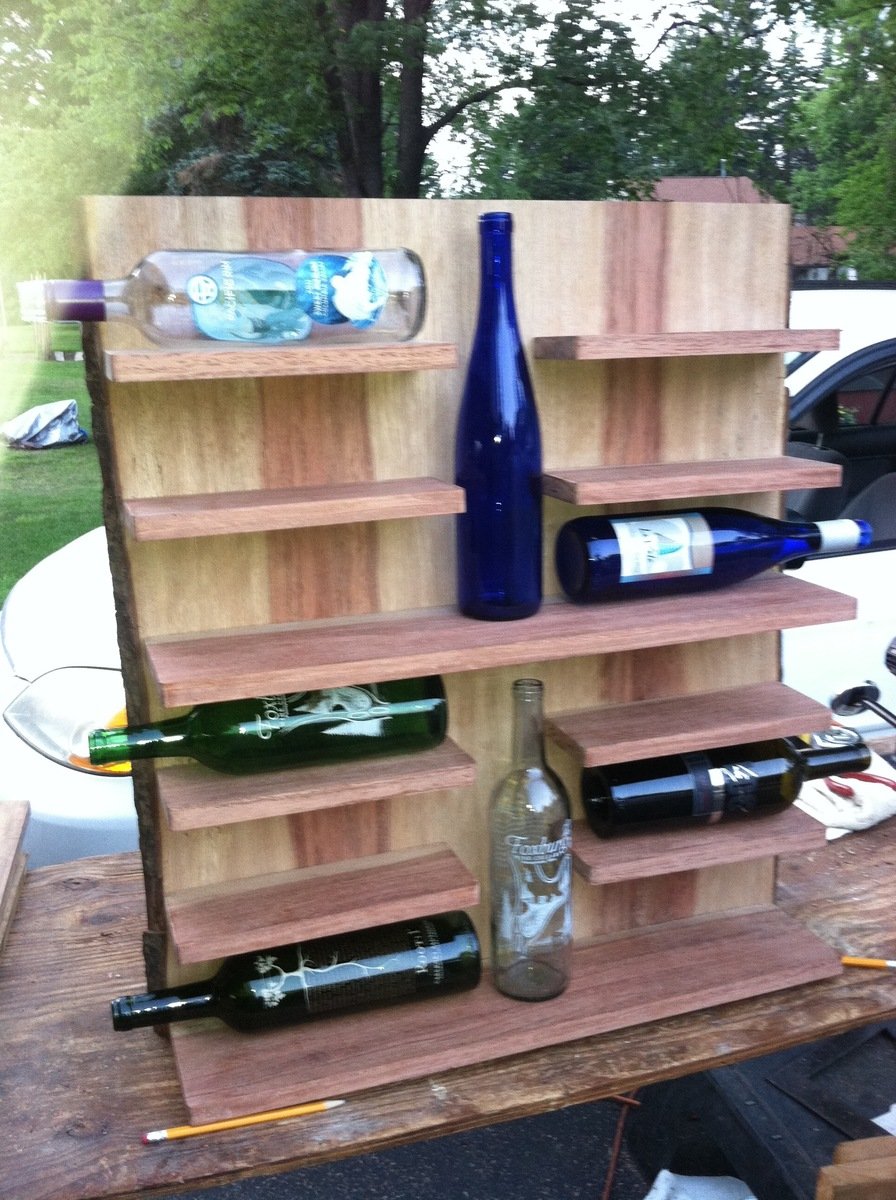
This was a rack I helped my dad make so he could give it as a wedding gift. This is an attempt to build from plans that Ana posted here:
http://ana-white.com/2011/11/wall-mounted-wine-rack-dont-forget-erase-y…
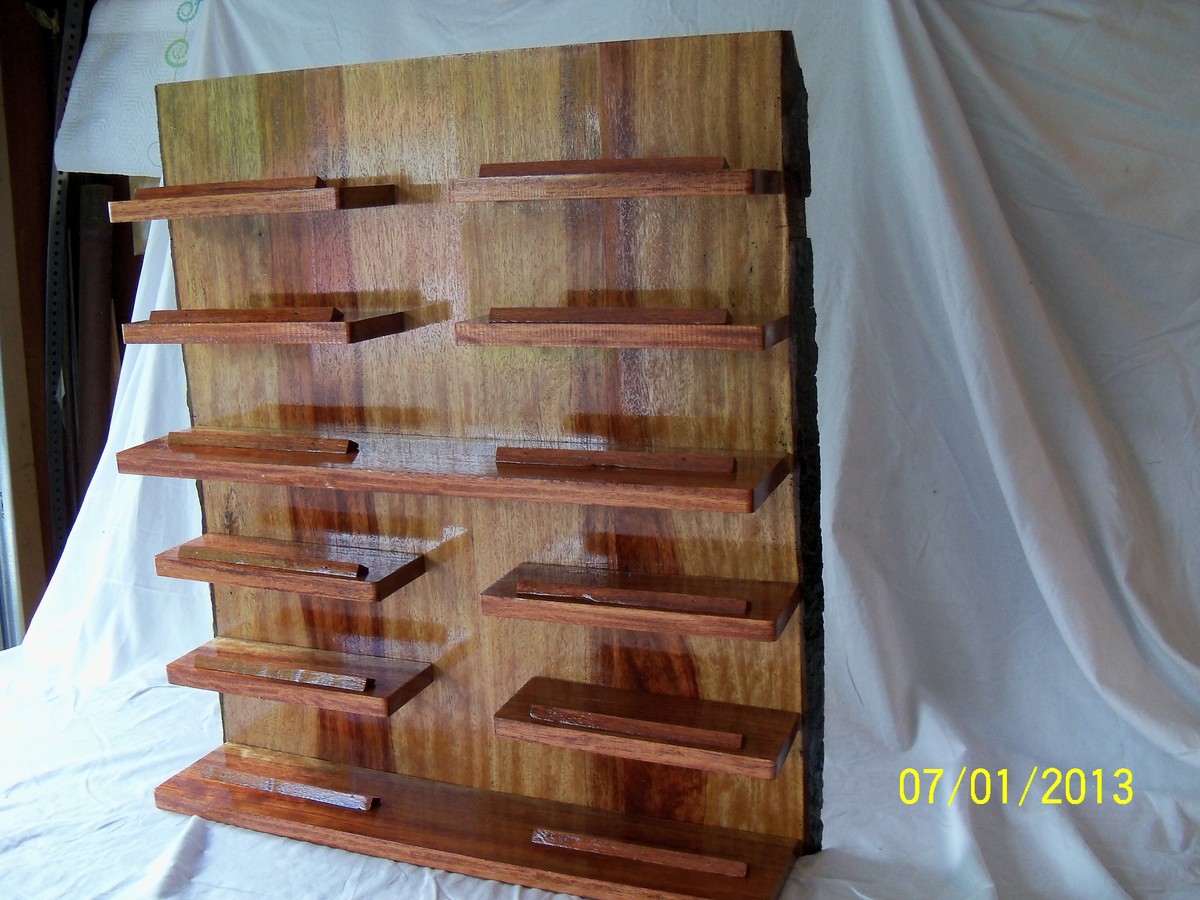
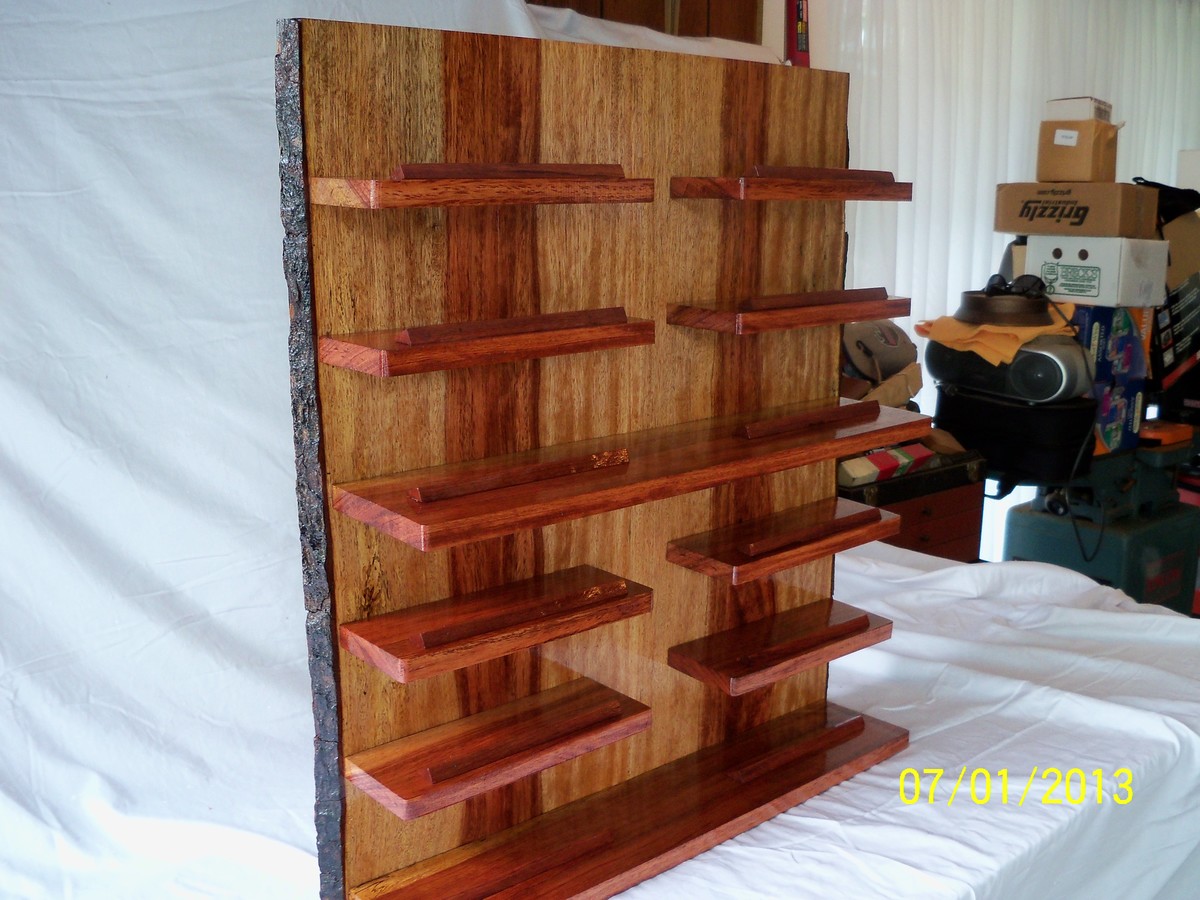
We took 2 long long cherry boards with bark still on the sides, and ran them through the planer. Then we ripped them down the center to be able to use bark ends on each side and book-matched the cherry colors, but most people wont have to worry about that since they wont be using "found" cherry.
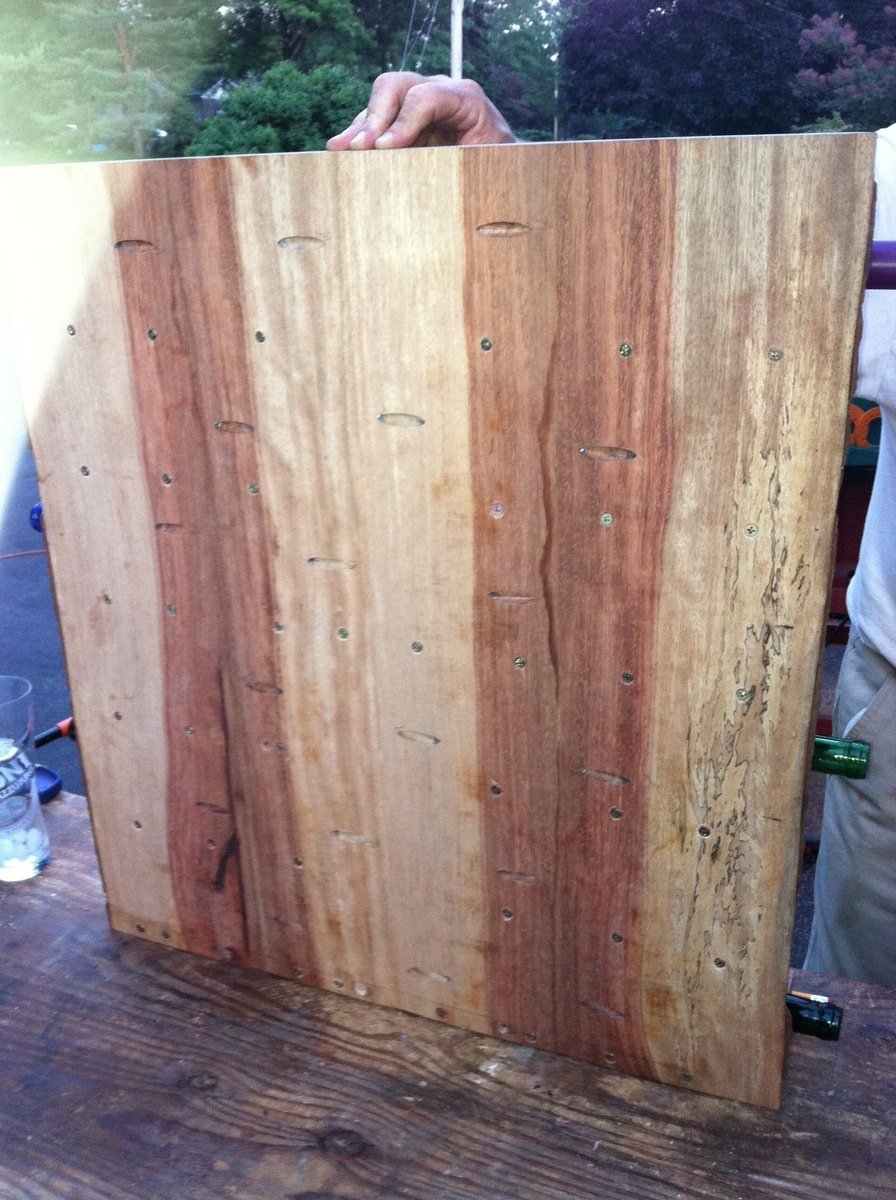
The back board is made up of four 1x7s cuts at 28.5 inches long. You can use whatever width you want, we just wound up with 7inch pieces. Then we used a Kreg Jig to screw those together flush (see picture of back). Once those 4 pieces were together we sanded the edges down to make the backboard smooth and flush.
The 8 mini shelves were 1x3.5s cut at 10 inches long. The middle and bottom shelves were 1x5s cut at 24.75 inches long. Again, we were using limited wood and had to adjust our measurements to make it work.
We spaced the bottom shelf flush with the bottom of the backboard and then would space 4.5 inches between the top of that and the bottom of the next shelf. Make sure there is still room for your wine bottle to fit between the floating shelves. ALSO, MAKE SURE YOU KEEP THE FLOATING SHELVES ACROSS FROM EACH OTHER LEVEL WITH ONE ANOTHER. You don't want your shelves to look lazily placed.
The way we placed the shelves on backboard was...involved.
- Clamp the shelves in place on the front of the board and trace them with pencil.
- Remove the shelves.
- Marke holes to drill within center of the trace.
- Drill those holes from the front of the board to the back.
- Reclamp the shelves back on and use the holes in the board to mark the clamped on shelves from the back.
- Unclamp the shelves and fully drill the shelves by themselves while they were not attached. (BE CAREFUL TO DRILL STRAIGHT and never come through the top or bottom of the shelf)
- Sand off your pencil marks after your drilling.
- Re-clamp the shelves to the backboard.
- Use 3" screws straight from the back into the shelves.
- Use 8 screws per big shelf and 3 screws per little shelf.
Then it was just slow and steadily clamping, tracing, drilling, re-clamping, drilling, sanding, re-clamping, and screwing the shelves on... You have to follow that pattern for each shelf or you risk ruining your shelf and if you have limited wood (like we did) that is not an option.
We also put very small pieces of wood to keep the bottles from rolling off their shelves. These were just scraps we had lying around and tapped them in with small finishing nails.
Good luck!
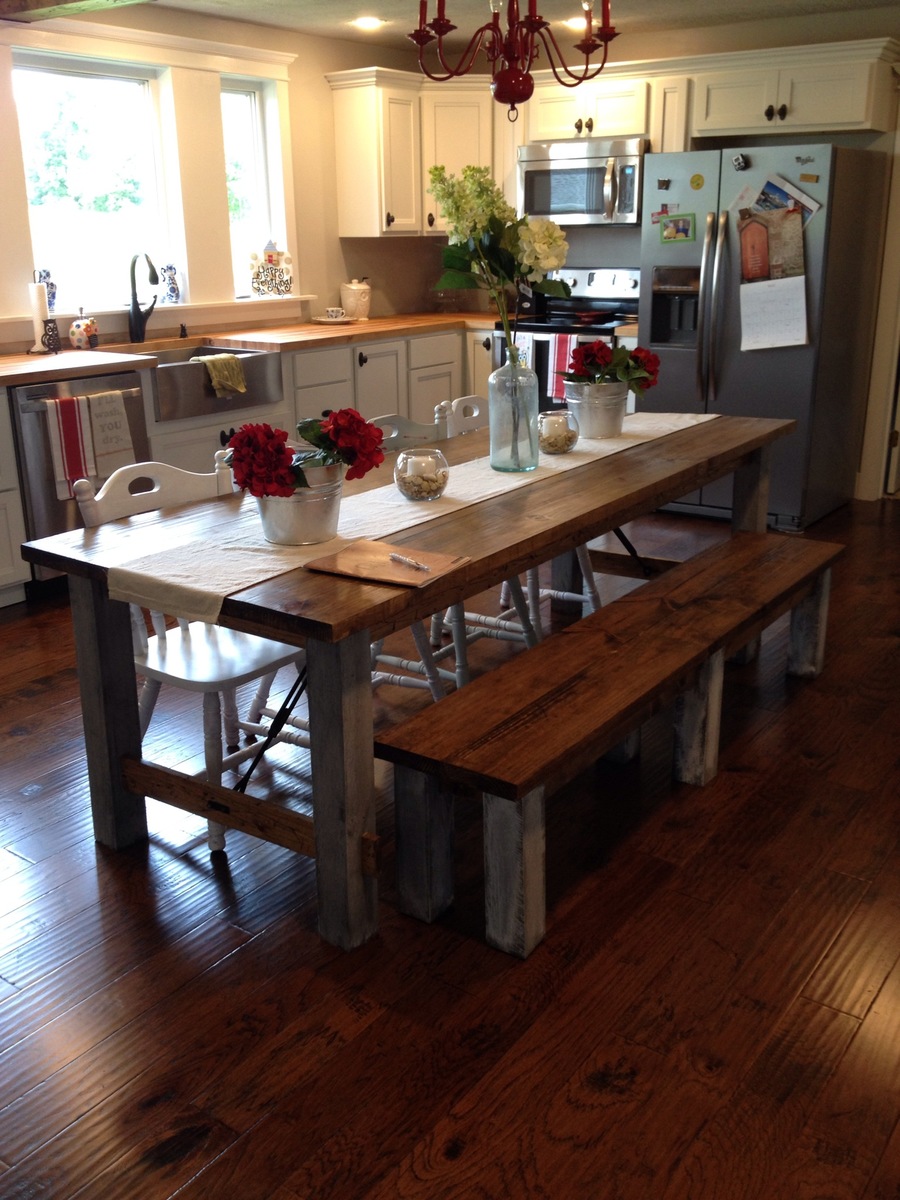
This 8ft dining table and bench was created with inspiration from Ana White (with a few modifications). It was made with all scrap wood except the table top. Full details of the table build (and kitchen remodel) can be found at www.chasingadreamblog.wordpress.com.