My pallet coop and Ana White run
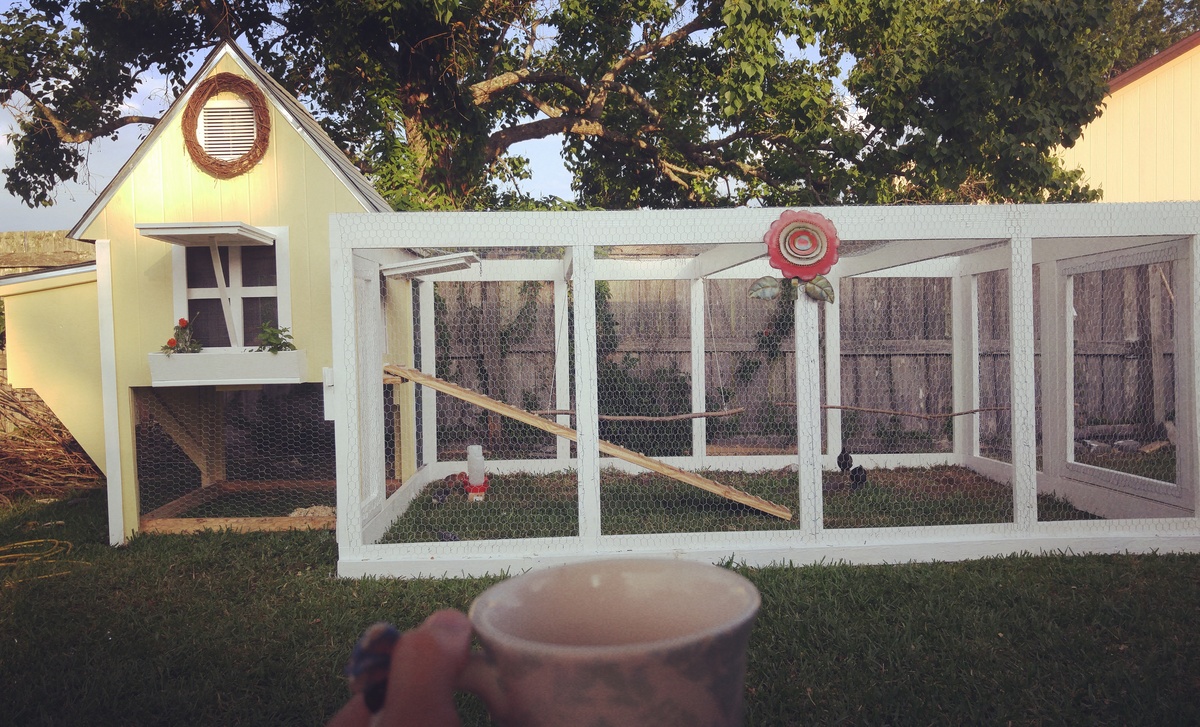
My husband bulky this coop from pallets and used Ana White's chicken run plans. Took us a weekend to build the run.

My husband bulky this coop from pallets and used Ana White's chicken run plans. Took us a weekend to build the run.
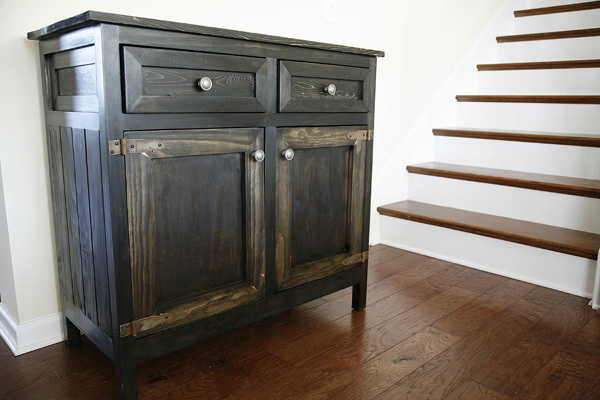
First project from own design and wanted to share as pretty pleased with how it turned out. Sides are 4 by 2s with a routed 45 degree grove on each edge to give some detail. Wanted to make the drawers stand out so I added the edging detail.
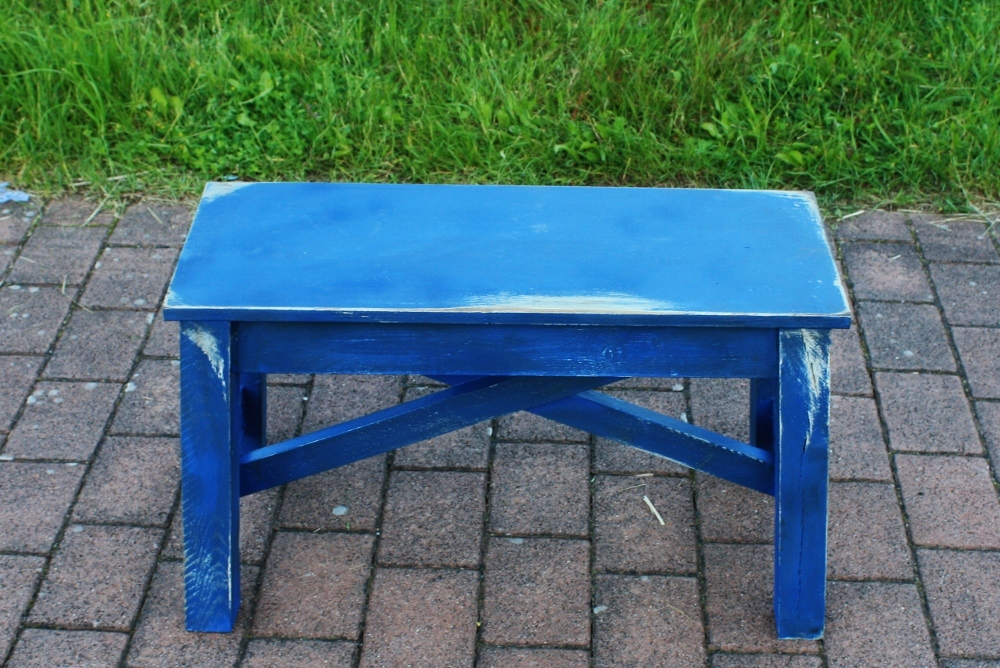
I have been redoing furniture for quite some time, but had never actually thought of making my own furniture, until I ran across Ana's blog. Now I am so addicted! My husband is very handy with his tools and can follow plans fairly easily (unlike me) so I definitely had to enlist his help with this project. We are stationed overseas in Germany so our project costs us a bit more than it would have if we were stateside, but still quite a bit cheaper than purchasing the similar one at Pottery Barn.Since it was our first project it did take us a bit longer than normal, but still easy enough to do. I absolutely love how this turned out and now my husband and I are ready for our next project of a rustic console table that we made our own plans for.
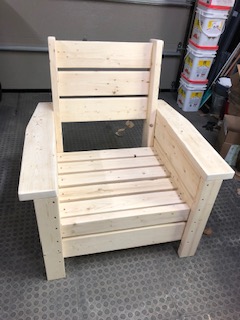
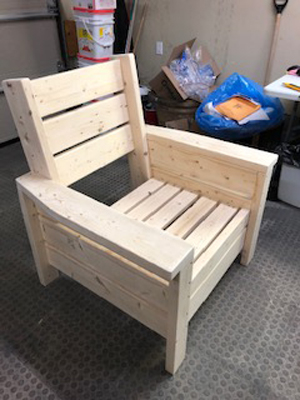
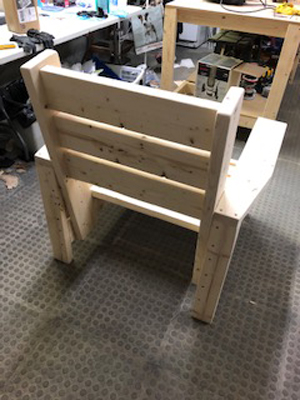
Modified with a high back and modern adirondack arms.
The base of the chair is built exactly to the plan except that the arms are done in a modern adirondack style.
The back was made independently to fit inside the base and then attached to the plan base.
Very comfortable but very heavy chair even without the modified back.
Not stained yet obviously.
Cushions are hard to find I think I would make it slightly smaller next time and maybe even find the cushions first and alter the plan to fit.
Tue, 06/09/2020 - 09:11
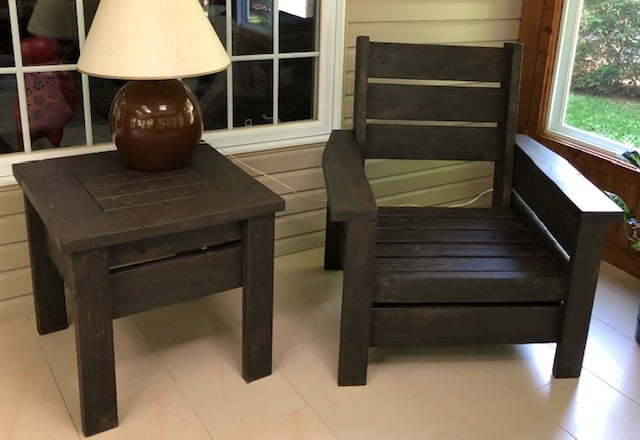
Stained with Saman: Urban Grey mixed with some left over brown 4:1 and now has a companion side table
Wed, 06/24/2020 - 07:33
Do you have the plans for the table you built? Im a brand ne beginner. I am trying the modern outdoor chairs and live this table with them.
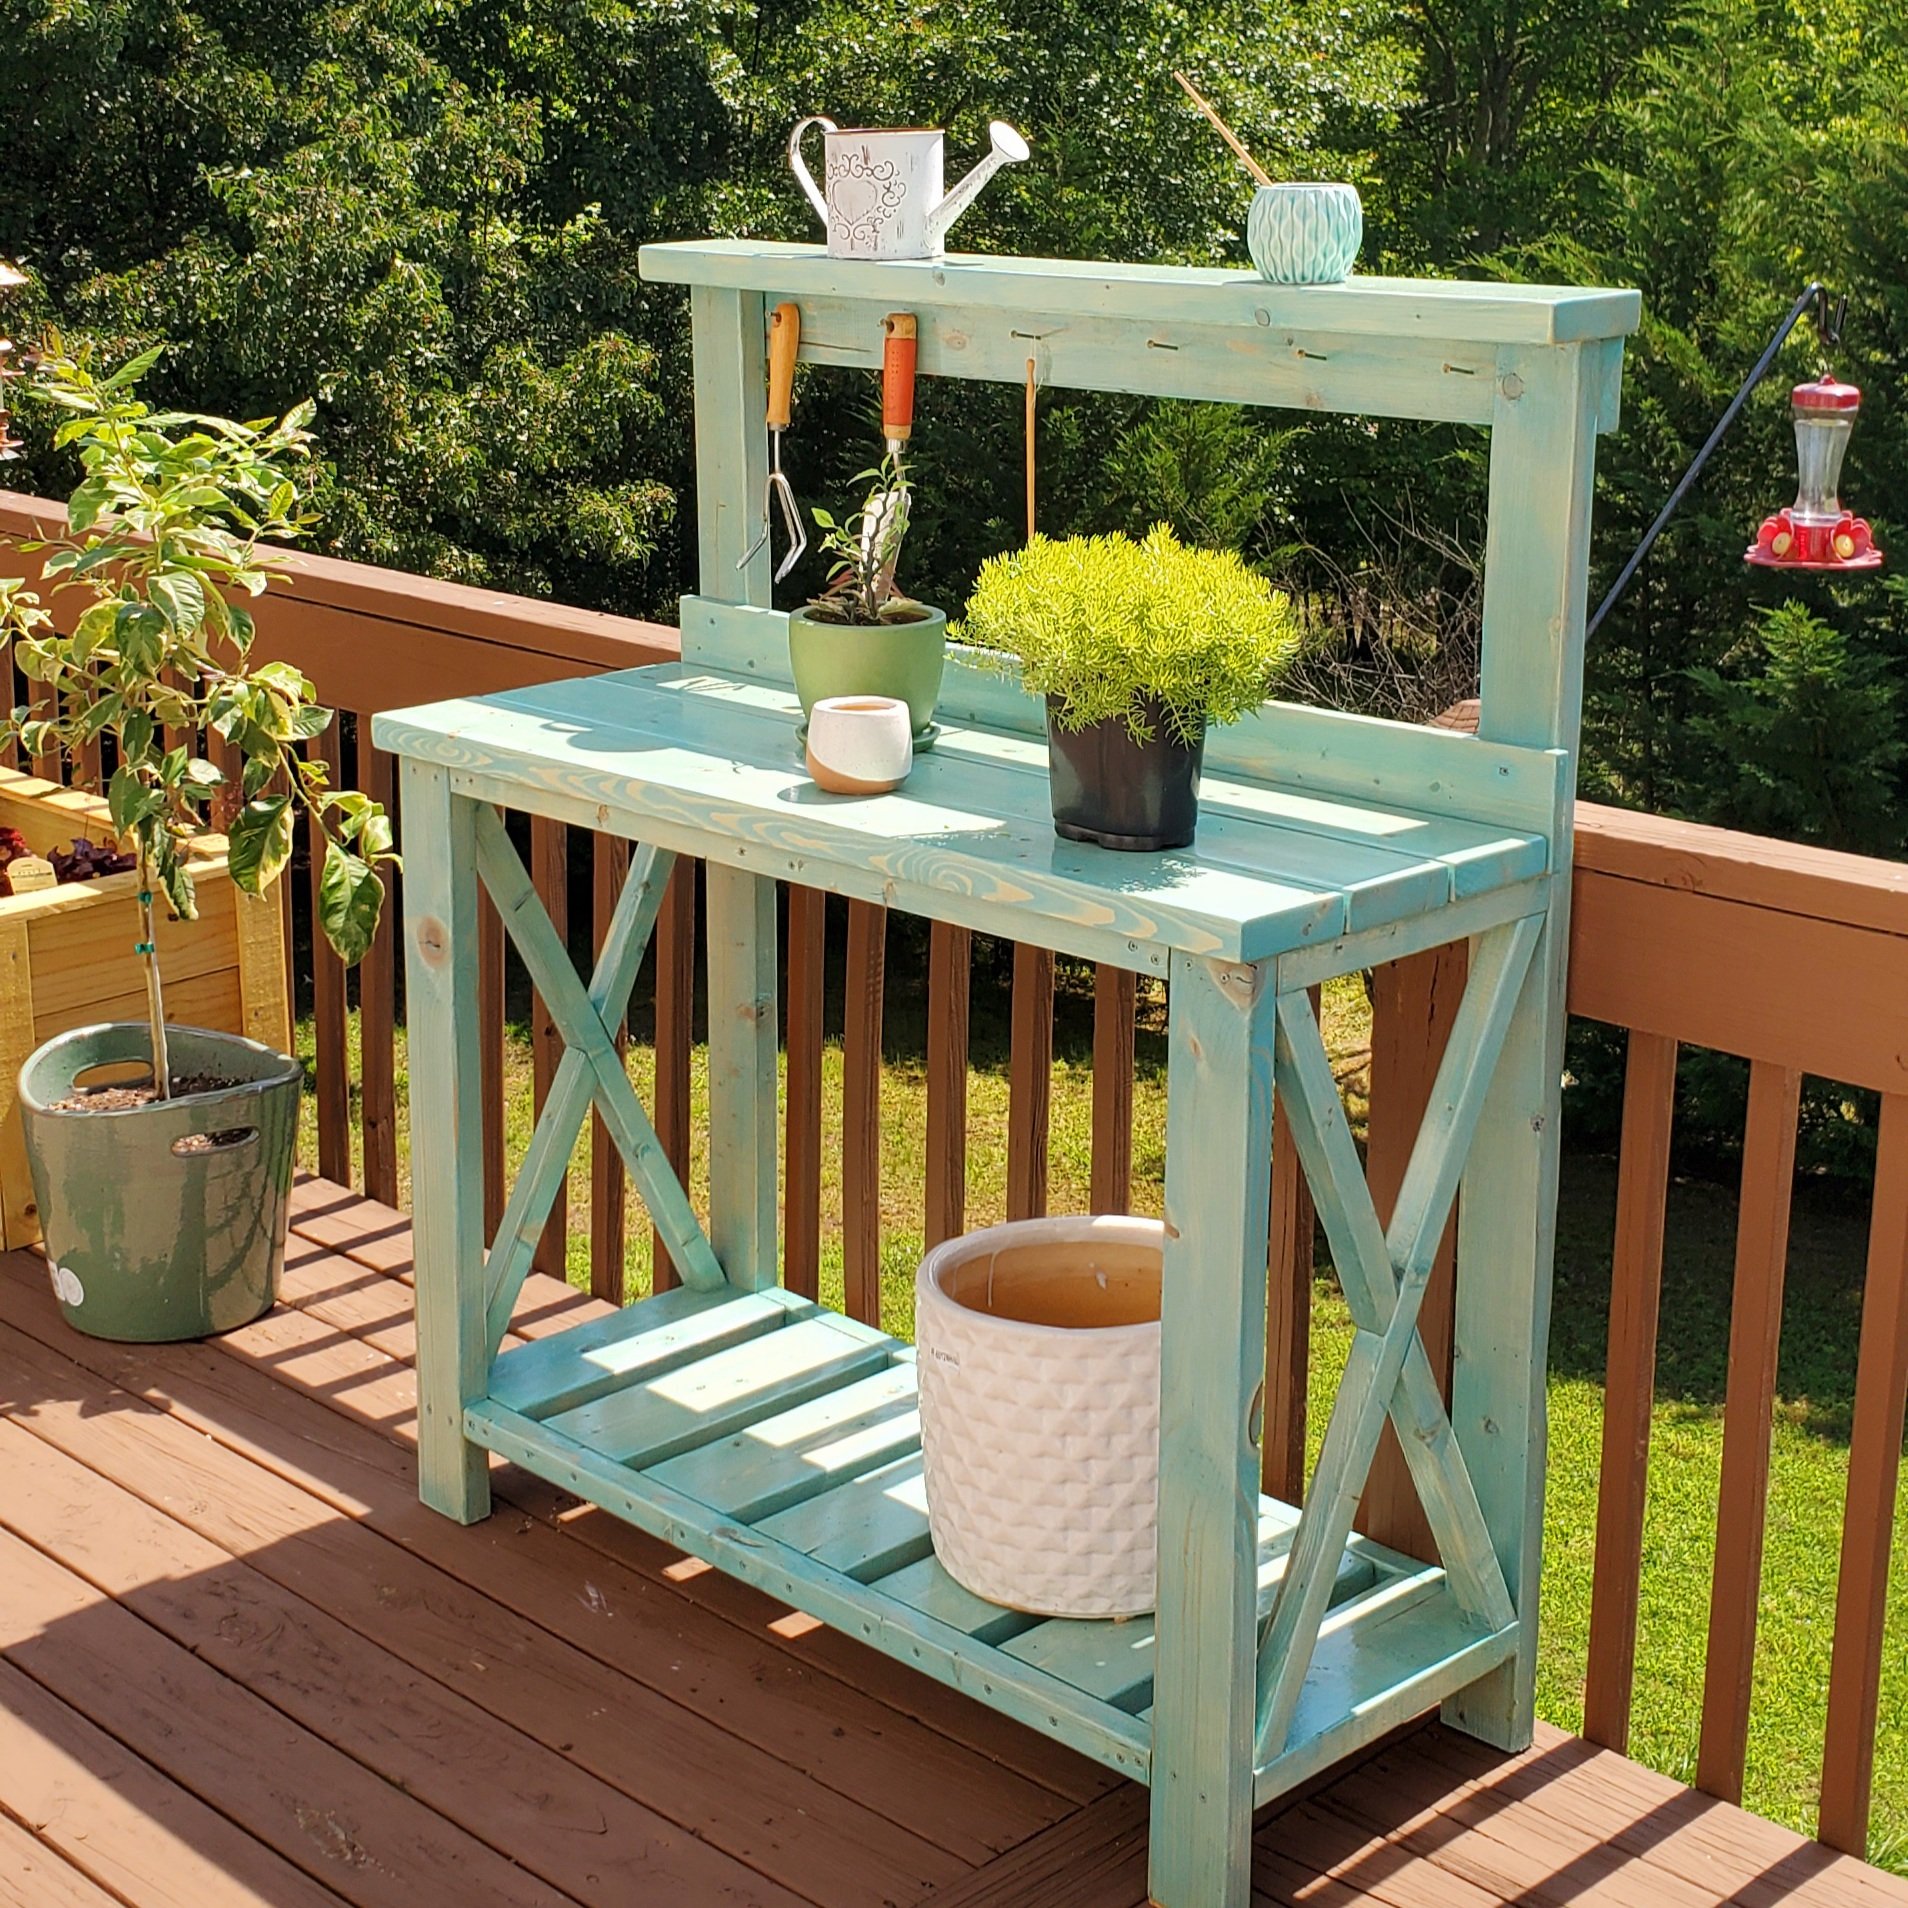
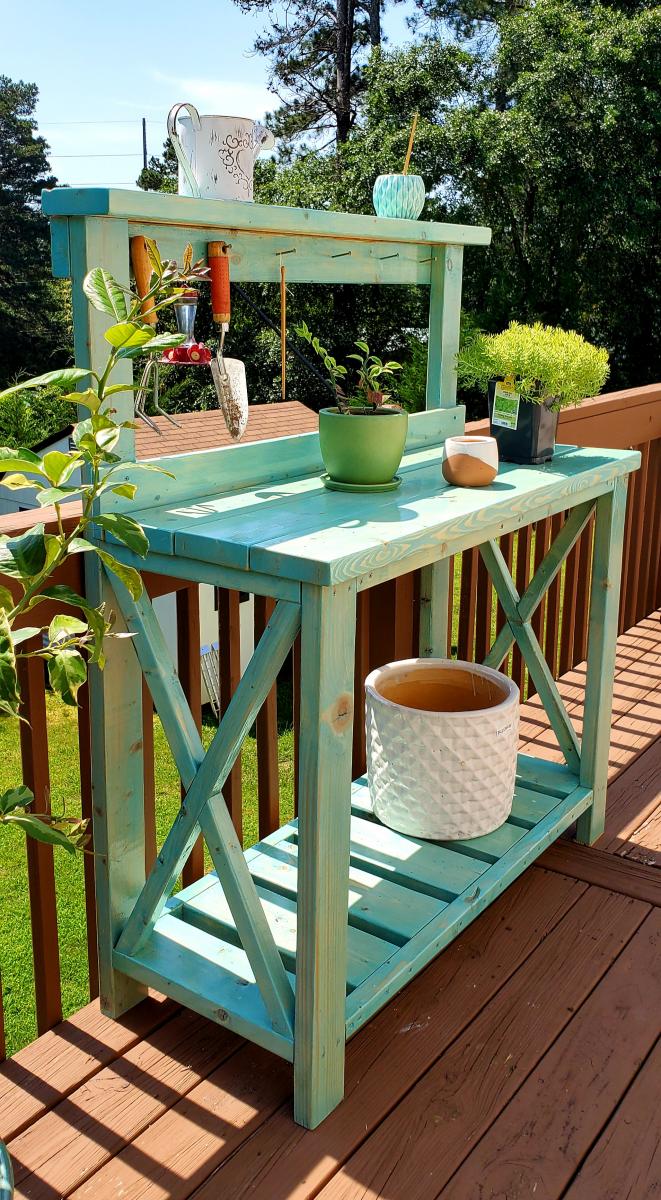
Built this for my girlfriend's birthday present. Added a 1x4 backsplash and a 2x6 for the top shelf to give a little more shelf room instead of the 2x4 called for in the plan. Stained with Varathane "Vintage Aqua" color and then 3 coats of Helmsman Spar Urethane for outdoor durability. Set the whole thing on caster wheels (not pictured) so she can move around the deck as needed.
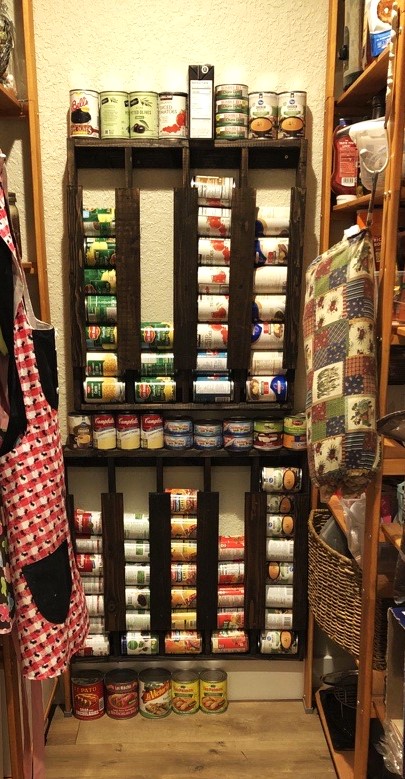
Loved these plans. Top unit was built exactly to specs. Bottom unit was built to accommodate one column of cans. I have also built one for my sis-in-law and will be building one more for this pantry. Love this project!
Leah
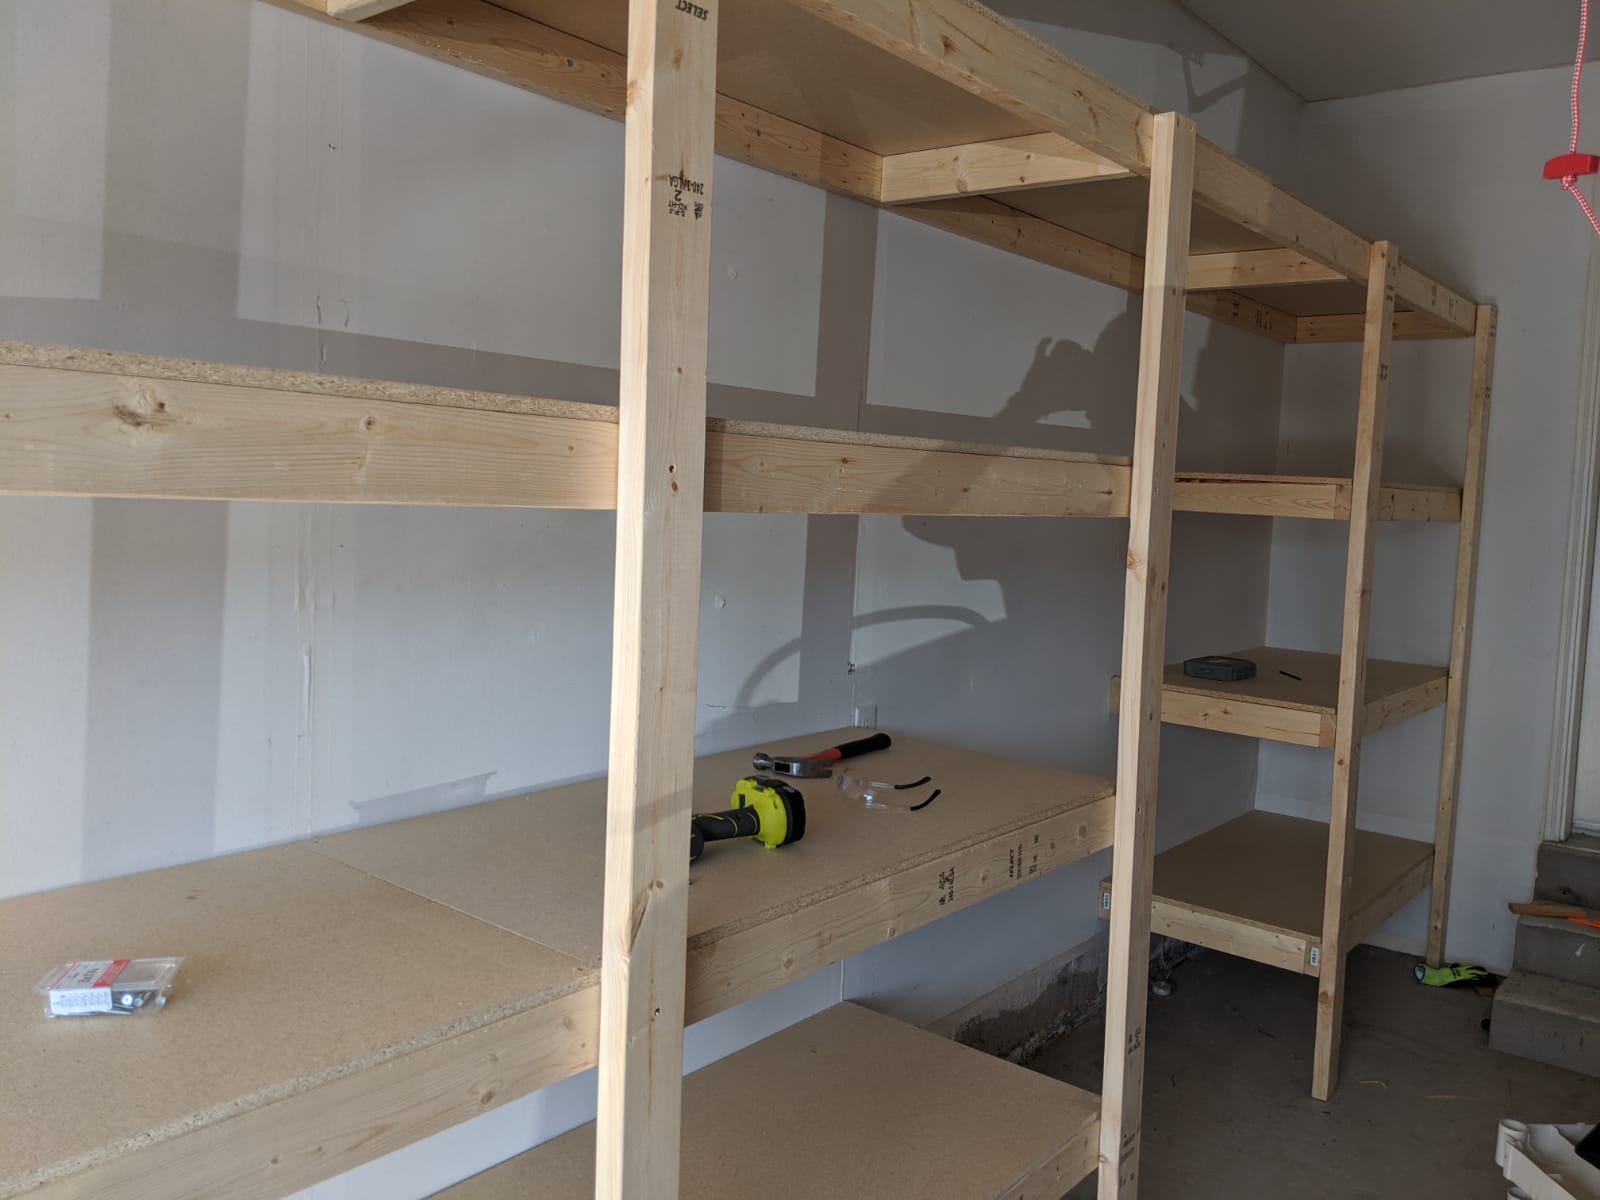
Garage Shelf inspired from Ana's Ryobi workshop design
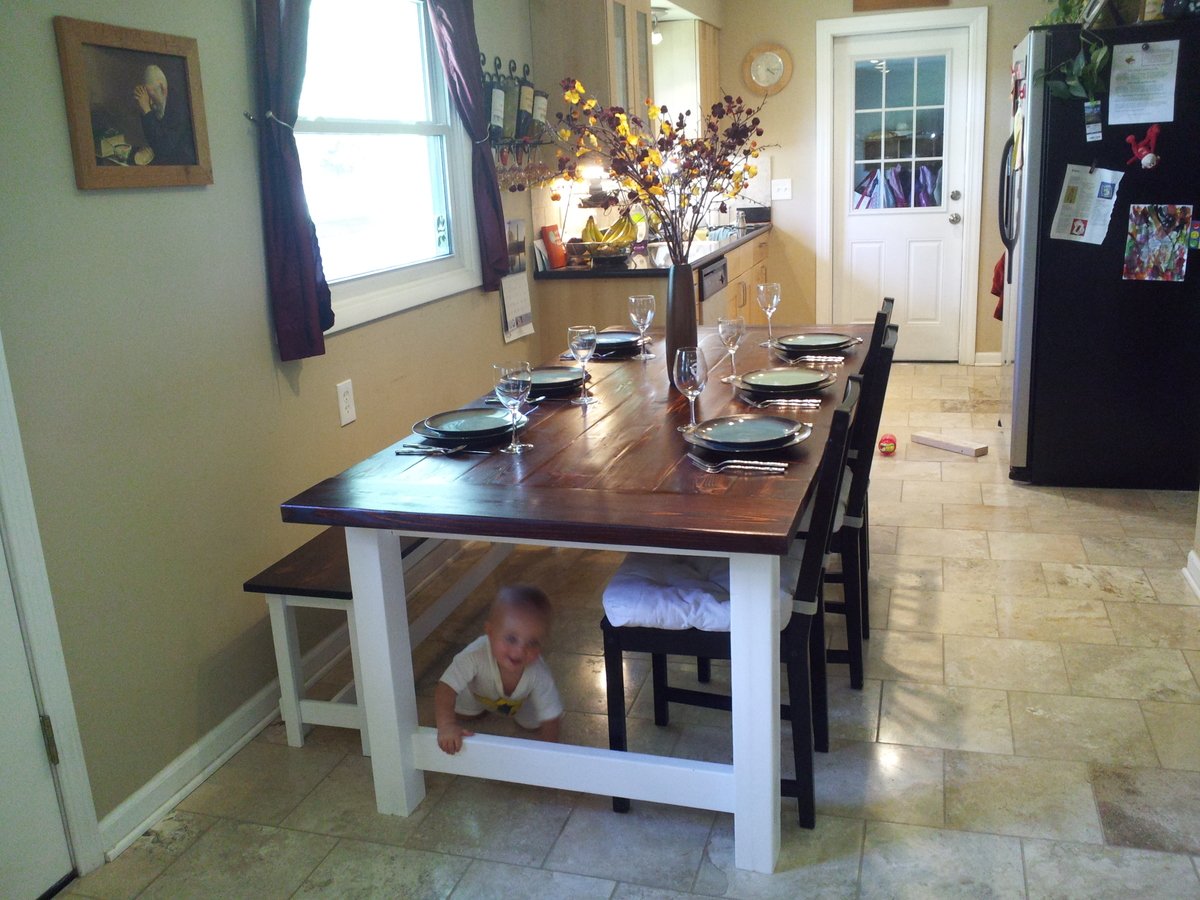
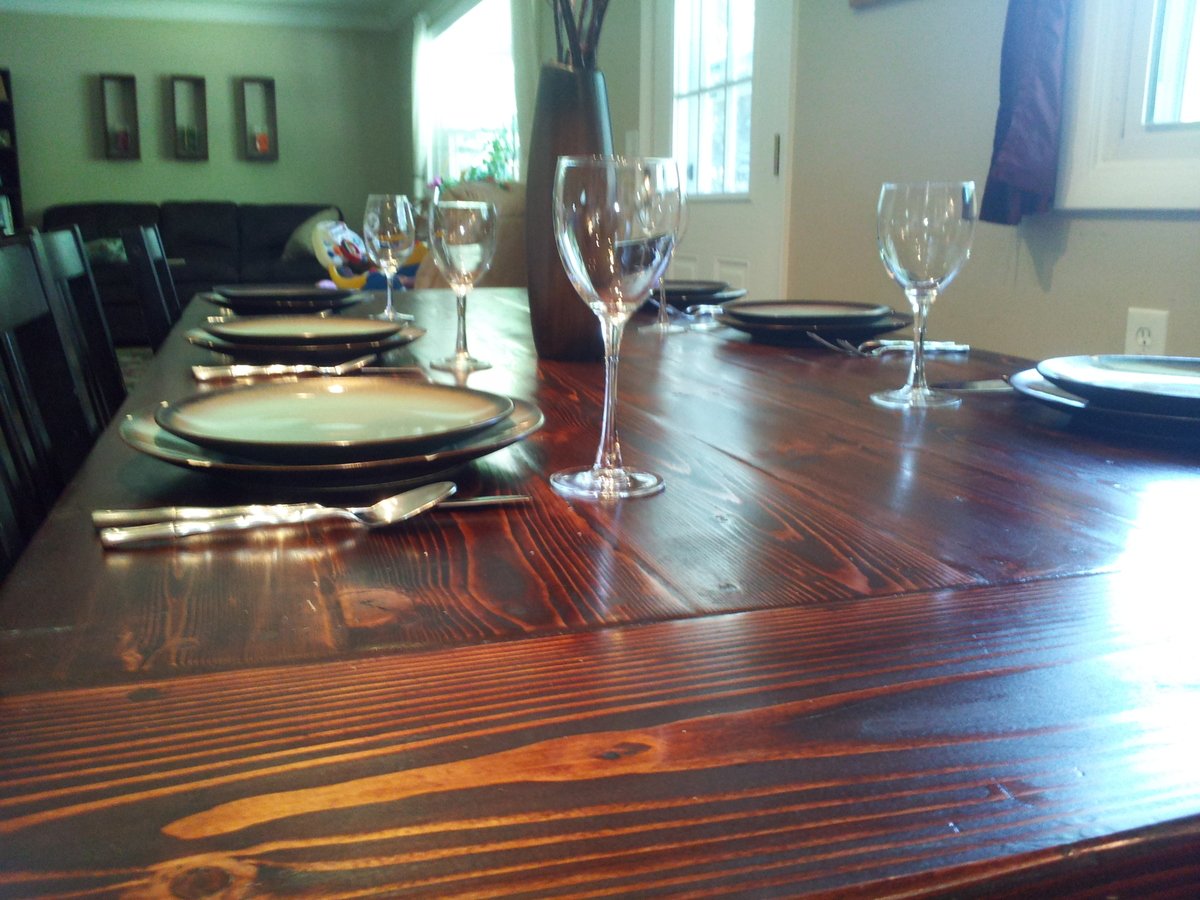
I followed the plan exactly except that I left out the stretcher. It turned out beautifully and fits our kitchen perfectly. I wanted to complete the building in a weekend, but even with a helpful husband the kids distracted me. It ended up taking me three weeks working during naptimes and after bedtime.
My recommendations:
-I used 2x4s for the legs, but if I had to do it over again, I'd just buy 4x4s and use those. I did my best to fill in the seams in the legs, but I still notice them from certain angles.
-Sand, sand, and sand again. I hate spending time sanding, but this is a project where it's totally worth it. I sanded everything really aggressively with 60 or 80 grit paper and after I filled in screw holes and cracks, sanded again with 120. Then I hand sanded with 220. I'm really glad I did.
-Don't cut the table top boards (2x6s) till you are ready to place them. You want to make sure you have a really tight fit here.
-Because I didn't want any cracks on the table top, I filled in the seams between the boards with Elmer's wood filler. I was really nervous about how it would stain, but I just was super careful to sand any excess wood filler off the boards before staining. The wood filler appears a bit darker than the wood, but I think it looks ok. Better than cracks.
-I notched out the table legs with the skill saw and I thought they looked pretty rough and it was a long process. When I made the bench legs, I used my table saw to notch. I'm not sure if this is recommended or not, but the notches were much cleaner looking and it was a lot easier.
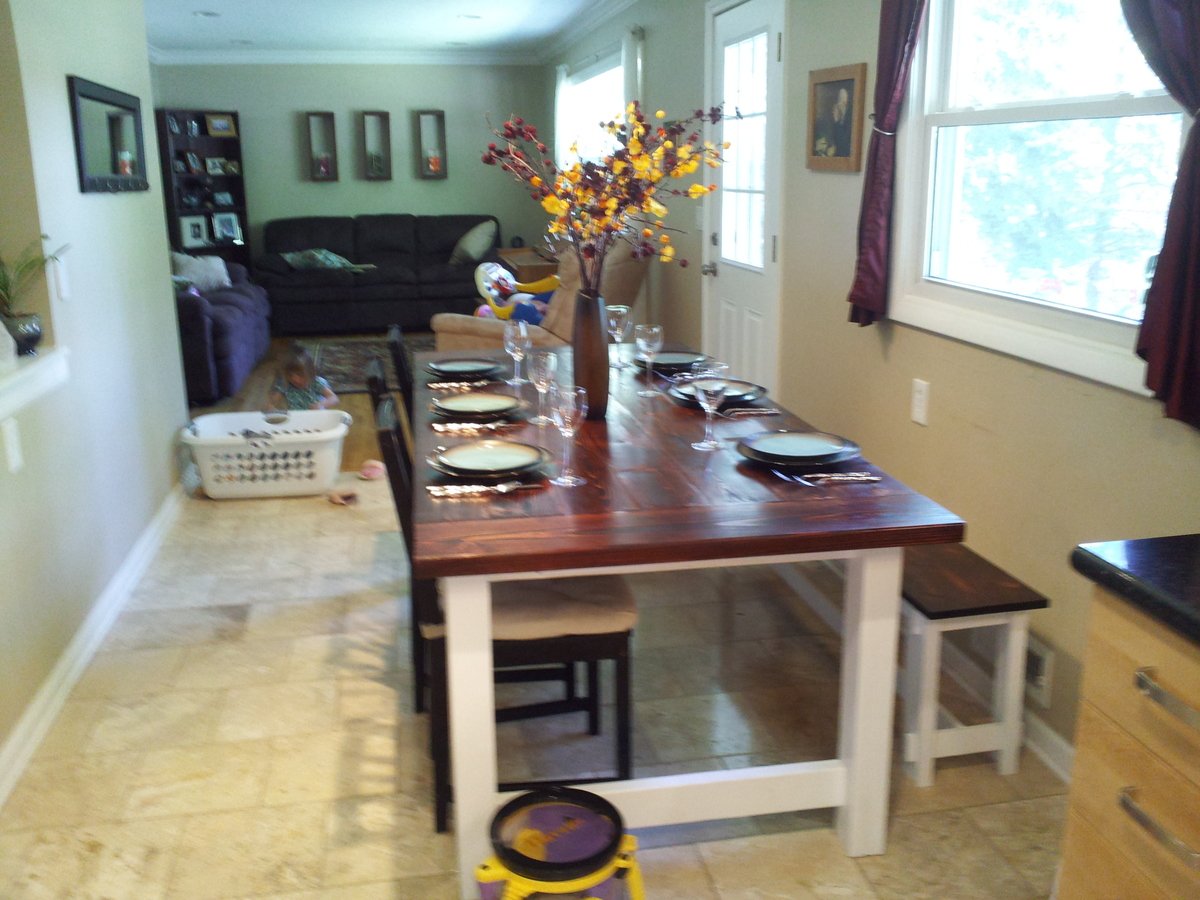
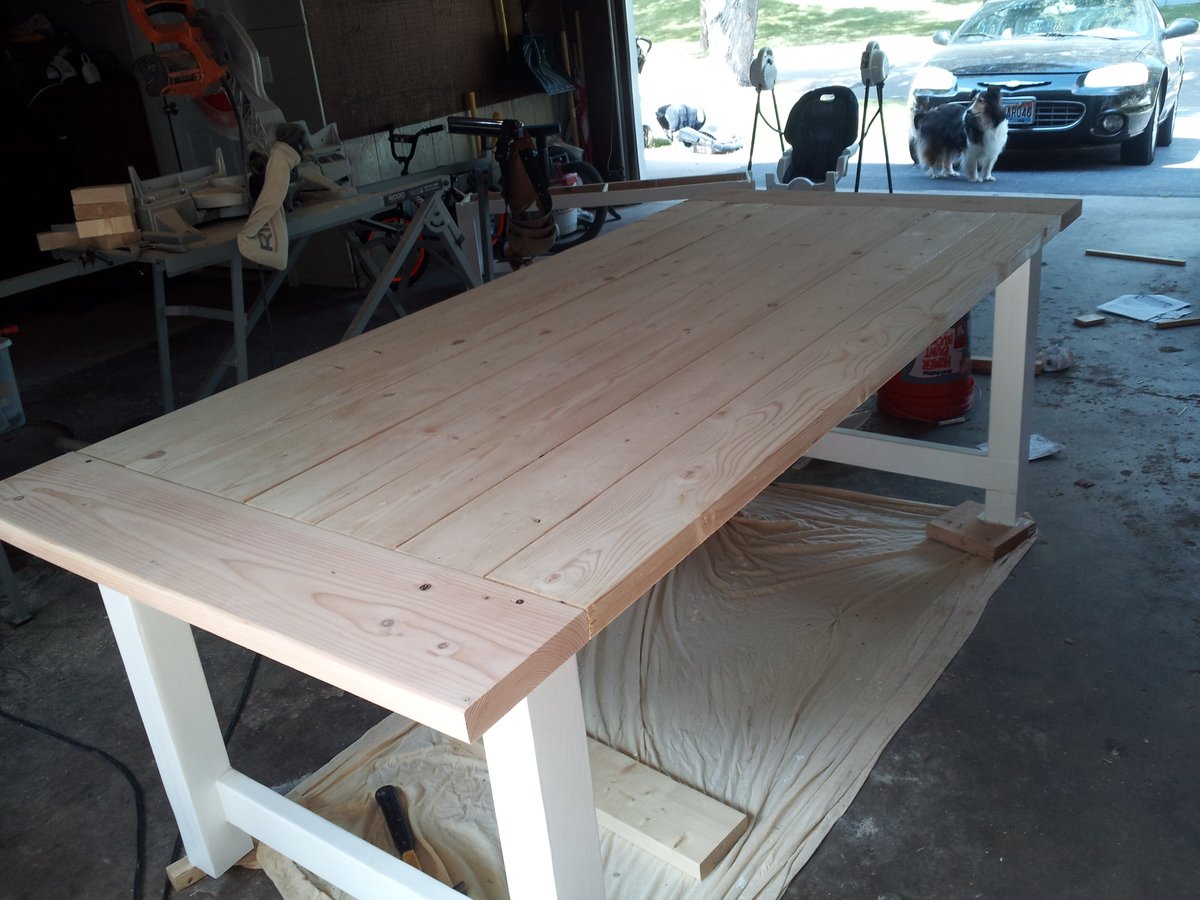
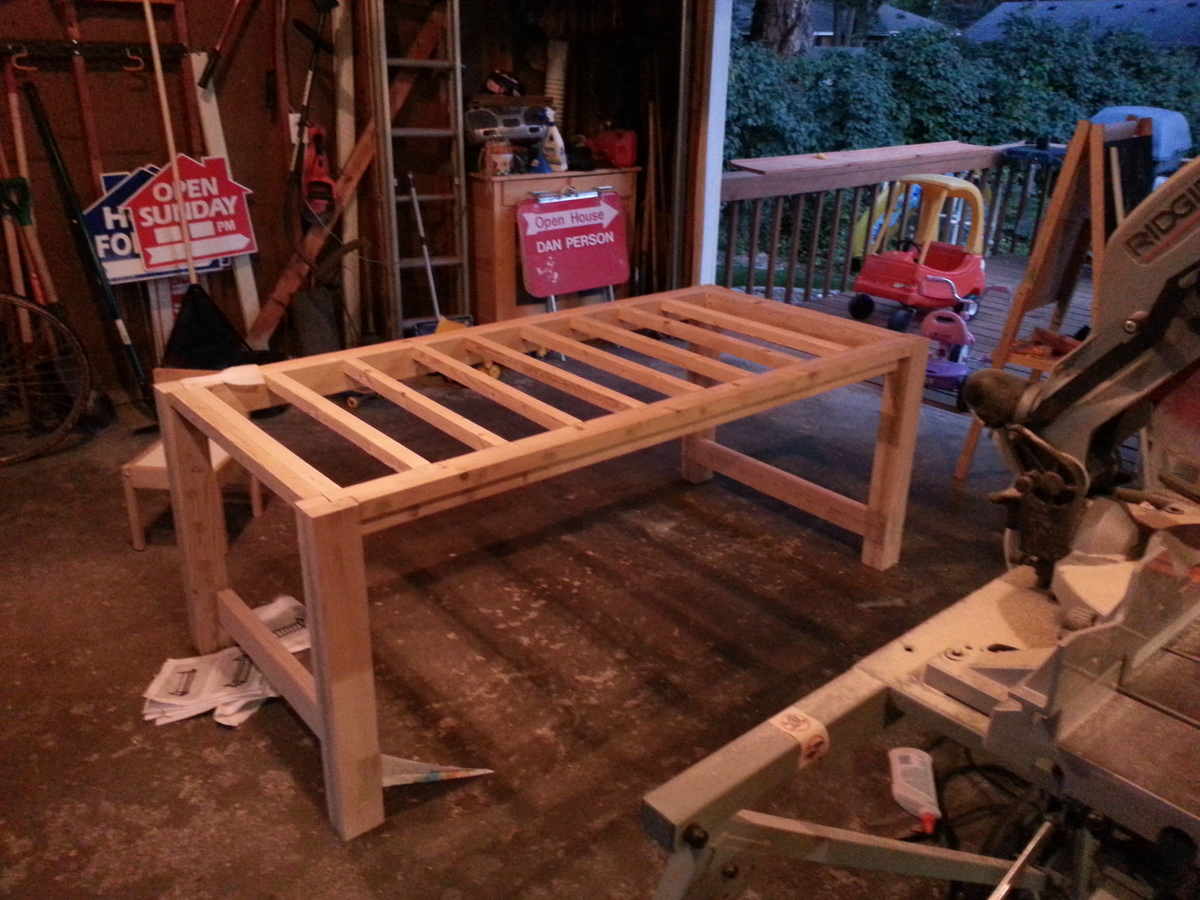
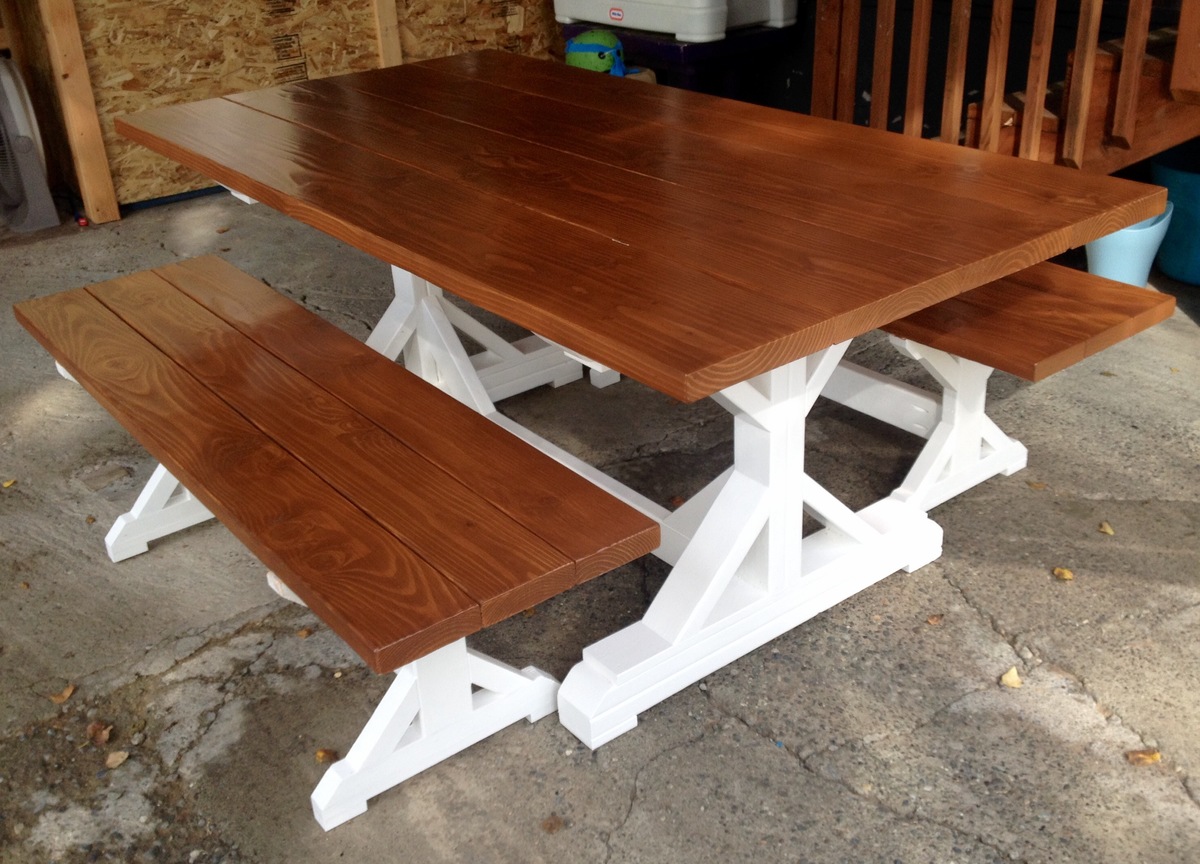
This is my first attempt at furniture. Anna's plans were very easy to use and I had a lot of fun building this table!
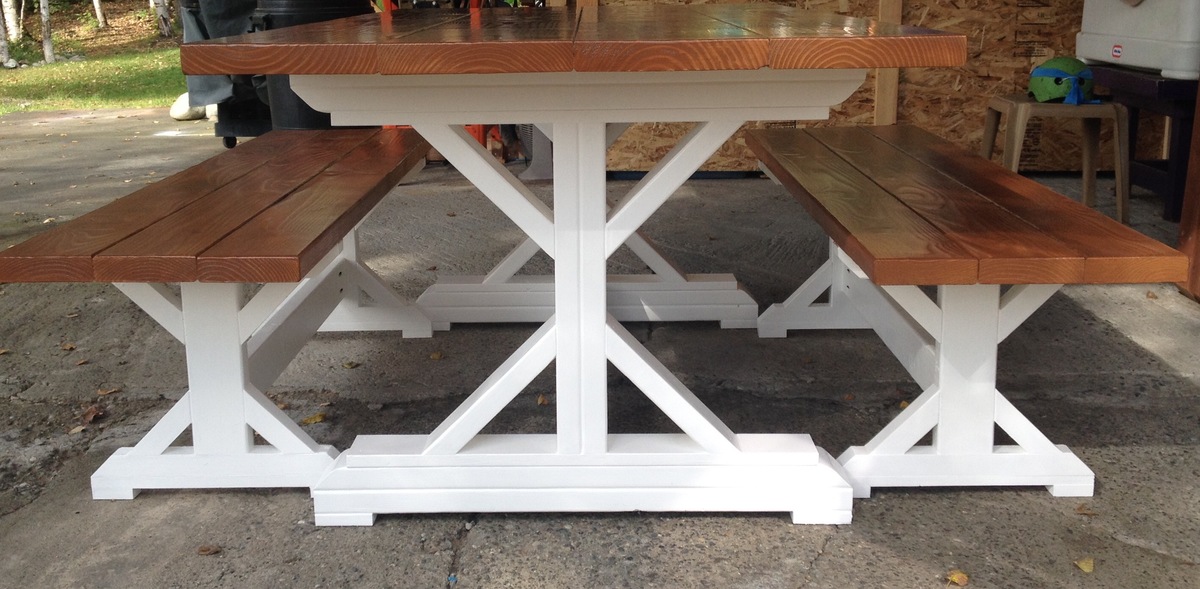
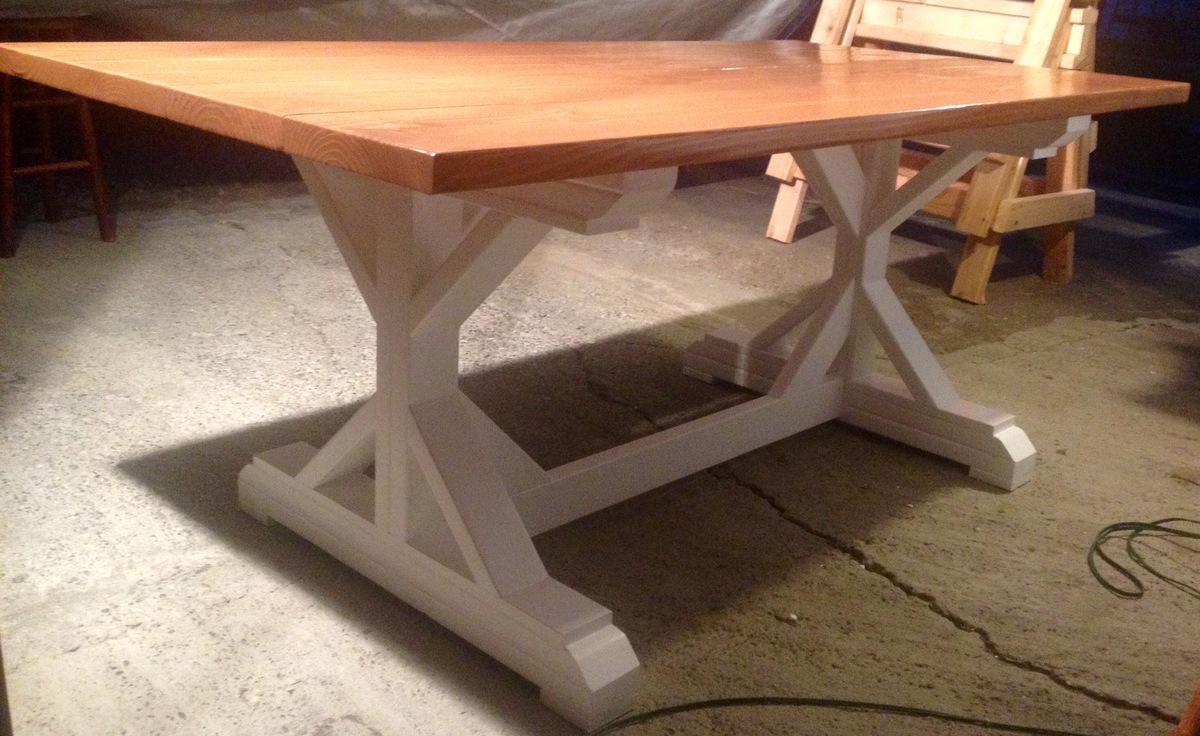
Tue, 10/18/2016 - 21:19
Thanks! I used a exterior semi transparent from Behr. The color is sable.
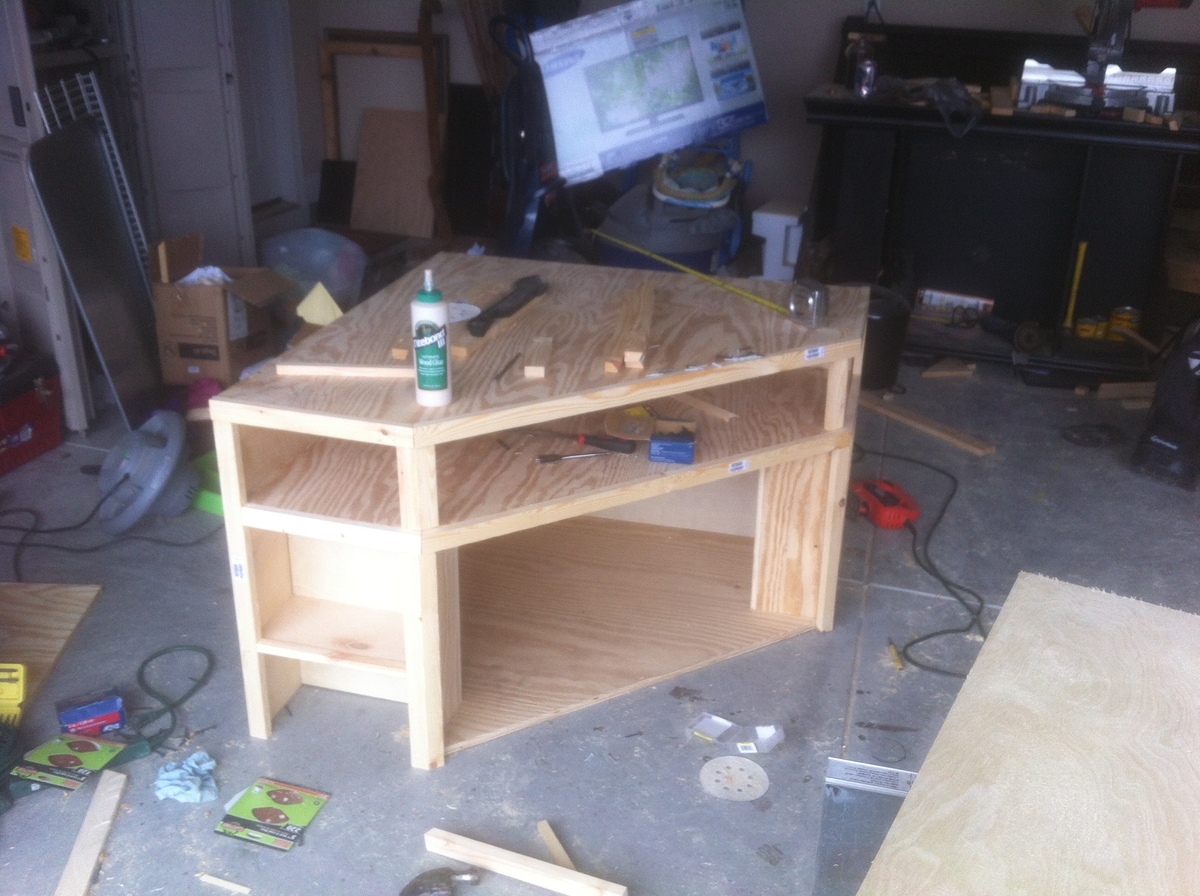
This is a corner entertainment stand. I didn't have a plan to follow so I made it up as I went. The dimensions are 40" L xW and 27" tall. It has a base hidden underneath it help support the weight and is also screwed into wall studs to prevent tipping. The angle for the front cross section is 22.5 degrees. I made this for a friend. She is going to paint it unfortunately. Materials cost only around $120. 3 sheets 3/4" plywood, some 1x2s and a couple hinges and cabinet knobs.
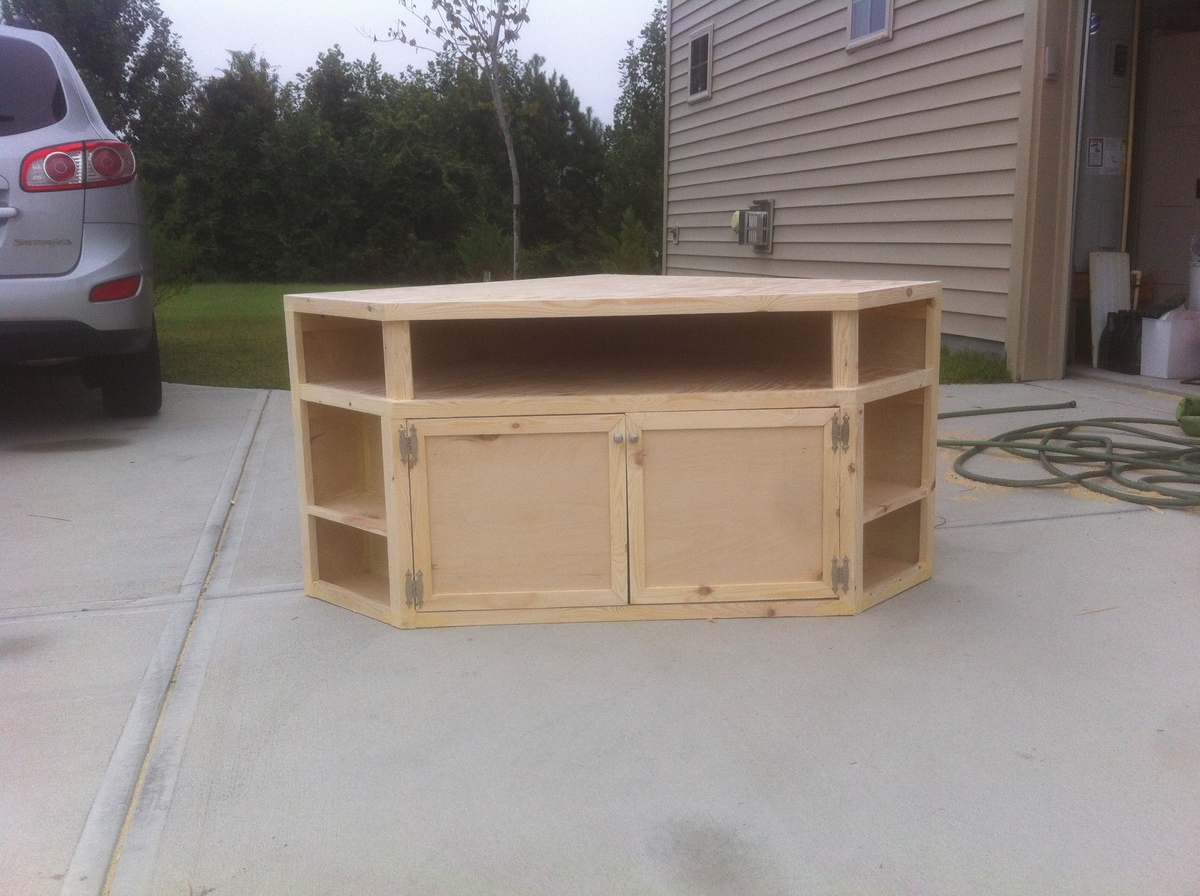
Sun, 01/06/2013 - 04:49
This is REALLY a nice looking corner unit. In our living room, the ONLY place for the tv is in the corner. I have a prebuilt unit now that cost me quite a bit, and we hate it. Its all modern with glass shelves. This corner cabinet is EXACTLY what I want to build. I have a 1 year old so having doors to hide the electronics is a must.
I would VERY much like to build this. Are there any more detailed pictures or a plan I could download? Ive been searching for the last few days an just cant seem to find anything that catches my eye like this one.
Looks great!!
Sun, 01/06/2013 - 06:18
The shelves are made out of premium plywood. For the top, bottom, and the middle shelf, I measured and cut out on pieces of plywood. Then used plywood for the "walls" of the unit. I trimmed it with 1x2s. The doors are also plywood. I just rabbit jointed nice wood for the frame of the doors. Underneath the the TV stand is a 2x4 set back a little bit to give it that floating looking. It is anchored to the wall on the inside of the unit with screws going into the studs of the wall. I hope this makes since.
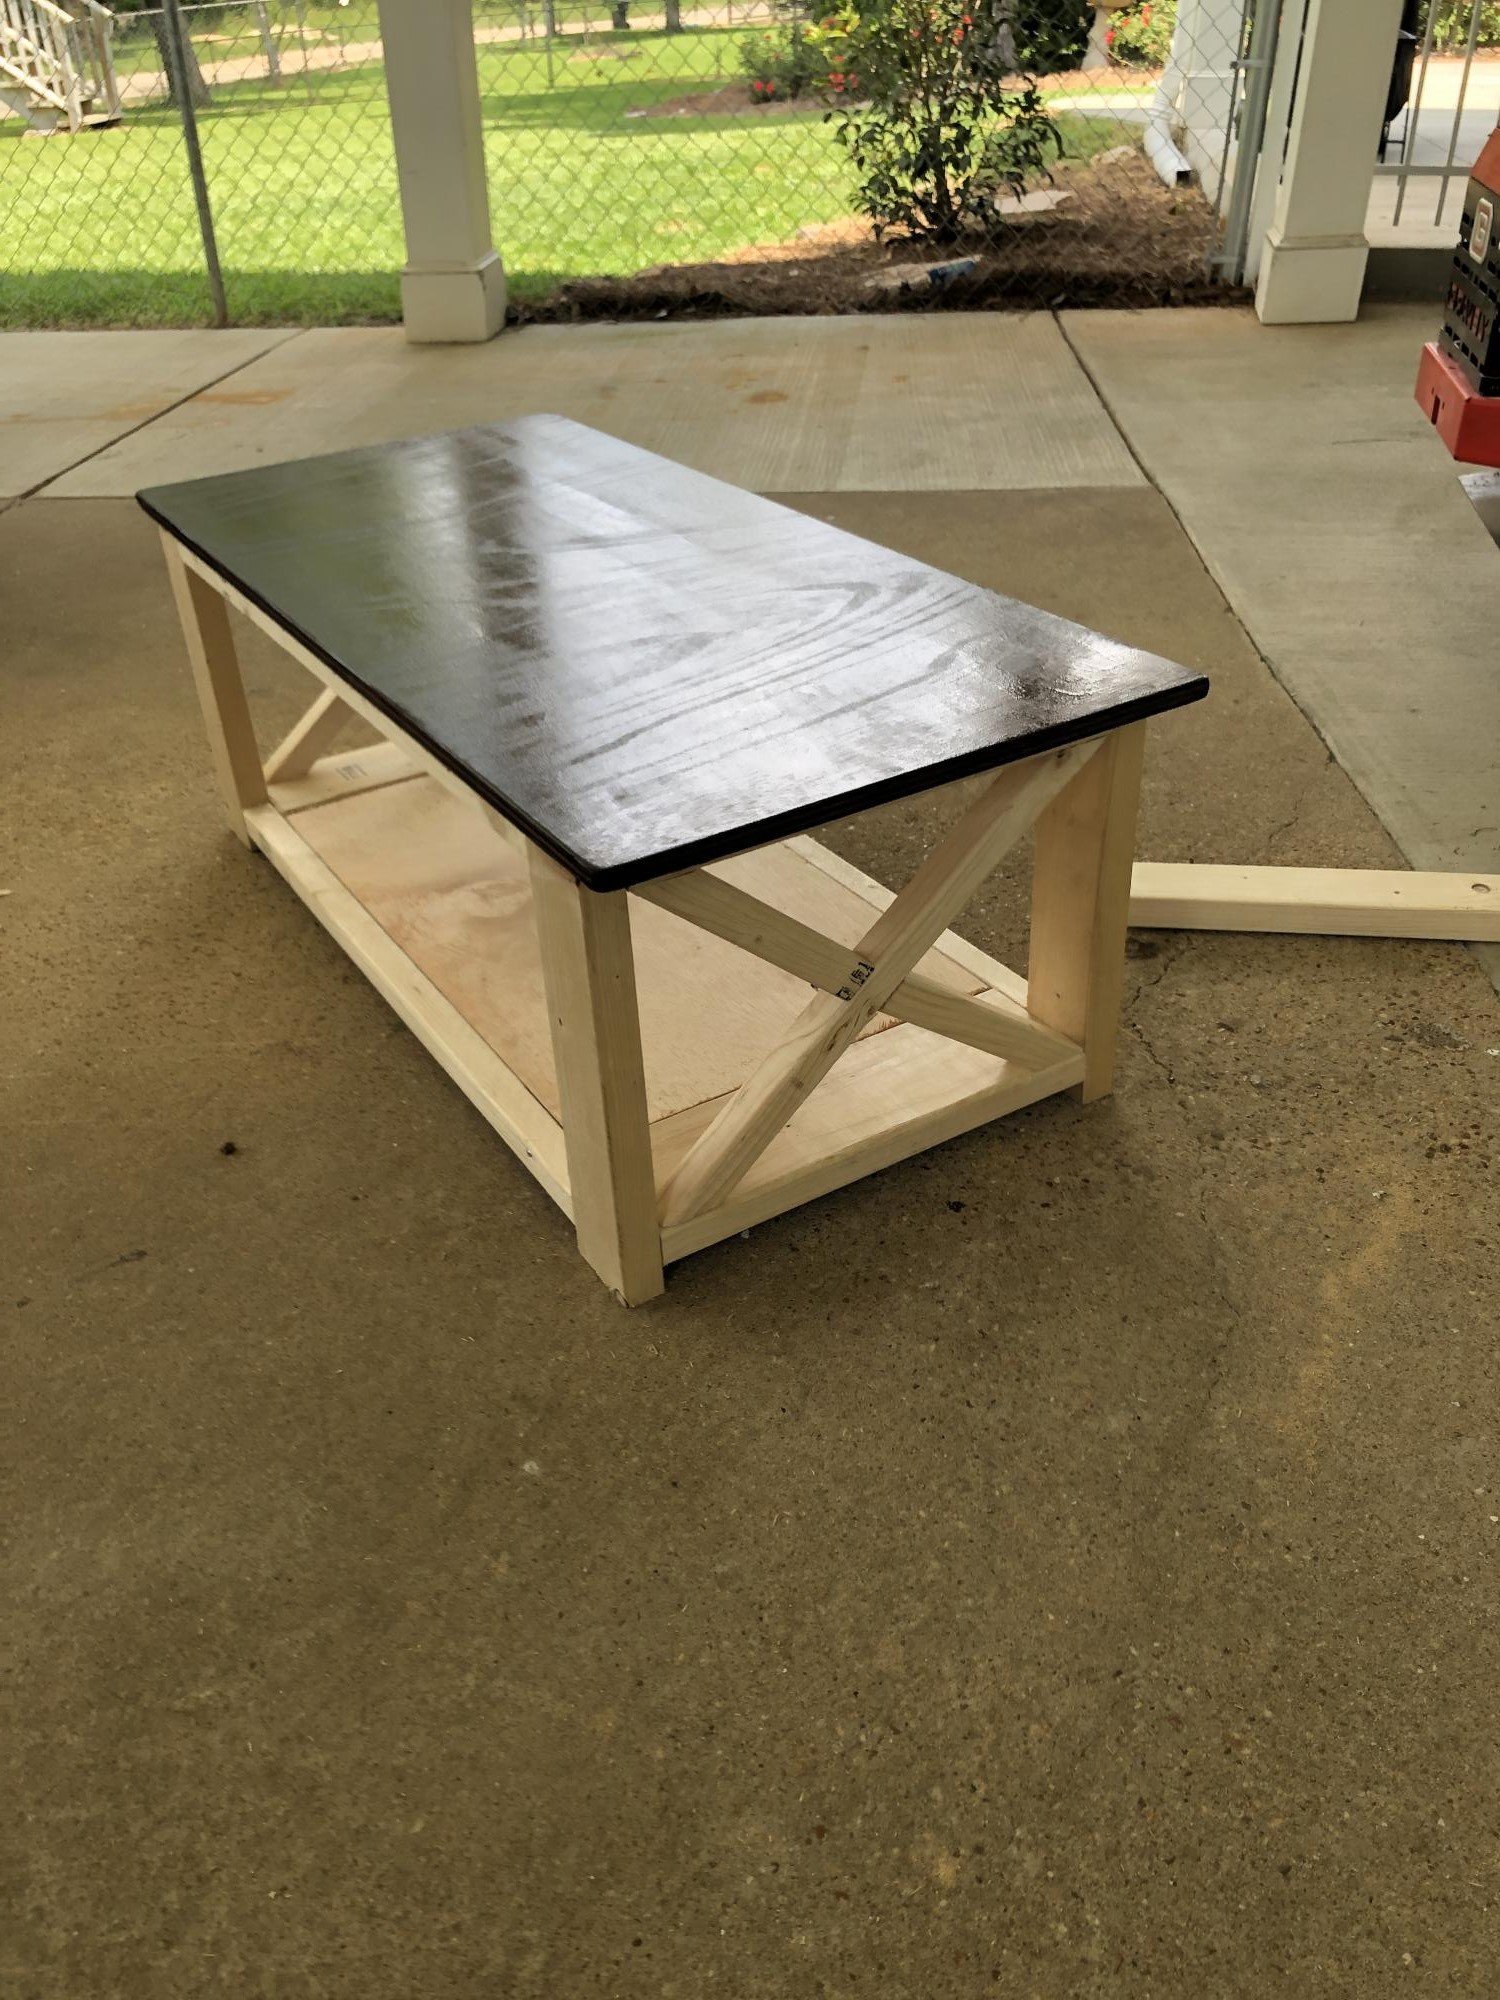
Built this for my mom’s birthday since she’s been wanting a farmhouse coffee table. Modified it by using a project panel as the top rather than the 2x6’s.
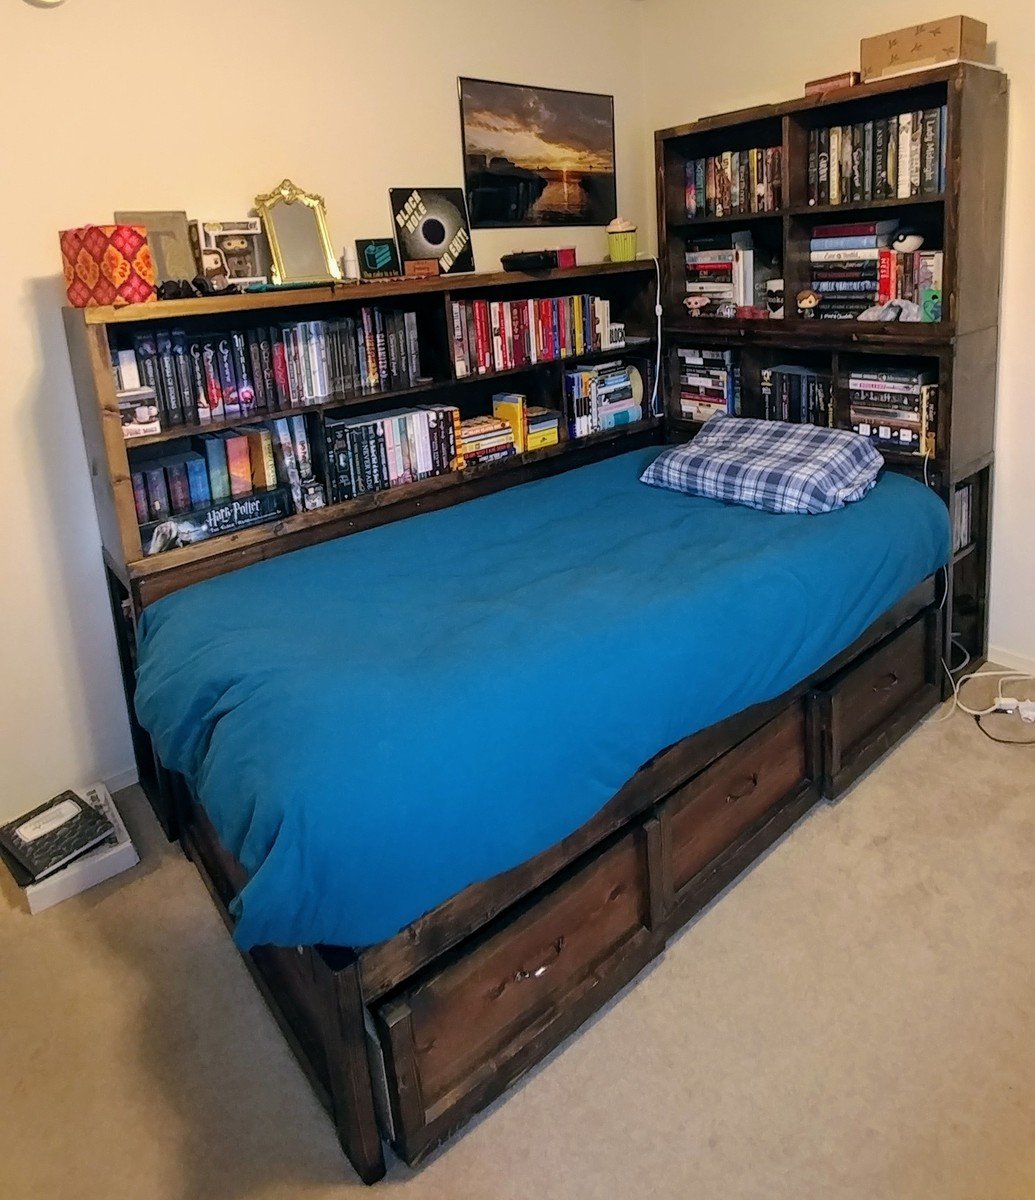
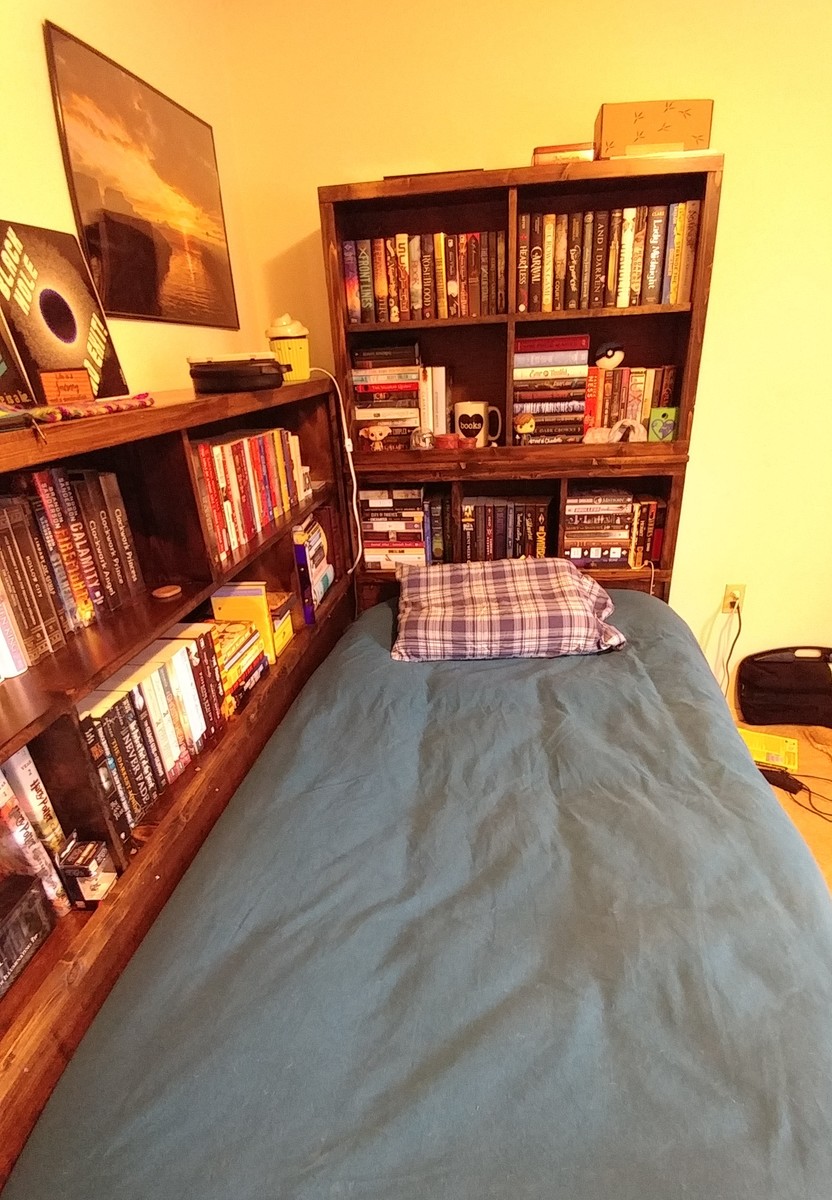
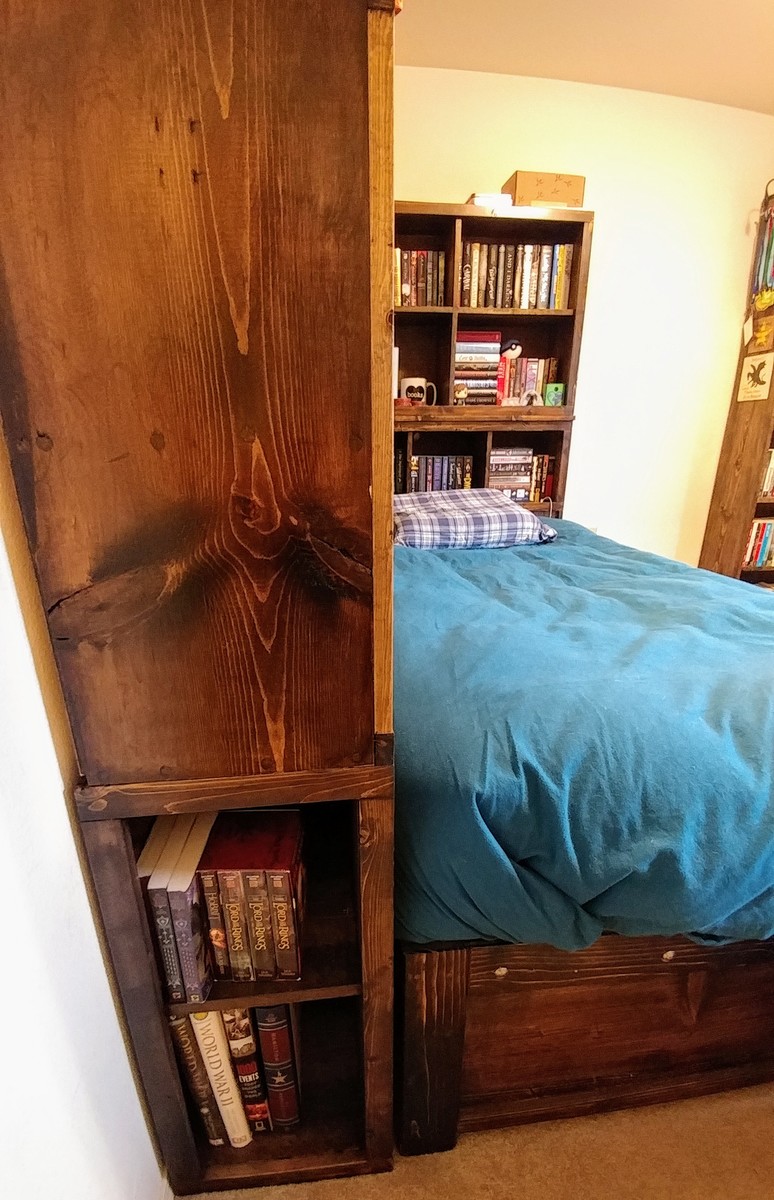
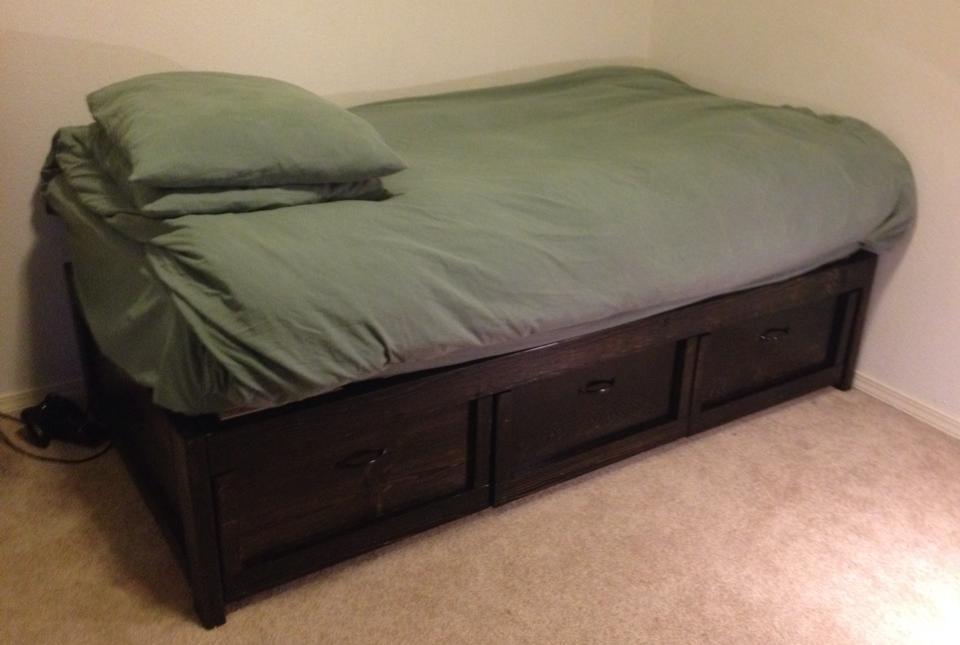
Update 8/2017: This project started with the Storage daybed, which I built in 2014. My daughter is a book lover and I wanted to provide her with more space for her books. I recently added the following plans to the Daybed with Storage Trundle Drawers:
- Twin Storage Headboard Base
- Small Hutch for Storage Headboard
- Cubby Hutch Plans for the Storage Headboard
I also made one extra storage headboard base and added more shelves along the long side of the bed so she could be surrounded by books. There are two additional supports under long bookshelf and I placed them roughly behind each of the trundle drawers.
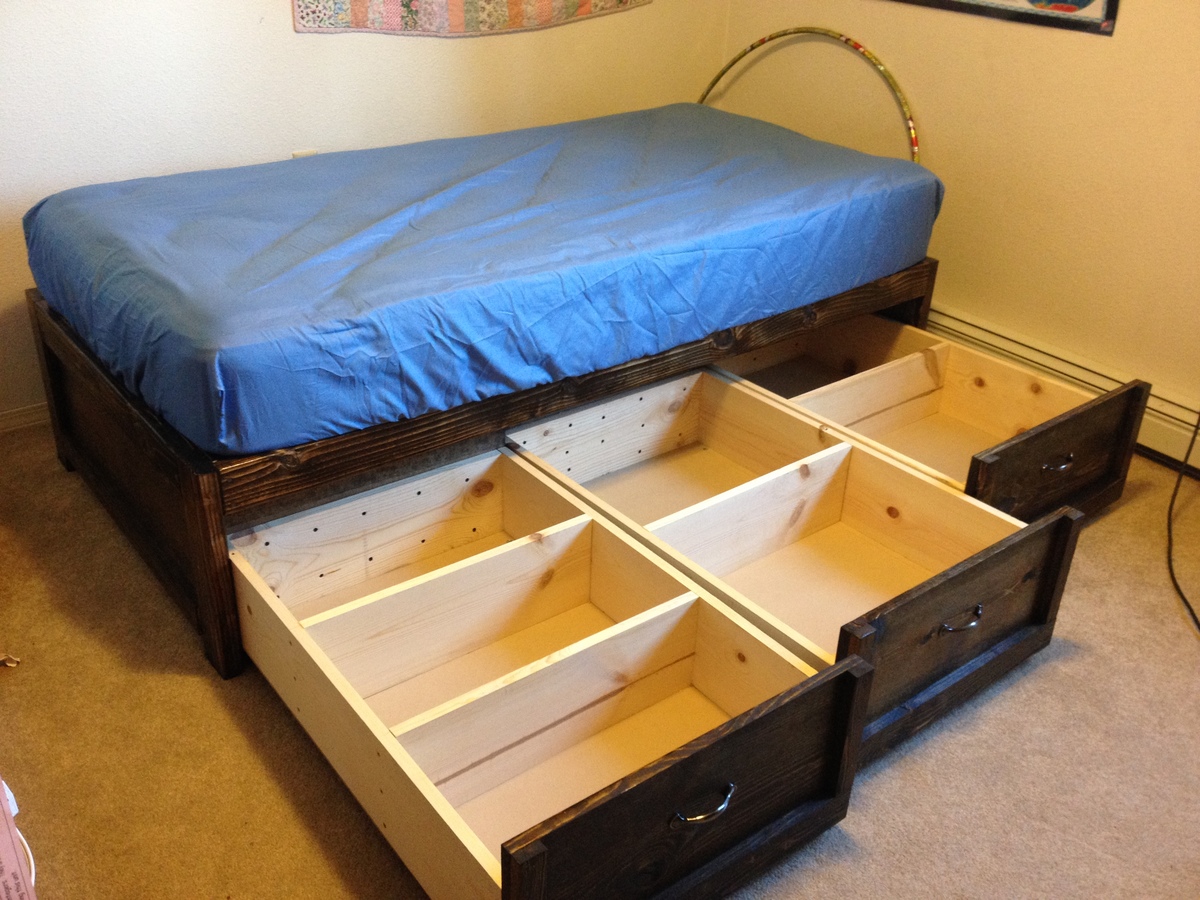
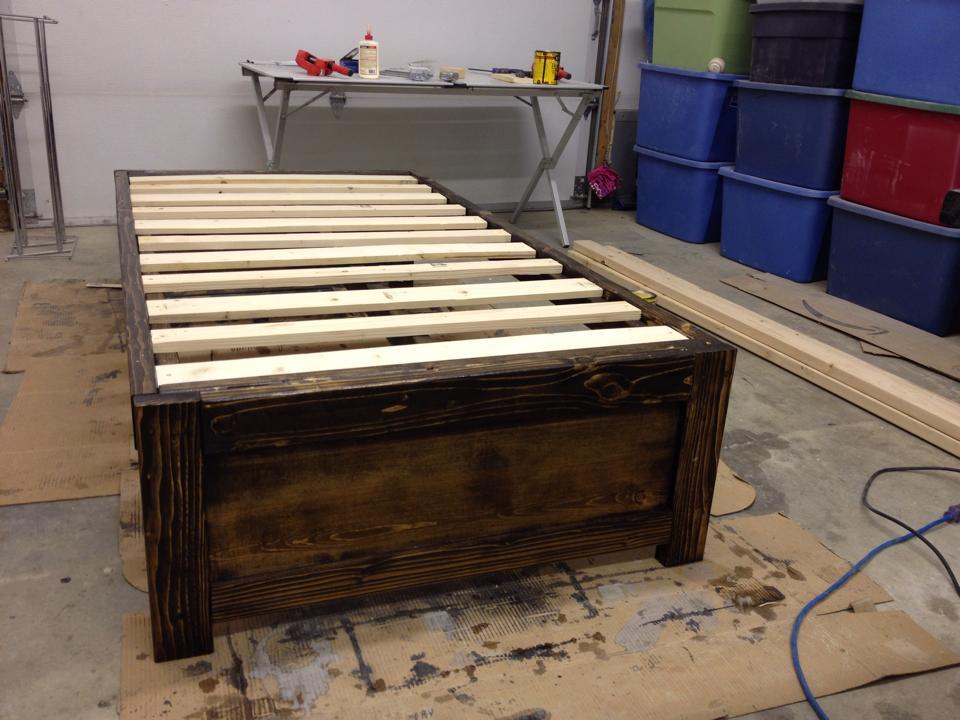
For the bed (I built two), I opted to use the alternate slat system. I also used 2" caster wheels and added dividers to the drawers--one drawer has three compartments, and the other two drawers were divided in half.
Note: In my main brag photo it looks like the drawers don't close flush... I didn't notice when I took the photo because I was focused on the new shelves. But they do close and line up perfectly!
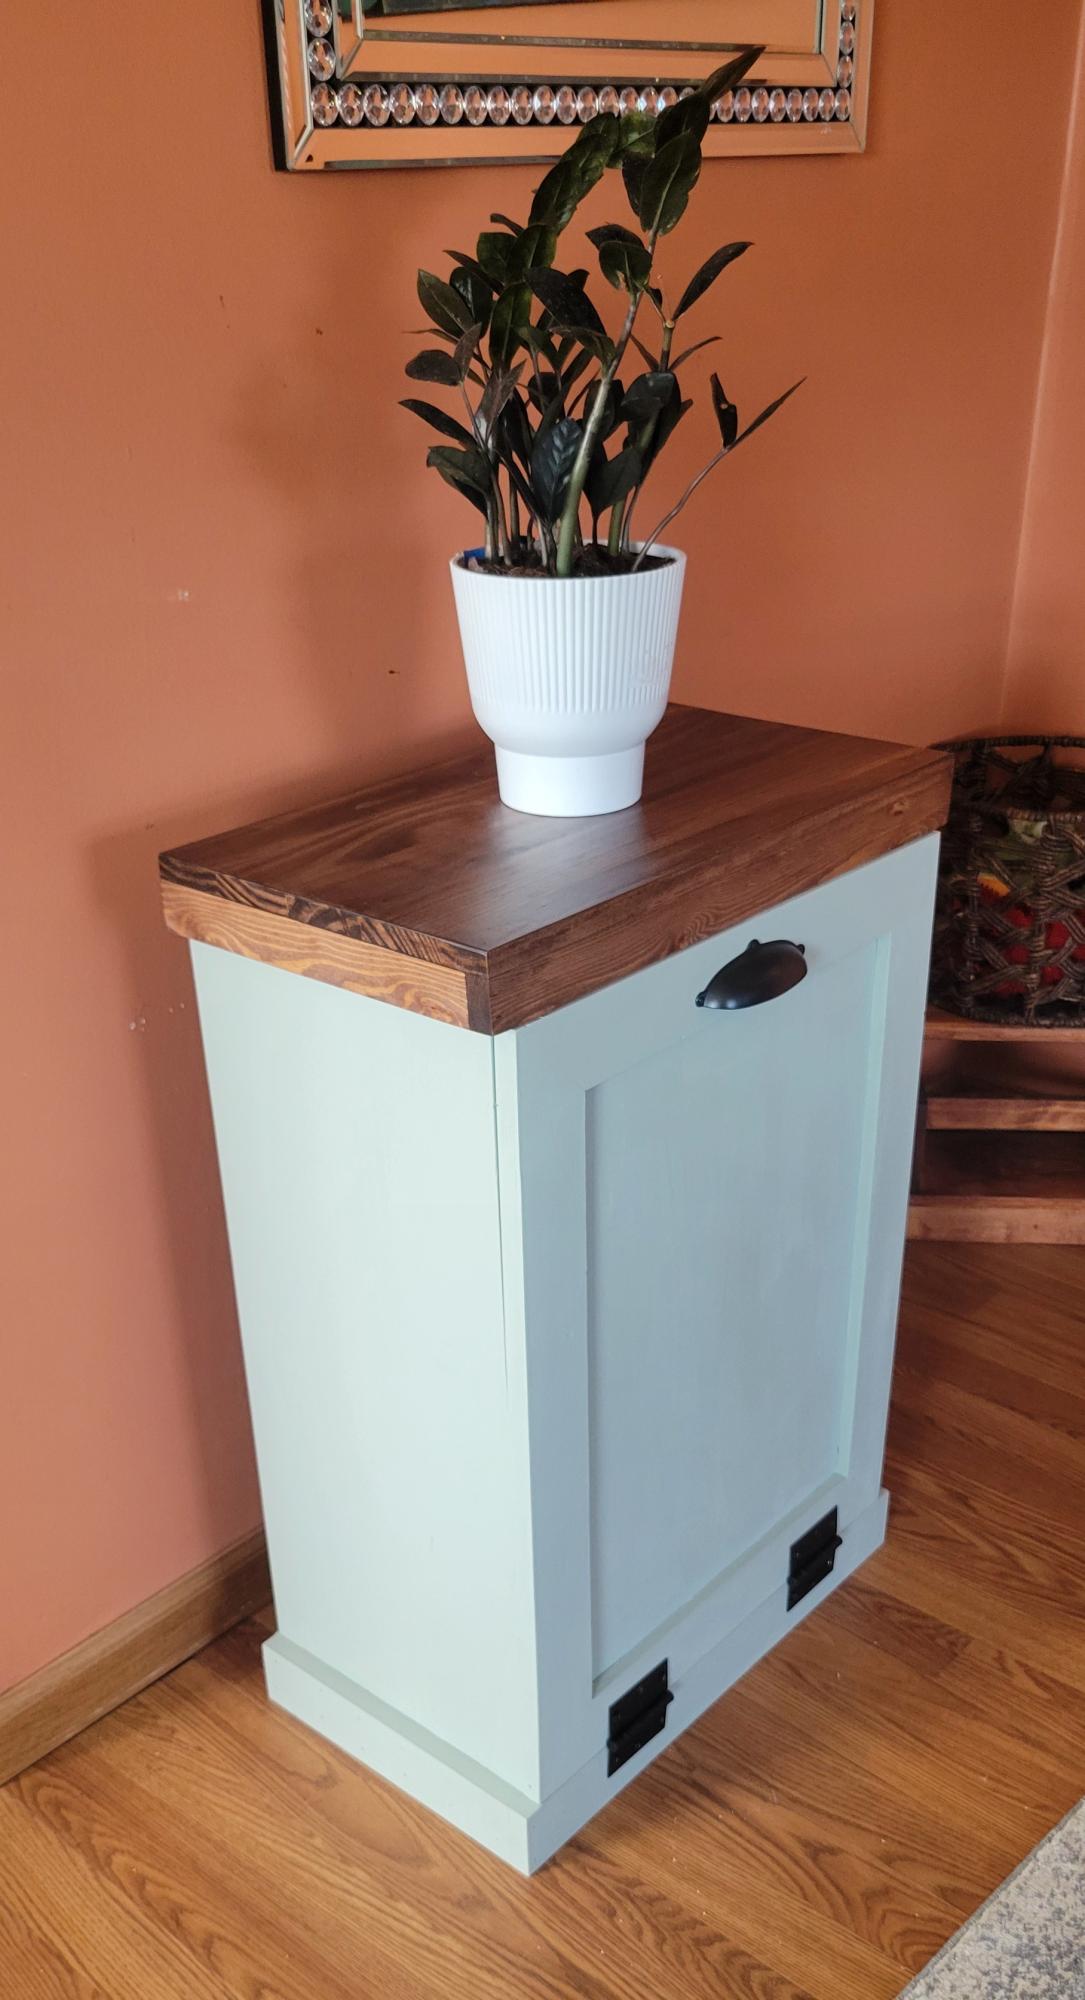
I built this as a prototype for myself because my daughter requested one for her dog food cabinet. We are going to build hers together. I'm excited about that.
Craig Morningstar
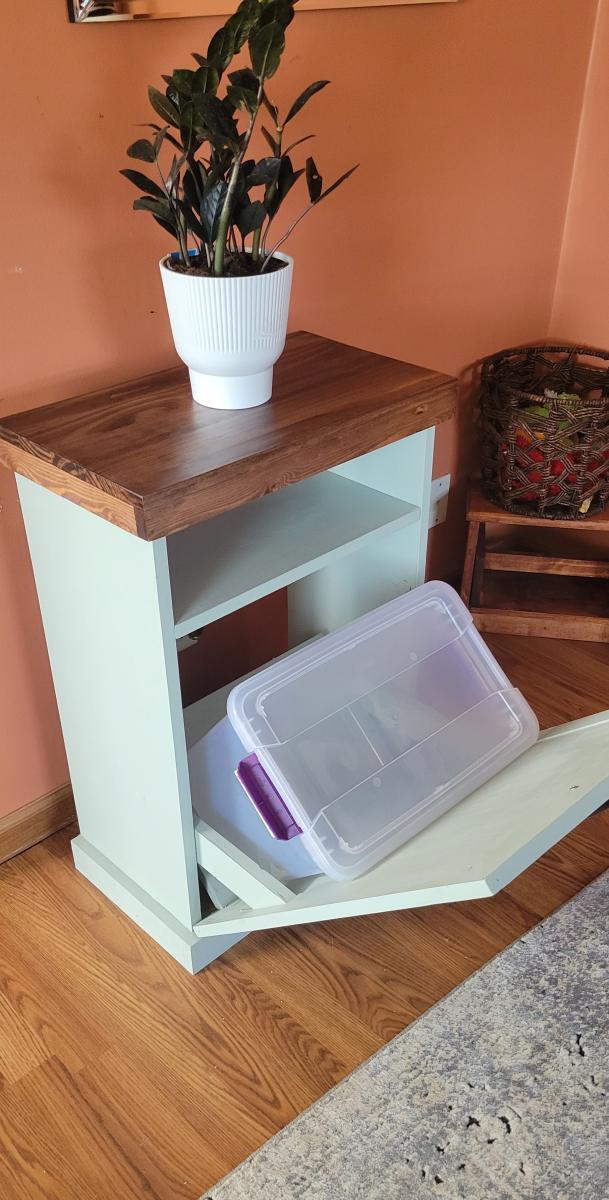
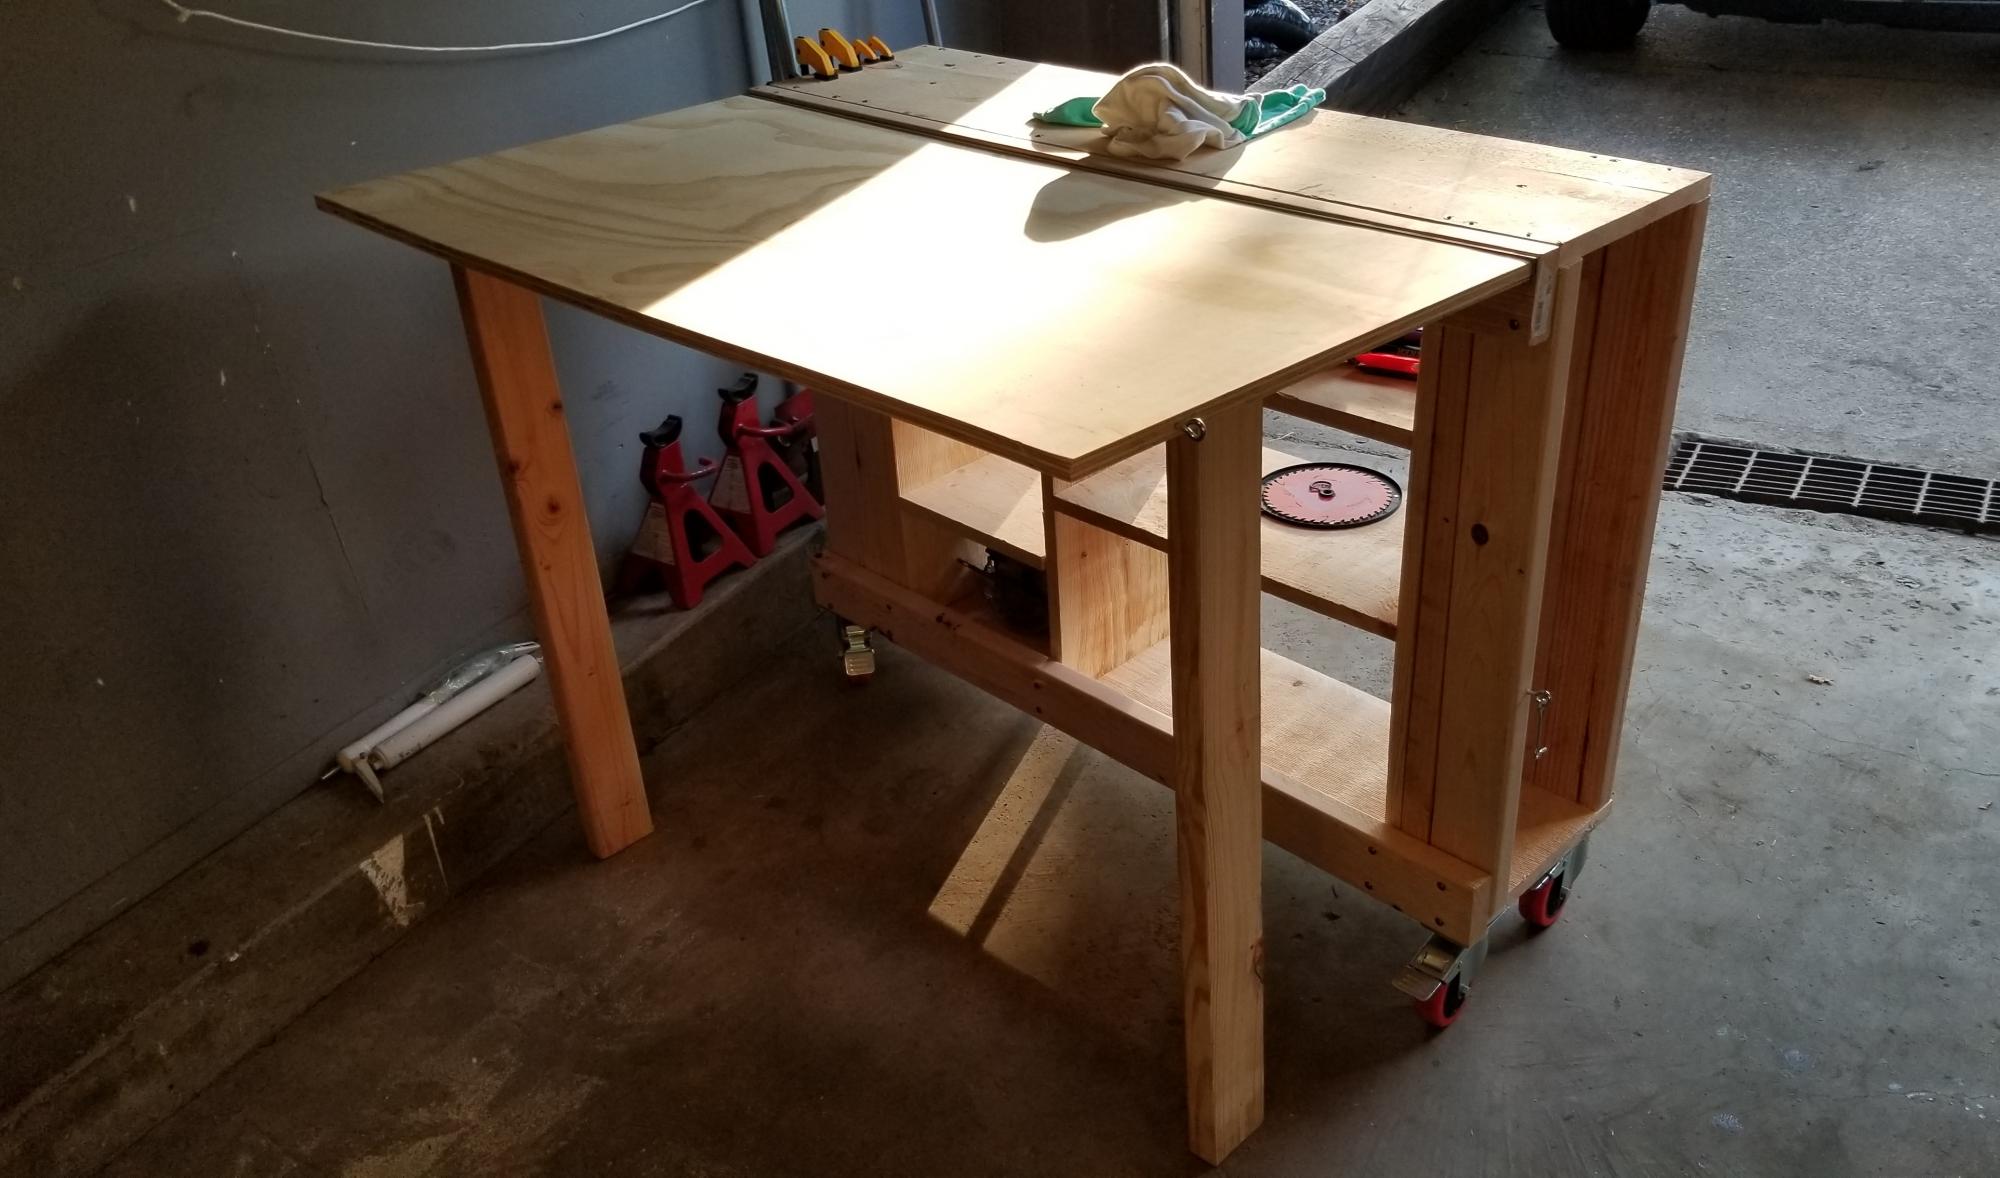
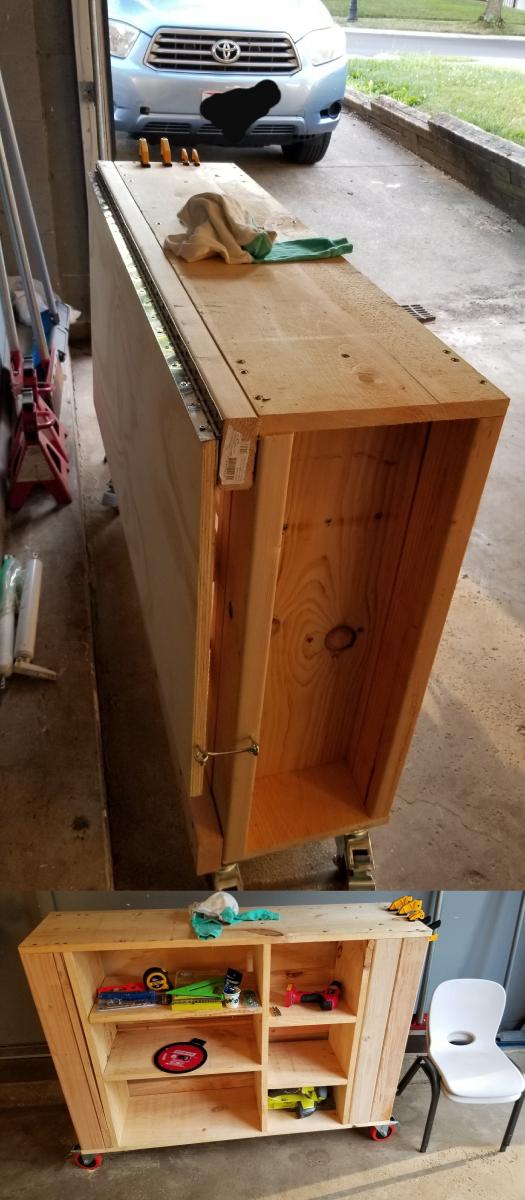
First build of my woodworking journey
Thu, 09/17/2020 - 10:50
Workbench is a great place to start, I can't wait to see all the projects that are built on it!
Had to clean out my storage area to make room for my new woodworking shop, so a new shed was in order. Since my neighborhood does not allow large sheds i thought this would be the perfect fit for the small area right outside of the shop. I had to adjust the plan to make it narrow but longer. Used pressure treated fence pickets for the siding..
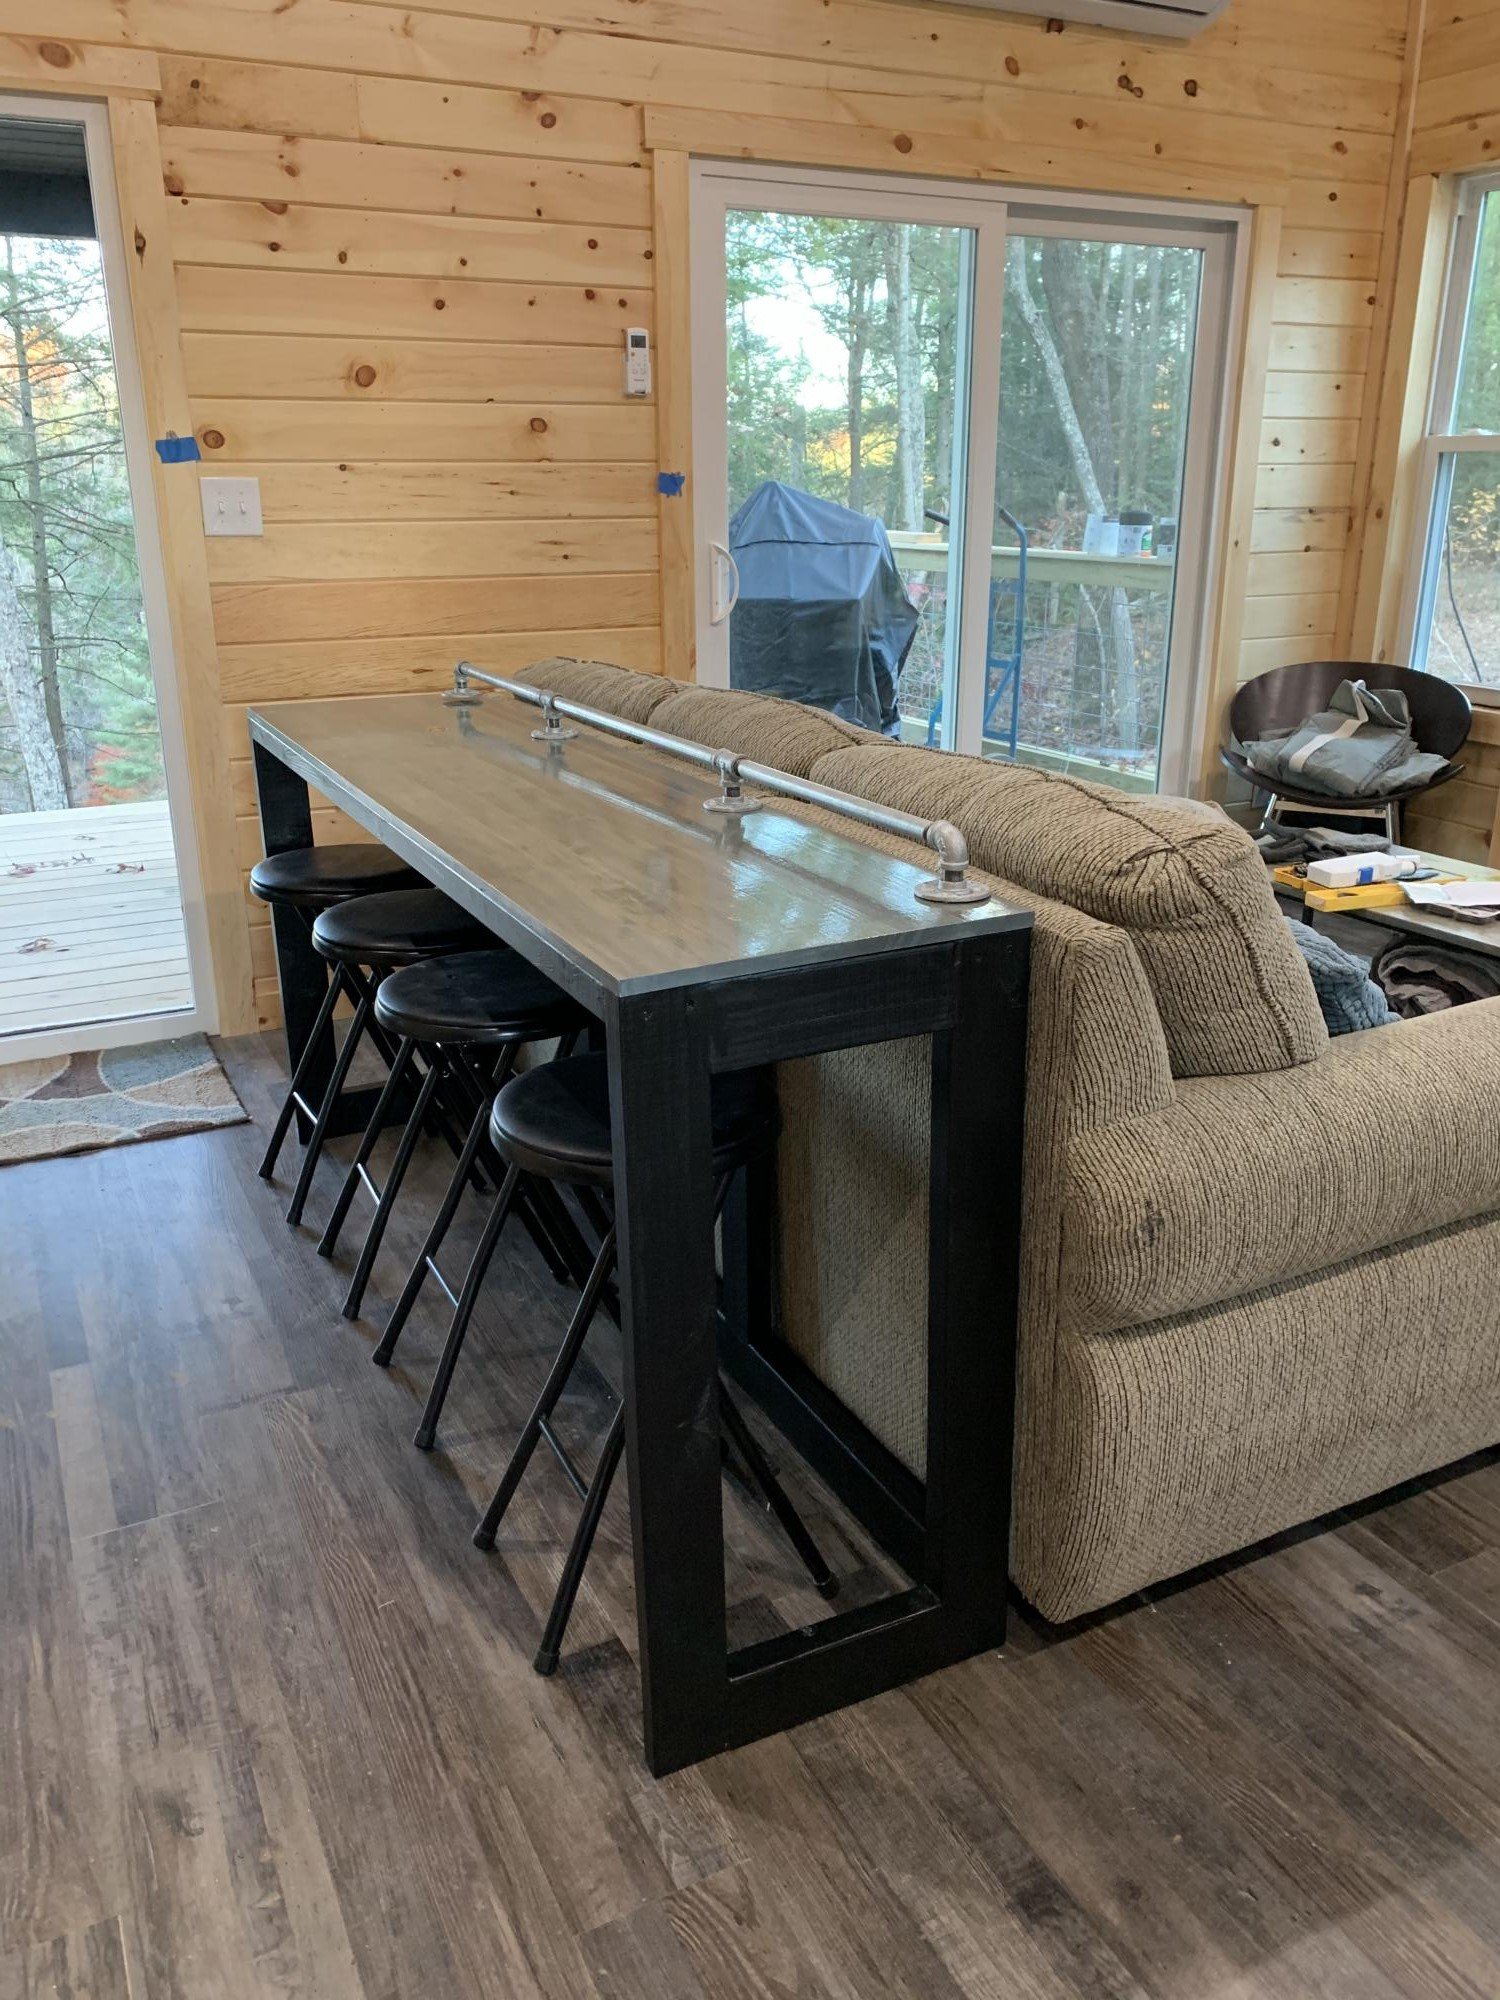
We are building a small rental cabin in the Red River Gorge and I needed a sofa table to do double duty. We needed a place for people to eat that would also be a useful sofa table when lounging. I modified this piece from the plan; very beginner friendly I’d say, lol. The bottom is painted glossy black and the top is stained a grayish blue. Galvanized hardware finished it off on top. I chose not to use the side arms once I brought it inside.
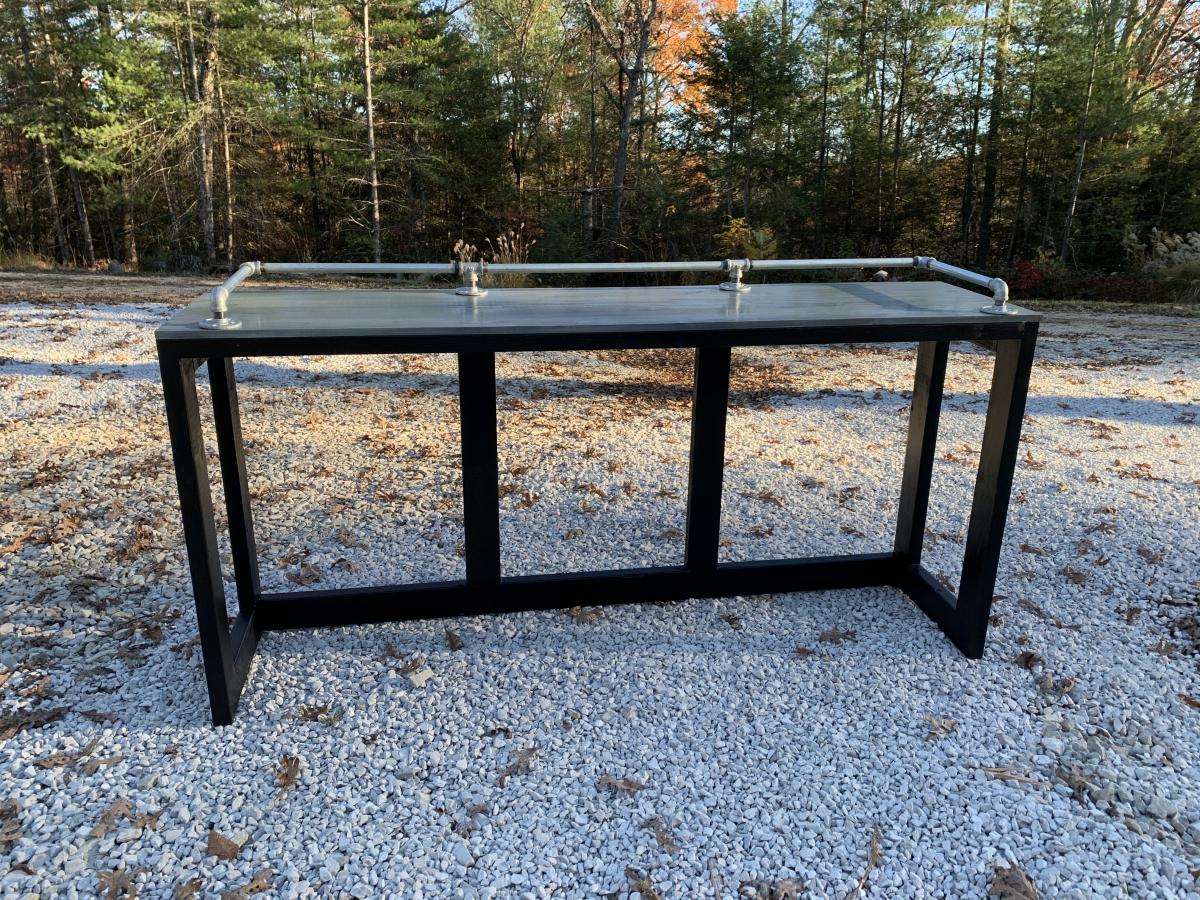

Made from your Fancy X-desk plans. Dark Walnut & clear gloss polyacrylic Miniwax finishes.


I built this based on the idea of the mimi storage bench and hutch. We will use this in our garage next to or shoe rack. I built this primarily from 1x6 cedar fence pickets, a few cedar 1x2's and a couple cedar 2x4's.
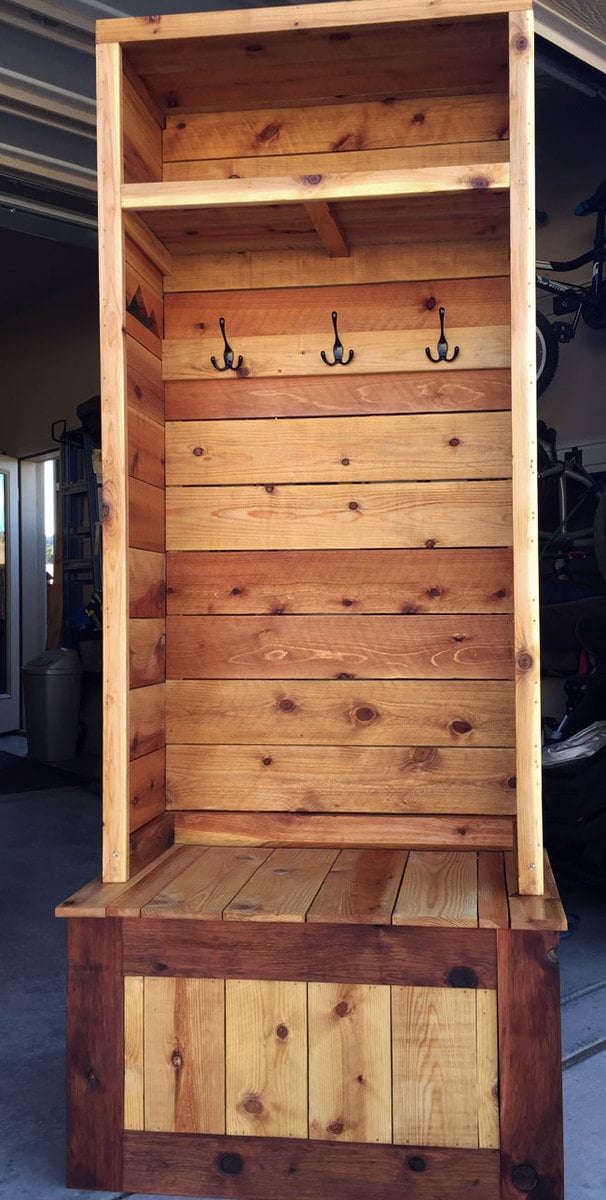
The lid lifts for off season shoe storage. All bench joinery is with pocket holes and the cedars pickets are attached with pneumatic 1 or 2-1/2" nails.
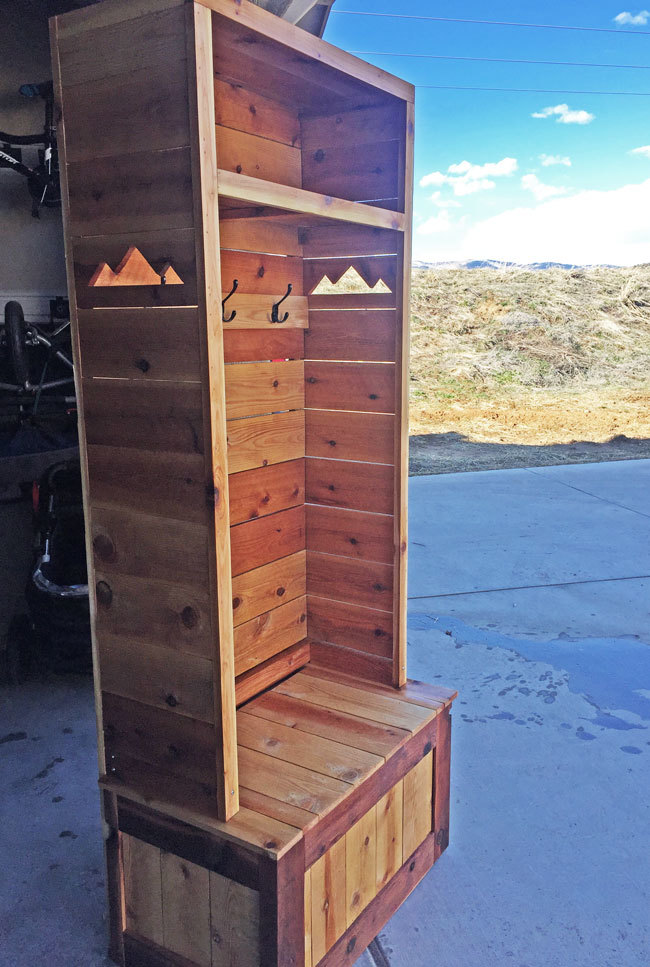
I used my speedy square's 45 degree angles to trace out the mountain silloutes and then cut them out with my jigsaw. I paced myself on the project and my four year old helped quite a bit with measuring and handing me the next board. We're excited to have a little spot to change shoes and grab the jackets. Feel free to check out my Instagram for other random projects or are family fun instagram.com/fotosnapper


We built this bed for my three and a half year old son and gave it to him for Christmas. He and also my almost two year old daughter LOVE it! We did modify the plans a little: we added a handle for getting into the bed from the stairs and also added more slats for support.


Fri, 12/26/2014 - 18:19
This is amazing! Great job on the details. I would have loved that as a kid. :)
Welcome to our labor of love. This is our first build and while my bf did most of the work, it was a great project for us as a couple. It was definitely work, but well worth it. We love the way it fits perfectly in our courtyard and people keep commenting on how high-end it looks. Thanks for the plan, Ana! The project took a little longer than it probably should, since it was the first project for us. You should account fort he time it will take to cut, sand and stain your pieces before assembly. There are times you will need to allow for the lumber to dry etc.
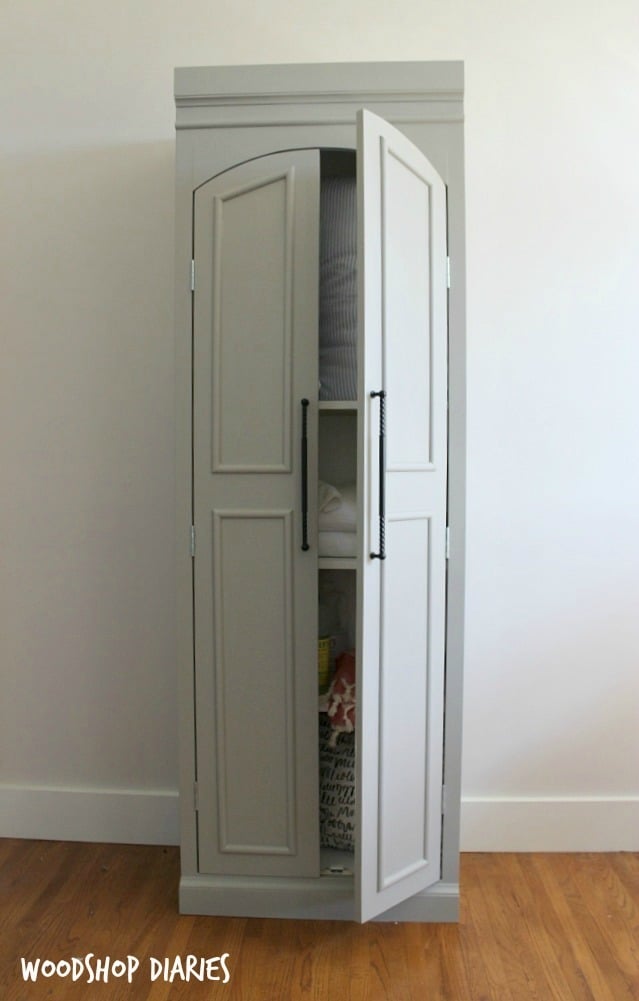
This pantry cabinet was inspired by a design from Ballard Designs. I needed something a little less deep for my space and couldn't afford the $1900 price tag. I was able to build this one for just around $100 and was able to customize it to fit my own space requirements. The arched doors and half round moulding add a nice touch. This versatile cabinet could be used for linens, kitchen storage, crafts, or just about anything else you can think of!
