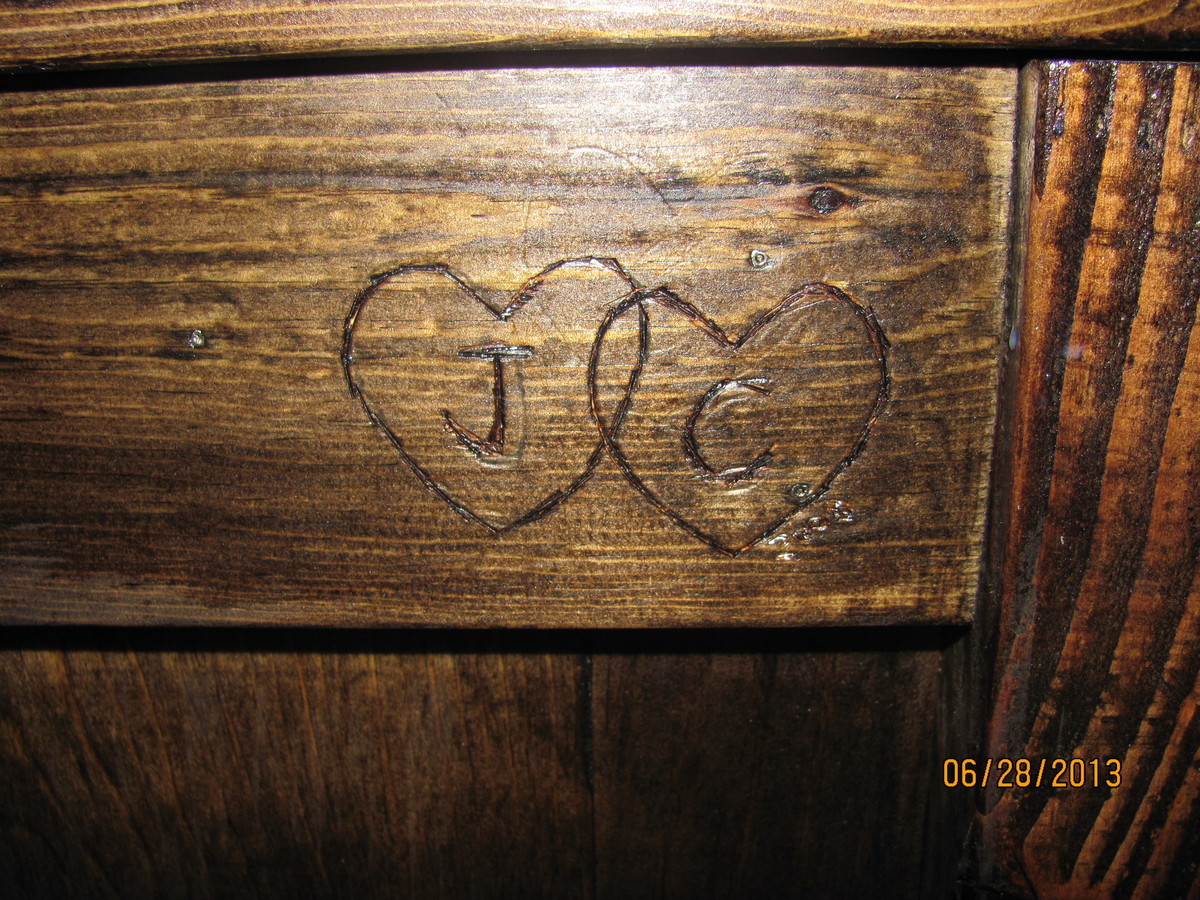
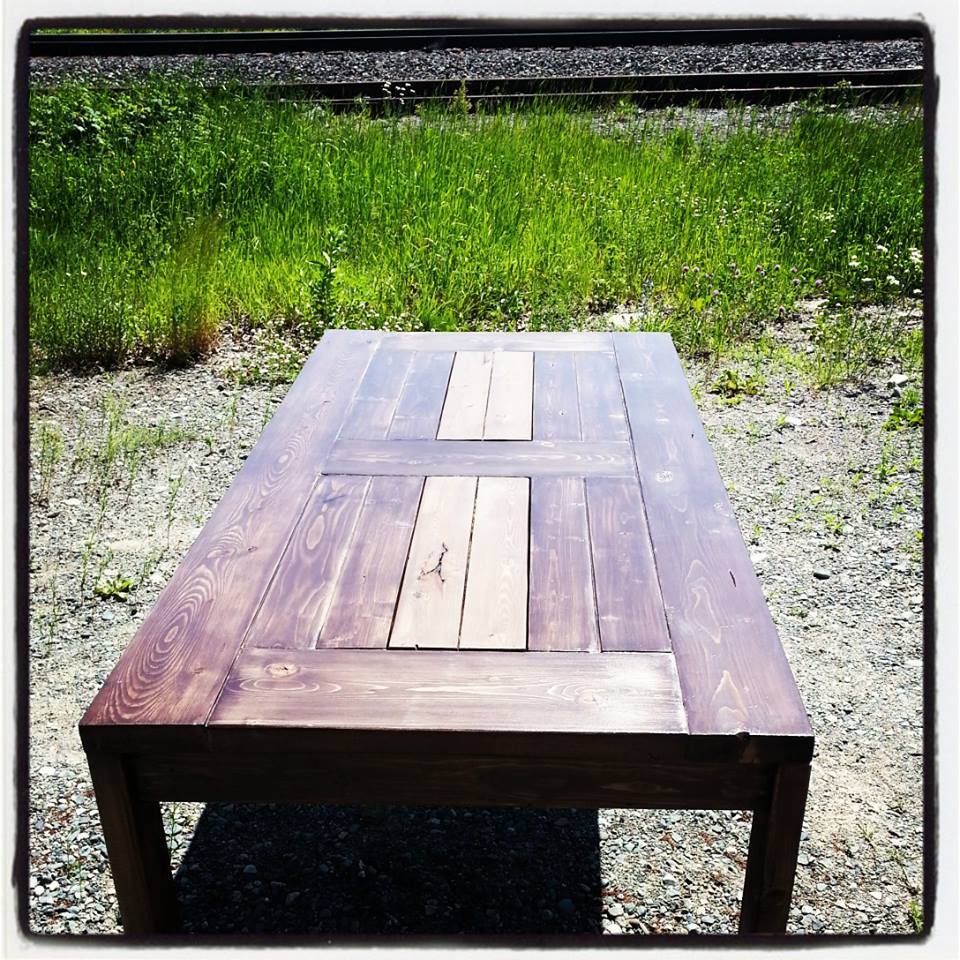
Finally Done!
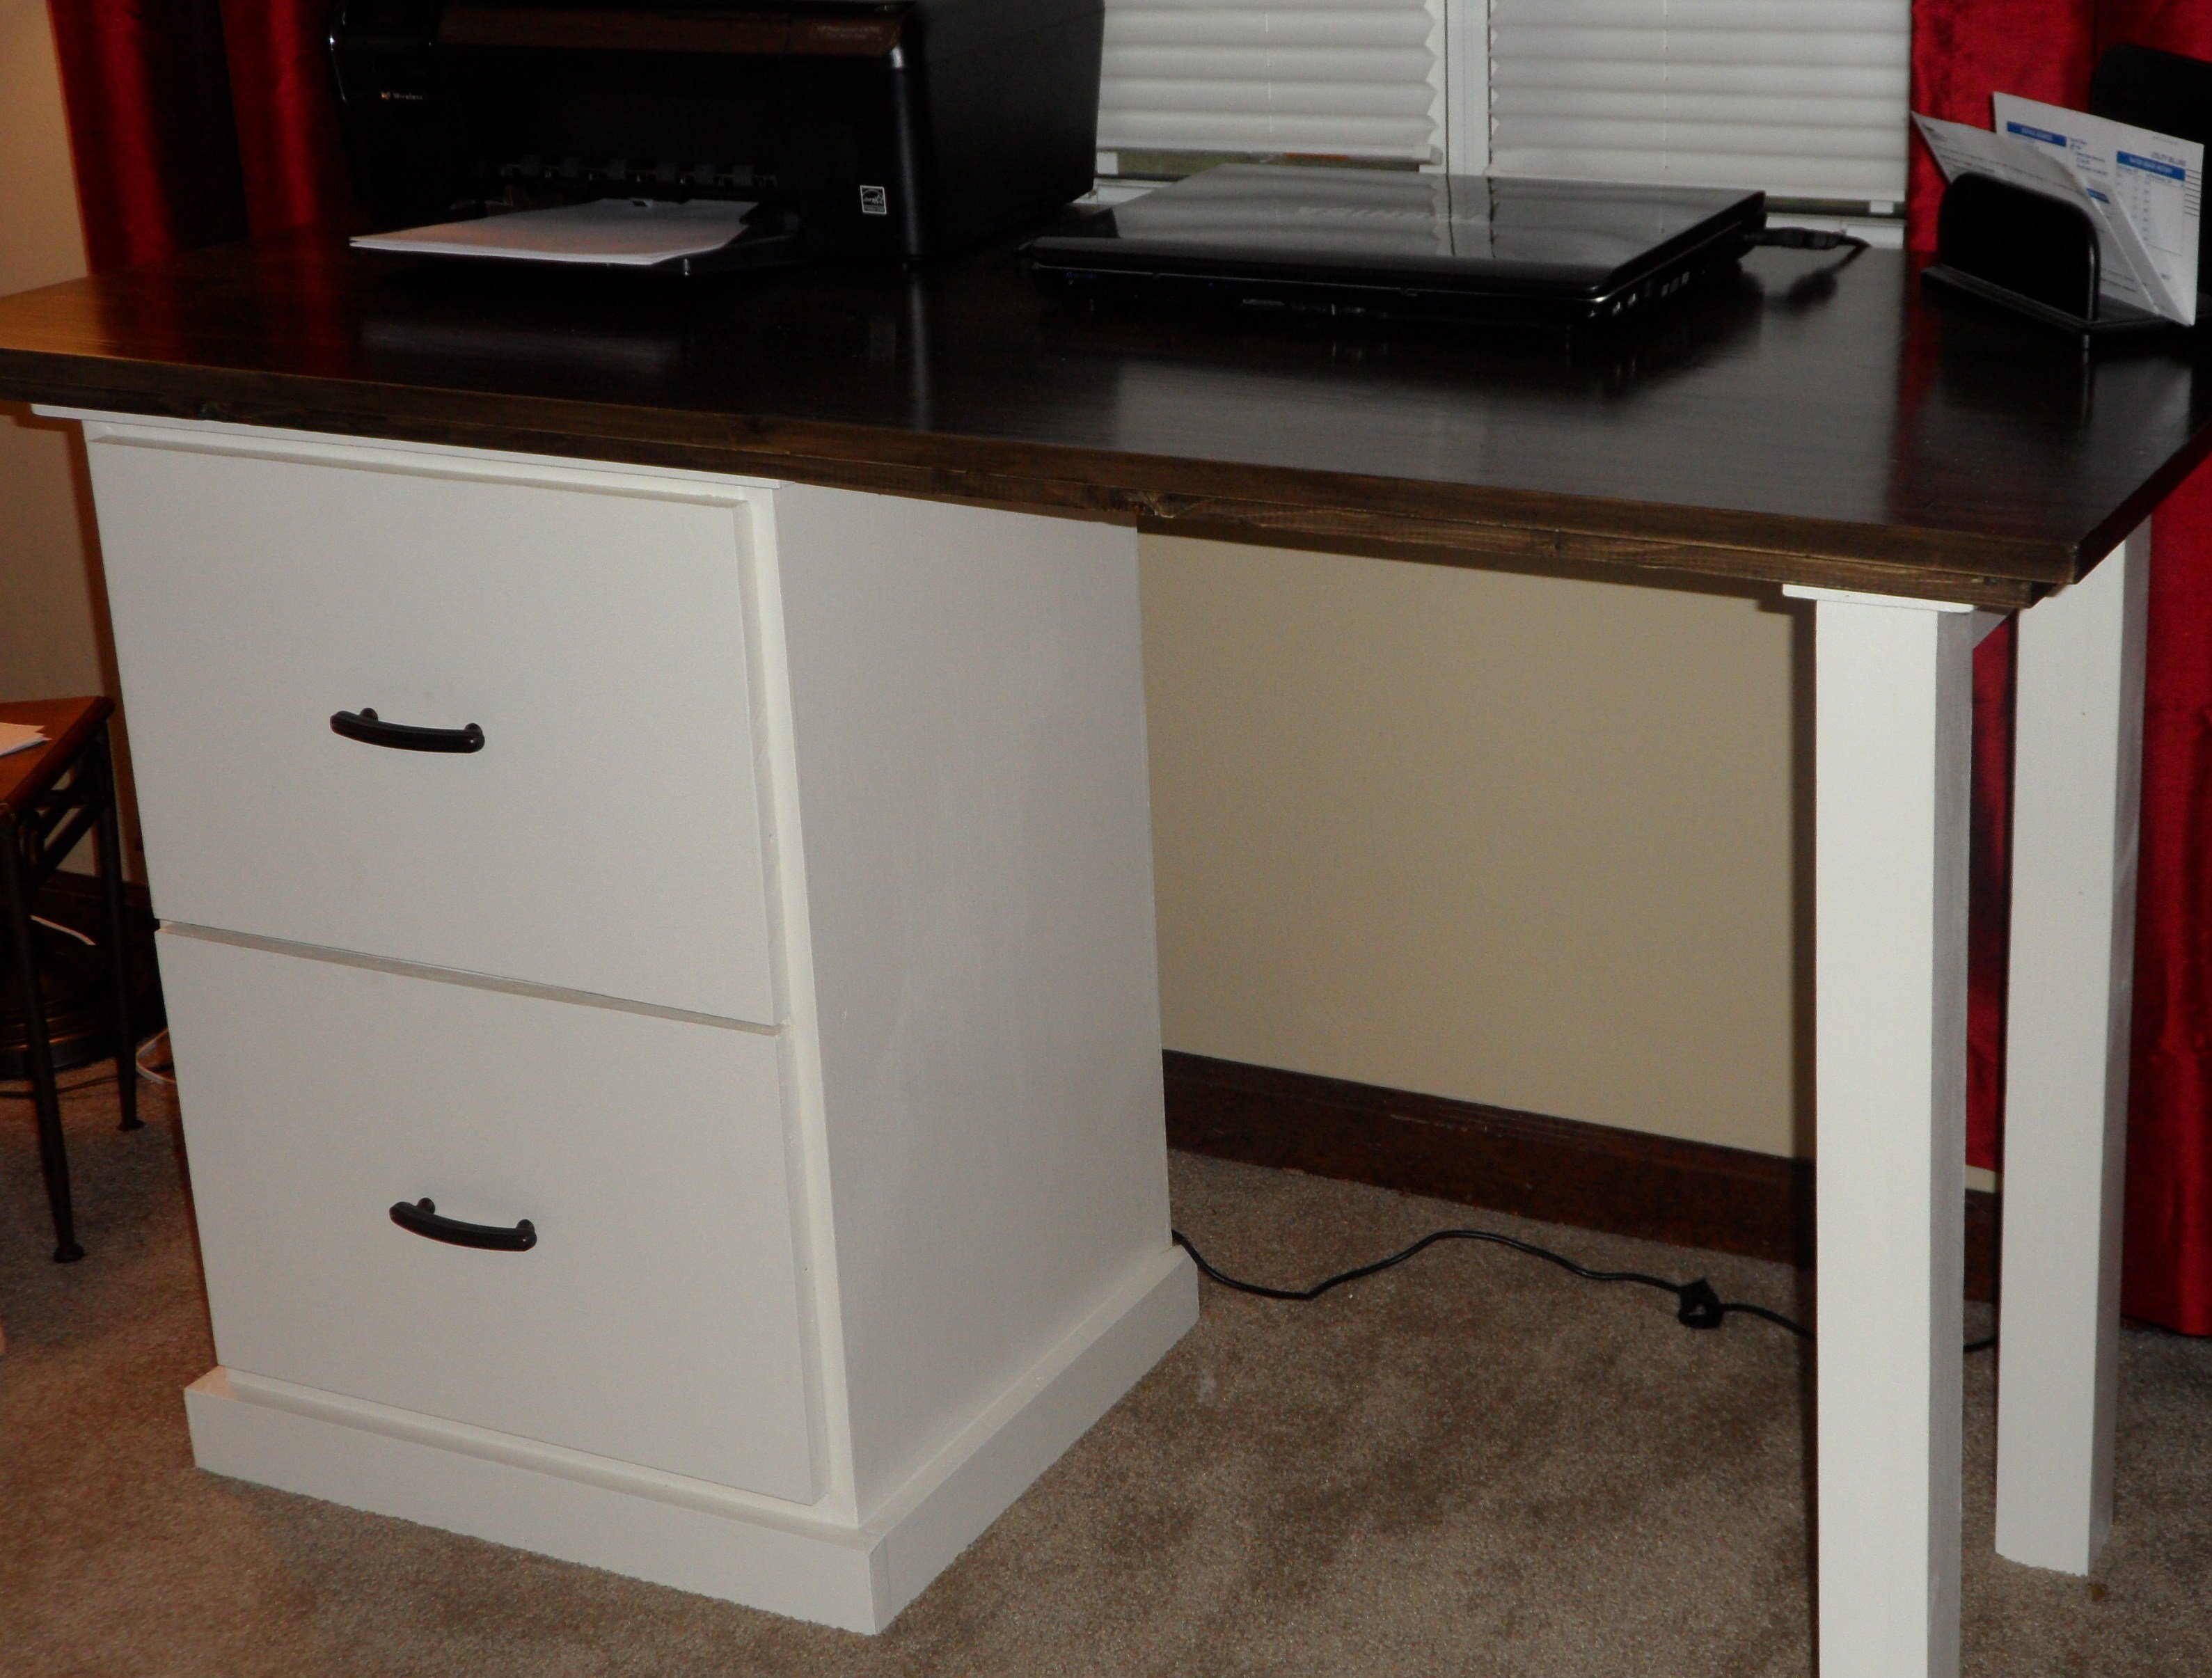
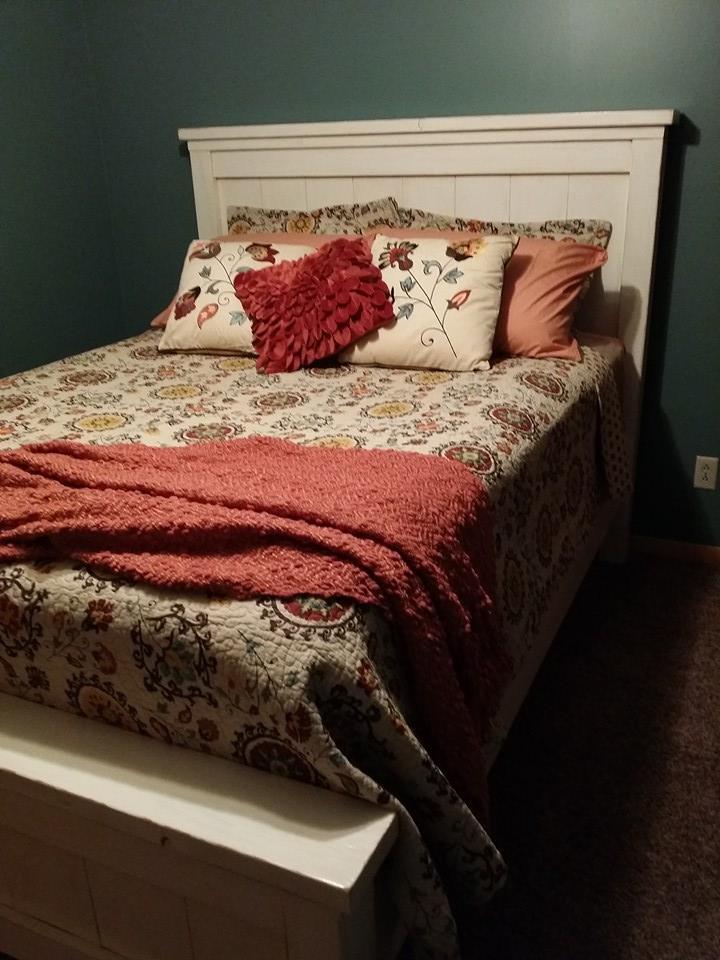
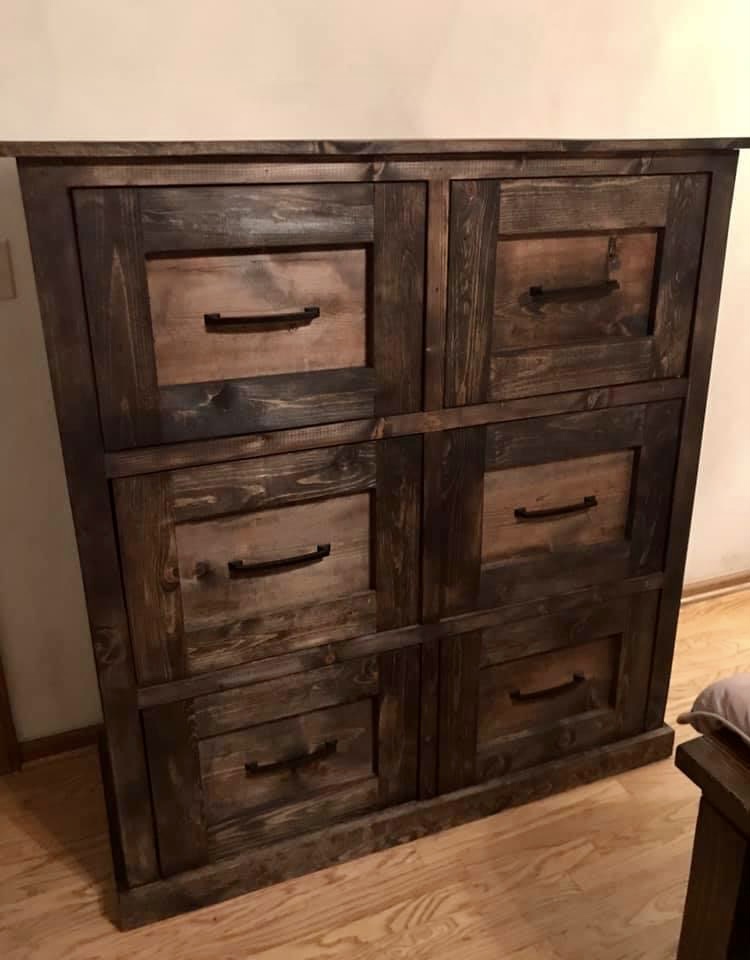
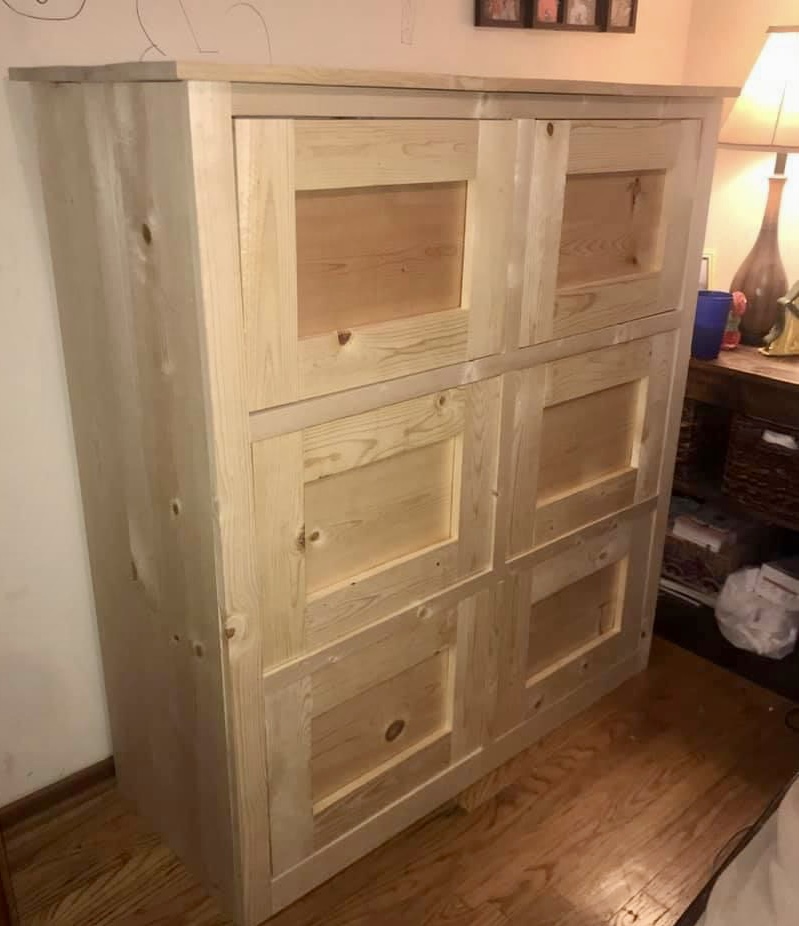
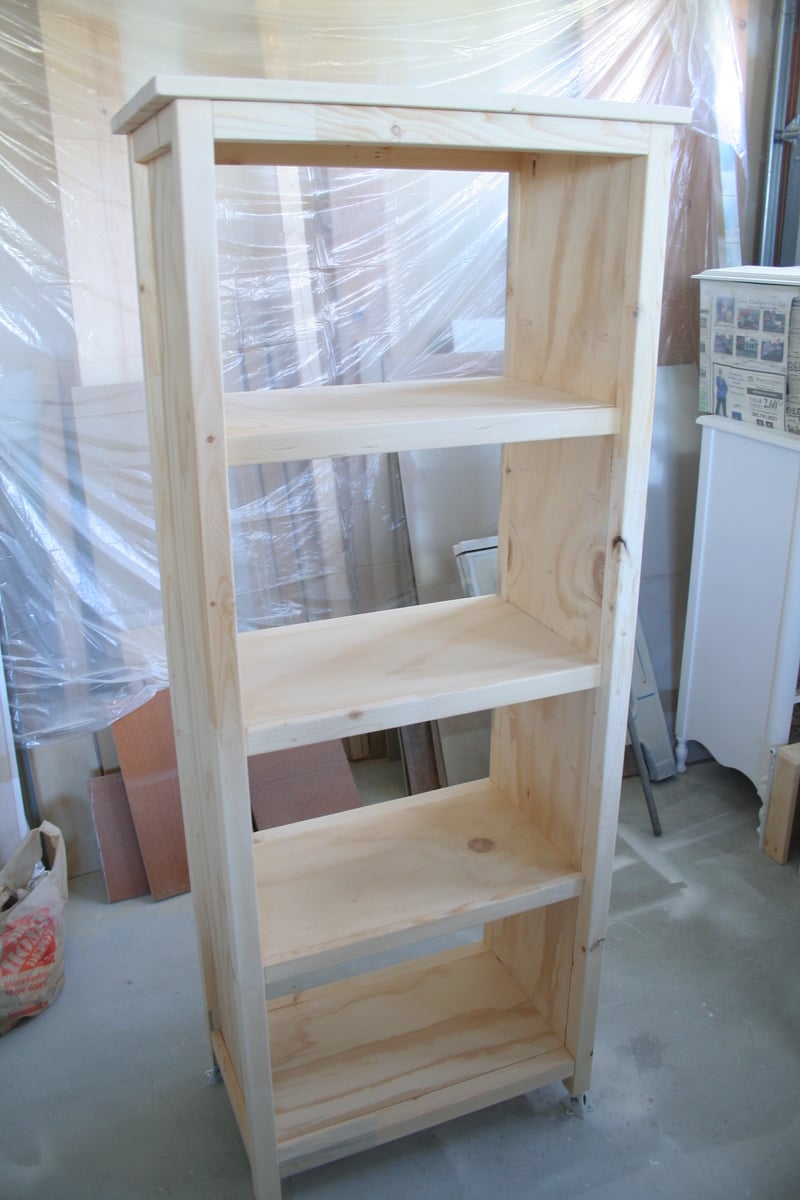
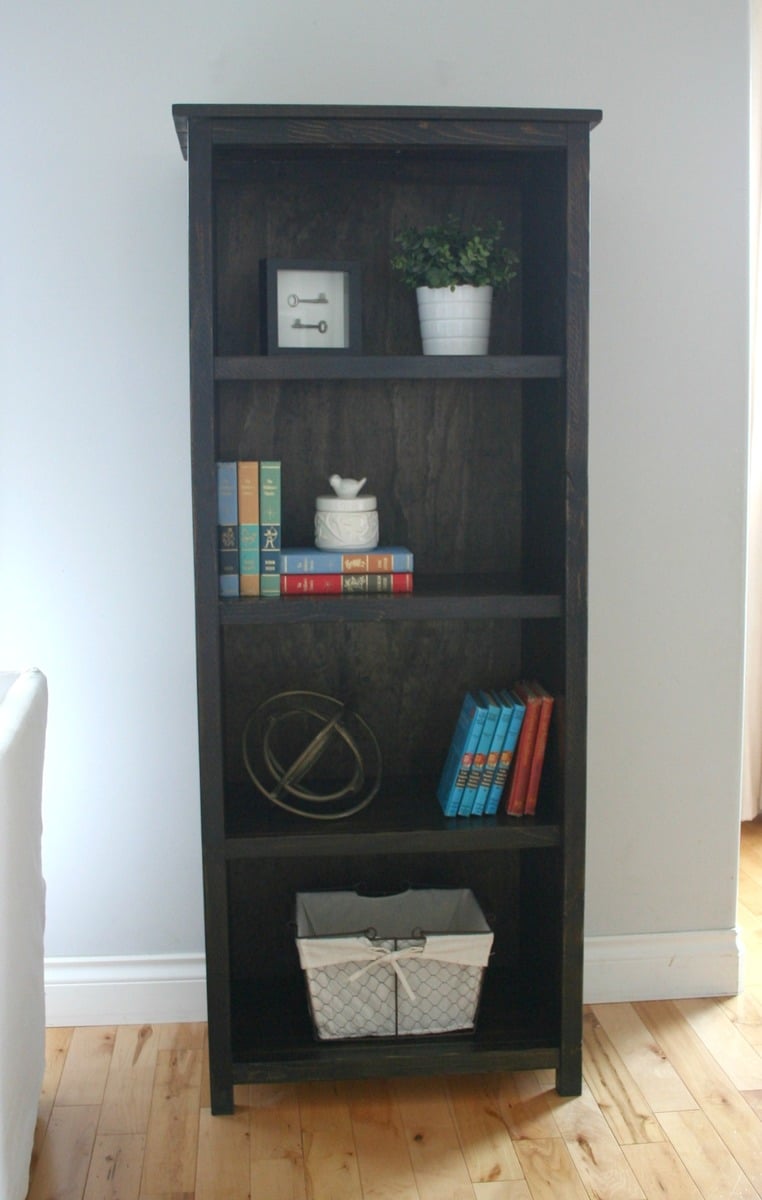
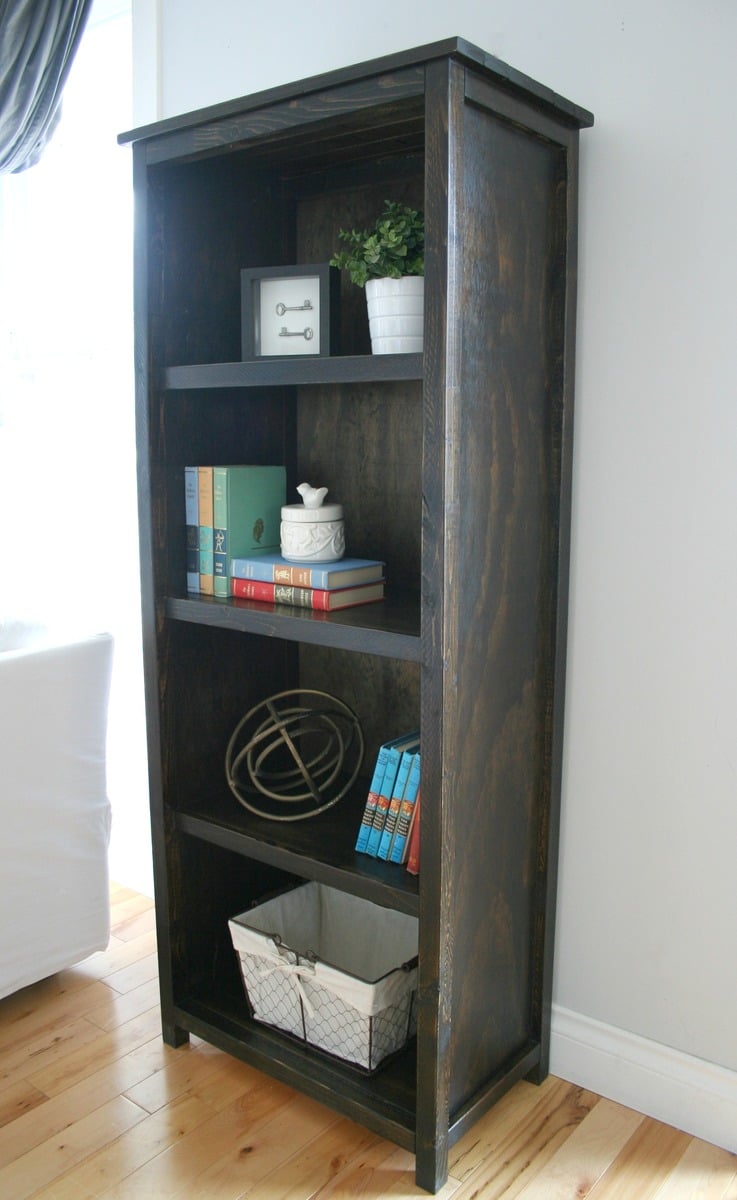
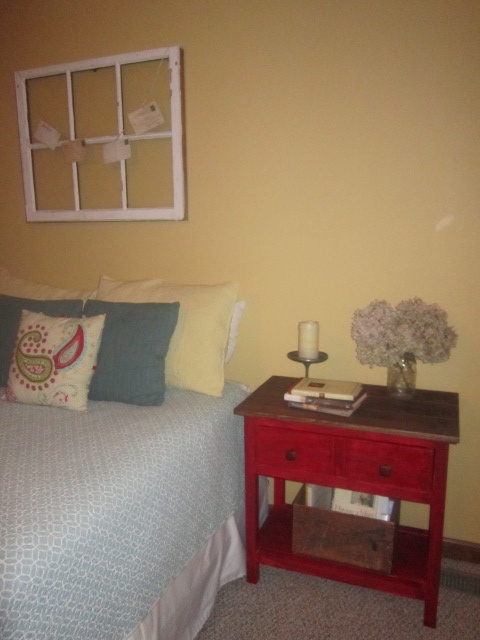
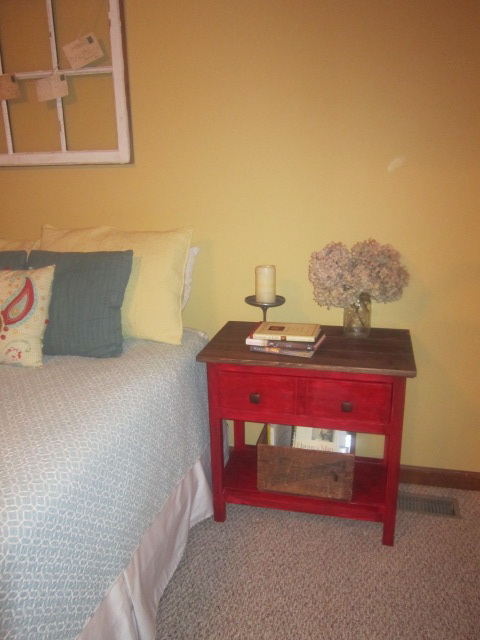
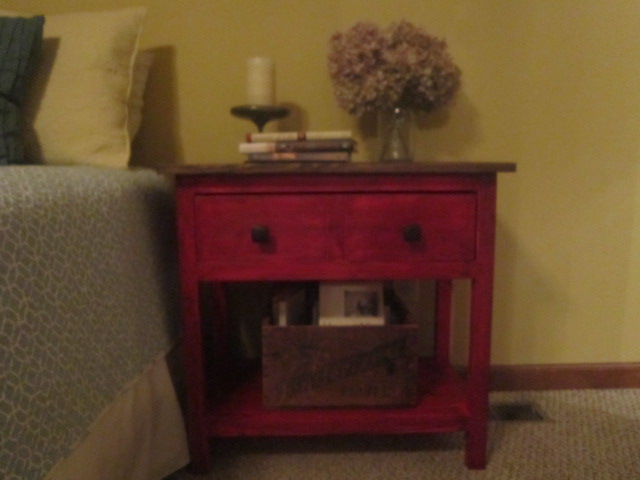
Finally finished my first build! This was initially meant to just be a file cabinet but by the time I got a little over half way through we got rid of our huge office desk to make a guest room and decided that I should a top to the file cabinet to make a small desk to go in our living room. It's a perfect fit! This definitely took me longer than I had expected thanks to a lot of cold or wet days, a busy schedule and a lack of a garage. If it wasn't light out and dry I couldn't work. In addition, since this was my first build, I had to learn a lot of skills, buy a lot of new tools (Christmas helped) and fix a lot of mistakes (not to mention the untold number of trips to the hardware store). However I am so excited about how well this turned out I am already halfway through building a set of night stands and my "to-do" list is very, very long!
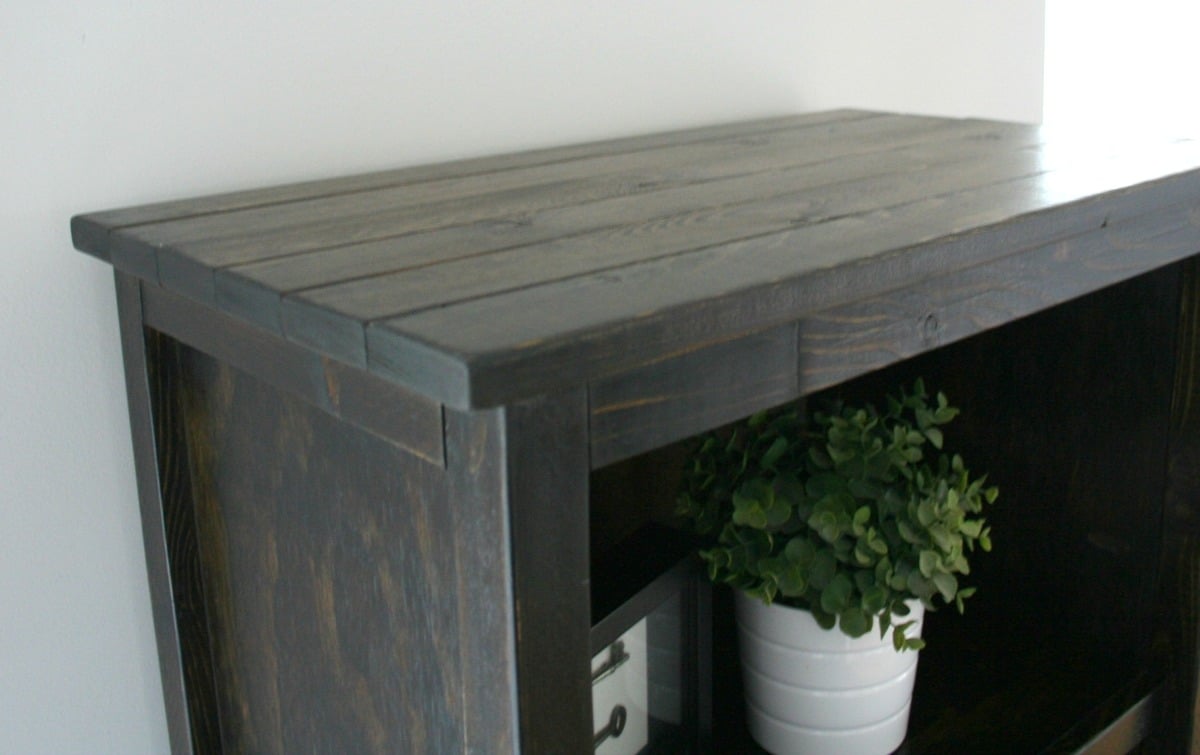
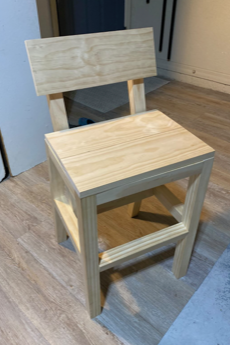
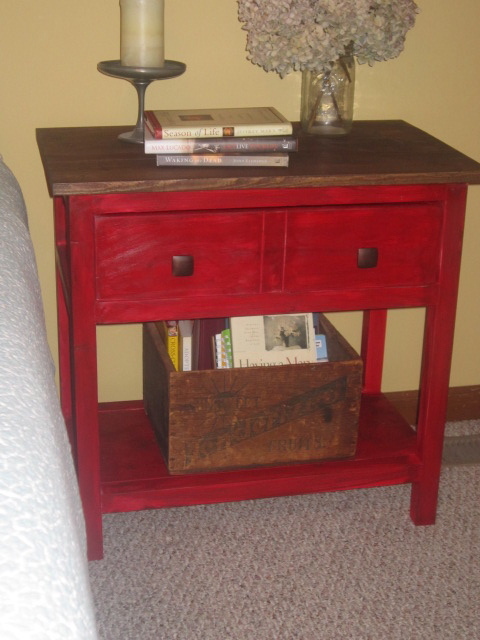
Top was pretreated with a Minwax Pre-stain Wood Conditioner, then stained with Cabot "Tannery" x 2 then finished with 3 coats of Minwax Fast-Drying Polyurethane.


Comments
NadineC
Mon, 04/30/2012 - 11:37
Type of plywood
What type of plywood did you use for the top? I am looking to buy the materials and I have no clue what to get.
claydowling
Mon, 04/30/2012 - 16:56
Plywood Types
Nadine,
If you're determined to stain the top, there are a couple of different things I'd try.
The first is looking for a panel instead of plywood. Most home stores and lumber yards sell glued up wood table and counter tops. At Menards I've seen maple, oak and pine. Lowes and Home Depot usually at least have pine. It costs slightly more, but it gives a really nice desktop.
If you want plywood, if you're going to stain it buy an A1 plywood. In an ideal world, it would have a rotary cut core, but that isn't essential. Home centers tend to make it a bit harder to by plywood by the surface grade, so I really recommend you go to a lumber yard for your plywood. That said, I've seen the stacks of Purebond at Home Depot that Ana recommends, and it looks like very nice material. I haven't used it, but I think it would be worth trying.