Community Brag Posts

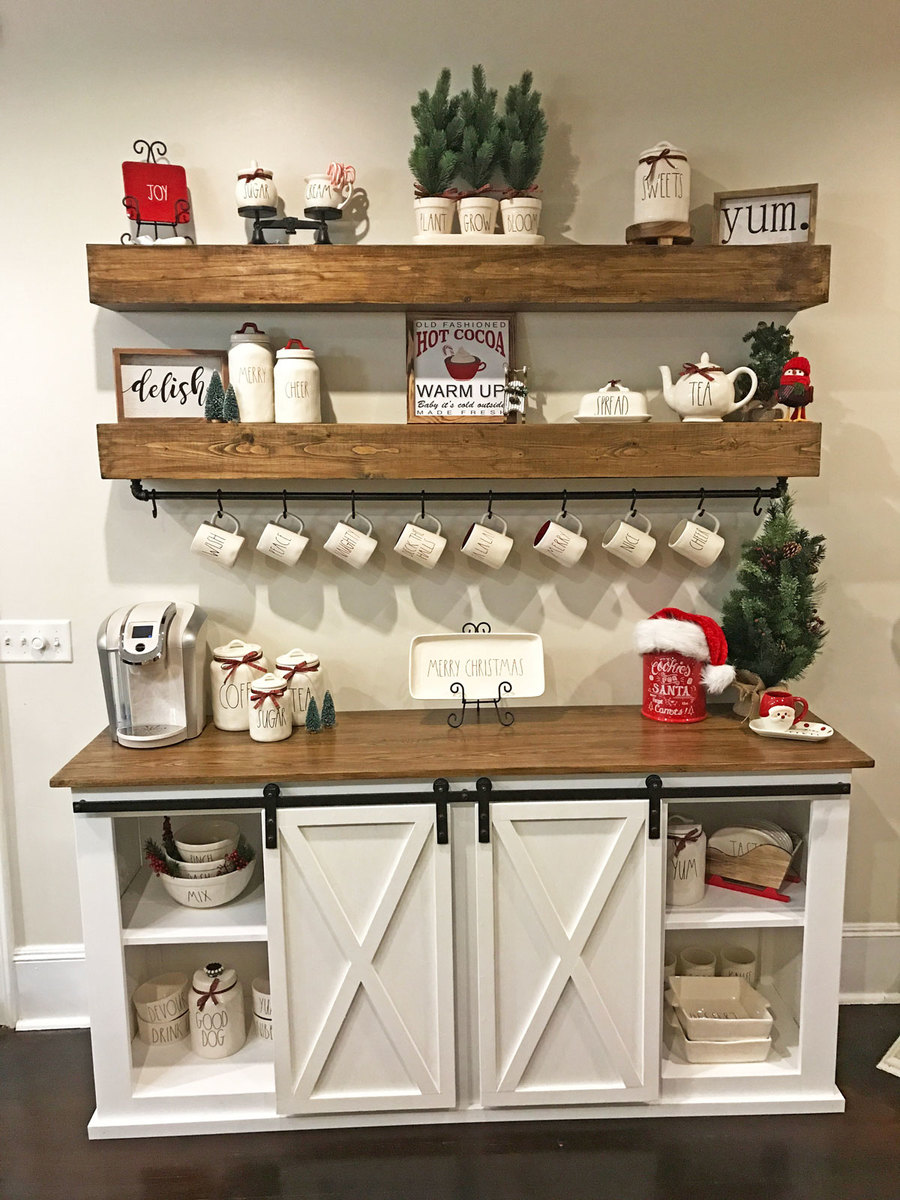
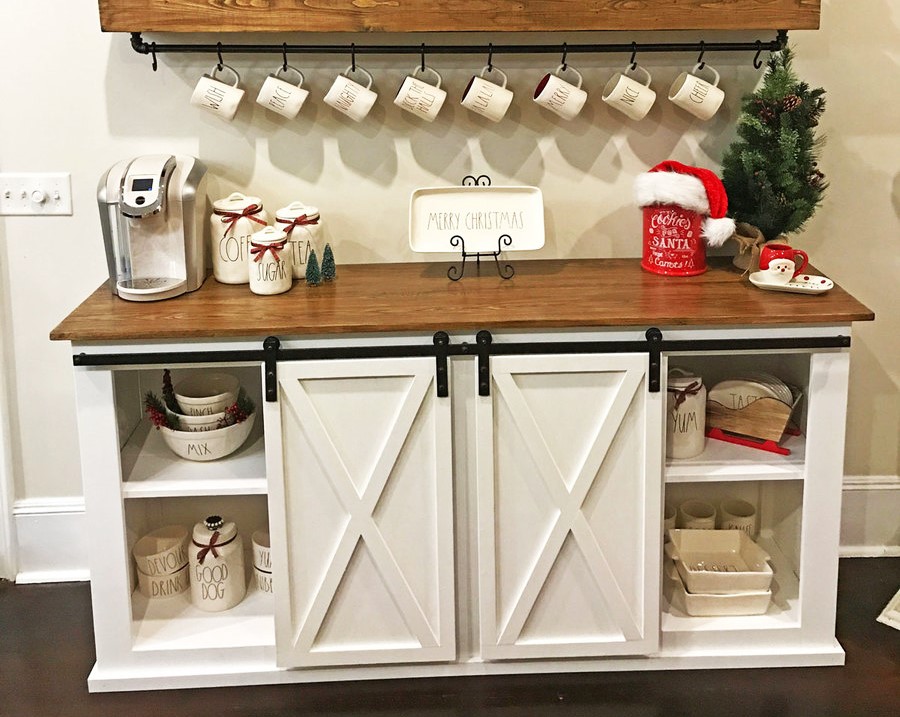
Sideboard and floating shelves

Submitted by knollgf on Tue, 12/05/2017 - 20:35

My wife wanted a piece for our dining room. This was a easy weekend project. I had to modify the size to fit my space. I decided to use red oak for the top. It was more expensive but is a much harder wood with a nicer finish. I made the hardware myself from aluminum flat bar. 

Estimated Cost
$200-$300
Estimated Time Investment
Weekend Project (10-20 Hours)
Finish Used
Flat white base
Espresso top
Recommended Skill Level
Beginner

Comments

Seasonal And Holiday

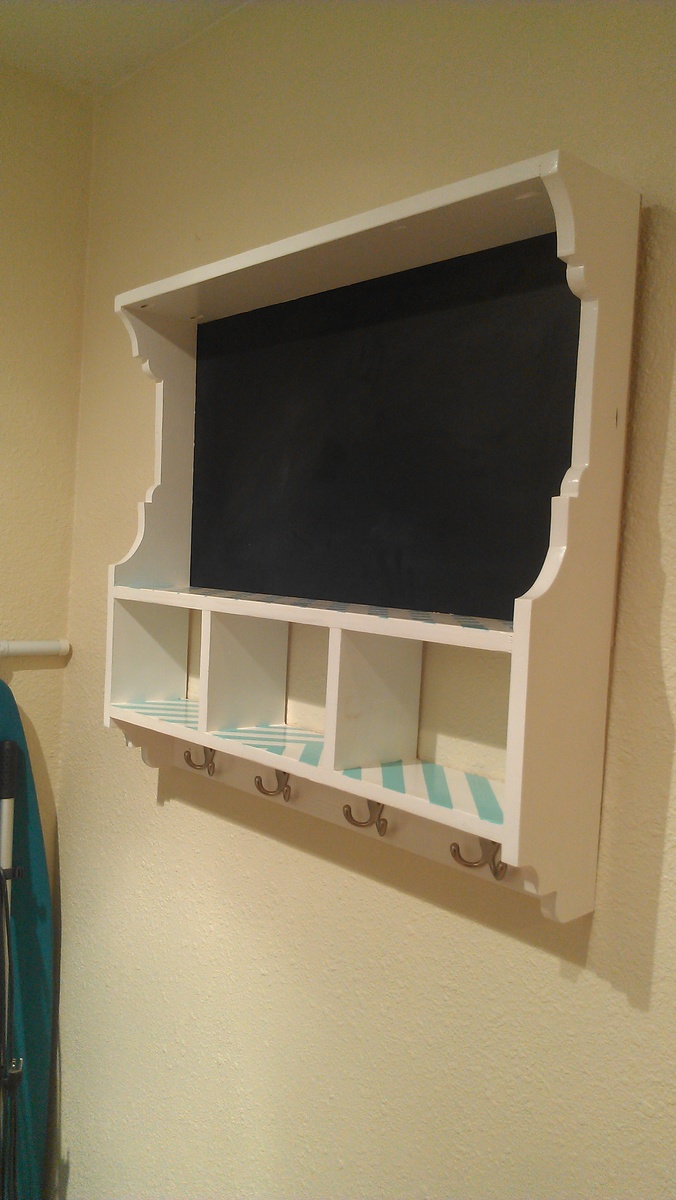
Chalkboard Cubby

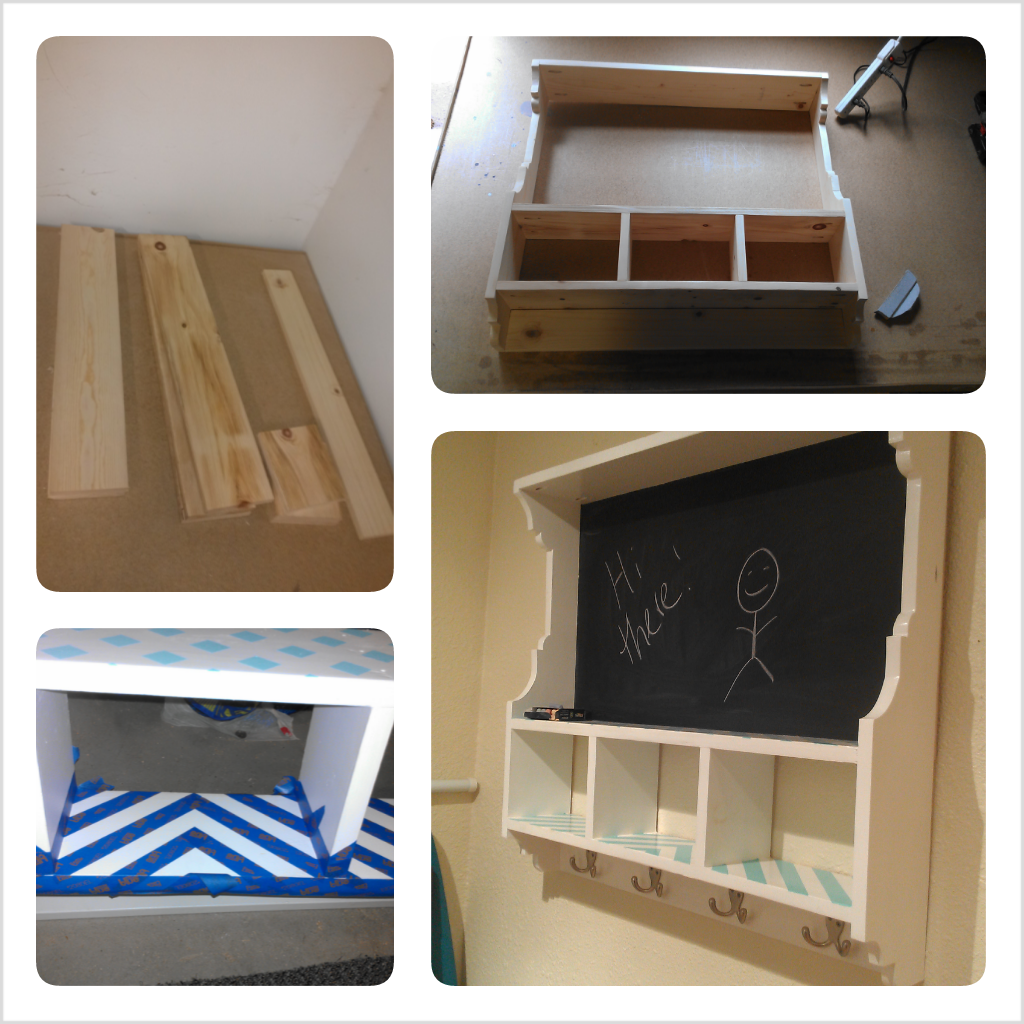
This cubby was my very first project! I just finished remodeling my kitchen, all that was missing was a place for my keys, dog leashes etc. My little house doesn't have a proper entryway so I created a "welcome station" with this cubby. The trickiest part was definitely cutting the sides, but I was able to get those tight circles with a little forethought and a lot of sanding :) I used leftover paint and samples from choosing colors for the kitchen, so it automatically coordinated with the rest of the decor.

Built from Plan(s)
Estimated Cost
~$40
Estimated Time Investment
Day Project (6-9 Hours)
Finish Used
3 coats of Behr "Polar Bear" white paint and samples (Rainwater, also Behr) with LOTS of taping! I think I spent ore time taping than I did actually painting! I also did 3 coats of clear satin coat. I didn't sand in between because I like the look of brush strokes :)
Recommended Skill Level
Intermediate

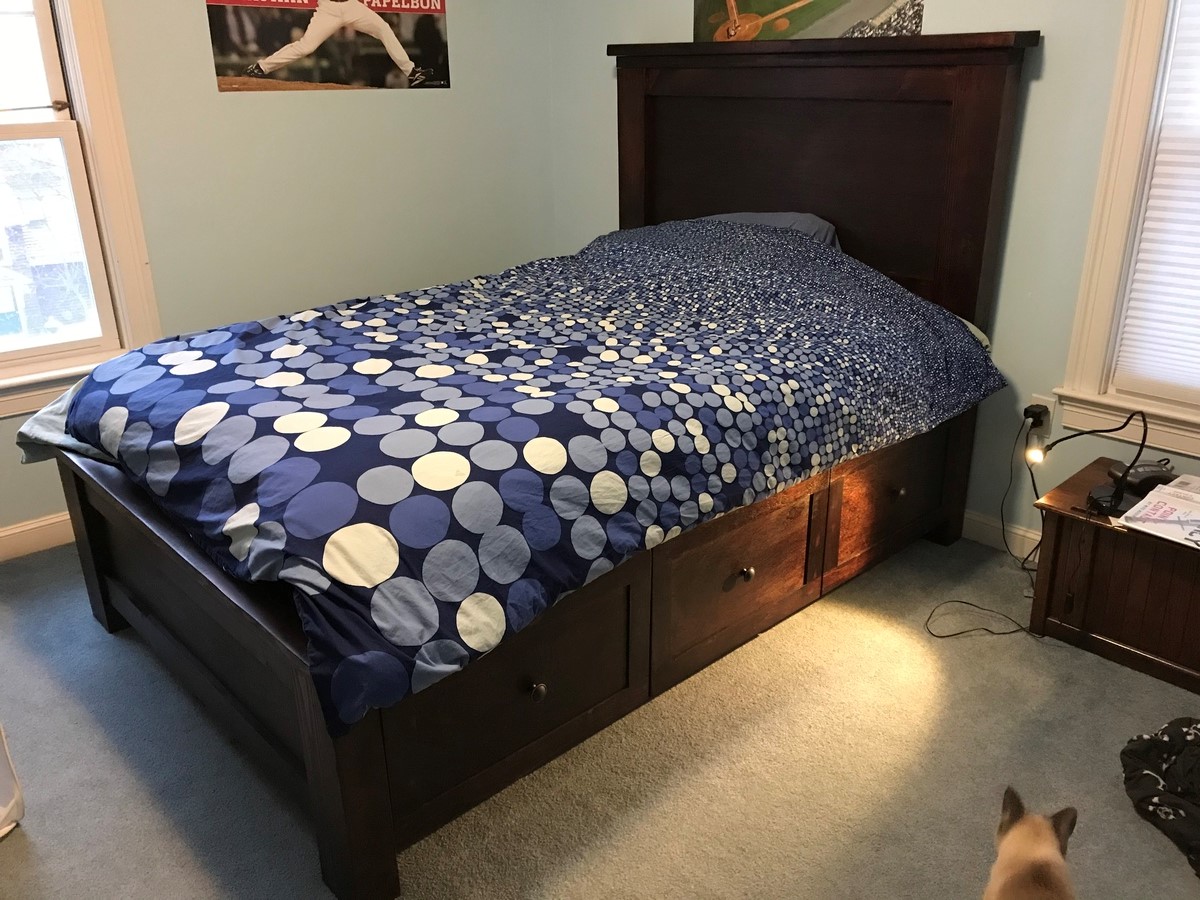
Full Farmhouse Bed with mods

Submitted by Kingsamui on Thu, 12/14/2017 - 16:29

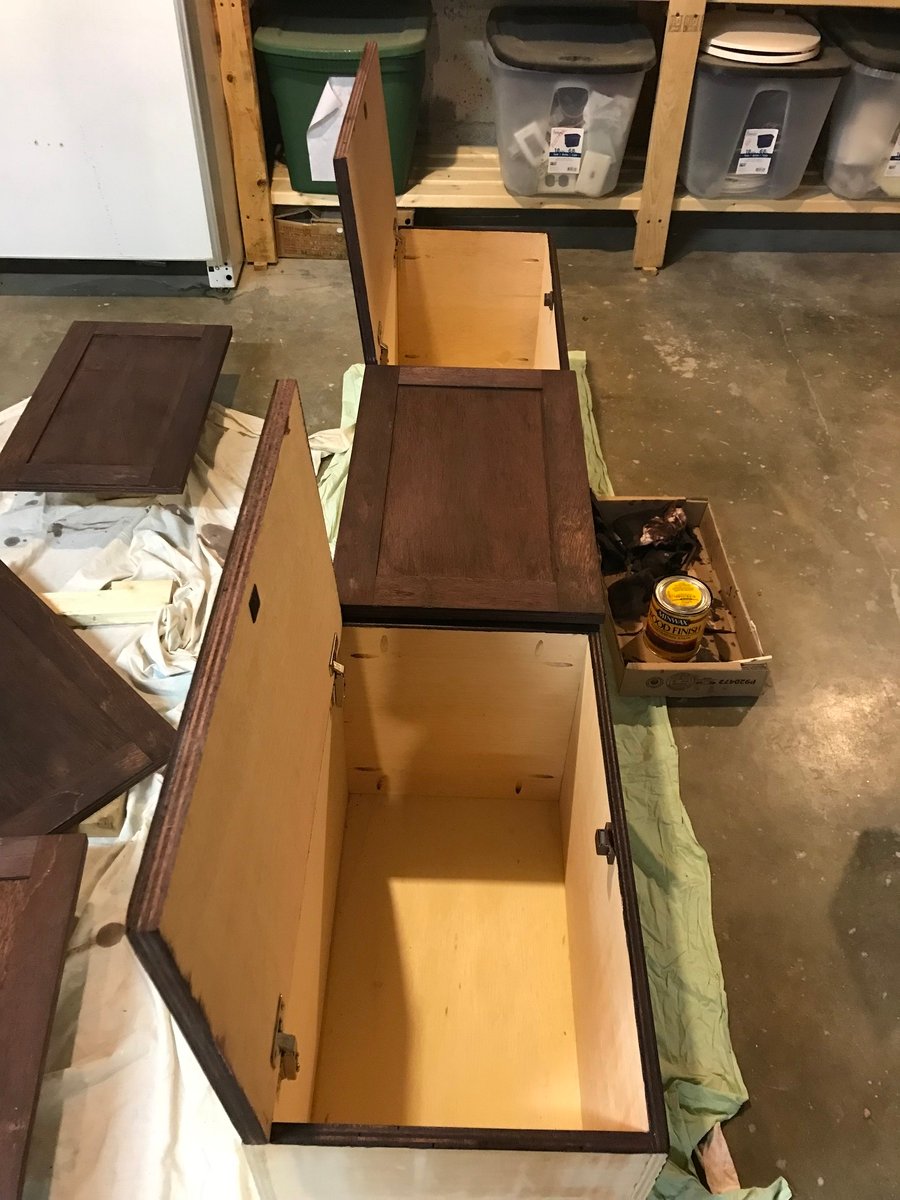
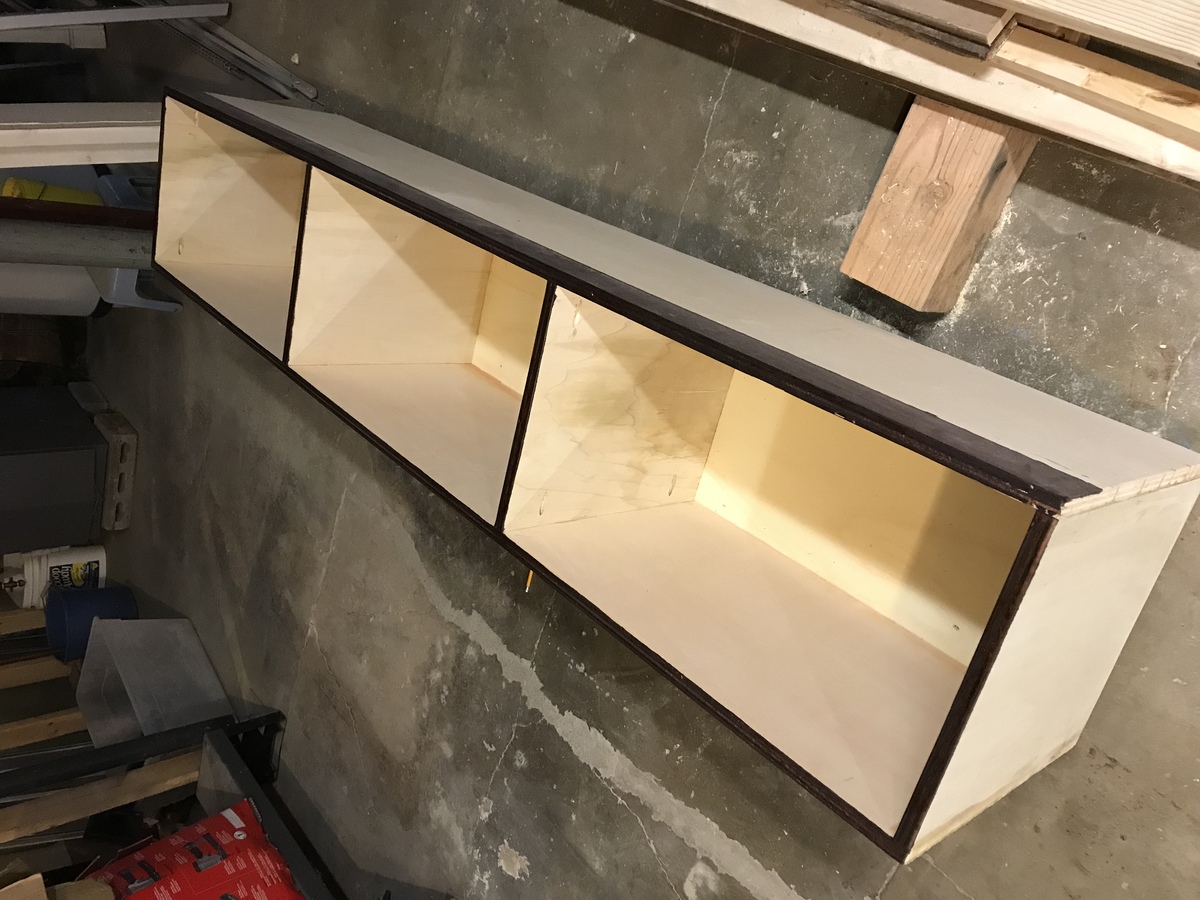
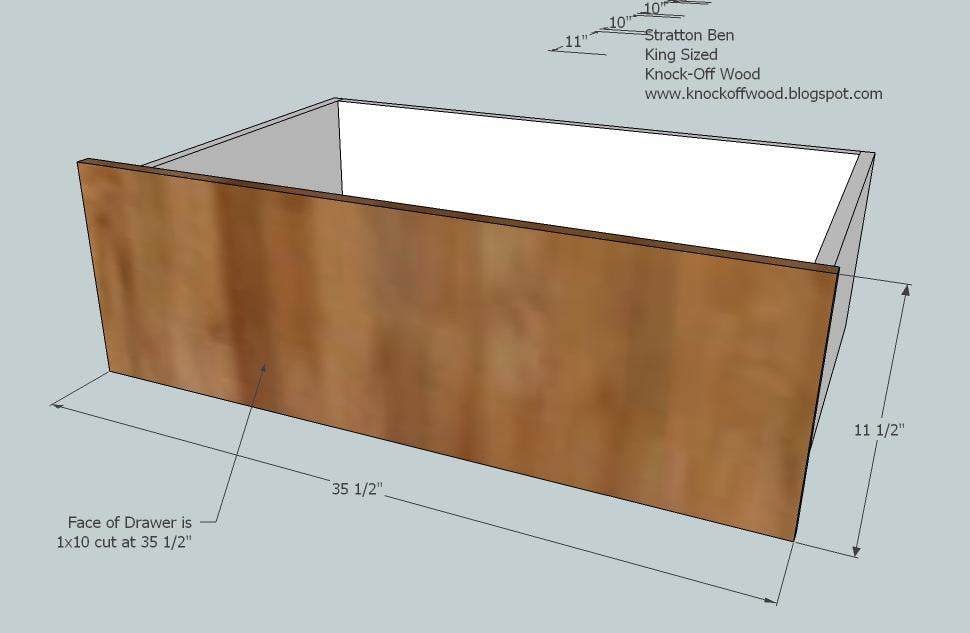
Made the standard full farmhouse bed with storage, but did a couple modifications. 1) Didn’t use drawers, but wanted closed, not open cubbies. I made the drawer fronts and then attached with full overlay hinges and magnetic catches do they open from top down like a horizontal cabinet. 2) built the slats as two, one piece slat frames which sit on the cleat so that they can easily be removed for the extra long term storage between the cubby boxes. Just lift mattress and the two pieces of slats and lots more space. 

Estimated Time Investment
Week Long Project (20 Hours or More)
Finish Used
Red Mahogany Stain and semi-gloss polyurethane
Recommended Skill Level
Intermediate

My first project

Loved how these plans were so easy to follow and certainly appreciate the accompanying video.

Comments

Outdoor Sectional

Submitted by czappia on Wed, 04/27/2011 - 13:54

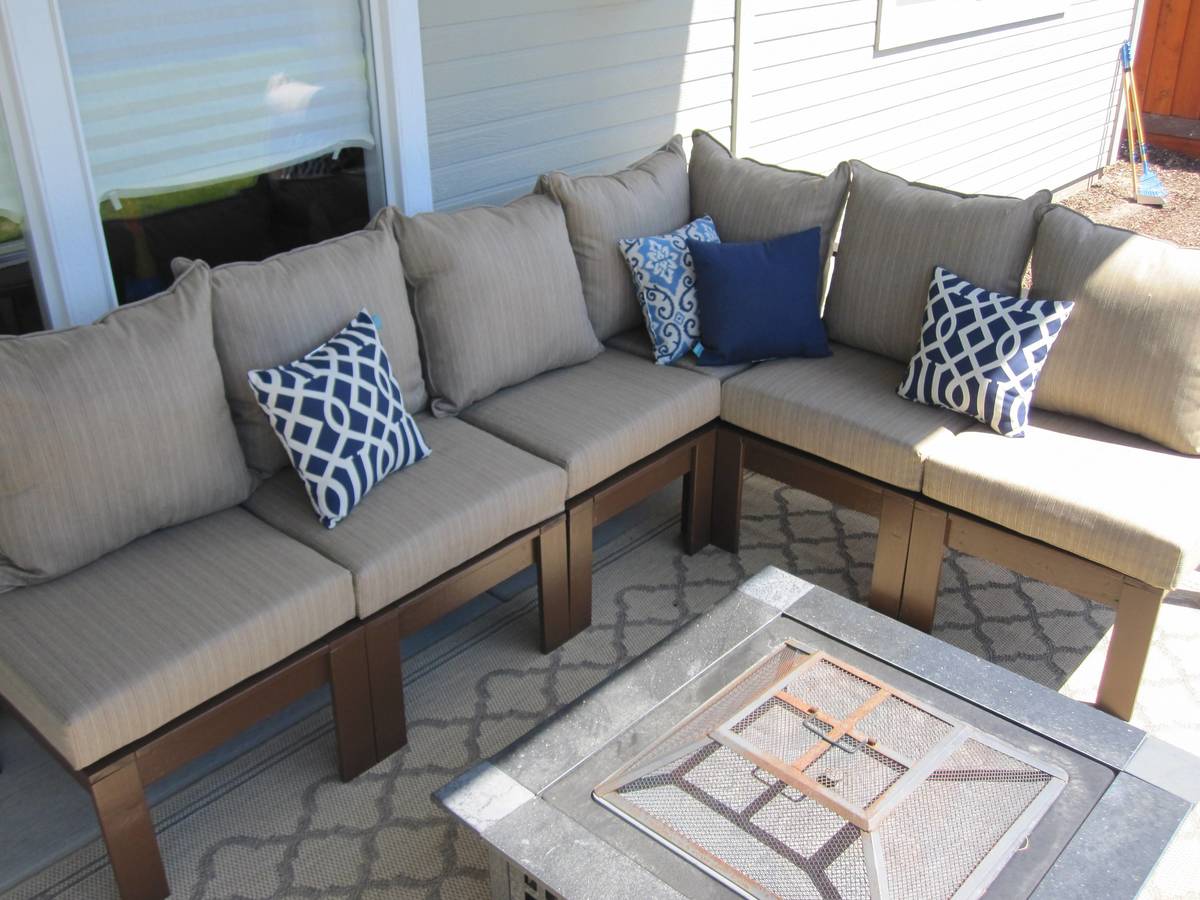
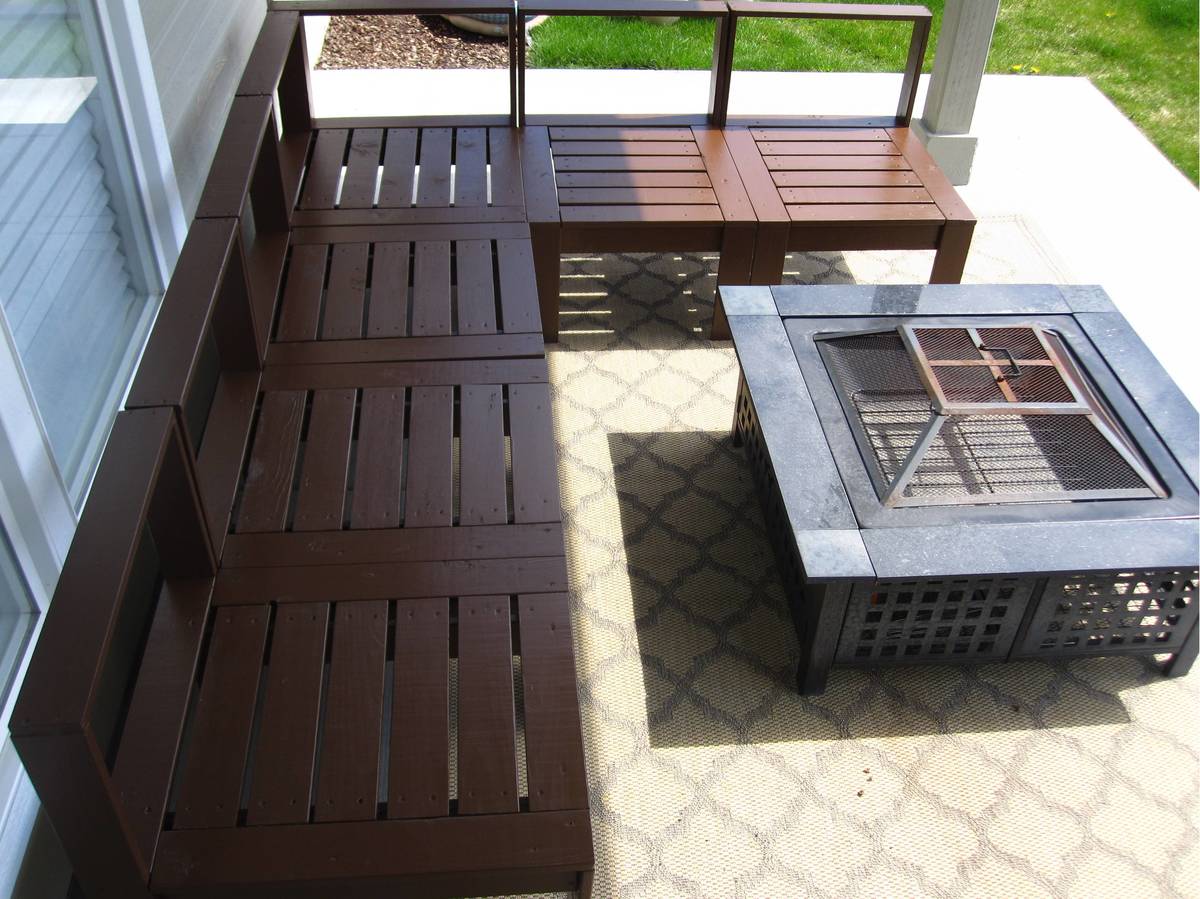
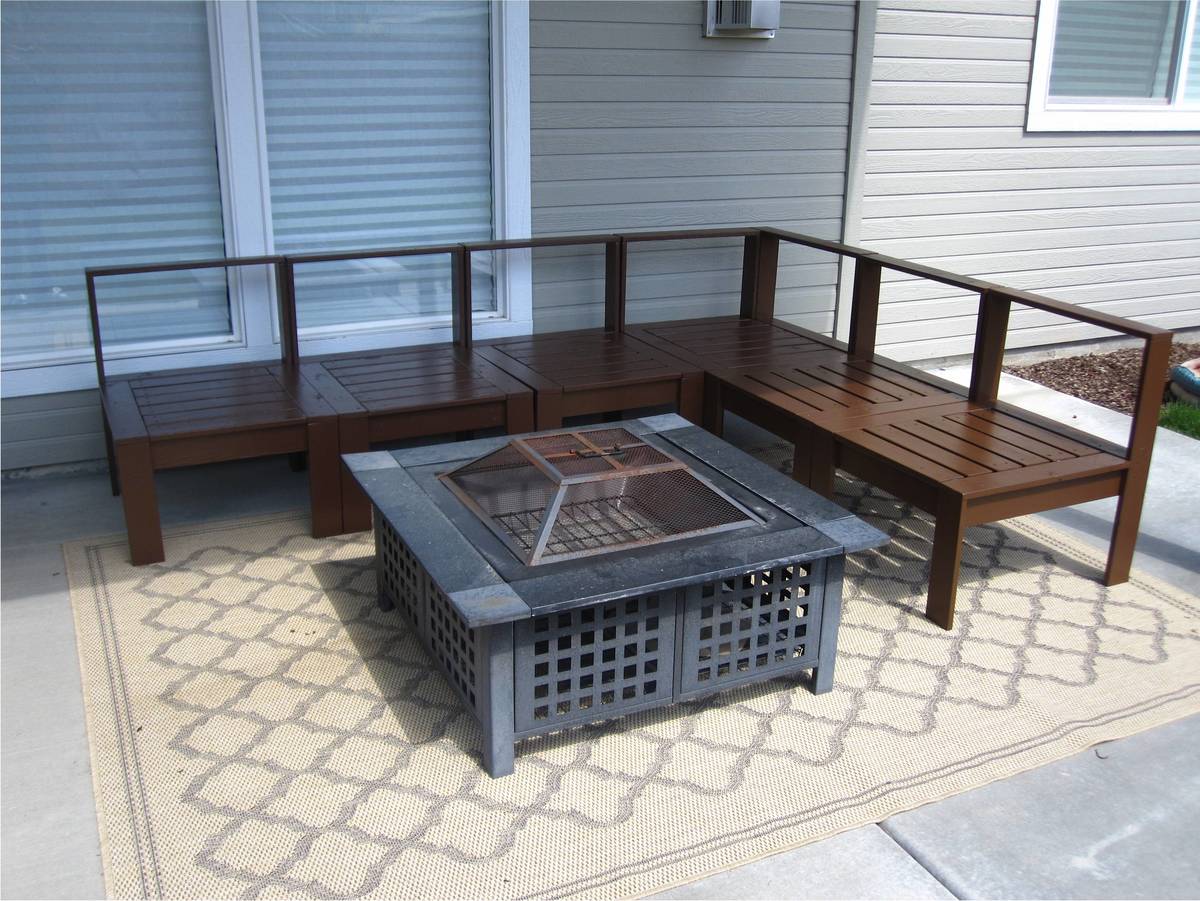
We needed furniture for our back patio and as I was searching for plans online, I stumbled across Ana-white.com. I was so excited to show my husband who built this in a day. I had thought that I would sew the cushions myself but after a few failed attempts at sewing box cushions with piping, I decided to buy the cushions. Buying them is actually a LOT cheaper as foam is very expensive in this size. I bought our cushions and back pillows from Walmart and the accent pillows from Target.

Cost: $355-cushions
$115-Wood
$25-Primer
$20-Paint

Estimated Cost
$500
Estimated Time Investment
Weekend Project (10-20 Hours)
Recommended Skill Level
Intermediate

Comments

Playhouse in-progress

Submitted by DoctorEw on Mon, 05/02/2011 - 06:49

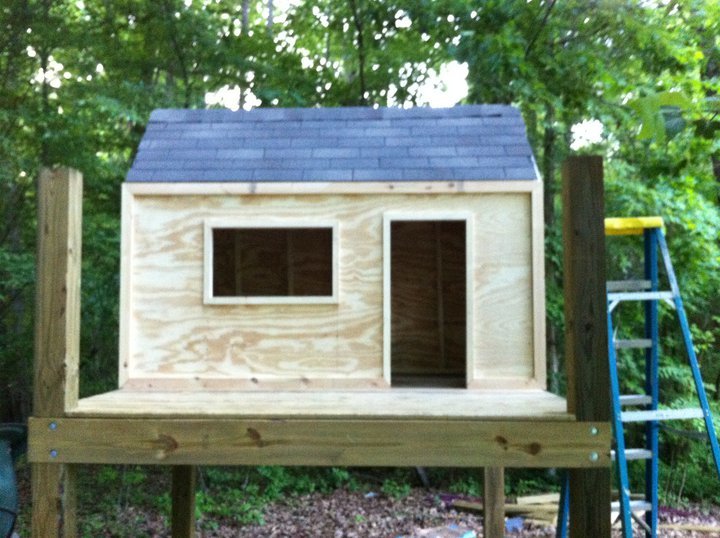
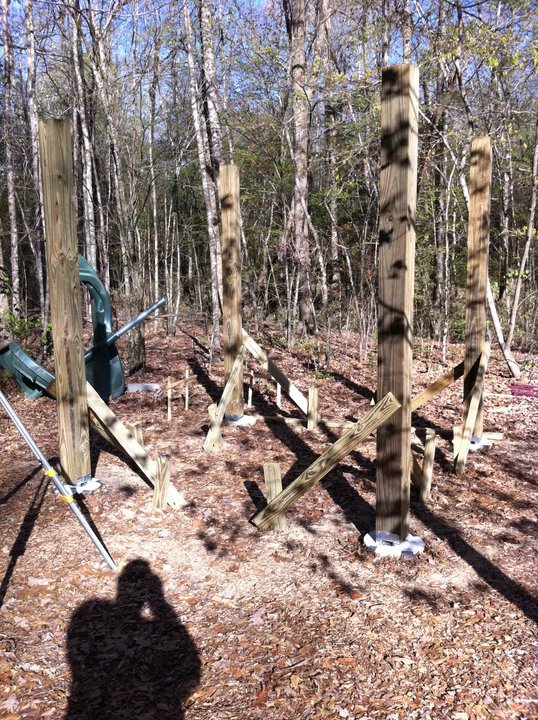
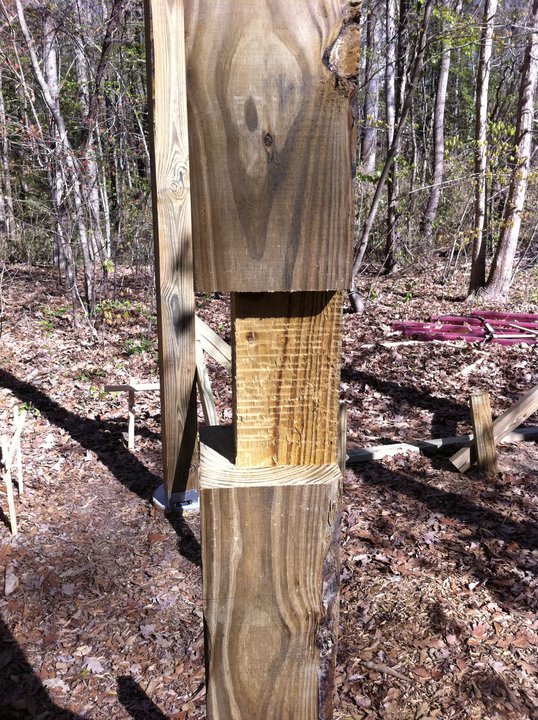
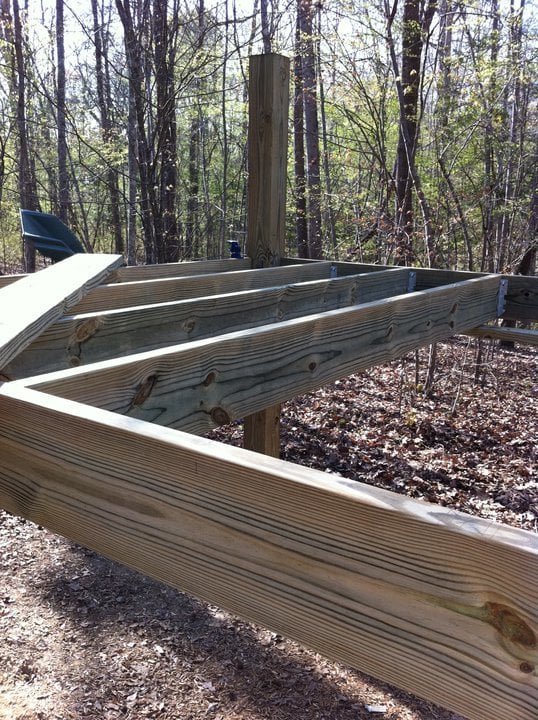
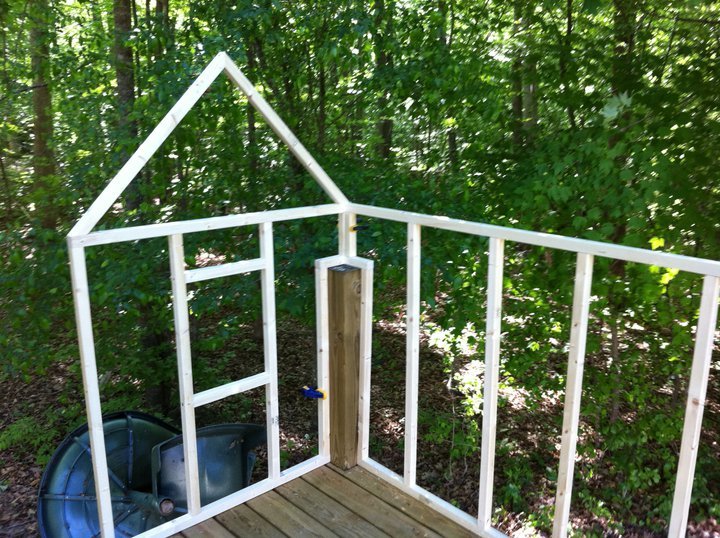
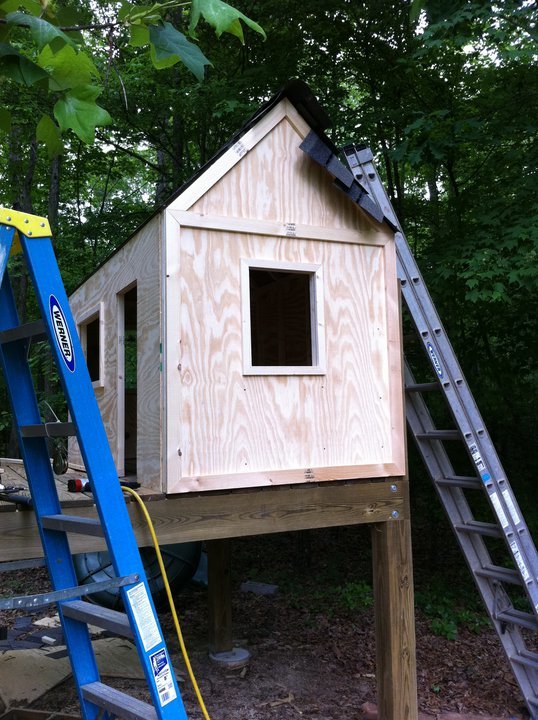
Due to rain (and horrible ability) this project has been taking a LONG time it seems. =) We had one of those "cheap" playsets from one of the warehouse clubs that would scare me to death anytime my girls got to swinging on it. So... we knocked it down and I took some liberty with the details from Ana's playset plans.

Estimated Cost
~$600 so far (concrete, wood, fasteners, shingles, etc..)
Finish Used
Will paint
Recommended Skill Level
Intermediate

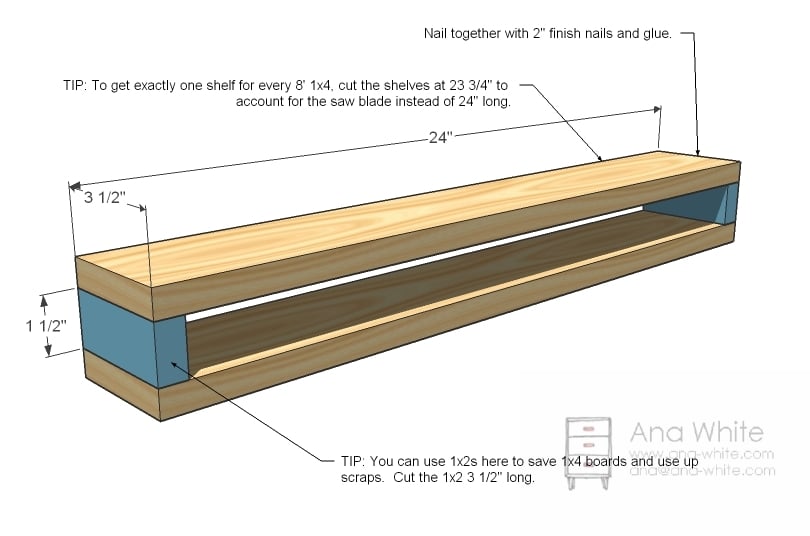
Nursery Room Book Shelves from $10 Ledge Plan

Submitted by karahart on Wed, 05/11/2011 - 08:42

I built these bookshelves with the help of my husband for our daughter's nursery. They were so simple to build, the finishing work is what took the most amount of time. They're very sturdy, and we get tons and tons of compliments on the 'feel' that they add to the nursery!

Built from Plan(s)
Estimated Cost
$35
Estimated Time Investment
Afternoon Project (3-6 Hours)
Finish Used
I put on a coat of white primer, and then painted quite a few coats of ultra-white paint on each shelf. I sanded between each coat of paint, and finished it off with a top coat of polycrylic. I also filled in the screw holes with white caulk and painted over that once they were all mounted.
Recommended Skill Level
Starter Project

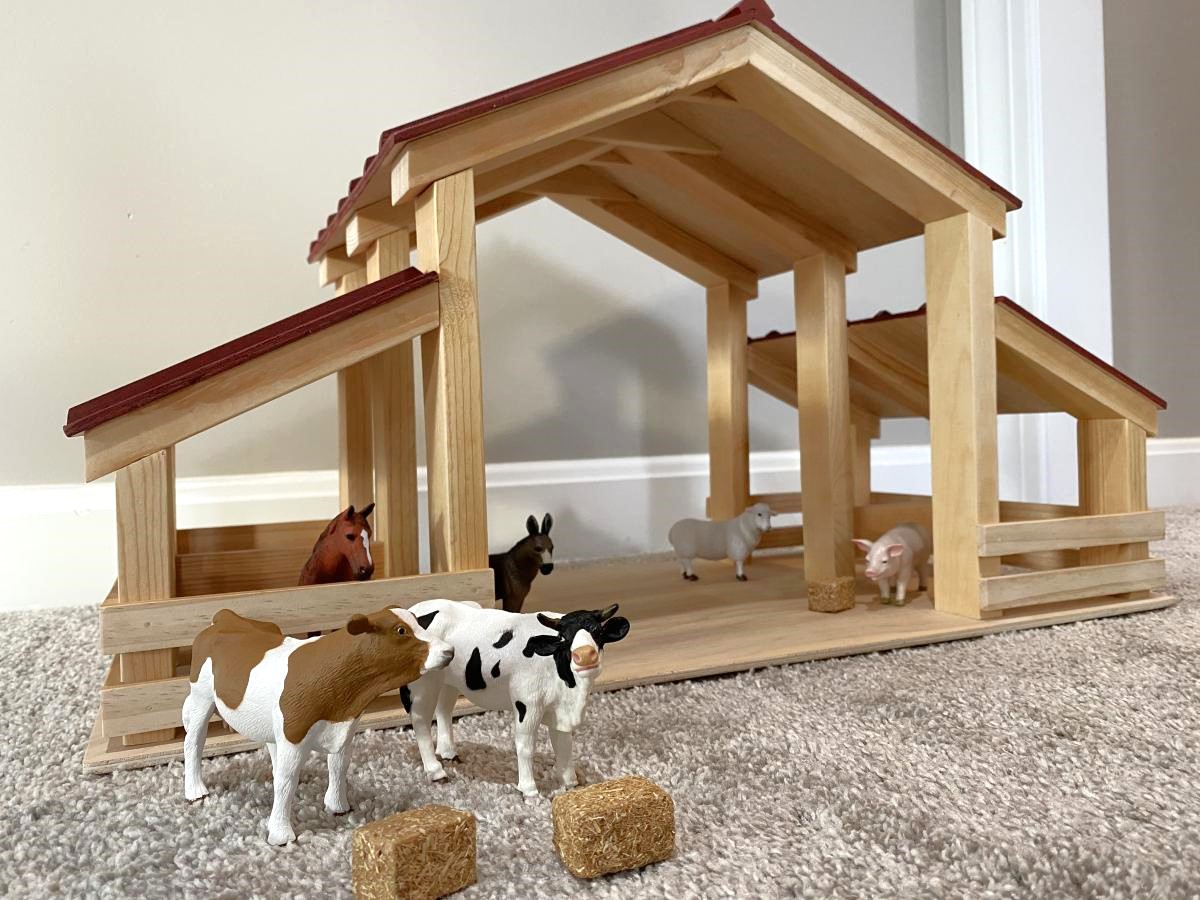
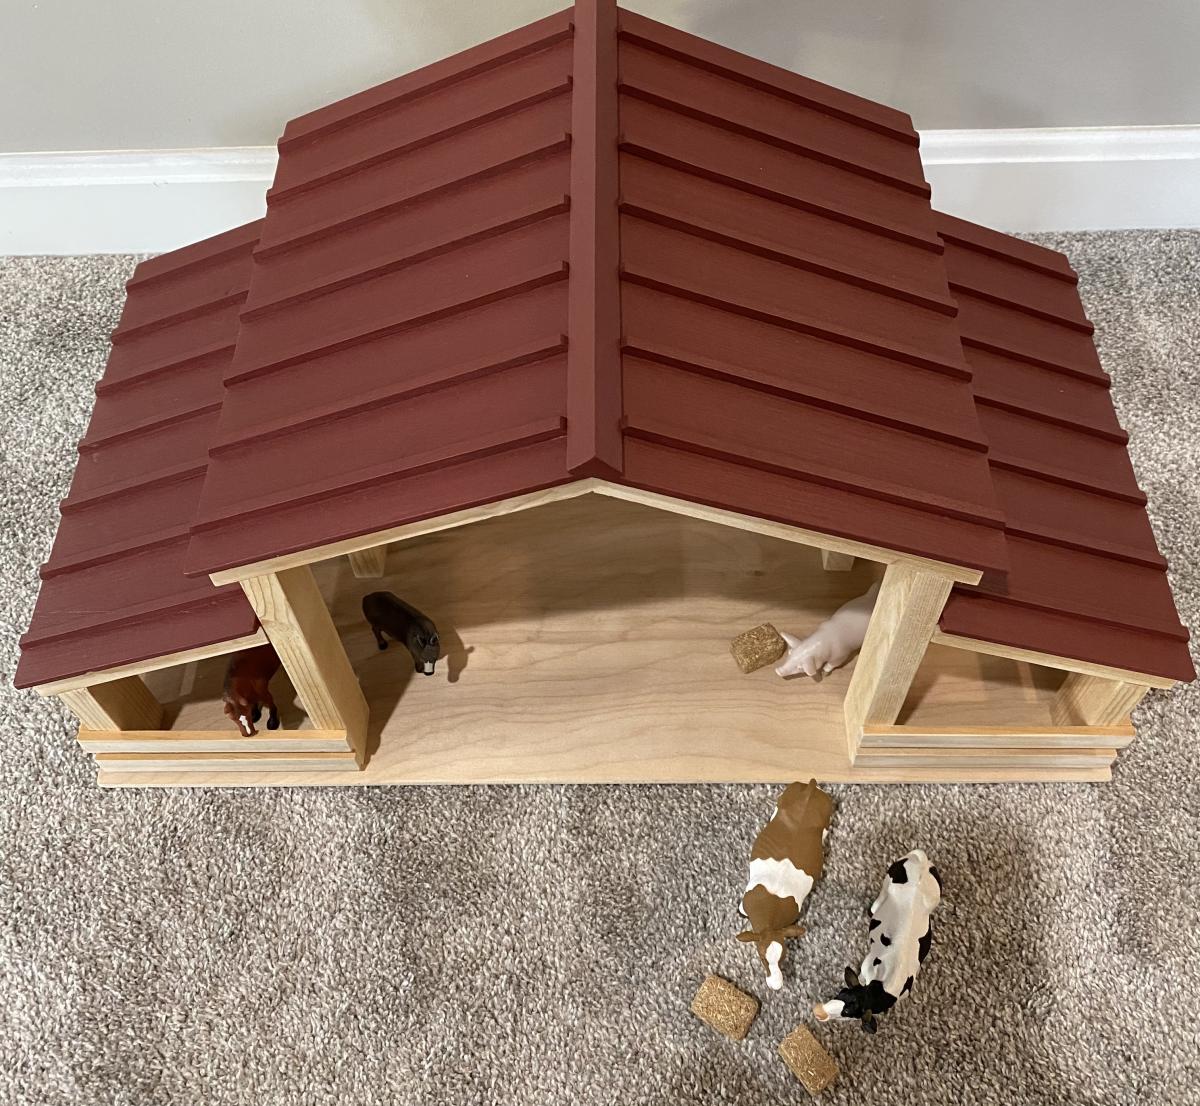
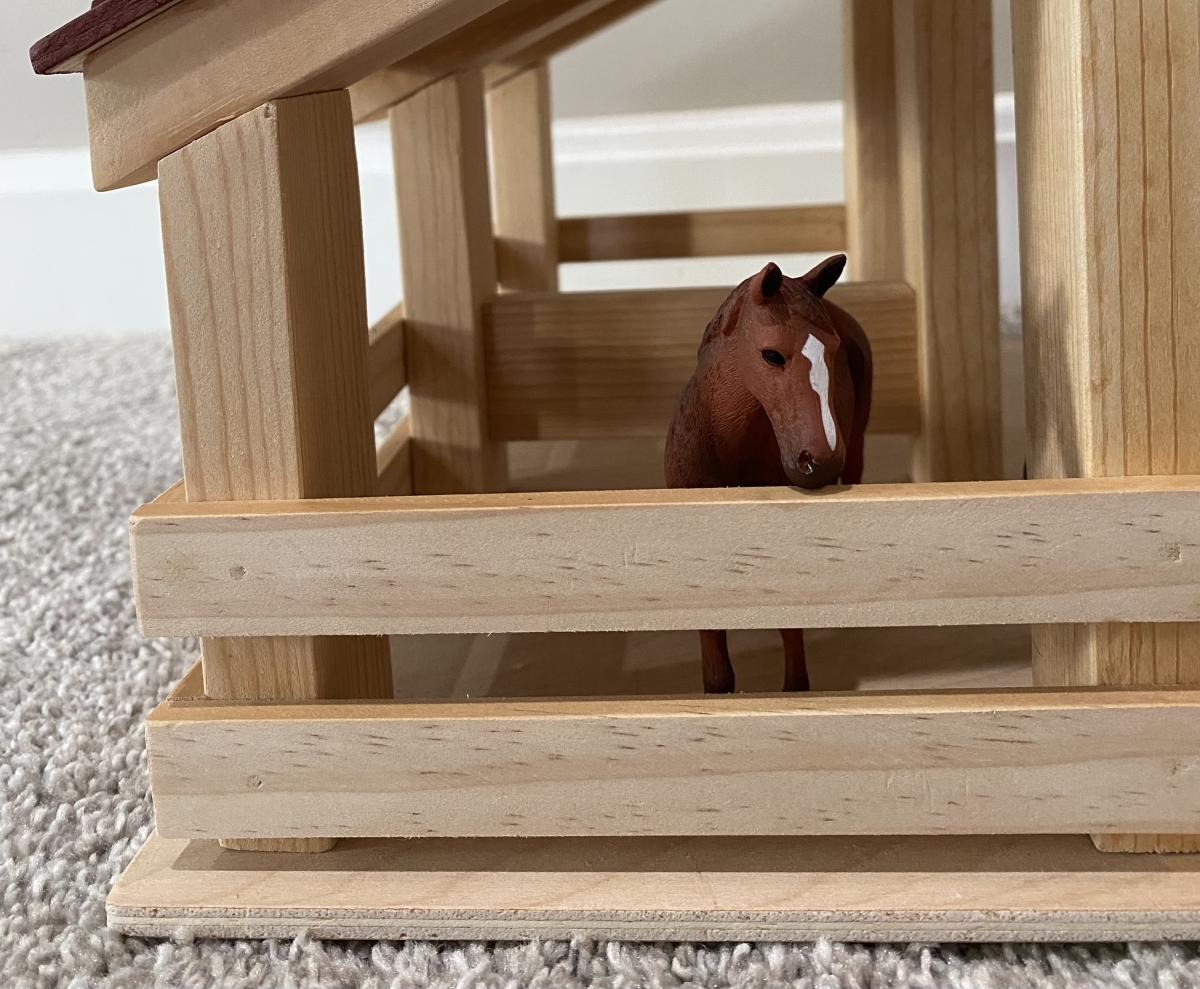
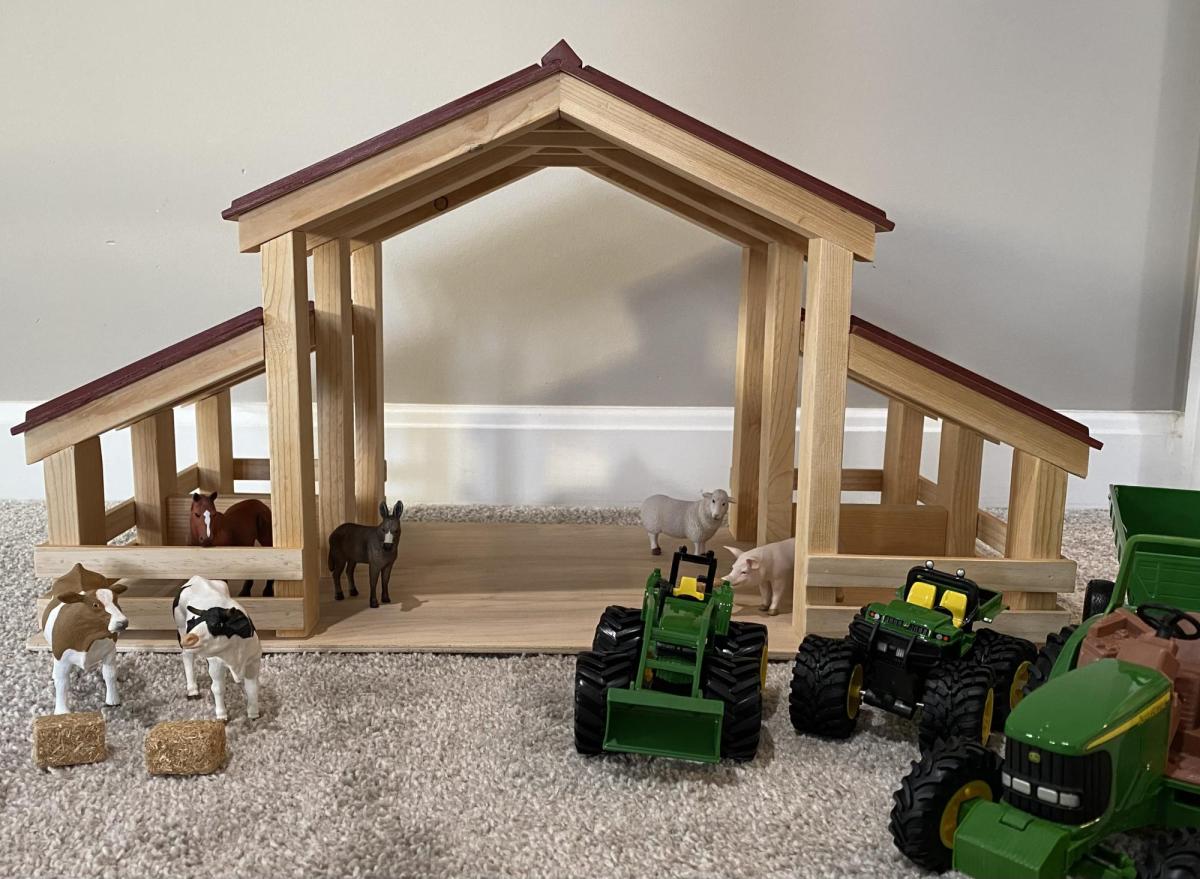
Toy Barn

Submitted by janmade on Sat, 01/08/2022 - 15:13

When I spotted this plan on Instagram, I knew I had to make it for my grandsons for Christmas. Instructions were easy to follow and I had fun rounding up the animals, tractors, etc.

Built from Plan(s)

Comments

Twin Beds

Submitted by Jim Parker on Mon, 07/06/2015 - 17:29

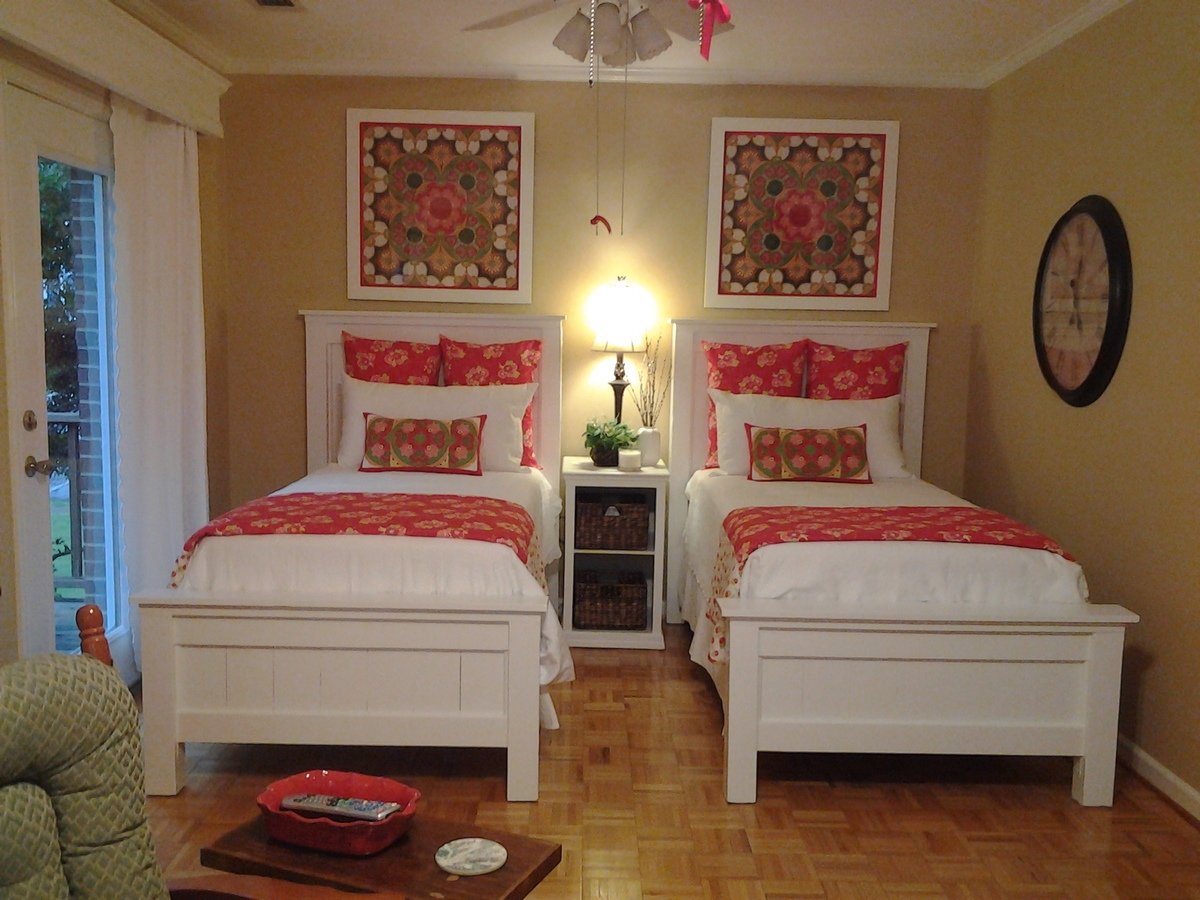
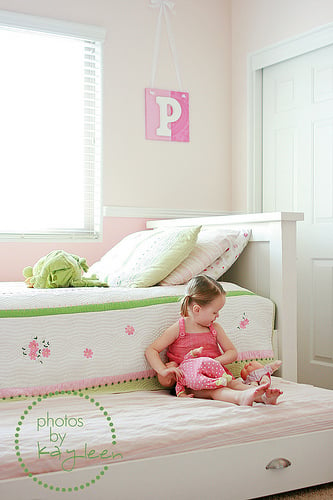
After accepting a job in a skilled nursing facility last April, our son move out of our house, taking with him all the furniture from his room. As a result, he virtually left my wife and me a blank canvas to do as we pleased. My wife wanted to put twin beds in the room, and as such, searched high and low for two adult twin beds, all to no avail. Then one day while looking on Anna White’s website, she saw plans for various types of beds, including adult size twin beds. She printed the plans for the beds and asked, “Can you make these?” I studied the plans for a moment, and said, sure. Because the plans were so detailed and easy to follow, I was able to construct both twin beds over the period of a weekend. For me, I found the shopping list and the cut order to be the most useful section of the plans.

Estimated Cost
Approximately $200.00
Estimated Time Investment
Weekend Project (10-20 Hours)
Finish Used
White primer, followed with two coats of white paint.
Recommended Skill Level
Intermediate

Leaning Ladder Wall Bookshelf

Submitted by Liz Miller on Thu, 01/25/2018 - 07:02

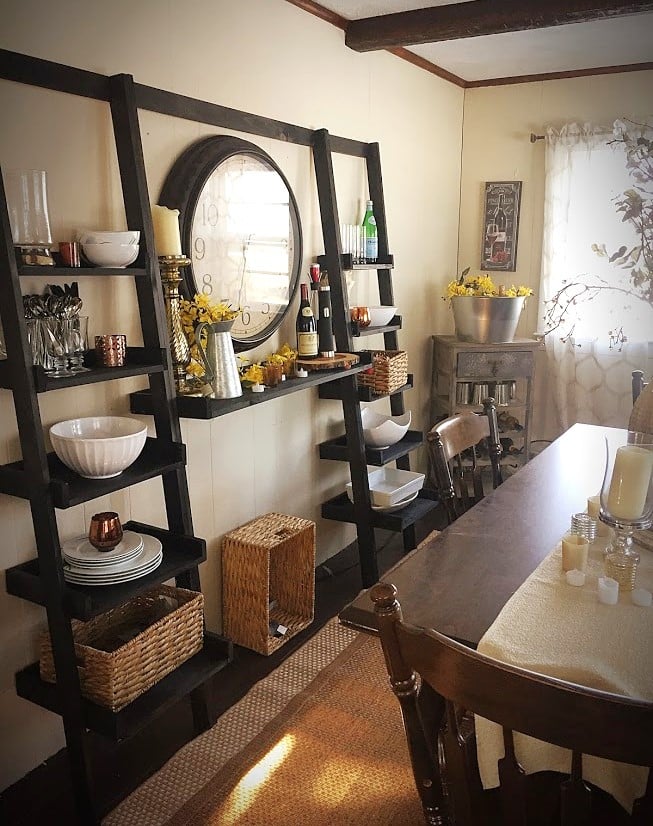
My dining room has no storage and I've been trying to find a place to store all of my bowls, serving dishes, etc; for some time now. I saw a leaning ladder shelf system at Crate and Barrel that I fell in love with but it was $500 which was out of the question. Last summer I built Ana's outdoor couches with absolutely zero experience and they came out great, so I decided to take a chance and try something else. This was my first time using a circular saw, and also my first time using a Kreg Jig! Honestly, halfway through this project I was concerned I bit of more than I could chew but I stayed calm and just kept following the plans. I'm so thrilled with how they came out! I ened up using a scrap piece of the 1 X 12 board for the "desk" piece to make the center a little bigger since I wanted it to serve as a serving board of sorts. I reenforced it with a support board since it was a little longer than the original plan called for.  I am beyond thrilled with how this came out, I honestly like it better than the one I saw at C&B since it's custom to my space! This was so easy if I could do it, anyone can. My total cost came to about $130. Not too shabby for a knock off! I'm already on to my next project. I don't think I can buy "factory" furniture again now how much better cost and quality I can get doing it myself! Thanks Ana!

Built from Plan(s)
Estimated Cost
$130
Estimated Time Investment
Weekend Project (10-20 Hours)
Finish Used
I used Minewax Charcoal, at first I thought it was too dark but I've come to like the dark color with the grain showing through. I only did one coat.
Recommended Skill Level
Beginner

Recycle/garbage center

Submitted by YeenYus on Wed, 07/24/2013 - 08:50

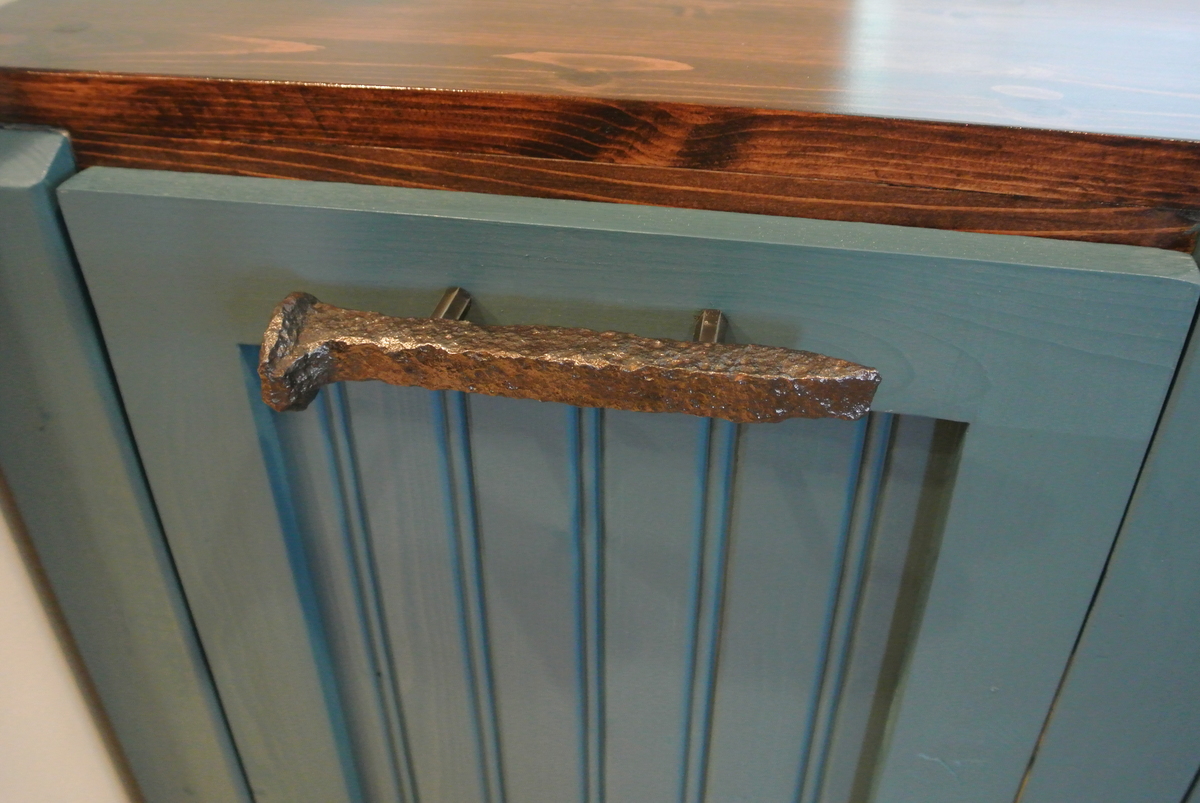
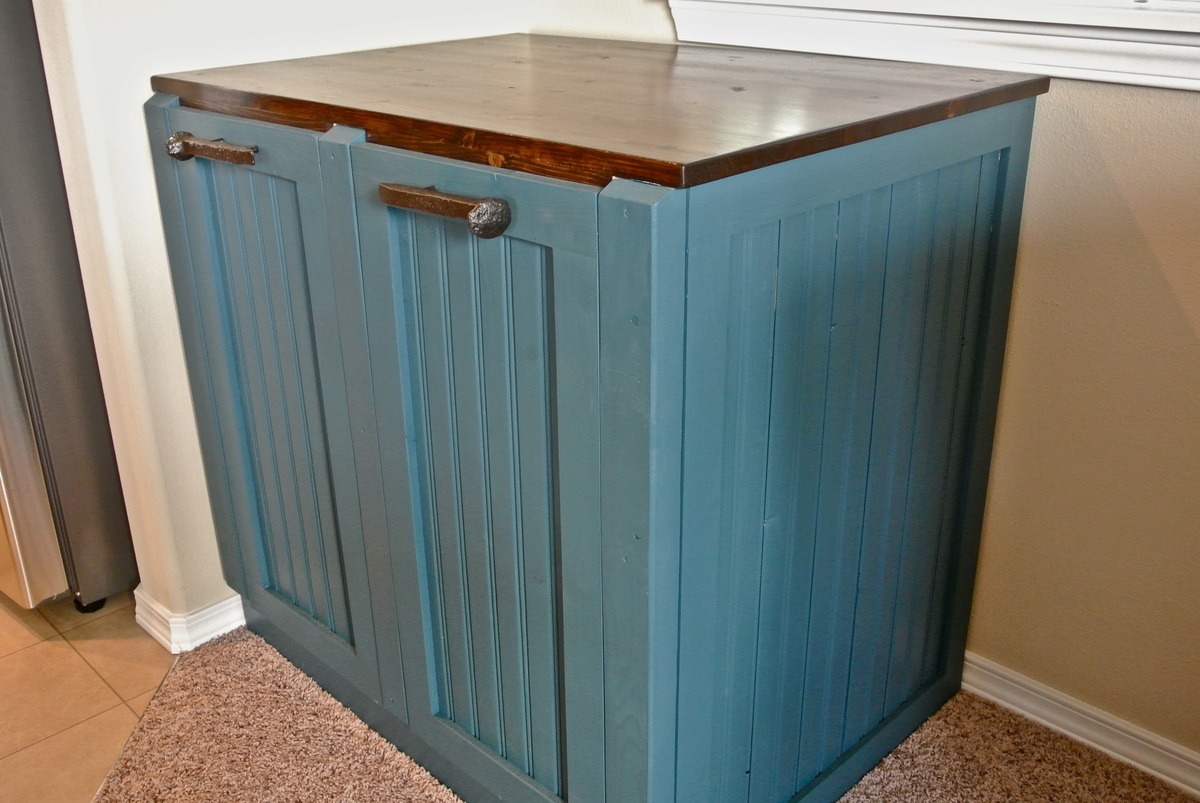
We just moved in to a newly built house, so it was important for everything to have a place. I don't like the garbage can to be under the sink, and my wife doesn't like the can just out on the floor...too many missed hook shots with the coffee filters I guess! This cabinet solves many kitchen problems all at once. An attractive cabinet that hides garbage and recycle, yet is easy to get in and out of. The railroad spike handles are something we sell on Etsy, as well as knobs and shelves. The shop name is YeenYus.

Estimated Time Investment
Weekend Project (10-20 Hours)
Finish Used
Stain, paint
Recommended Skill Level
Intermediate

Comments

Ecspronk

Wed, 07/24/2013 - 20:44

I was wondering if you had a price estimate on how much the supplies cost you along with some measurements. I am looking to build a double one like this. More details would be awesome. Thank you

In reply to by Ecspronk

YeenYus

Wed, 07/24/2013 - 21:15

Yeah, I kind of built this on the run with nothing but the space it had to fit into. But it is 34" wide 32" deep and 24" high. I needed it to fit under the window and used the Home Depot garbage bins as the starting point.

I build a lot of stuff...and this was a tough one. The frame is 2x4's with pine facing and bead board. 4 hinges, stain and paint...less than $100.

I'd love to work with you on this if you want. The hard part was engineering the bins falling forward equally and not binding up. The back of the bin actually hits the counter top perfectly now. But you can see that I had to put an extra 1" under the top for it to hit something.

It' gonna take some work but this thing looks and works so smoothly. You can do it...I can help!

momaimp

Thu, 05/08/2014 - 06:07

Would you be able to post a sketch of this project? I assume there are three boxes - the main cabinet and the two tilt-out boxes, but I would appreciate seeing a breakdown of the parts. Thanks!

momaimp

Thu, 05/08/2014 - 06:07

Would you be able to post a sketch of this project? I assume there are three boxes - the main cabinet and the two tilt-out boxes, but I would appreciate seeing a breakdown of the parts. Thanks!

Jsanderson

Wed, 09/23/2015 - 06:32

Is there a way I can get plans for this? I tried to sign up on site but can't locate

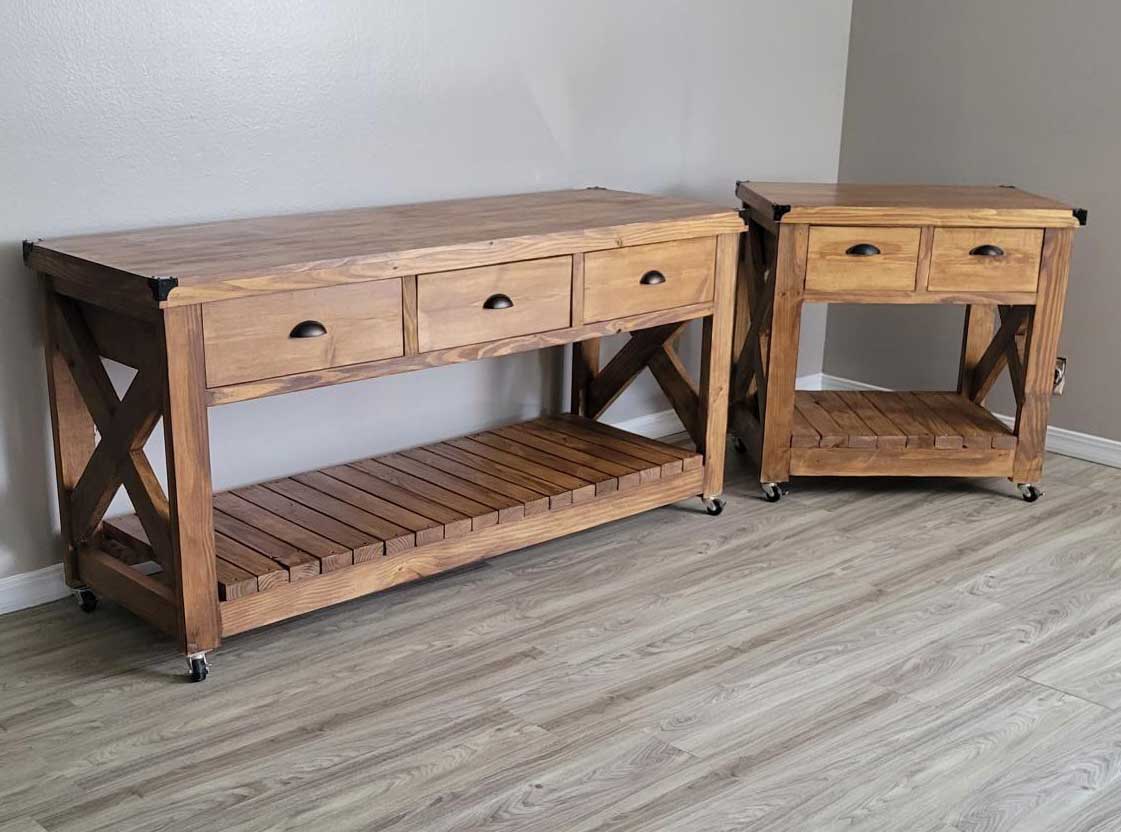
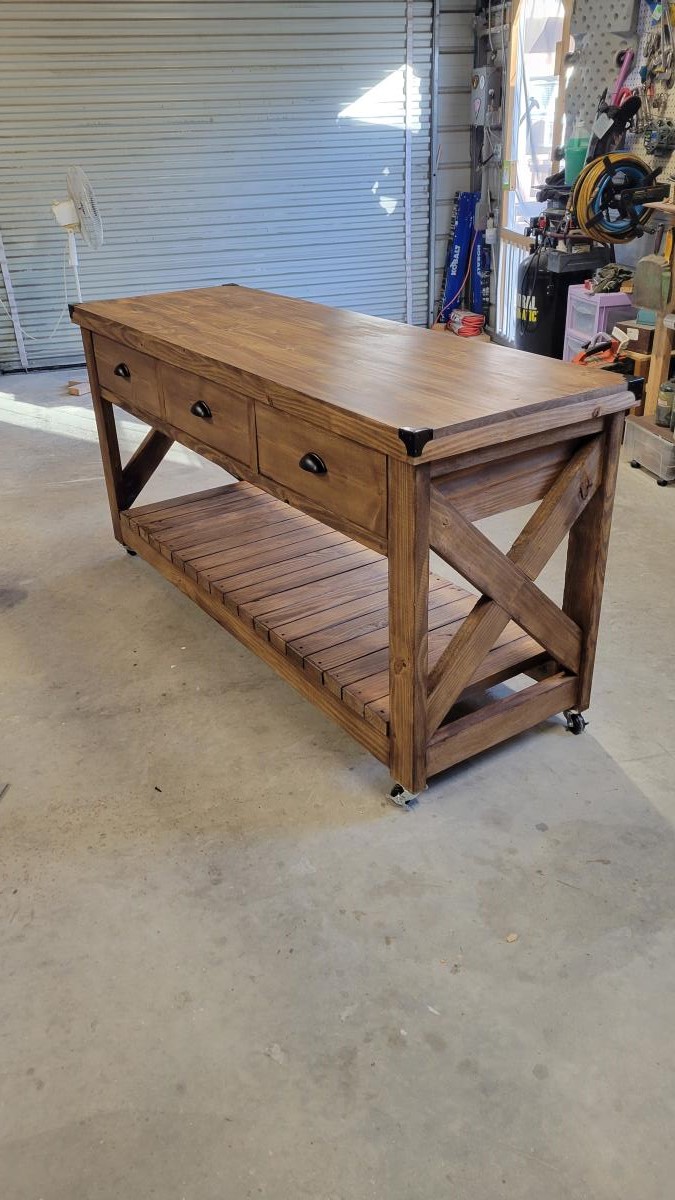
Rustic X Kitchen Island

Submitted by Anonymous (not verified) on Thu, 04/21/2022 - 12:06

Used Ana's plans with a little modification.
I built 2 different sizes and donated to our church for their fellowship hall.

Comments

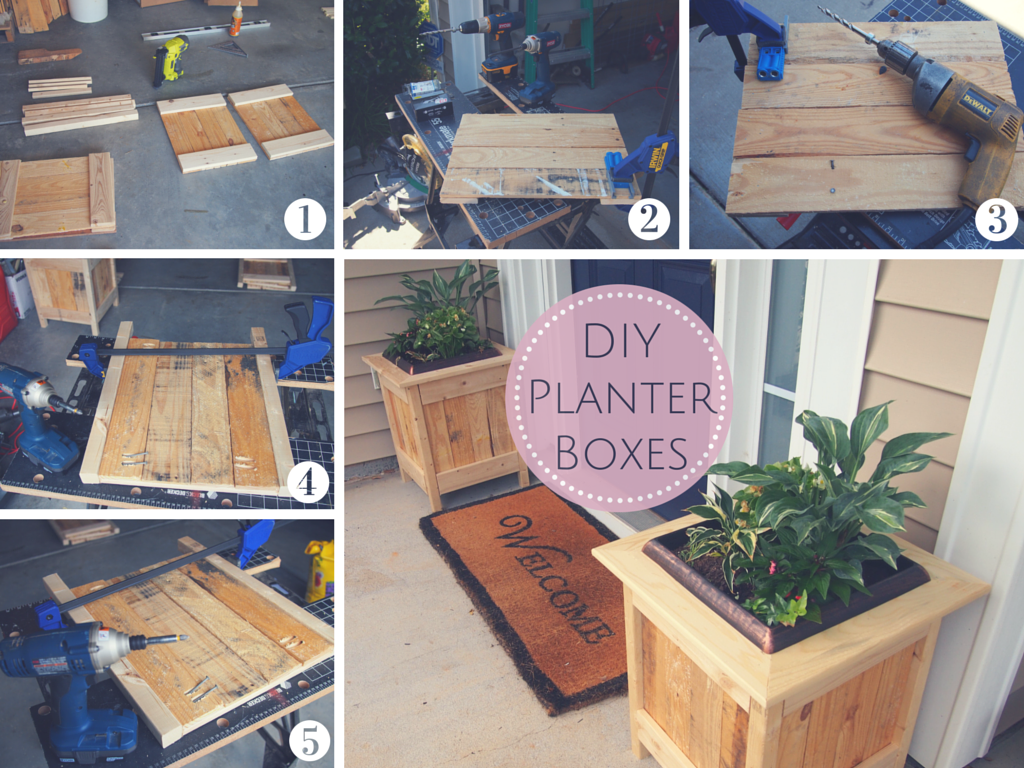
DIY PLANTER BOXES WITH PALLET WOOD

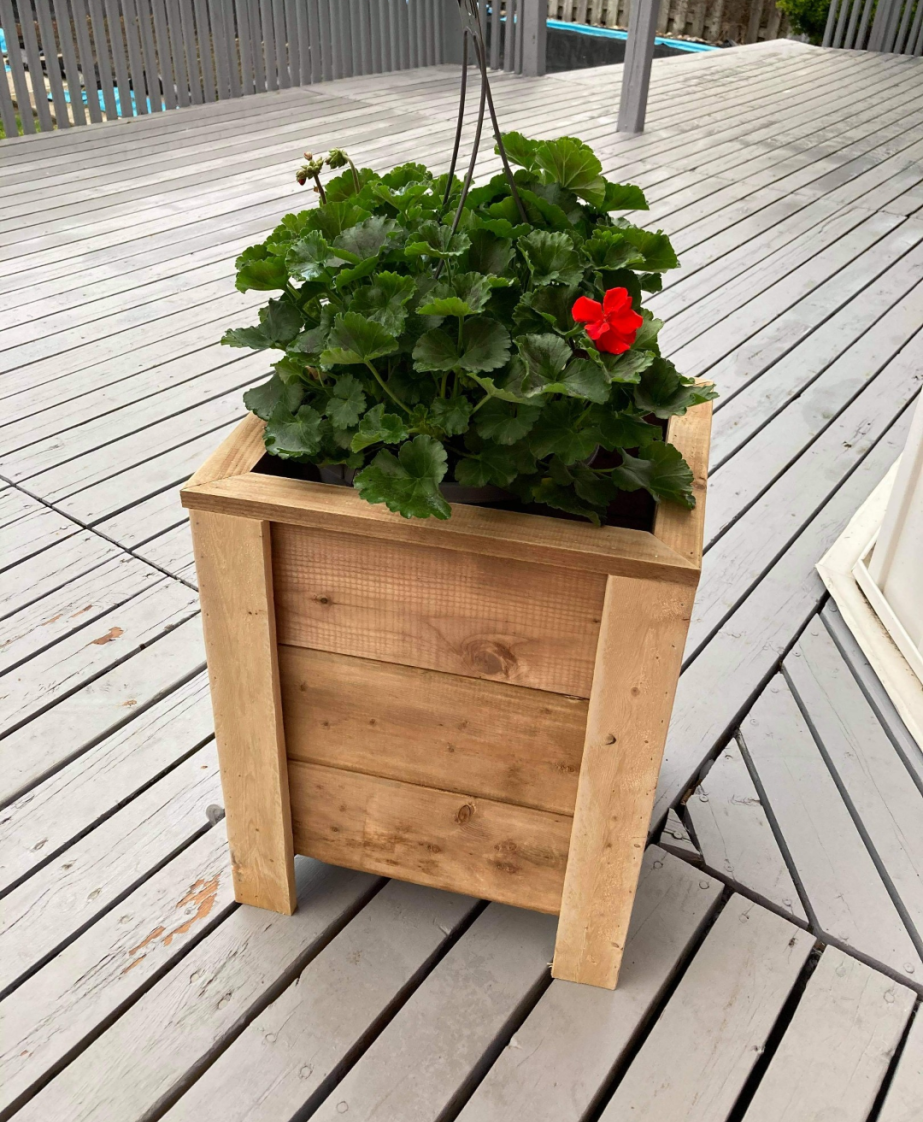
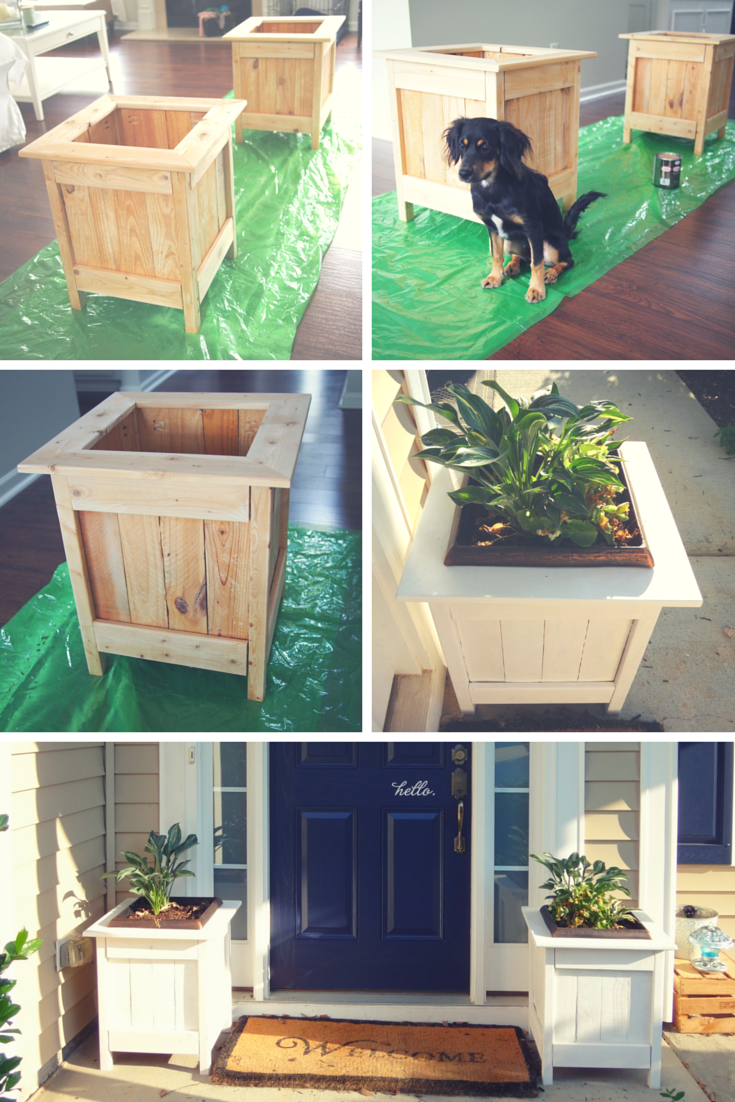
We picked up a couple 14.9" square plastic garden planters from Home Depot and ended up creating some wood planter boxes from pallet wood for them to sit in. 

I didn't add up the cost of these boxes, because we had most of the wood and only needed a few pieces, but I'd say they were definitely less than $10 a box. 

We altered our dimensions to fit our HD planters so they would slip in for a snug fit and made the legs flush with the top of our sides. We build a simple frame for the top, which allowed the lip of our HD planters to sit firmly on top. 

Something I didn't do, but wish I did: fill in the cracks with wood filler.  There were a couple places that really could have used it, but I was in a rush and decided to skip it.  They turned out great, but could have been even better had I taken an extra 30 minutes.  On an off weekend, we are going to use wood filler in the seams, sand them down, and do a second coat of white paint. 

Can't wait to plant these with some mums for Fall! :)
Built from Plan(s)
Estimated Cost
$20 total for 2 boxes.
Estimated Time Investment
Day Project (6-9 Hours)
Finish Used
White Semi-Gloss outdoor paint
Recommended Skill Level
Beginner

My First Build

Submitted by clarky316 on Sun, 03/11/2018 - 18:02

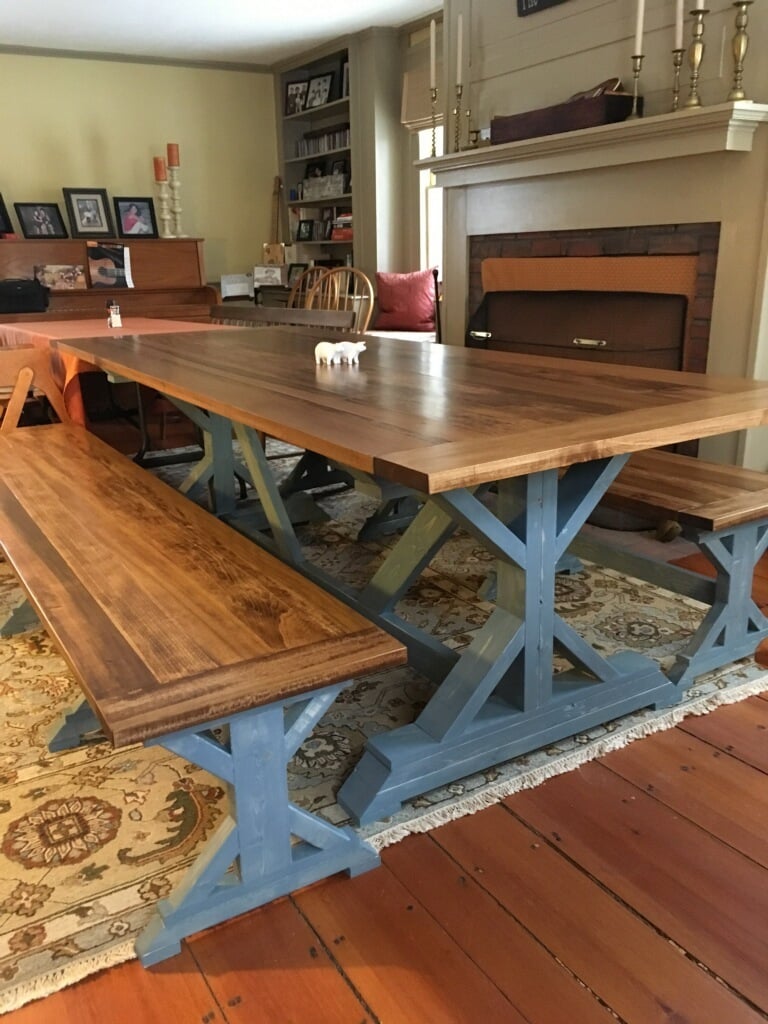
This was my first big furniture piece that I've built. I'm pretty happy with how it turned out. I used 5/4 poplar for the tops instead of the 2x10s for the table and 2x6s for the benches that the plans called for. Finished the tops with Minwax Early American stain then 3 coats of satin oil based polly. Finished the bottoms with water based Minwax tinted River Stone then coated with water based polly. 


Recommended Skill Level
Beginner

Comments

Brian Famous

Wed, 03/14/2018 - 06:18

You did a great job, especially for your first big piece.

I love the River Stone color you chose for the bases, beautiful combination.

Simplest Stool : Saddle Back Style

Submitted by tsibiga on Mon, 06/20/2011 - 09:52

We've been looking for some saddle back stools for quite a while that would fit snug under our kitchen island. I couldn't find any, so I checked Ana-White and found the perfect building plan. I used scraps to build two matching stools and so I altered the plans to fit what I had. Other then the dimensions being different, I also used a 2x12" piece of wood cut down to 9x15" for the stool top.

I've documented the process as best as I could at; http://www.tommyandellie.com/Site/Home/Entries/2011/6/13_More_Seating_f…

Built from Plan(s)
Estimated Cost
$0 I used all scrap wood from a previous project
Estimated Time Investment
An Hour or Two (0-2 Hours)
Finish Used
"Rainwater" Martha Stewart Paint
Recommended Skill Level
Beginner

Comments

tsibiga

Thu, 06/30/2011 - 04:50

I skipped a step that I might redo. I'd recommend taking some wood filler and spreading over the knots and imperfections before painting it. Sand it down, smooth it out, and it'll be Looking flawless.

Stef (not verified)

Thu, 07/07/2011 - 15:02

I've been looking for some stools like this, so I followed your lead and just finished making some. Thanks so much for sharing!

tsibiga

Fri, 07/08/2011 - 17:53

Awesome! I'm so glad you made some. Thanks for sharing. We love our stools and hope you enjoy them as well.

Recycled Pallet Factory Cart Coffee Table

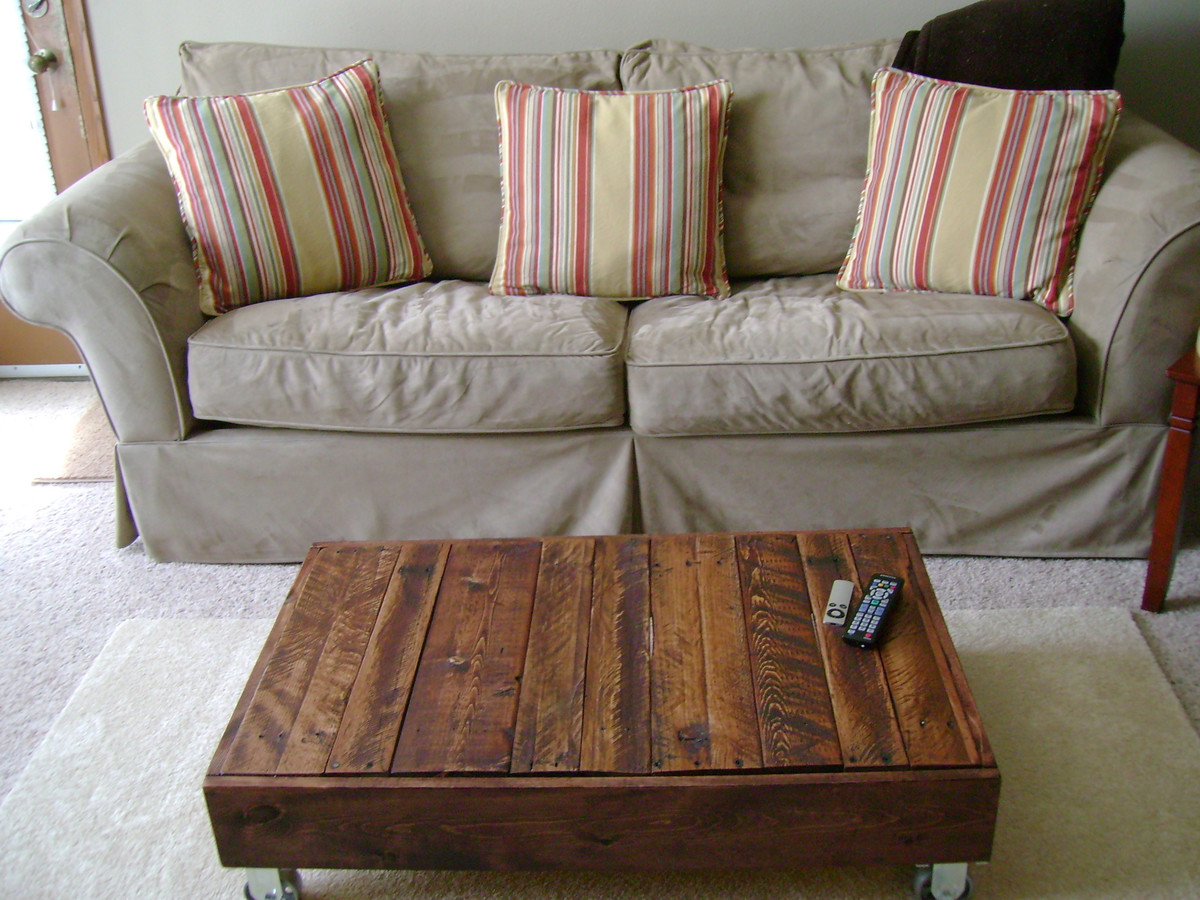
My first build! I tore apart two old pallets to get the surface boards for the table. The skirting is 1 x 6's from the hardware store. I need larger casters but am saving up for the real vintage ones.

Built from Plan(s)
Estimated Time Investment
Weekend Project (10-20 Hours)
Finish Used
Minwax Red Mahogany with 3 coats of Minwax fast-dry poly.
Recommended Skill Level
Beginner

Comments

jloftus18

Sun, 06/26/2011 - 19:36

I just picked up a pallet off the side of the road and was wondering what to do with it...Now I know! Thanks =)

Amazonqt20 (not verified)

Tue, 06/28/2011 - 02:26

You need to post what you come up with. Plus how did you get you photo on my comment posts?

Tony (not verified)

Tue, 08/07/2012 - 00:05

My daughter cleaned her room so instead of renting a dumpster I hauled it to the dump i mean"land fill". Anyway instead of coming back the normal route they detoured us around the dump and I found the mother load of pallets. You could ask and they will be free if your "land fill" is like mine...

Amazonqt20 (not verified)

Tue, 06/28/2011 - 01:32

I worked at a candy factory that received several pallets all day long and I loved the ones that had writing on them, like Ghirardelli (a chocolate company), Blommer (chocolate manufacturer) and a few others! I've picked up a few and have made picture frames and shelving from some.

Vendelcrow

Sun, 10/30/2011 - 04:25

Very nice & the right look. Planned to make something similar, so thanks for the inspiration.

KristenE (not verified)

Tue, 11/01/2011 - 10:24

I took some pallets from the pumpkin patch last week, with the dream of making something similar!! I want mine a little taller so I am going to attempt a shelf or something, I have had my casters for weeks and was psyched to find the free pallets! Great Job!

Queenie (not verified)

Thu, 04/05/2012 - 06:49

Love your site and the fact that you share so much info for Diy's. Where is the best place to get the caster wheels? Vintage are sooo expensive so I got to believe that they are out there new with the idea in mind to antique them..
Thanks for all that you posted and shared..

In reply to by Queenie (not verified)

claydowling

Sun, 04/15/2012 - 12:03

The two best sources I've found for cart wheels are Menards and Harbor Freight. I think you can order them from Rockler or Lee Valley too, but I know that the two physical stores have a good selection and the prices are reasonable.

angelina (not verified)

Mon, 04/23/2012 - 13:38

I love it! I've been searching for one to buy but might try to make my own now I've seen yours....and definitely more satisfying when you've build something yourself from scratch. Fab job.

Reseller Hosti… (not verified)

Fri, 05/25/2012 - 23:21

With lots of wonderful options of North Experience Jakcets Outlet, you will be ready for all seasons and all sorts of climate conditions.Obtainable in only about every single shade from pink to orange, sky blue to lime green, this slim coat undoubtedly delivers a bit a thing for everyone.Hat, the particular size can influence the actual degree involving in shape.Karen Millen Dresses Neck marriage ceremony this year set off the rate of growth in retro type with the appeal of asymmetric solitary glenohumeral joint wedding ceremony attracts everybody's consideration, once again going back to fashion trends.Within the cold of winter,it truly is essential to have the protection from North Encounter Jackets.They even touched the actual He Damon the particular Hollywood celebrity.

jyn (not verified)

Fri, 08/31/2012 - 12:15

I want something like this only I might make it taller. Also you can search Goodwill for antiquish castor wheels! Good job!

Sliding Barn Door Loft Bed

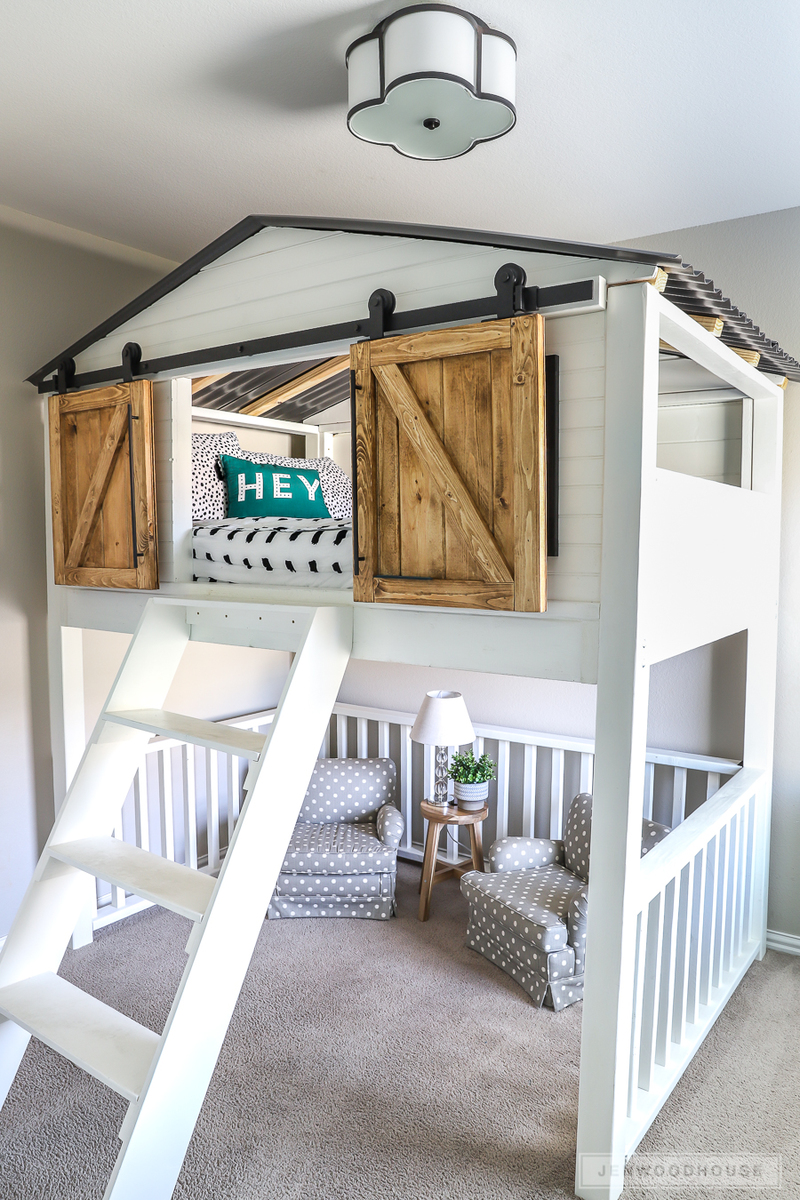
Hi friends!

Jen Woodhouse here, super excited to share our latest DIY project with you - a Sliding Barn Door Loft Bed! We built this full-size loft bed for our 7-year-old daughter because we wanted to make the most of her small bedroom. And as an Army family, we move around every two years or so, so I drew up the plans so that the bed can be easily disassembled. We all love it so much and hope you do too! I'd love to see you build one for your kiddos (or yourself - no judgement!). Be sure to tag me @jenwoodhouse if you share photos of your build on social media!

And because some people have asked:

  • Our ceilings are 9 feet high.
  • Plans are for a full-size mattress, but I'll be drawing up plans for a twin size shortly.
  • Changing the sheets and making the bed is super easy because we use Beddy's (affiliate link) - Beddy's is an all-in-one fitted/flat sheet/blanket/comforter bedding set that zips up. It really is a game-changer!

Get all the details and the plans on JenWoodhouse.com!

Estimated Cost
$550
Estimated Time Investment
Week Long Project (20 Hours or More)
Finish Used
Benjamin Moore's Simply White latex paint, Varathane's Golden Oak wood stain, General Finishes Arm-R-Seal
Recommended Skill Level
Intermediate

Log Slab bedside table

Submitted by Newfey on Wed, 08/07/2013 - 17:51

Thisi s a bedside table that I made for my good friend Gayle for next to her log bed in her log cabin at Higgins Lake, MI

Estimated Time Investment
Day Project (6-9 Hours)
Finish Used
Polyurethane
Recommended Skill Level
Beginner

Great Shelves - made to measure!

Submitted by tailspin10 on Fri, 09/04/2015 - 08:54

Thanks for the plans Ana!

I stuck to the design but changed the dimensions to suit the space and the boxes we intend to store. This made the shelves 7.5 feet high by 8.5 feet wide. The timber was supplied in 17’ lengths so this also meant very little wastage. The frame is composed of 2x4’s, the shelves are 4.5 x 1.5’s  - as I wanted the shelves slightly shallower this meant I could get away with three boards for each shelf instead of 4 as on the plans. 

For the short cross pieces I used woodglue and screws – to attach the long shelf pieces I just used screws. I predrilled holes in the first piece for each of the screws, but I didn’t drill a pilot hole in the next piece, the screws were self-tapping and didn’t need one.

The back wall is concrete block and I screwed each upright to the wall using wall plugs and screws. I’ve 2 young children and as the shelves are quite high I was afraid they might climb on them and tip them over otherwise. The attachment to the wall definitely makes the whole thing feel much sturdier – the structure is completely rigid.

The only real issue I encountered was that some of the boards were slightly twisted or warped – and I had to apply some force to keep everything square when I was gluing up. Overall I’m very happy with the end product, and found it reasonably easy to put together. Now its time to put the shelves to good use and start tidying up the garage!

Estimated Cost
$180 including screws - I'm in Ireland and unfortunately wood seems to be more expensive here :-(
Estimated Time Investment
Day Project (6-9 Hours)
Finish Used
I gave it a quick wipe of some old danish oil I was going to throw out, I'm not that bothered about finish as the shelves are in the garage.
Recommended Skill Level
Beginner

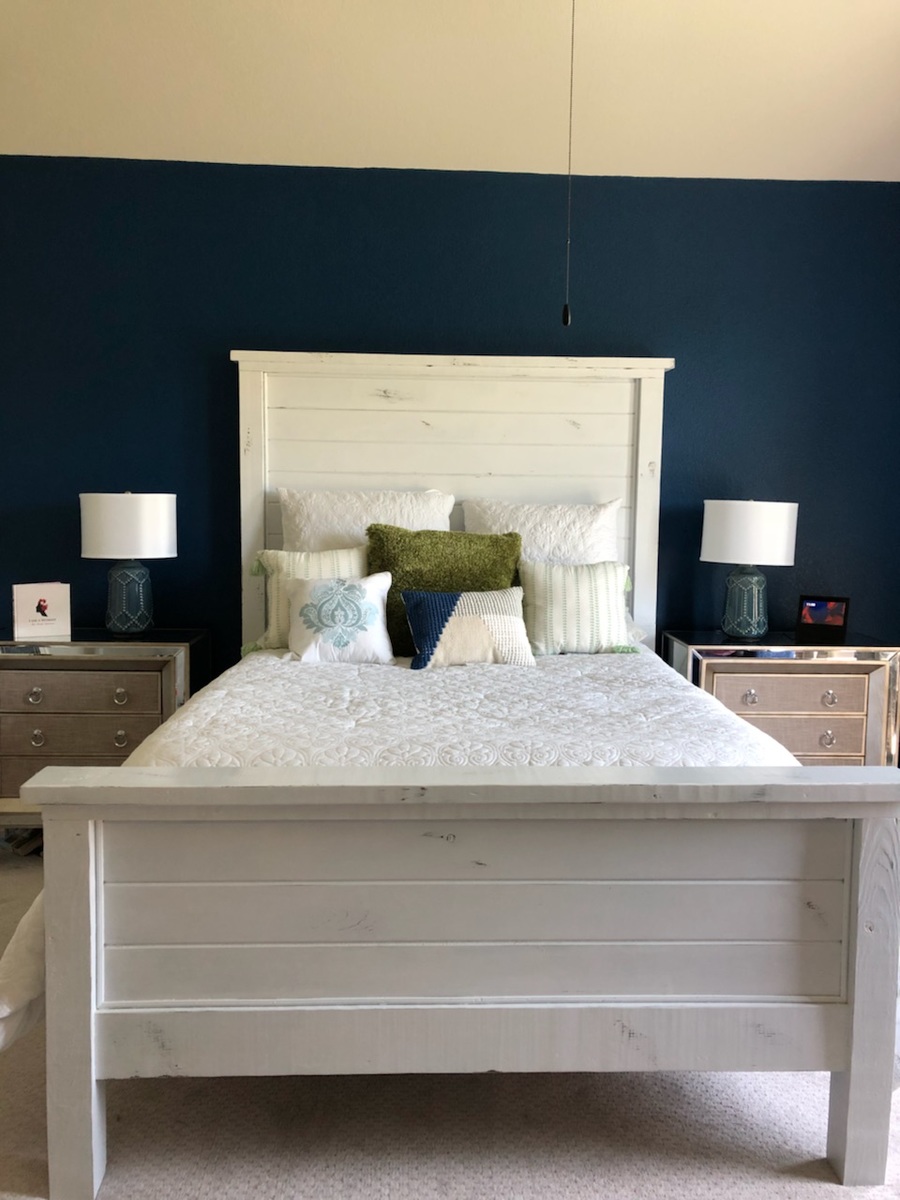
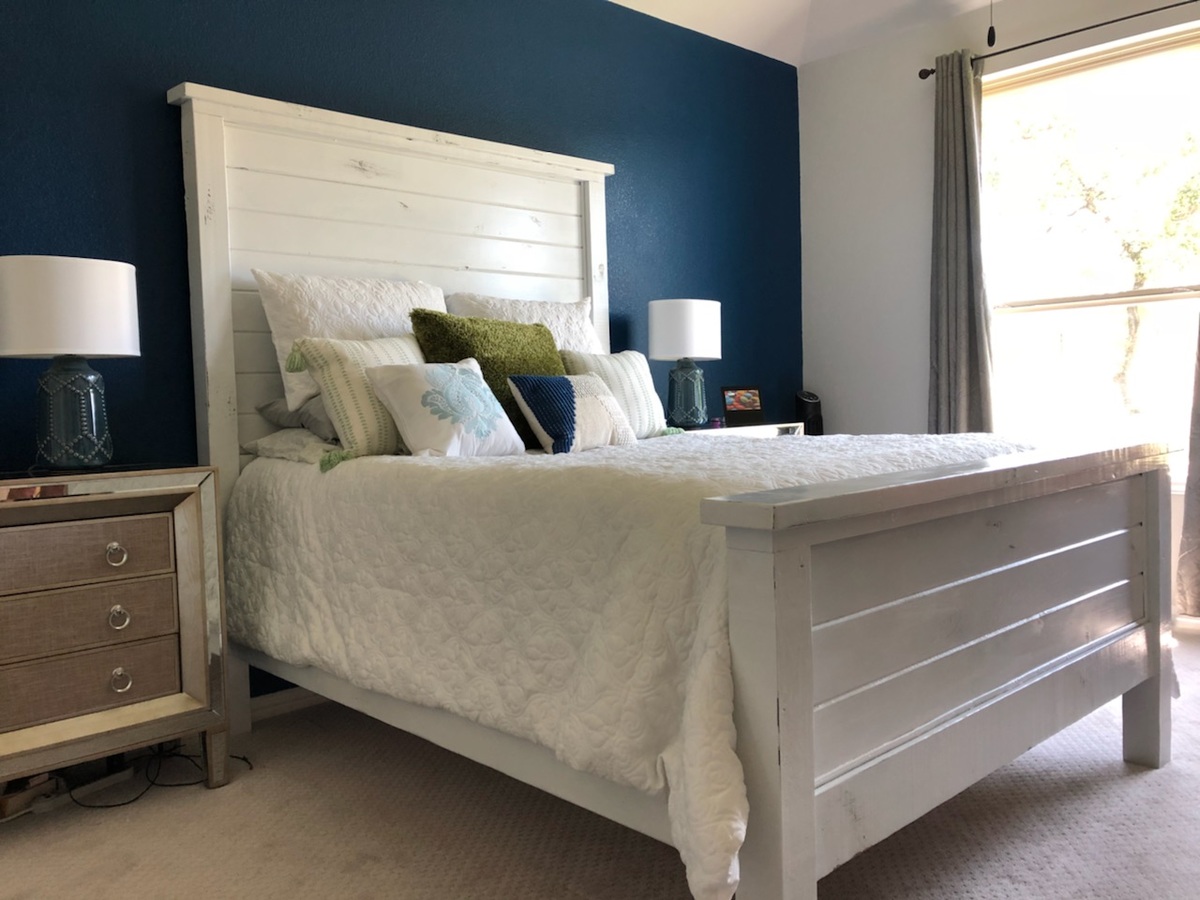
Morgan's Farmhouse Bed

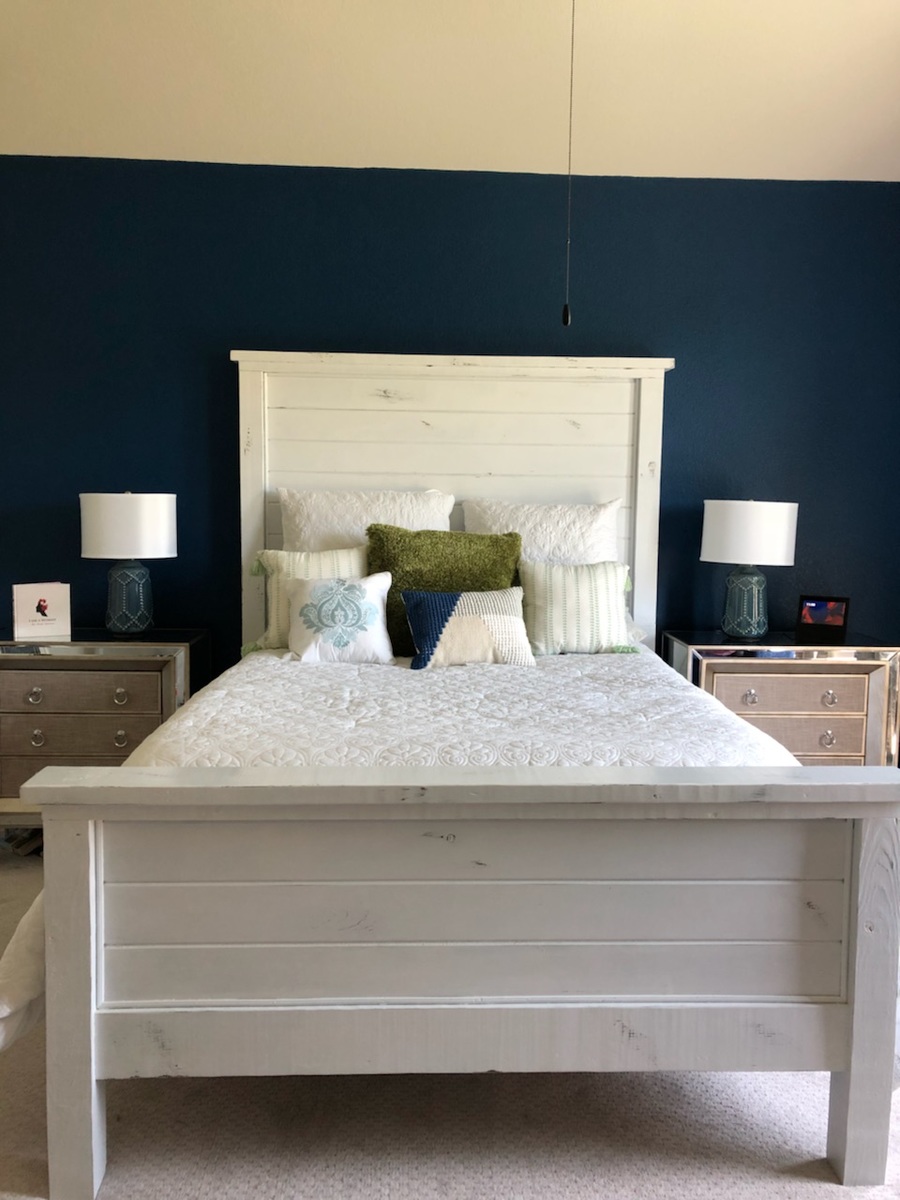
Both of my children have moved into new homes within the past year.  So it looks like I will be busy building things they need for them.  Enjoy being able to do this for them!  Thanks, Ana for the inspirations!

Built from Plan(s)
Estimated Cost
$160 to $200 which includes the bed rail brackets used for side rails and middle support.
Estimated Time Investment
Weekend Project (10-20 Hours)
Finish Used
A gray stain then flat white paint distressed then Glossy clear Acrylic coat
Recommended Skill Level
Intermediate

Comments

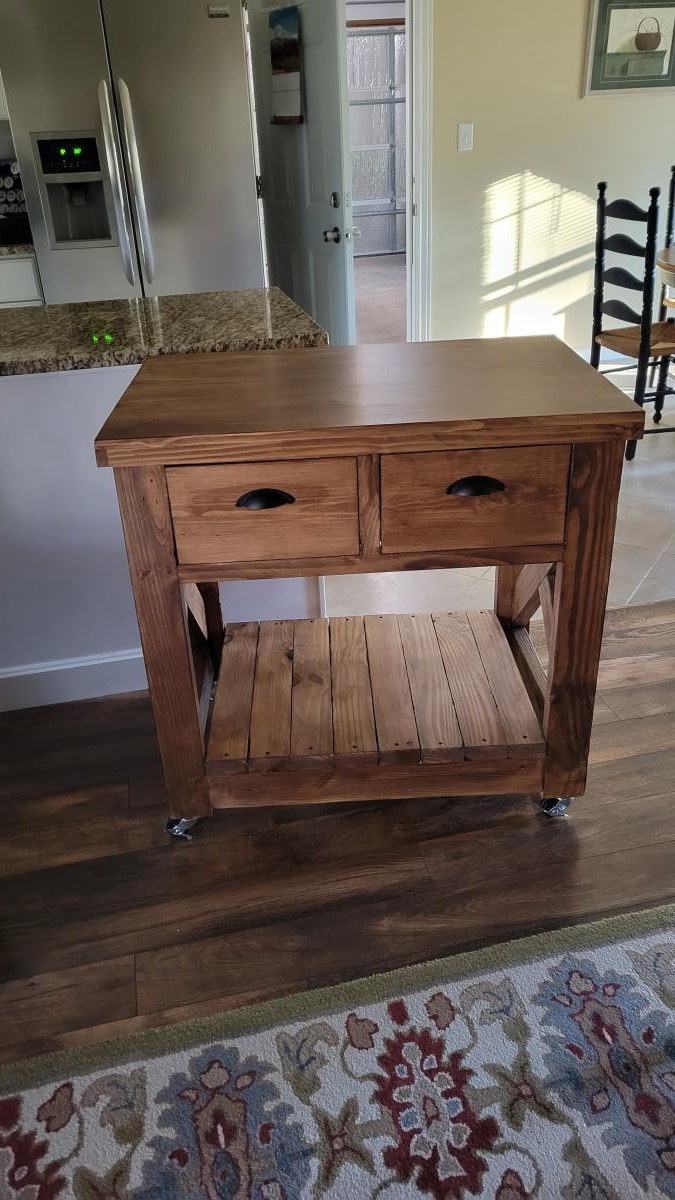
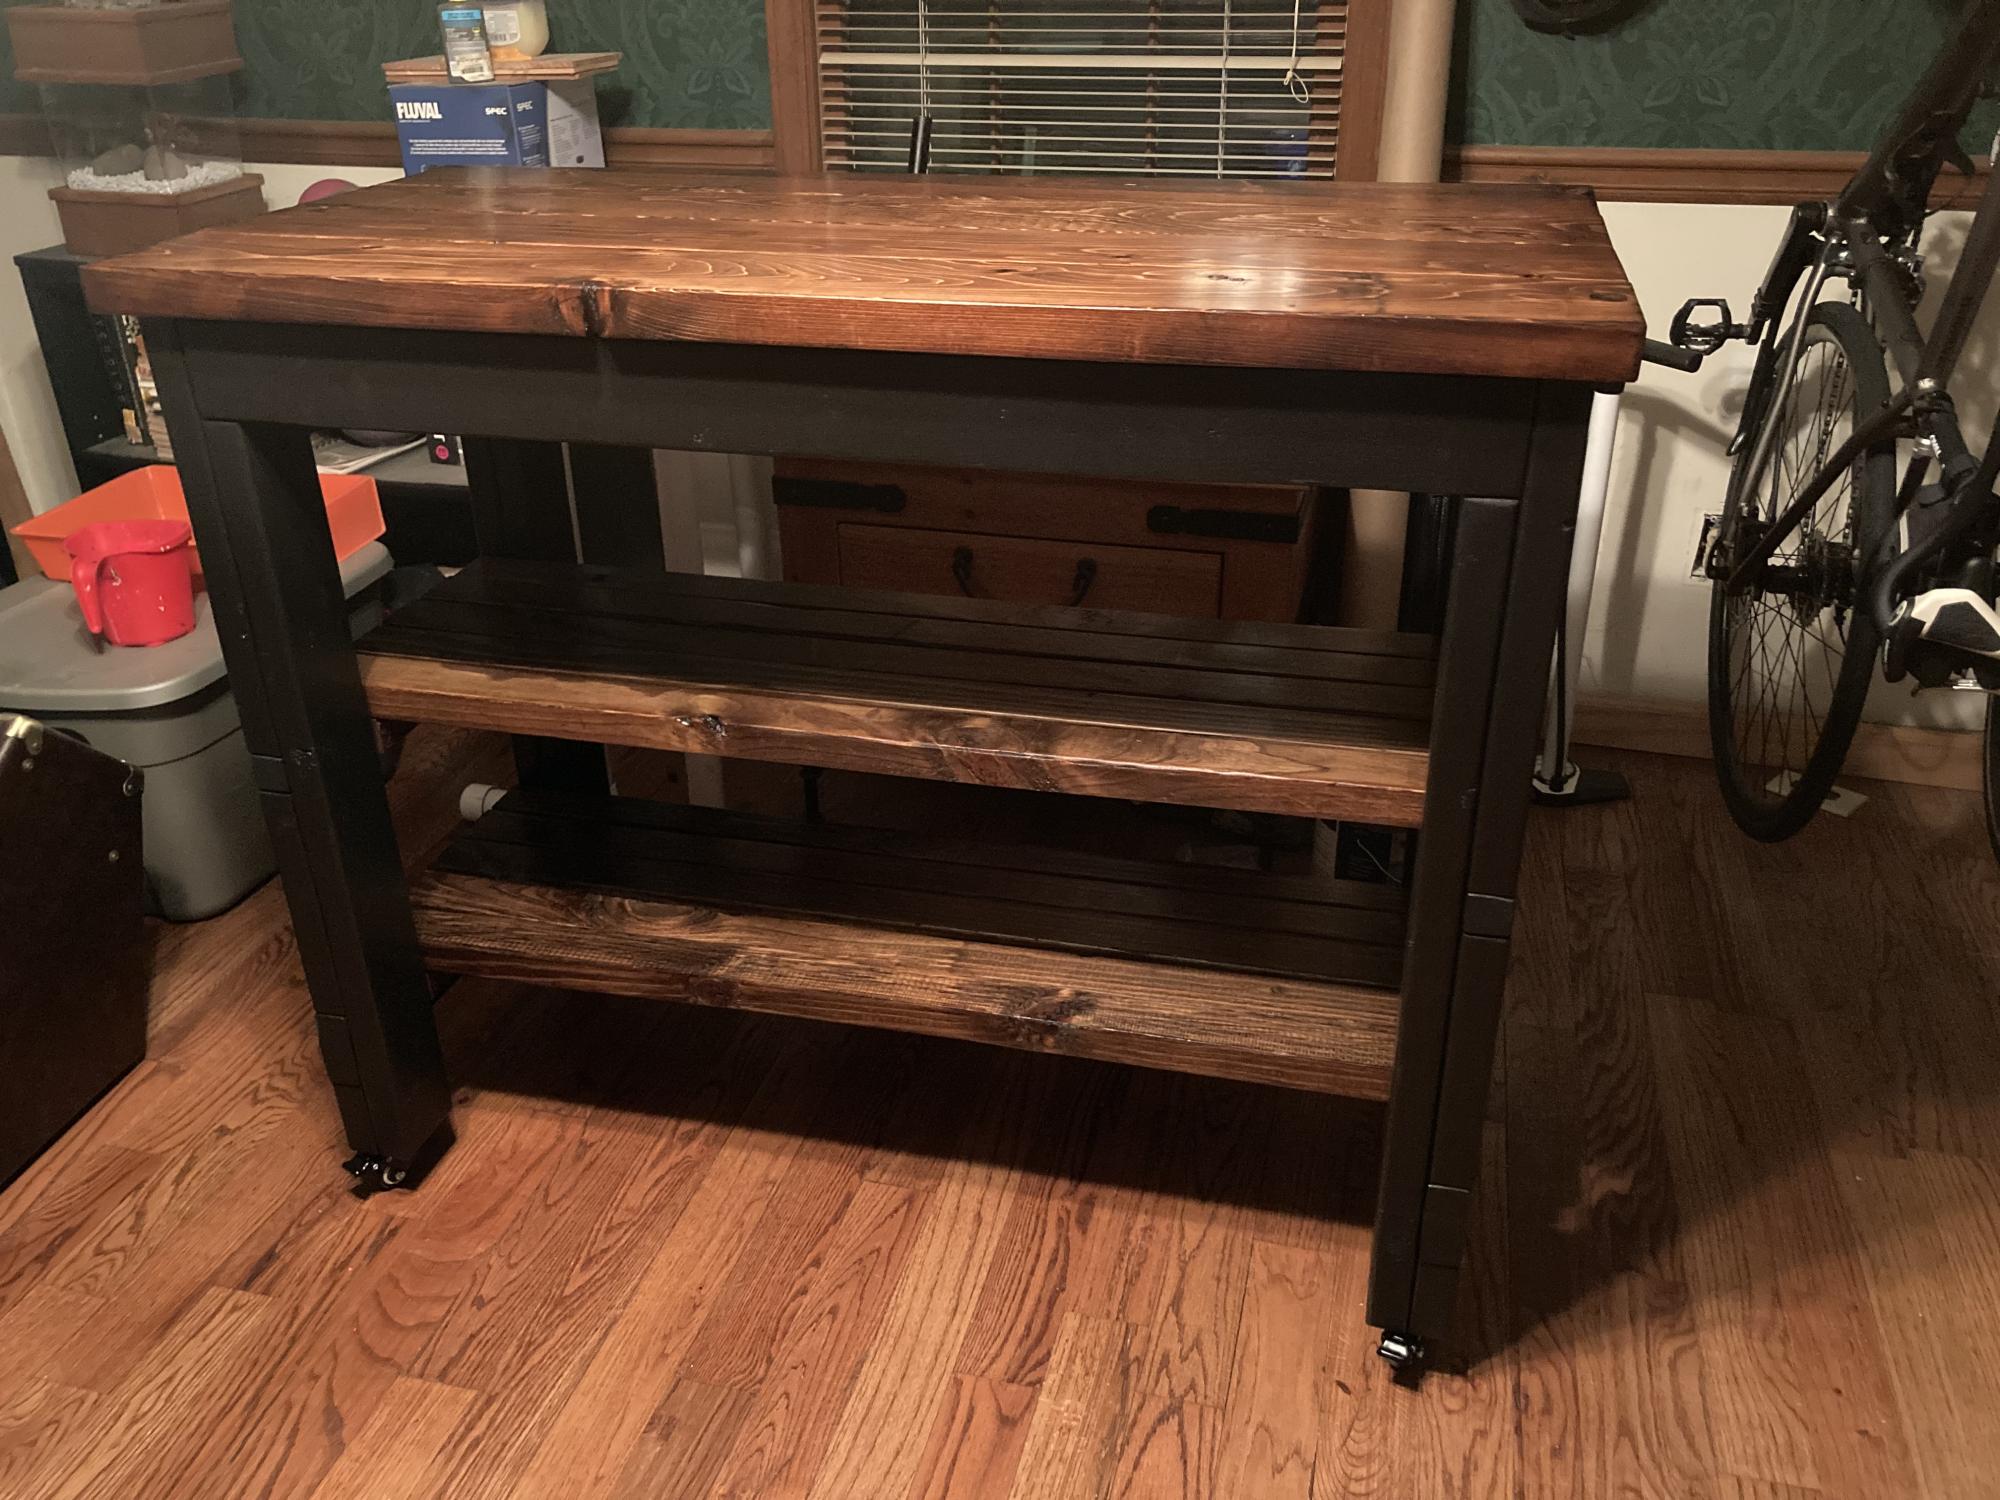
Rustic DIY kitchen island 24 x 42

Submitted by Anonymous (not verified) on Mon, 05/02/2022 - 17:48

I built this for a friend so it will work for his kitchen….and he just loves it!

Comments