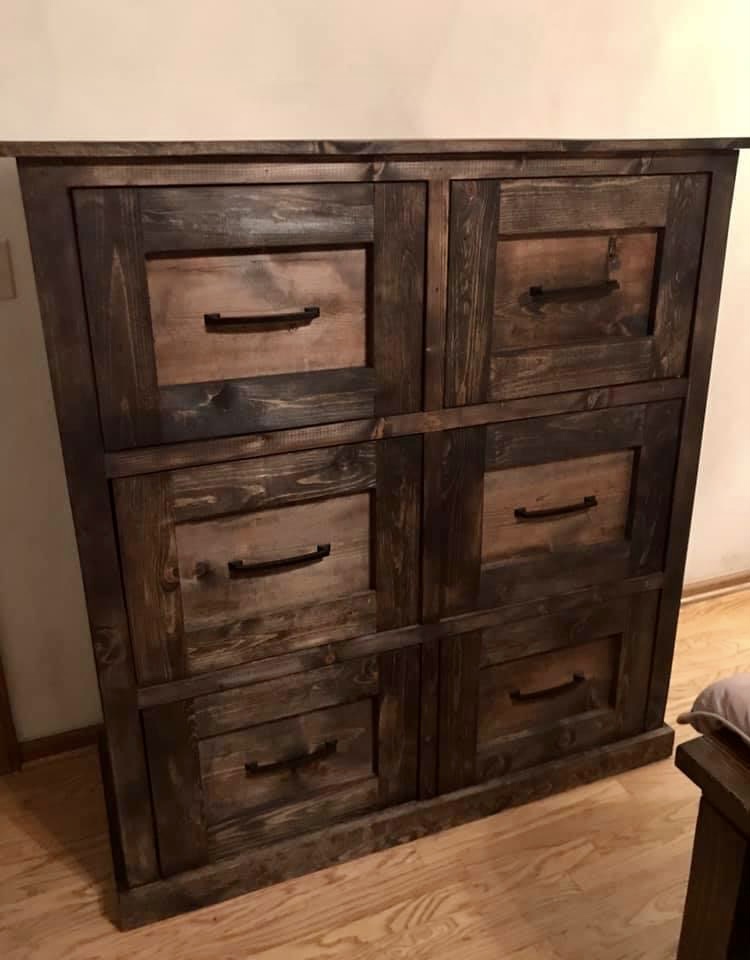
I pinned, I built and today I post!
To host the Pinterest Challenge Fall Edition (not affiliated directly with Pinterest), I joined them to not just challenge myself to complete a project from my pins, but to challenge you as well.
Because who isn't guilty of pinning and pinning ... and never getting around to nailing and cutting and gluing and screwing? As charged.
I love participating in the Pinterest Challenges put on by
Sherry of Young House Love and
Katie of Bower Power because it's fun, I get to meet great new people, challenge myself, and get super inspired by others projects. I hope you participated in today's Pinterest Challenge, and will share your project with us today! I've created a Link party for those of you who blog, and if you don't blog,
you can always upload a brag post right here (you have to be a member of our site) and then link the brag post up. Make sure you let everyone know your project is part of the Pinterest Challenge - you can use the graphics above. So looking forward to seeing your projects!
But first, I'm pretty darn excited to share with you my Pinterest Challenge Project. This is a first for me, to share the plans, then build and brag afterwards. It was fun and my project turned out better because I had some time to think of ways to modify the project and read your comments.
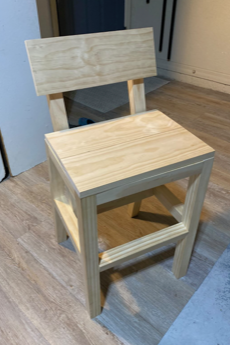
So here's my original Pin:

And then here is the plan I designed
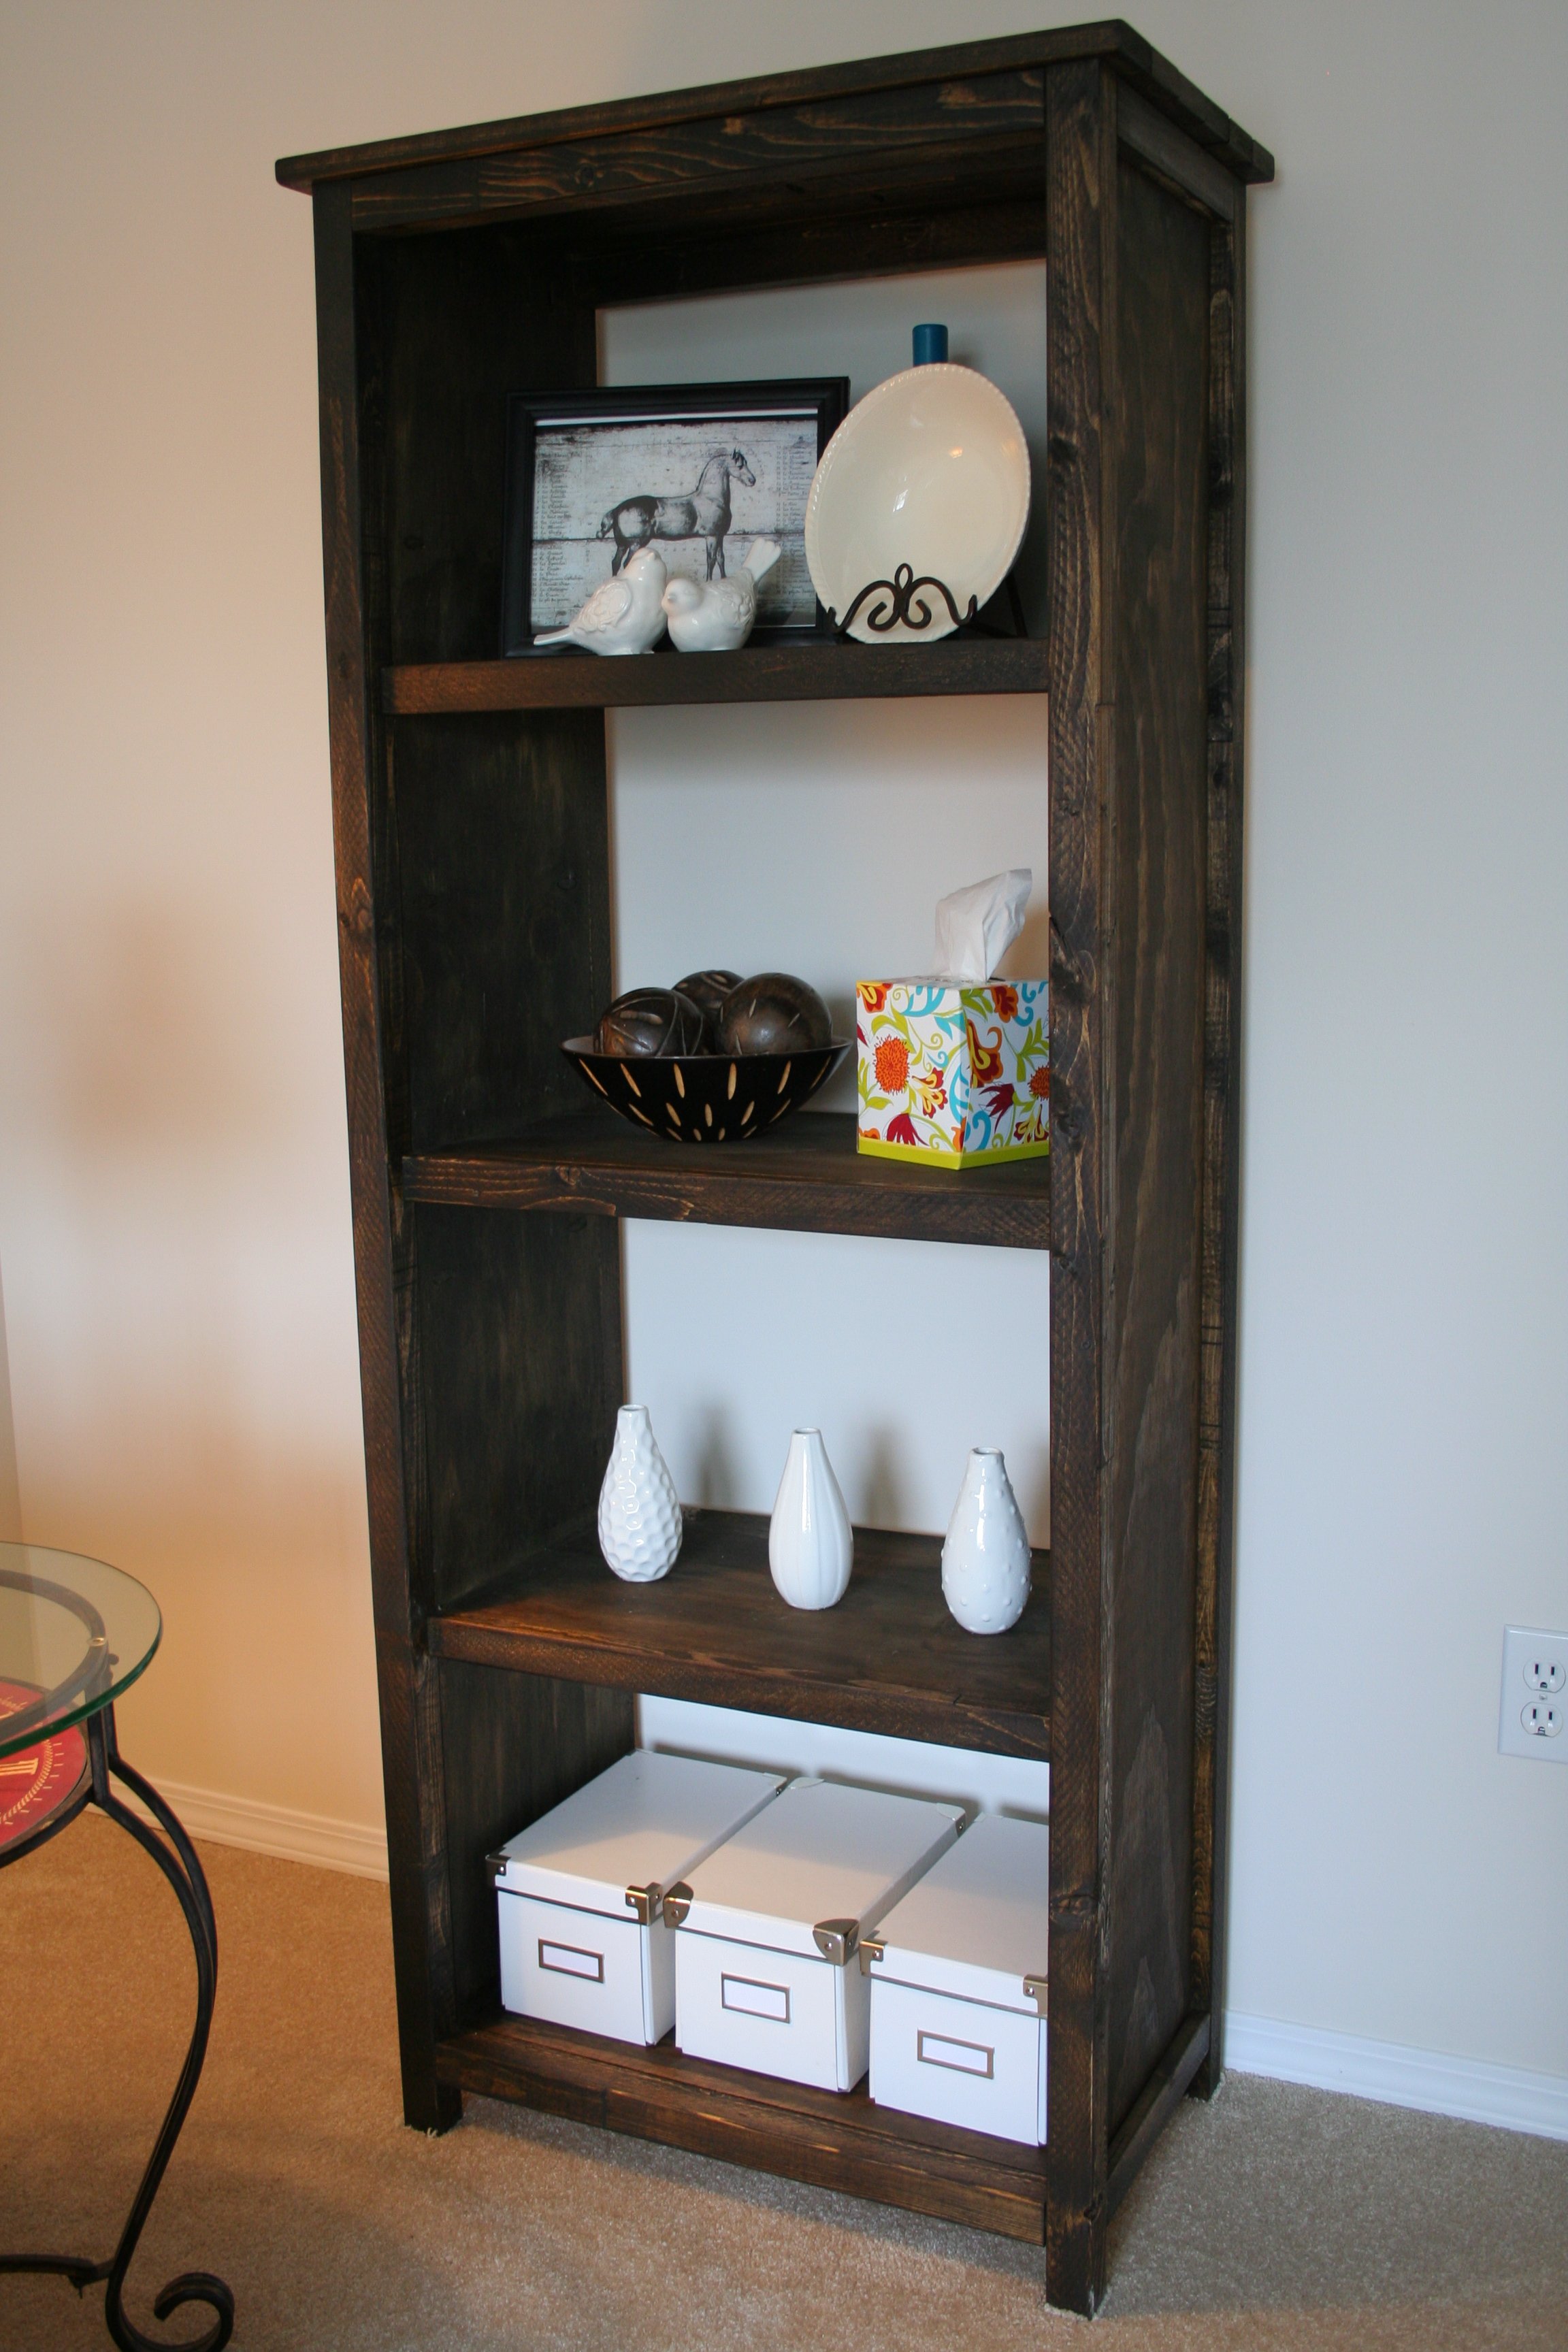
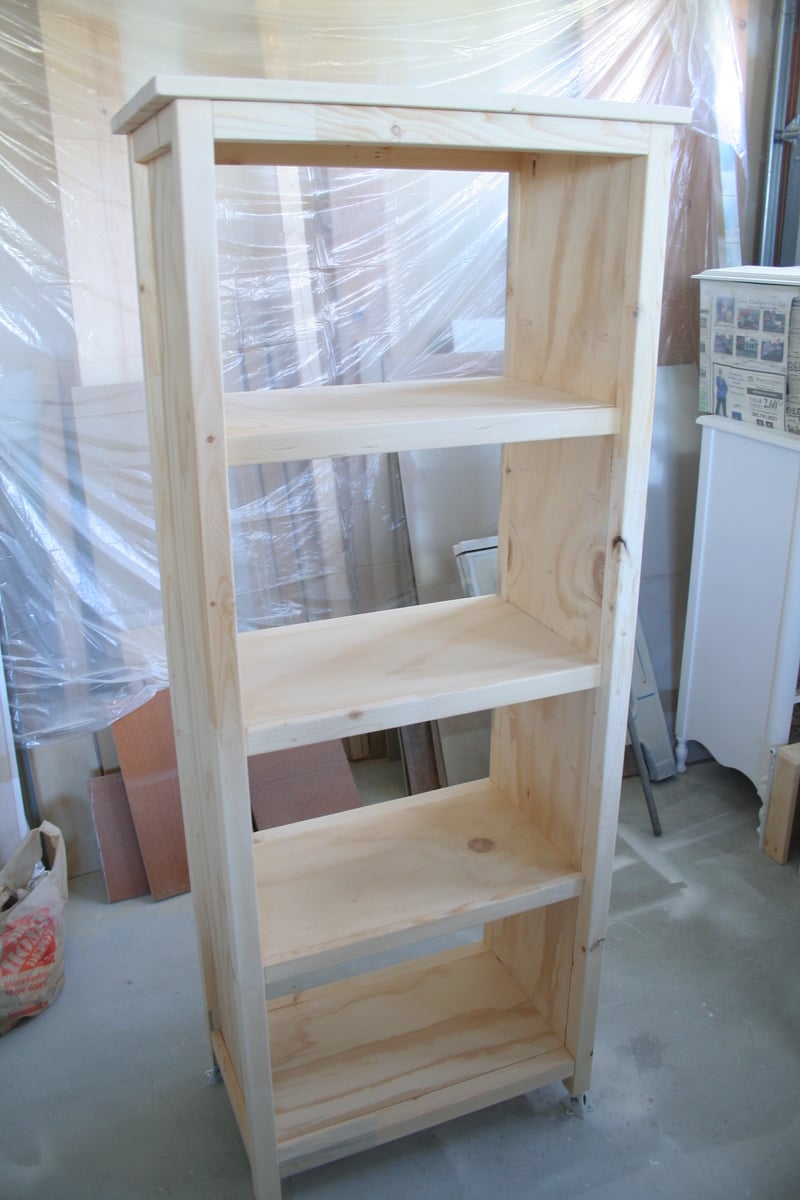
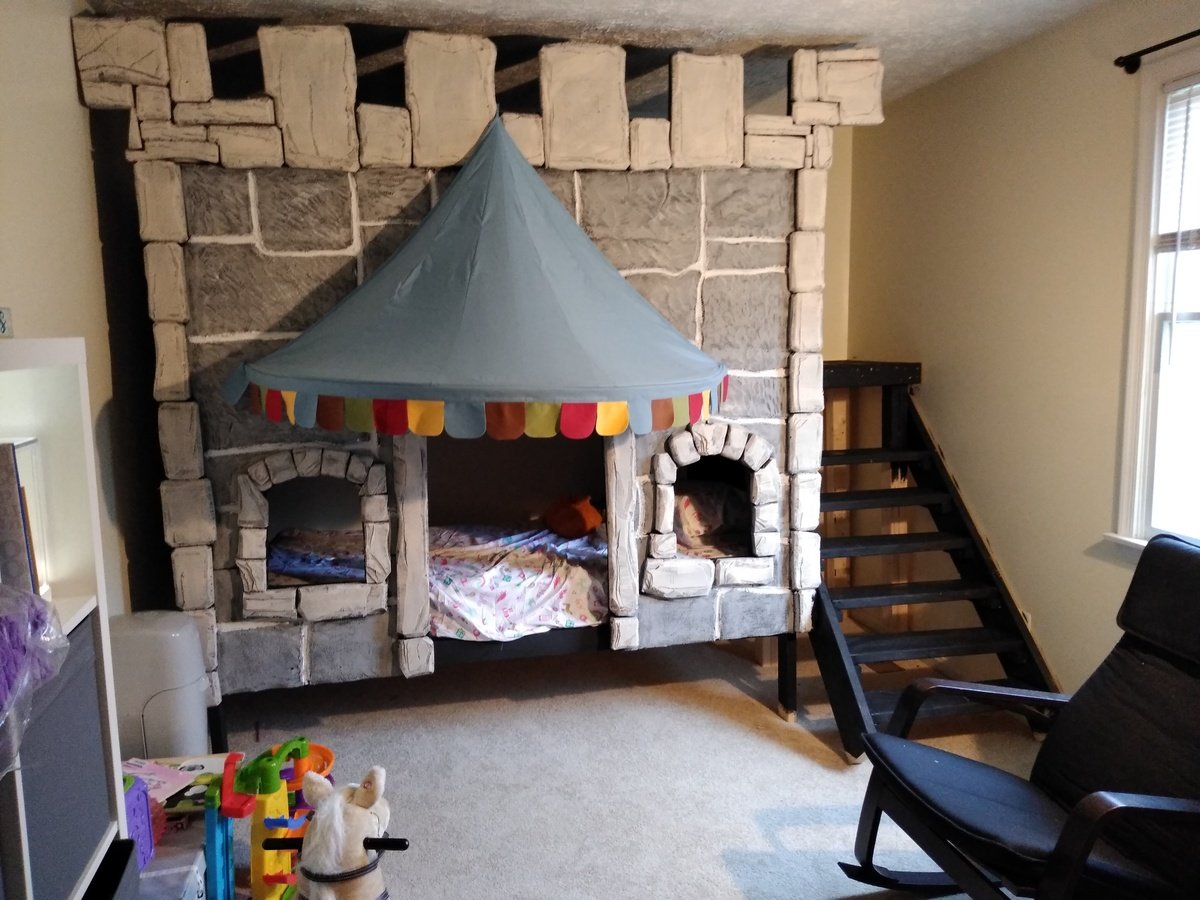
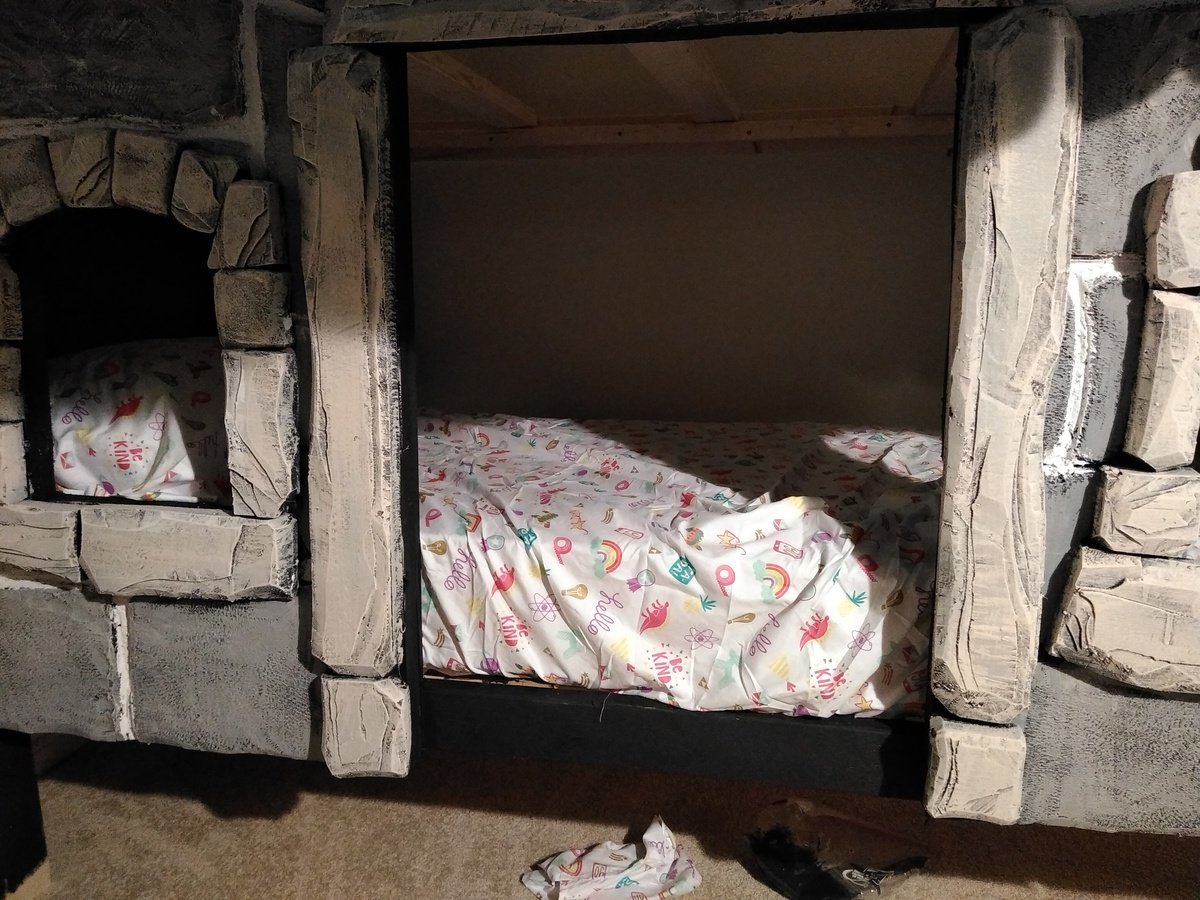
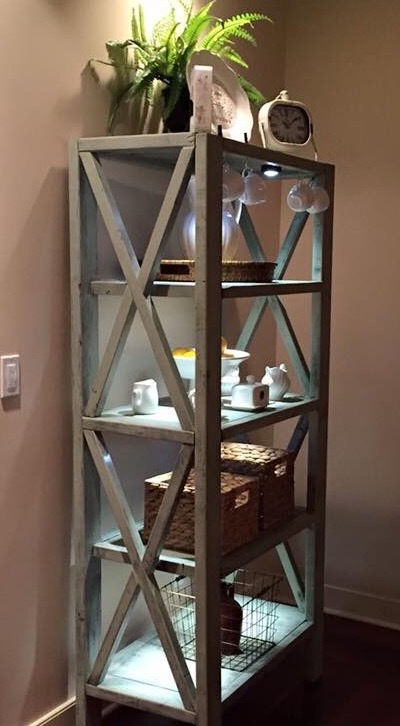
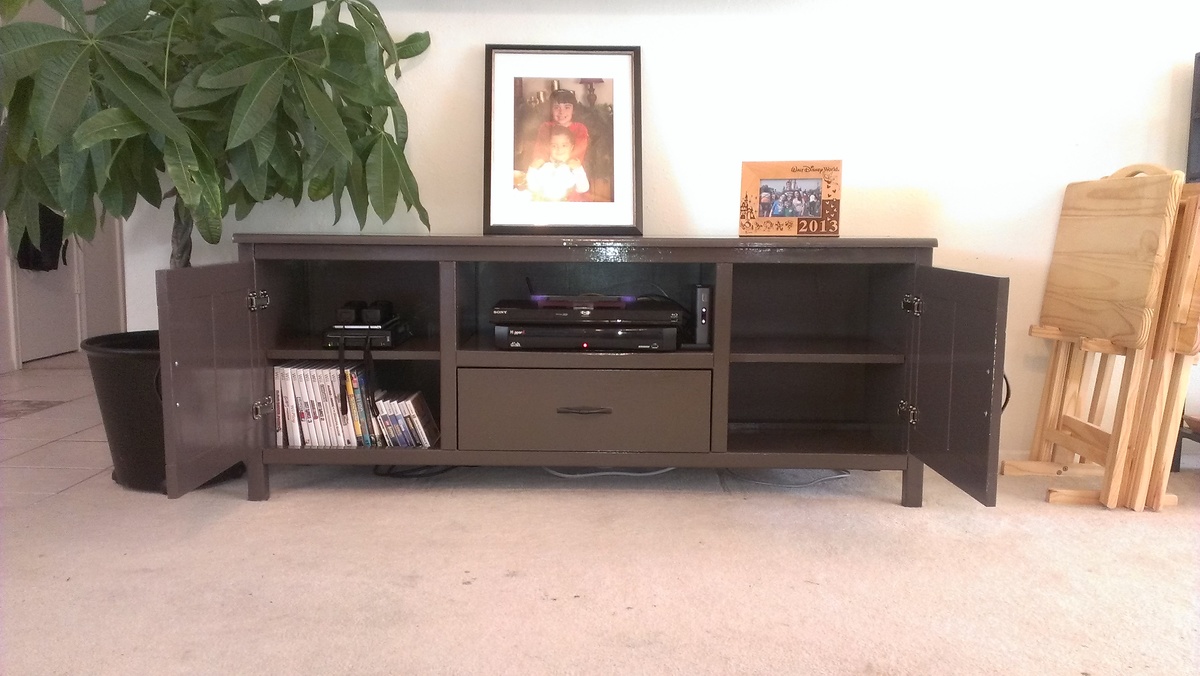
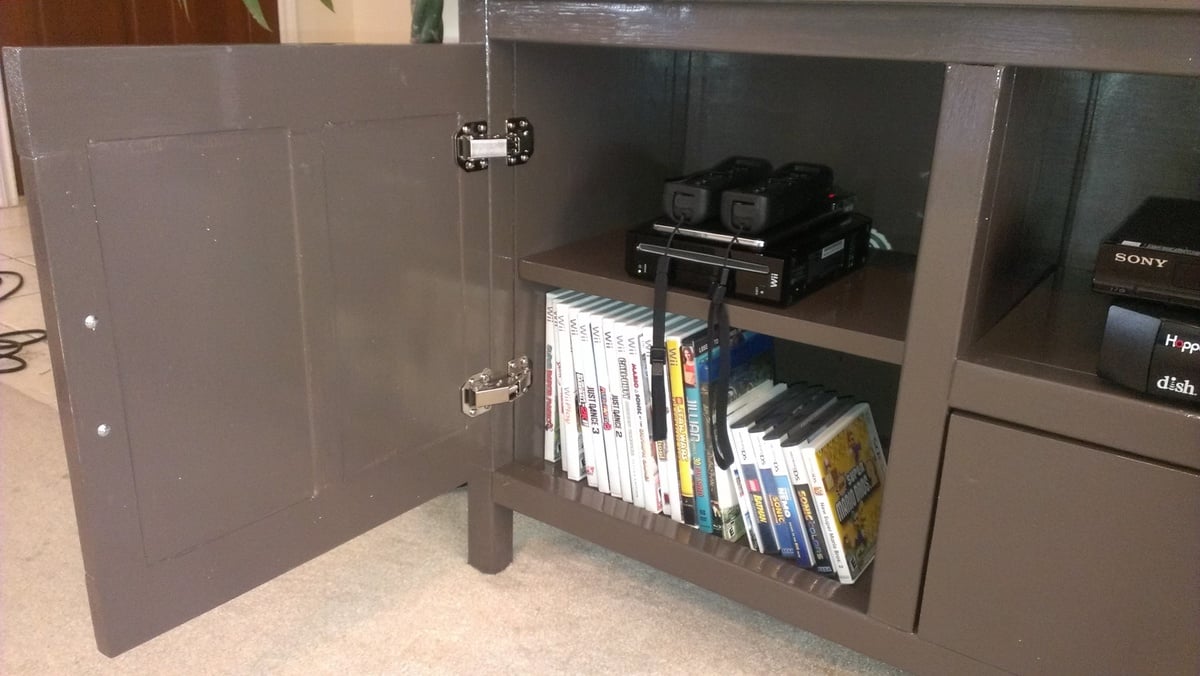
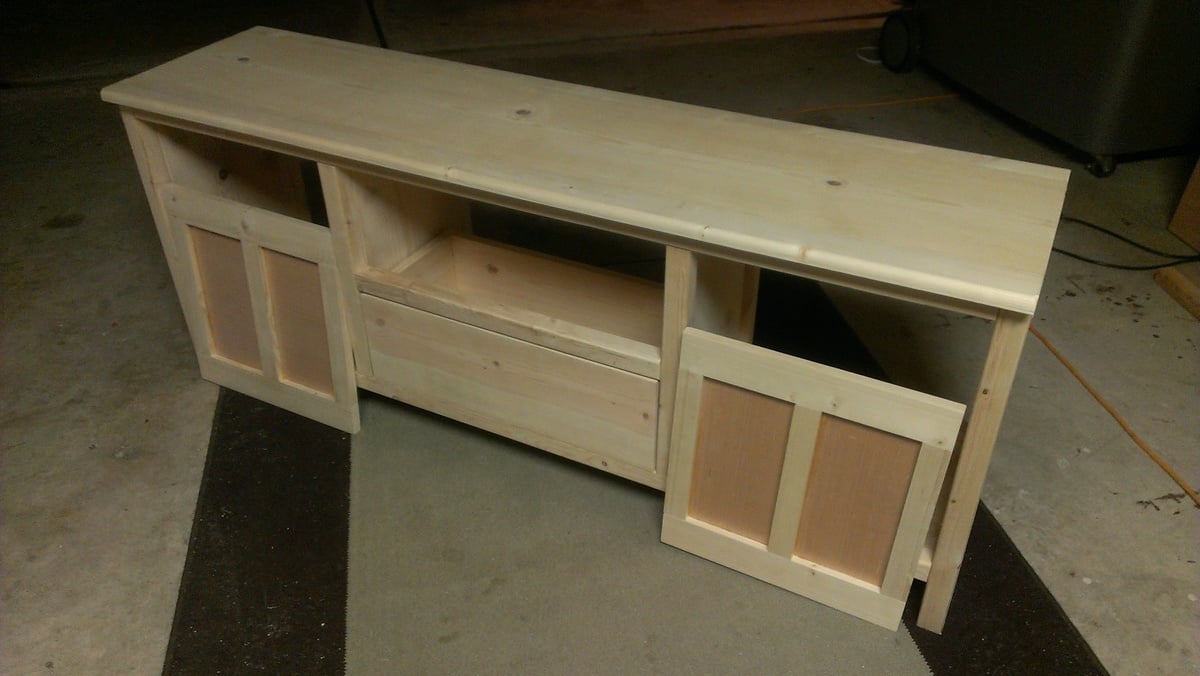
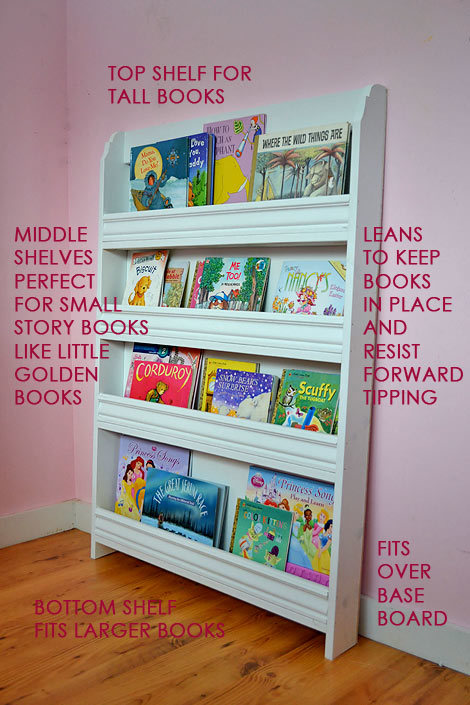
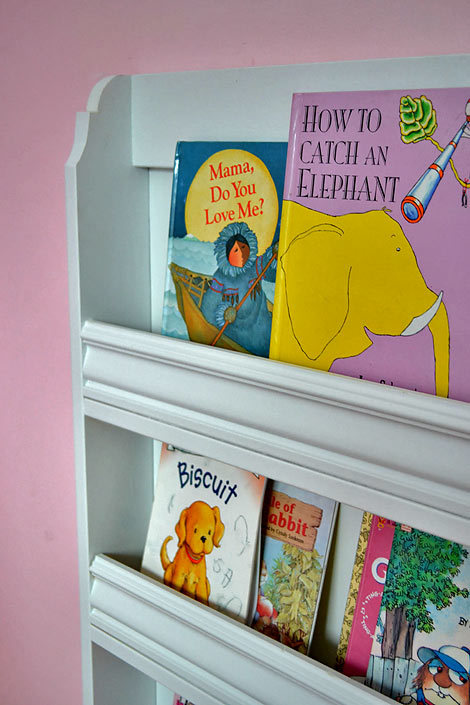
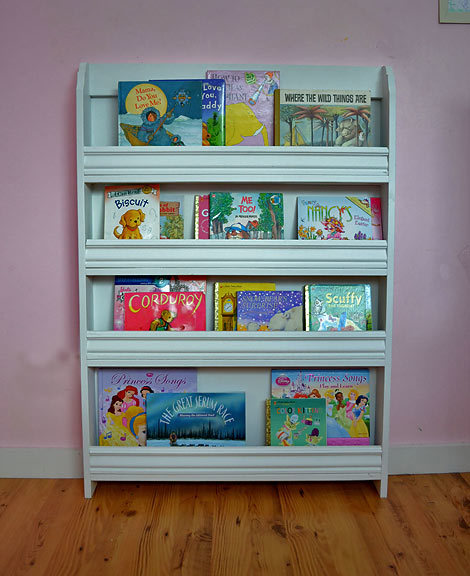
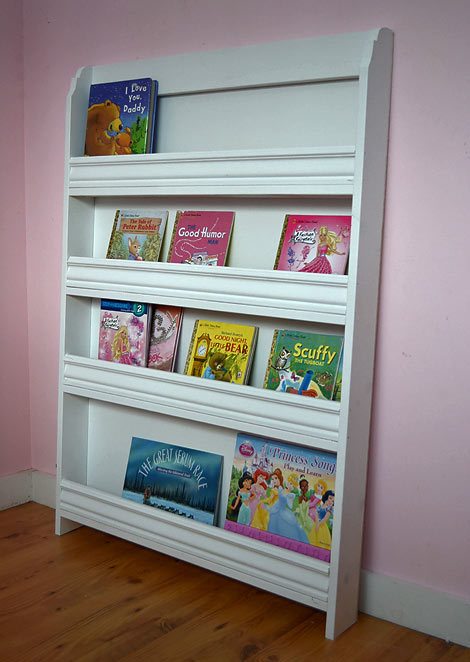
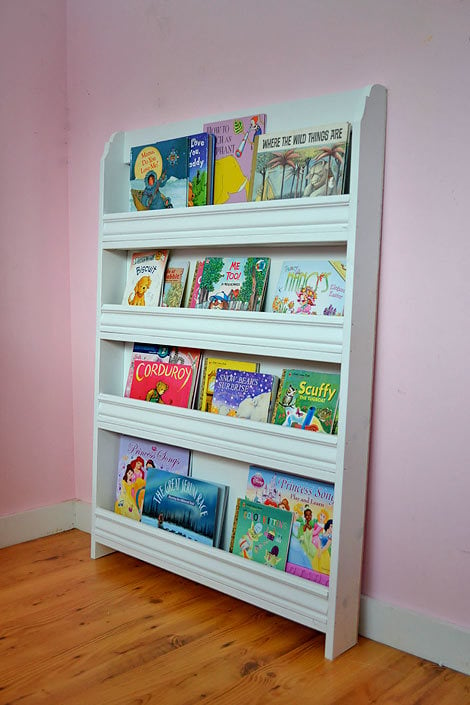
And this is what I built from the plan:
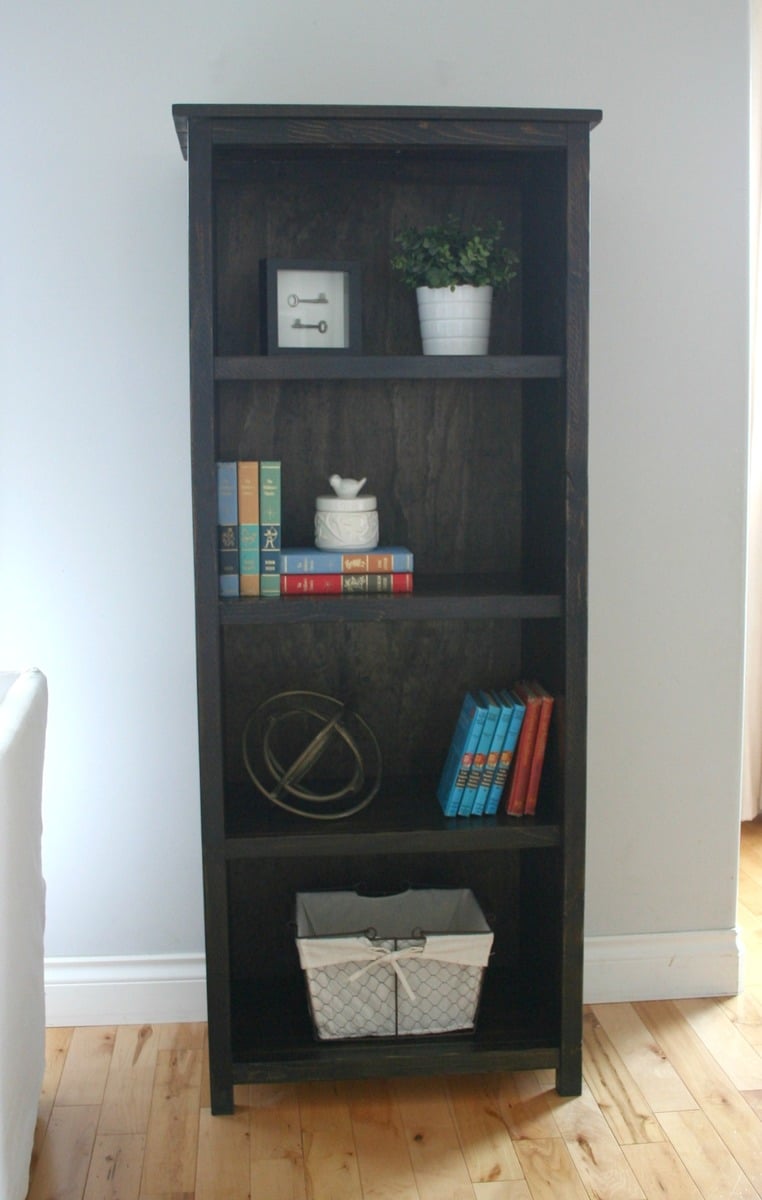
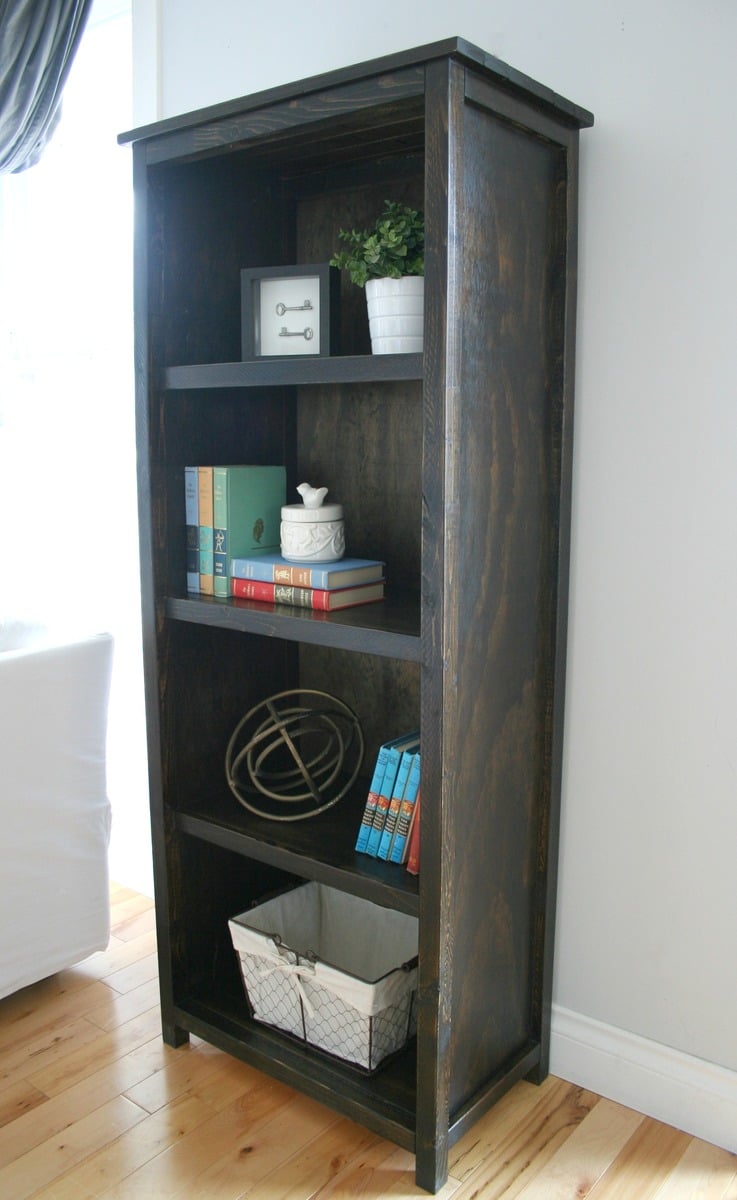
Thank you so much for the Pinterest Challenge - because now my daughter has a beautiful forward facing bookshelf!
We especially love this bookshelf because it fits her books just perfect, leans just right over the baseboard, and keeps all the books leaning back and not falling forward.
Modifications
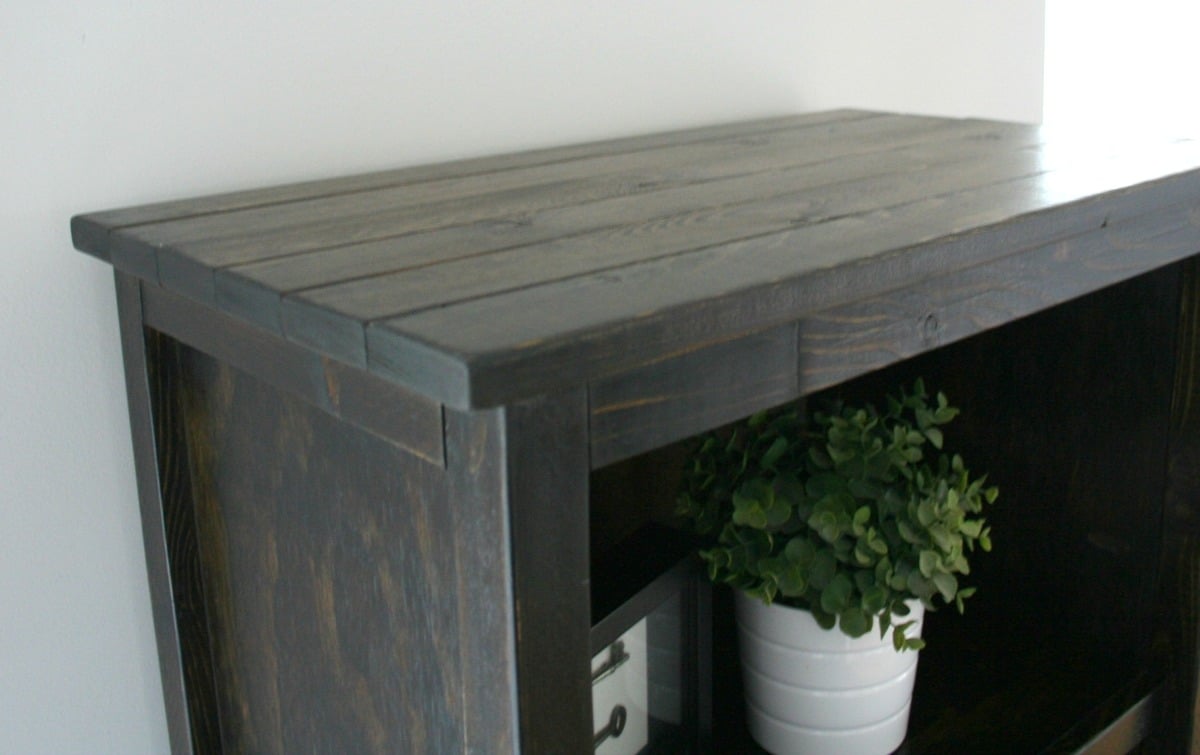
The structure of this bookshelf is the same as the plan. But I did use 1x4s for the shelves and sides to hold more books, and because I choose to use moulding for the shelves instead of the 1/4" plywood. I also cut the tops of the sides out with a notched arch shape ... it's the little things that take basic and make them fit for a princess.
Materials
We used solid wood for all the components and 1/4" PureBond Plywood for the back - so not only is this bookshelf functional and attractive, but it's also good for the indoor air quality of my home.
Time
Building this bookcase took about an hour, and my husband sprayed it with white primer and paint. We used a simple handheld sprayer - results are amazing.
Cost
The materials cost for this bookshelf run right around $35, not including paint and primer and screws - as I buy them in bulk. There's definitely room to shave costs if your budget is tighter.
Well, enough about me - I really am looking forward to seeing your projects! If you took the Pinterest Challenge (awesome, thanks for joining us!!!) it's time to share.
If you've blogged or bragged, you can simply
- Click on the blue “Add Your Link” button at the bottom of the thumbnails
- Add a link to this post from your specific blog post about your project in the url field (not your home page)
- Give your project and appropriate name cause thumbnails are so tiny, a good name really helps!
- And please share the love and quickly link back over to our project posts within your own (here’sKatie’s, Ana’s, Erin’s, and ours) – it’s also nice to link to your inspiration project on Pinterest as well as to directly link to the original project/site, just so they get some love too.
Can't wait to see your projects!


Comments
Ana White Admin
Fri, 02/03/2023 - 18:09
Really cool adaptation!
Way to think outside the box! Thank you for sharing, it looks great!