Community Brag Posts

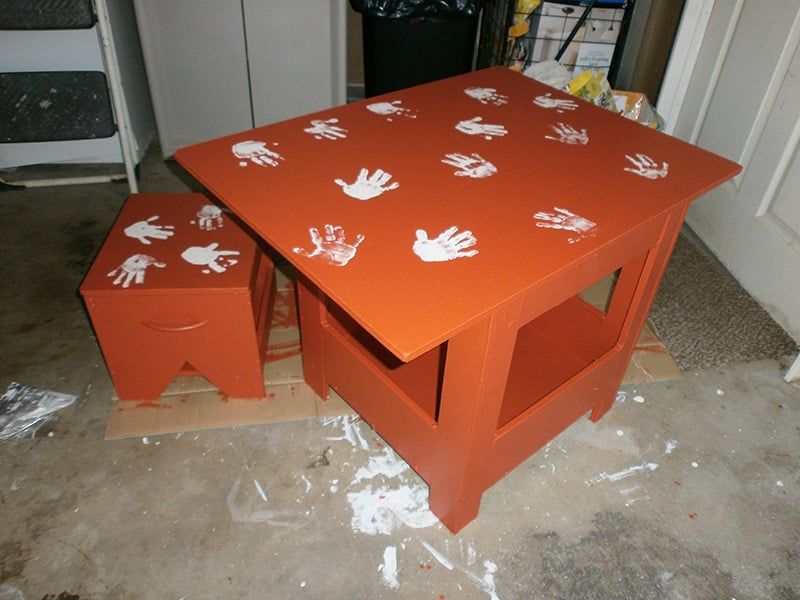
Storage Playtable and Stool
Submitted by Bunhash on Sun, 09/29/2013 - 19:32

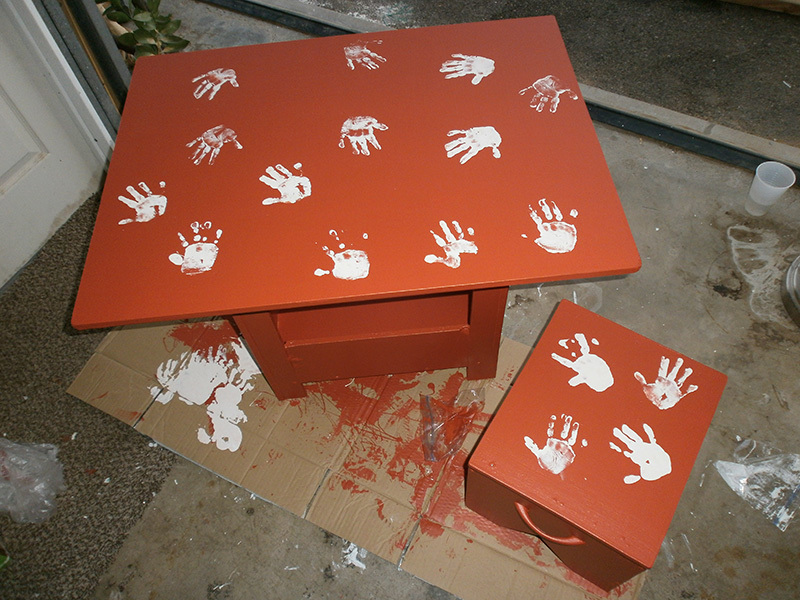
This was a really fun starter project for me. I've never made furniture before and I ran into some issues, but I learned a lot and enjoyed myself! My husband and I live with my Father-in-Law who has all the tools I needed (though I'm going to purchase my own later on).

The stool and table plans are here: http://ana-white.com/2009/11/plan-kids-large-storage-play-table.html . I modified it slightly because I was using scrap pieces (two doors from a particle board wardrobe). I don't like particle board... but I figured since it's my first try, I wouldn't waste any cash since I had all the stuff here, even the nails and screws.

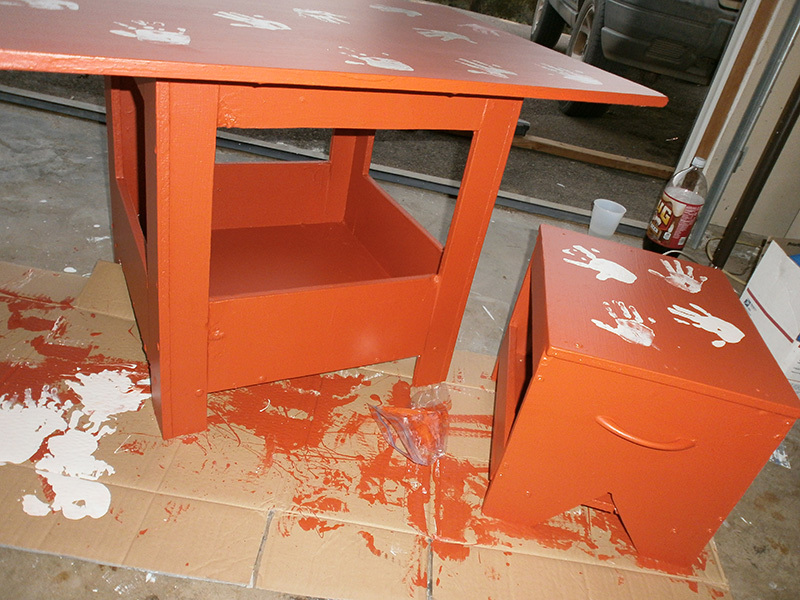
So I made the table about 2 inches shorter and the stool 1 inch shorter. I also used a rectangle top for the table with one side flush against the table side so I could put the set against a wall (i.e. three sides have overhang, the 4th is equal with the legs).

I painted both sets a dark red orange (my husband's favorite color) and let my daughter put her handprints all over in white paint . She LOVES it. And despite the 'wood' I used was particle board, it's pretty strong. I'm pleased. I will probably make another one with stronger material in the future.

Oh there were a lot of holes and such from the used board and some breaks from being thin, crappy board, but I was able to use filler one a lot of it and glue too. It's hard to tell it was a beginner job from a few feet away! Haha!
Built from Plan(s)
Estimated Cost
$15
Estimated Time Investment
Day Project (6-9 Hours)
Finish Used
High Gloss, Disney Brand Red-Orange Paint. I used 2 layers of primer and two layers of the Disney paint. It seems to be holding up okay.
Recommended Skill Level
Beginner

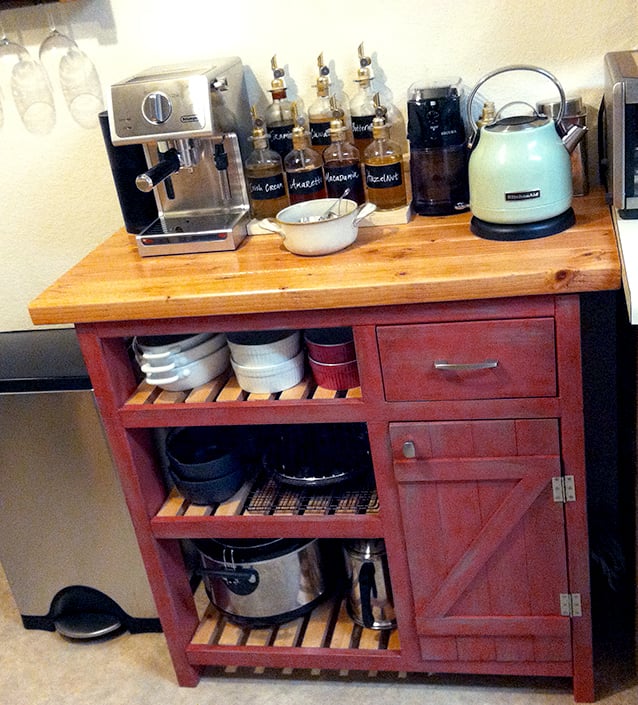
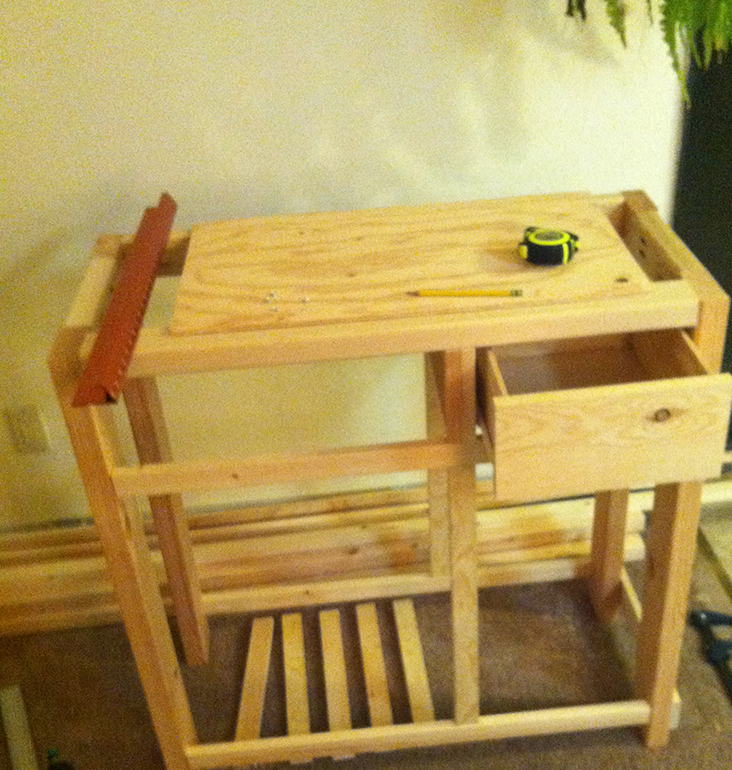
Coffee bar based on Easy Kitchen Island

Submitted by B.E. Lewis on Thu, 12/17/2015 - 13:25


Used 2x4s for the top instead of 2x6s. All the shelves are 1x2s. My first attempt at a door and drawer - it kicked my a**! 
Top stain: Minwax Golden Pecan

Then Minwax Polycrylic 3 coats

Estimated Cost
Wood around $35 not counting stain paint or clear coat
Estimated Time Investment
Week Long Project (20 Hours or More)
Finish Used
See description
Recommended Skill Level
Intermediate

Comments

TV console

Submitted by Anonymous (not verified) on Sat, 02/09/2019 - 14:24

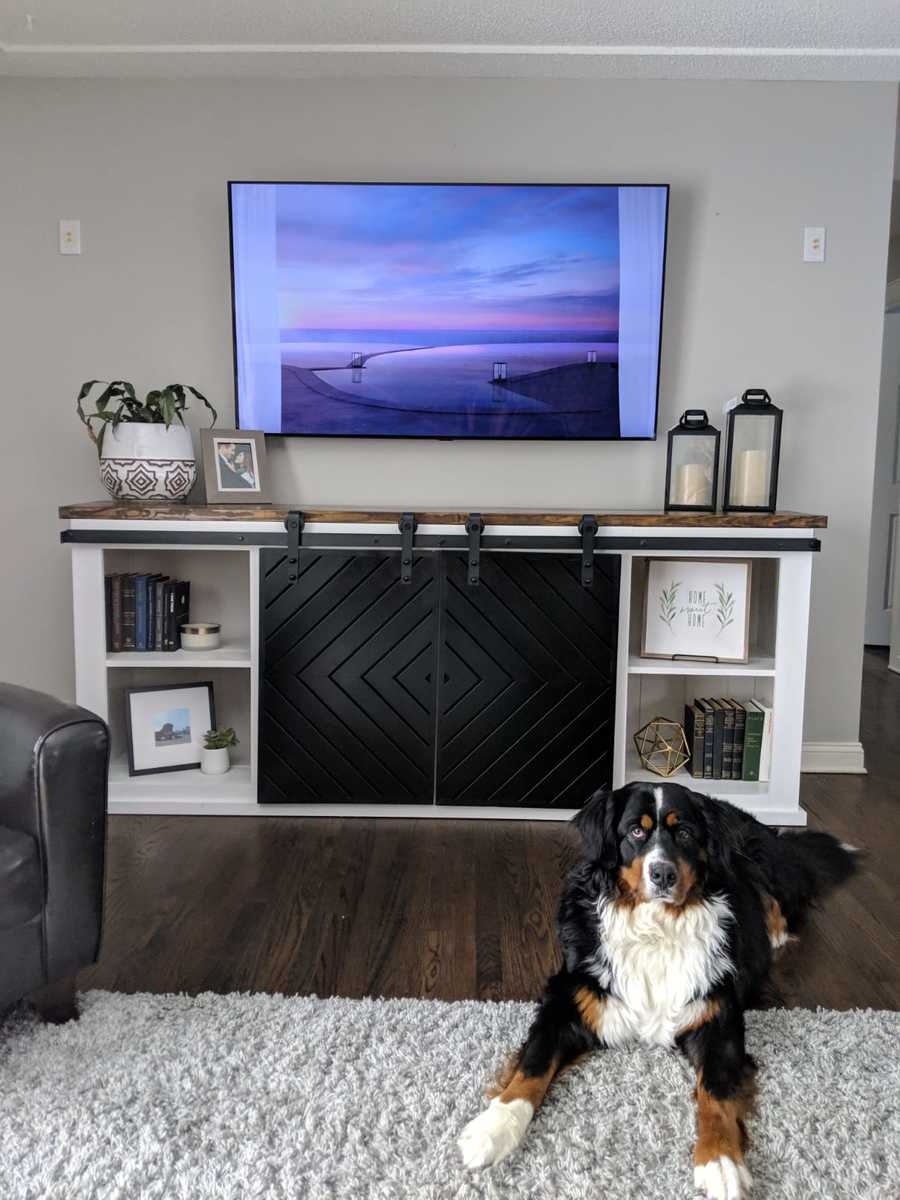
Had to build something to go with our brand new OLED TV. Combined Ana's 'Grandy Sliding Door Console' with a modified version of these modern barn door plans found at https://howdoesshe.com/build-a-fixer-upper-style-modern-barn-door/ from @angelarosehome to make the finished product shown here. My wife loves it (the pup doesn't mind it either)! 

Built from Plan(s)
Estimated Time Investment
Week Long Project (20 Hours or More)
Recommended Skill Level
Intermediate

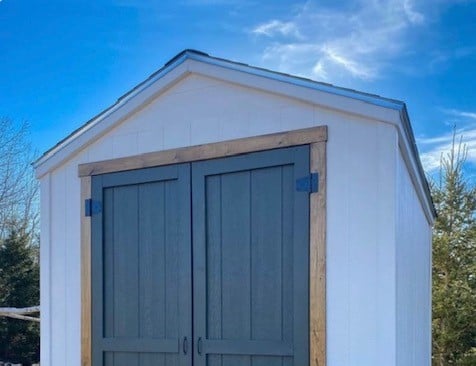
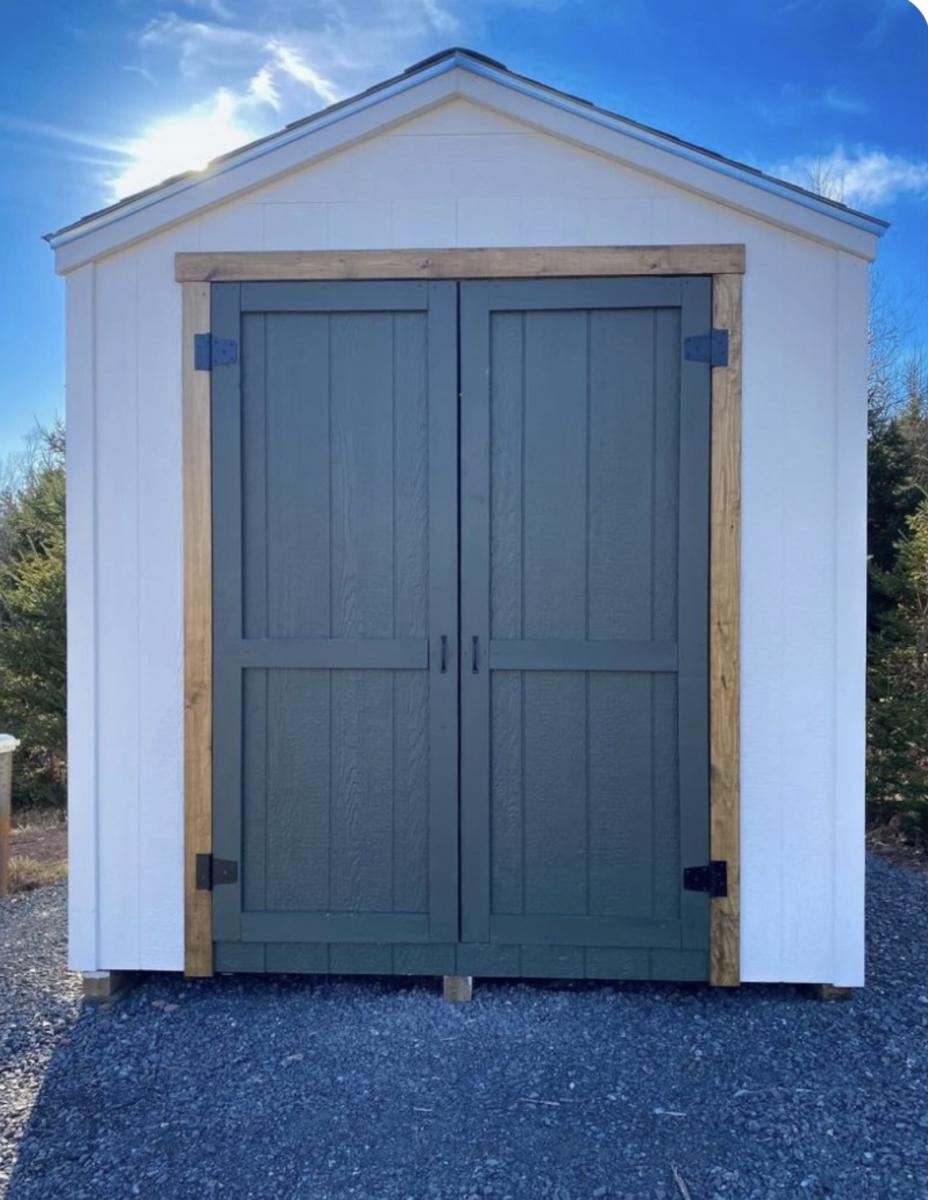
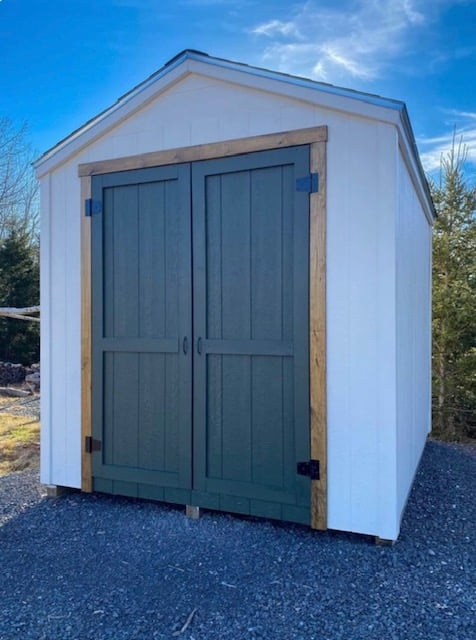
8x10 Shed - Built by Julia Eliopoulos

I made your 8x10 shed! Turned out so well, thank you for the amazing plans.

Julia Eliopoulos

Built from Plan(s)

Comments

Parson Tower Desk

Submitted by laceyigo on Thu, 09/22/2011 - 08:33

I recently built the Parson Tower Desk (which I see is no longer here on the site). I built it up 3 tiers vs. 2 tiers as the plan called for. Using the Kreg Jig this desk came together like a charm. It was the first piece of furniture I've ever built. Following Ana's plans was so simple. The part that took me the longest was painting it.

Built from Plan(s)
Estimated Cost
$50
Estimated Time Investment
Weekend Project (10-20 Hours)
Recommended Skill Level
Beginner

Feels like Fall

Submitted by MaryMurray on Tue, 10/01/2013 - 09:32

I built this Taylors console table and barnwood frame for my guest room which also contains my double Lydia daybeds! The room that Mary built...

Estimated Time Investment
Weekend Project (10-20 Hours)
Recommended Skill Level
Beginner

Comments

Ana White

Tue, 10/01/2013 - 12:57

WOW! Great job on both. Love the lydia daybeds by the way, they are super CUTE!

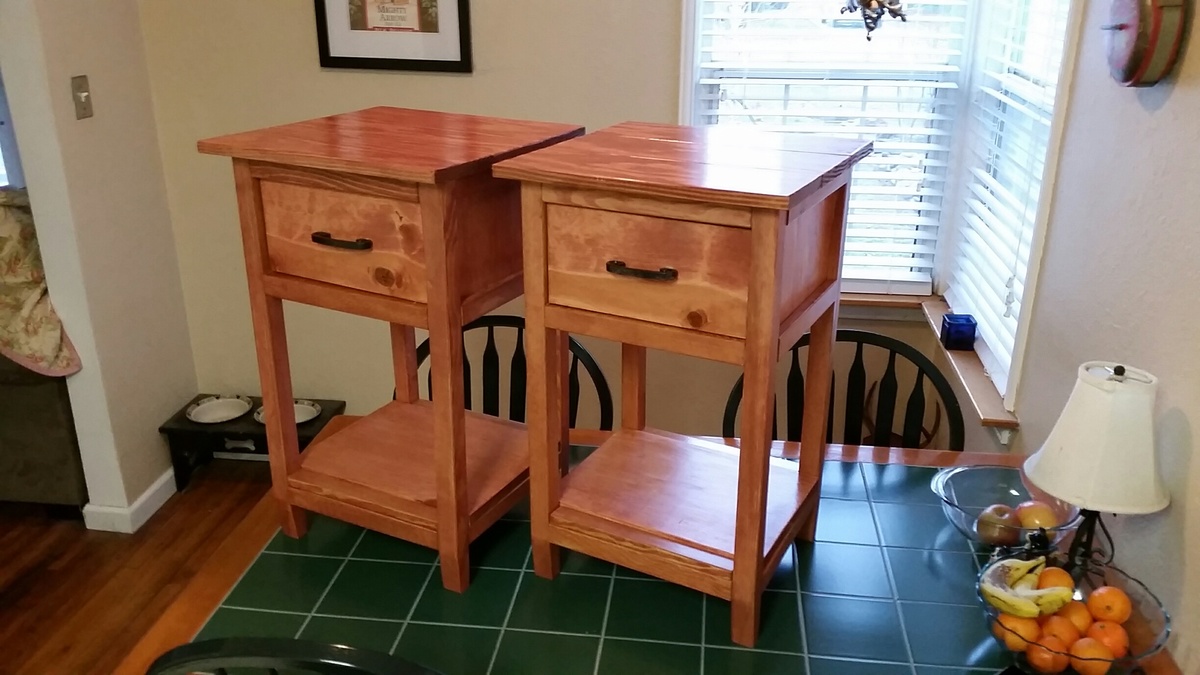
Farmhouse Bedside Table

Submitted by stacynabby on Sun, 12/20/2015 - 15:19

I made these two tables for a coworker who lost her home in the Valley Fire in California in 2015. She only had owned her home for 71 days and she lost everything. So, I thought I could make her some furniture as a very small token. They took me just half a day to build. I love this hobby.

Built from Plan(s)
Estimated Time Investment
Afternoon Project (3-6 Hours)
Finish Used
Minwax Sedona Red
Recommended Skill Level
Beginner

Comments

Fancy Ana white jewelry box

Submitted by Anonymous (not verified) on Fri, 02/15/2019 - 20:09

   The only thing I did different from the plans was to add 1bys to the face of the drawers and put removable dividers inside of them. Also I tinkered around a bit with miscellaneous little trim pieces you can pick up at a home improvement store. I decided to spray paint it with rust oleum silver lilac, I'm not exactly crazy about the color, but besides that I'm happy with how it turned out.

Built from Plan(s)
Estimated Cost
$150
Estimated Time Investment
Weekend Project (10-20 Hours)
Finish Used
Rust oleum silver lilac
Recommended Skill Level
Beginner

Comments

Playhouse Loft Bed

Submitted by maxwell97 on Thu, 09/29/2011 - 09:41

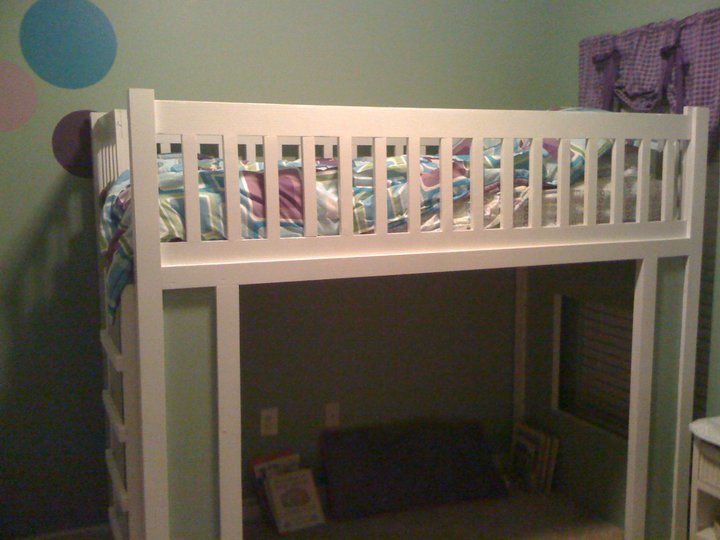
I am so grateful for this site and the detailed plans. My youngest daughters bedroom is super small and had very little room to play. I have been wanting to get or build her a loft bed, but most sites wanted money or the beds were very generic. I started this project on Christmas break thinking that I could get it done over the holiday. After about 10 trips to the hardware store and working on it periodically, it was finally finished in March. Both my daughters love it. My oldest now want one, but I think her room is more of the fashion of an industrial looking metal one. I did make some modifications to the front as I did not want to close it in, making here room look smaller. We have put up curtains that she can close. She will sit for hours reading and playing underneath. I have gotten lots of comments from friends. This was a tough but good starting project. There are some things that I would do differently, small things. Thanks Anna for your website. Now, on to a bed for me. No, it will not be a loft bed. Thinking of a platform bed.

Built from Plan(s)
Estimated Time Investment
Week Long Project (20 Hours or More)
Recommended Skill Level
Intermediate

Comments

knb

Fri, 09/30/2011 - 05:19

What a great job... I love how you have left the front open with an added curtain for her to hide away. We have not long finished a loft bed as well, massive job but worth it for the look on our daughter face :)
I also love how you have painted it the same colour as the walls, makes it blend and not seem to large. Well done!

Cindy from Indiana (not verified)

Fri, 09/30/2011 - 09:21

Great job! We are slowly gathering the supplies (and saving money) for this project for our daughter's room which is verrrrrrrrrrry small - very small!

I love that you opened up the entire front side and put a curtain up! I may have to steal your idea...I wonder if I can convince my daughter to give up the 'window' in the original design, though.

It looks great! You did a wonderful job on it.

Jjpp (not verified)

Sun, 01/20/2013 - 18:24

Love the loft! How tall are the ceilings in this room? I am trying to build one for a room with 8 foot ceilings and have a full bed.

Jjpp (not verified)

Sun, 01/20/2013 - 18:26

Love the loft! How tall are the ceilings in this room? I am trying to build a full loft in a room with 8 foot ceilings.

Spice Rack

Submitted by set42 on Thu, 10/03/2013 - 10:37

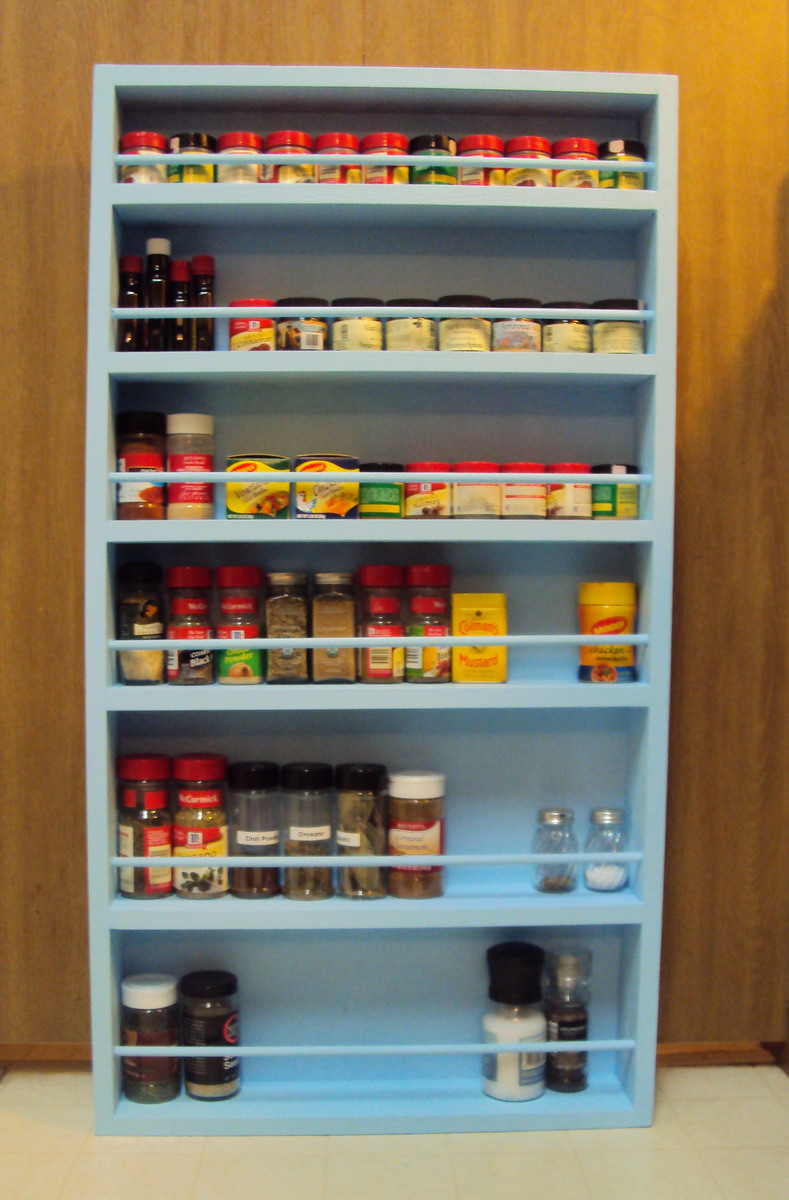
My husband and I worked together to build this spice rack with the plan from ana-white.com. The instructions were very clear and easy to follow.

As you can see from the photo, we haven't hung it on the wall just yet. We have a narrow galley kitchen in an apartment, and I won't be able to get a good photo of it once it's hung.

Thank you, Ana, for inspiring us! We have picked out several more plans to build.

Sarah Hughes

Recommended Skill Level
Beginner

Snowflake shelf

Submitted by Anonymous (not verified) on Thu, 12/24/2015 - 10:08

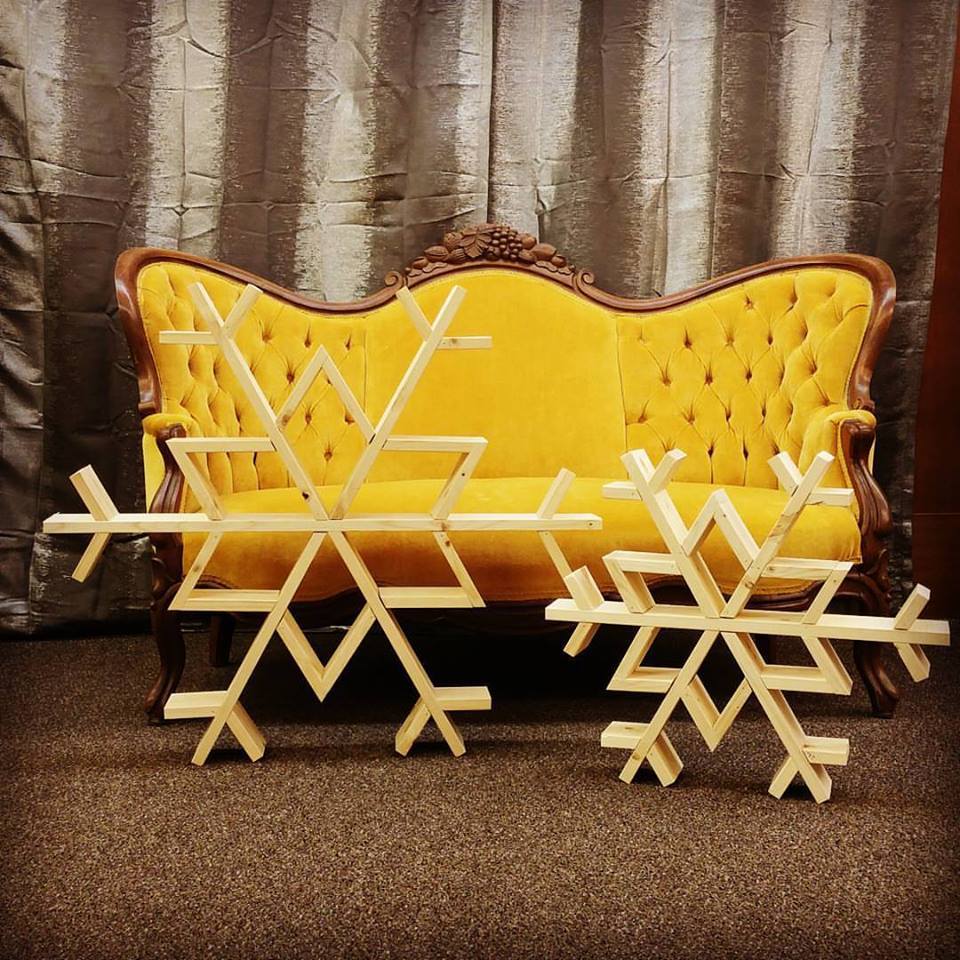
I just loved this shelf that I made 10 of them for family for Christmas! We made the original size but decided to size it down by a third. :)

Estimated Cost
less than $20
Estimated Time Investment
An Hour or Two (0-2 Hours)
Recommended Skill Level
Beginner

Comments

Paul's Kitchen Helper

Submitted by Anonymous (not verified) on Fri, 02/22/2019 - 07:24

This was constructed out of solid black walnut from a tree that grew in our homeowner's association area. A neighbor and I had the tree sawn into planks, which we air-dried for a year, and then divided up the wood. So this really is an "all natural" project.

Estimated Time Investment
Week Long Project (20 Hours or More)
Finish Used
Clear Polyurathane gloss
Recommended Skill Level
Intermediate

Finally Done!

Finally finished my first build! This was initially meant to just be a file cabinet but by the time I got a little over half way through we got rid of our huge office desk to make a guest room and decided that I should a top to the file cabinet to make a small desk to go in our living room. It's a perfect fit! This definitely took me longer than I had expected thanks to a lot of cold or wet days, a busy schedule and a lack of a garage. If it wasn't light out and dry I couldn't work. In addition, since this was my first build, I had to learn a lot of skills, buy a lot of new tools (Christmas helped) and fix a lot of mistakes (not to mention the untold number of trips to the hardware store). However I am so excited about how well this turned out I am already halfway through building a set of night stands and my "to-do" list is very, very long!

Estimated Cost
150.00
Estimated Time Investment
Week Long Project (20 Hours or More)
Finish Used
Oil based primer on the bottom and then oil based white paint, Valspar, sort of a cream color (can't remember the exact name)

Top was pretreated with a Minwax Pre-stain Wood Conditioner, then stained with Cabot "Tannery" x 2 then finished with 3 coats of Minwax Fast-Drying Polyurethane.
Recommended Skill Level
Intermediate

Comments

NadineC

Mon, 04/30/2012 - 11:37

What type of plywood did you use for the top? I am looking to buy the materials and I have no clue what to get.

claydowling

Mon, 04/30/2012 - 16:56

Nadine,

If you're determined to stain the top, there are a couple of different things I'd try.

The first is looking for a panel instead of plywood. Most home stores and lumber yards sell glued up wood table and counter tops. At Menards I've seen maple, oak and pine. Lowes and Home Depot usually at least have pine. It costs slightly more, but it gives a really nice desktop.

If you want plywood, if you're going to stain it buy an A1 plywood. In an ideal world, it would have a rotary cut core, but that isn't essential. Home centers tend to make it a bit harder to by plywood by the surface grade, so I really recommend you go to a lumber yard for your plywood. That said, I've seen the stacks of Purebond at Home Depot that Ana recommends, and it looks like very nice material. I haven't used it, but I think it would be worth trying.

Farmhouse king size bed with matching bedside table

Submitted by disneynut on Sun, 10/06/2013 - 13:09

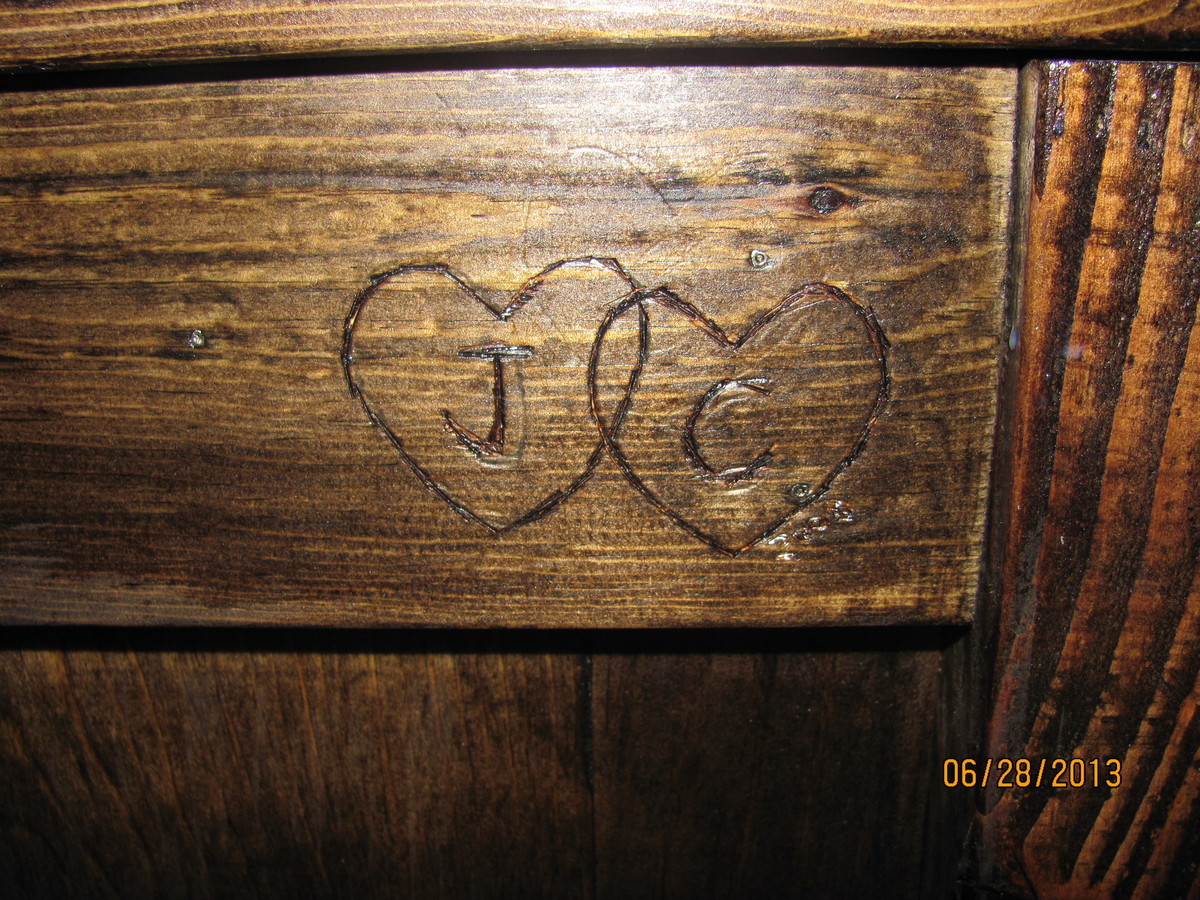
The bed was a great project to start with. Very easy to follow instructions. I was a little worried that the bed was going to be too big, but once my husband and I got it together it was perfect. I used the metal frame that the bed already sat on, so I didn't need supports. I added a special touch for my husband since it was almost our anniversay. It's barely noticable but I carved our initials into the footboard. He loved it! After I completed the bed I moved on to the table. I forgot to take progress pictures. My next project I will be sure to do so. This was a joy to build. I still can't believe I made these beautiful peices! One more bedside table to build and my room will have all new furniture. Thank you Ana for the plans!! It's going to be tough to figure out what to build next. so many plans to choose from! :)

Estimated Cost
Both peice about $150-$180
Estimated Time Investment
Week Long Project (20 Hours or More)
Finish Used
Minwax Wood conditioner, Minwax Jacobean, and Minwax satin finish varnish.
Recommended Skill Level
Beginner

Mattea's Doll House

Submitted by Anonymous (not verified) on Sun, 12/27/2015 - 14:06

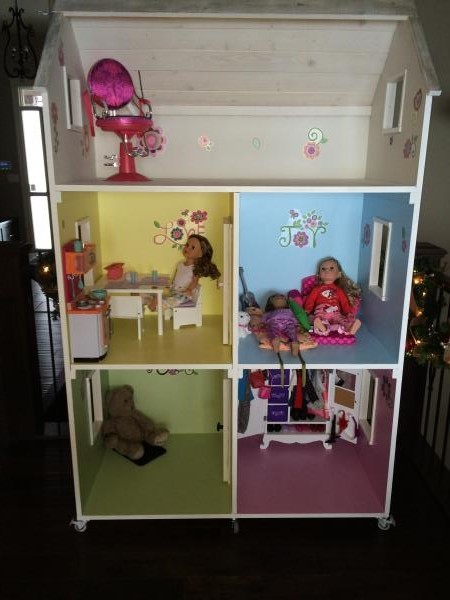
Built this off another plan

Estimated Cost
250
Estimated Time Investment
Weekend Project (10-20 Hours)
Recommended Skill Level
Beginner

PEM Kitchen Tower

Submitted by Anonymous (not verified) on Wed, 02/27/2019 - 12:37

Built from solid walnut milled from a tree that grew nearby.  Had tree cut into slabs, air dried the wood for a year, then planed into boards for use in the project.  Rabbitted the supports rather than depending only on screws.  Finished with tung oil and clear polyurathane.

Estimated Time Investment
Week Long Project (20 Hours or More)
Finish Used
Tung oil and clear gloss polyurethane. Diluted tung oil, paint thinner, and polyurethane and wiped on with lint free pad to eliminate drips and runs.
Recommended Skill Level
Intermediate

My cozy outdoor loveseat

Submitted by Megan W on Sat, 10/08/2011 - 17:47

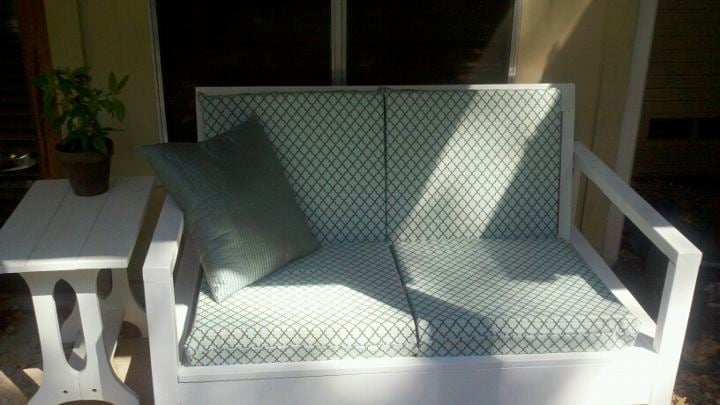
We followed the plans exactly. I I got 4 separate square cushions at Hobby Lobby, got the fabric there also. My friend sewed the cushions for me (so sweet!) because she knows I can't sew=)

I found the little side table at a garage sale for $3 and painted it white to match. I love this piece on my patio...it's great for reading, or to sit and sip coffee or a glass of wine!

Estimated Cost
cushions and fabric= $100ish, lumber= <$50
Estimated Time Investment
Weekend Project (10-20 Hours)
Finish Used
paint
Recommended Skill Level
Intermediate

Comments

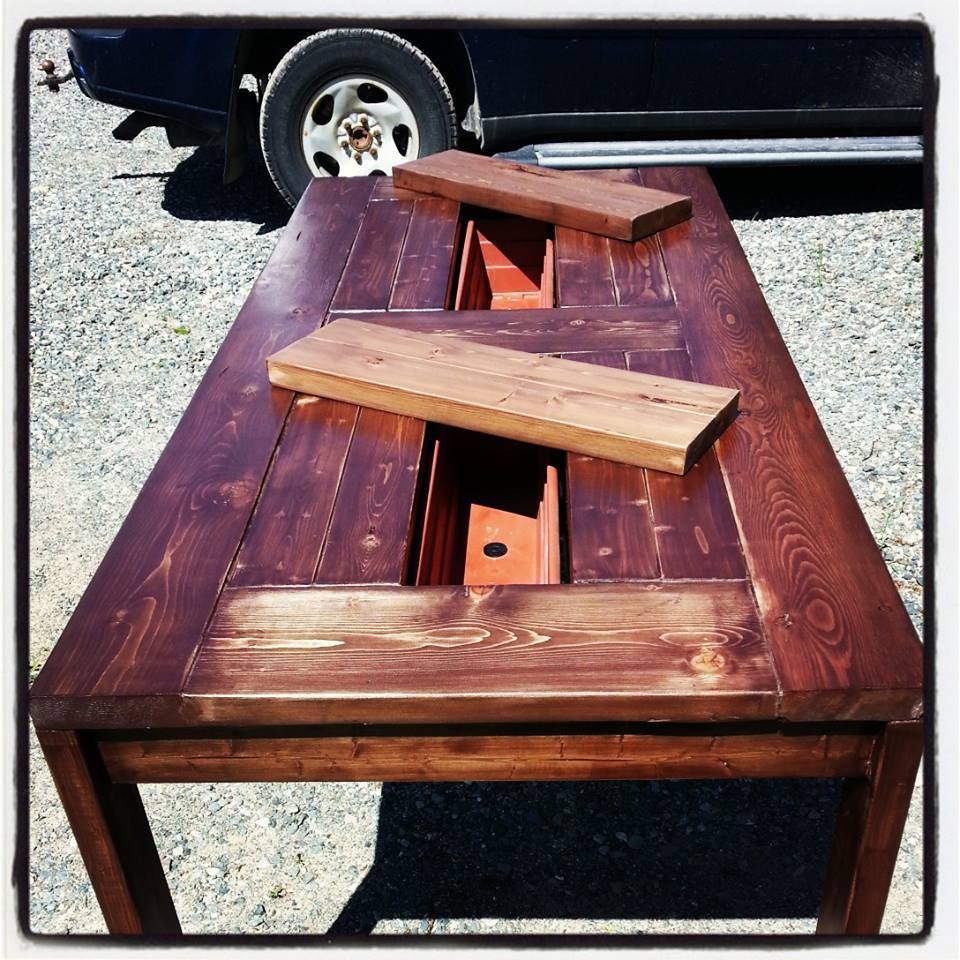
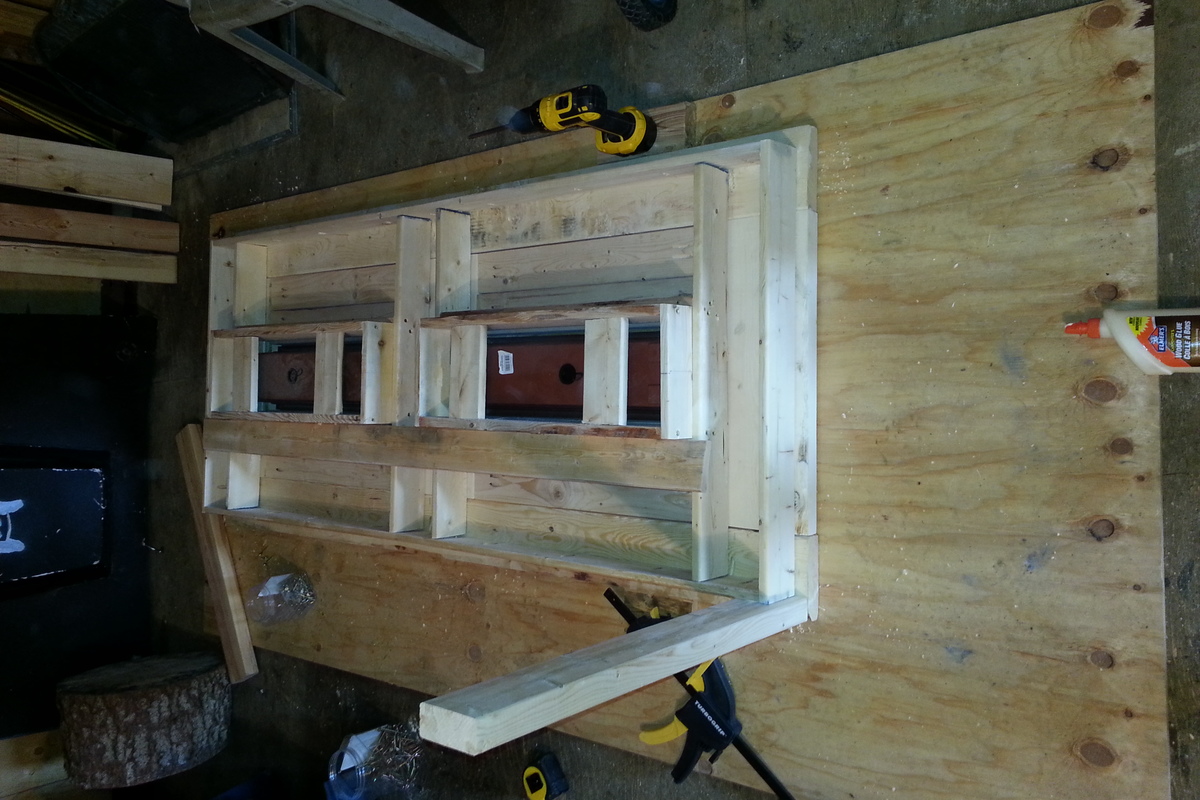
my beer cooler table

Submitted by sajmc on Tue, 10/08/2013 - 08:02

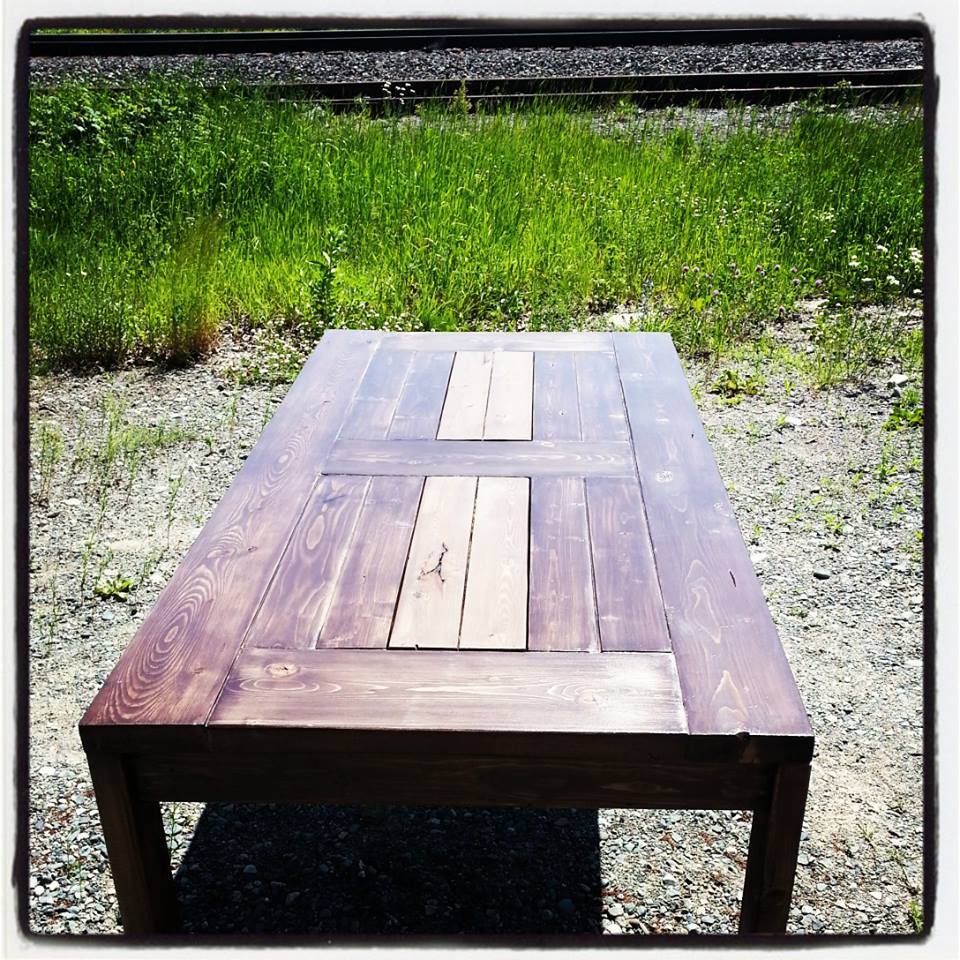
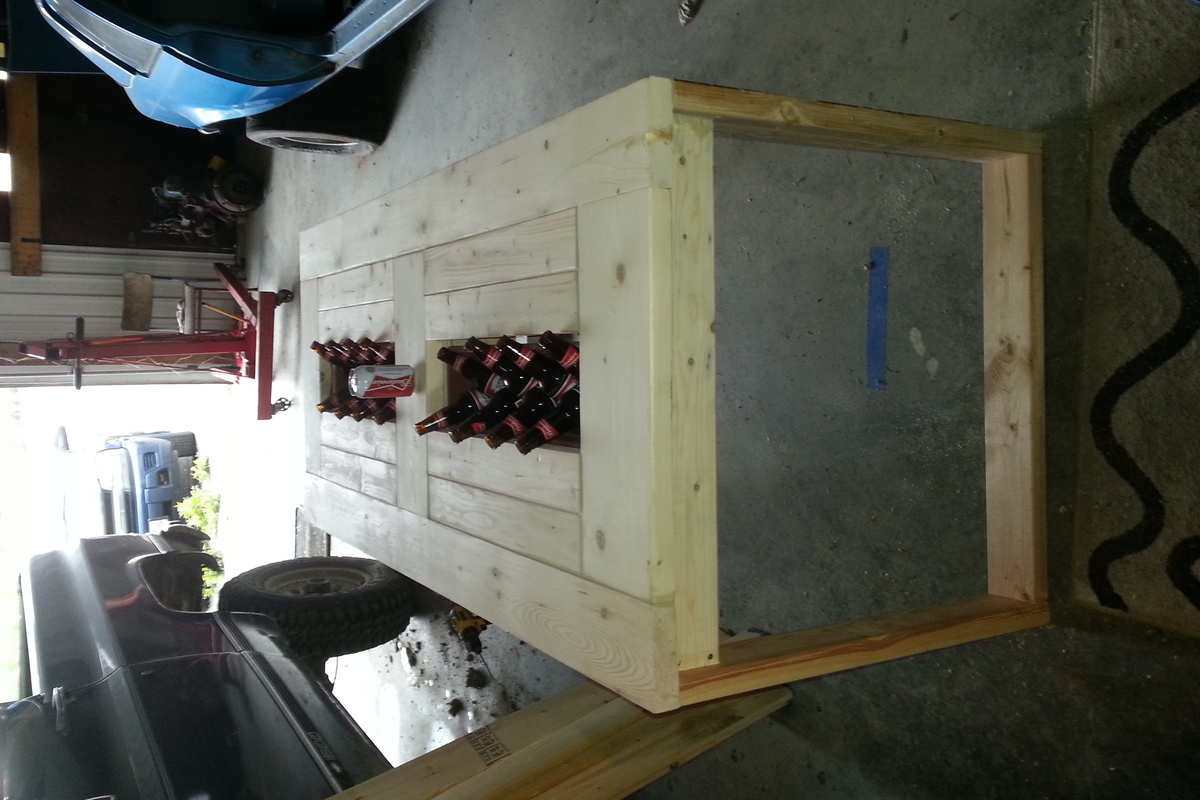
loved the challenge first project ever, my suggestion to anyone buy the kreg jig best thing since sliced bread

Estimated Cost
beer table
Estimated Time Investment
Week Long Project (20 Hours or More)
Recommended Skill Level
Beginner

Comments