Kids Tree Fort
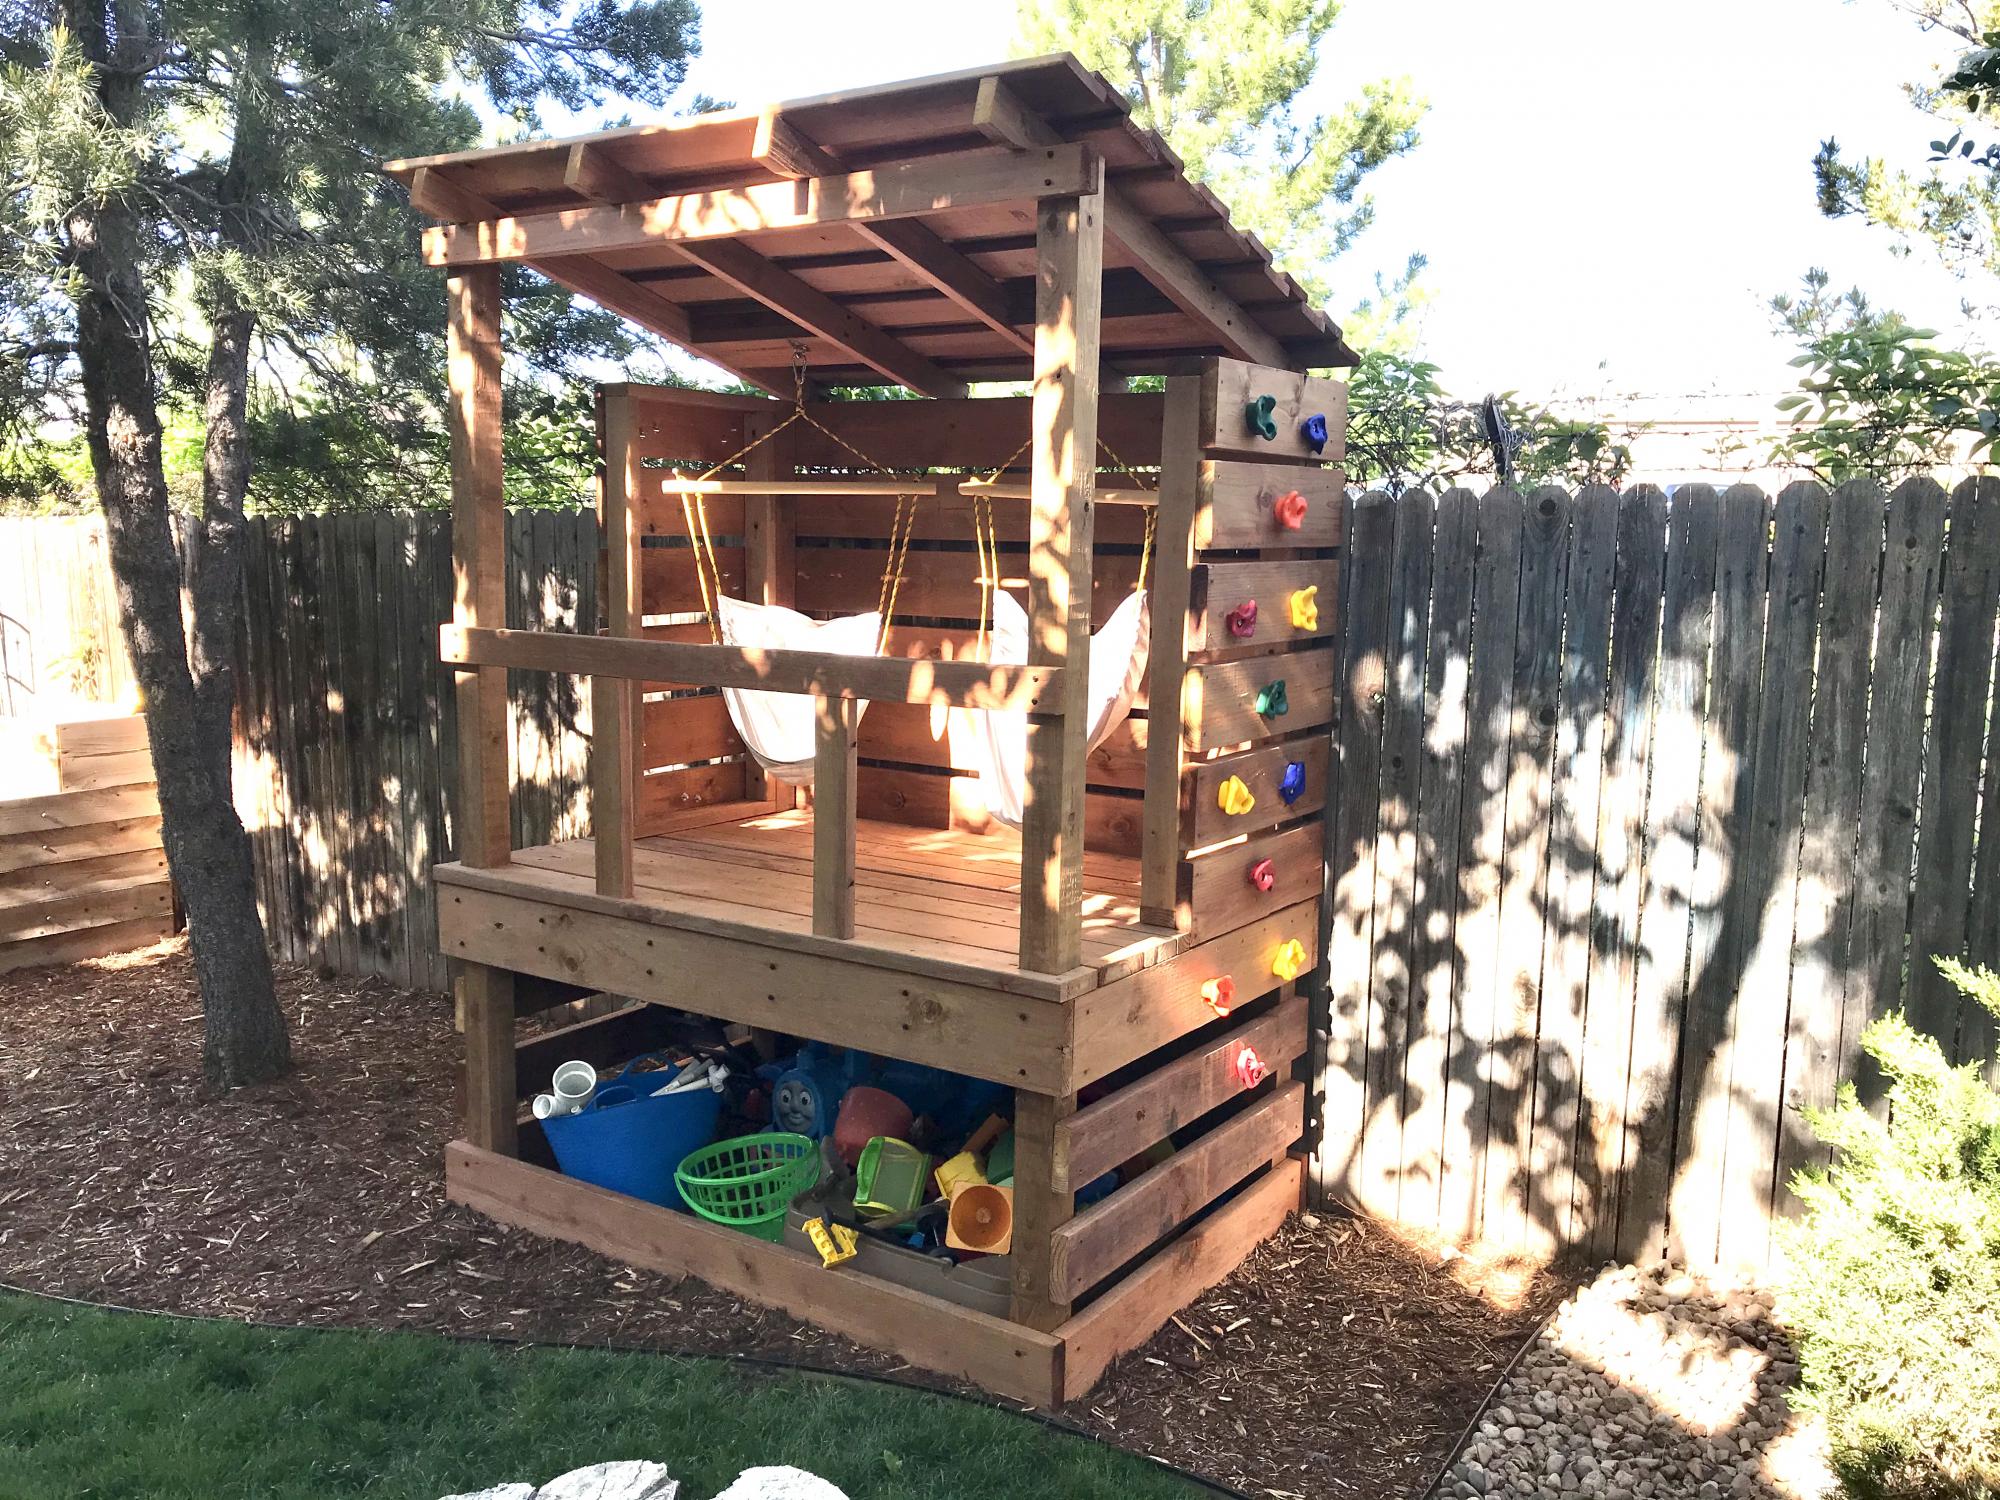
Built a fort for the boys with two climbing walls, a spot for their toys, and added some hammock swings
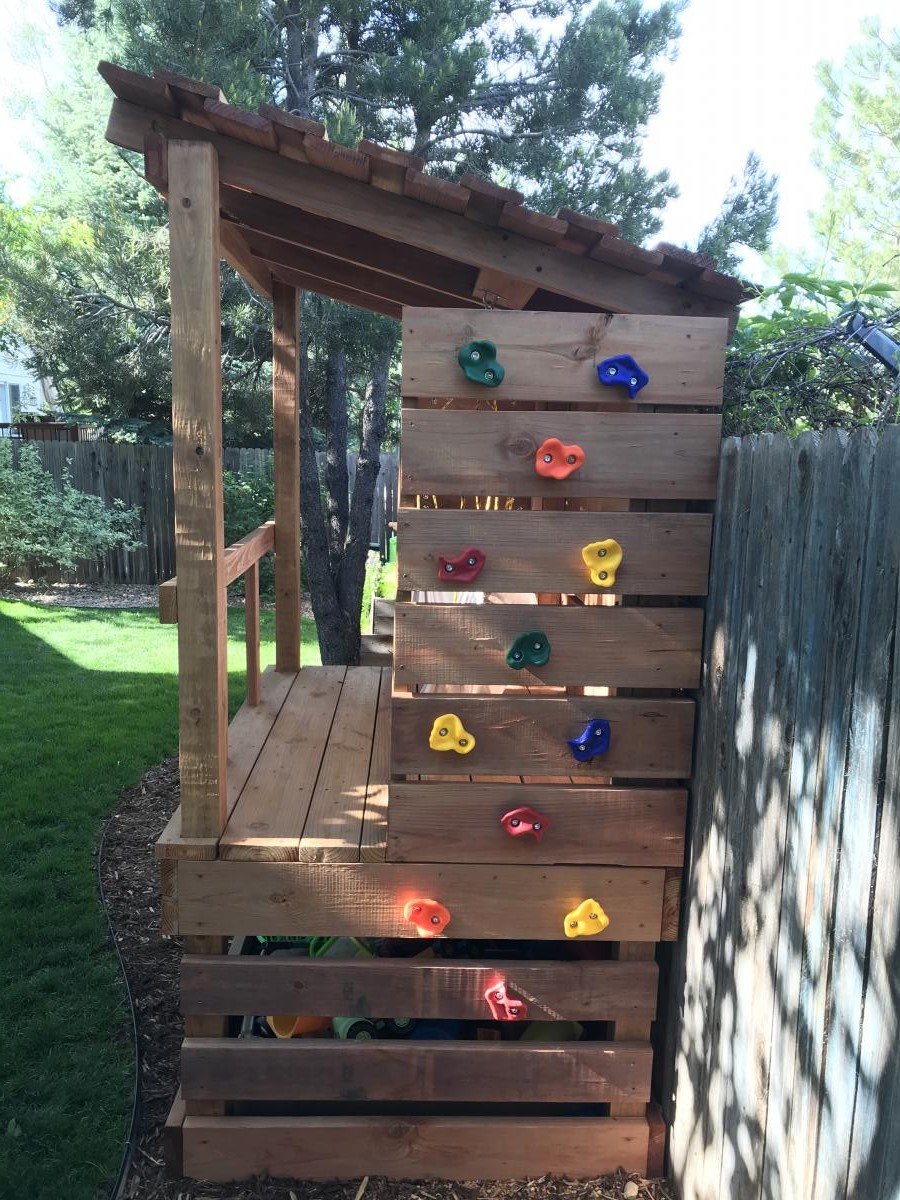
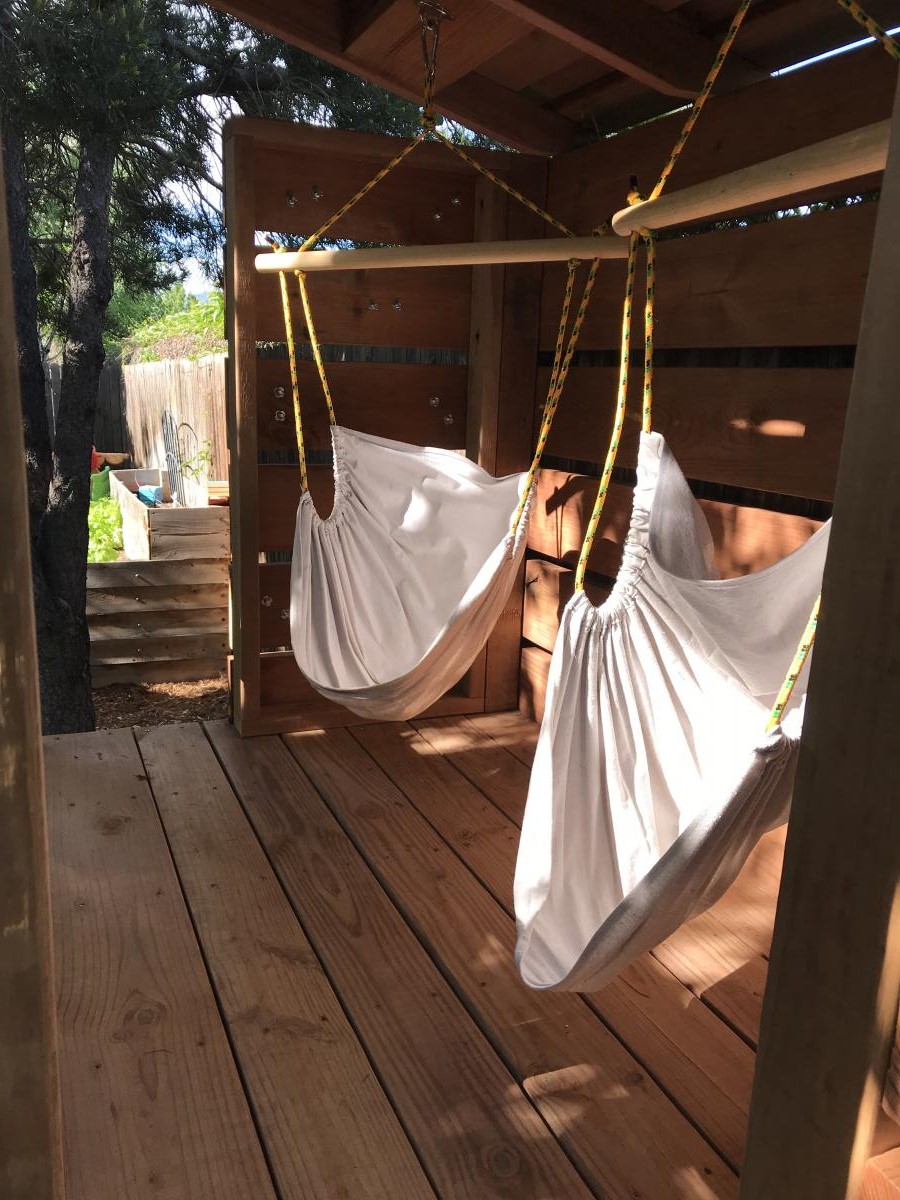

Built a fort for the boys with two climbing walls, a spot for their toys, and added some hammock swings


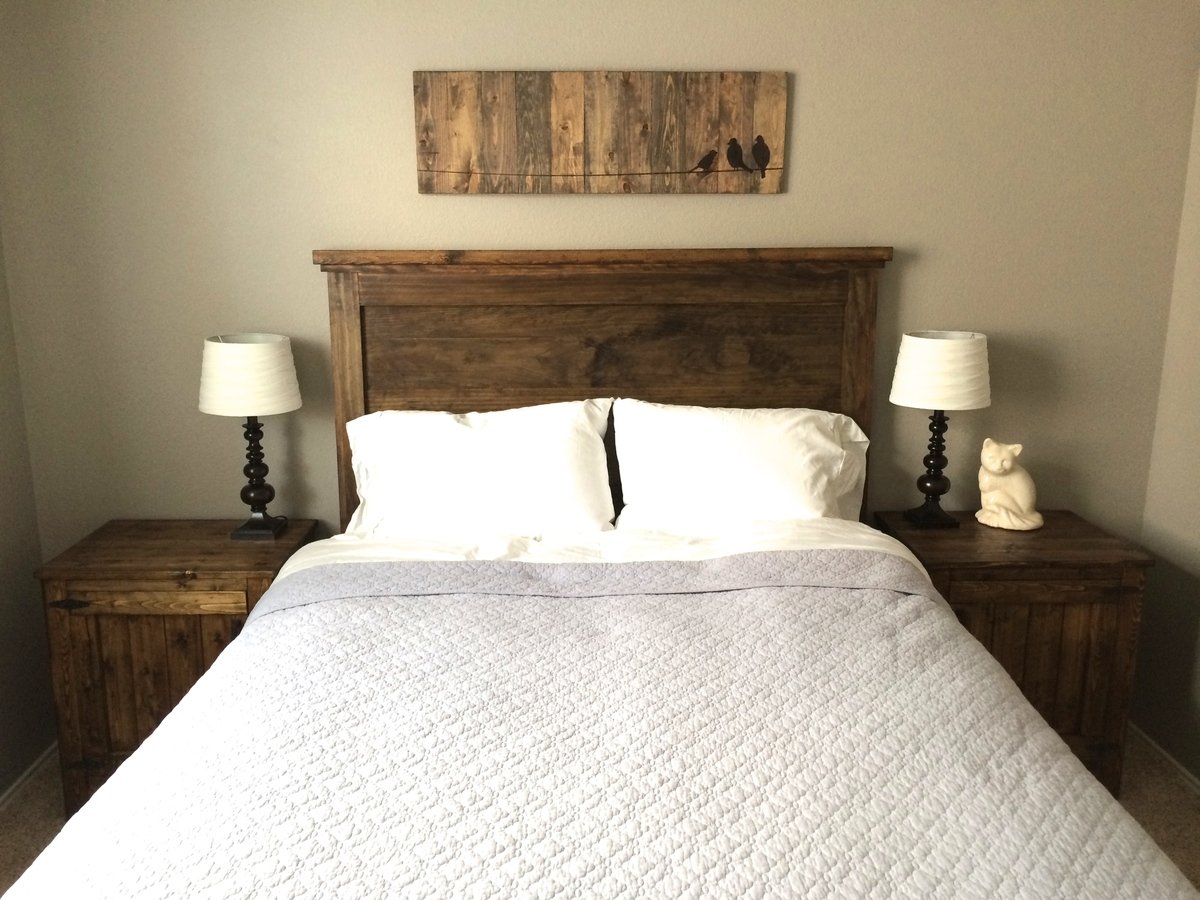
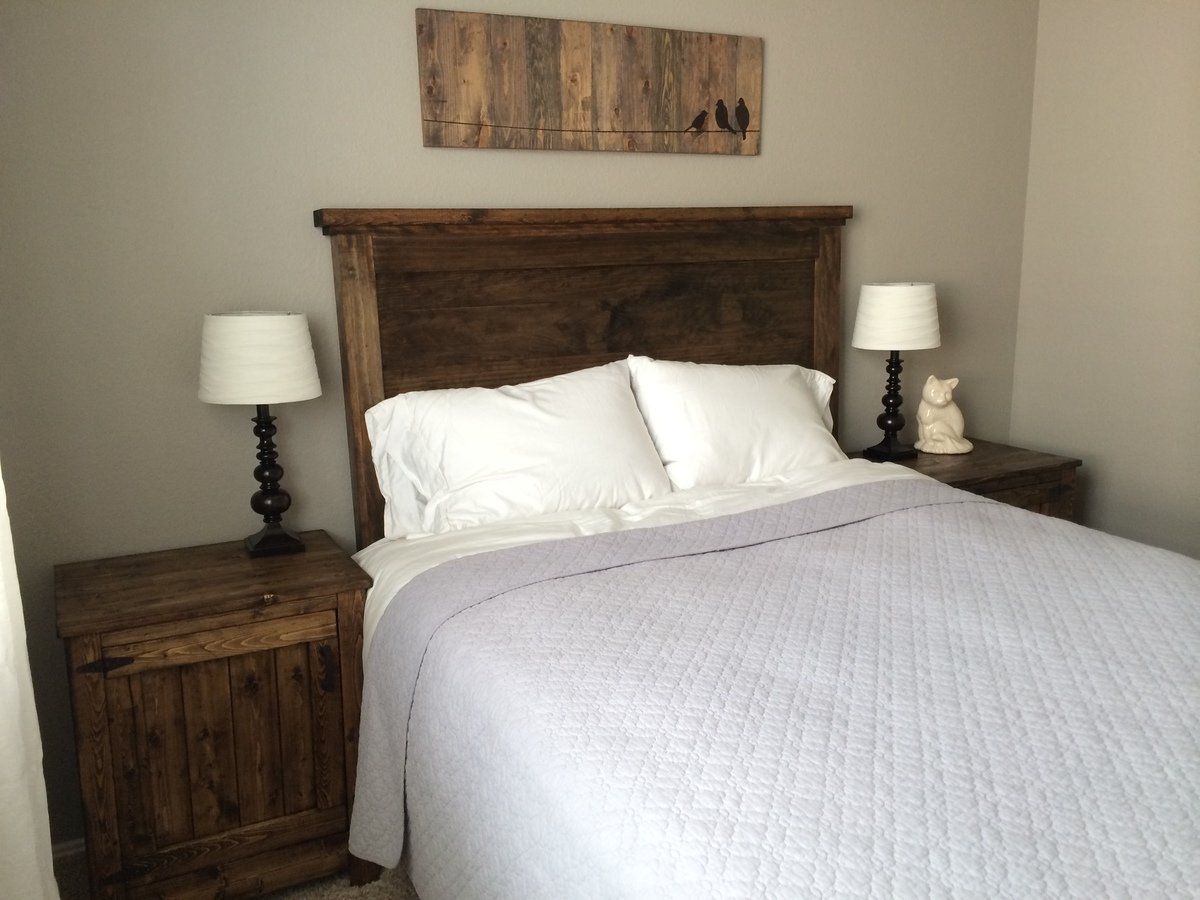
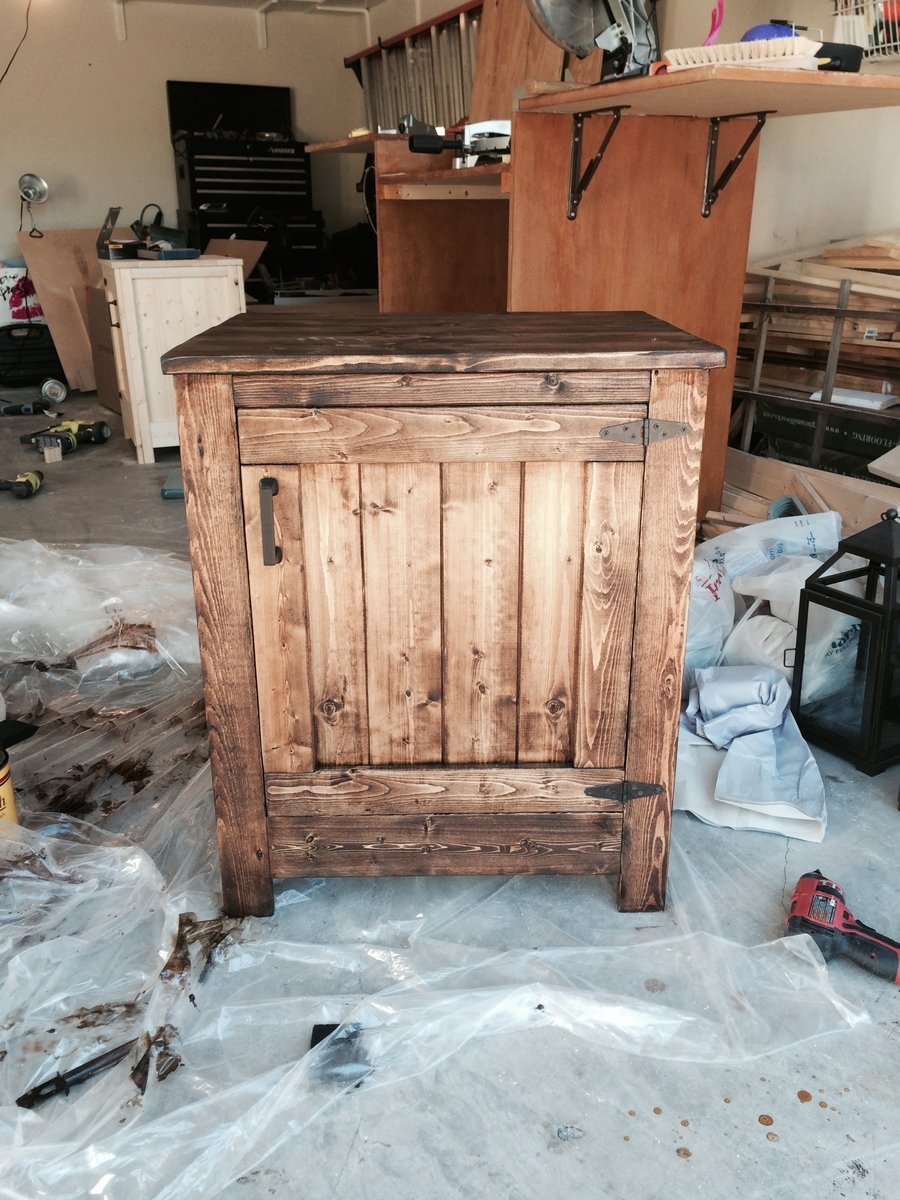
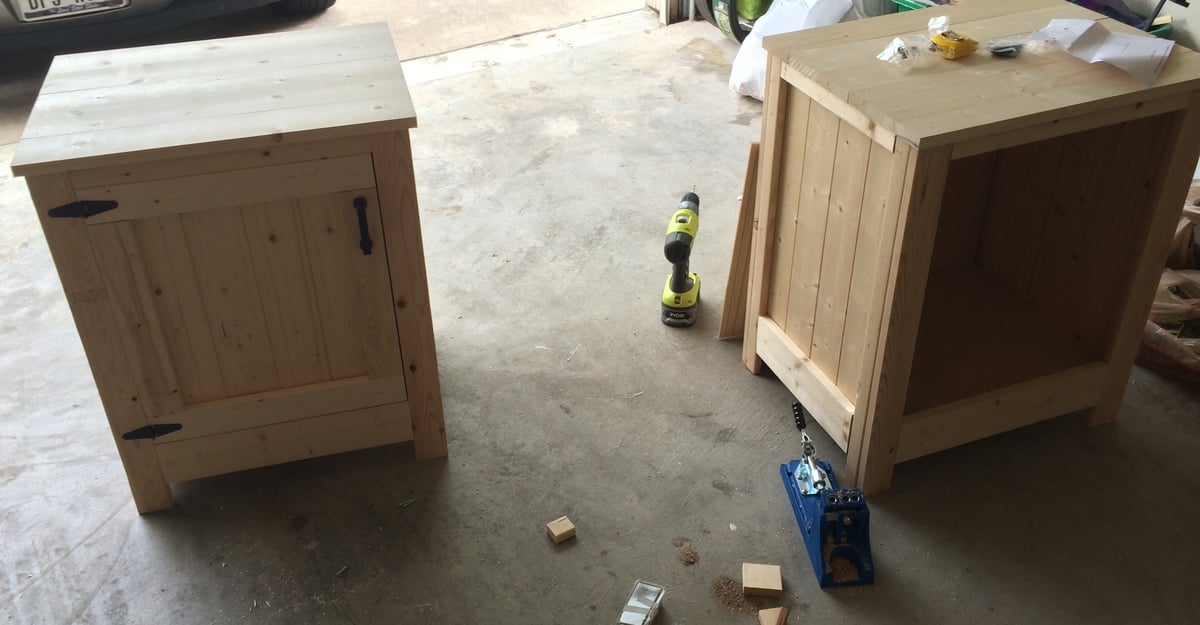
I made this headboard a year ago and it was my first Ana White project. I finally got around to making the nightstands last weekend and I just adore them. My guest room is finally complete!
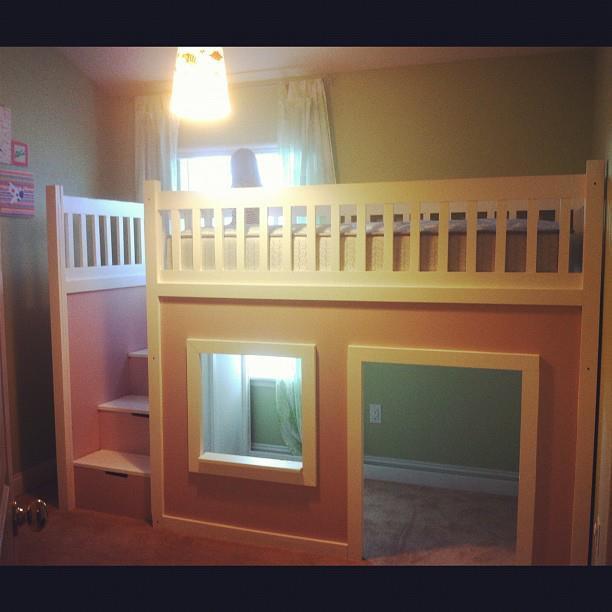
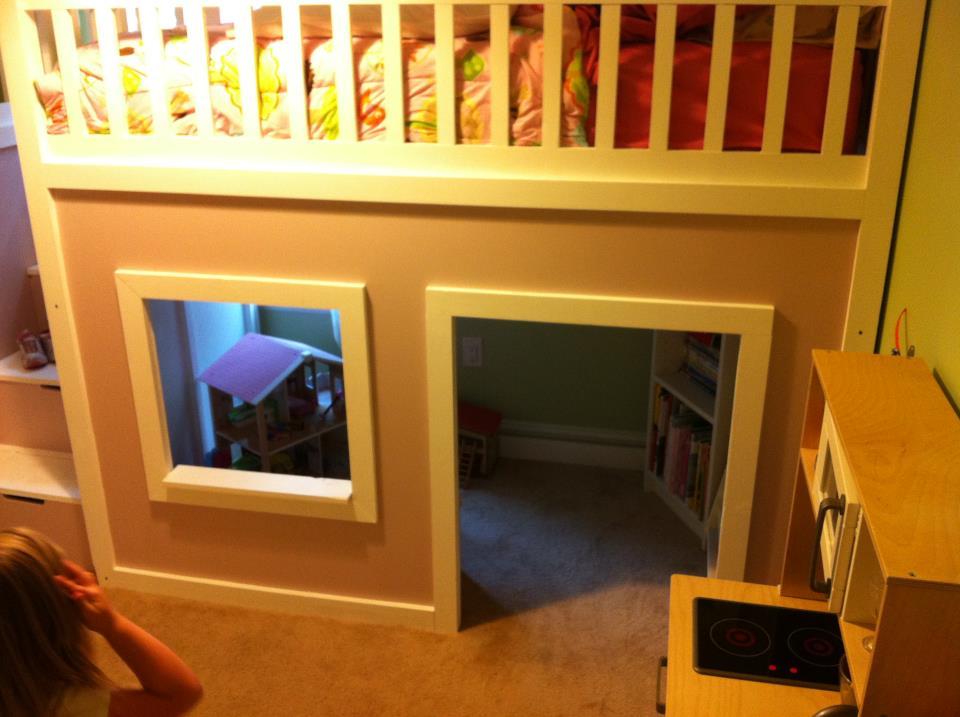
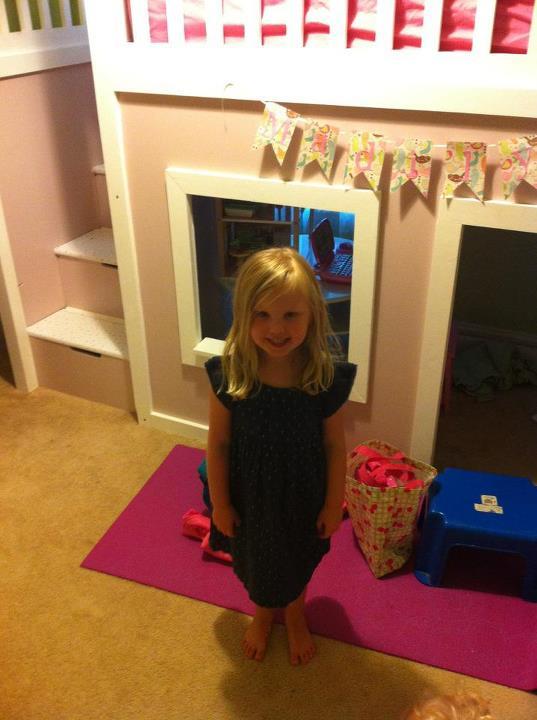
This was my first major project I built from this site. I would say that I am a beginner builder with only a little experience building small things. This was my first big project and I built it piece by piece over the course of a few months. This was my 4 year old's birthday gift. I bought my first Kreg Jig Jr. (I already want the master system!) and got a lot of confidence by doing this project. It was pretty straight forward, although the painting and sanding took way longer than I thought! I pretty much stuck to the plans and did not change much. The only thing I did was add hand hole cut outs on the stairs and I chose not to cut out a side window because that side was against a wall anyways. I am SO excited about this project and will be posting MANY MORE builds from here.
Sun, 10/21/2012 - 22:14
Great job dude! I bet your daughter loves it. I am going to start building one for my nephews this week, hopefully it looks half as good as yours!
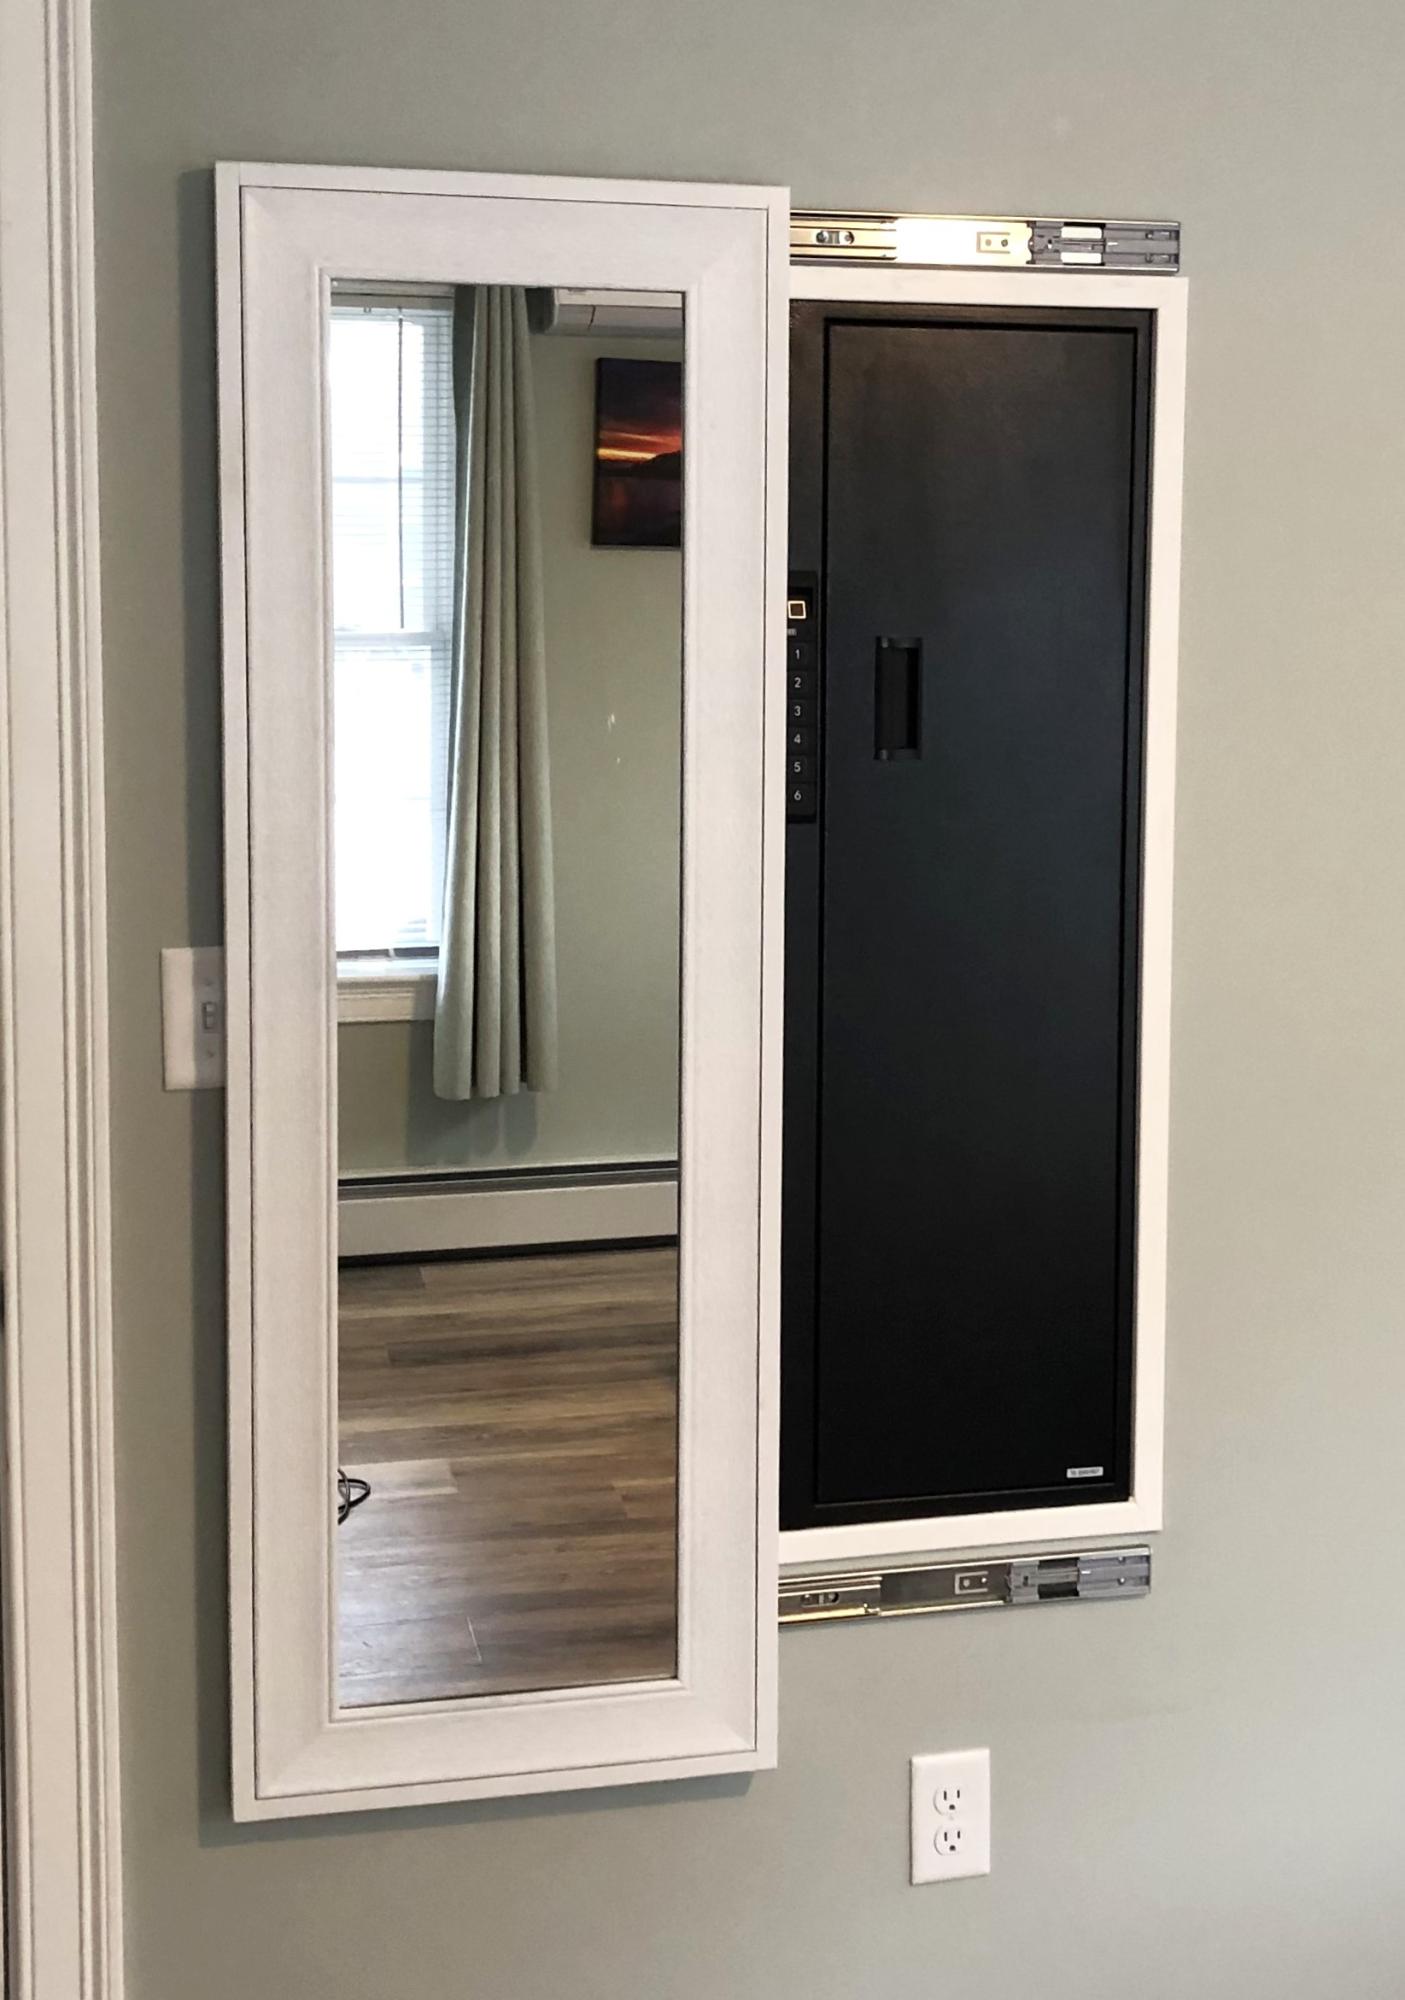
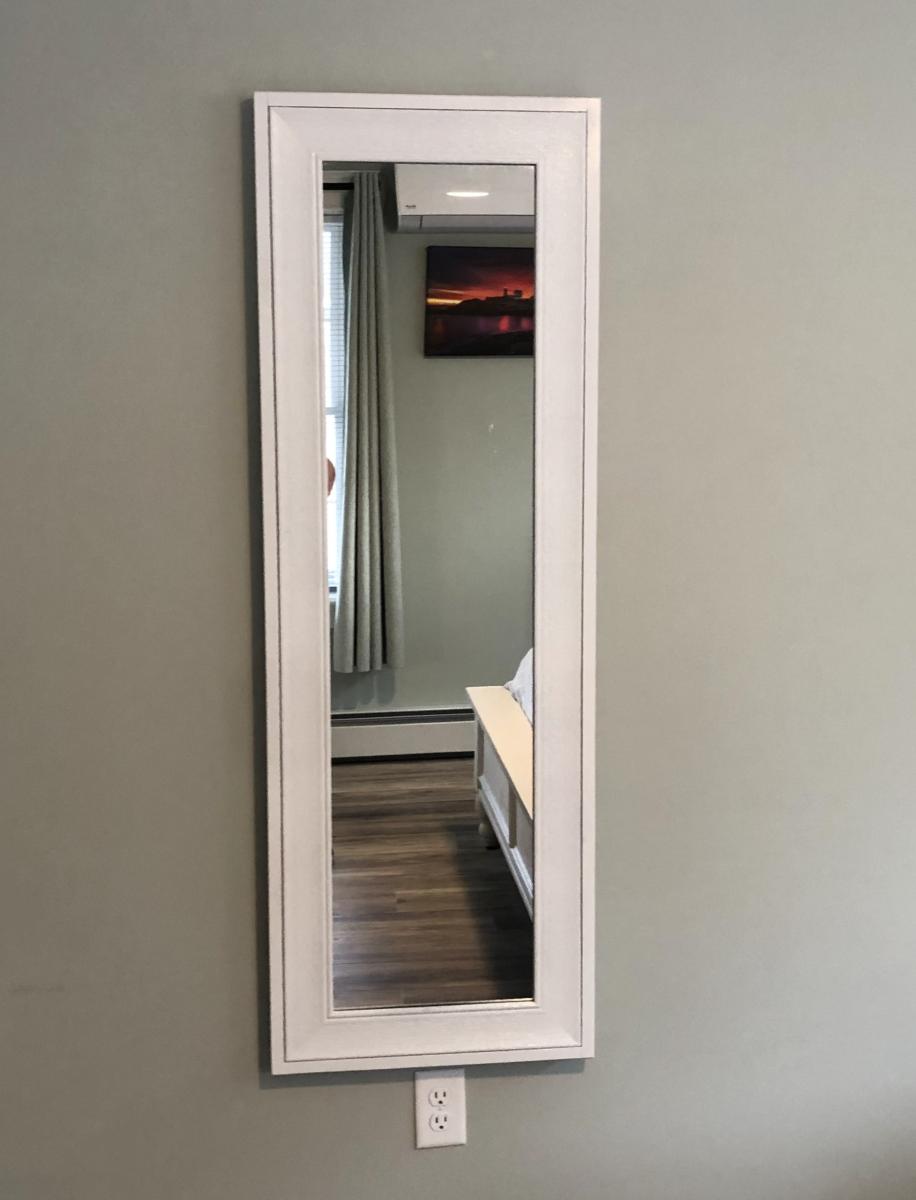
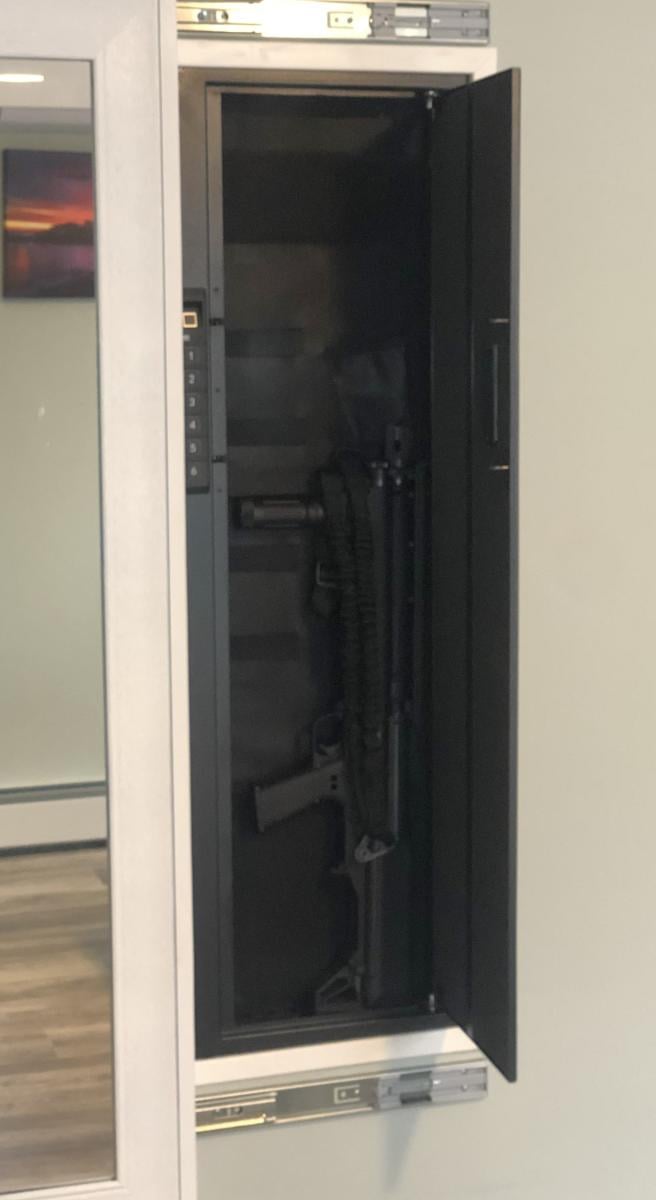
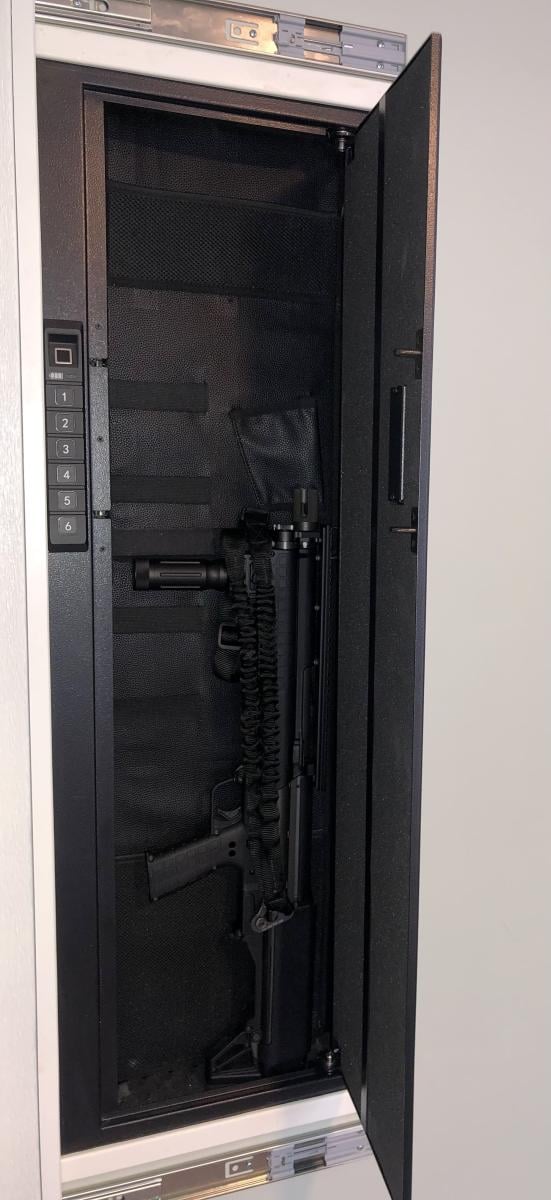
I used your frame idea to install a hidden wall safe for valuables and firearms.
Bill Devereaux
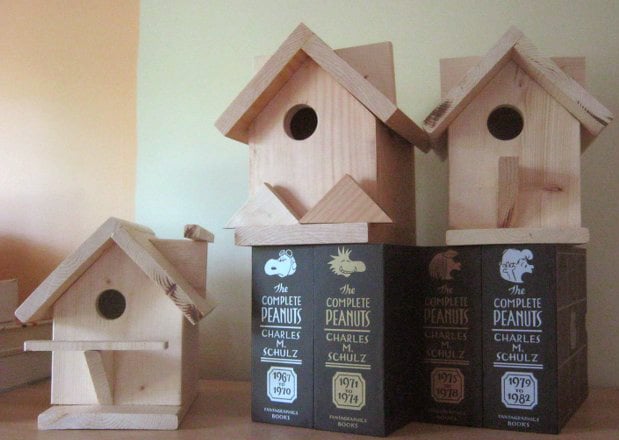
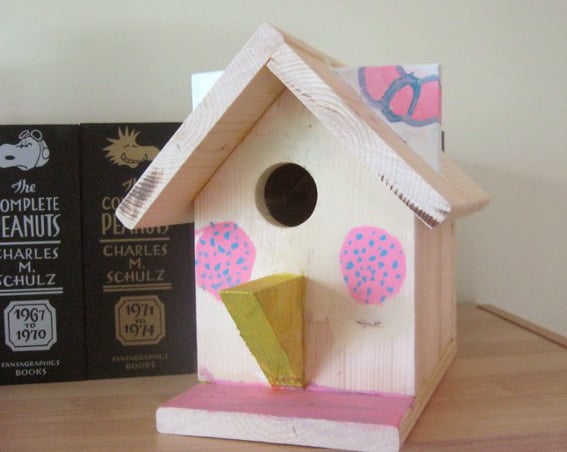
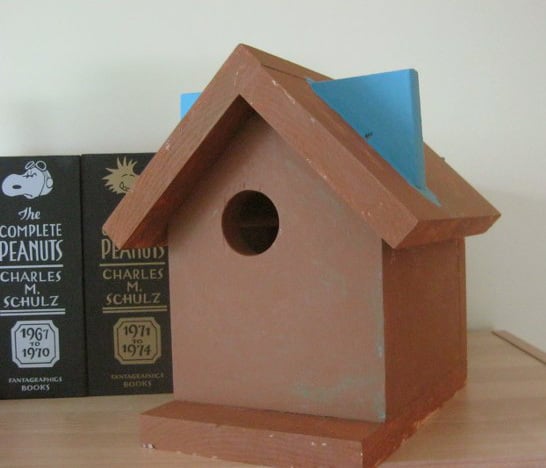
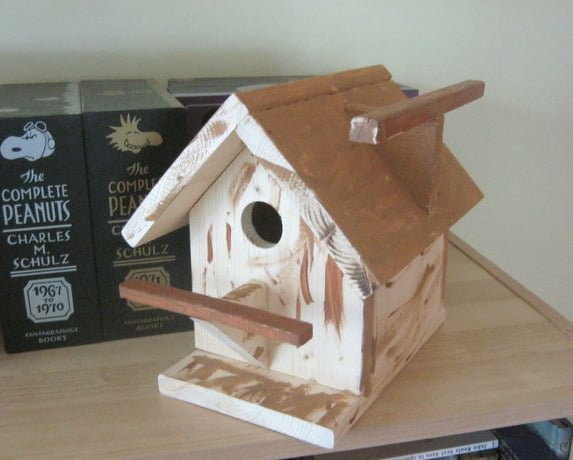
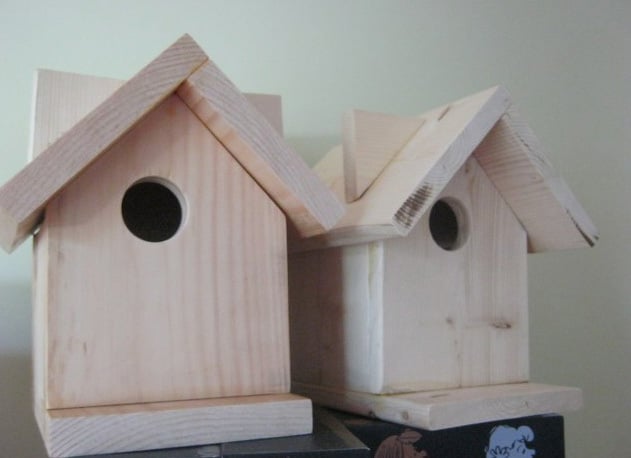
Our first plan from Ana White. It was really easy to follow and this was a fun project to do with the children. We used pine wood because it was cheaper than cedar, so we will try to not put them directly under the rain.
We were able to make two birdhouses in removing .25 inch in one birdhouse. We used wood we already had for the third one.
We let the children added some details to the birdhouses. Because of the birds we want to attract here, one hole is 1.25 inch and the other two are 1.5 inch.
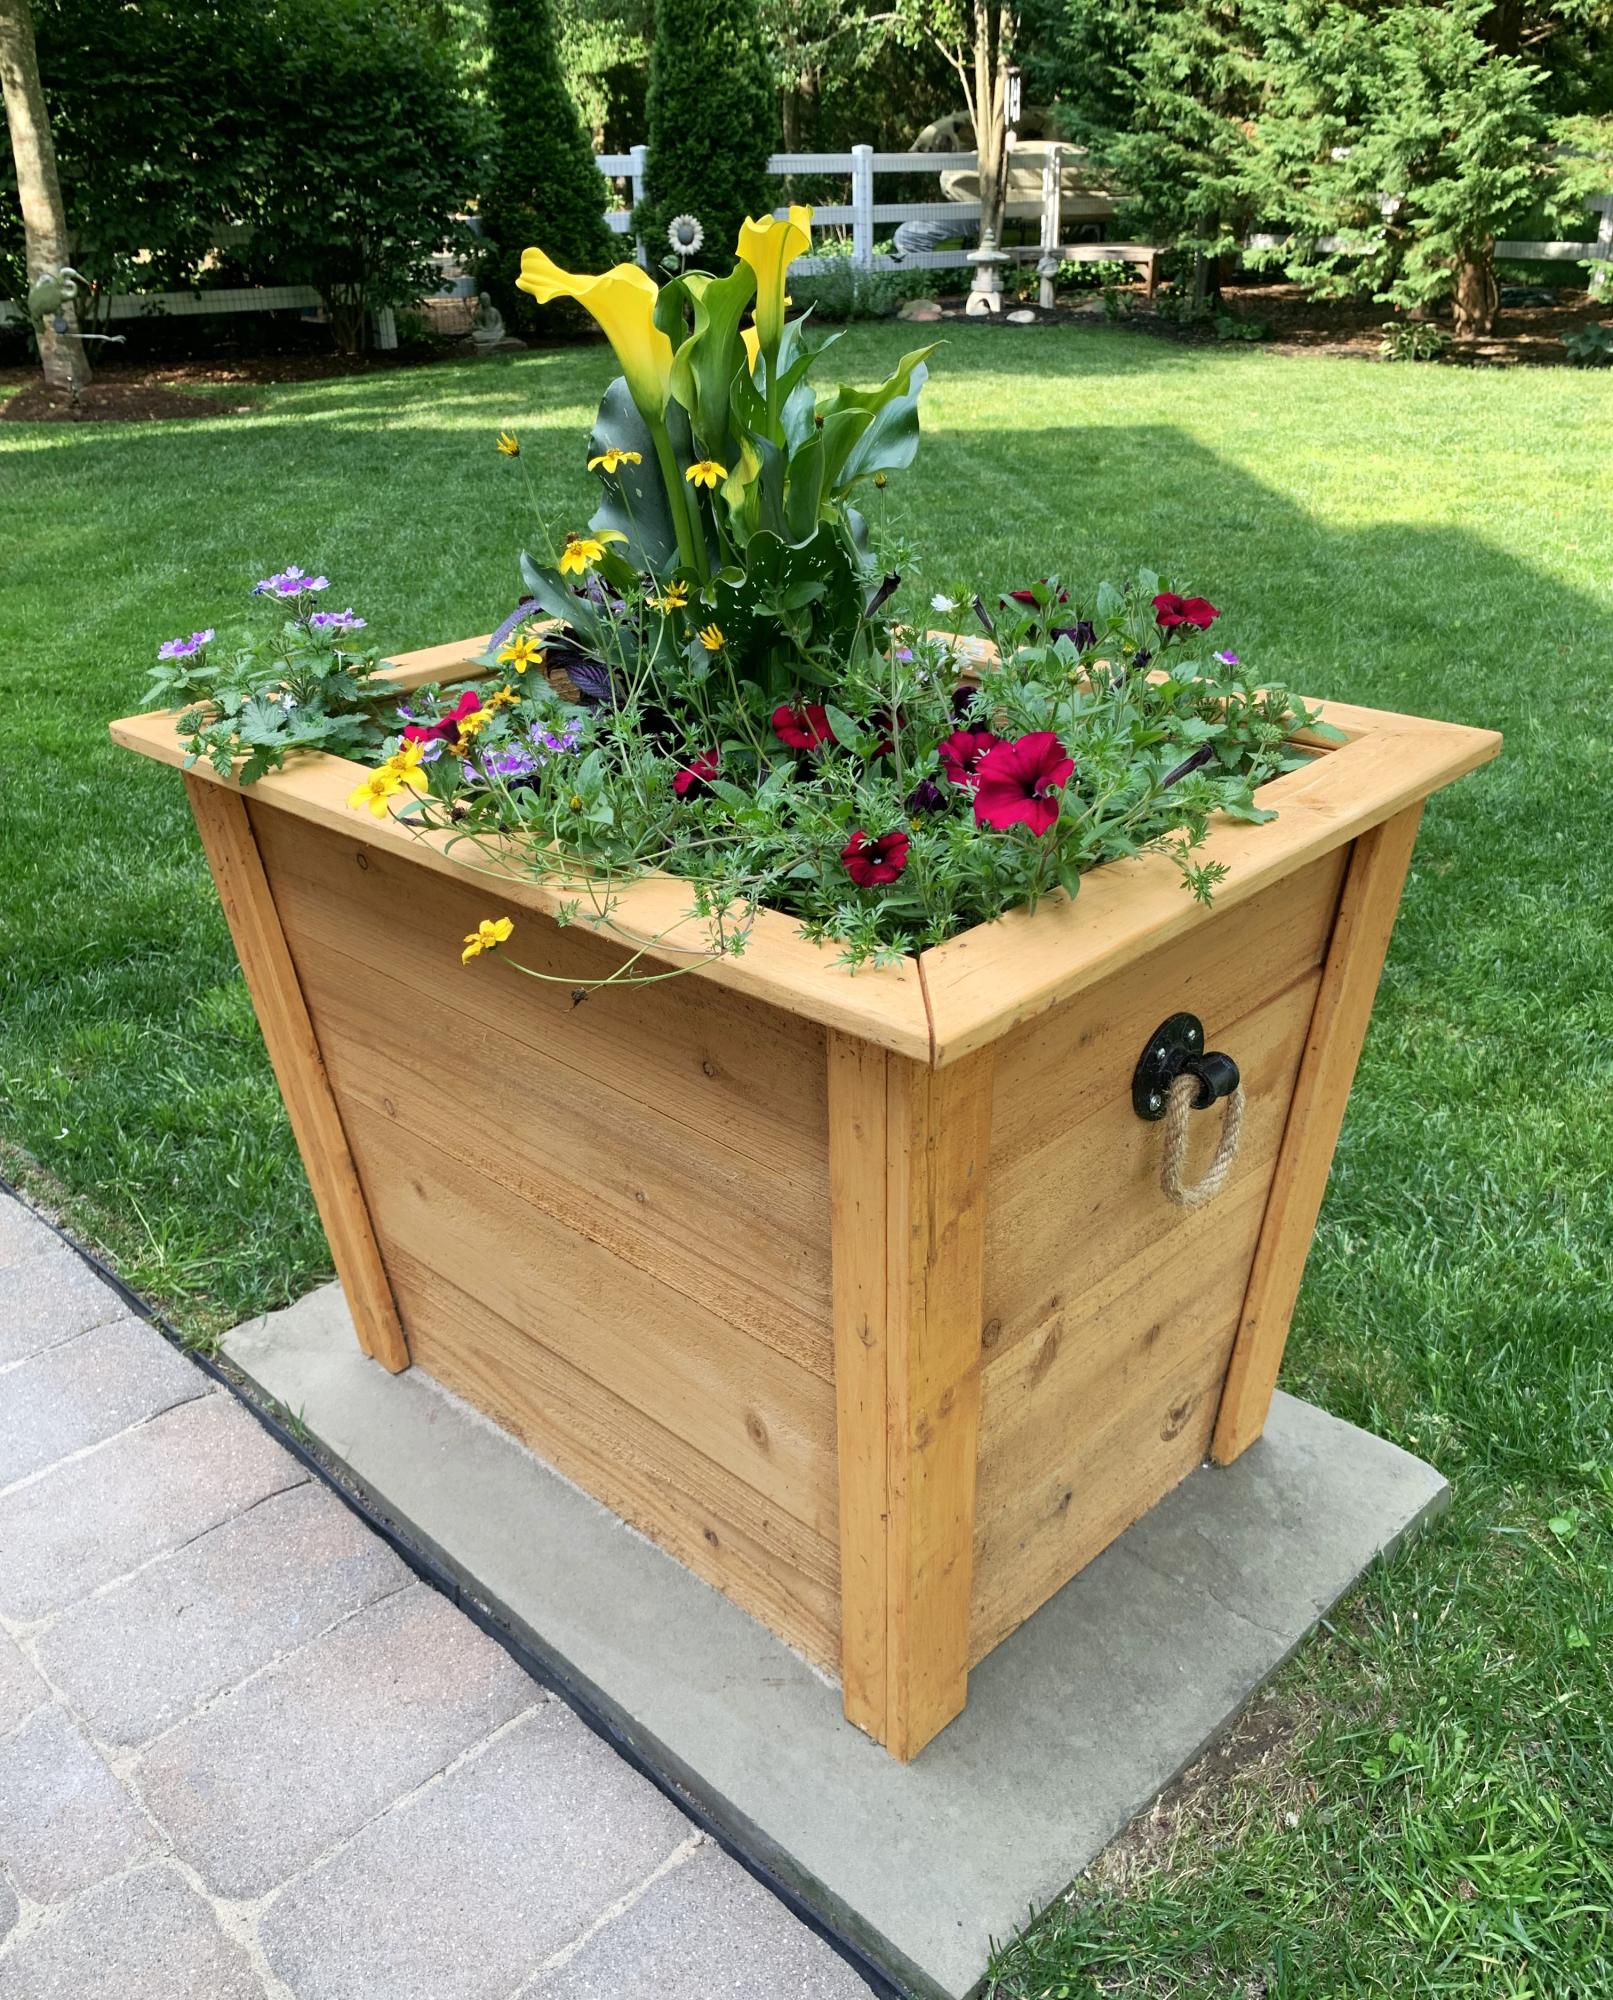
Loved the plan for this planters.
Audrey Noble
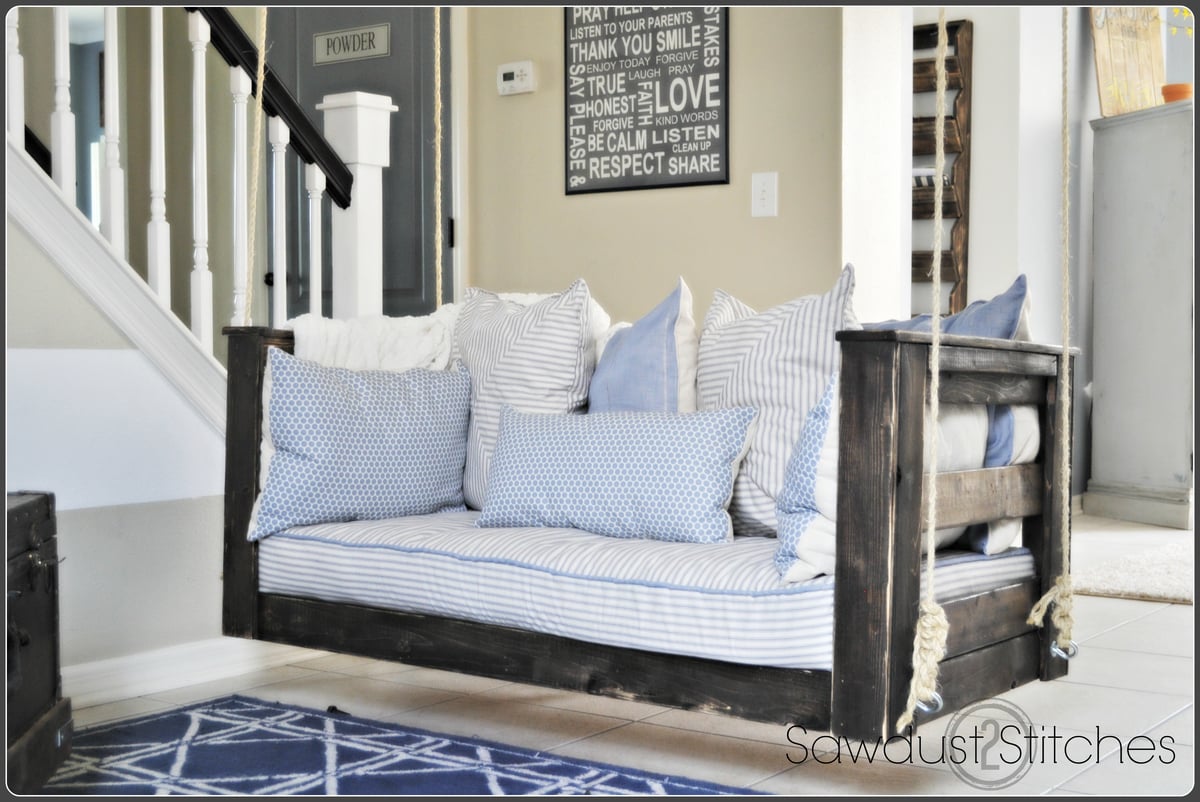
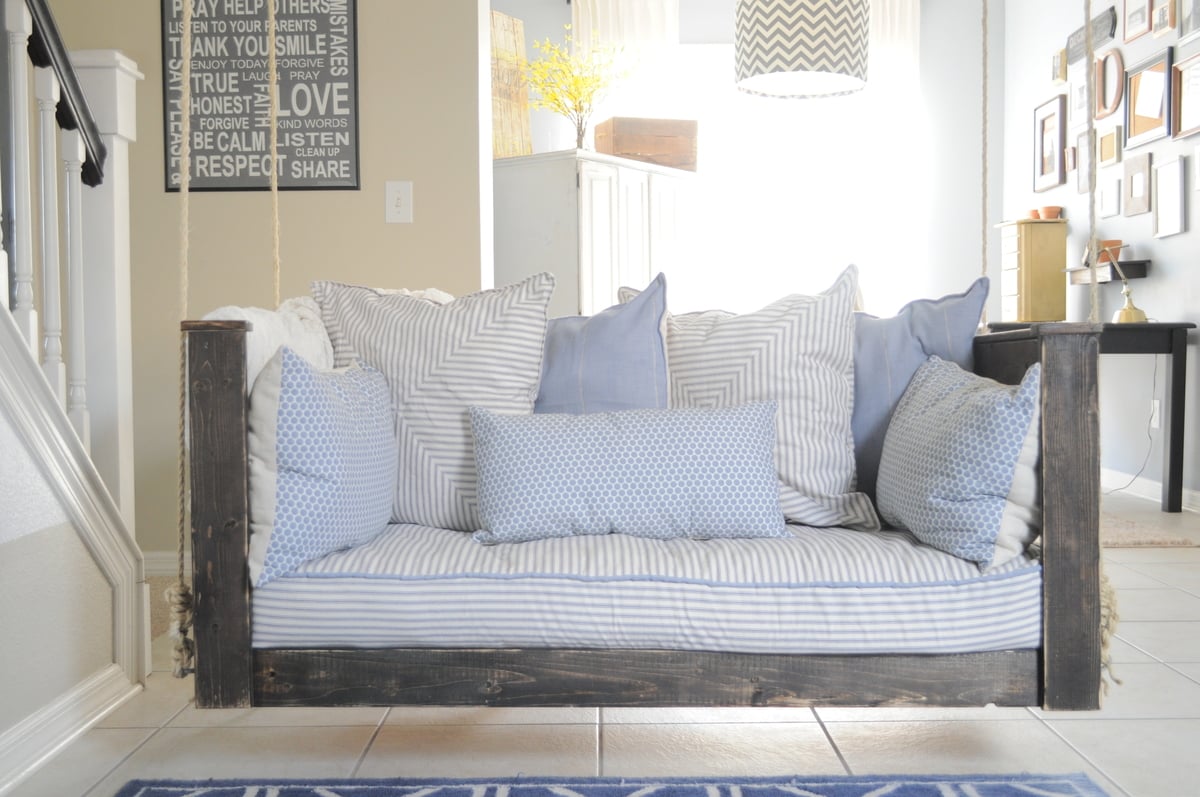
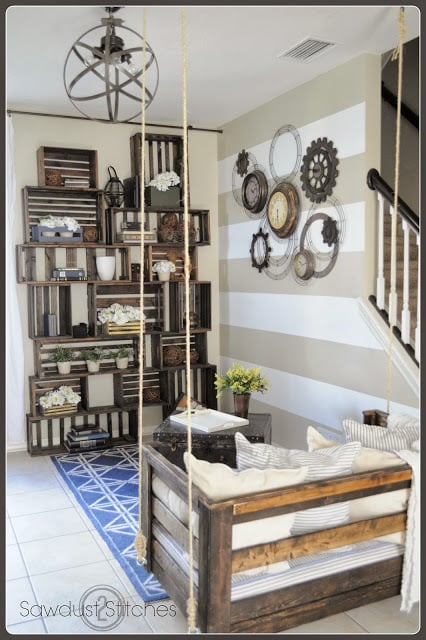
This is s porch swing I made to go in my front sitting room. I re-purposed my sons old crib mattress. It definitely gives the front room the "wow" factor.
Wed, 08/13/2014 - 08:34
You did a fantastic job with the build. You picture could be in a magazine.
Fri, 08/15/2014 - 16:09
I love it! I had never thought of re-using a crib mattress, might have to give this a try :)
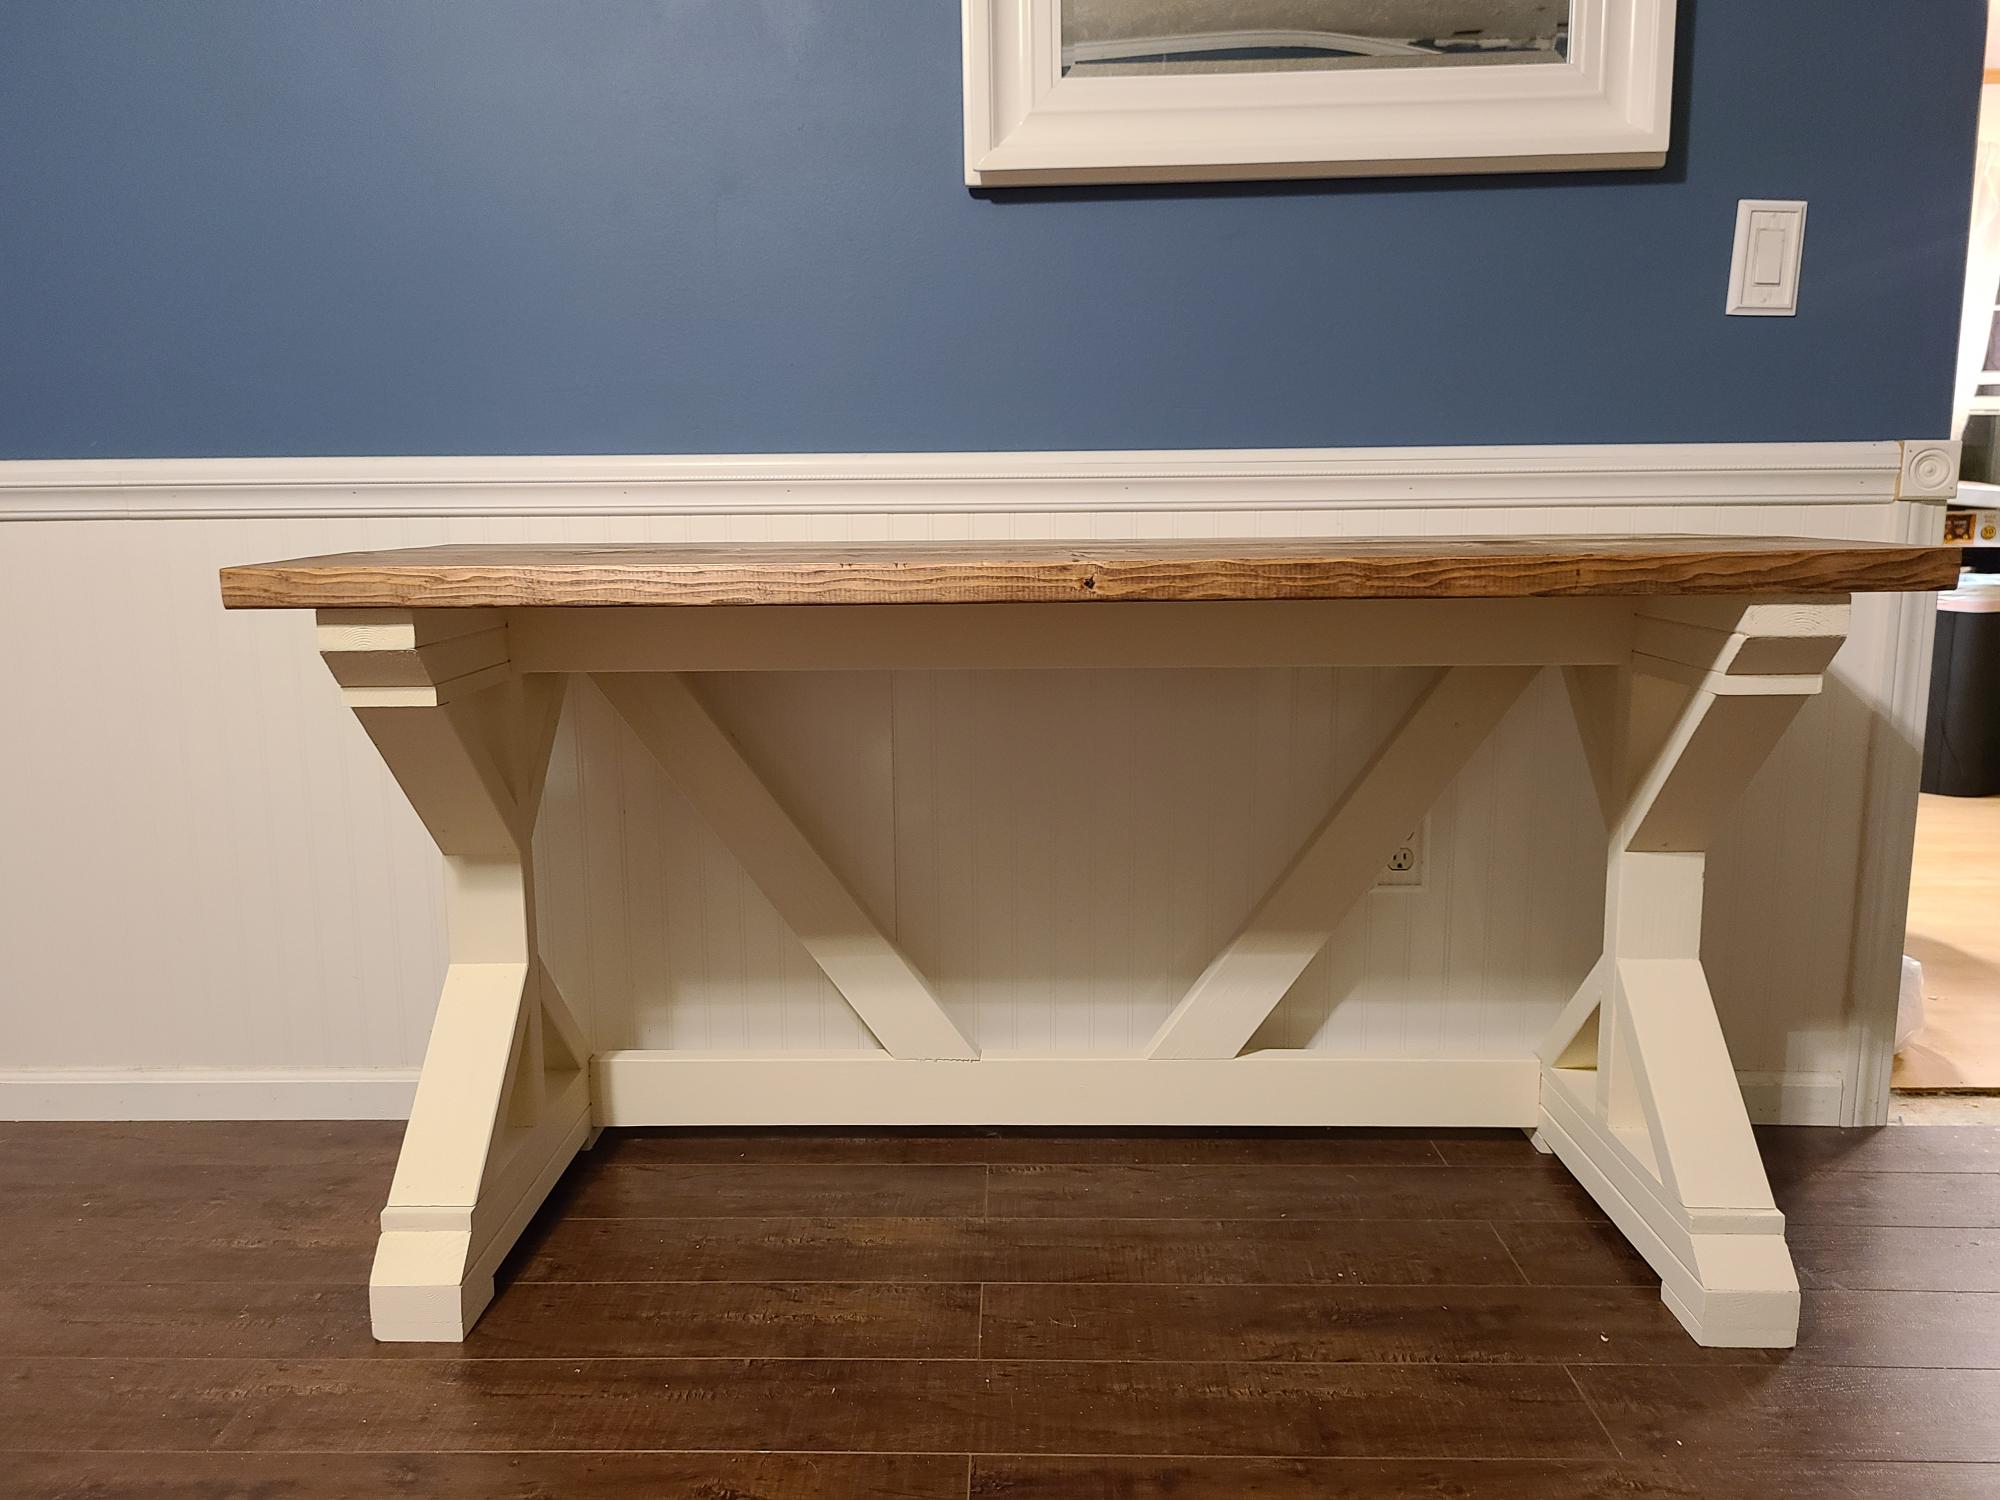
Needed new desks for remote learning and working from home. Easy to build and we love them. This is 1 out of 2.
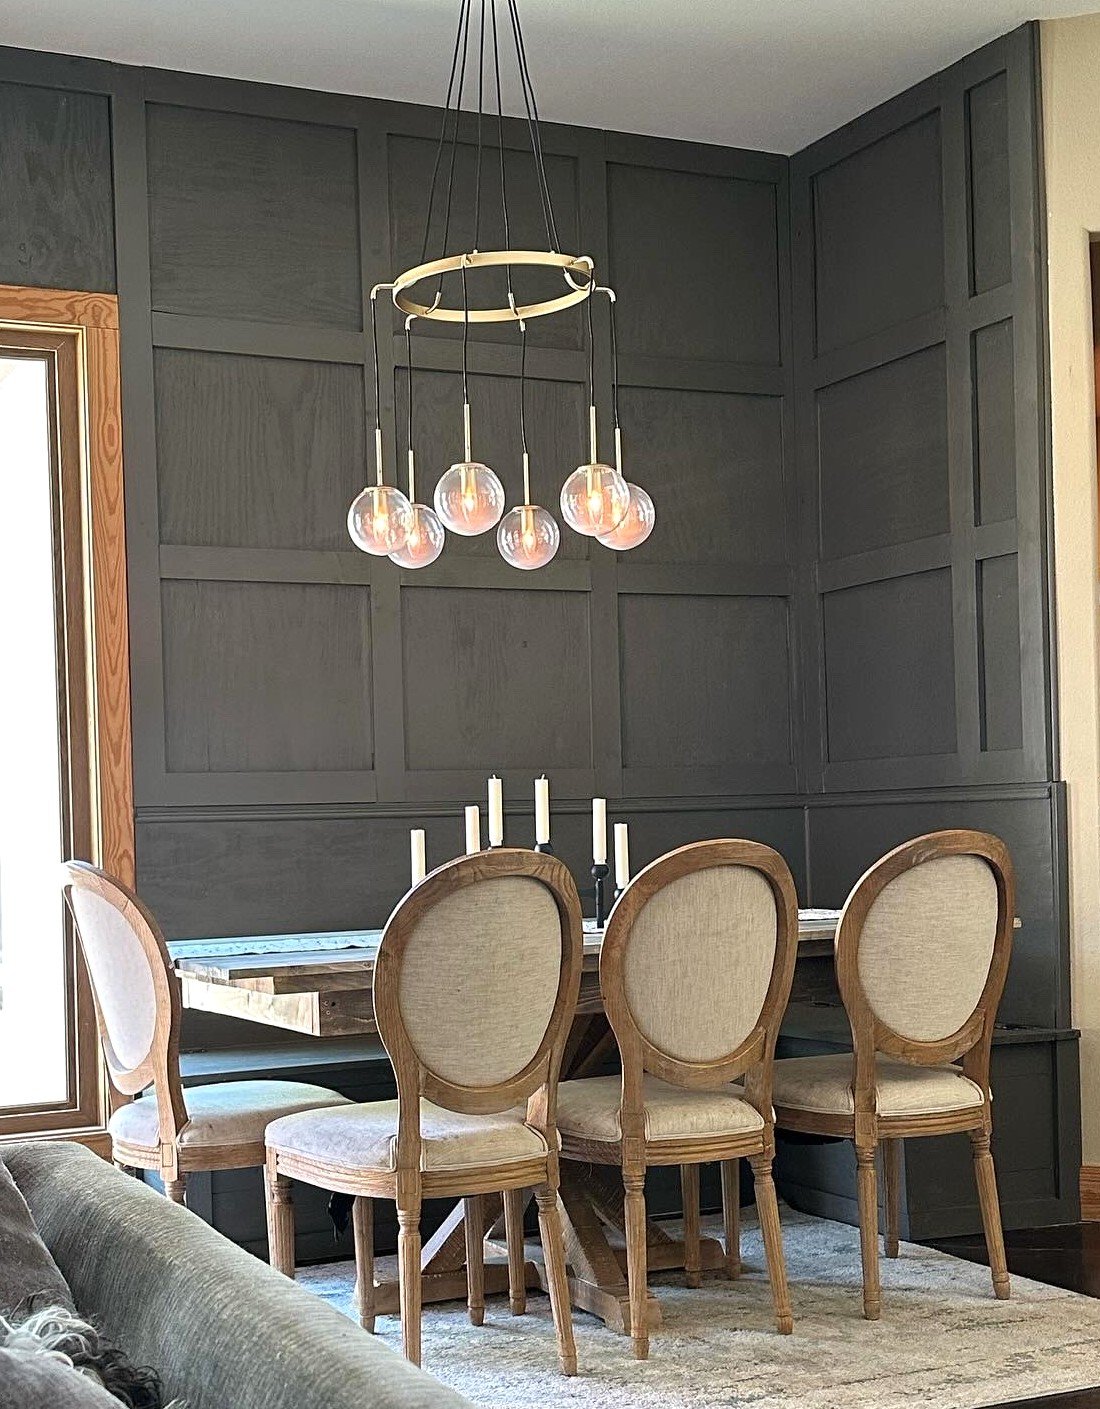
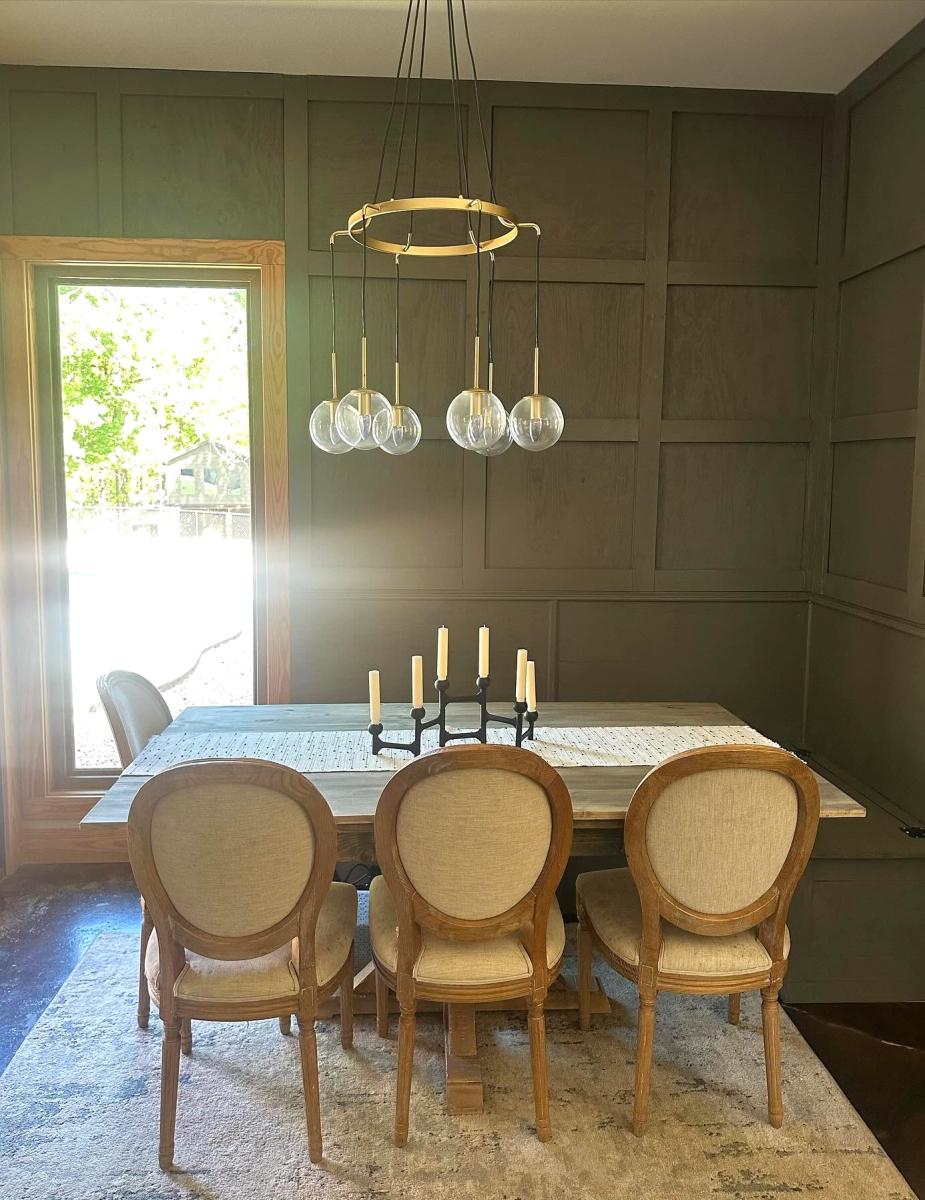
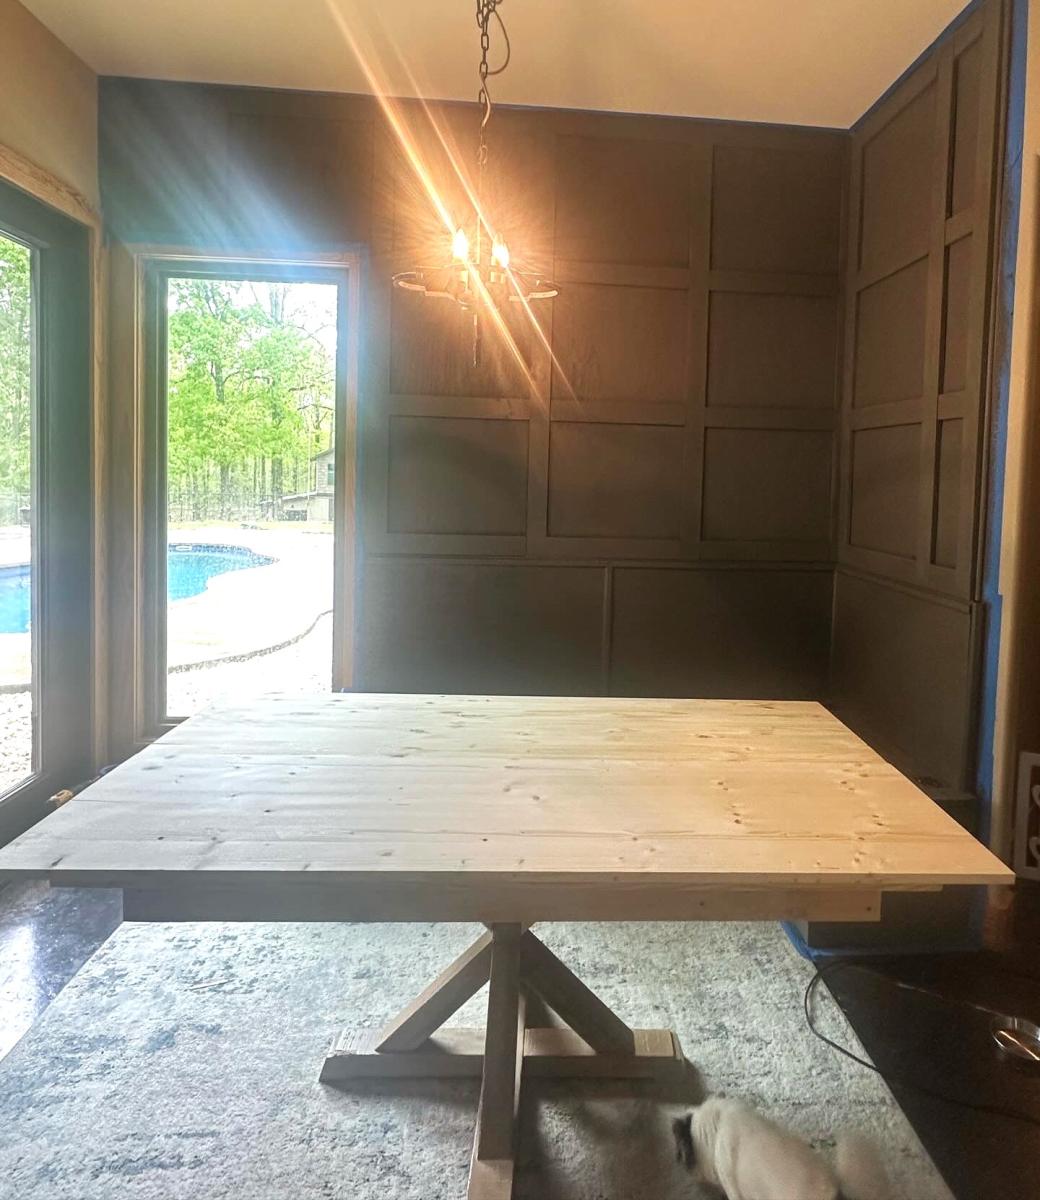
I started with the banquette….then thought, 🤔 hmmm. Let’s do an accent wall too. I included before and after’s of the space. Thank you!!
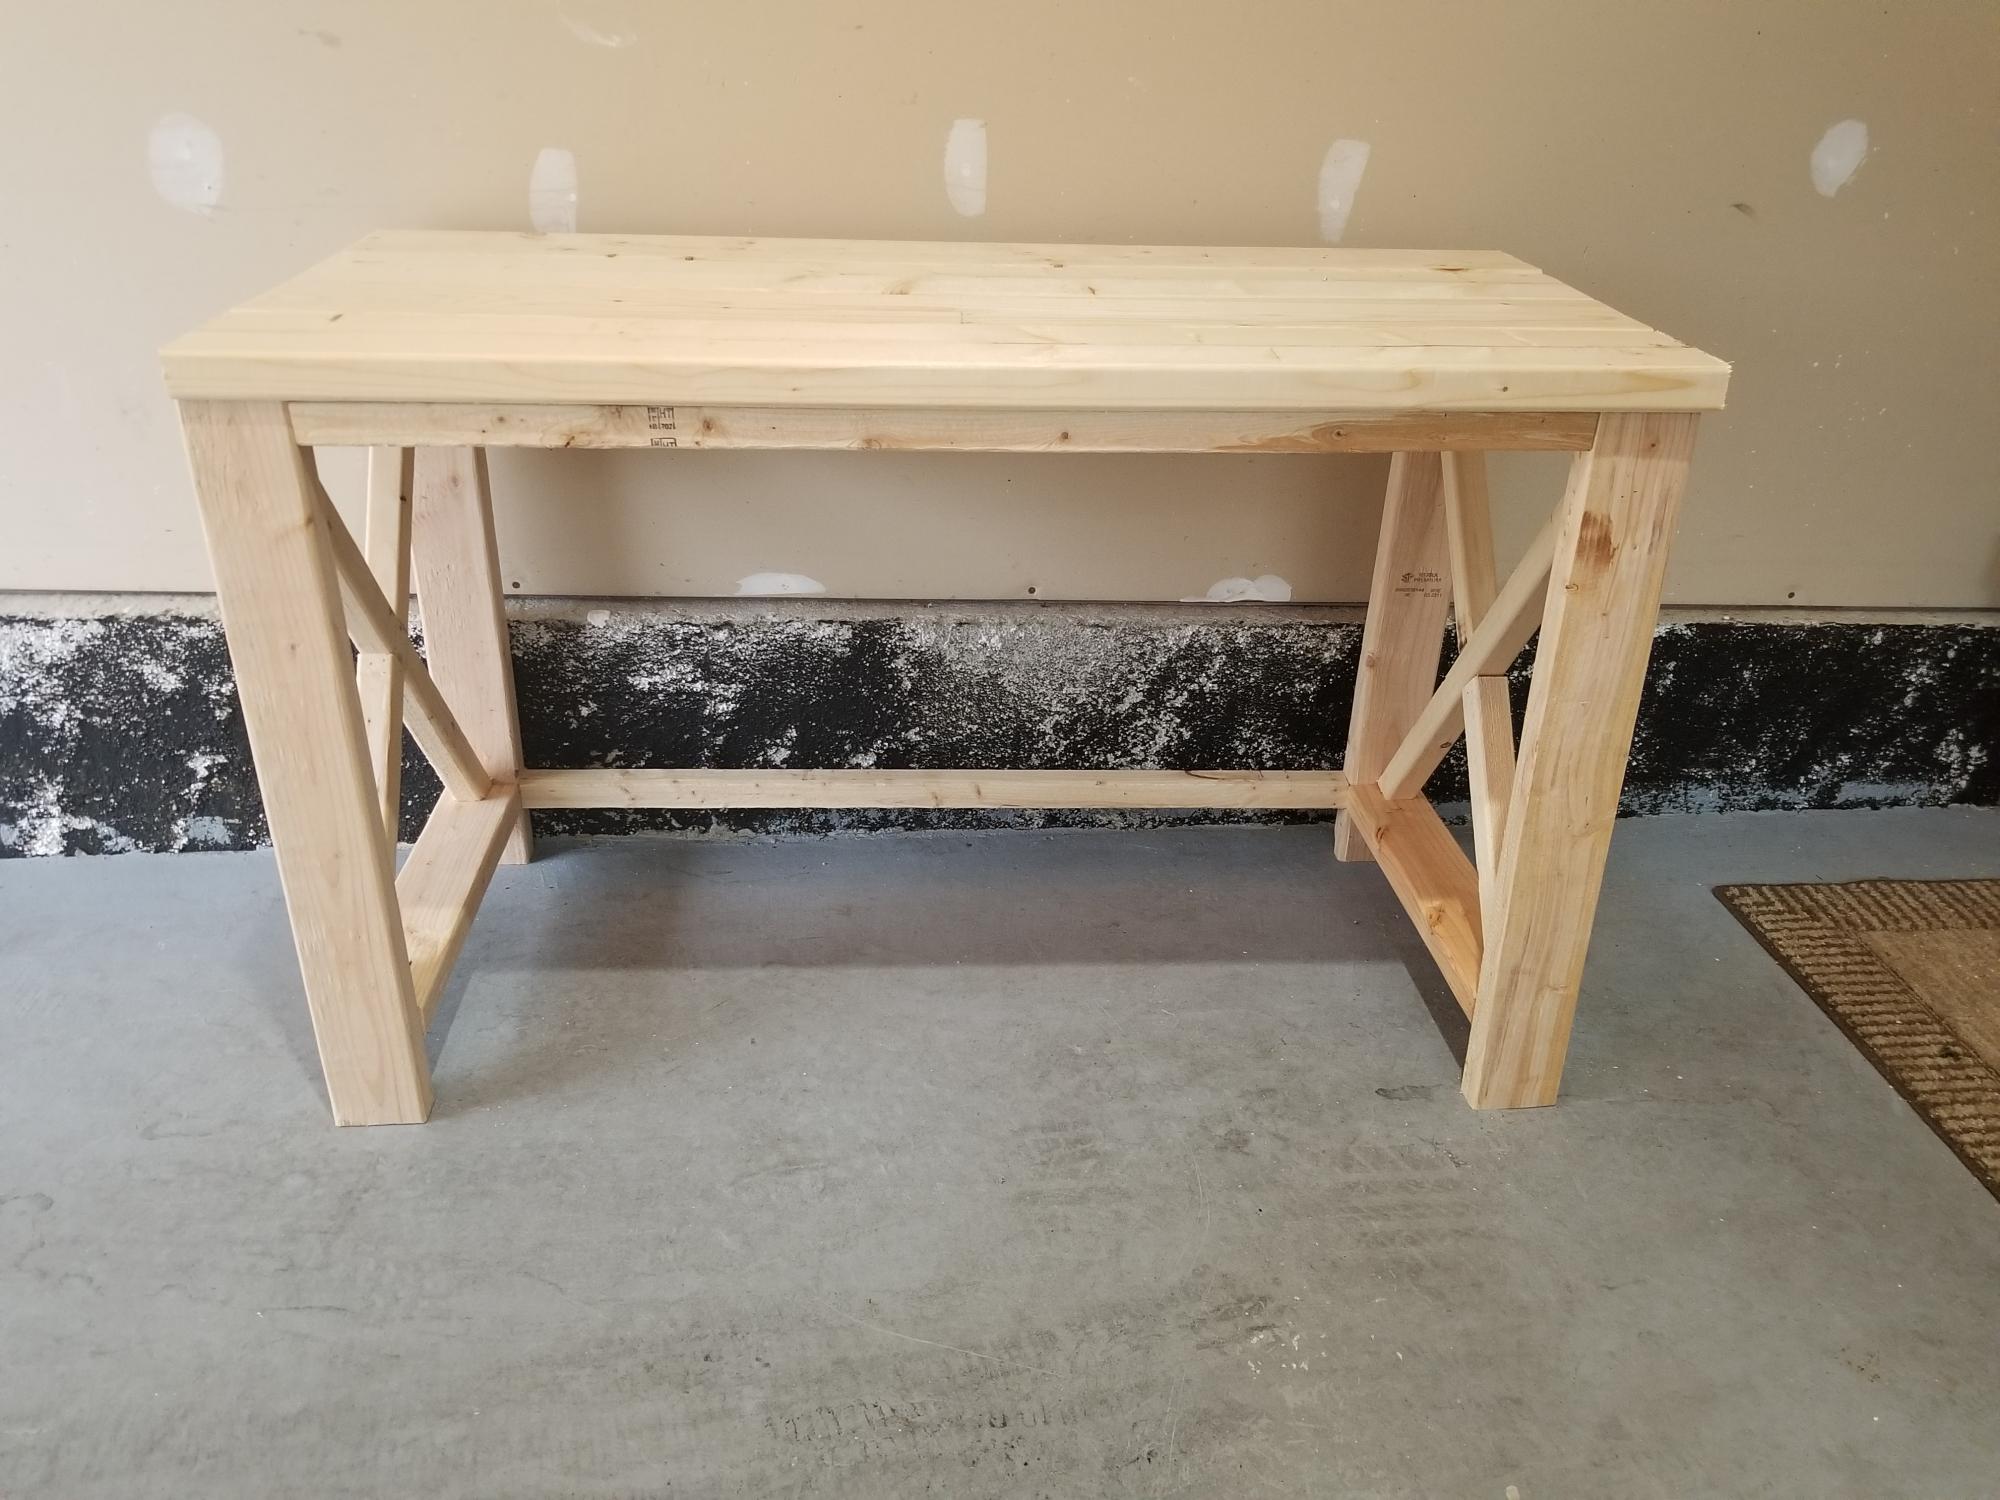
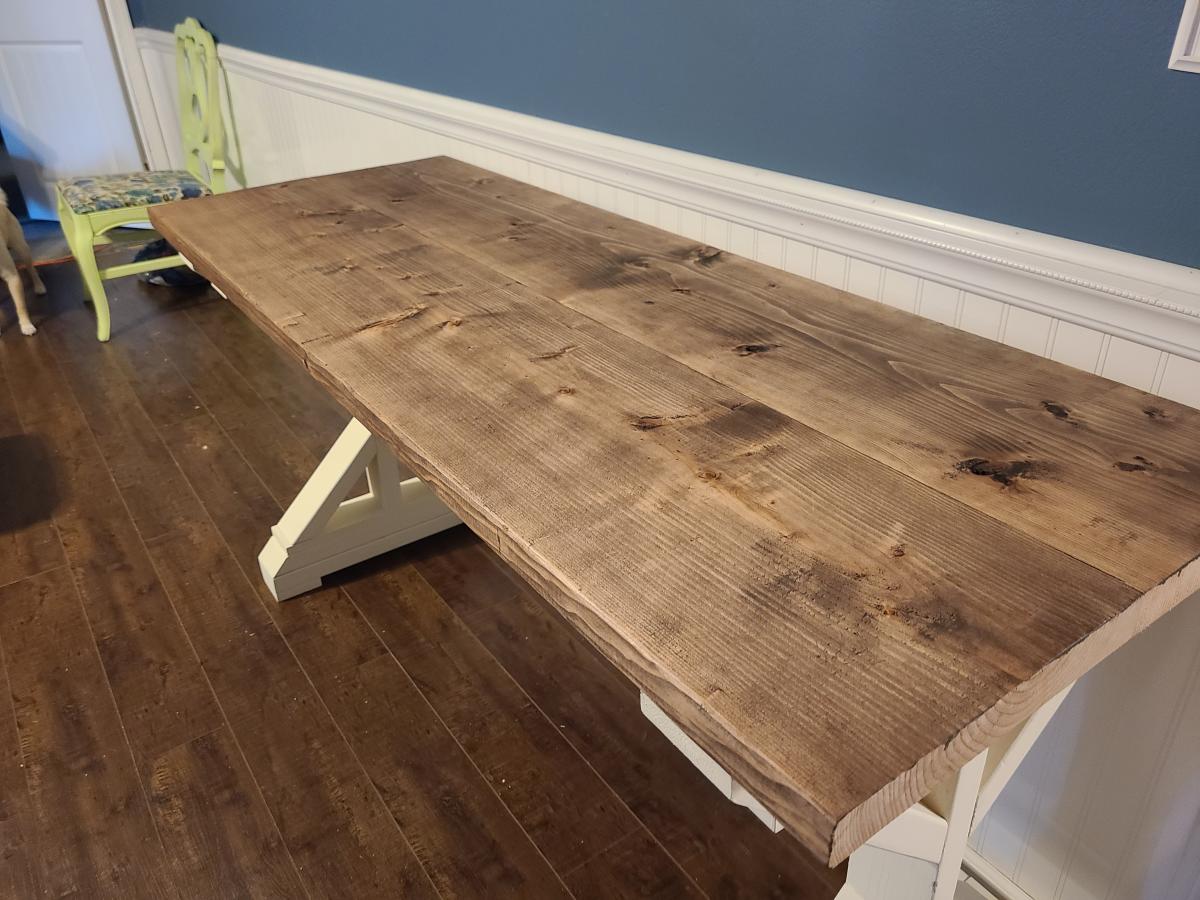
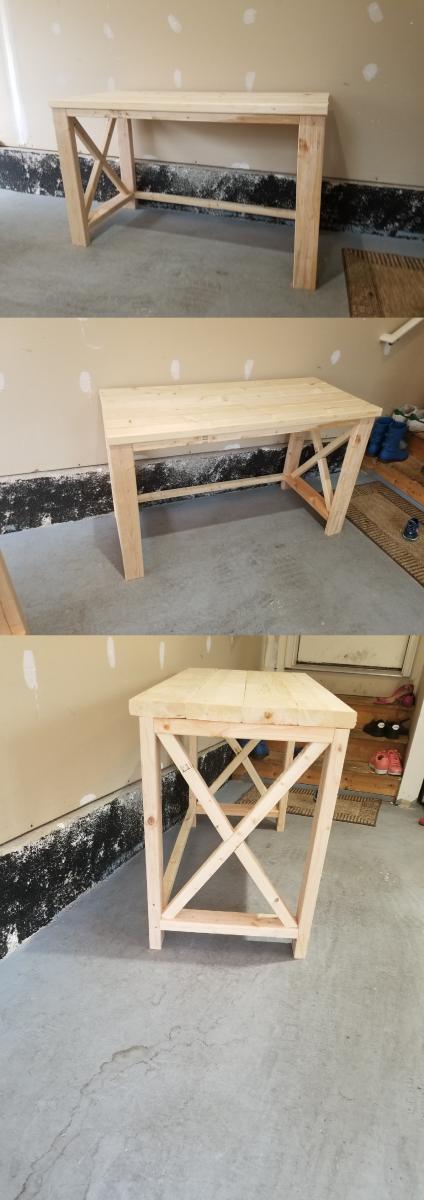
Desk for my sis, build on out of state visit. Left raw for her to finish. The X was a character builder as I only had my circular saw and my first time but decent enough lol
Thu, 09/17/2020 - 10:52
Are you going to paint or stain? Can't wait to see the finished project!:)
Fri, 09/18/2020 - 09:51
Looks awesome, can't wait to see how she finishes it!
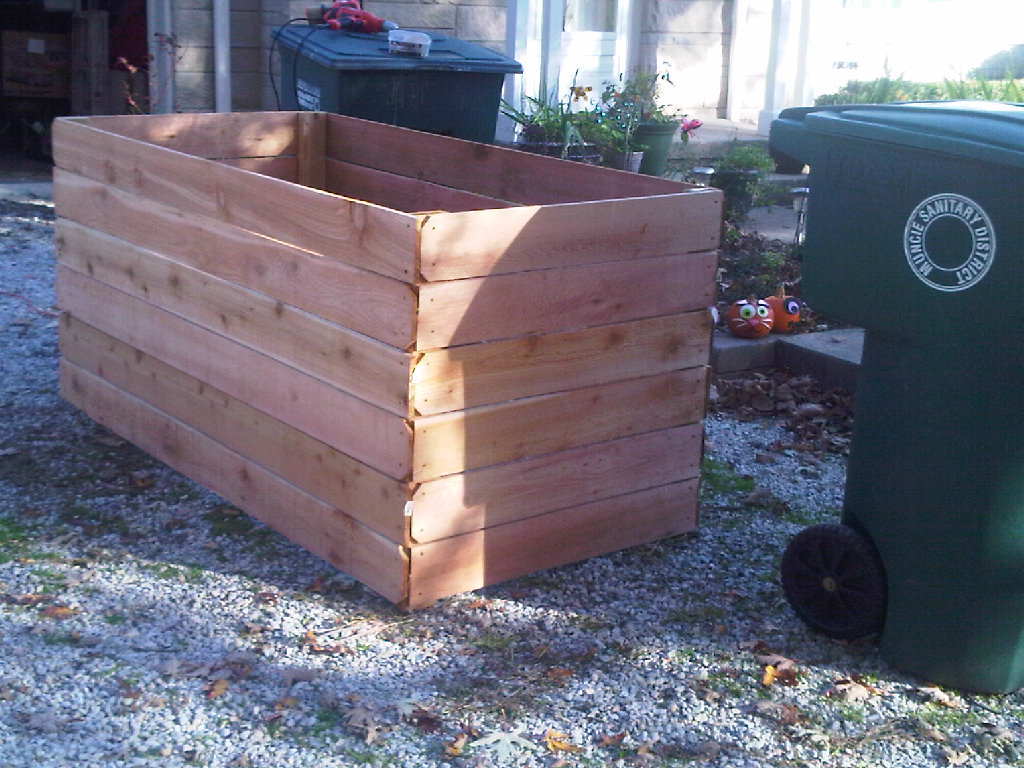
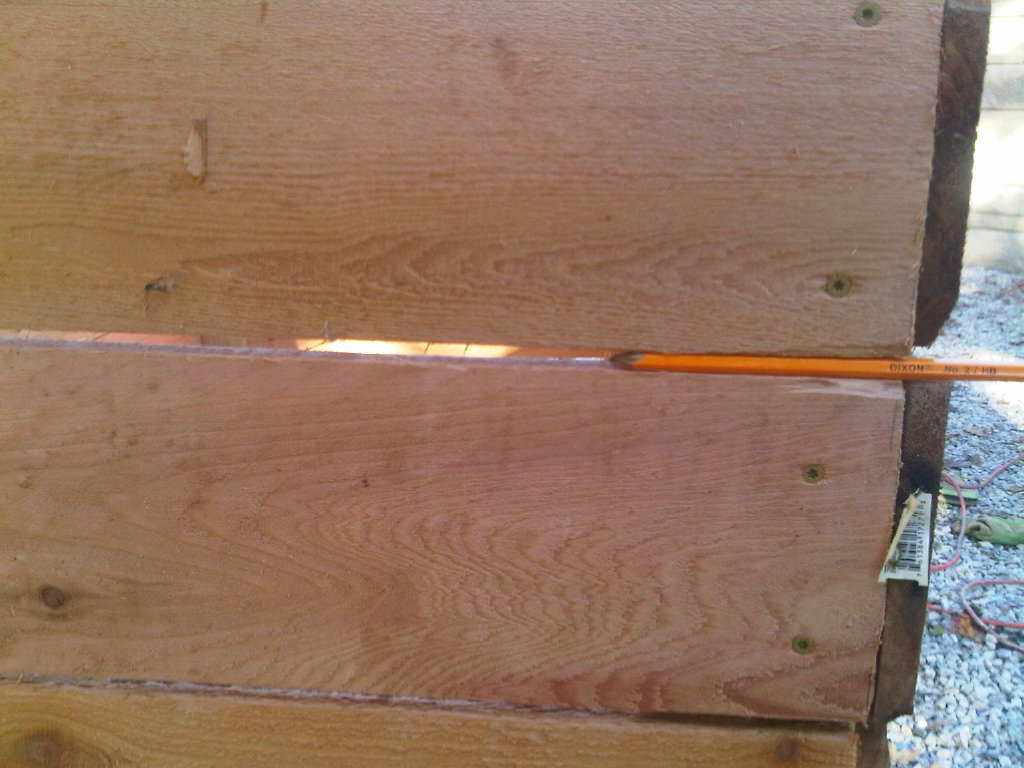
For this project, I used 6 foot cedar fence posts and 8 foot cedar 2x4s. I used a pencil to space the boards and allow extra air flow. More space between boards is acceptable - even to the extent of dropping off one full board and putting an inch between each side rail.
Another option is to make your sides interlocking layers, one or two boards high - http://cedarstackingcompostbin.blogspot.com/
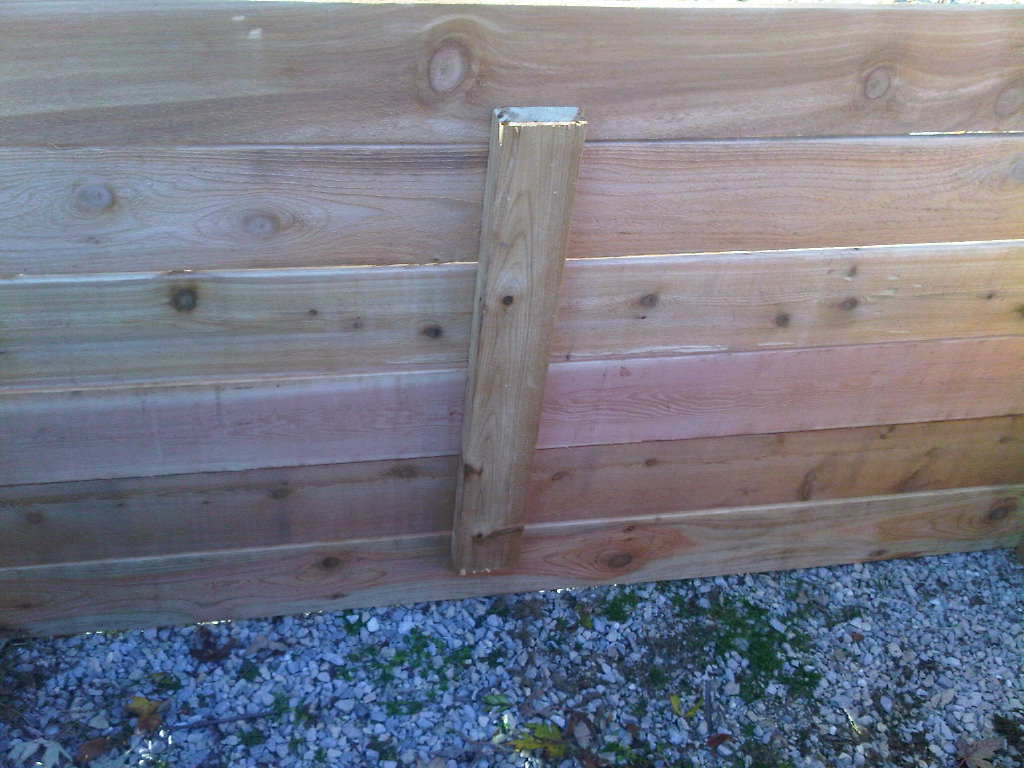
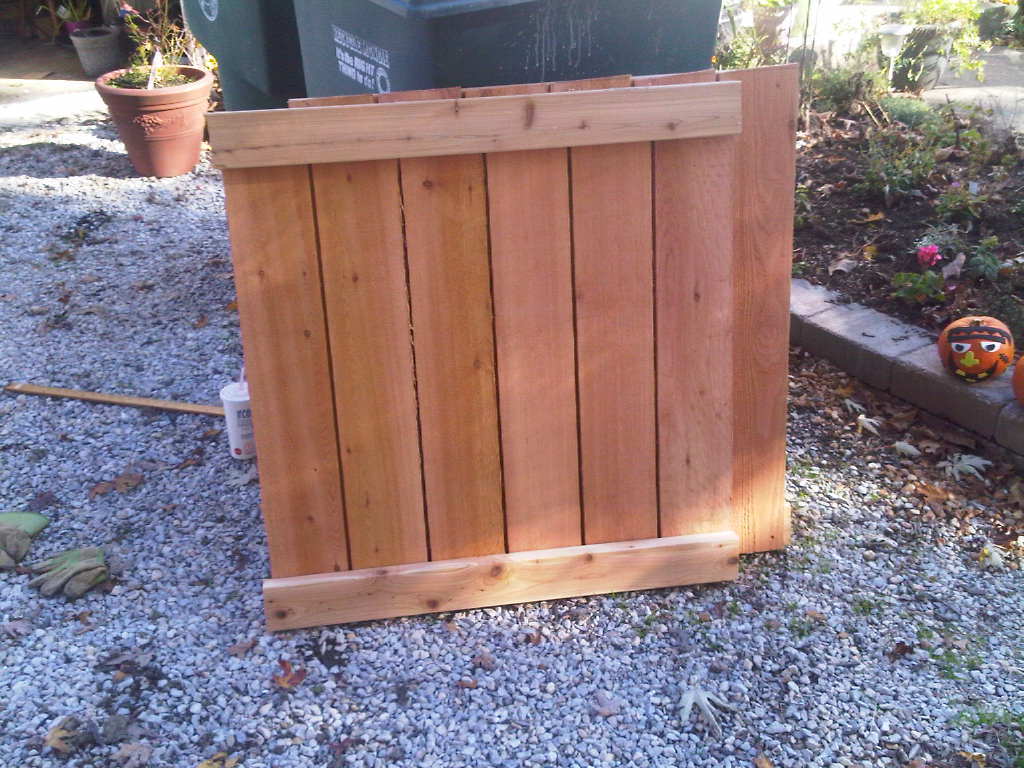
Since I am composting large amounts of leaves and grass clippings, mine is made in one piece. I don't turn my pile often - when I do, I can either lift the whole thing up or move the pile from side to side. I cut the 2x8x8 posts - cut a 3 foot length off of each end. Save the 2 foot center piece to brace the long sides. Affix your 1/2 (3 foot side) and full fence (6 foot side) boards to the 2x4, leaving the desired gap between each board. Affix each board with 2 weather proof screws - I used coated deck screws.
Attach the vertical posts to the inside of the cedar fence boards, including the short 2 foot boards that are just long enough to brace the long sides. I alternated the dog eared sides, so that each corner had one flat and one notched board.
I used 24 cedar fence posts and 16 feet of cedar 2x4. Note, I was able to do this all along. The trash cans acted as supports - no clamps or saw horses needed.
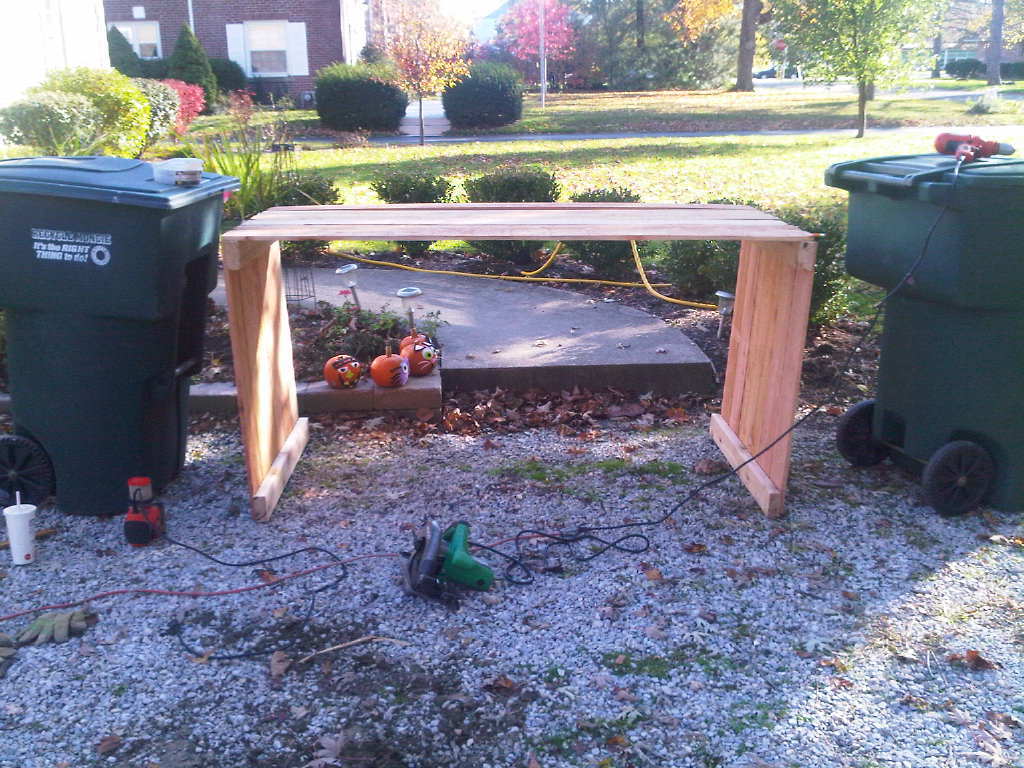
Fri, 12/07/2012 - 18:43
This is a little heavy when finished. I can easily flip it over to turn the compost, but after building it and tiring my arms out with the cutting and drilling, it was a long haul to the back yard to position it. You might be happy with a 3x3 bin, in which case, I suggest making it 1 board shorter and leaving wider spaces - if you think through the math, you can probably get it down to 10-12 cedar fence posts and 1 longer 2x4. Cost would be about $35 that way - cheaper than most compost bins.
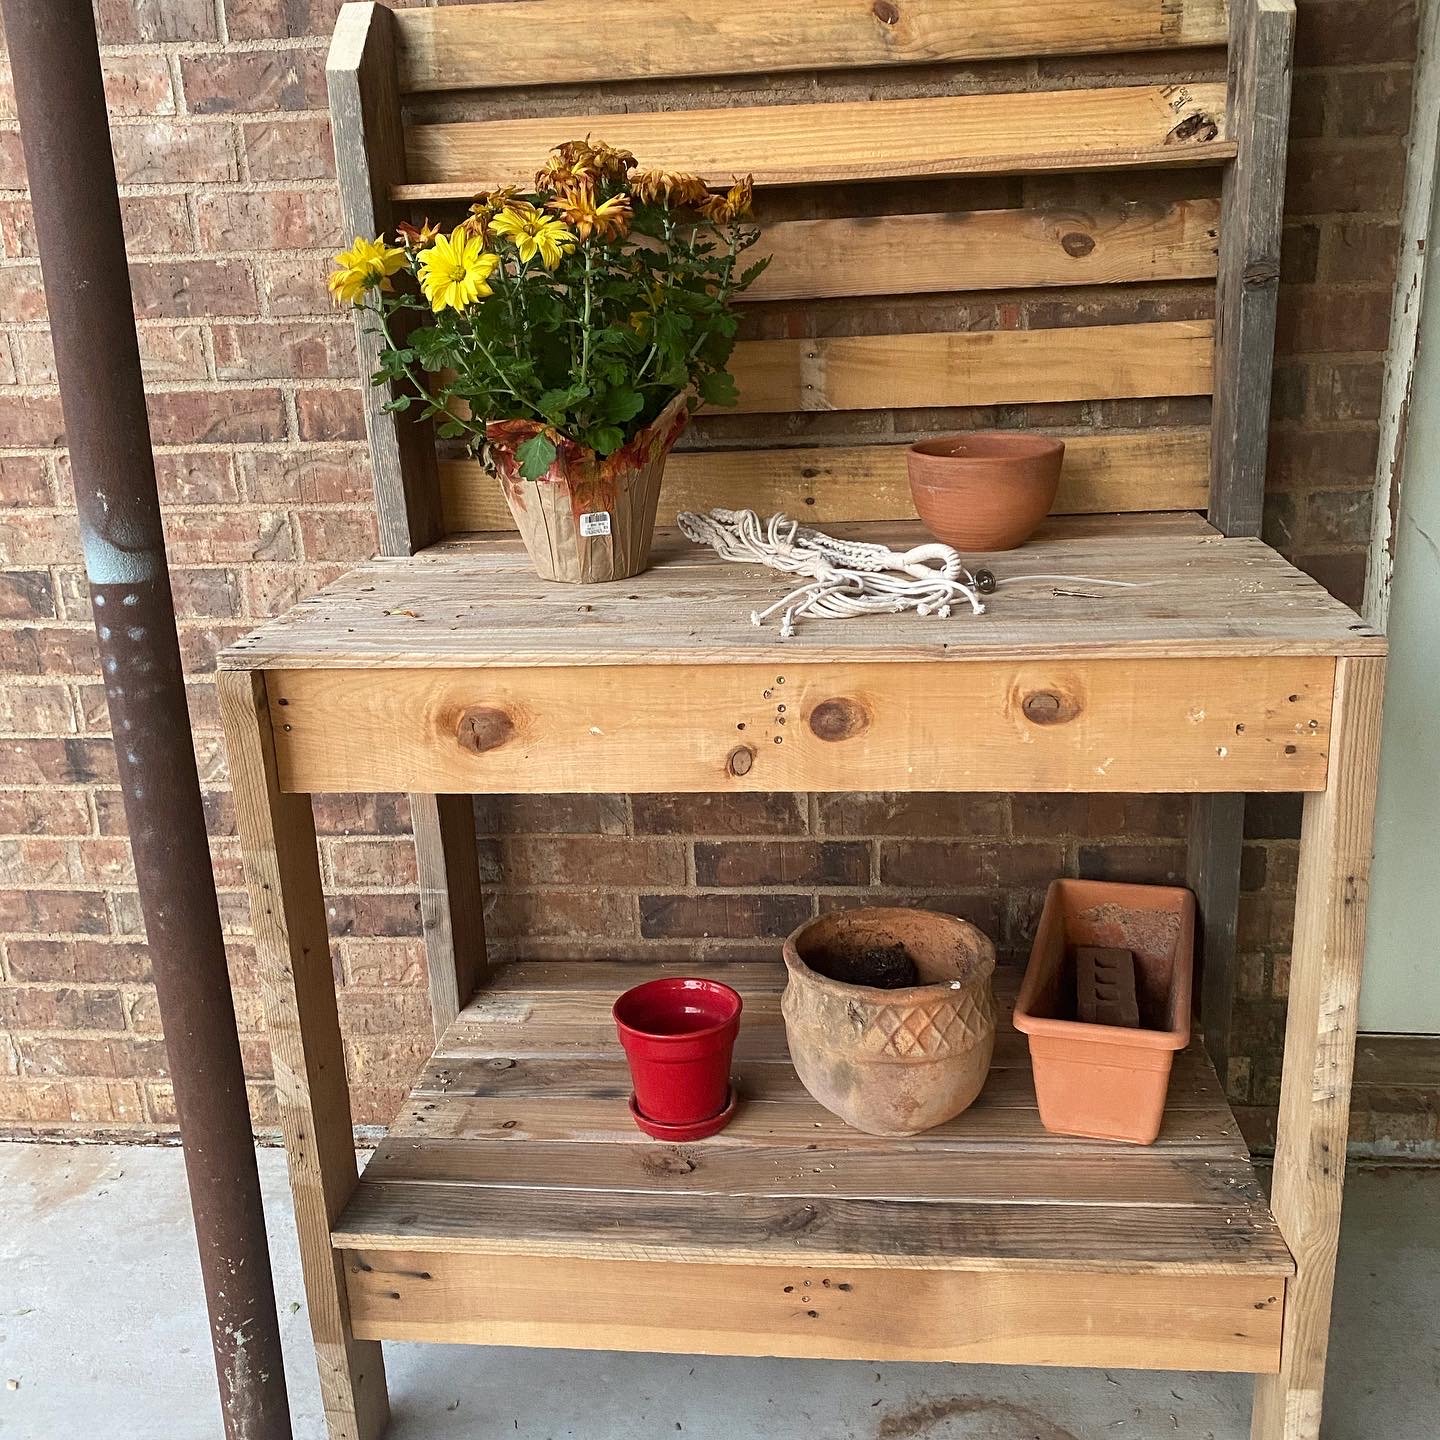
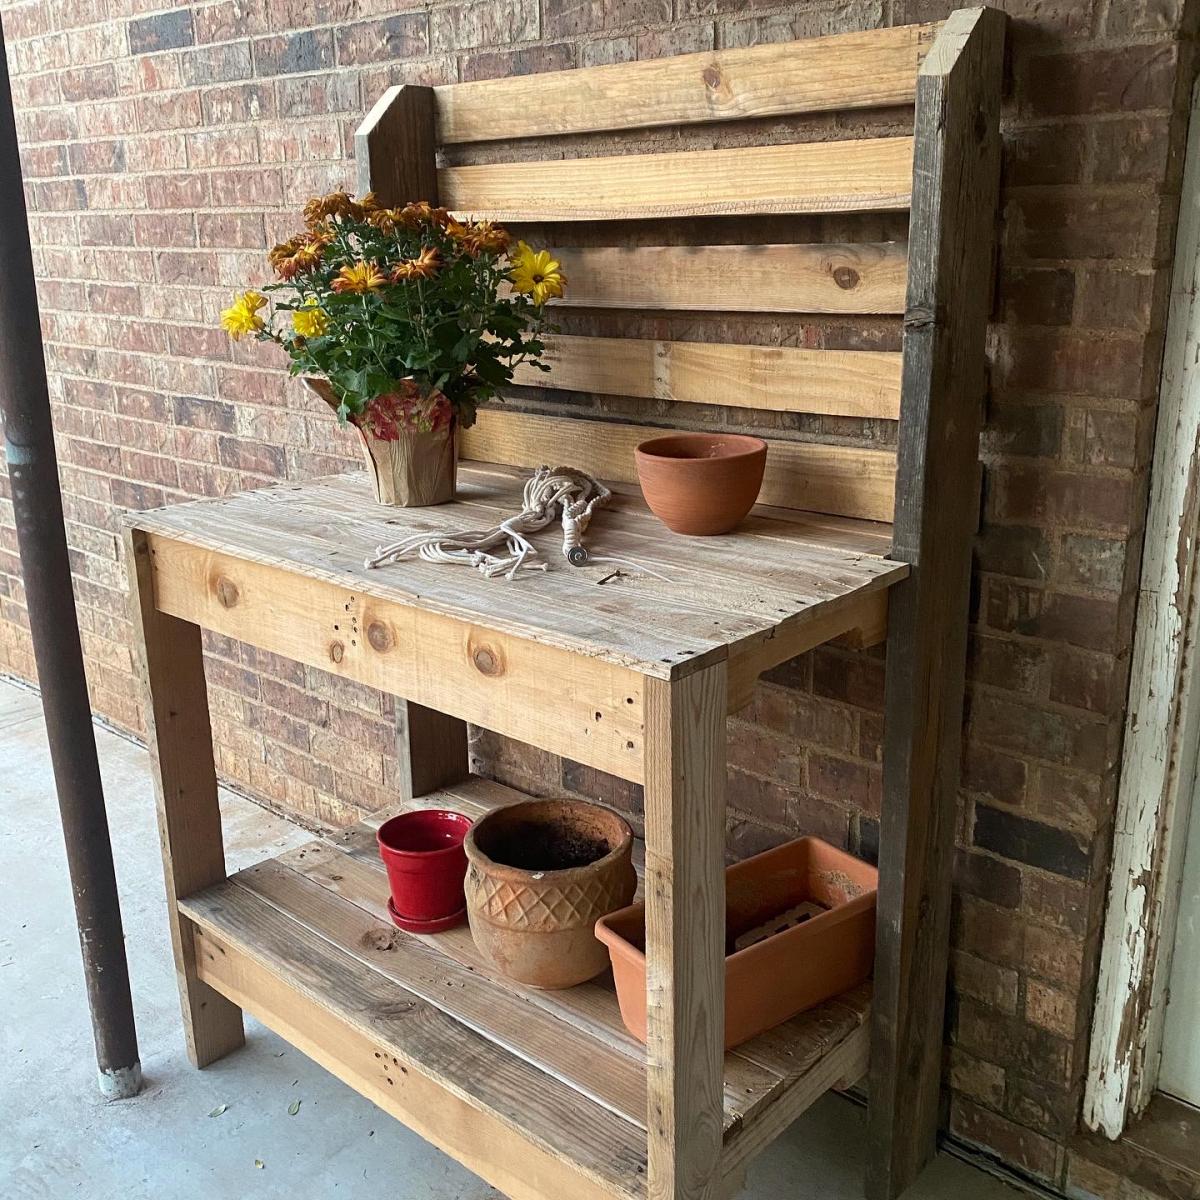
Thank you Ana for the great plans! We adapted the project for wood we had on hand. It is only 40 inches wide instead of 42”. Our widest pallet board was only 40”.
Thank you for continuing to inspire us! We made two couches a couple of months ago. Great plans!
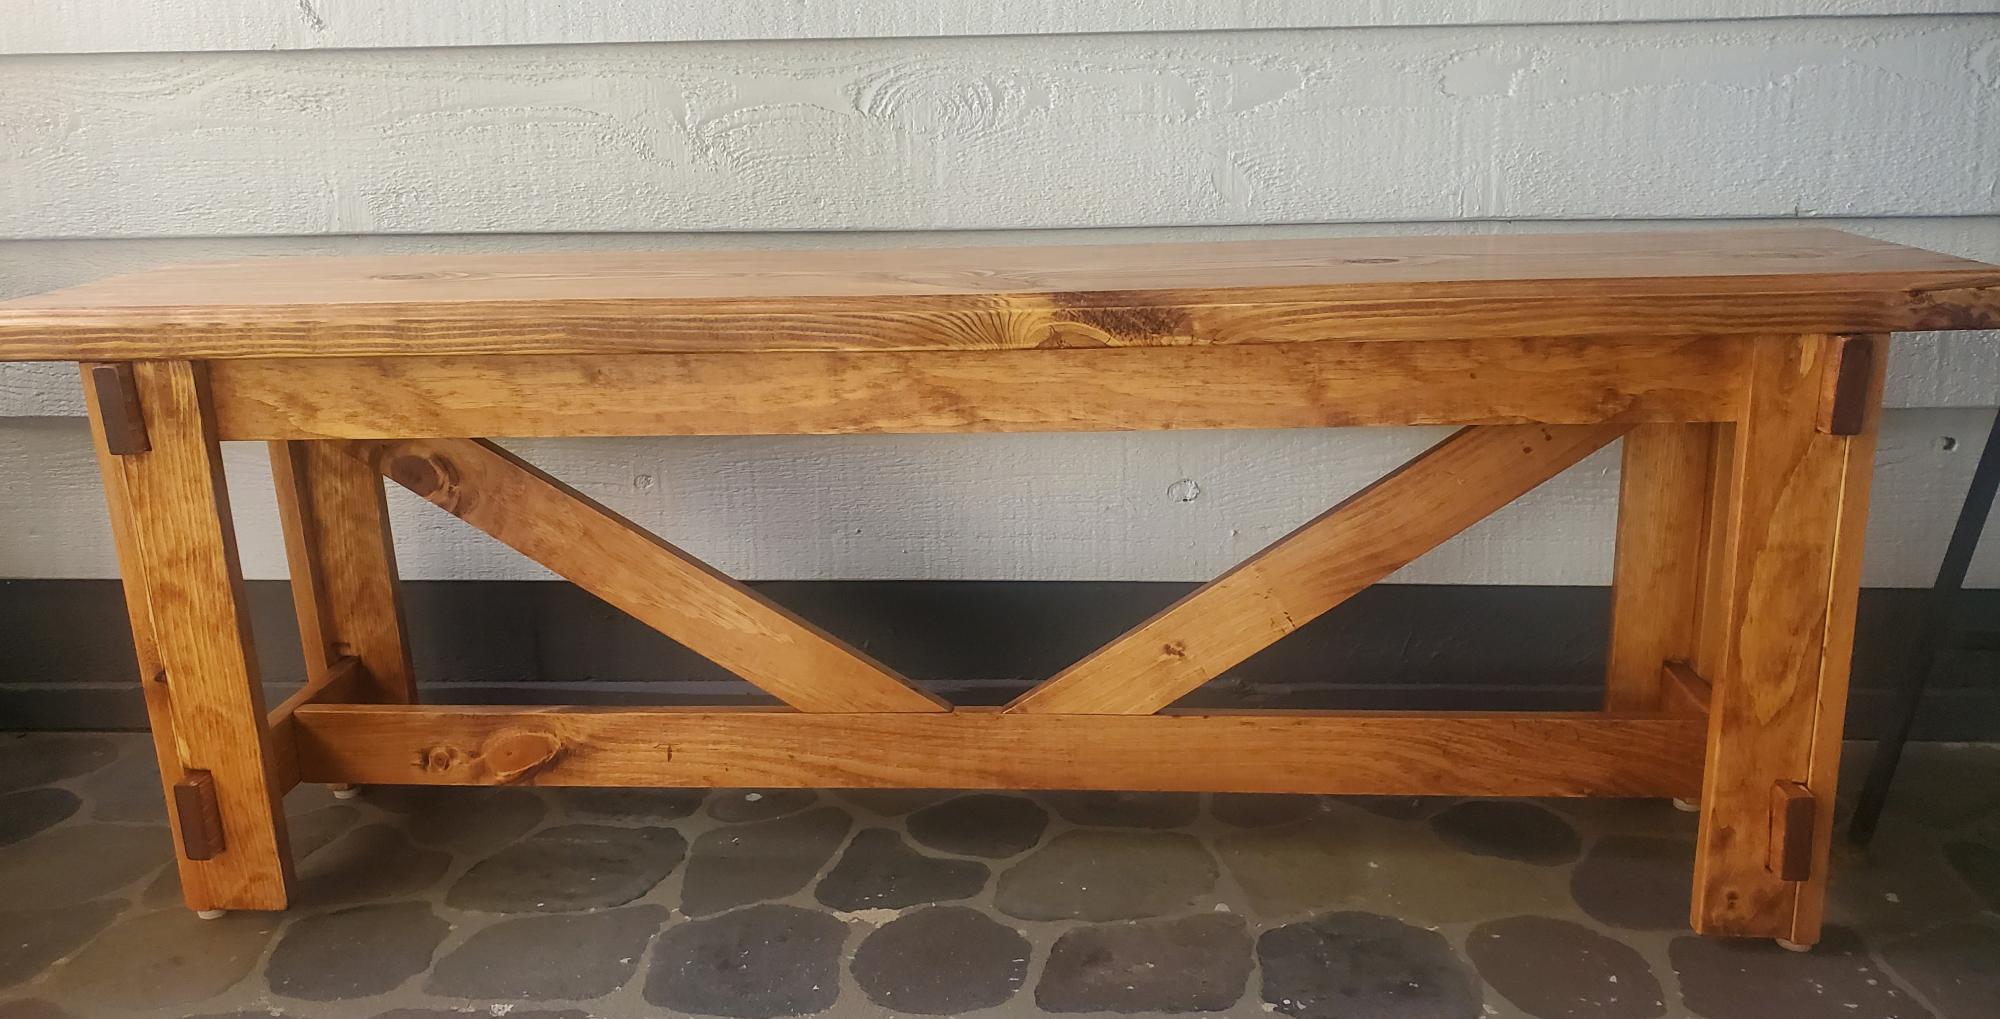
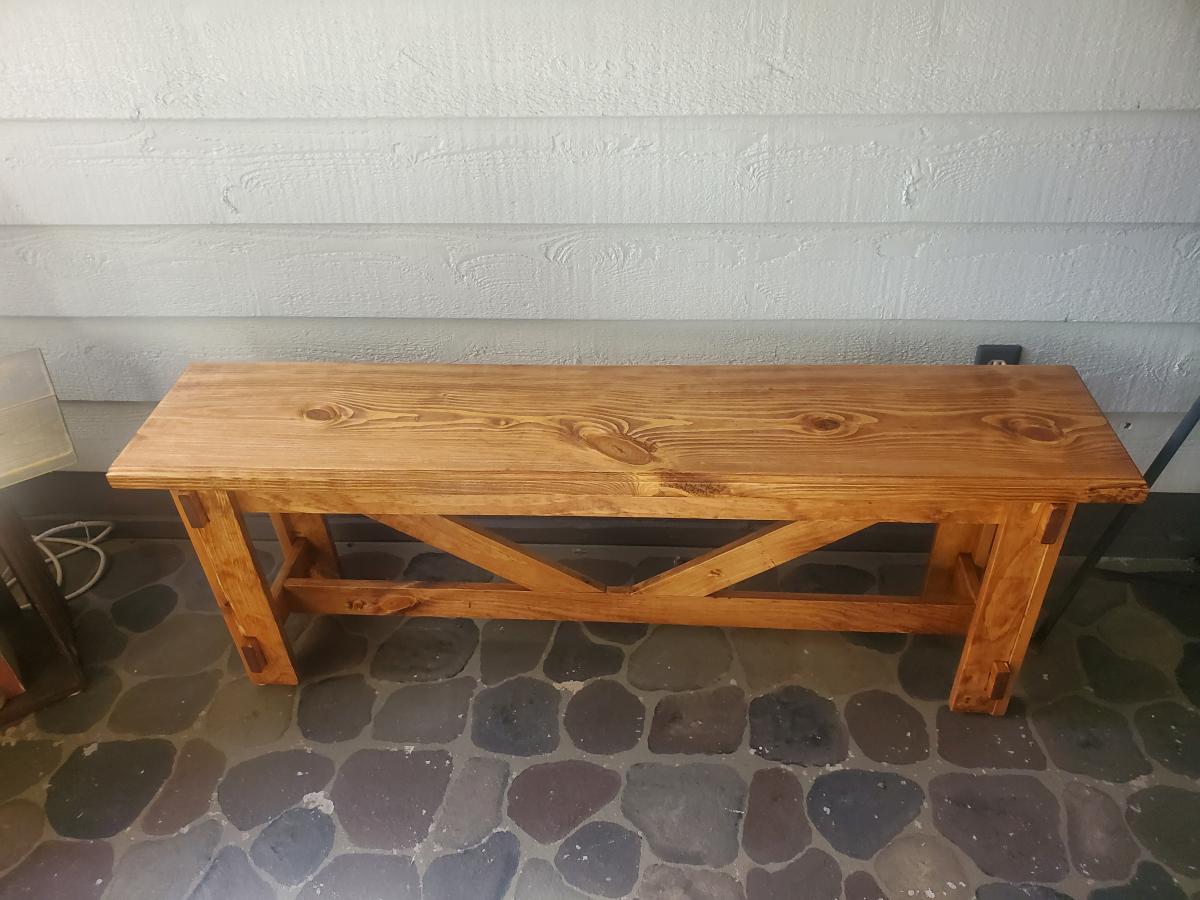
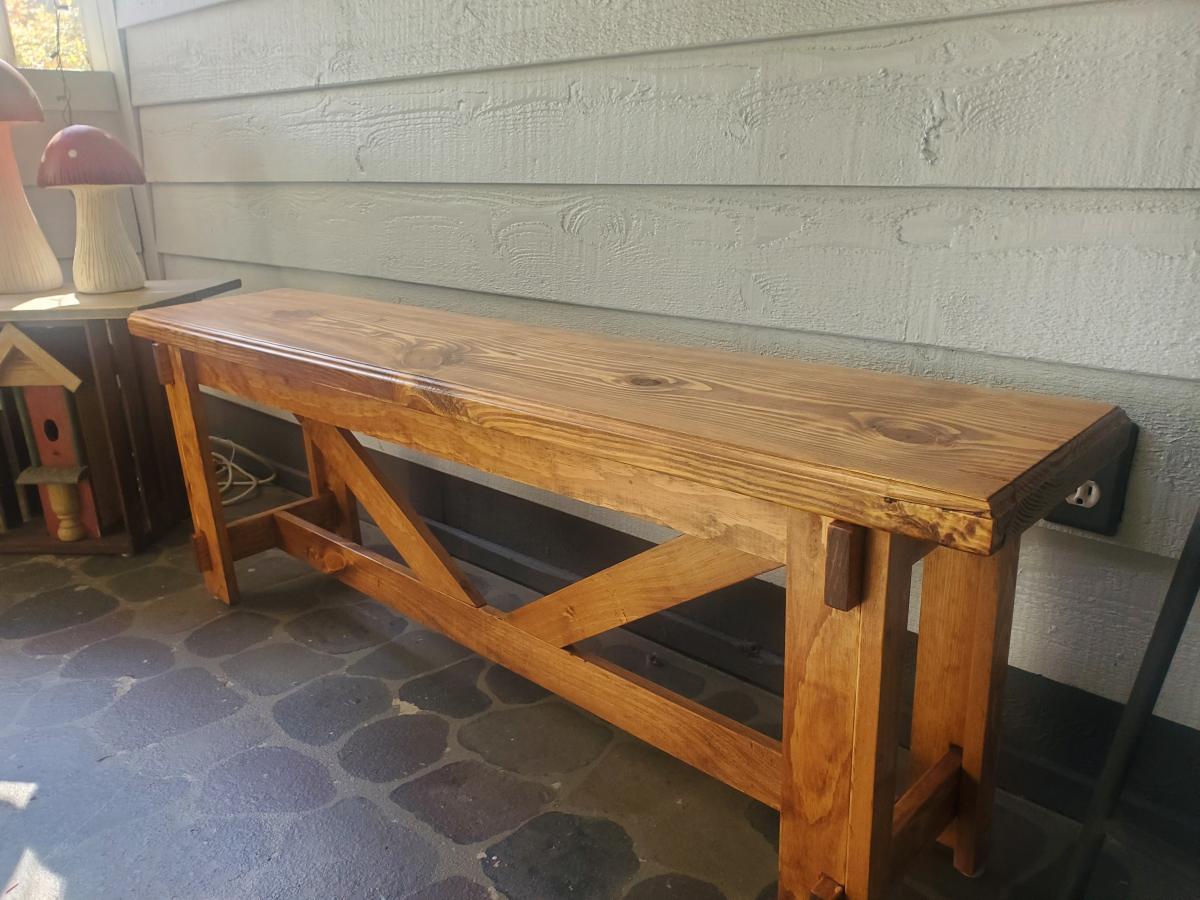
54" Bench with Cross Bracing, used the plans on this site, plans were great, easy to follow. I used a 2 x 12 for the bench top to give it more heft. I think it looks better than a 1 x 12.
On to the next plan.
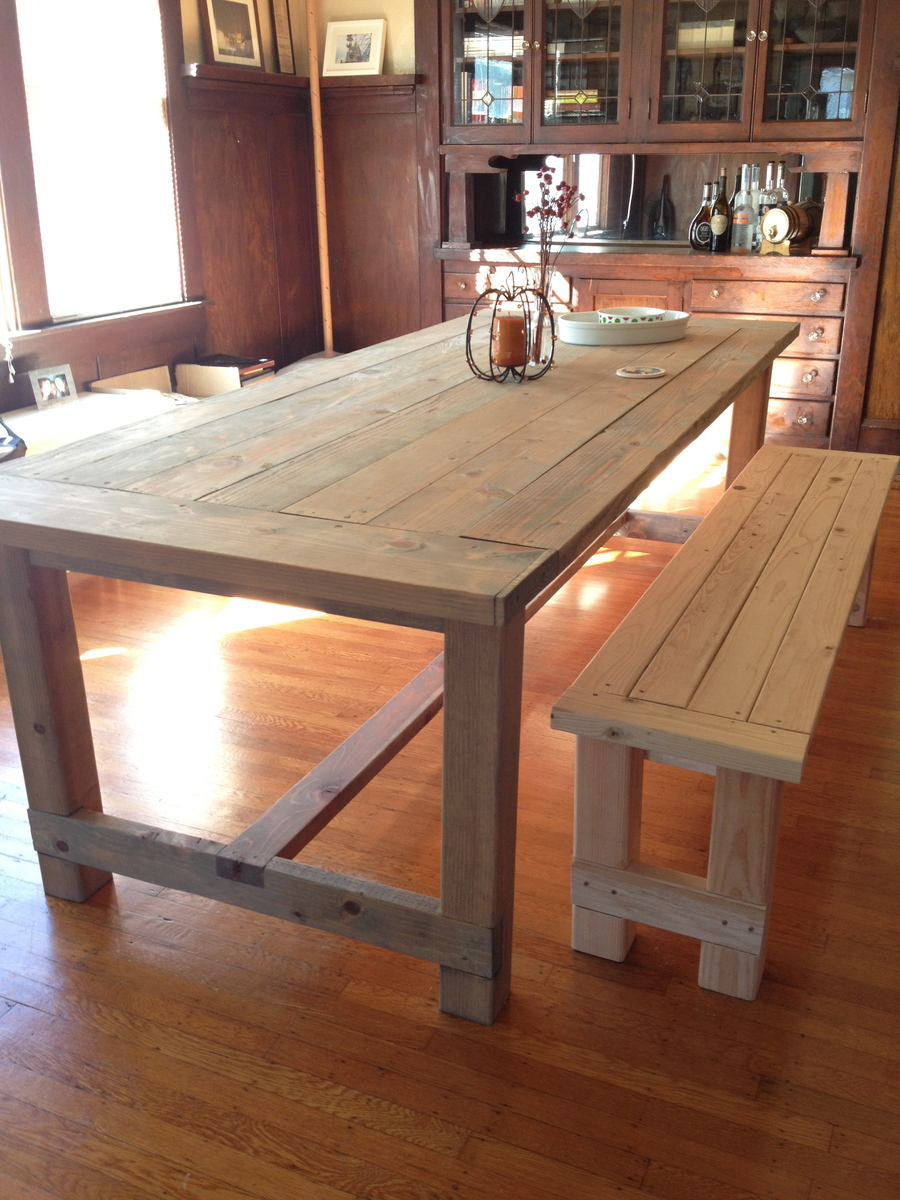
Calling myself an amateur builder is a colossal overstatement. I’ve never actually built anything, by hand, using wood. I’m quite crafty and very good at hacking things inspired by others {thank you all other bloggers and Pinterest for your continued inspiration}, but to actually build something from the ground up just hasn’t been added to the curriculum vitae…until now.
I actually hail from a family of handy builders. My grandpa used to build everything, from decorative shelves and stools to more utilitarian items, like bookcases and kitchen cabinets. My father, too, is quite handy; he’s the build-a-back-deck weekend warrior type.
This was my first Weekend Warrior project. My deadline: Thanksgiving dinner! I had no other table option. I either built this table or my friends and family were eating on the floor.
Thu, 01/10/2013 - 12:56
Just wanted to say (apart from "i love the table") that your story has inspired me to finally jump in. i too am like you, never physically built anything with wood, but have done some revamps and have done a ton of other crafts (i too would like to thank pinterest). reading what you said has just given me that finally push!!! Thanku
Thu, 01/10/2013 - 17:14
Hi Juanita! Yay, I'm so glad. It really was a fun and empowering project. I can't tell you how many people looked at me like I was crazy, but a little patience and elbow grease can go a long, long way! Good luck and I can't wait to see the finished project.
Fri, 01/11/2013 - 08:37
You did a great job! I'll bet your friends and family were impressed!
Sat, 01/19/2013 - 04:53
You did a great job! I love the finish you chose. Isn't it amazing when you think you can't do something and then when you finish it, you're like wow I did that! Ana's site has inspired me so much and I love to see that she has inspired so many others and to see the beautiful things they are making with their own two hands. Again awesome job and beautiful table!
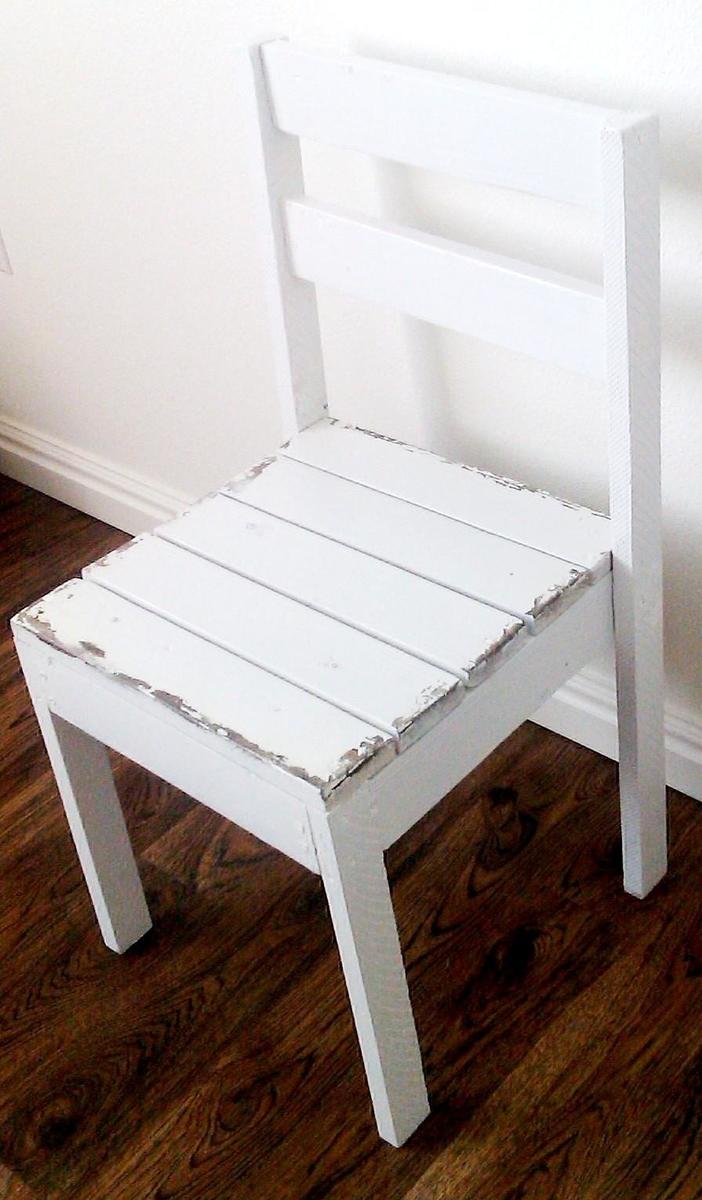
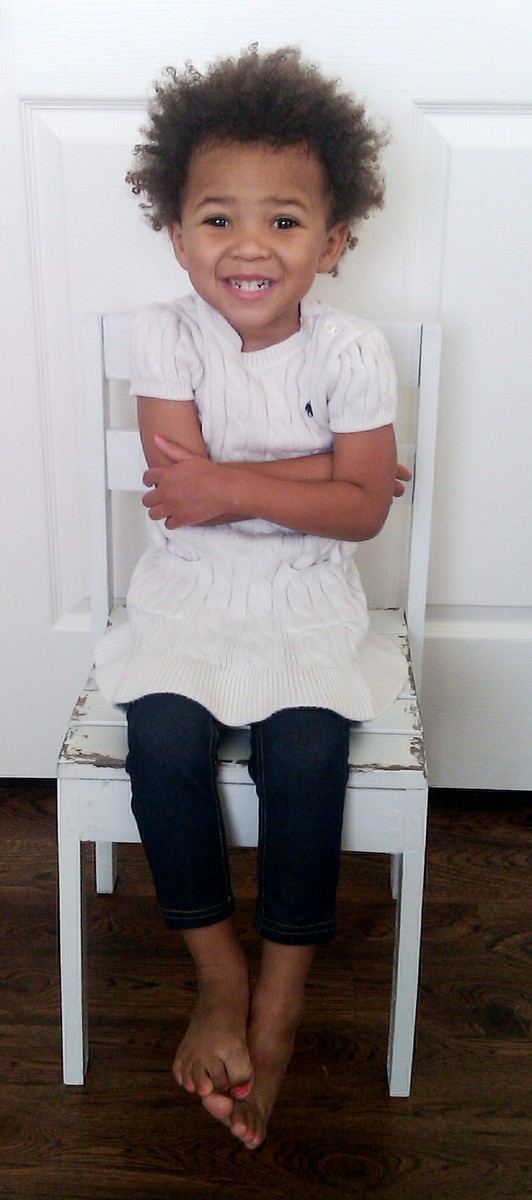
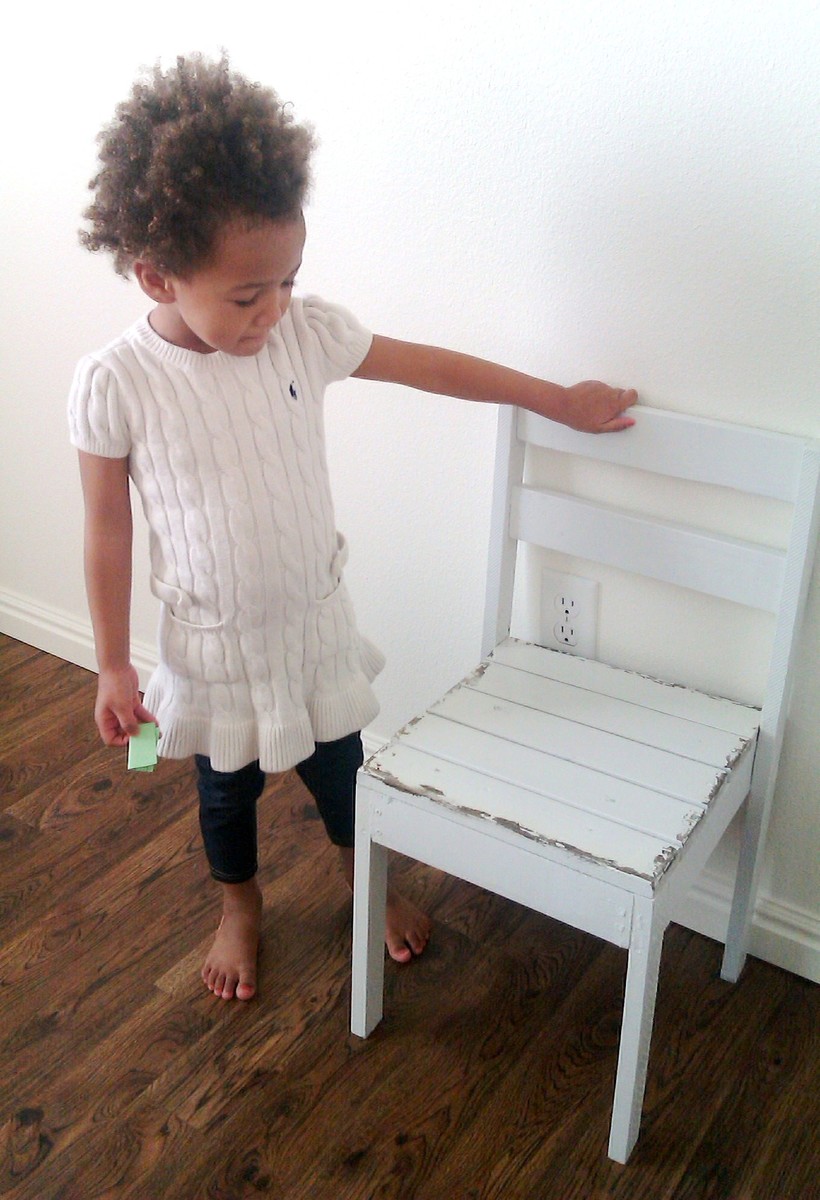
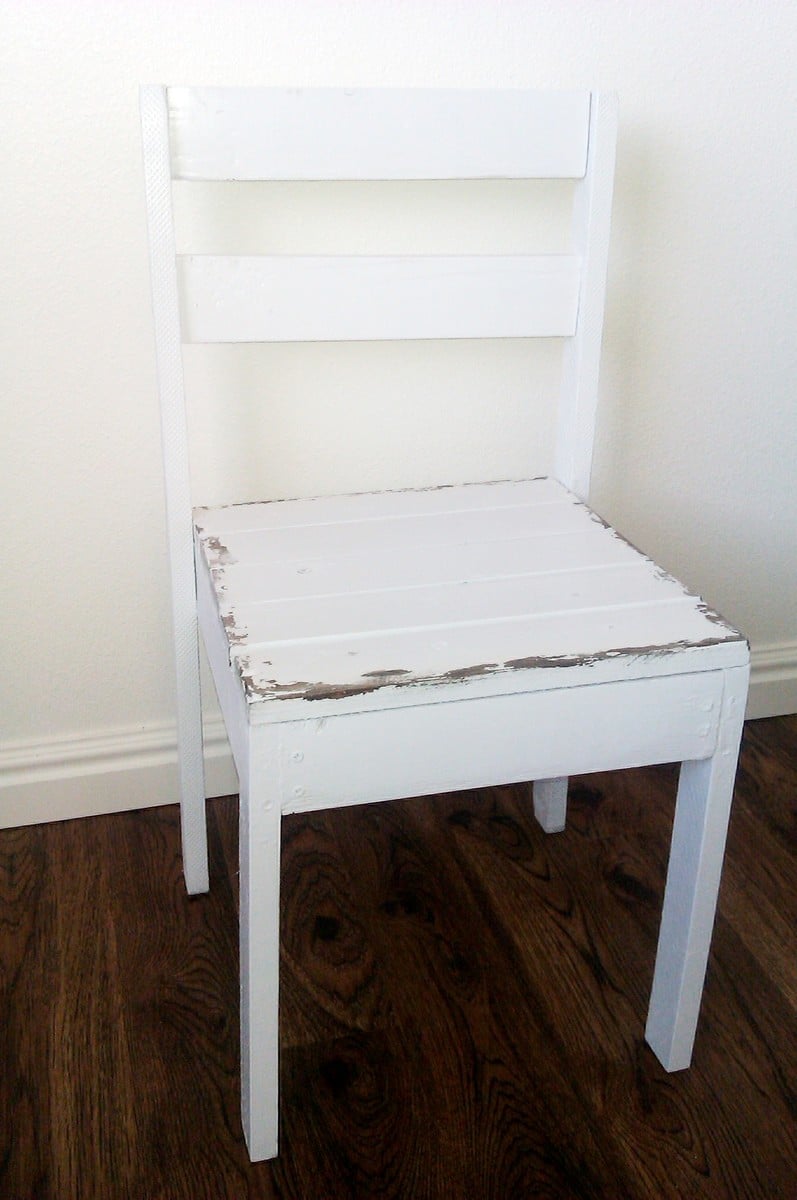
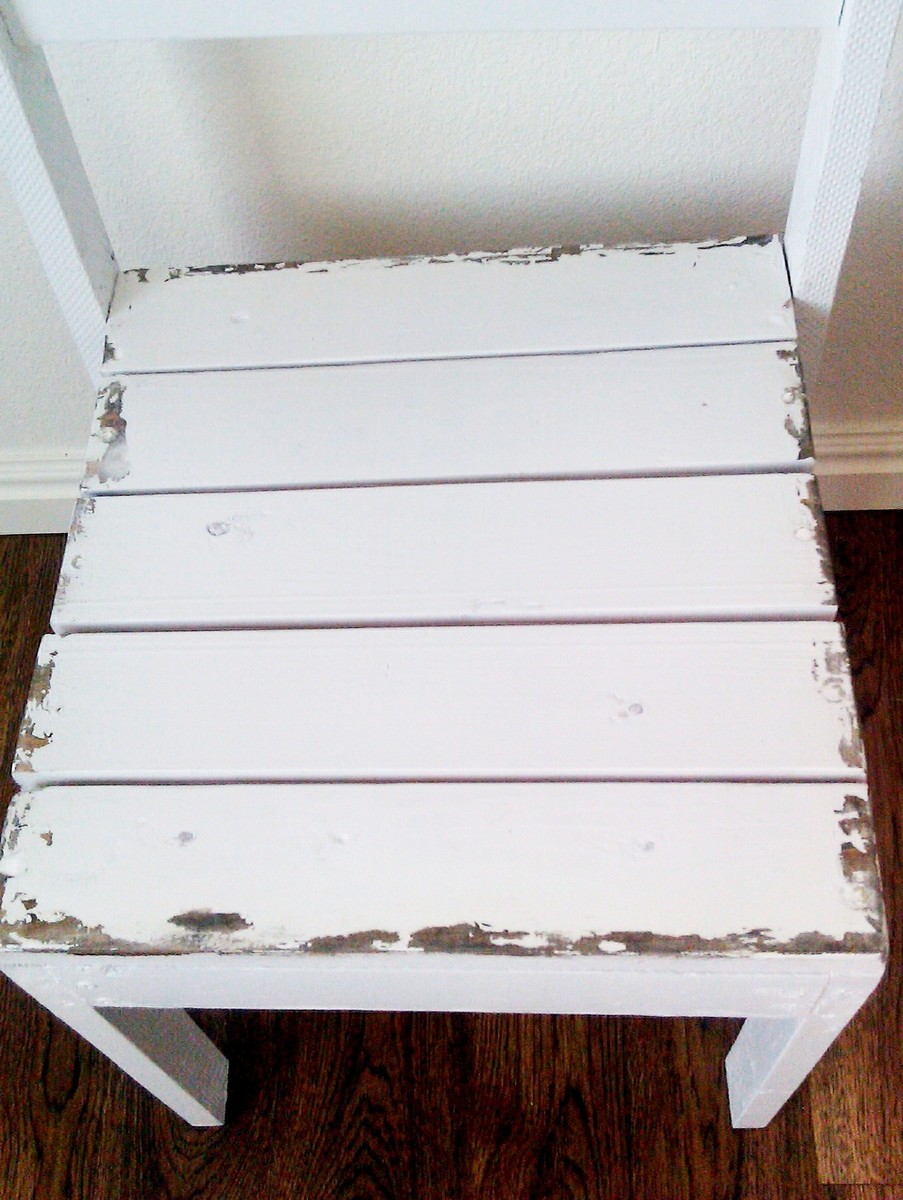
I enjoyed making this chair. Even though I am a beginner at wood work, it really was easy to make and the instructions were very clear. I made it for my daughter. She will be 3 years old in May and she loves it. Our next project is making her a table to go with the chair. Thanx for sharing the plan
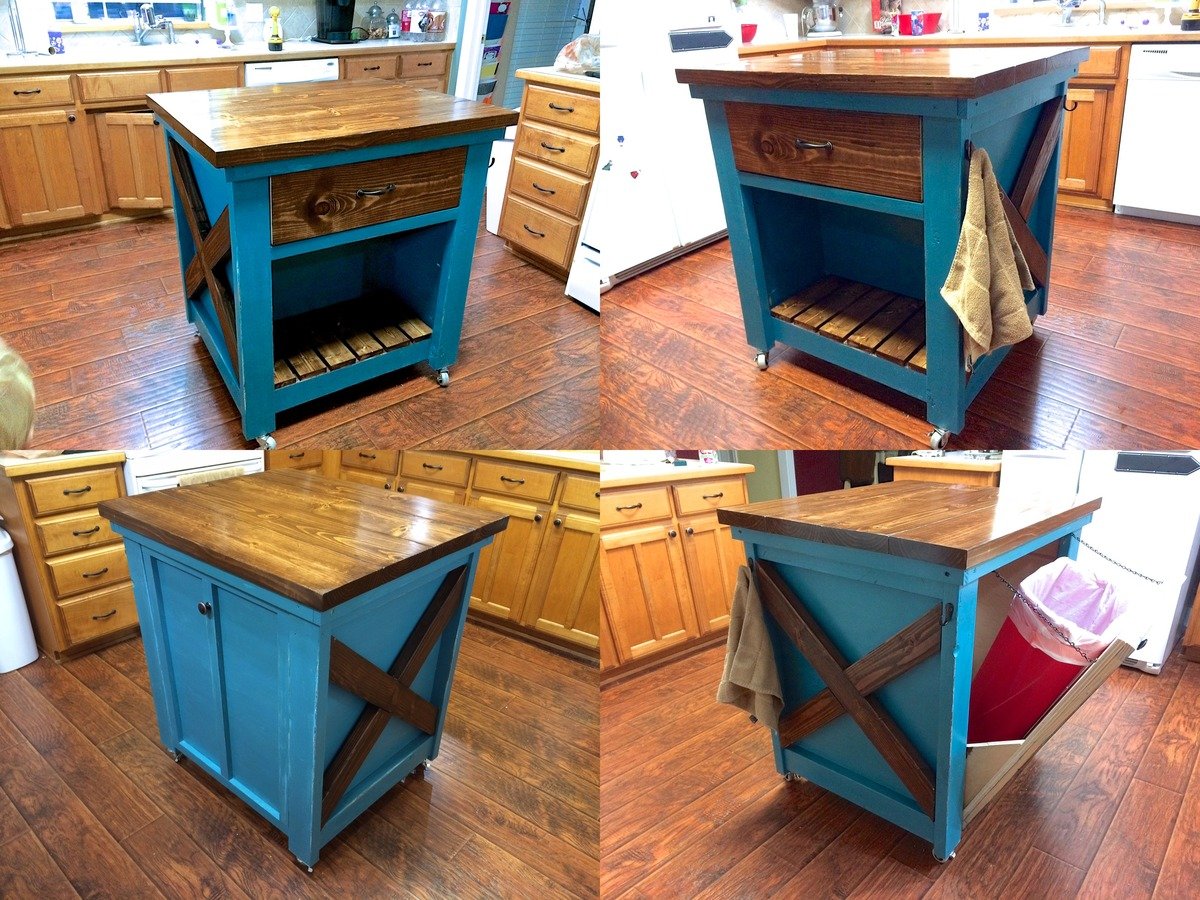
Well this was definitely the most challenging so far because we decided to modify the kitchen island plans to incoporate the tilt out trash bin. Very pleased with the results. Extended the back of the island to accomodate a 11" deep trash bin. Slim trash cans fit perfect. Found a gift wrapping bin for half price after Christmas and it is a perfect fit and 13 gallon bags fit great.
The x's were definitely a challenge because it changed the angles and it would have been best to just mark it with the board before finishing the whole box.
Now we just need to paint the cabinets and change the countertops and paint the kitchen walls. Not happening anytime soon, but at least the island is done.
Mon, 01/05/2015 - 19:18
Thanks Ana! We love your site. We've never built anything before finding it a couple months ago and now we can't stop.
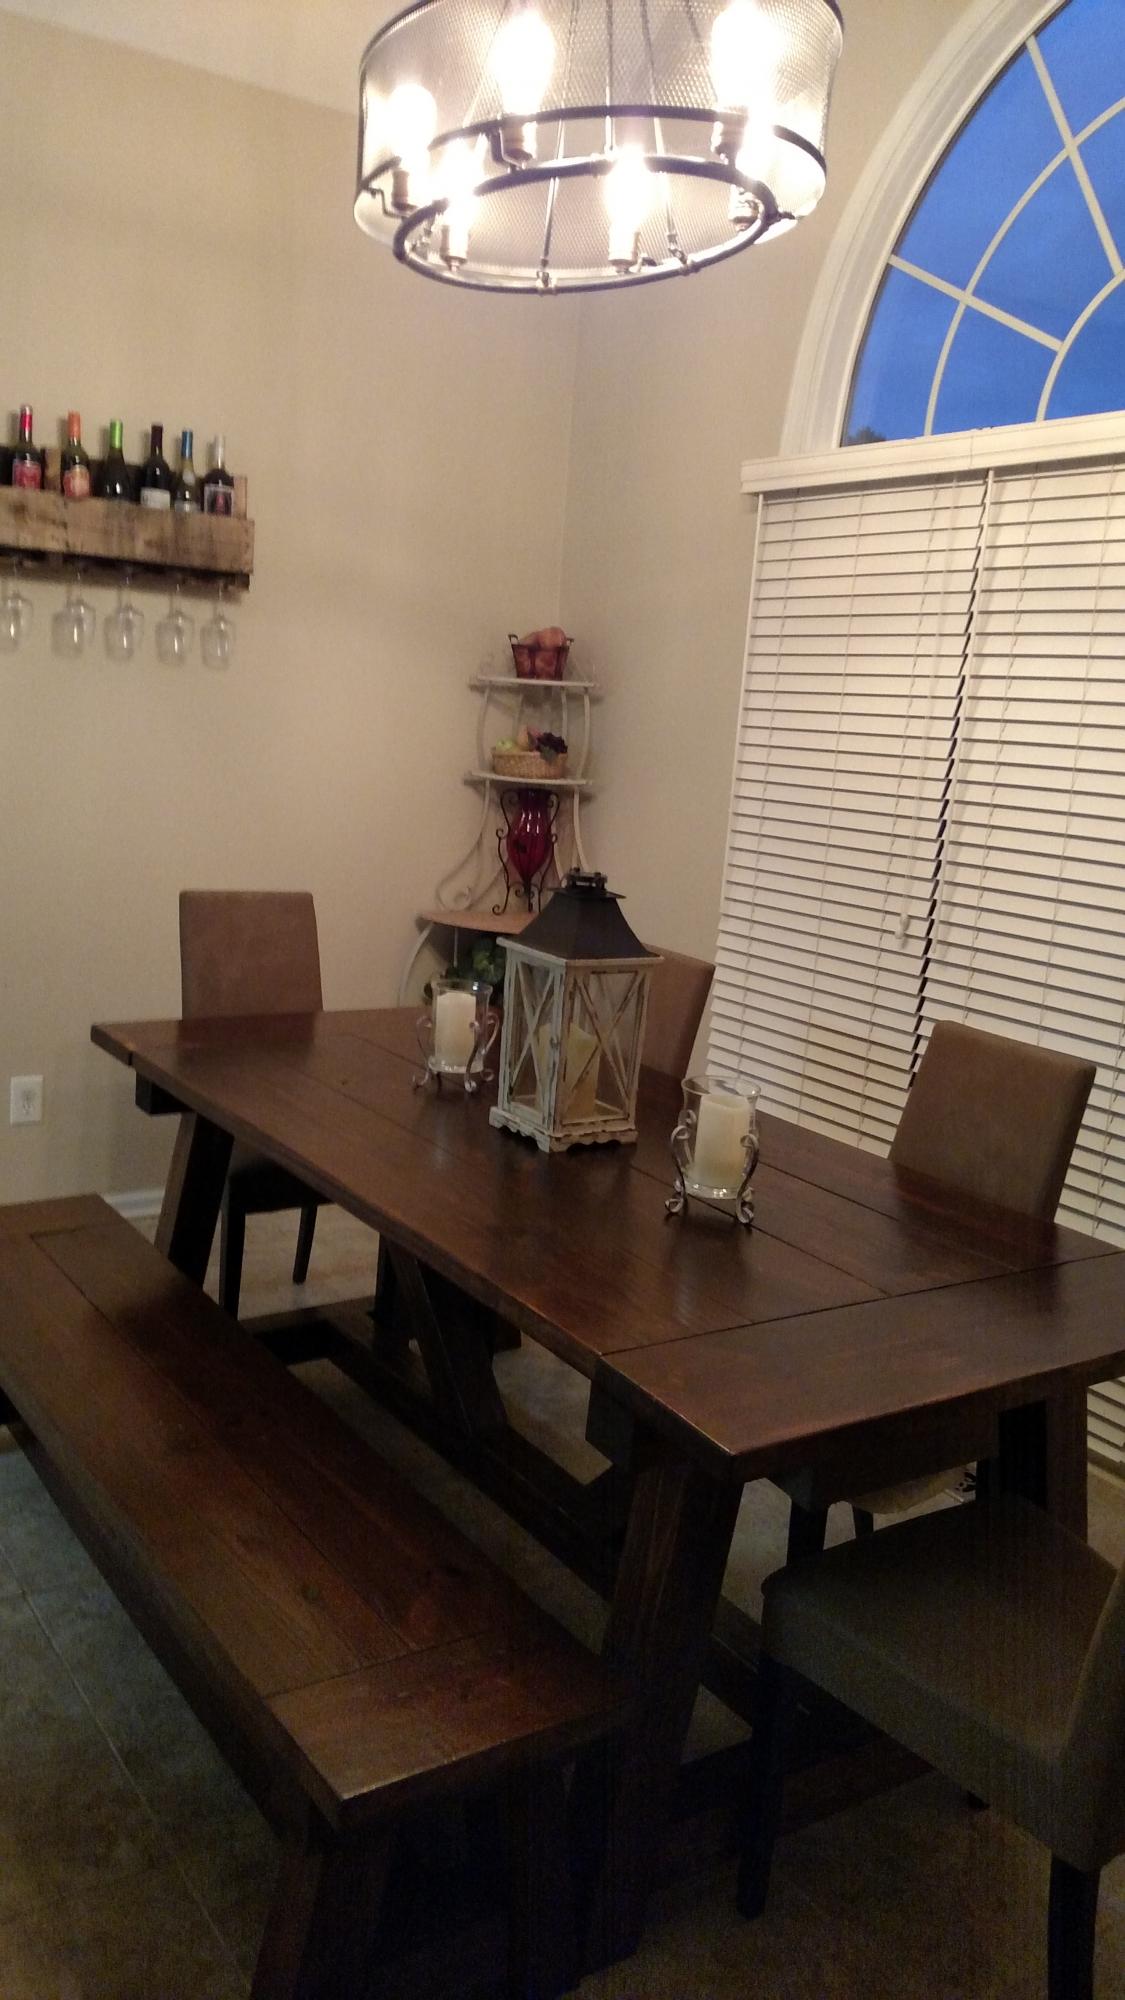
I loved making this, I’m totally in love with the color it turn into. Thanks Ana
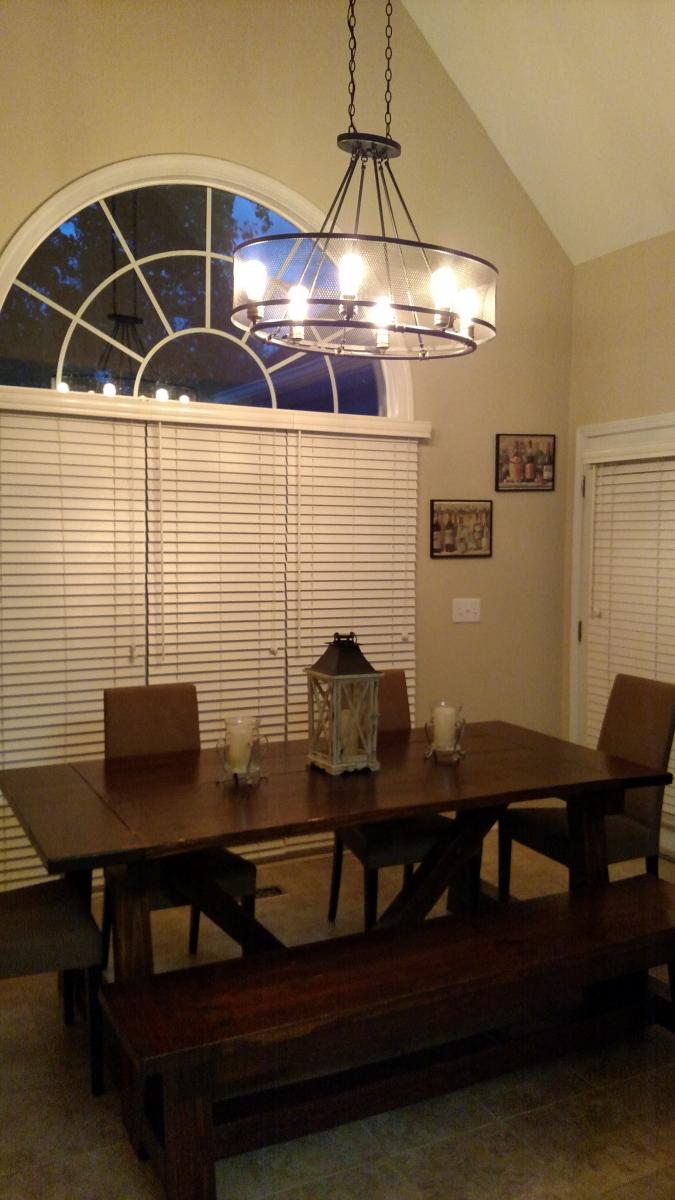
This built was easy with Ana white blue prints I used 2x10 for the top and also made the matching bench.
thanks Ana white
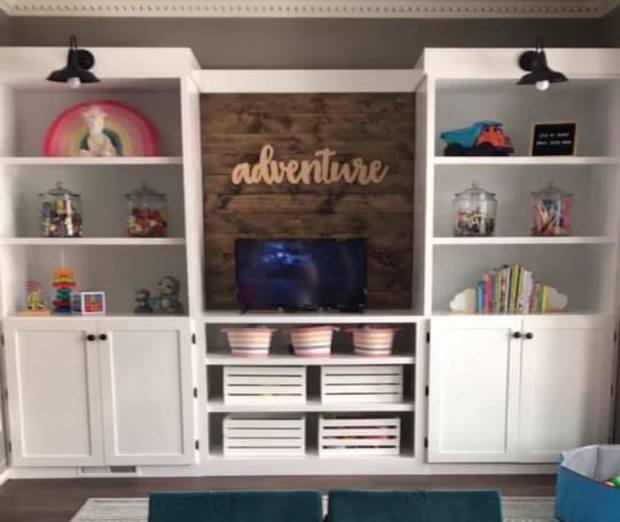
My son and daughter in law had an unpurposed room in their home and wanted to turn it into a play area for their three kids. She came to me with an idea and it turned into their Christmas present. 8' tall and 140" wide. Now the kids don't want to come out of the room. Papa and Mimi helping them make memories
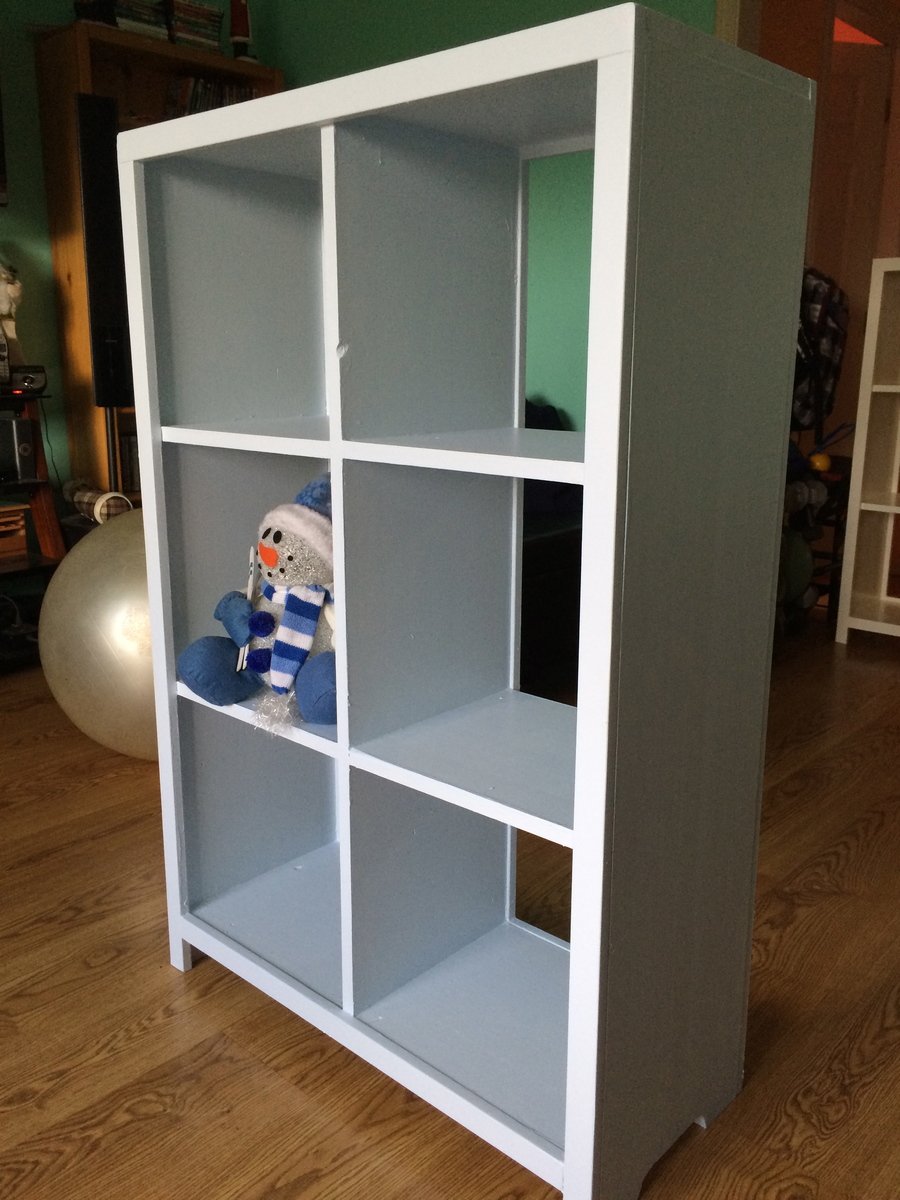
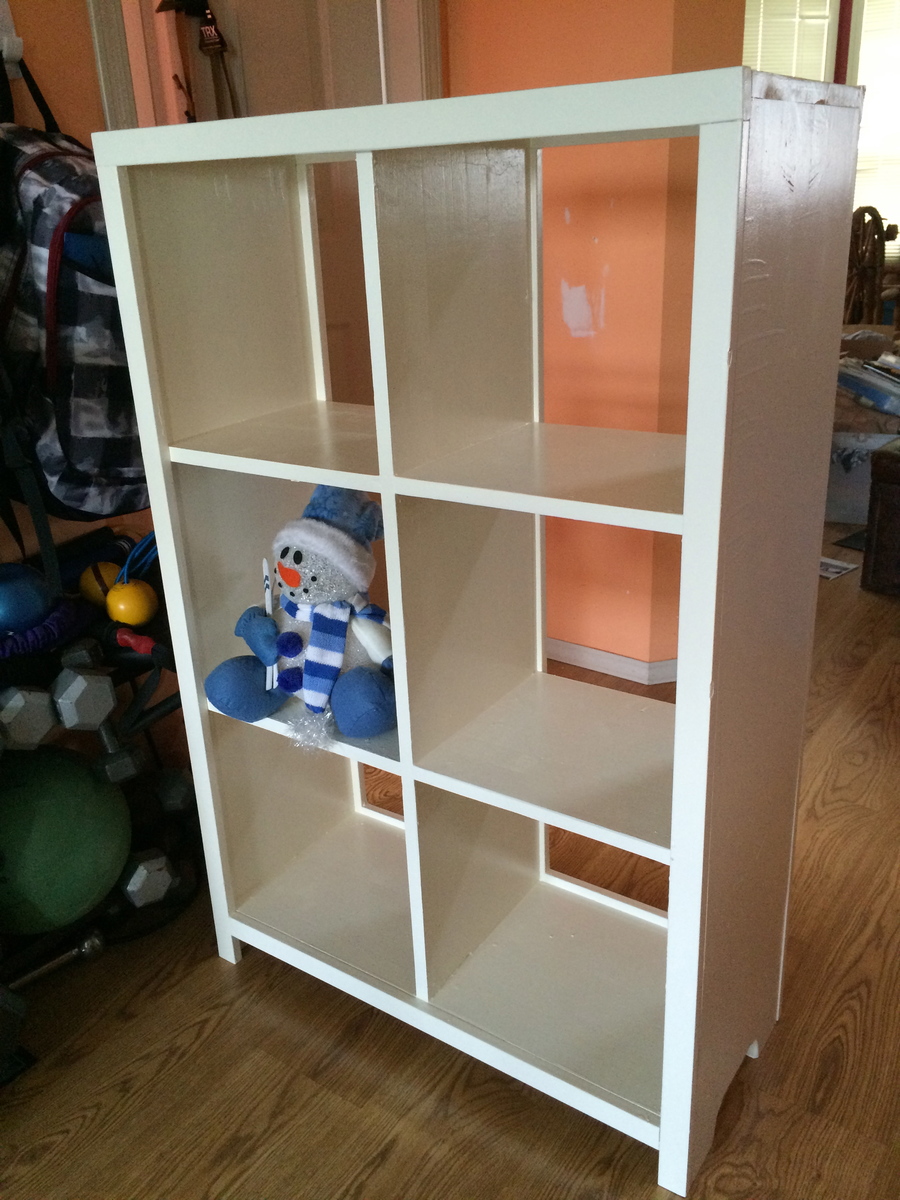
Did so many "firsts" with this project. My daughter/grandsons moved in just before Christmas. They needed space for their toys in their bedroom. Soooo, without tools, or paintbrushes, or..... anything, I opened my mouth and out came the words - I can make them some cubbies!
These took me 10 days to build, because I had to keep running to the store to get tools, paint, screws, circular saw.....
Then I decided to make a cut out at the bottom, tried to use a hand tool, chucked it, went to the store and purchased a jig saw. Completely happy with how little time it took!
I figured out the bottom shelf was missing from the cut list/shopping list. I made a ton of mistakes, figured out how to fix them, and am pleased with my first project.
Fri, 01/23/2015 - 20:15
Thanks! I had so much fun, I am looking around the house and figuring out what I want to build next :)