Greenhouse
We made some modifications to the greenhouse to include a bench with three levels, a working bench and a square foot garden. We also put it on concrete to keep all the weeds out from the bottom as well.
This was a fun build using the media console plans. I used ceramic tiles with a wood look in the door panels. Fairly inexpensive build and ended up with an expensive looking piece of furniture.
This build has been (thus far) my biggest and most ambitious yet. This is not only for the size of the build but the techniques I used. While I did use pocket holes in many spots I changed the design by using two stretchers to span between the sides and provide support for both side walls and bed slats. To reduce the number of pocket holes the original plan called for I used my stacked dado kit and created to dado cuts in the stretchers to support the bed slats and side walls.
But I can't say enough good things about Ana and this site. The original plans where a inspiration to build this bed and continue to inspire me to build other projects around the house. All of our friends who have seen pictures of our Sons Ski Patrol Shack bed have raved about it and I can even see a little pride in my sons face when other kids are ranting about how "cool" his bed is.
So while I didn't follow the plans exactly the end result can't be disputed; its an awesome feeling to give your child such a great bed! My son came up to me and hugged me and said he loved his bed. So from a plan I downloaded to that moment of my son telling me he loved it was all worth the effort!! Thank you Ana for posting this and all the other plans. They are not just building plans to download they are happy memories waiting to be built!! Cheers from Colorado!
Built the sewing table for my wife Penney. It has a work surface that is 36" x 60" and is 32" high.
Used 3/4" Baltic Birch and used premium pine to add edge banding. Used 1/4" plywood for a back to the sewing table to add strength and I think helps the look of the table. My Kreg Jig was used everywhere possible when assembling the case. Used full length piano hinges with #6 x 5/8" screws to attach the leaves to the table. Made the doors using premium pine with a plywood panel. For the legs, I used folding, locking leg brackets from Lee Valley to attach the 1-1/2" square poplar legs. The casters are 3" double-locking from Woodcraft.
Went a little over budget, but it turned out very nice and she loves it.
Thank you for the easy to follow plans.
I made this as a Christmas present for my little cousin. I was looking for something fast and last minute and found this. The plans were super easy to follow. The only change I made was the headboard is a little shorter than the plans because I used all scrap wood for this. It was a hit at Christmas! Thanks Ana!
This console table was built using Alder lumber. I modified Ana's plans slighly by removing the center, vertical brace, and changing the thickness of the top. I also altered the top by making it a "breadboard" style top. The finish I created was unique in that fact that it was a 5 layer process. Because Alder wood is a "blotchy" prone wood, I sealed it with shellac first, applied 1 coat of antique walnut gel stain, sprayed a toner (dye mixed in shellac) to darken the wood, and then applied 2 coats of poly.
Wed, 01/21/2015 - 12:00
I love the color of your piece. I also like the center support delete as I feel like it helps lighten the piece. Well done.
I added front drawer trim & a walnut stained top to this already great design
We saw the plans for this table and I had to have it. We followed it to a T! The only thing we did different is made it a foot shorter and added rustic nails on top.
Weekend project, I used 4x4's instead of the 2x4's to give a heavier look, now off to buy a bandsaw to give them a 1/4" taper to give a more refined look.
Sat, 12/28/2013 - 08:39
What were your dimensions since you went with 4x4 instead of 2x4?
After seeing the patio table with beer/wine cooler, I wanted to build this for my brother and wife who recently bought a house. I asked them if they were interested and of course they said yes. I modified the original plans by adding a 2x4 on each side of the cooler to make the table wider. I also made the legs out of 4x4 vs the 2x4s that were originally called for. I used redwood and then stained it and used a varnish for the final coating. I probably wouldn't use the varnish again for an outdoor table, because it looks like it should be an indoor table vs outdoor. Overall, I'm pleased with the results and the best part about it, I get to enjoy it every time I go over for a BBQ.
Wed, 07/03/2013 - 13:04
Awesome table, do you happen to have the measurements you used. I'd like to make the same table but I need the lumber yard to make the cuts.
Built this from a picture my wife showed me so I do not have plans just customized it to the room.
The desk top was made from wood planks, put together with Kreg Jig and glue.
The cabinet was made with 2x4’s and pine boards.
The legs were made from 2x4’s with a 30 degree angle.
The desk and cabinet were wrapped in 2x4’s
The hinges and door handle were bought at home depot.
Desk Top is 12 Feet by 26 inches.
Desk Top Planks (4) 8X10
Cabinet (3) 2x4 (1) 3x1 (5) 5x1
Trim (5) 2x4
Tools used
Kreg Jig
Square
Tape Measure
Drill
Sander
Glue
Table Saw
Miter Saw
Kreg Screws 1 1/4 – 2 ½.
Project Cost approx. $200
Used weathered Milk Paint for the finish.
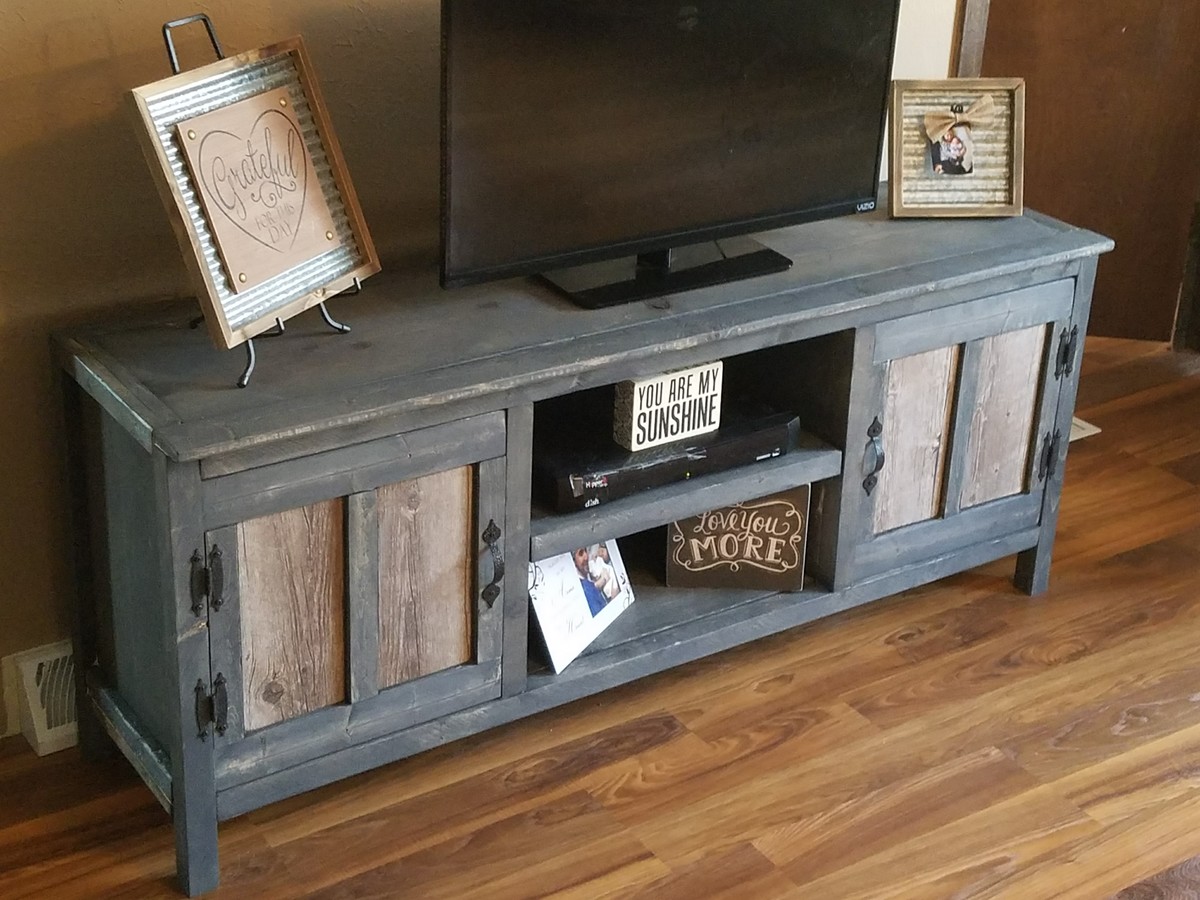
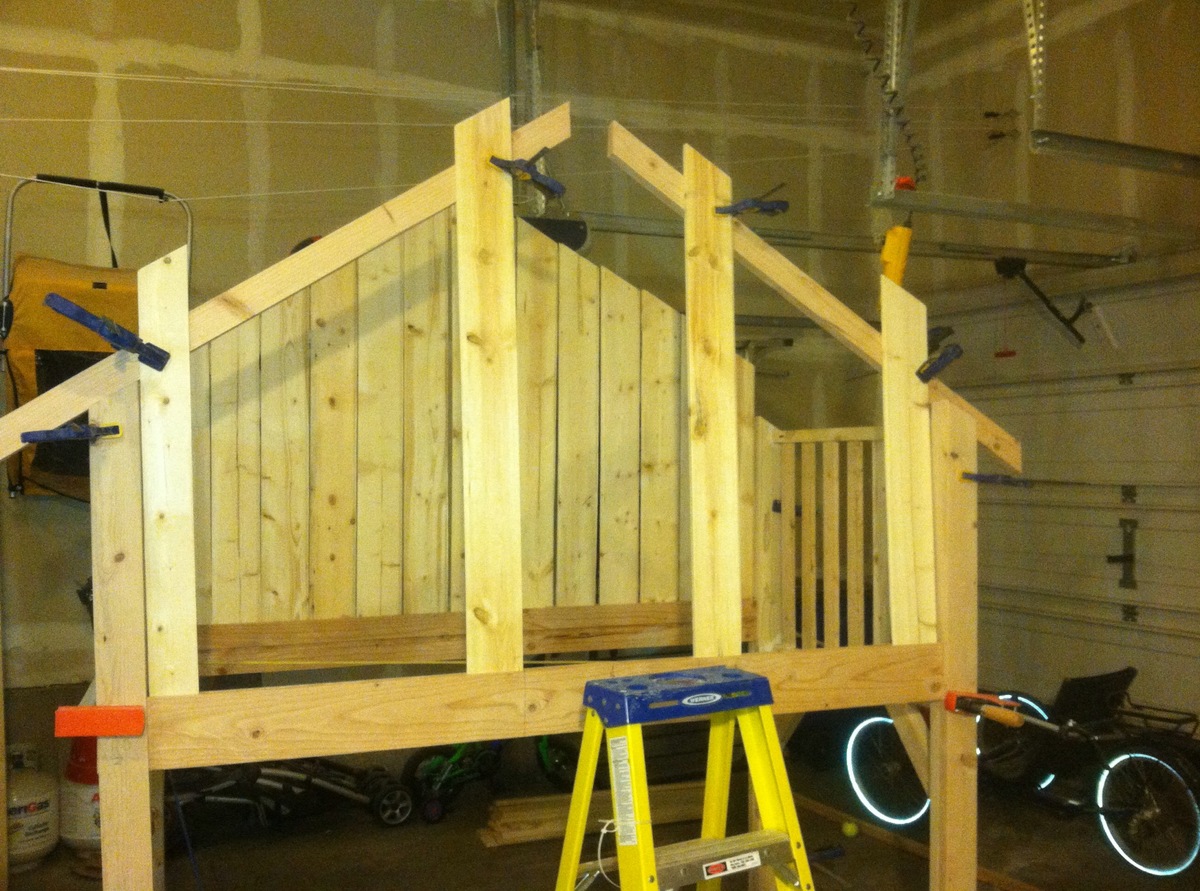
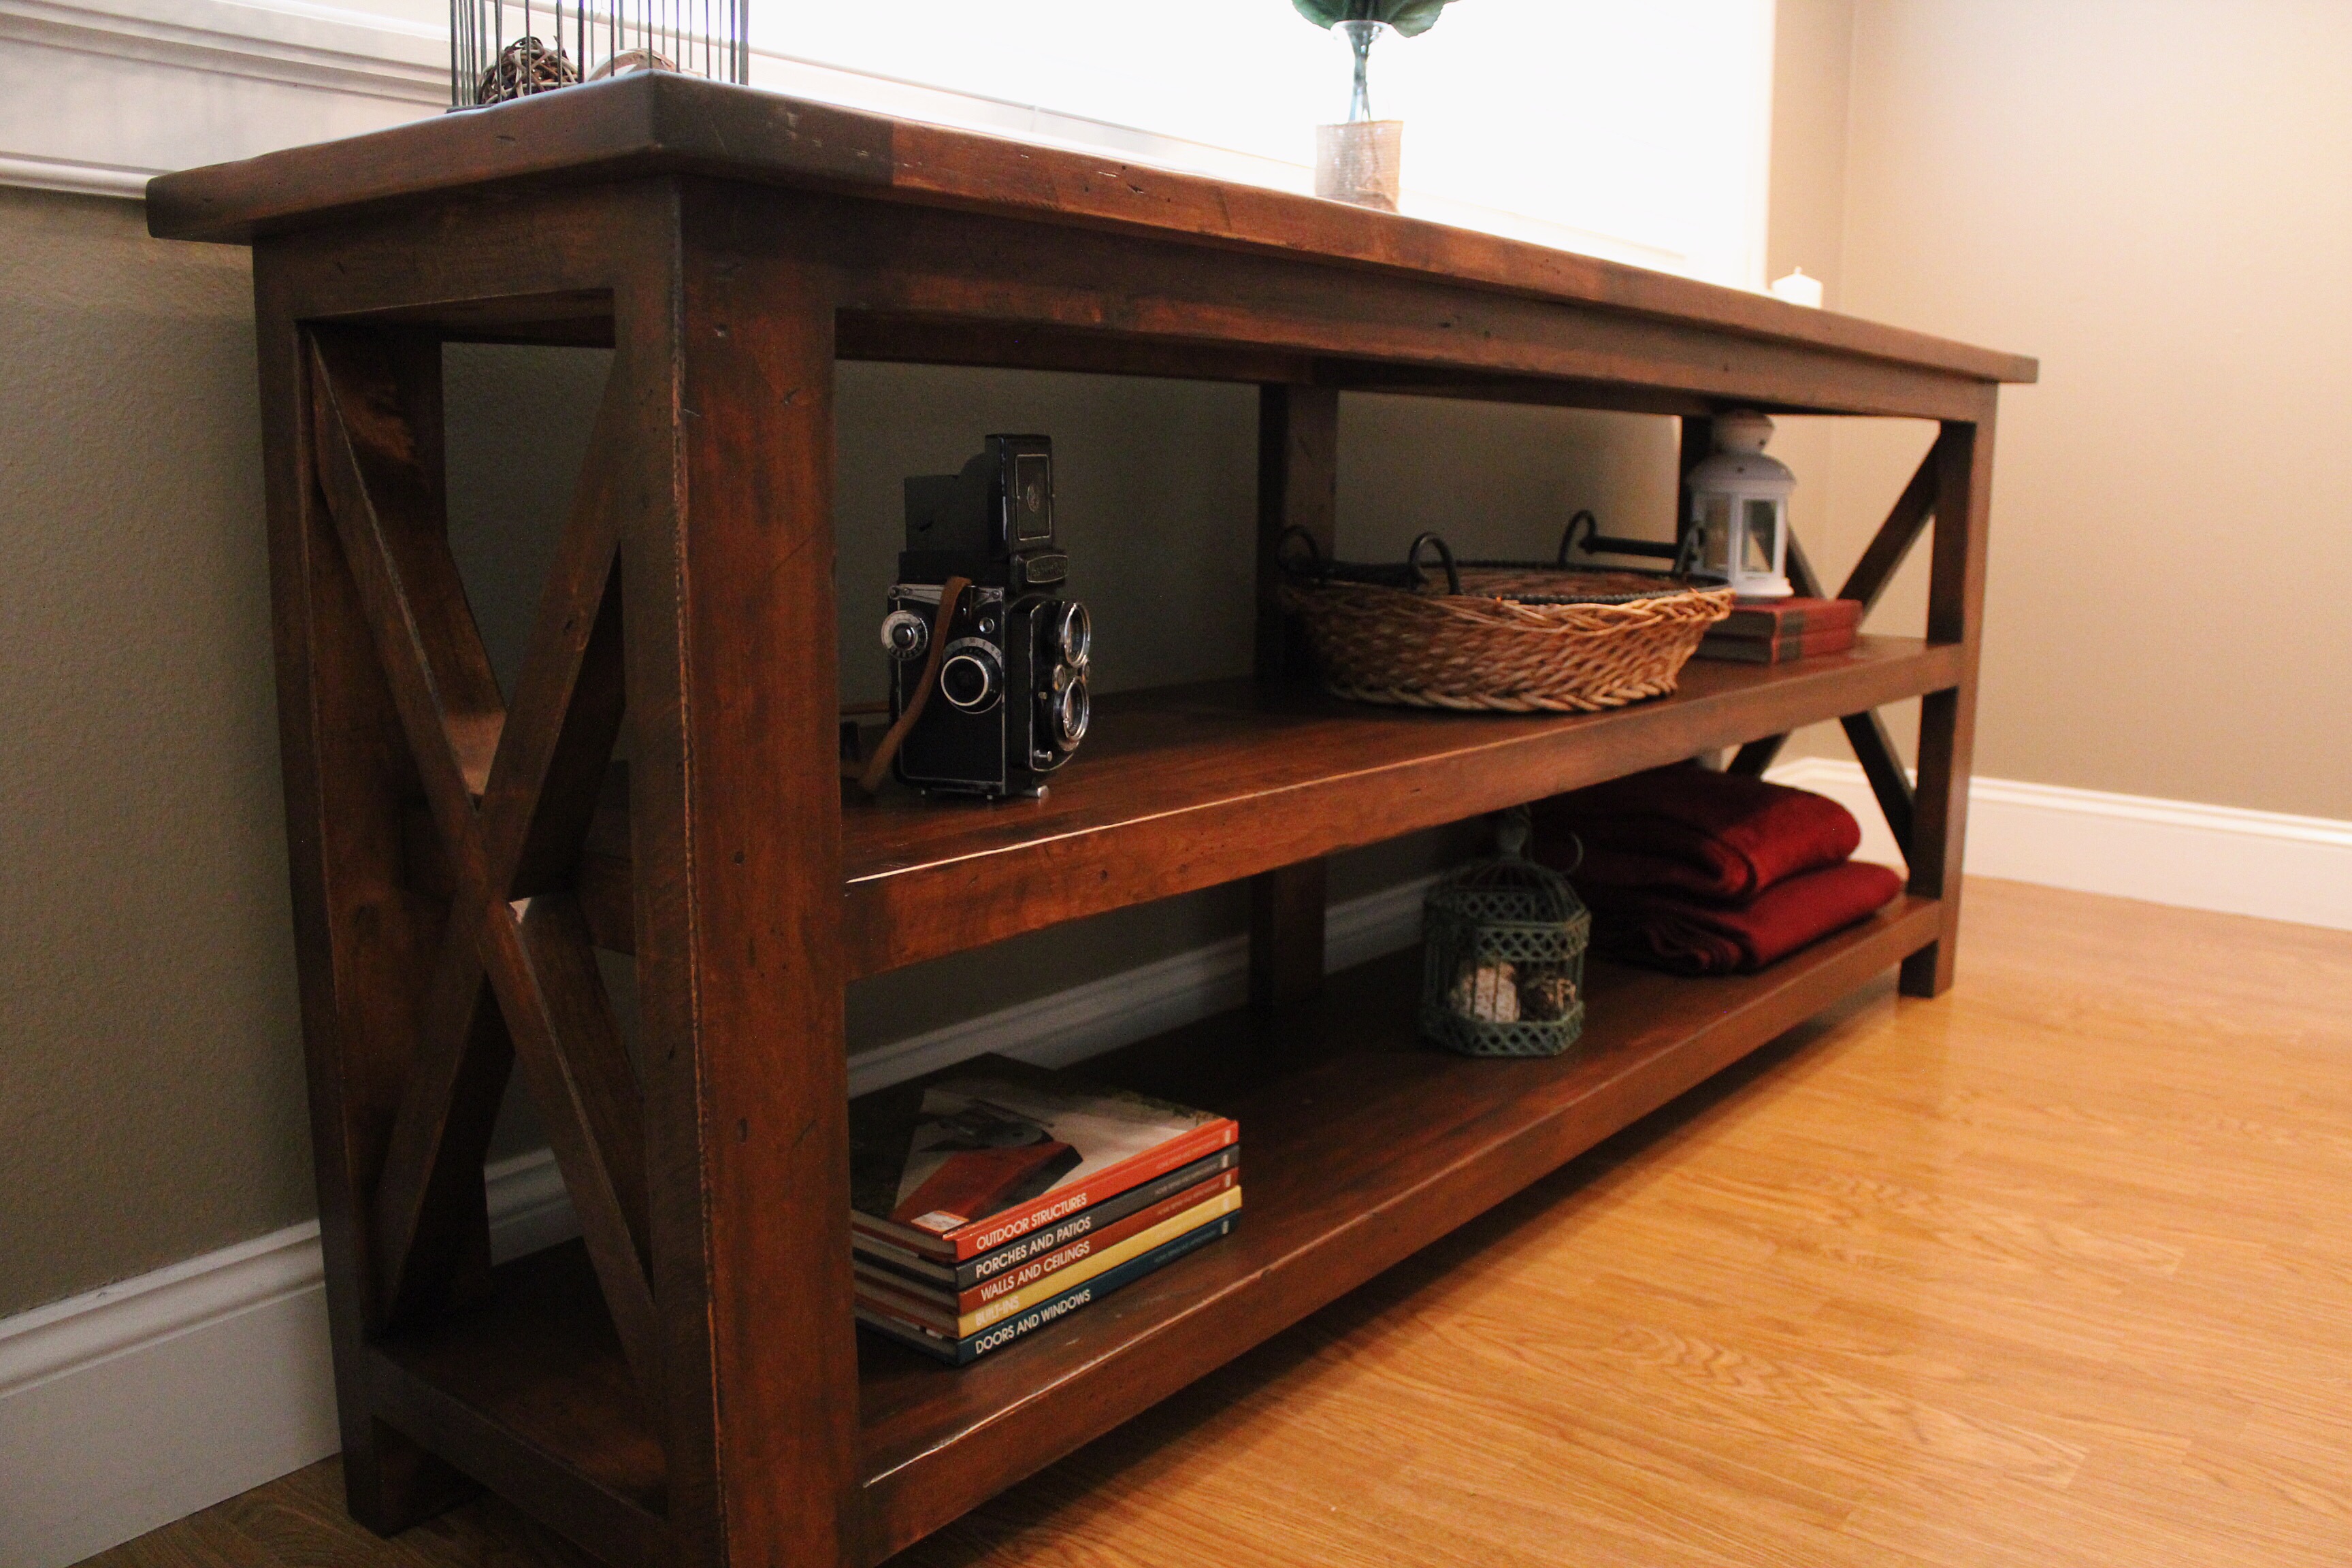
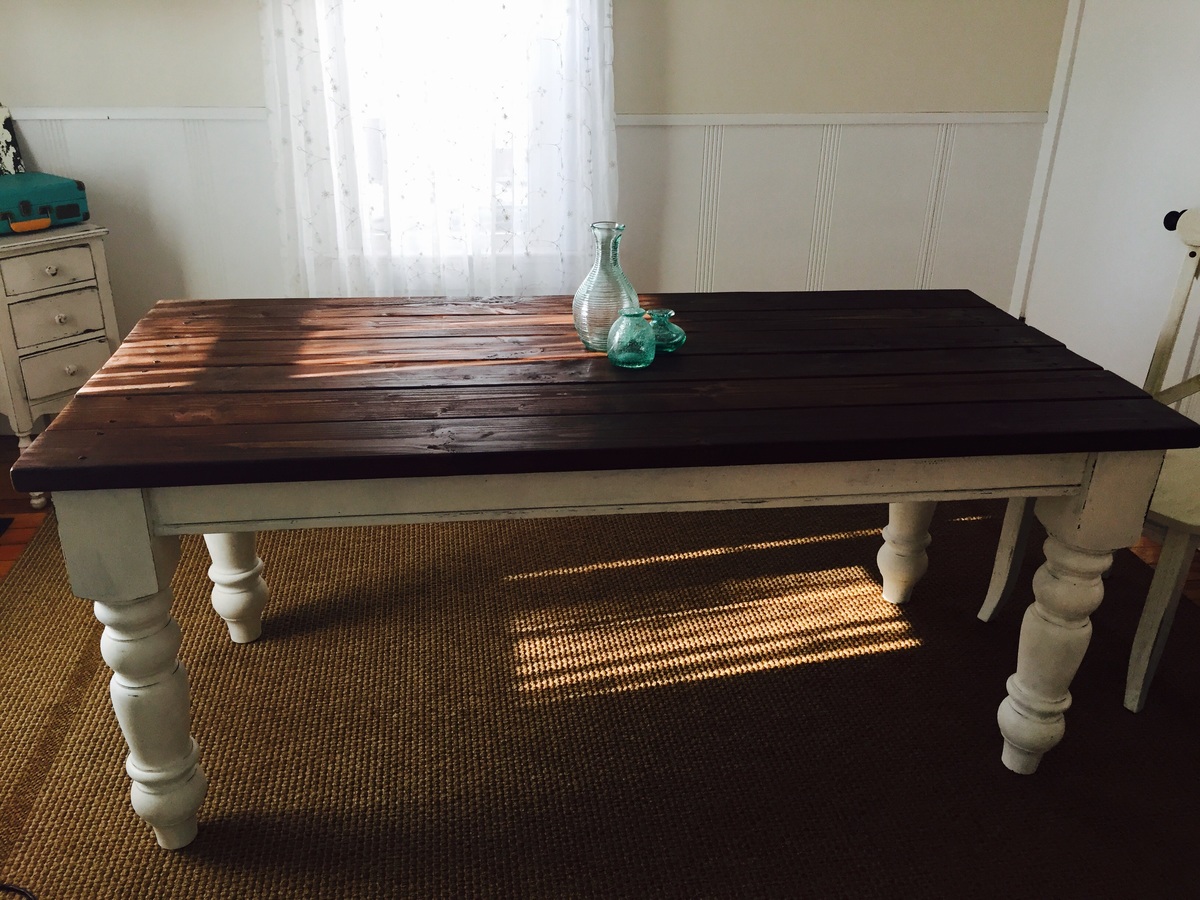
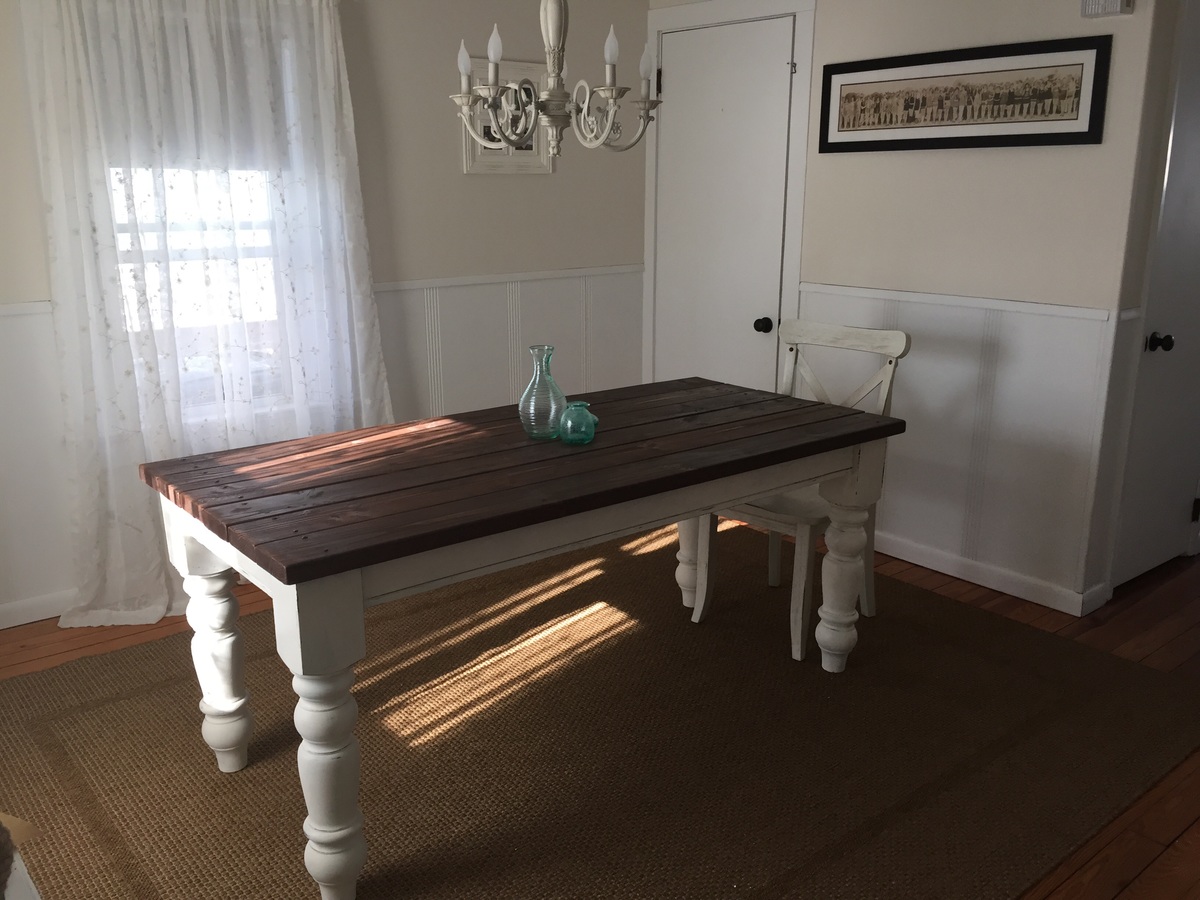
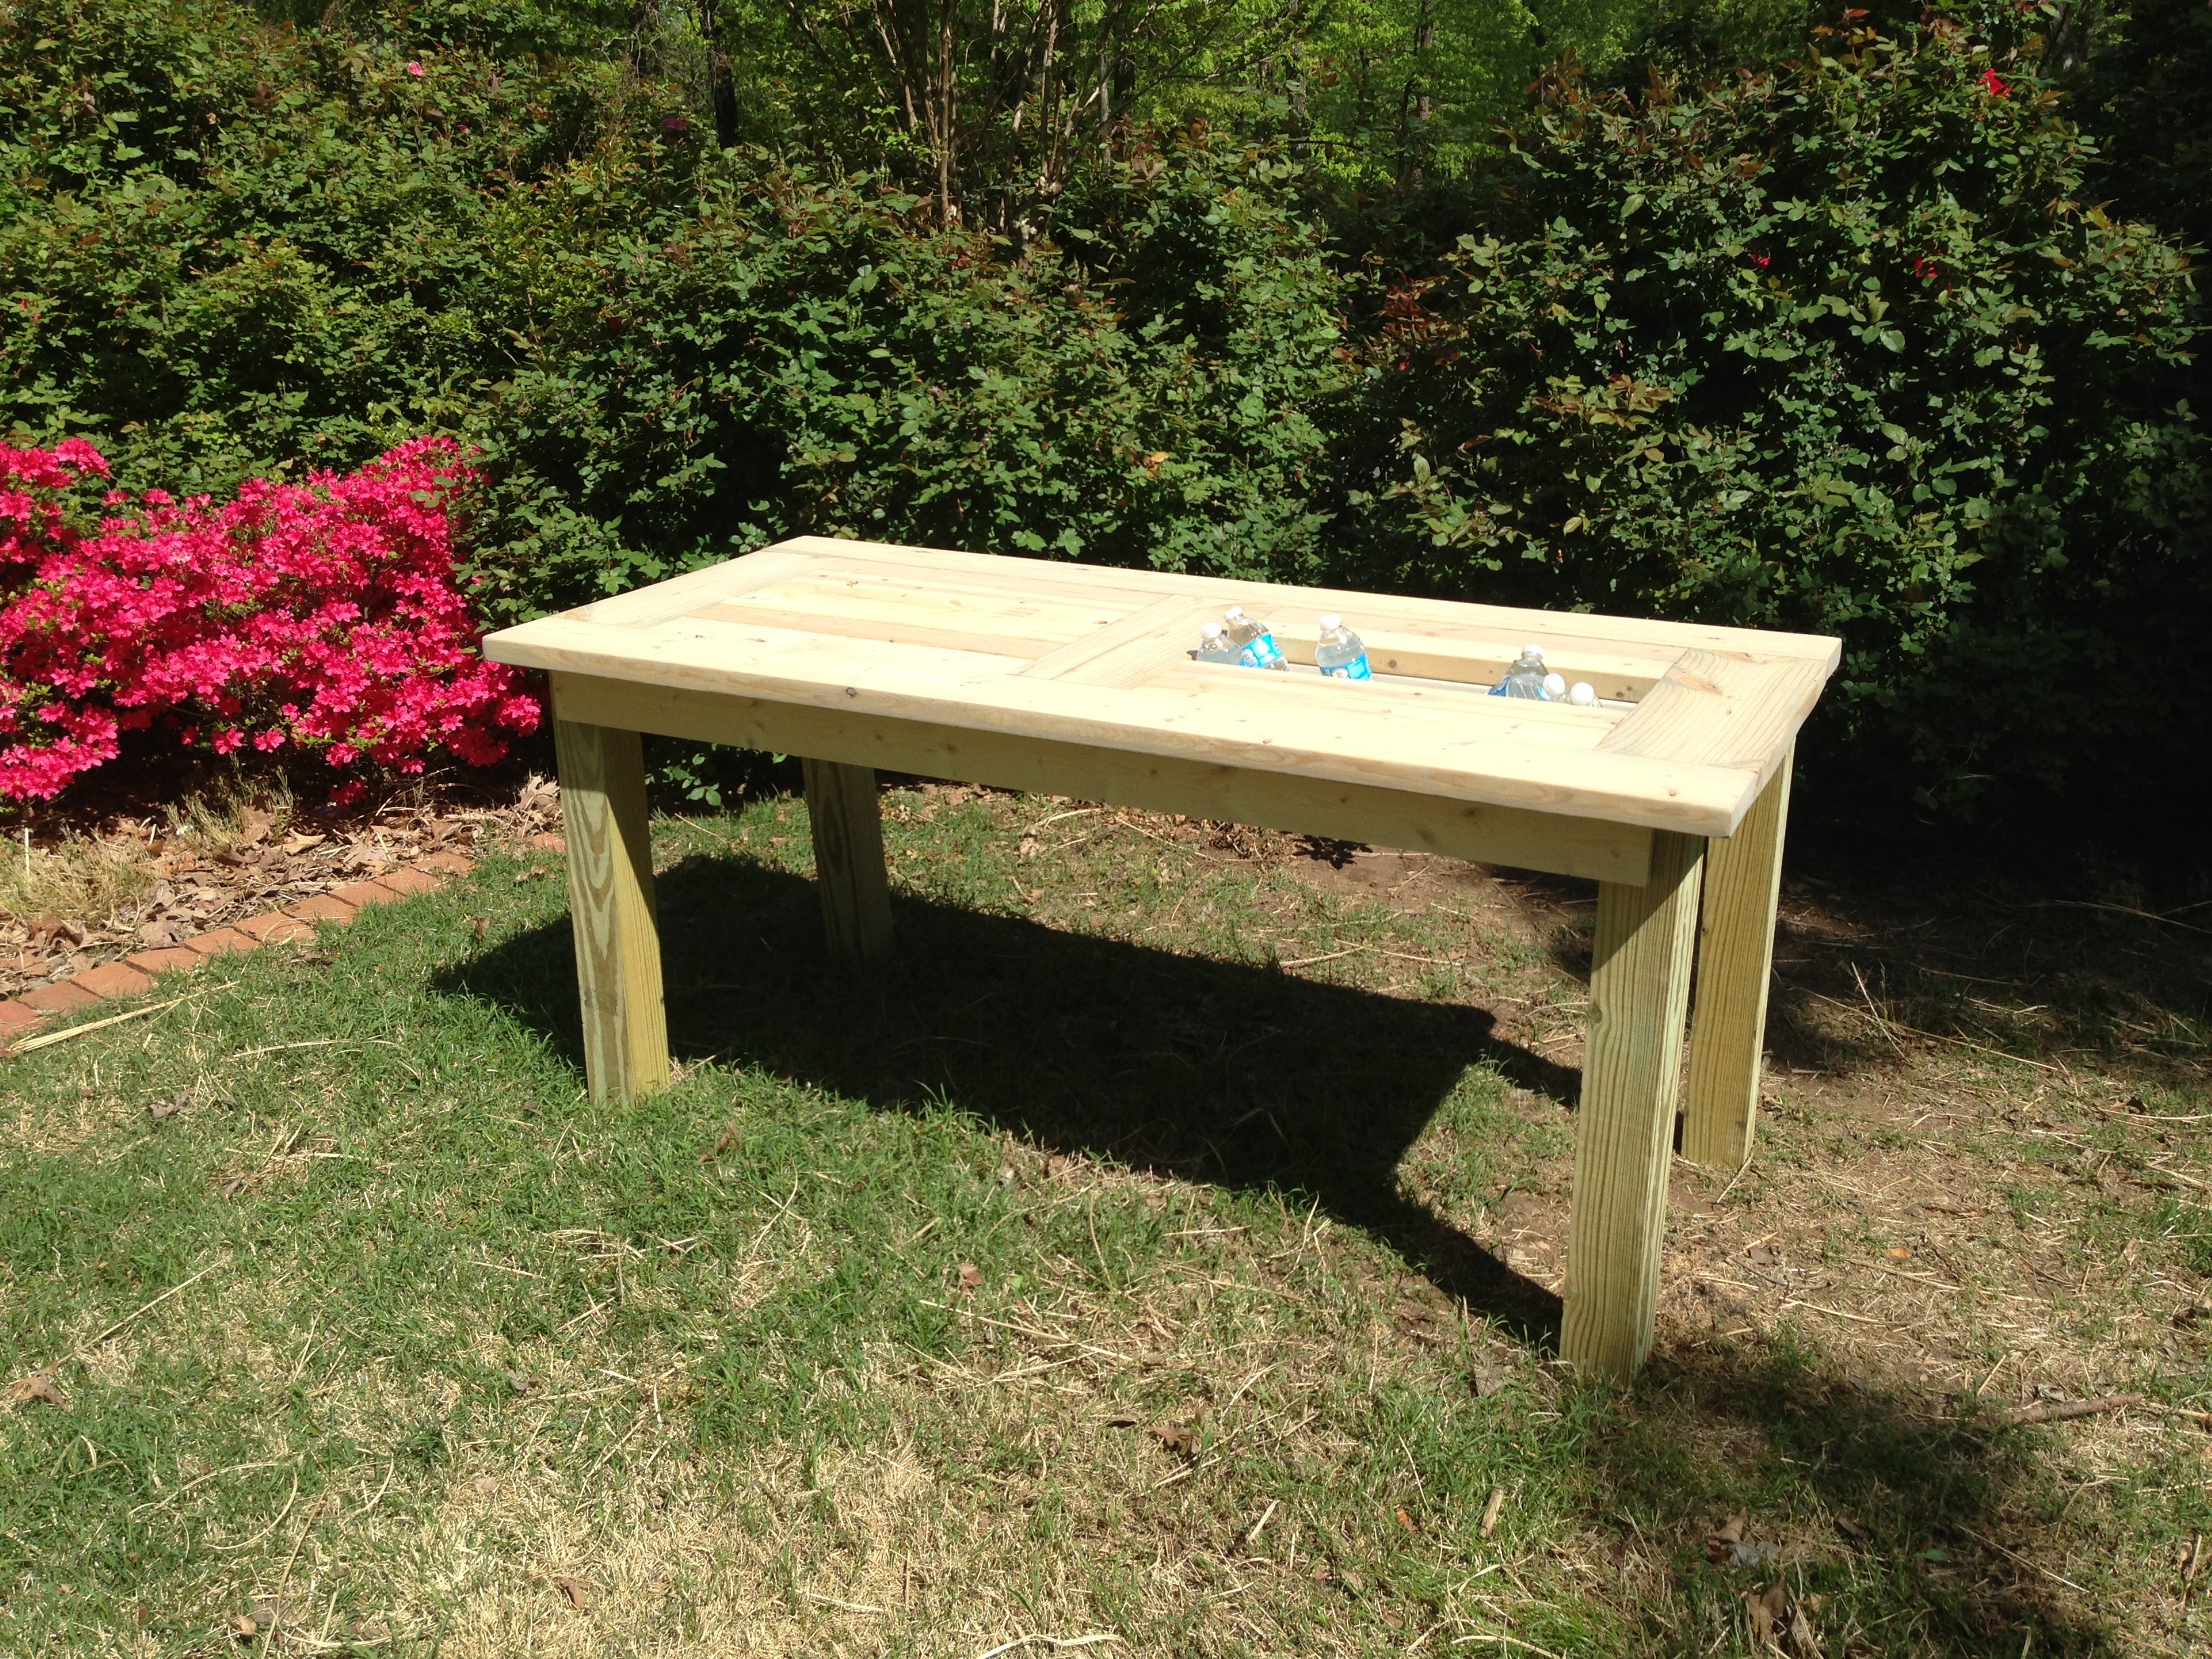
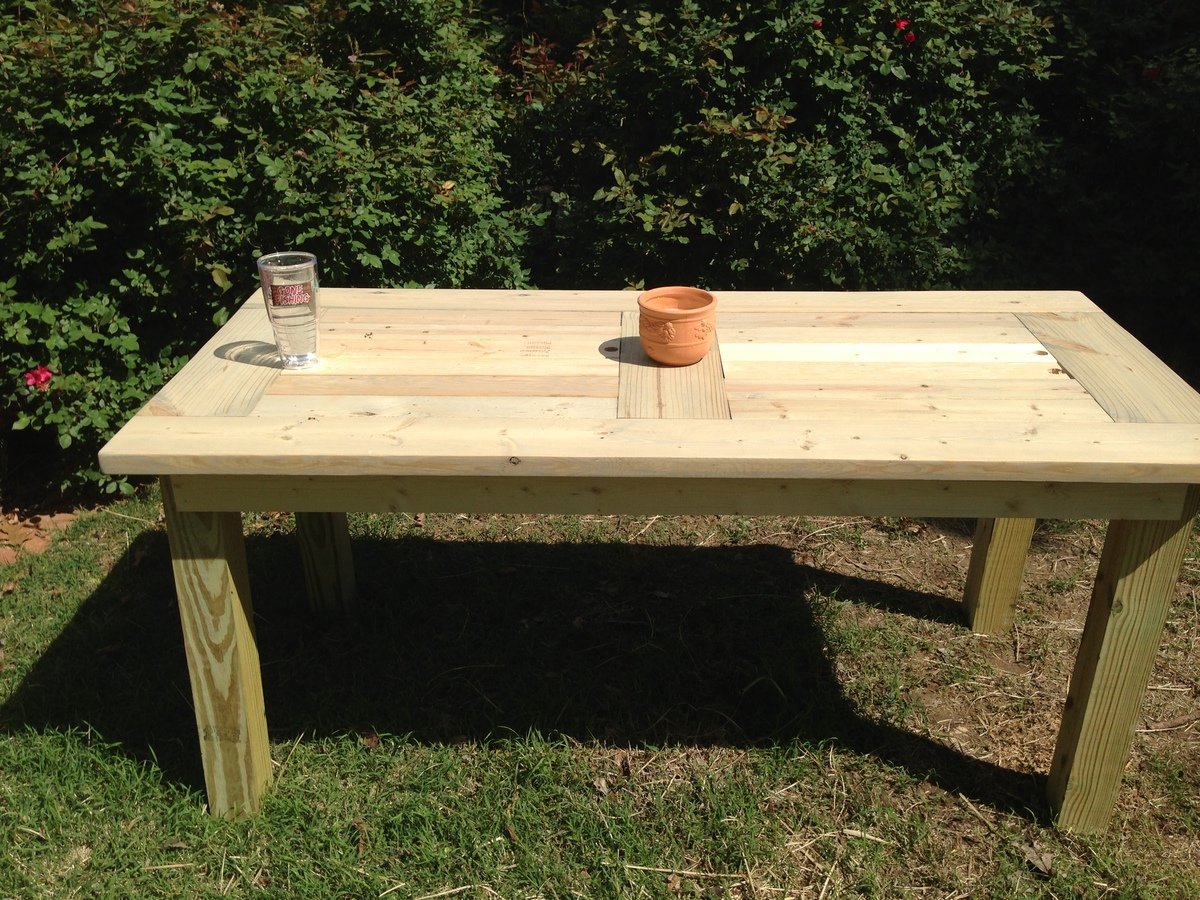
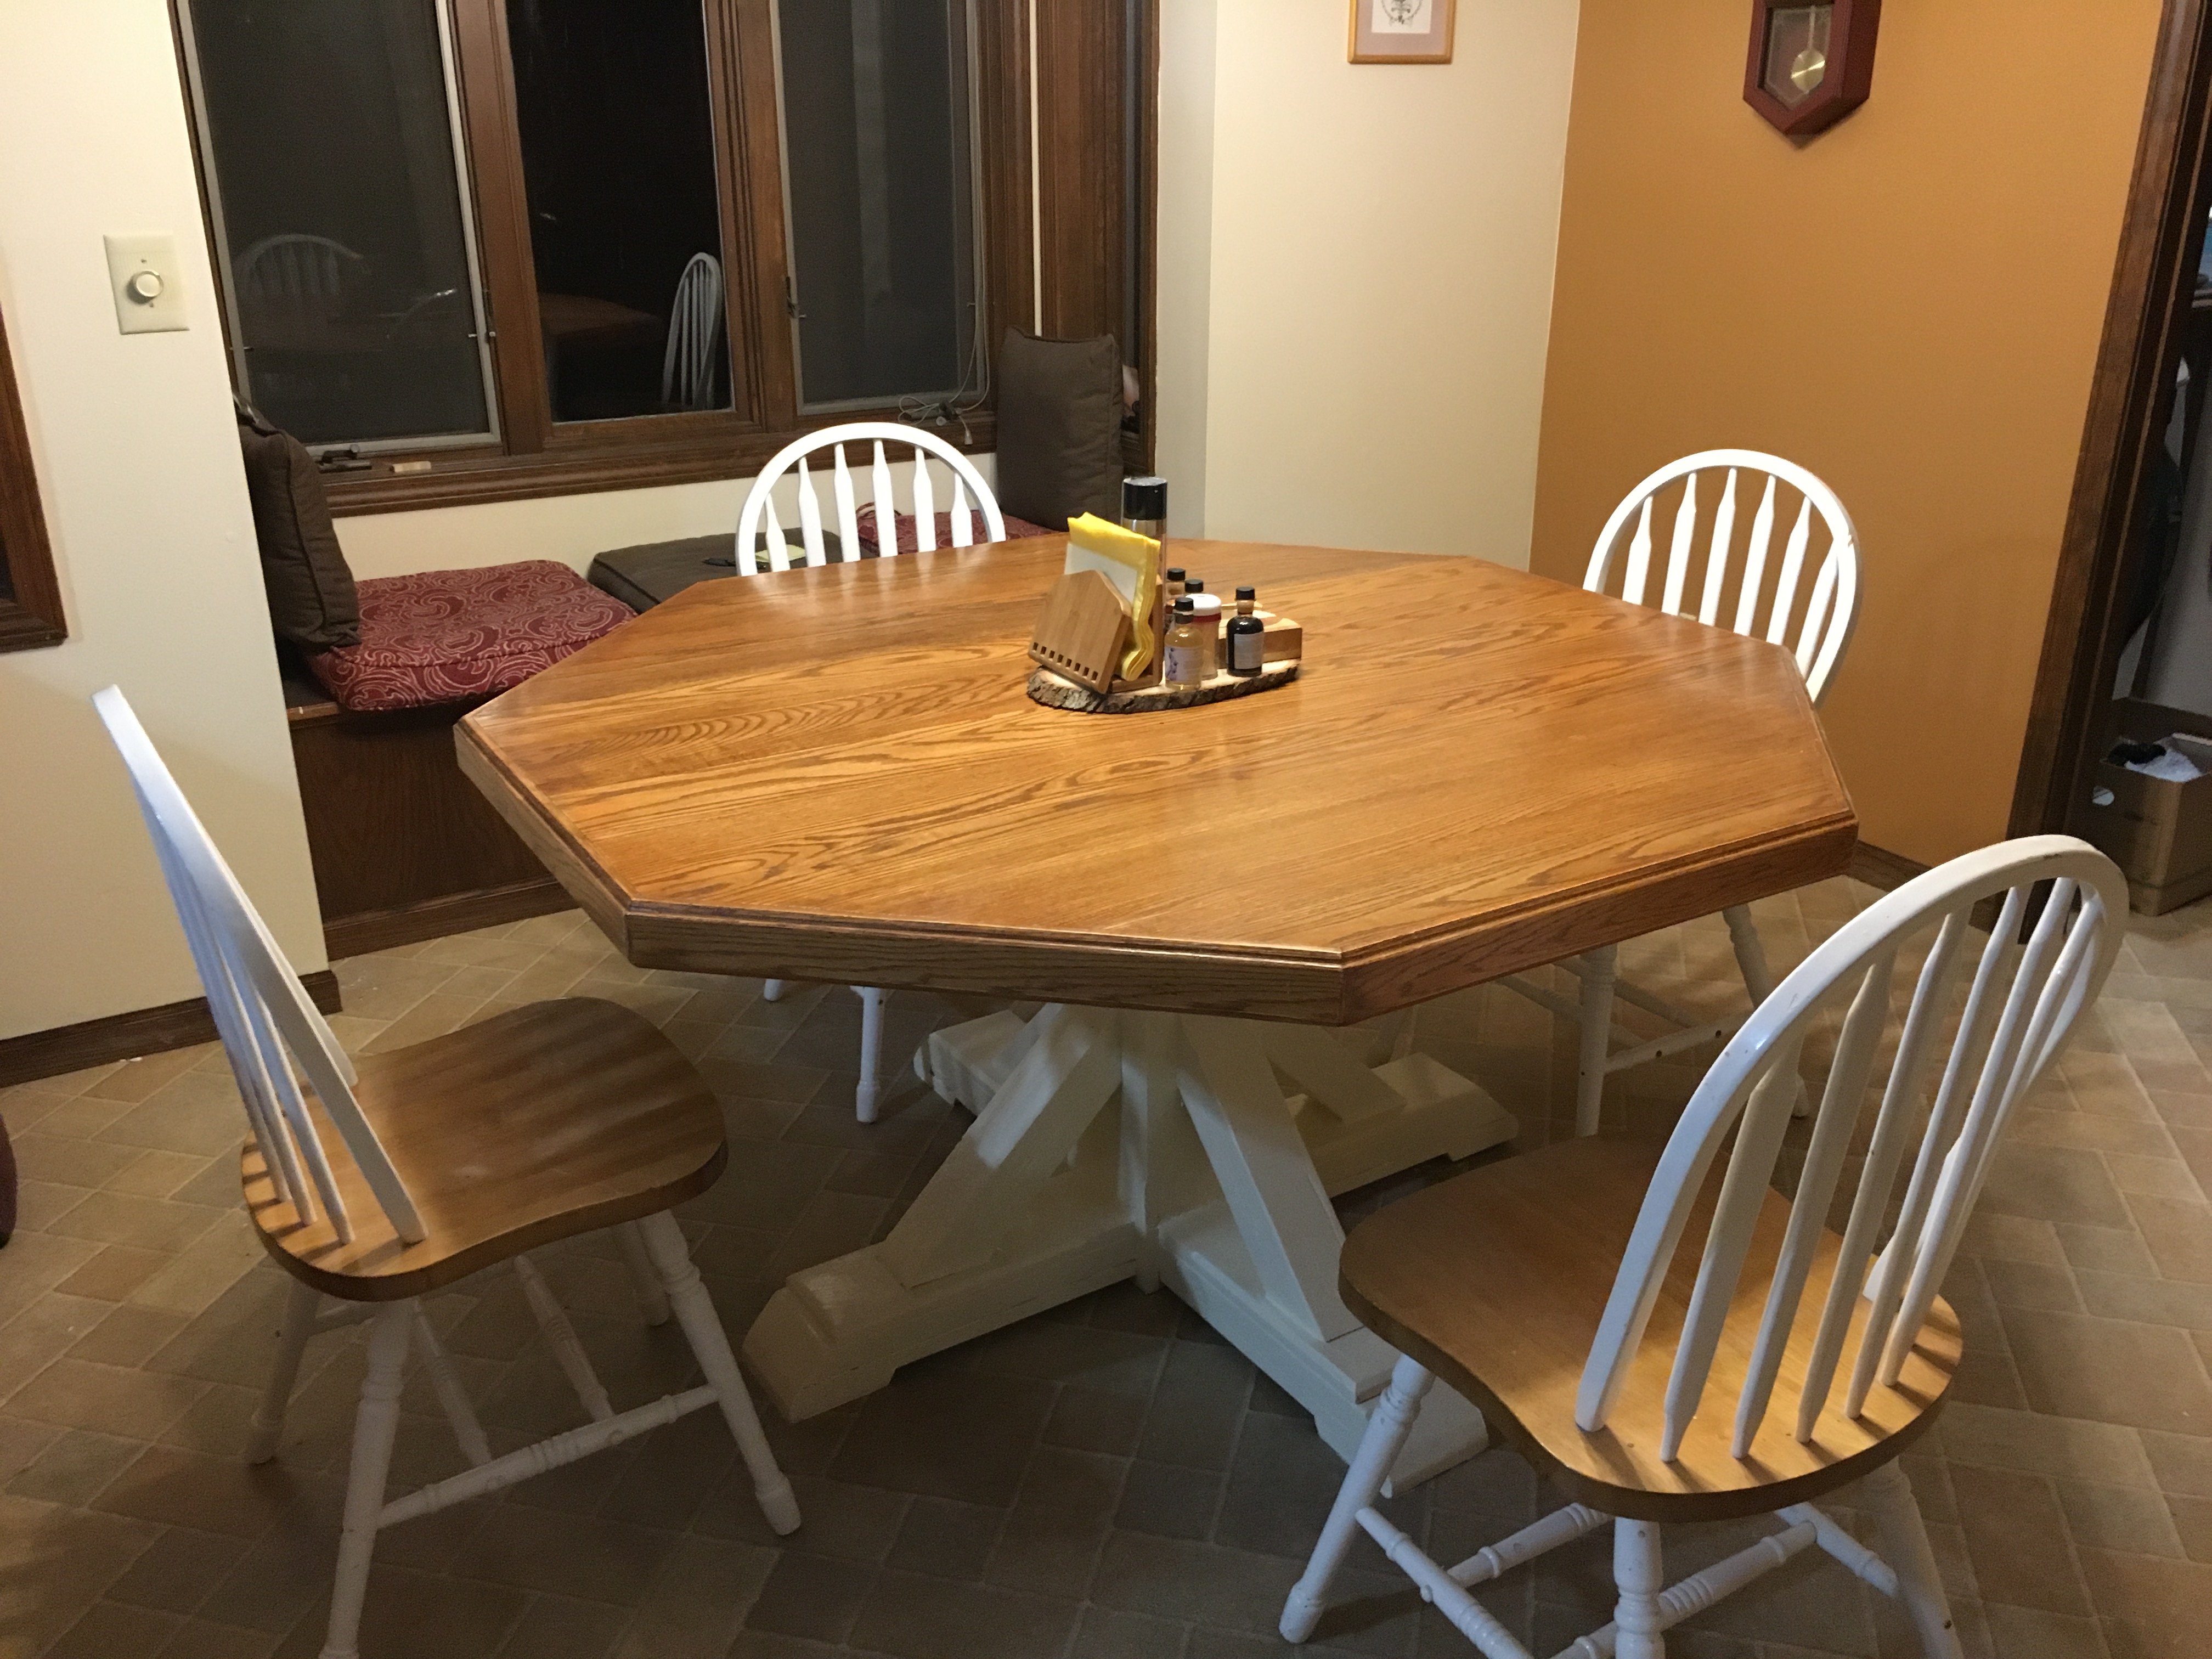
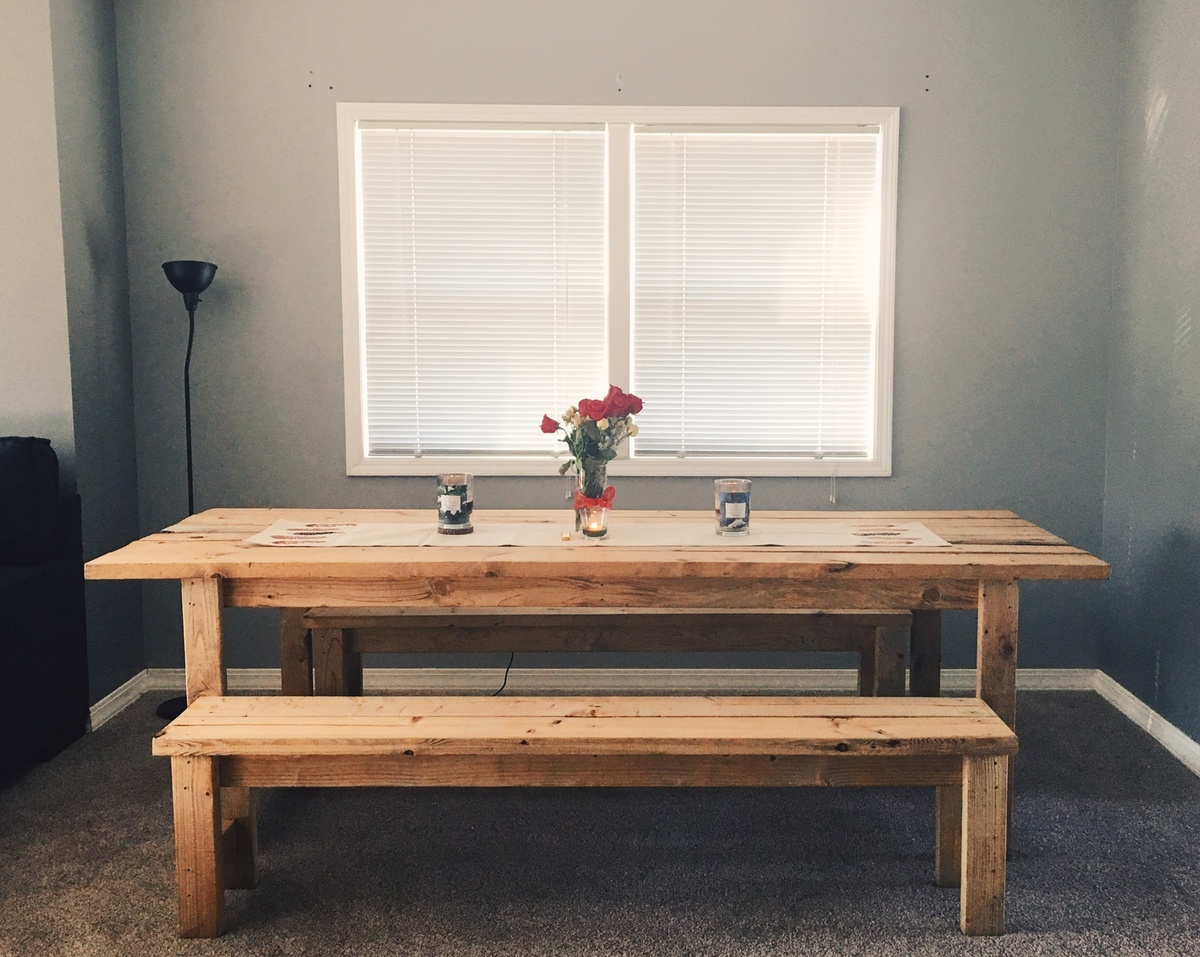
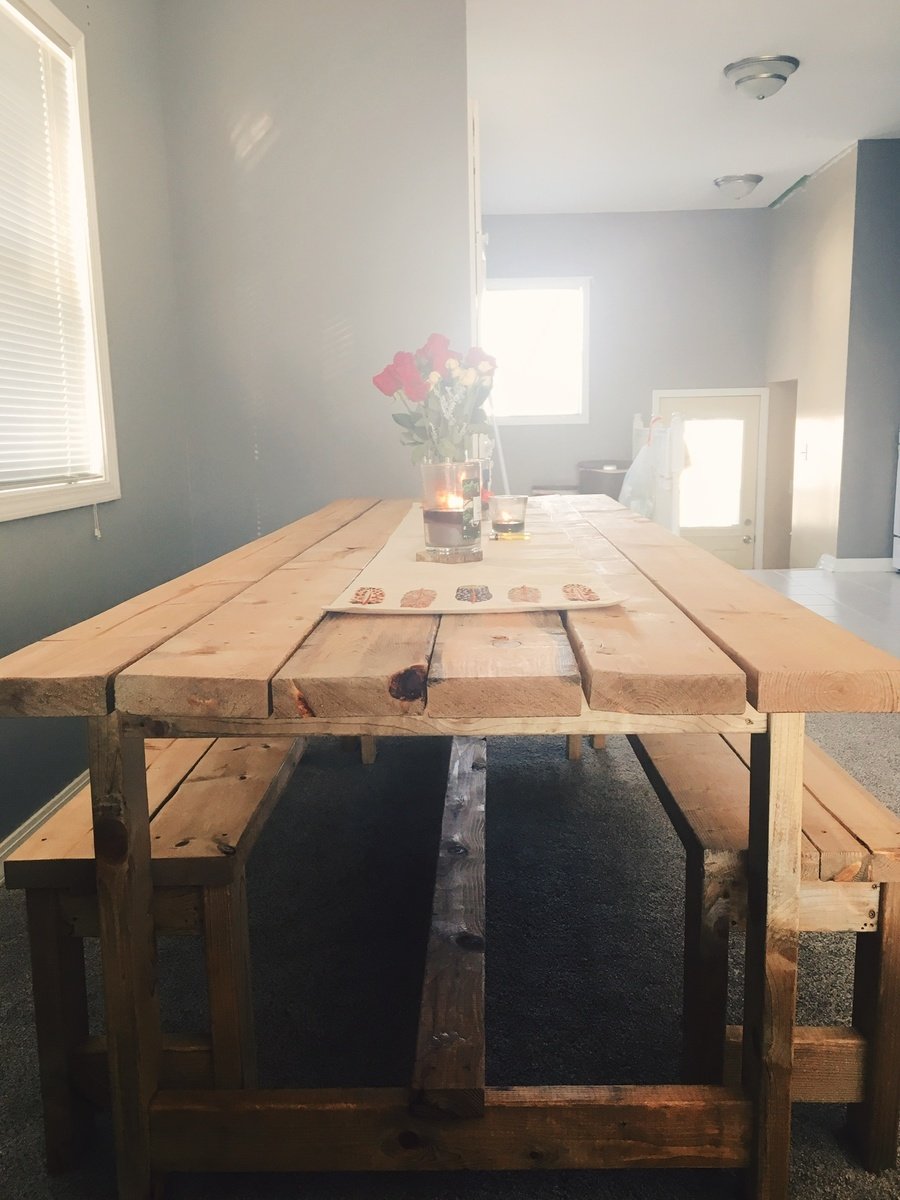
This was my very first woodworking project. It didn't end up perfect, but I learned a lot by making it, and it is still a quite nice dining table.
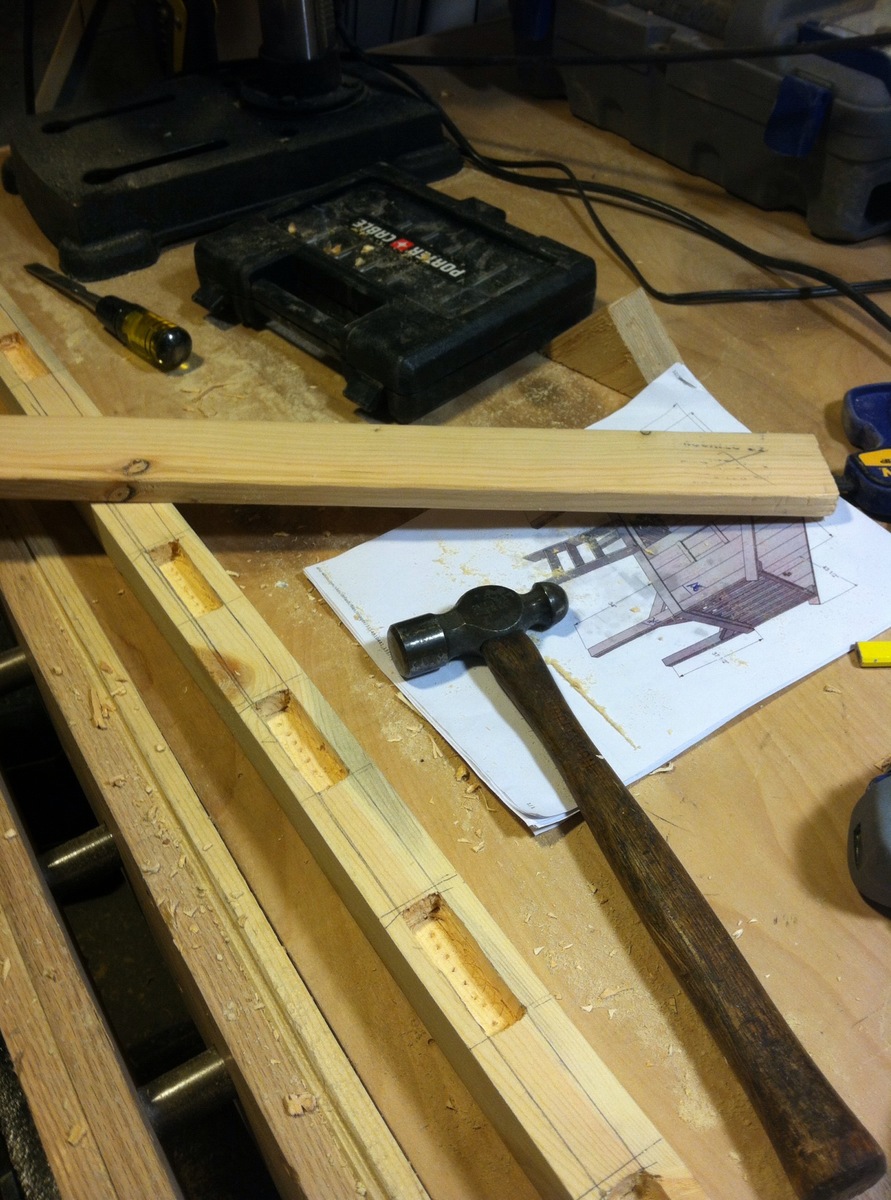
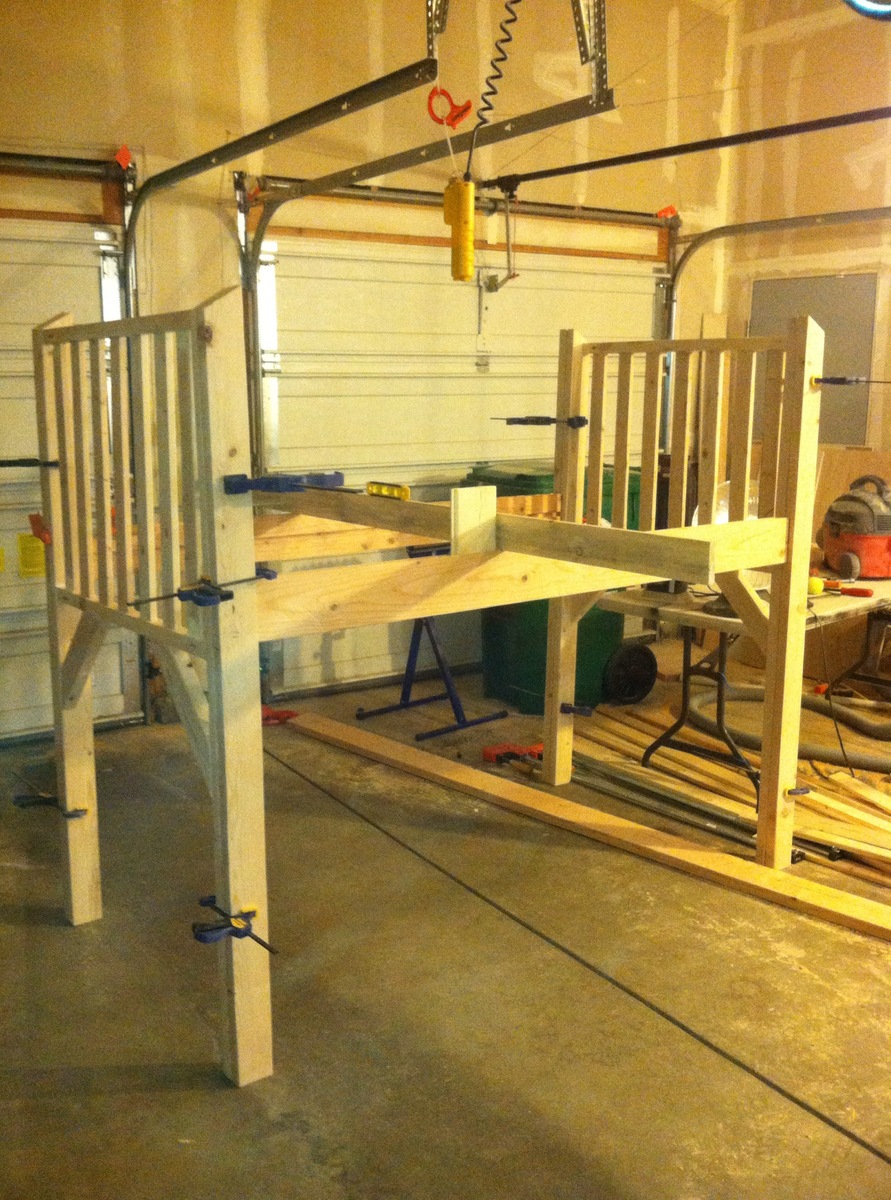
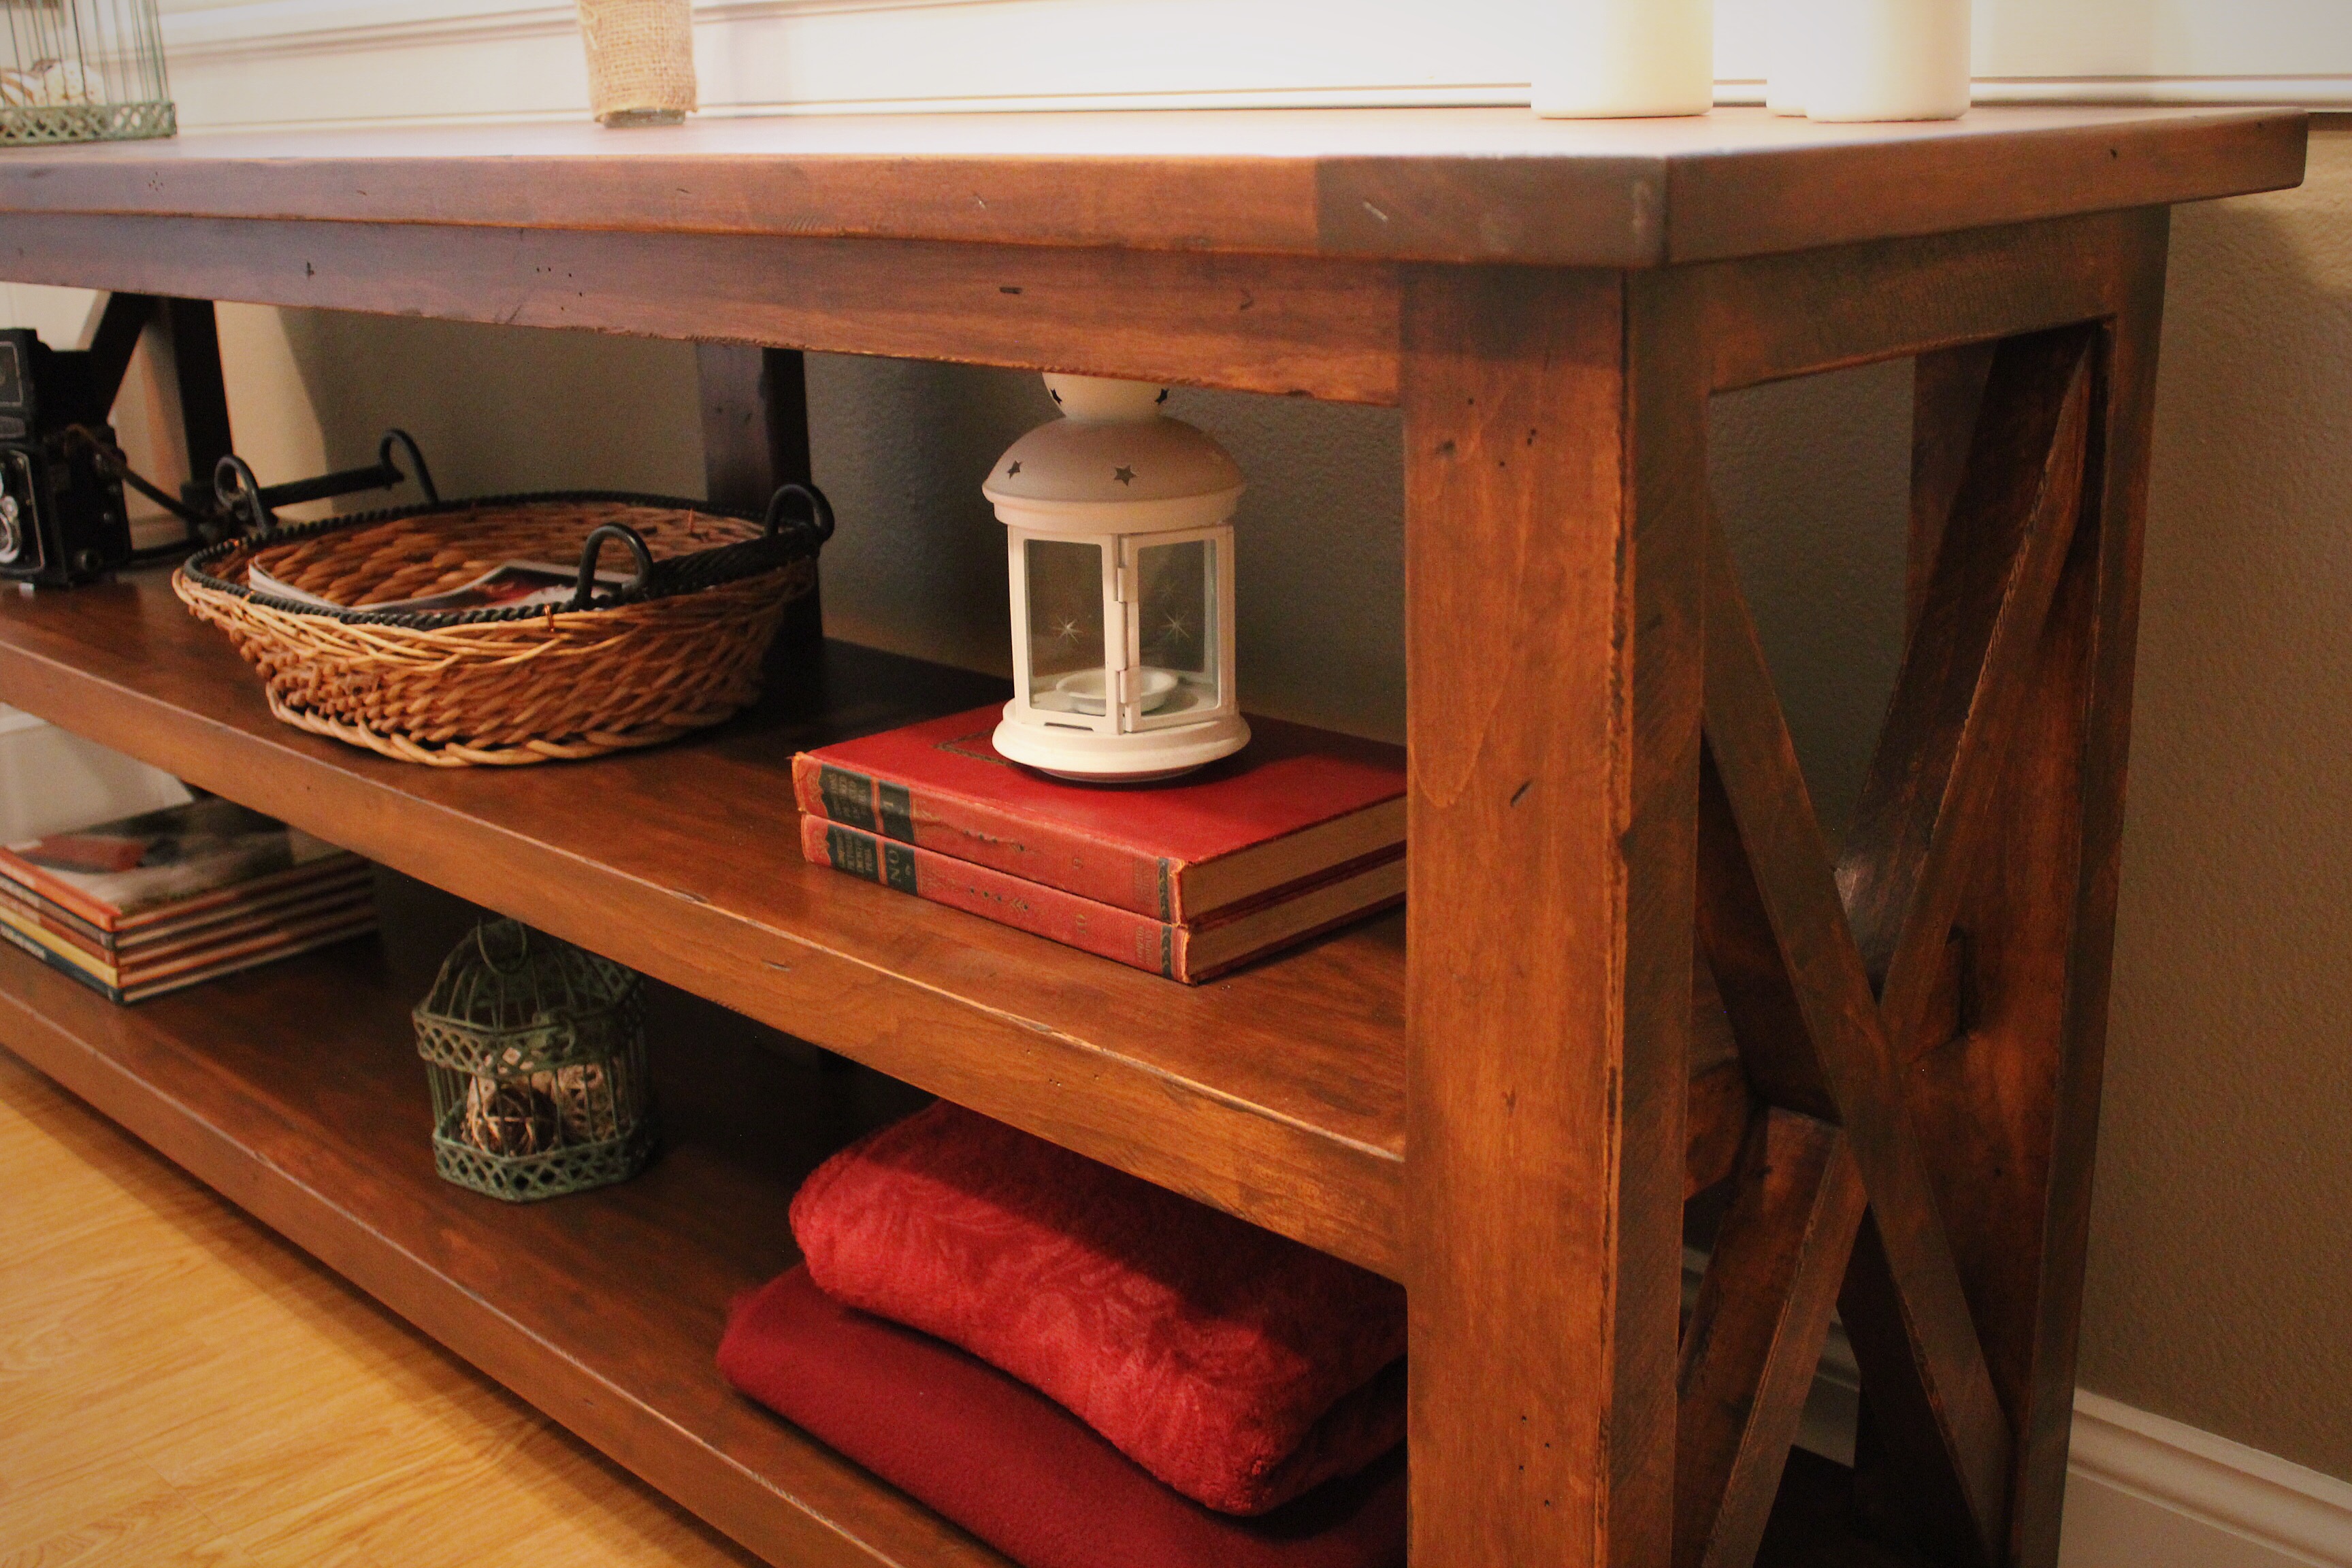
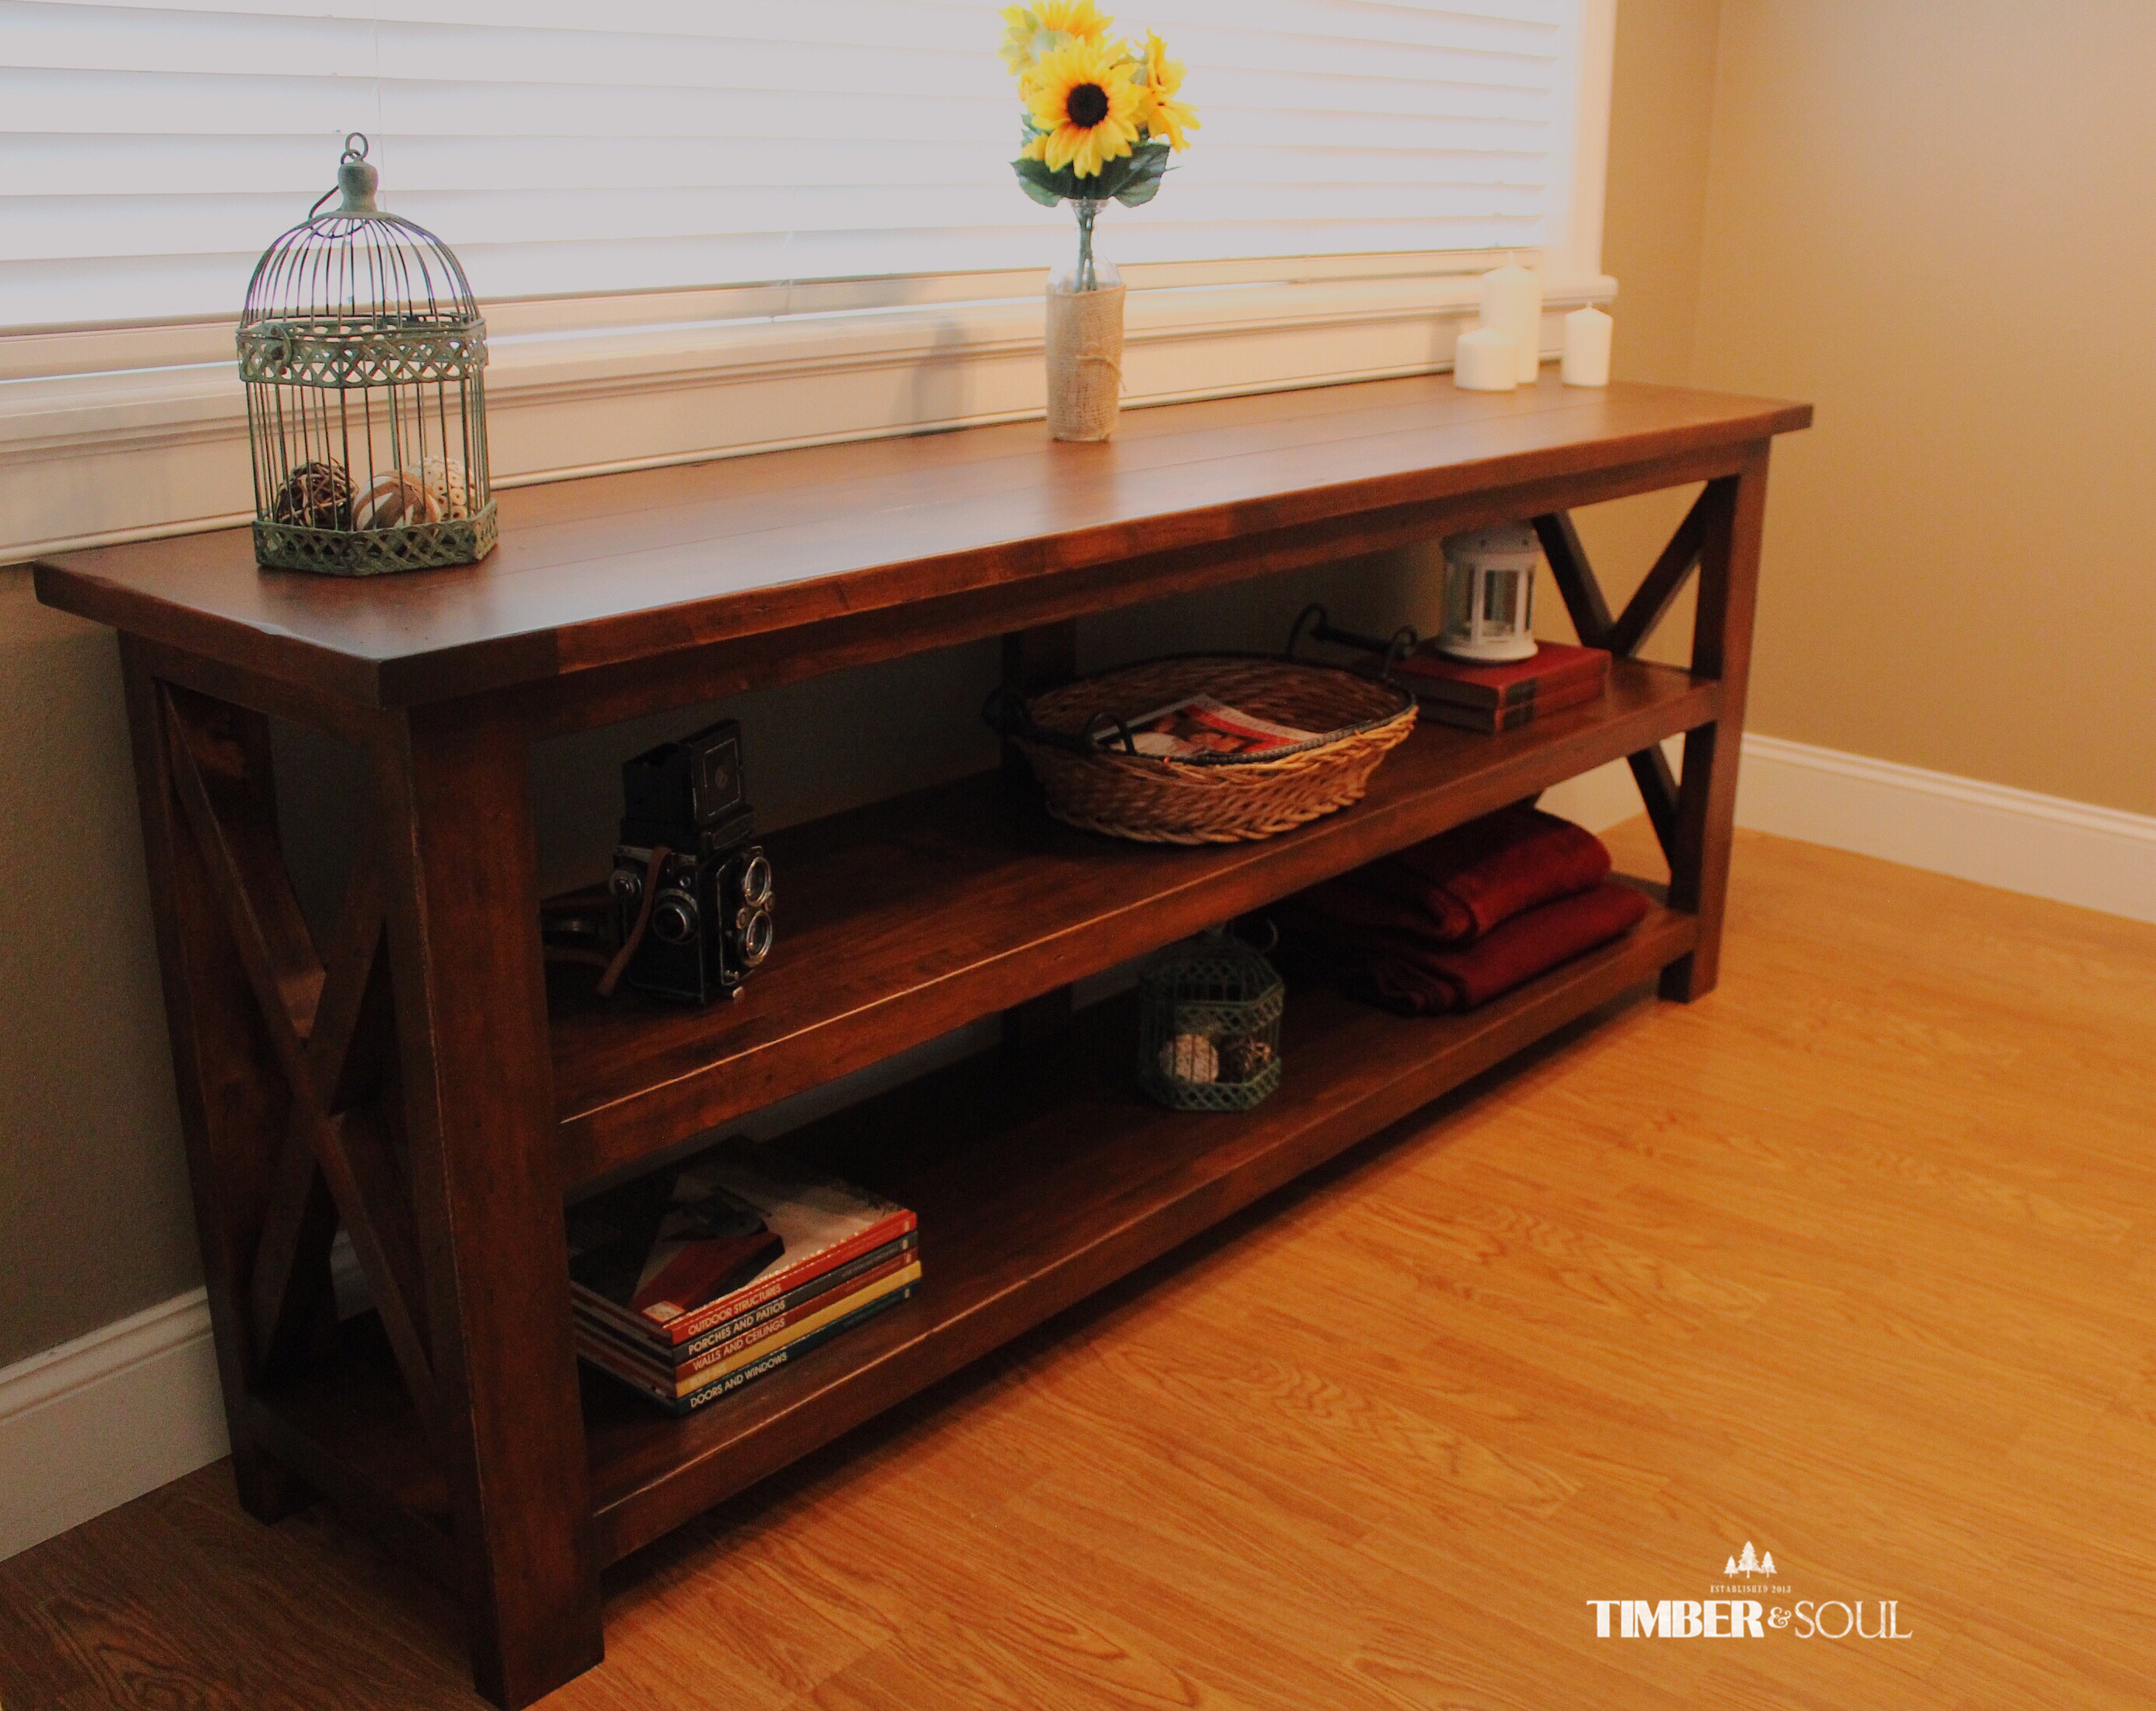
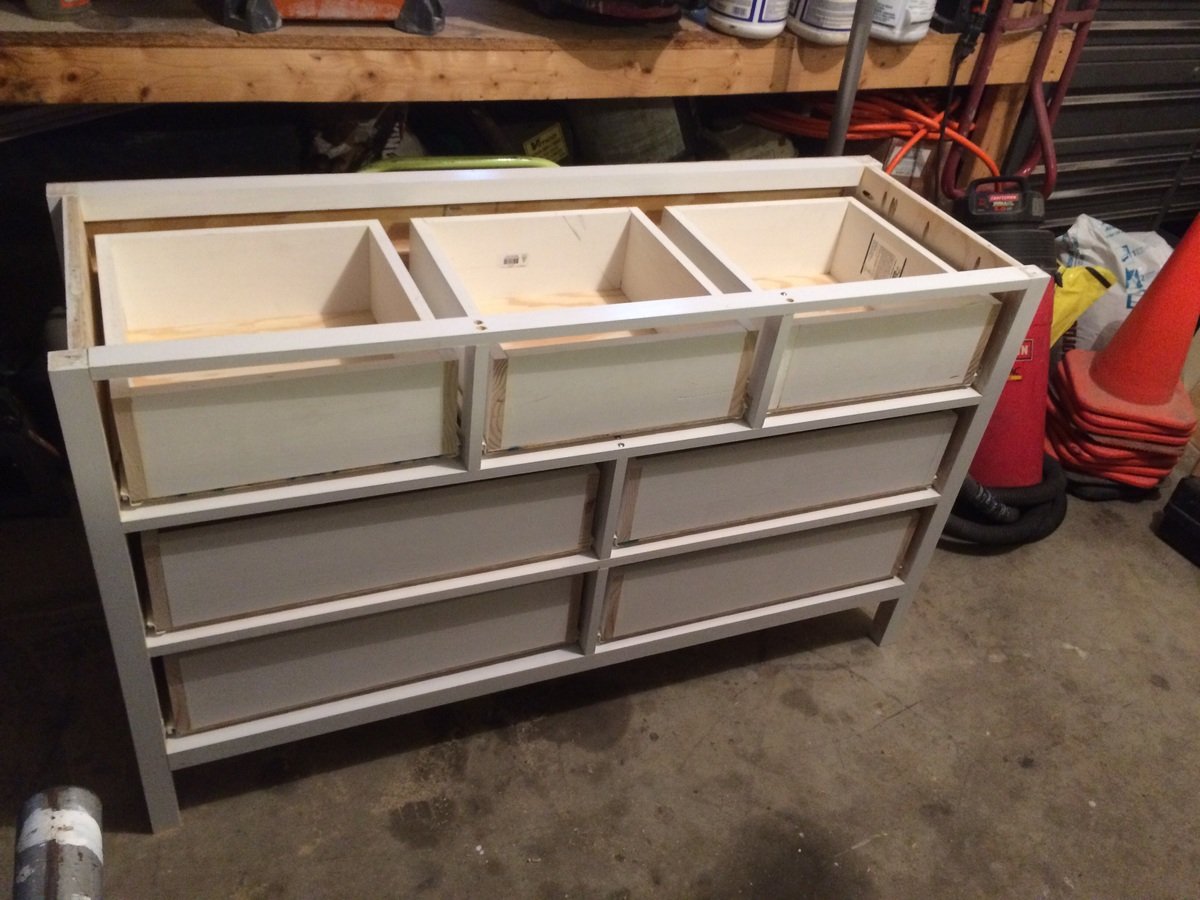
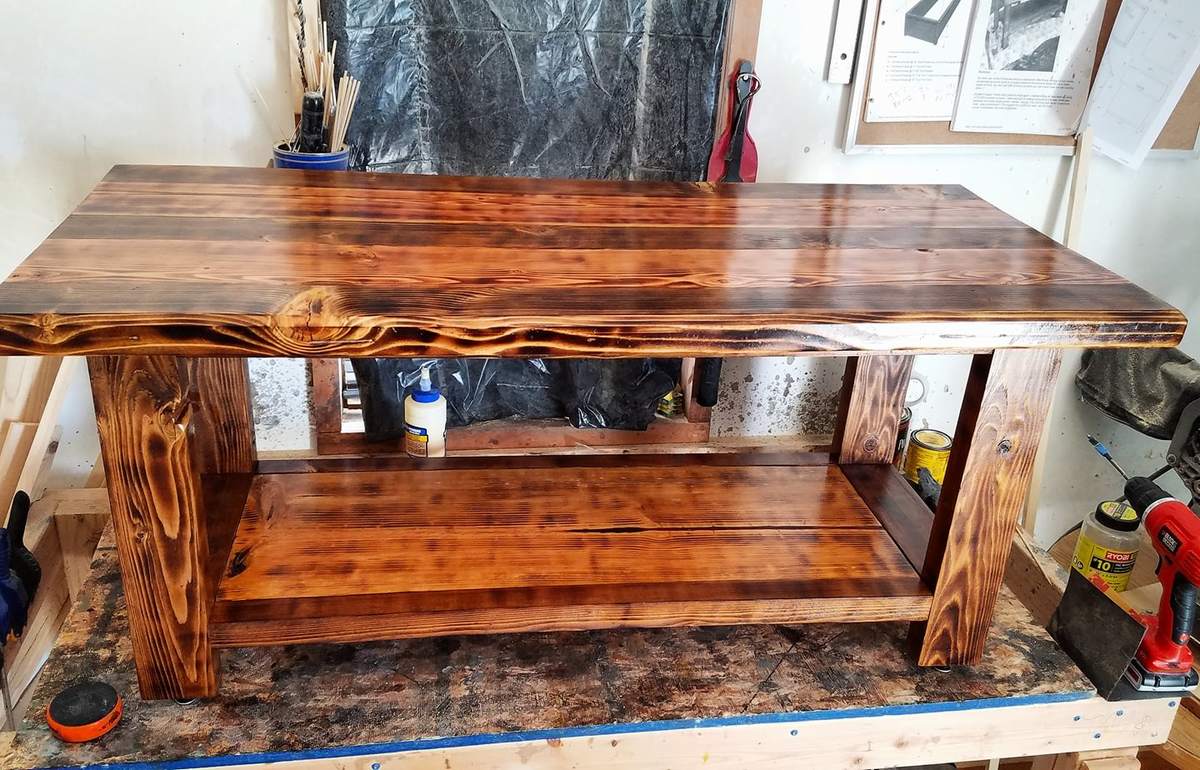
The minor modifications I made of the plan: I used 1x4-s as a frame for the table top, flush with the top. (The 2x2-s are next to it inside.) I made the lower supports out of 4x4-s (except that they didn't have 4x4-s at the store here so it's really 2 2x4-s put together). I have a few 2x4-s connecting the 2x8 and 2x6-'s in the base, to make it a bit more stable (not sure I really needed these but anyway), and I also ended up putting a few 2x4-s in the core of the base, again to make it a bit more robust. I routed the 1x4-s on the table frame, and also the table legs with a 45 degree bit (using a router is really fun! And really easy).
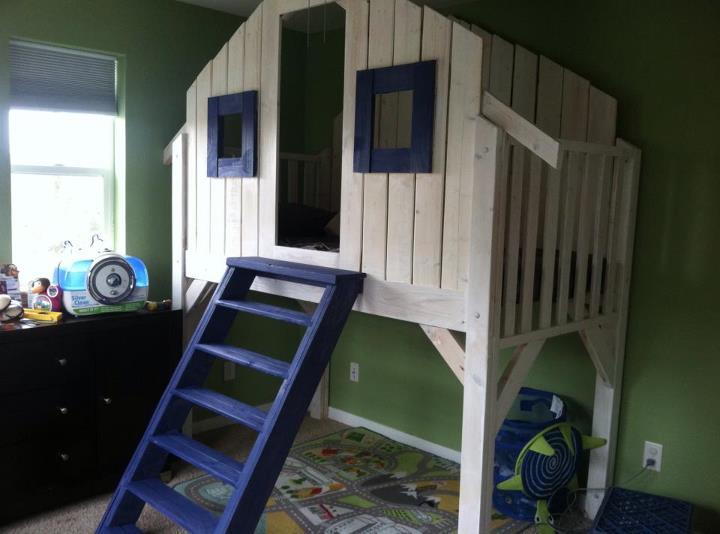
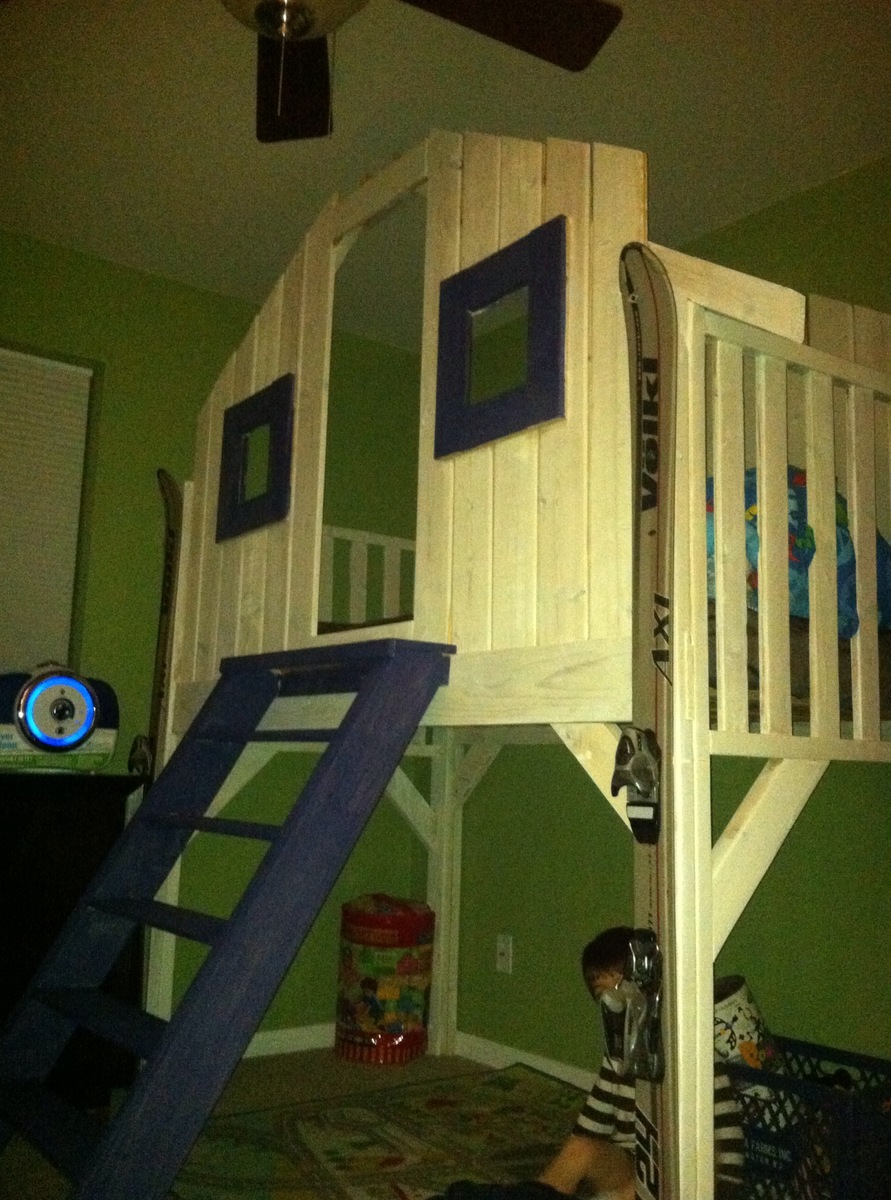
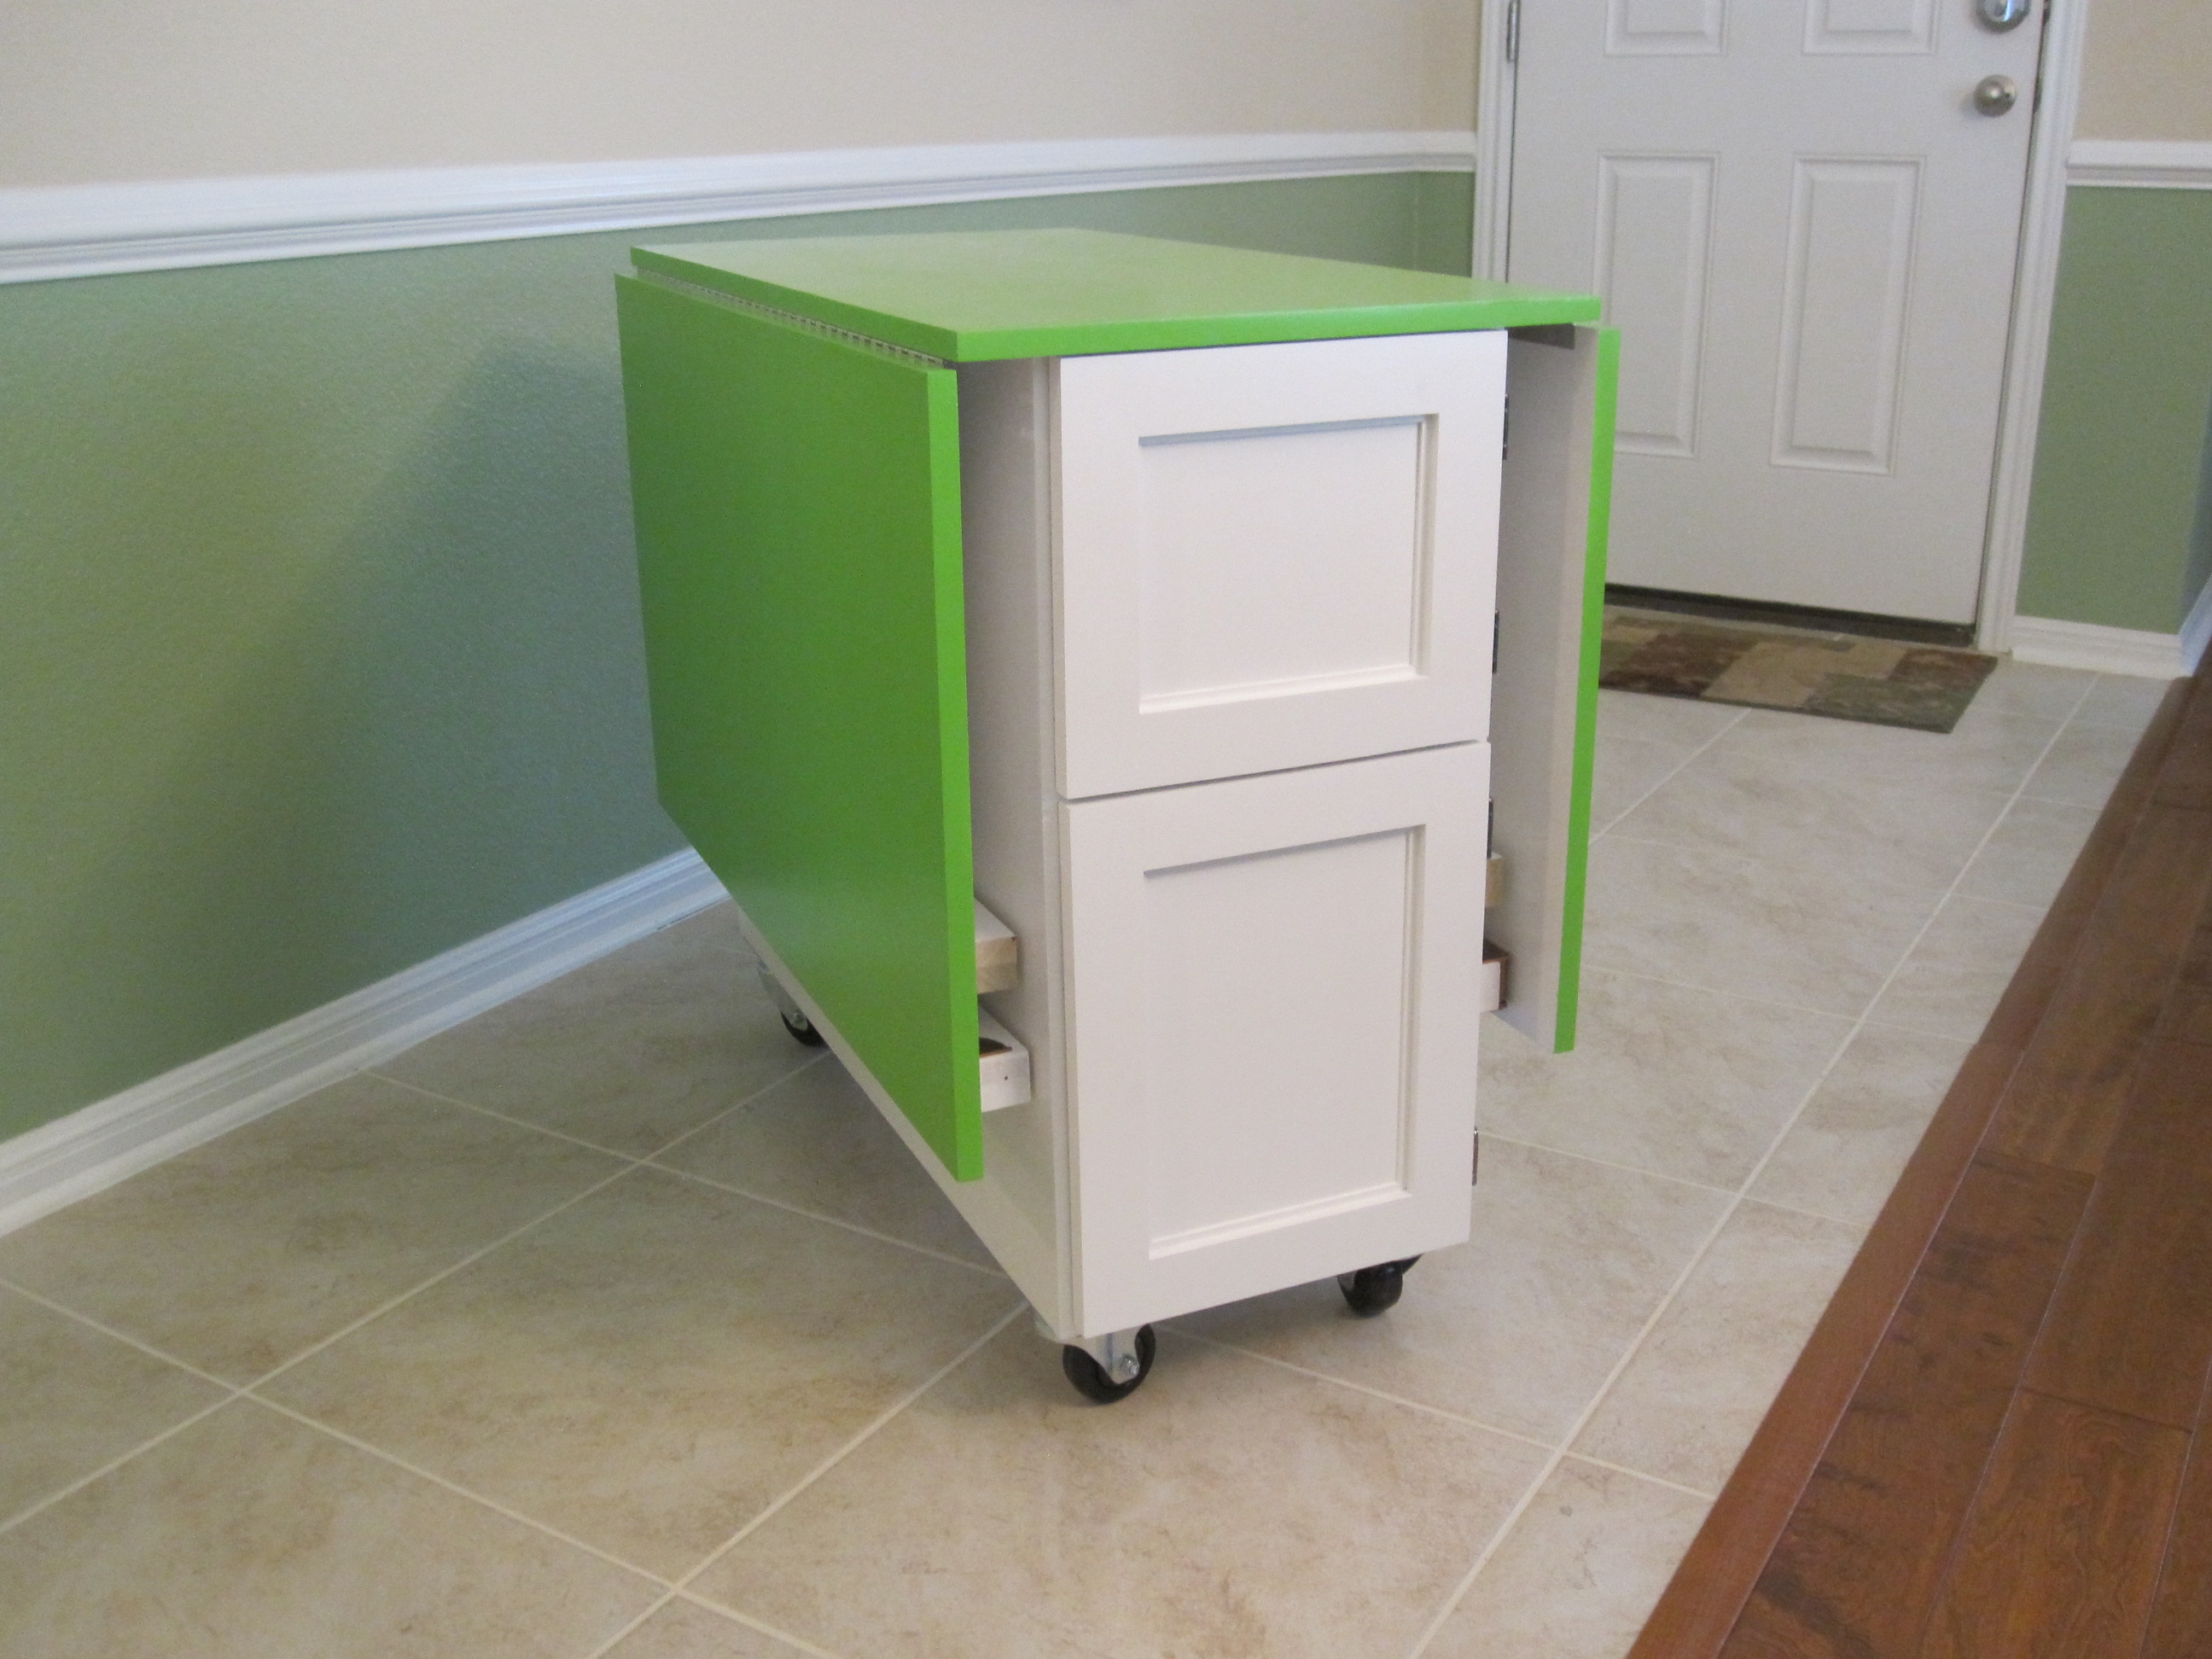
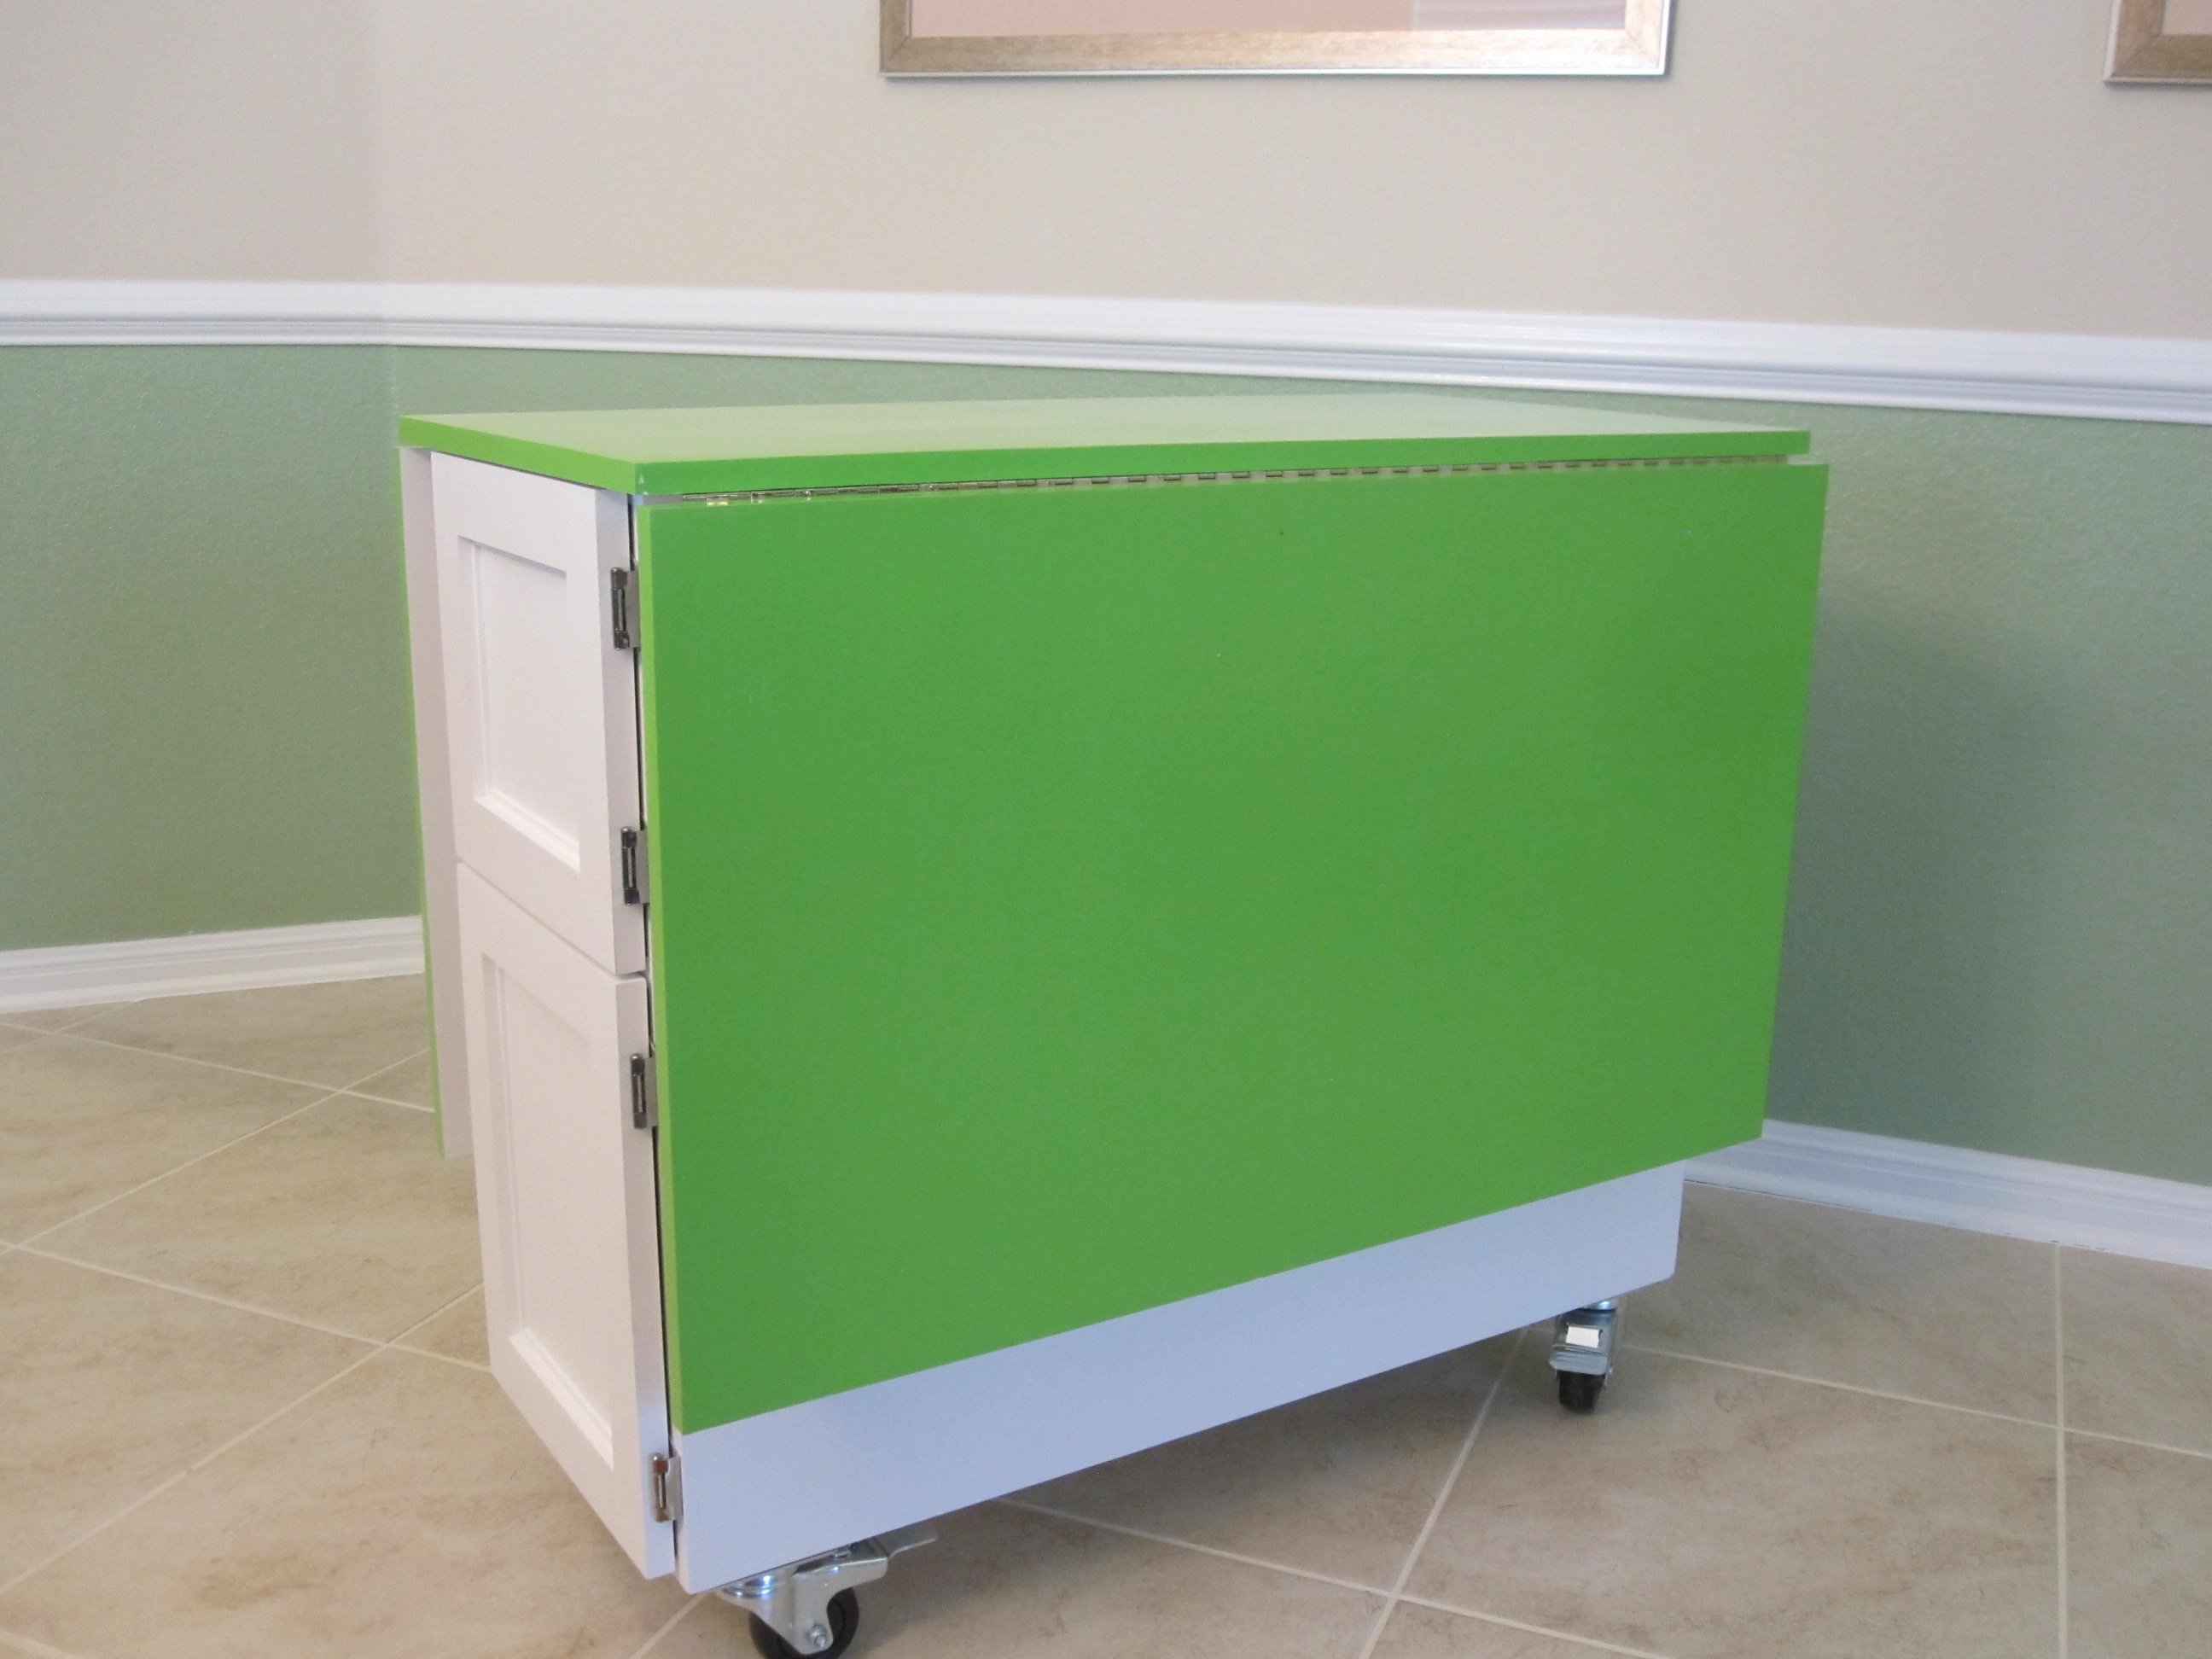
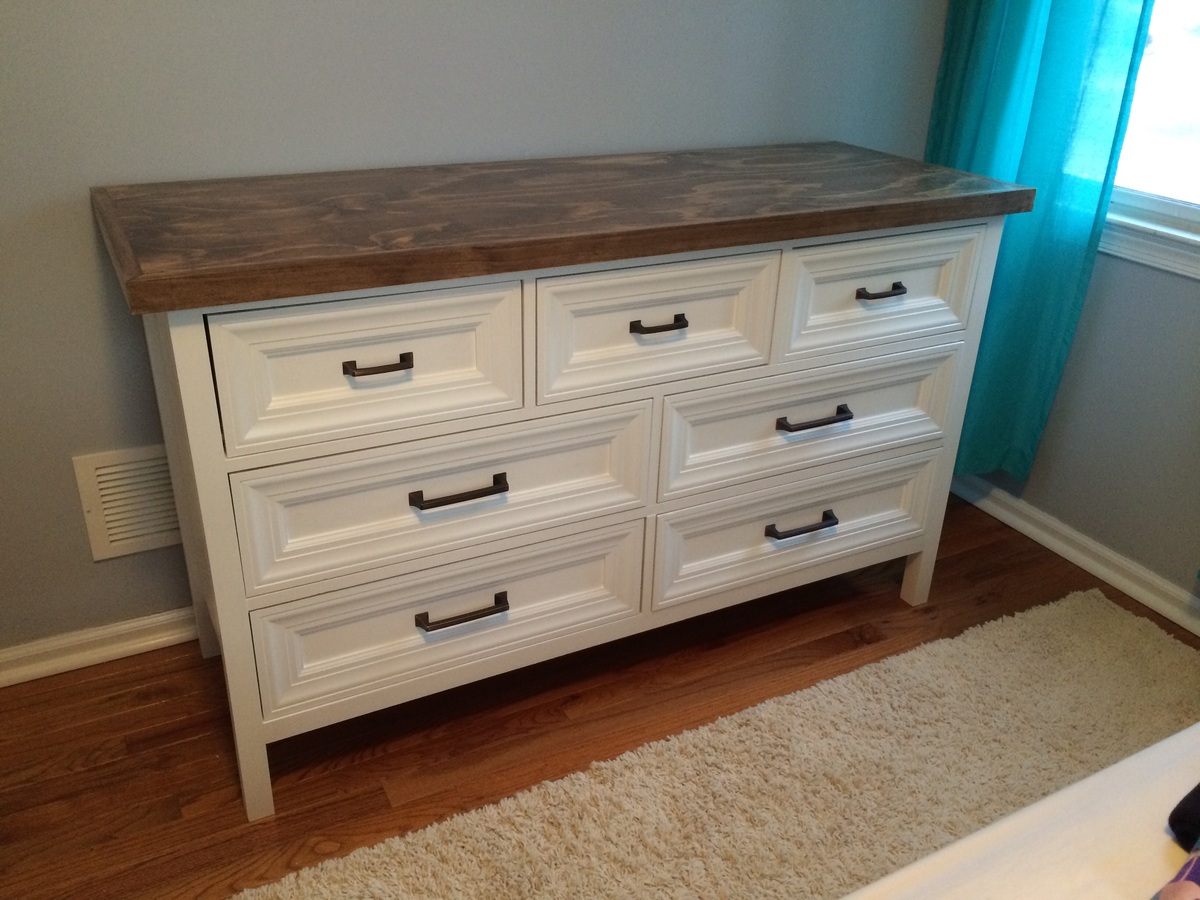
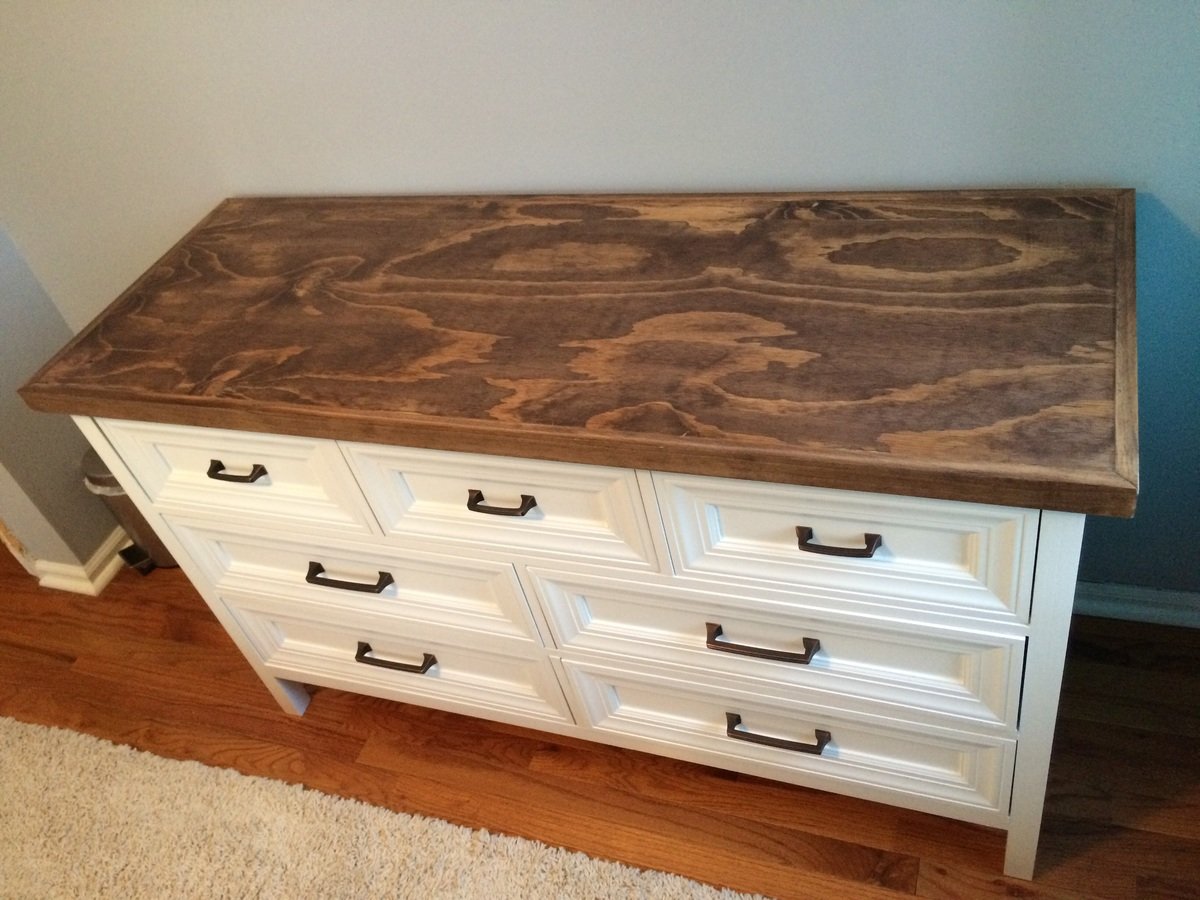
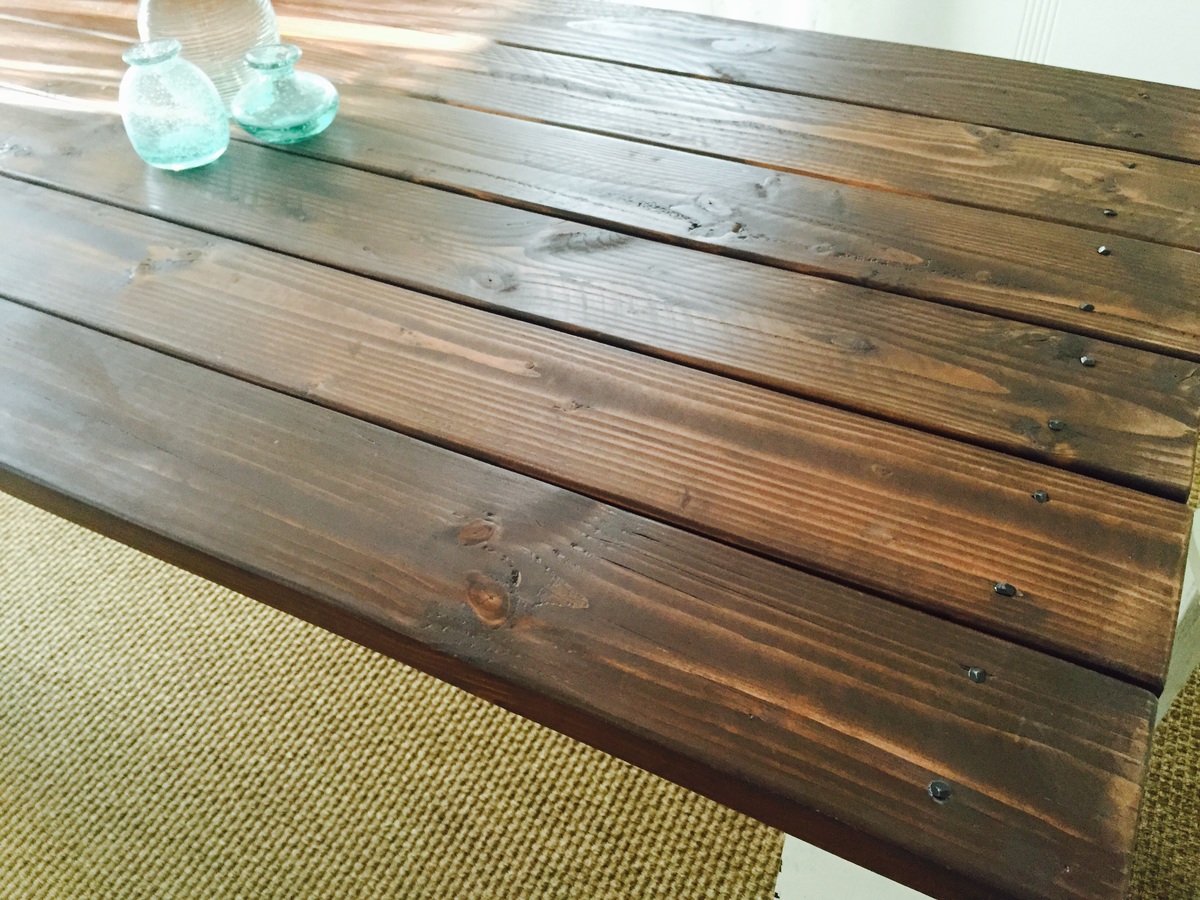
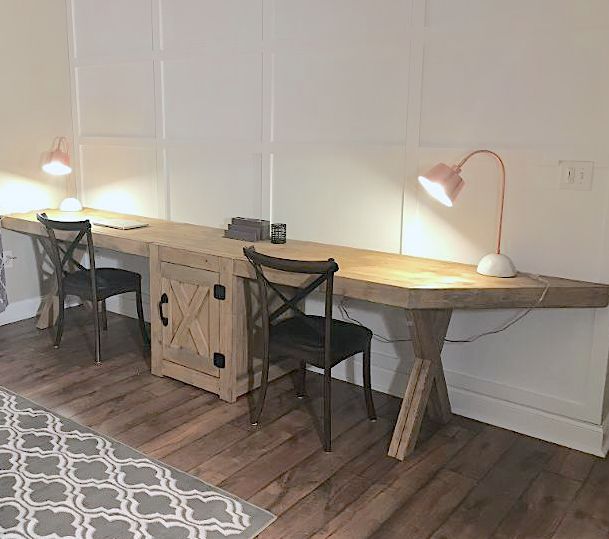
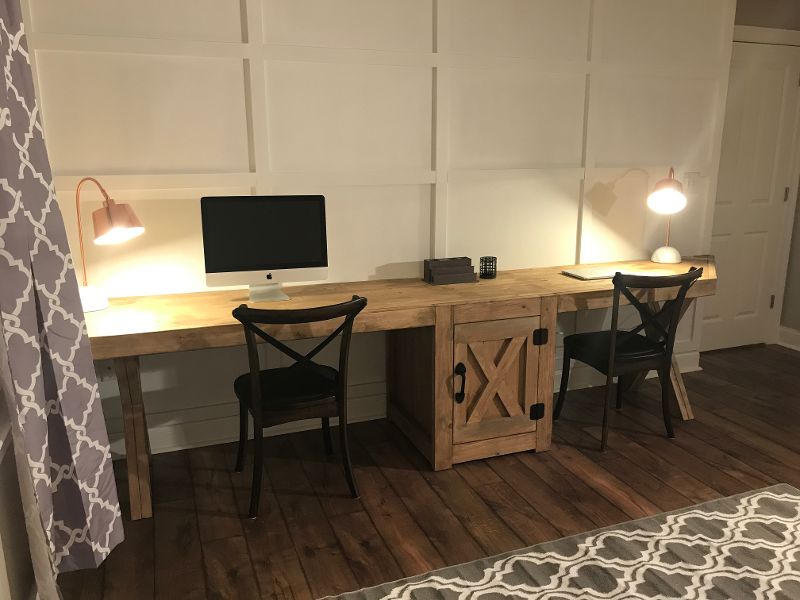
I used pine for the base and red oak for the table top -- mostly because I have oak cabinets in the kitchen. After sanding to 150 grit, I stained the oak first with Minwax Oriental Ginger (I would have used a dye if I had had one but this worked fine), and then two coats of GF antique oak. The Minwax gave a nice warm orange undertone while the GF highlighted the grain. It has 6 coats of GF high performance water based poly on it, sanded and wet sanded with very fine grit (up to 2000) so it's pretty smooth. It looks like many people use grain filler with oak, but I like the grain so I didn't. The base is painted white with whatever semigloss white paint I happened to have at hand.
Lessons learnt: 1) always, always measure twice, and always, always make sure that everything is square. 2) Don't build a table base from a board that's not absolutely straight. 3) Make sure to have enough screws and that the screws are of the right kind. 4) If you use a 45 degree router bit, you need to sand that 45 degree part much finer than the other parts of the table top, otherwise the grain will stick out and make it very rough. 5) Don't wet sand oak -- the poly dust white residue gets into the grain and it's impossible to remove.
Used the plans for the Rustic X coffee table as a starting point. Left out the X's as they don't appeal to me. Took a butane torch and burned the base and tabletop before staining, and stained the table in alternating stains to give it a really unique appearance. Stains used were Rustoleum Summer Oak, and Minwax Early American, finished with Minwax Semigloss Poly.
In need of a replacement for my hideous (but large!) wire kennel, I was ecstatic when Ana posted plans for an end table kennel, just like the fancy ones in Sky Mall magazines! Once I got out of my first trimester of pregnancy, I enlisted a friend to help me out with the build. I spent a little too much on lumber (I accidentally purchased the good whitewood, as opposed to furring strips) but I'm chalking that up to pregnancy brain. After a million Kreg Jig holes, the assembly was maybe an hour or less to put all four sides together. We decided to paint the interior prior to assembly, and that was a good choice! I put the sides together with L-brackets, and honestly did a pretty poor job of it. But the main reason was to easily disassemble it should it need to be moved at some point. I splurged on the hinges and gate closure, and love love LOVE the finished product! These were great, well-laid out plans!
This is actually a mash up of Ana's "Mudroom Bench with Easy Drawers" design, and a "Mudroom Lockers" post by Infarrantly Creative. The end result is a 66" W x 98" H x 19 1/4" D built-in bench with 2 drawers and 4 cabinets. I did the cabinets first, to easily support them while installing on a temporary ledger board without the bench in the way. Unlike Infarrantly, I did not have existing cabinets to re-purpose, but I found 30W x 24H x 12D cabinets that practically matched the adjoining kitchen in both color and style. I also added matching pulls and handles to tie both rooms together. I almost went with taller cabinets to the ceiling, but this approach with Crown Molding "not-to-ceiling" matches the kitchen cabinets. I also bought matching trim pieces for the ends and across the bottom so anything touching the cabinets matched in color and texture. In hindsight, the color-matched paint was so close, though, I could have saved some cash by cutting and painting those pieces instead. Everything gray below this point is 1x material cut to spec and then painted. The bench is based on Ana's design (modified to two drawers) with Infarrantly's stained top. The top is a pine board from HD stained to closely match our LVP in that room, and the entire first floor. You will notice the top rail of the bench frame (attached to the top with Kreg pocket holes to minimize visible nails/screws) is also stained to give illusion of a thicker slab. The stain closely matches our LVP in that room, and the entire first floor. This was my first time building drawers, but thanks to Ana's "Easy" drawer design, it still worked out pretty well. The drawer frame technique (instead of faces) made everything a little more forgiving (which I definitely needed). After painting and reinstalling, I noticed that some of the reveal around the drawers did not line up evenly and straight around them. I simply adjusted the rails (drawer side), and the middle upright between them, without needing to remove or rebuild the drawers or the frames - WHEW! Between the cabinets and bench, I used 1x12's and 1x2's, down the sides - although you could leverage the existing wall finish. I also added vertical shiplap to the back, but again you could leave the existing wall finish or use beadboard. It is painted teal to coordinate with the adjoining kitchen's tile and backsplash. I added the Hummingbird coat hooks, since we love those feathered visitors around our deck in the summer. Thanks to both Ana White and Infarrantly Creative for inspiring this addition to our new home.
Thu, 10/14/2021 - 08:04
That is amazing! Thank you so much for sharing, what a beautiful space you created!
Mon, 09/12/2022 - 11:59
Thank you for sharing, such a perfect mash-up of plans, it came out beautiful~
This was something I build a couple years ago, it's not the same as this plan, but very similar. When we moved in to the house, the slab was already poured, with 4x4s already in place, I just used what was there and my imagination for the rest.
Classic king farmhouse bed build
We made this table and two benches from the plans! We used 3” self tapping deck screws because we couldn’t find any in the 2-3/4” mentioned in the plan. Love the result! We used danish oil in medium walnut.
I use this dresser in my walk-in closet to separate dirty laundry...each basket holds either "whites", "lights" or "darks". The size of each basket is perfect for one wash load. I just love how much more room I have in my closet because of it!
Adirondack Side Table made from leftover 2x3 pine and two cedar fence posts. Stained with Minwax Dark Walnut and sprayed with Minwax clear matte sealer.
Got plans from this site. Made two carts so far. Second one smaller. Iron wheel little $$
Comments
Ana White Admin
Wed, 01/06/2021 - 11:01
WOW, WOW, WOW!
Love all of it, just fantastic!