Shoe organizer
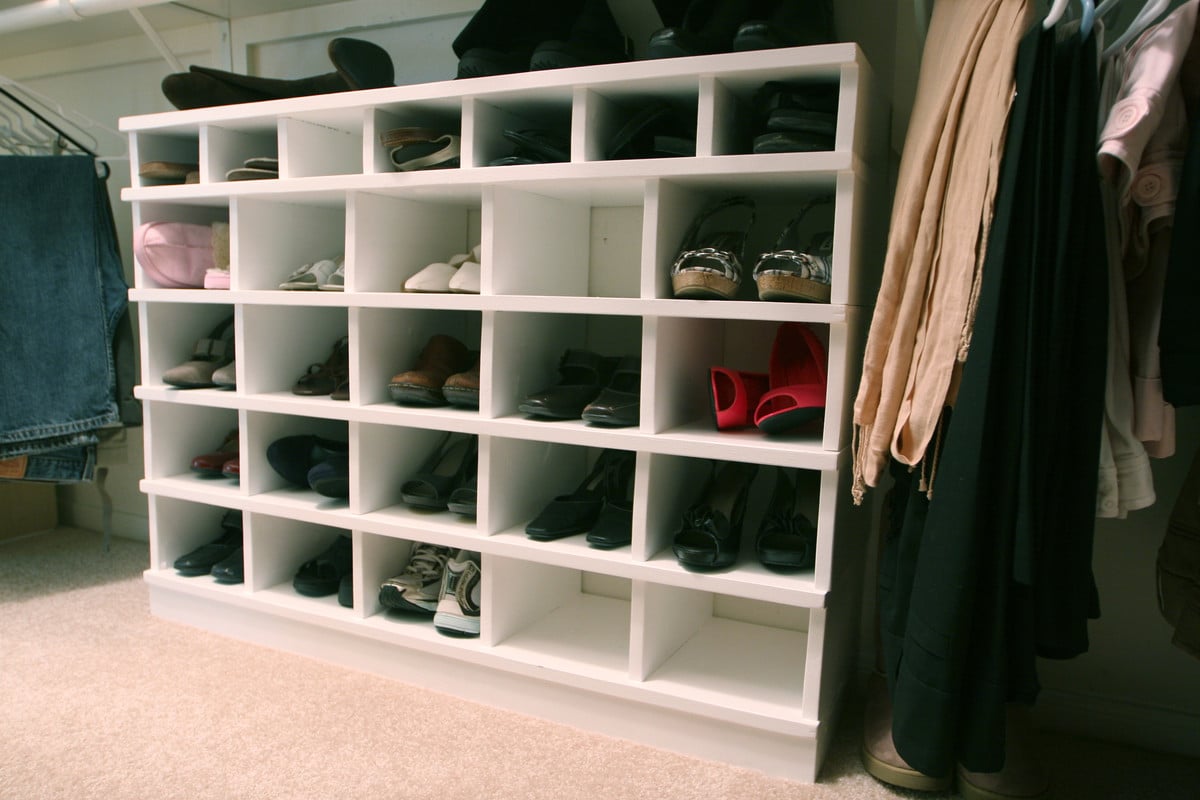
I took the 25 cubbies plan and changed the dimensions to fit shoes. I made a simpler version for my husband too. This project went together quickly and was so fun to build.
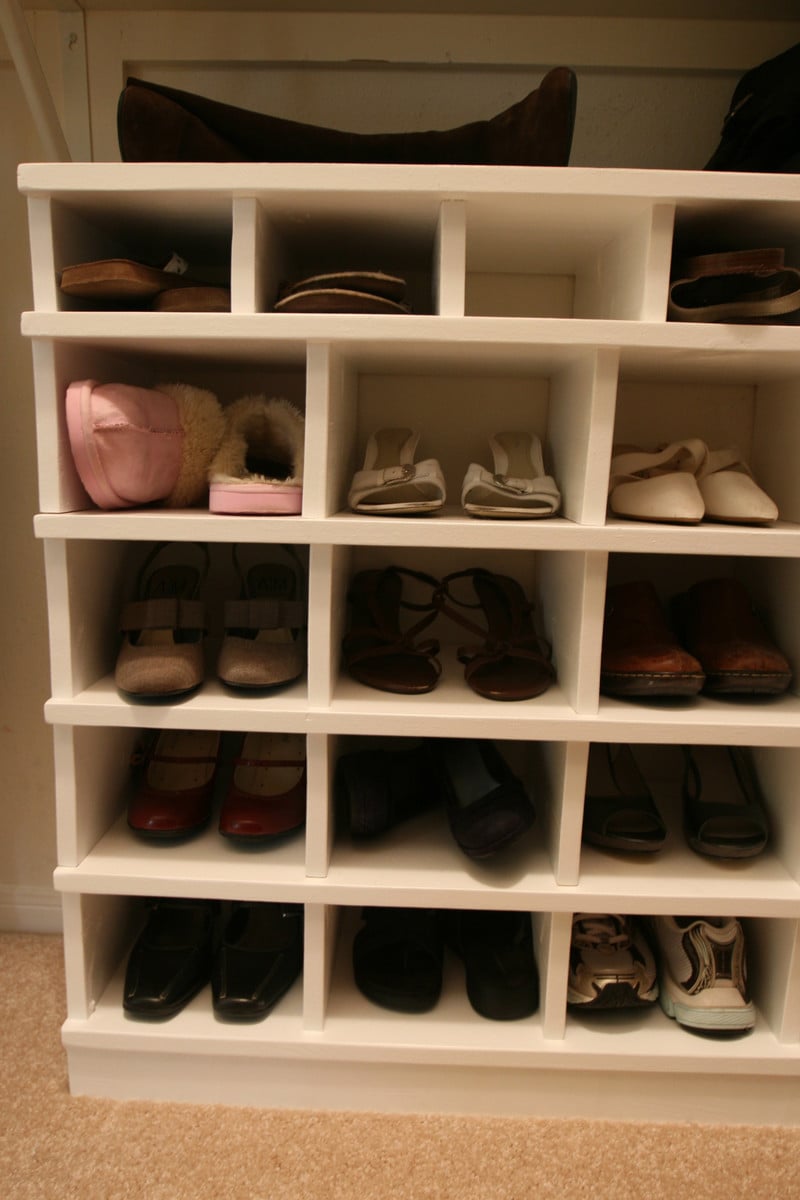
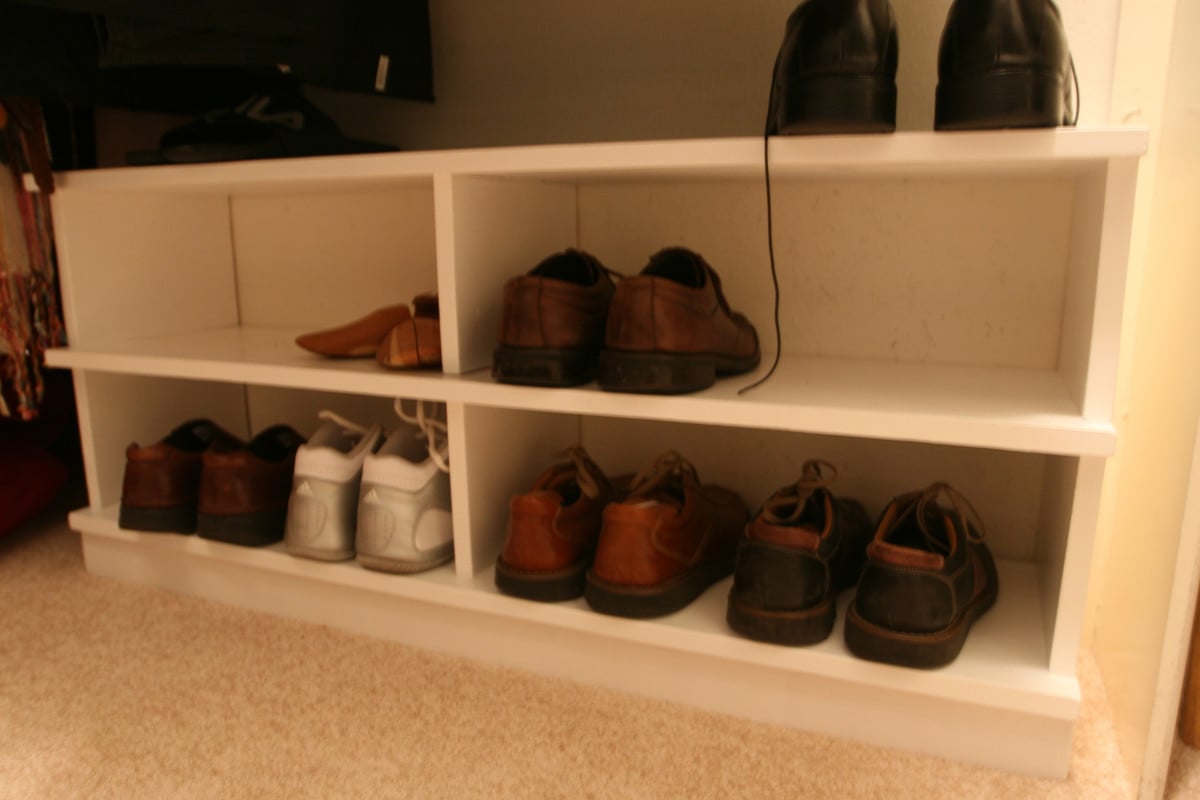

I took the 25 cubbies plan and changed the dimensions to fit shoes. I made a simpler version for my husband too. This project went together quickly and was so fun to build.


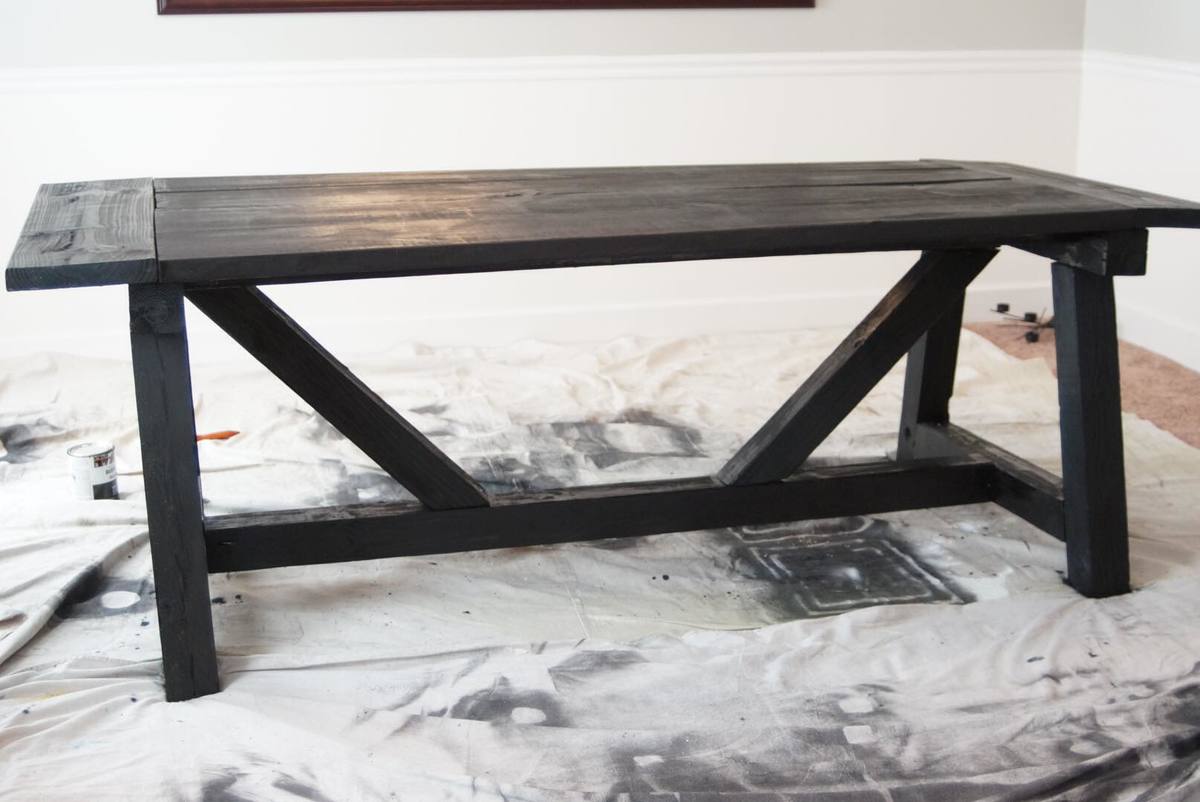
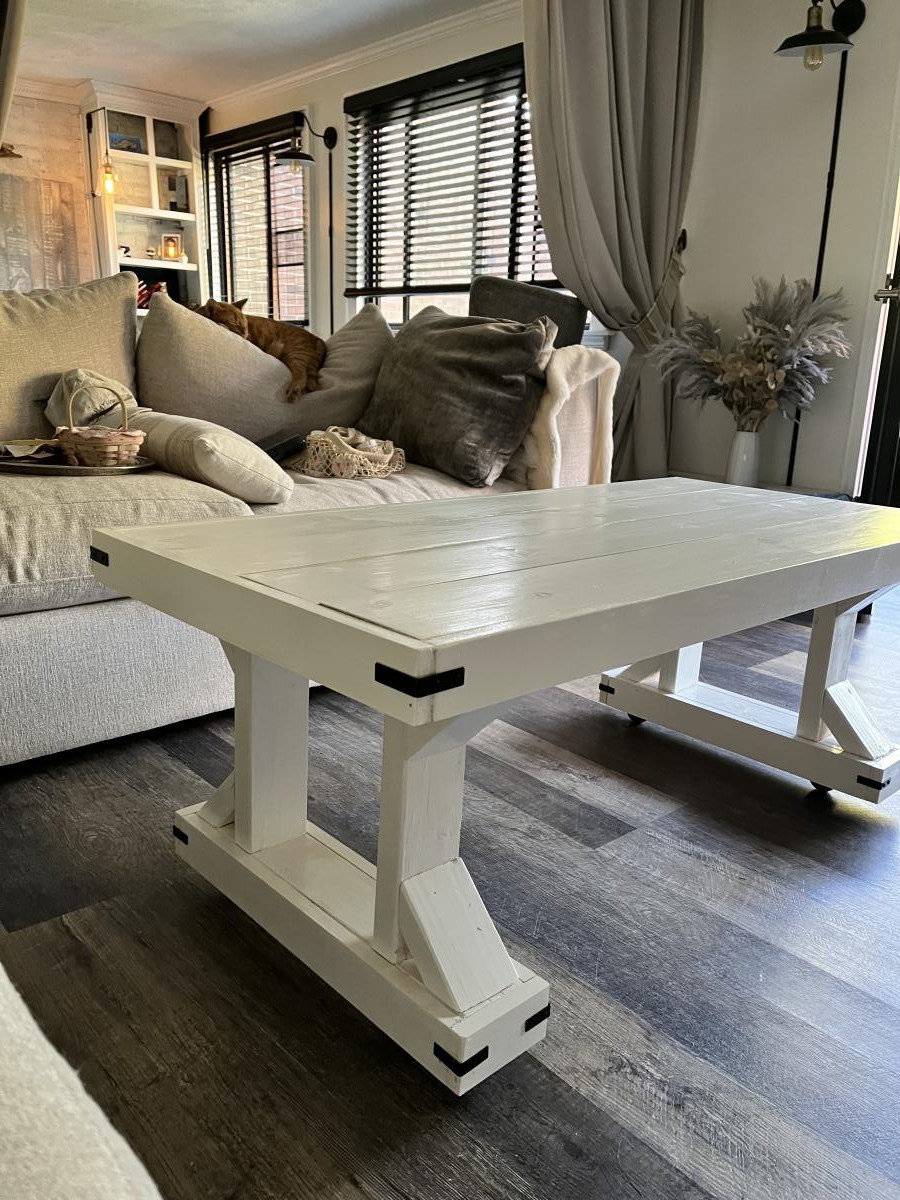
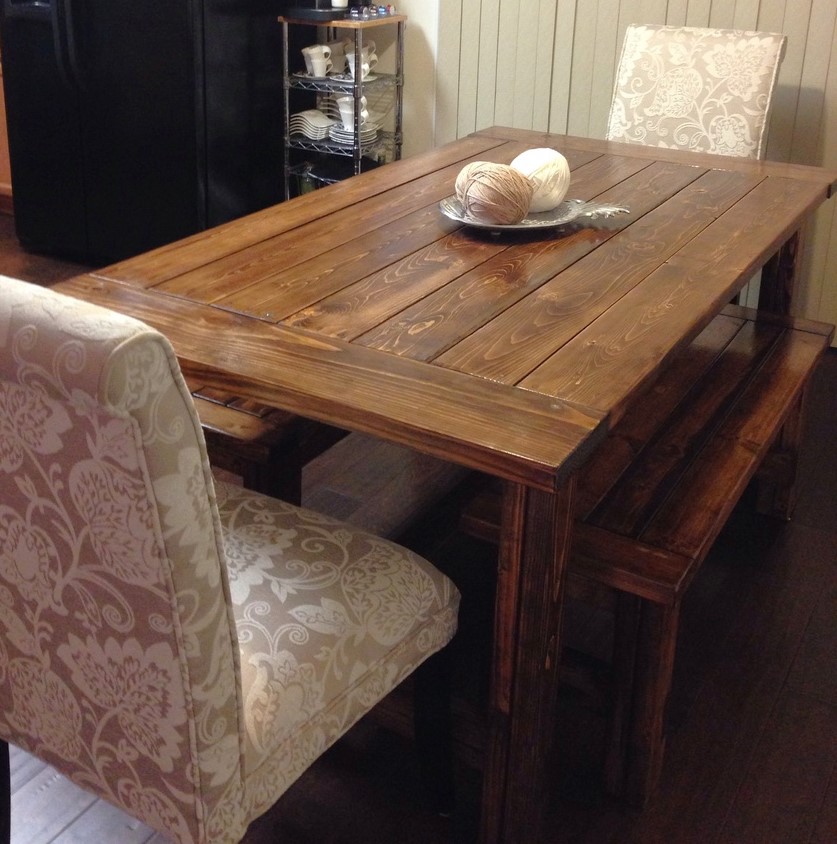
I had trouble with the angled cuts not fitting perfectly. I have a circular saw, not a table saw or miter saw, so I had to measure with a protractor and mark, then try to follow my lines exactly. Tedious, but I like the table. It is mad heavy though!

It's an awful eye sore builder's always seem to put in the most obvious places even when there's an attached garage, or a basement, or even a large closet somewhere.
Solution: Build a frame out of 2x2's around the panel. Build a smaller frame out of trim (or whatever you like as a picture frame). Attach the smaller frame to the frame on the wall with self closing hinges (ok, maybe paint everything first, lol) and insert a photo or painting of your choice.
Unfortunately you can't do anything about placement, hello 1 inch from my countertop and cabinets (also preventing me from building more upper cabinets on that wall)
But, it's better than staring at that ugly gray box :)


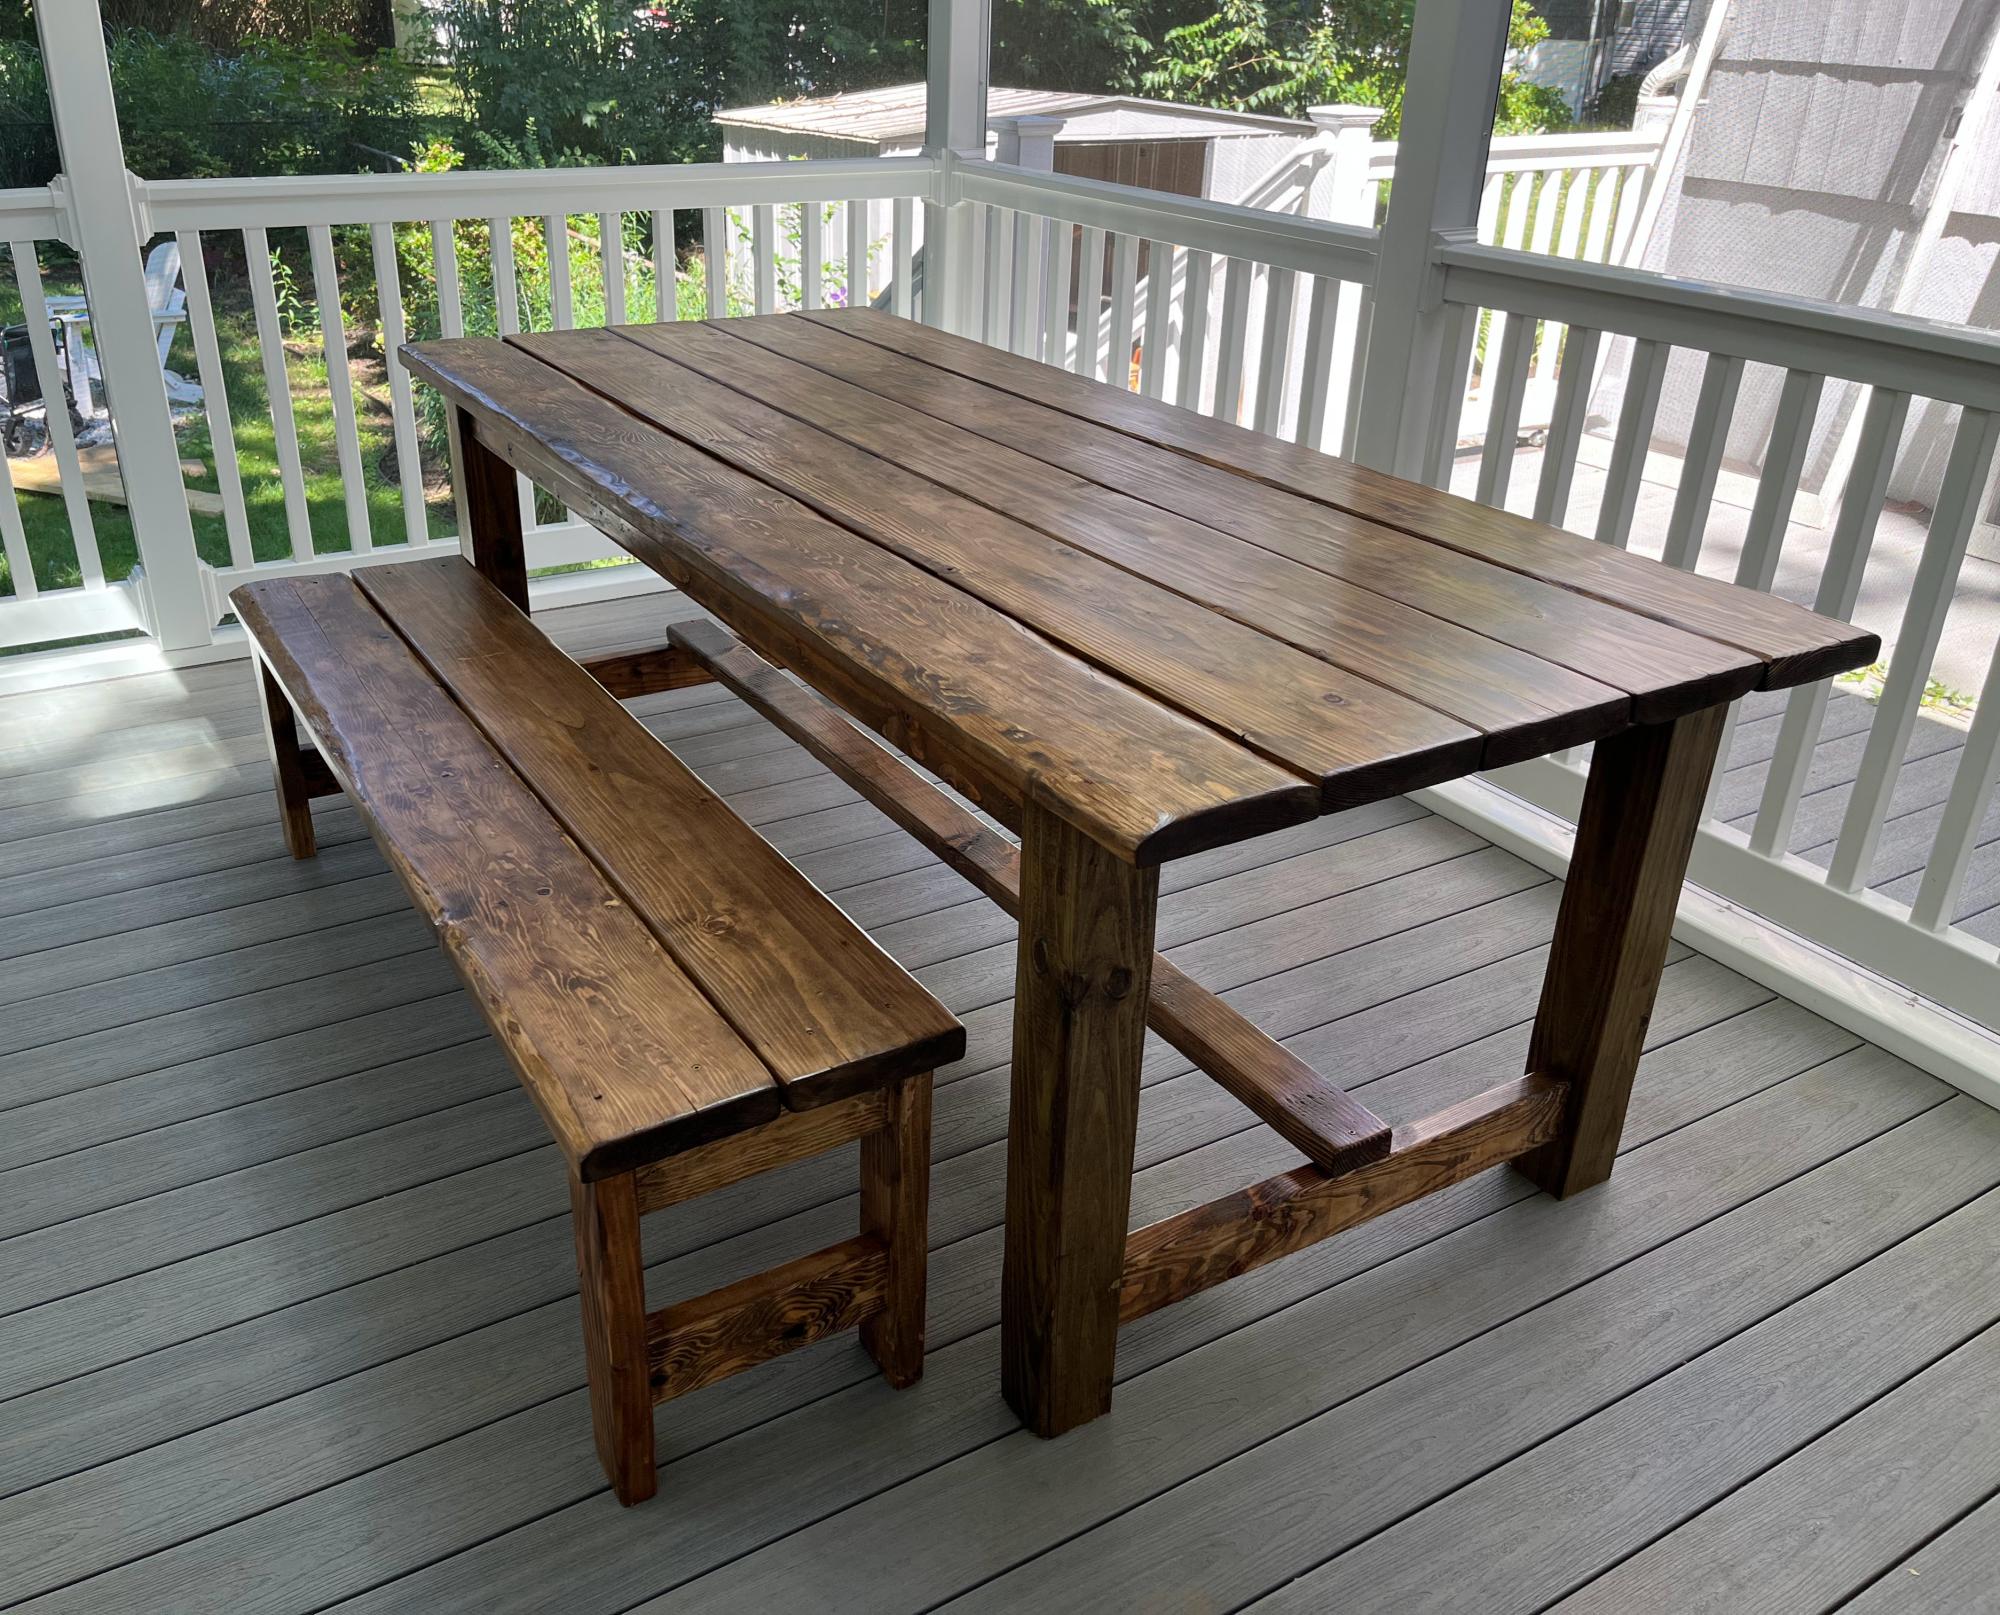
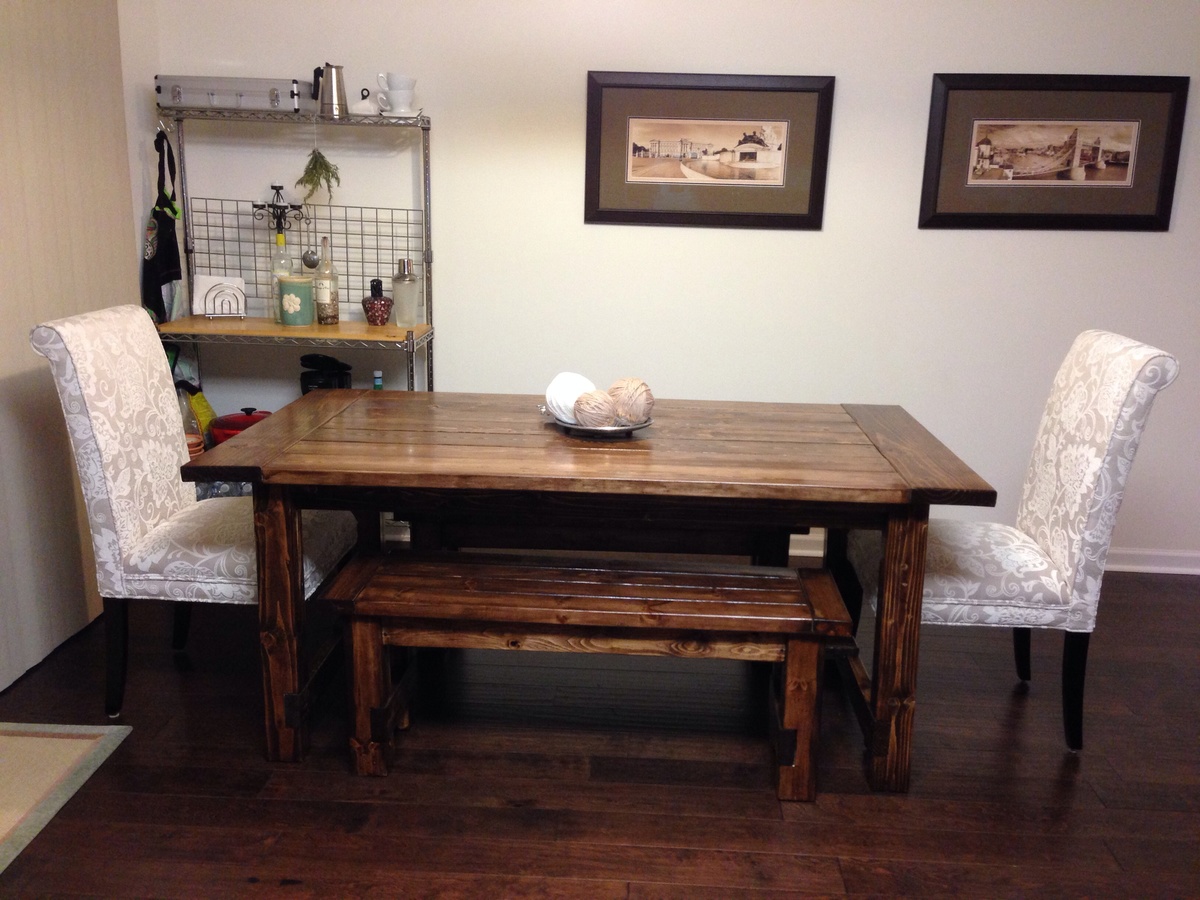
Altered the Beginner Farm Table plans to use 2x8s for the top and 4x4s for the legs. I used pocket holes for the table. I followed the bench plans almost exactly, adjusting slightly for the 2x8 tops. I am a beginner and I did it myself! The table and bench are beautiful and sturdy! Thanks Ana!
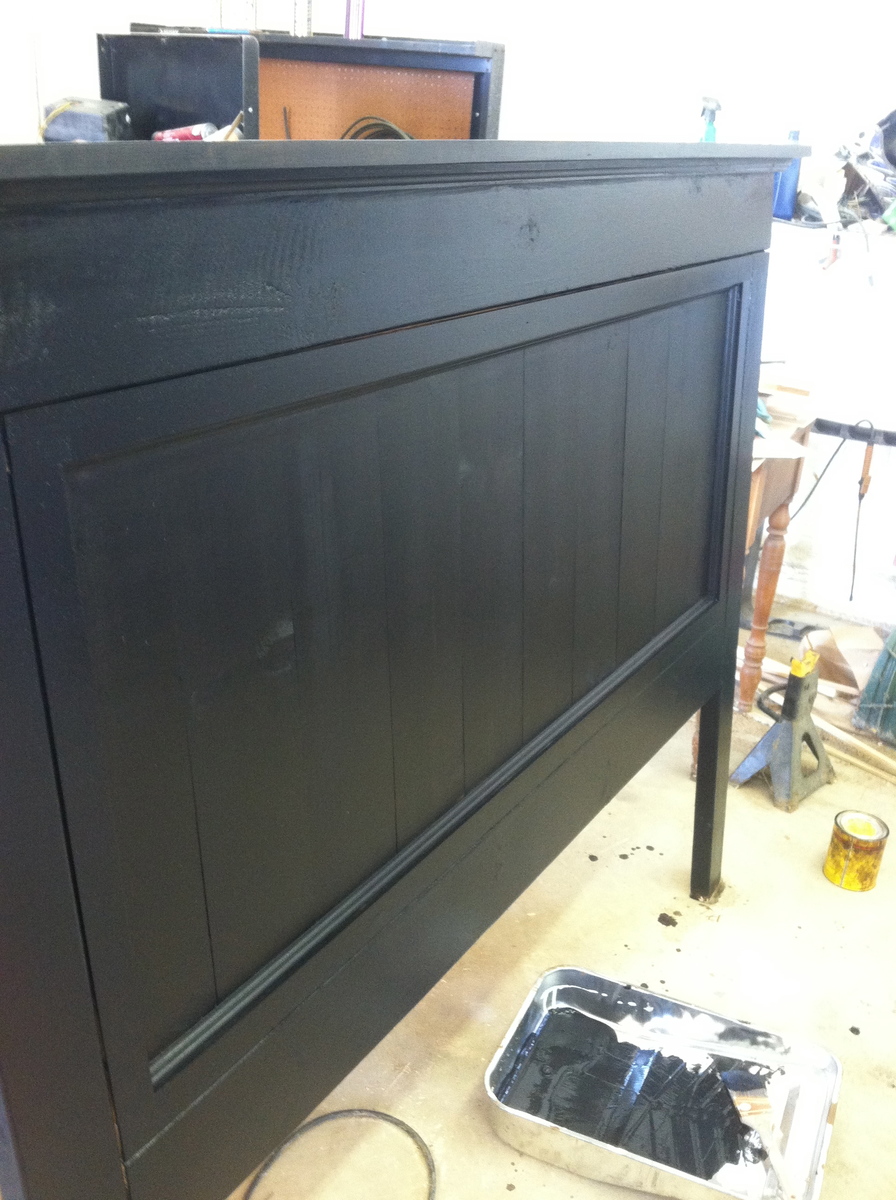
My son has been wanting a bed for a while now, We threw out his falsa-wood bed and I decided I liked this plan. I think I got the entire bed built in a few hours. There were a few details that would snag a rookie wood worker but just be creative in finding solutions. This bed is designed to be rustic.
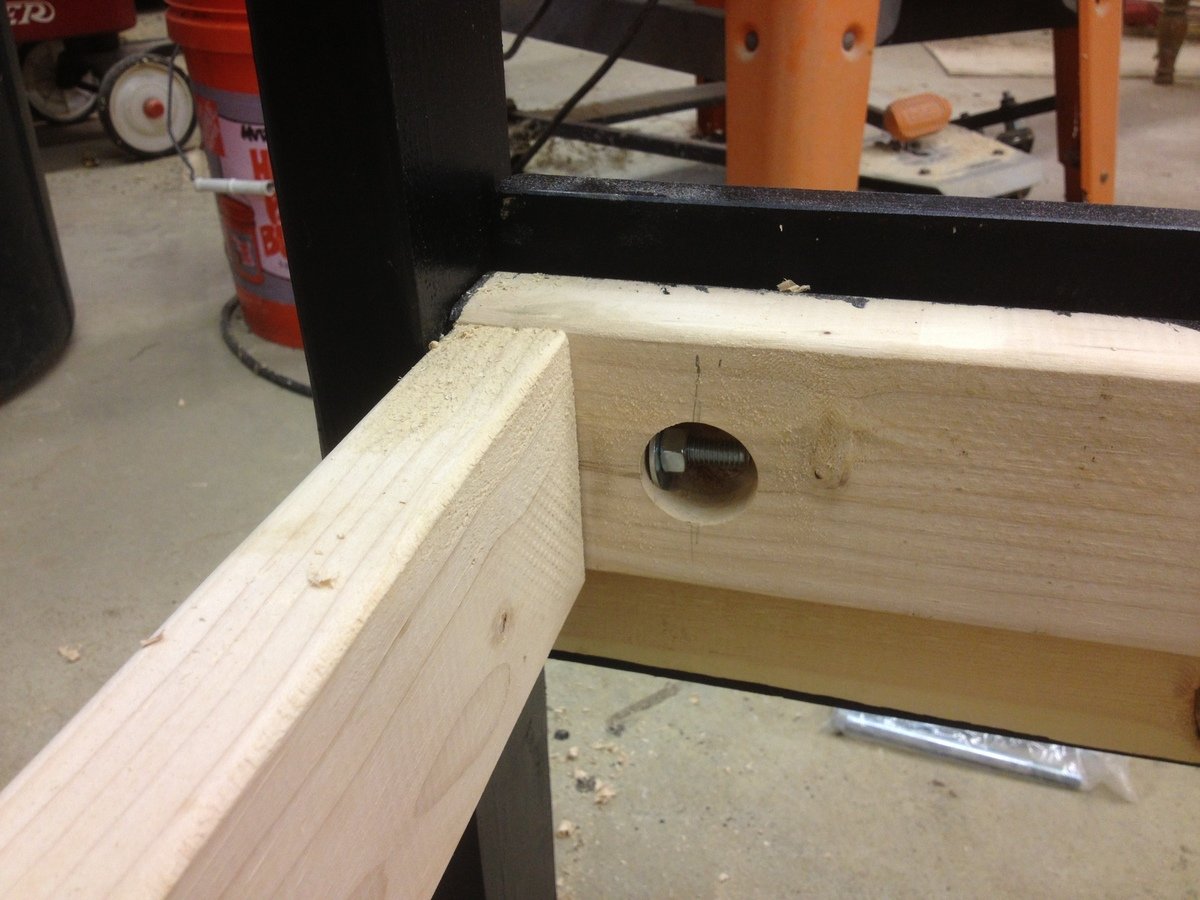
I uploaded a very cheap assembly system that I used. I think total cost was less than 5.00 for two bolts and a couple washers.
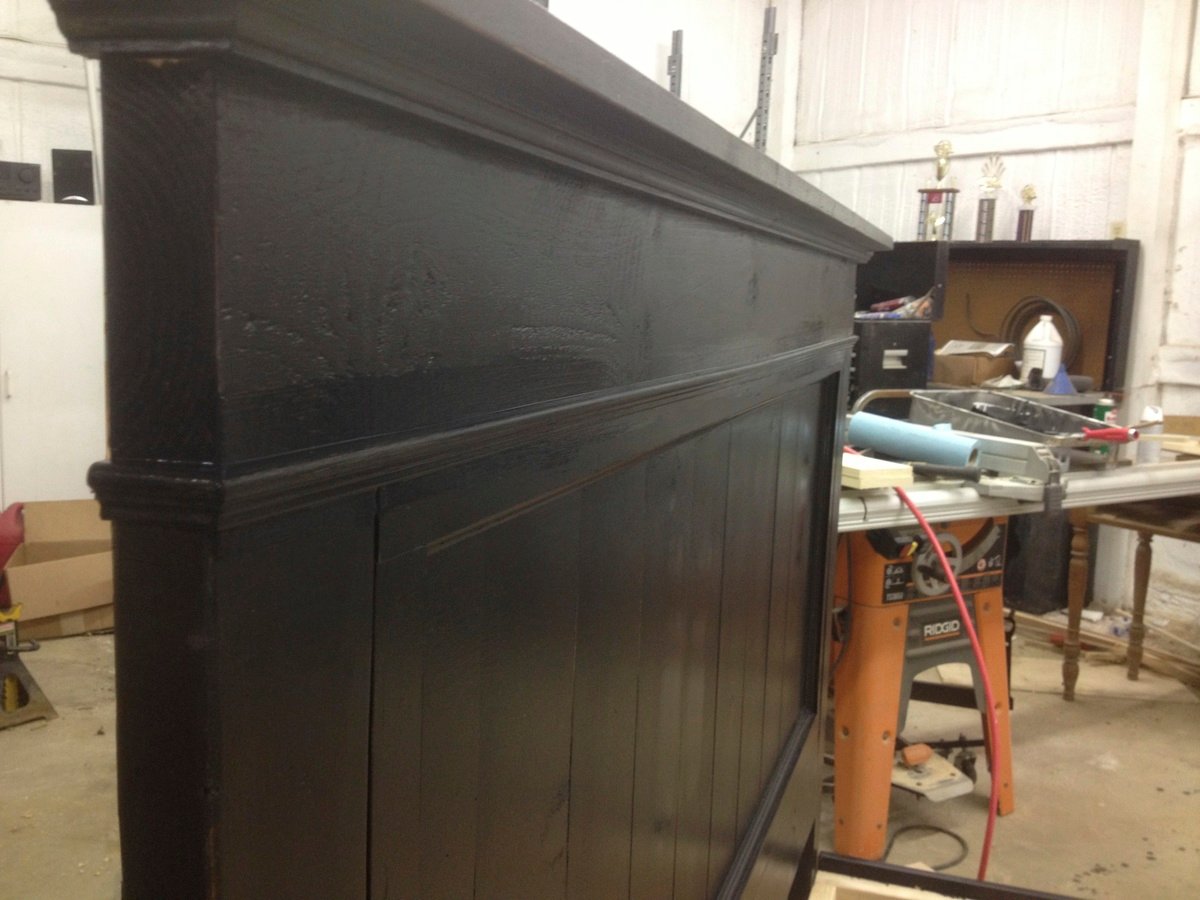
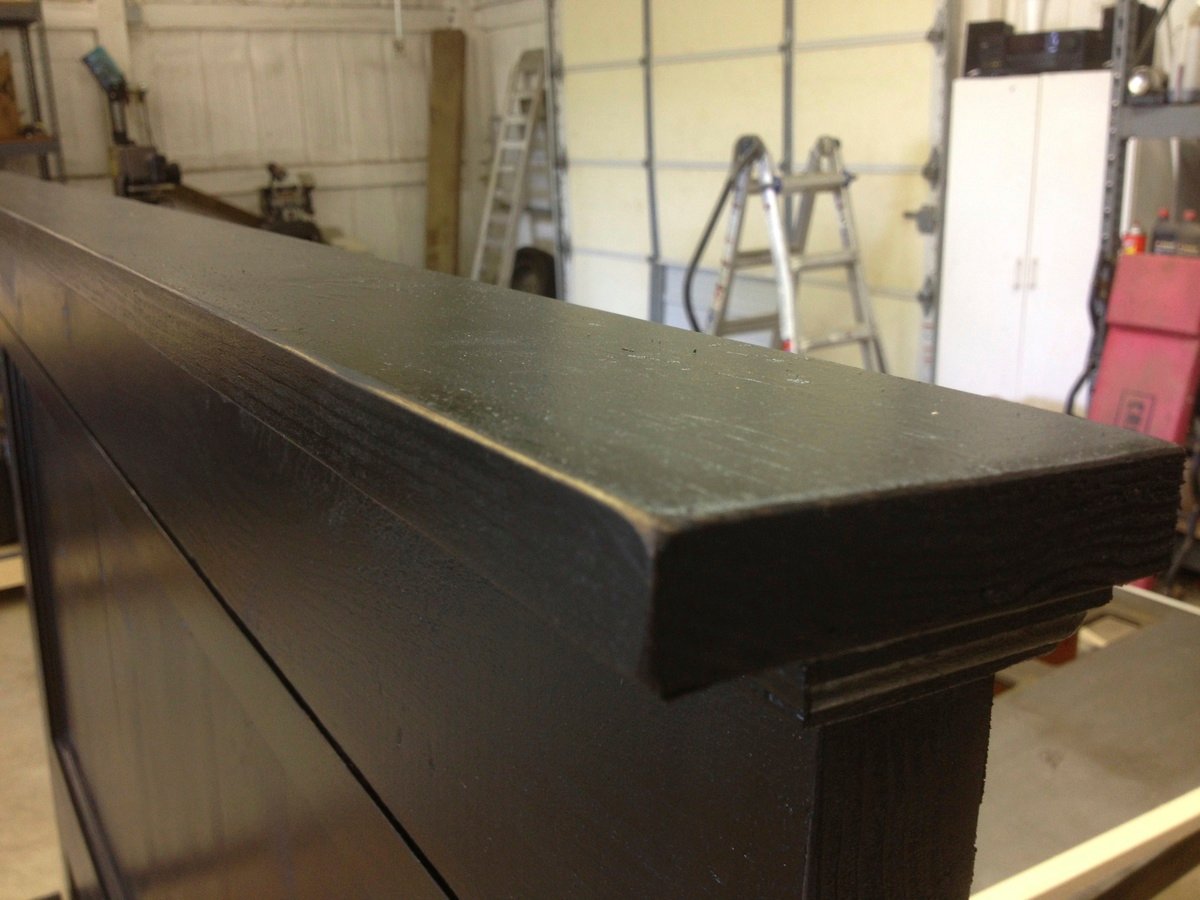
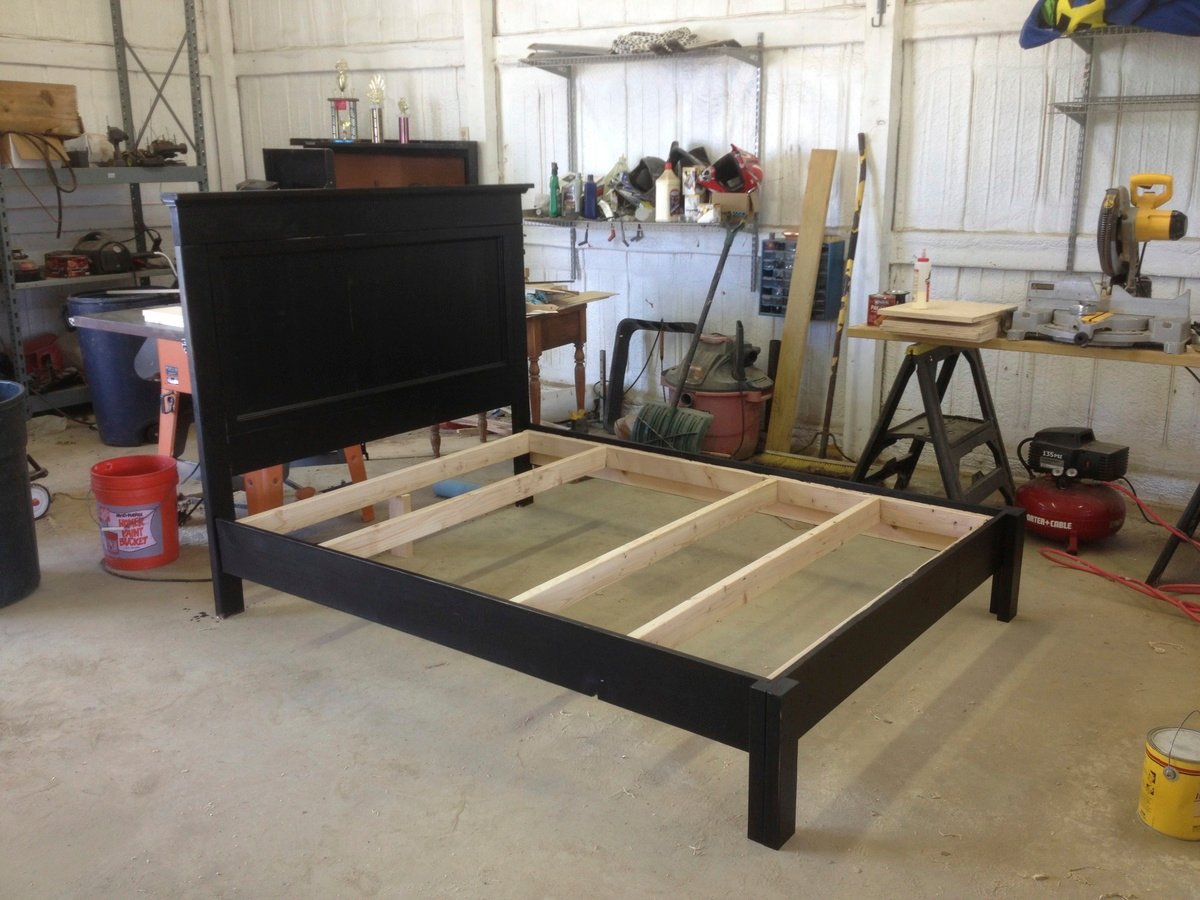
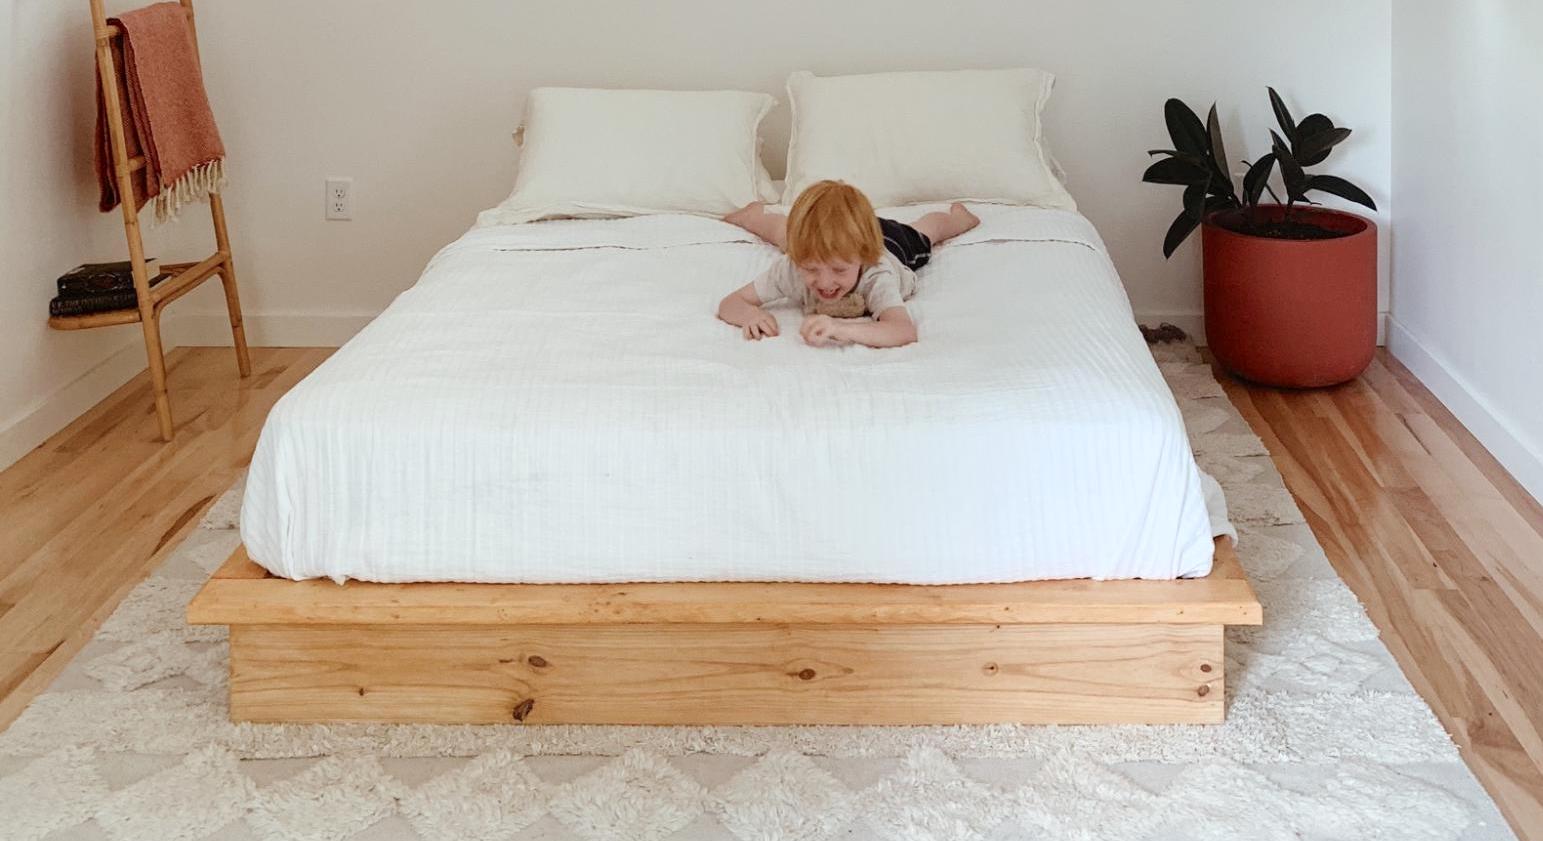
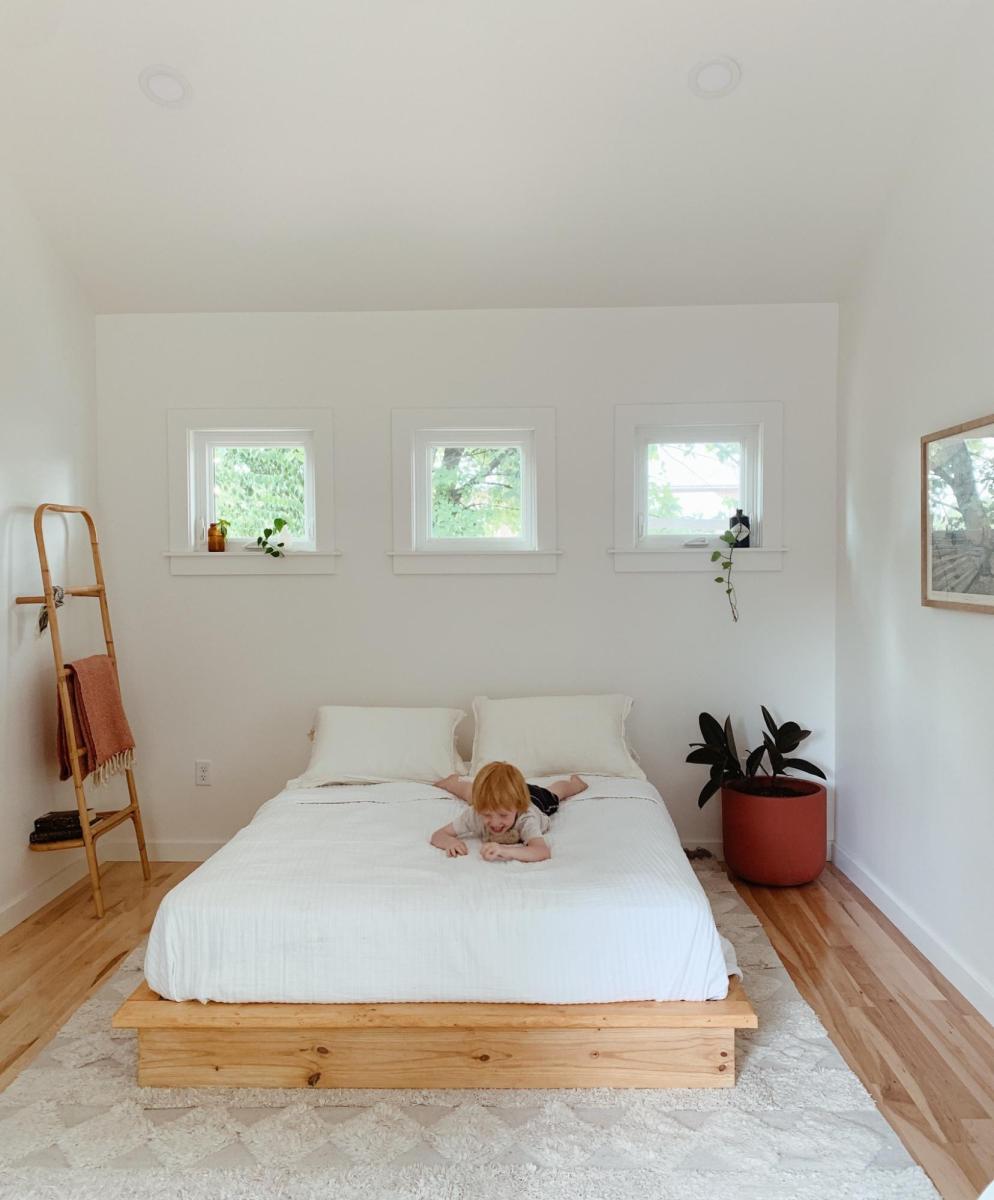
I've been wanting to build this bed for awhile and finally got around to it. I made a few small changes to the plans:
-I used 2x8's instead of 2x6s, so it wouldn't be so low to the ground.
-I ripped 3/8" off of the 2x8 supports in the middle so the mattress would nest inside the frame and not slide around
-I didn't add the headboard because it seemed a bit chunky/rustic for my taste. I will come back and do something else for the headboard. Maybe a cool paneled wall with built in sconces? We'll see!
Love these plans though, appreciate it!
Mon, 07/25/2022 - 21:44
Love the look and your mods, well done! Thank you so much for sharing.
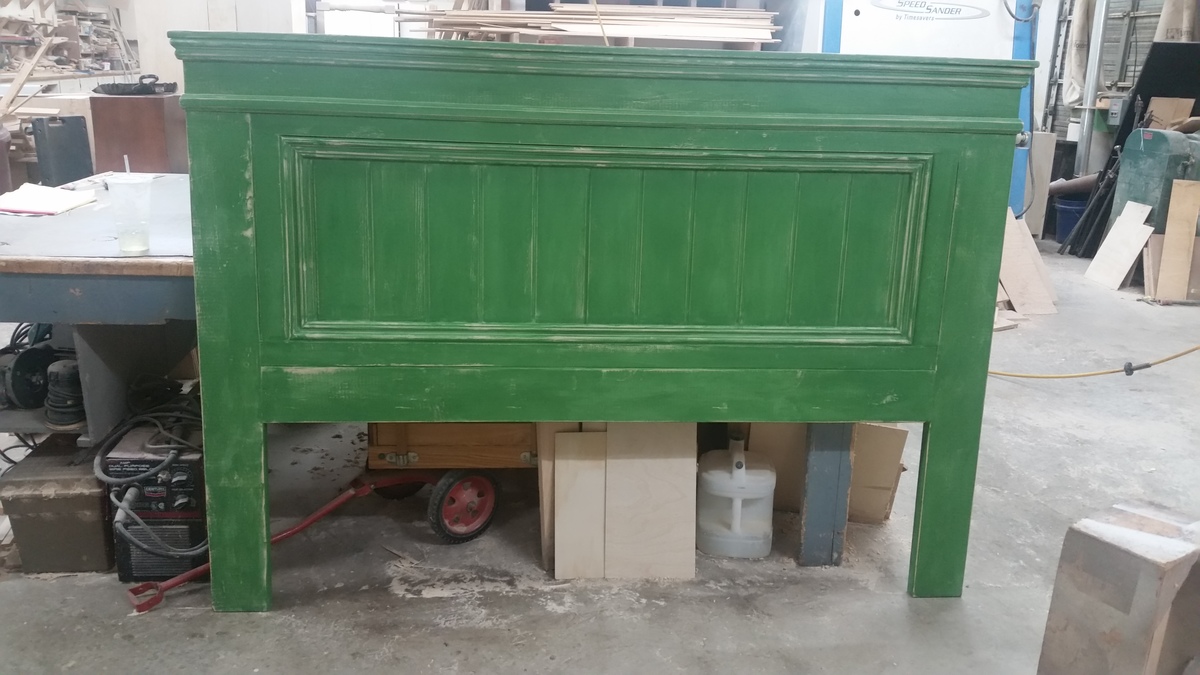
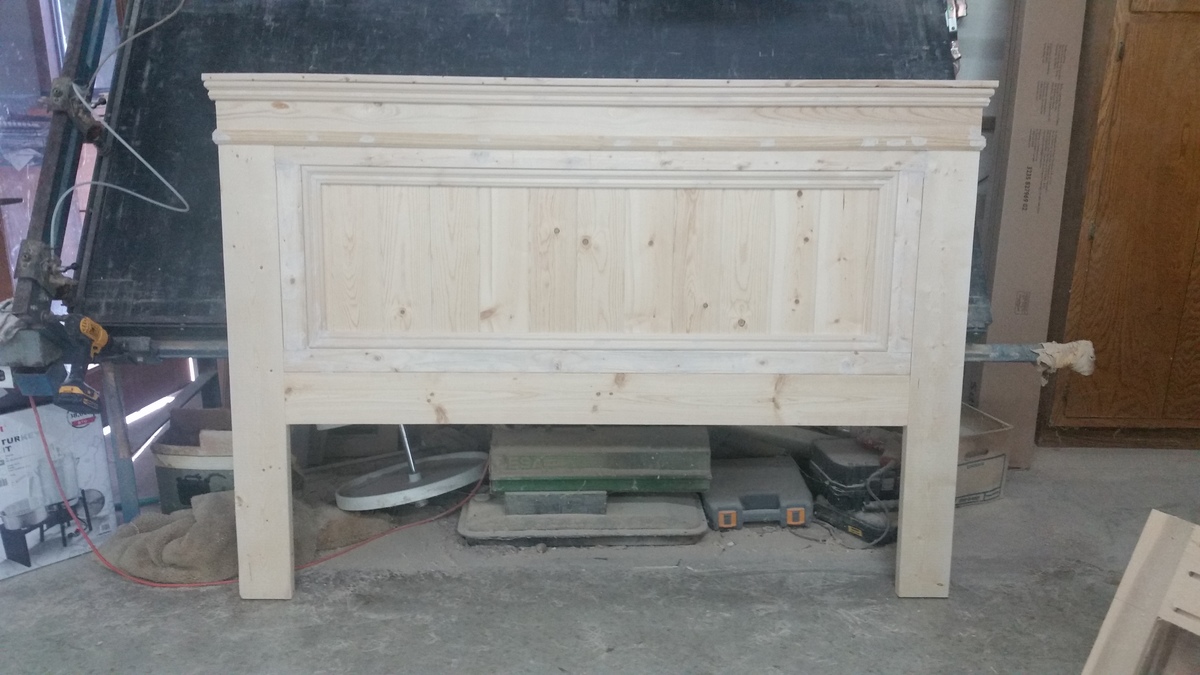
This was a fun and quick build! Because I had an existing bed frame (and didn't want to headboard to stick out past the mattresses) I narrowed this by eliminating (1) tongue and groove board and changing the "legs" to 2 x 6 boards instead of the 2 x 4's in the plan -- overall width ended up at 76-1/2". Before framing out the tongue and groove, I cut the exposed tongue off of the last board so the frame would attach better. After getting it all together, I wished I had used a 1 x 4 (or perhaps even a 2x4) as the very top piece so it hung over the moulding more. I painted it with Old-Fashioned Milk Paint in Tavern Green and sealed that with Howard's Citrus Shield. The wax turned it a little too John Deere green so I'm thinking I'll go back with a Burnt Umber Wax to darken the color a little. Overall this was a great project that got me back in Dad's wood shop and refueled my love of building things. I'm searching out my next project now.
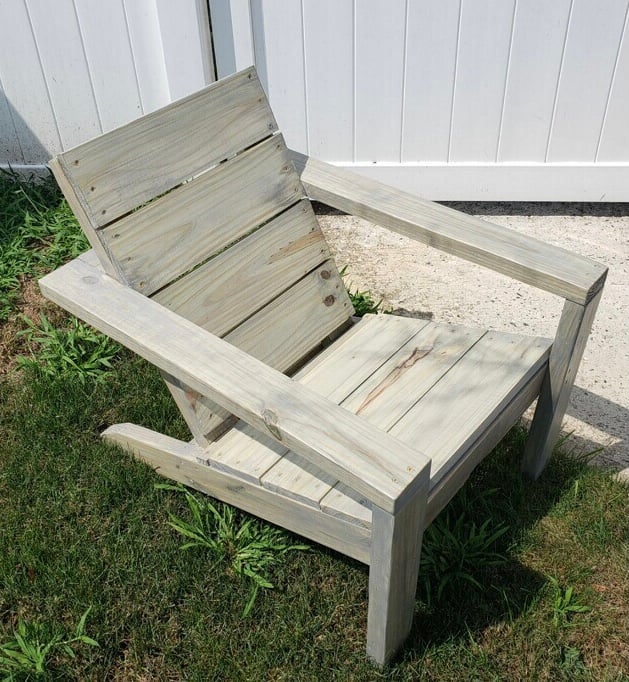
I made this with 1x6 since Home Depot didn’t have any 1x10 treated wood. All the wood I used is treated. I also used the exterior screws and put on a gray poly mixed stain for a little extra protection. I of course messed up the angles twice on the feet, but they just look like I gave them extra decoration now lol. Everybody loves this chair!
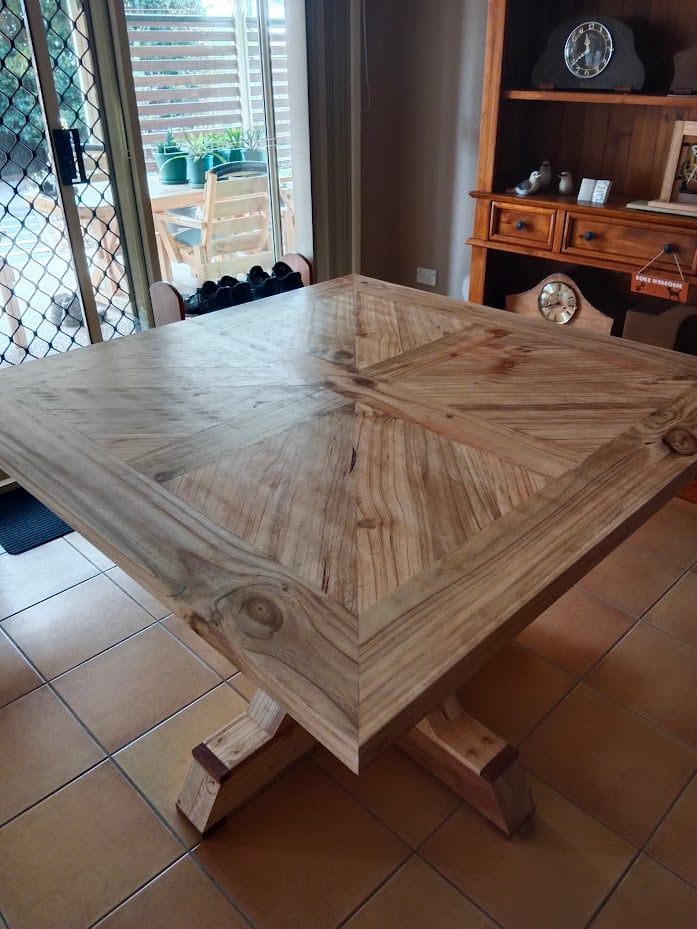
The entire table was made from 200mm x 50mm x 2400mm pine landscaping sleepers. Finished with Cabots benchtop clear
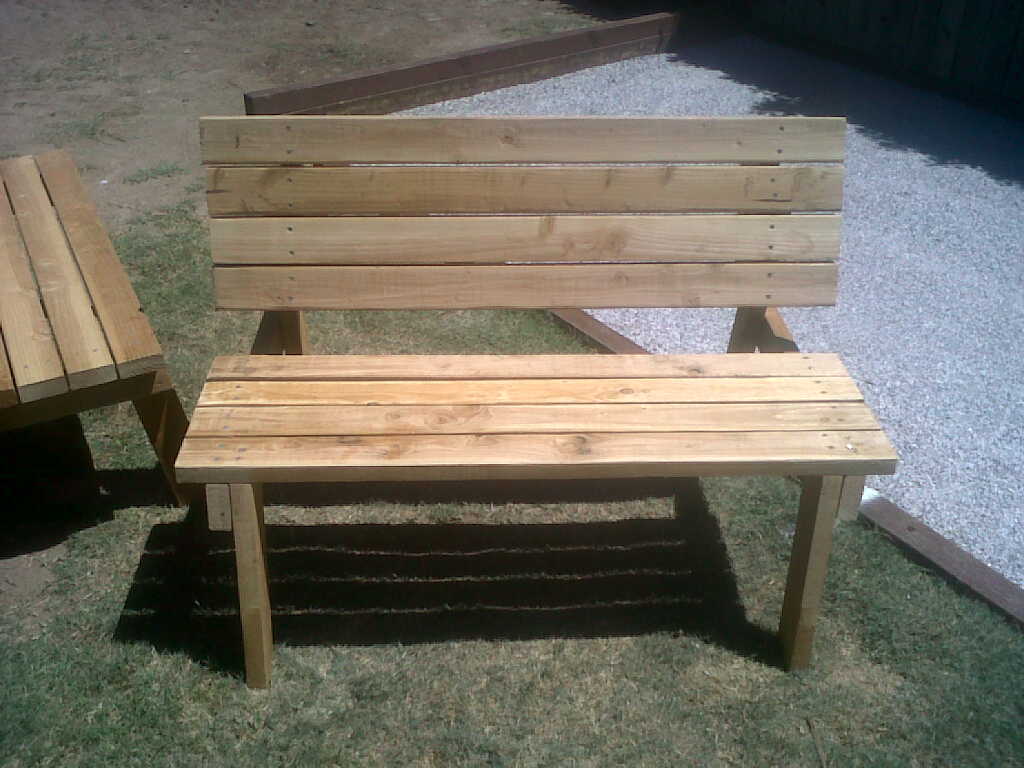
I found out what the rack in the drive up area of my local Lowes was!
I often see piles of wood and sheets or plywood and such sitting there, but I never paid it much mind-turns out its a clearance rack of sorts they call it the "cull" rack, because they are culling the items from inventory that may be cut, chipped marked etc.
So I was at the store buying something for my Bocce Court and saw this pile of 16ft 2x4's and saw they were only $20 and there was 8 of them- so I picked em up for a "future project".
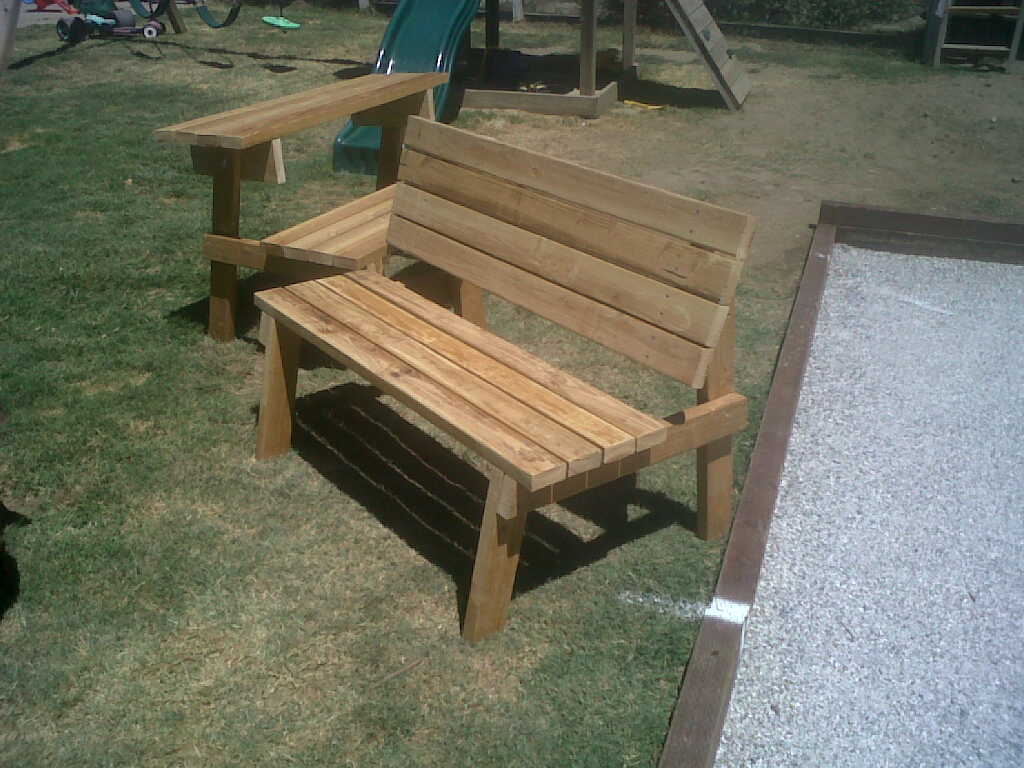
Needless to say they weren't the truest boards but they worked well enough for something like this. I had to buy a 2x6 to attach the top to because 2x4's aren't wide enough to give proper clearance as the plans showed(and I really didn't want to reinvent the wheel on this) so i bit the bullet and bought a $3 2"x6"x8'
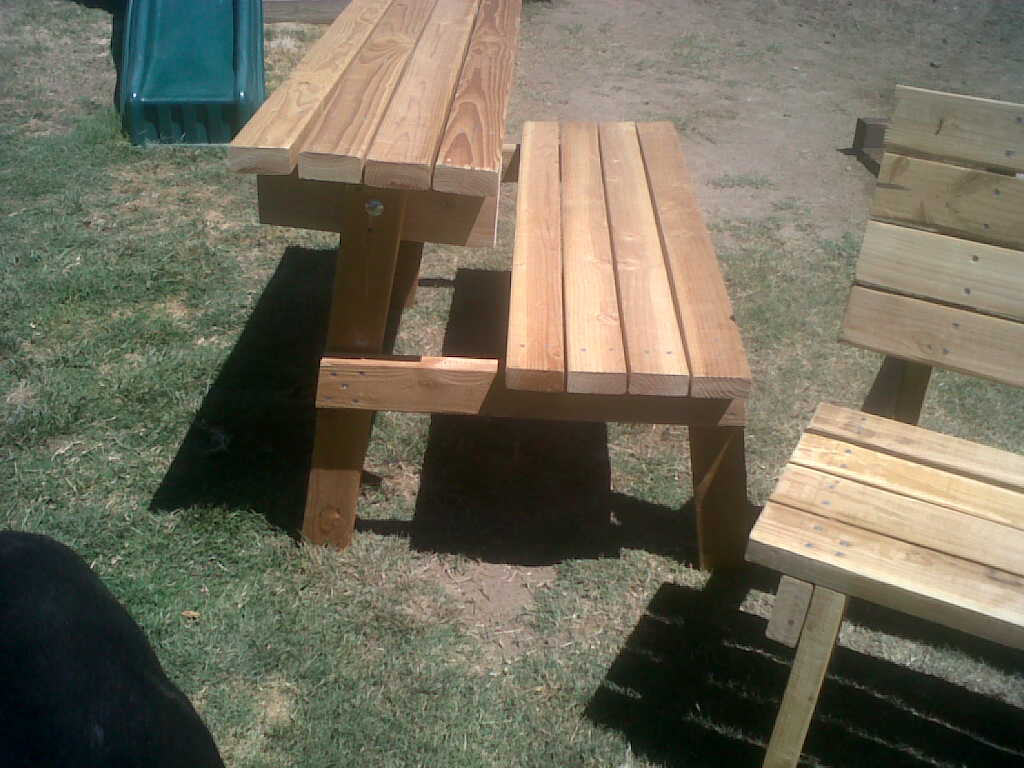
Now if you notice I used all 2x4's for this instead of 2x6 so I adjusted the top to 14 1/8 to accommodate 4 2x4 pieces separated by spacers I use when installing wood floors. I made no change to the seat dimensions, but there is 4- 2x4's vice 3- 2x6's.
Great plan- perfect for more seating on my weekly bocce nights and they hold in excess of 600 lbs easily for those concerned about load limits.
(Note for those curious, that is my Bocce court in the background, it is 10'x60' and built with pressure treated 4x6's and 2x4's and a whole bunch of DG and crushed oyster shells.)
Thu, 02/23/2012 - 11:14
I plan to build several of these for my daughter's family. They stand around a fire most nights in the spring. Those nights often end up with roasted hot dog dinners with the friends who have dropped by. The dual purpose of these would be perfect!

Wanted something that could accommodate two foot stools so I made a couple of changes to the bottom construction and added casters. My version is a bit rough and ready (first time building a piece of furniture) but your plan was easy to follow and it's perfect for our space. Thank you for making these plans available and your comprehensive videos! My husband wants to know when I'm starting my next project.
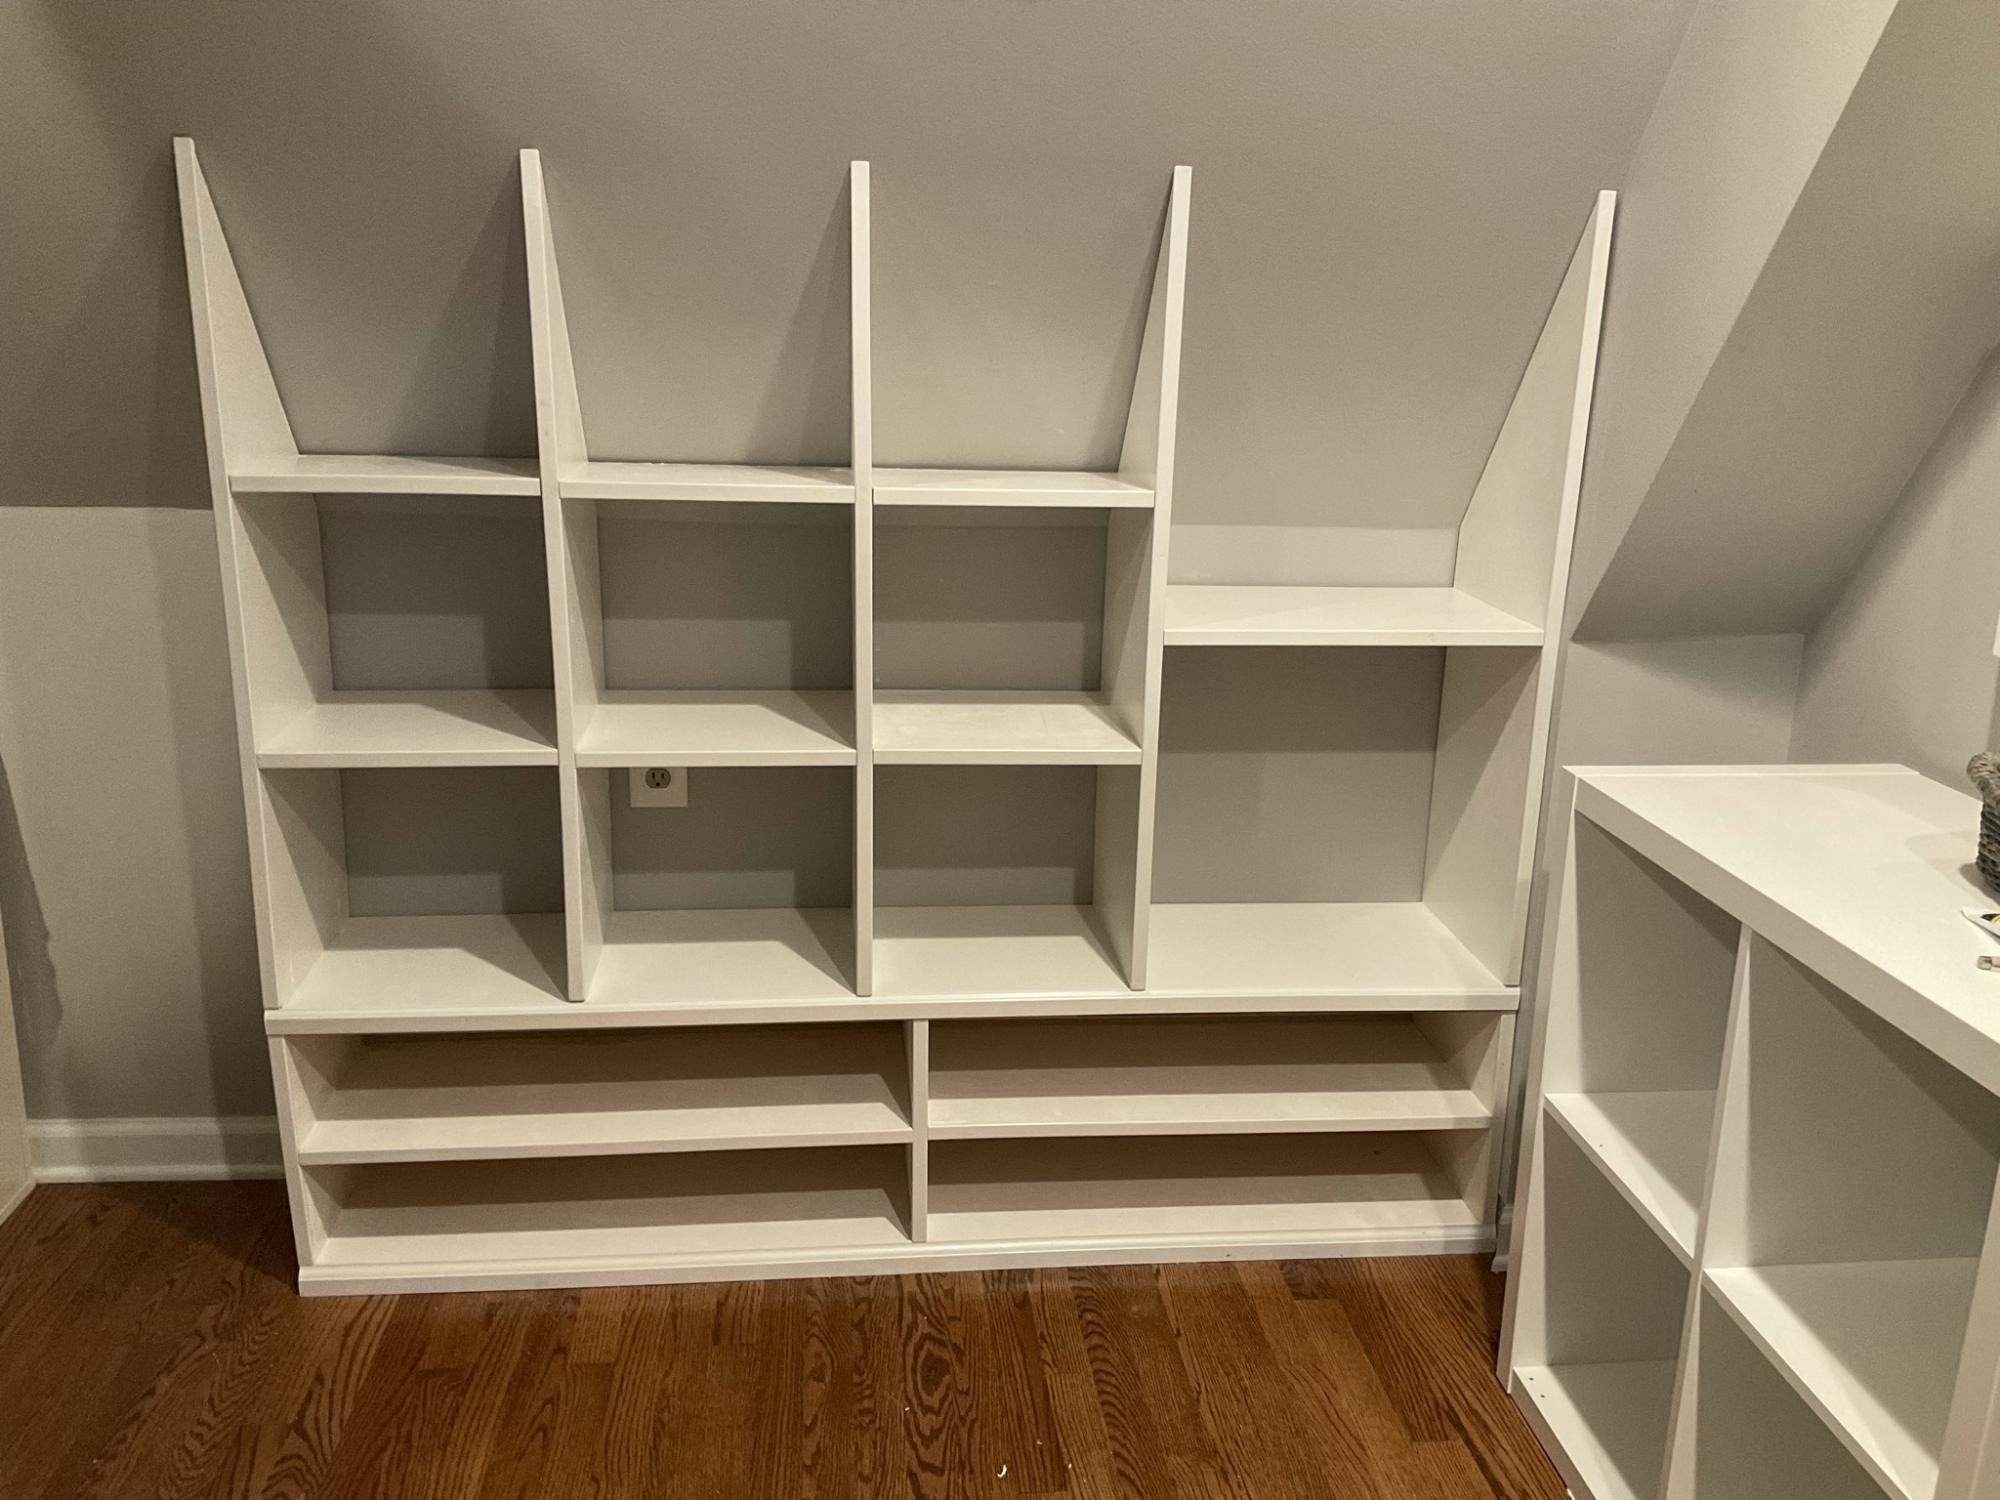
I used Ana’s Shelf Help Configurator to build these shelves for a deeply sloped ceiling. None of those well known Closet Organizer Companies could come up with a decent plan for this closet and they charge a small fortune.
Wed, 08/28/2024 - 20:52
Cool. I’ve been looking for wood working classes so I can do something with my long narrow attic (bonus/media) craft room.

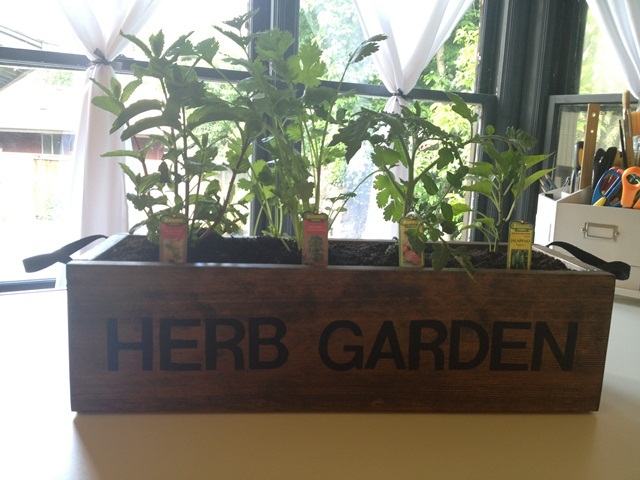
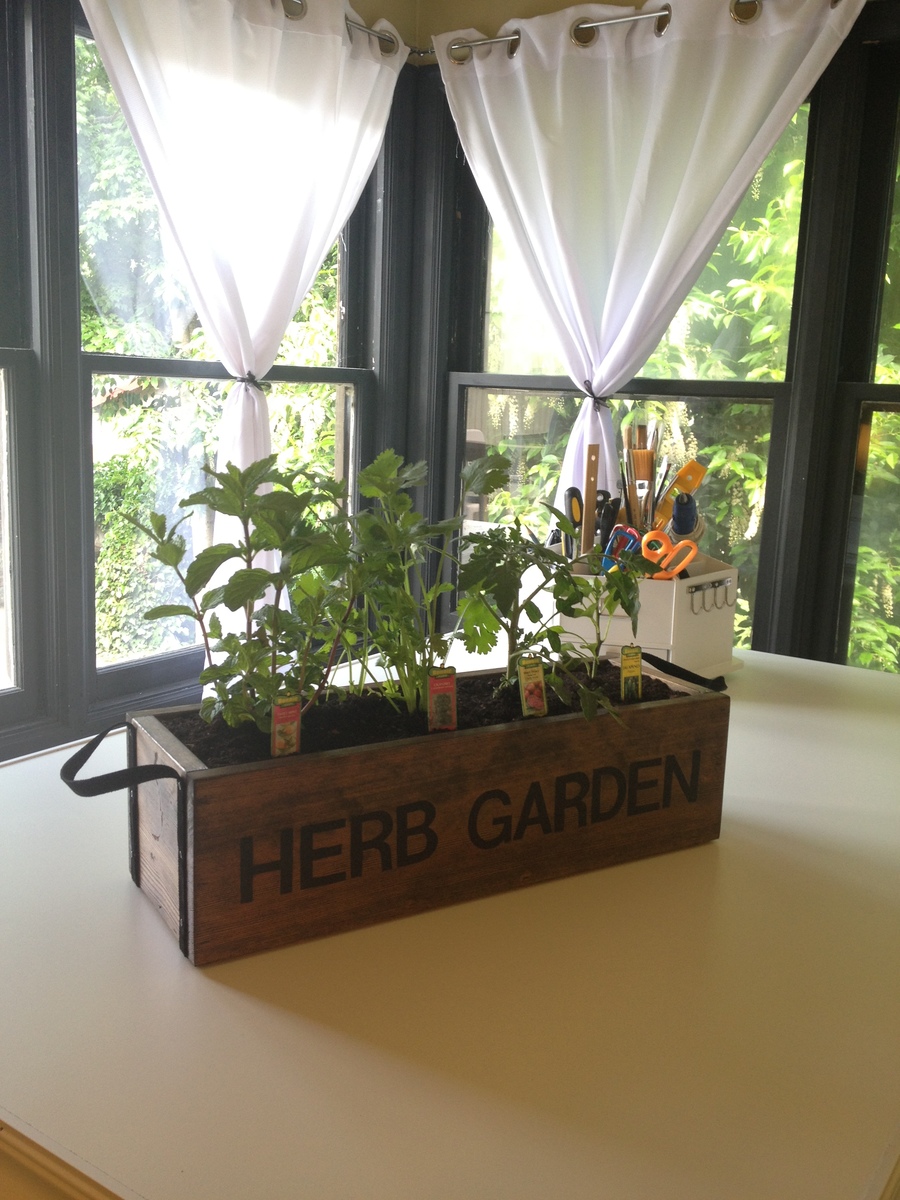
I followed the instructions for Ana's Herb Garden box. For the handles I used leather strips from Michael's. I think it turned out really nice! I almost wanted to keep it, but I still have scraps to build my own. I am LOVING the Minwax Special Walnut color. It's definitely my favorite!
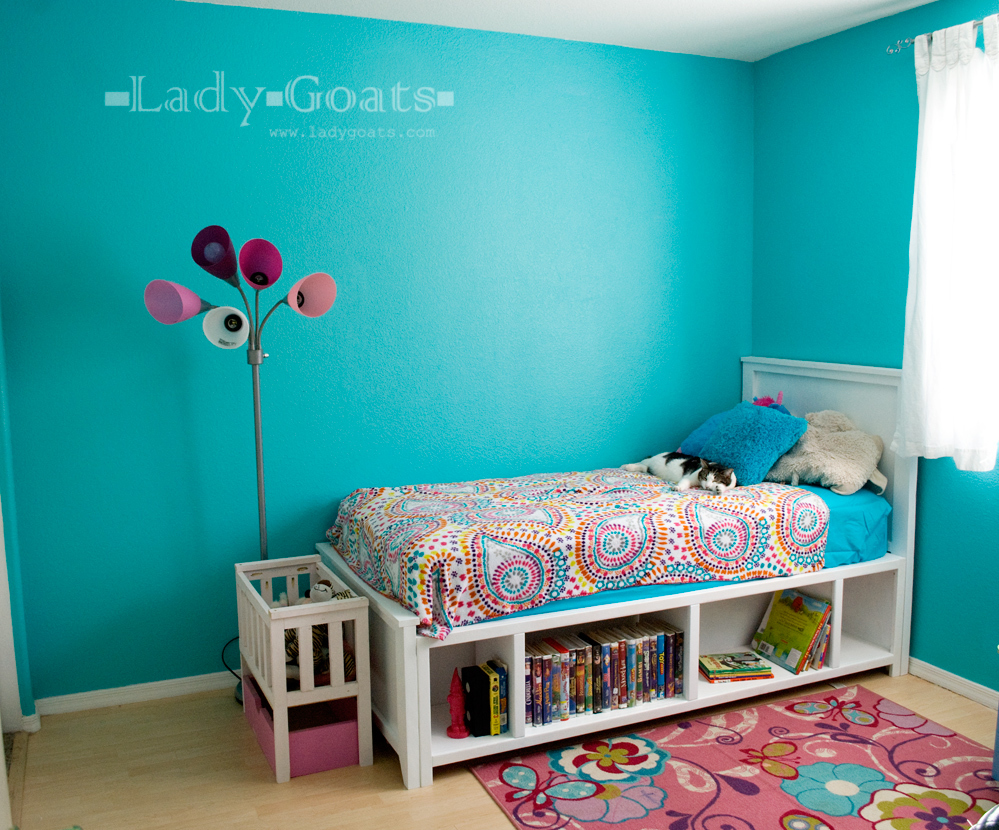
My youngest was outgrowing her crib-turned-toddler bed, so I let her pick a bed for me to build, and this was her choice. Fortunately, it's a bed I've already built, so it sure made life easier. The plans for this bed are inaccurate, which I learned the last time I built it, so I was prepared for the modifications I would have to make. While I was at it, I made the headboard 4" shorter and the footboard an inch and a half taller (to hide the end of the mattress). I also trimmed out the dividers. All personal preference.
Wed, 10/16/2013 - 19:12
What is that wall color and where did you get the rug???? Your build is, as always, beautiful, but I absolutely LOVE that paint color on the walls. Would love to use that somewhere in my home.
In reply to What is that wall color and by Pam the Goatherd
Thu, 10/17/2013 - 11:47
Hi Pam! Thanks!

"I don’t consider ourselves experts at all and your plan was so easy to follow. We can’t wait to introduce our chicks when they’re old enough to transfer outside."

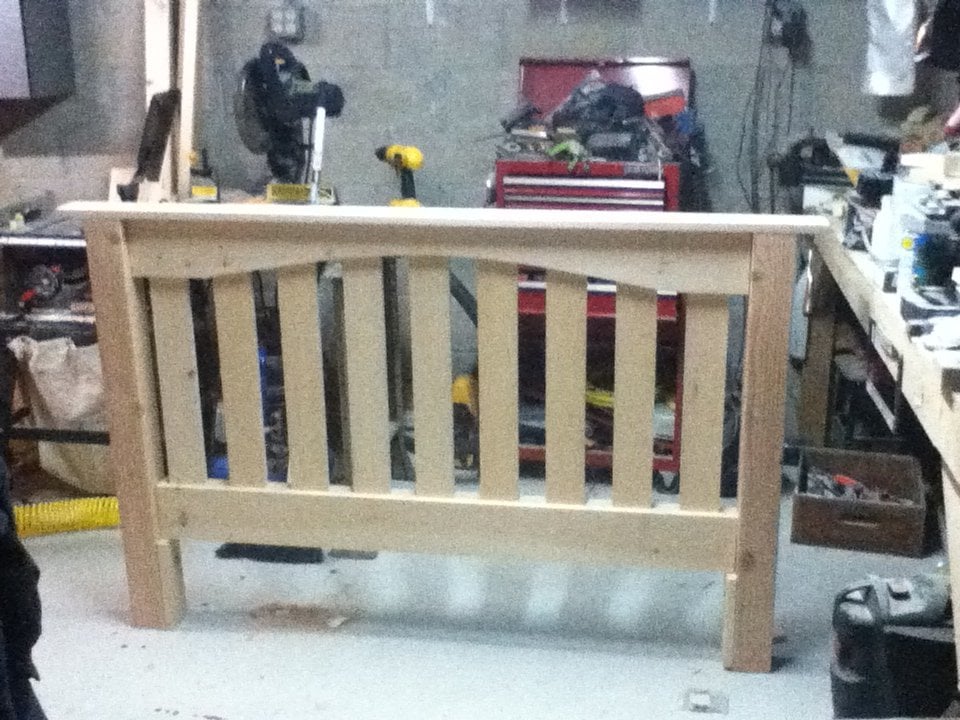
I'm building new beds for my daughters for Christmas. My oldest wants a bigger bed, so she's getting the full size simple bed. My baby bear needs a little more space in her room, so she gets the loft bed. The loft bed is finished but no pic's yet, as I can't assemble it till Christmas. For the full bed, I combined the Simple Full Bed with the Simple Bed with Arch. It's not quite finished yet, but here is a picture of the headboard. I'll add more pics when I'm done. I want to thank Ana for the hard work she puts into this website. To go out and buy similar beds to the ones I'm building would have probably cost me a couple thousand dollars, and would have been made of flake board. Because of Ana's plans, both my children will sleep on good quality, solid wood furniture for under five hundred dollars. Thanx Ana!
Fri, 12/30/2011 - 18:00
Just added a picture of the finished product. Family and friends are putting in orders. Looks like I'm gonna be busy for a while!
Fri, 10/24/2014 - 06:13
Not sure why but I likeyour arch version so much better. I can't tell what the difference is between yours and the original, perhaps more subtle arch? Very nice.
Can you post some pics of what it looks like today??
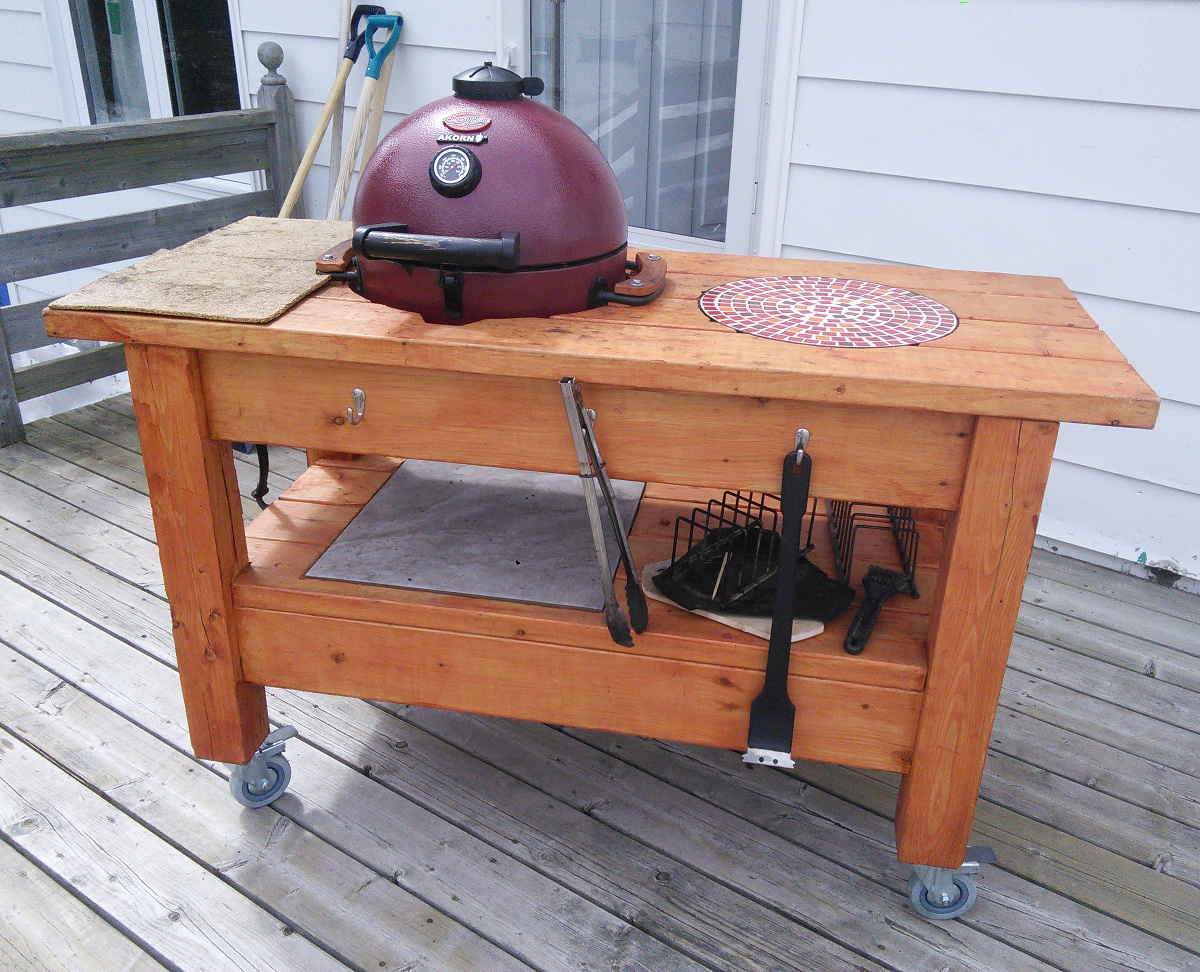
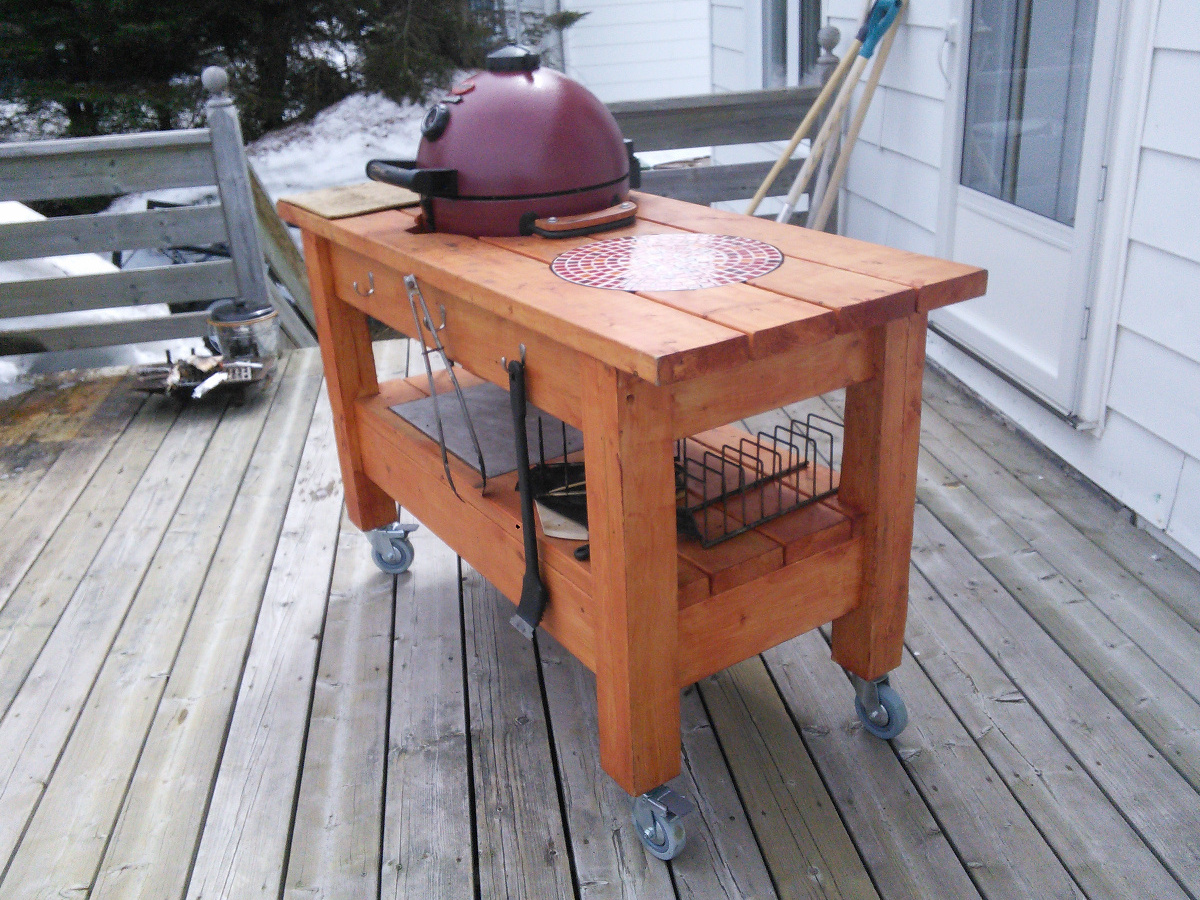
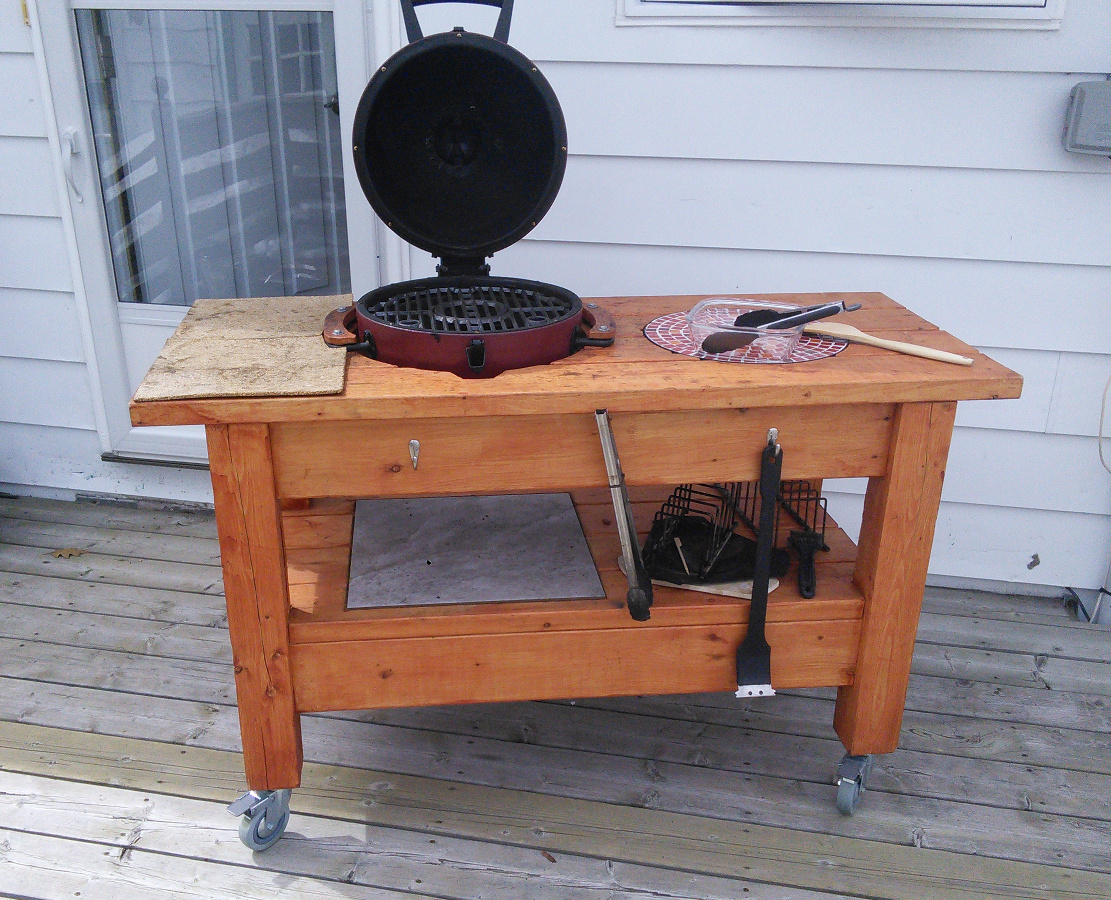
The table assembly was Inspired by farm table and workbench plans. It was built from construction grade untreated 4x4 and 2x6 and assembled using Kreg pocket screws and glue. Finish is semi-transparent wood stain. Rather heavy, the table have locking wheels to help move it. The lower shelf is used to store accessories.
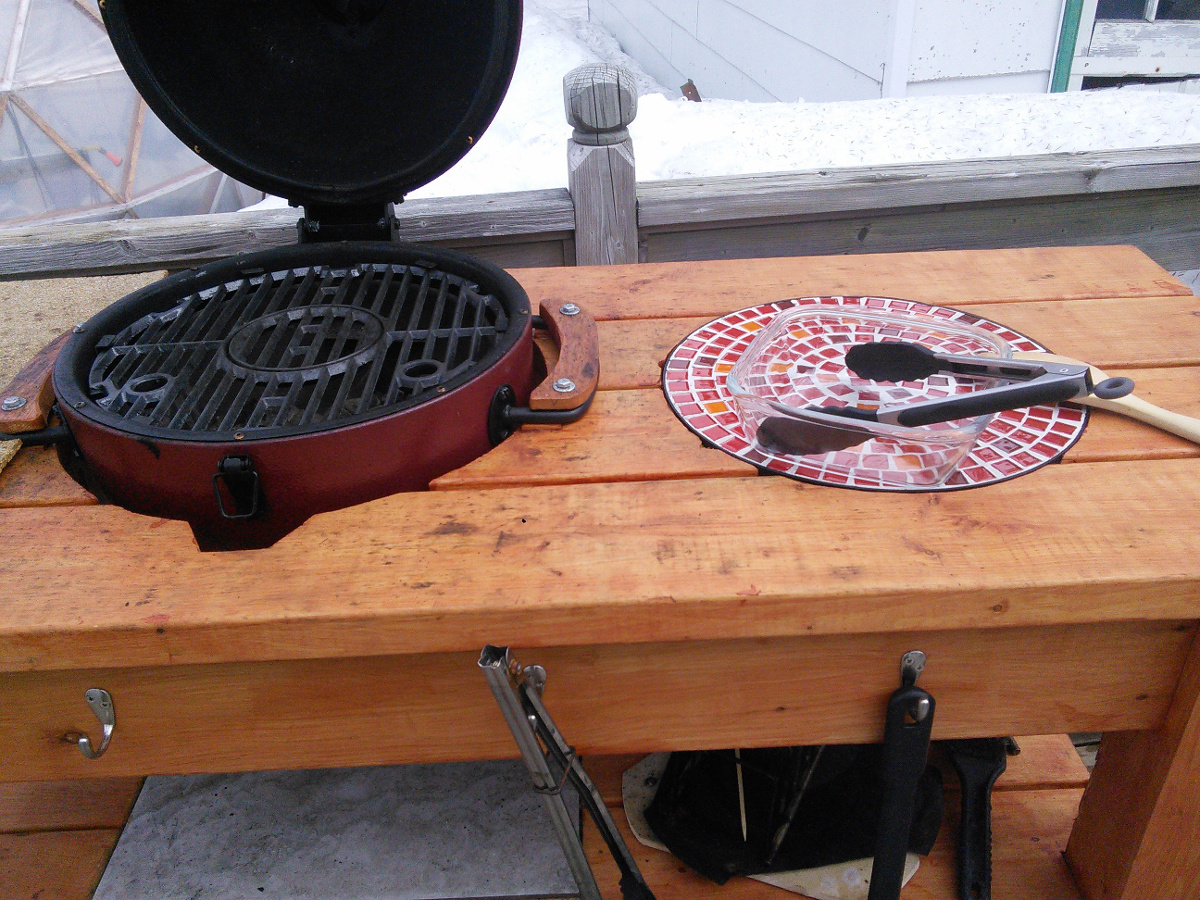
The small kamado is just the right size for two people. I added a large ceramic tile under the firebox plus a small inlay next to the grill. That was the top of a small patio table. A few hooks were added as a final touch.
We built it last year; it gets a lot of use as a grill, smoker, bread and pizza oven.
We are very satisfied with the outcome. Many thanks for the plans and inspiration.
Mon, 08/02/2021 - 23:34
Your grill is very beautiful, but I prefer cooking in the kitchen, I will explain why, I recently read a lot of Kitchenotic.com here, what connects me and the kitchen most of all is the answers to my any questions, no matter how stupid they are and the answers were always correct
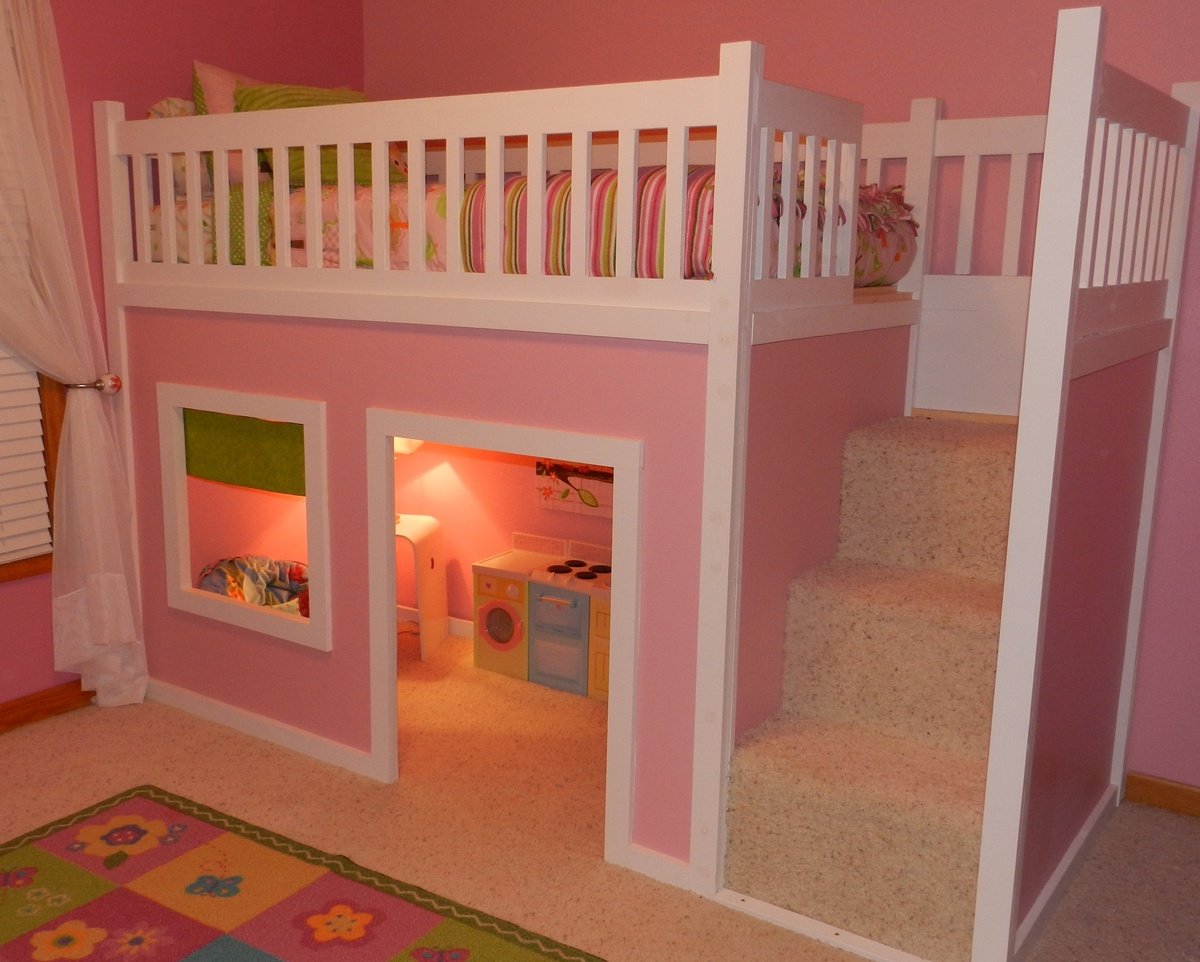
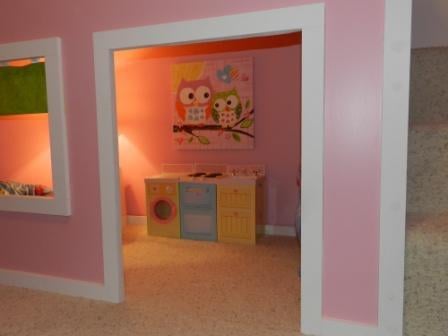
When I showed my husband the plans for this playhouse loft bed on Ana's site, he decided that we needed to build it for our daughter for Christmas. We combined the two plans for the Playhouse & the stairs and modified it slightly to fit our space. We had left-over carpet which we used on the stairs. She absolutely LOVES it!! And secretly, I think her 3 older brothers do, too. Thanks SO much, Ana!!
Sat, 01/12/2013 - 19:47
Omg....I love this I need to know how to do out....so I can make my husband build it..
Thu, 01/05/2012 - 06:34
are the plans free, and if so can I get a copy?
Thu, 01/05/2012 - 07:16
Philip and Guest -
The plans are free, and click on the links in the post
From Plan: (plans are linked here)
Sun, 01/15/2012 - 17:58
RE: http://ana-white.com/2012/01/playhouse-loft-bed-stairs
Would you please send me the plans for the Playhouse Loft Bed with Stairs?
Thank you.
Tue, 01/17/2012 - 09:20
I would like to know how to get a copy of the plans for this bed. This is exactly what I want to do in my little girls room but I have not beed able to find plans. Thanks!
In reply to Playhouse Loft Bed Plans by Guest (not verified)
Fri, 01/27/2012 - 21:44
If you look in the section above, you'll see "From Plan:" There are two links (they're black and don't look like links. You'll need to hover over them). One for the basic bed and one for the stairs.
Tue, 01/17/2012 - 18:38
I do not see the plans for the playhouse loft bed. Where is it located? Can you email it to me or post the link?
Thu, 01/19/2012 - 21:42
In reply to Age by Guest (not verified)
Fri, 01/27/2012 - 21:38
I would say your 2 year old daughter is a little young for a bed this high. I think general guidelines would suggest waiting until age 6 for lofted and bunked beds, but I think that's being very cautious. Our daughter is just about to turn 4 and she does fine in it.
Wed, 01/25/2012 - 11:29
You did a great job! That looks fantastic!
I'm going to be making this bed within the next month or two for my daughter. She's 4 (will be 5 in April). I know the overall design isn't *that* high off the floor, but my daugter has a tendency to roll out of bed...often. LOL
Do you find the guardrail/slats are high enough to prevent roll offs, or should I add some height to them when I build?
Yours turned out awesome! I can see why your daughter (and sons) love the bed!
Cindy
In reply to Looks fantastic! by Cindy from Indiana (not verified)
Fri, 01/27/2012 - 21:34
Hi Cindy.
Thanks for your kind words.
We had the same concerns about our daughter rolling or falling out. She is almost 4, but still had rails on her previous bed. We put the slats that the mattress sits on in the very lowest possible position and actually traded twin mattresses with her brother who had a thinner mattress. Her's had a pillow-top and even the extra 2 inches made quite a difference.
There are nearly 9 inches between the top of her mattress and the top of the rails which is plenty to prevent accidental roll-outs, but it certainly wouldn't hurt to add extra if it would make you more comfortable.
Now if we could just keep her from standing up there, I'd feel a whole lot better. lol
Good luck with yours.
Kara
Sat, 01/28/2012 - 07:27
Hey Kara,
Thank you so much for replying! That does make me feel more comfortable that there will be around 9" between the mattress top and the rail top. Not sure yet if I'll add a bit more or not, but it's good to hear how it worked out for you guys. Now I'll be hoping to keep my little dare devil from trying to 'fly' off the top of it and we'll be good to go. LOL
Thanks, again! That was really helpful.
Cindy
Thu, 01/26/2012 - 12:59
Hi! LOVE THIS!!! Am planing on making for my daughter. Any chance there are plans for this in a Full Size bed?
In reply to Hi! LOVE THIS!!! Am planing by Guest (not verified)
Fri, 01/27/2012 - 21:48
I've seen some posts on Ana's Brag Boards of these lofts with full sized mattresses on top. Ana's original plan is a twin bed, but others have modified it to suit their needs. You may just want to search and see if anyone has included their plans for a full. Sorry I can't be more help. Good luck!
Tue, 01/31/2012 - 18:32
That is very nice if you dont mind me asking how long did you make that one... I am wanting to make one for my daughter but I dont have 103 inches that called for in the one plan...
In reply to Very Nice... by JessiW (not verified)
Sat, 02/04/2012 - 16:10
We made our bed to the exact specifications that Ana gave (103"), however, if you need to save space, you could leave the stairs off and opt for the ladder.
In reply to Bed Plans by Kelly Kelley (not verified)
Wed, 02/15/2012 - 18:34
Hi Kelly,
There are links to the 2 plans in the "ABOUT THIS PROJECT" section above. Just hover your cursor over the "From Plans:" and the links will change color. They appear black and therefore, don't look like they're linked to anything. They're both there. Good luck!!
Sat, 02/11/2012 - 09:30
I need the plans for this can someone please send me them :) [email protected]
Wed, 02/15/2012 - 18:40
There are links to the 2 plans in the "ABOUT THIS PROJECT" section above. Just hover your cursor over the "From Plans:" and the links will change color. They appear black and therefore, don't look like they're linked to anything.
Or...I've added them here.
http://ana-white.com/2010/09/playhouse-loft-bed
http://ana-white.com/2010/09/easy-playhouse-loft-bed-with-storage-stairs
Mon, 03/05/2012 - 20:01
Hi there, I was wondering if you could tell me where you got the fabulous little washer and dryer combo that I see in the photo. I know the sweet owl painting is from target, but I love the little play space you seem to have created! :)
Sat, 03/17/2012 - 22:52
I LOVE this so much! I love the color scheme as well, we decided to copy the scheme in my daughter's room. I was wondering where you got the curtain from? Did you buy it or make it yourself? It's almost exactly the color of the green paint we bought so I would love to know. Also, I love the washer and dryer too, also curious about that. Thanks!
In reply to Cute Decorations! by Kirstie (not verified)
Mon, 03/19/2012 - 19:40
Hi Kristie.
I made the little curtain and the little washer/stove/sink set are from the Playskool Rose Petal Cottage collection. Good luck building your playhouse. It's a little girl's dream!!
Wed, 03/21/2012 - 20:27
Hi Kara,
I'm really interested in building two of these for my girls... they caught my attention because they've been asking for a bunk bed and I don't want to do a bunk bed because I hate the idea of struggling to change the bedsheets. Just wondering if it's a hassle with a bed this height.
Yours looks amazing, btw!
Thanks,
Sarah
Tue, 04/10/2012 - 11:18
oh my god i love this it would be awesome for my daughter also. were you able to stay in your budget???? do you think is a safe style for a 3 year old? she would go absolutely nuts!
Fri, 04/13/2012 - 20:17
so beautiful! if i wanted to do this with a full mattress how would i tweak the measurements? i want to do this with a full with the stairs... just so she can be in the bed for a longer period and also the space underneath to be a bit bigger... also if i wanted to make the stairs have a drawer? i really would appreciate alll the feedback if possible because im so far from handy... :-/ and 1 more thing how did u get a light down there?
Fri, 05/11/2012 - 18:27
I was wondering if once put together is it easy to take apart? My dad builds houses for a living and was going to make it for my daughter at his house then bring it to mine to set it up
Sun, 06/10/2012 - 14:40
My husband and I just finished making this bed with stairs for our 3 year old and he loves it.
Tue, 06/12/2012 - 06:41
what age would you reccommend this for?? my son is 3 n a half and i woant to attempt to make this bed, but dont want to spend time and money if i will have to buy him a new bed in a couple of years. i would like it to last a good while. also, like veahava, i was wondering if this was easy to dismantle once put together as i am planning a move in the future, thankyou
Tue, 10/02/2012 - 02:14
This is absolutely divine - you are so talented! I have just found this website and can't imagine I'd ever be able to make something so beautiful. Putting up a shelf is beyond me. Your daughter must be so proud of her little nighttime palace!
Sun, 10/21/2012 - 20:01
I am trying to get the plans for this bed with the stairs but when I click on the link it doesn't give me the plans. Help, my granddaughter would love love love this. Thank you so much.
Wed, 01/16/2013 - 06:05
hi!
Someoneo to tell me how many hours spent on it?
Mon, 02/04/2013 - 20:53
PLEASE, PLEASE, PLEASE, SOMEONE TELL ME HOW TO GET THE PLANS, I REALLY WANT THIS BED FOR MY LITTLE GIRL!!!!
In reply to PLEASE, PLEASE, PLEASE, by ochoa
Mon, 05/25/2015 - 22:12
You can download more plans from these resources:
Thu, 02/14/2013 - 12:36
This is awesome, how do I get a copy of the plans for this bed? I would love to do this for my grand daughter as a birthday gift
Thu, 02/14/2013 - 12:48
found the link, here is it for those wo are also looking I can't wait to start this project THANKS
http://ana-white.com/2010/09/easy-playhouse-loft-bed-with-storage-stairs
Wed, 09/11/2013 - 05:11
We made this bed for our daughter and now my son and daughter play with her kitchen and table underneath in the playhouse. Your instructions were so easy to follow and everything matched up perfectly. We did do the ladder due to space but the bed is beautiful. We get so may compliments when people come over and I always tell them about your website. You truly have awesome ideas! I can not wait for the next project and I am sure it will be off your site :-)
Mon, 10/07/2013 - 17:26
I love your playhouse with loft bed! How tall is the underneath part? Would you be able to fit a desk underneath? Also, could the plans be adjusted to accommodate a double bed?
THANK YOU!!
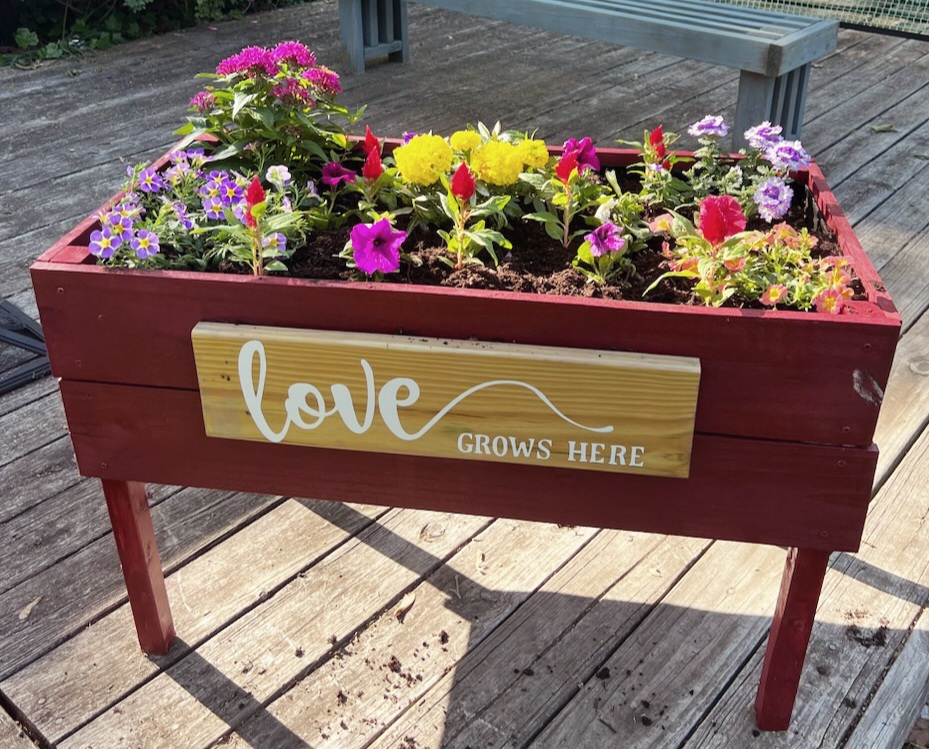
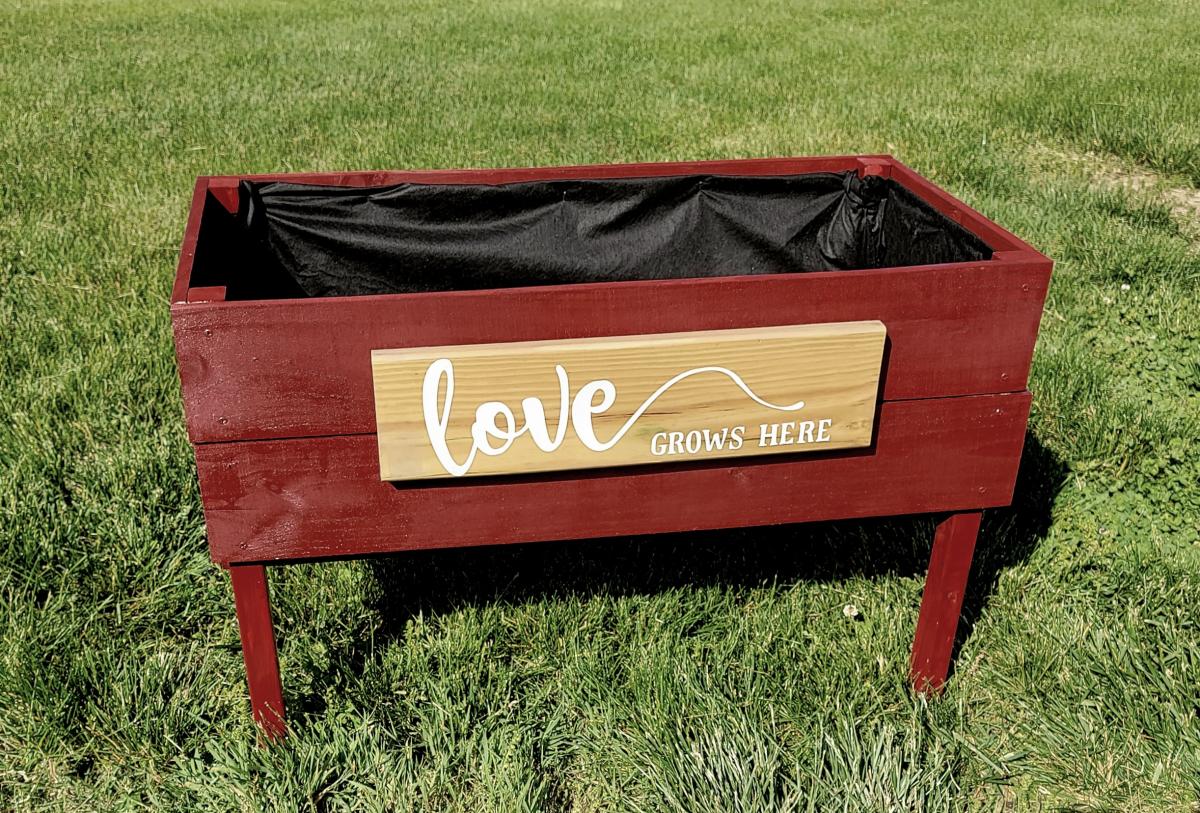
I helped my 3 grands make this for their mom for Mother's Day. They loved it and she was over the moon!

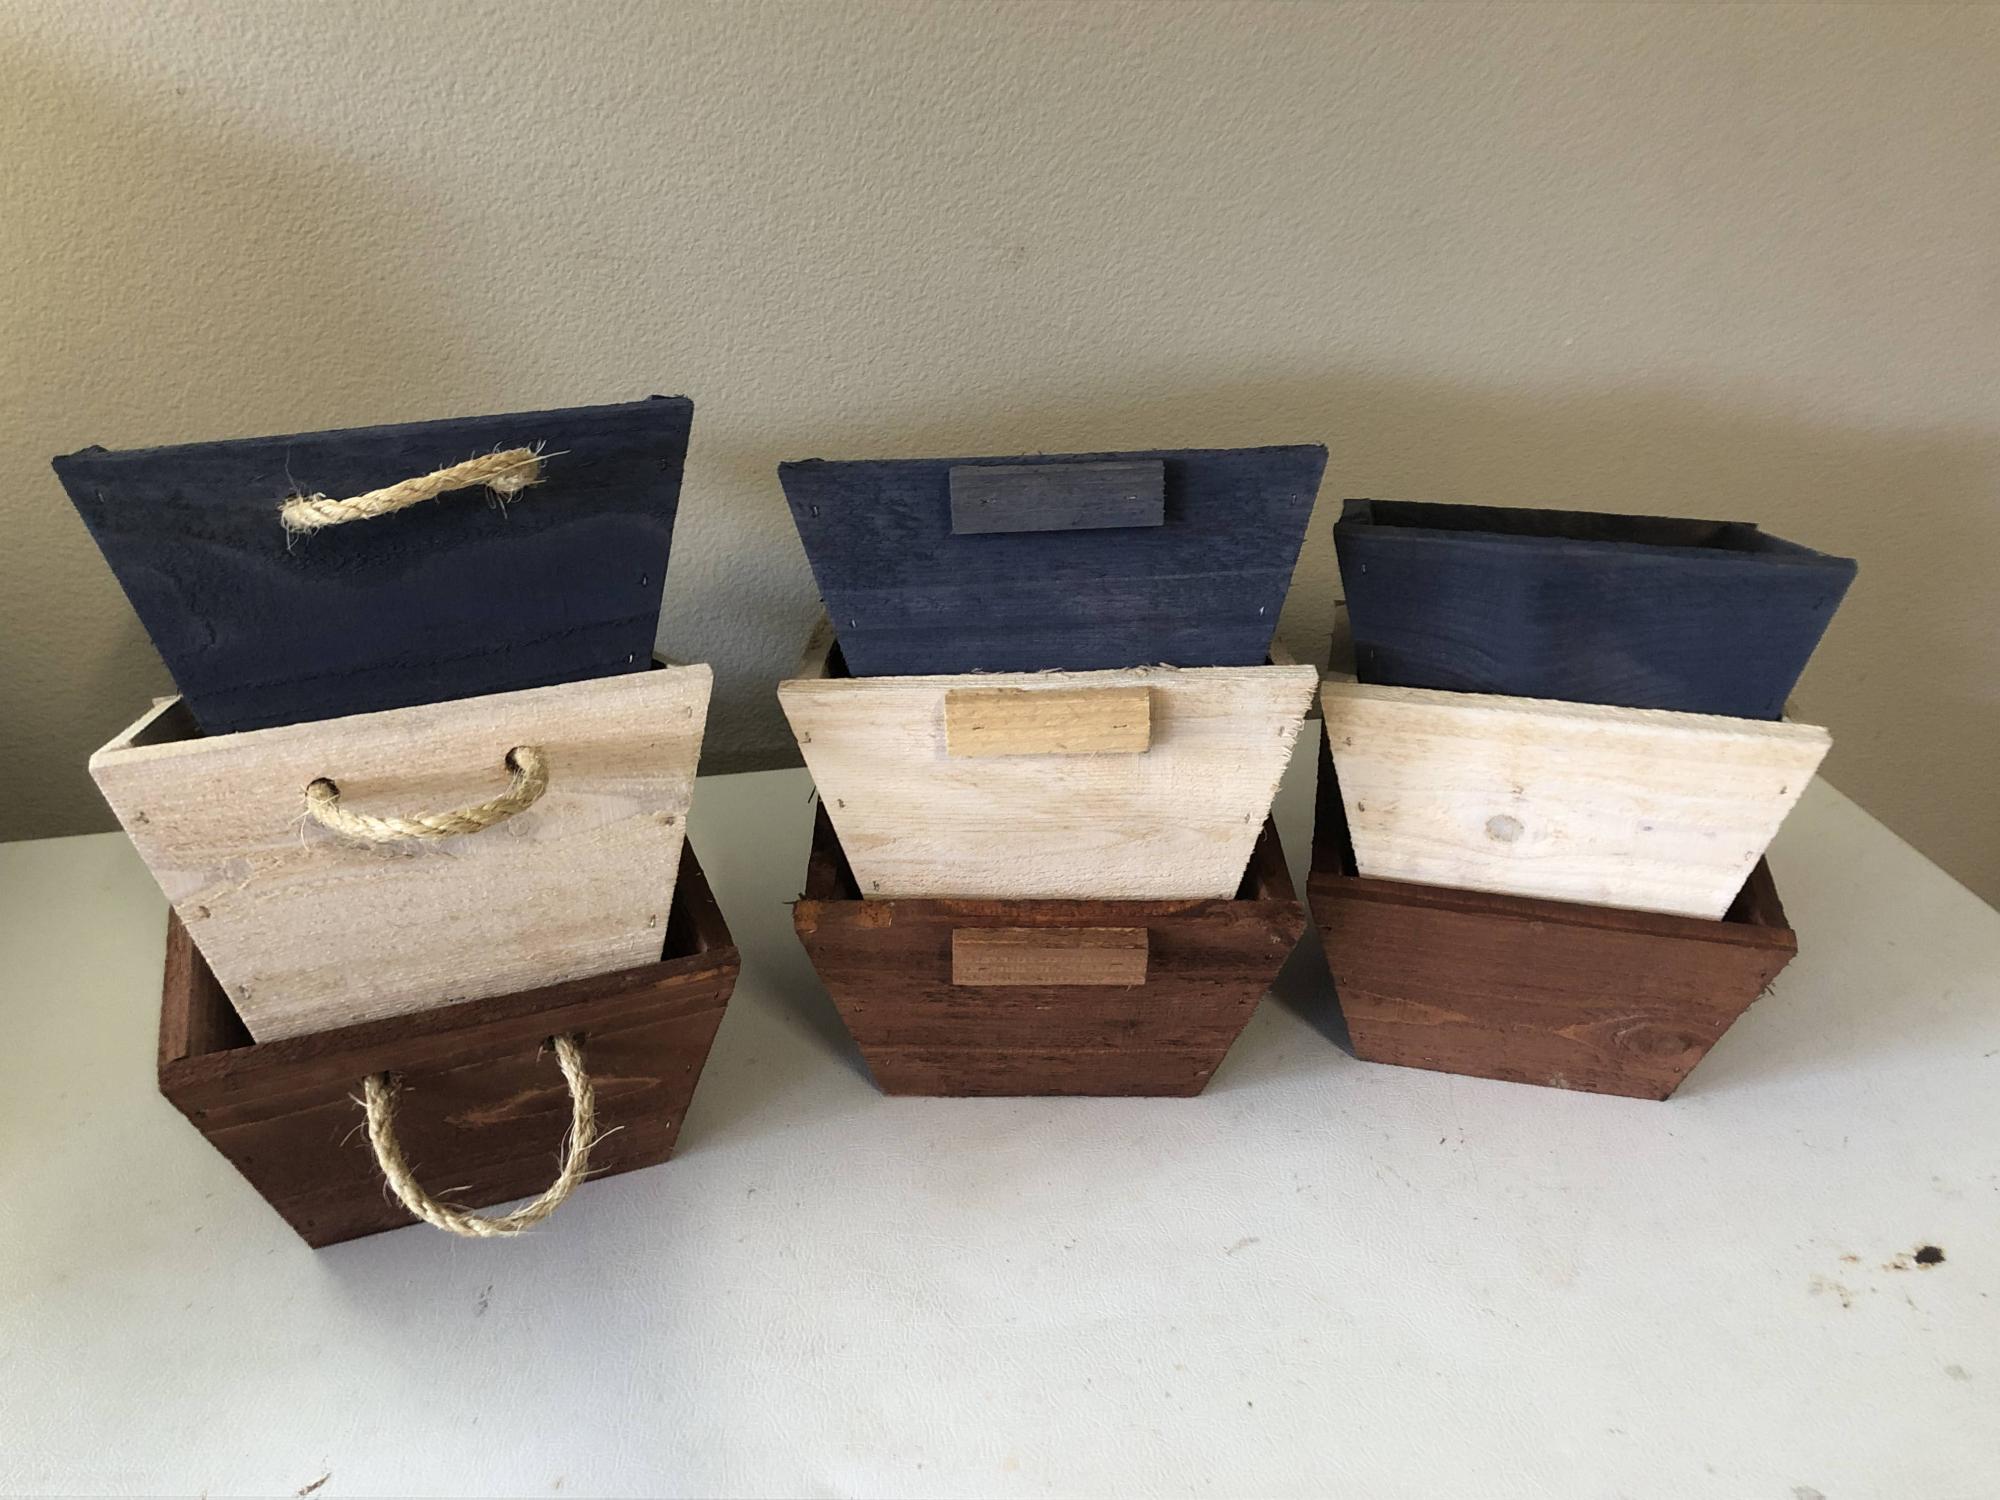
We like to fly the flag in our family so 4th of July is a big deal for us. I built three sets of crates to share, each with a little difference but all three with red white and blue stain from HD.
Easy to build and the instructions/plans were perfect. Nine crates required four cedar picketts.
My first build, farmhouse table and 2 benches. Thank you for the great plans, Ana!
