Community Brag Posts

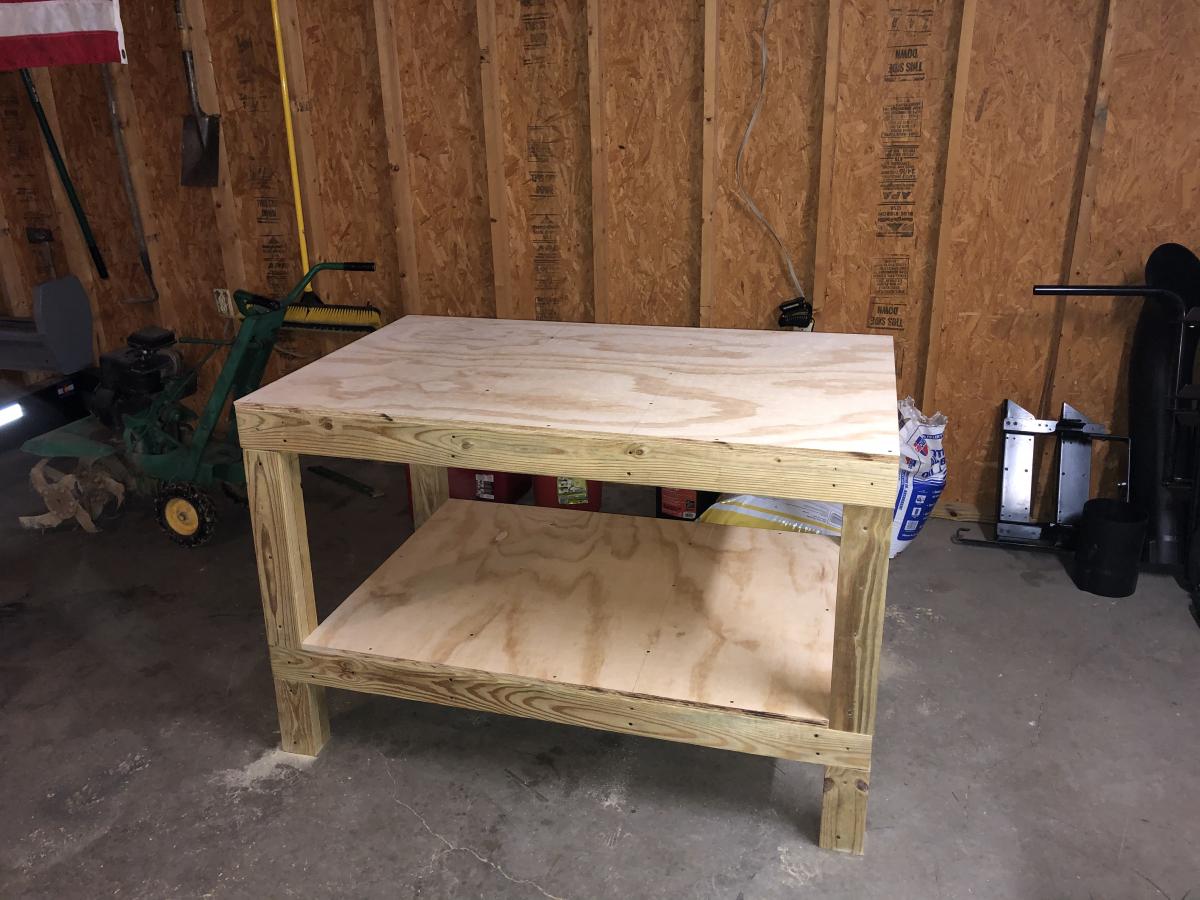
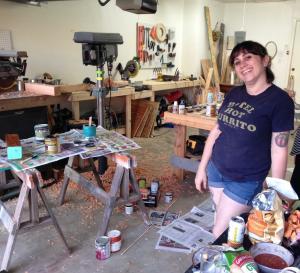
Workbench

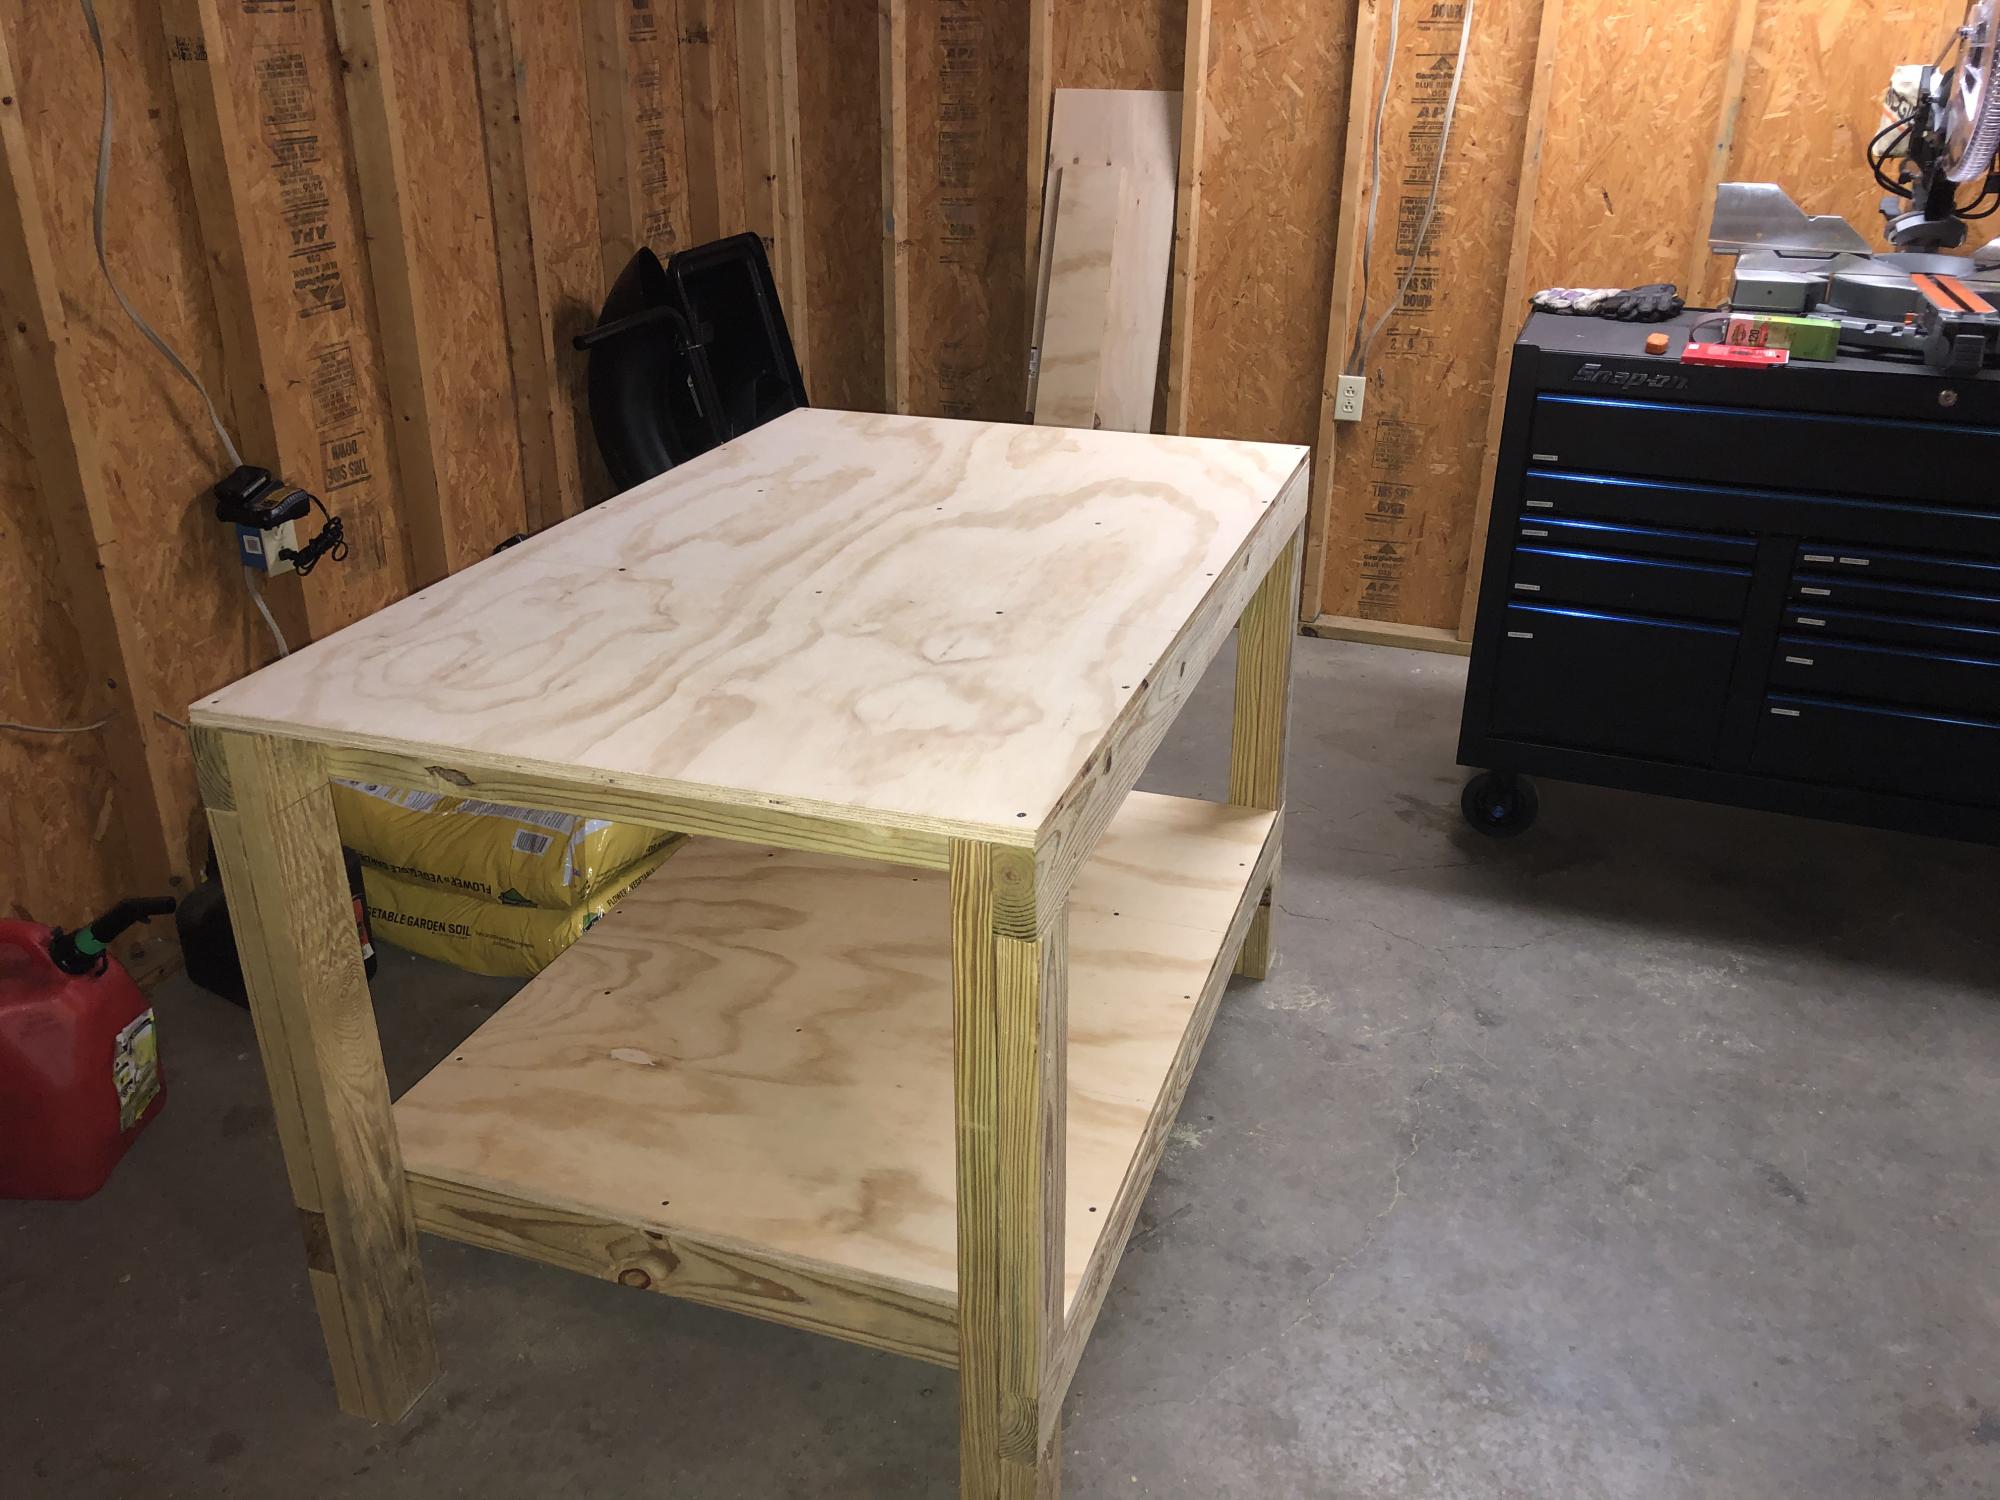
Wasn’t too awful bad. The cuts were basic and easy to duplicate. I would recommend having some clamps to hold the supports in place while you try to screw them together. Otherwise, this table is pretty heavy duty and a lot bigger than I thought it would be. I sprung for a more durable and harder wood top, oak so the cost was about $25 more.

Estimated Cost
100
Estimated Time Investment
Day Project (6-9 Hours)
Finish Used
None
Recommended Skill Level
Beginner

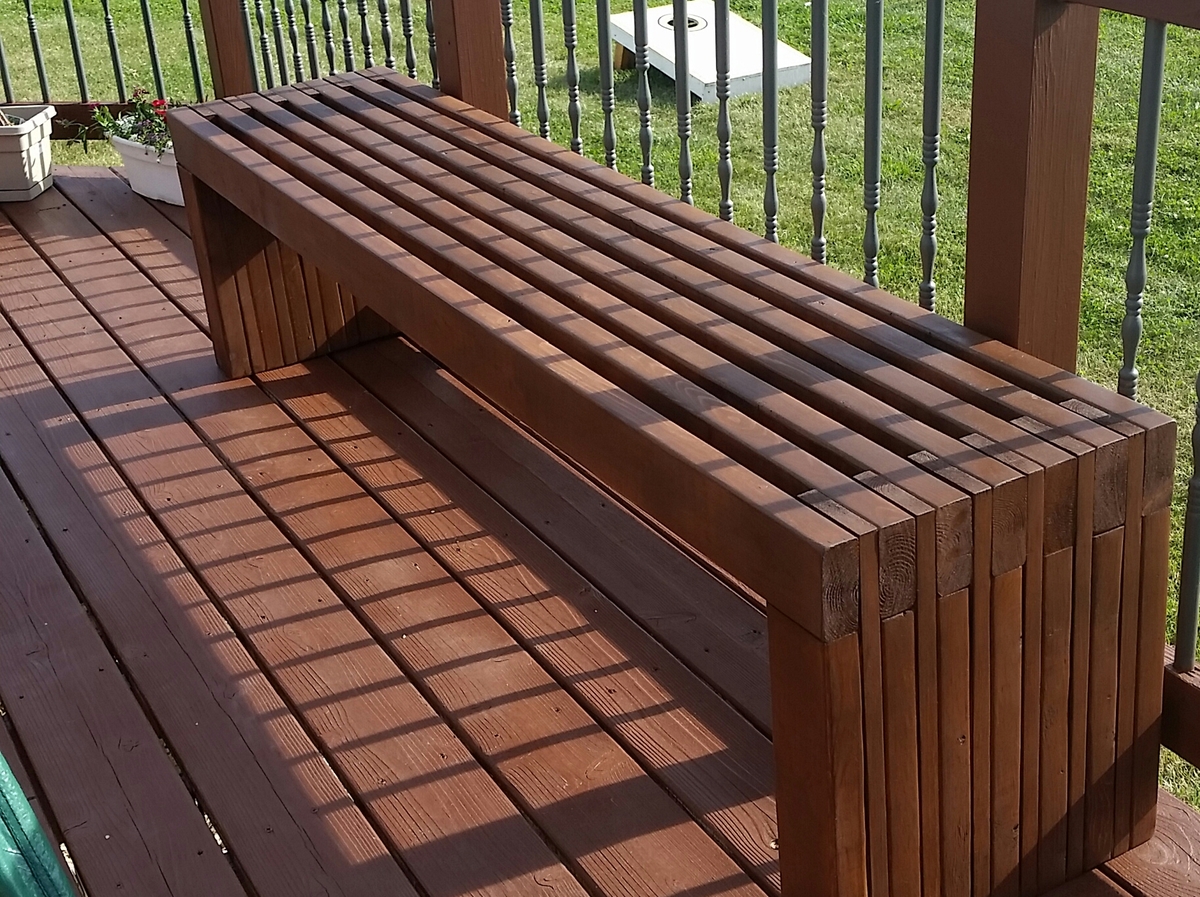
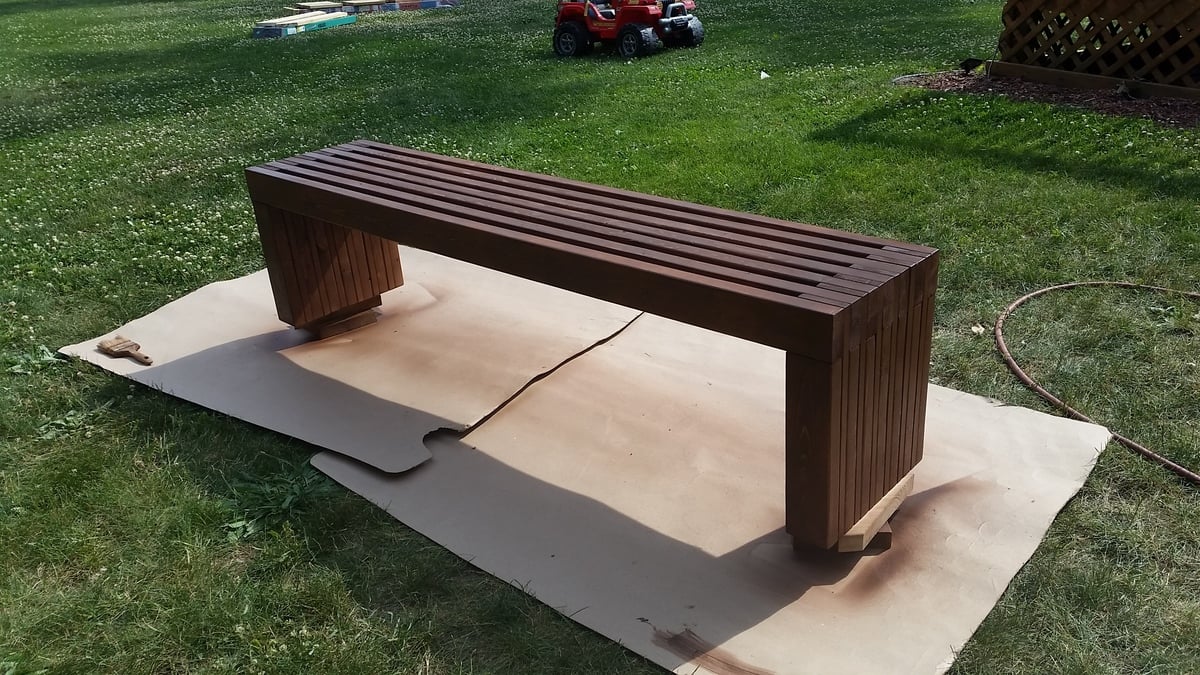
Modern slatted bench

Submitted by Whimwhams on Mon, 06/27/2016 - 11:51

I made this for my sister the day before her house warming party. It was a pretty easy build. I used wood glue and 2" nails. Using a nail gun, this came together pretty quickly. I do wish that I had wide enough clamps to hold everything in place while it dried, because there were a few gaps due to some imperfect boards. I used 104" stud length boards, so I only need to purchase 7 instead of 9. this was enough to make the cuts for the top and both leg pieces from each board. the price was the same and we had limited space in our van for boards, so this was a better option for us. I used a sprayer hooked up to an air compressor to apply the stain and was able to get in between the slats fine with this method, brushing over it as I sprayed. Luckily I chose the same color as her deck not knowing, so it matches great. Now I need to make one for myself! :)

Estimated Cost
$40
Estimated Time Investment
Afternoon Project (3-6 Hours)
Recommended Skill Level
Starter Project

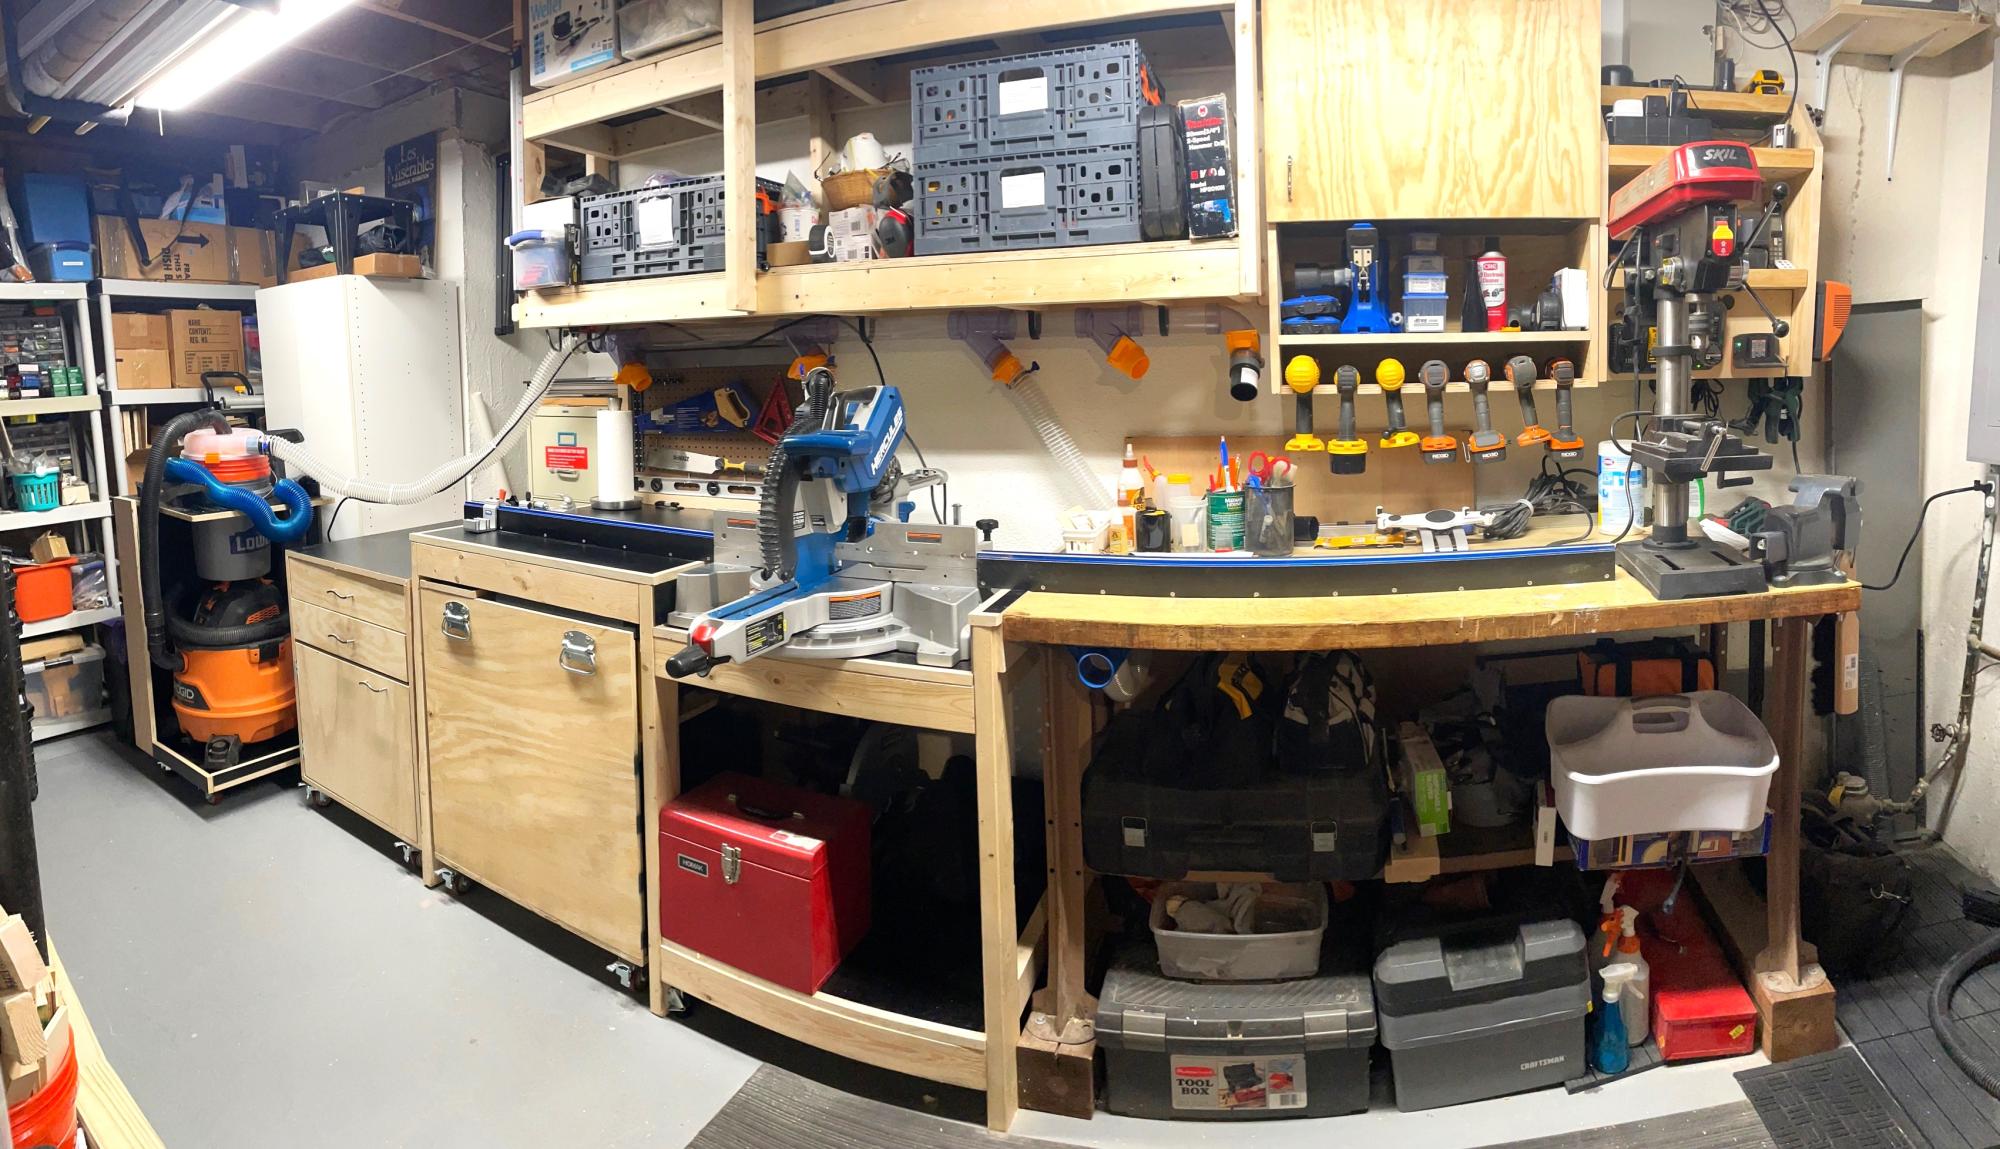
A Workshop with a Place for Everything!

Submitted by Anonymous (not verified) on Sun, 01/14/2024 - 18:18


shop


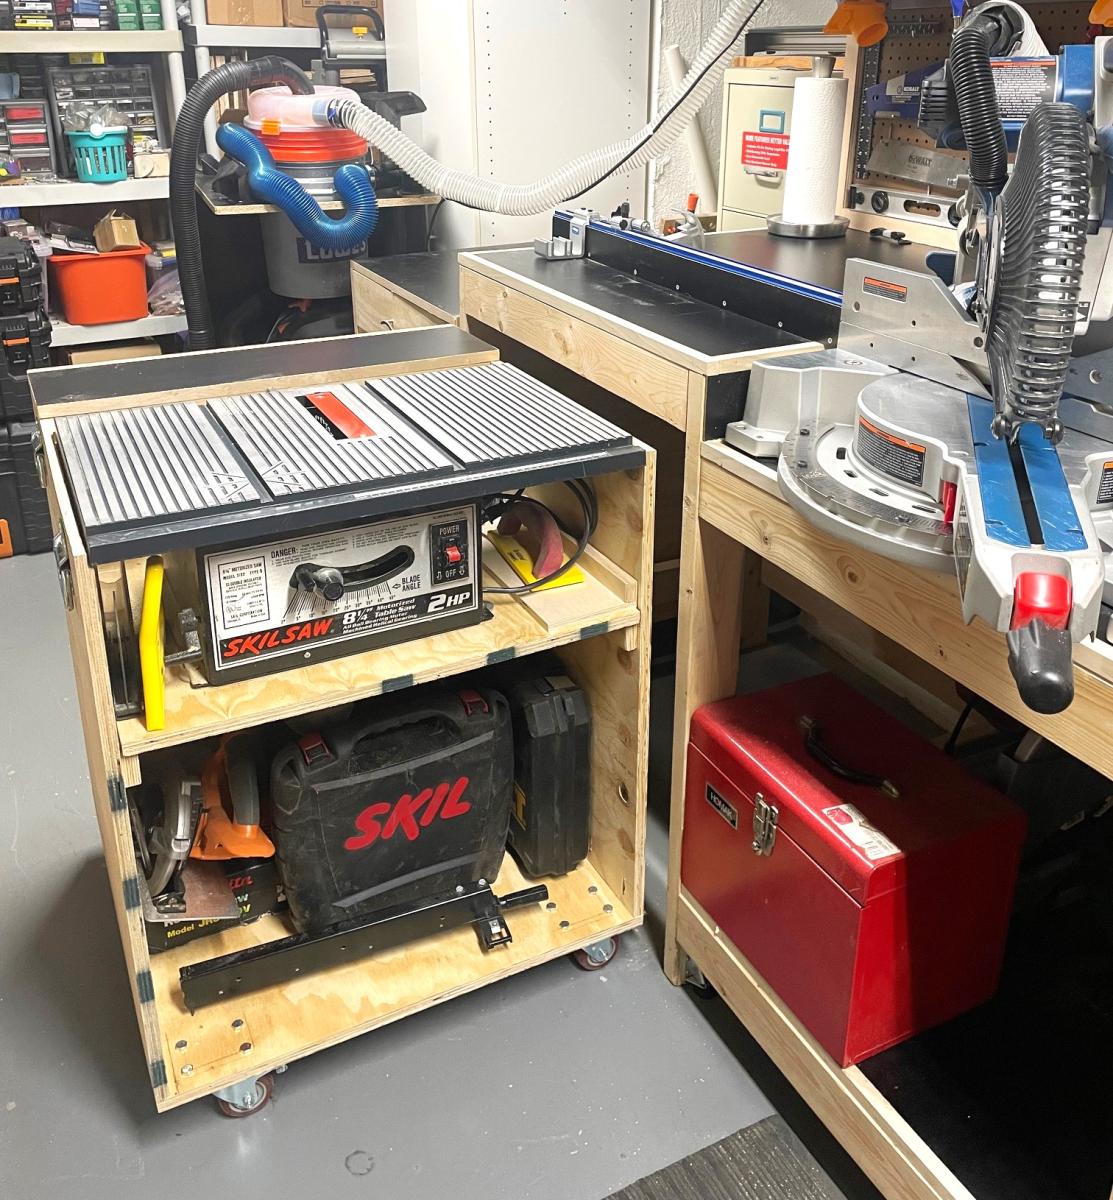
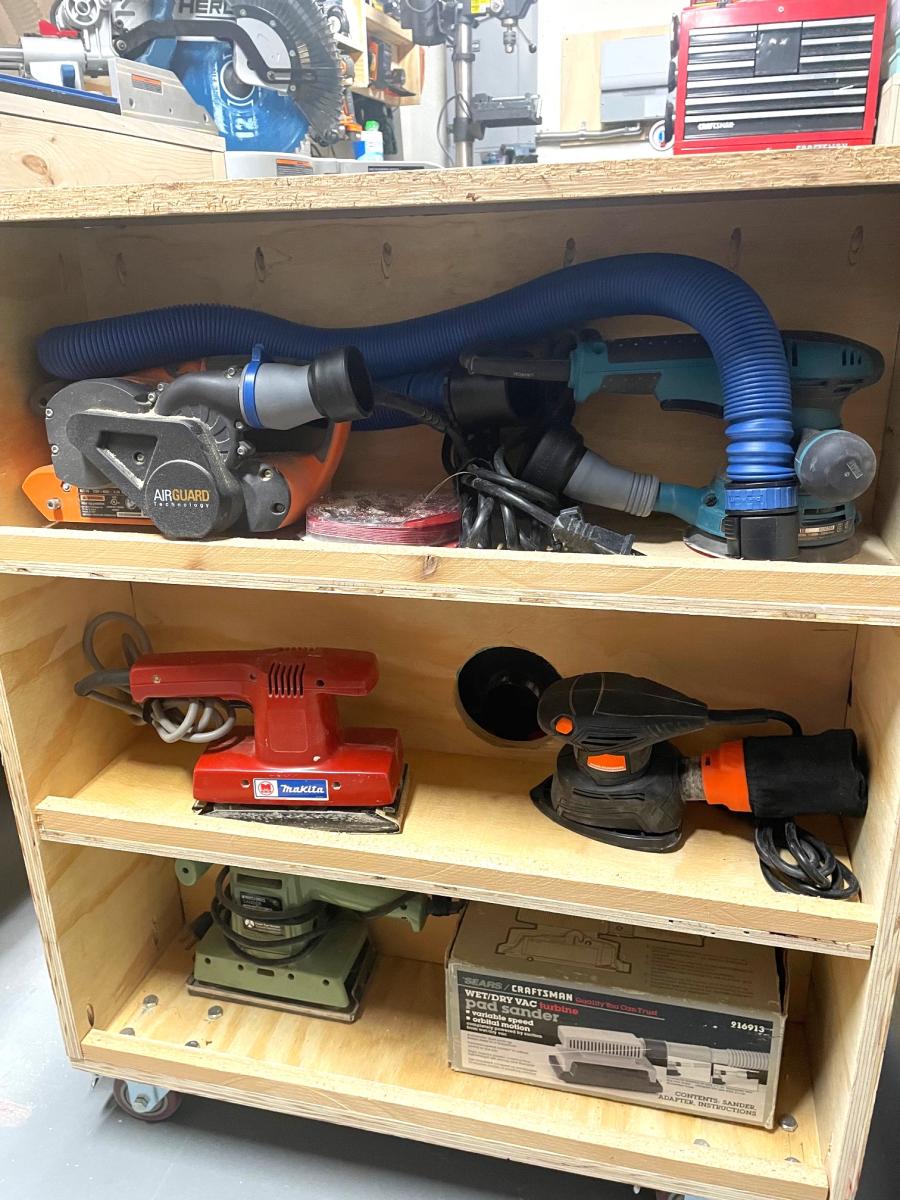
shopI was looking for a way to better organize my basement workshop. After looking at your Ultimate Workbench / Miter Station project, I became both inspired and motivated to organize my workshop bench equipment and power tools. I was tired of moving equipment around in my small shop area to use it and the amount of time required to clean up the saw dust during and after project work.

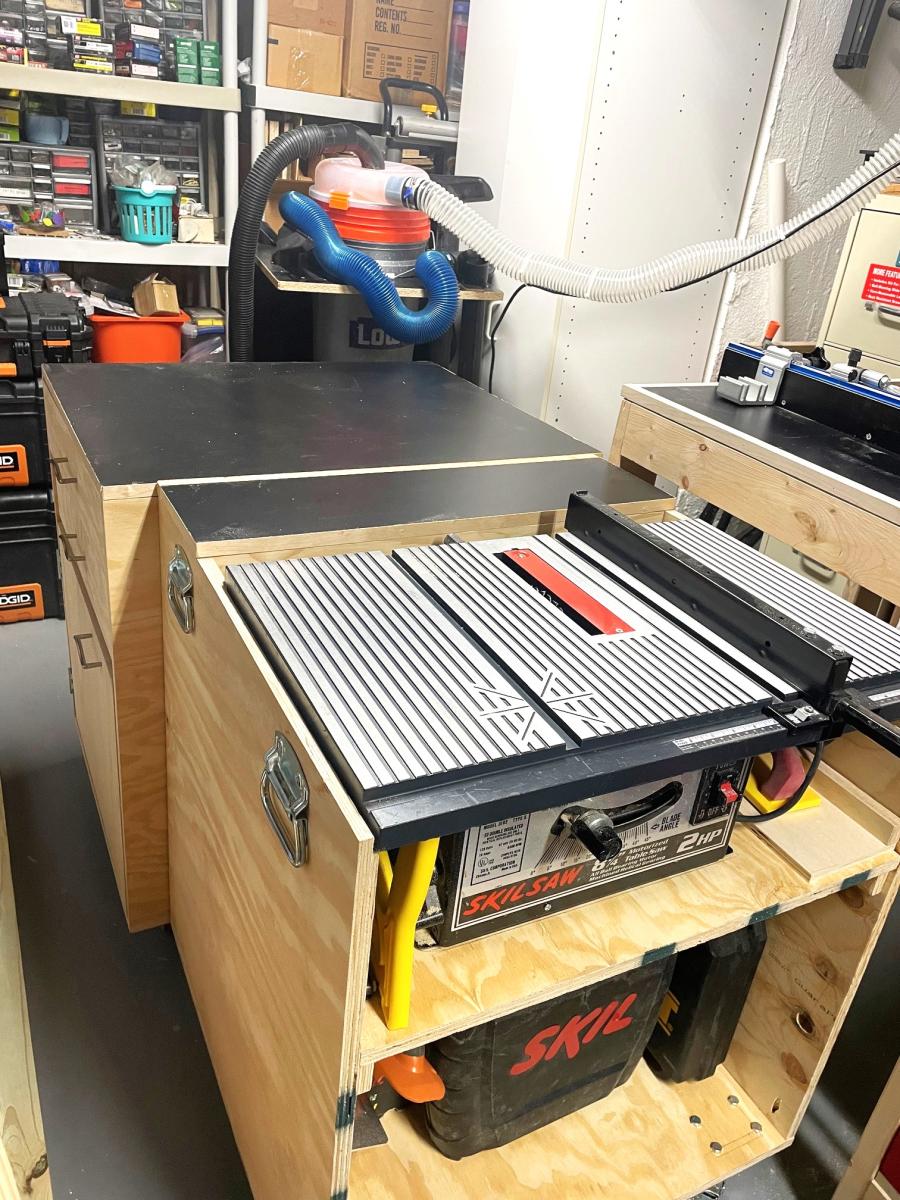
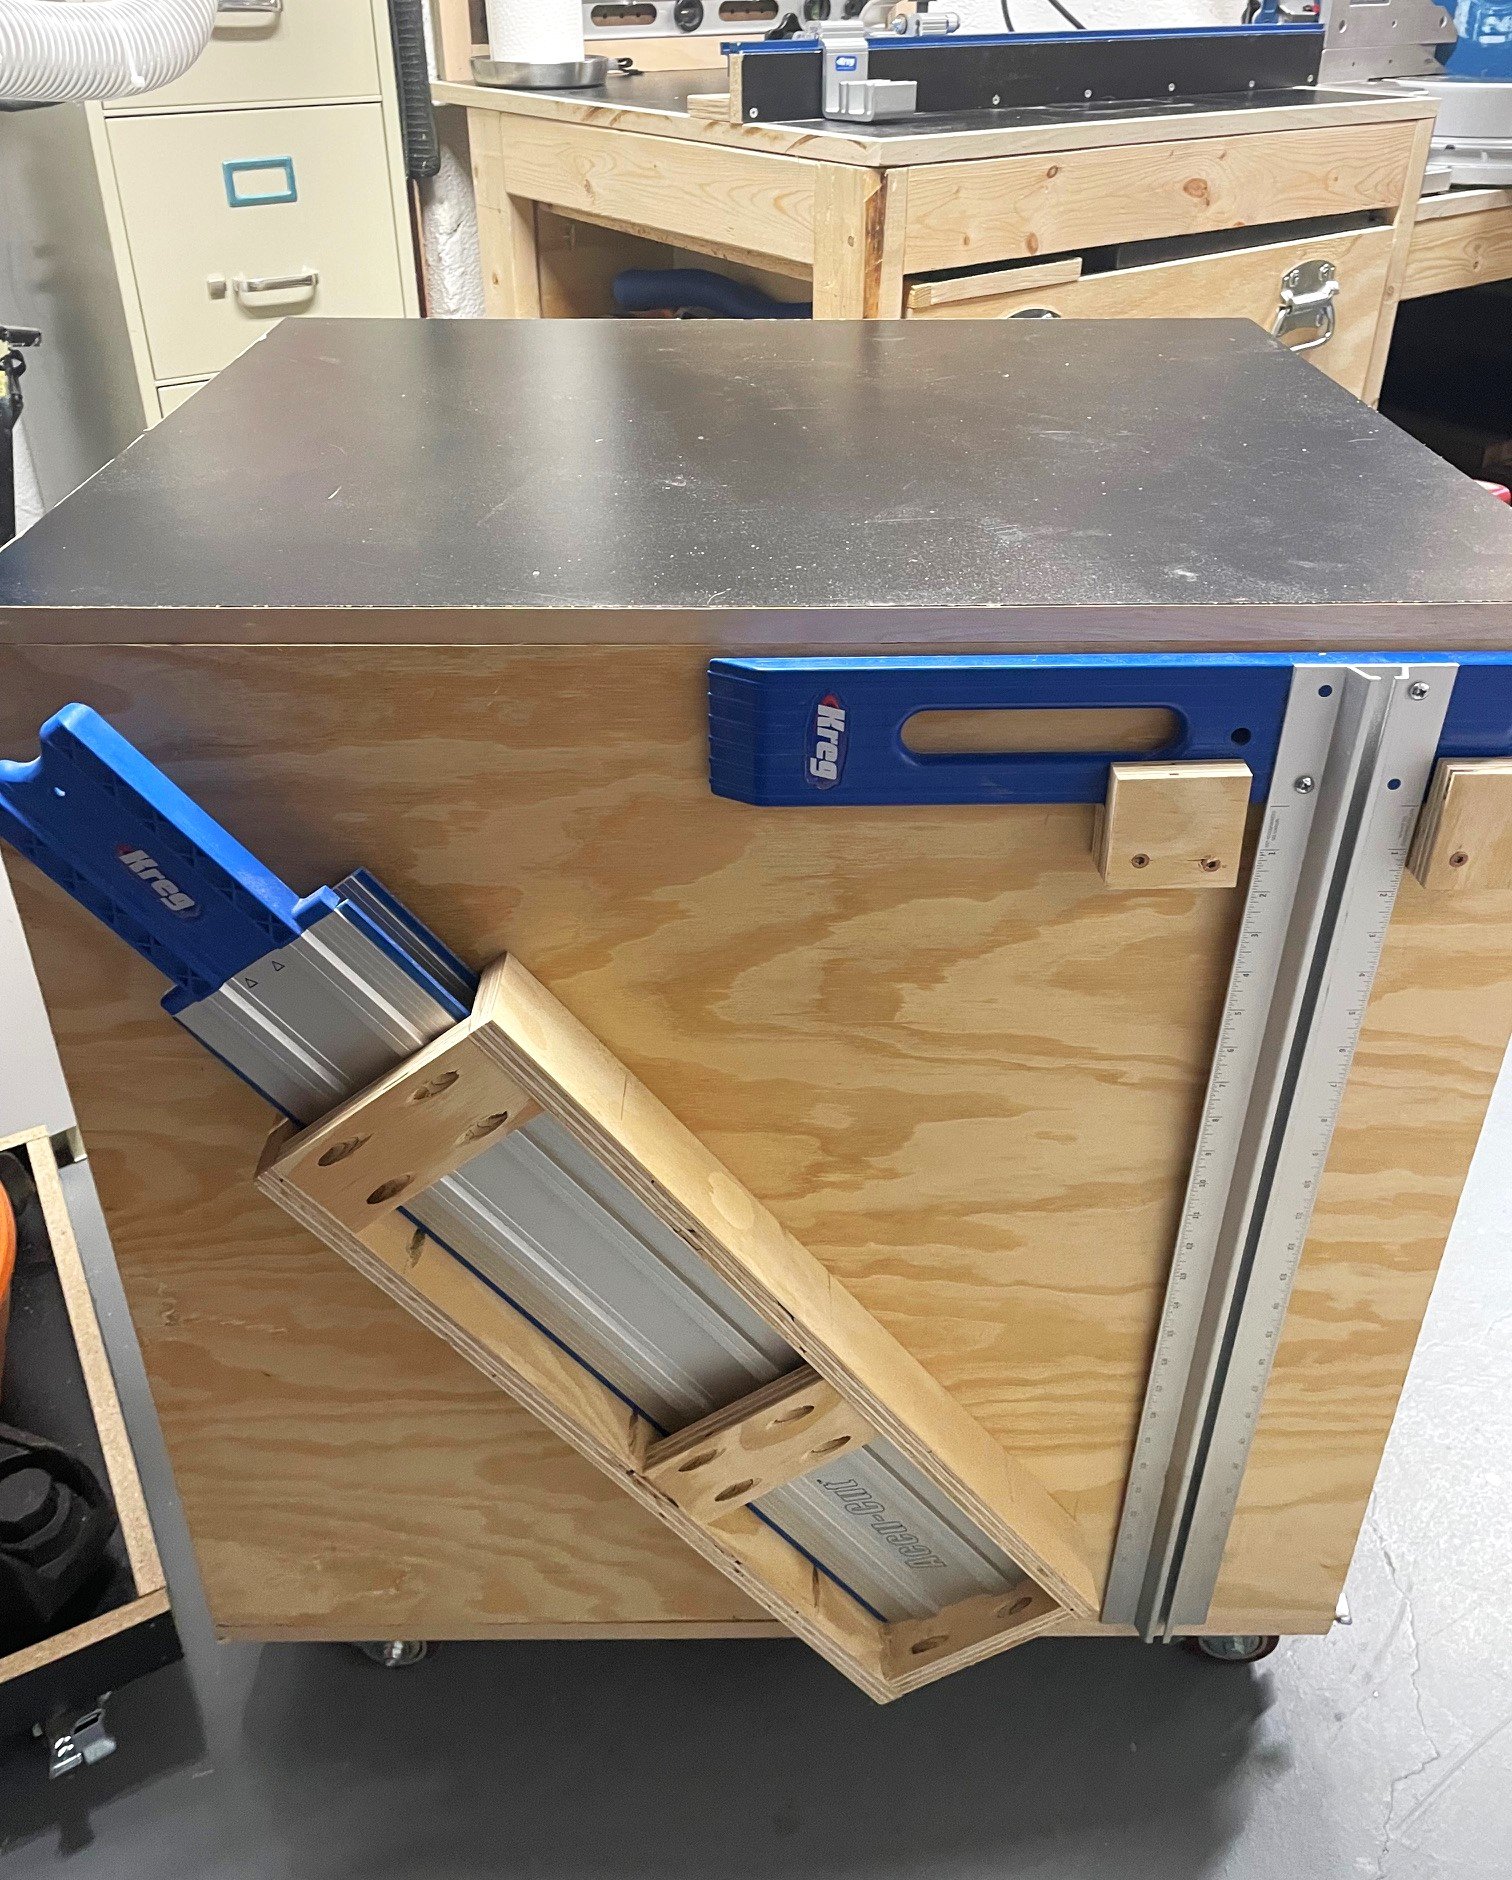
I modified your plans to allow me to incorporate the use of a solid maple shop table that I have had for over 30 years and provide a means to have my main benchtop equipment (miter saw, table saw, and drill press) be readily available for use. I substituted the 3/4 inch plywood top with a 3/4 melamine top with a popular edge trim to allow the workpieces to freely move through the miter saw, table saw and assembly stations. In addition, I added a removable miter saw fence using the Kreg Precision Trak system to facilitate miter saw work setup and to make multiple repeatable cuts. I made the fence easy to remove and store by using 5/16-16 inserts on both the work surfaces and on the he overhead material storage rack allowing full use of the workbench surface.

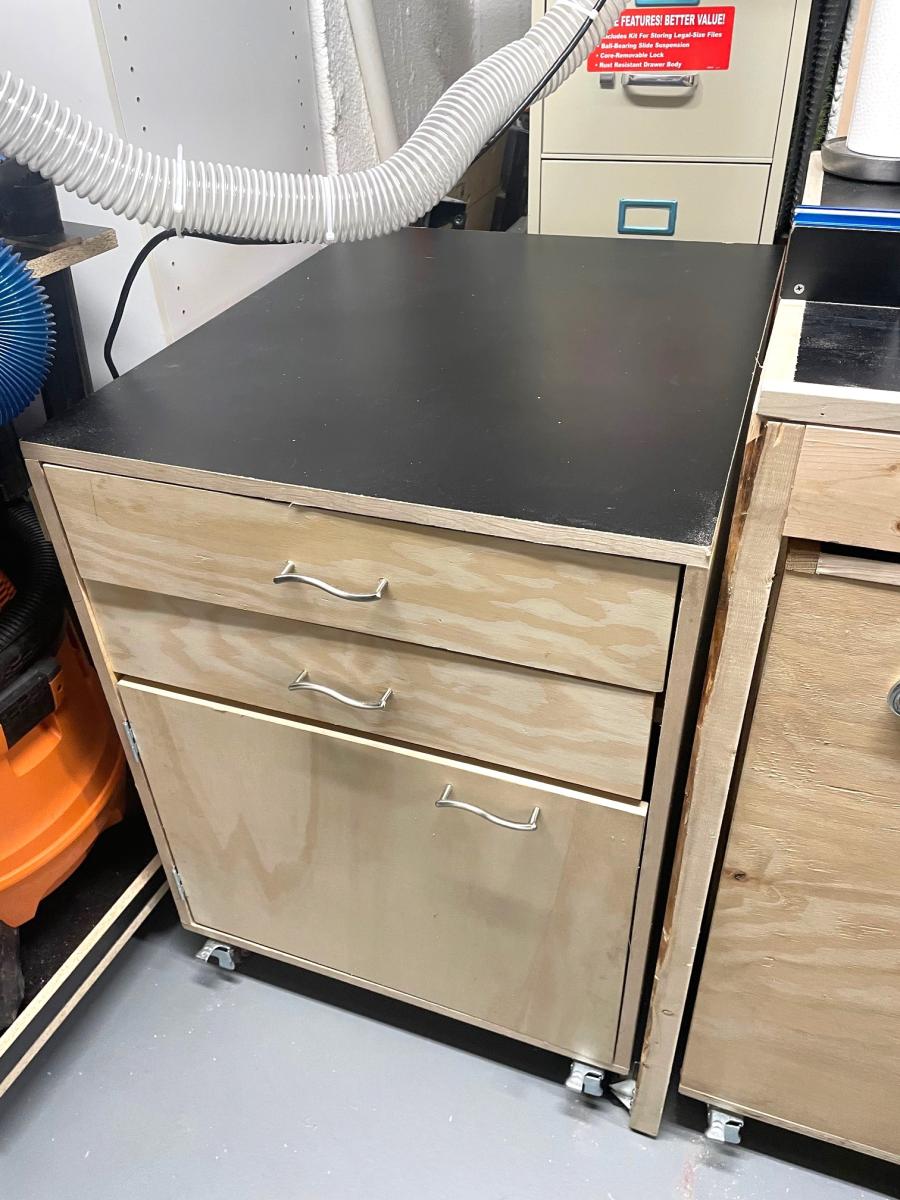
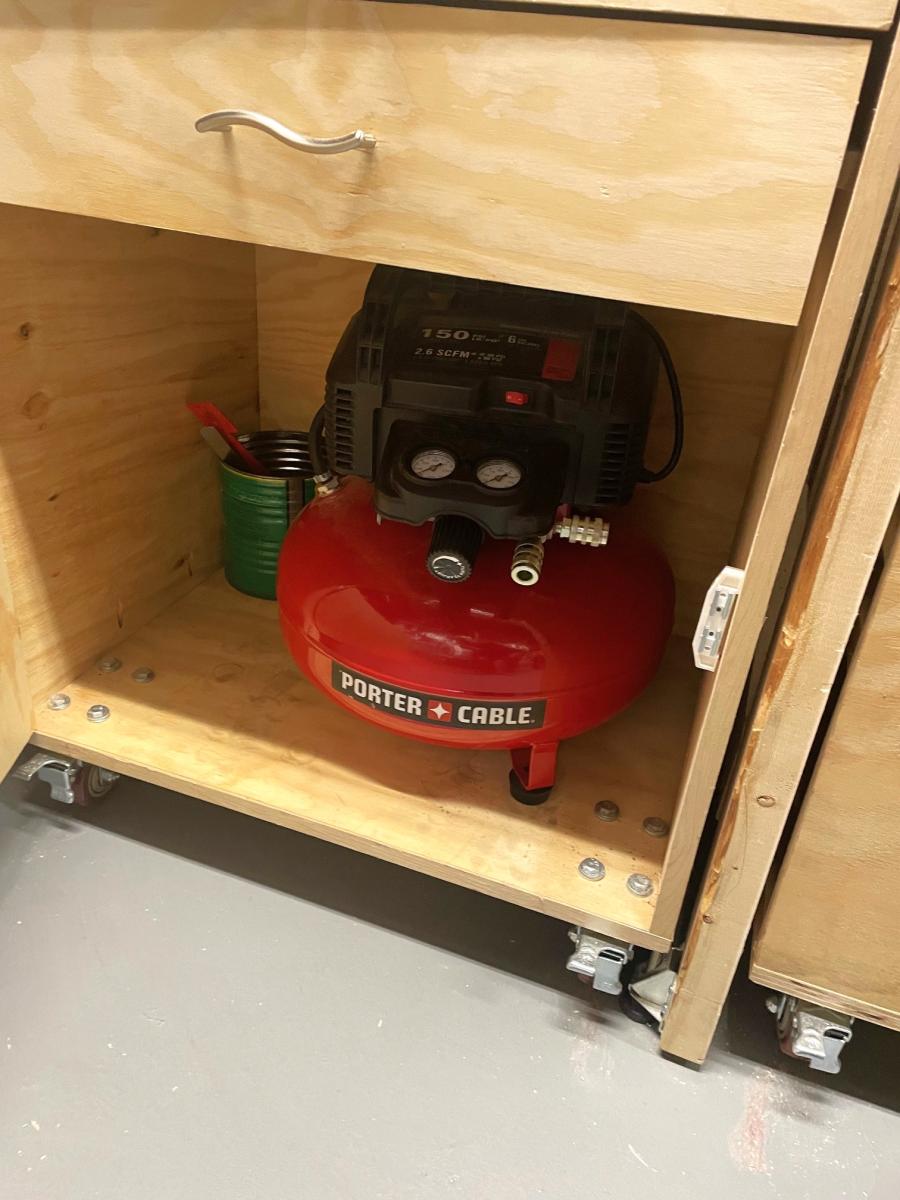
I also incorporated a separate rolling cart that served as an assembly table, table saw outfeed table, shop air compressor and pneumatic nail gun storage, router and router accessory storage and Kreg Cutting Guide Storage.

I wanted to have ready access to my cordless tools, so I built a separate wall mounted cabinet that holds my drills, impact tools and drill bits. Of course, that lead me to build a wall mounted battery charging station to consolidate and organize all the different battery chargers and spare batteries. Tried to make all things Easy to See, Easy to Get and Easy to Return.

Finally, I spent quite a bit of time researching how to design and add a dust collection system. I ultimately went with a simple, but effective system that incorporated the use of a Dust Deputy Pro, 14 Gallon Rigid Shop Vacuum, Powertec 2 1/2 inch Clear PVC tubing, Blast Gates, Flexible Hose along with Dust Rite Hose and adapters to connect my portable wood working tools. The dust collection components work work well together capturing about 85% of the generated saw dust, but I want to give a special shout out to Shop Nation which supplied a custom 3D printed dust collection adapter for my Hercules Miter saw. It is really amazing how much of saw dust generated by the miter saw is now being channeled directly to the dust collection system.

I now smile every time I enter my workshop :)

Ray K
Large Tic Tac Toe Board

Submitted by JamieLynn on Tue, 05/26/2020 - 09:43

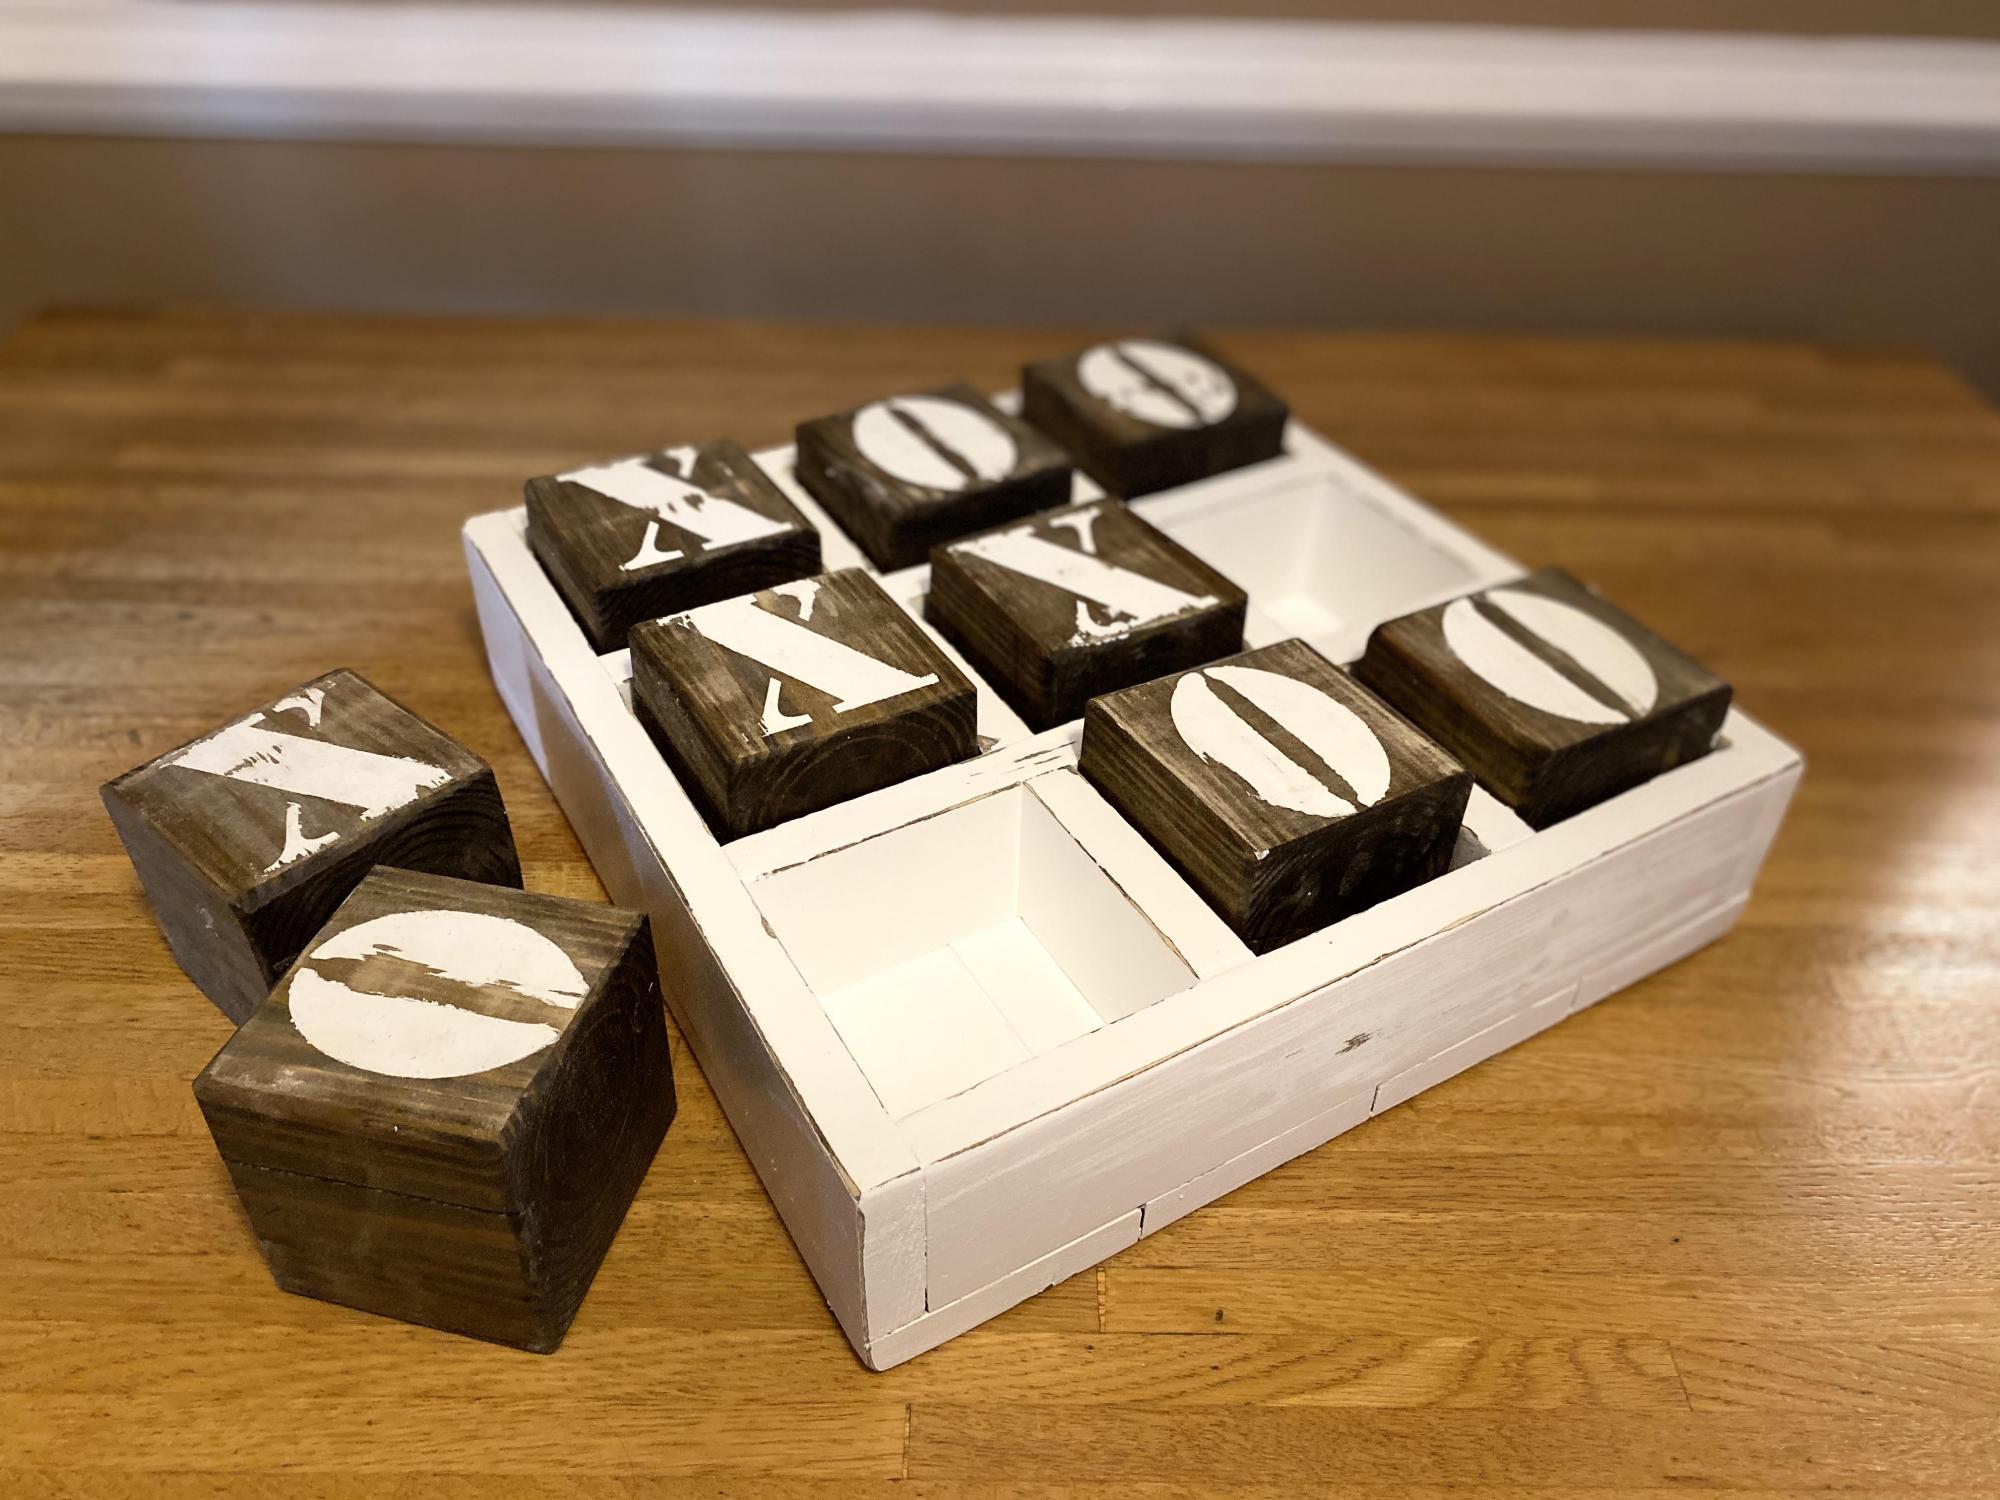
Took some liberties with this one and combined with another plan. My first stencil project.

Built from Plan(s)
Estimated Time Investment
Day Project (6-9 Hours)

Comments

Myron3

Wed, 05/27/2020 - 08:28

I love this. Functional but also decorative. Would you mind sharing the plan for your version?

Picnic Tables

Submitted by Anonymous (not verified) on Fri, 03/22/2024 - 07:53

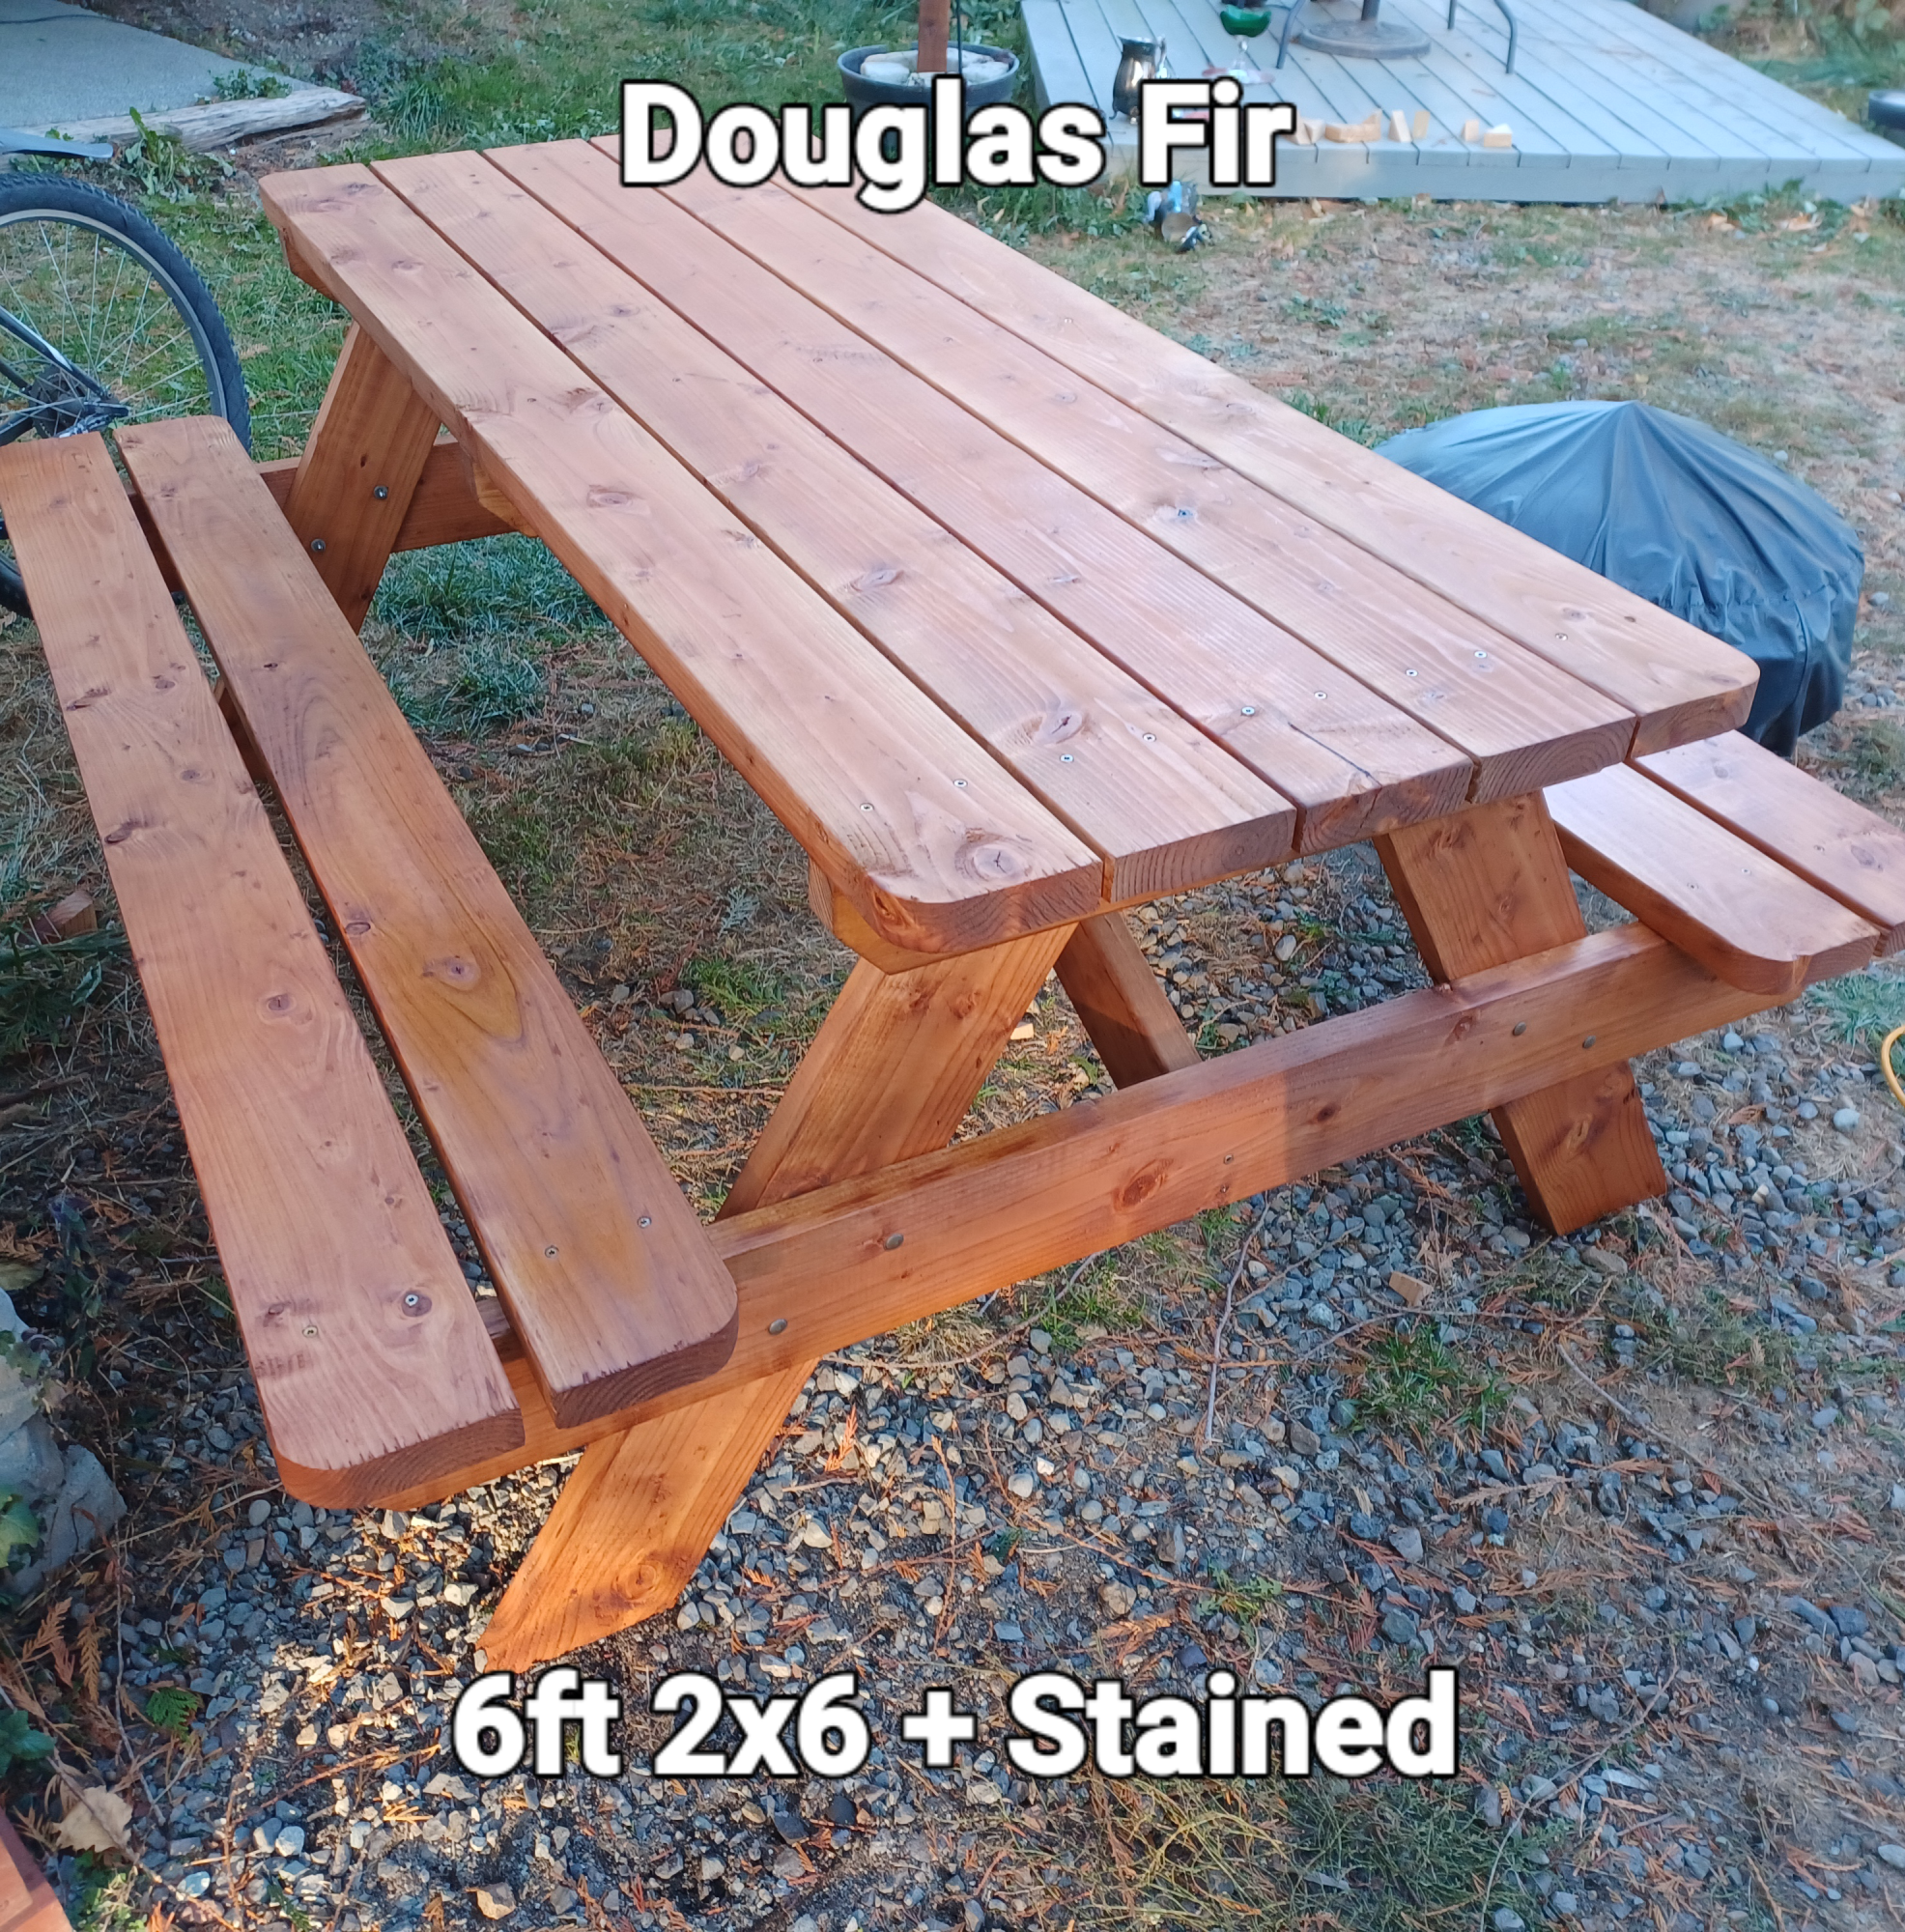
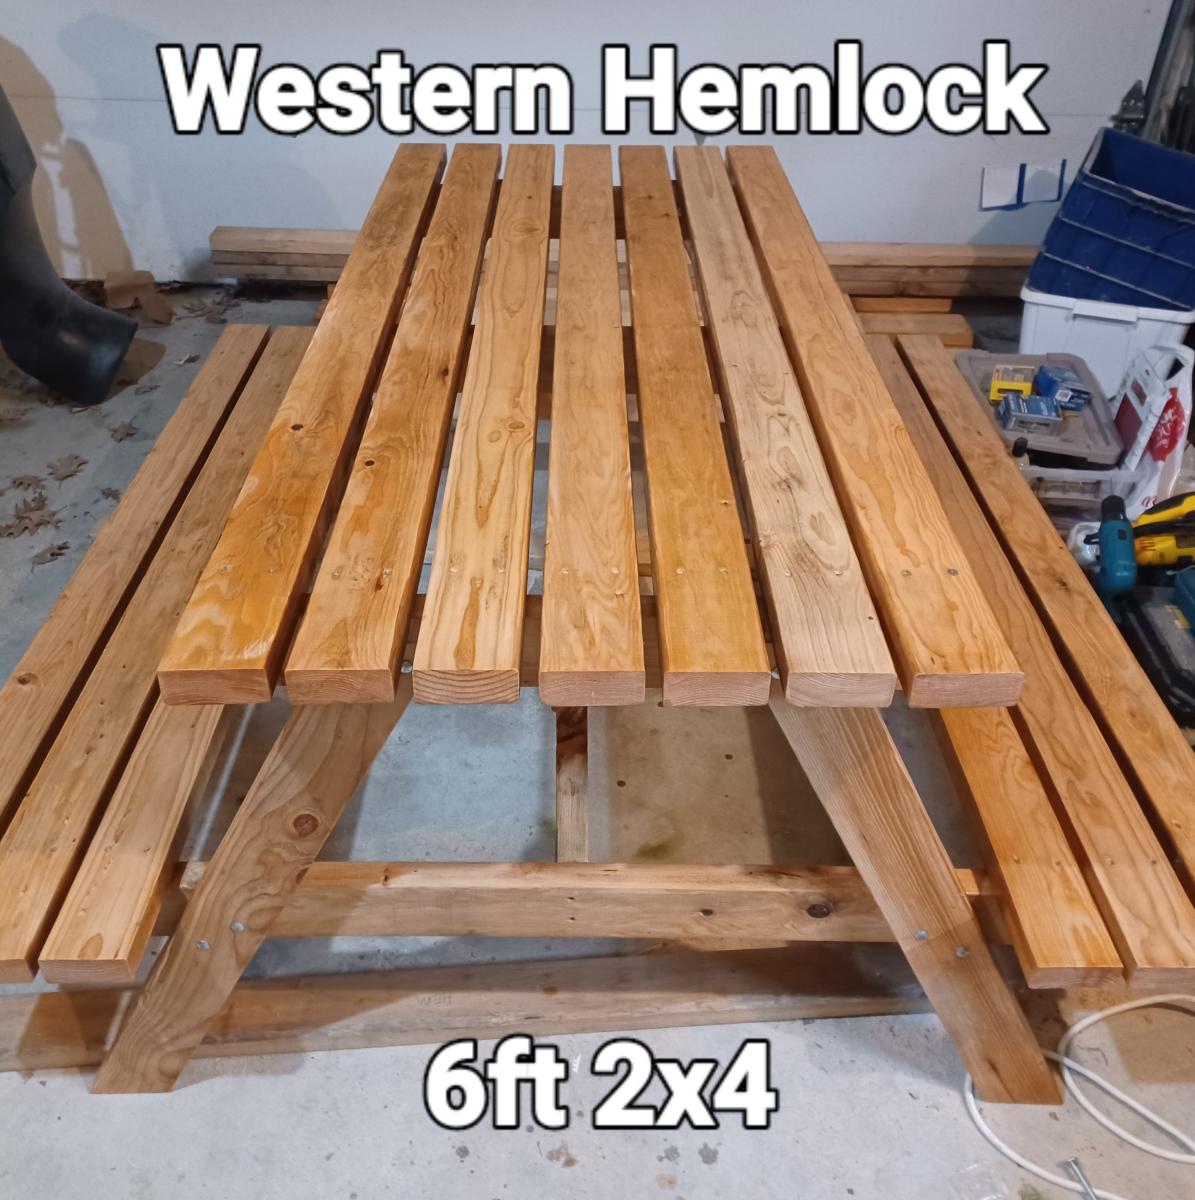
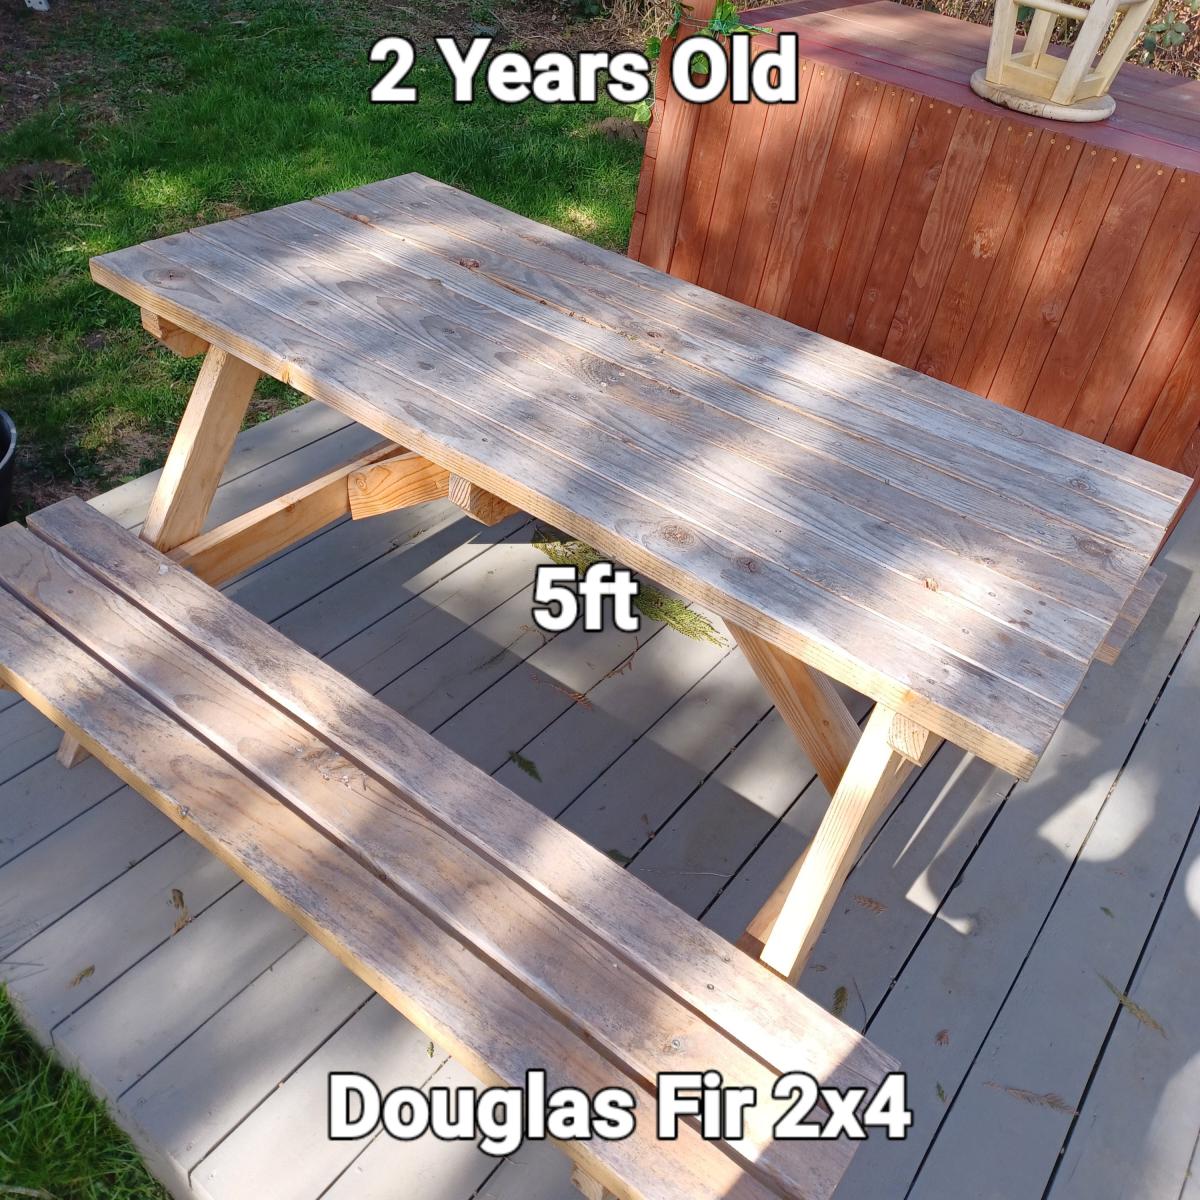
Using some of your different picnic table plans, I have been building, casually, picnic tables that are made using handpicked wood of similar grain orientation, same species, etc, creating a unique piece every time. I'm turning into a real wood nerd! They are all sanded and sealed for greater weather resistance and to accentuate the natural look of the wood.

Sam Warburton Productions

Little Chunky Bench

Submitted by SaraLodise on Fri, 09/23/2016 - 13:06

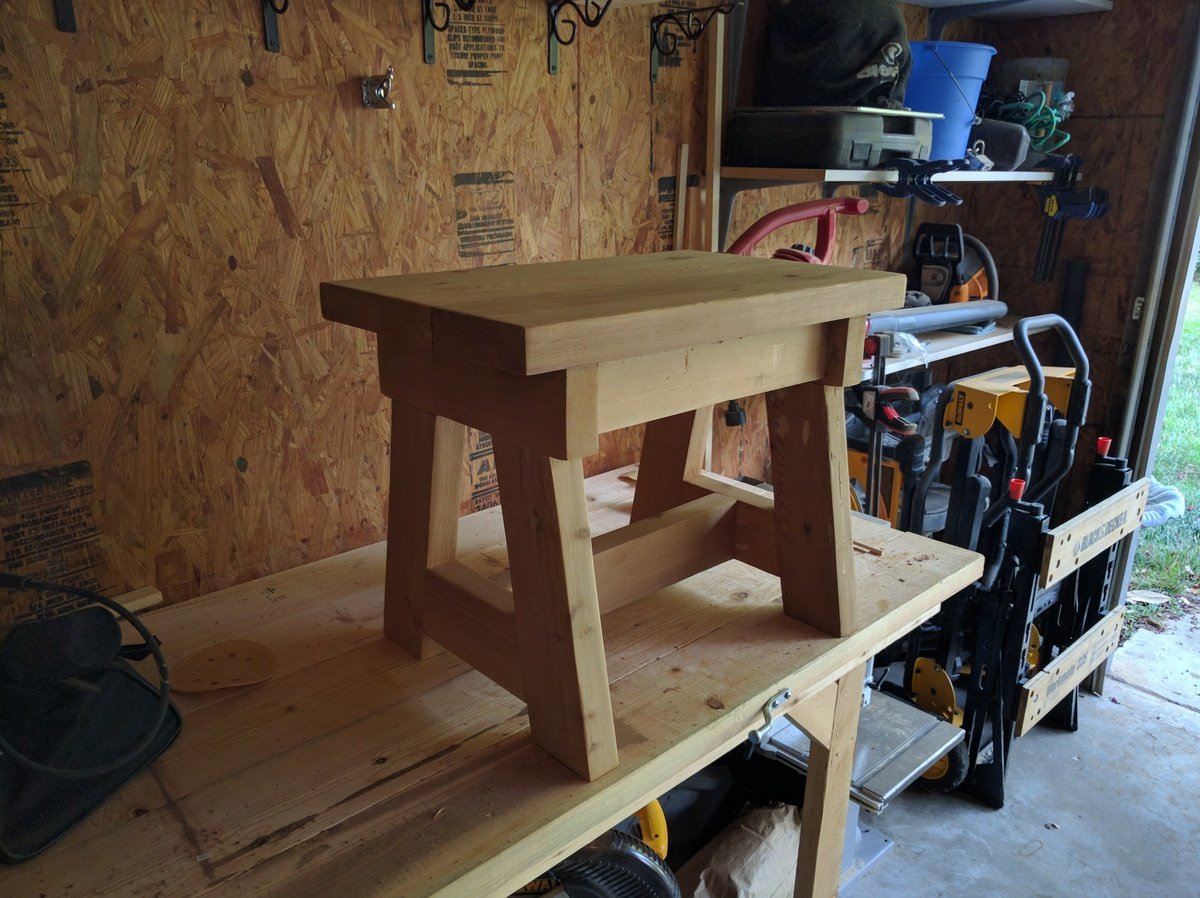
A requested one-seater bench. Made of cedar and finished with spar urethane.

Built from Plan(s)
Estimated Time Investment
Afternoon Project (3-6 Hours)
Recommended Skill Level
Intermediate

Comments

Corner shelves

Submitted by Kate_14 on Sat, 07/04/2020 - 13:33

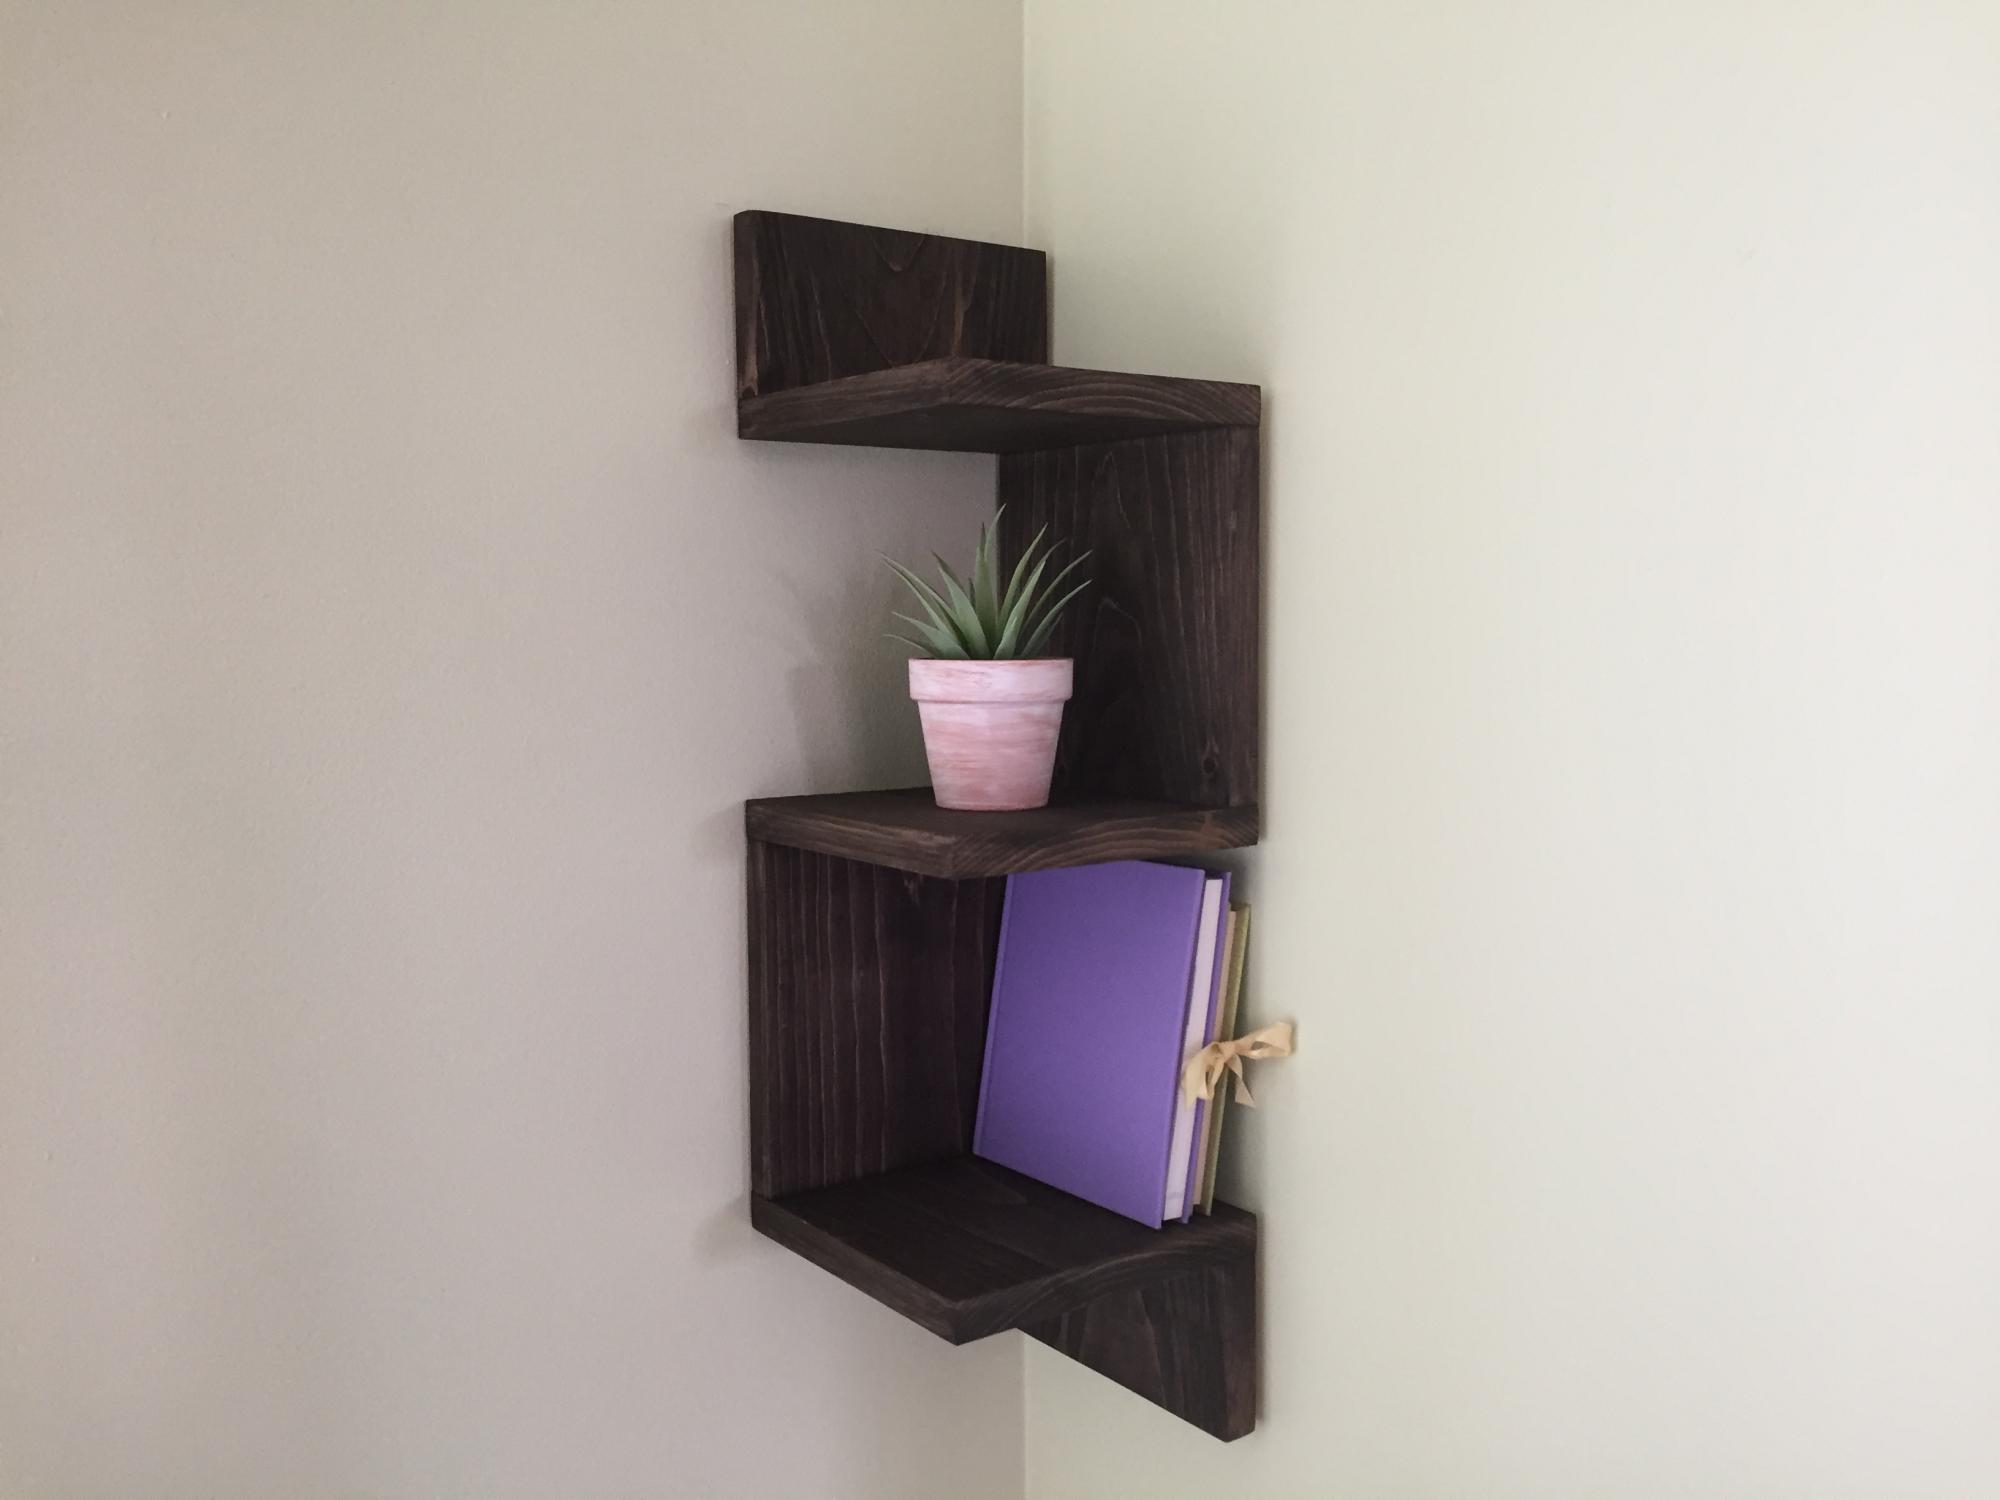
I built these beautiful corner shelves for a friend. It is a great beginner project. I used a 1x8 board but you could also use a 1x10 board. You could also build 5 shelves instead of 3. I used pocket hole joinery.

Estimated Time Investment
Afternoon Project (3-6 Hours)
Finish Used
Oil I find at my local mill.
Recommended Skill Level
Starter Project

Cedar Street Number Planter

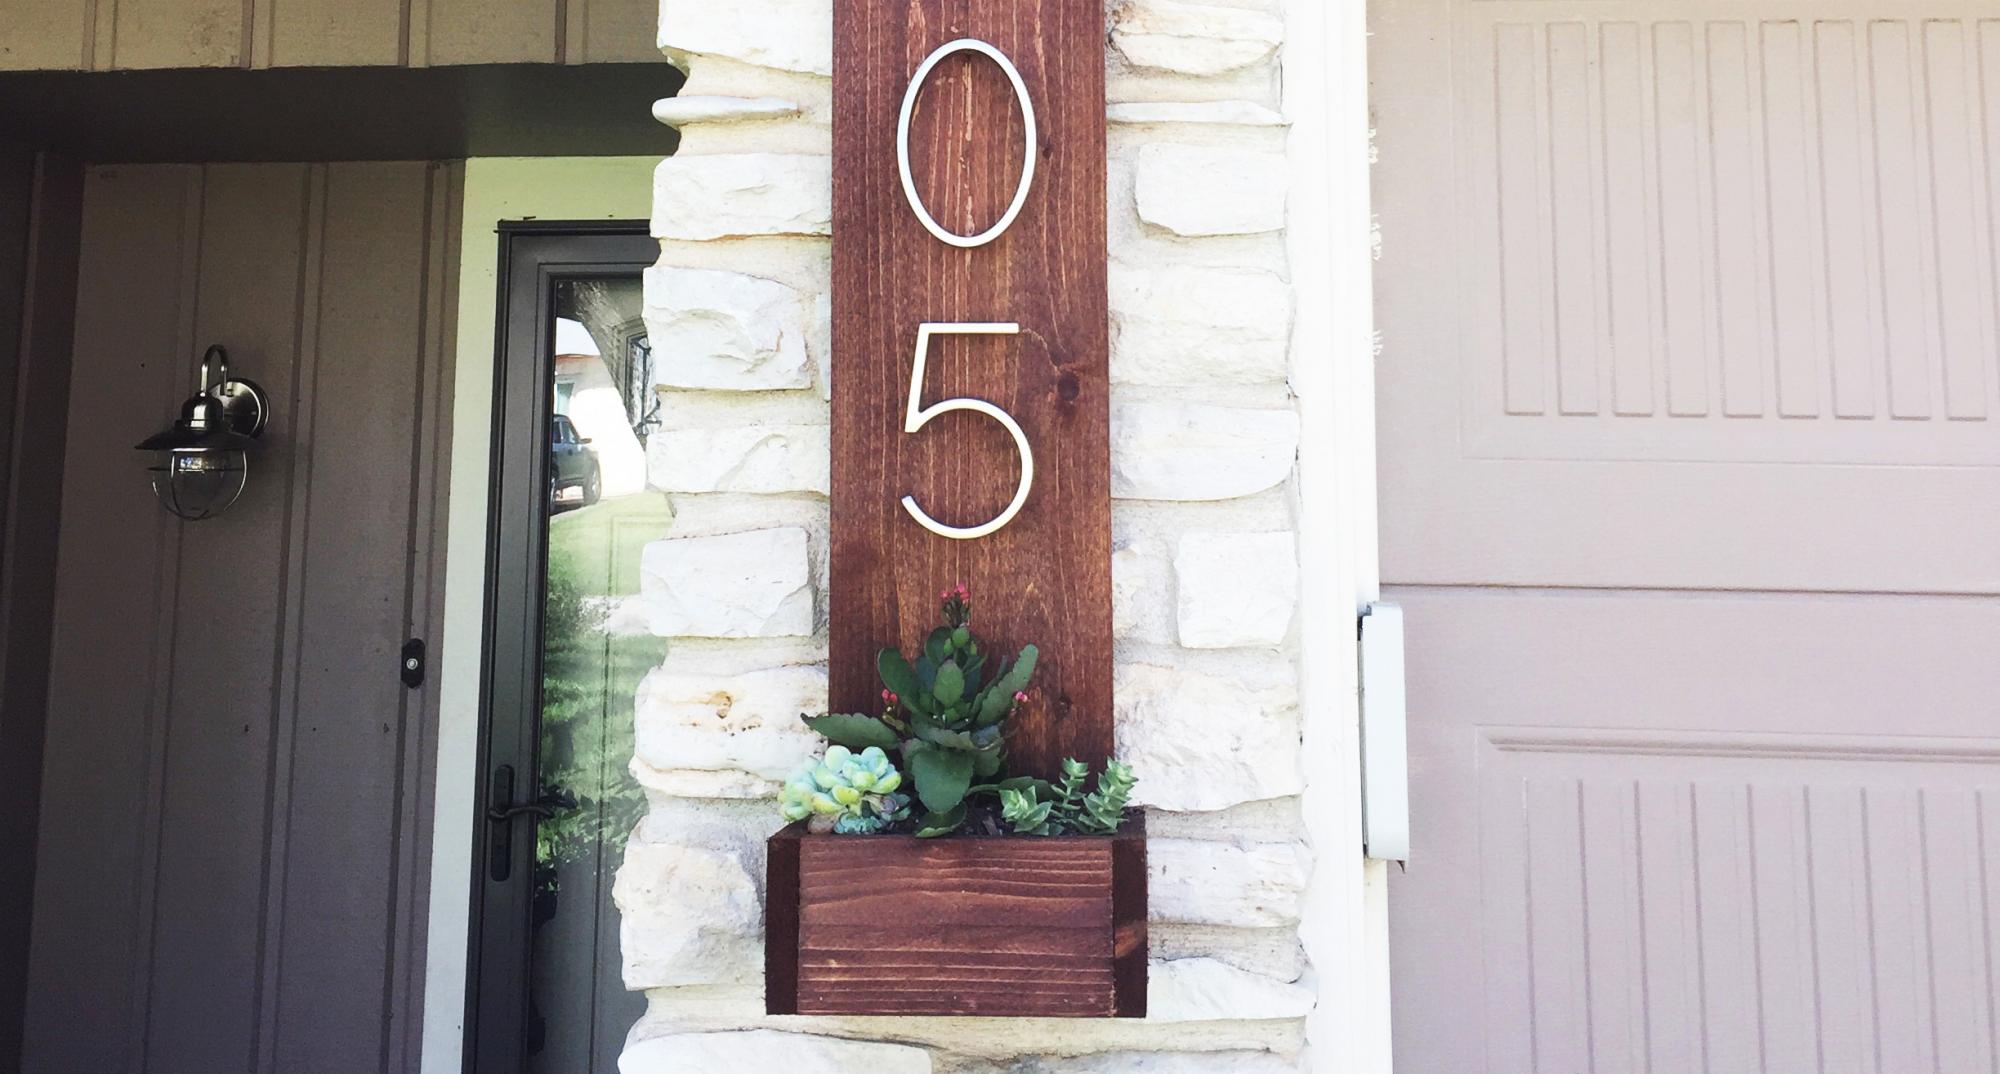
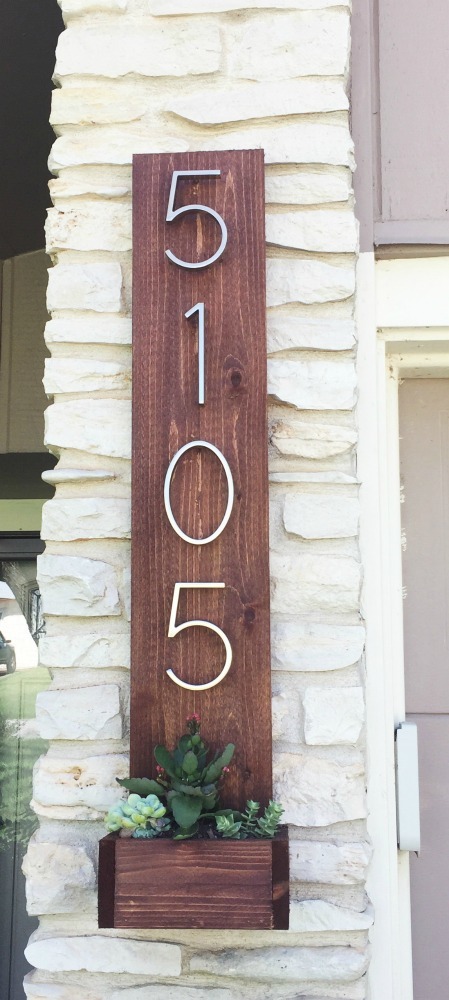
I was looking for a way to give our house some better curb appeal and decided our stree numbers could use a facelift.  The majority of money spent on this project was for the numbers since I had enough spare cedar laying around.

house number planter

Estimated Time Investment
An Hour or Two (0-2 Hours)
Finish Used
Sedona Red
Recommended Skill Level
Starter Project

Comments

Shiplap Bathroom - DIY Vanity

Submitted by Anonymous (not verified) on Tue, 10/11/2016 - 13:52

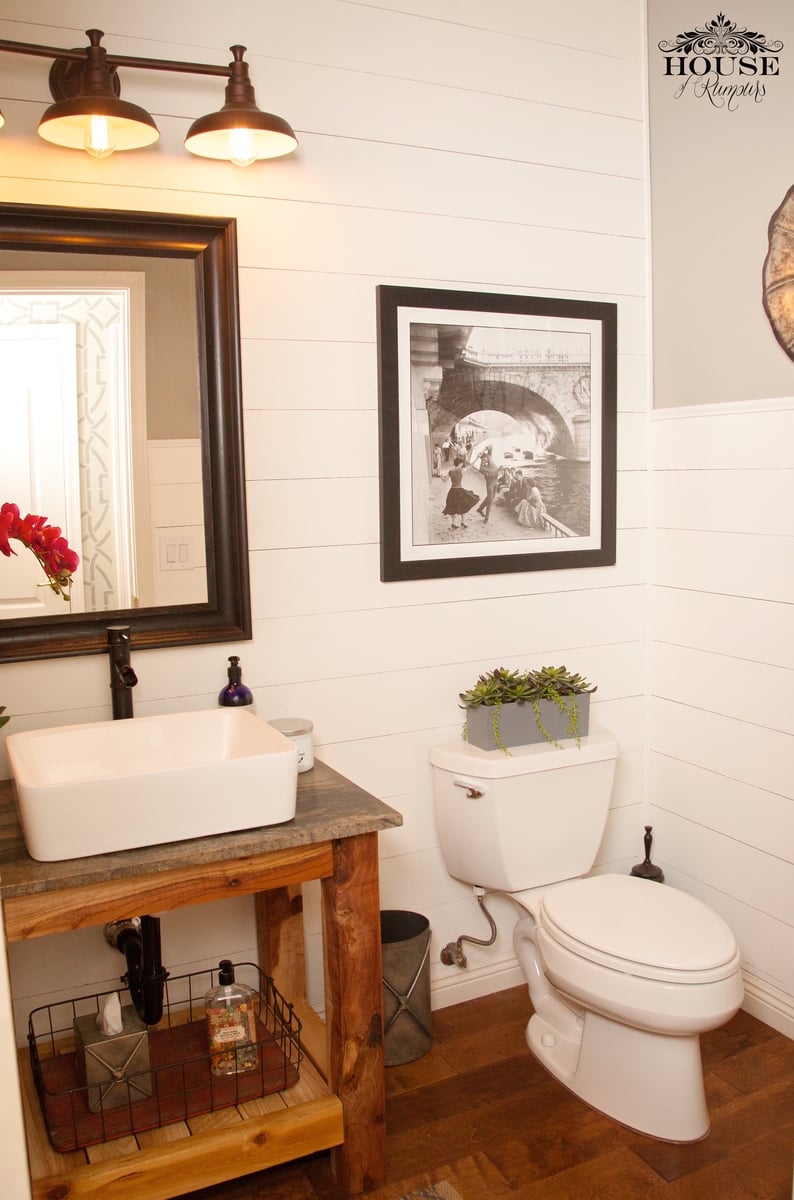
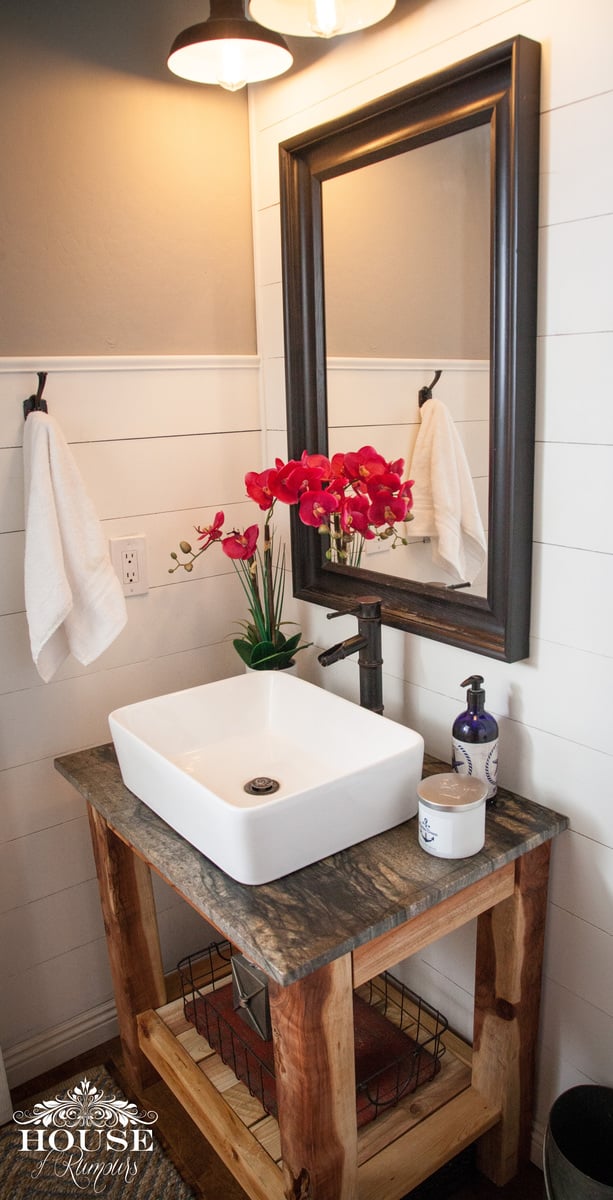
It had come time to renovate our powder room bathroom. We were on a tight budget so we decided to build our own vanity & add a little twist to it! We splurged on the granite countertop, vessel sink  and faucet. Thanks to Ana White we built our vanity for less than $10! The plans were easy to follow . . . .we are so proud of our wood vanity!  link to our blog: http://www.houseofrumours.com/shiplap-powder-room-diy-vanity/


Estimated Cost
$10
Estimated Time Investment
Afternoon Project (3-6 Hours)
Finish Used
none. slightly sanded and used wood oil.
Recommended Skill Level
Beginner

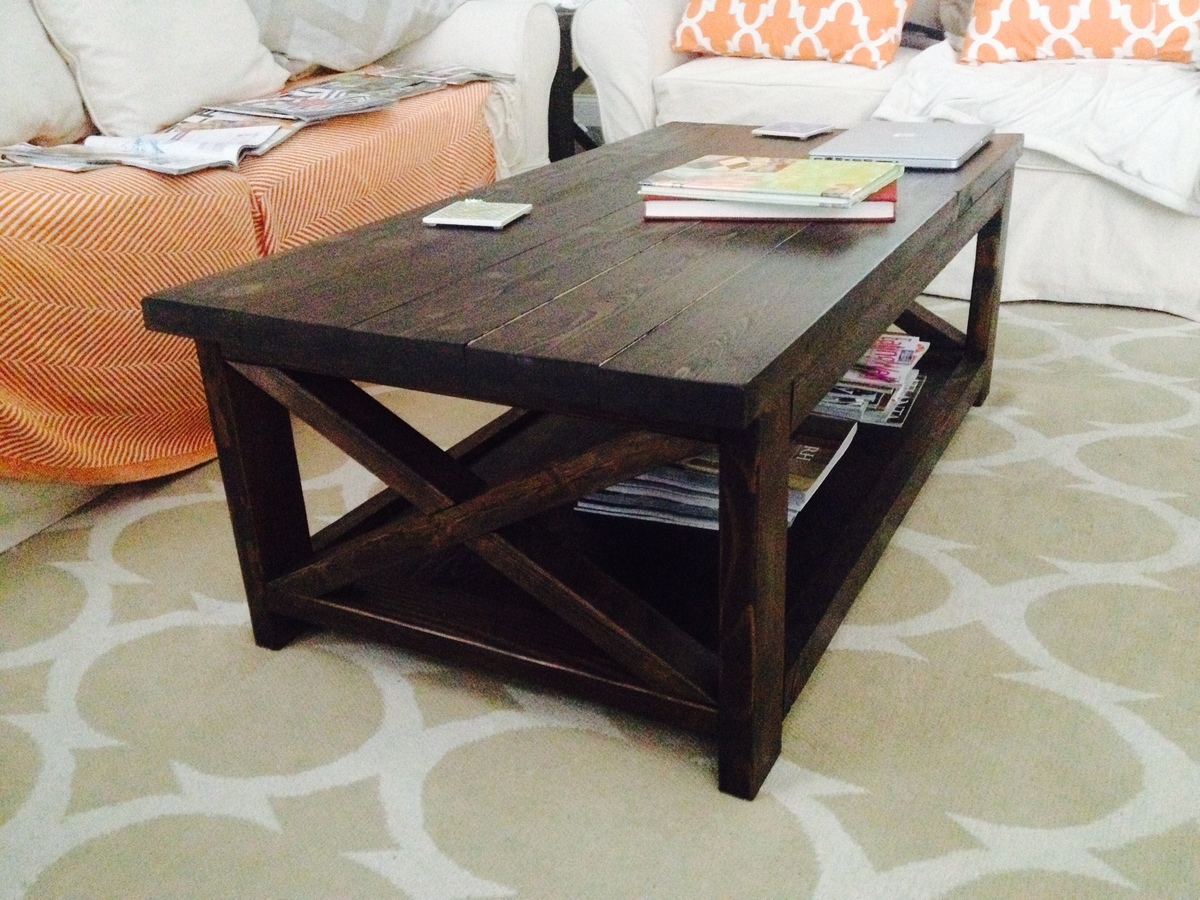
Rustic X Coffee Table

Submitted by Glenn on Sat, 07/19/2014 - 13:19

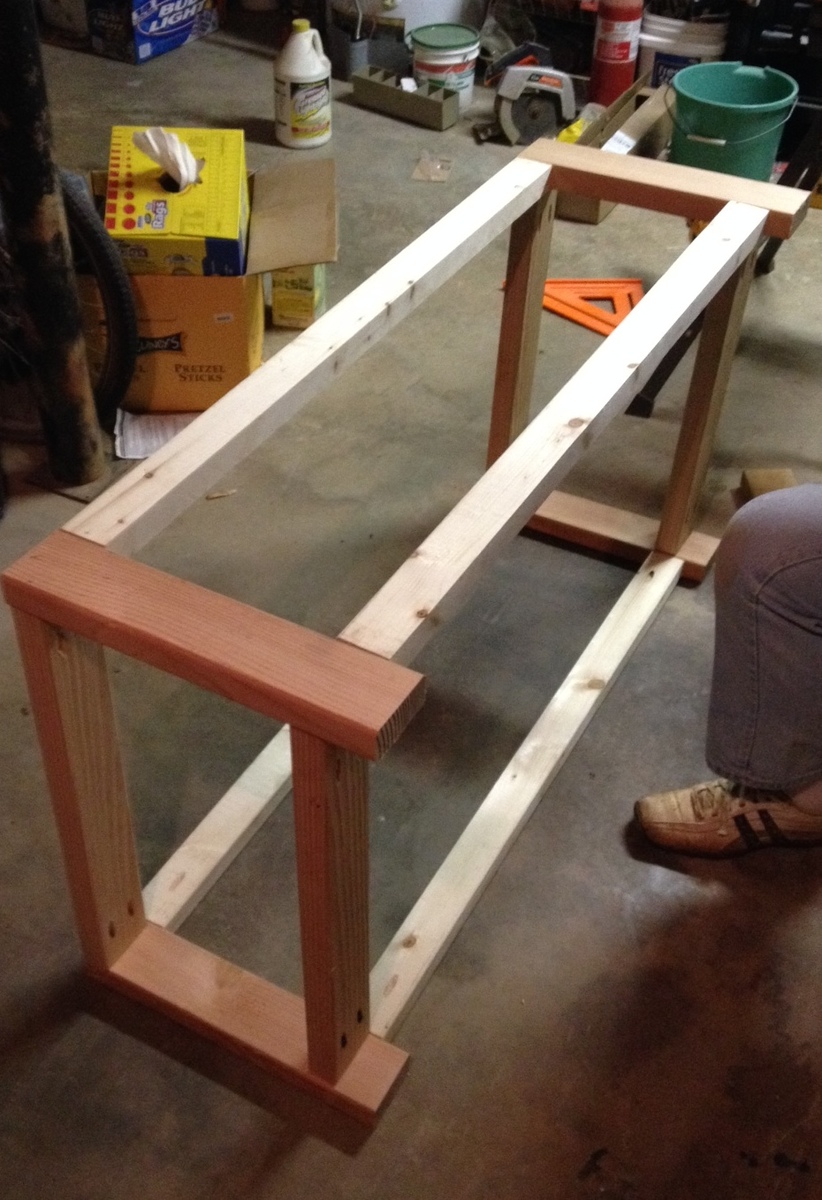
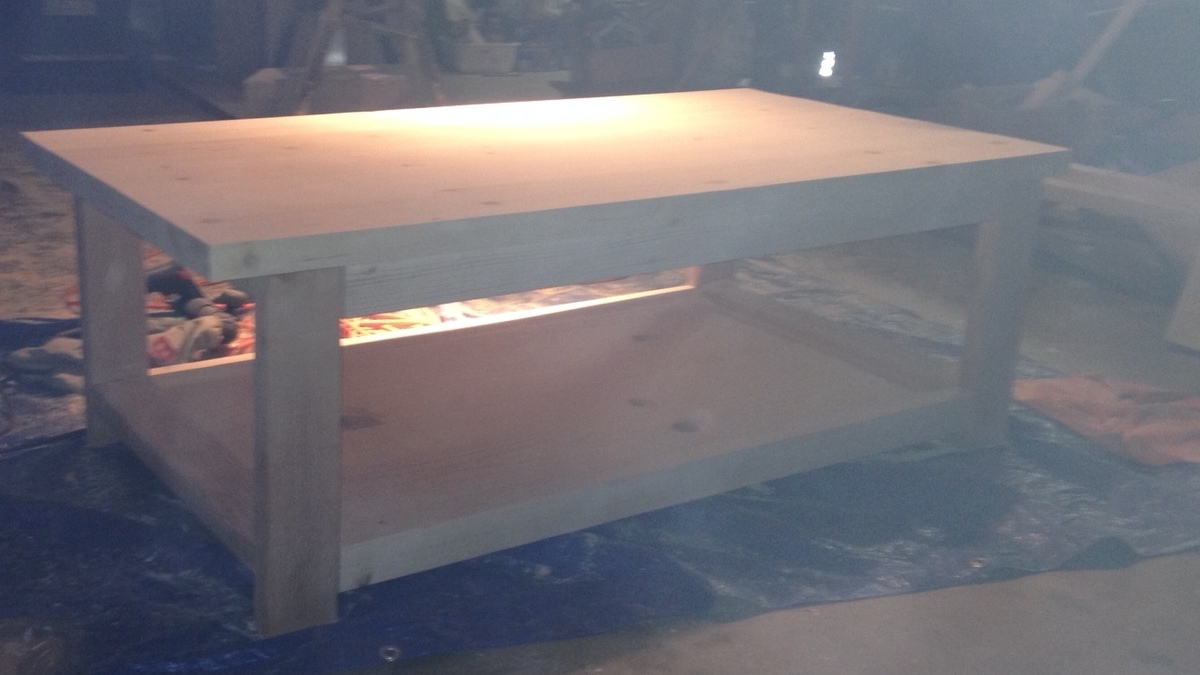
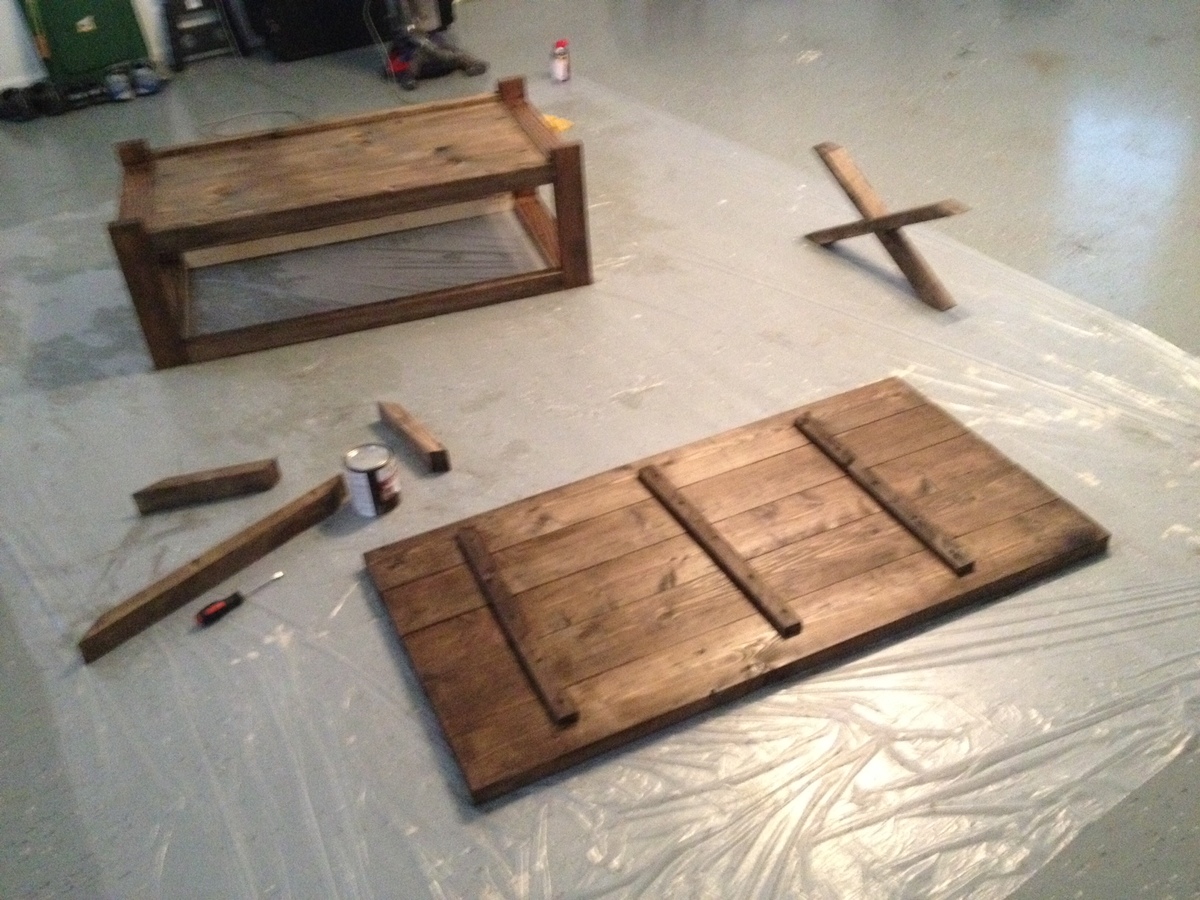
Long weekend project with my dad. First real project for me. Great learning experience can't wait for my next project.

Built from Plan(s)
Estimated Time Investment
Weekend Project (10-20 Hours)
Finish Used
2 coats of Varathane Kona
Recommended Skill Level
Beginner

Raised planter boxes

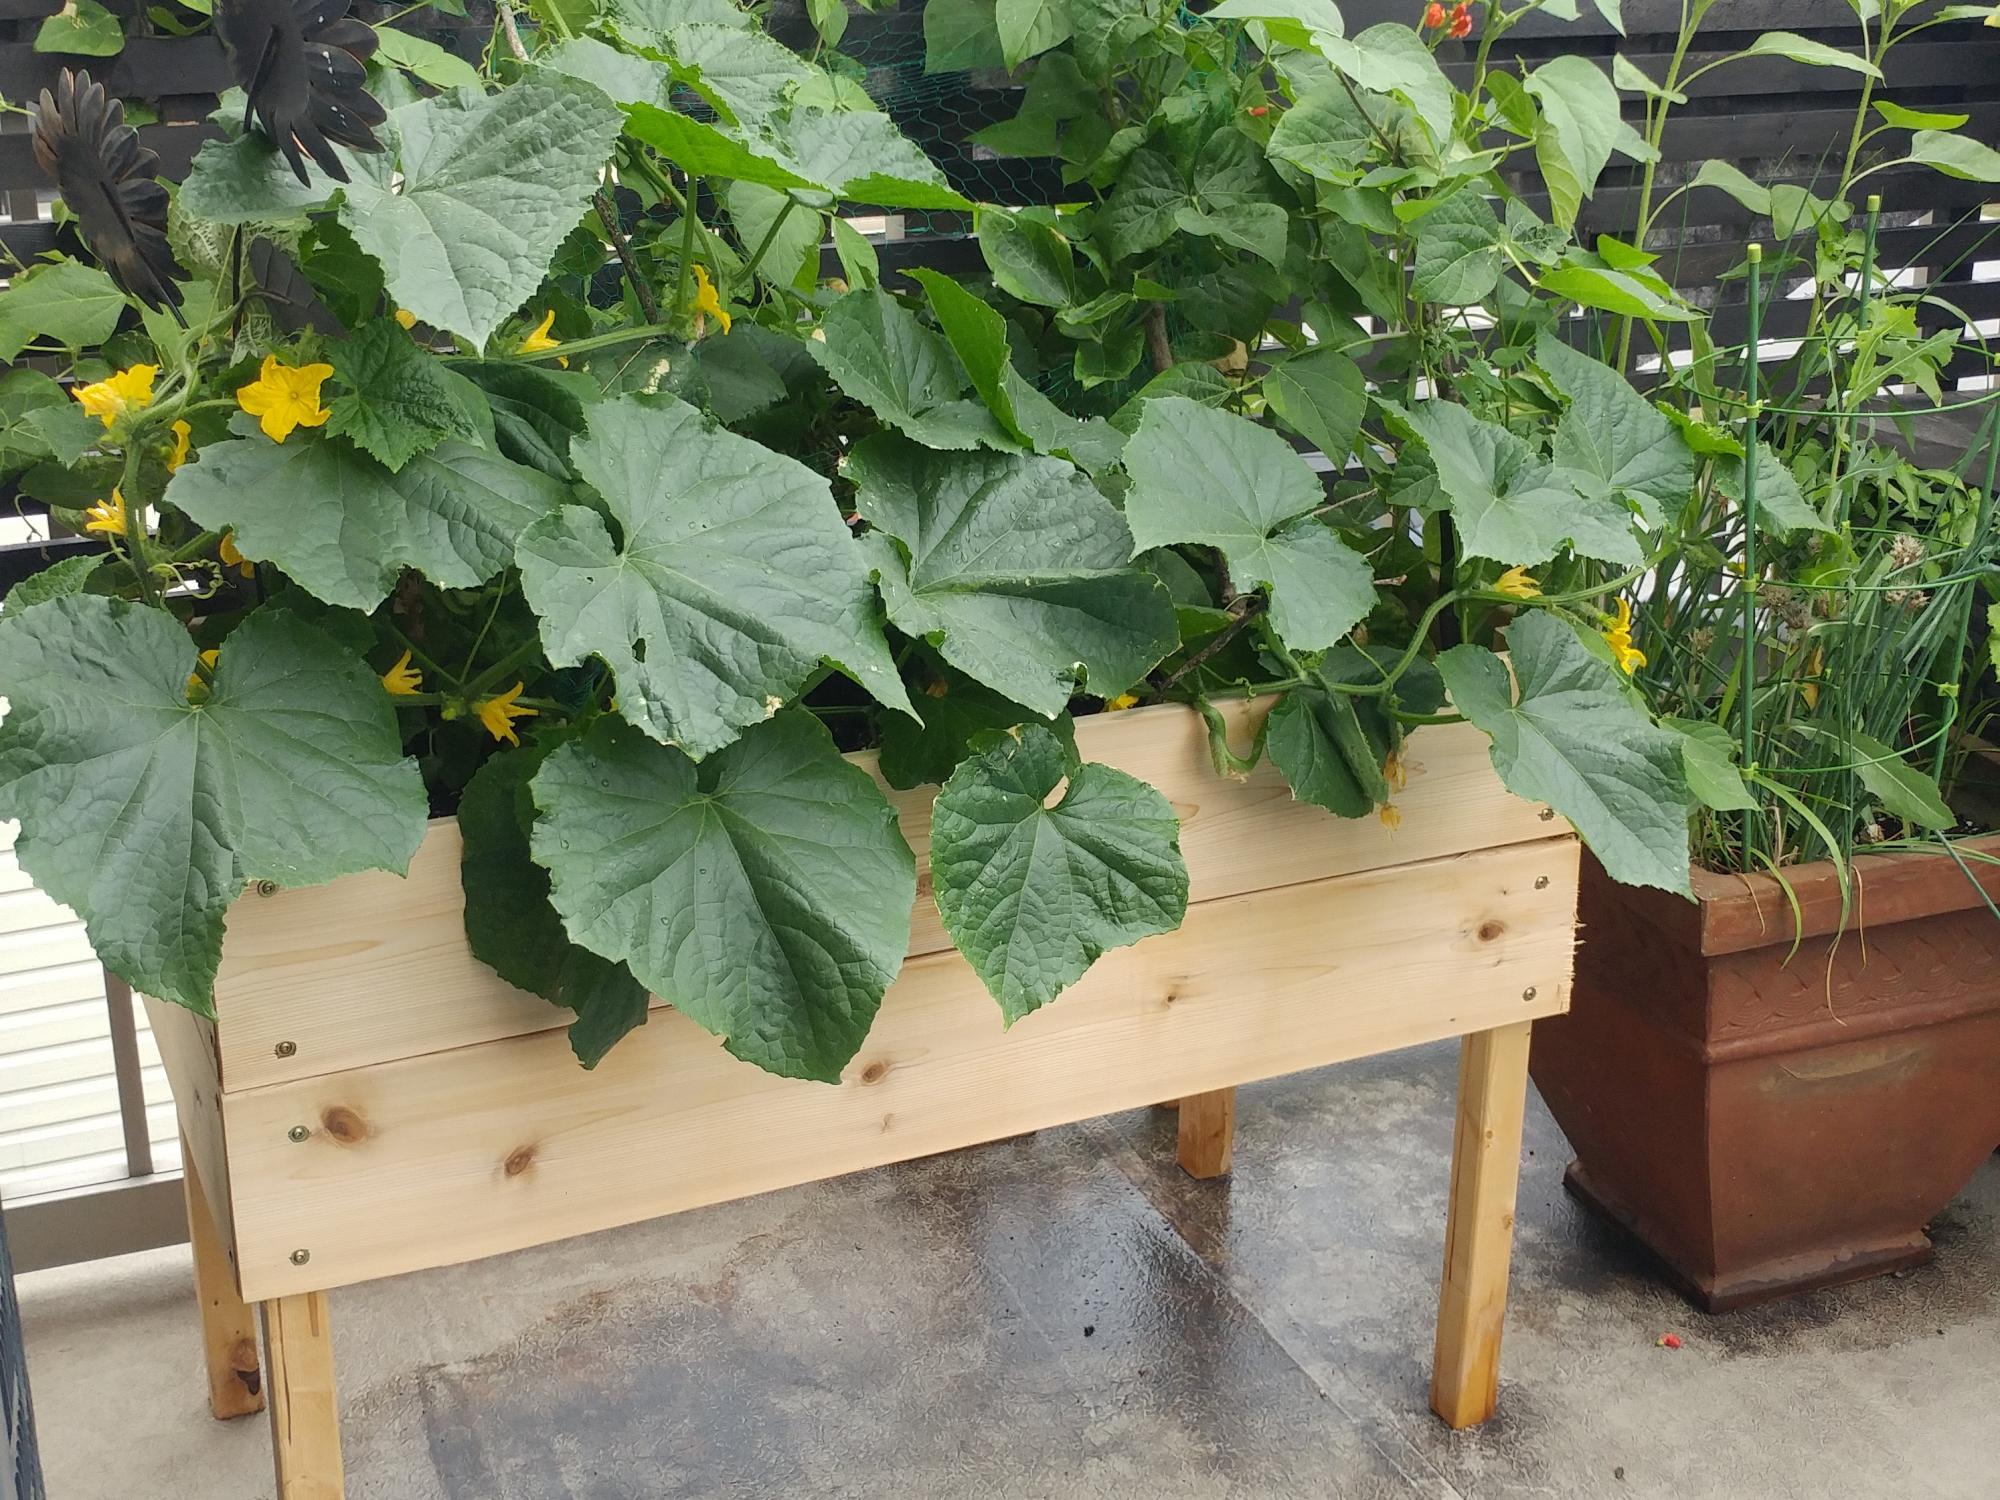
Submitted by SandraVee on Thu, 07/23/2020 - 06:55

My first ever build! I made two of these planters for my deck. They were easy and the cucumbers and runner beans I grew from seed loved the deep soil in them! They make my little space feel like an oasis.
Built from Plan(s)

Screen door with built in dog door

Our old screen door wasn't cutting it anymore, so I built a new one, and to kill two birds with one stone, I included a built-in dog door. Now I just need to find the motivation to close off the old dog door.

I have the plans to build this screen door with a built-in dog door posted via the blog link below for anyone interested.

Estimated Cost
80
Estimated Time Investment
Afternoon Project (3-6 Hours)
Finish Used
white exterior paint
Recommended Skill Level
Intermediate

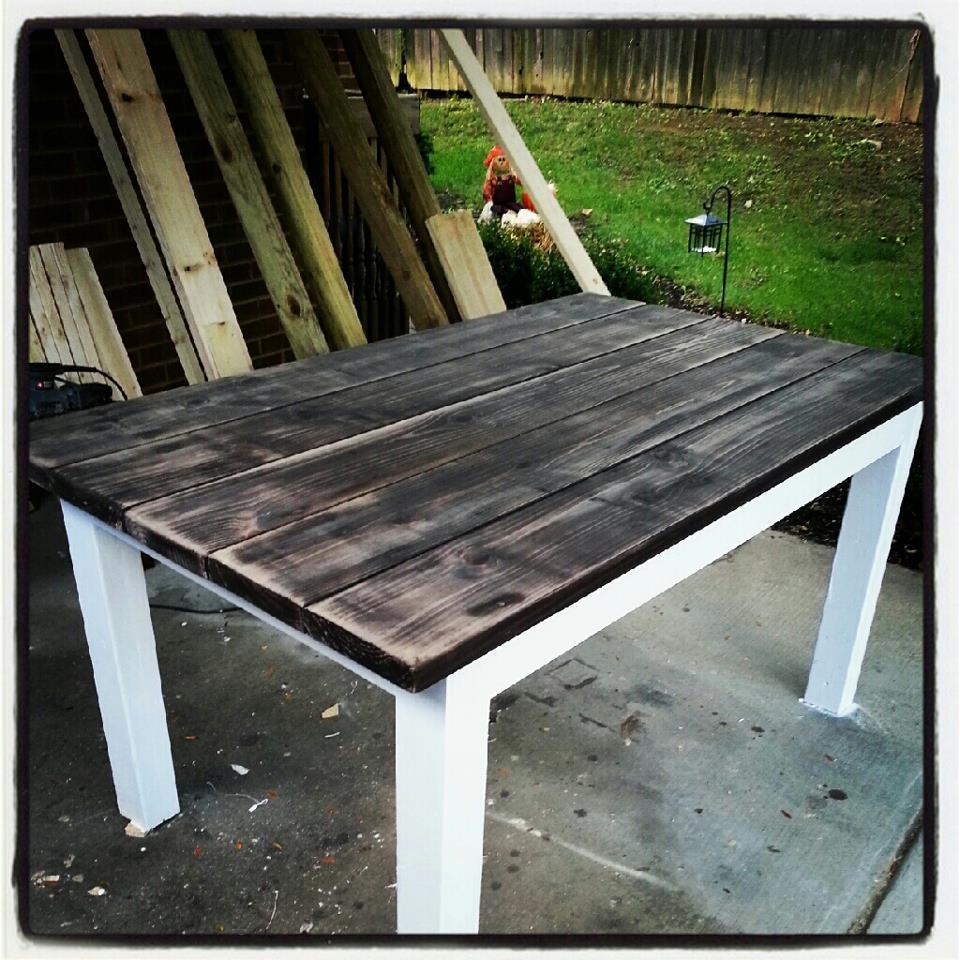
Sister's distressed table

Submitted by SamWiseMan on Mon, 10/08/2012 - 17:46

After I built my table (the farmhouse/tryde), my sister wanted a table for her new home. She had looked online and found a table that someone had refurbished from an old table, and put a new top on it..

So once she described it to me, I got started. I again used 2x4s glued/screwed together for the legs. Then I got 2x8 and start putting them down. Since these are such big boards, you have to be extremely careful not to get ones that aren't straight. If they are warped, they will make your table wobbly once you screw them down. After I finally got past that, I began staining.

For the distressed-ish look, I used Rustoleum's water-based Kona stain. I stained each board and then use a wire brush to "scruff" the boards up a bit. From there, I sanded the tops with a combination of 60 grit and 220 grit. I used Rustoleum's matte-finish poly to give it a very soft feel and look.

This table compares best with the farmhouse.

Estimated Cost
$65
Estimated Time Investment
Afternoon Project (3-6 Hours)
Finish Used
Rustoleum's water-based Kona stain and ultimate-matte finish poly.
Recommended Skill Level
Beginner

Comments

SamWiseMan

Mon, 10/15/2012 - 14:48

I'm sure you can build it to come apart. This particular one, no. I made another where the top will come off as a one solid piece, but this top is screwed in each individual piece.

Now you could unscrew everything and screw it all back together, but then you would have to make touchups to the paint and stuff. I use white caulk to fill the seams from the base of the table to the table top, and to the legs to the base.

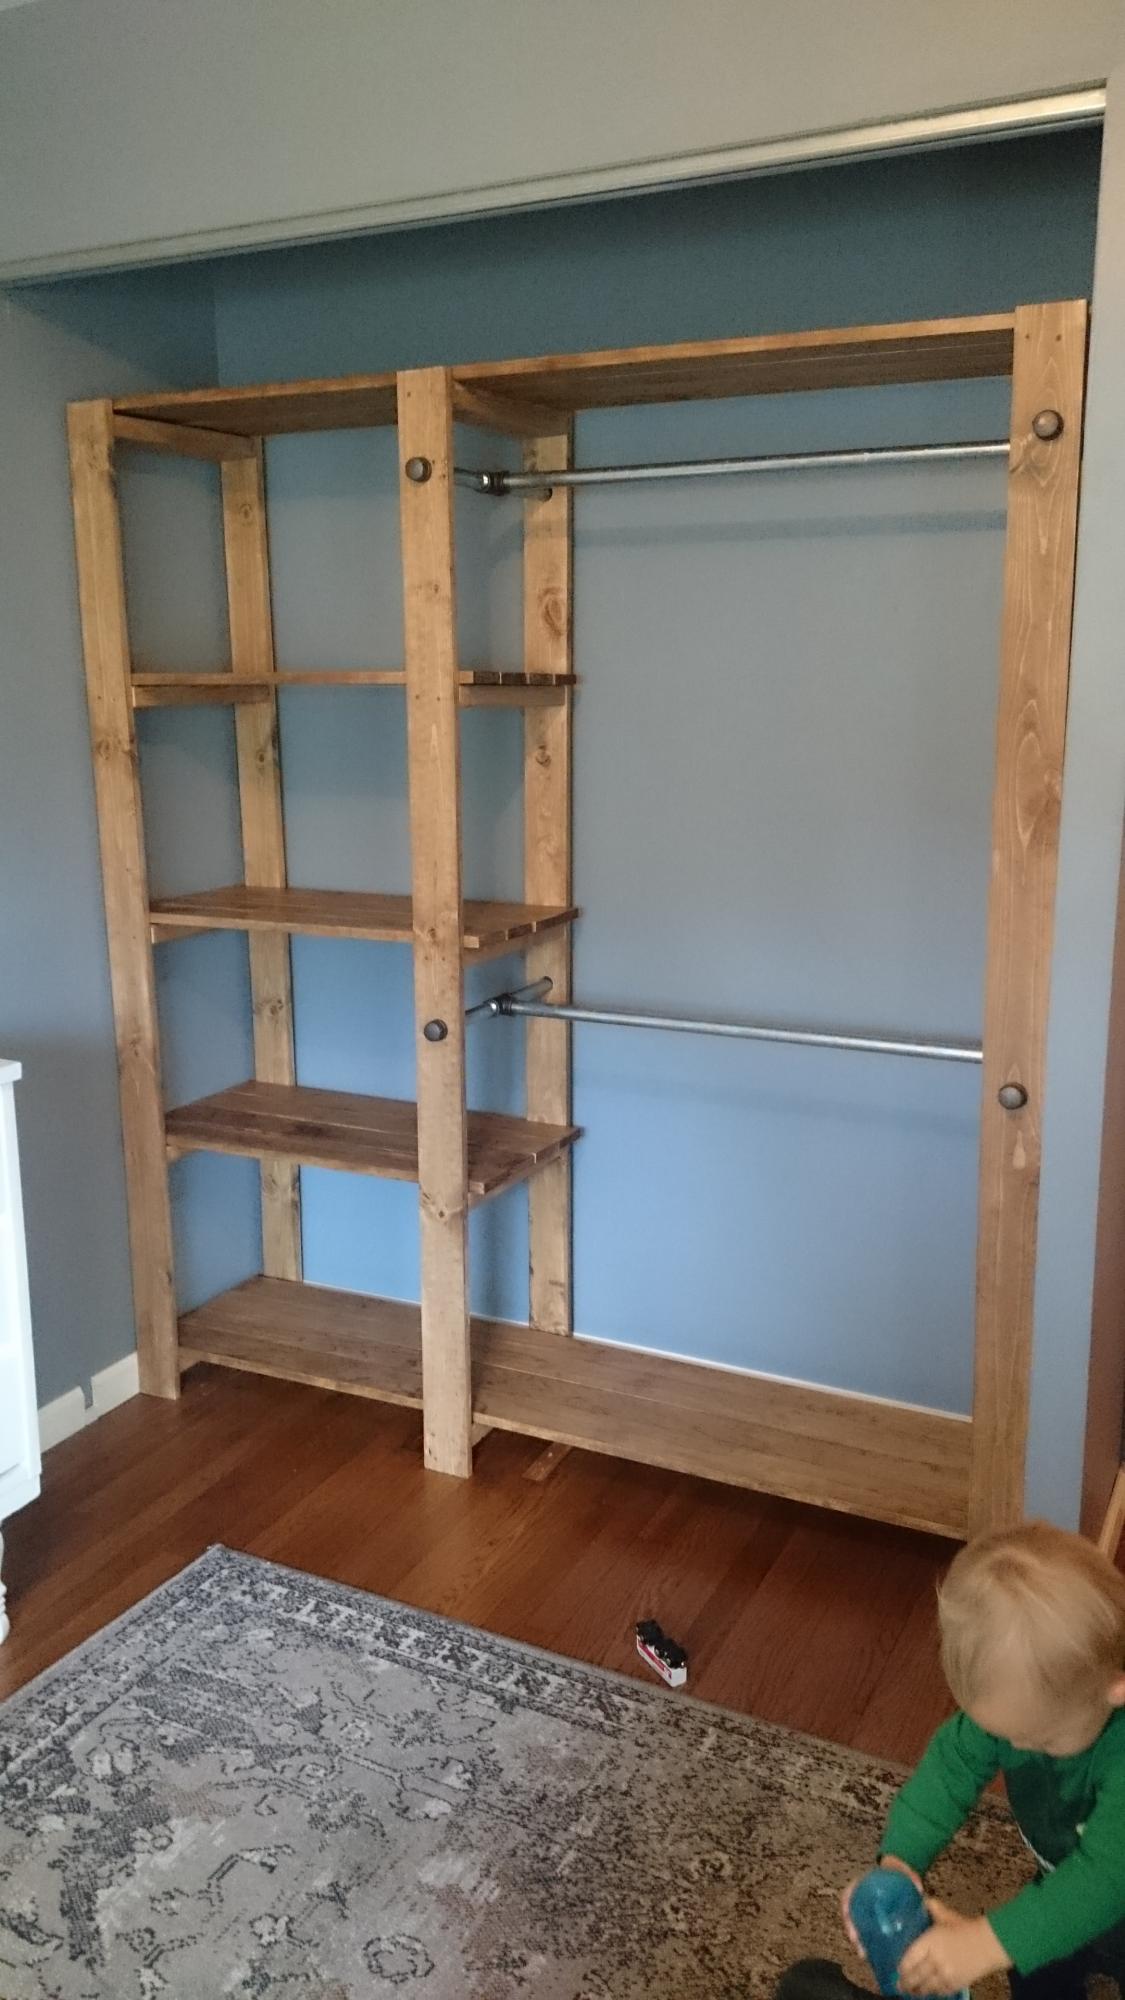
Baby Ray's New Closet!

Submitted by Katurn89 on Wed, 11/14/2018 - 08:24

This was the second building project I've ever completed. I had to make a few adjustments to make it fit the size of ray's closet, but it was totally worth it. most of the work was in the measuring, sanding, and sealing of the wood. Ftting the frames can be a little tricky if your planks aren't perfectly straight. Otherwise, this project was pretty straight forward and can be done in just a few days depending on how much time you have to dedicate to it. Thanks Ana!

Built from Plan(s)
Estimated Cost
About $150
Estimated Time Investment
Week Long Project (20 Hours or More)
Finish Used
Early American stain and polyurethane
Recommended Skill Level
Beginner

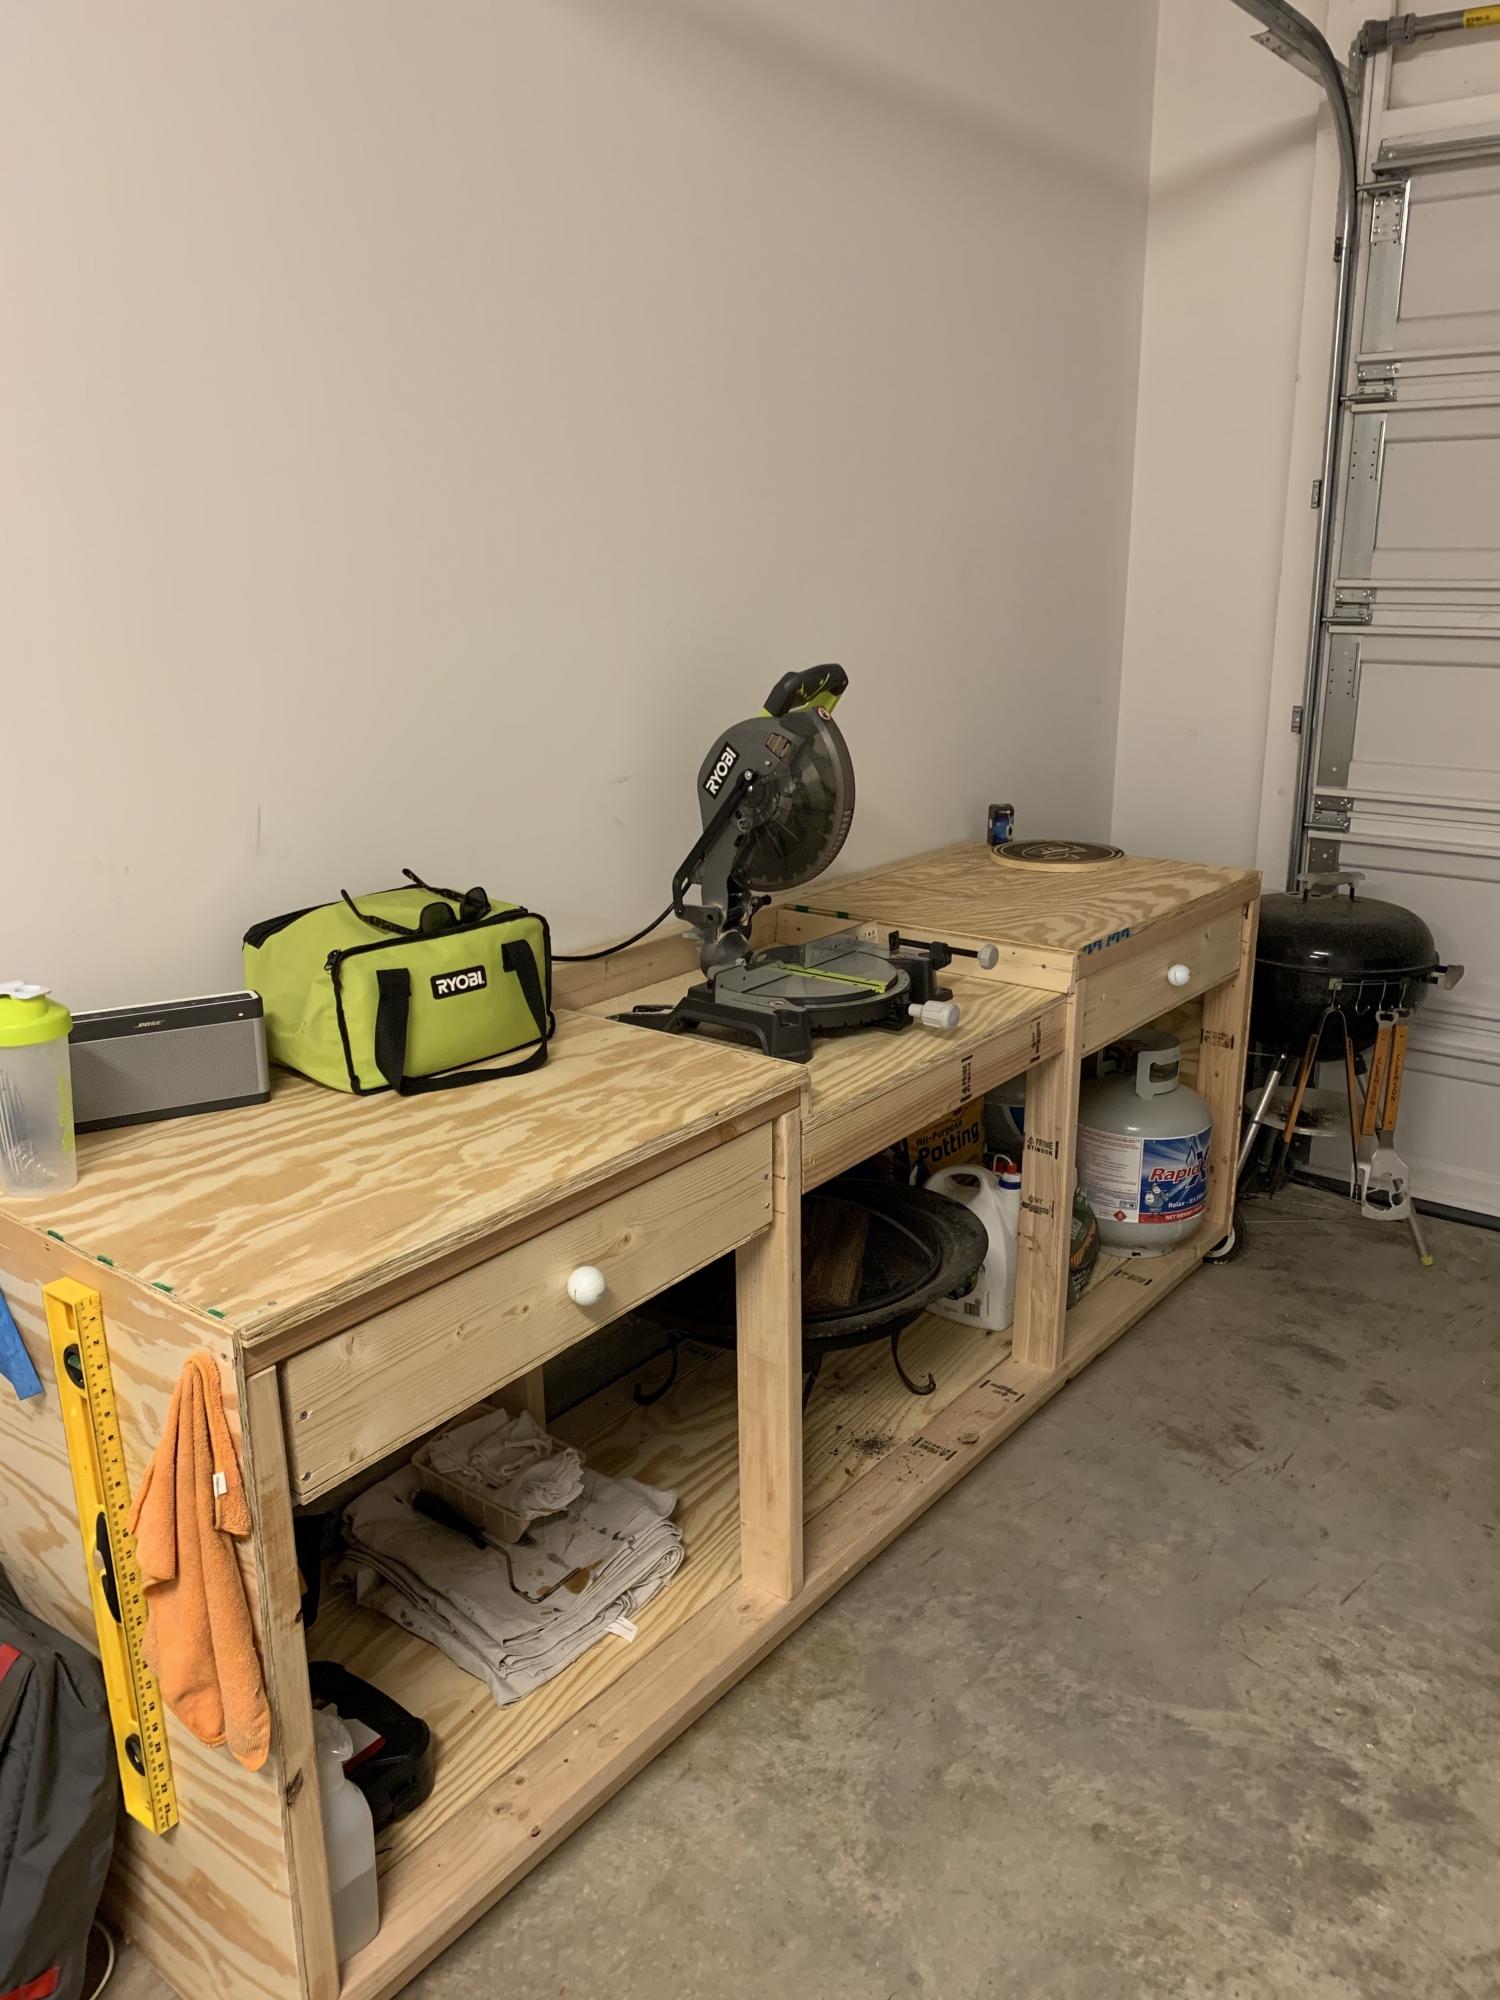
Pony Wall Workbench

I picked up wood working as an indoor hobby during the Coronavirus and working from home. I was doing everything on the floor in my garage until I saw these plans for the Pony Wall Workbench. I'm 6'4 so having a bench to work at is such a savor for my back. I didn't have as much room, so I just used the 8 foot section and dropped the miter saw into the middle, two drawers on either side. I'm a big golf fan as well, so I spiced it up with some old golf balls I had laying around for drawer knobs!

I really appreciate this site and all the plans. I'm looking forward to many new builds, not on the ground haha!

Built from Plan(s)
Estimated Cost
$150-$200
Estimated Time Investment
Day Project (6-9 Hours)
Recommended Skill Level
Intermediate

Cutting Table for Sewing room

Submitted by tjbr100 on Mon, 09/07/2020 - 22:06

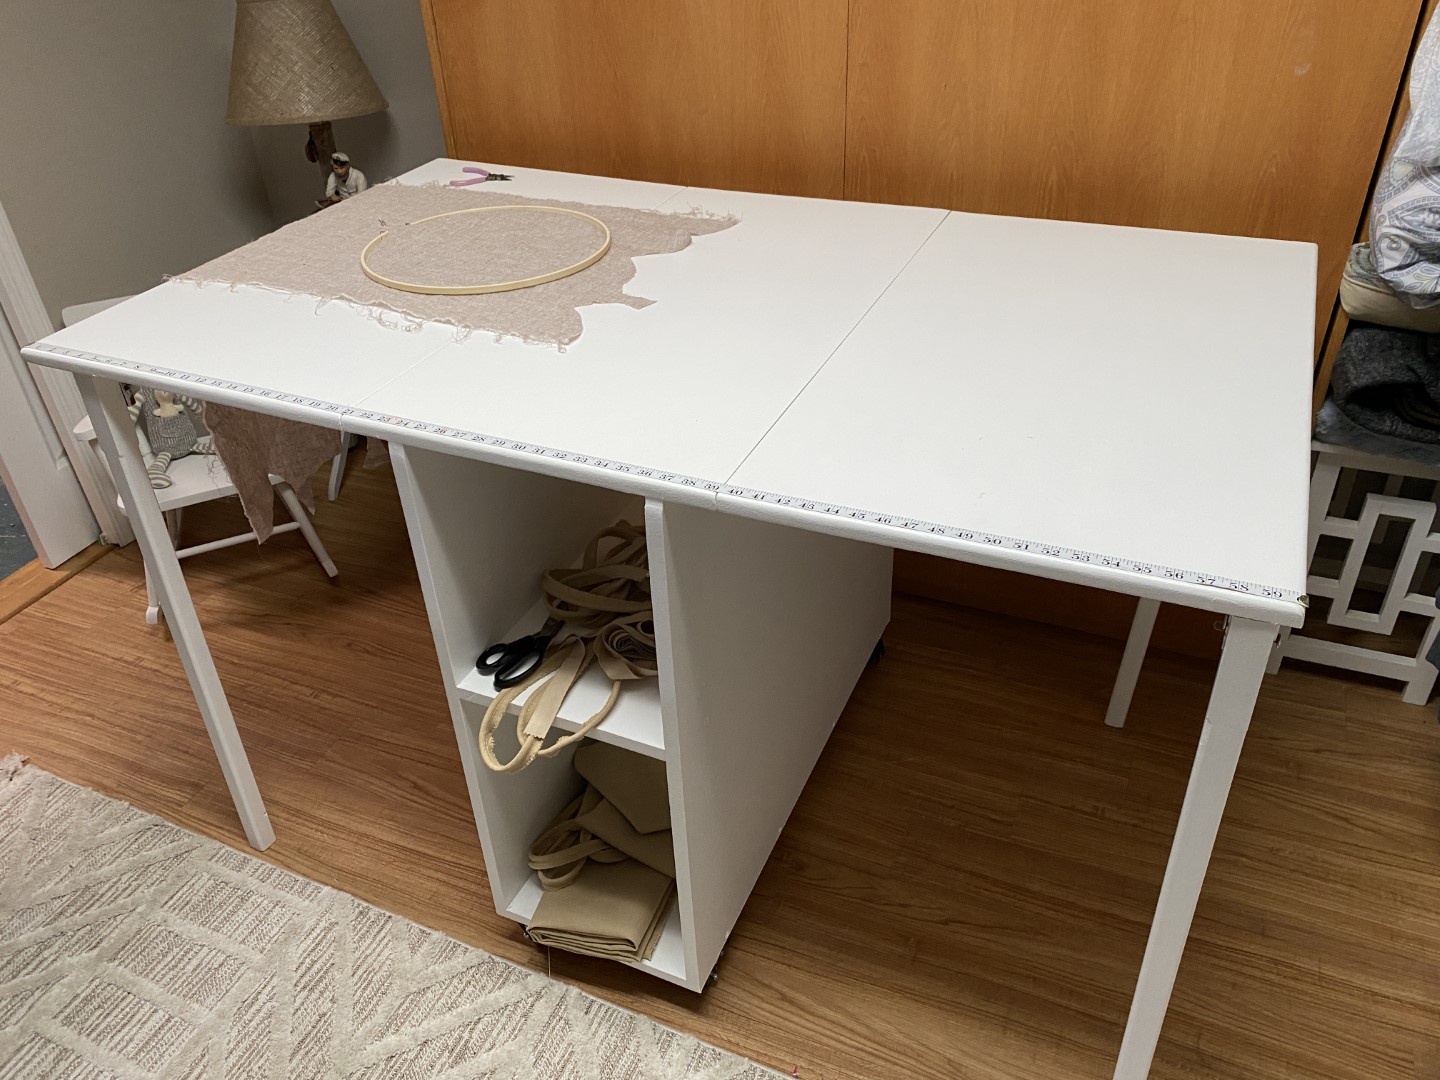
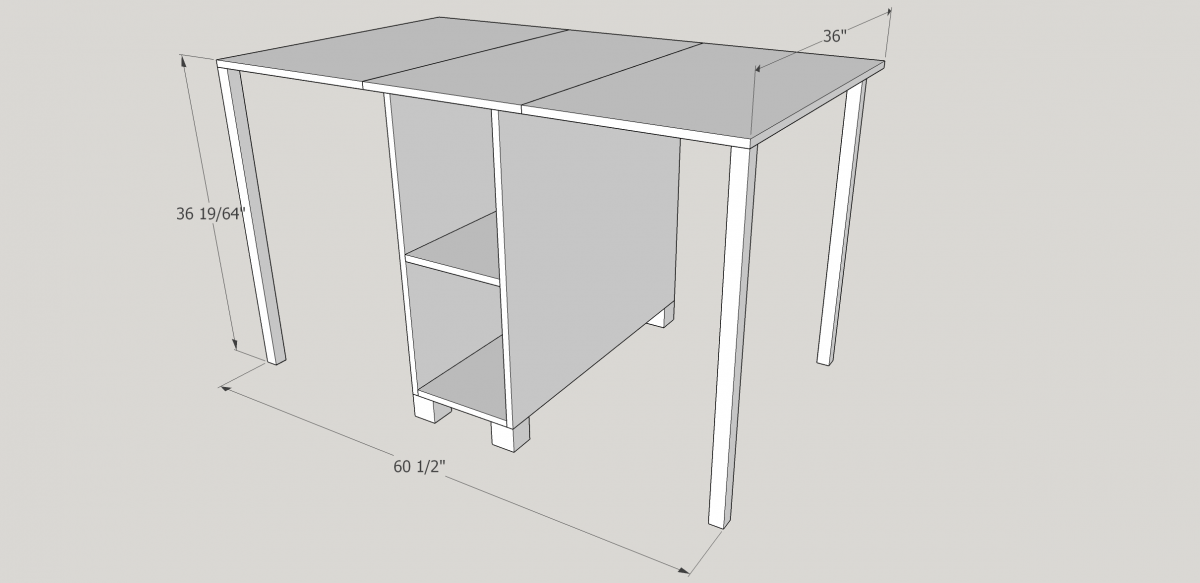
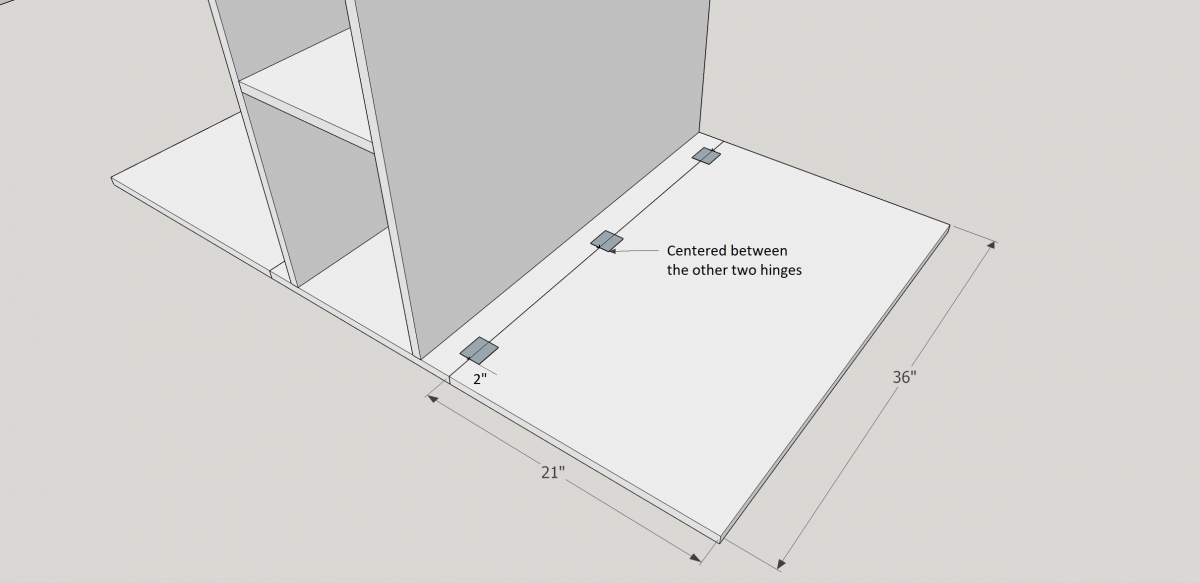
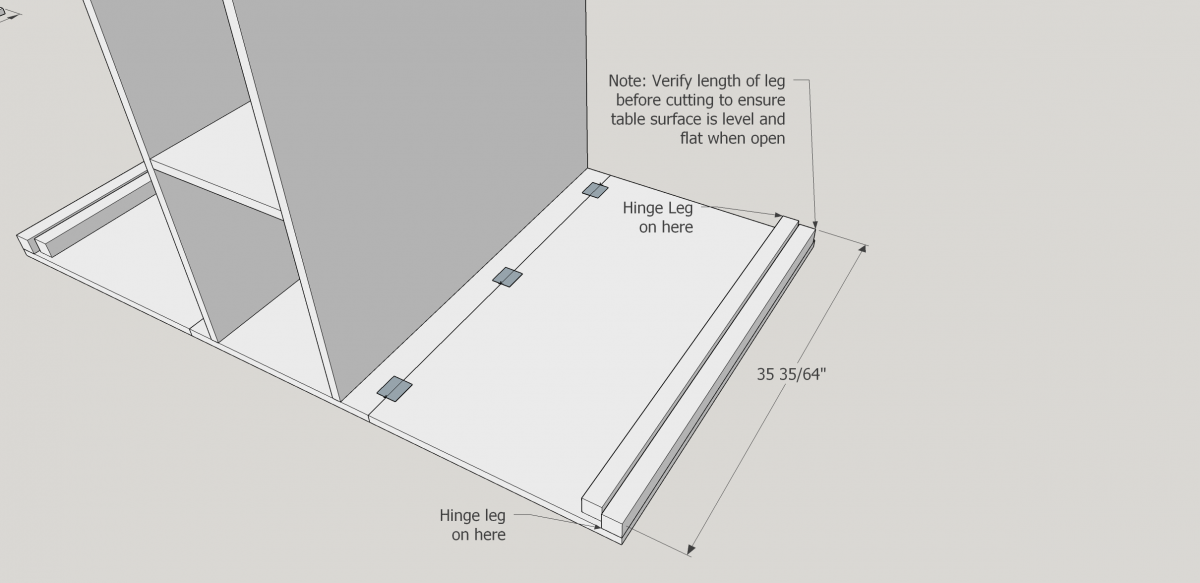
Jennifer wanted a cutting table for her sewing room and so I took Ana-White's Sewing Table plans and made them taller into a cutting table. We aimed for 36" (Standard Counter-Top Height), but ended up at 36 19/64" due to the casters not being exactly two inches. Jennifer's a little short so I was really worried about the extra 19/64" (but don't tell her I said that :)

We decided to use MDF instead of plywood to avoid the risk of snags on finer fabrics.

Instead of simple hinges for the legs, I chose locking hinges available from Lee Valley https://www.leevalley.com/en-ca/shop/hardware/table-hardware/legs/leg-b… ($38 for all four).

We purchased 2" Casters from Amazon.ca https://www.amazon.ca/gp/product/B07G84R9Q9/ref=ppx_yo_dt_b_asin_title_… ($22.99 for all four).

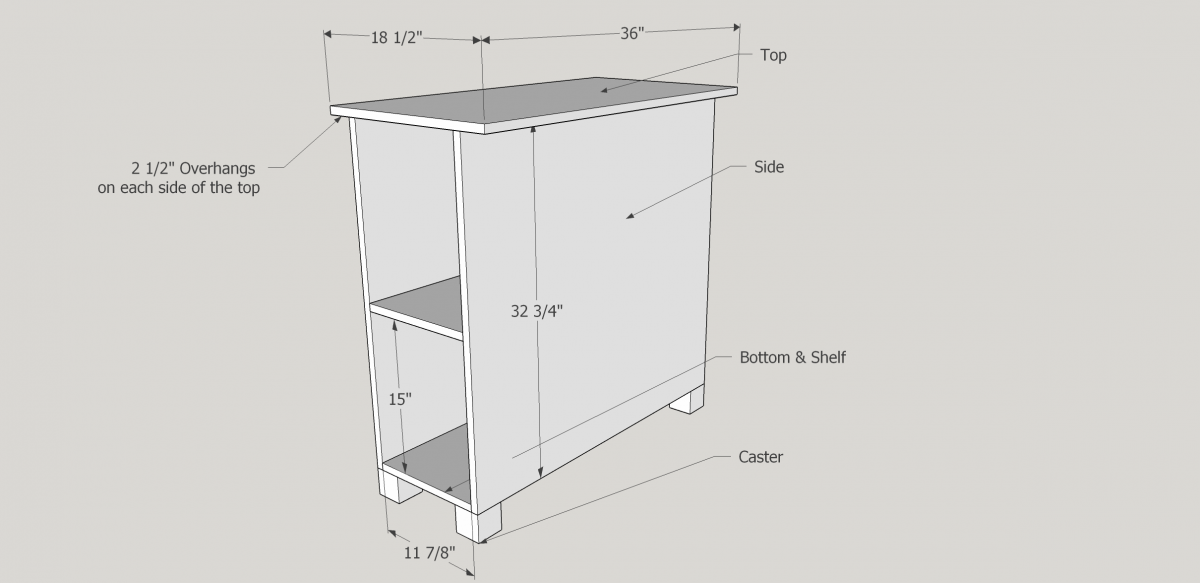
The base was cut from one sheet of 3/4" MDF

We used 2 1/2" screws and glue to build the base. We pre-drilled and counter sunk the screws, ensuring squarness all around.

We attached the casters with the screws provided.

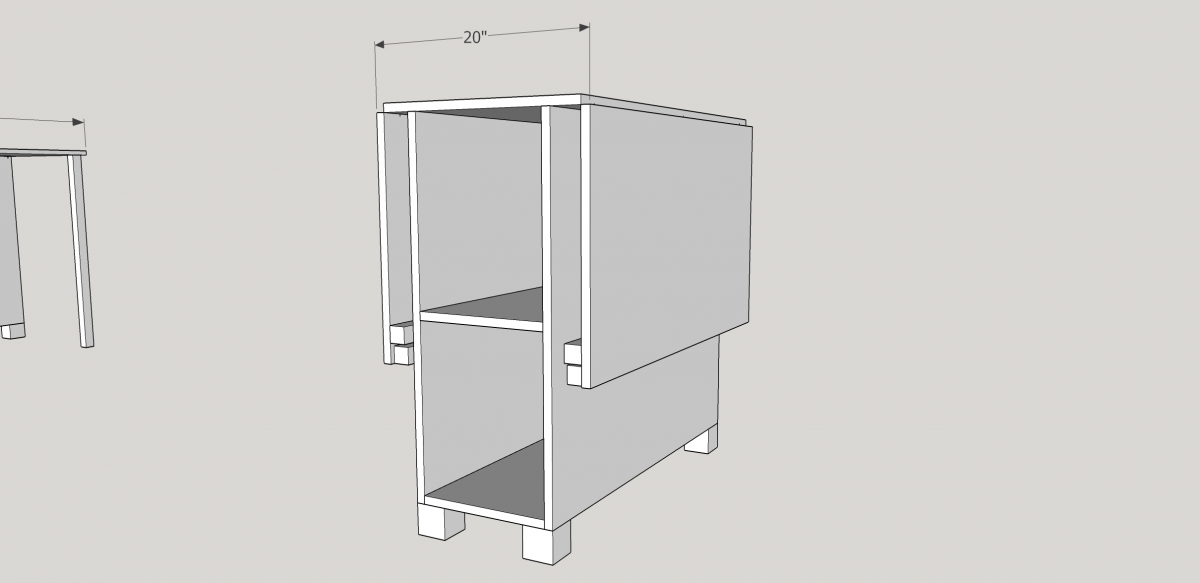
Then we cut the leaves from some scrap 3/4" MDF and attached them with some old door hinges we had.

Once the leaves were attached, we attached the locking hinges for the legs.

We cut and planed the legs a little, and then routered the corners to give them a bit of a nicer look.

Once assembly was finished we applied a coat of primer and two coats of white, satin, interior paint.

The whole thing came out really well and is a nice addition to the sewing room. Once again, I found the plans on this site to be really helpful and easy to understand. Thank you!

Estimated Cost
$150
Estimated Time Investment
Weekend Project (10-20 Hours)
Finish Used
Interior Primer and White, satin, interior paint.
Recommended Skill Level
Intermediate

Country Desk

I wanted a good solid desk for my office and I thought these plans were perfect. The wood, screws, paint, and stain all cost less than $30. Instead of using 2x4's for the top I used a solid piece of aspen. I then stained the top and painted the bottom white.

Built from Plan(s)
Estimated Cost
$30
Estimated Time Investment
Weekend Project (10-20 Hours)
Recommended Skill Level
Beginner

Comments

Simple 2x4 Bench

Submitted by jennibee on Sun, 09/14/2014 - 17:03

I made this in an afternoon. Loved this project. It is made with 2x4's using a Kregs Jig and mitre saw (plus additional tools like a drill and square).  This was my frist time using the Kregs Jig and I am sold!!

The free plans were taken from another website. They are very detailed and there is even a video (I recommend it as he gives a great tip for making sure the back stays equal/level to each other before putting the back on). Even though you can build this by yourself, I did have help for the heavier sides once they were assembled.  I plan to build the additional side table soon and finish them both with sanding and staining when the weather seems less iffy for rain.

If you are looking for a good beginner project that doesn't take forever or have complicated steps, this is your project.

Built from Plan(s)
Estimated Cost
Around $50
Estimated Time Investment
Afternoon Project (3-6 Hours)
Recommended Skill Level
Beginner
Back