Eco Modular Office Desktop
We (my husband and I) were in desperate need of a better work space, and this was perfect.
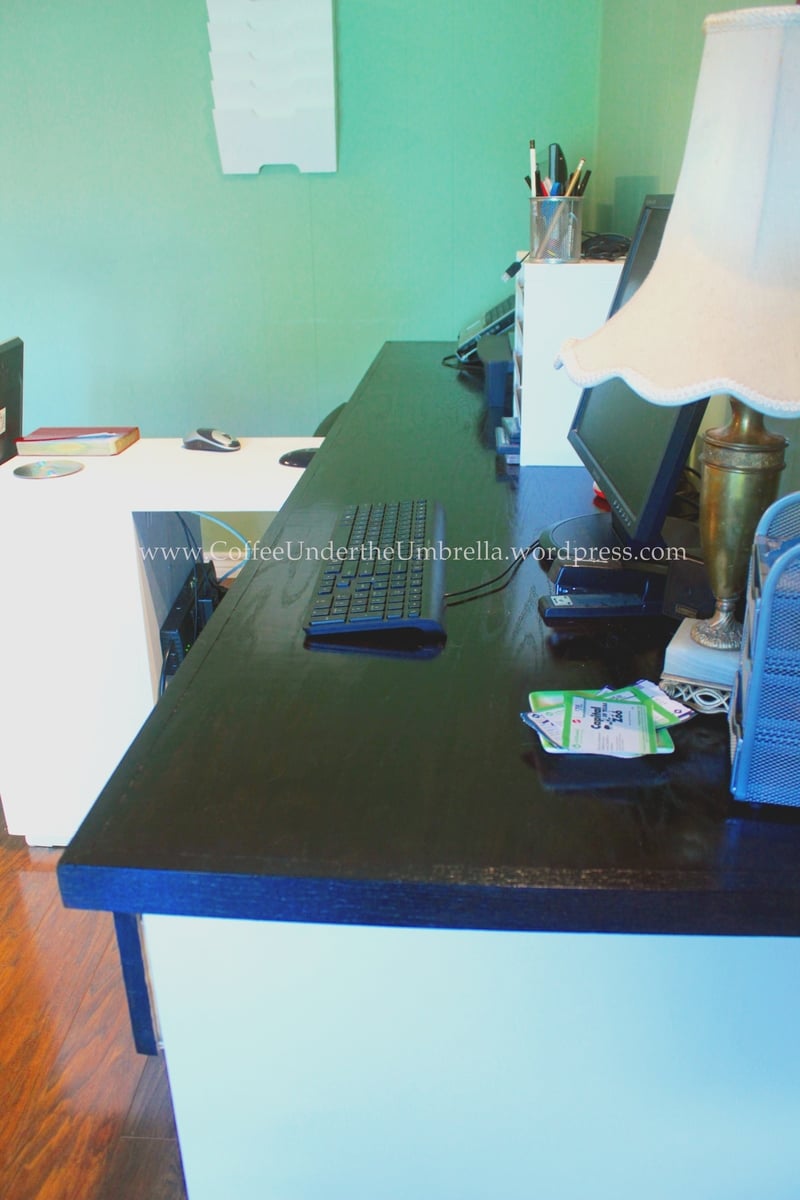
We (my husband and I) were in desperate need of a better work space, and this was perfect.

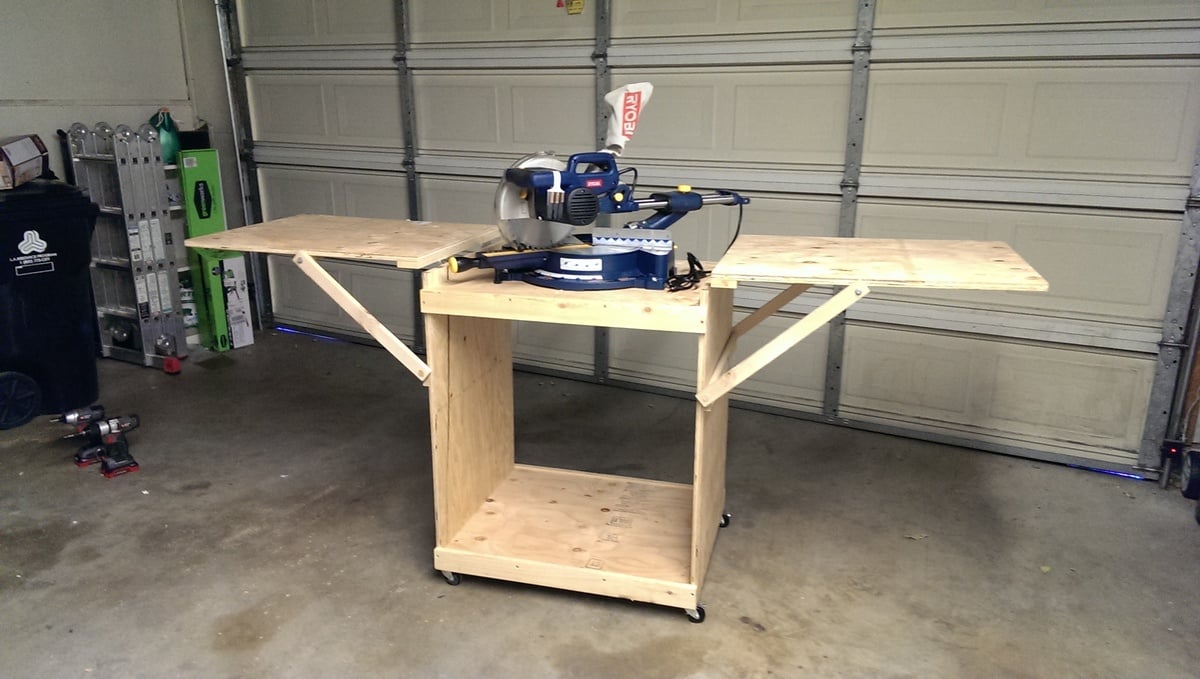
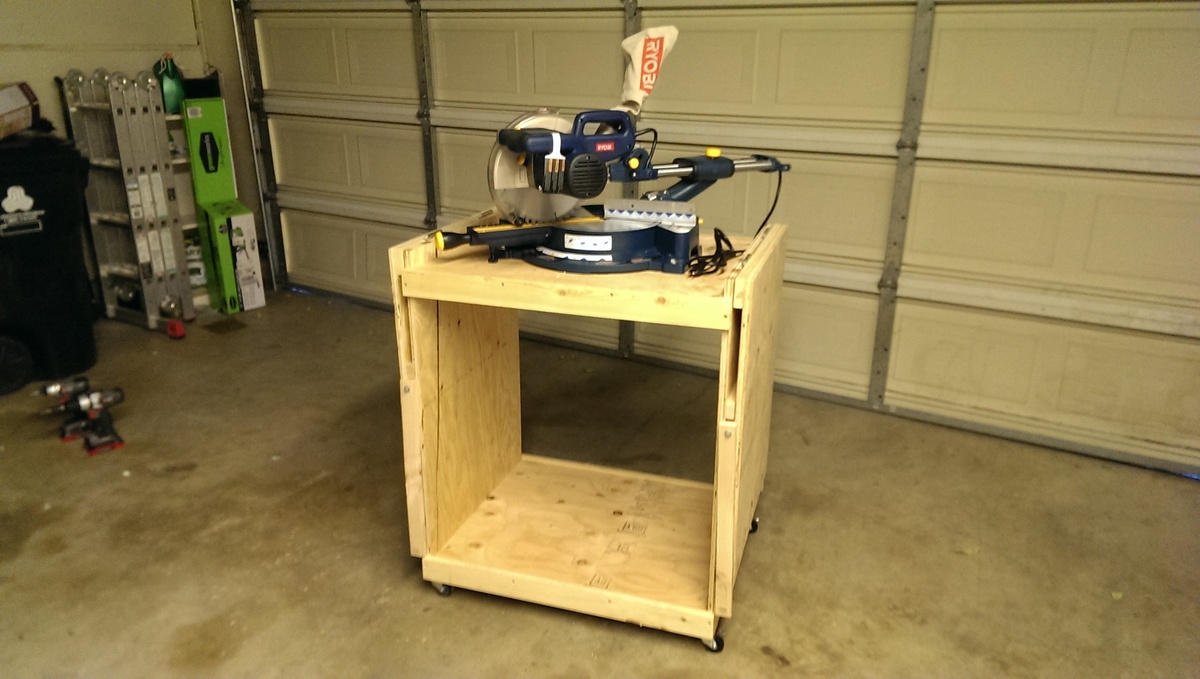
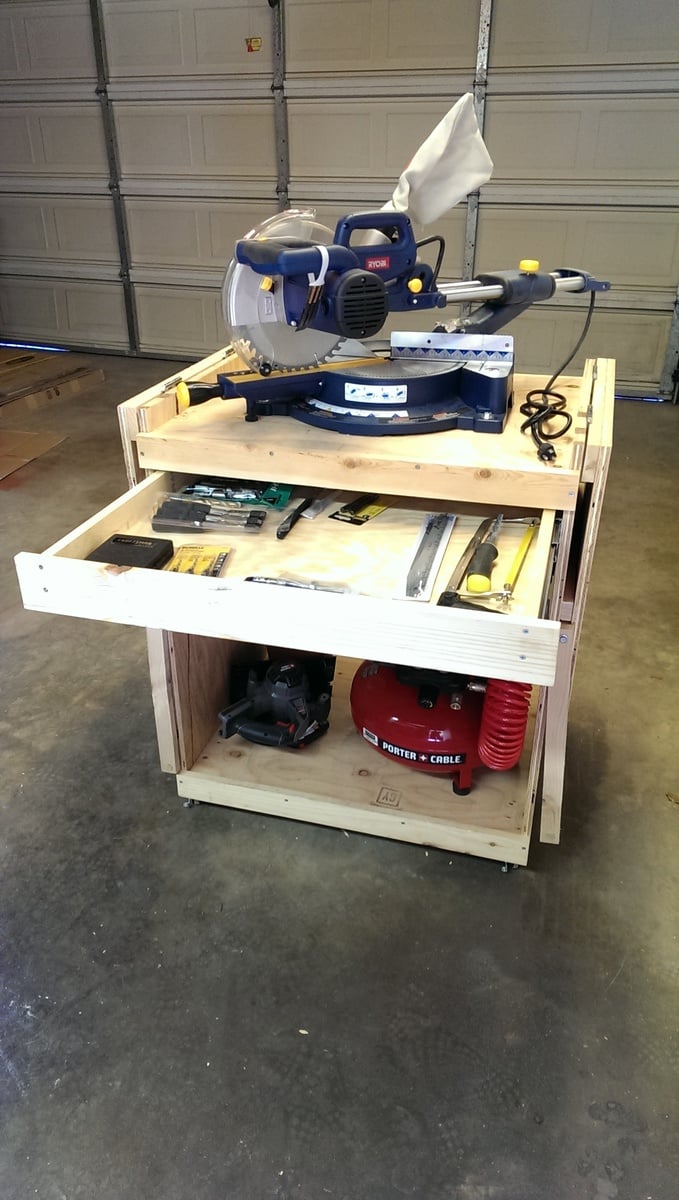
As a complete beginner in wood working (unless you count a year of woodshop over a decade ago), I decided that building a cart for the miter saw I just bought would be a great first project. So what did I do with that brand new miter saw? I left it in the box and made all of the cuts with a circular saw. Not sure what I was thinking there...
I mostly followed the excellent plan provided here but used wooden arms to prop up the wings in order to save on cost. I got the idea from the folding sling chair plan. It took quite a few screw ups and adjustments of the lower support bar before getting one of the wings level but I got it eventually.
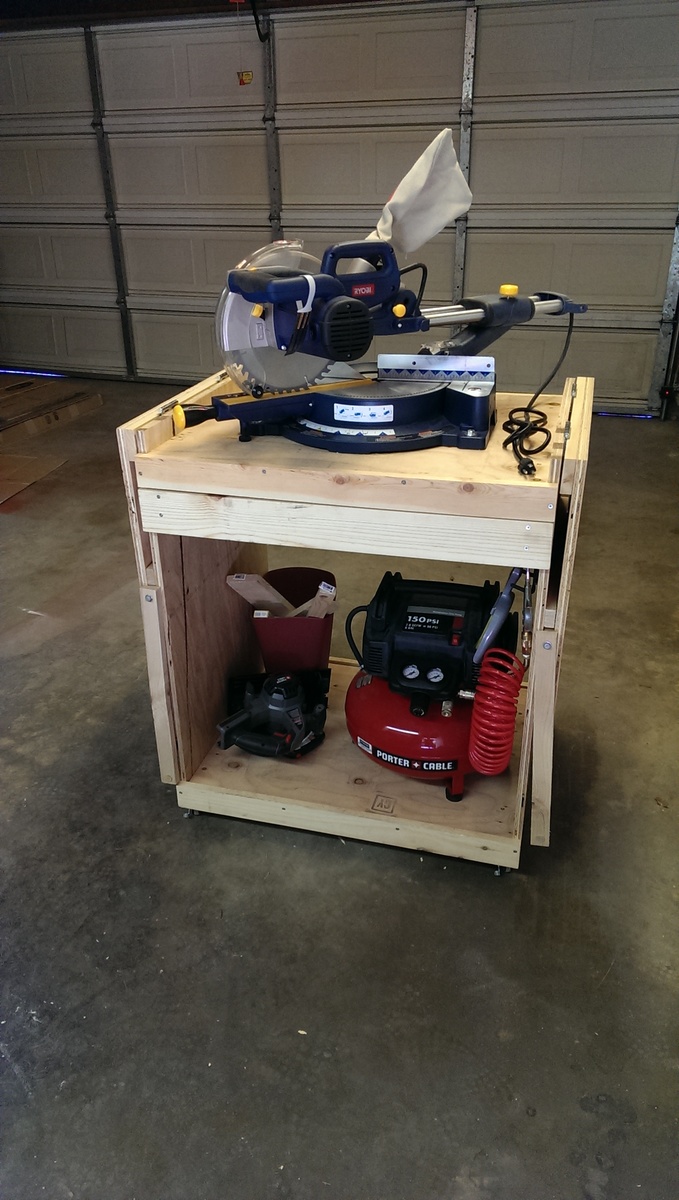
Update 8/20/13: The miter saw has been a joy to use with the cart and the big flip up wings provide a ton of really convenient work space in addition to stabilizing 8 ft boards for cutting. I added a sliding drawer and some utility hooks for additional storage.
Thu, 08/01/2013 - 08:10
I originally just had a 2x2 and two blocks to hold up the wings on the cart. They kept falling out, so I replaced them with hinged arms, which were a pain to fit and install, but they work well. Your approach has the same advantage of hinging the support arms: the wood can't fall out and it looks way simpler to install than my system.
One hint if you try Nermell's approach: Flip the cart upside down when you fit and install the support arms. I did all kinds of complex sketches and measurements, then realized it was just faster to lean the support bracket at roughly 45 degrees, then I installed the two block (one on the side, one on the wing) to hold the bracket in place. Flip the cart over, and your wing will sit at a perfect 90 degrees to the sides of the miter saw cart.
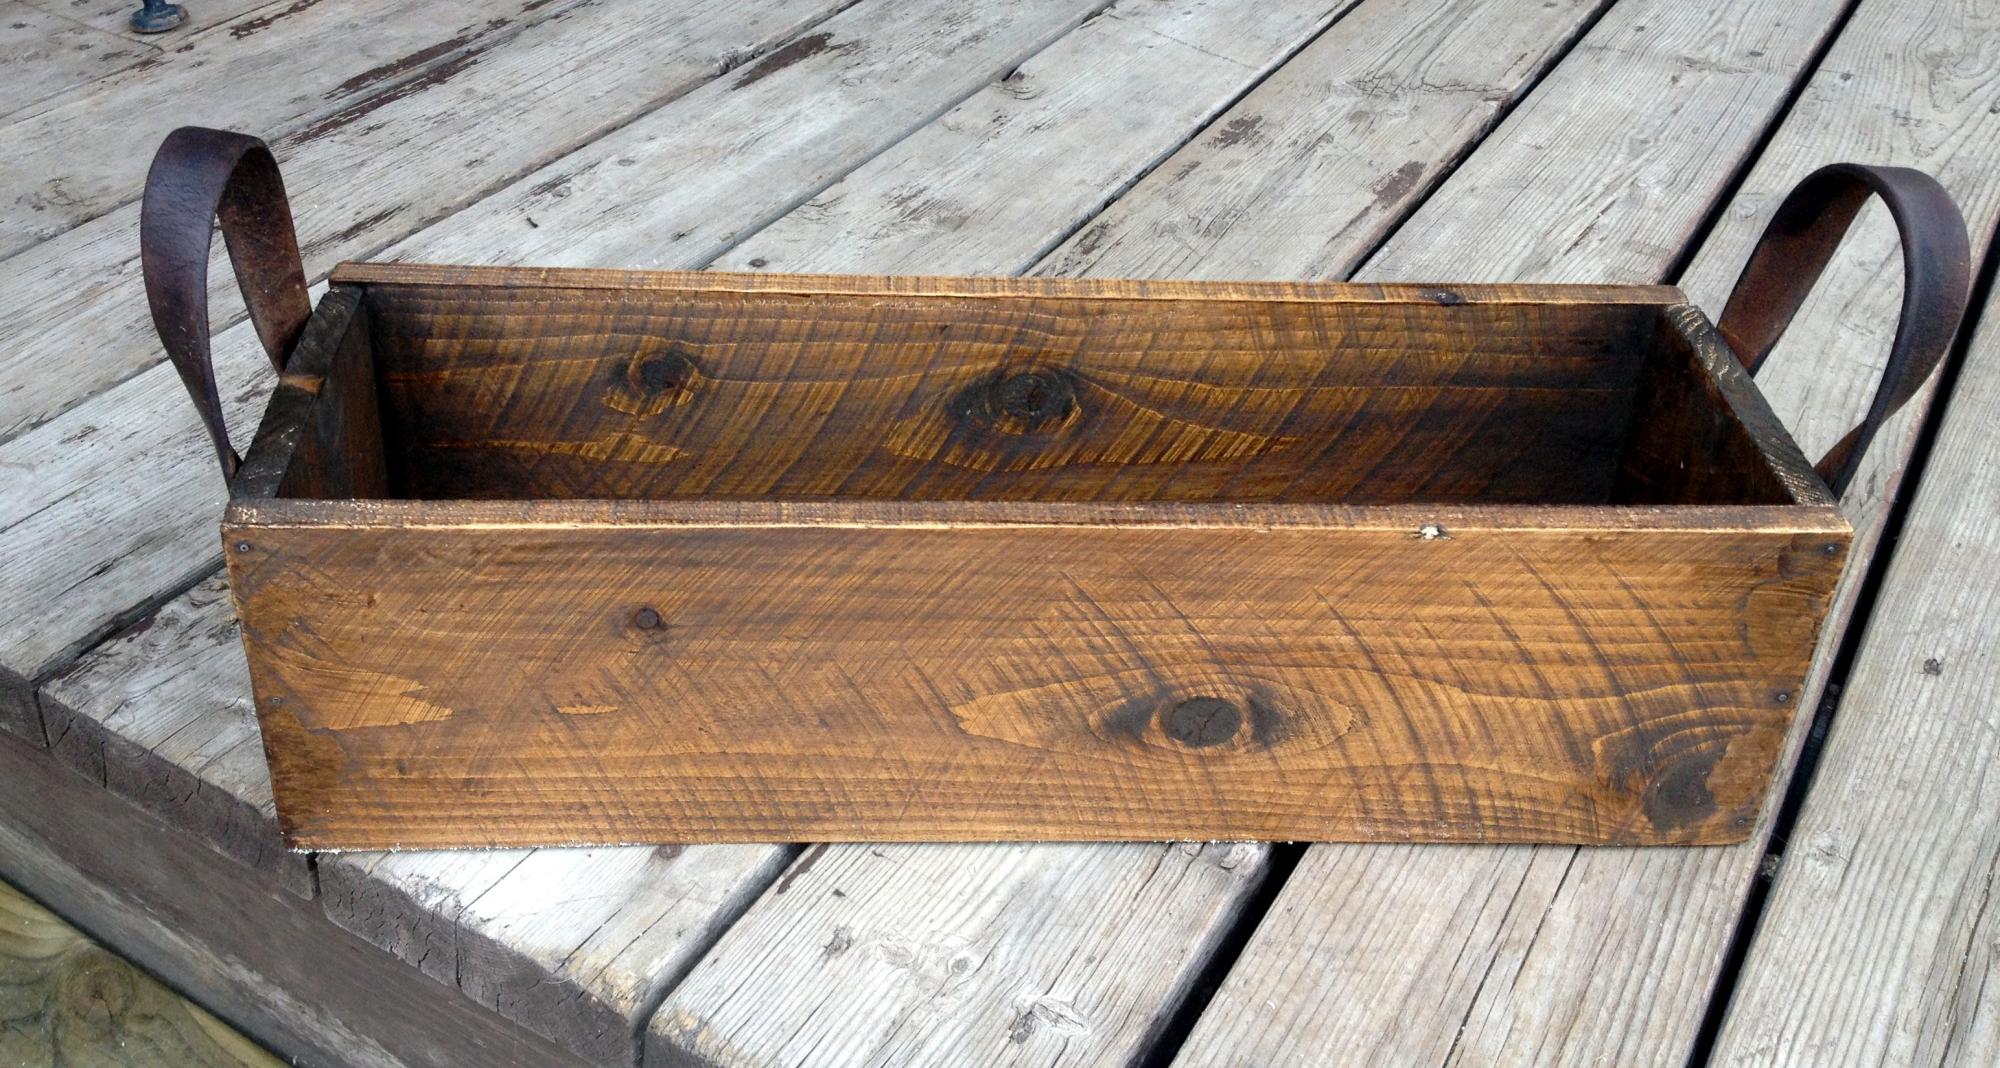
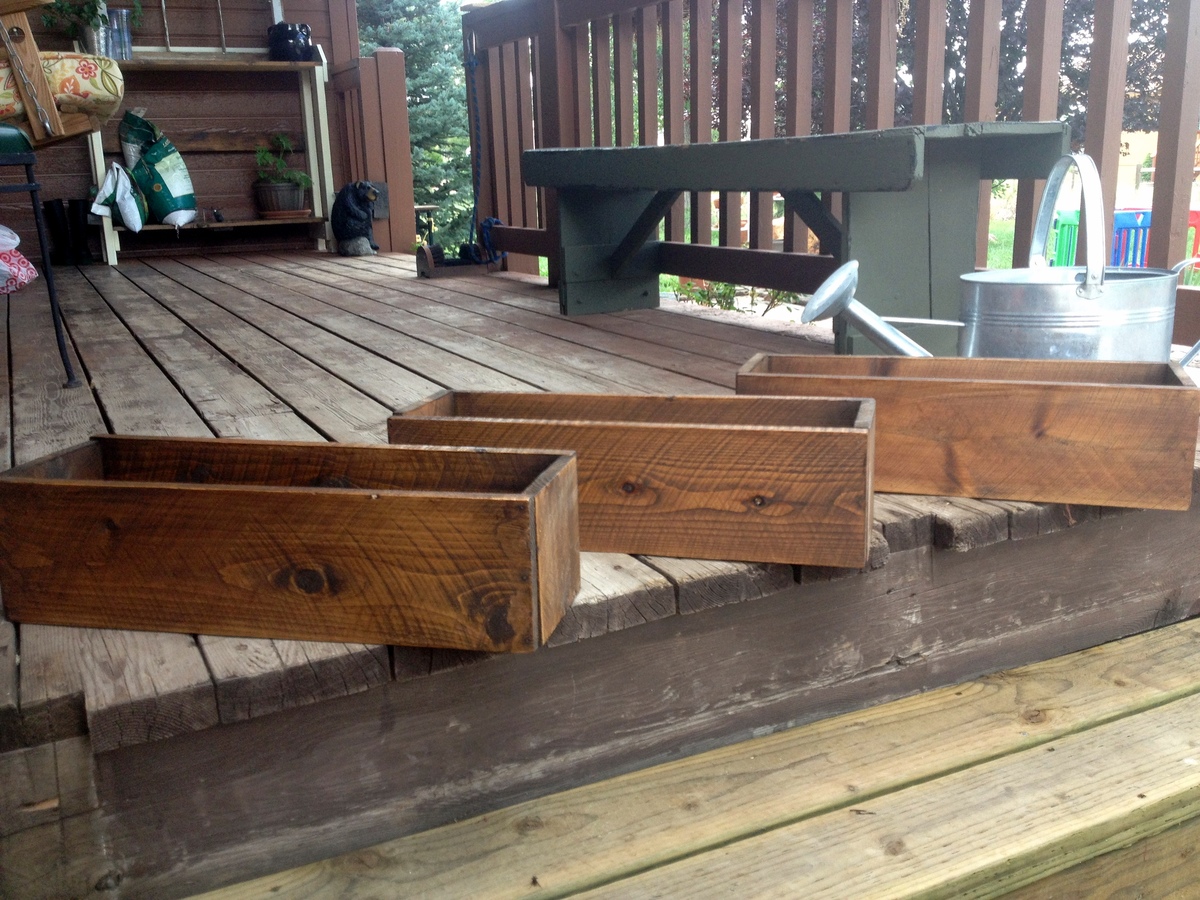
My brother and his fiancee just bought their first house, and these sweet little boxes were the perfect housewarming gift! I used the recommended cedar picket, and found some old reins at a flea market for the handles. Piece of cake to build, super inexpensive, but absolutely adorable!
It isn't perfect, but it's beautiful and made with love!
Tue, 07/12/2011 - 20:59
Same question! That is a beautiful finish; I'd love details on how you achieved it!
Tue, 08/23/2011 - 12:37
I'd also like to know what stain you used, this is absolutely gorgeous!
Fri, 09/30/2011 - 04:31
This is EXACTLY what I was hoping to do with the table we just built. Would you be willing to share your finishing process here? Beautiful job.
Tue, 10/18/2011 - 14:18
Im dying to know what the name of the color of stain you used for your table. It's beautiful! The color of the white part would be nice too:)
Fri, 11/18/2011 - 14:03
Thank you so much for all your compliments! I apologize for not responding to your questions sooner, I never realized I had comments on this post! I used MinWax stain in Dark Walnut and three coats of MinWax Fast-Drying Polyurethane in Satin finish to seal the stain. For the paint, I just used some white, satin Olympic no VOC paint right off the shelves at Lowe's. It was left over from painting my house. To date, I have not sealed the paint and I may not bother since it's holding up just fine. As far as my "technique" is concerned, I just followed Ana's tips about sanding between coats. I applied the stain and poly with a small white sponge roller. I used a paint brush for the legs since I feel like I get better results, even though it takes a little more time.
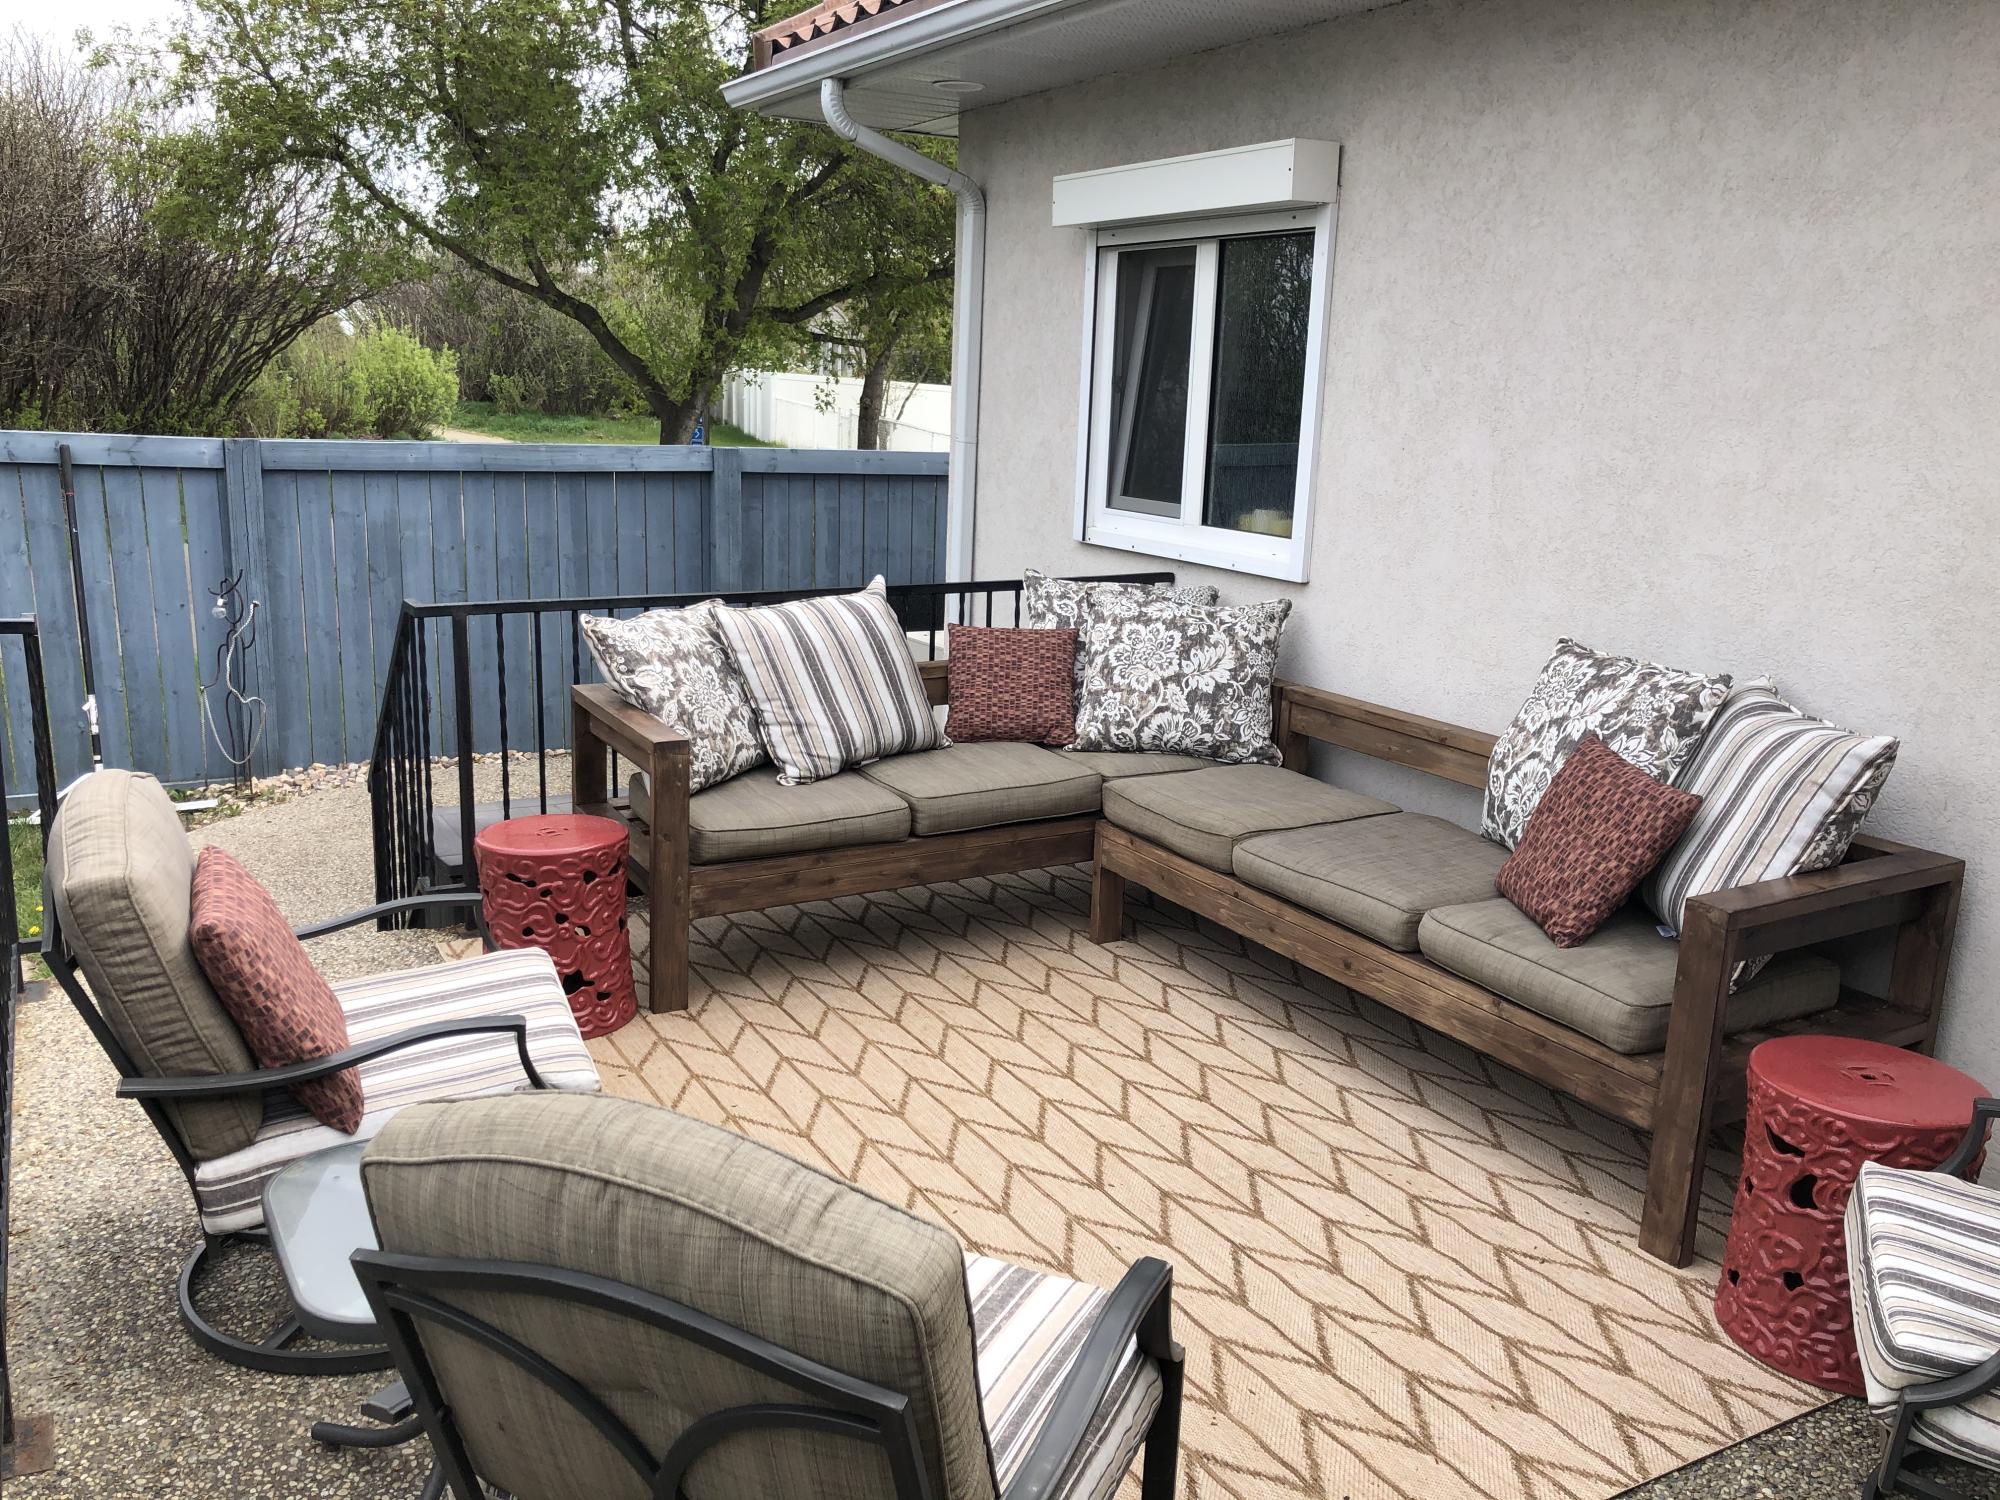
Beautiful, practical and afternoon naps are so comfortable!
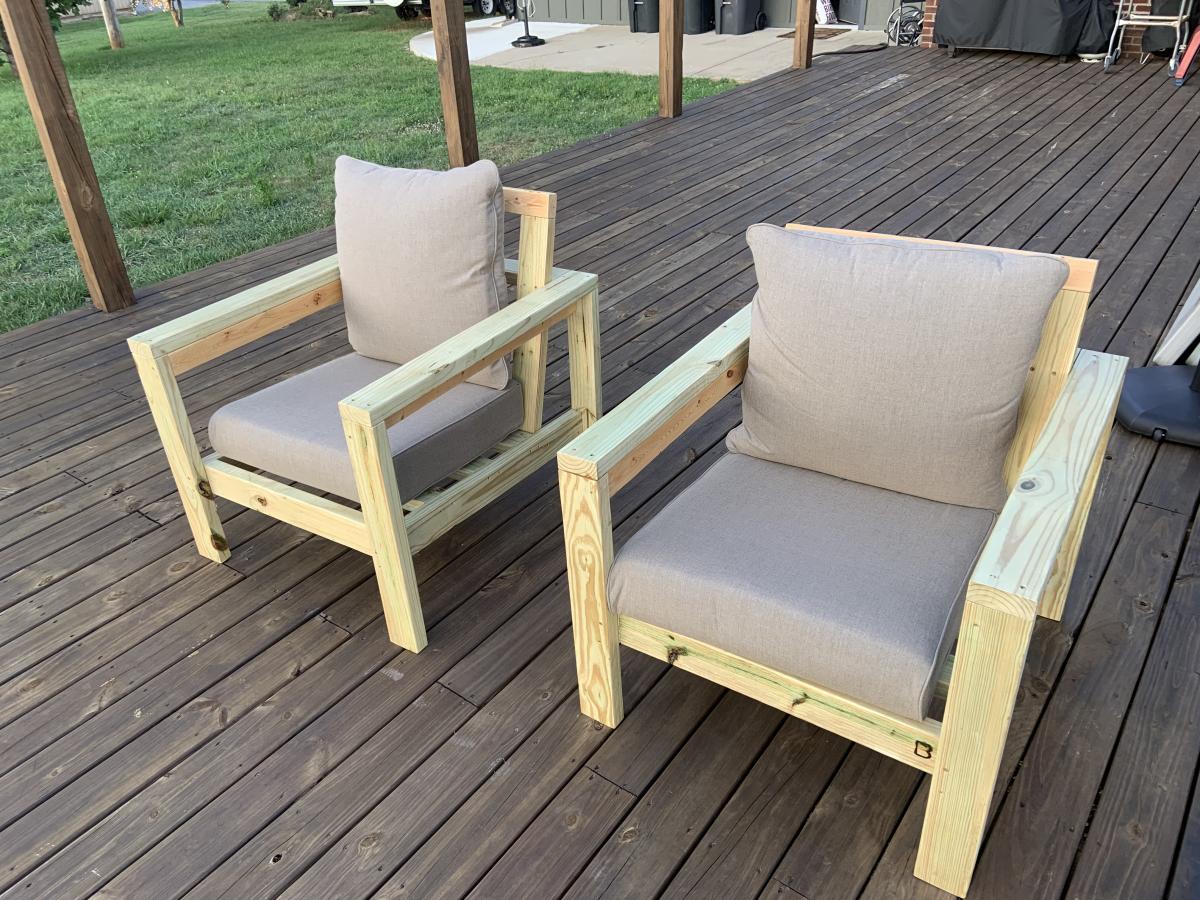
Made from cedar 2x4s and semi transparent stain. I mixed and matched new cushions with ones I already had. I will be adding the matching coffee/end tables soon.
This was my first project! We just bought a house and have no furniture except a mattress on the floor! But soon, we will have a home full of custom built furniture :)
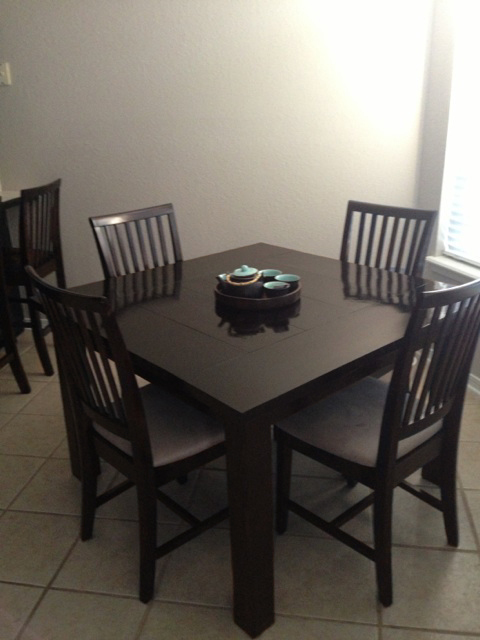
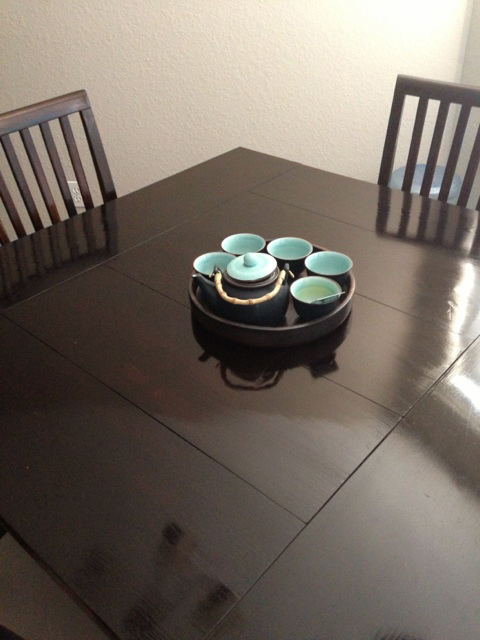
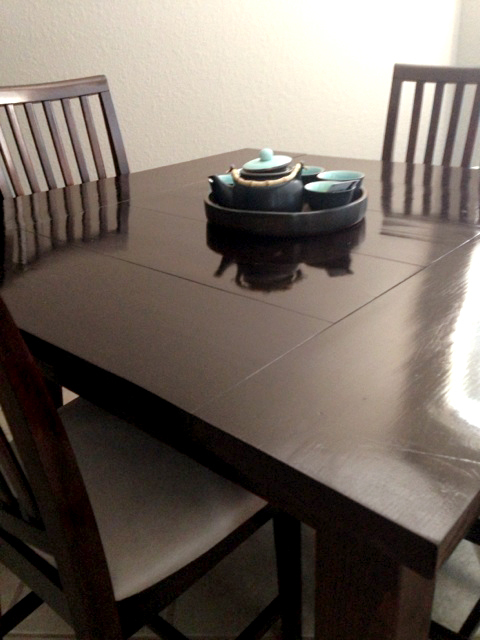
I modified this plan quite a bit so it would fit in my space better. My husband really wanted a square table, so I came up with this one based on the farmhouse table. I changed the table top pieces to 2x10’s simply because I like how they look. It took me quite a while because I wanted the top to be super smooth with minimal gaps between the boards, so I ran the boards through a planer quite a few times until they were perfectly flat. Also, since it is square and smaller, we didn’t need the support beam along the middle.
I really wanted chairs that matched the table, so I ordered chairs that were unfinished and stained them to match the table. This took FOREVER and they were a little expensive, but they turned out great! We also got 2 barstools that match.
Like any other project, the finishing took the longest. I sanded for what felt like 20 years, then stained and poly’d for another 10. I am pretty happy with it considering it was my first try!
Thu, 08/22/2013 - 11:21
I ordered them from a manufacturer in California called Maywood Shops, LLC. The chairs weren’t that expensive themselves because they are a wholesaler, but I had to pay around $175.00 to ship them!! After that, they were comparable to store-bought chairs.
Mon, 08/26/2013 - 11:39
Not exactly what I was going for, but it turned out pretty good!!
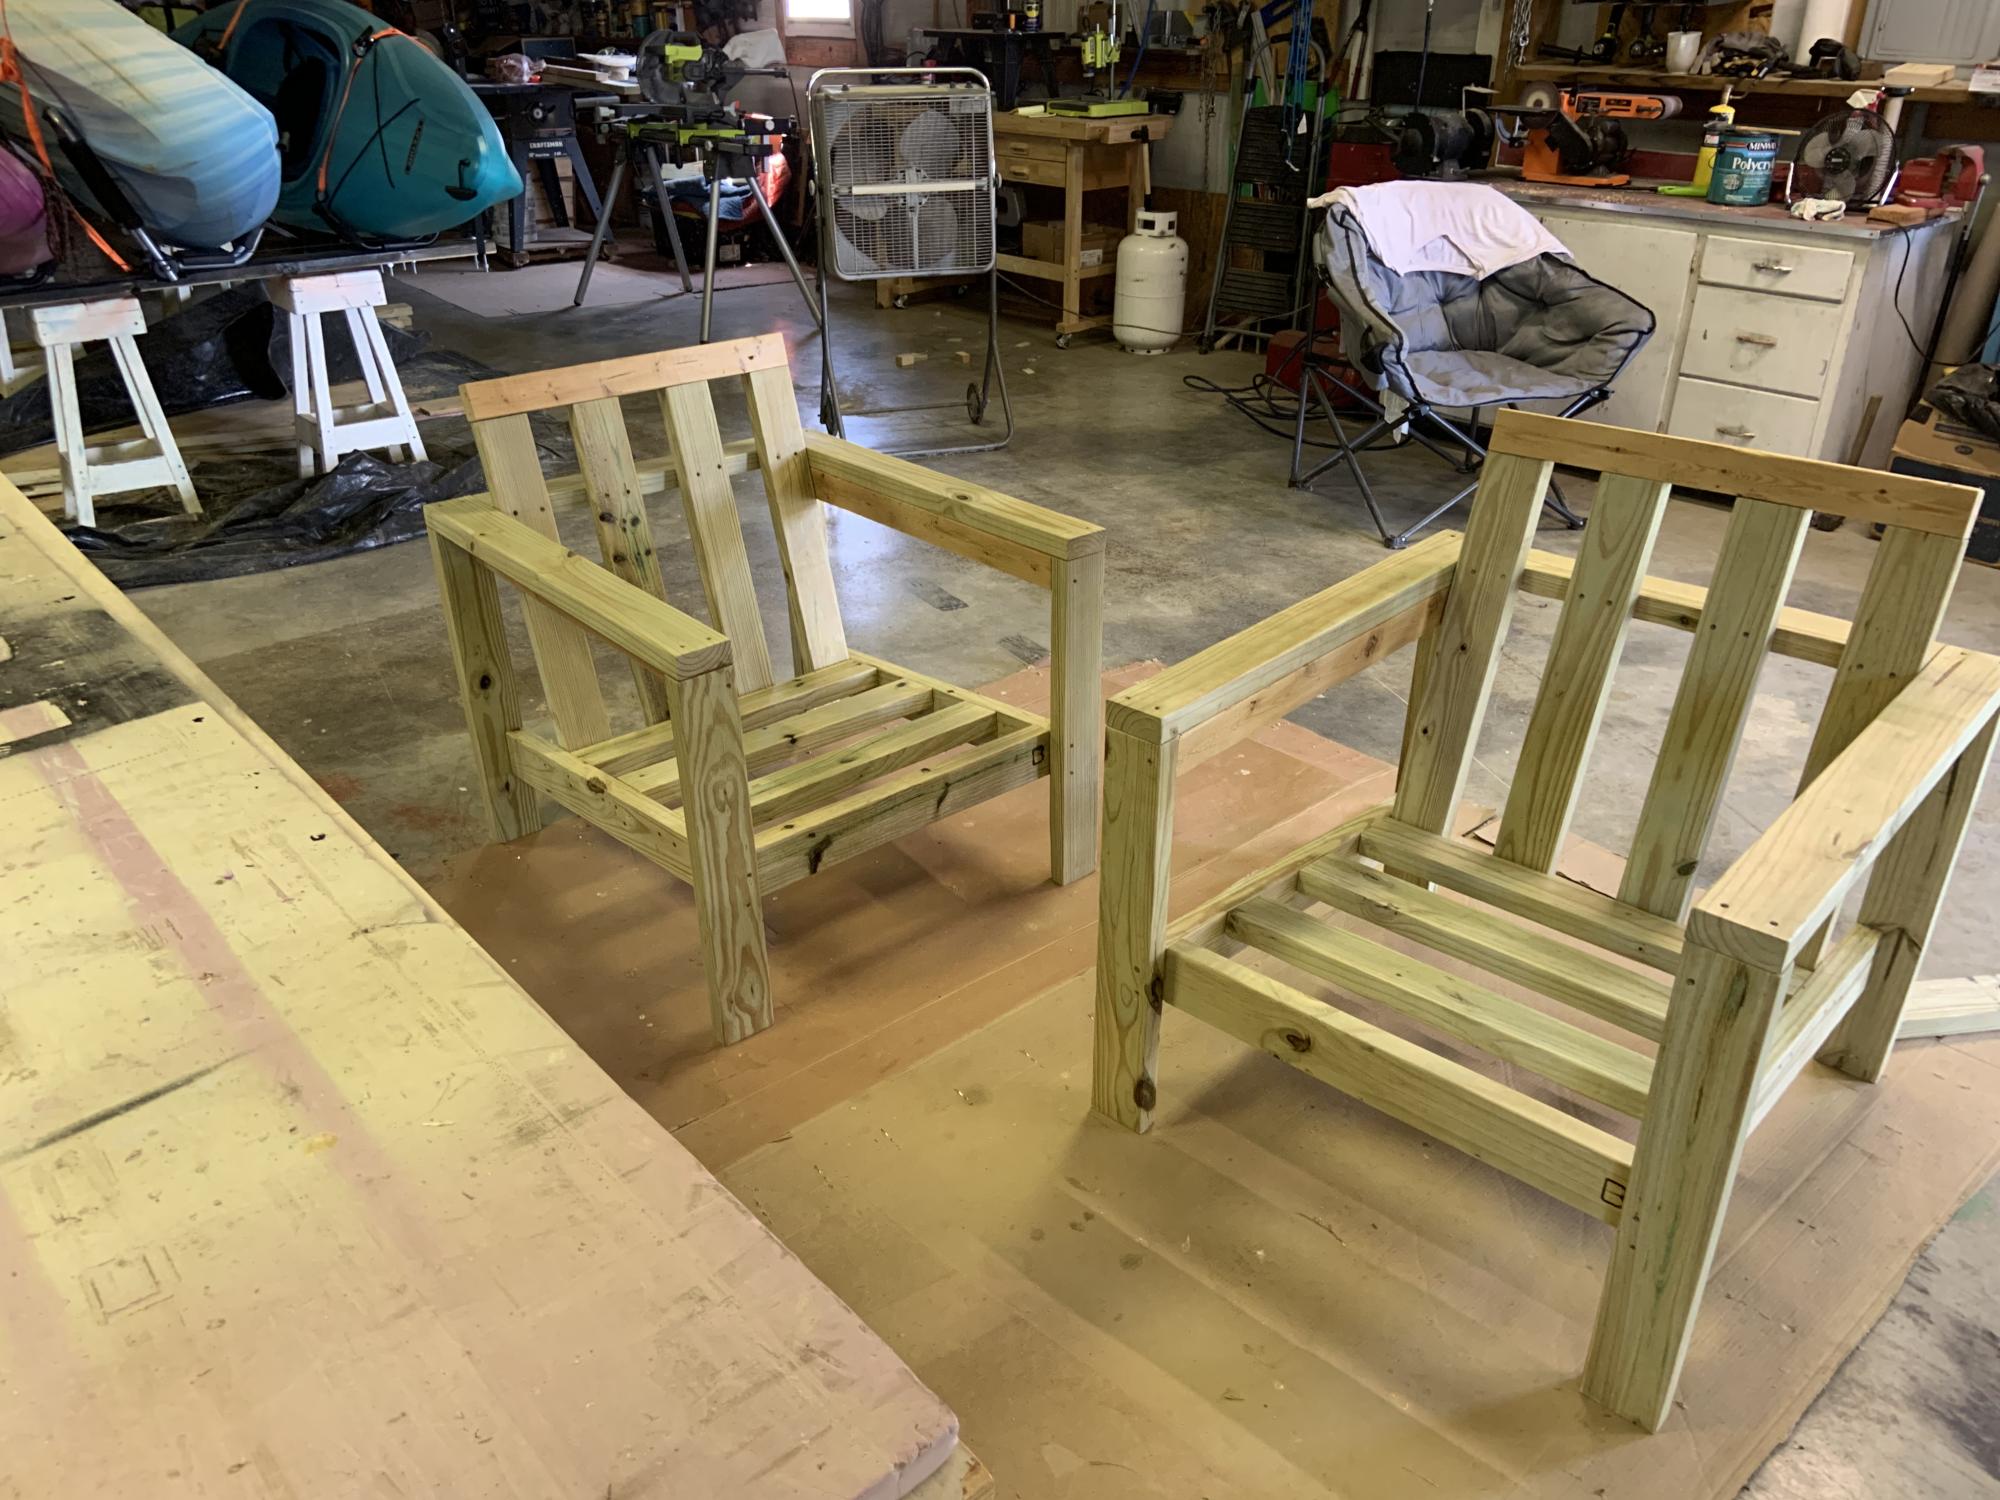
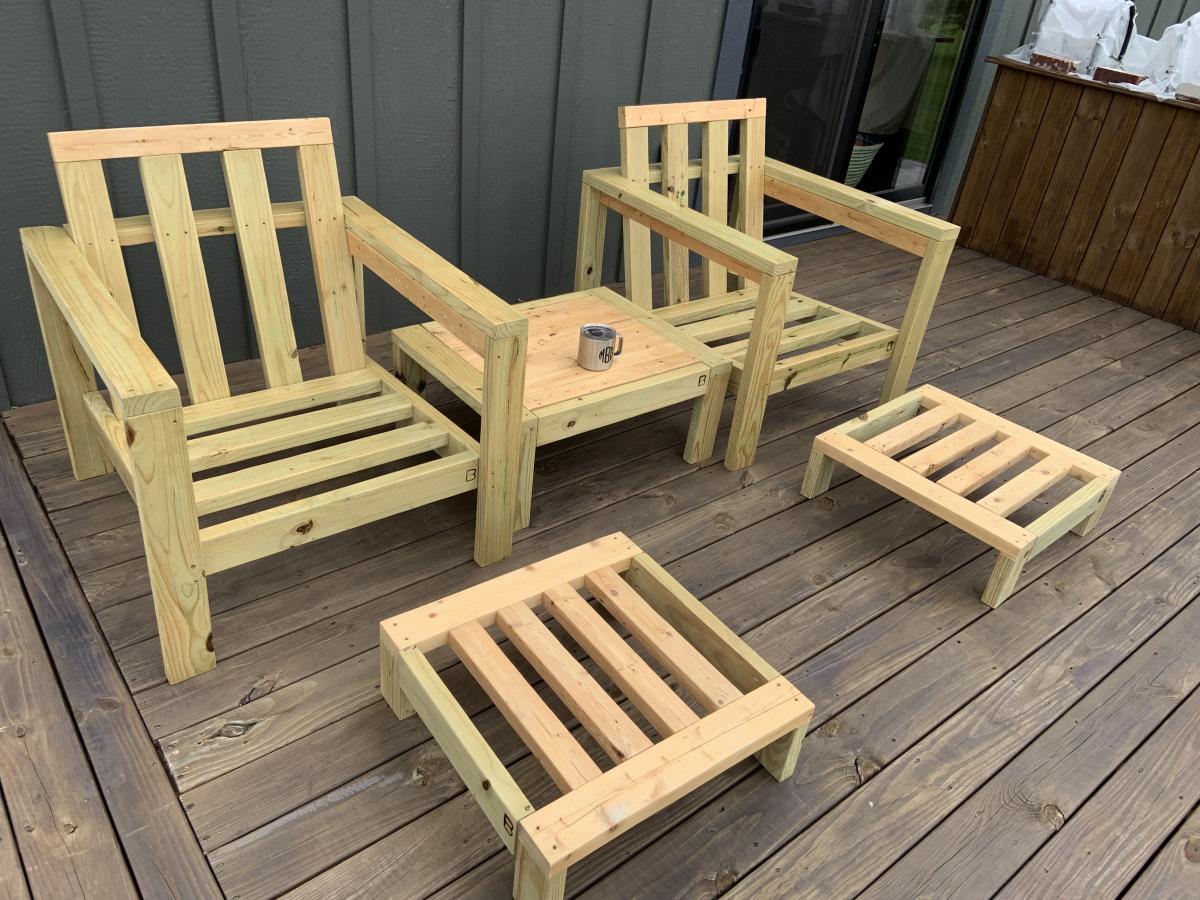
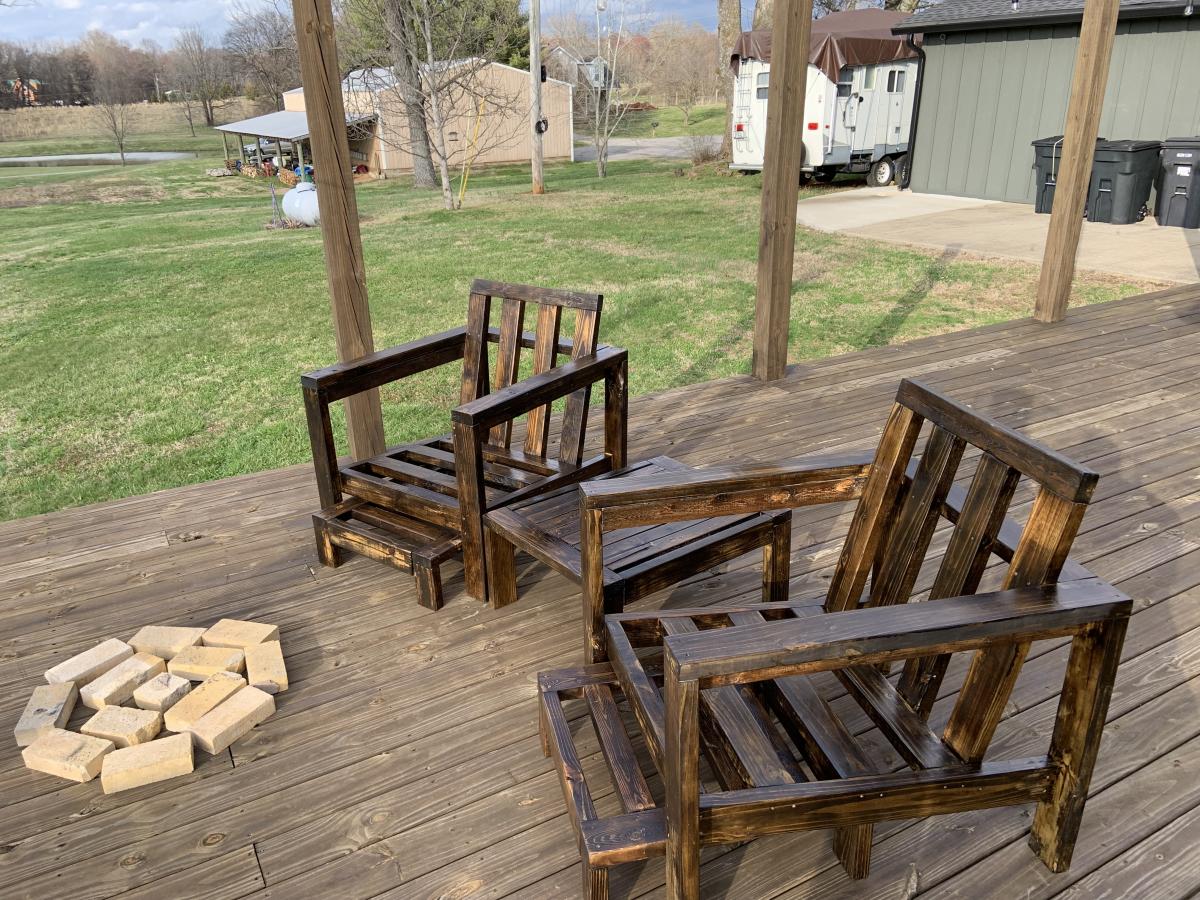
I made a couple of additions/modifications
I also made a couple of side tables and foot stools for the chairs. A total of four chairs, two tables and two foot stools for the deck set.


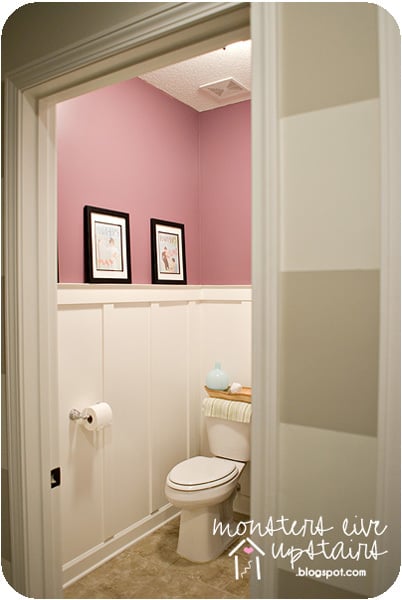
Board and batten makes such a huge difference in any room for very little money and I knew this is just what we needed for our very small but very tall half bathroom. We did have to modify our boards at the bottom and cut them at an angle to meet our baseboards but it is still perfect. Such an easy way to dramatically change a room.
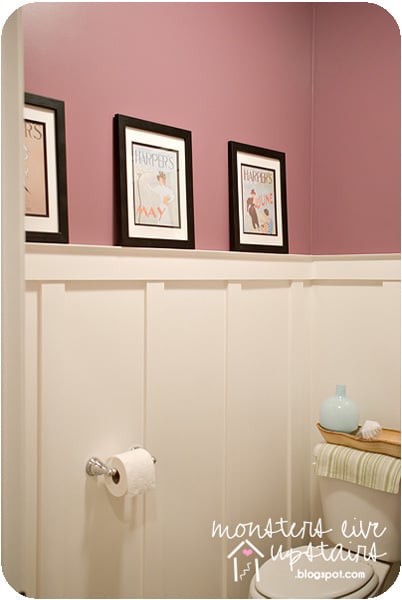
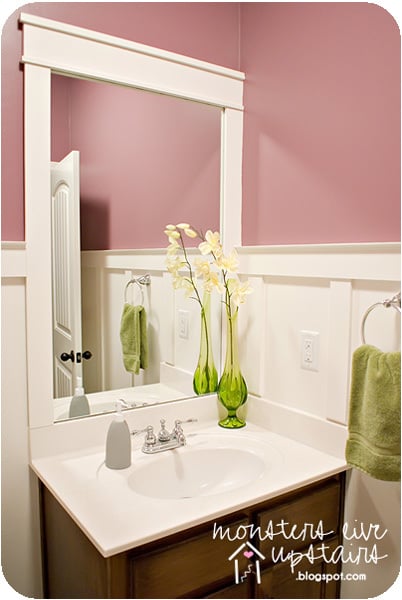
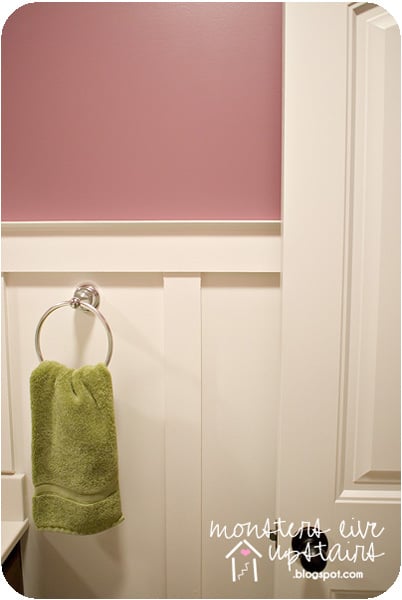
Sat, 08/06/2011 - 13:41
What a beautiful transformation! I went to your blog and loved how you've put aside a little money each month to improve your home. Beautiful photos too!
Sat, 08/06/2011 - 13:57
Thank you, Ana! We wouldn't be able to stay on that budget if it wasn't for you and all of your ideas! You've really changed how things are done at our house. We no longer "have to buy it right now"...but take our time to see if we can do it on our own and make it ours. That is a very powerful thing!
Fri, 08/12/2011 - 04:41
My husband and I just had to build a few walls to cover in a new furnace and duct work. Neither of us wanted to deal with the mud, tape, and sanding that would surely follow. So I suggested that we do a paneling like yours. I used furring strips vs. typical pine or moulding. It looks great!
Thu, 08/18/2011 - 13:47
I loved the bathroom so I checked out your blog, We have a mudroom followed by a small bathroom and then a small laundry room. I love your mud room area and the stripes, we are totally going to use your ideas to spruce our place up!
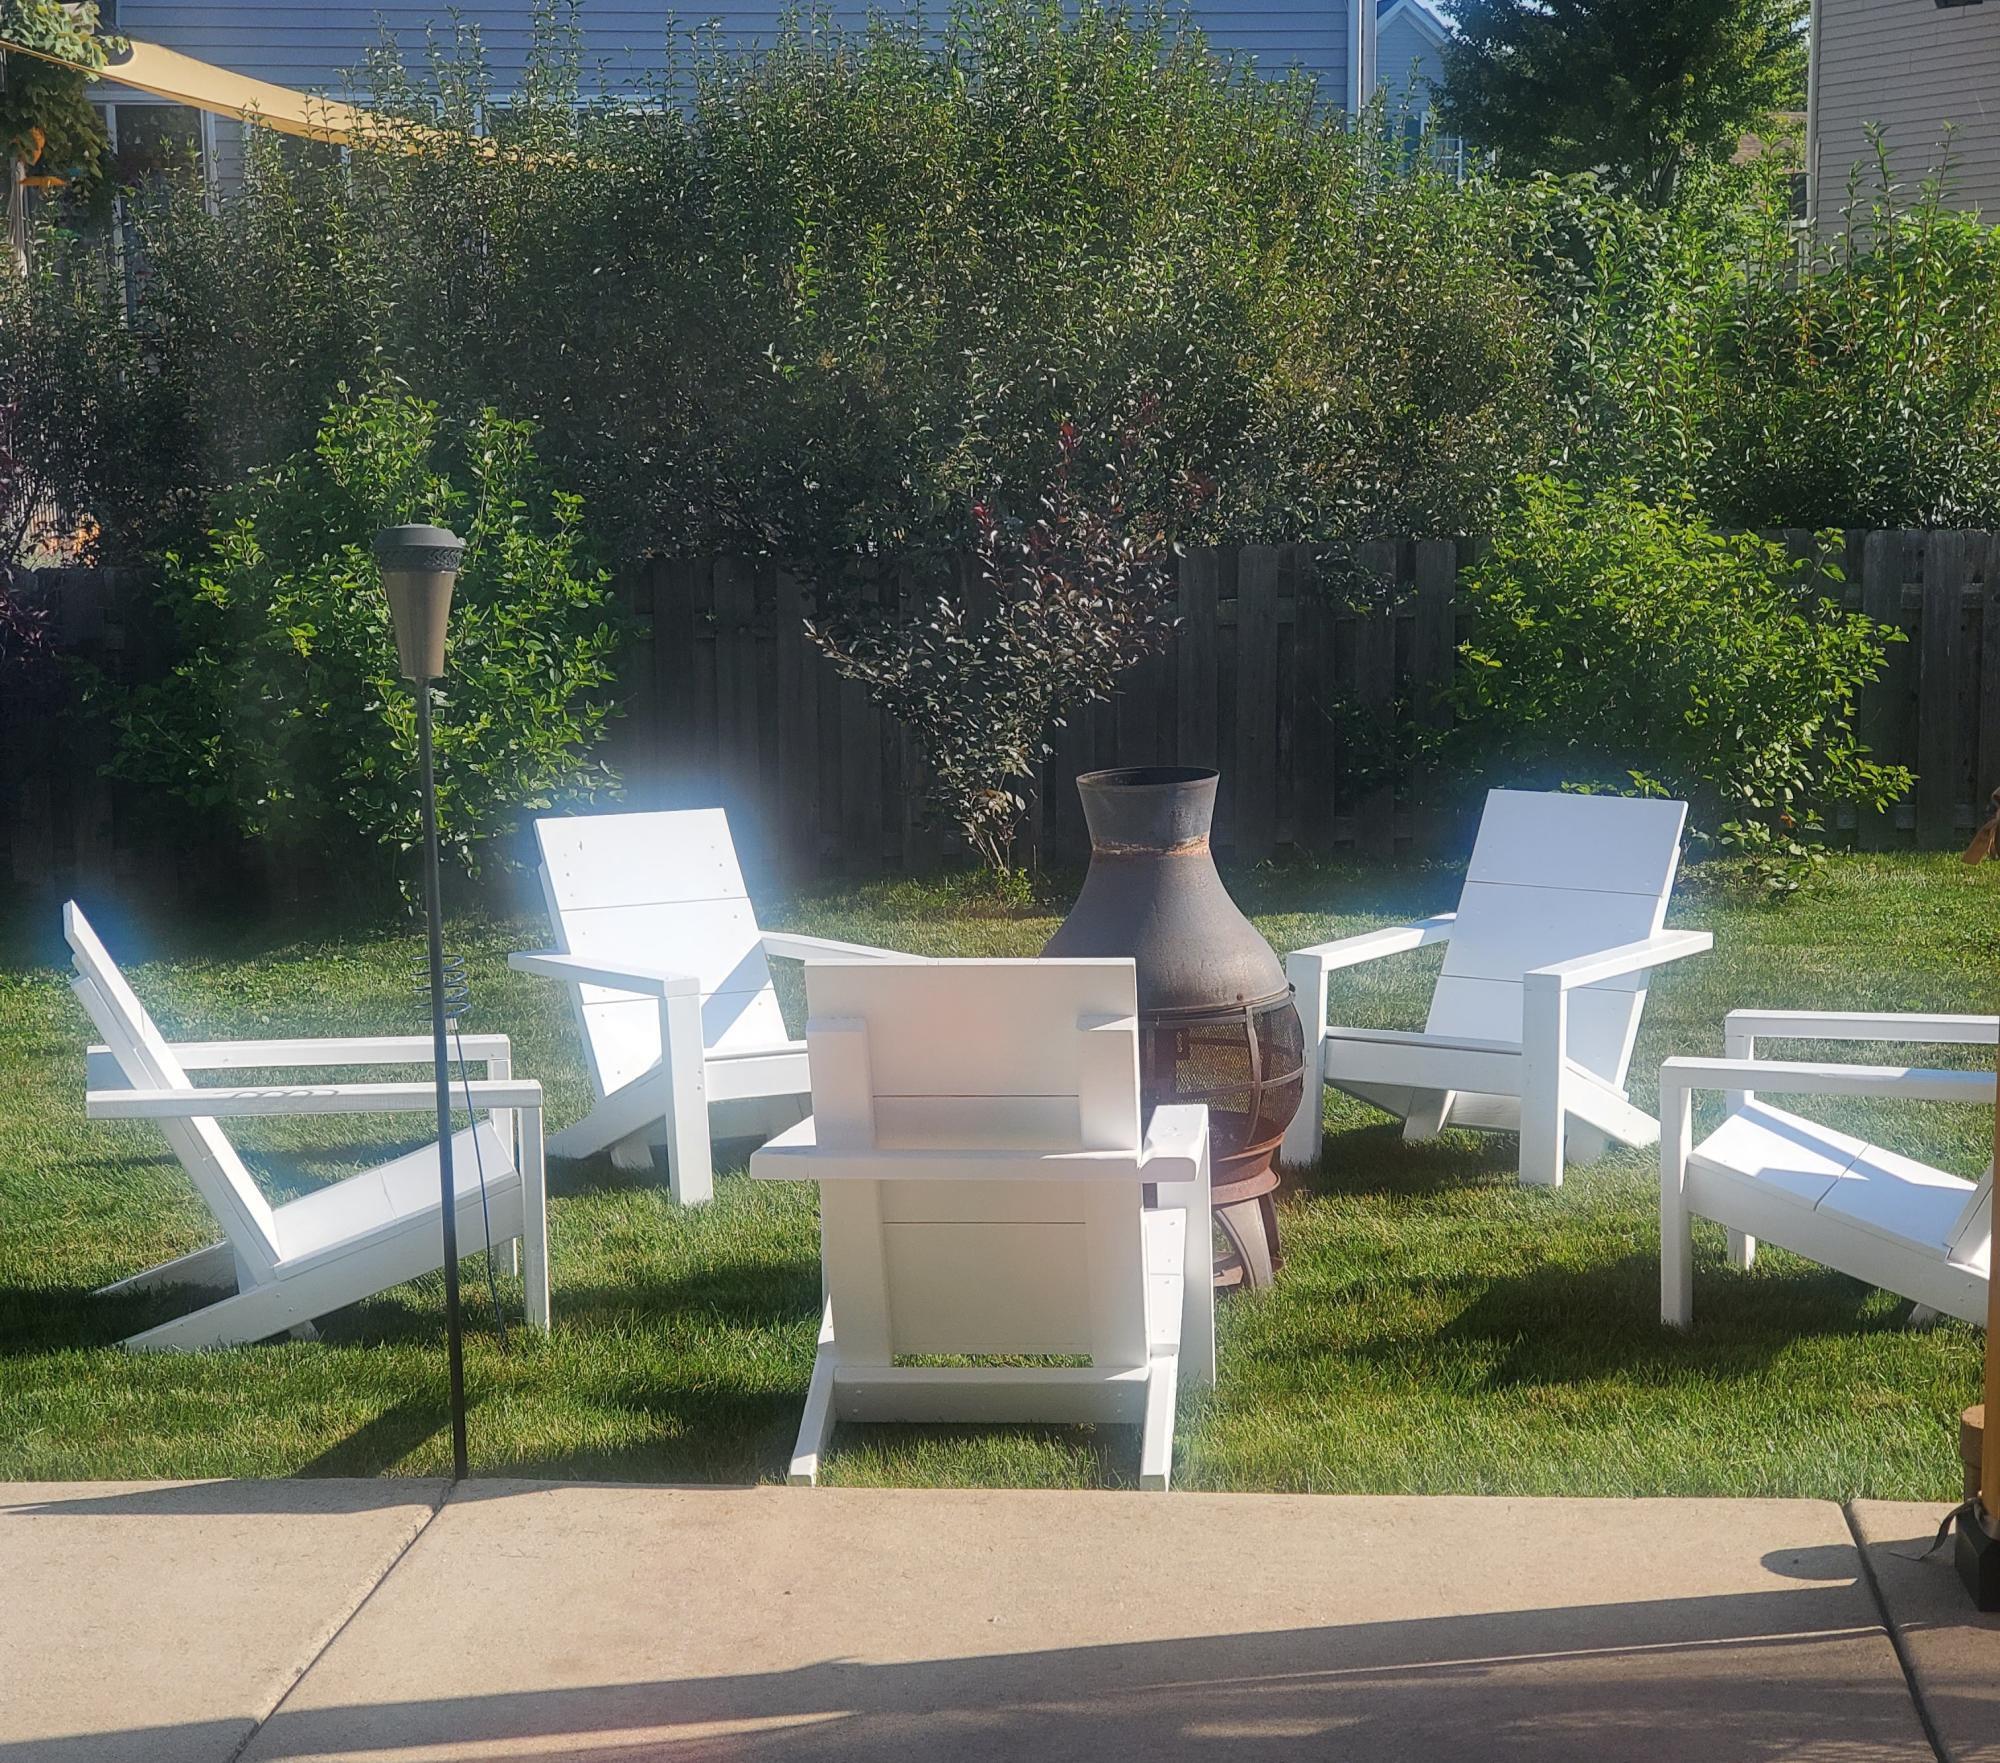
These chairs were soooooo easy to build and are stunning in any light. The stark white makes them look like we spent a fortune on a new set but we're smarter than that lol. Thanks for the plans and continued home improvement inspo Ana!!!!
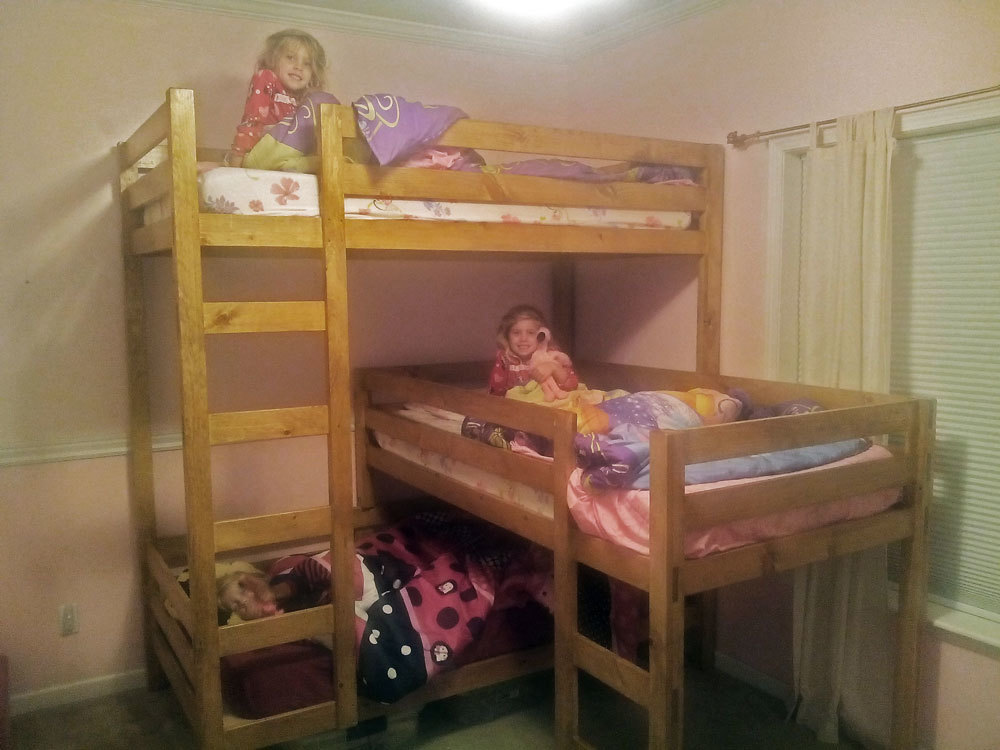
I took the “classic bunk bed” plans and changed them to accommodate my 3 girls. I have 9 ft ceilings so I just stretched the traditional plans out to allow the 3rd bunk to be added. It turned out nice and my girls enjoy it. I also built a matching toy box that is visible in one of the pictures. Please excuse my messy shop. I built this with my 40 year old shopsmith and a kreg jig. Thank you for the plan.
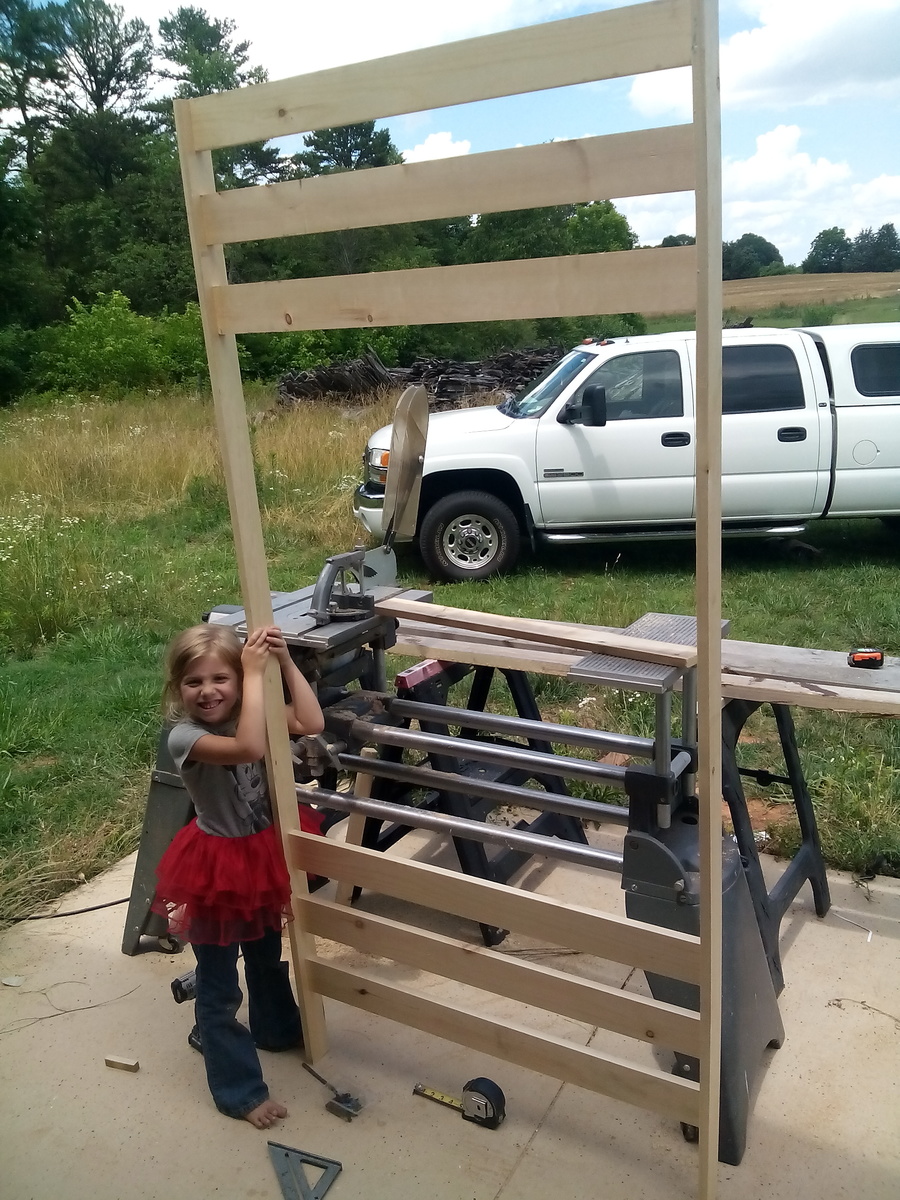
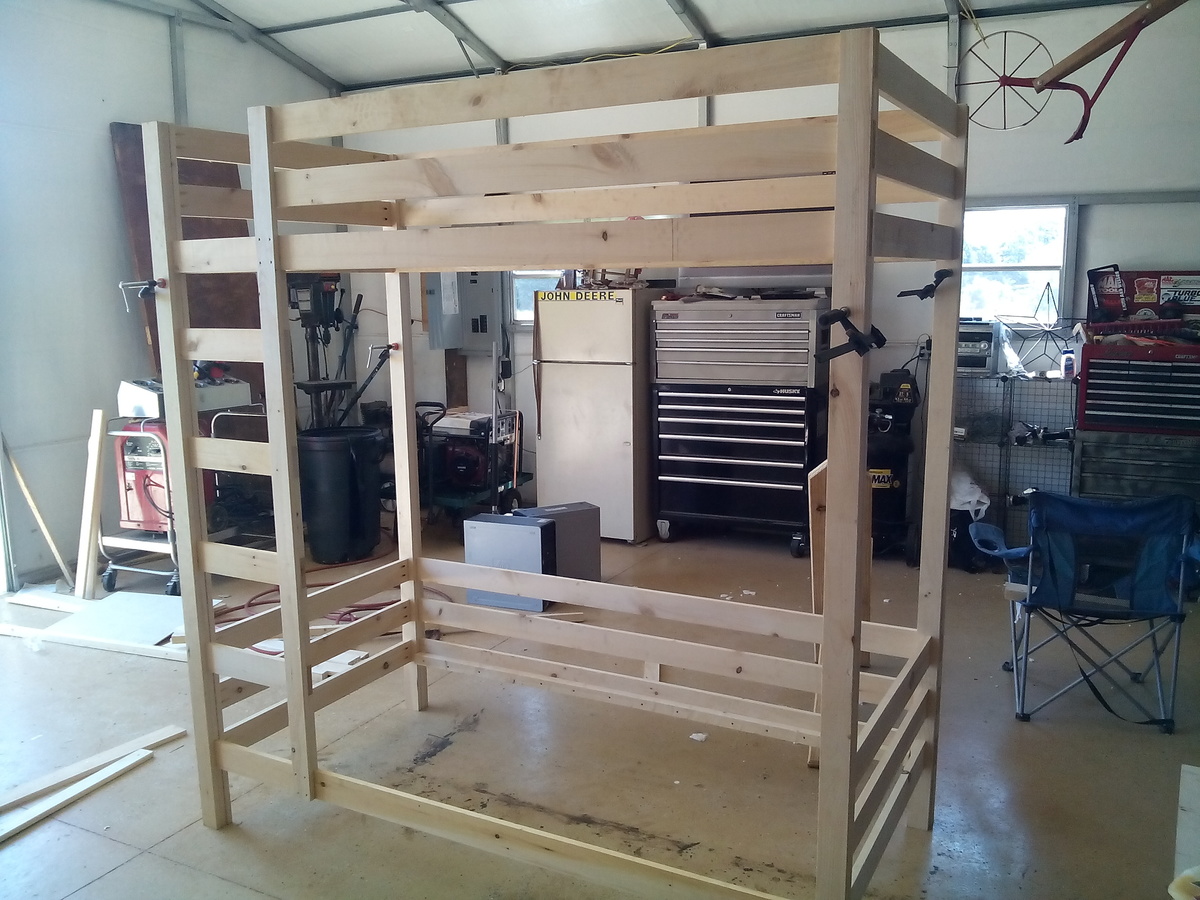
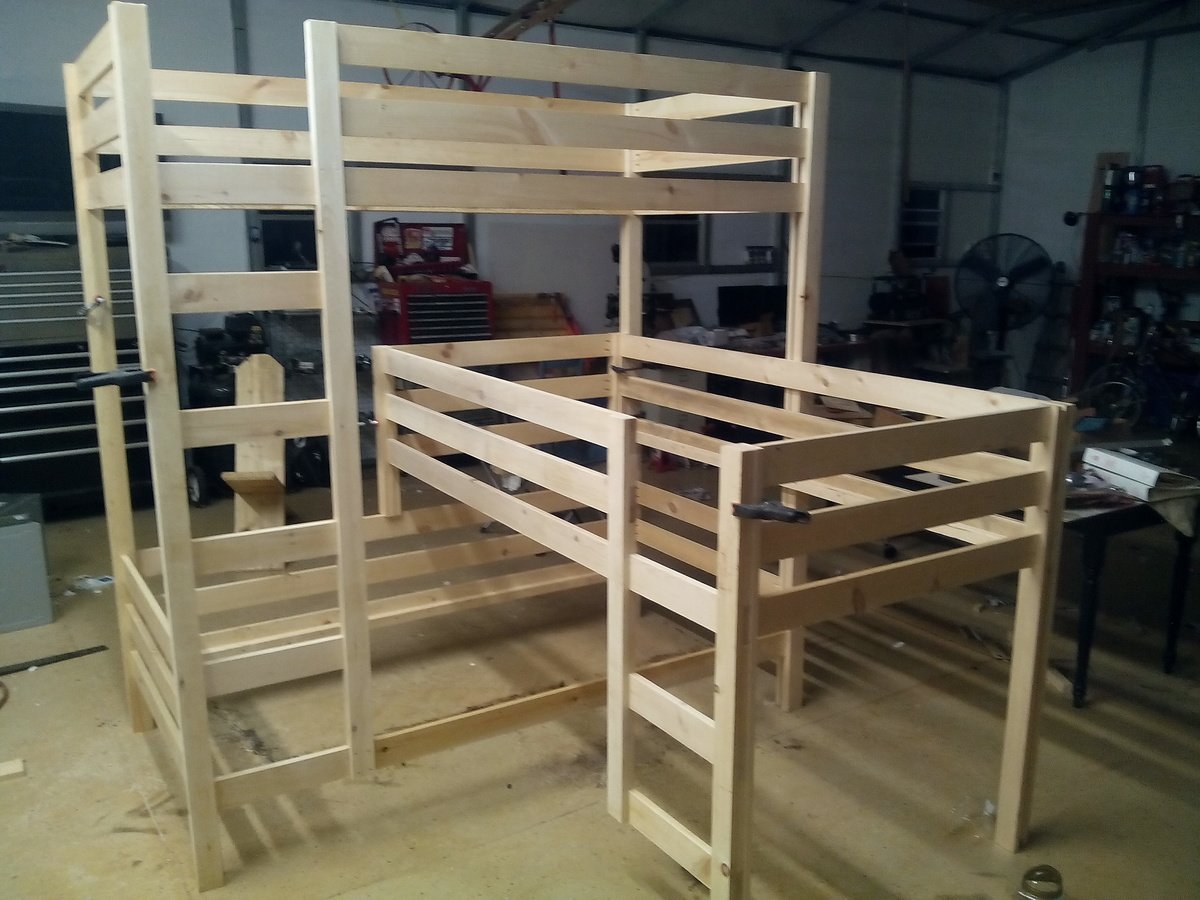
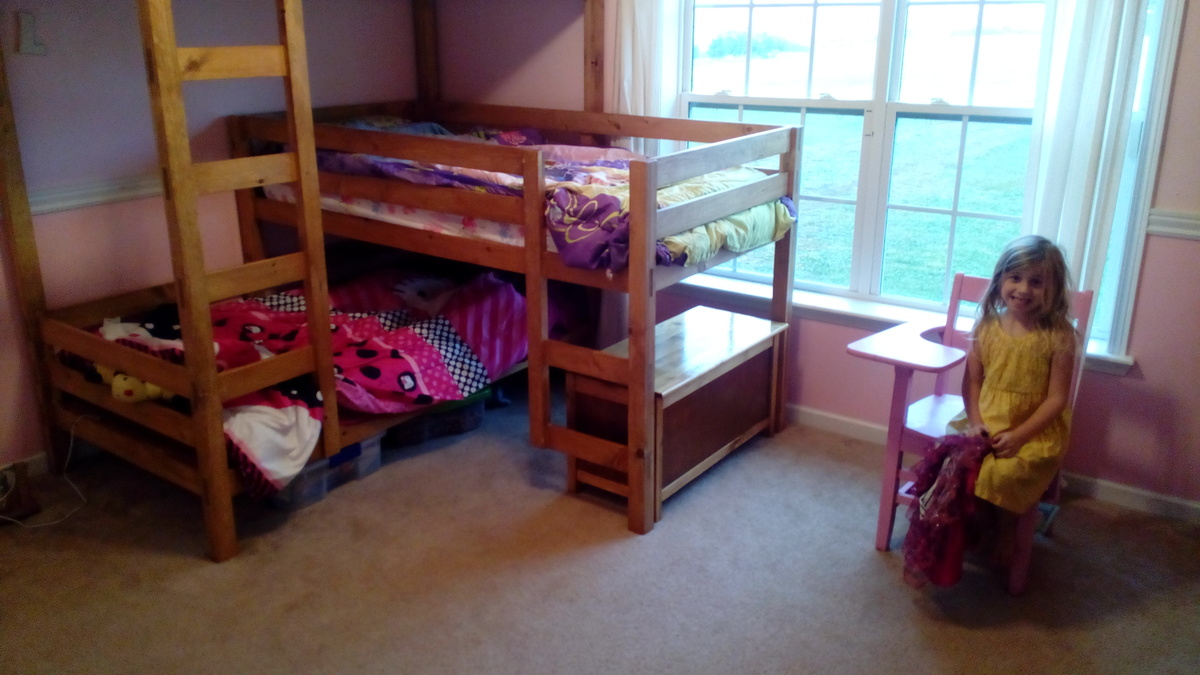
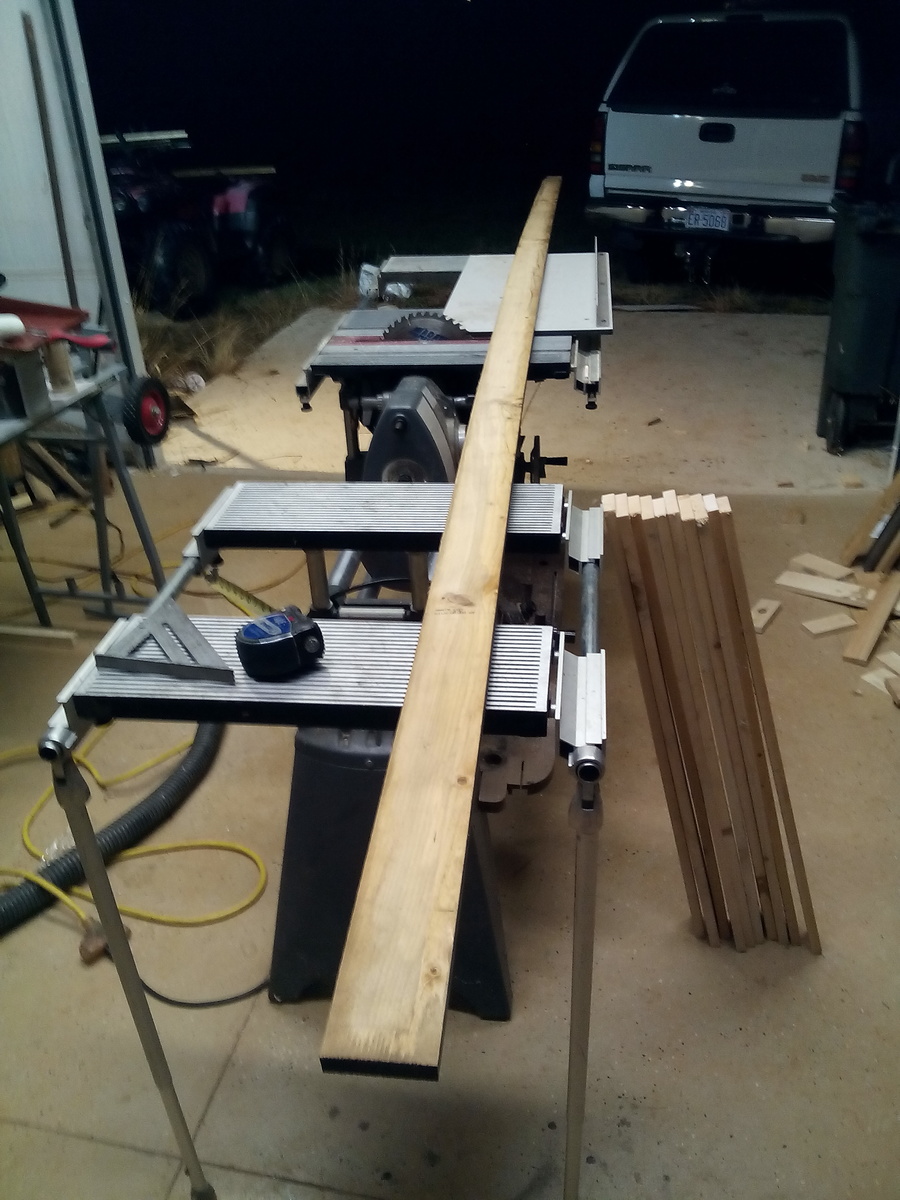
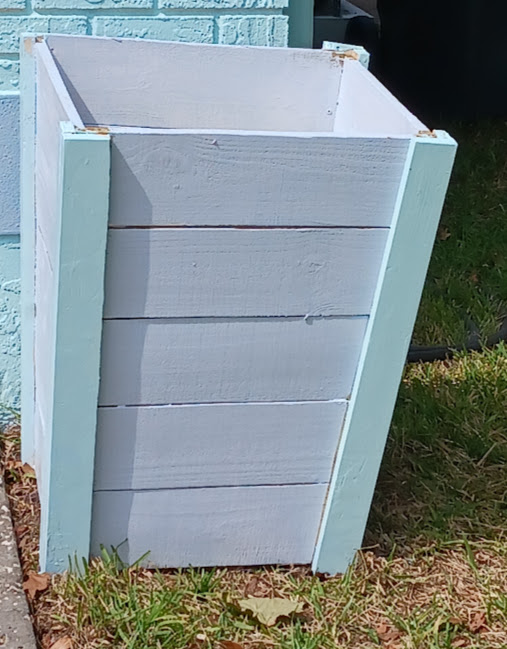
I enjoyed this build looking forward to making more.
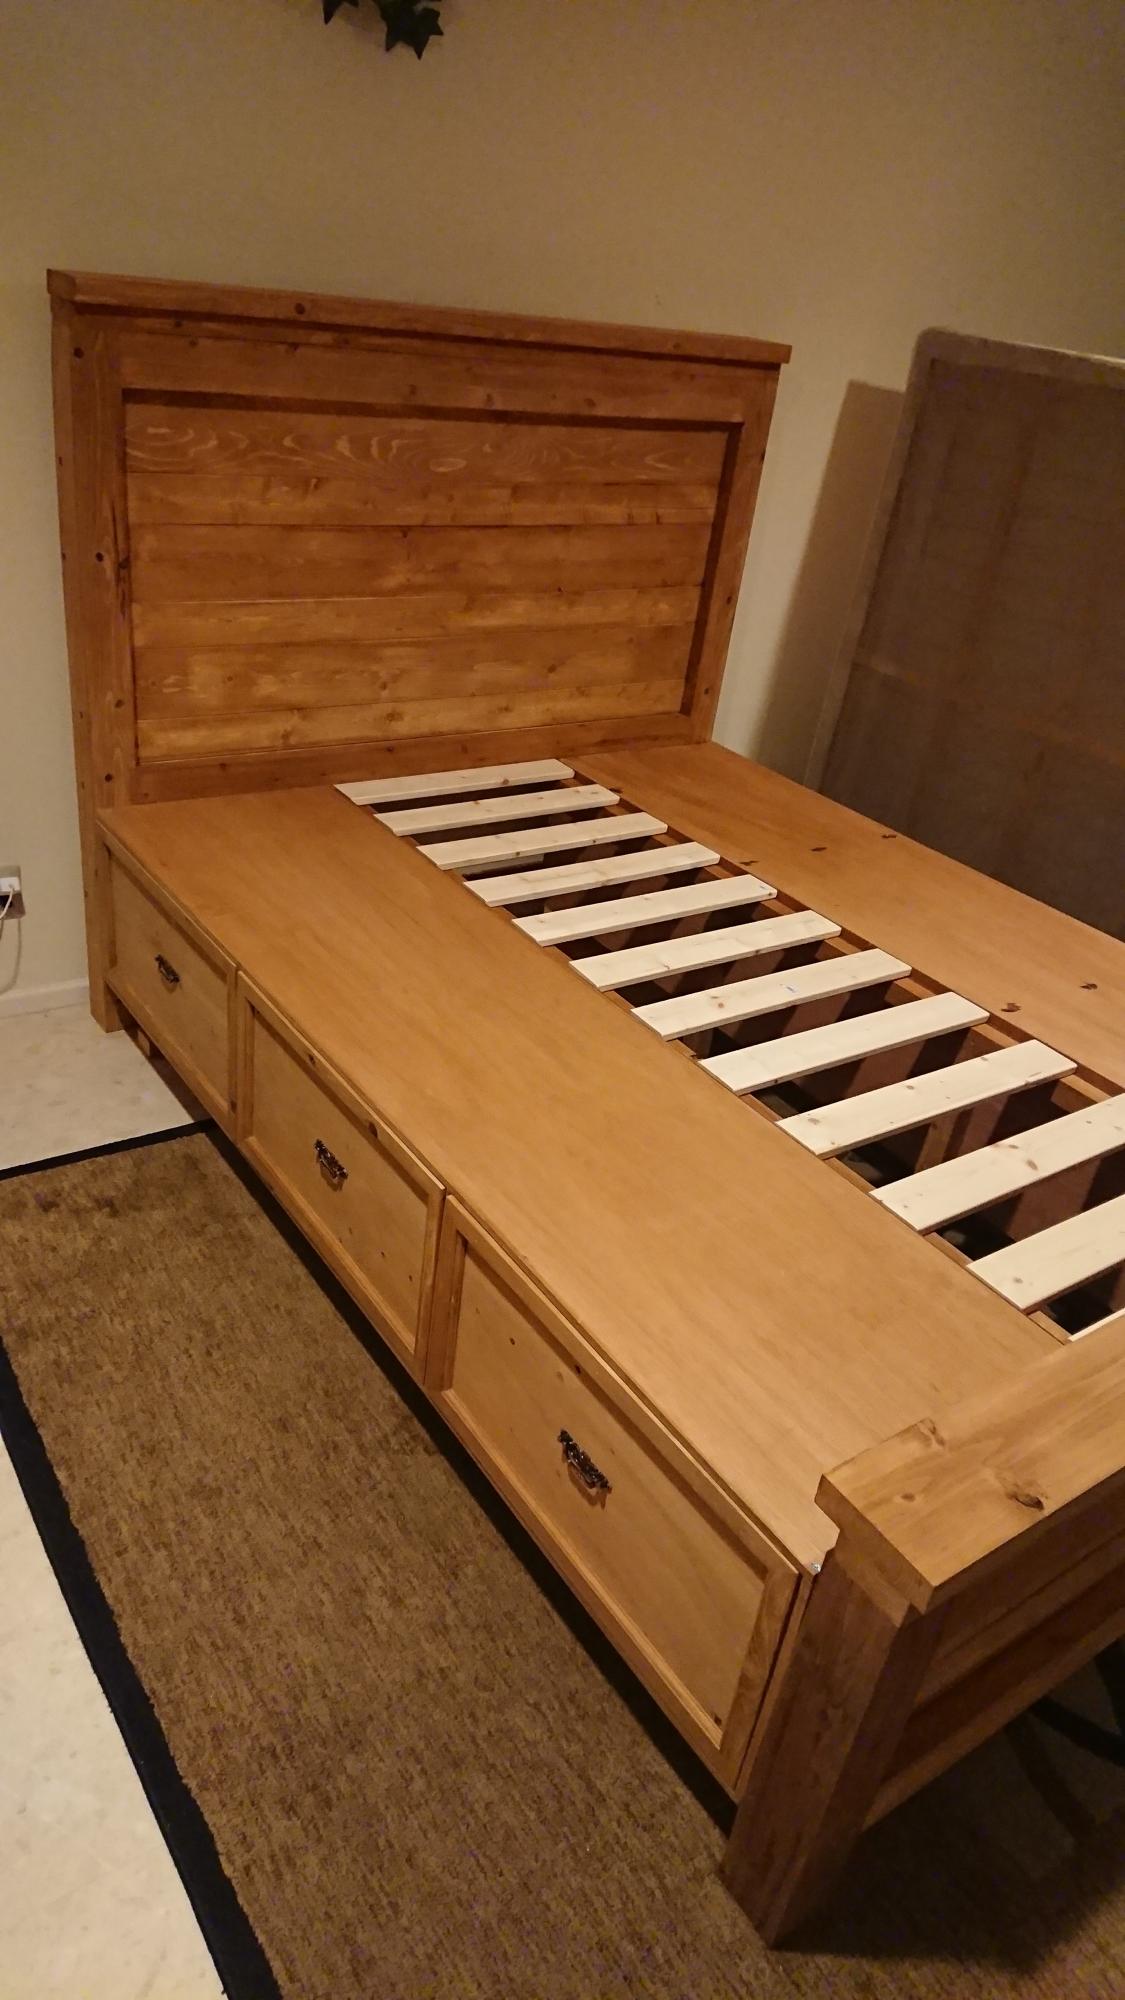
Took several long days to get this thing done. Being stationed in Japan it made things a bit more difficult and quite a bit more expensive sourcing the materials for this project. I had to opt for 1/2" plywood as cost of lumber here in okinawa is nearly double that of what you would see in the states. I made a few other modifications to the plans here and there where I felt it would better fit my needs. I wanted more storage space so I made the drawer boxes 20" deep. Rather than nail and glue the drawer bottoms on I wanted a reassuring solid hold so I grooved out the drawers and inserted the bottom panel with glue to secure it in place. The drawer faces I chose to add a little more detail in the molding by using miter cuts and the router to add some texture. The headboard was actually a previous project that was requested by my wife so with some modification I was able to rebuild that and fit it into the build. The 4x4's were grooved out with a 3/4" straight bit to slide my headboard and footboard slats into place. All in all this project was a lot of fun, the bed is now a monster of a thing to move but solid as a rock we love it. Thanks for the plans!
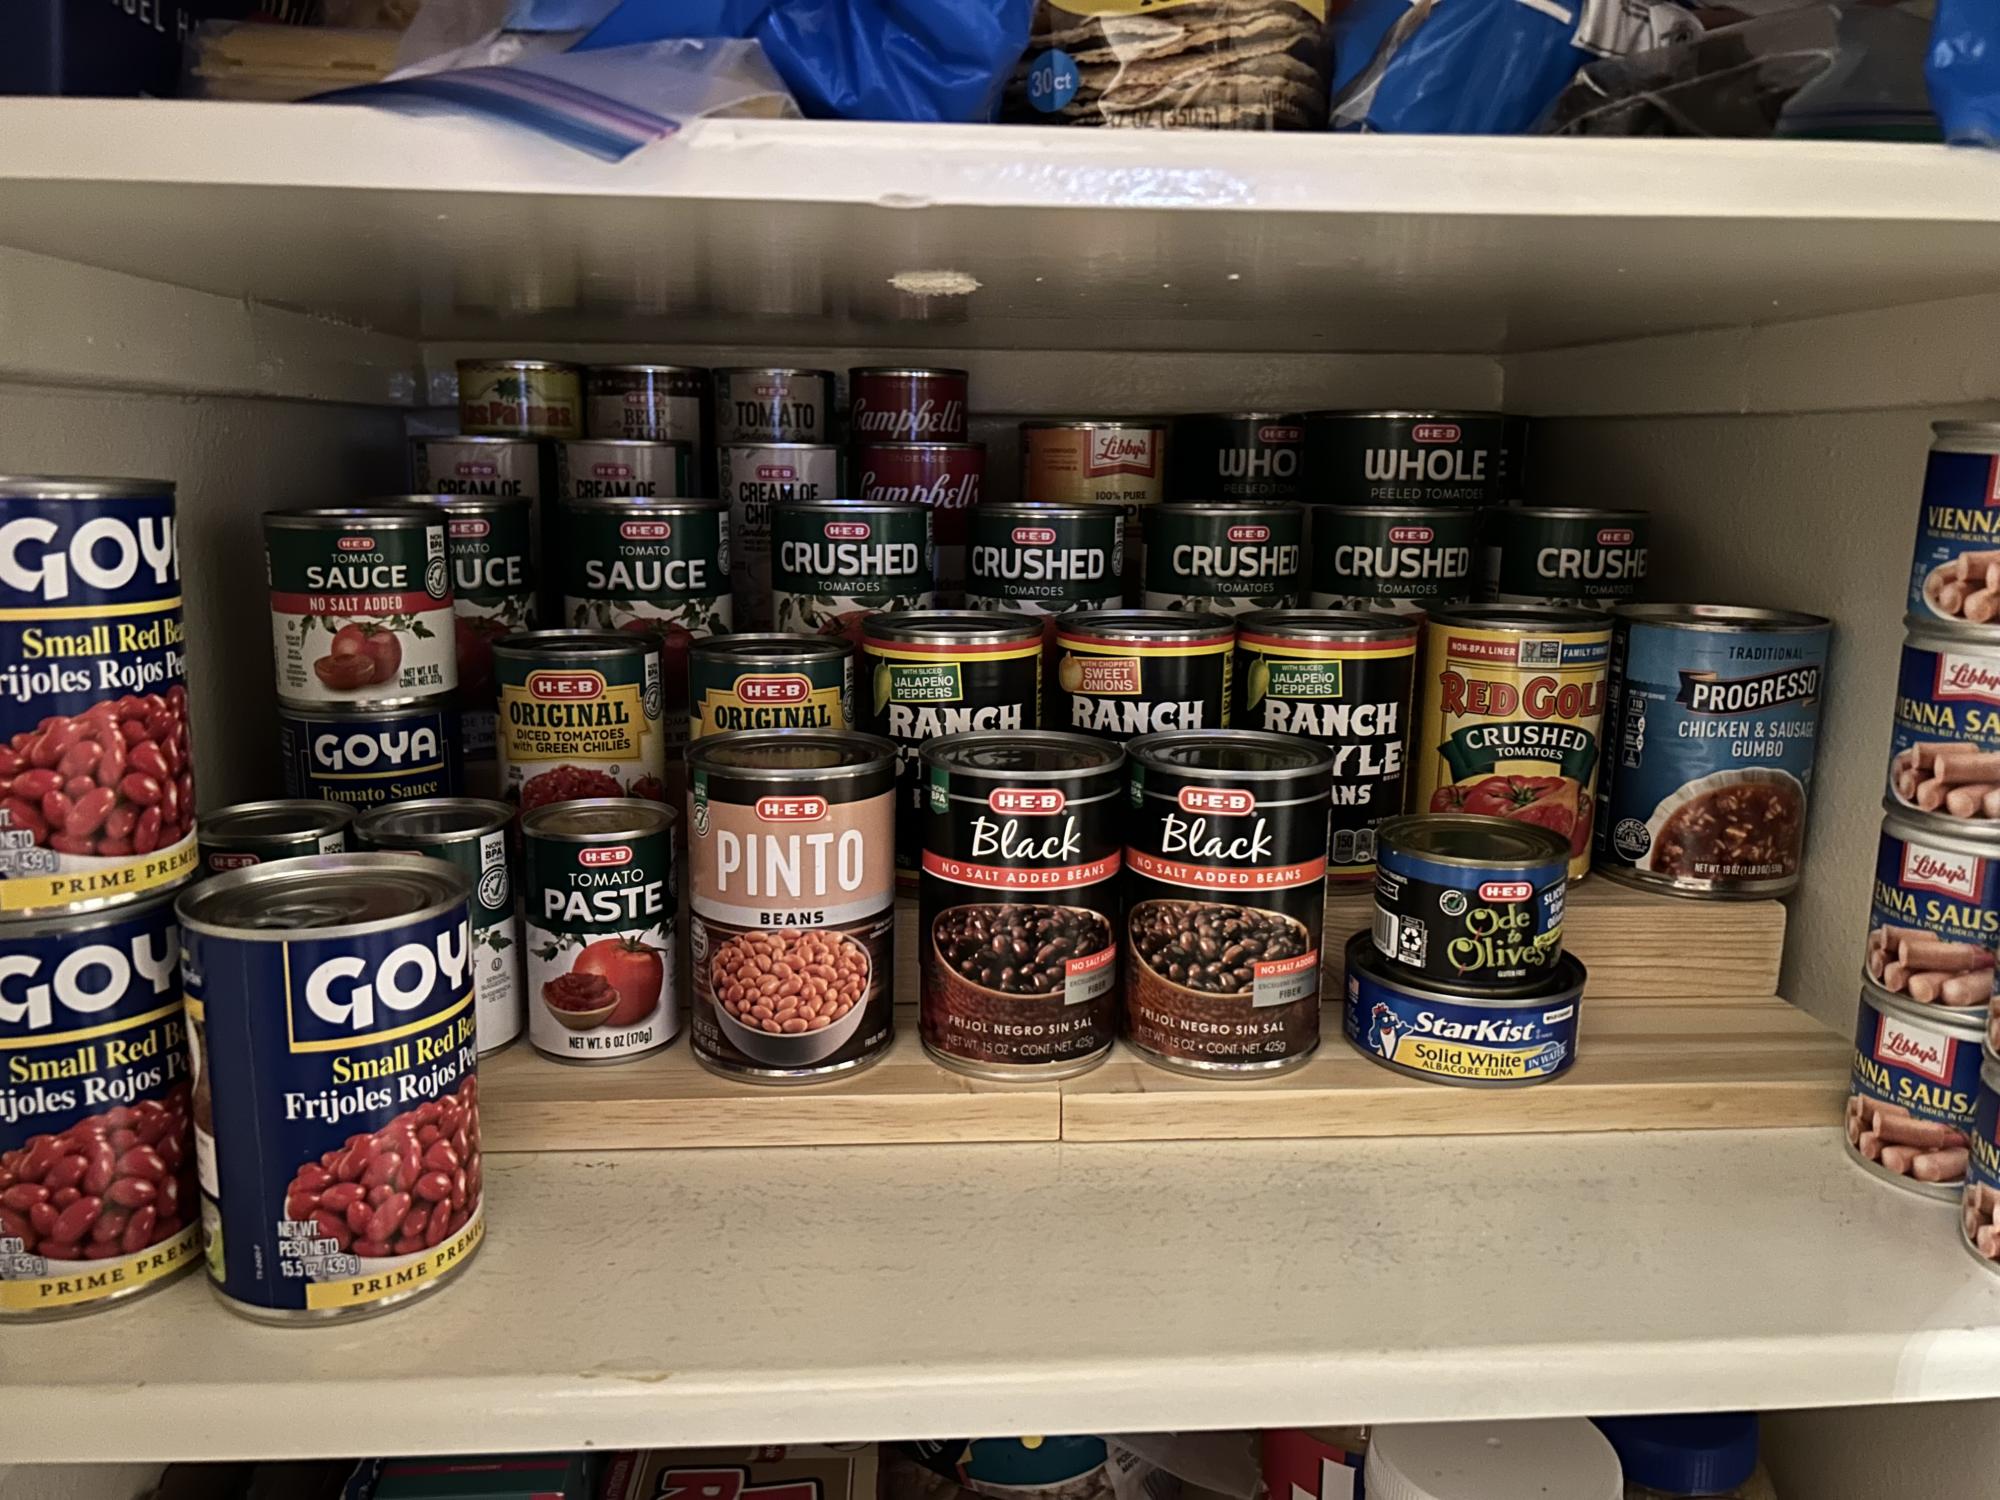
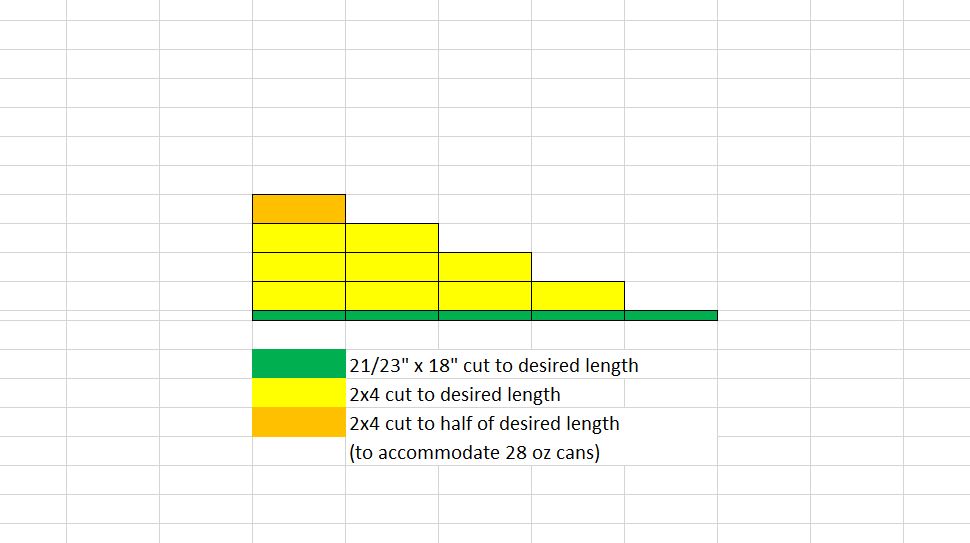
THANK YOU! This was a great idea. Our pantry is deep and narrow and it was impossible to know what canned items we had. Also, since the spacing between our shelves is 11", none of the tiered can organizers on the market would work for us (too tall). We added two tiers to your plan and cut the top tier in half (for my large cans of whole tomatoes!). We are very happy with how this project turned out.
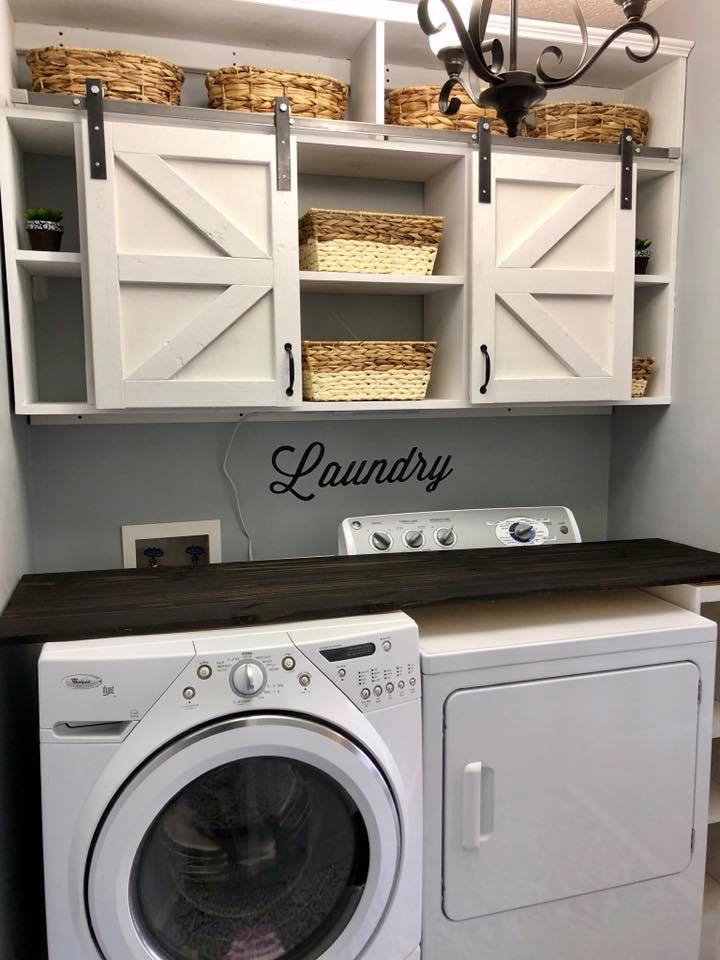
Built by Kelly Flood Gugliemoni, shared on Facebook.
Sliding barn door hardware is DIY, cabinets are DIY - tutorials linked below.
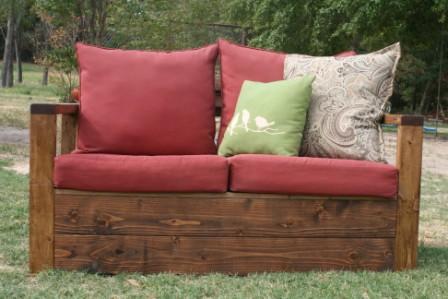
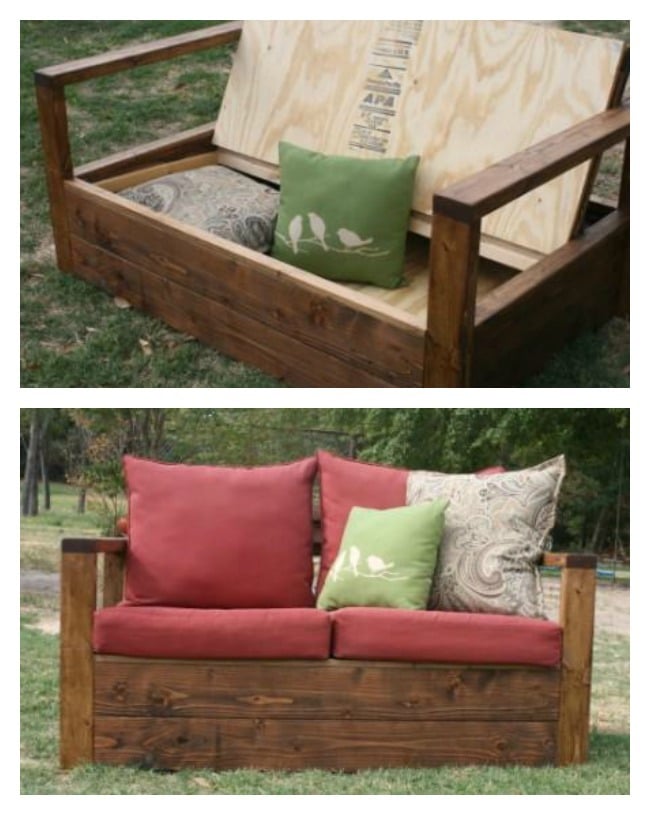
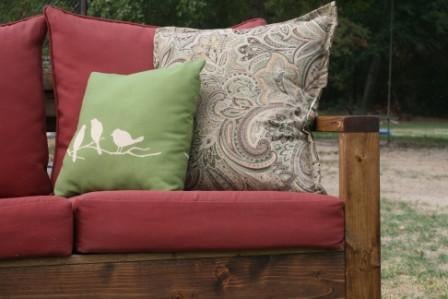
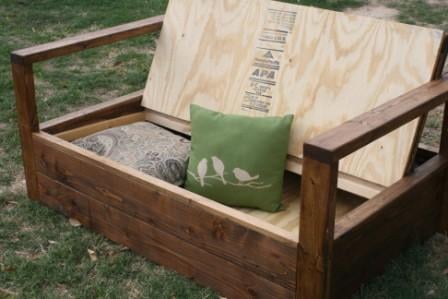
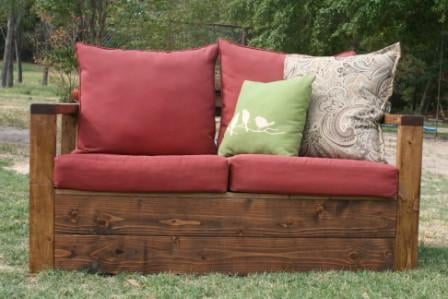
I added storage to the bottom of the simple outdoor loveseat by creating one big board from 2 2x6 boards for each of the front, back, and side aprons using my KregJig. Then I added cleats around the bottom for a sheet of plywood, extra cleats around the top edge for the seat, and put the hinge on the original seat support board.
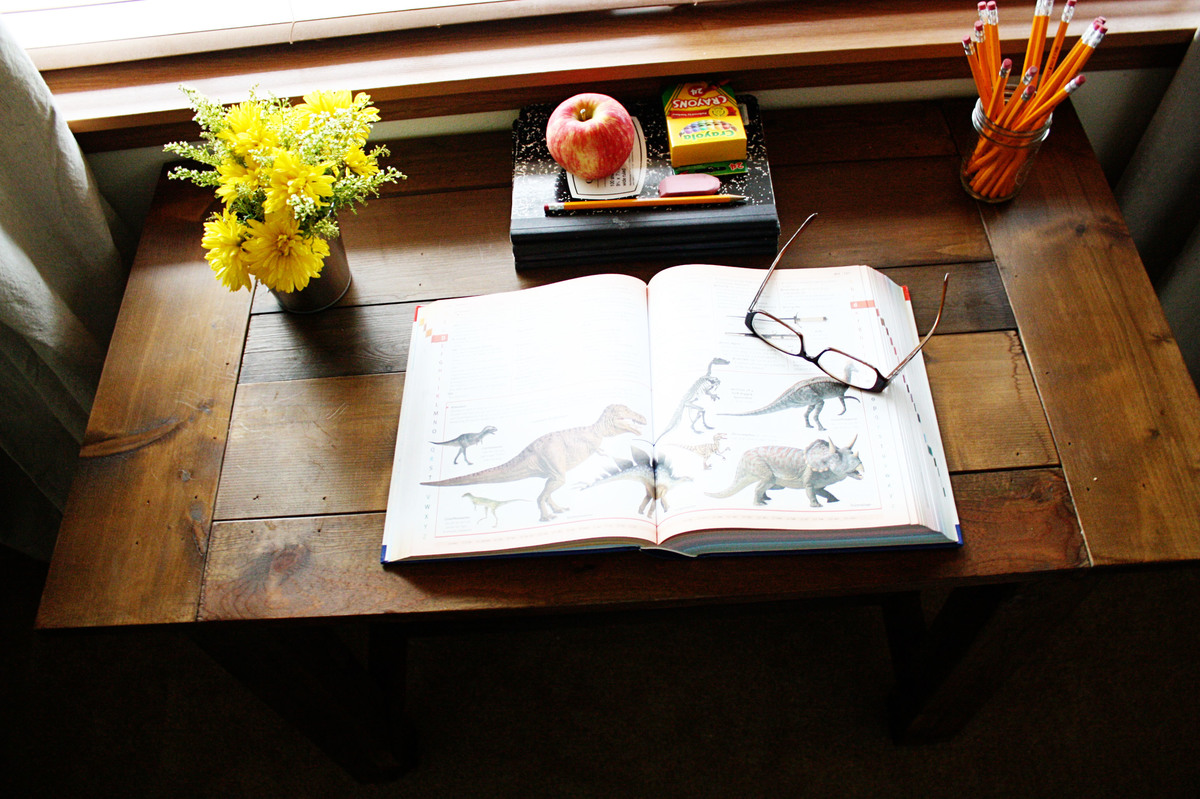
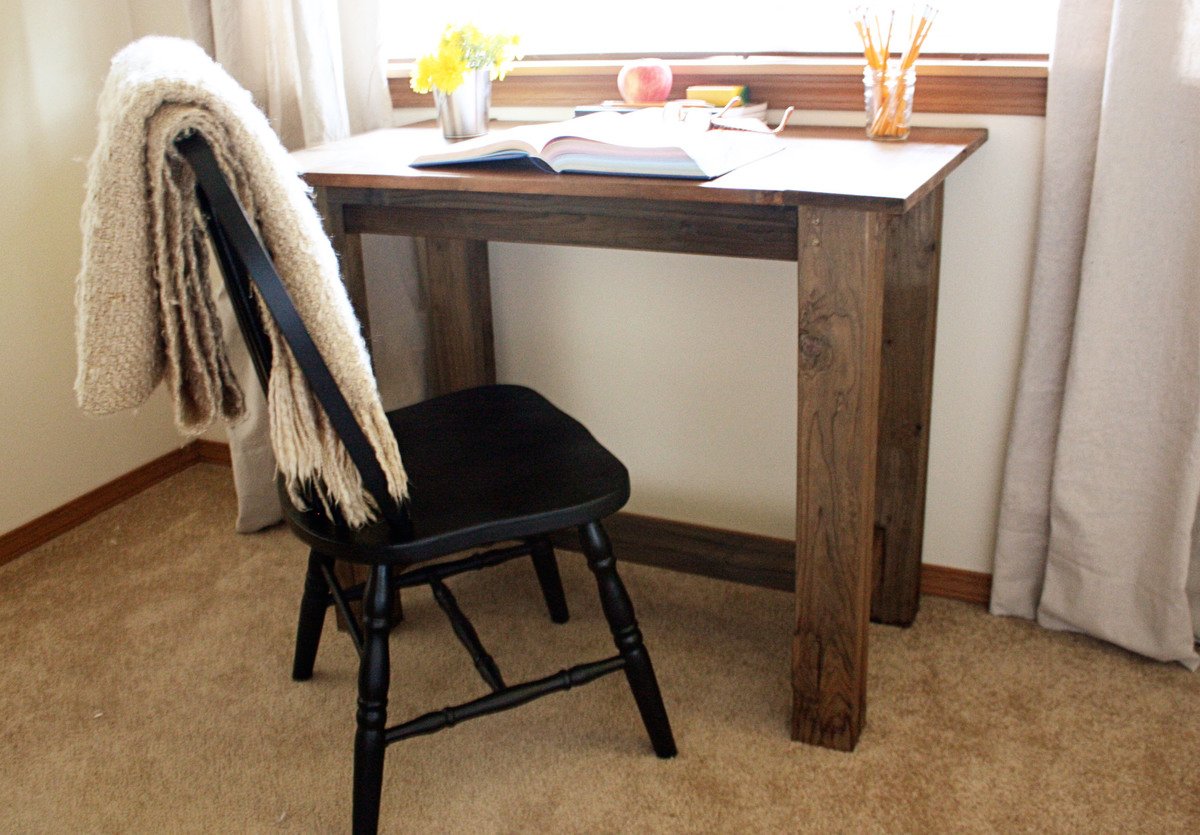
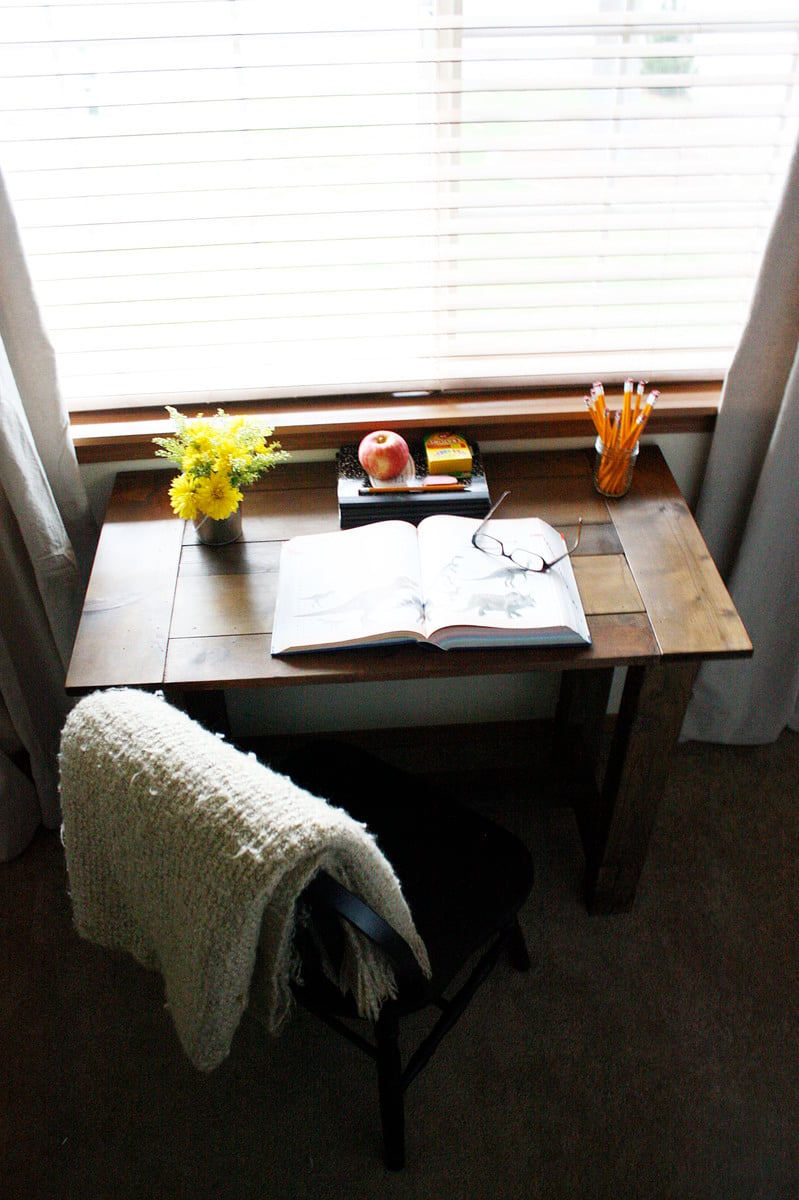
We wanted a desk for our sons bedroom and I love the farmhouse table plans. My husband modified the plans to make the table much smaller. The desk was finished with a vinegar/steel wool mixture to oxidize the wood and then clear wax was applied.
Thu, 10/27/2011 - 04:49
I really love that finish. I want to make a toddler bed for my BFF's little guy, but was wary of using stain, etc. This finish looks gorgeous and seems very organic.
Thu, 02/05/2015 - 19:35
This table is beautiful! I'd love to modify this plan to be the size that you've built. I'm a novice and would love if you'd be willing/able to share the dimensions that you used.
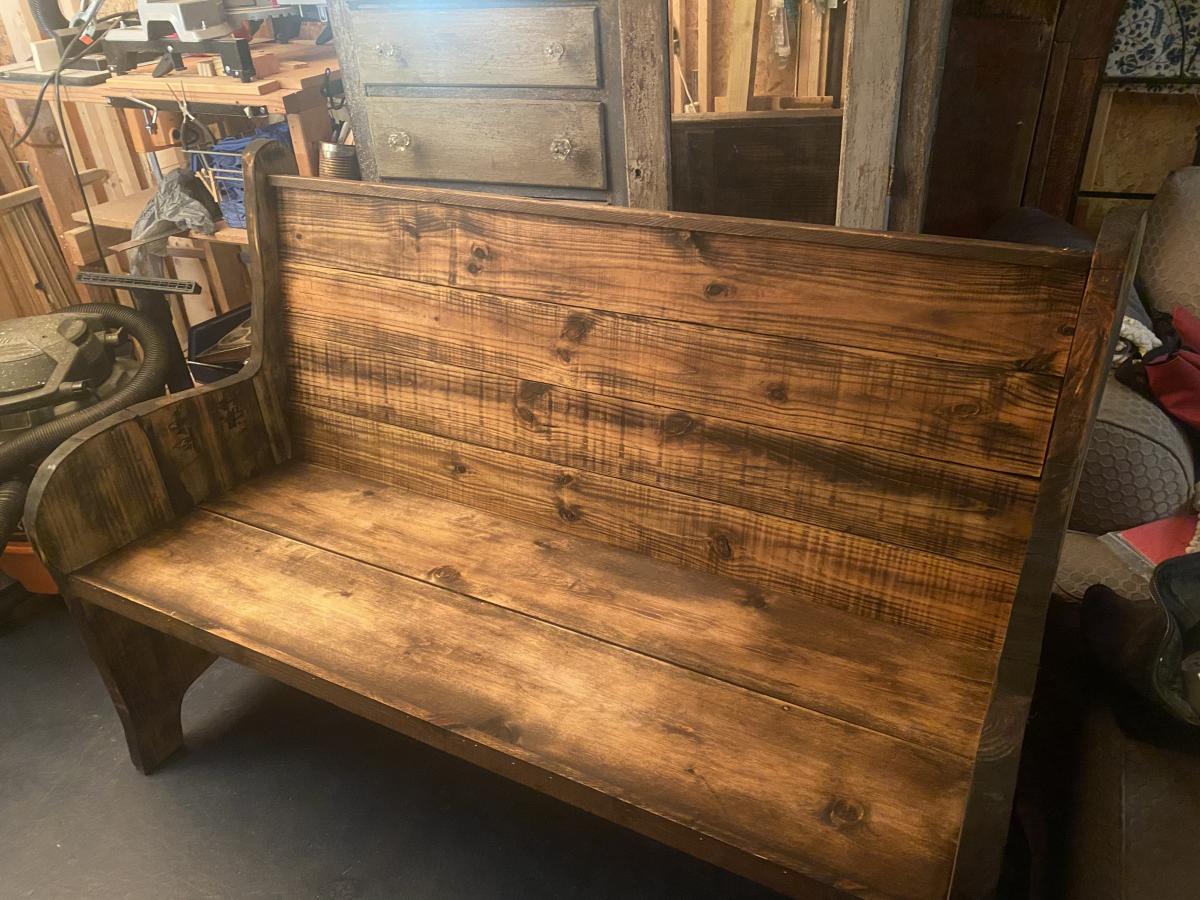
First time using jigsaw, think it turned out pretty good! What a fun project to build!
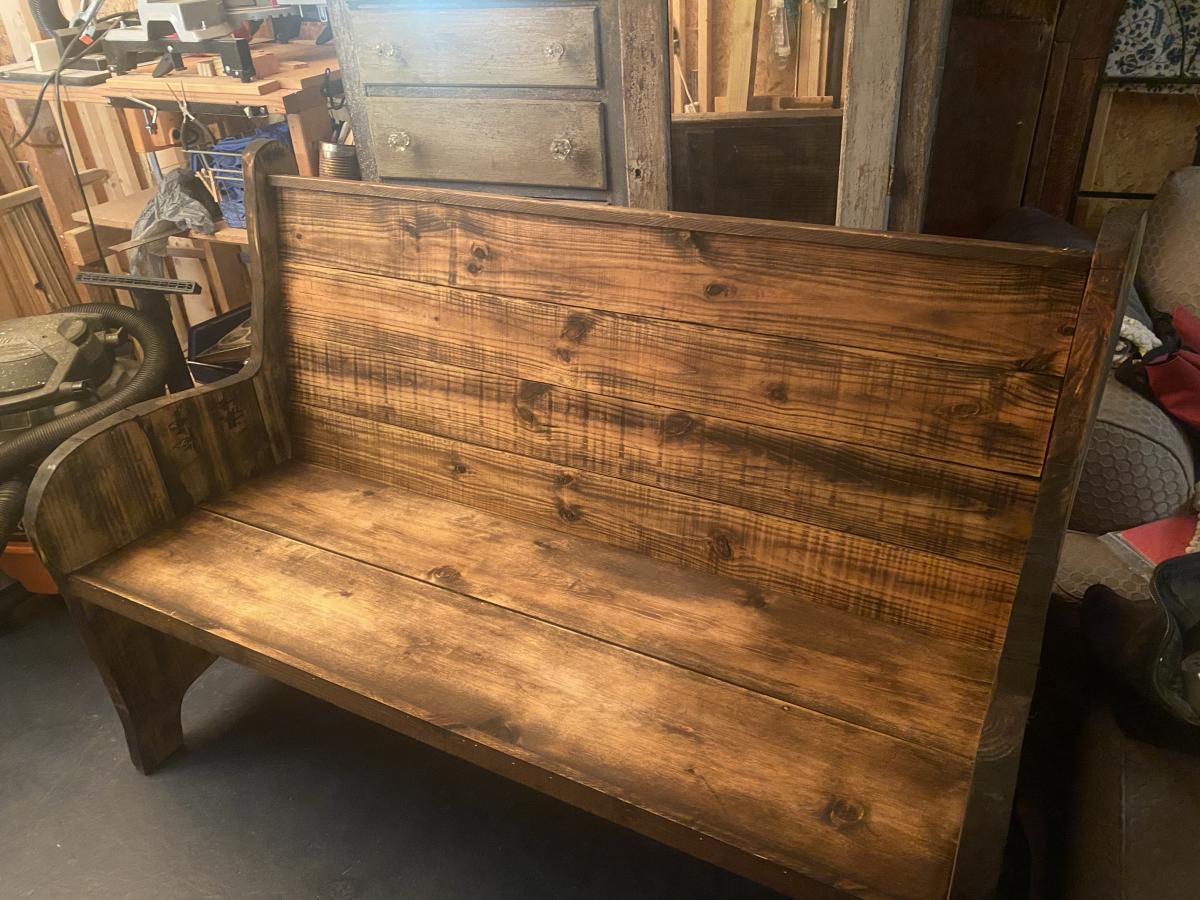
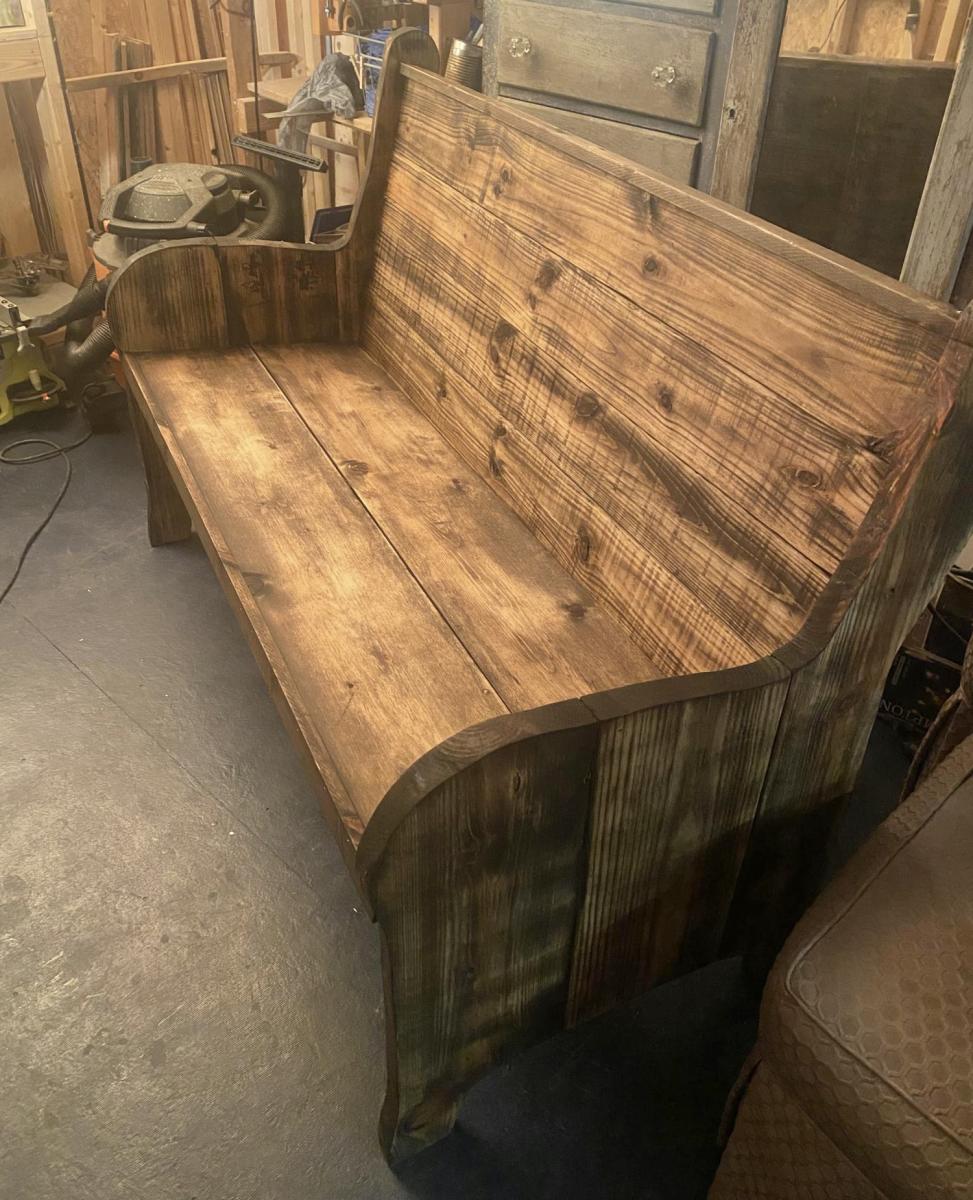
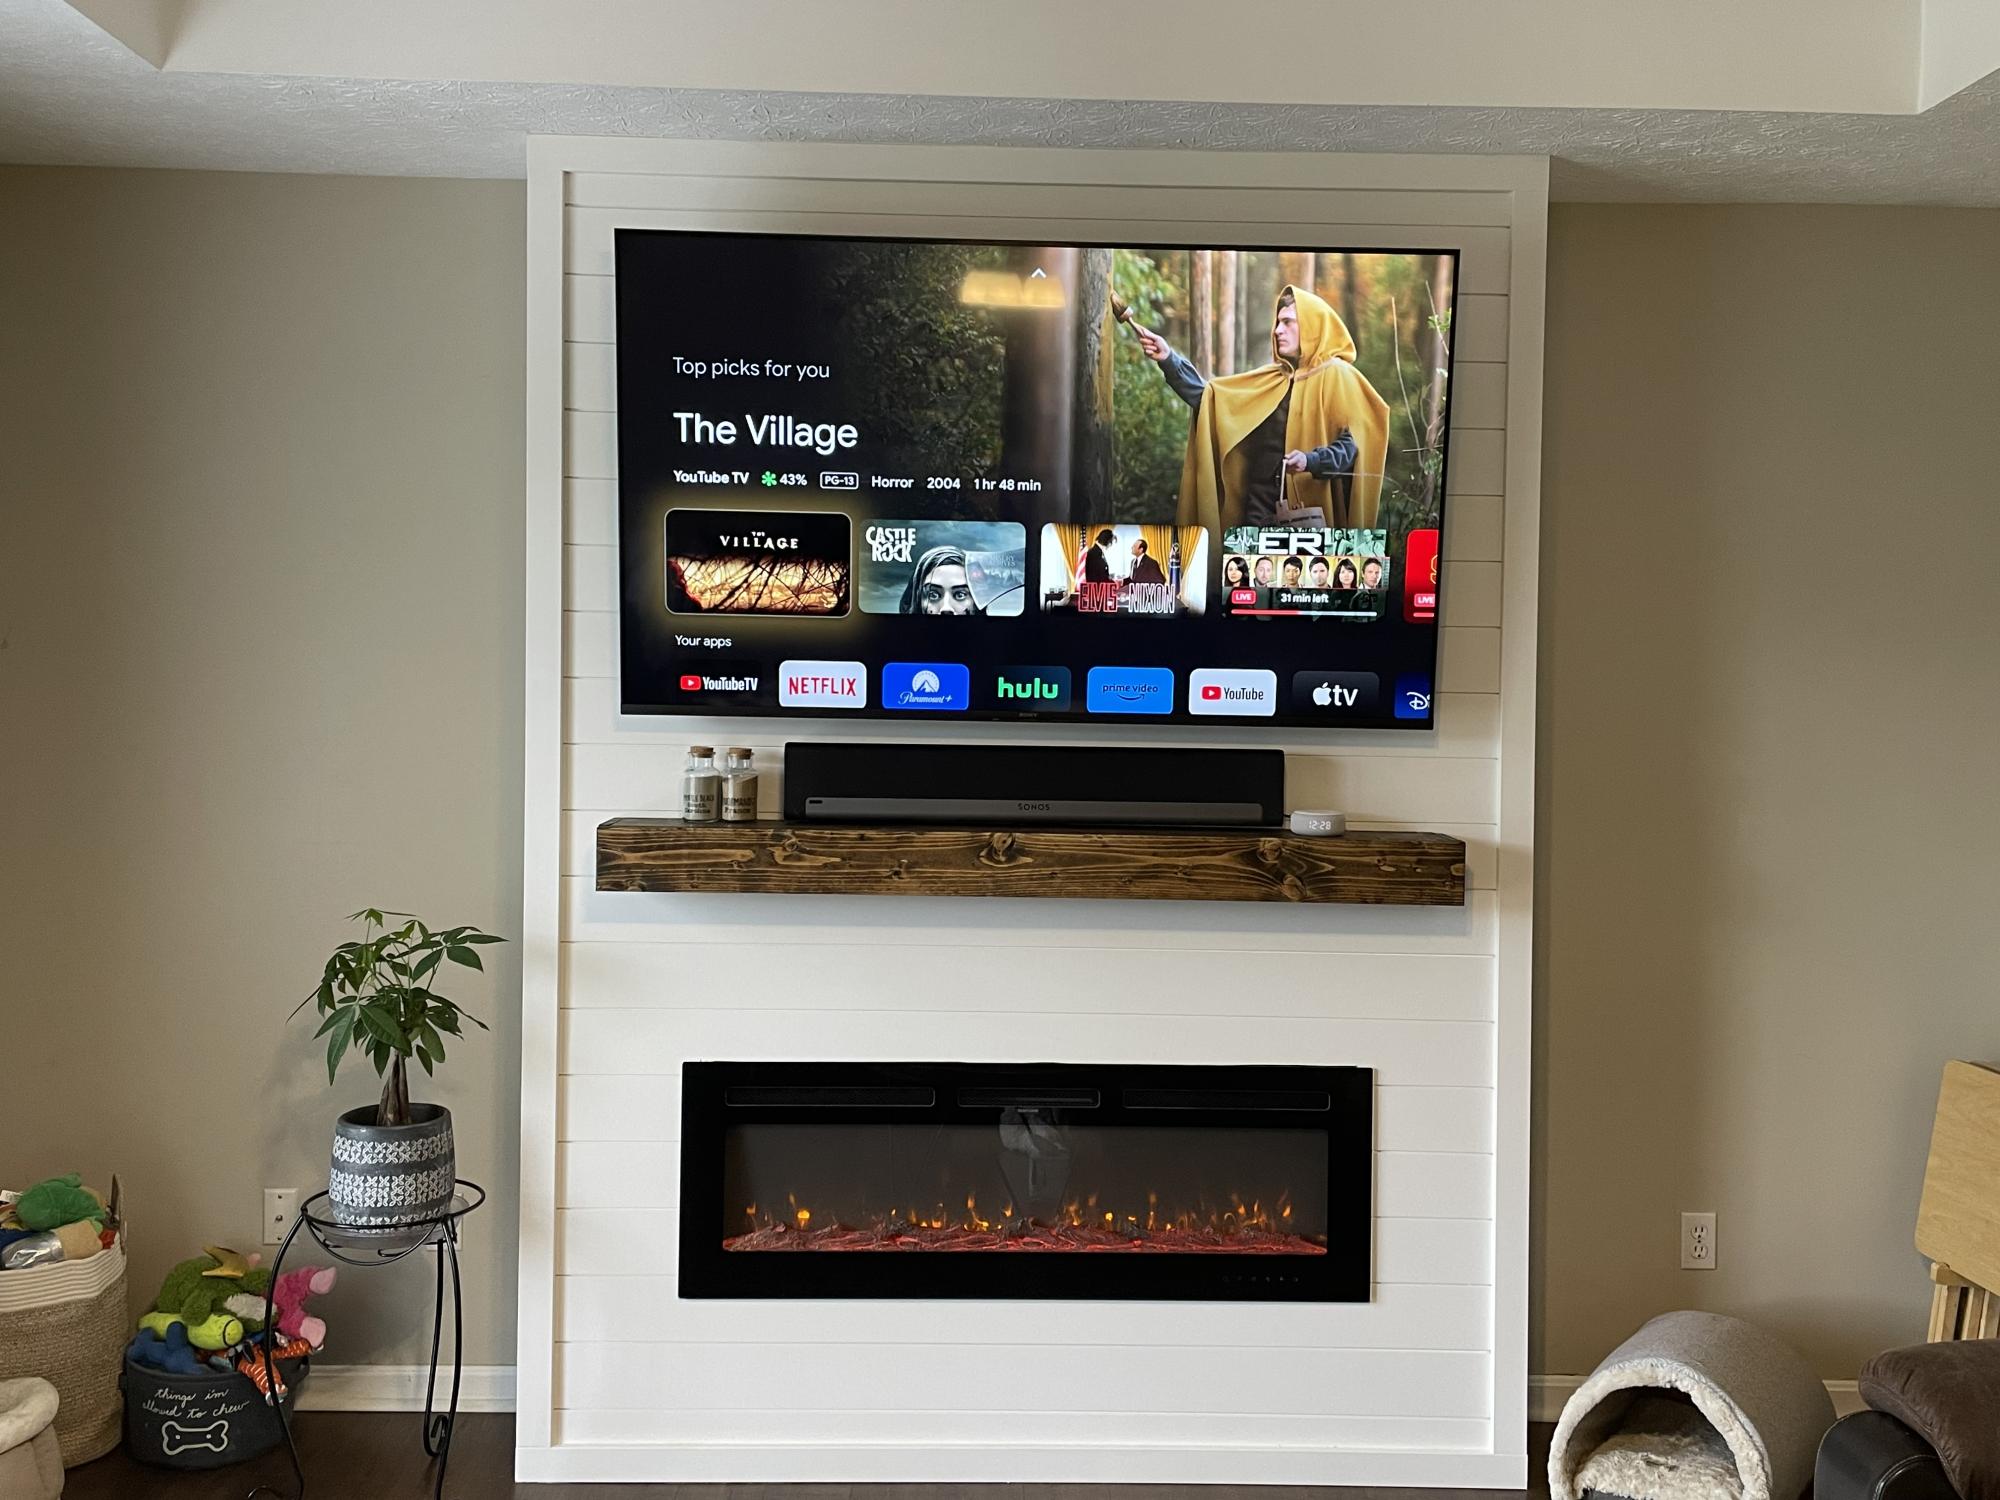
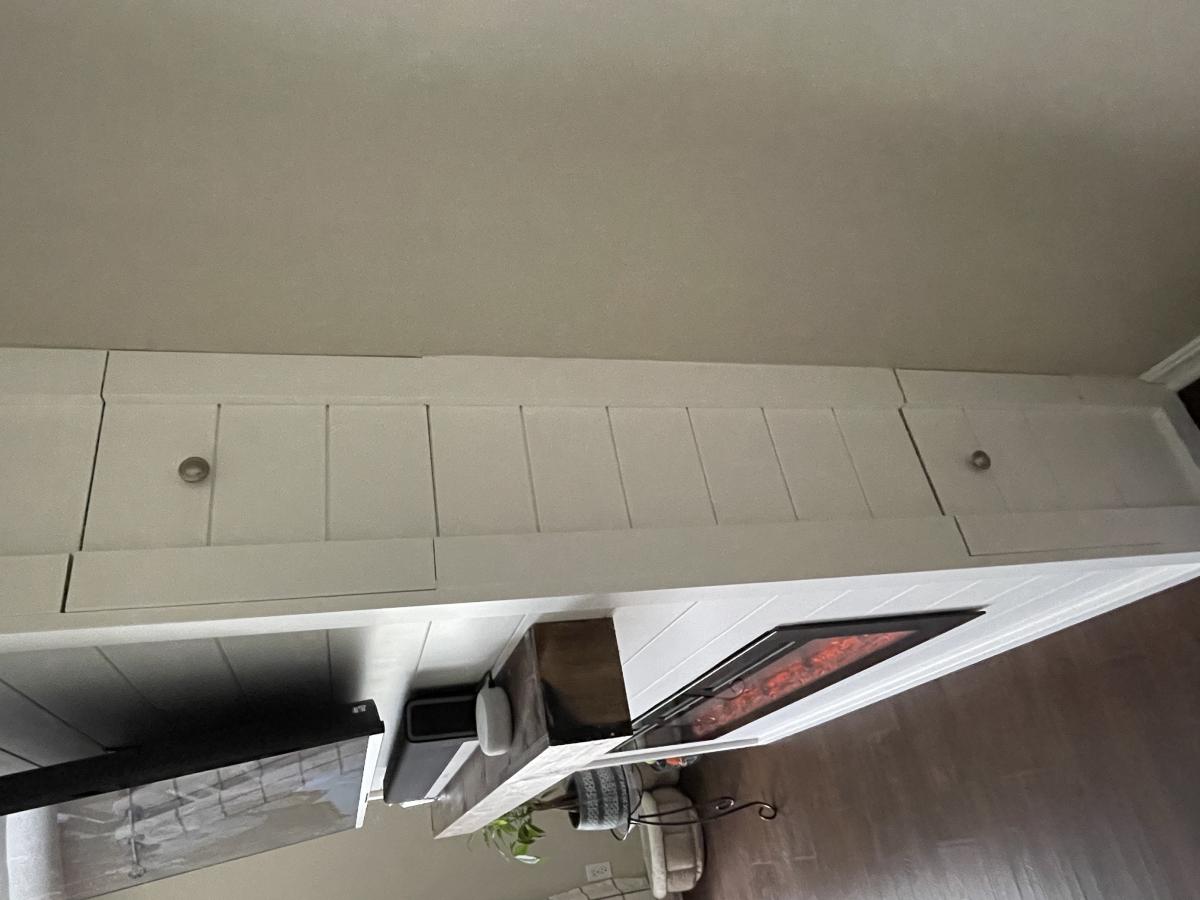
My first “real” build! I’m thrilled with how it turned out! Thanks Anna for giving me the confidence to give it a try.

We couldn't find a mid-height, double loft bed for our daughter that we liked that wasn't ridiculously expensive, so we decided to build one ourselves! I found some awesome plans on this website and played around with a few until I created exactly what we wanted. I mostly used the Full Size Farmhouse Bed plan but also used some aspects from the loft bed plan for the guardrails and the bottom rails. Then we went out and bought the wood and started building! This is really the first thing that I have ever built (my husband has never built anything either) and it turned out so well. I think it is gorgeous and I am so proud of it! This is my first brag post so forgive me if I am doing it wrong! Lots of instructions on how I built it below, so scroll down if you just want to see the pictures.
I used Google Sketch-Up to build the bed first and to tweak the plans. Below I will explain some of the changes that I made.
- I actually did not trim anything off of the ends of the head board or foot board as shown in the Full sized bed plans. I just built the bed to be as wide as 8 x 1x8s and adjusted the plan accordingly. I figured that if I had to climb up there to change the sheets, the extra room around the mattress would be appreciated. The 1x8s that I used were 7 1/4" wide.
- I bolted a 2x4 to the 4x4 posts right under the foot board and headboard panels for the side rail supports to sit on. I wanted it to be extra strong as the bed was going to be up high and I figured the bed would take a lot of abuse from the kids.
- The siderails were made from a 2x10 glued and screwed to a 2x4. The 2x4 sits on top of the 2x4s at the bottom of the headboard and footboard panels and is screwed into the 4x4 posts. The 2x10s are also screwed into the 4x4 posts.
- Since the mattress would be sitting up higher on the headboard and footboard than in the original plans, I added 3" to the length of the 1x8s used in the panels.
- I had planned to make a slatted base out of 1x4s to support the mattress so I also placed 2 x 2x4s on edge lengthwise down the middle of the bed to support the slats. Those 2x4s are also supported on top of the 2x4s at the bottom of the head and foot boards. The inexpensive 1x4s here are very rough on the one side which I did not want touching the mattress or for the kids to get splinters from while playing under the bed. The nice ones were super expensive at around $18 for a 14' board. It turned out to be less expensive and much less work to buy a queen sized slatted bed base from the big Blue and Yellow inexpensive furniture store here and trim the ends of the boards to length with my mitre saw. n even bigger bonus is that the wood is already finished and didn't require anything further than screwing it down to the supports.
- I made the height of the area under the bed 45" (just tall enough for DD to stand under for now) and adjusted the length of the 4x4 posts accordingly.
- I assembled the bed into different large pieces before bringing it inside. The headboard and footboard are 2 solid sections that cannot be taken apart. The side pieces are made to be able to come off if we ever need to move the bed.
- I couldn't find any really good instructions anywhere on how to build a ladder or to change ladder plans to suit our needs so I built it after the bed was built. I found it easier to envision this way and to figure out the angles. I build the ladder out of 2x3s.
I have the Google Sketch-Up plans for the bed (minus the ladder) if anyone is interested, but as I said before, I am not an experienced builder so I do not think I should post them here. Maybe someone can use them as a base to create their own plan with though. I found Sketch-up to be a very valuable tool as I actually "built" the bed virtually before ever touching the wood. It helped me figure out what order to put things together in and also allowed me to perfect my design before making any cuts. It still took many trips to and discussions with people at my local Orange store to figure out what kind of fasteners to use and where to use each type. I brought printouts of my plans so that they would be able to help me better.
A couple of finishing touches that I did:
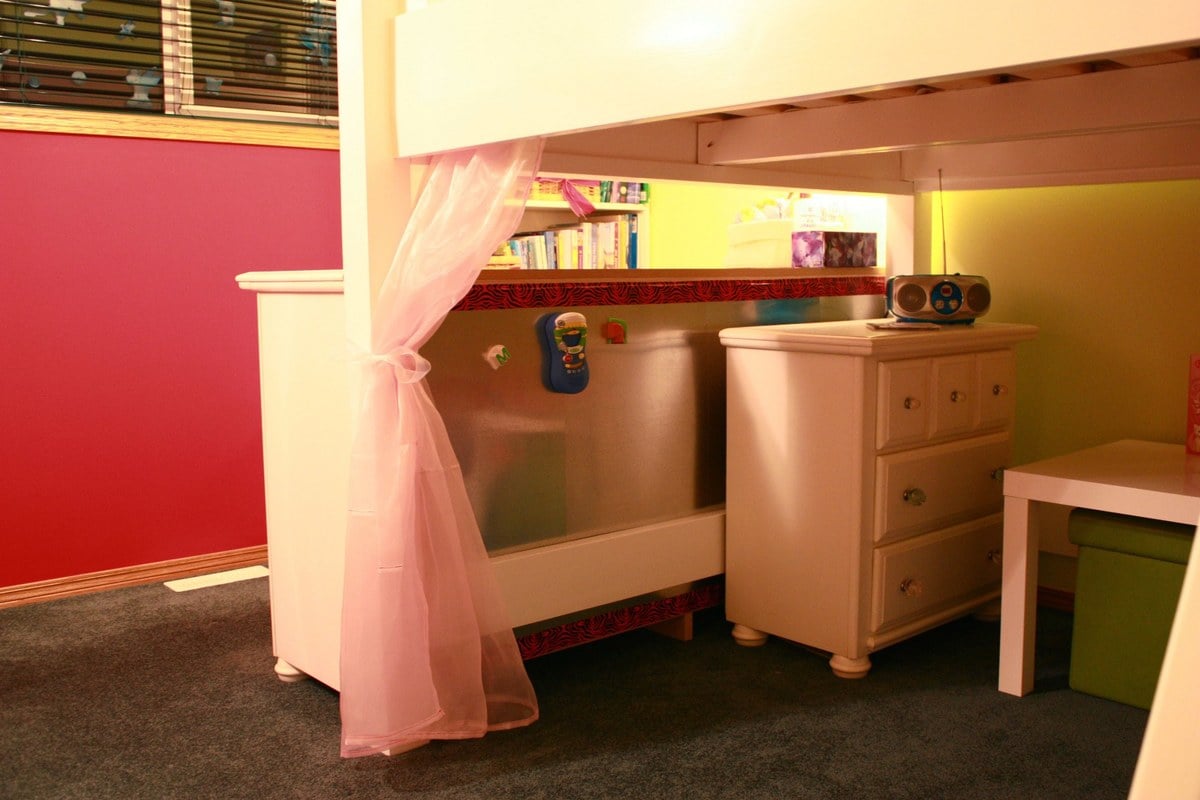
- I sewed some pretty curtains and hung them from aircraft cable and eye hooks under the bed.
- The back of her dresser was exposed under the bed and did not look very nice so I created a magnetic wall by screwing some inexpensive metal sheets meant for ducts to the back of it. I have temporarily covered all of the exposed edges with pink patterned duct tape but plan to trim it out at some point.
Hope you like it!

Thu, 12/01/2011 - 05:27
I can not believe you tackled this for your very first project! You should be so proud as it came out beautiful! Your daughter must be thrilled!!!
Fri, 05/03/2019 - 04:15
Hello DirtSquirt,
My granddaughter just asked me to loft her queen bed and loves your plan. Is it still possible to get the plans you made up so I can modify for queen. Thank you
tomjnc5
Sun, 12/11/2011 - 01:34
I have been googling some many website for a full size loft bed and came across this one at 4am Sunday. Can you please send me the mesurements and plan for this bed. I would love to build it just the way you did.
Fri, 01/05/2018 - 21:53
hi I know this is a old post but can I get the plans? My husband needs the direct directions. [email protected] also look into we transfer, you can upload big documents up there and just post the link then people don’t have to bug you all the time they can just download it. Hope that helps you.
thanks for your time.
Thu, 12/29/2011 - 14:34
I LOVE this bed. I do not know how to use google sketch-up but we are wanting to build the farmhouse into a twin loft bed and the plans you used would definitely help us figure out how. If you could send me your plans Id really appreciate it and Ill somehow figure out how google sketch-up works. Thank you so much for sharing!
Fri, 05/11/2012 - 15:04
Can you please send me your plans we are trying to do almost this exact thing for our twins!!!
Thu, 05/24/2012 - 16:22
Could I get a copy of the plans. This will give him more space without having to get a smaller bed. [email protected]
Fri, 12/30/2011 - 06:44
Will you please send me a copy of the plans as well? email is [email protected]. Thanks
Fri, 12/30/2011 - 11:48
This is wonderful! Can you send me the plans? Thank you sooo much!
Wed, 01/04/2012 - 13:15
I love your project!! Could I get a copy of the plans as well? Thanks!
Wed, 01/04/2012 - 13:17
Could I get a copy of the plans as well? Thanks! Sorry forgot to include email address it's: on3003in2002yahoo.com
Thu, 01/05/2012 - 21:53
I did send plans to those who included an address, but I'm not sure how to get them to the rest of you!
Fri, 03/02/2012 - 21:15
Sun, 03/25/2012 - 18:28
Hi,
Could you please send me the google sketch up plans? I.m looking to build a loft bed for my 11 year old daughter. Please email it to [email protected].
Tue, 06/26/2012 - 11:10
Hi DirtSquirt,
I'm digging your bed and would like the plans if you would be willing to send them.
Thank you in advance!
In reply to Plans Sent by DirtSquirt
Wed, 05/20/2015 - 00:18
Please send the plans i am dying to try this bed.
Thu, 01/19/2012 - 10:27
Any chance I could get your Google Sketchup plans too? We are moving soon and want to do something like this for both of our kids. Thank you! [email protected]
Wed, 01/25/2012 - 08:22
I LOVE THIS!! Can i please get the plans sent to me as well?
[email protected]
Thank goodness for your post on here, we are planning to start building on Friday and I couldnt have found it at a better time! =)
Sat, 02/04/2012 - 17:36
Could you please send us your plans? Our email is [email protected]
You did amazing, thank you for sharing what you've done! Our daughter is SO excited!! :)
Sat, 02/04/2012 - 17:37
Could you please send us your plans? Our email is [email protected]
You did amazing, thank you for sharing what you've done! Our daughter is SO excited!! :)
Sat, 02/04/2012 - 17:49
Could you please send us your plans? Our email is [email protected]
You did amazing, thank you for sharing what you've done! Our daughter is SO excited!! :)
Sat, 02/04/2012 - 20:05
What an awesome bed! I am trying to build something like this for my 8 year old. Could you sen d me the plans? [email protected] Thanks,
Mon, 02/06/2012 - 06:50
Could you please send these plans to
[email protected] ?
I love it!. I have been looking for loft bed plans that are of mid height for a while.
Thanks!
Mon, 02/06/2012 - 21:15
Congrats on your project! It looks like something that would cost $1000 ++ at any store. I too would like a copy of the plans. I'm envisioning a distressed and stained version for my son. Thanks! [email protected]
Wed, 02/15/2012 - 16:19
Actually just purchased a floor sample loft bed for our son today...having 2nd thoughts because it seems cheap...so I browsed Ana's site...and WOW! This is WAY better - love the design. Am hoping you could please send the plans our way too...we are all so envious! Thanks! [email protected]
Mon, 03/26/2012 - 16:16
THANK YOU SO MUCH for sending the plans so quick. We ended up building the bed, but in twin size for our son....took us about 3 weekends to finish....and it's incredible! I don't know how to post a pic here, but thx so much Marcie....we ended up building a forward facing bookshelf too bc once we got this huge bed in, there was not enough room for his standard bookshelf
Wed, 06/27/2012 - 07:44
I'd like to get the plans for this bed, but DirtSquirt seems to have closed their account or something. I'd appreciate it! [email protected]
Mon, 01/26/2015 - 08:28
im trying to get the plans for this bed, but I guess since this post is so old.. she is no longer looking at the comments!! can you email them to me?? [email protected]
Mon, 01/26/2015 - 08:28
im trying to get the plans for this bed, but I guess since this post is so old.. she is no longer looking at the comments!! can you email them to me?? [email protected]
Mon, 01/26/2015 - 08:28
im trying to get the plans for this bed, but I guess since this post is so old.. she is no longer looking at the comments!! can you email them to me?? [email protected]
Mon, 01/26/2015 - 08:28
im trying to get the plans for this bed, but I guess since this post is so old.. she is no longer looking at the comments!! can you email them to me?? [email protected]
Mon, 12/03/2018 - 08:02
If anyone has these plans, can you please, PLEASE, please message me to email them?! I desperately need these plans for my daughter. Thank You!
Wed, 02/15/2012 - 20:09
This is so beautiful! Can you please send me a copy of the plans? [email protected]
Thanks!
Fri, 02/17/2012 - 10:10
Holy crap! Could I please get the plans sent to me? The bed is nothing short of AMAZING.
Mon, 02/20/2012 - 15:40
This bed is so beautiful, it is exactly what I was looking for. My husband and I have never built anything before, but with the right directions I think that we could totally manage this project. Could I please get a copy of your plans so that we can make this bed for our 13 year old for her birthday. Thank you so much.
Brandi
Mon, 02/20/2012 - 15:46
I would love to have a copy of your plans. This bed would be perfect for my daughter. Thanks so much
Brandi
Mon, 02/20/2012 - 19:47
I have sent the Sketch-Up files to all those who have supplied some way to contact them. I'm sorry that I can't send them to those with no contact info. :( I feel badly if you are waiting for them...
In reply to I have sent the Sketch-Up by Guest (not verified)
Tue, 05/19/2015 - 01:40
Hello,
I am looking for the plans to this bed as well. I created a comment on your post but i am not sure if you received it as the post seems quite old.
I am new to this and there is no way I could build that bed without the plans and instructions.
I am also new to google sketchup I am shocked that you were able to do this plan up in it. I downloaded it and couldn't even draw a line never mind a 3d bed plan?
In reply to I have sent the Sketch-Up by Guest (not verified)
Wed, 05/20/2015 - 00:21
Please send the google sketch plans for the farmhouse loft plans I understand dirt squirt is no longer replying and I desperately want to build the bed for my son
Tue, 02/21/2012 - 07:17
HI-
Your bed is beautiful. If you don't mind, could you send me a copy of your plans? My email address is [email protected].
Thanks!
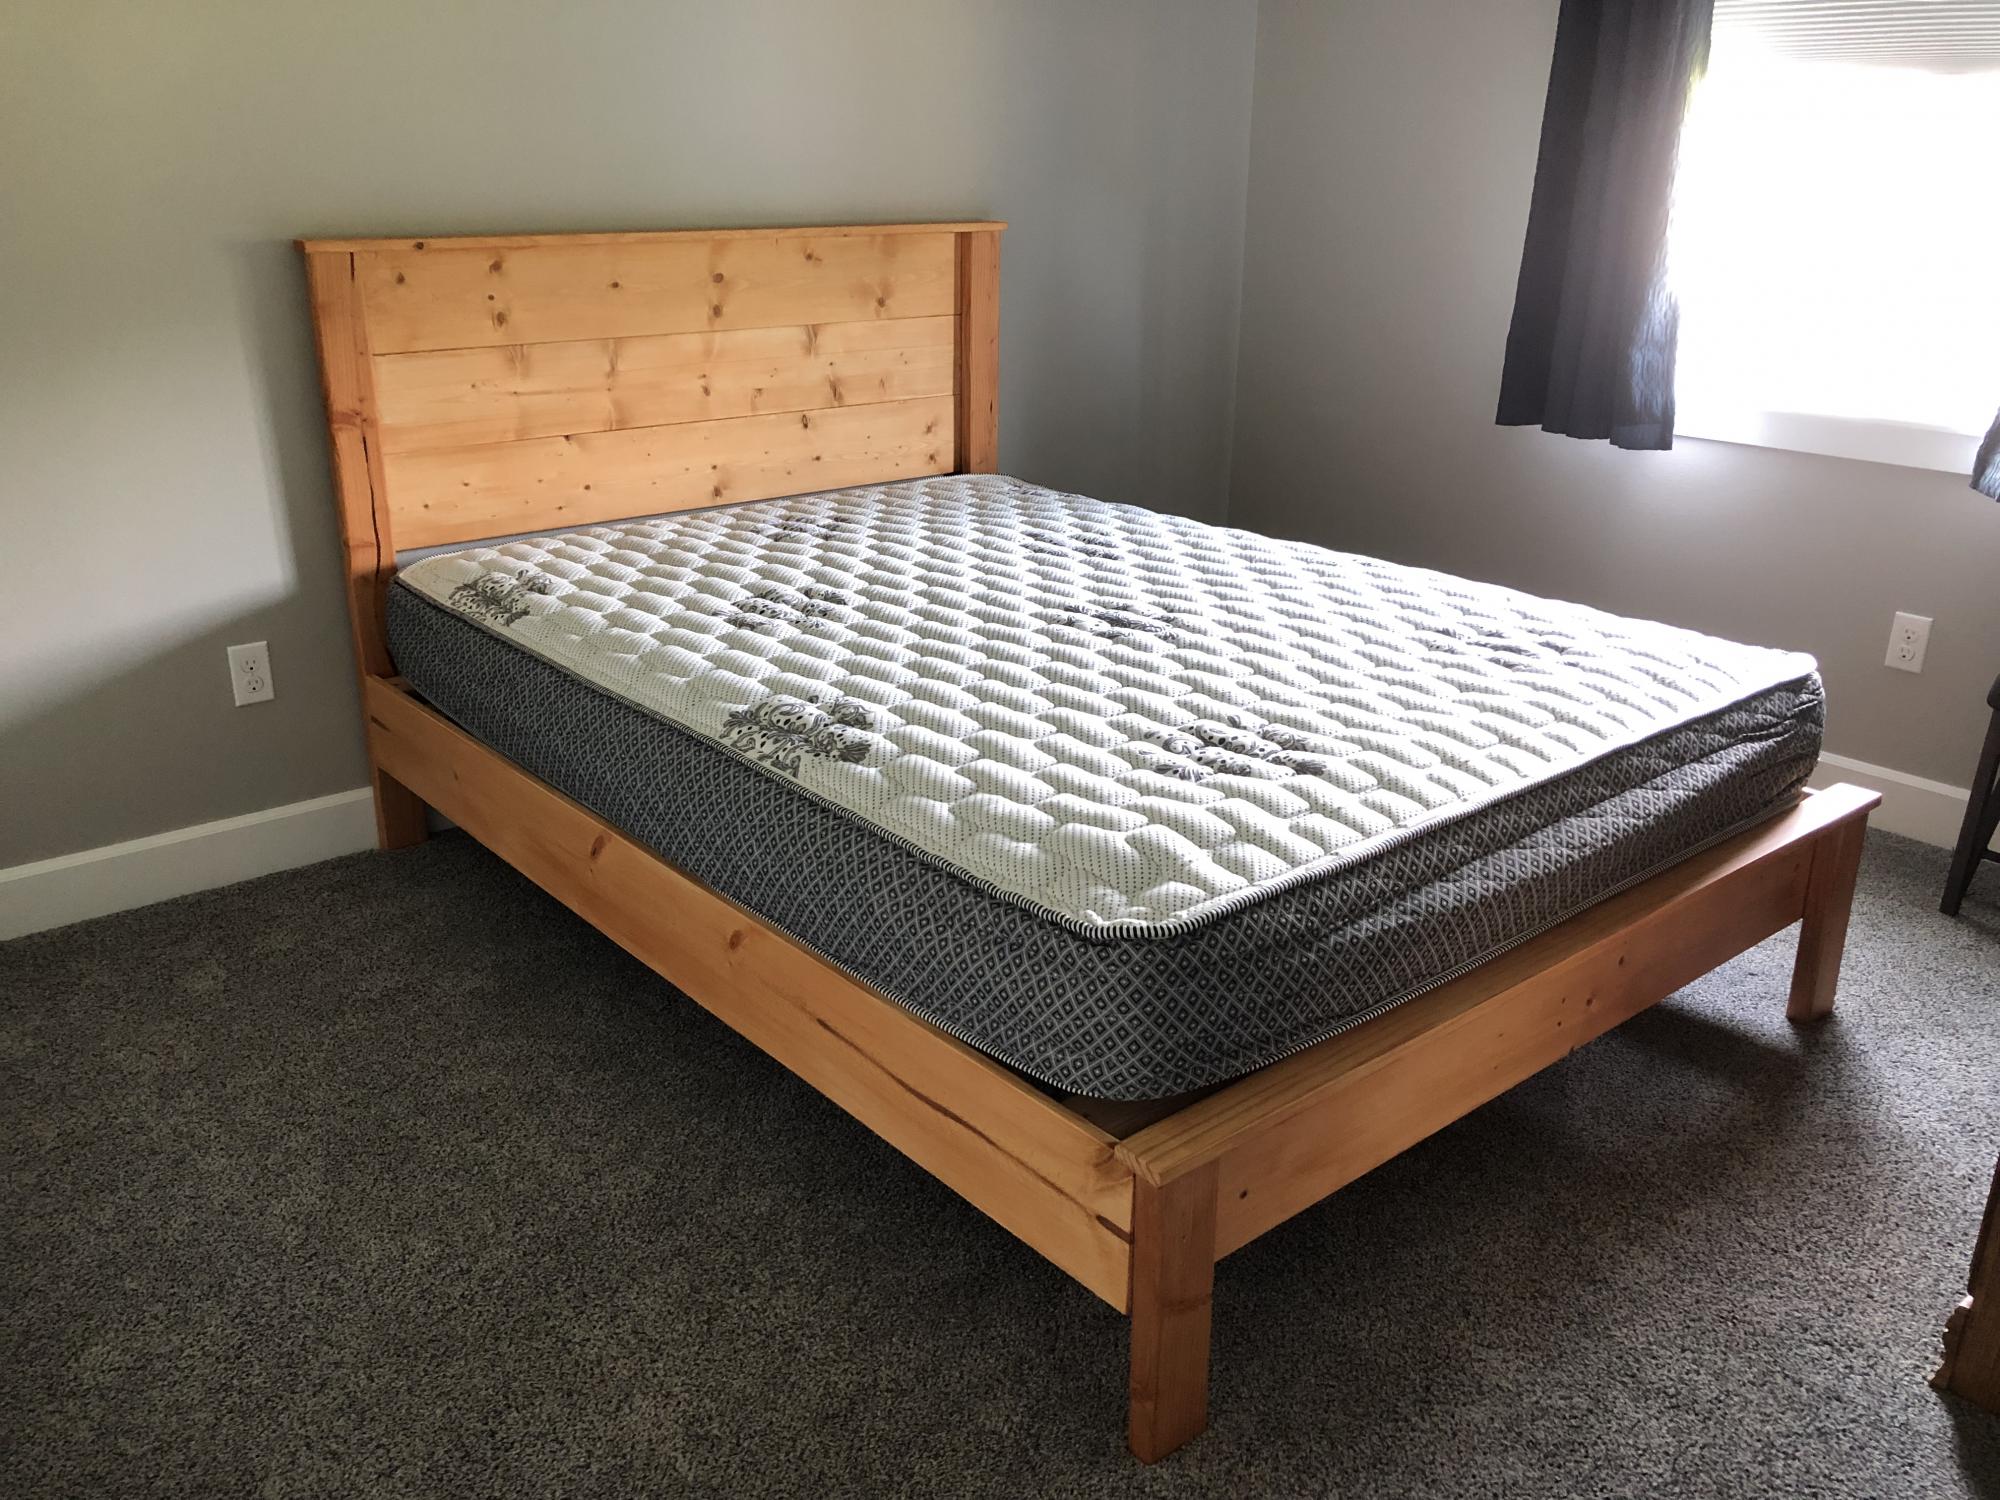
We looked for a simple plan for a bed and found this one on Ana’s site. Easy to build in a weekend.
Mon, 06/03/2019 - 11:35
Thank you so much for sharing a photo! I've been looking forward to seeing how the bed turns out! Great job!
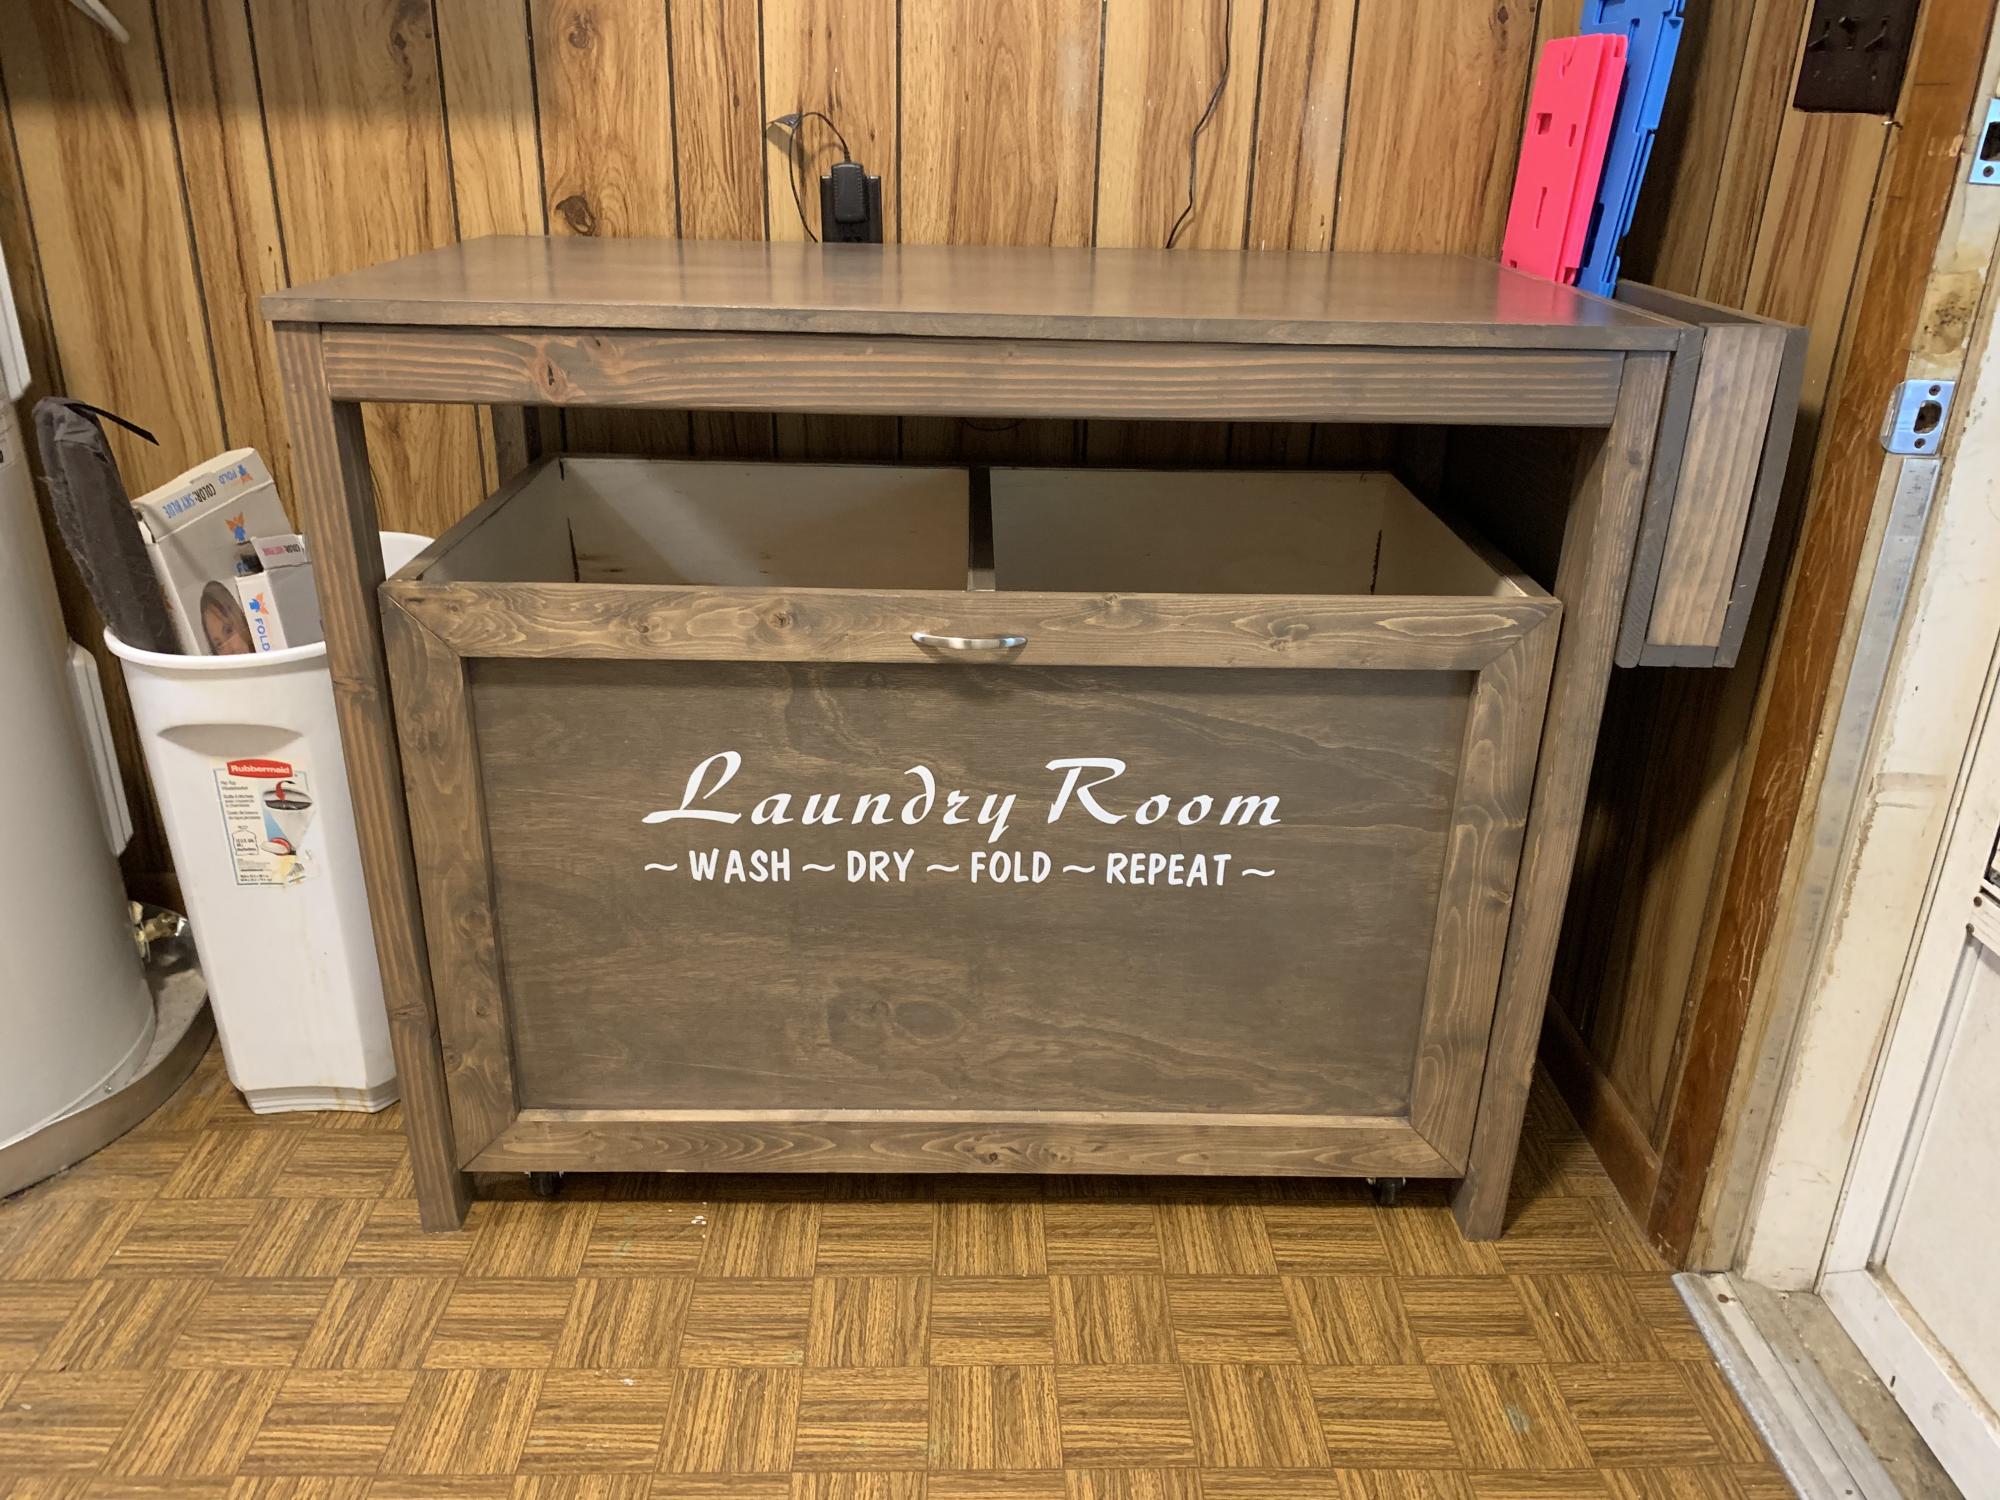
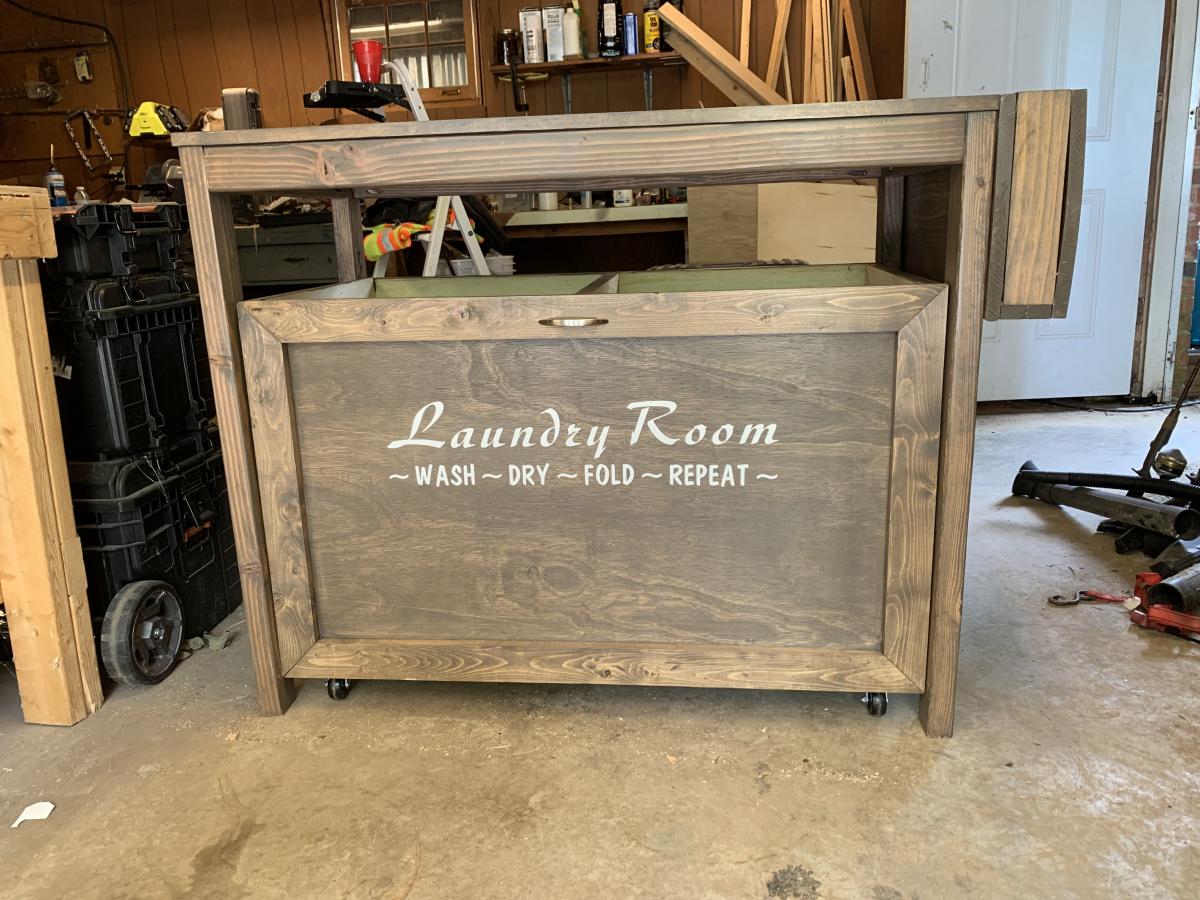
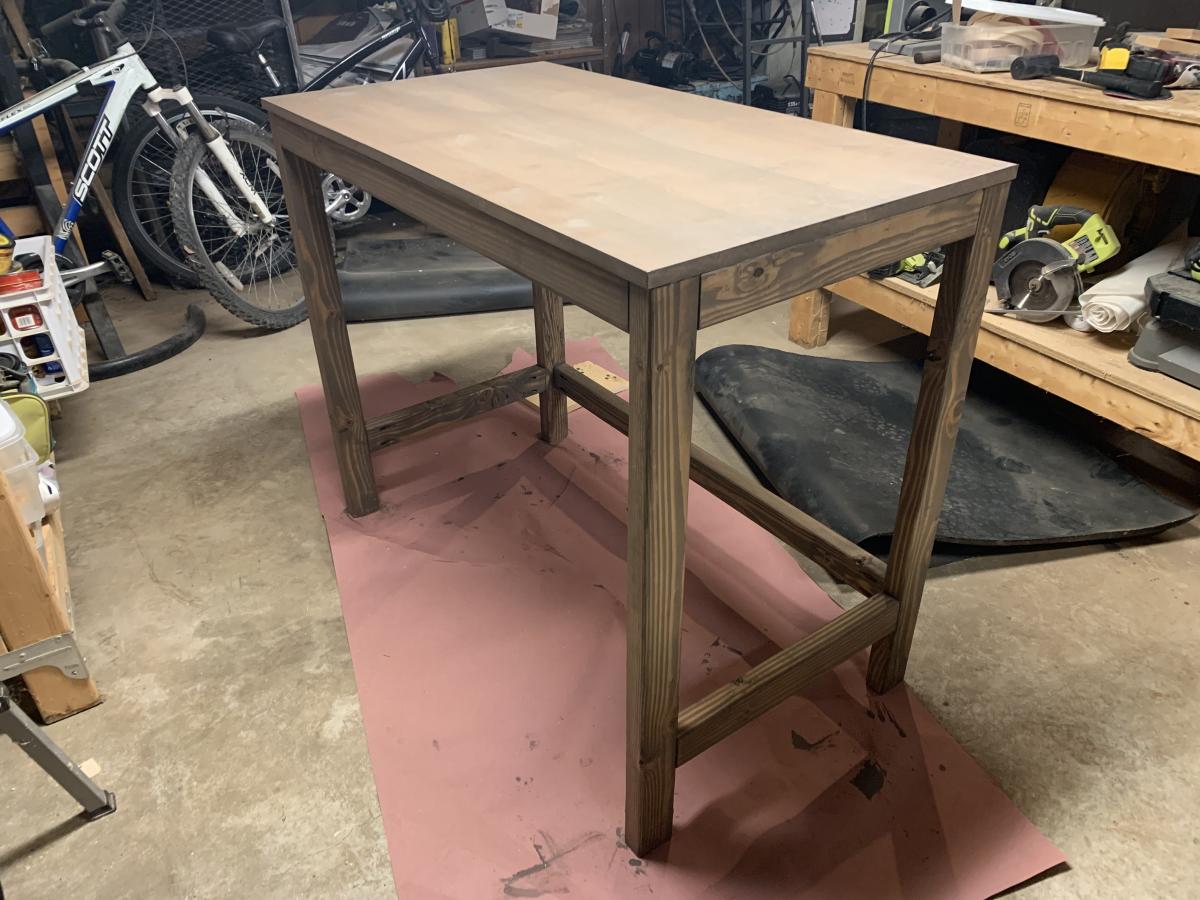
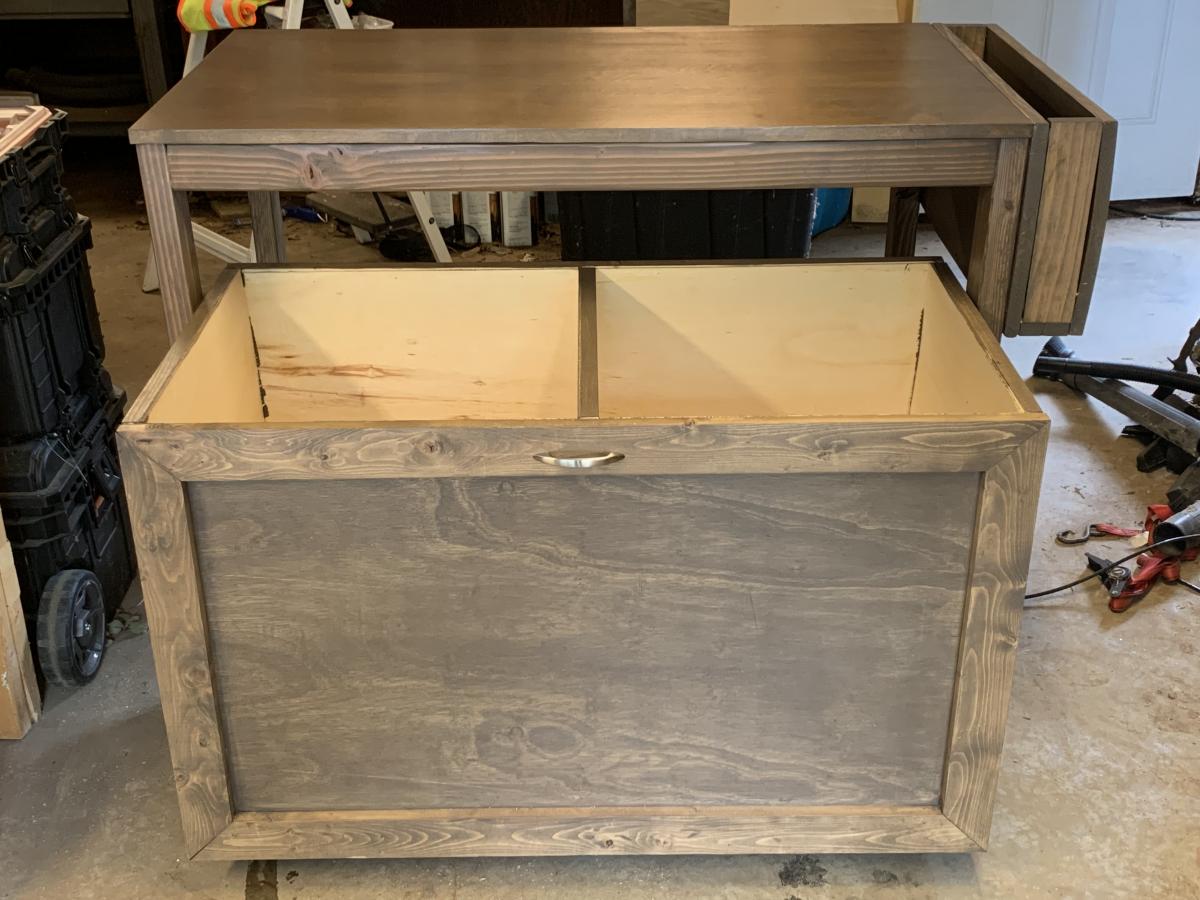
A laundry room remodel is on the to-do list but by using the laundry station pattern as a base I made a few adjustments to complete my station.
Stain is Varathane Briarsmoke. Absolutely love the color!!
Comments
sgilly
Mon, 07/22/2013 - 20:47
Really pretty finish
I'd love for you to share how you got that beautiful color! I'm using an espresso stain right now. I've put on 3 coats of stain and still have light spots!
In reply to Really pretty finish by sgilly
solomonson
Tue, 07/23/2013 - 07:14
What species of wood and what
What species of wood and what stain? I used red oak, which apparently is one of the easiest woods to stain. I really didn't have to do anything except sand.
sgilly
Tue, 07/23/2013 - 07:21
Wood
I use birch in most of my projects. Usually, I can get a decent color from the stain. But, I'm thinking that this last batch of plywood wasn't the best. Also, I've never used General finish stains. I might try that next time.
I think I'm going to sand again, add another coat of stain, and if it's still a hot mess I'm thinking I'll mix some color into the poly and try to even out the color with the sealer. I don't have any idea if that will work - I'm not a finisher, but my husband used to do something he called "fogging", where he'd tint the sealer (Lacquer, in his case) with the color and as he sprayed the finish on it blended the colors.
Thanks for the response.
In reply to Wood by sgilly
solomonson
Tue, 07/23/2013 - 08:39
I *love* GF stains - I was
I *love* GF stains - I was really hesitant to try it because of the higher price point, but I just can't go back to Minwax. I'm forever spoiled. Well, the water based ones, that is - I tried a Minwax gel stain and actually got decent results, but I think their water-based stains are crap. I'm just lazy and don't want to go through the extra effort in using oil-based, though I acknowledge their durability is superior.
I'd be interested in knowing how your technique works out, as I don't have a lot of experience with stain - just wood conditioner, stain, poly. I've heard of using sealers and mixing ingredients but have been too afraid to try it myself. Good luck!