Farmhouse headboard
I built this headboard a while back but just never got around to posting it. I distressed the wood, painted it mint green and applied a chocolate glaze.
I built this headboard a while back but just never got around to posting it. I distressed the wood, painted it mint green and applied a chocolate glaze.
This is a replica of the Pottery Barn benchwright coffee table. I altered Ana's plans slightly by changing the design of the legs to be 2.25" by 2". I added full extension drawer slides. The finish is a combination of transtint shellac base coat, gel stain, transtint dye, and poly.
Wed, 02/11/2015 - 05:37
This looks so professional and just like the real Potter Barn table! Great job!
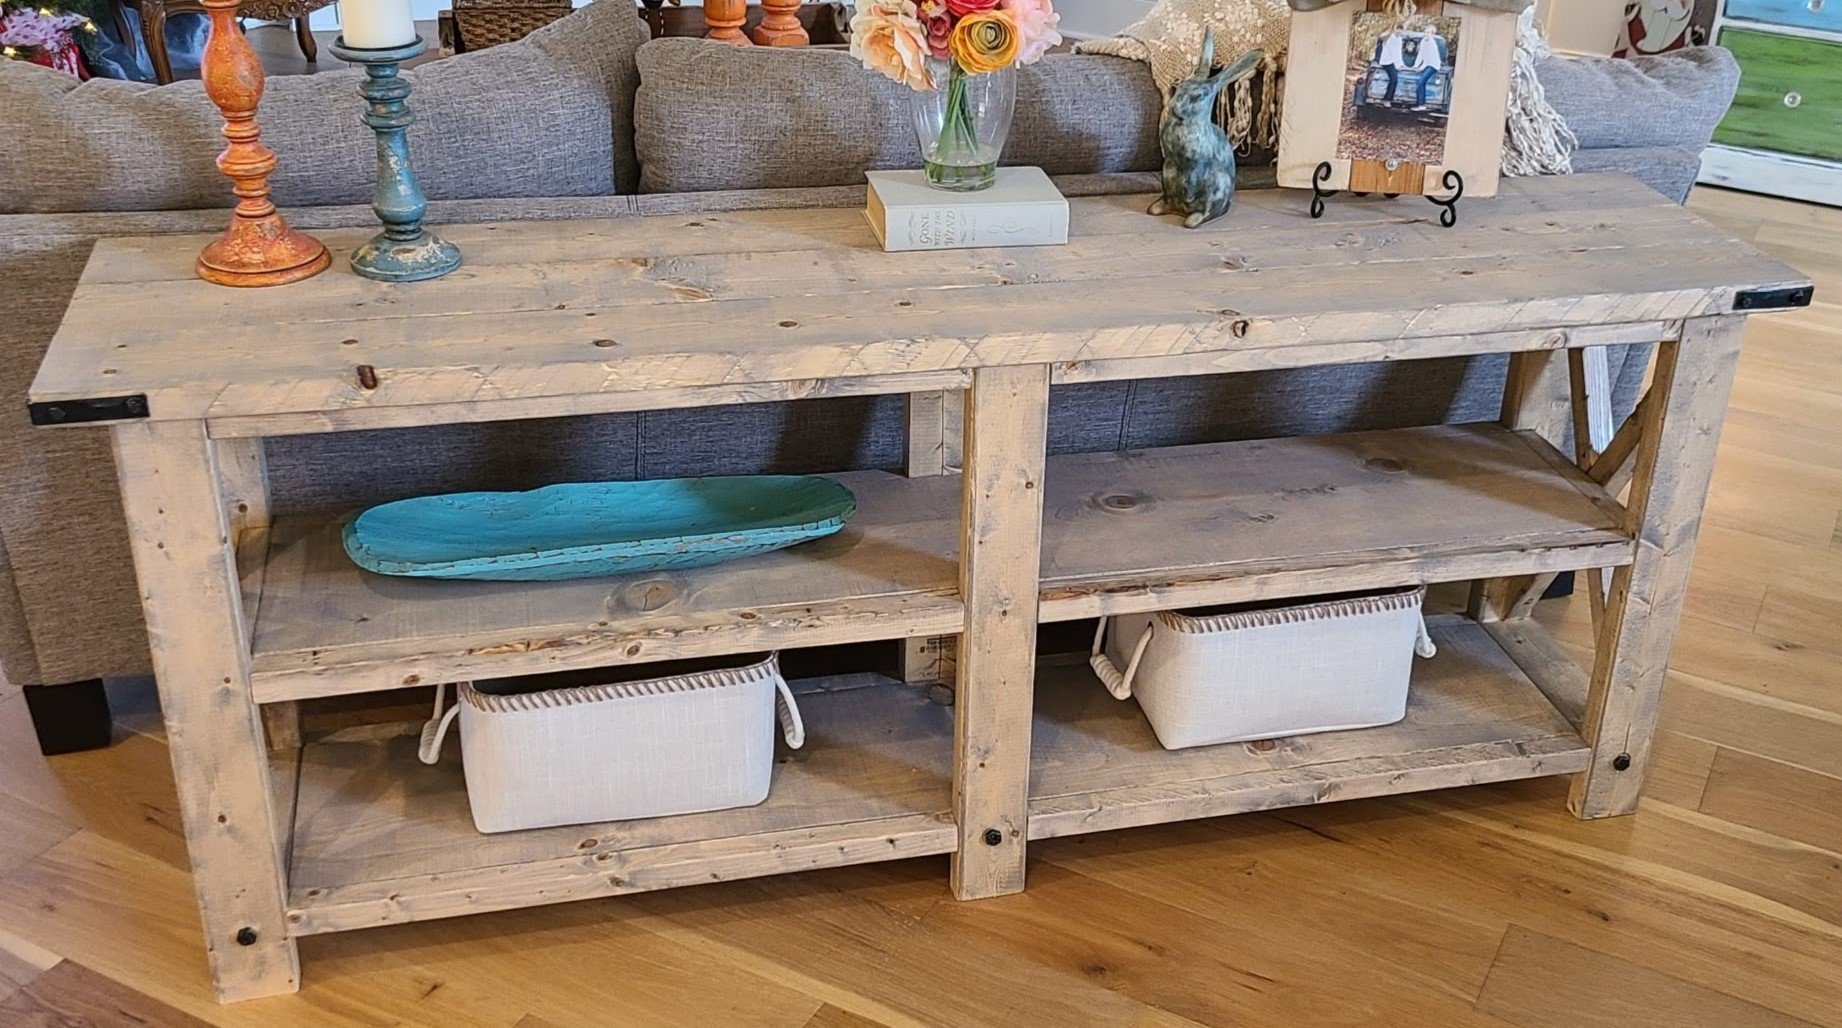
My take on the Rustic X Console.
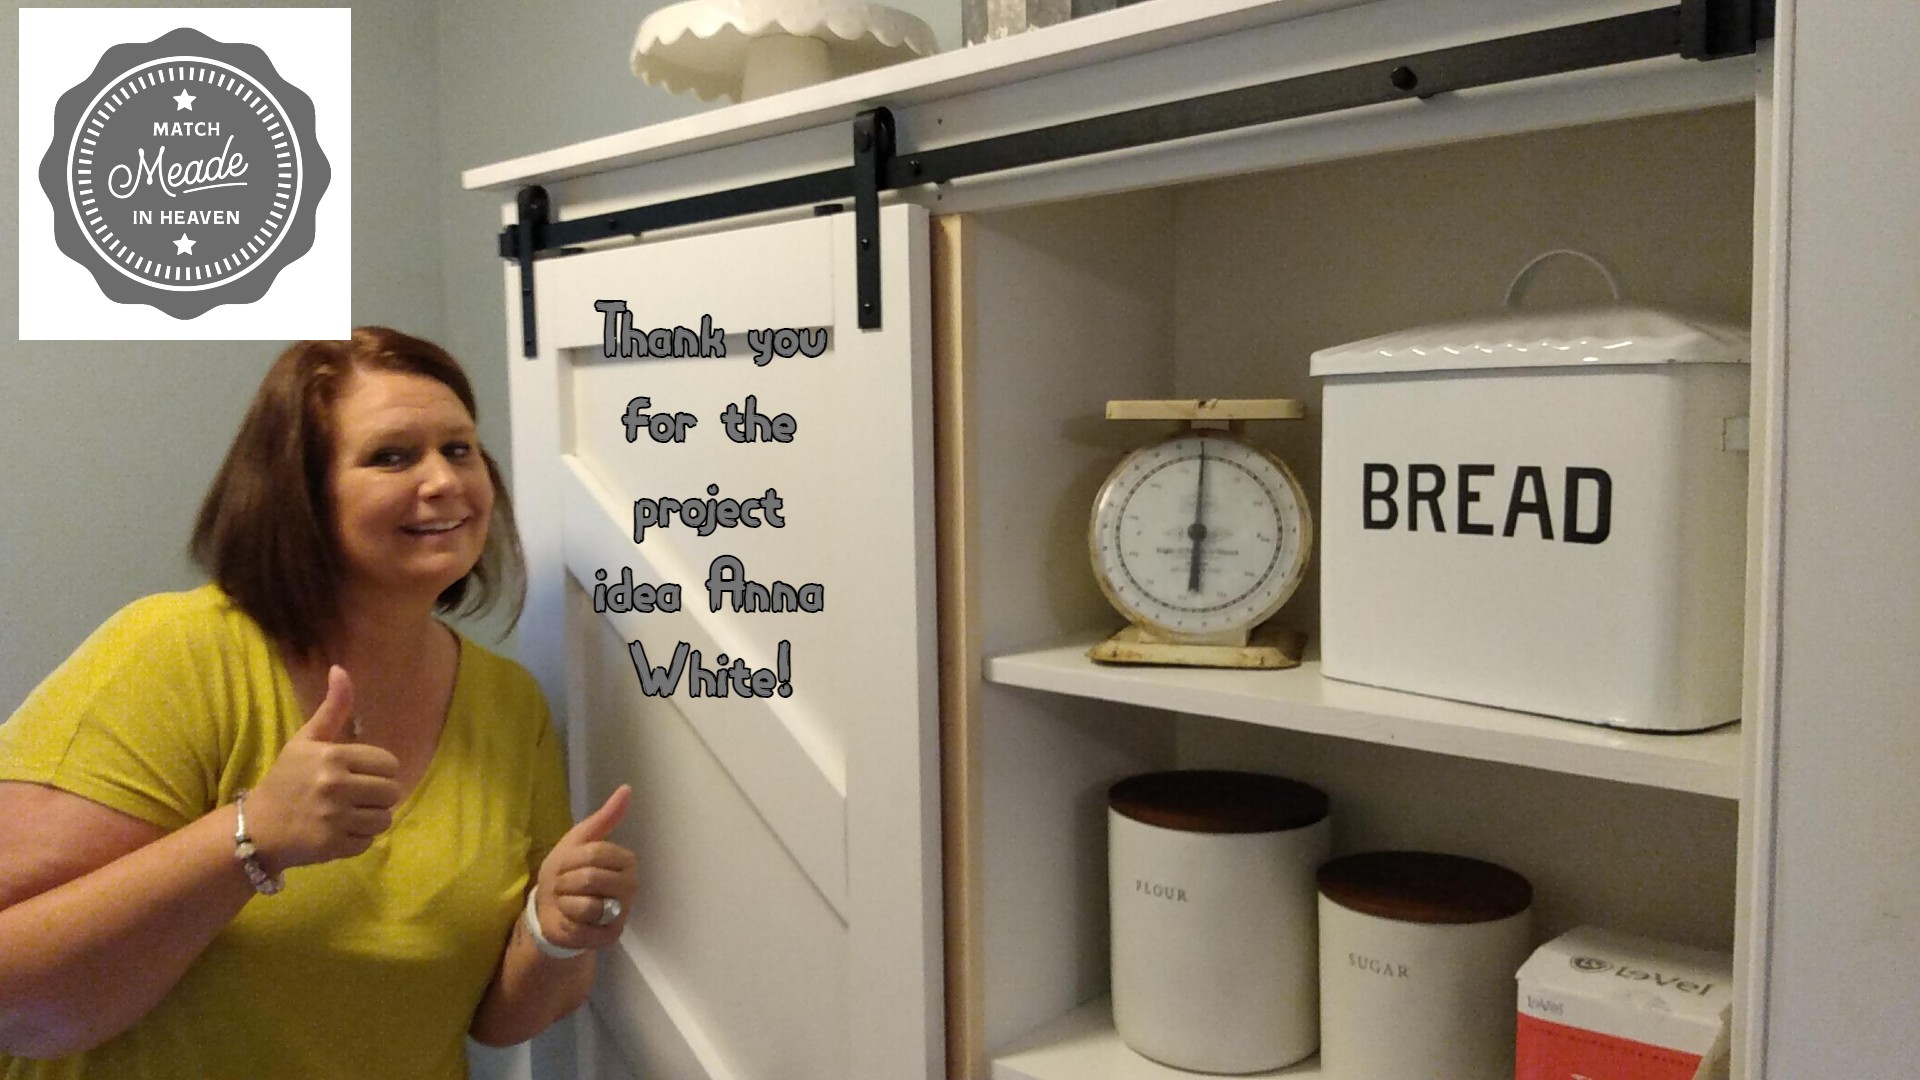
We have been a subscriber of Ann White's YouTube channel for quite some time. With our kitchen remodel we needed an idea for our pantry. All I can say is thank you Ann White!
Mon, 10/04/2021 - 12:48
Here is our YouTube video of the build - https://www.youtube.com/watch?v=cyheOb8kjB8
Tue, 10/05/2021 - 11:34
Way to go, thank you for sharing and posting your video!

With a new baby on the way, my husband, Steve and I had to move our 2yr old son out of the nursery and into his big boy bedroom. After casually looking at storage beds and falling over in shock at the prices, I came across Ana’s plans for the storage bed. Knowing that Steve is extremely handy but had not attempted to build furniture before, I started talking him into building this bed. He was sold the moment I told him that we would save close to $2400 by building it ourselves. This was a longer than anticipated project mainly due to Steve’s full time work schedule, my inablility to handle stain fumes, allowing a toddler to “help” build his bed and working around said toddler’s nap schedule. We modified Ana’s plans by adding some trim to the cubby hutch, omitting the doors on the small hutch and sizing everything to a full size bed. We also omitted the shelves on the storage headboard since we weren’t going to use them with the side towers. I am absolutely in LOVE with the final result and have a long list of other projects that we will be building in the near future.


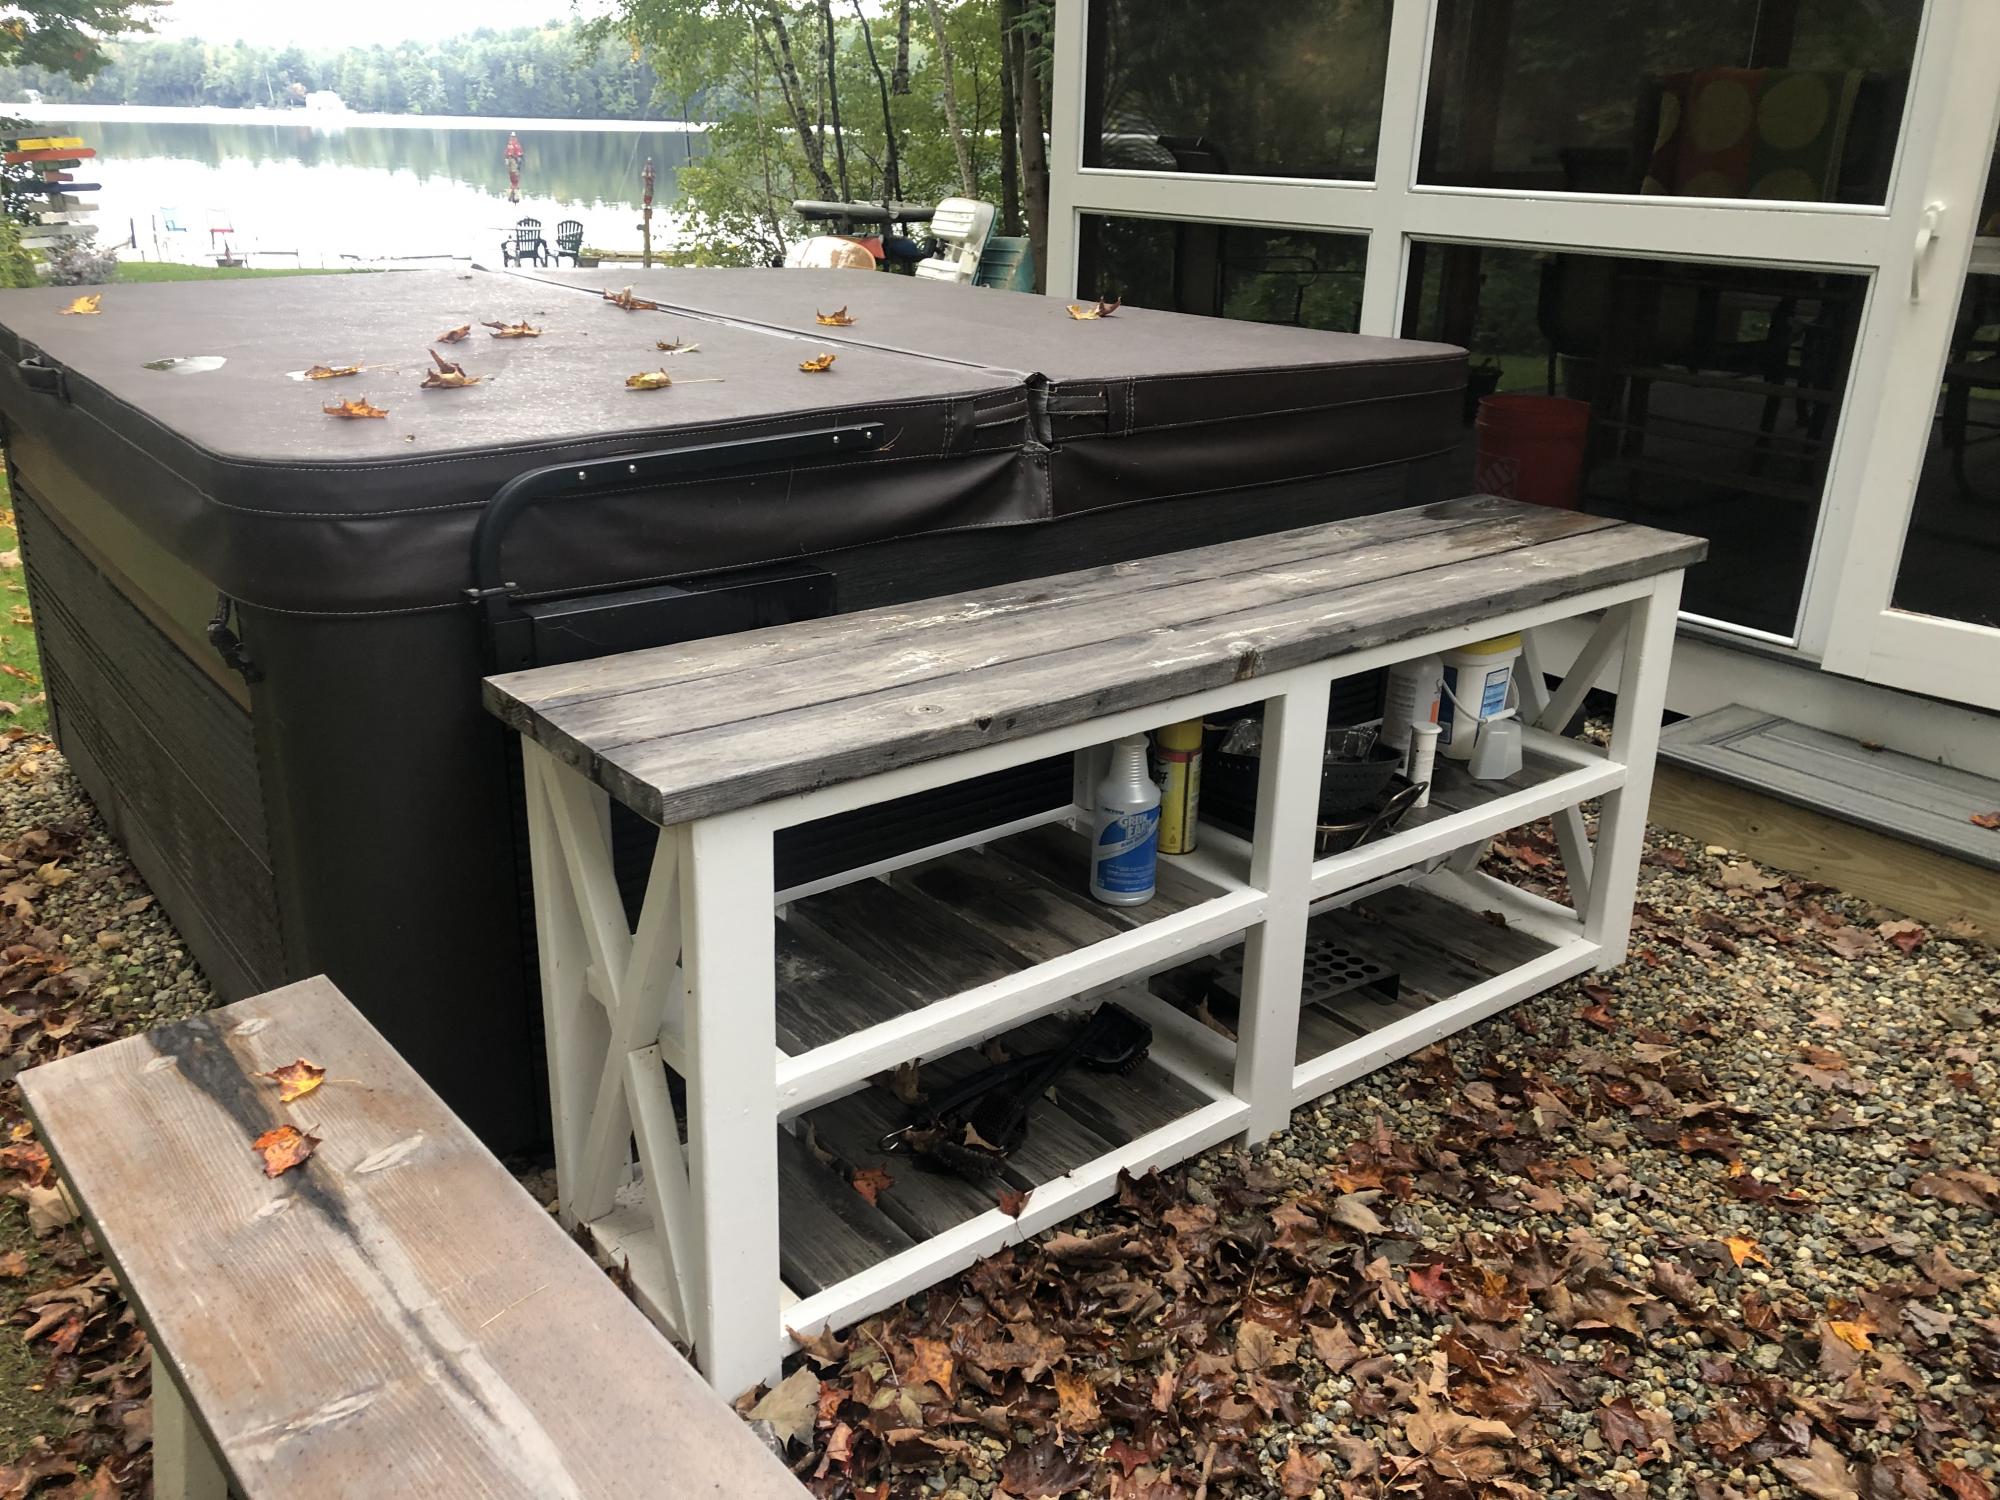
I needed a table along side our hot tub, primarily for drinks or appetizers while using the hot tub. The farmhouse table plan worked out perfectly to its height and how it fit in well with the structure of the hot tub. It also does double duty with my grill directly across from it allowing me some storage shelves or grill items.
Tue, 10/05/2021 - 10:56
YES, love the multiple uses, gotta have a place to set your drink and relax! Thanks for sharing:)
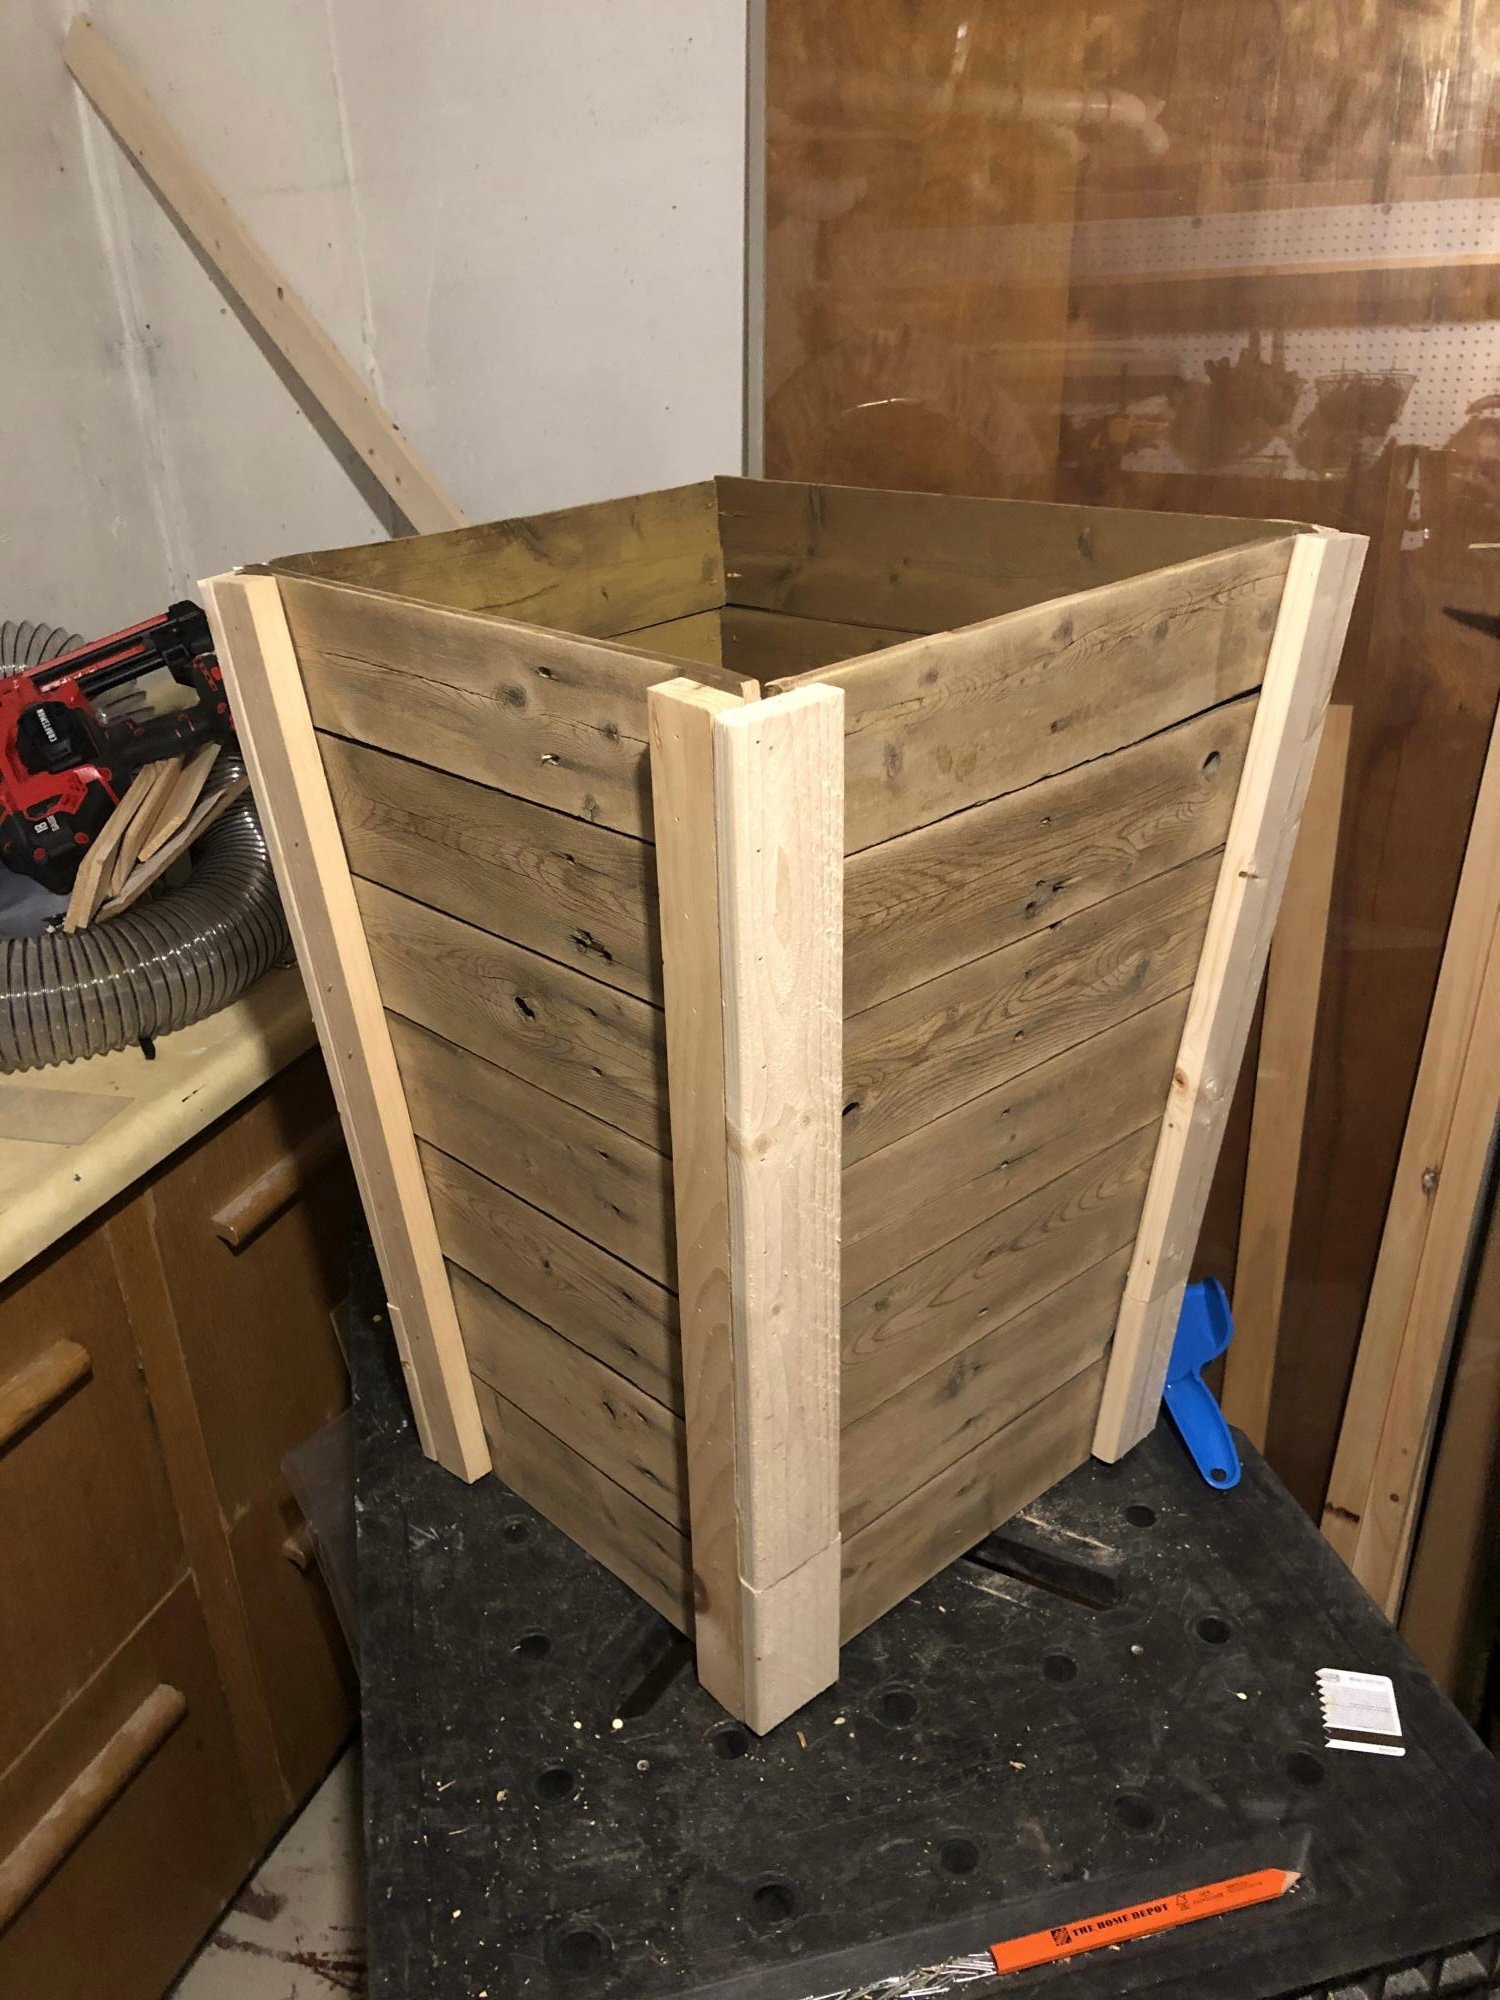
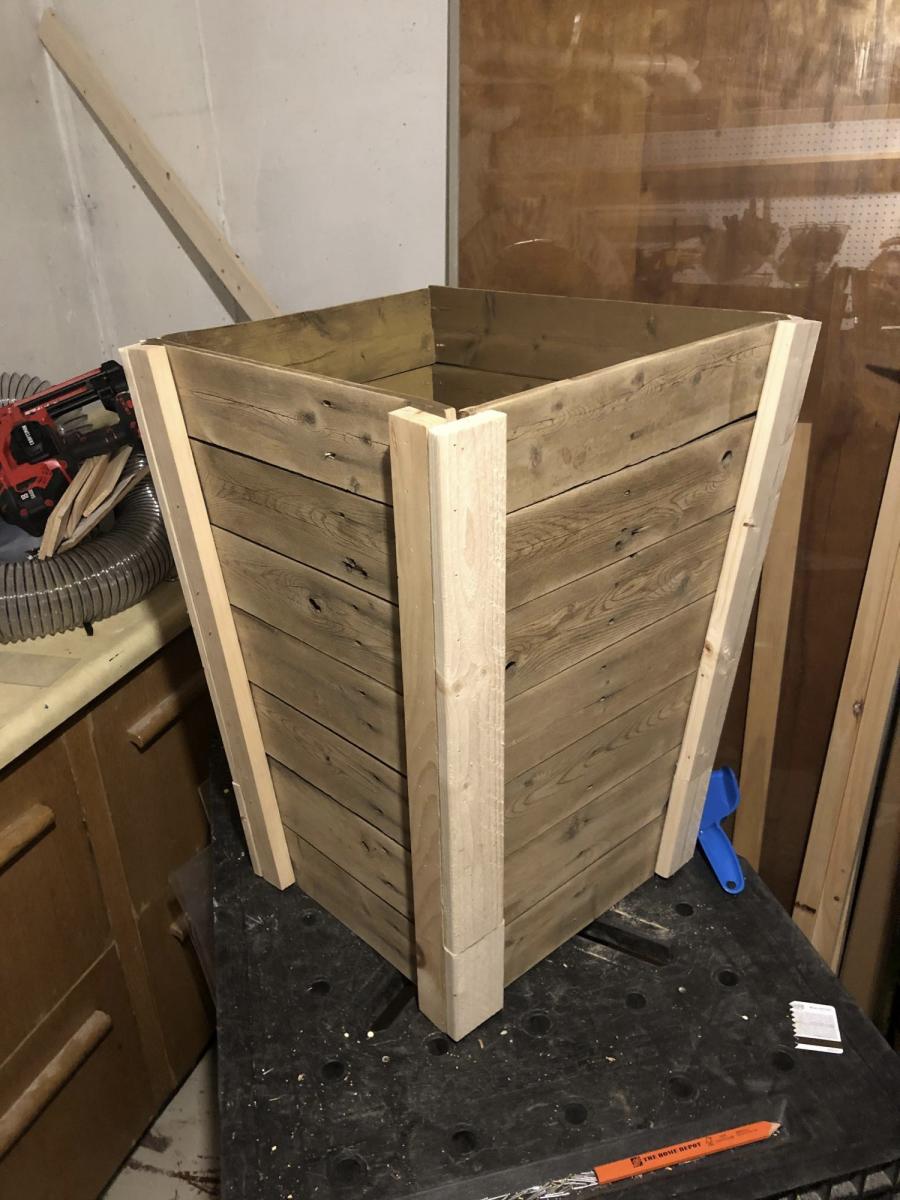
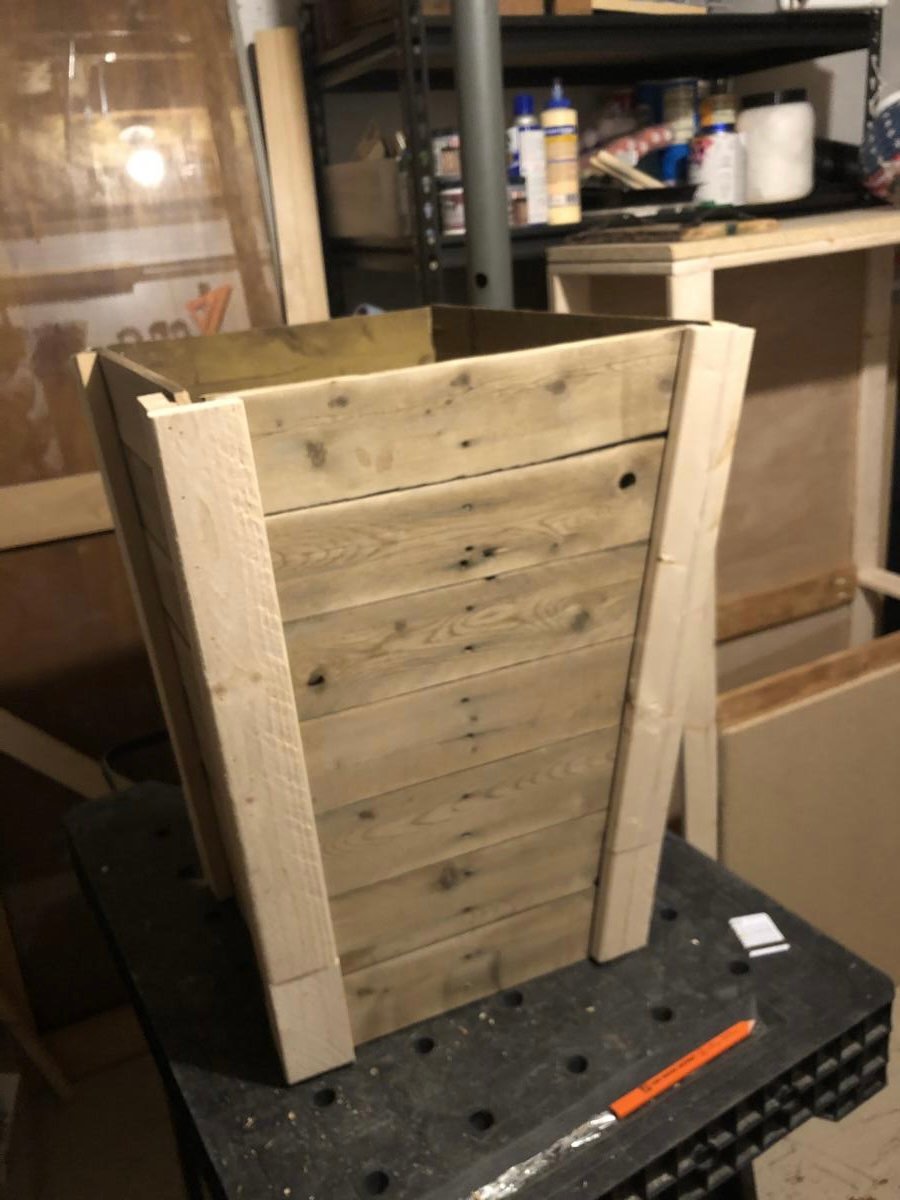
I was looking for an inexpensive way to dress up my deck and when I saw your tapered plant boxes I knew that was the gem I needed. I used pickets from a fence we took down and some 1 inch wood strips. I am planning on making more to line the new fence.
This by far has been my favorite build. Our front room is in the process of being revamped, and this is just the beginning. With our garage now dedicated to building, our cars have been kicked to the street. This means we actually use the front door now, so I took full advantage of making a piece of furniture that would allow for all the various items that get dumped on the floor when we walk in.
I love that everyone has a cubby and shelf for the shoes. My kids actually hang their backpacks up now when we get home from school and my husband can find his keys, wallet and sunglasses now!
This was one of the bigger projects I have tackled, but well worth it. I don't think my husband would have ever allowed me to buy this at PB for over $1000
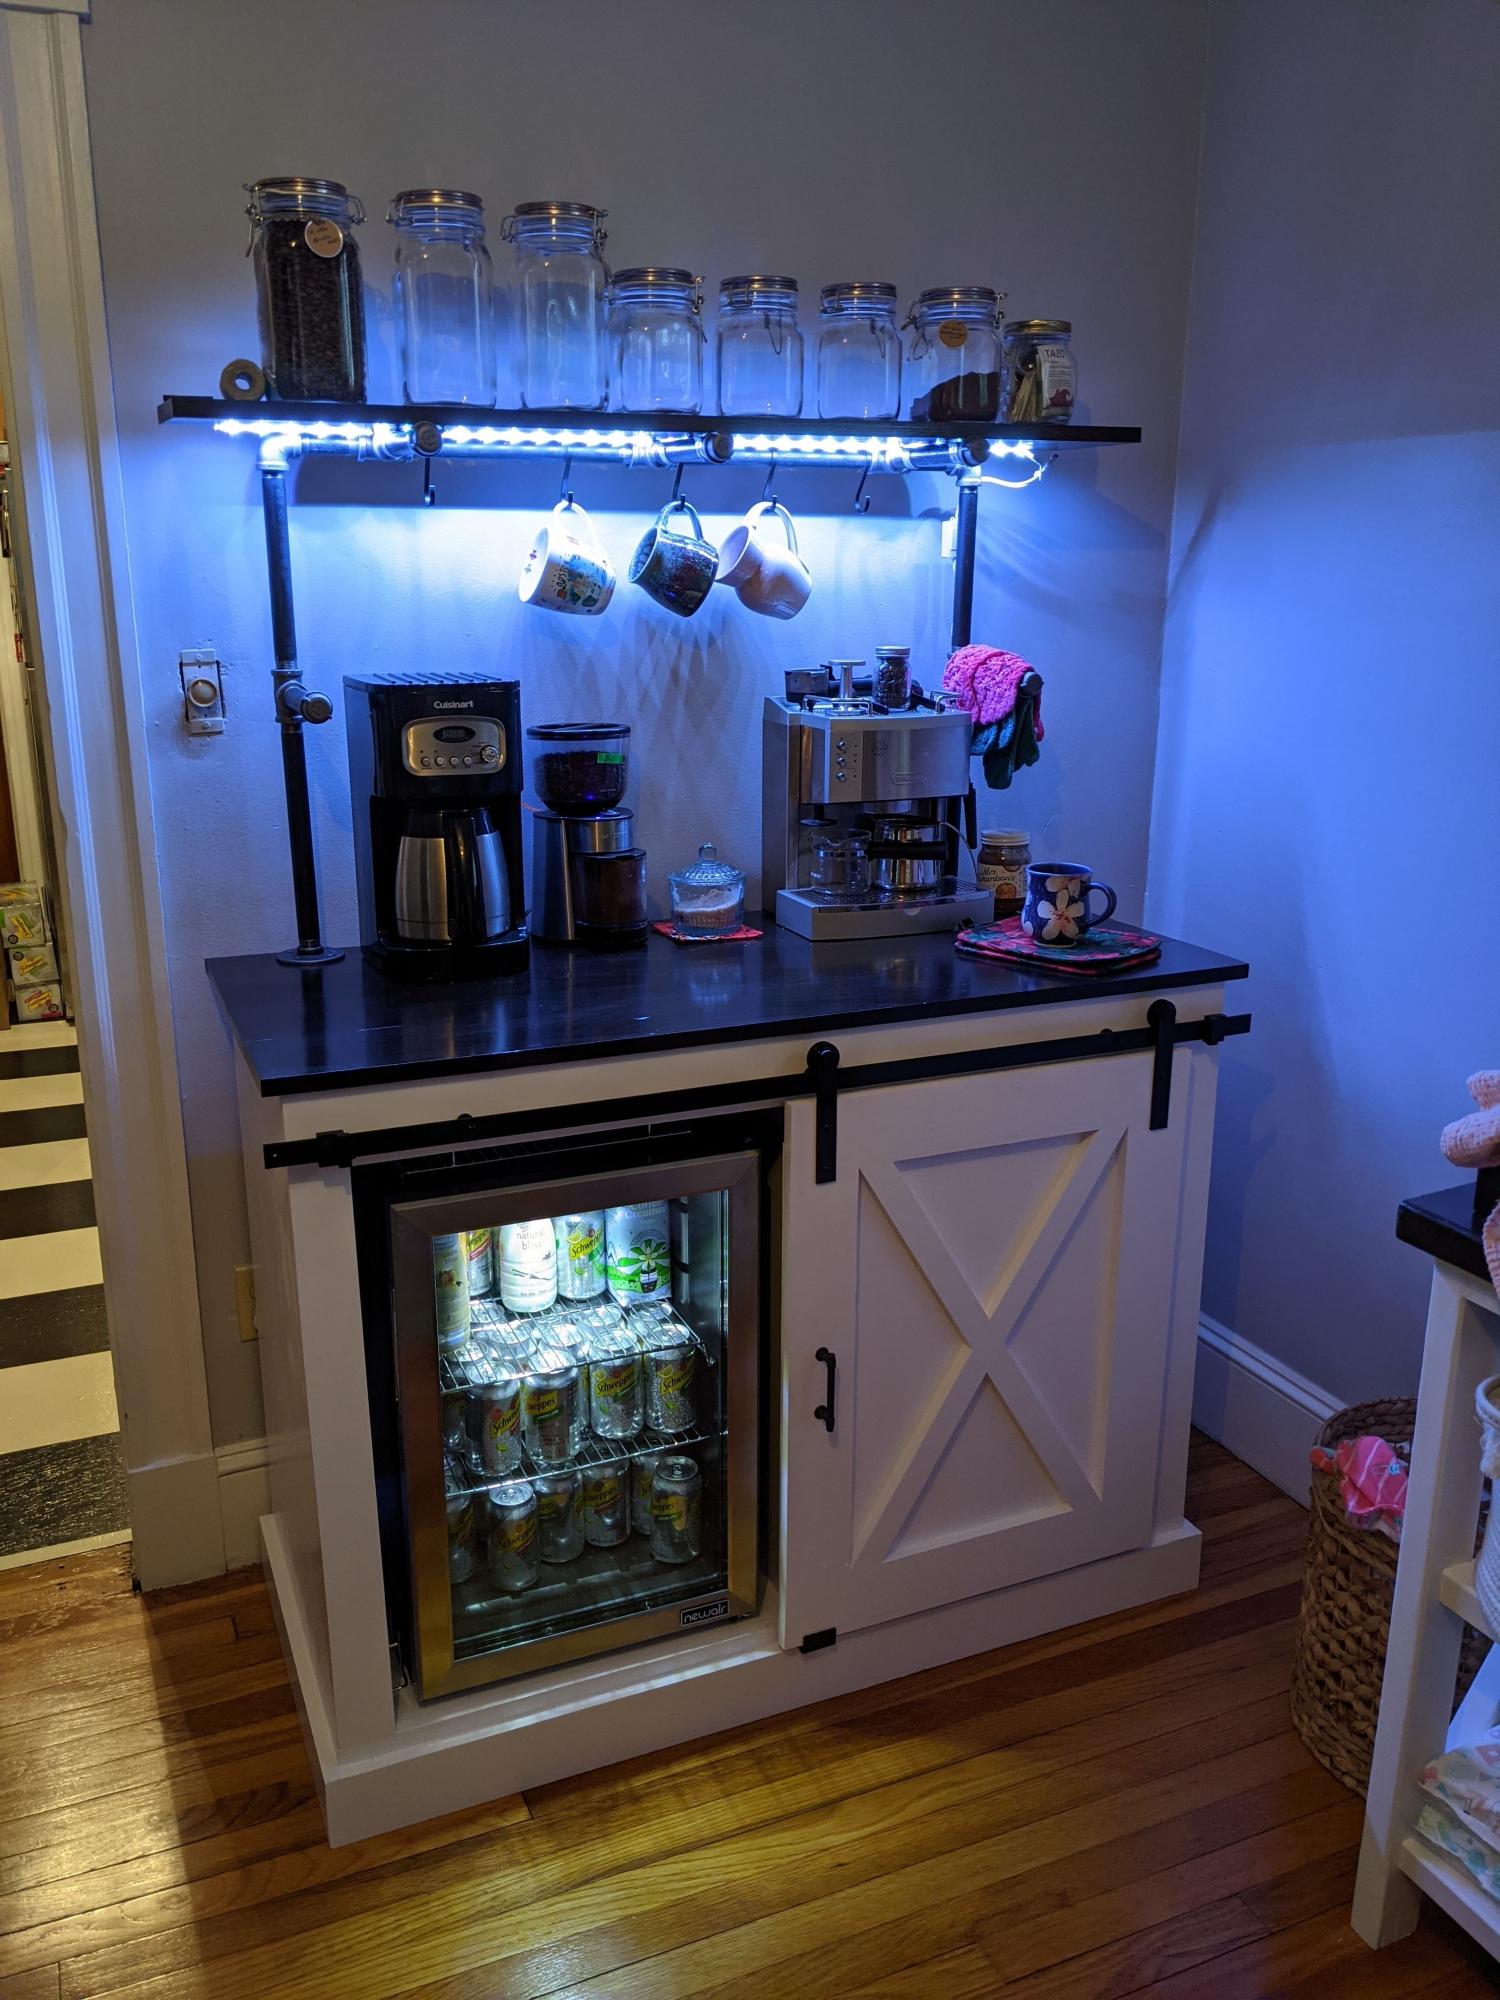
I was inspired by your coffee station plans to build this unit. I added an upper shelf with gas pipping, along with LED lights under the shelf. This station has been very popular in our house.
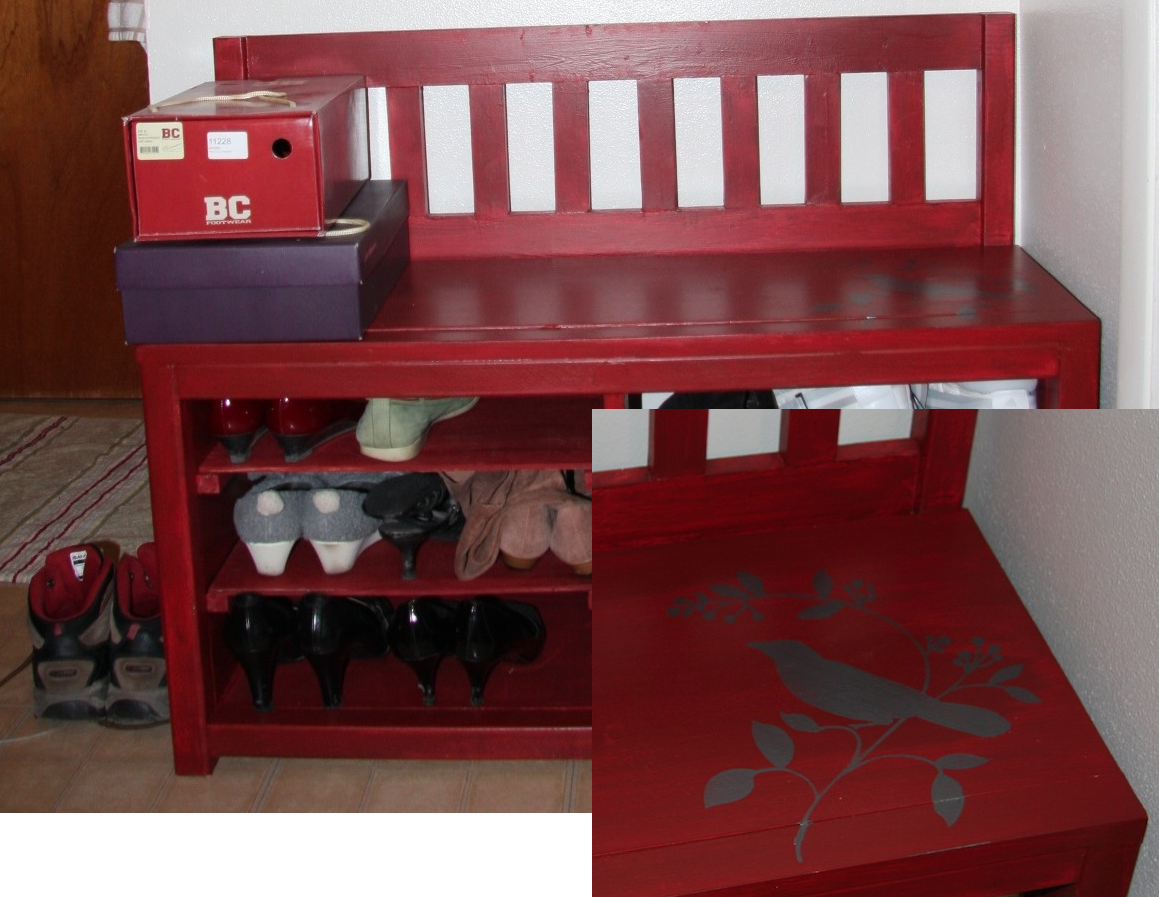
Only slightly modified cottage bench - I made the storage area bigger and added shelves to put my shoes. Only my second project so it's not perfect (especially the paint job) but I loooove it! Sure, the shoe rack I had was perfectly functional and bigger, but this is waaay prettier.

I scaled back the length of the sofa by a few inches and I made the sectional only one seat to fit my space on the deck. This was my first woodworking project that I did by myself. I got the cushions for more than 1/2 off at Ikea so the whole project cost about $150 ($80 for the cushions). It took me about a week to complete but the total time was less than 10 hours to build and stain. I'm pretty happy with how it turned out.

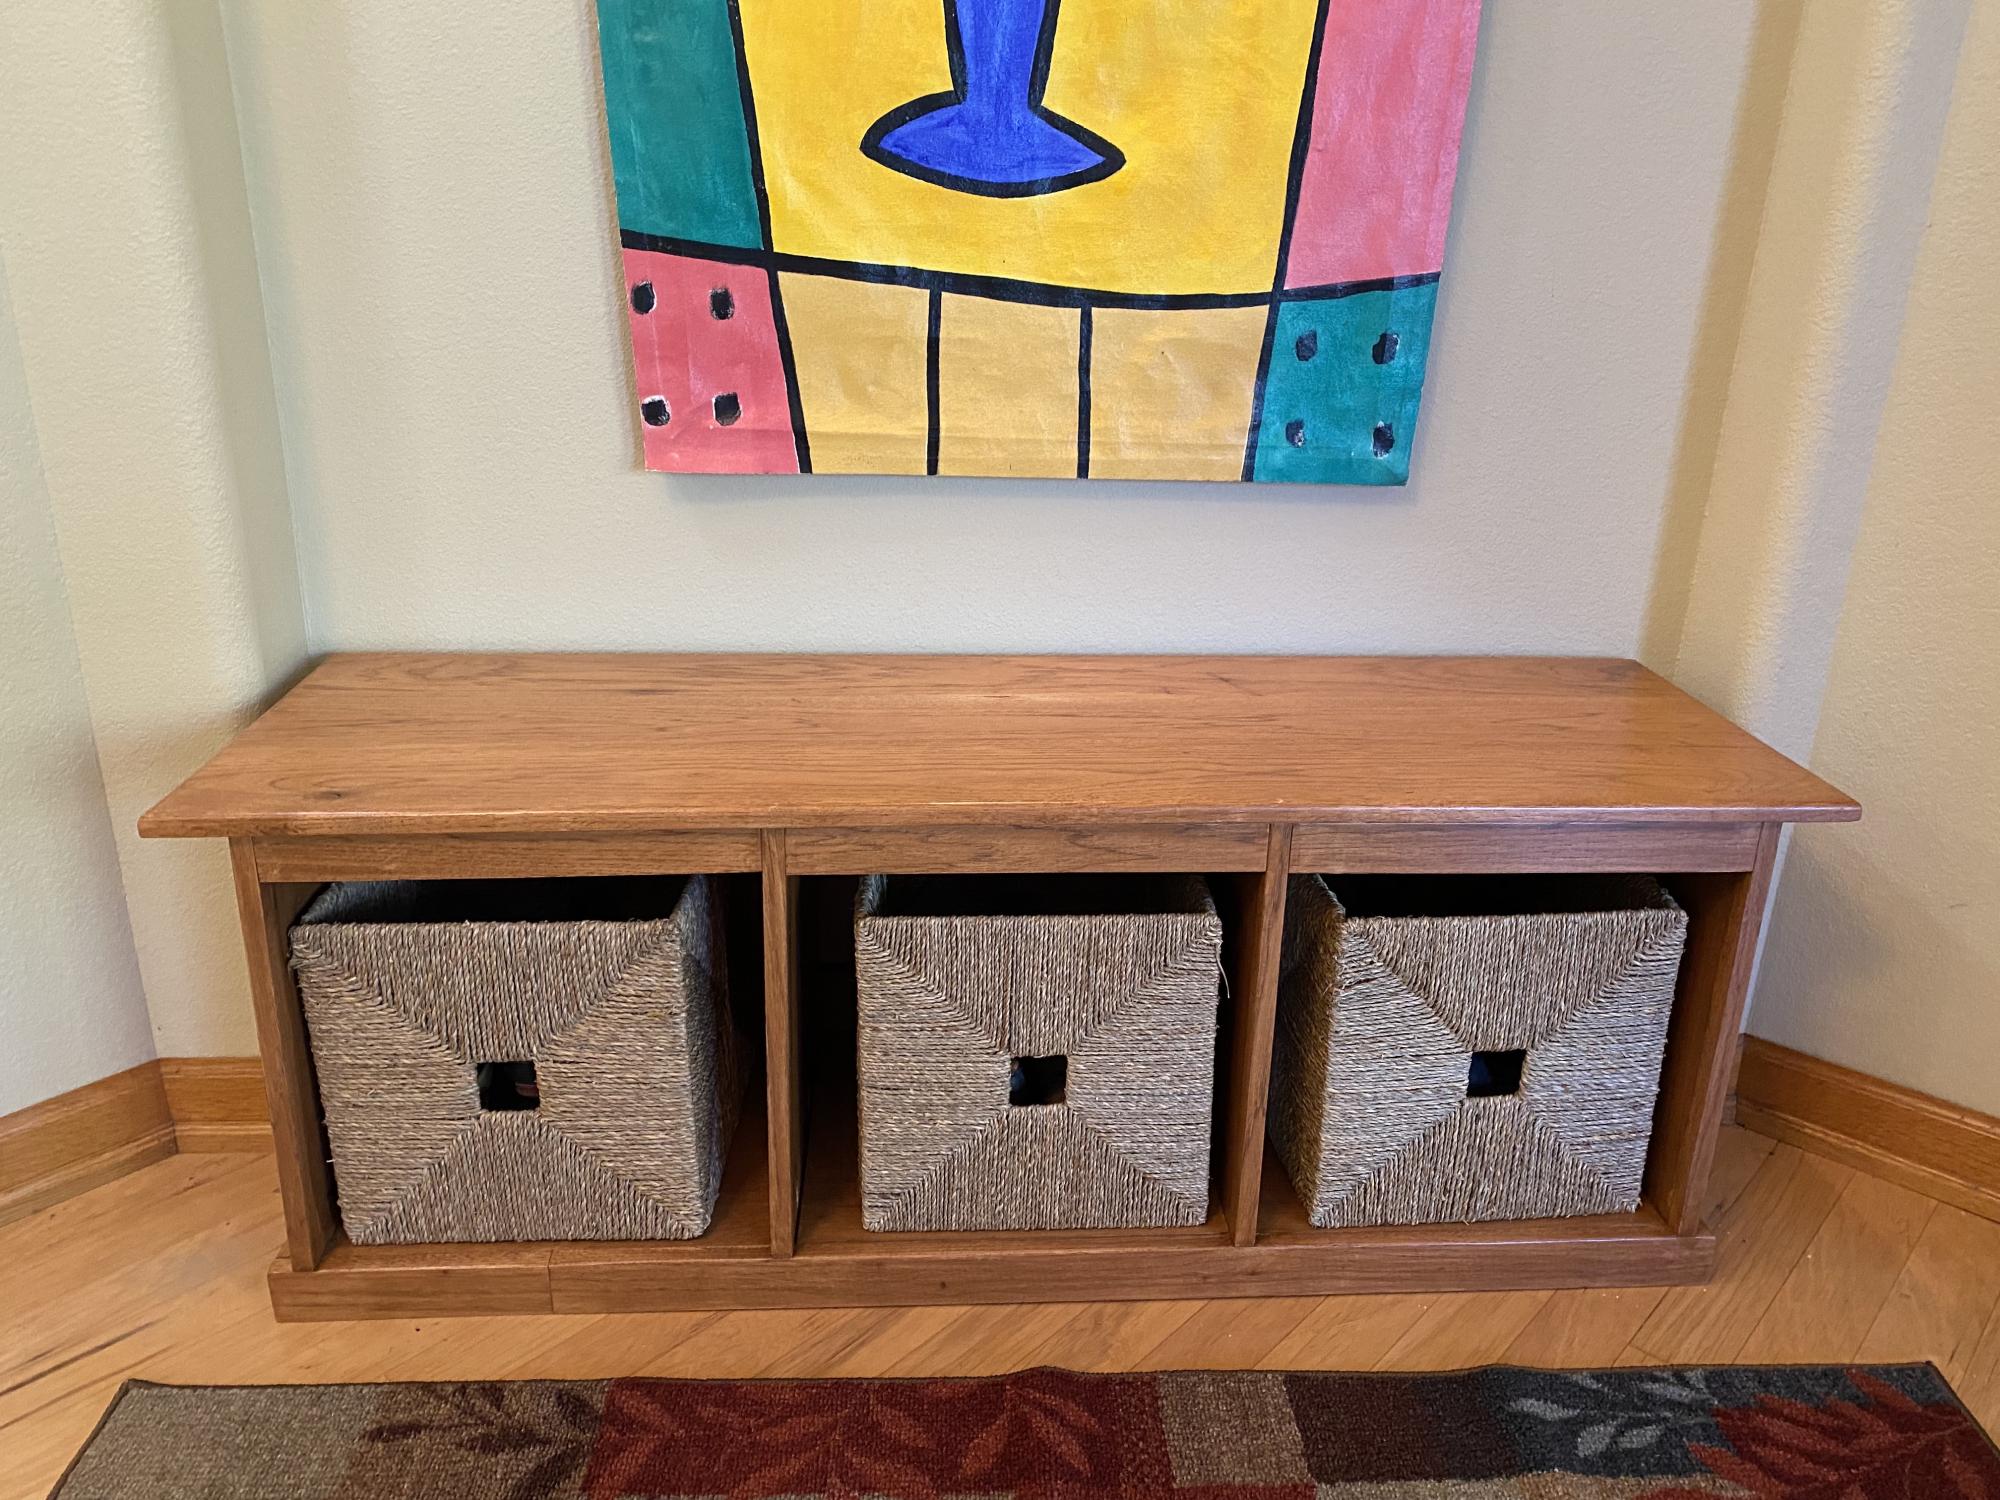
The bench plans were super helpful!!
Wed, 12/29/2021 - 10:43
Looks fantastic and functional too! Thanks for sharing.
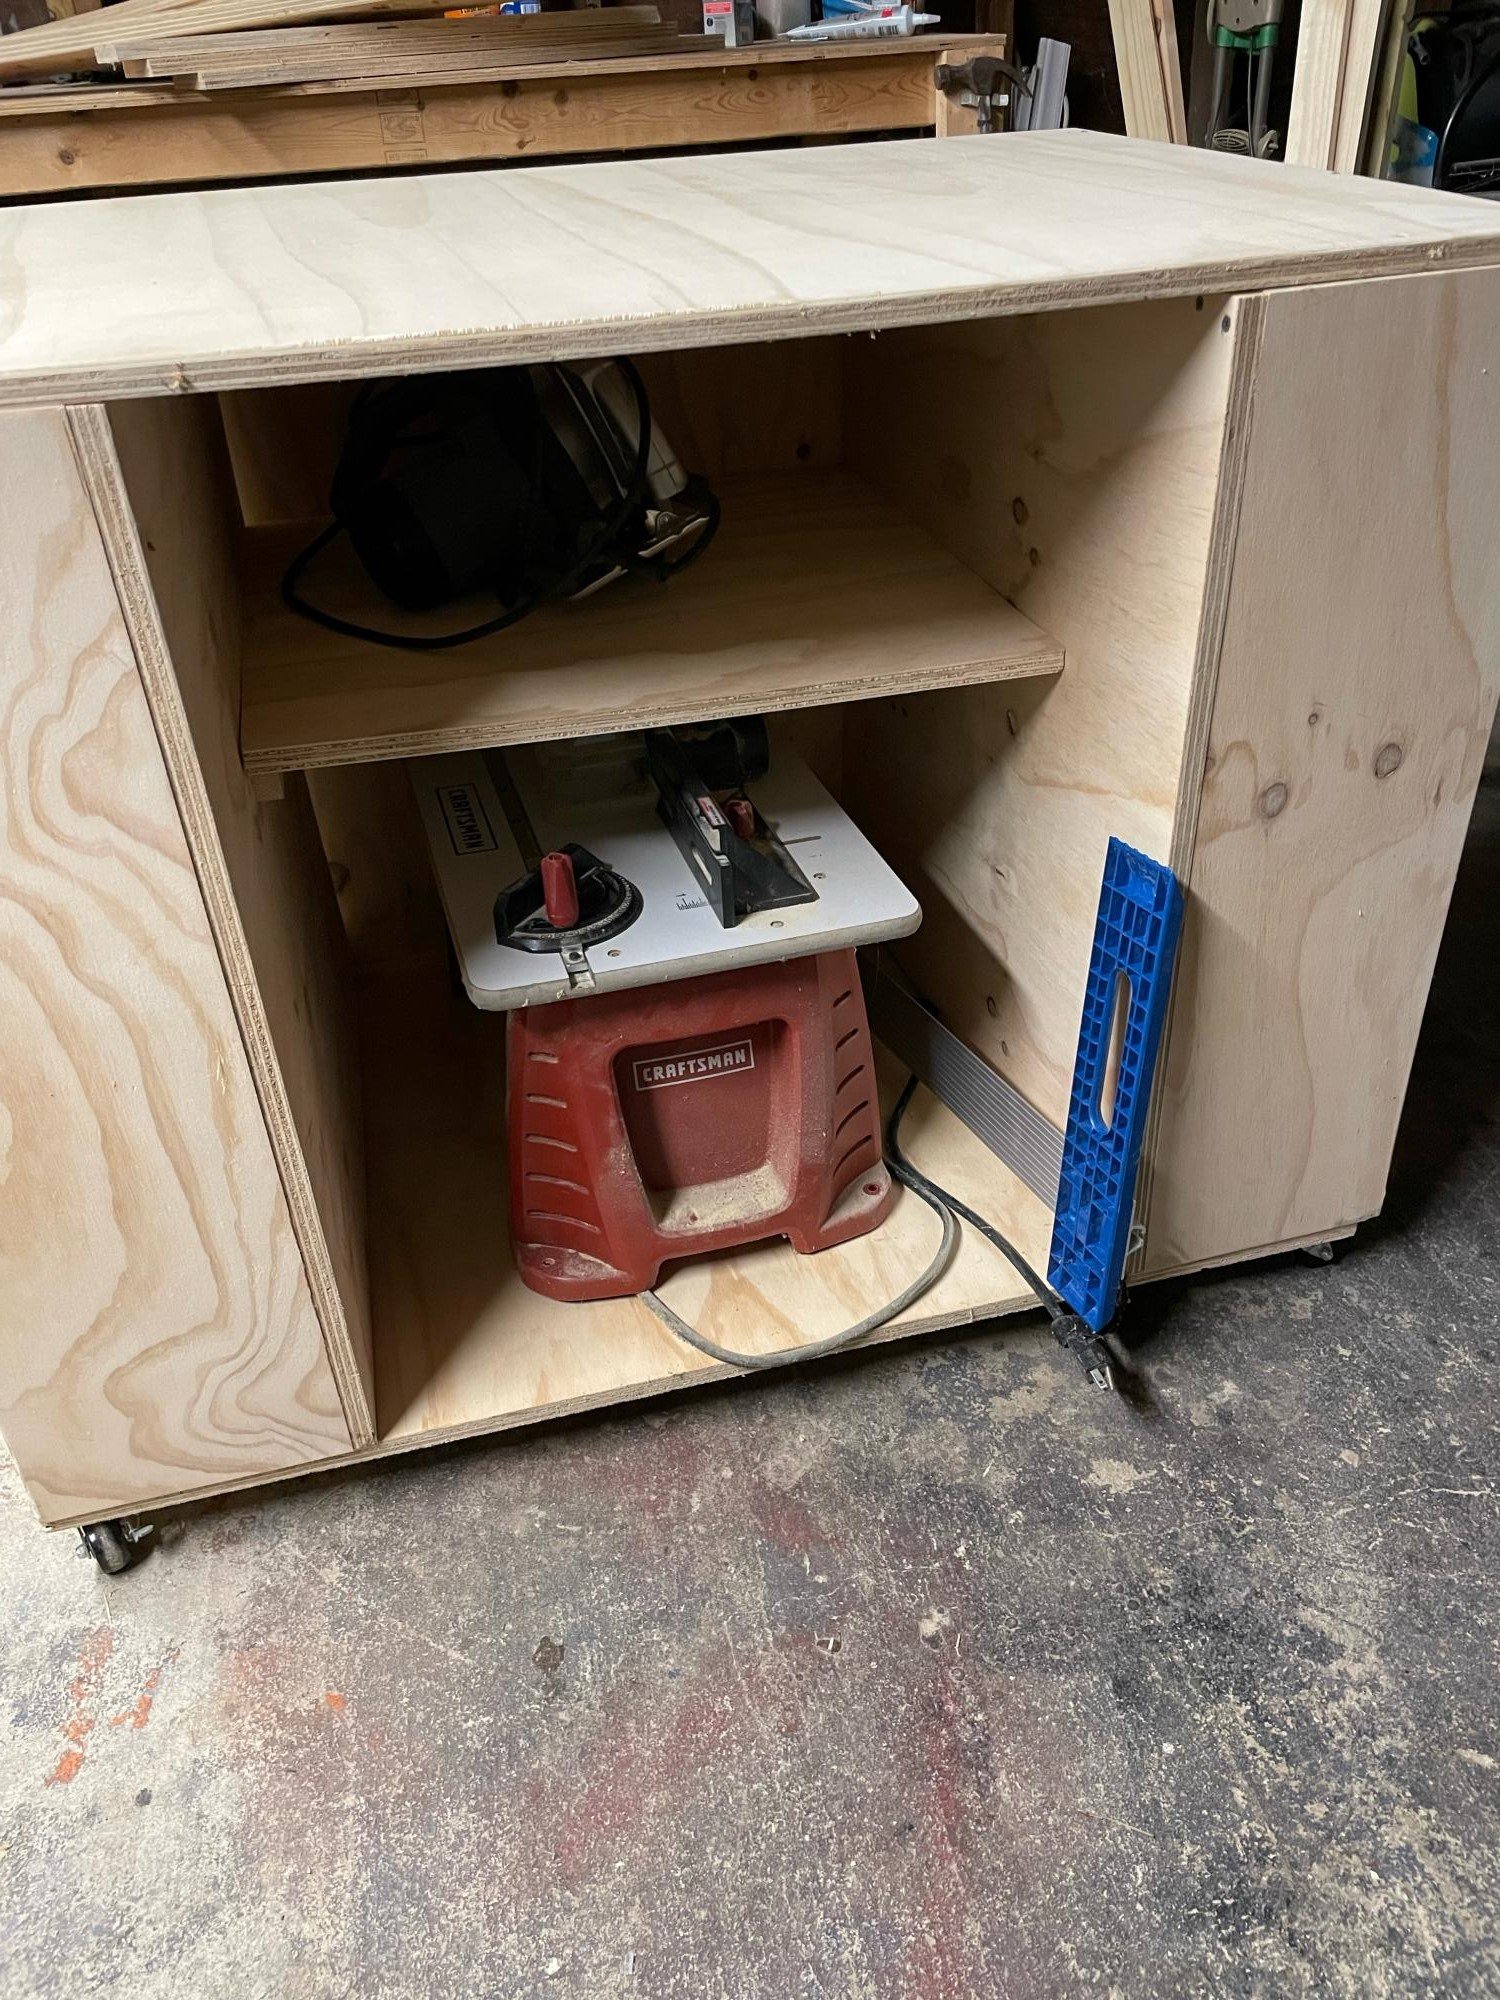
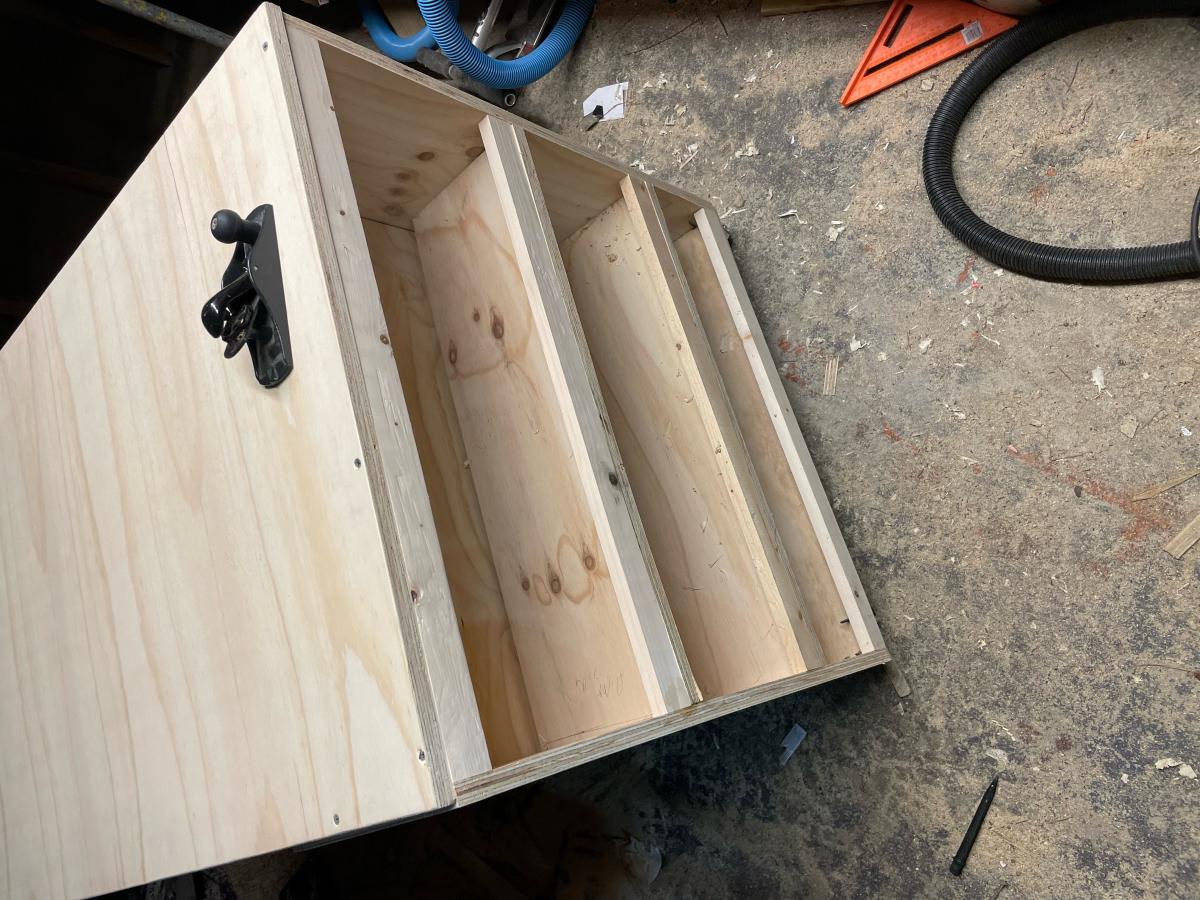
while this is a great design I only needed the extra storage and work space so I just made one of the storage roll away from this plan. I had to alter slightly making them a bit smaller as the space I was making this to occupy had a width of 44 inches but it is an amazing amount of space provided. I will put a clear coat on but sanded, edged and its wokring great. the clearance all around is about .5 inch t fits in beautifully and decluttered my overly cluttered workspace. thanks so much for your Ideas Ana, they are always amazing.
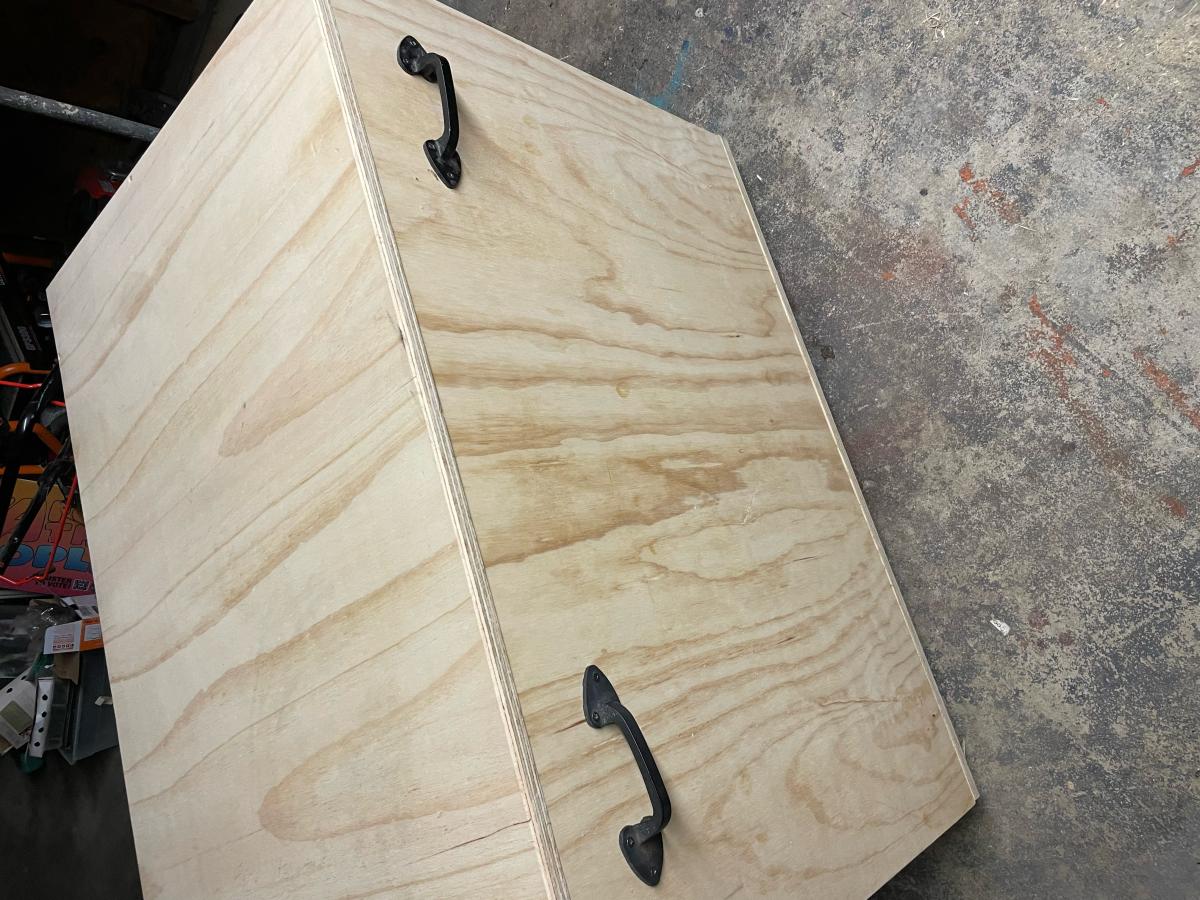
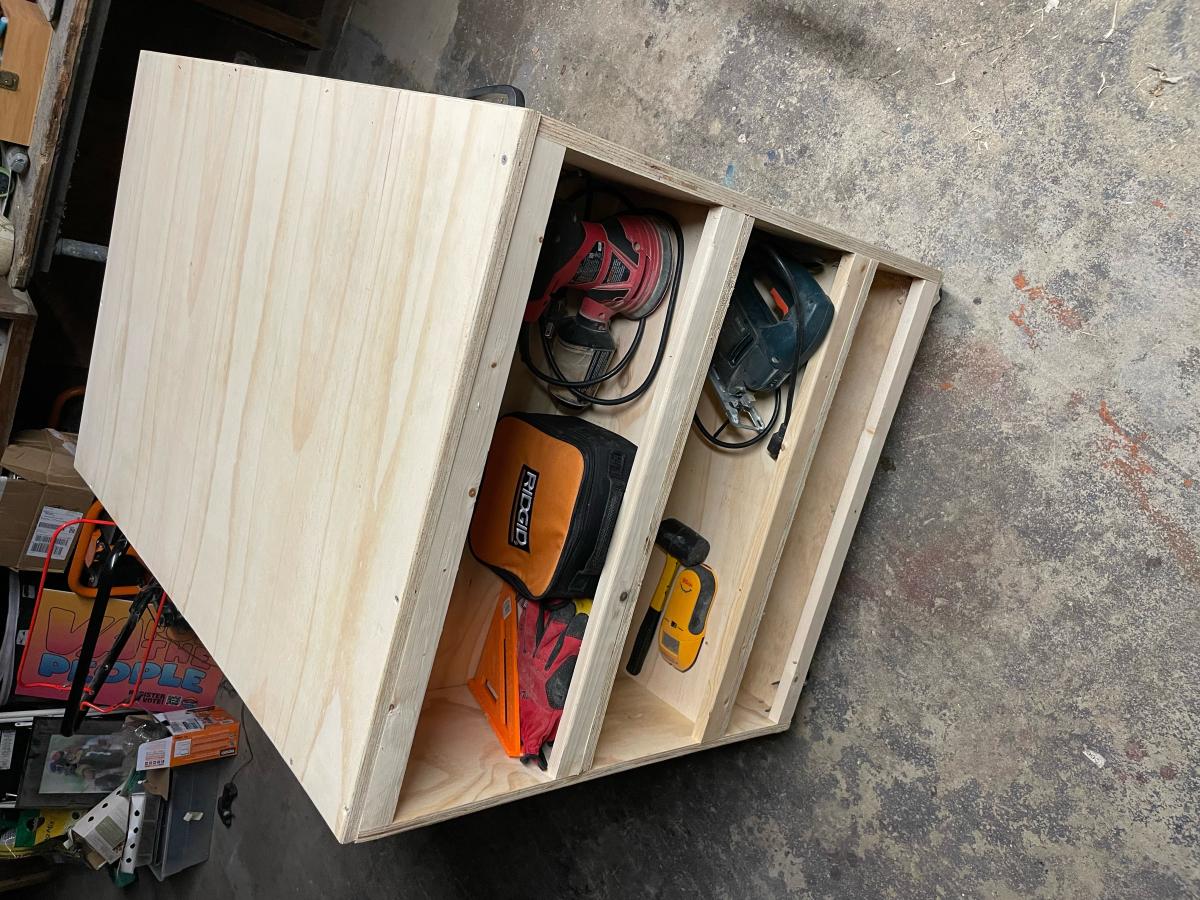
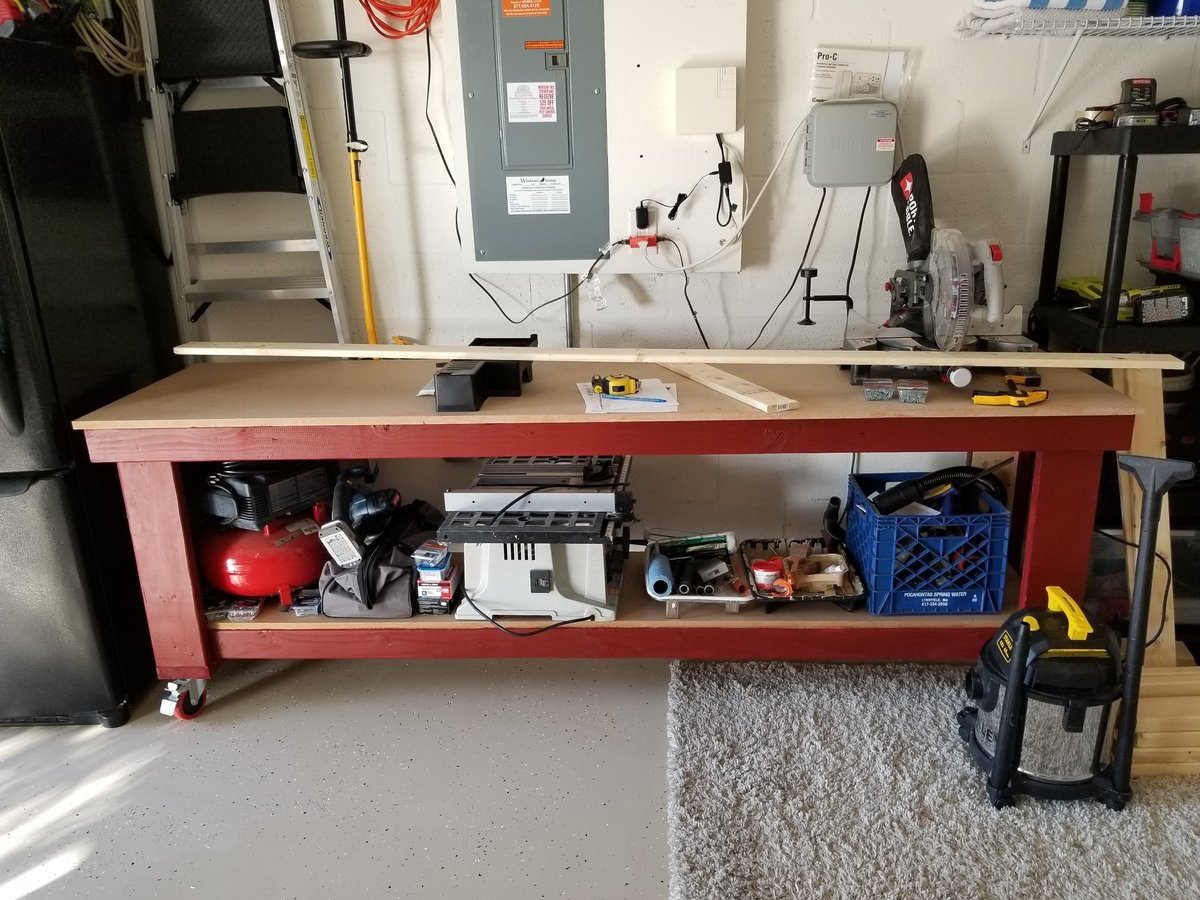
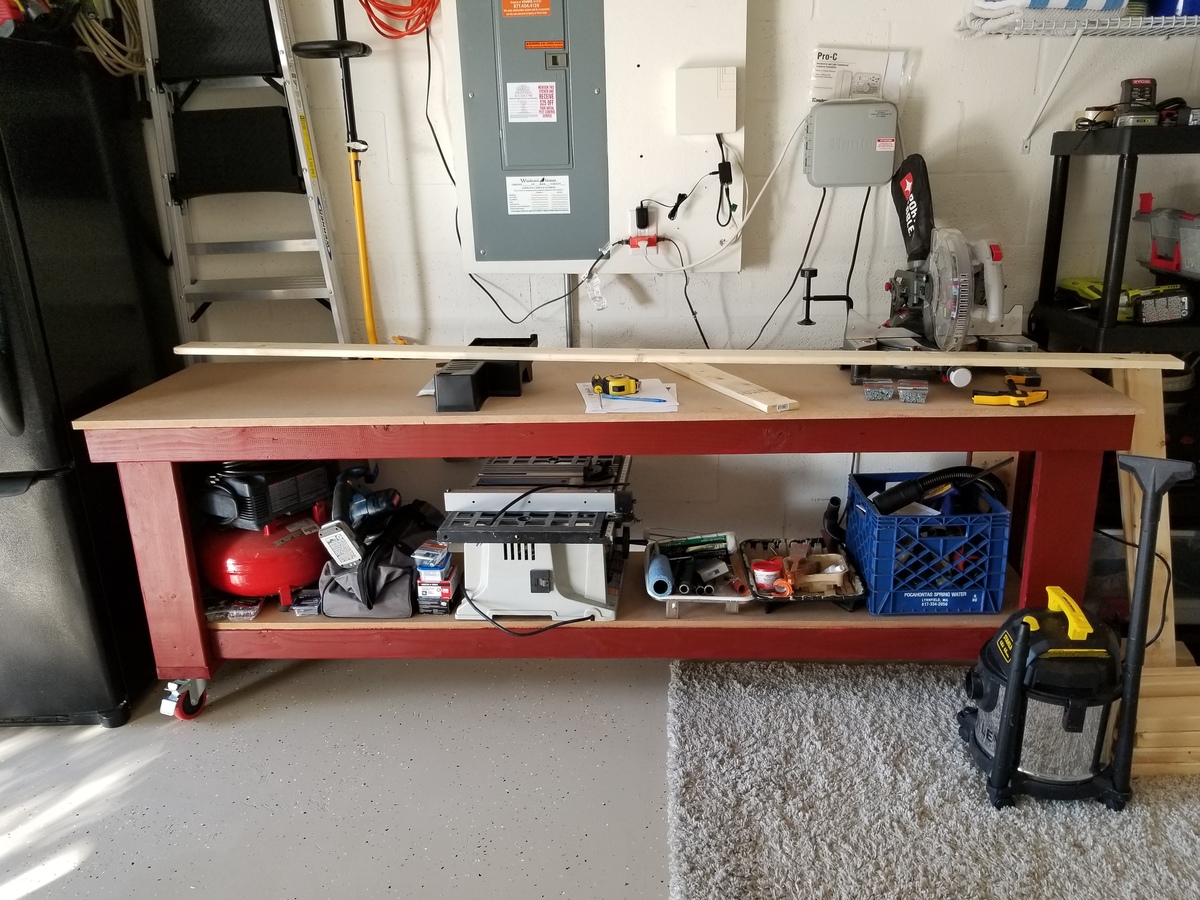
Work bench with casters came out great and already using it on my kitchen console.

These are made from the three drawer plans but modified the size to meet our needs and used planks for shelves instead of drawers. Painted white and black gel stain.
UPDATE FROM ANA - We have received MANY requests for this plan and have created a plan inspired by this post here.

Shopping List (for ONE bedside table) + Tools
Cut List (for ONE bedside table)

Cut 1x4s and 1x2s with miter saw. Layout side panel 1x4s as shown above. Measure and cut 1x2 to length. Nail the 1x2 to the 1x4s, two nails per overlap with glue. Make sure your side panels are square. Build two.

Drill 3/4" pocket holes on inside edge of 1x4 ends as shown above. Cut 2x2s with compound miter saw. Attach to the 2x2 legs with 1-1/4" pocket hole screws.

Set Kreg Jig to 1-1/2" setting. Drill 1-1/2" pocket holes on end of each 2x2, one per end. Attach to 2x2s with wood glue as shown above.

Cut 1x4 shelf boards with compound miter saw. Nail and glue to the inside of the project as shown above.

Cut 1x4 top boards with compound miter saw. Nail and glue to top with 1-1/4" nails and wood glue.
If you wish to add a back, measure and cut from 1/4" plywood and attach with 3/4" brad nails.
Mon, 02/12/2018 - 16:24
Is there plans for this one? Its gorgeous and I'd love to build it!
In reply to Is there plans for this one? by laurahamer07
Thu, 06/07/2018 - 15:37
Hello, this nightstand was built using these plans http://www.ana-white.com/2011/06/reclaimed-wood-look-bedside-table instead of adding drawers the builder added shelves. The shelves can be 3/4" plywood or 1x boards.
In reply to bedside end tables by karenlouder
Thu, 06/07/2018 - 15:40
Hello, this nightstand was built using this plan, but instead of drawers, simply measure and cut shelves to fit from 3/4" plywood. http://www.ana-white.com/2011/06/reclaimed-wood-look-bedside-table
Wed, 07/24/2019 - 09:24
It's taken us a couple of weekends, but we finished our bedside table. We made two, but one still needs painting.
Thank you for the plans. We had a great deal of fun and learning experience making these.
Want to see it? https://www.facebook.com/photo.php?fbid=2830583376957272&set=pcb.283058…
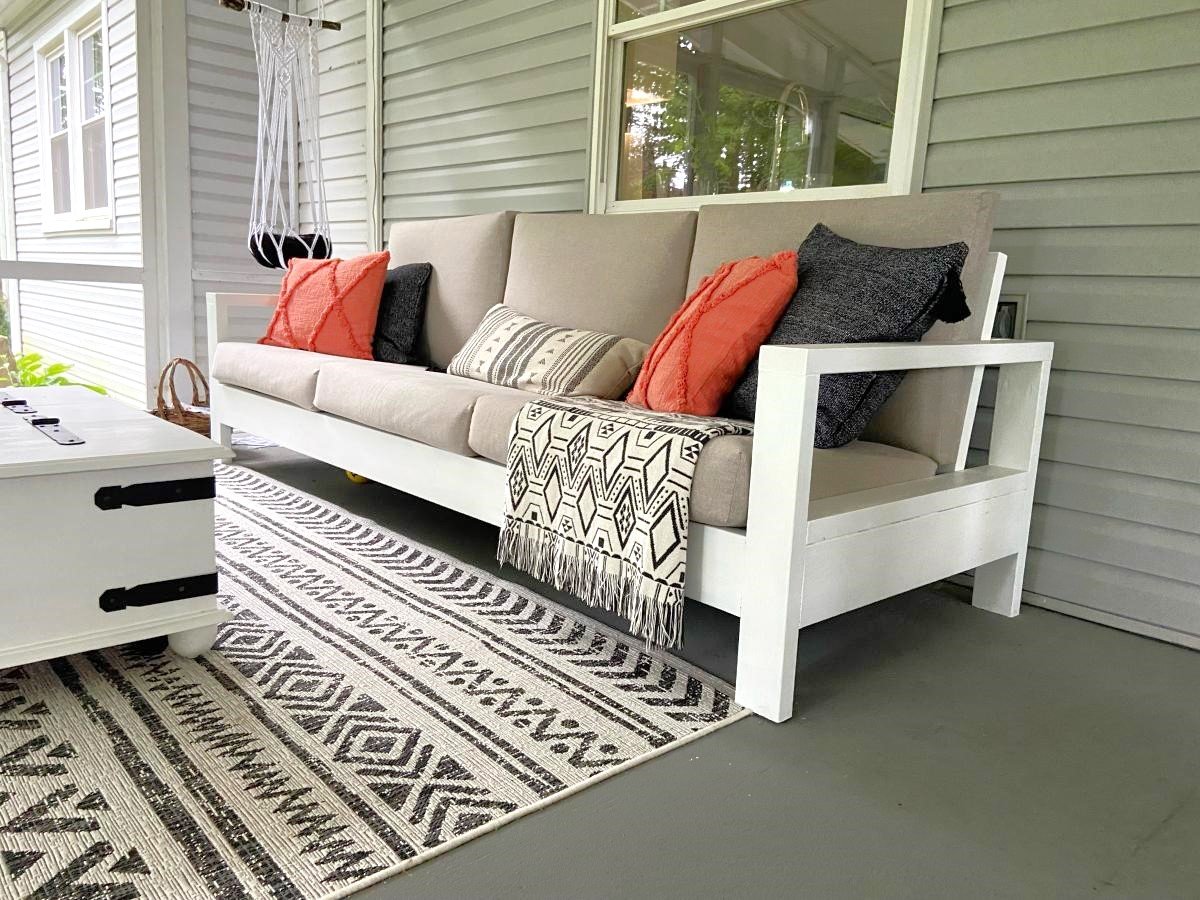
This was our first big project with our Kreg Jig. We adapted the plans to make the sofa 8' long. On Friday night, my husband did all the cuts and I pre-painted everything. With the help of our son, we had the whole sofa built in a few hours on Saturday morning. I puttied the visible holes, did a second coat of paint, and made custom cushions. The plans were very easy to follow. I followed the others' advice about pre-painting and assembling the back on a perfectly level surface. It came out better than I expected and it's super comfortable!
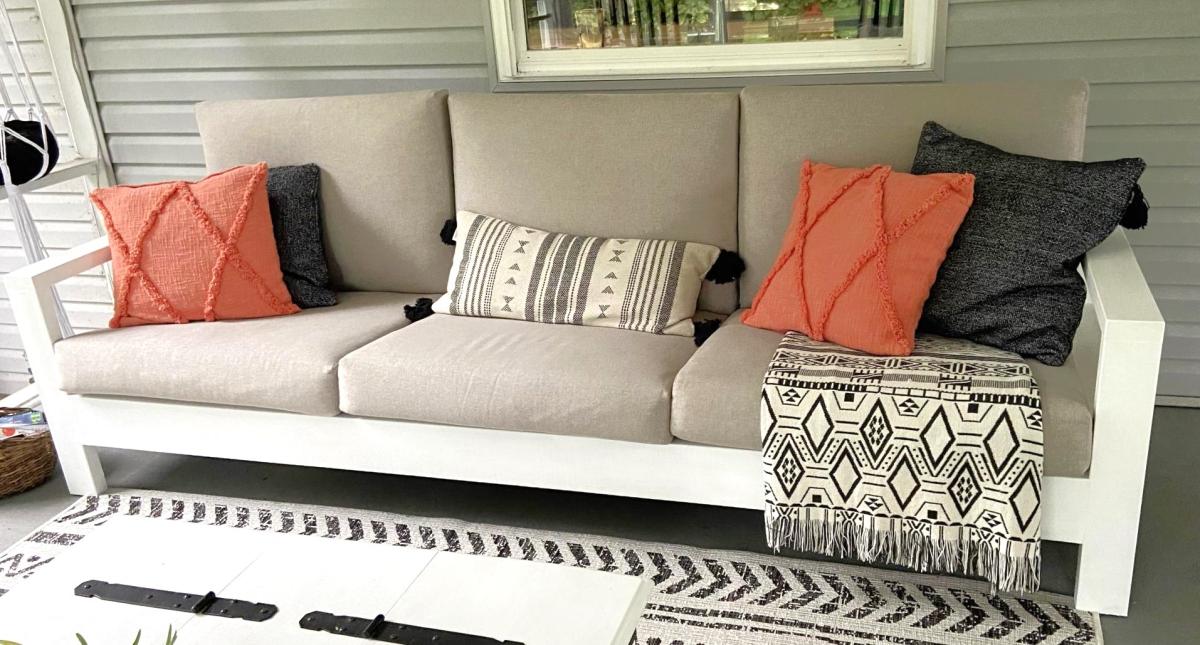
Sun, 04/10/2022 - 10:33
Thank you for sharing, it looks amazing! Would love to hear how you made the cushions.:)
Mon, 04/11/2022 - 07:44
I want the plans for this one! I like this style a lot better. I really like how the bottom cushions are at a slant. I suck at modifying plans.
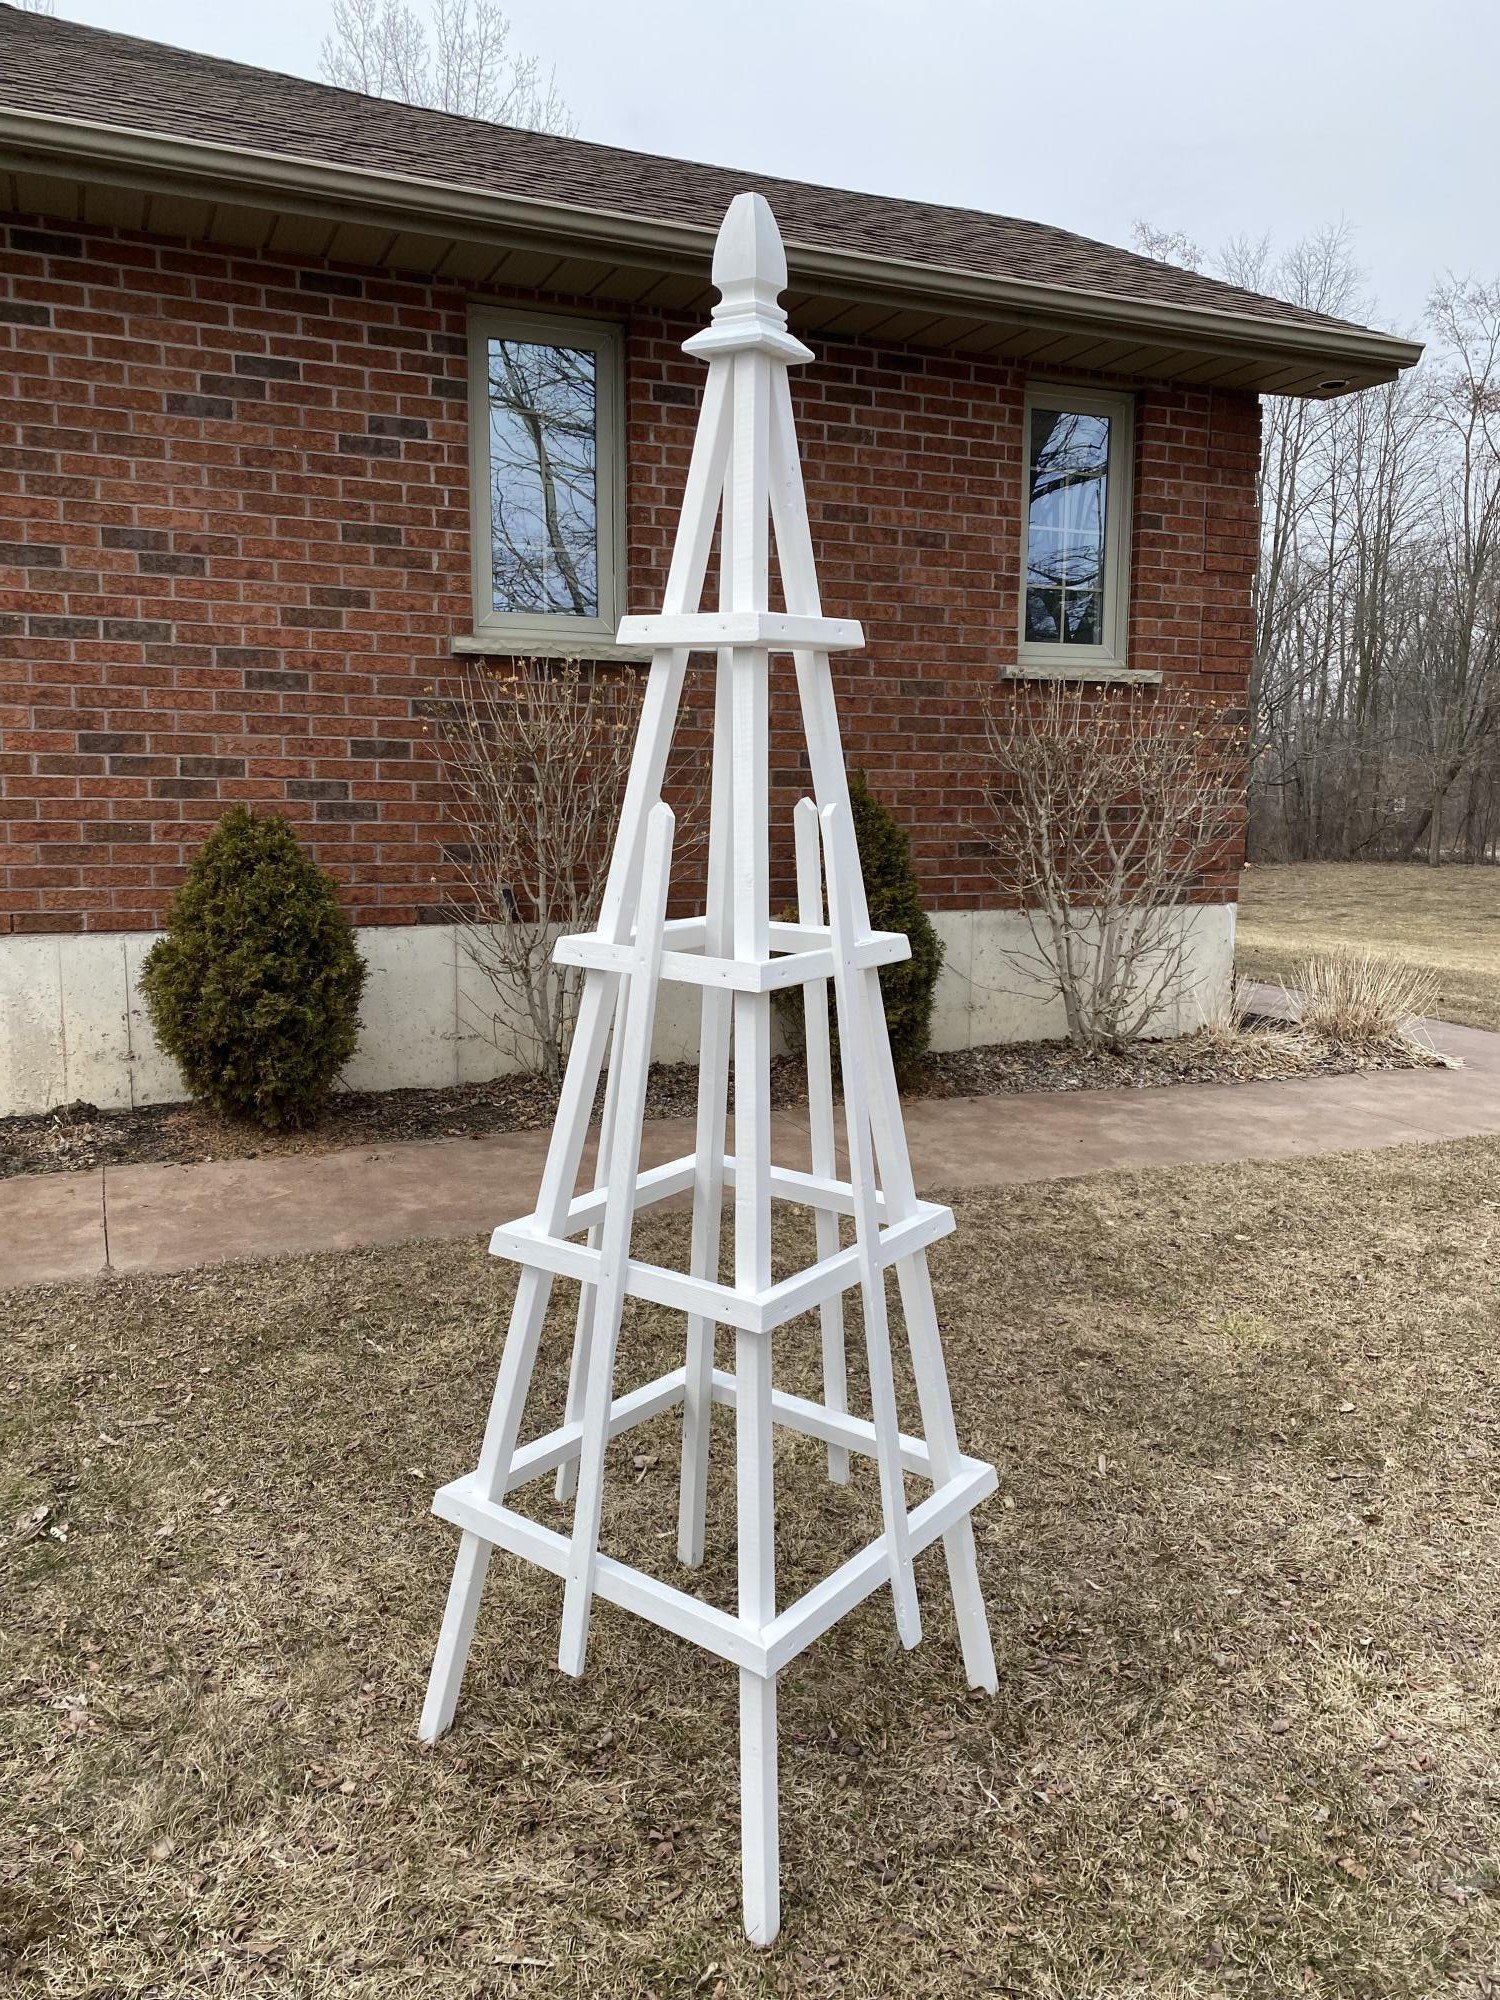
I built some French Tuteur’s for the garden.
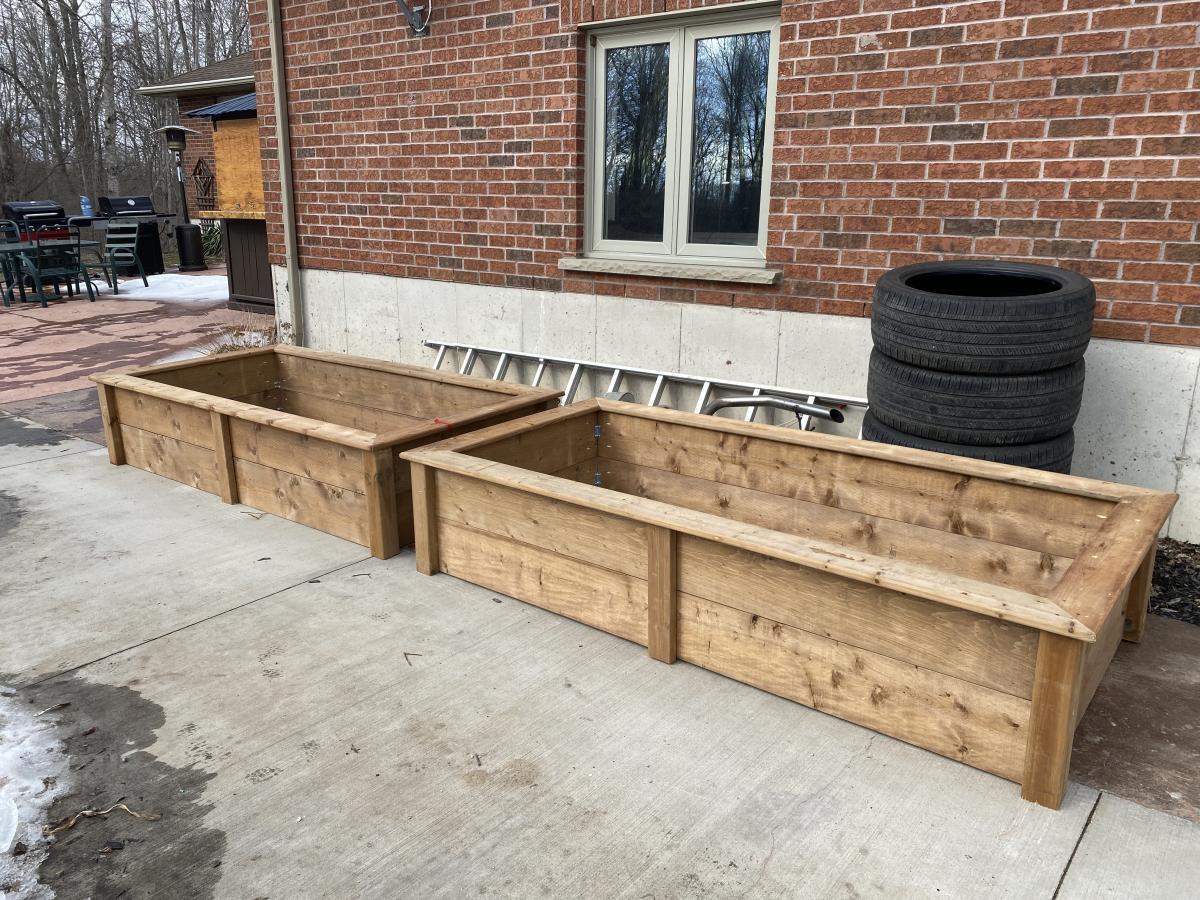
Fresh and ready for my new raised beds.
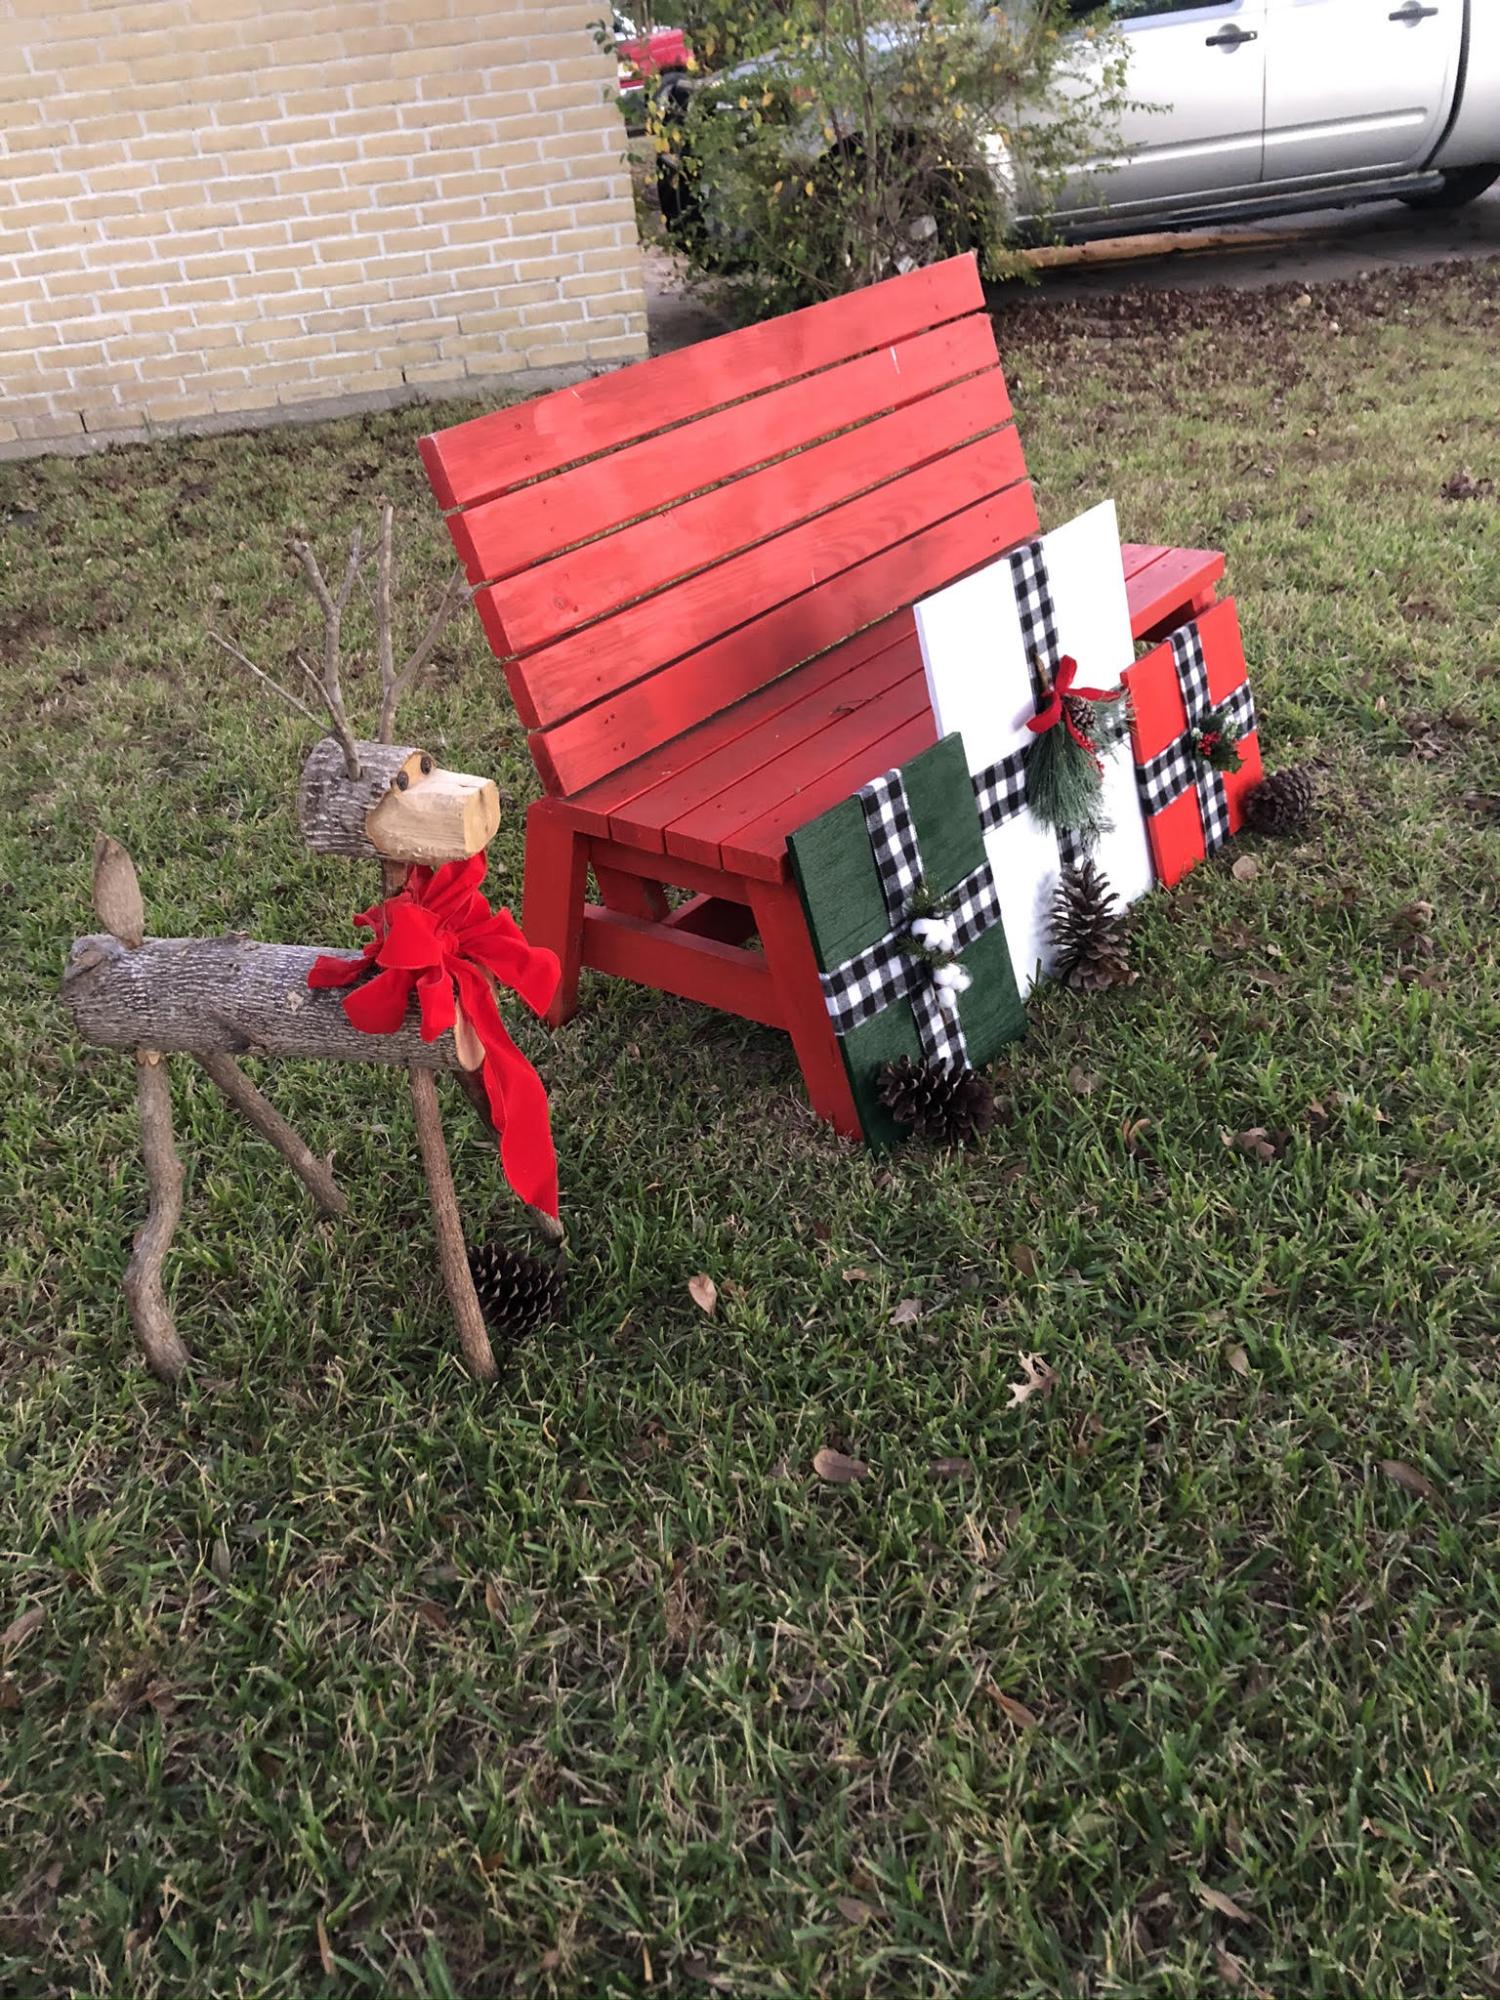
Picnic table that converts to bench.
by Larry
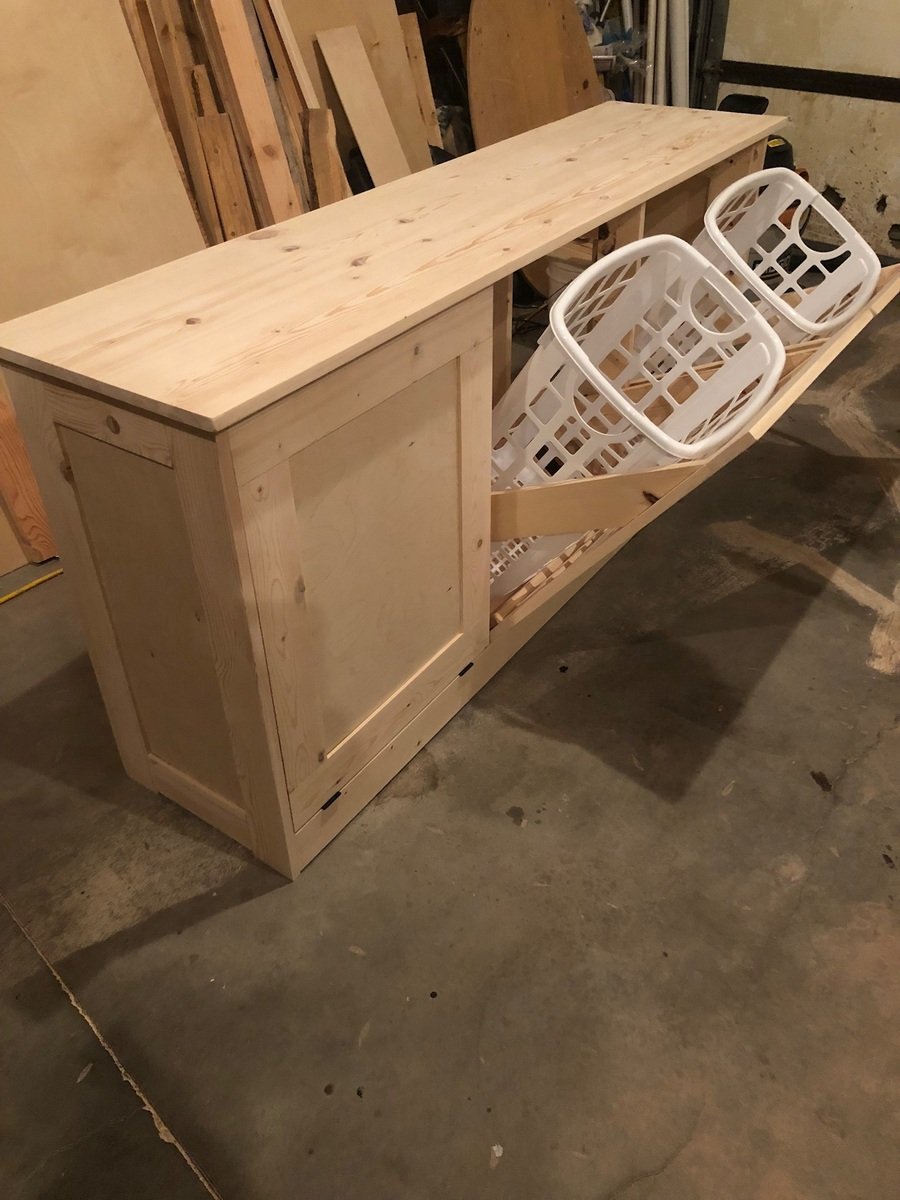
This was a build from a picture and made to fit into a space we have in the laundry room. Used the Kreg jig for much of it.
Tue, 06/05/2018 - 14:52
Awesome laundry sorter! Can't wait to see the paint/stain!
Thanks so much for sharing a brag post - much appreciated!
Ana
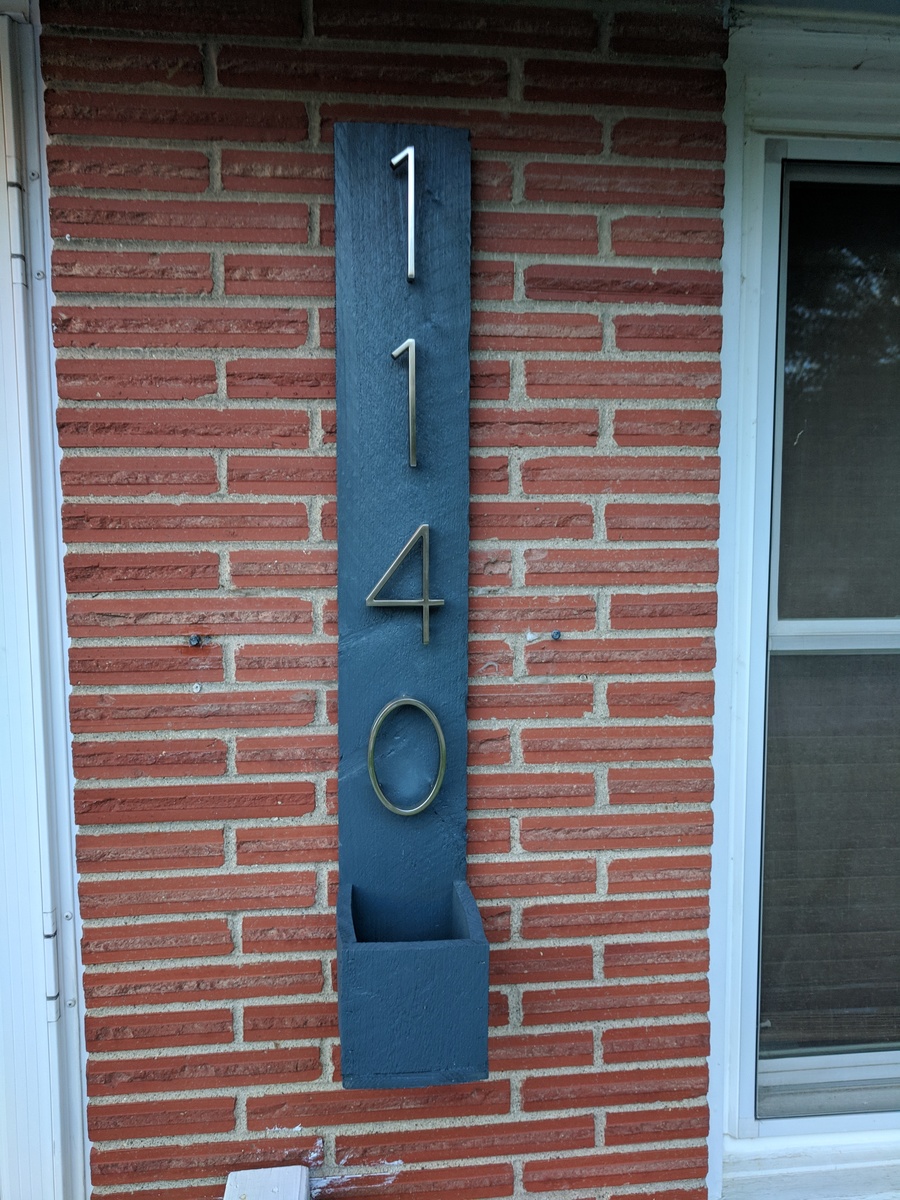
Easy beginner project. I had a spare pressure-treated picket on hand, so I used it instead of cedar. We're repainting our house this summer, so I stained the wood to match our eventual new house color.
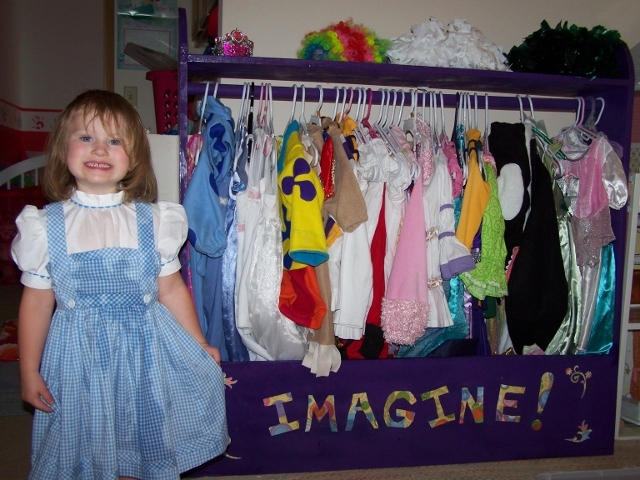
I made this for my girls' huge collection of dress-up clothes. I had to modify the plans a little to fit more costumes, and also to try to fit the longer length. I was hoping the longer dresses would hang without filling the bottom quite so much, but to make it tall enough for that the little one wouldn't have been able to reach the hanger bar.
I ended up with 4 foot boards all around - 6 pieces of 1x12 cut to 4 feet long, including the shelf at the top.
The eight year old cut the letters out of scrapbook paper and we glued them on with elmers glue then varnished over it.
All in all it looks great and holds 4 big plastic totes worth of dress-up (11 Halloweens/4 little girls/5 flower girl dresses and miscellaneous other outfits).
Now I'm just hoping they'll learn to use hangers and it will stay neat and tidy!
Construction was very easy and went well - took us longer to shop than it did to build!
Painting on the other hand took a long time, mostly just to wait between coats. I used spray paint and some polyurethane to gloss it up.
Comments
Ana White
Thu, 02/12/2015 - 00:07
The colors here are so cute
The colors here are so cute and classy! I love it!
Ana White
Thu, 02/12/2015 - 00:07
The colors here are so cute
The colors here are so cute and classy! I love it!