Community Brag Posts

cassidy bed - king

Submitted by twiebe20 on Mon, 03/10/2014 - 11:47

After buying our king size mattress we went to look at bedroom furniture and realized how expensive nice bedroom furniture is. So I decided to build a bed and night stand myself, and they turned out great and cost less than 200 for both projects! I'm now a do it yourselfers and looking forward to more great projects!

Built from Plan(s)
Estimated Cost
175
Estimated Time Investment
Week Long Project (20 Hours or More)
Finish Used
Kona. Something I figured out by the end of the project is the best way to stain the wood was after applying the stain wipe it off after approximately 5-10 min.
Recommended Skill Level
Intermediate

Comments

fosters522

Sat, 01/10/2015 - 07:35

What boards did you use for your side tables? Did you purchase extra just for them or are the left overs from the bed? Do you be chance have the demotions of the tables? They look awesome!

Sandbox with Seats

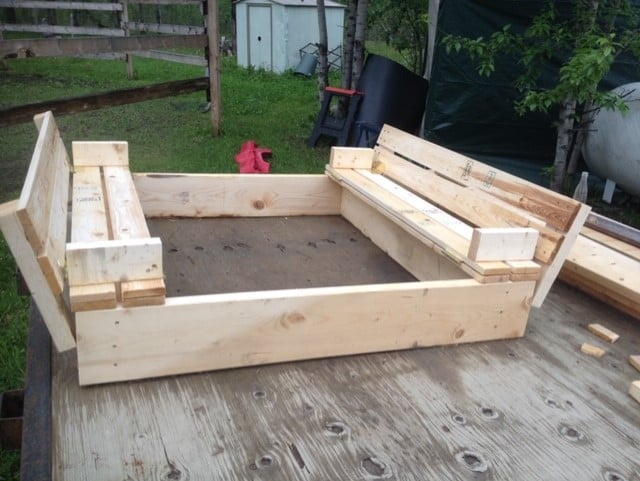
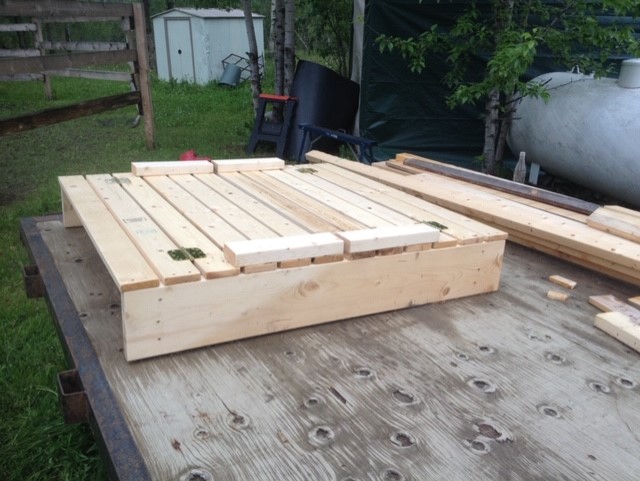
I built this sandbox for my kiddo's because we have cats! It was great. Easy to build, great plans for it.

Built from Plan(s)
Estimated Cost
$50 CAD
Estimated Time Investment
Afternoon Project (3-6 Hours)
Finish Used
Minwax 2-in-1 in Natural
Recommended Skill Level
Beginner

Simple Outdoor Dining Table

Submitted by AlexaWoods on Thu, 05/31/2012 - 08:20

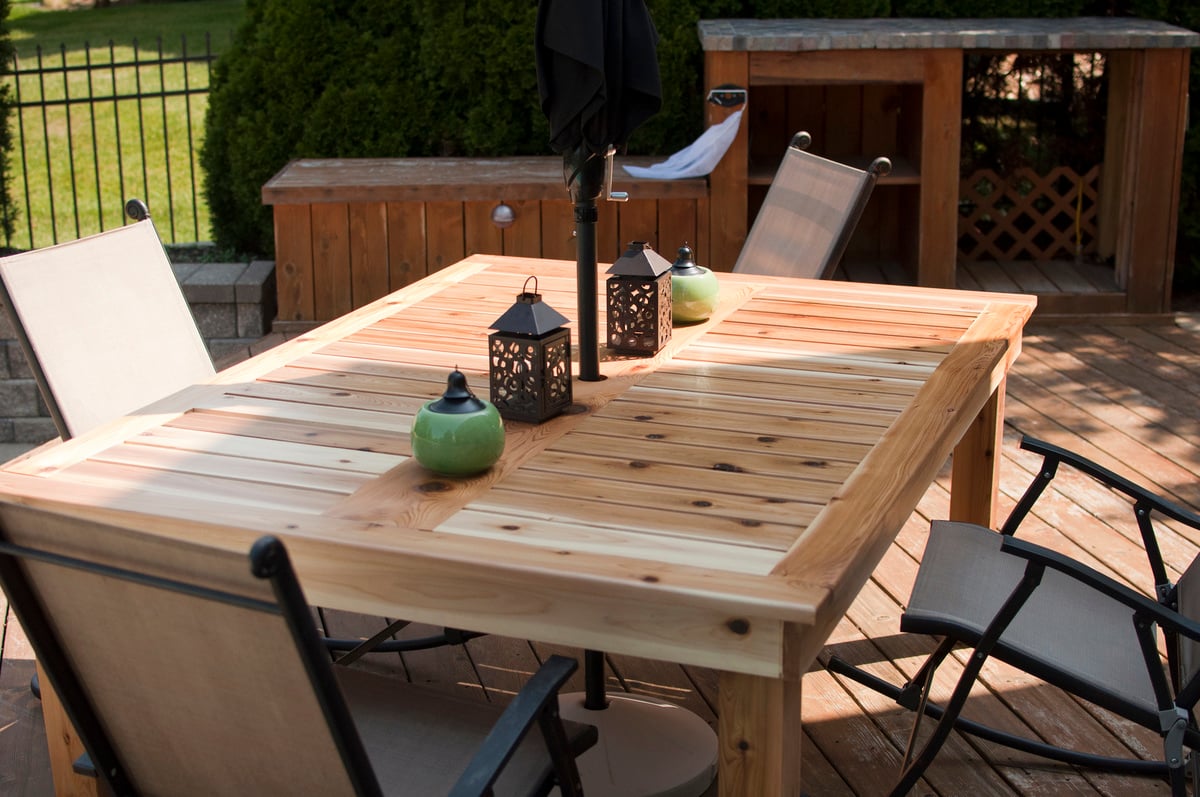
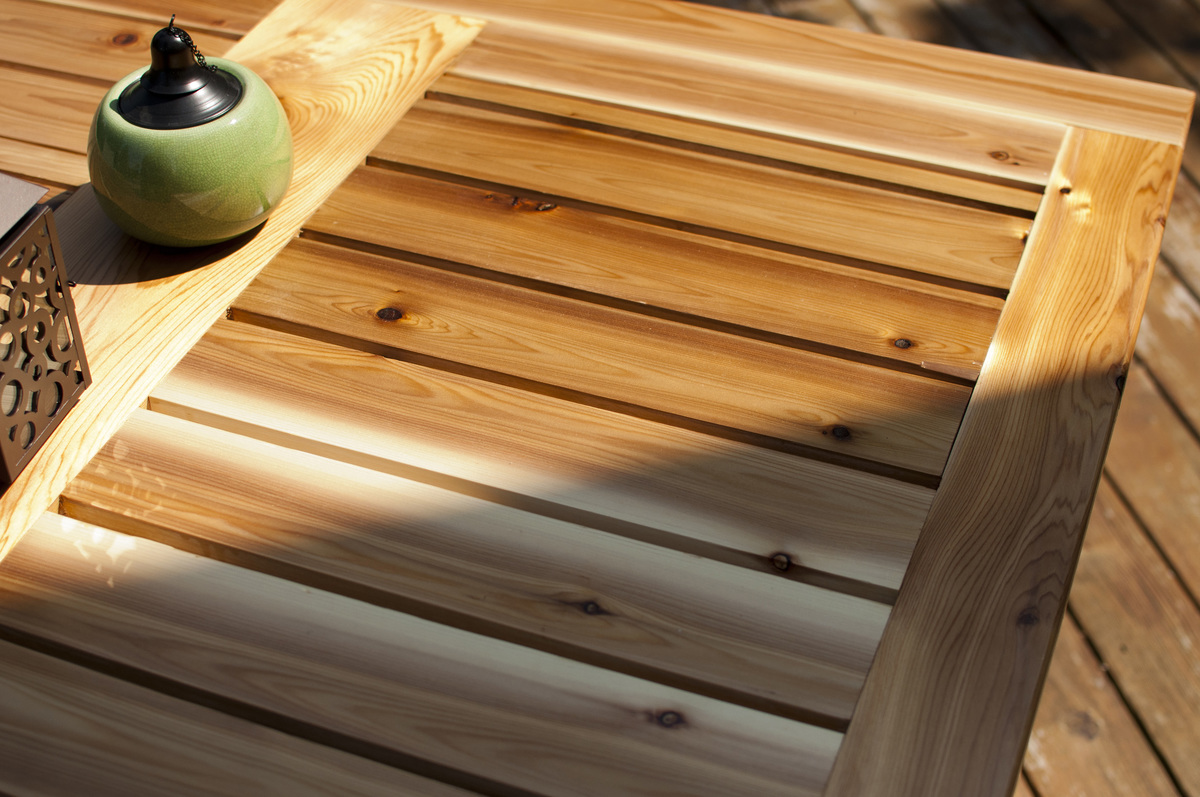
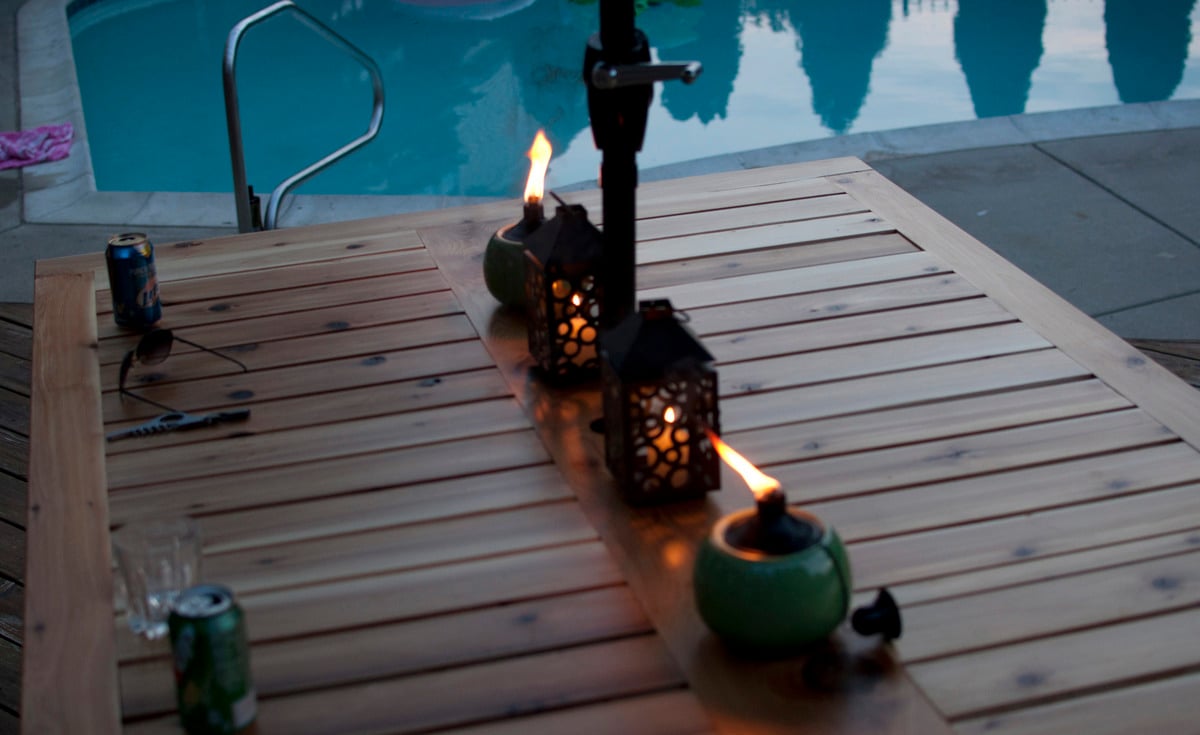
This table was made with Cedar but the base was pressure treated wood. The legs were Cedar 4x4s and very sturdy. I used a mix of designs and altered each to fit my needs. Getting the lumber from a lumber yard vs. big box cut my costs in half. Used stainless steel finish screws, Kreg Weather Treated Screws, and Deck Screws.

Estimated Cost
170
Estimated Time Investment
Weekend Project (10-20 Hours)
Finish Used
Clear Urethane
Recommended Skill Level
Beginner

Comments

BMullett

Sun, 03/17/2013 - 16:23

I love this! I'm planning on starting this project once the weather warms up and I was wondering if you could tell me how you attached the legs to the table top without visible bolts.

2x4 Outdoor Sectional Sofa

Submitted by lknolan2 on Sat, 04/18/2020 - 20:19

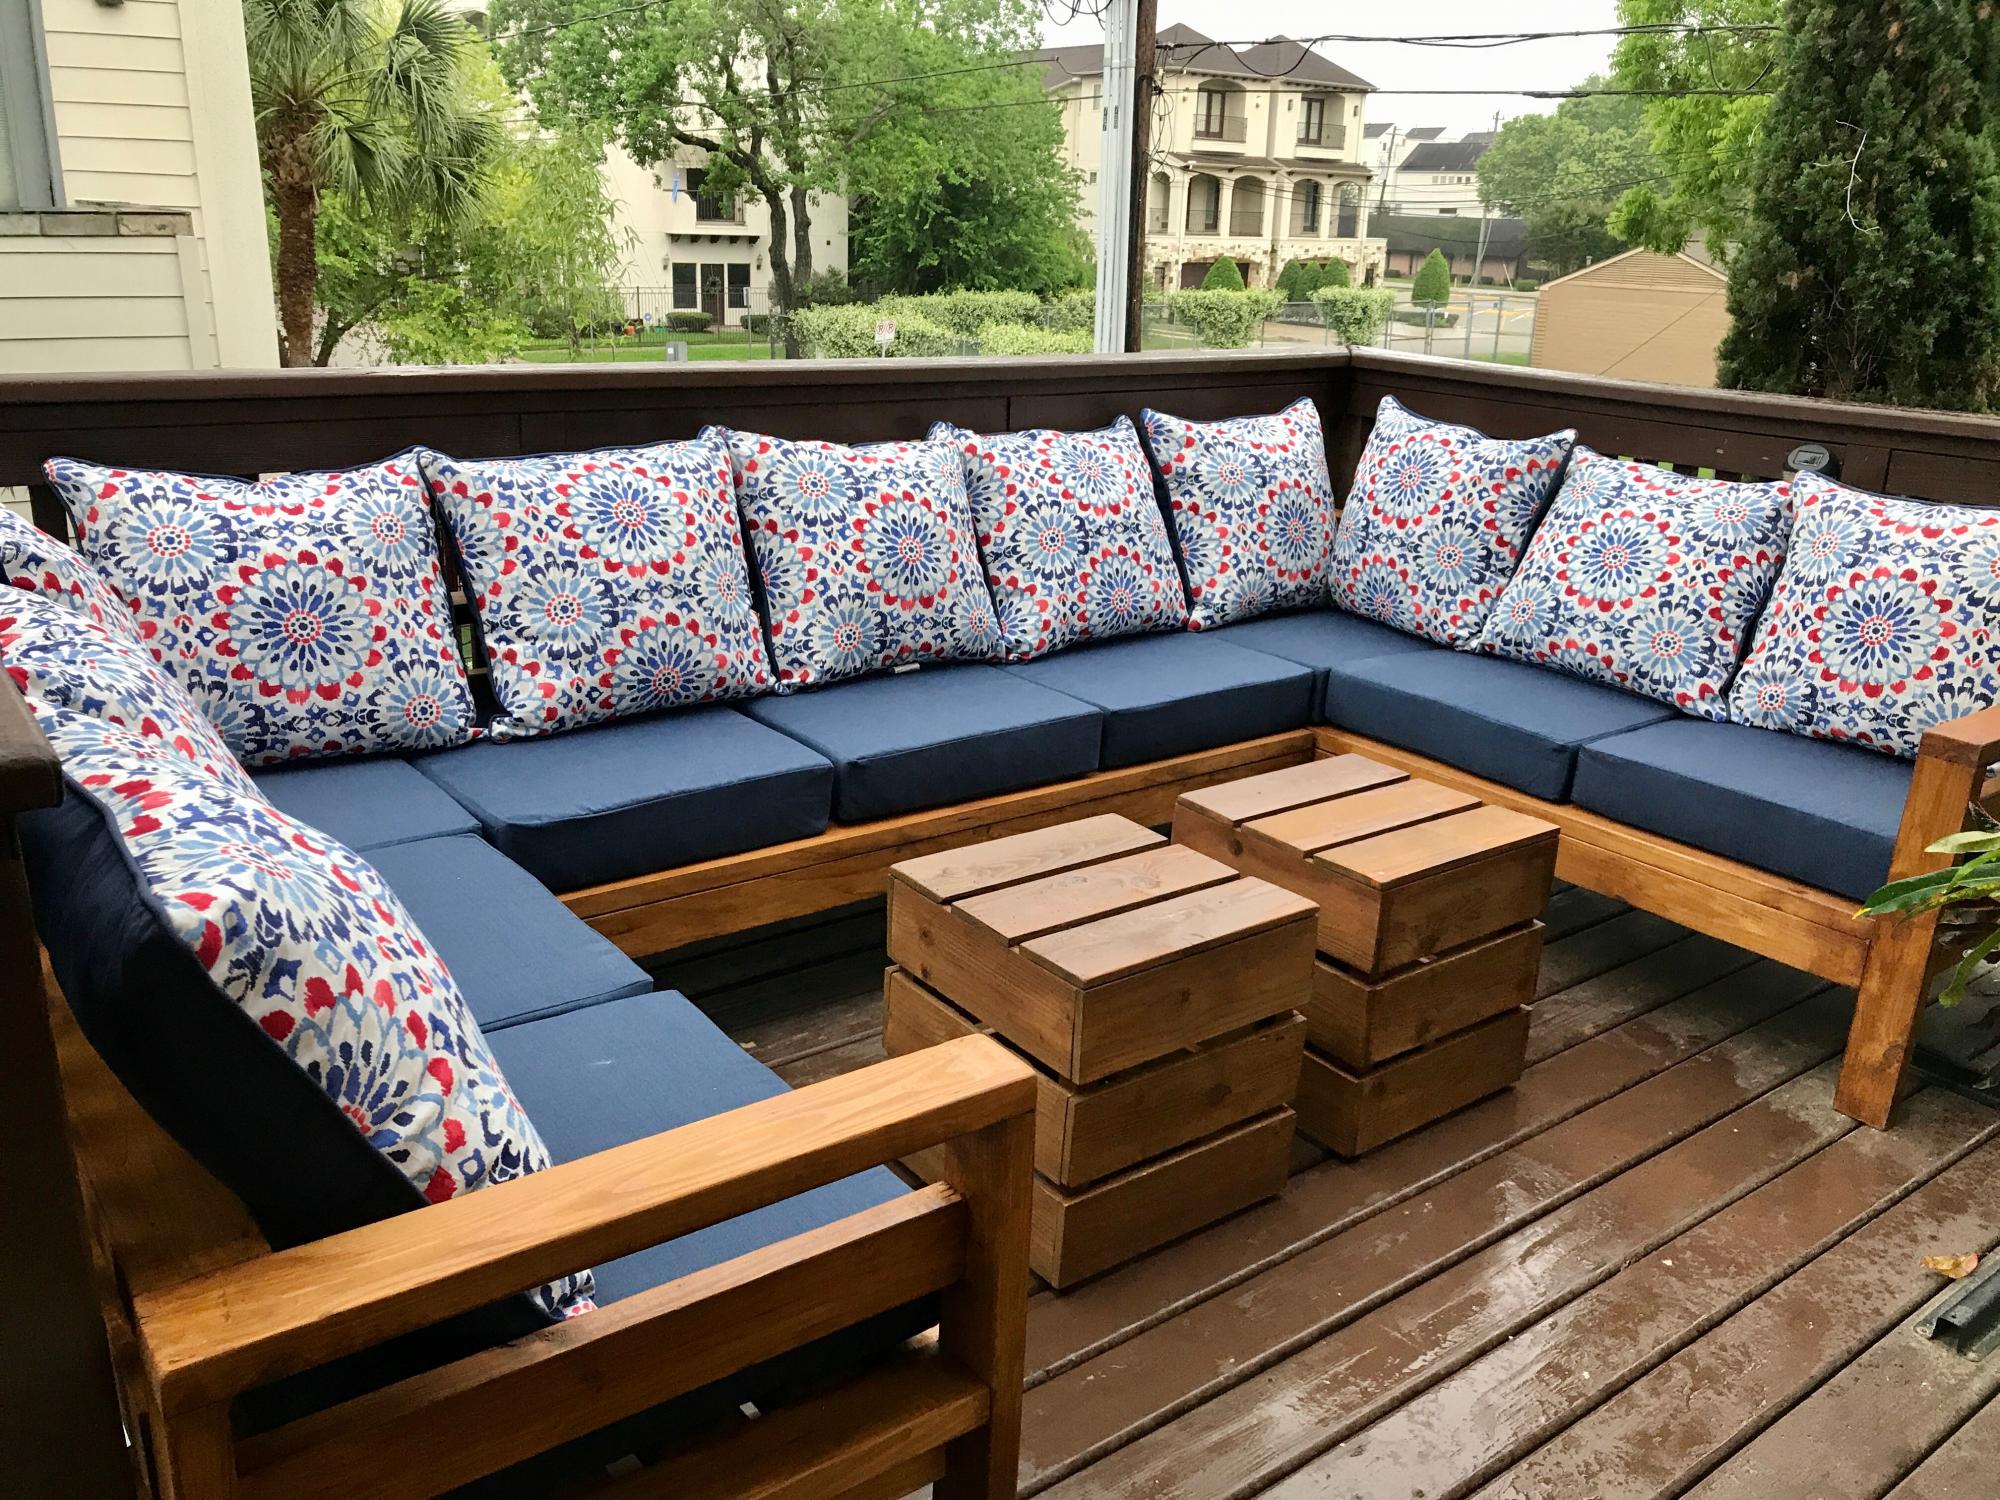
Great Plan! Loved how easy it was to build and how little the cost was.

Estimated Cost
$200
Estimated Time Investment
Afternoon Project (3-6 Hours)
Finish Used
Outdoor deck stain by Valspar in Canyon Brown
Recommended Skill Level
Beginner

Comments

jwood4

Sun, 08/01/2021 - 18:40

Looks amazing! What method did you use (pocket holes, dowels, deck screws, etc) to join the visible portions like the arms?

Seasonal And Holiday

DIY Rocking Chair and Crib

Submitted by Anonymous (not verified) on Sun, 11/26/2023 - 11:29

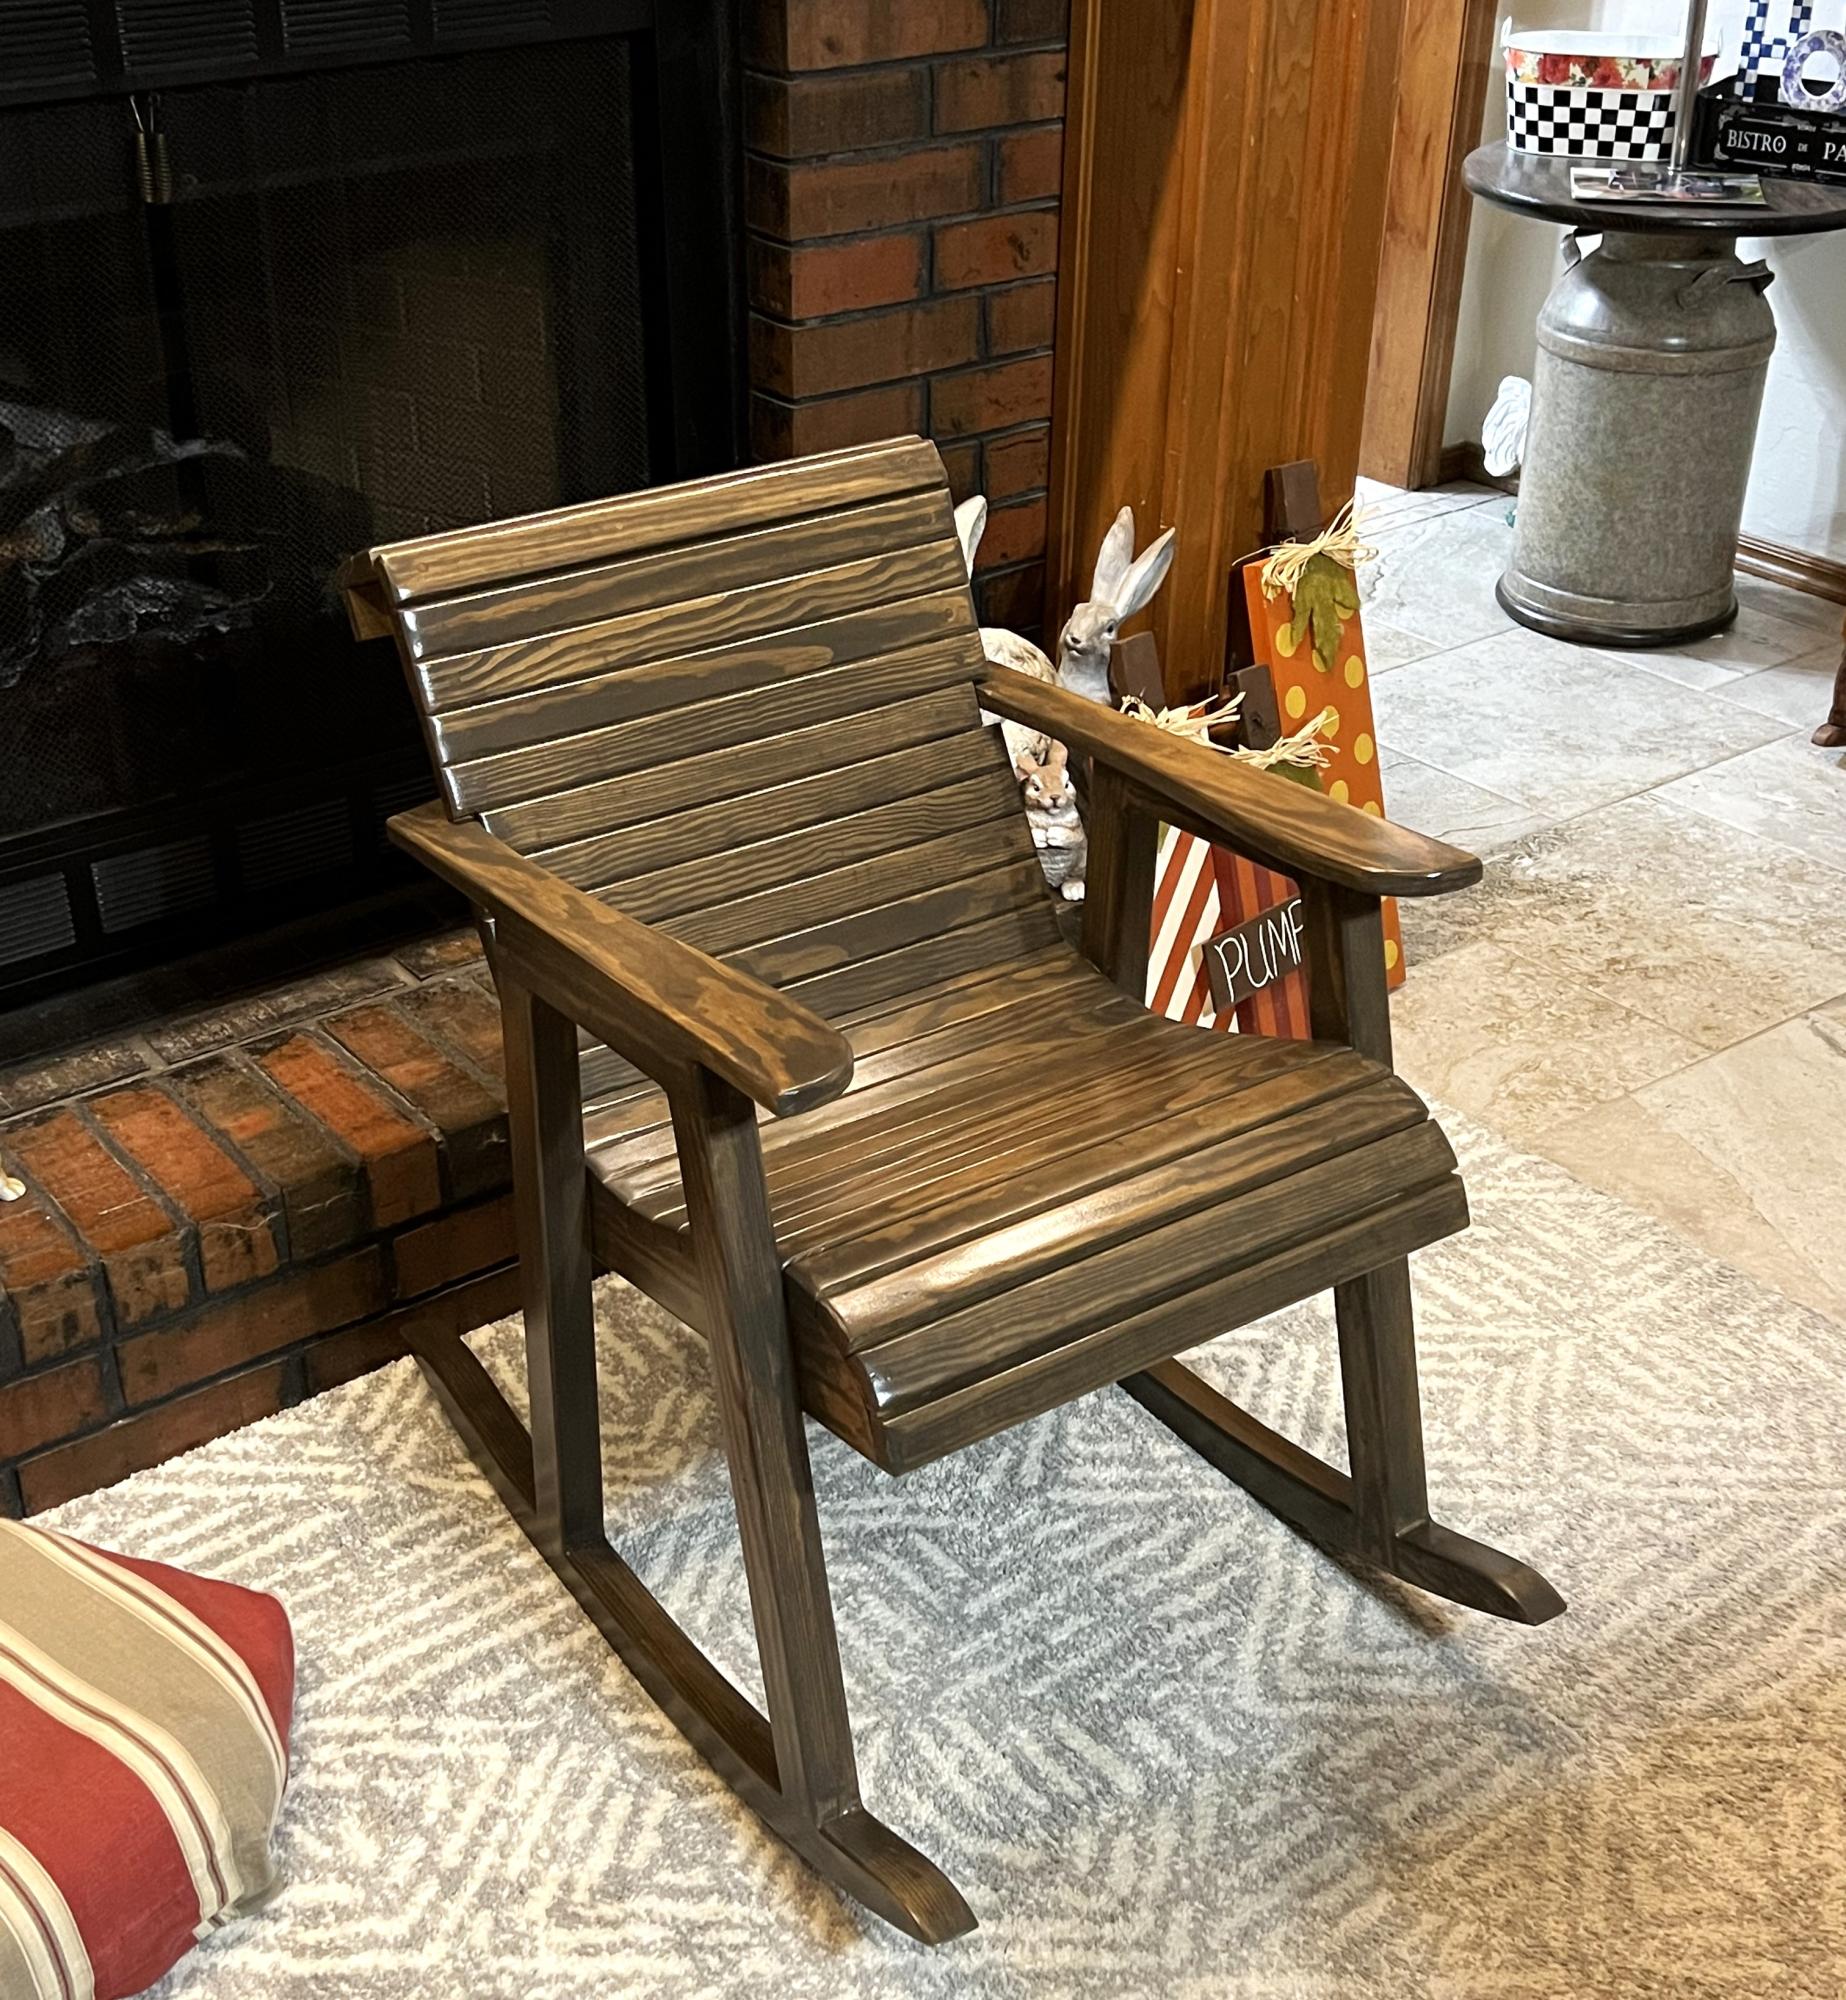
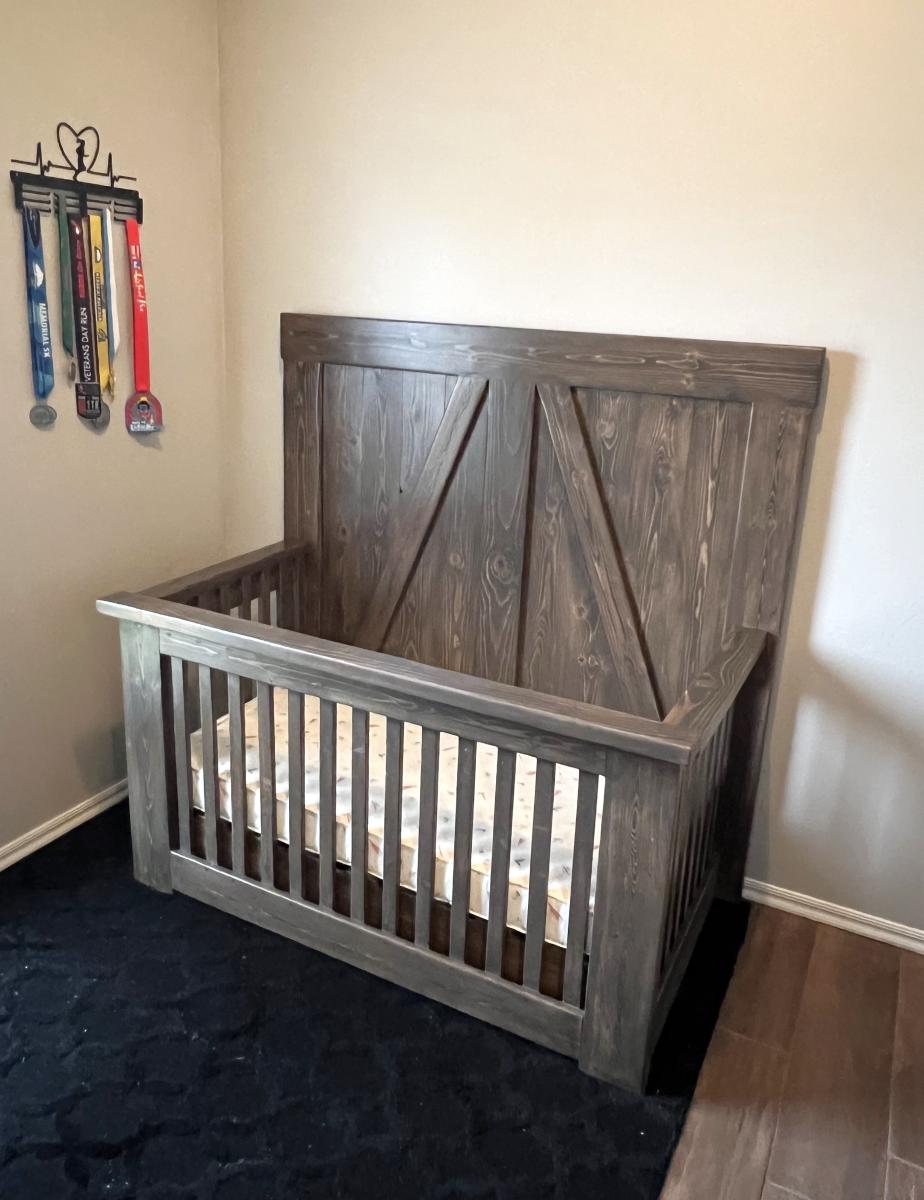
Baby bed is my grandson’s first wood working project for his first son to be born in February. The rocking chair I made from your plan to go with the baby bed.

RichardF

Comments

Medicine Cabinet

Submitted by beansurfin on Mon, 07/02/2012 - 18:12

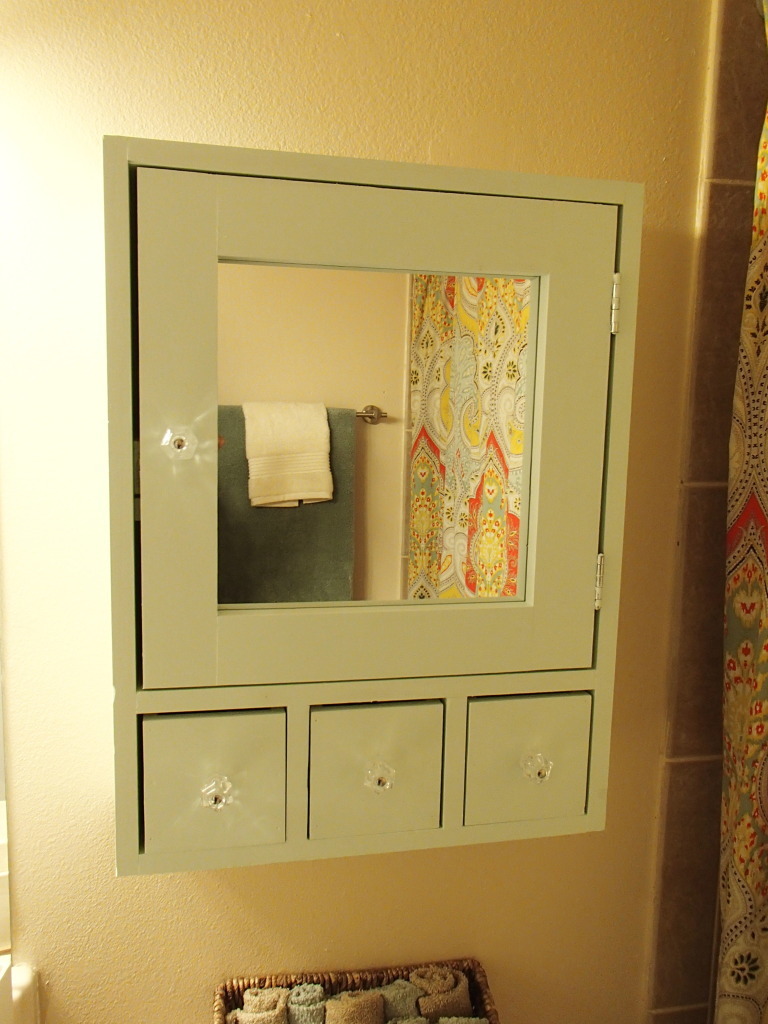
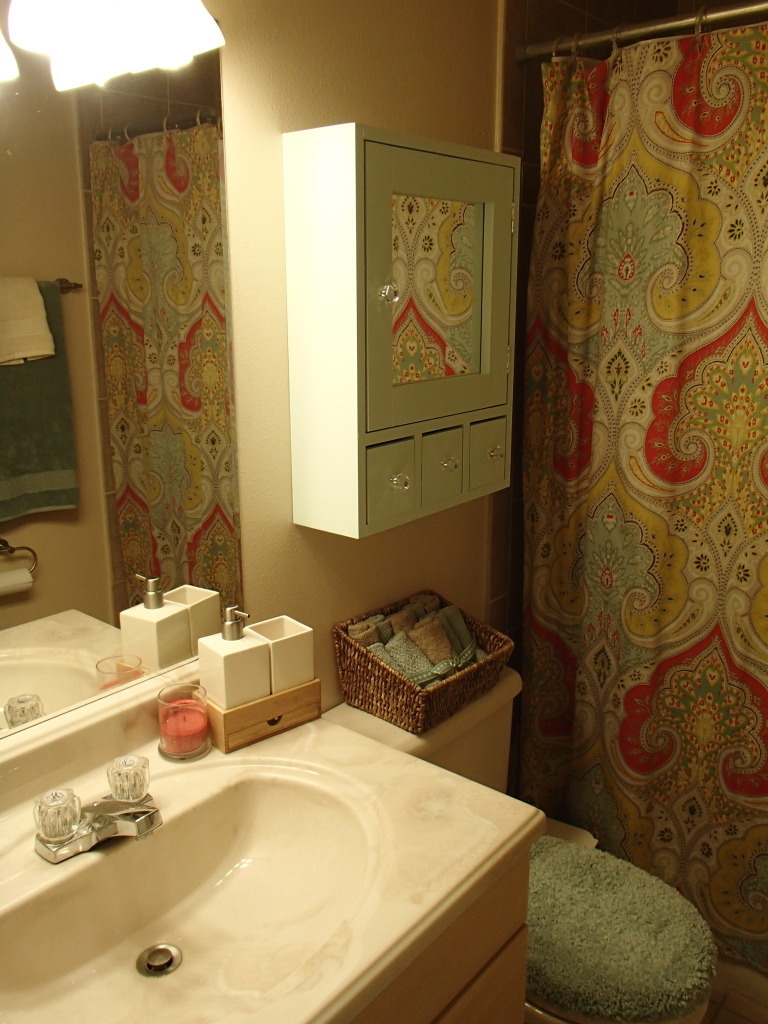
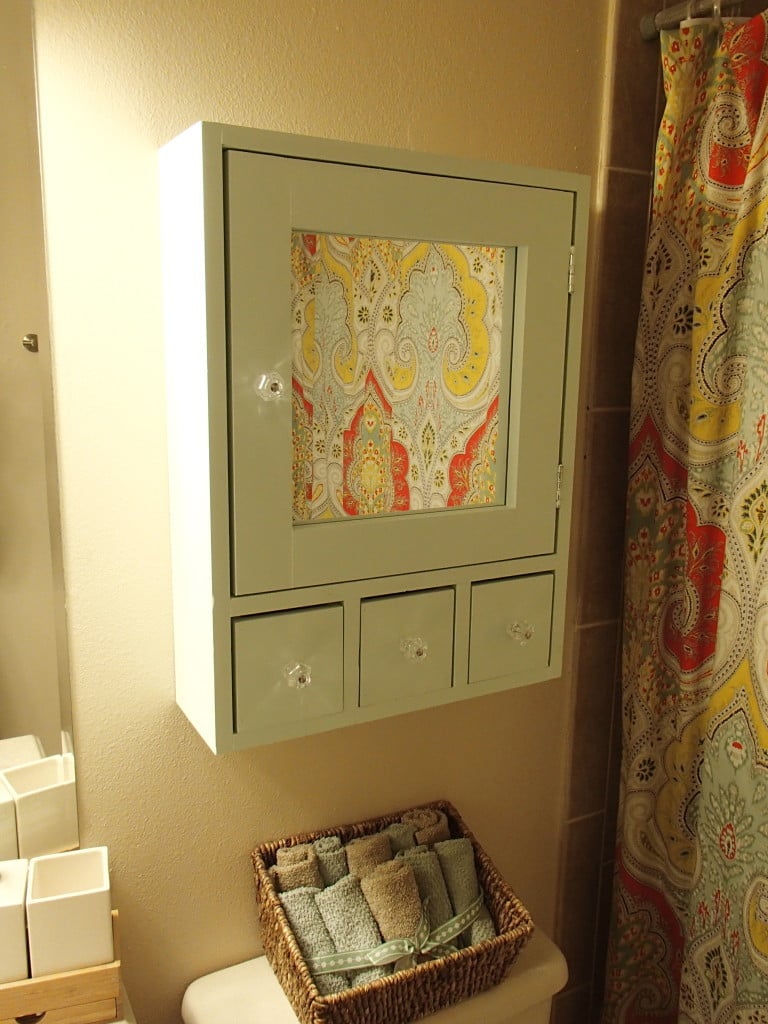
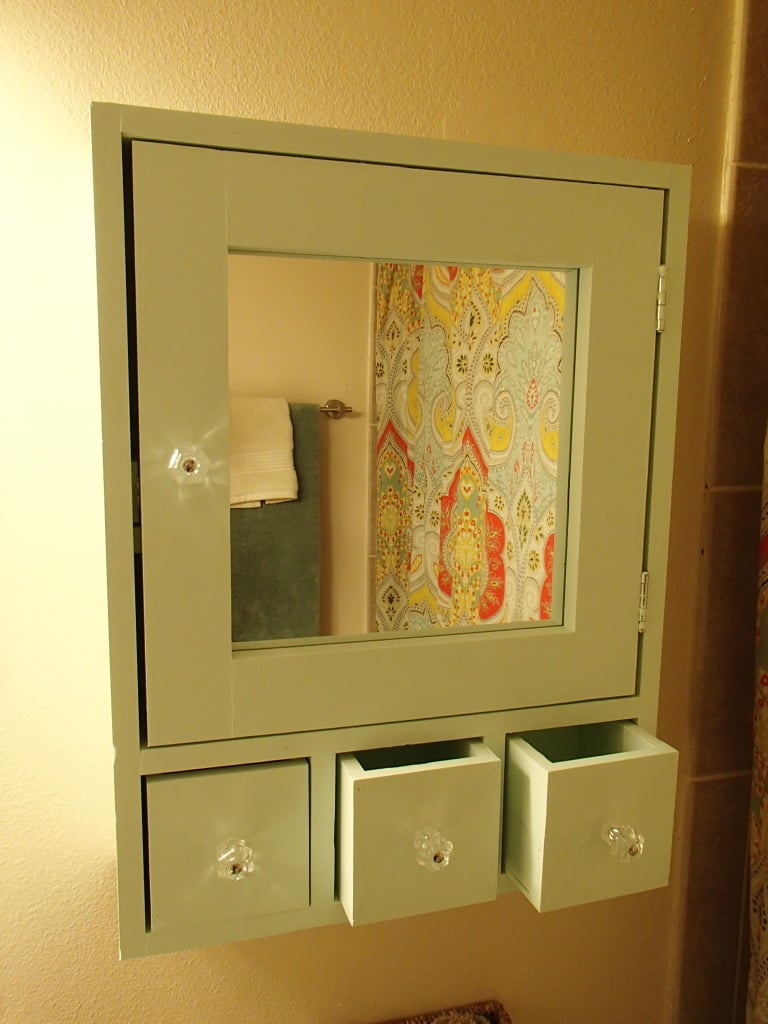
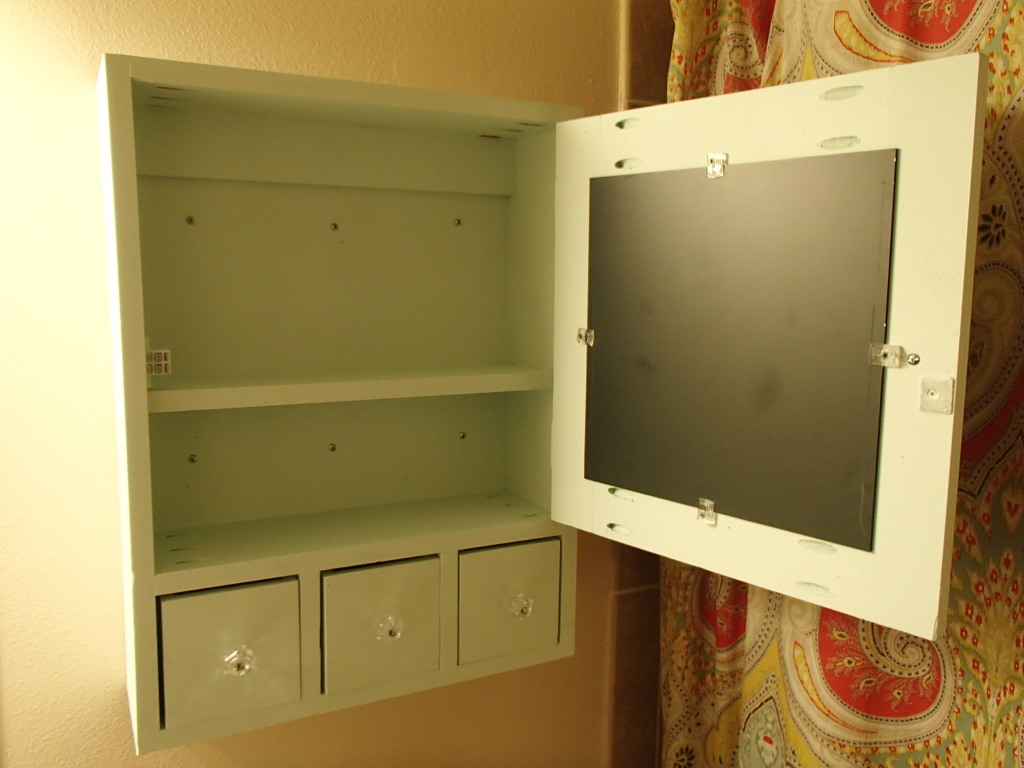
I found this project on I different site (sorry) but really wanted to make it for our quest bathroom. It was not to difficult and it really helps to finish off our quest bathroom since it was missing a medicine cabinet.

Estimated Time Investment
Day Project (6-9 Hours)
Finish Used
Painted
Recommended Skill Level
Beginner

Comments

Farmhouse Hall Tree

Submitted by Anonymous (not verified) on Mon, 02/12/2024 - 09:04

Modified the top of Ana’s plan for a Hall Tree and very happy with how it turned out.

Steve Nadler, High Springs Florida

Built from Plan(s)

Better Than I Hoped!

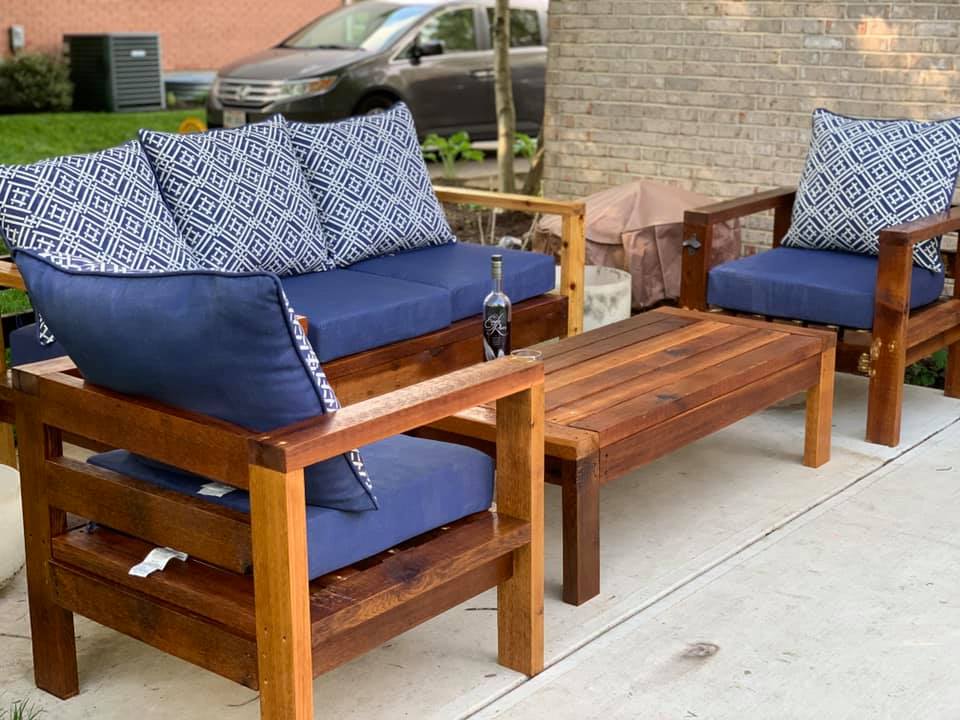
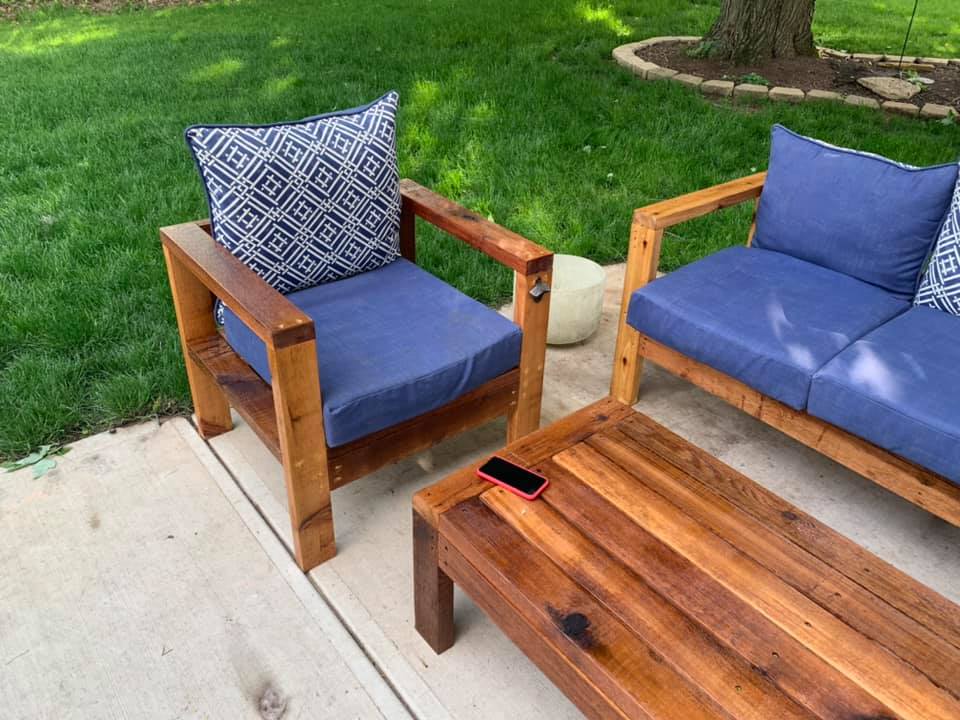
Been working from home for the past two months due to the health crisis. To stop from going crazy from being at home with my wife and four kids, I decided up pick up a hobby - here's where my homie Ana enters! I didn't want the sectional for my patio, but certainly the couch, chairs and table. The only mistakes had were my own (using wood putty, not sanding it well), but the plans were spot on. The only real issue I ran into was the cedar wood I used wasn't 1.5 x 3.5, but 1.75 x 3.5. This caused me to make additional cuts were I otherwise would not have needed it. Other than that, just remember to make the longest cuts first... I ended up needing to buy about five additional boards because it.

Estimated Cost
$350 (I used cedar, which is much more expensive)
Estimated Time Investment
Day Project (6-9 Hours)
Finish Used
Minwax Spar Urethane, clear
Recommended Skill Level
Beginner
Seasonal And Holiday

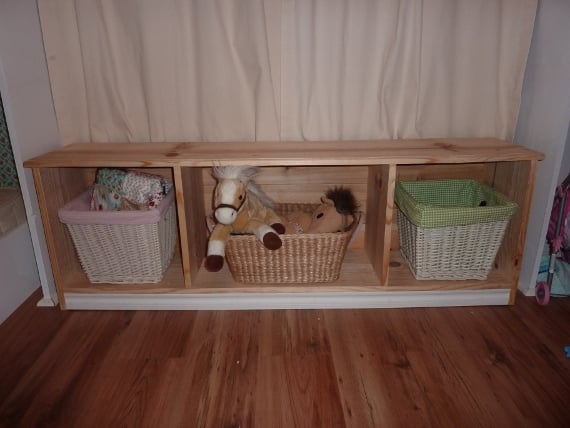
Window Bench With Storage

Our daughter's room has built-ins on either side of the window. I always wanted a window seat to sandwich in between, but couldn't find one with the right dimensions.....THANK YOU ANA WHITE! I used her Entryway Bench plan and just changed the length and depth to fit the window. I didn't add the side and back supports on top, but I bullnosed all the edges to make it look more finished.
I built this in one afternoon and even used cedar fence planks (left over from my husband's fence project) for the backing....love the extra charm of those planks!
We also had some molding left over, so I worked that in to the bottom for a little extra detail.
Haven't painted it yet....just enjoying it's usability until I decide on a color. It's super durable. My three year old sits on it (to read), stands on it (to spy on the neighbor's cats) and tosses those baskets in and out all day long.

Estimated Cost
$35
Estimated Time Investment
Afternoon Project (3-6 Hours)
Recommended Skill Level
Beginner

Kitchen Island

Submitted by bbomer on Tue, 09/04/2012 - 18:41

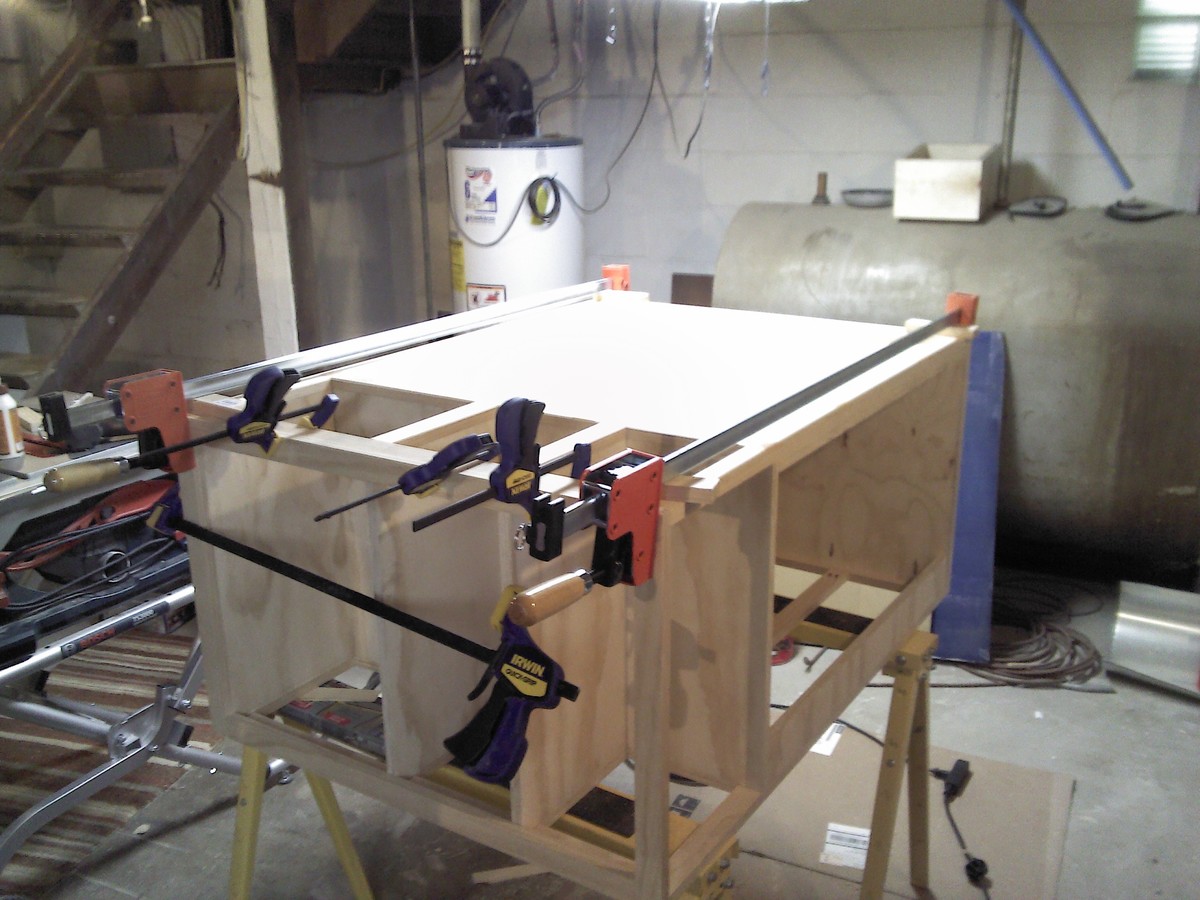
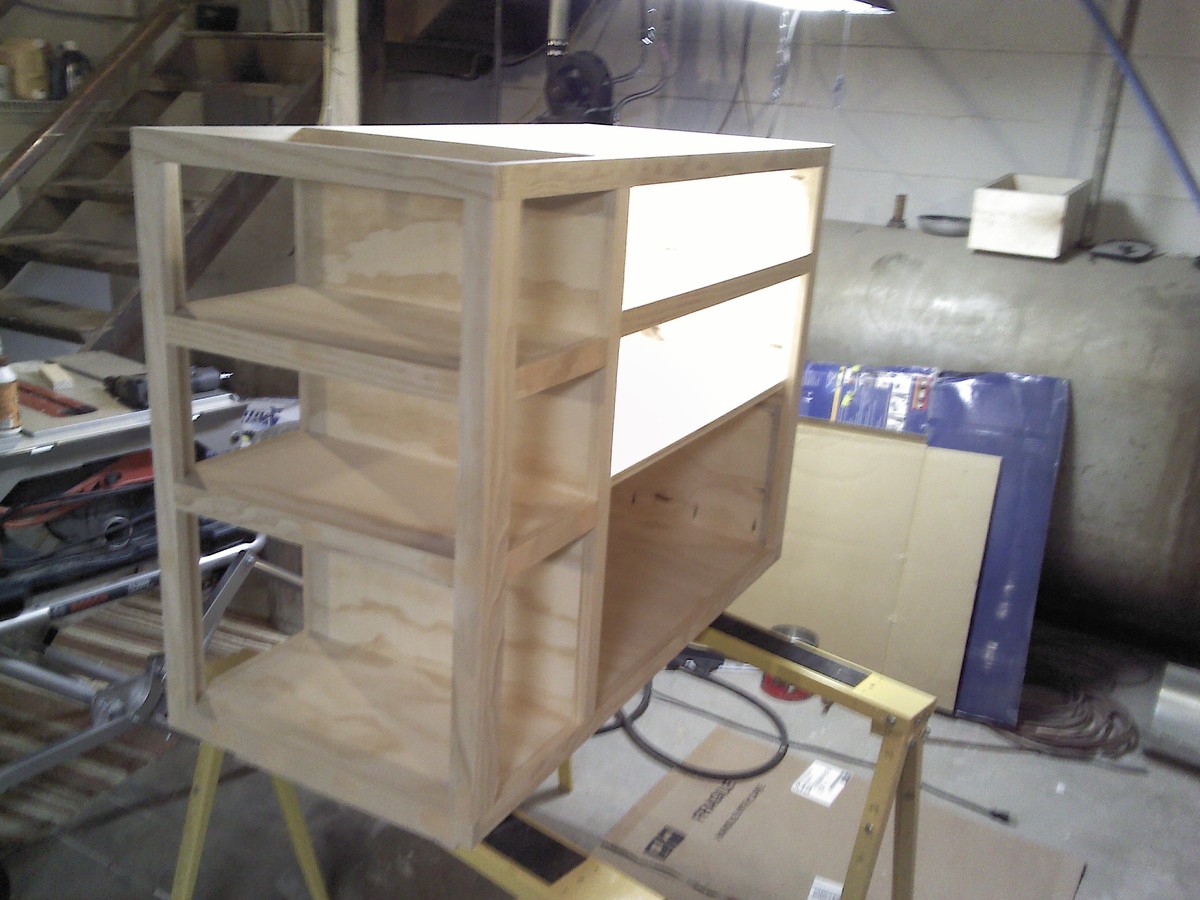
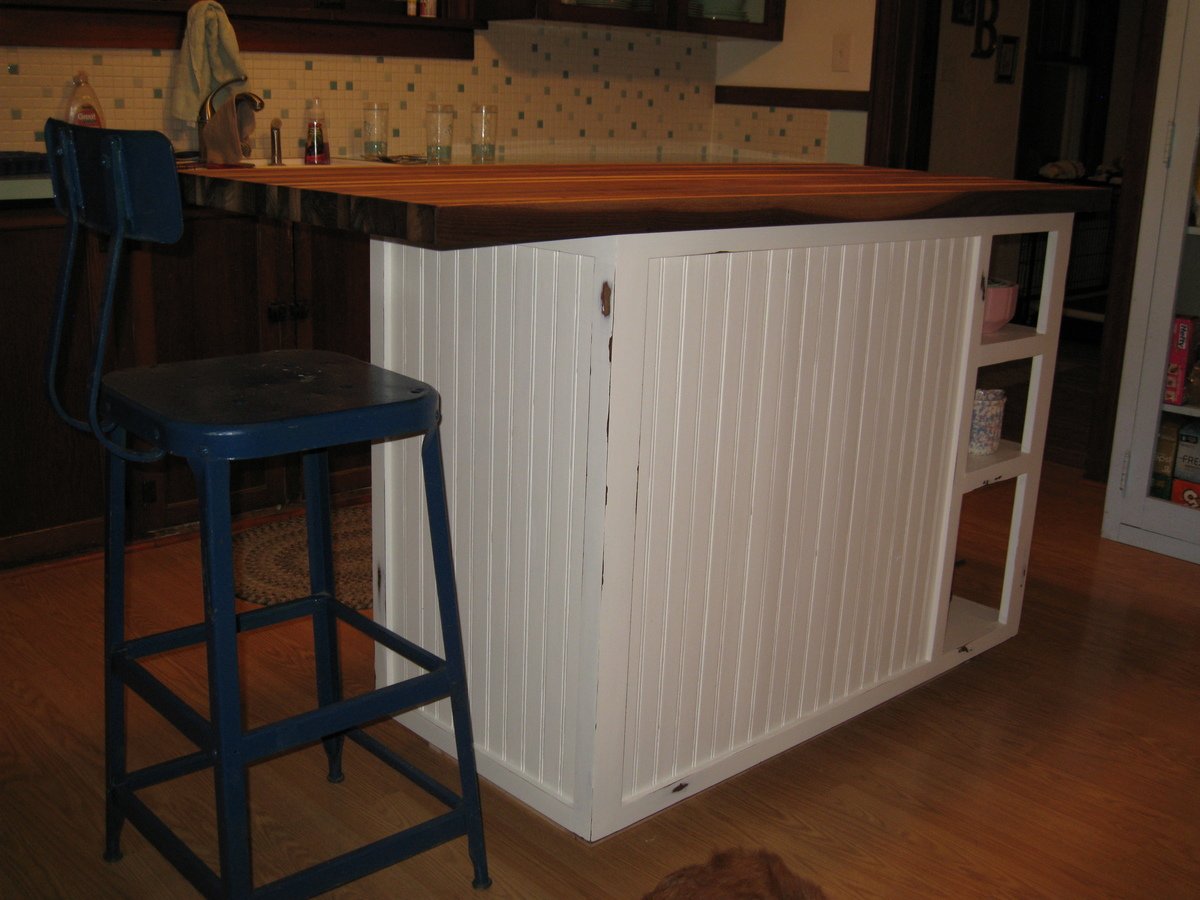
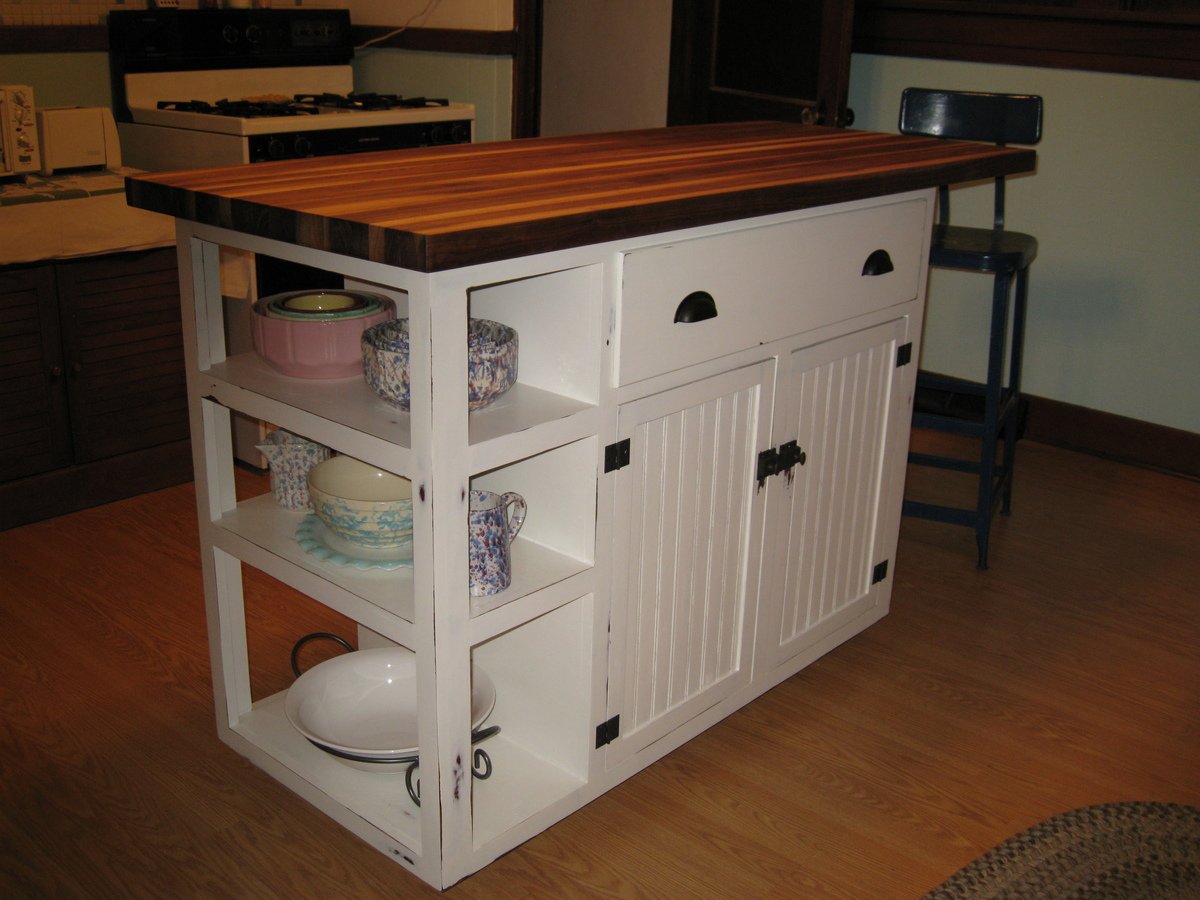
I built this island using Ana's base cabinet plans. I simply added a face frame to all the sides because they are all visible. My wife drew up the plan that includes open storage at one end and an overhang at the other to provide room for a stool. We bought the butcher block top online. It comes unfinished, so we had to sand it down smooth and treat it with mineral oil.

Estimated Cost
Approx. $500
Estimated Time Investment
Week Long Project (20 Hours or More)
Finish Used
Danish Oil + Shellac + Latex + Minwax Polycrylic
Recommended Skill Level
Intermediate

Comments

Kathy in Pittsburgh (not verified)

Wed, 09/05/2012 - 09:55

I'm in love....this is gorgeous! You both should be very proud of how it turned out. Now, if only my kitchen weren't so small that I can touch both opposite countertops with my arms spread out.....I would build this in a heartbeat! :P

Blinky114

Thu, 11/06/2014 - 09:25

As Kathy in Pittsburgh said, .."this is gorgeous!" I too would be building this if my kitchen were nearly large enough to accommodate it.

Thanks for posting this, it gives me inspiration.

Mark in Portland, OR

mpullan

Sat, 11/25/2023 - 14:23

Pretty much what my daughter wants. I’ll have to be looking at yours a bit to figure out the open shelves. Thanks for posting!

Kitchen Appliance Shelf

Submitted by Gypsy on Thu, 05/16/2024 - 13:40

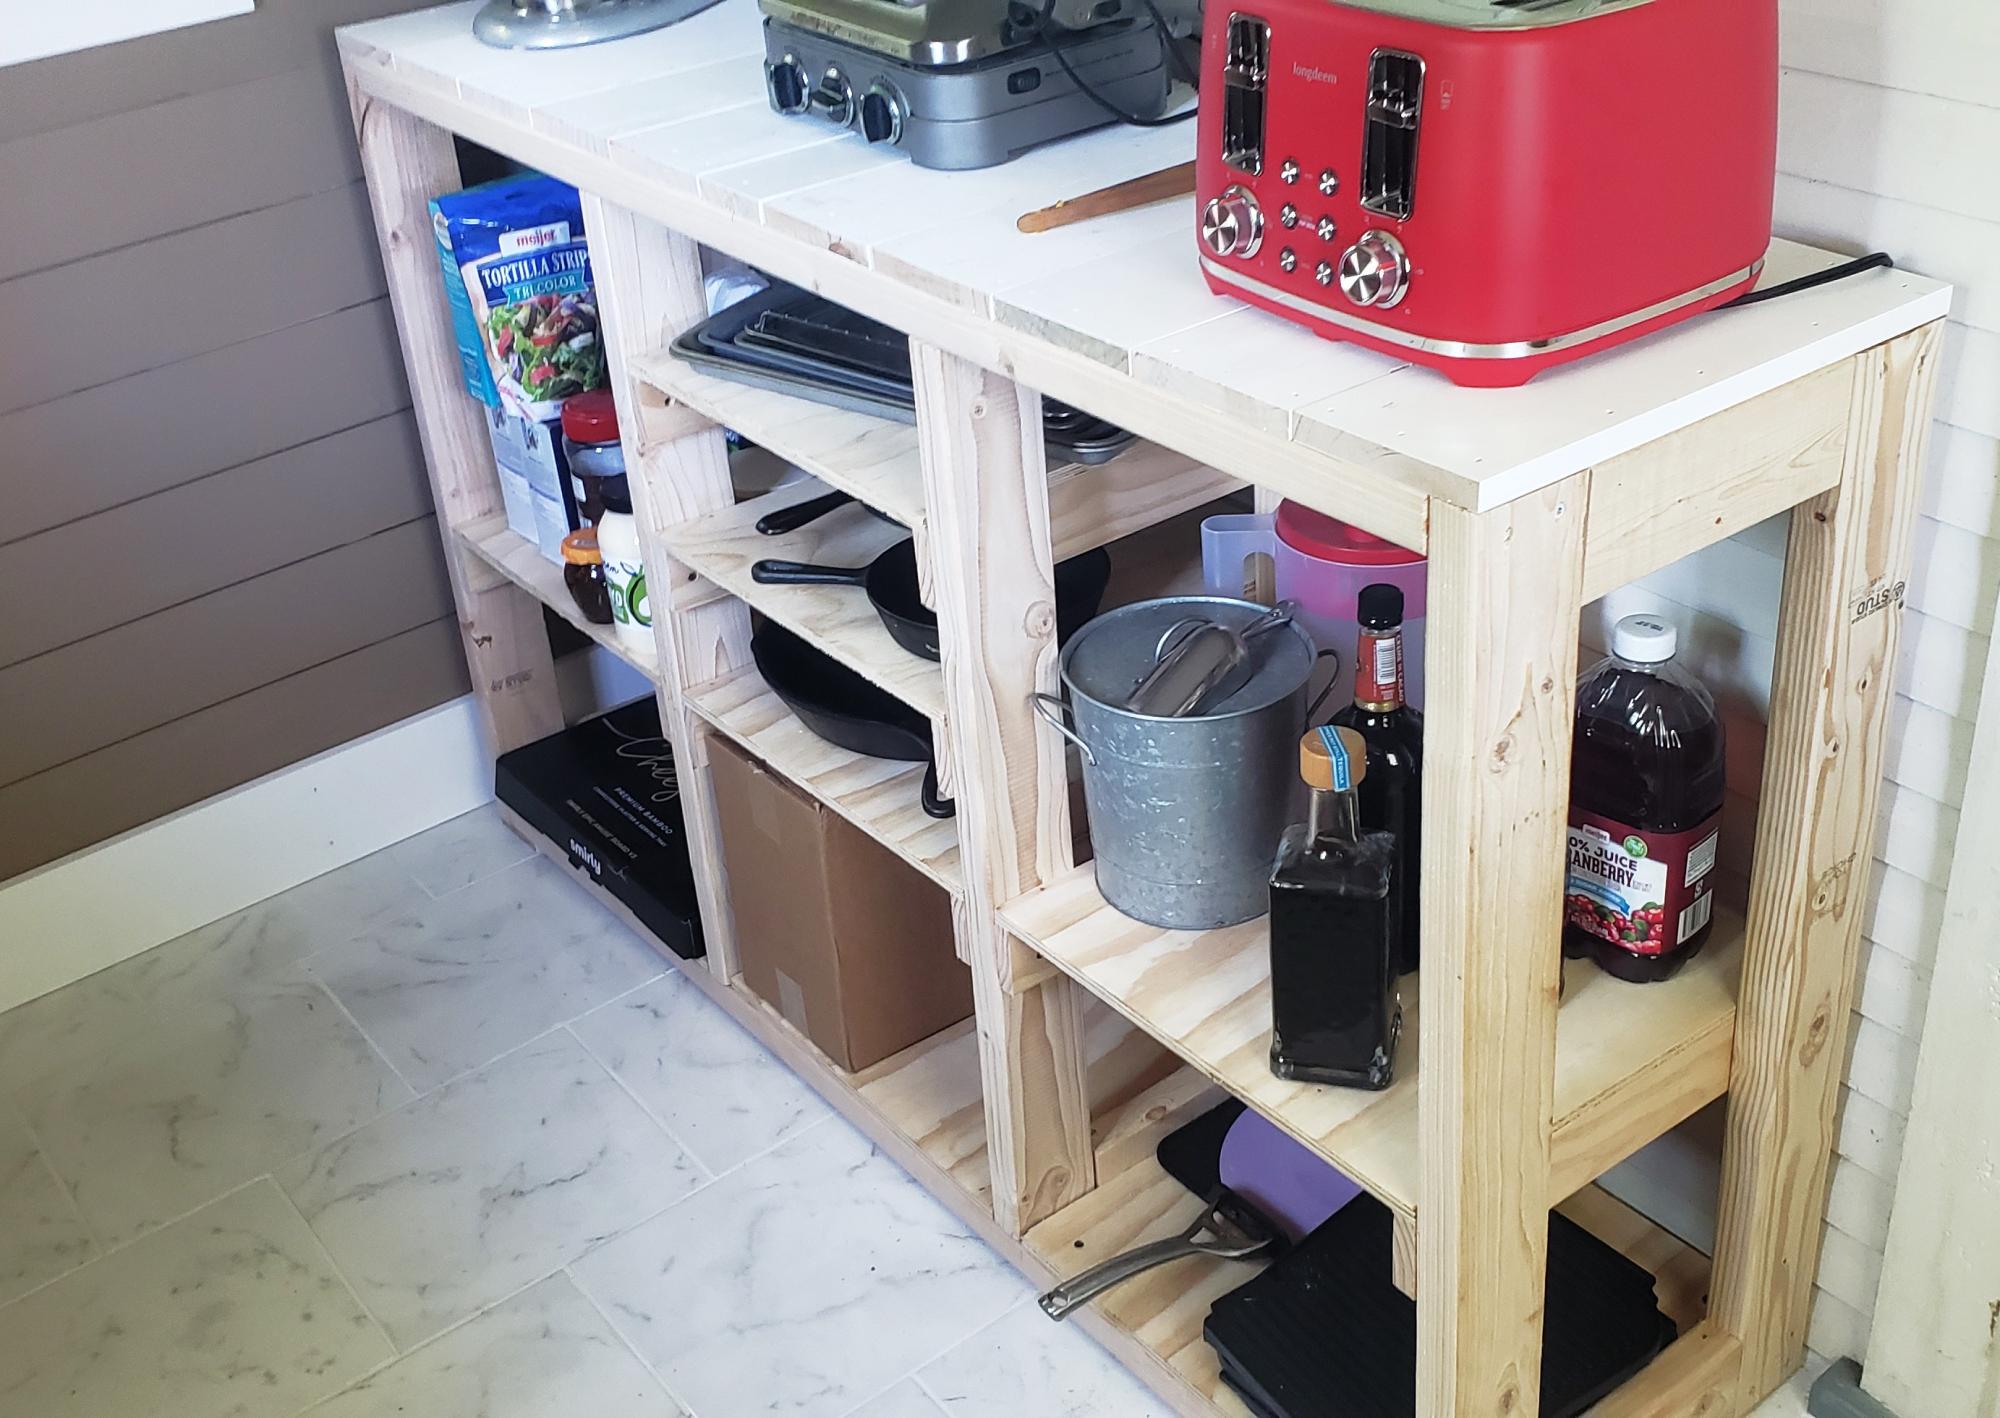
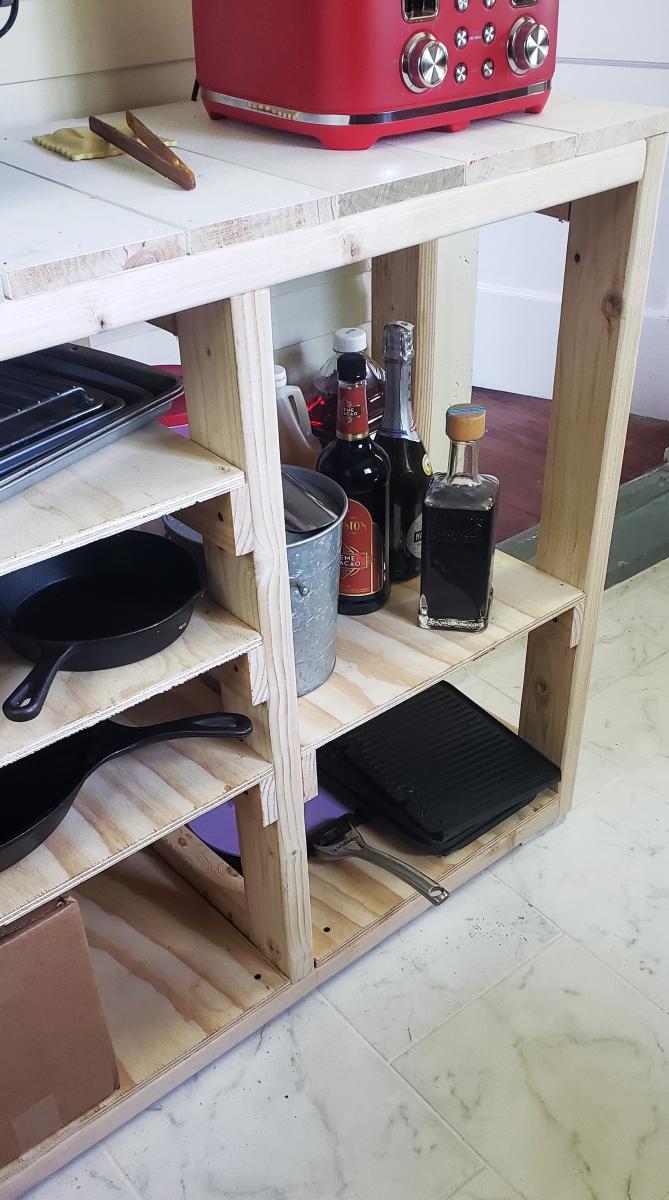
I made this pantry workstation by modifying the six laundry basket plans. Added 2x4 stretchers between the front and back frames, top and bottom. Made cleats from 1x3 for a less bulky look. And added 1/2 inch AC plywood shelves. Sand and stain later.

gypsy

Fully Functional Arcade Cabinet

Submitted by lehmanna36 on Fri, 07/10/2020 - 08:18

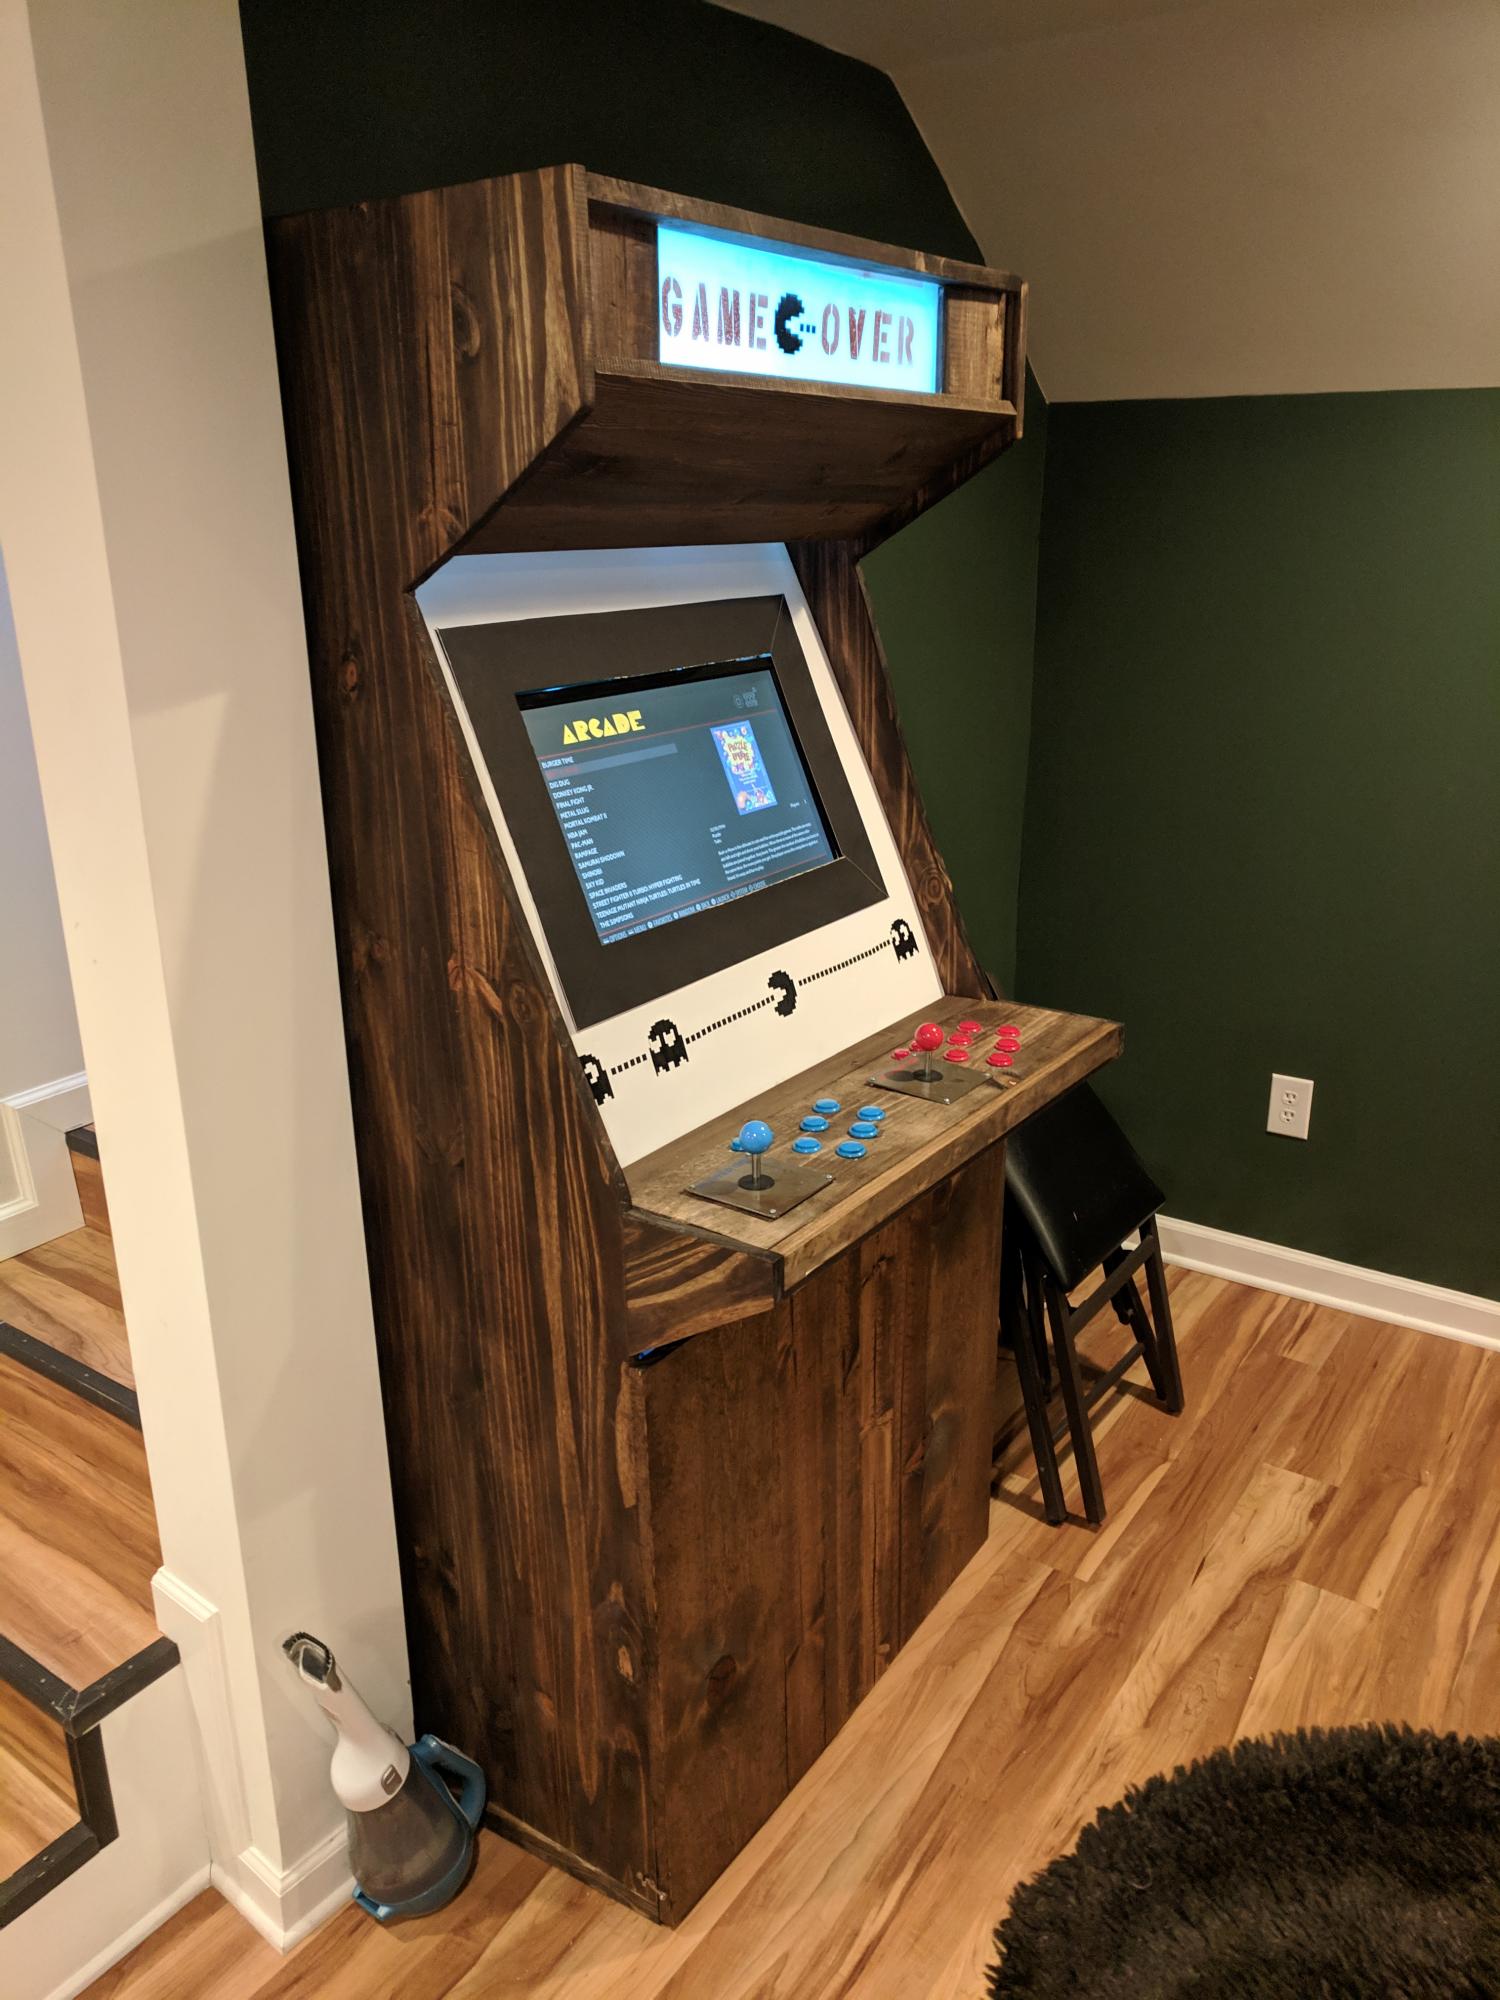
Didn't use plans for this, so I eyeballed basically everything. Certainly made for a more frustrating build, but I have to say I'm happy with the end result!

Estimated Cost
$300
Estimated Time Investment
Week Long Project (20 Hours or More)
Finish Used
Minwax Walnut
Recommended Skill Level
Intermediate

Comments

Rustic Patio Table

Submitted by worrow on Thu, 10/04/2012 - 20:00

Well my wife and I wanted to create a patio table again for our daughters birthday. I spent some time looking for something that would spark some ideas and found an old wooden spool. So I brought it home also with a large quantity of various lumber, all reclaimed. So we put a plan together quickly and started tackling the project. So far I am 2 days in and have got it built and sanded.

This has been an interesting build thus far and some parts of it have required 2 people as the top is very heavy. Also was difficult to get the spool apart as the bolts were very rusted.

a few more days and I will have it finished being urethaned.

I am also going to use the other top of the spool and create 2 matching benches. This will likely add another 3+ days to the completion of the entire set

Update 05/06/2013
So I completely forgot about my brag post. I did not end up building any benches and also forgot to post the finished table. Here it is in all it's glory. It served it's purpose well.

Estimated Time Investment
Week Long Project (20 Hours or More)
Finish Used
Will be using gloss urethane and likely about 3 coats.

*It required all 3*
Recommended Skill Level
Beginner

Comments

dmcarwin

Fri, 10/05/2012 - 13:11

I have a couple of spools that I picked up and have been deciding what to do with them. This table is awesome! I love it! Can't wait to see the benches!

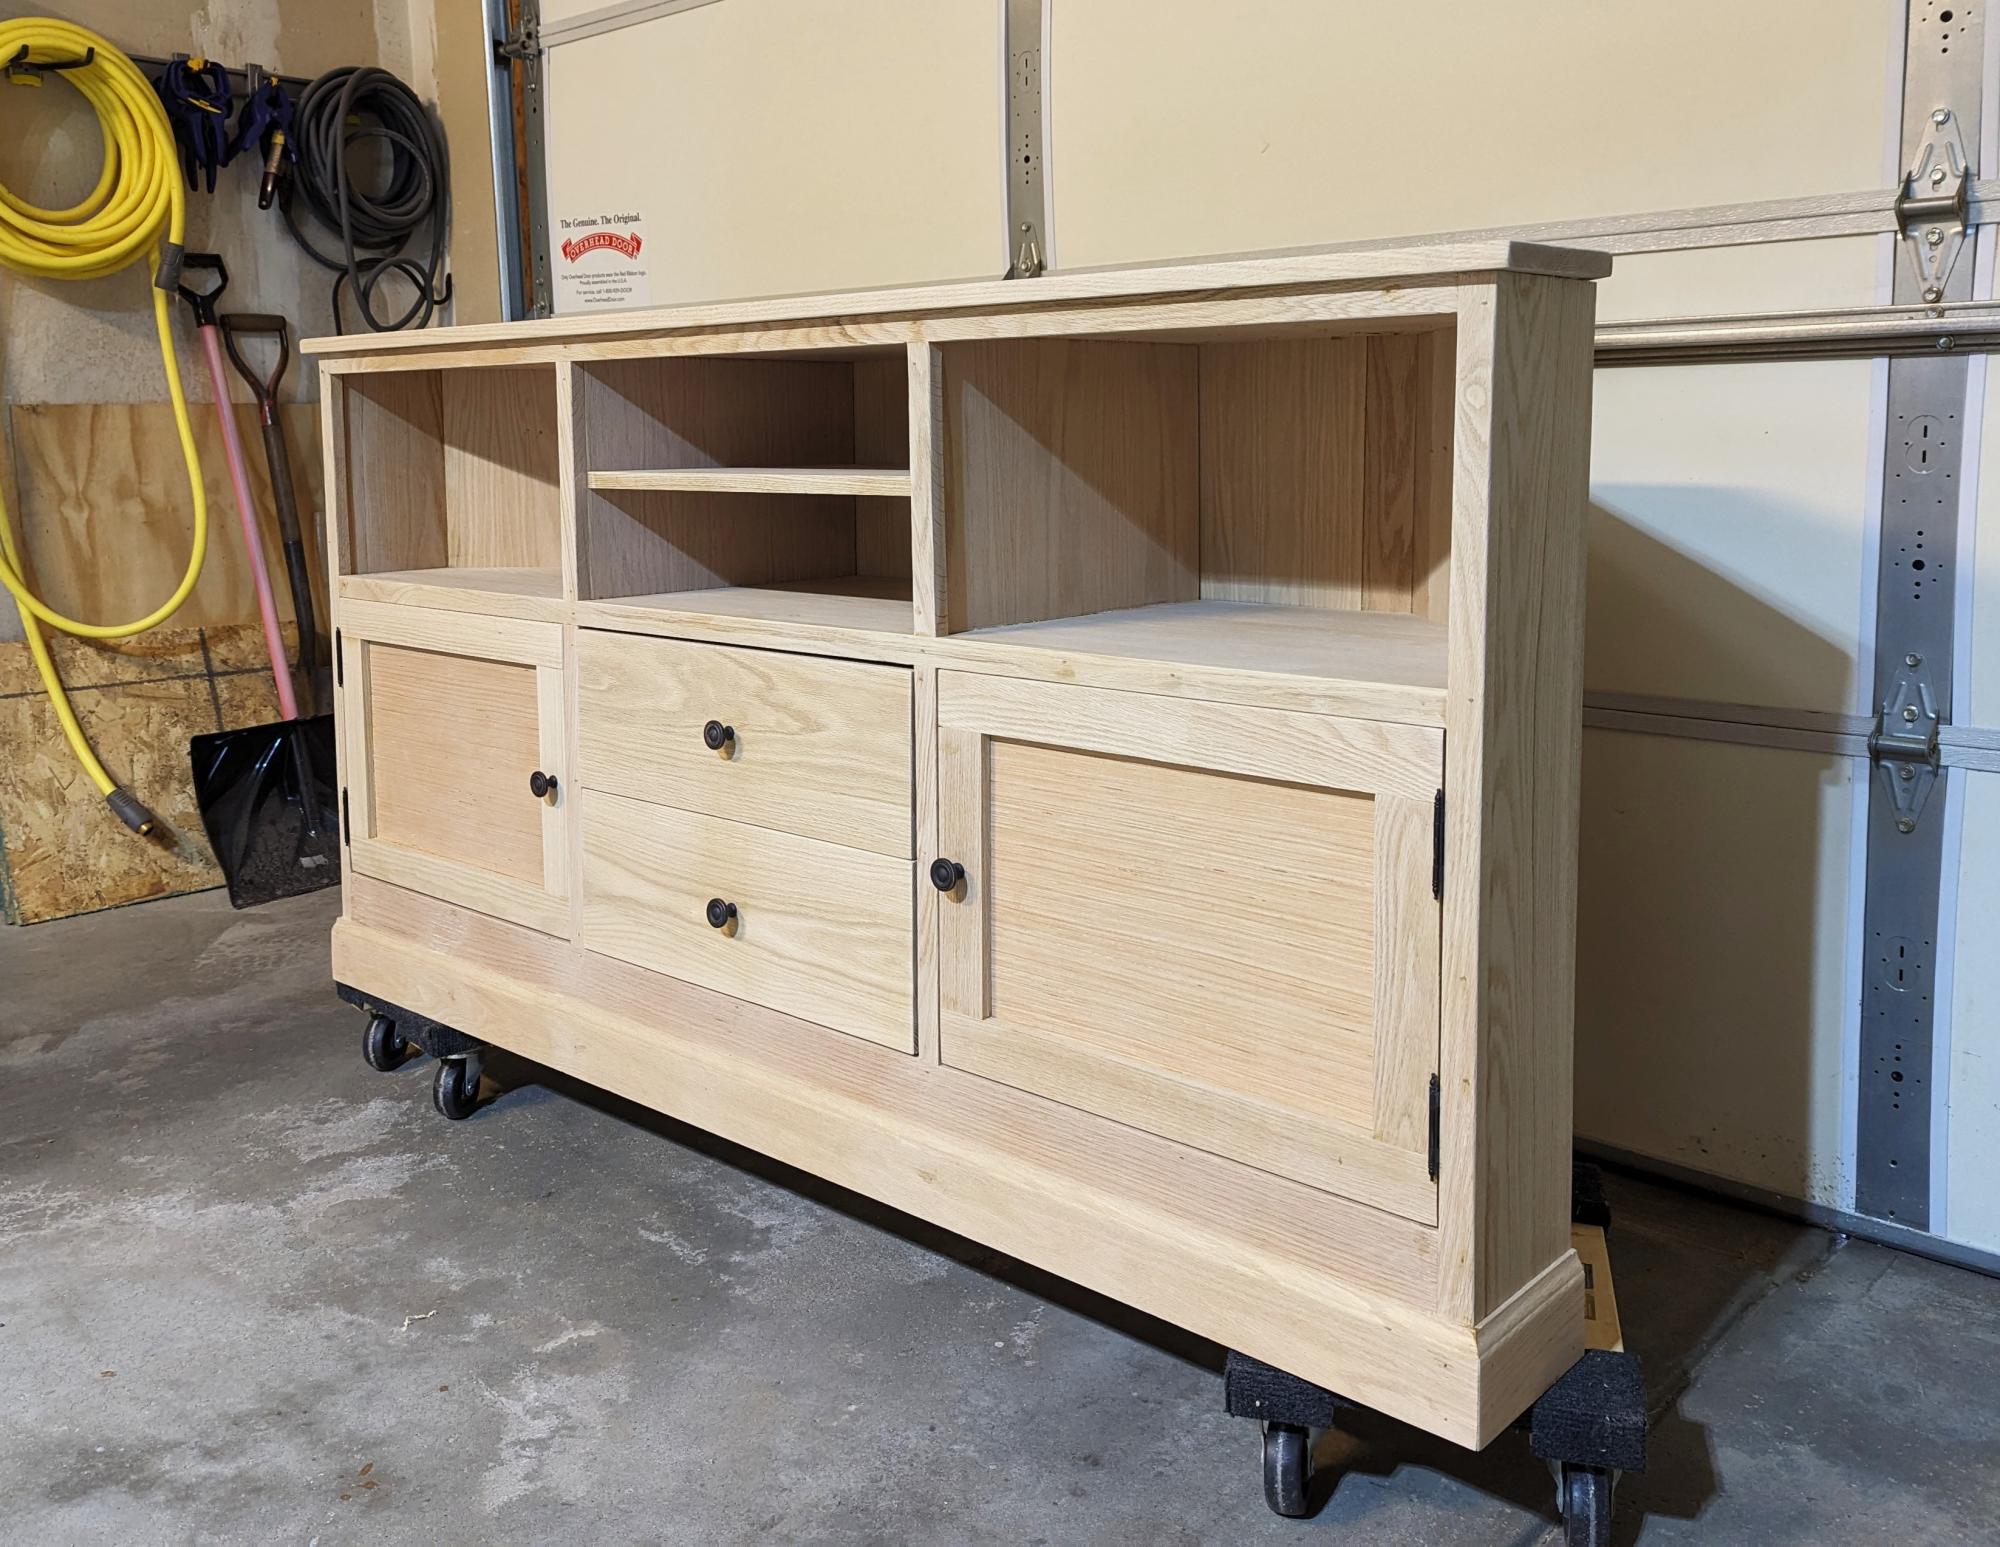
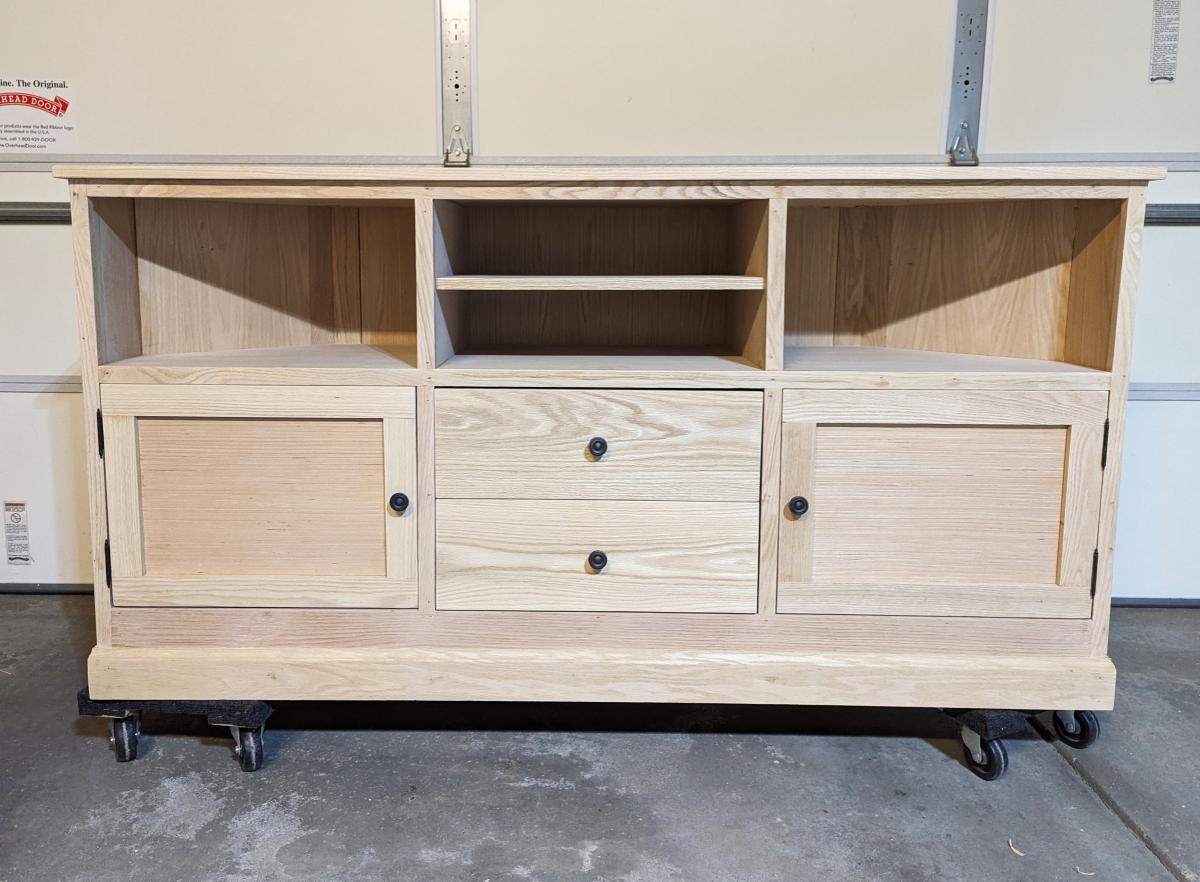
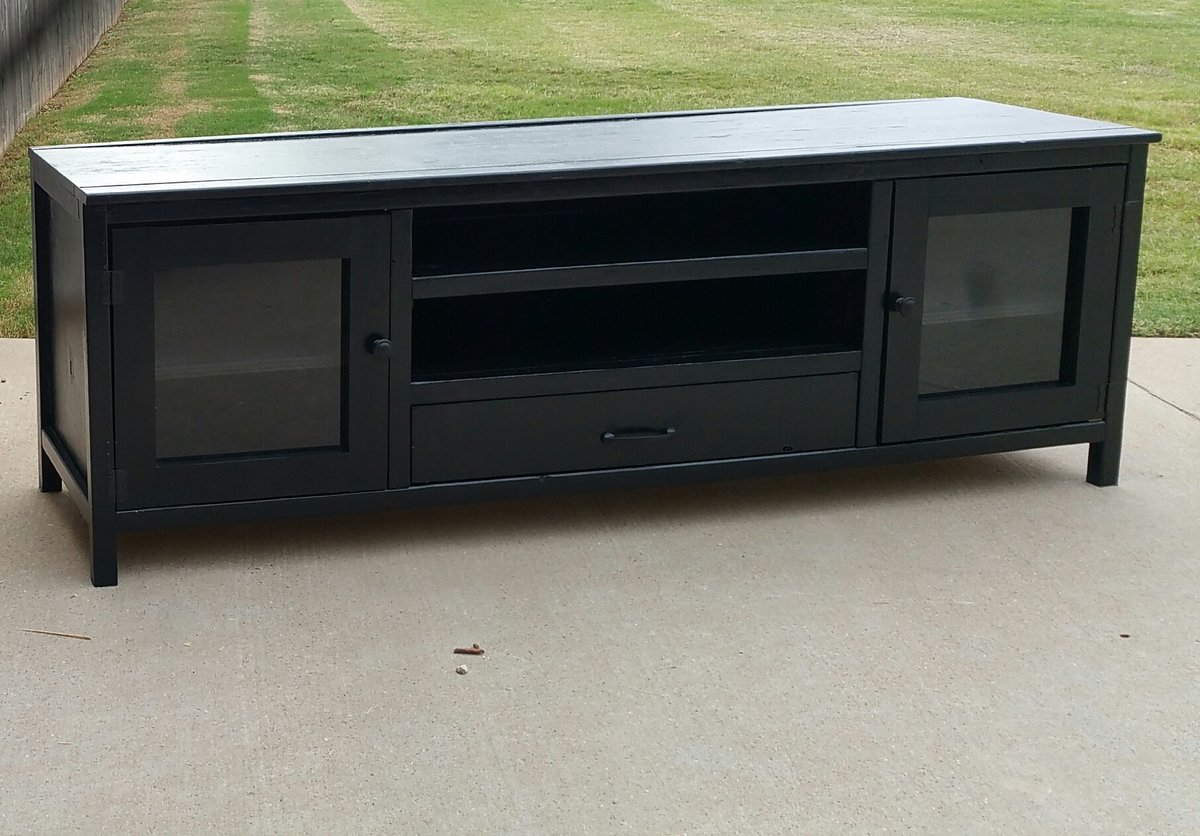
Modified TV stand

Submitted by Sb1212 on Mon, 11/07/2016 - 22:49

This measures 70in wide. I added a second shelf as well. I used plexiglass in the doors. I really love how this turned out!

Built from Plan(s)
Estimated Cost
60
Estimated Time Investment
Weekend Project (10-20 Hours)
Finish Used
Valspar Olympic Black paint satin finish
Recommended Skill Level
Intermediate

Comments

Farmhouse Queen Bed

Submitted by frmoody on Tue, 07/28/2020 - 17:35

I have built two of these modern farmhouse beds. One from the original farmhouse bed plans and one from the updated plan. This bed was basically the original plan but with the headboard and footboard built with horizontal boards. I did not like the revised farmhouse bed plans and the sides were way to heavy and more complex than they had to be. The were also supported only by pocket screws but I did block underneath each end to add more support. For the slats I also purchased #1 prime 1 x 4's as opposed to construction grade. They were nice and smooth and no need to sand or paint.

Estimated Time Investment
Week Long Project (20 Hours or More)
Finish Used
Customer just wanted a very light white finish so I used a diluted white paint more as a wash and then a couple of coats of matte varathane.
Recommended Skill Level
Intermediate

Comments

mmade

Sat, 02/20/2021 - 21:02

I love this! It’s exactly what I want. It’s like the mix of Ana’s two different farmhouse bed plans. I like the horizontal boards instead of the vertical and I didn’t want the ledges on the side trails. Thanks for showing me the way. :)

Hemnes cabinet with wire mesh

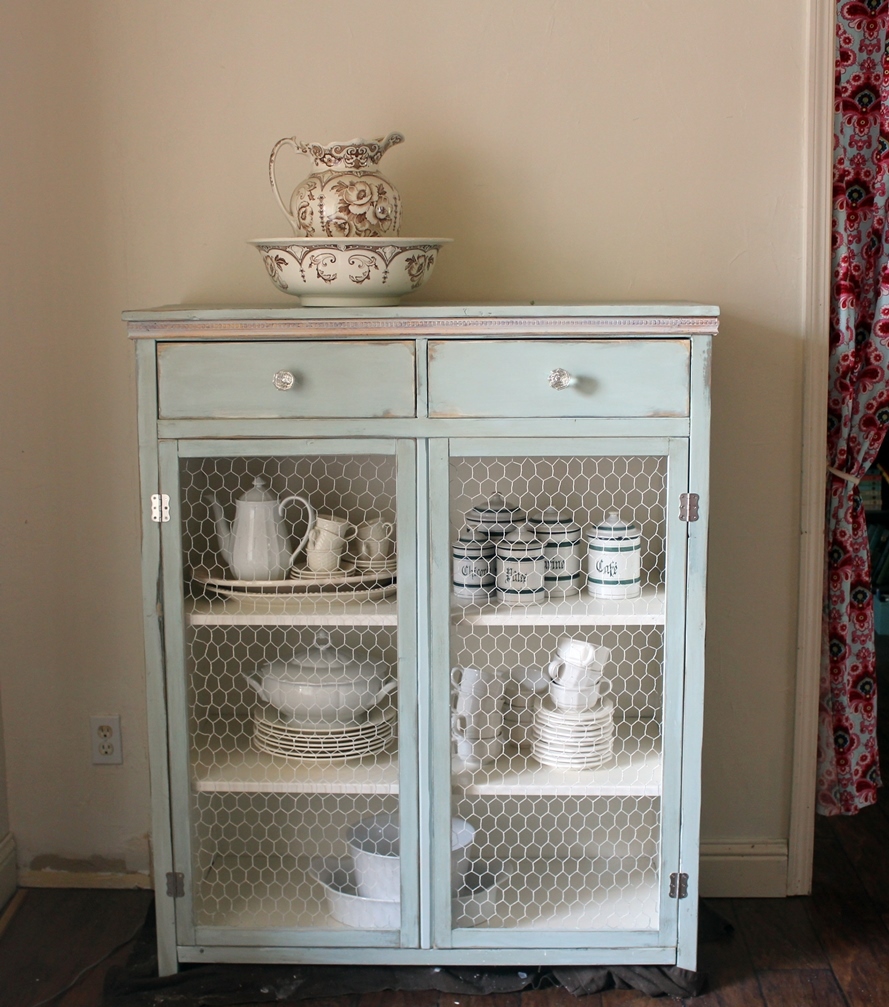
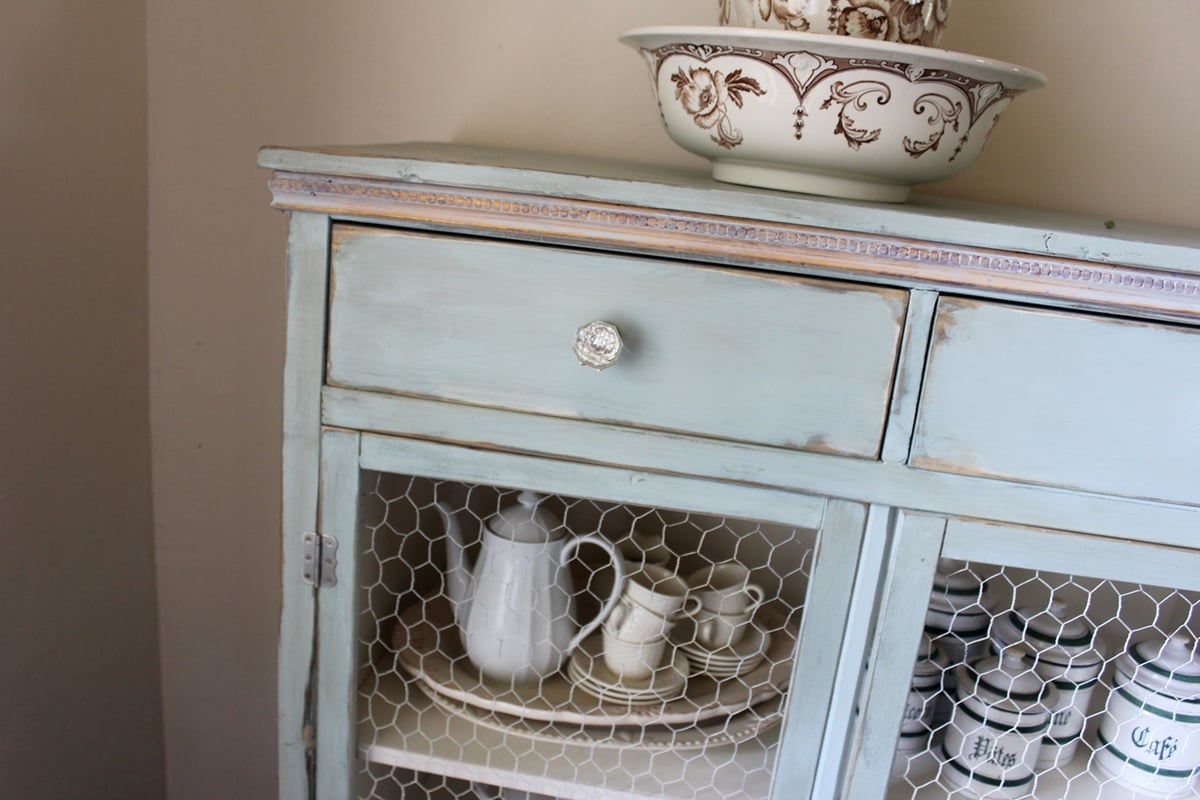
I'm still pretty new to woodworking so this cabinet took a little longer than it probably should have. I made the drawers a little deeper than the plans originally called for, which changed the height of the cabinet doors, but otherwise, all the other dimensions are the same. The laminated glass would have added another $100 to the cost so I used a chicken wire mesh that I dry brushed with the white I used on the interior. The knobs are from Anthropologie and I added a little trim piece around the top. I really love how much this cabinet holds. It is very versatile.

Built from Plan(s)
Estimated Cost
$100 including wood, hardware and paint
Estimated Time Investment
Weekend Project (10-20 Hours)
Finish Used
I used a custom mixture of Annie Sloan's Chalk Paint ( Duck egg Blue) and an antique white. The mixture was about half blue and half white. I finished with a couple of coats of dark wax.
Recommended Skill Level
Beginner

Comments

CroomScM

Sun, 10/30/2016 - 13:07

love it! Did you have any issues getting the drawer in when the slides are installed? We installed the slides on the drawer box and then the slides on the case and we had to loosen some to actually get the drawer in, because the little wheels of the slides were basically blocking us from pivoting it in. Thanks!

An Heirloom for the Niece

This is the 3rd wagon I've made.  It makes an excellent 'heirloom' gift that you can personalize for each recipient that will last for years to come and can be handed down through generations.  I decided to go with 5" wheels on my wagons.

Built from Plan(s)
Estimated Cost
$75-$100
Estimated Time Investment
Weekend Project (10-20 Hours)
Finish Used
Wagon: Minwax Early American on wood and Krylon Satin Black on Metal pieces. Wood letters and plaque: DecoArt Americana Lamp Black and Williamsburg Blue
Recommended Skill Level
Beginner

Modern Adirondack Chair, Super Sized

Submitted by Anonymous (not verified) on Fri, 08/21/2020 - 10:39

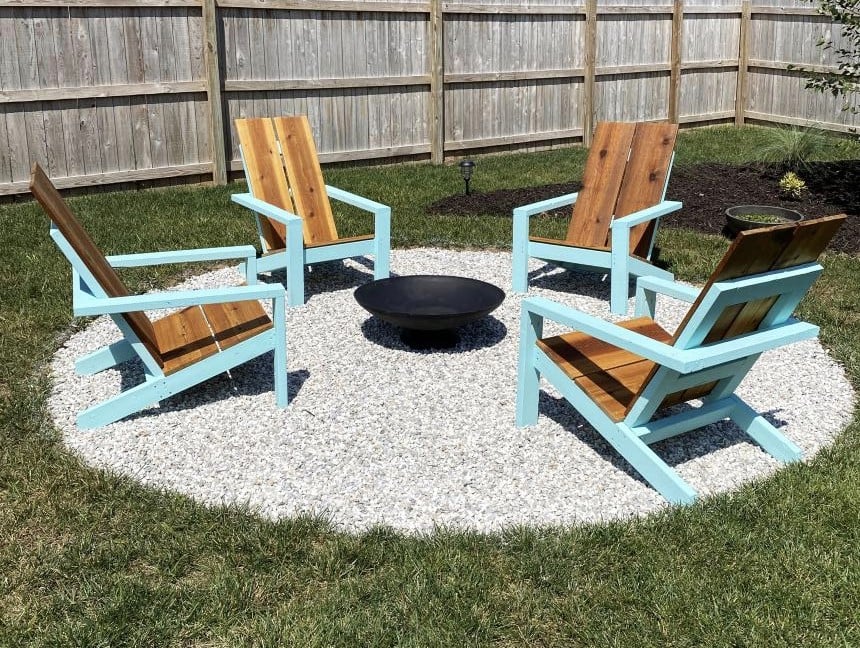
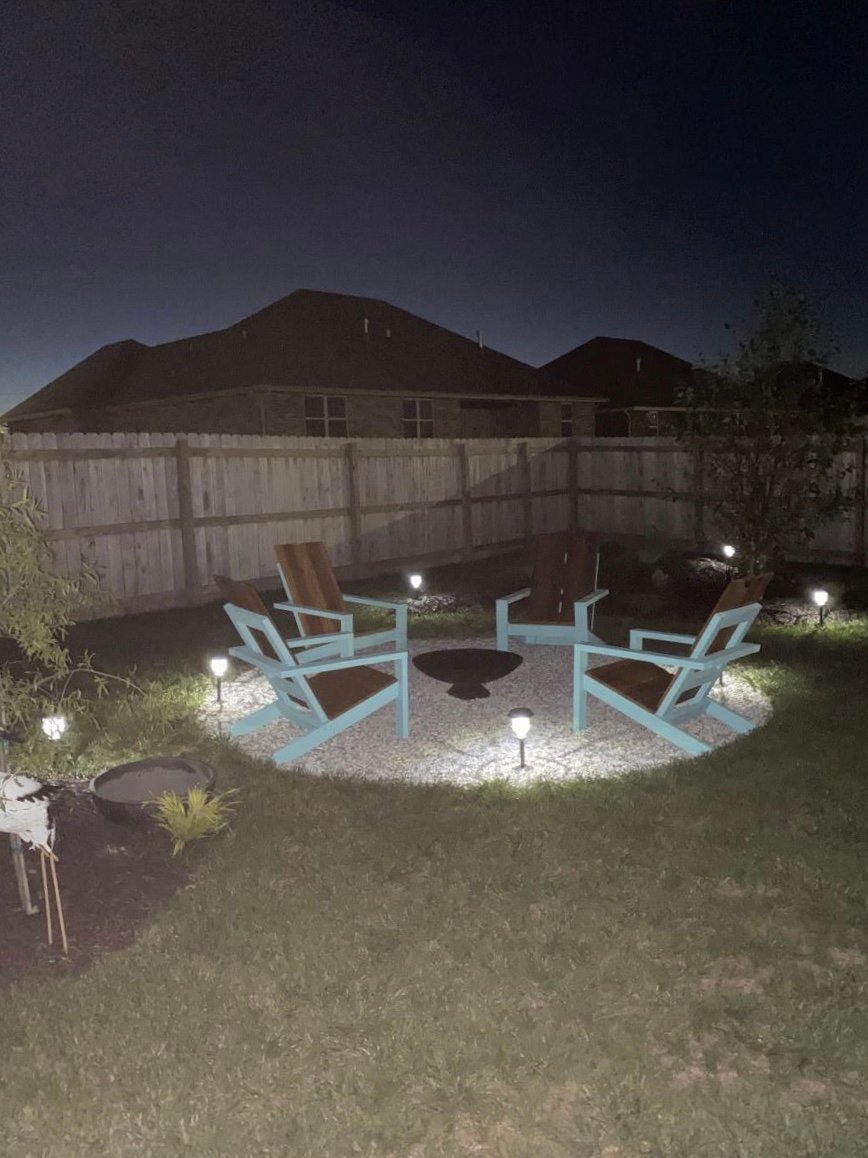
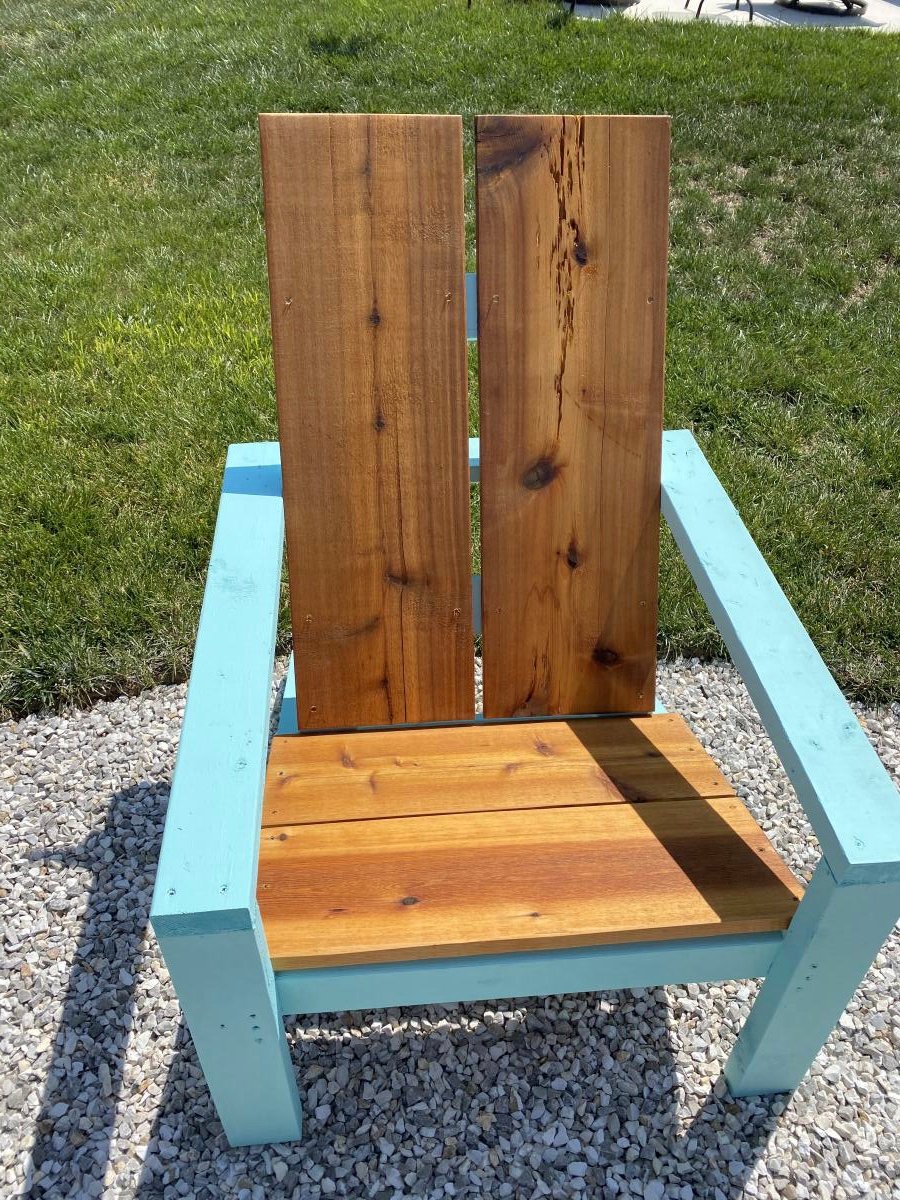
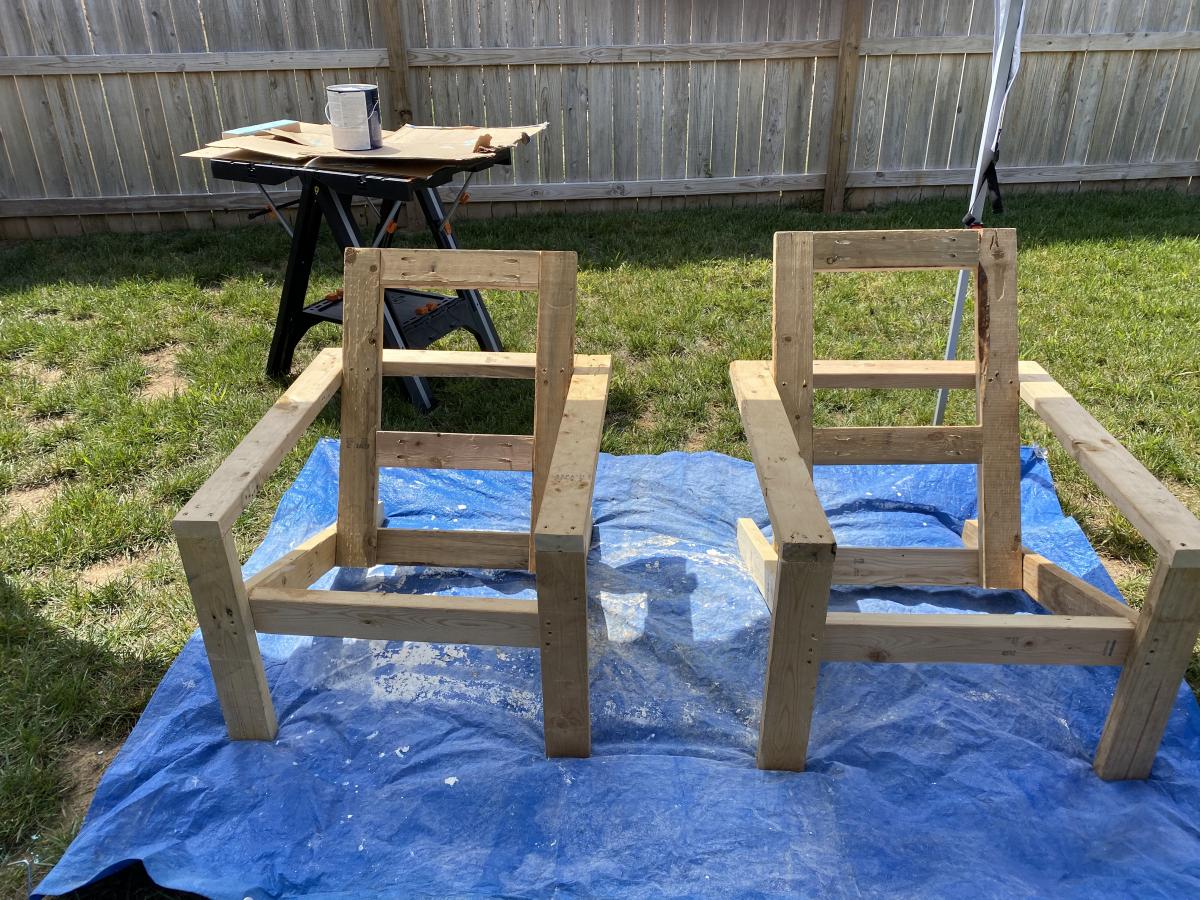
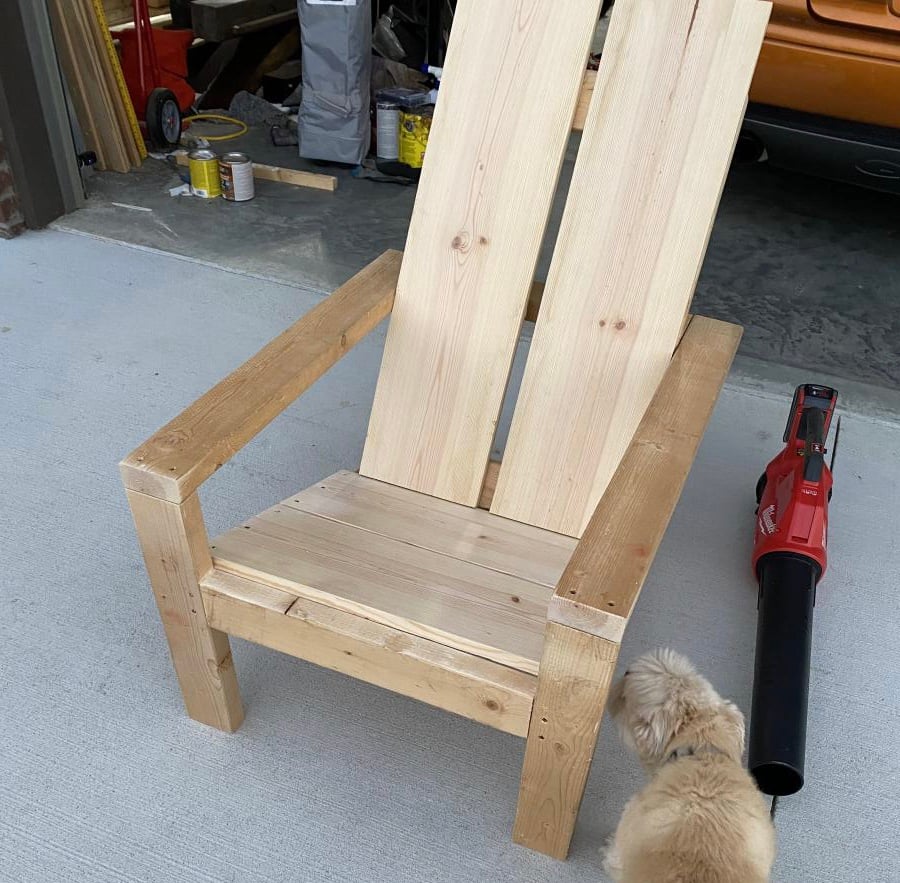
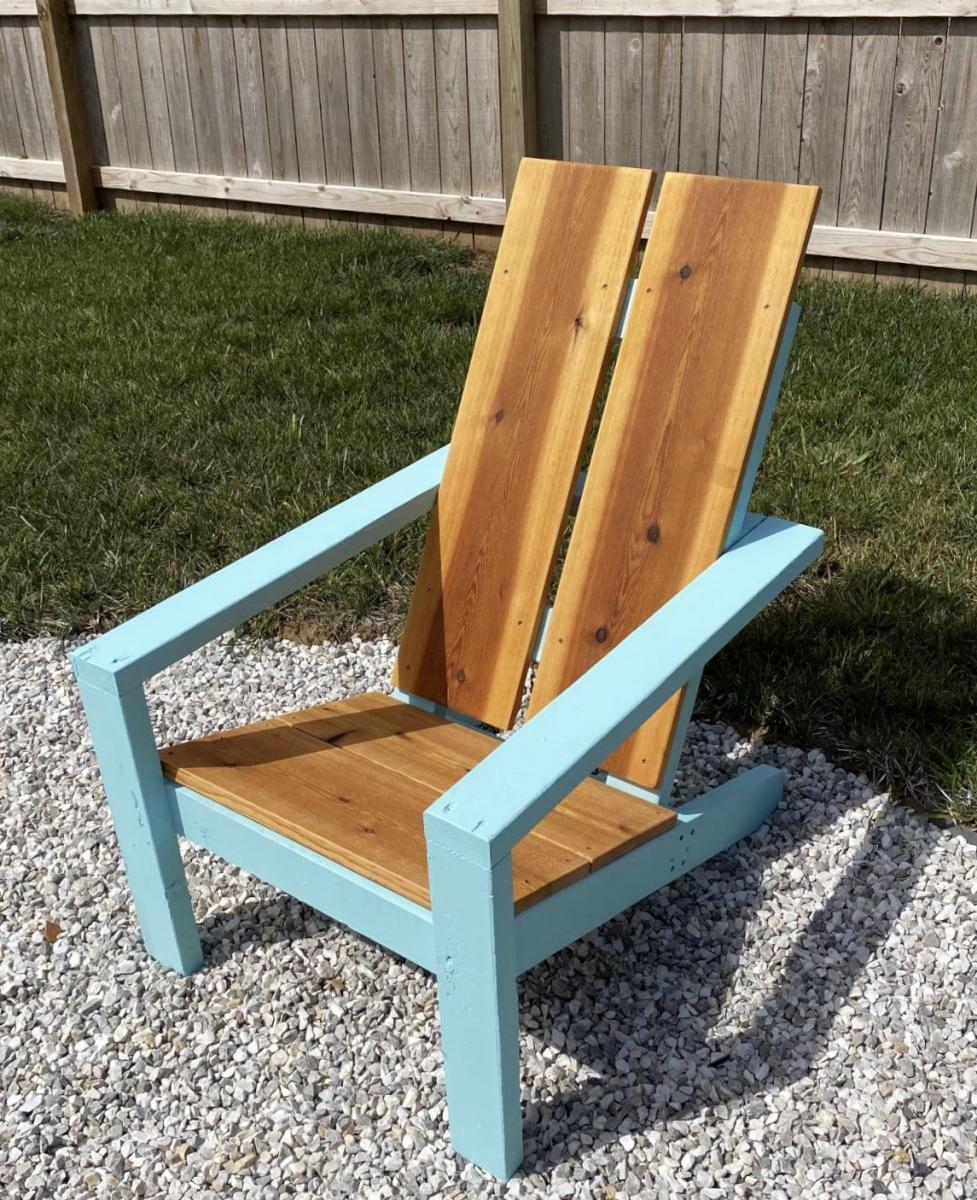
Am a big fan of Ana's work, and have used several of her plans in prior builds including the more traditional Adirondack chairs. Those stayed with my old house, and I wanted something different for my new house. Really liked her Modern Adirondack design with the floating arm rest. However, plans are like recipes to me--a guideline. I wanted the back boards to run up and down, and I am a bit more robust than the lovely and petite Ms. White, so they would need to be wider after I built the first one at 19 1/2" wide per plan. The next three I made 22" wide and that worked well without throwing off the geometry and angles of the other parts. Since I ran the backboards up and down, I needed some cross beams for stability and to give an attachment point for the middle of the boards. Cut some 2x4s at 15" wide, drilled pocket holes in both ends, and attached in between the back supports with the pockets facing up to be hidden by the back boards. All of the 2x4s were leftover cut-offs from the houses being built in my neighborhood. Since the frames were free, I splurged and went with cedar boards for the backs and bottoms. With the wider frames, I had to use 1x12s ripped down to 10 3/4" to get the right look (about a board's width in between). Needed some color, so I painted the frames Teal Seaglass from Menards. Cedar was stained with a natural deck stain from Sherwin Williams. I experimented with salt paint (mixing unsanded grout with the paint) to give a heavily textured and weathered finish but this was unecessary--the wood was distressed enough and I am a terrible painter. It also toned down the color so I skipped that step and just went with 2 coats of plain paint. It looks like outdoor furniture should up close. As always, am pleased with Ana's plans. Thank you for doing all the hard work!

Estimated Cost
about $200 for all 4 chairs due to cedar and paint
Estimated Time Investment
Weekend Project (10-20 Hours)
Finish Used
Paint - Pittsburgh matte exterior with Dutch Boy coloring Teal Seaglass
Stain - Sherwin Williams Superdeck stain, Natural finish
Recommended Skill Level
Starter Project

Comments

Seasonal And Holiday

Little yellow console table

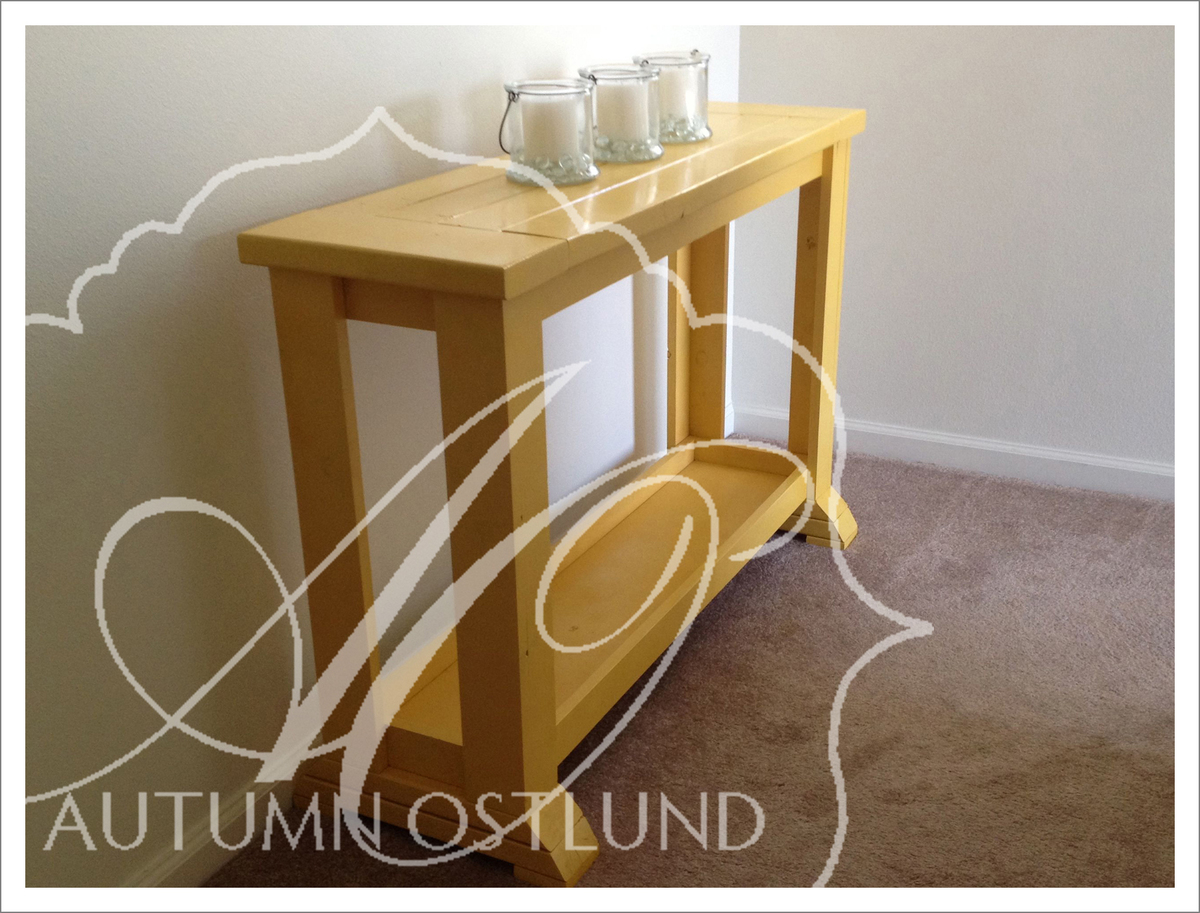
I combined the workbench console and tryde console plans to make this perfect for our upstairs hall.

Estimated Time Investment
Afternoon Project (3-6 Hours)
Finish Used
Spray painted yellow (it was really humid here and I wanted it to dry quickly) lacquered for a super shiny finish.
Recommended Skill Level
Beginner

Comments

Back