Community Brag Posts

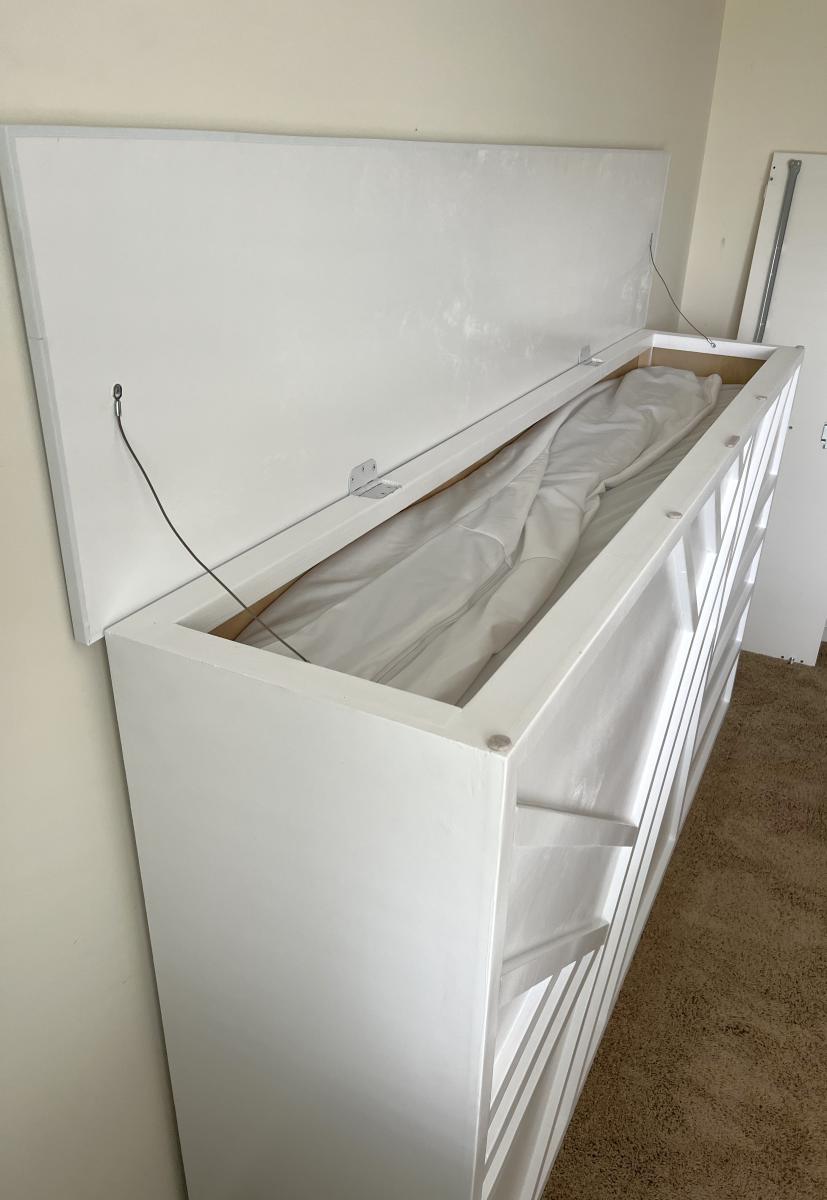
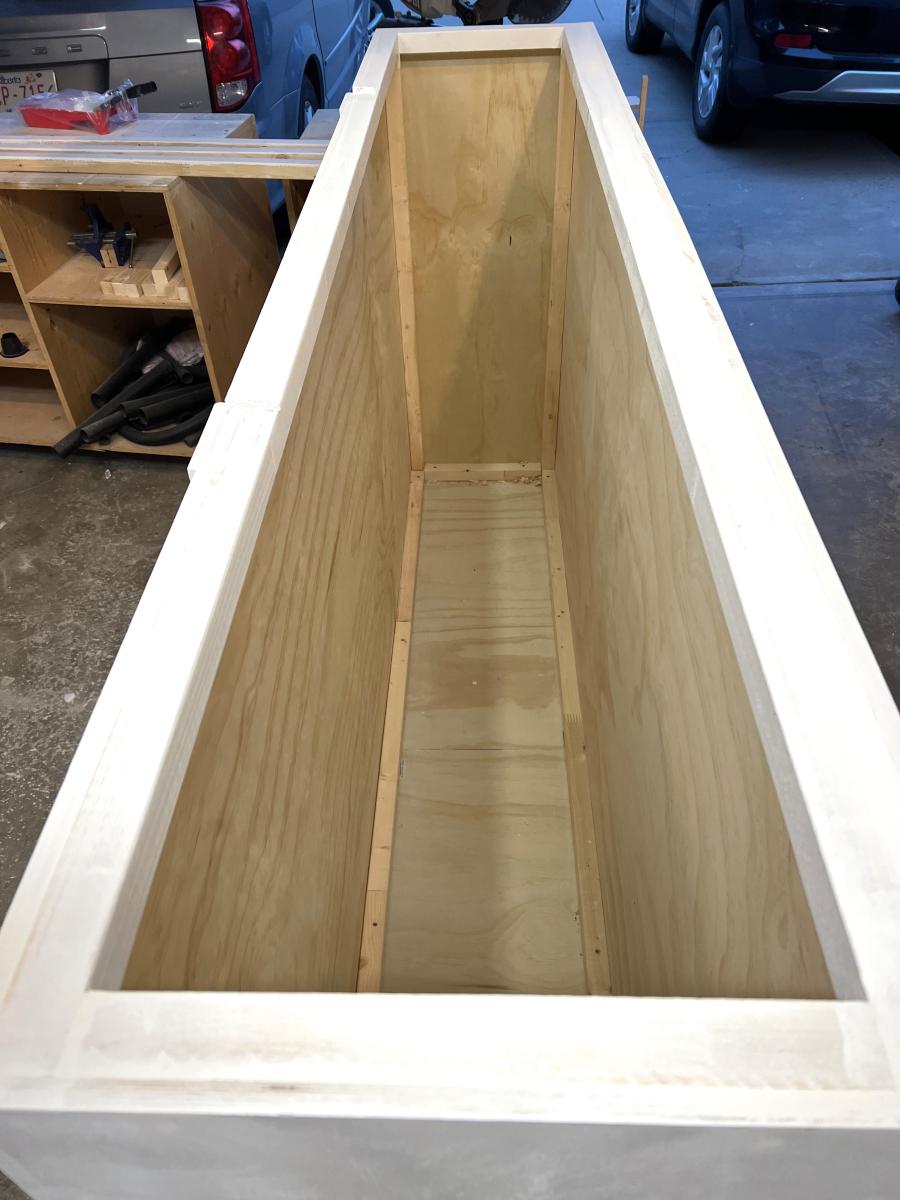
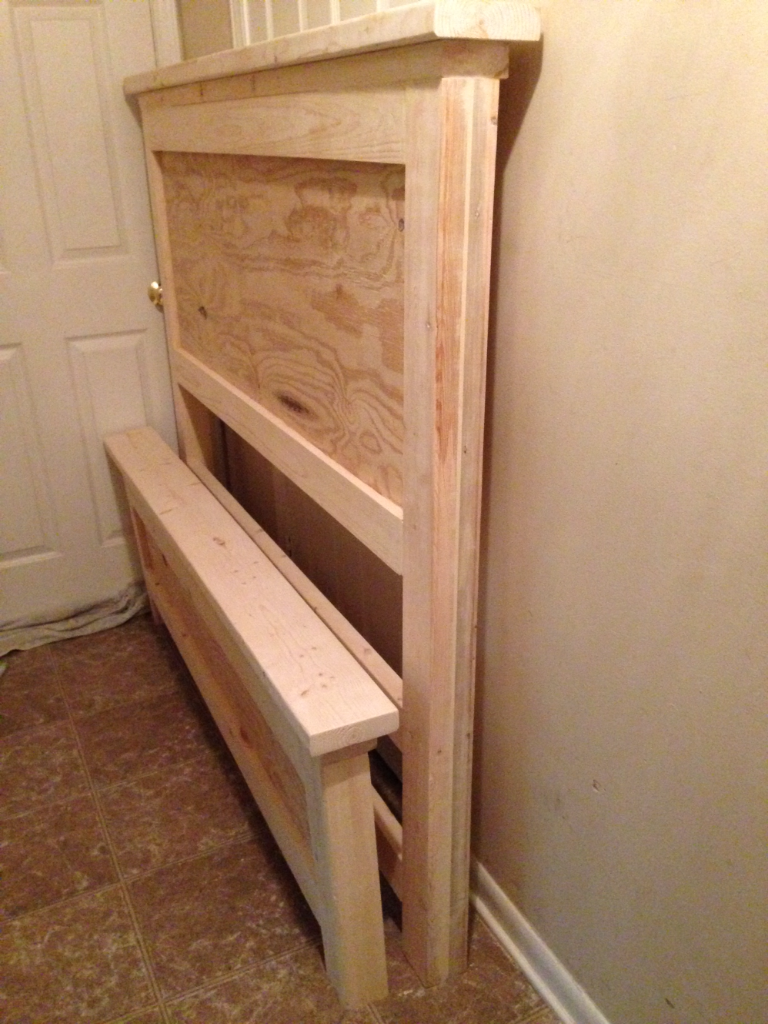
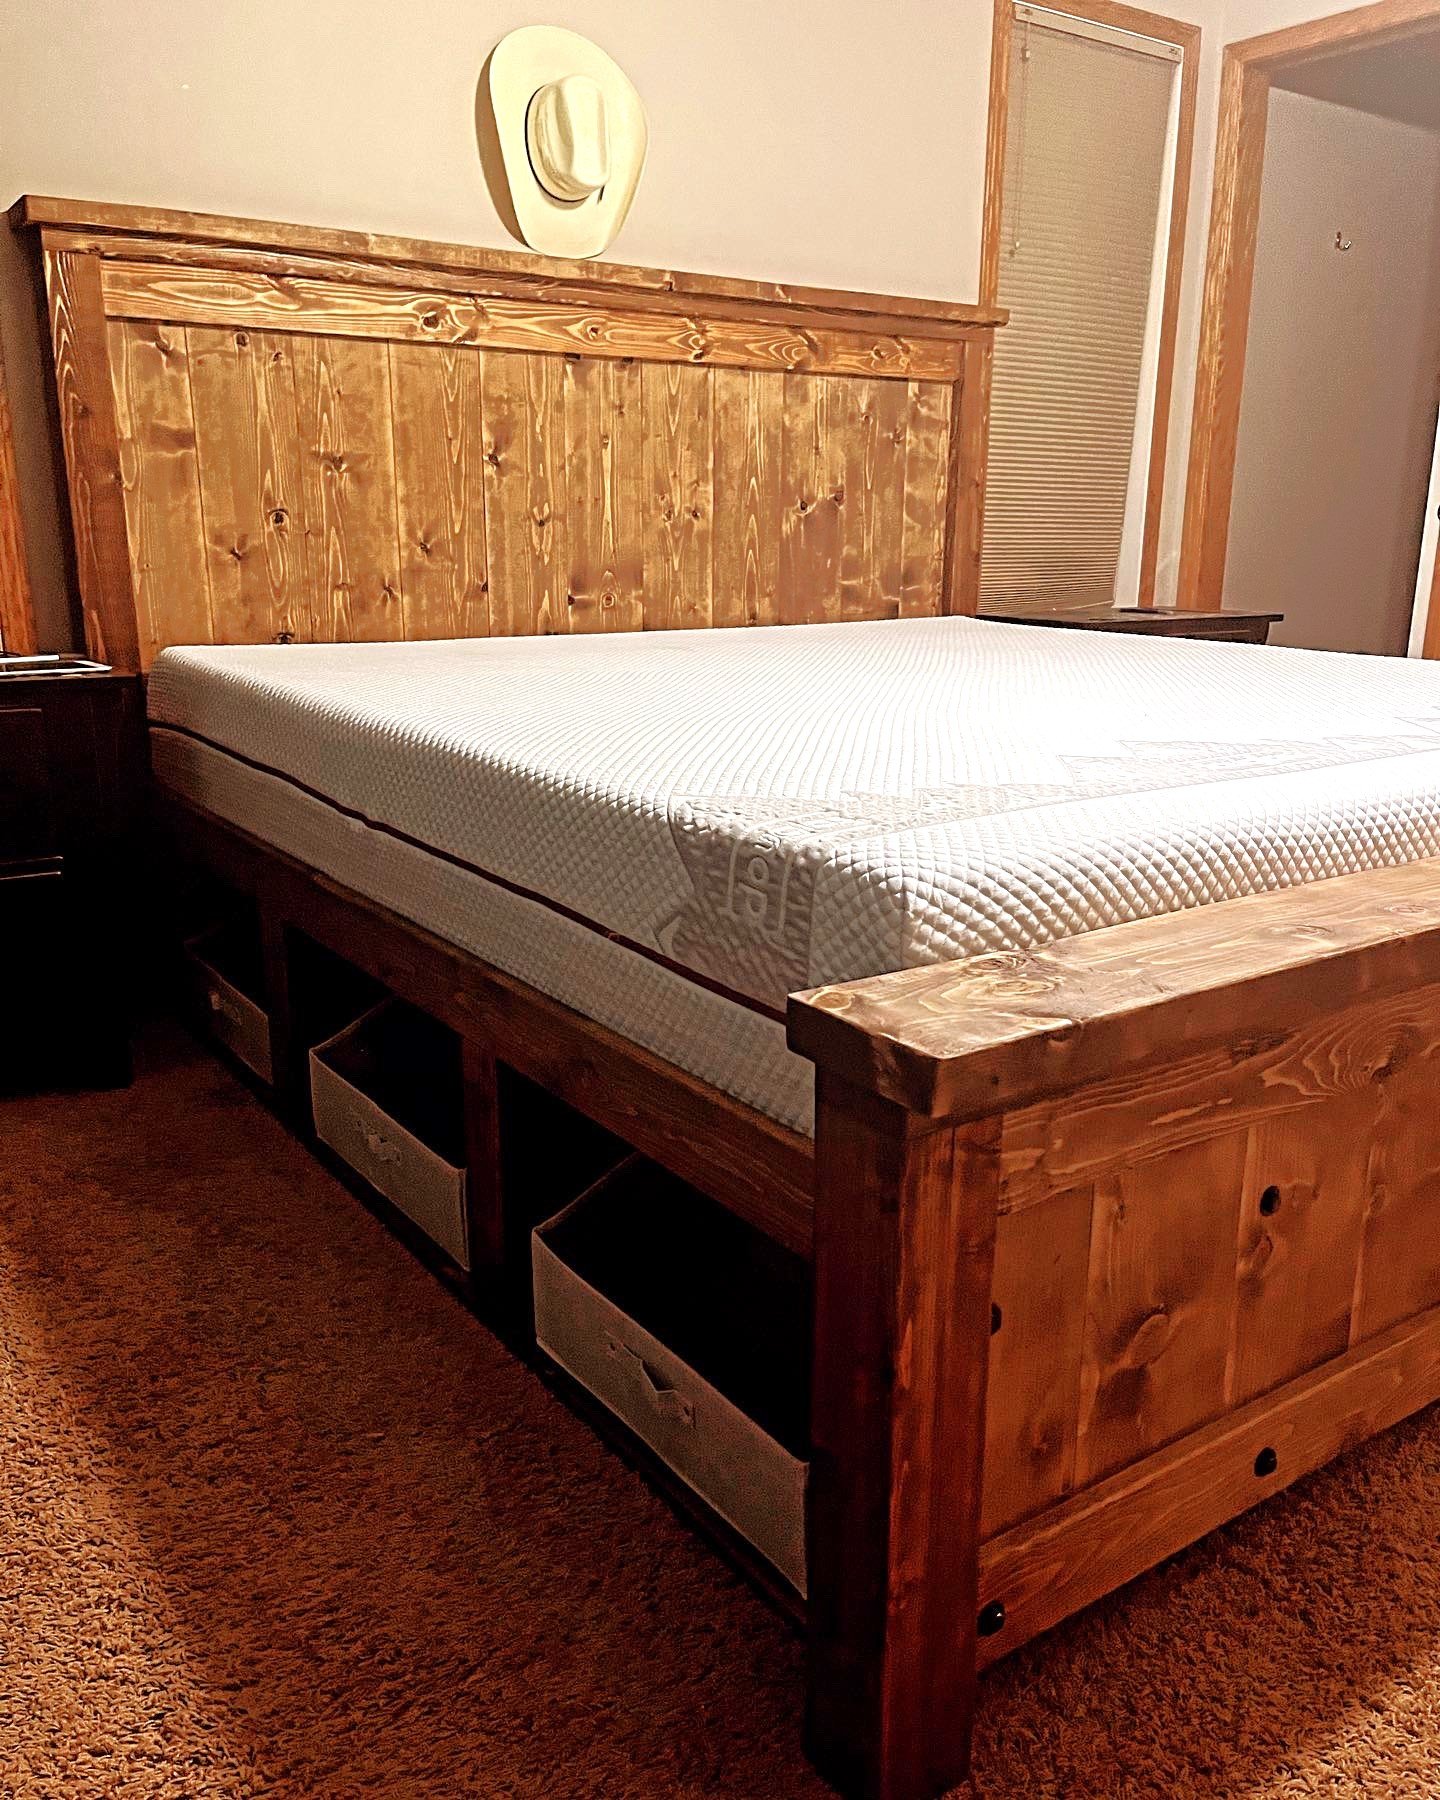
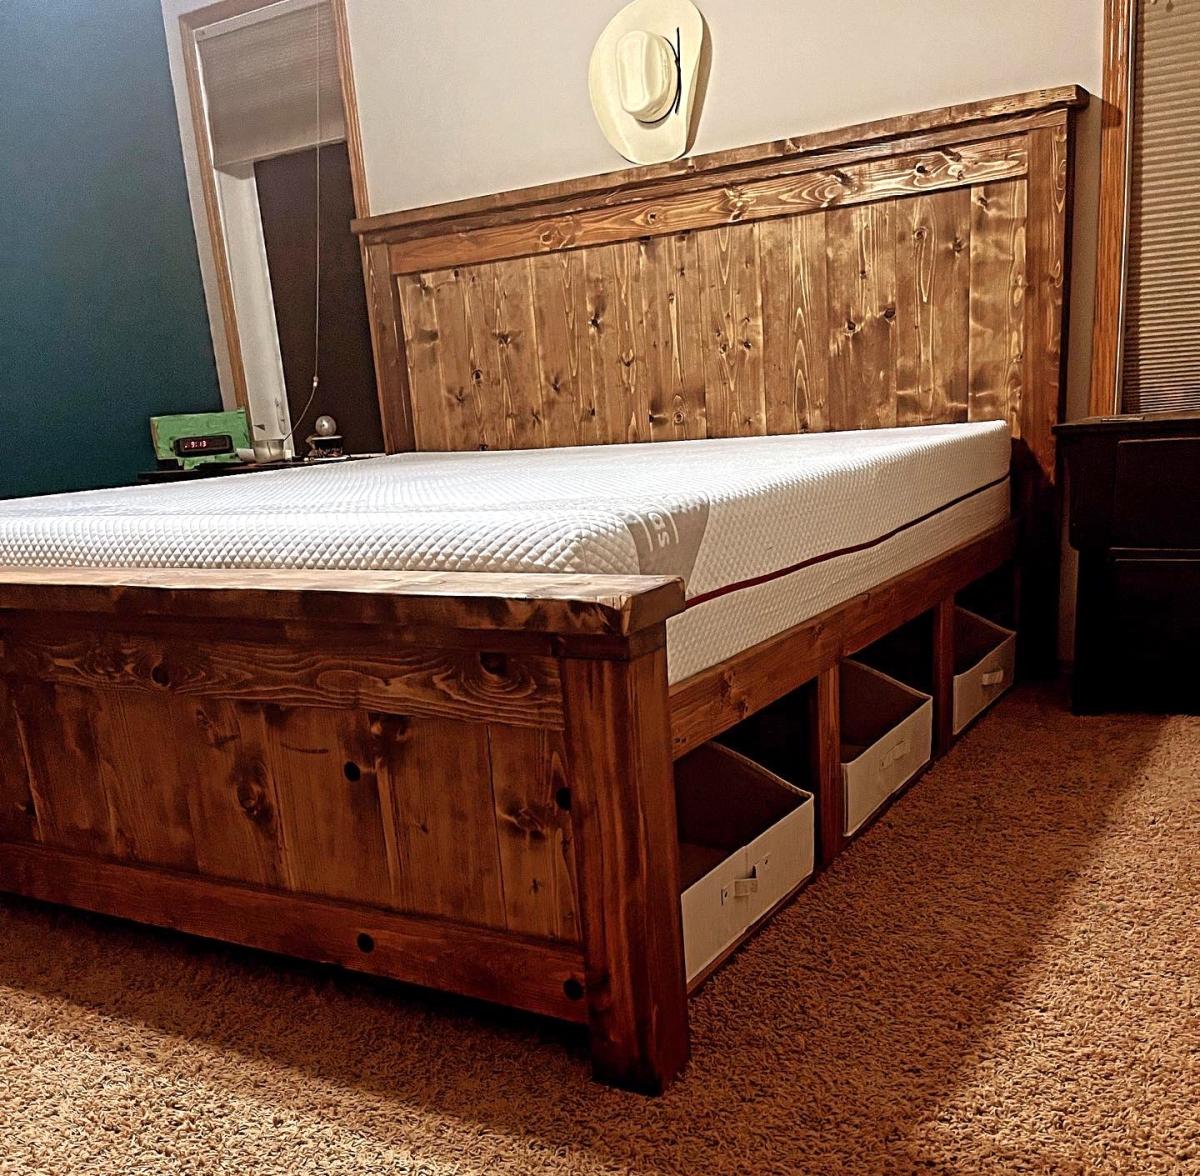
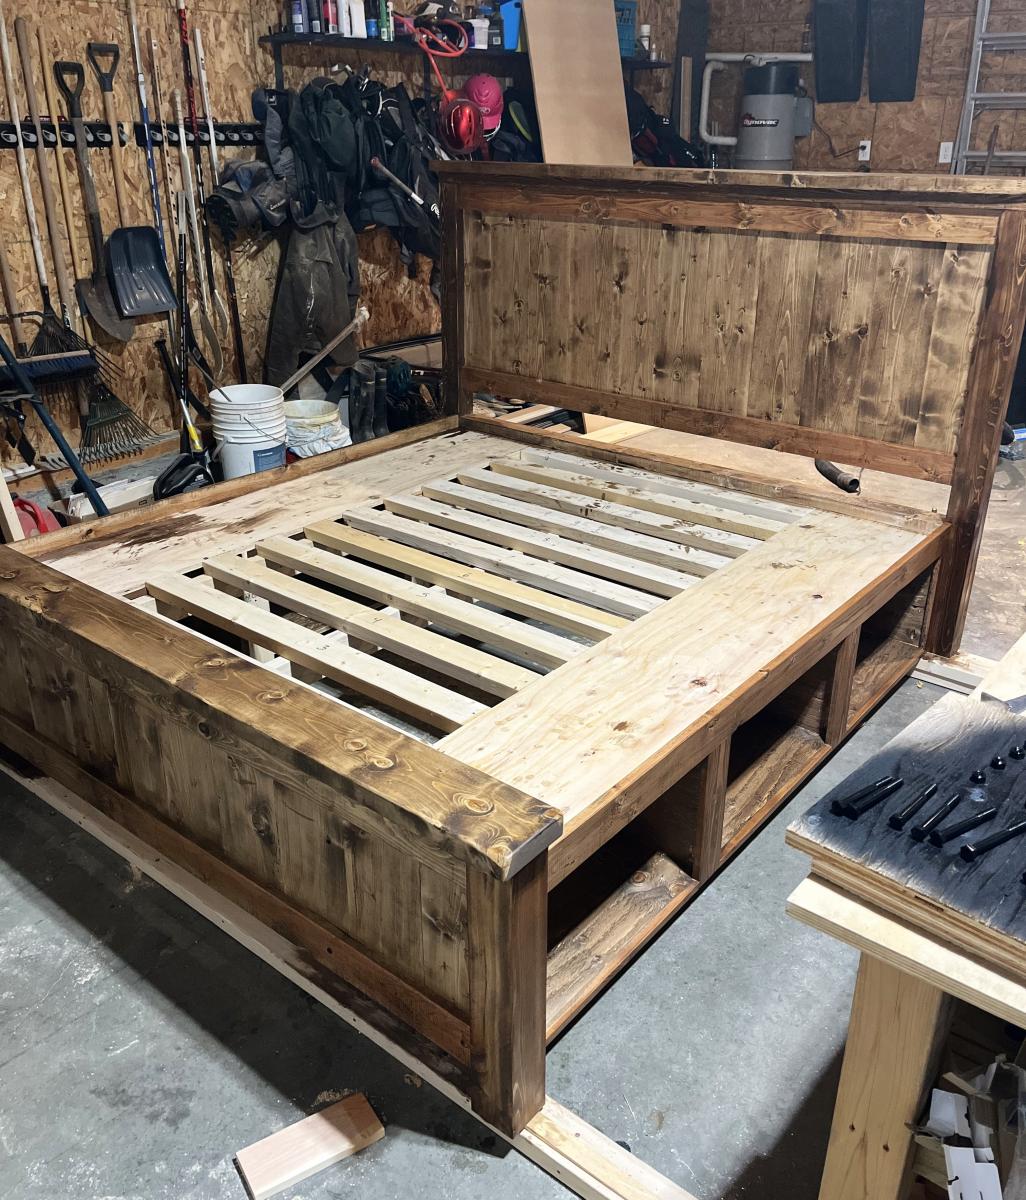
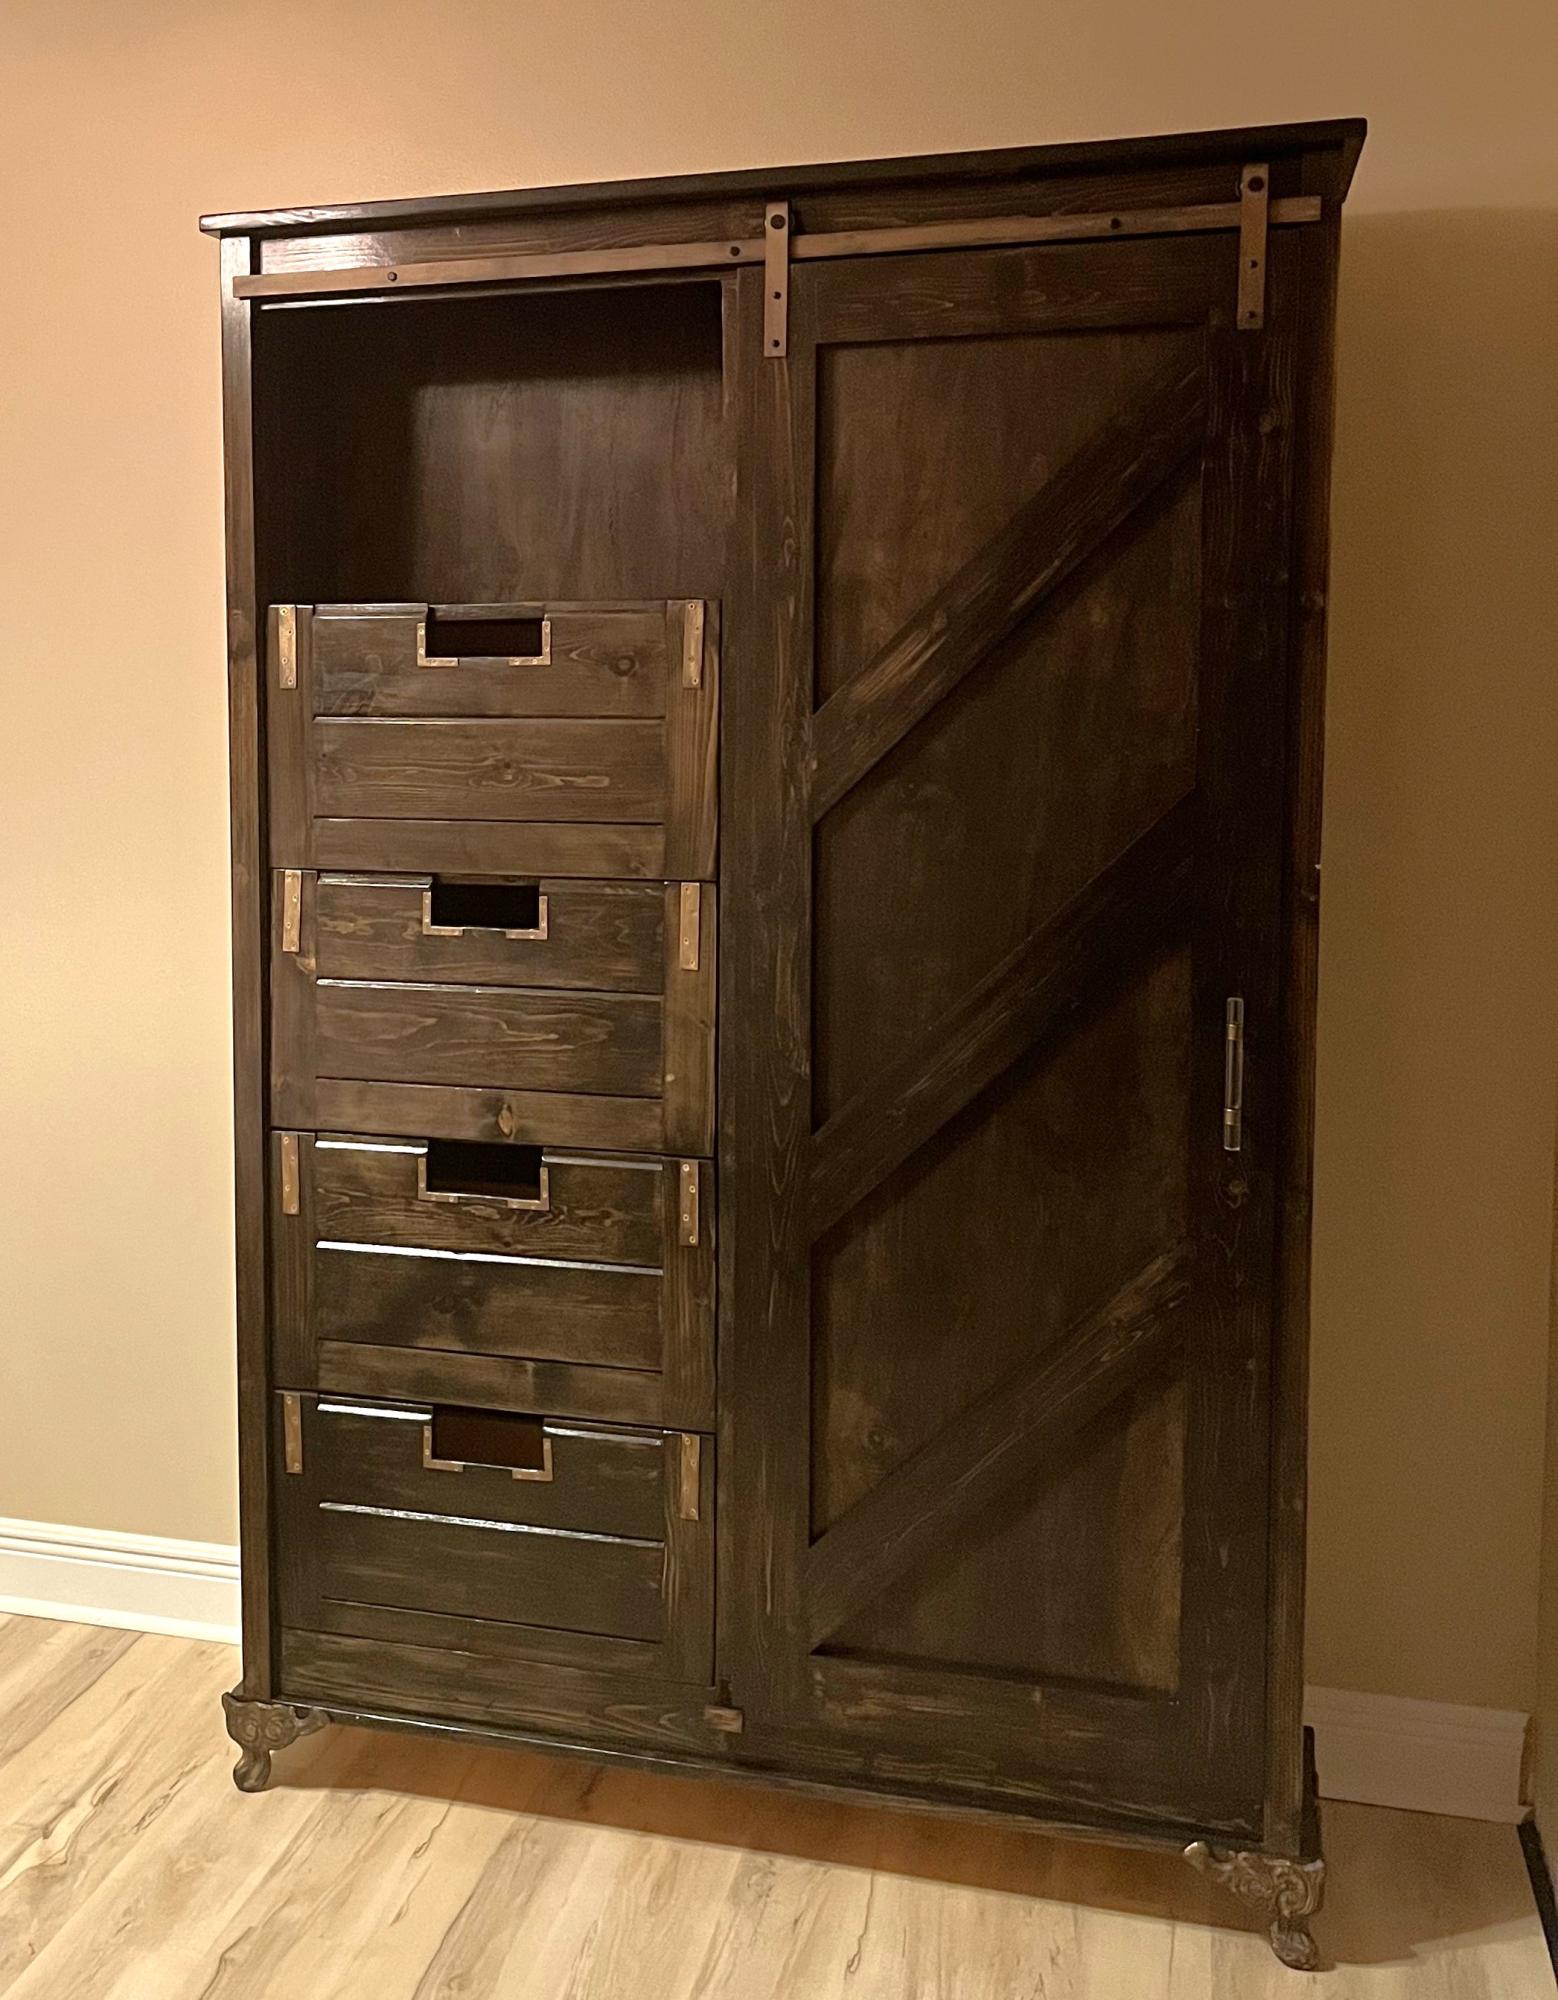
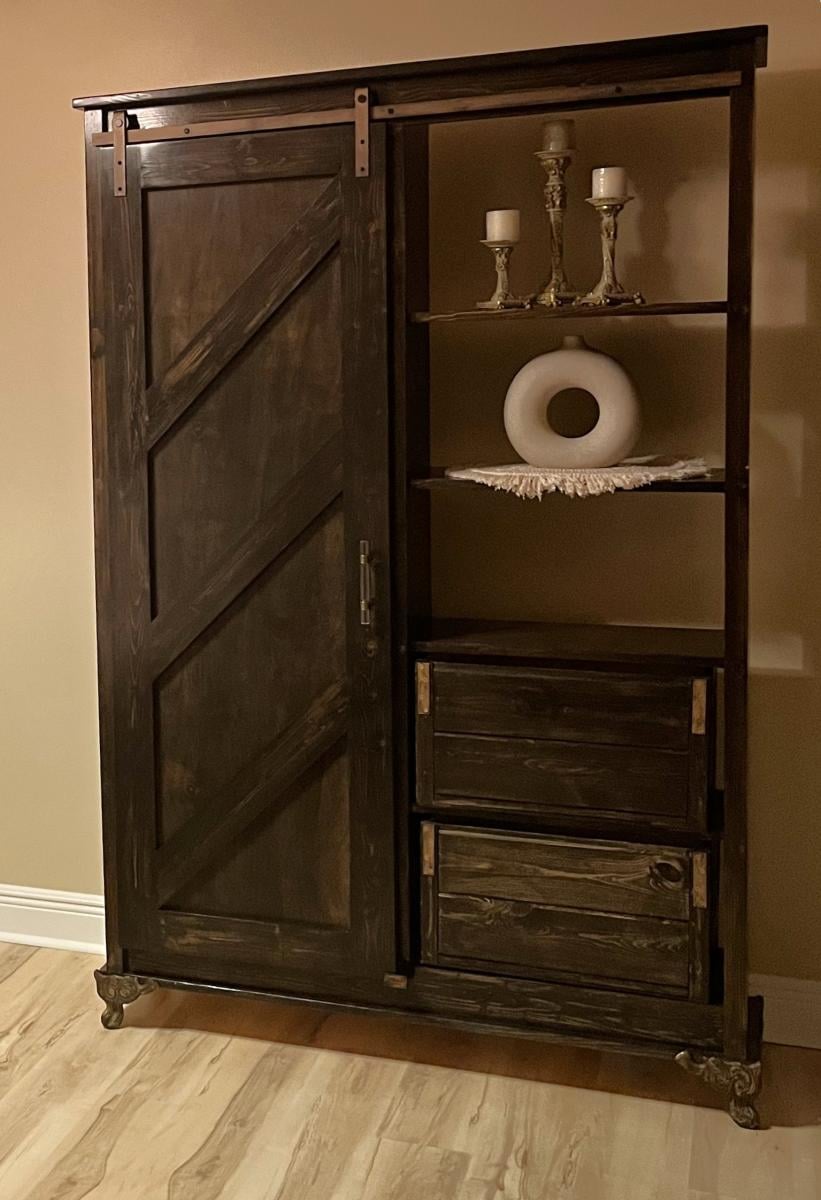
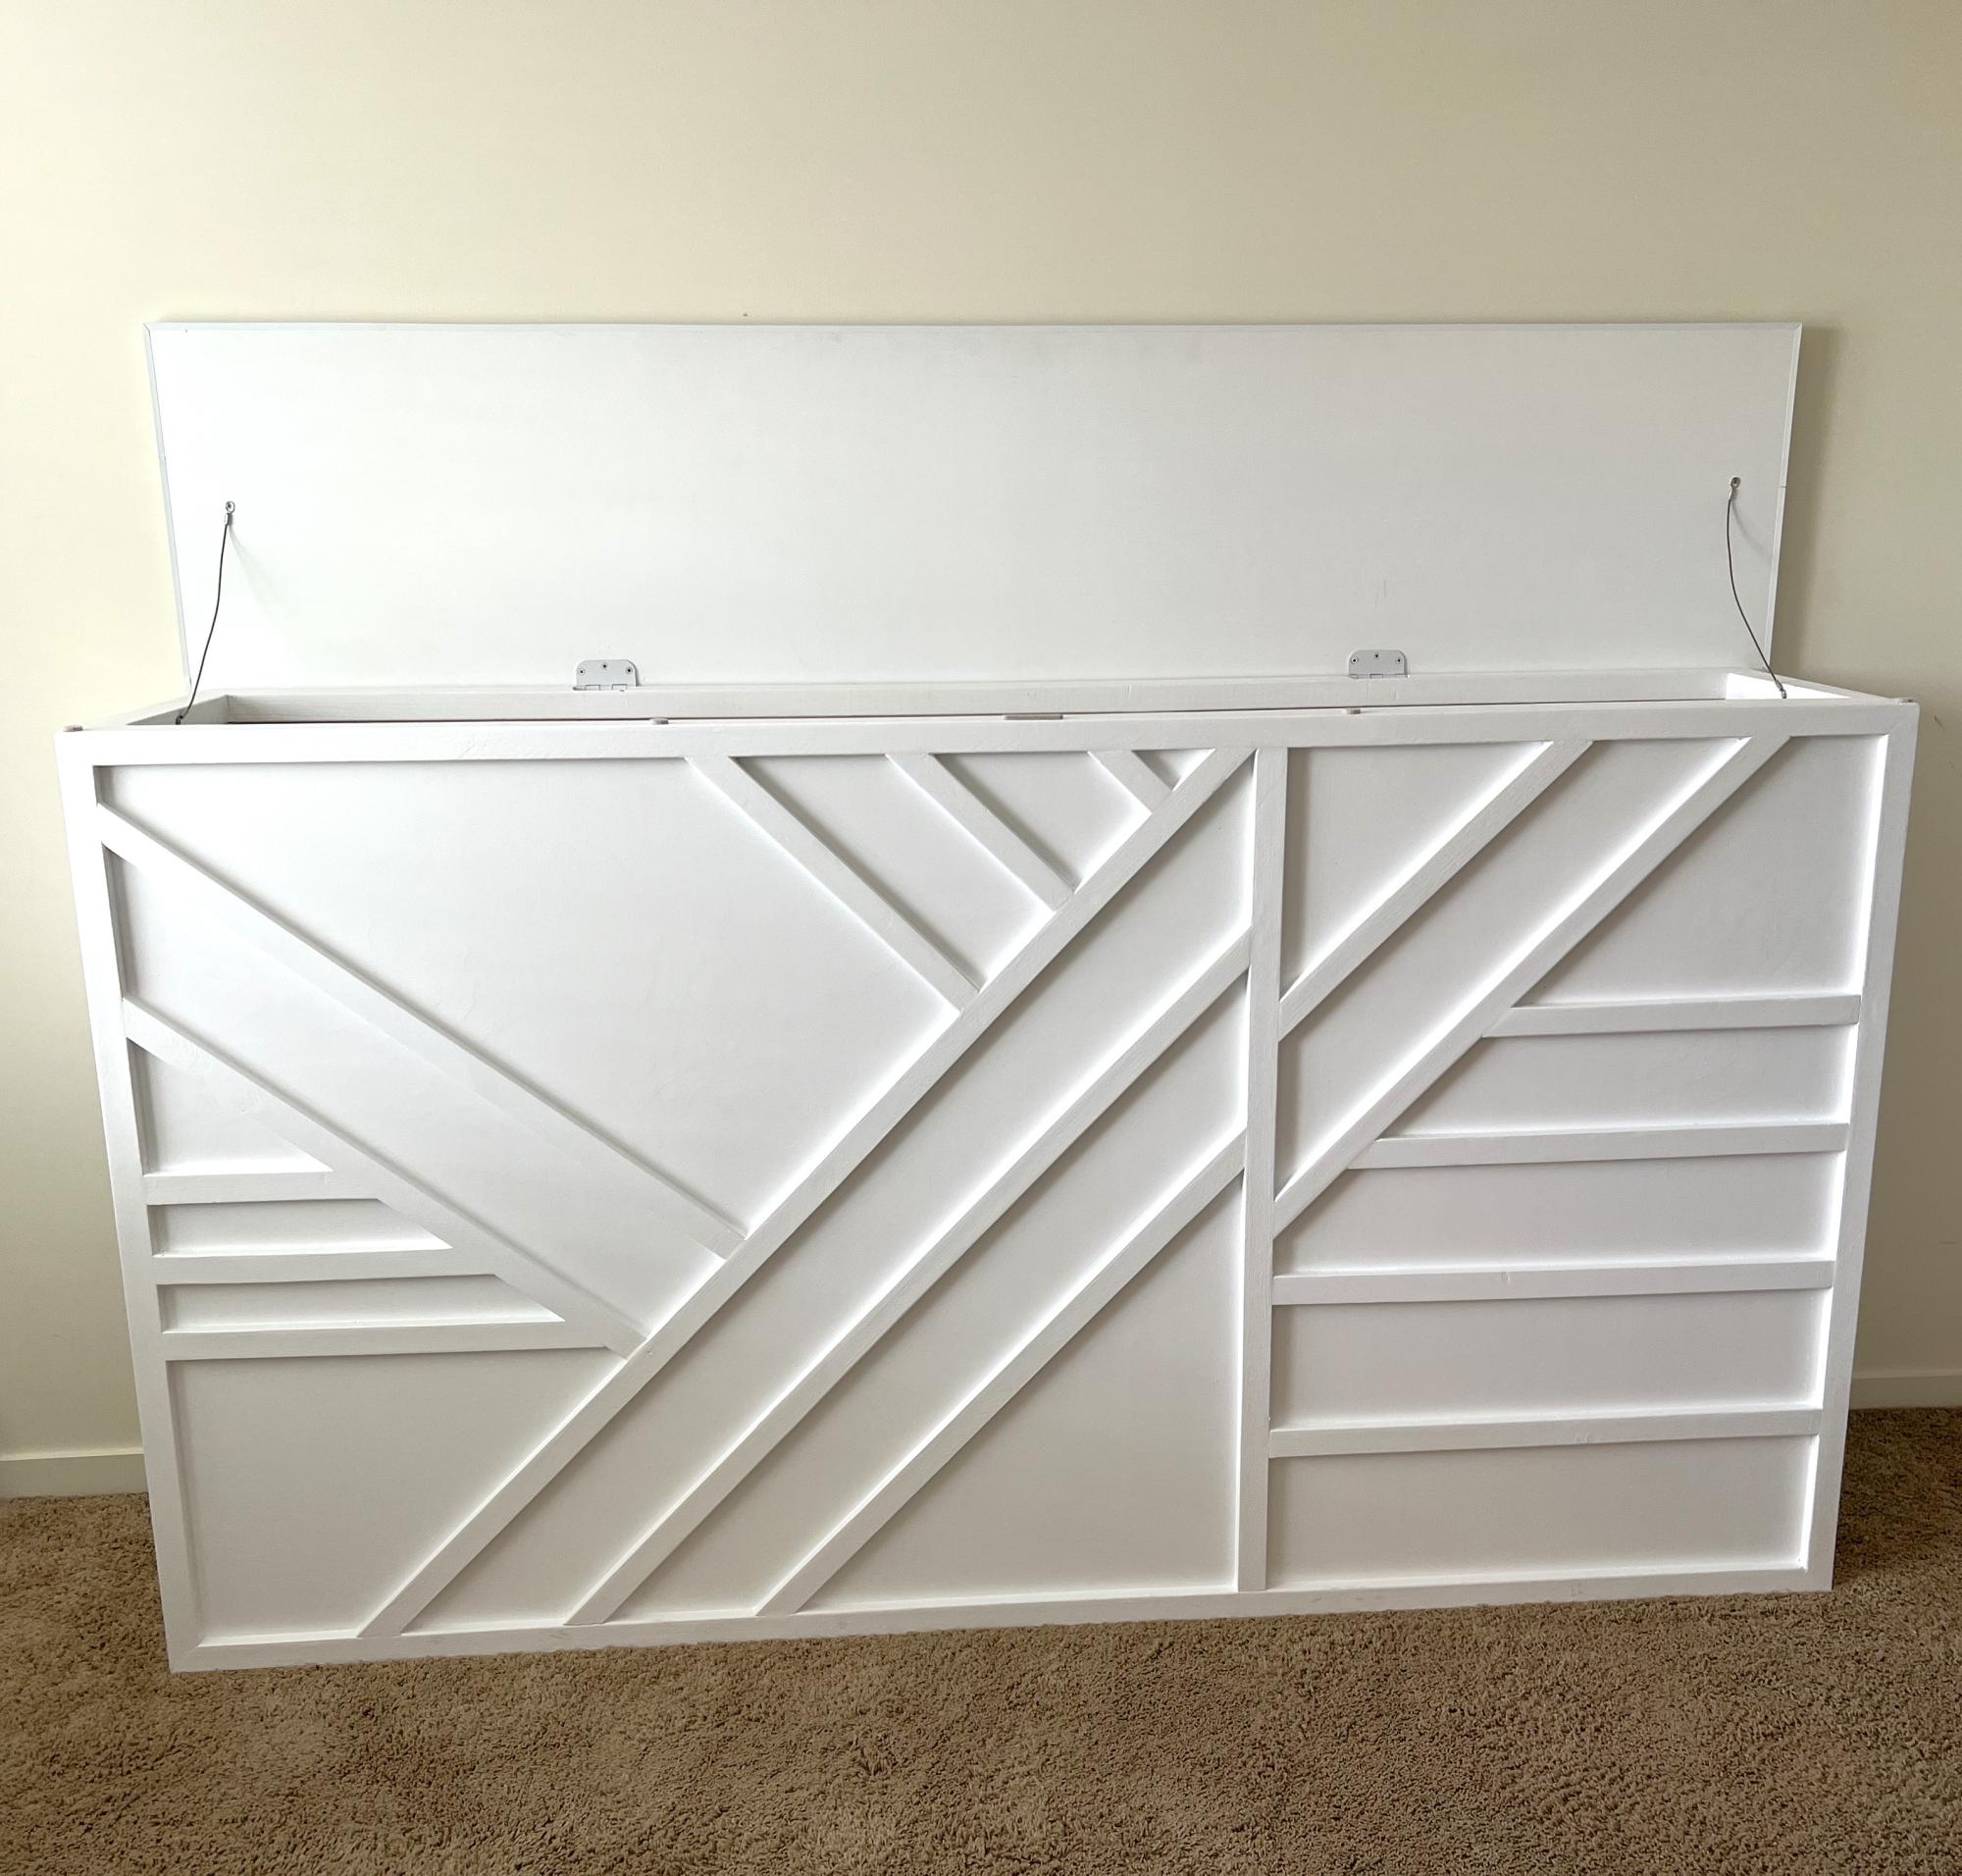
Storage Headboard

Submitted by Anonymous (not verified) on Thu, 07/20/2023 - 15:16

This project changed 3 times from the day i started.
It was supposed to be a simple vertical box to hide 2 twin mattresses
Then she decided to do a horizontal box (chest).
Then she decided to put it behind her be.
By the end it became a headboard storage and the design is Modern Geo Headboard

by Ana White

Built from Plan(s)

My first build. Queen size playhouse loft bed.

Submitted by Bunnie1978 on Sat, 03/10/2012 - 18:57

Aiden's Clubhouse.

I can't even believe I was able to build this! Everyone thought I was crazy for undertaking such a huge project. I made it a queen size because my son would always sleep in my bed anyways... so I just gave it to him. The bed took 4 weeks because I could only work on it on Saturday afternoons. The first week, I made a frame with cleats on the wall. The second week I built the house and stairs. The third week I built the slide and did some of the painting. Today, I finished painting and trim.

I did modify the plans and merged the plan for the slide into my plan, which was a last minute addition. As such, I had to "measure-and-cut-as-you-go" build this bed. I would highly recommend to anyone considering such a task, don't do that. Make a plan, cut all your wood, paint before assembly, and stick to the plan. My stairs all lift up, and under the top landing there is also a cut out inside Aiden's clubhouse-you can see it behind him in the picture below. Also under the slide is a cut out for storage. I have not done anything with the inside of the clubhouse yet. Someday...

I designed the bed specifically so that I could take it apart if we ever move... we live in an apartment. The stairs/stairwell are only connected to the rest of the bed with a single screw. The other wall is a bit more difficult to remove, but not impossible.

I learned a few things doing this, that I want to share with you all..
1. The Kreg-Jig is the best thing ever.
2. I LOVE LOVE LOVE power tools.
3. 4x4 sheets of MDF are difficult to carry upstairs by myself.
4. I can do anything.

I hope you all like it. This was my son's 4th birthday present and he really loves it.

It isn't finished yet though. The far wall in the room is about 2 ft away from the bed, and I haven't decided what to do with that side of the bed, so it's still plain. I would love some ideas! What do you think?

Estimated Cost
$800 including the new tools.. table saw, nailer, kreg, new drill
Estimated Time Investment
Week Long Project (20 Hours or More)
Finish Used
Behr paint. I coordinated the colors on the Behr website to try and match the colors already on the wall.
Recommended Skill Level
Intermediate

Comments

Bunnie1978

Sun, 03/11/2012 - 06:30

I did make a couple mistakes with the slide. I made it too narrow. Right now it is 1 foot wide. Next time I would do 1 1/2 feet wide. I also would make the landing at the top bigger. I like the angle of the slide now at 45 degrees, but my son did have to learn how to slide down it without falling foward at the bottom. So, a more well designed slide would be less steep, wider, and with a bigger landing at the top. Another tip... for the top of the stairs, take extra care to make sure they swing straight and are about 1/2 inch less wide than the space so they don't scrape the side of the stairwell walls.

spiceylg

Sun, 03/11/2012 - 03:56

This is you FIRST build? Impressive indeed. You did a great job and Aiden is one blessed boy!

Bunnie1978

Sun, 03/11/2012 - 06:32

Technically, I did finish the ten dollar ledge above his bed earlier this week, before I completed the bed, but it was all part of the same project! :) The only other thing I've built is 2x4s slapped together to hold aquariums. My other hobby is breeding fish. :)

Ganny Girl

Mon, 03/12/2012 - 11:01

This is amazing! I can't believe it was your first build! Did you add any extra support to accommodate the queen size mattress?

Bunnie1978

Mon, 03/12/2012 - 11:29

Yes I actually made a whole frame. Basically just studs - on the walls they are just screwed into studs in the wall, then the other two sides are supported by the walls of the house and a vertical frame piece also. There are two stud slats connected to that, so that bed isn't going anywhere. This is the same method I use for supporting 1500 pound aquariums. I have a bunch of 1x3 slats in there as well...

So, if I want to move the bed, I would remove the side with the stairs (~62 inches)- that whole side is one unit, secured to the frame with one screw, and secured to the other wall by about 5 finish nails and one screw. The longer wall (~85 inches) is secured to the frame by 6 screws.

Queen mattresses are HEAVY. :) I learned that too.

Dani83264 (not verified)

Sun, 01/06/2013 - 08:21

we're making the Playhouse Loft Bed for a queen bed as well. Maybe you can answer a question for me. Are the dimensions to fit a queen size bed as written, or do we need to convert them. A queen mattress is 75 x 80 and it looks like that's what this is made to fit, but I don't wanna find out i'm wrong after I already have that thing hoisted up over my head :) Thanks for any advice you can offer!

ashleymyers233

Thu, 06/25/2015 - 00:53

Can anyone guide me as to what parts of the clubhouse and castle bed plans were used here to make this bed

Farmhouse Storage Bed

Submitted by Anonymous (not verified) on Thu, 03/31/2016 - 21:32

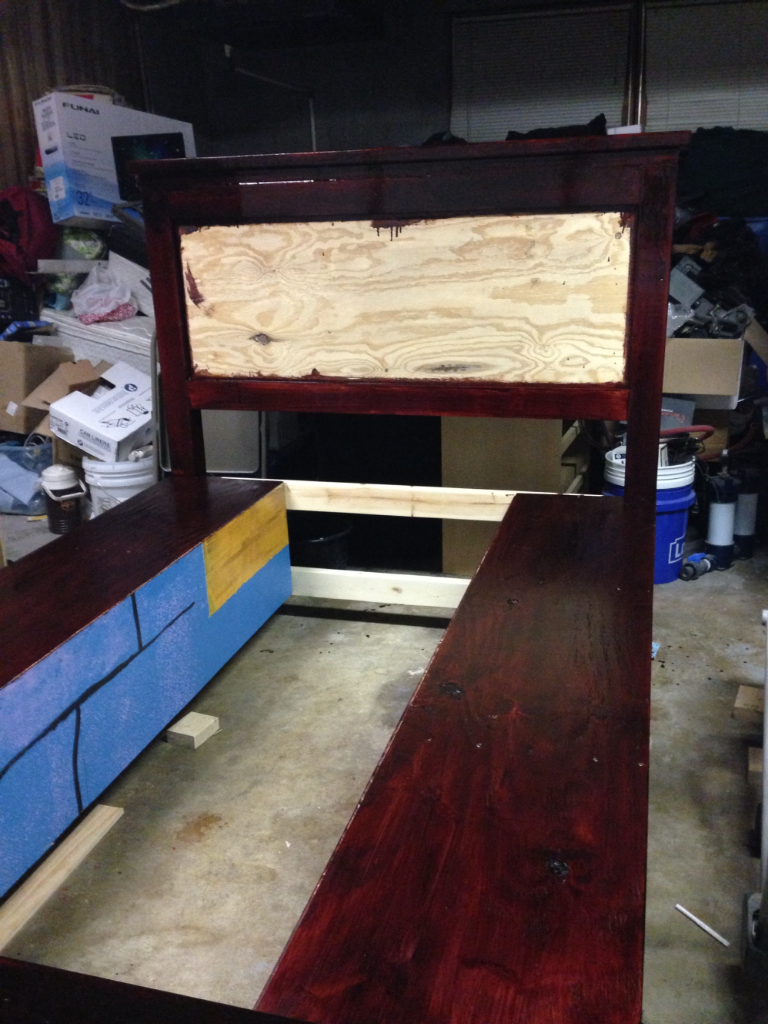
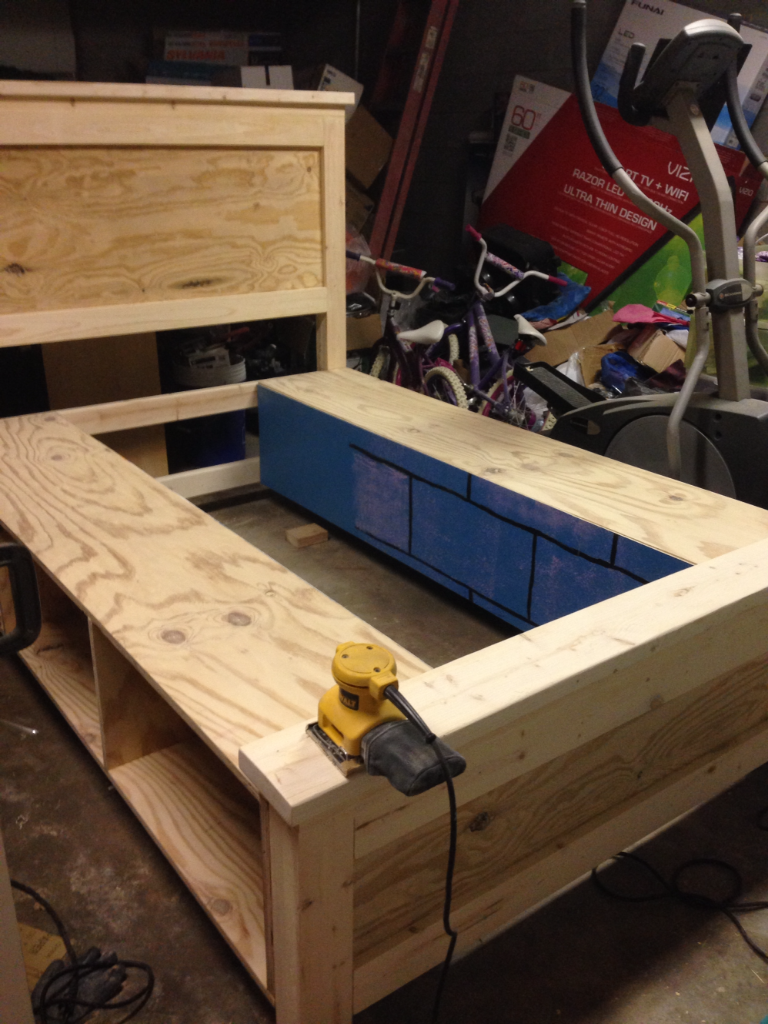
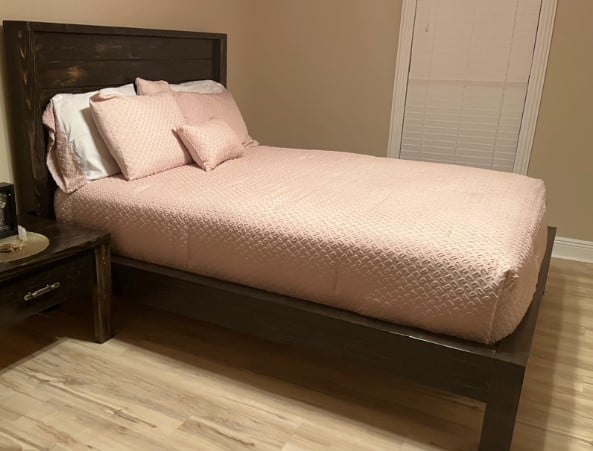
Absolutely loved making this bed! It became my summer project and I needed it done in a two week time frame. Between working on it after i got off work and on my days off, it came out exactly how I wanted it to.

I only ended up spending a total of $140 dollars by using scrap wood around my garage and new nails and screws and such. This was the absolute way to go before moving into my first apartment with little to no furniture! The storage boxes were the perfect solution to not wanting to buy a dresser. It's completely durable and I'd definitely do it again! Thanks Ana White!

Estimated Cost
~$140 by using scraps
Estimated Time Investment
Weekend Project (10-20 Hours)
Finish Used
Minwax PolyShades Bombay Mahogany Gloss Stain and Polyurethane
Recommended Skill Level
Beginner

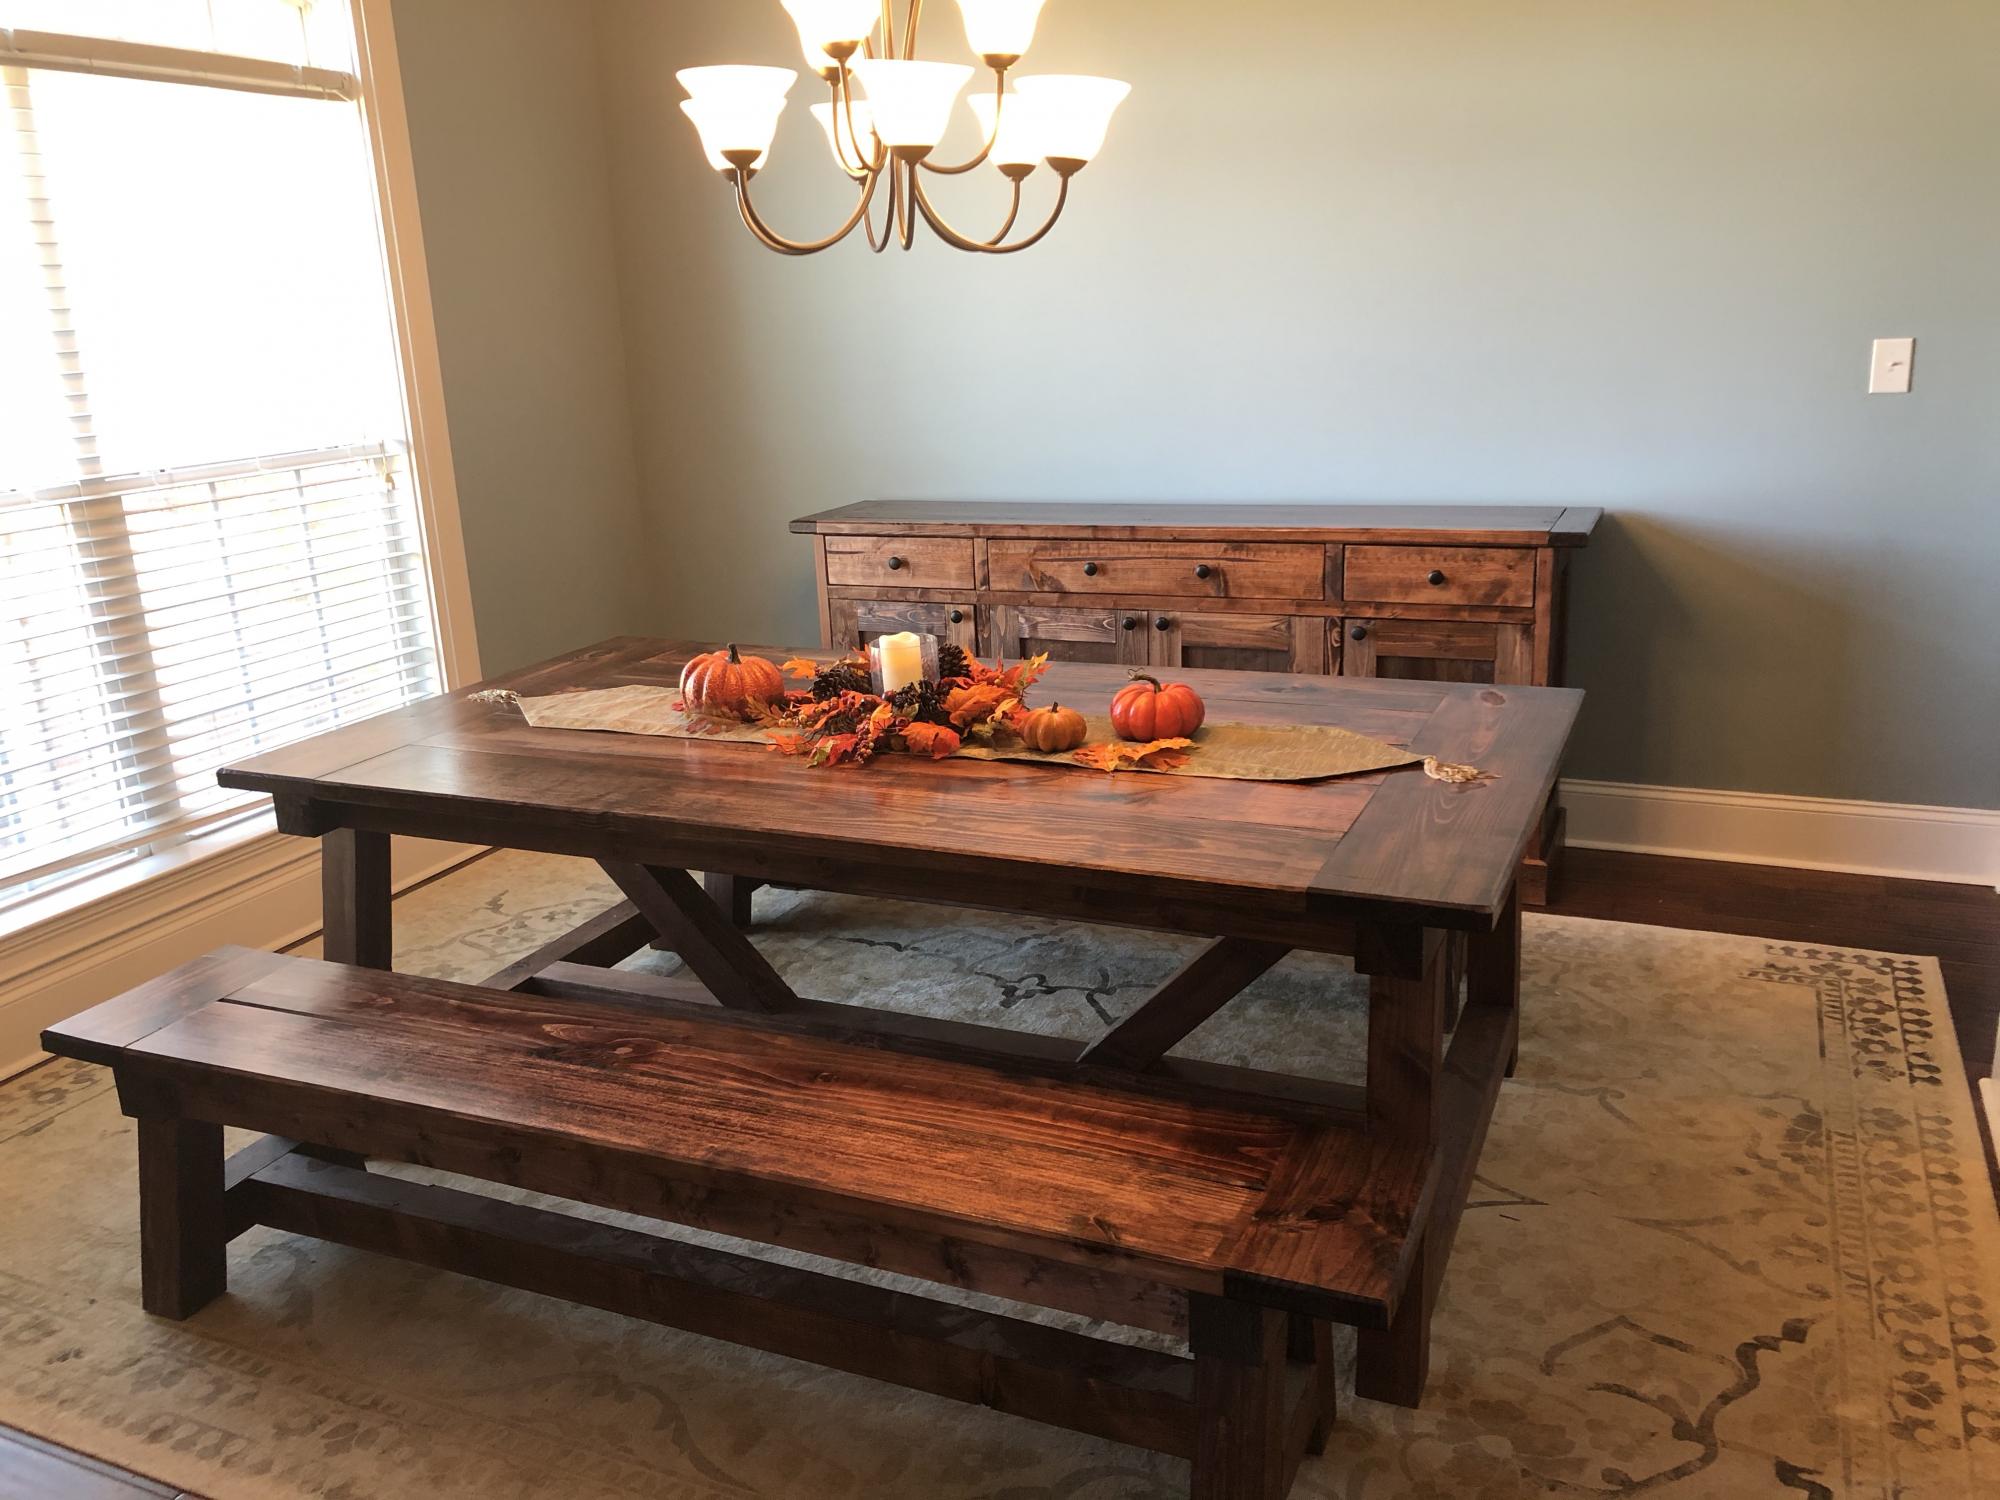
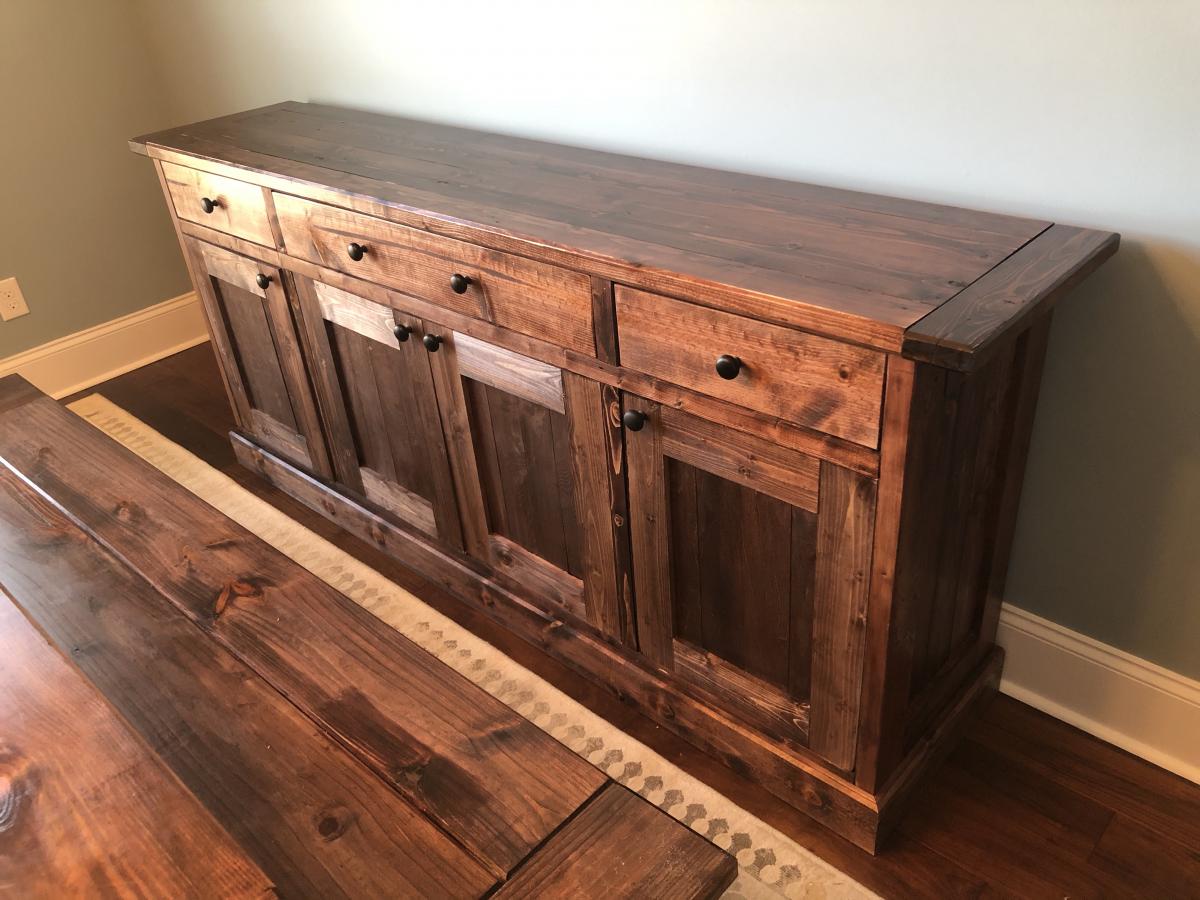
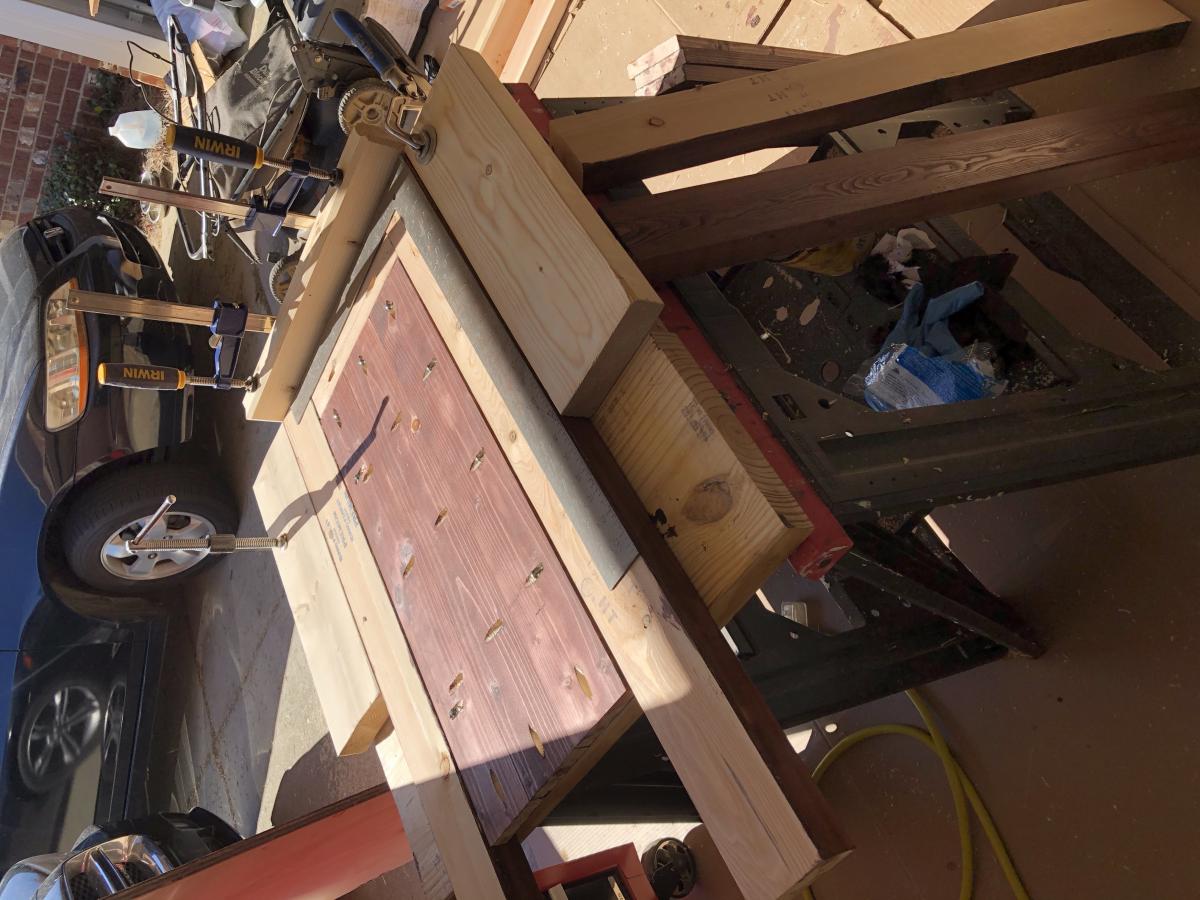
Sideboard Companion to 4x4 Truss Table

Submitted by Rasalhague on Fri, 11/29/2019 - 06:17

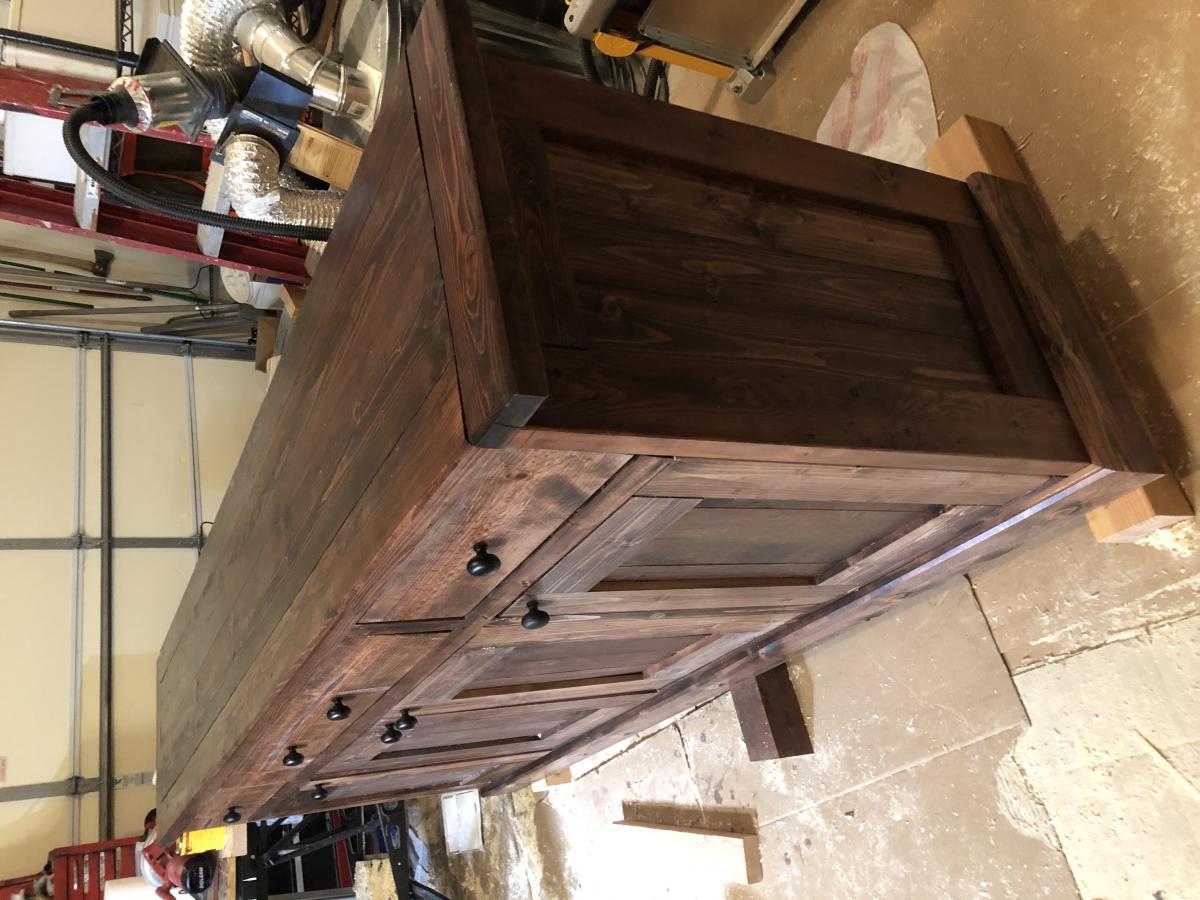
After the enlarged 4x4 Truss Table, we needed someplace to store the dishes.  The Planked Wood Sideboard was the thing.  Not an easy piece.  This was my first attempt at "Doors & Drawers" and was a steep learning curve, but we are so pleased with the big, sturdy results that match the table.

Estimated Cost
$550 with Kreg hinge and cabinet knob jigs (Will be reused)
Estimated Time Investment
Week Long Project (20 Hours or More)
Finish Used
Minwax Red Mahogany Stain
Recommended Skill Level
Advanced

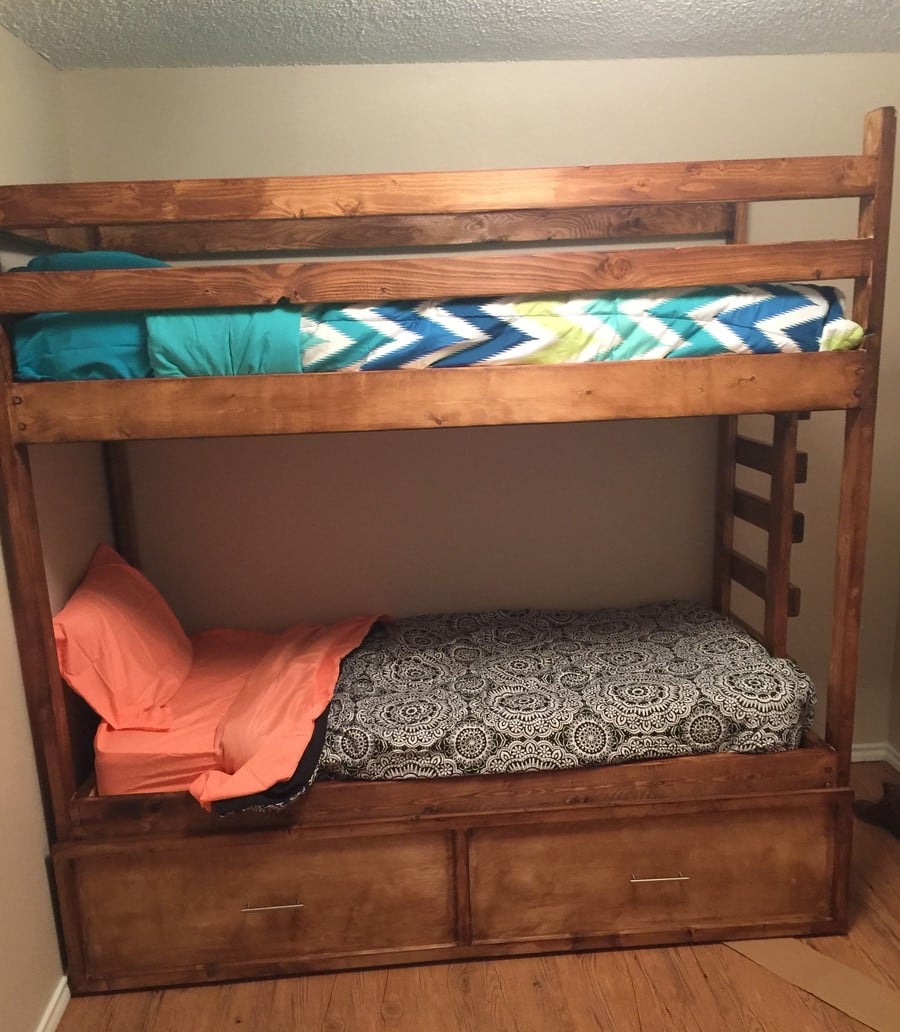
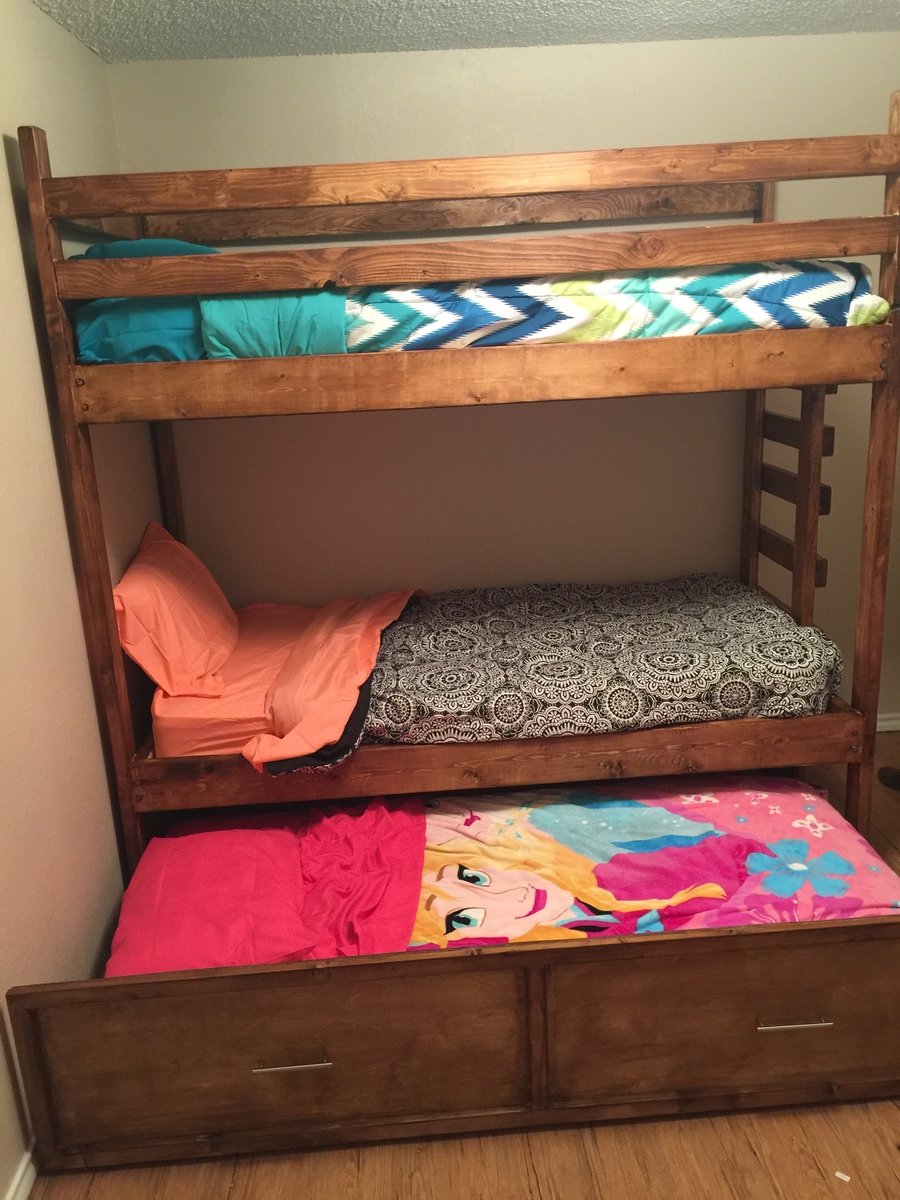
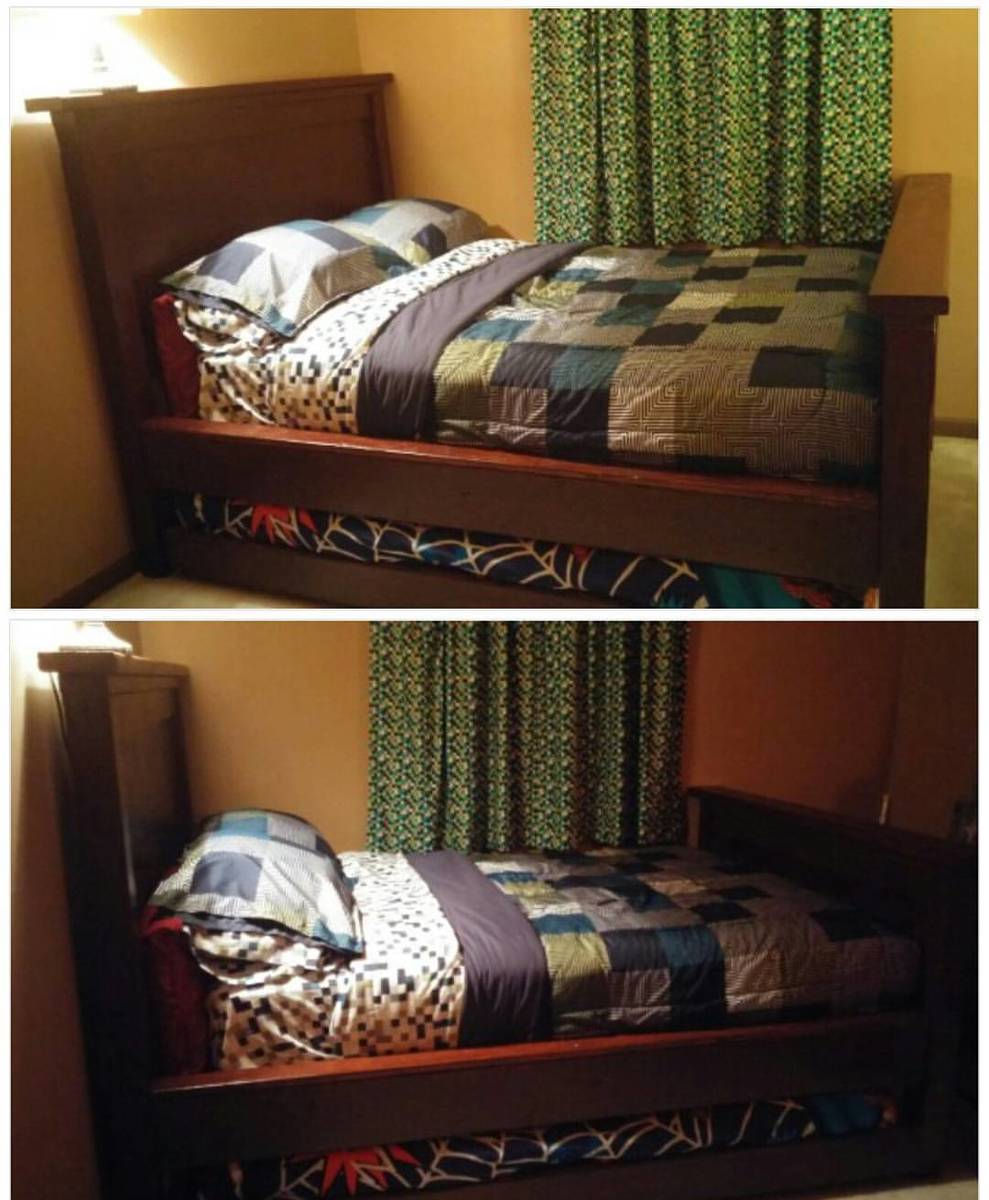
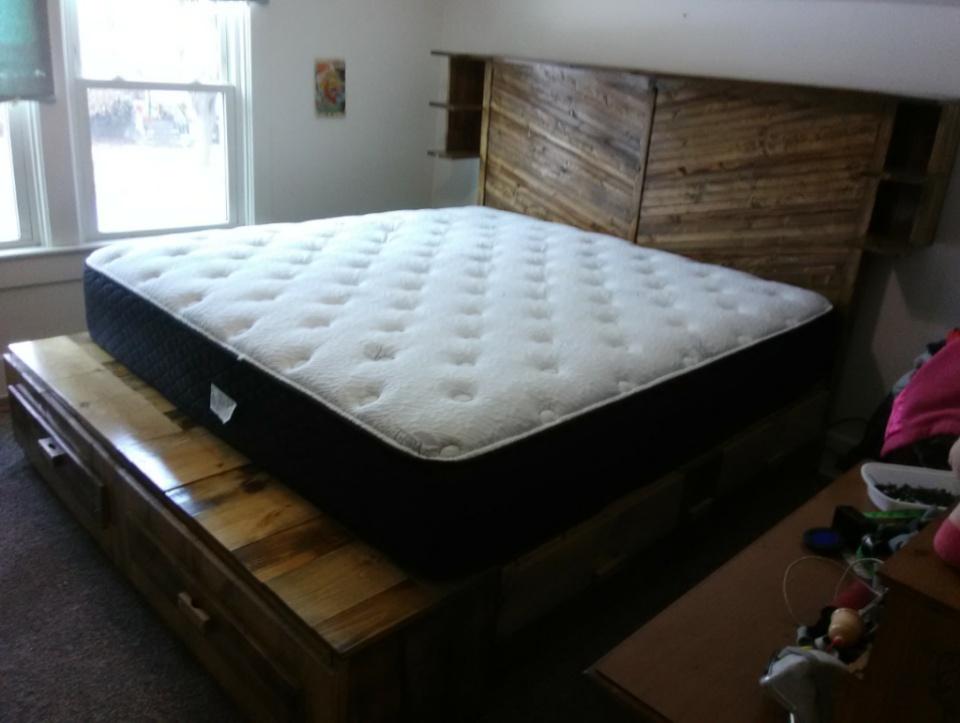
Bunkbed a with trundle

This was a on the fly build no plans  just wanted to post it for ideas for everyone

Estimated Cost
200
Estimated Time Investment
Weekend Project (10-20 Hours)
Finish Used
Minwax American walnut
Recommended Skill Level
Intermediate

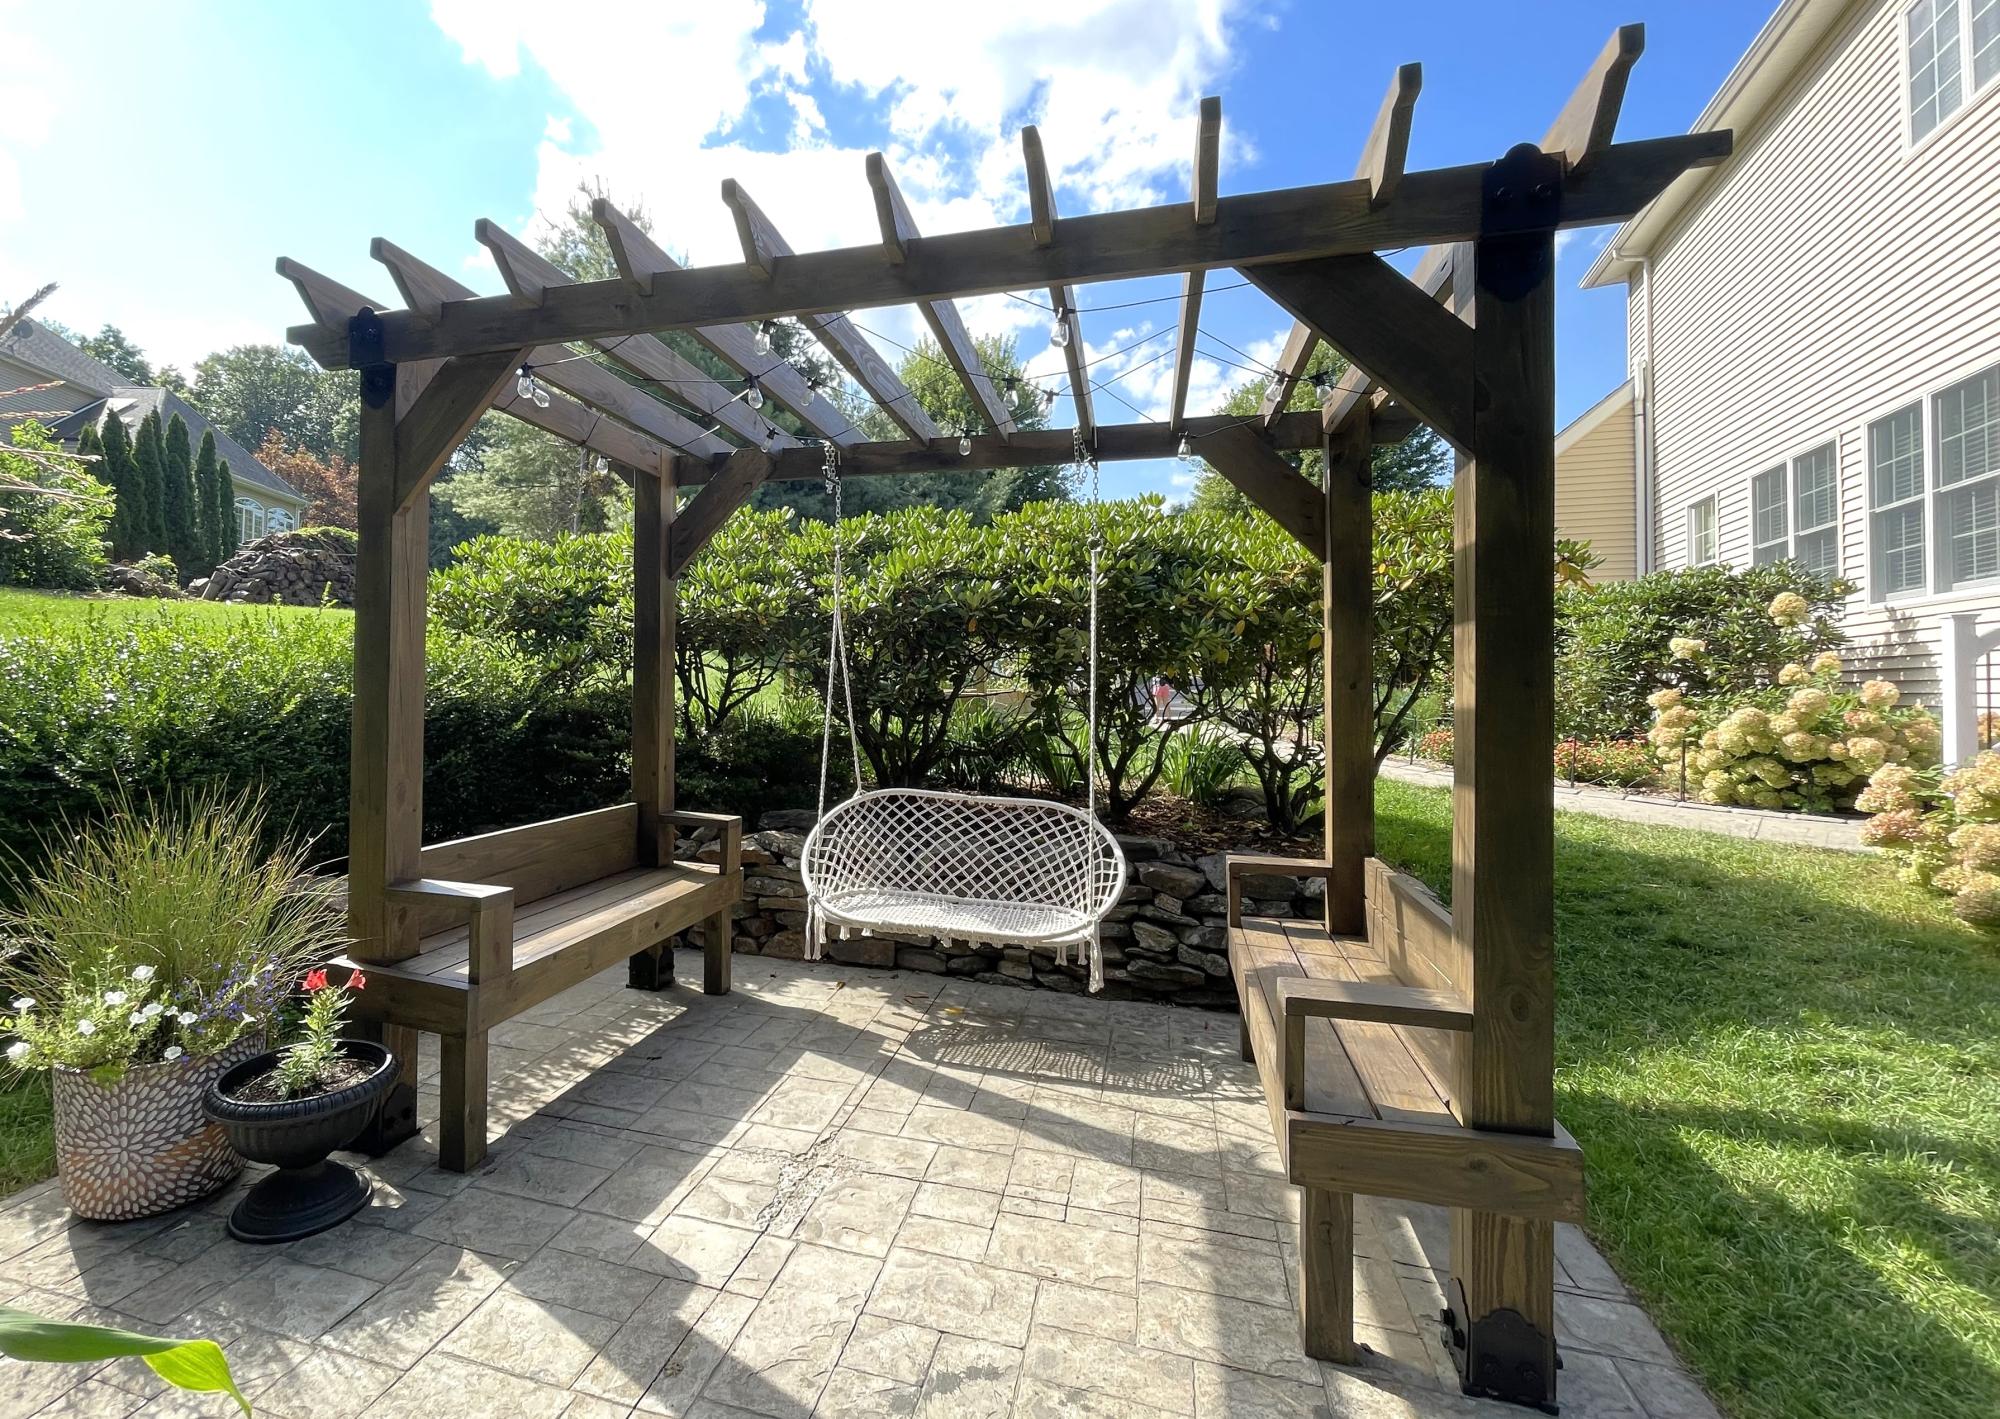
Outdoor Pergola with Seating Built-in!

Submitted by Anonymous (not verified) on Sun, 08/27/2023 - 12:14

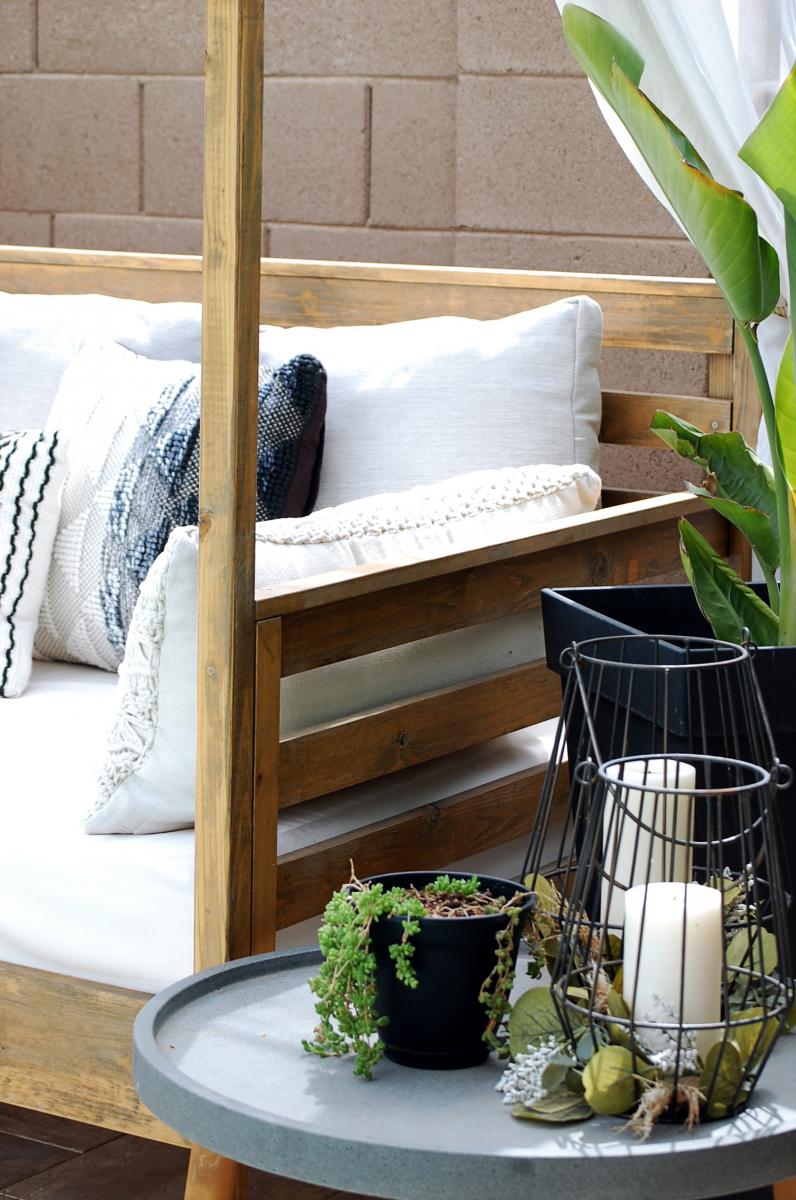
Pergola outdoor room plans modified to make side seating instead of side tables. Left sides open. Added cute crochet swing bench. Anchored to concrete slab with iron plates and added decorative wood ties that match footing. I've gotten so many compliments and no one believes I made this!

Kristen P.

Built from Plan(s)

Comments

Seasonal And Holiday

TV Hutch for Existing Dresser

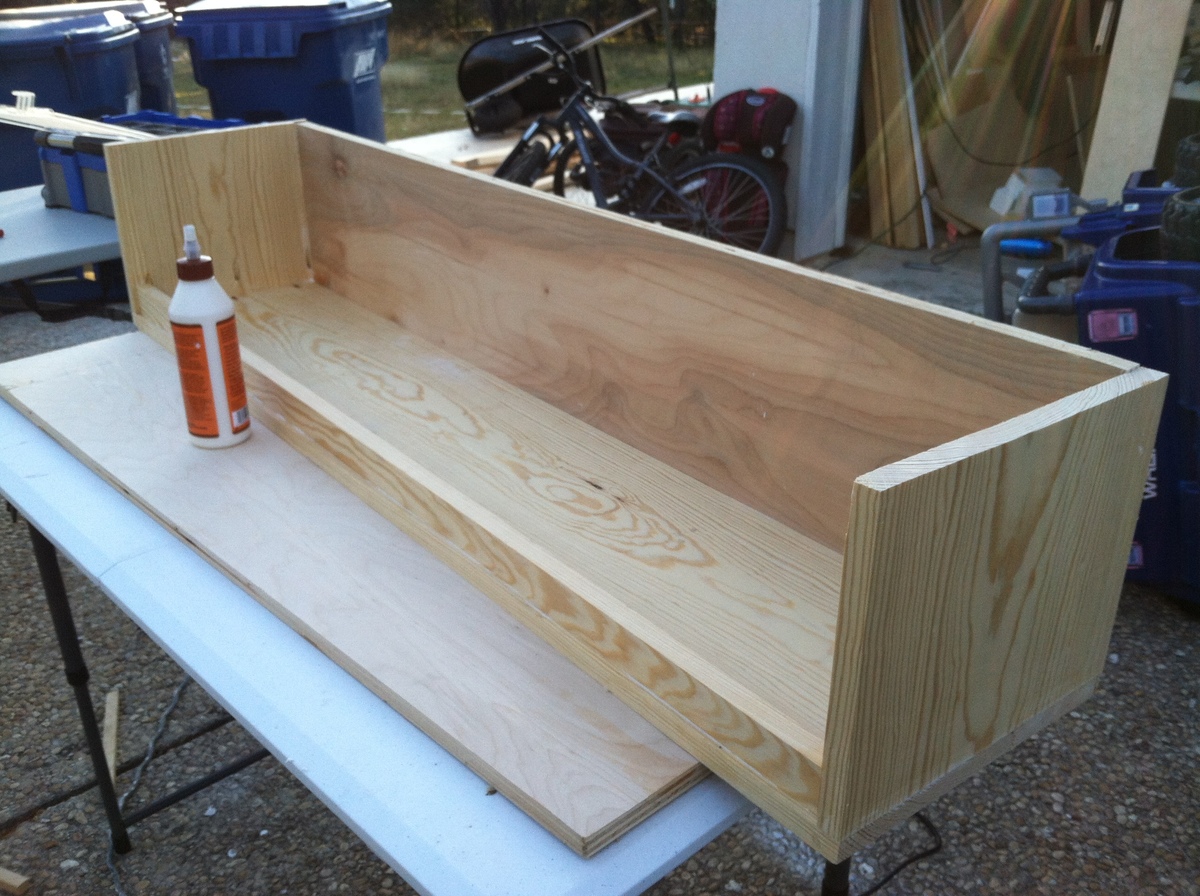
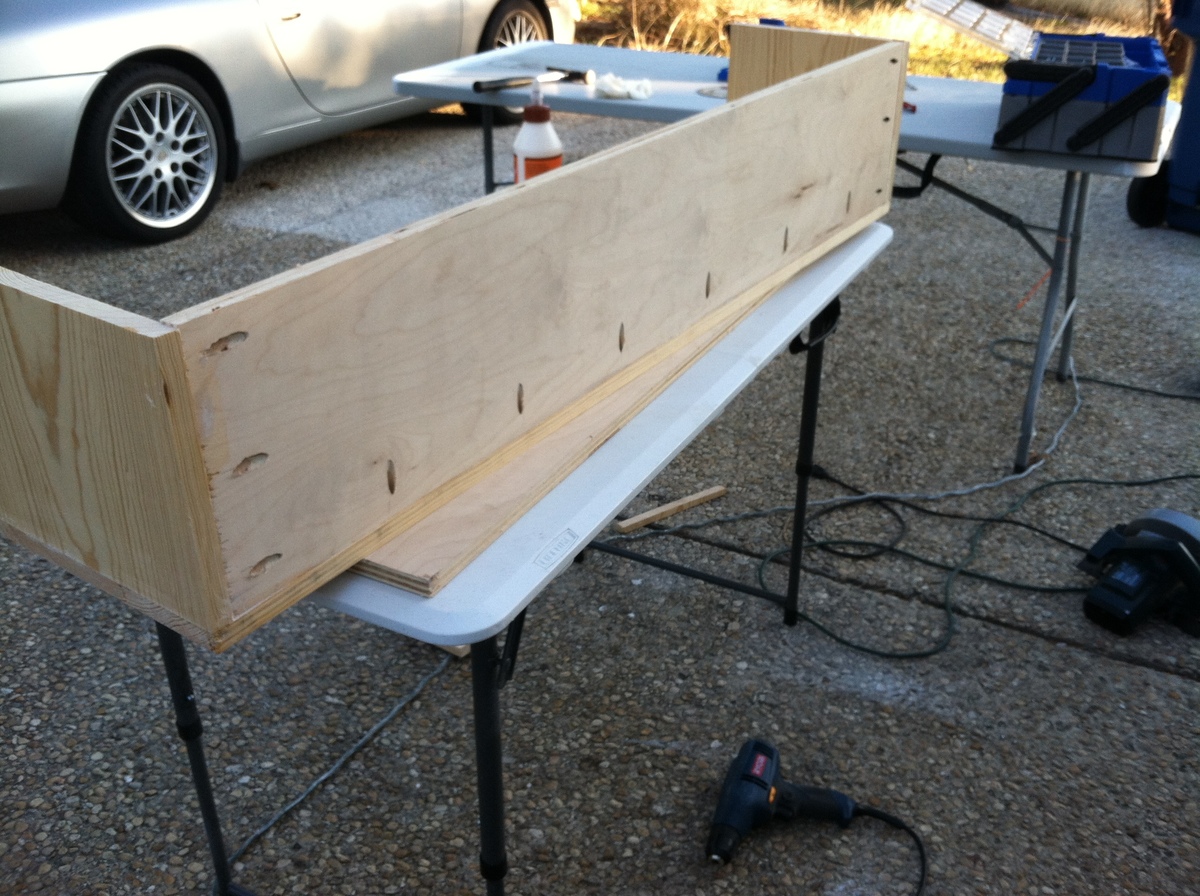
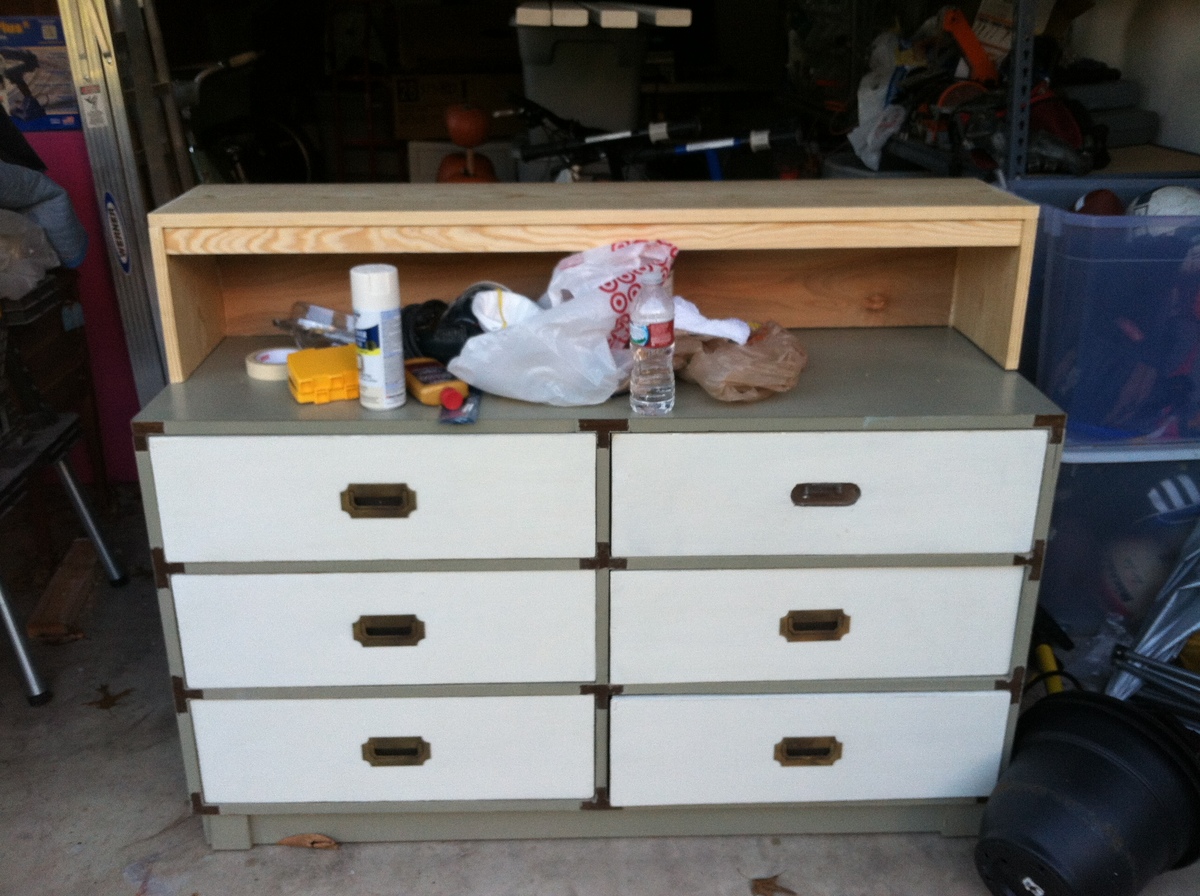
I bought a campaign dresser off of CL that I wanted to use as a TV stand, but it was too short. I searched Ana's plans for "Hutch" and figured out how she builds hutches, and made a simple hutch for the dresser. That's my favorite part about Ana's site...I'm gaining knowledge and experience to be able to build whatever I want!! I used 1 x 10 boards for the body of the hutch, 3/4" plywood for the back, and a 1 x 2 for the trim.

Estimated Cost
$20
Estimated Time Investment
An Hour or Two (0-2 Hours)
Finish Used
1 coat primer and then Sherwin Williams Duration latex in "Envy"
Recommended Skill Level
Beginner

Comments

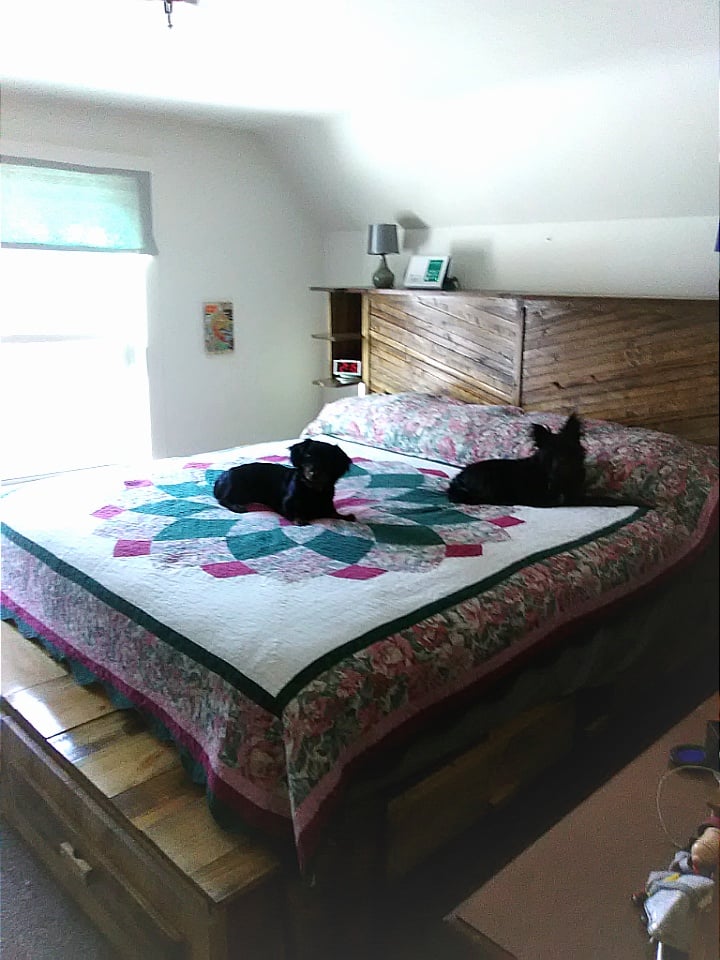
Brandy Scrap Wood Storage Bed with Drawers - KING

Even with having severe disability's with my hands and a lot of help from my wonderful husband, this plan was perfect for me. I did add a head board with selves and extended the length of the sides to allow for a bench seat. I am so proud of this beautiful bed, Rebel and Zeus love it too.  Thank you, Ana White.

Estimated Cost
$135
Estimated Time Investment
Week Long Project (20 Hours or More)
Recommended Skill Level
Intermediate

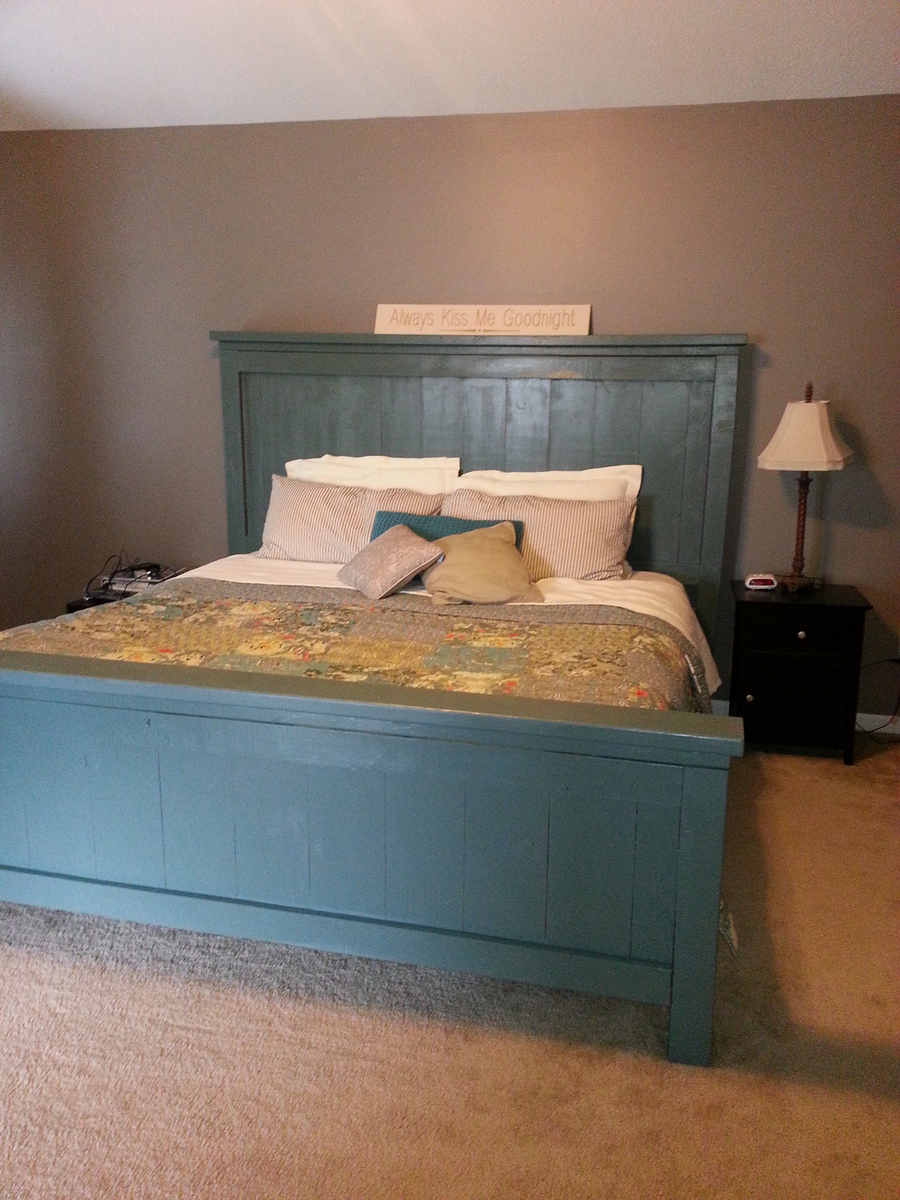
King Farmhouse Bed

My husband and I built this bed as our first ever project. It was so easy. It took about 8 hours plus painting time. I modified the original King plans by raising both the headboard and foo board 6 inches. This meant every vertical measurement was changed by 6 inches. I am also using a metal bed frame with box spring. We are next going to make the matching nightstands! Super excited to continue building my own furniture!

Estimated Cost
$150
Estimated Time Investment
Day Project (6-9 Hours)
Finish Used
Olde Century Paint:
Recommended Skill Level
Starter Project

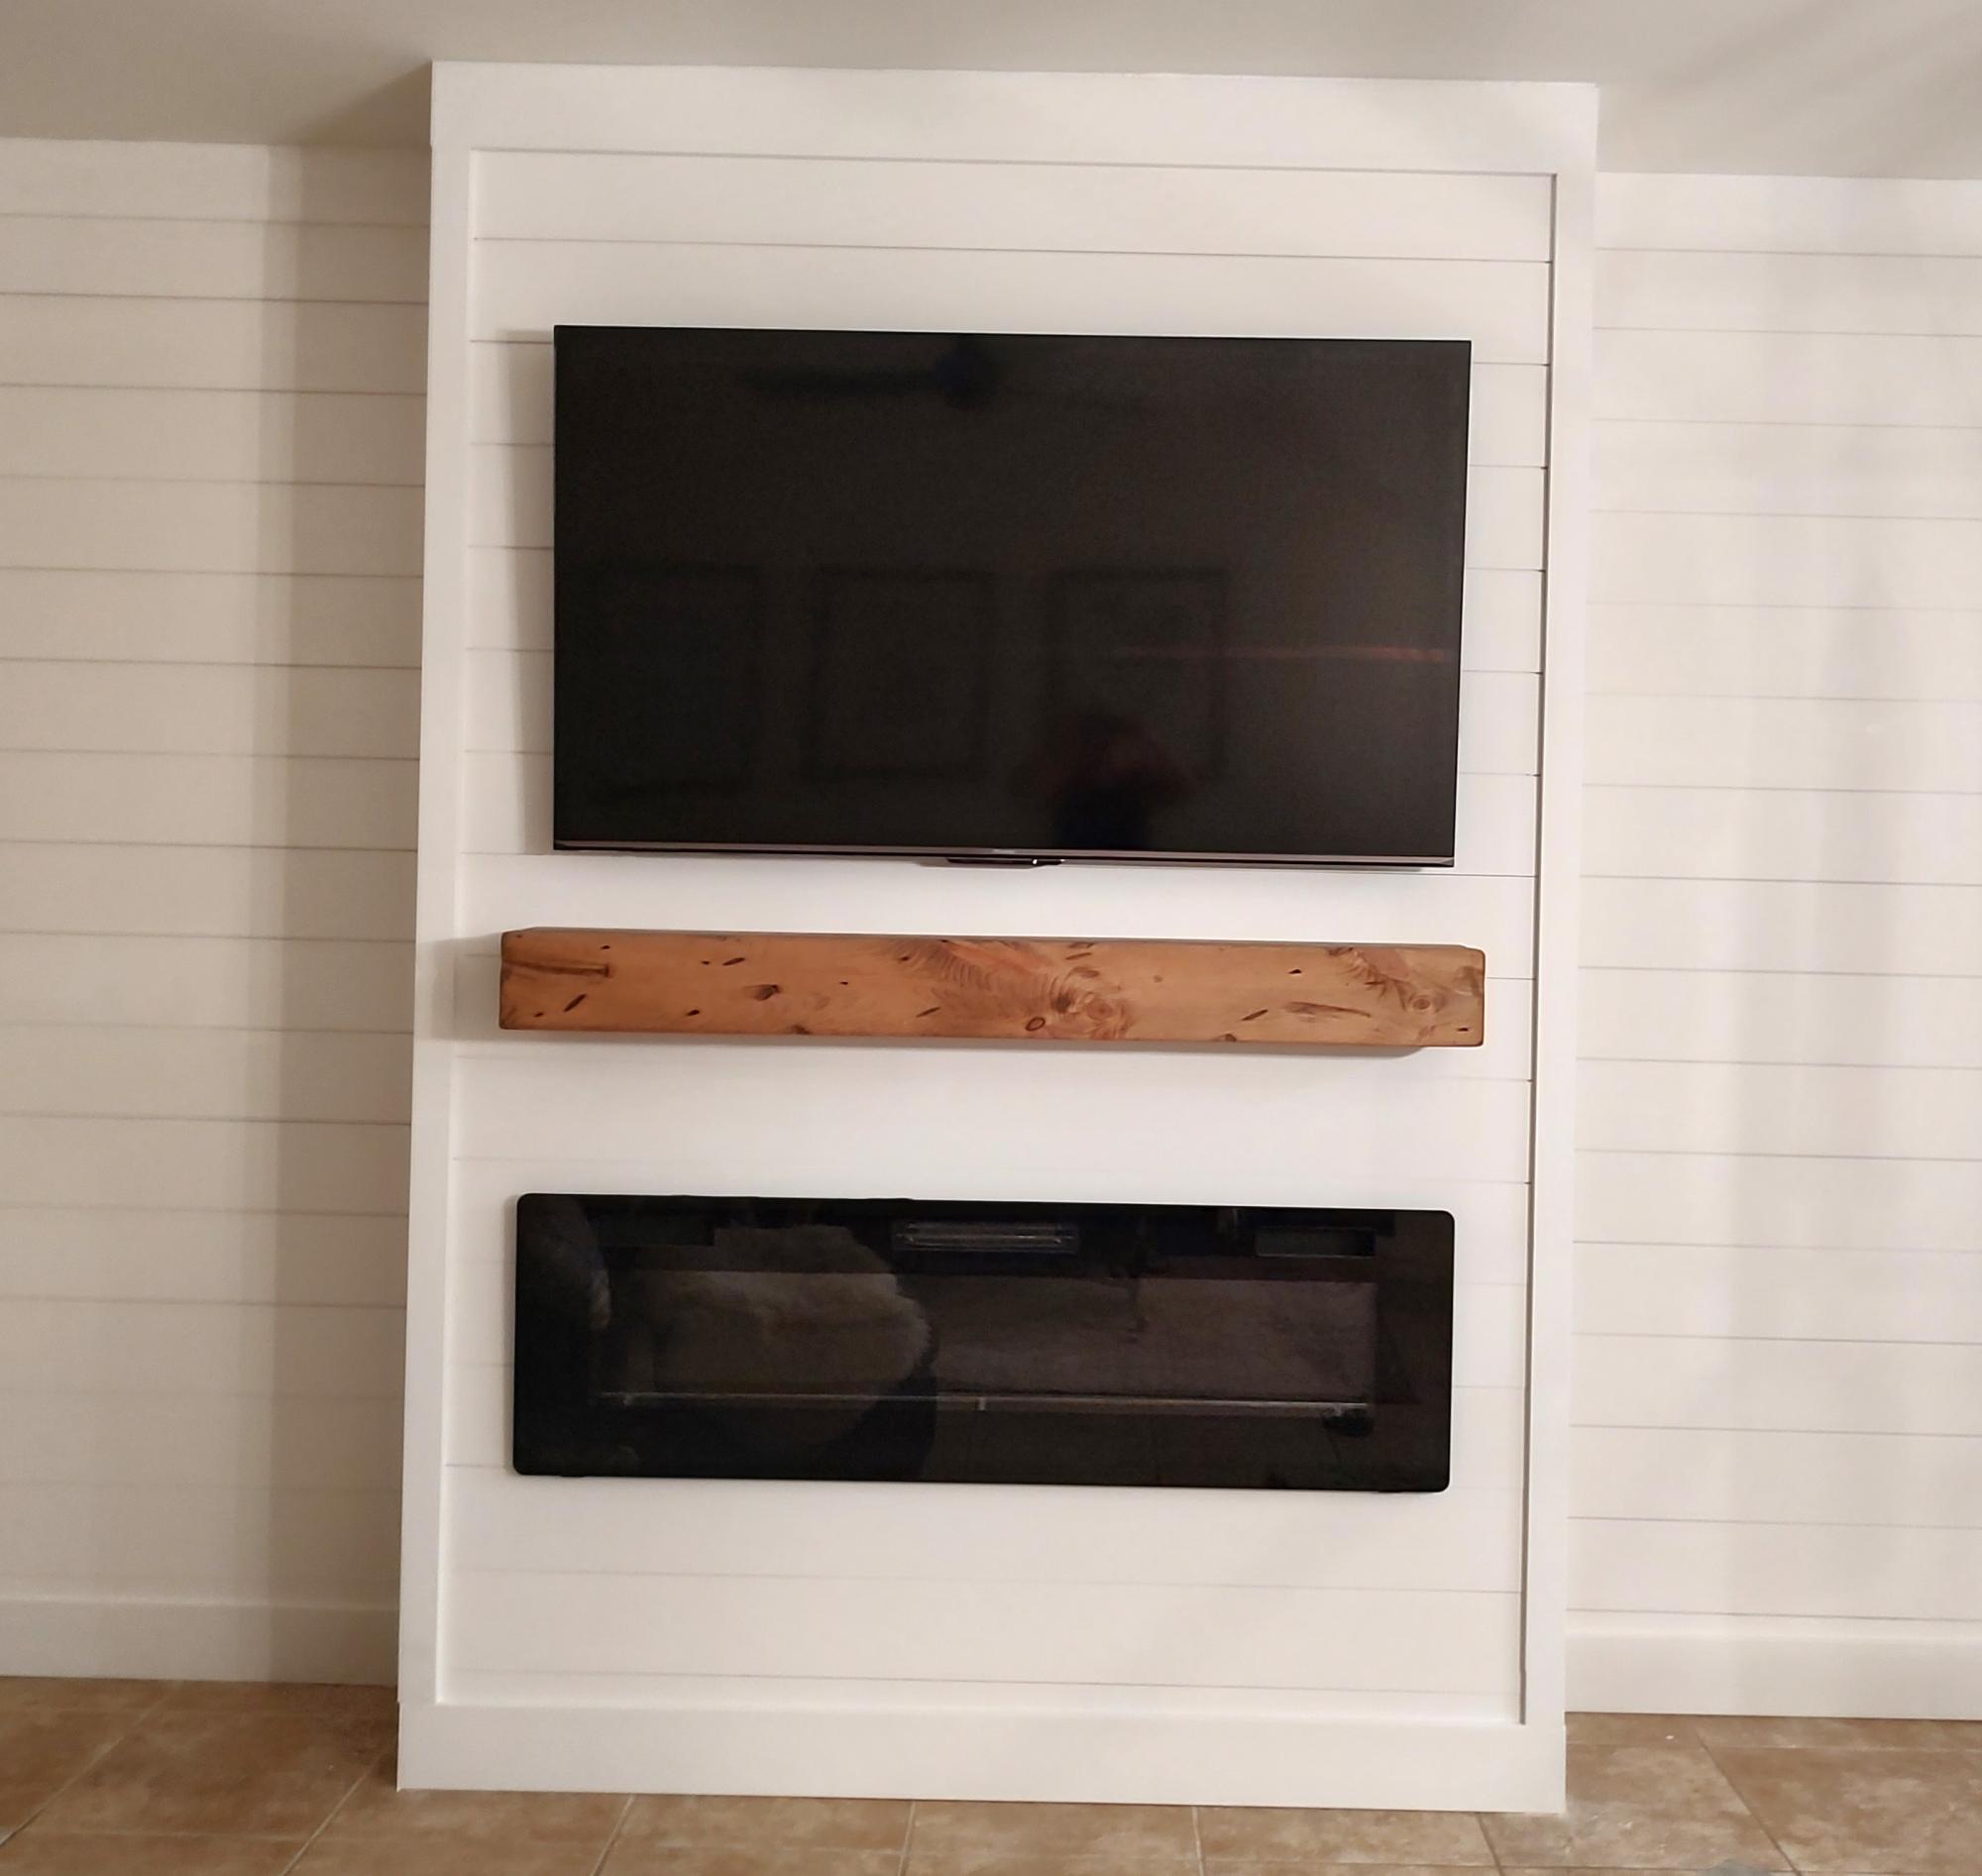
Shiplap Fireplace

Submitted by Anonymous (not verified) on Fri, 09/22/2023 - 08:13

So excited for my new living room space thank you for your great tips!

Kandis white DeCarlo

Comments

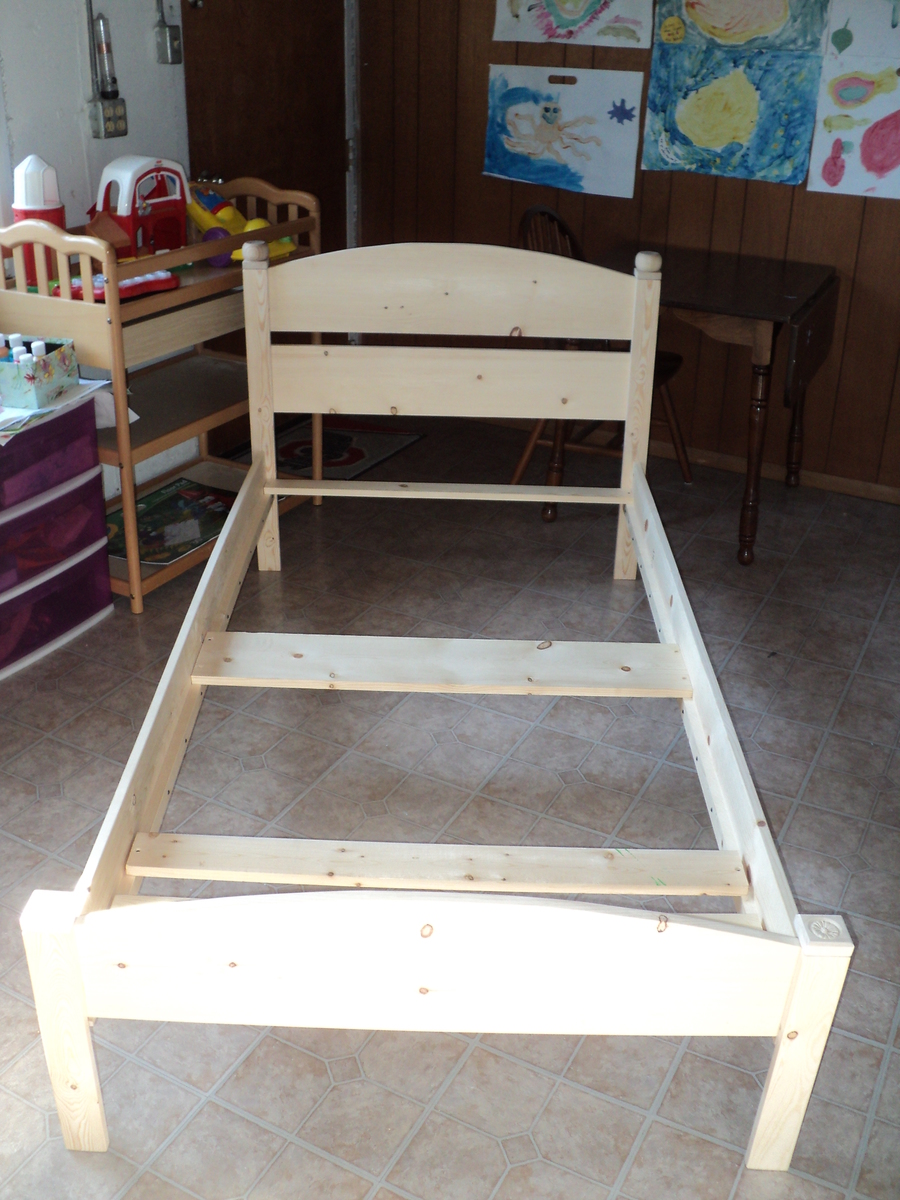
Pioneer Twin Bed

Submitted by timh on Sat, 02/08/2014 - 15:48

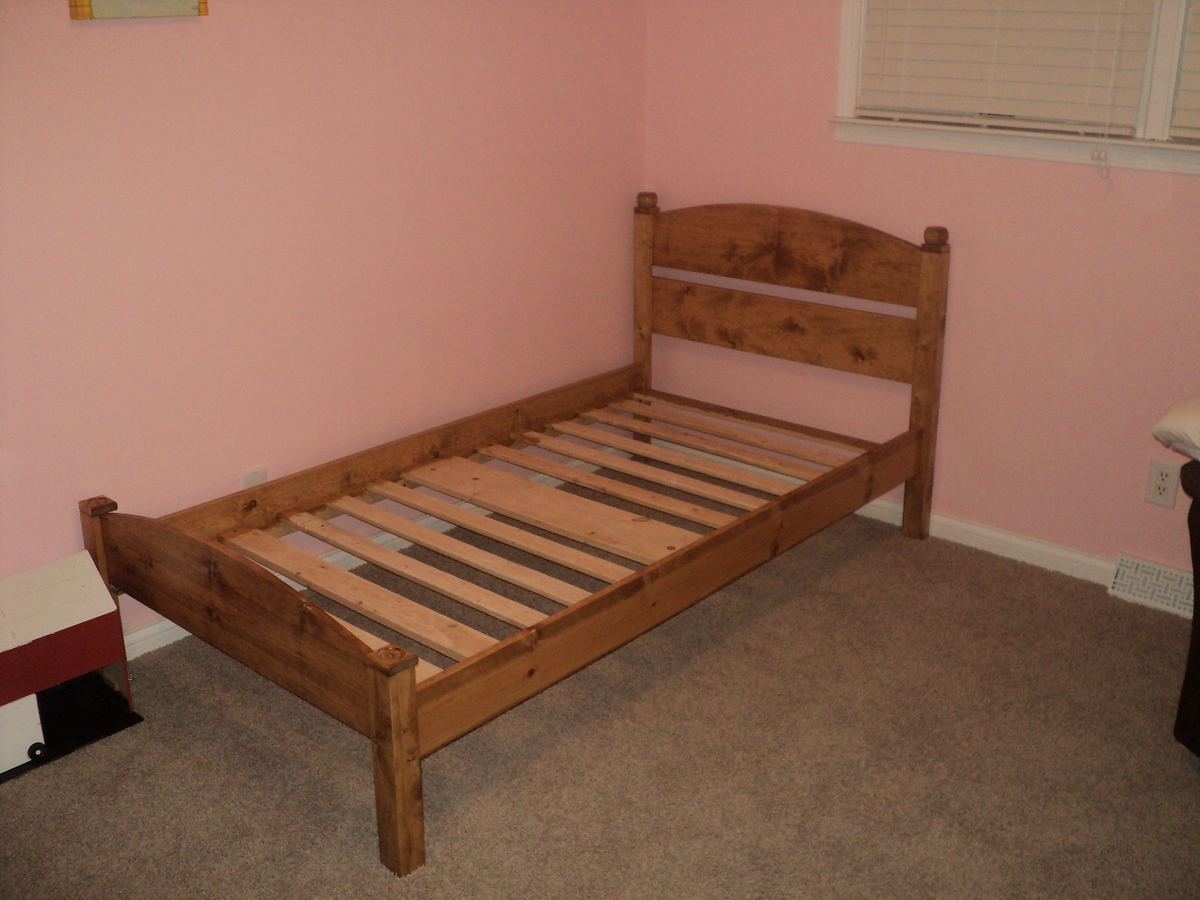
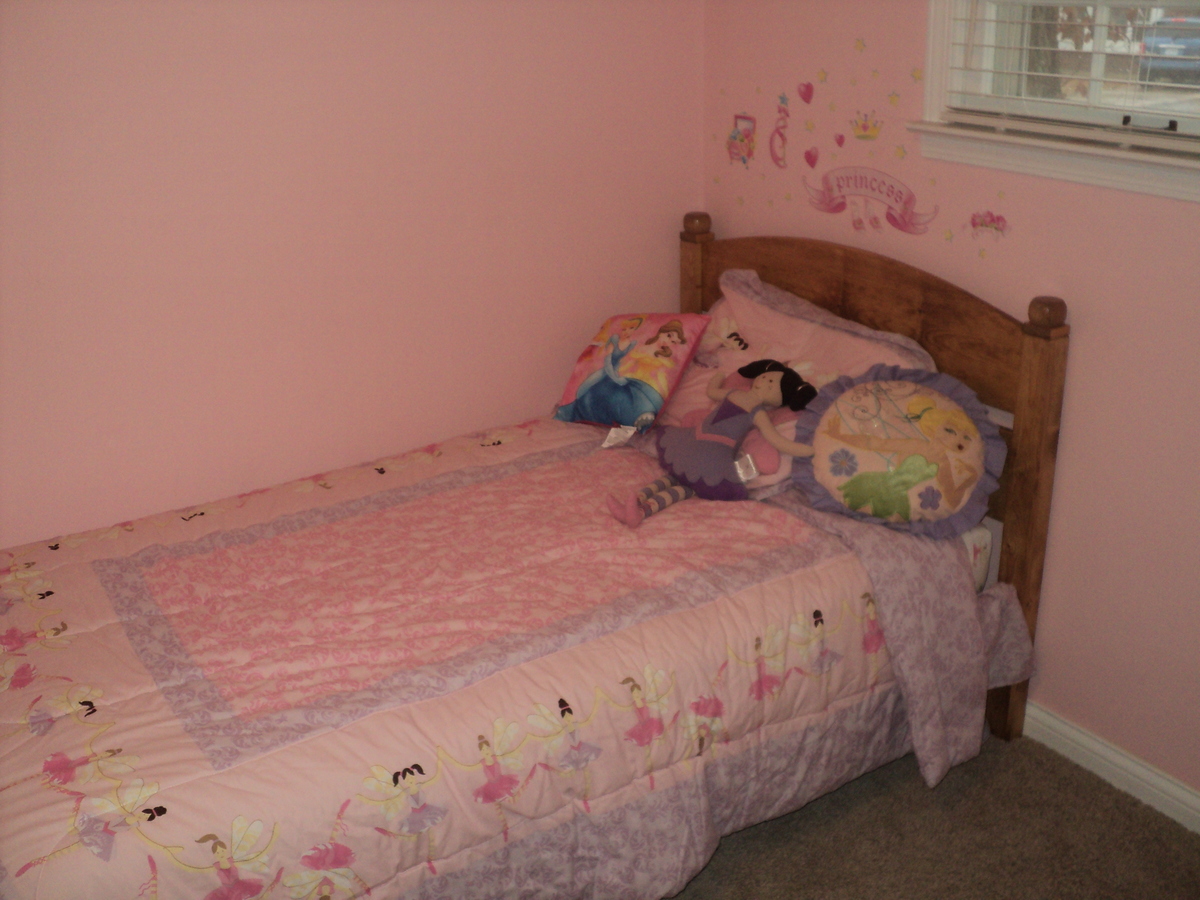
This Pioneer bed took me several weekends this winter, doing a little at a time. It was a challenge for sure because there were a few errors in the plans, but with some improvisation it was easily avoided. This bed is very simplistic but the design allows for some personal flare and variation to be added. Be sure to make precise cuts! Be sure to pick out straight boards!

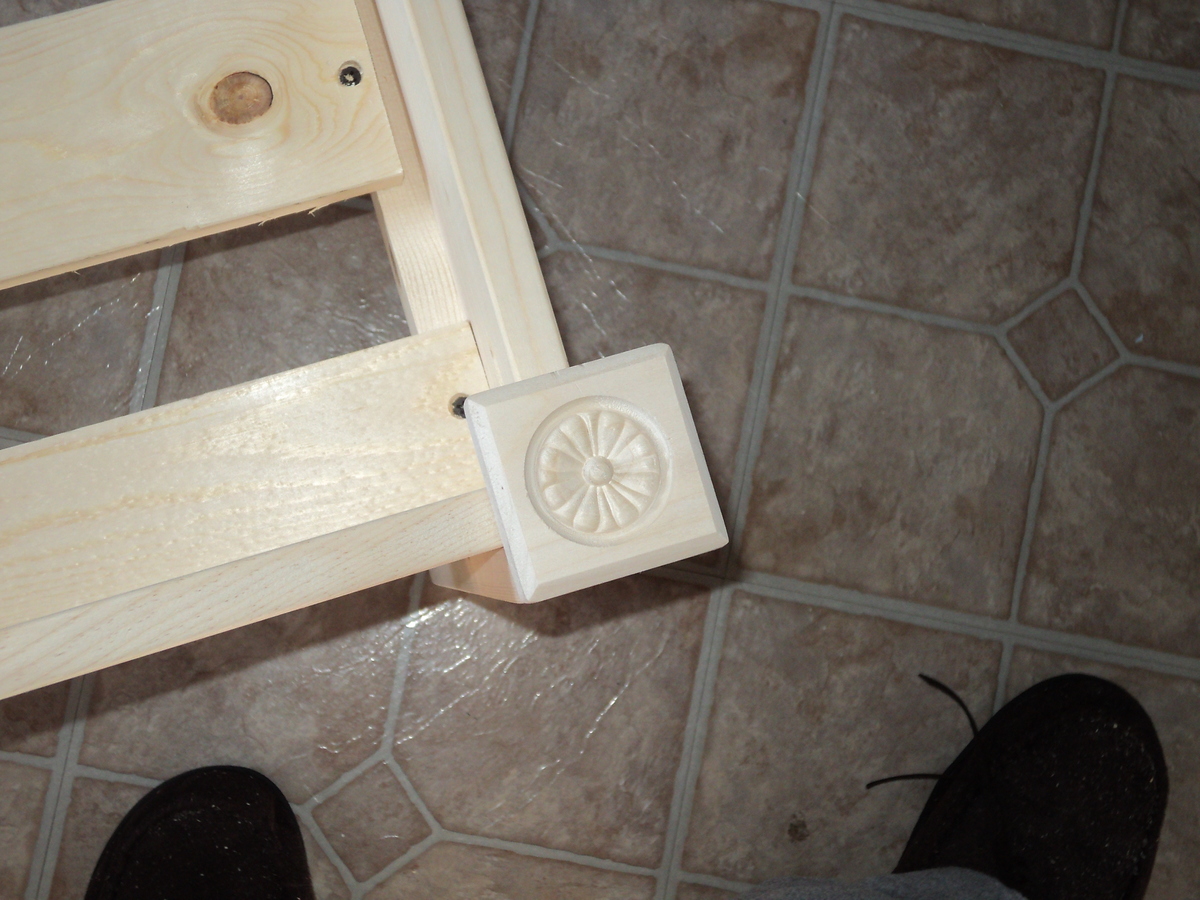
I used specialized software to make the head and foot curves and printed them on paper, then transferred them to the wood. I did not put the two blocks on the headboard posts...because to me it just looked plain silly! I added two bun feet to make it look like genuine bed knobs and they look excellent. Also for the foot board posts I used specialized square pieces of wood found in the hardware store that have a nice design in them doe a decorative look. they indent far enough towards the bed that they actually hold the sheets in place!

I did not paint it. Instead I used a golden oak stain, one coat. Then put two coats of high gloss on it. This also strengthened the soft white pine I used to build it.

I did not follow the part about the slat placement nor where the bed rails should be mounted, as this will vary depending on the thickness of the mattress you get, or if it has a box spring.

I used bolts to hold the bed rails in as well, along with nails and screws.

Sandpaper! Use it a lot!

$65 to build, although I already had nails, glue, sandpaper, stain, and varnish.

My daughter just loves it and I know it will be around for years to come!!! Everyone in my family loves it too. I highly suggest anyone who is looking for a simplistic looking twin bed, and who knows how to take their time and follow directions, to make this bed. Feel free to write me if you need help. [email protected]
Estimated Cost
$65
Estimated Time Investment
Week Long Project (20 Hours or More)
Finish Used
Golden Oak Stain, high gloss varnish
Recommended Skill Level
Beginner

Comments

timh

Sat, 02/08/2014 - 15:51

Thank you Ana White for such a nice website with great resources for all of us who like to build things ourselves and save a buck or two!

Vertical Herb Planter

Submitted by Anonymous (not verified) on Tue, 05/10/2016 - 20:04

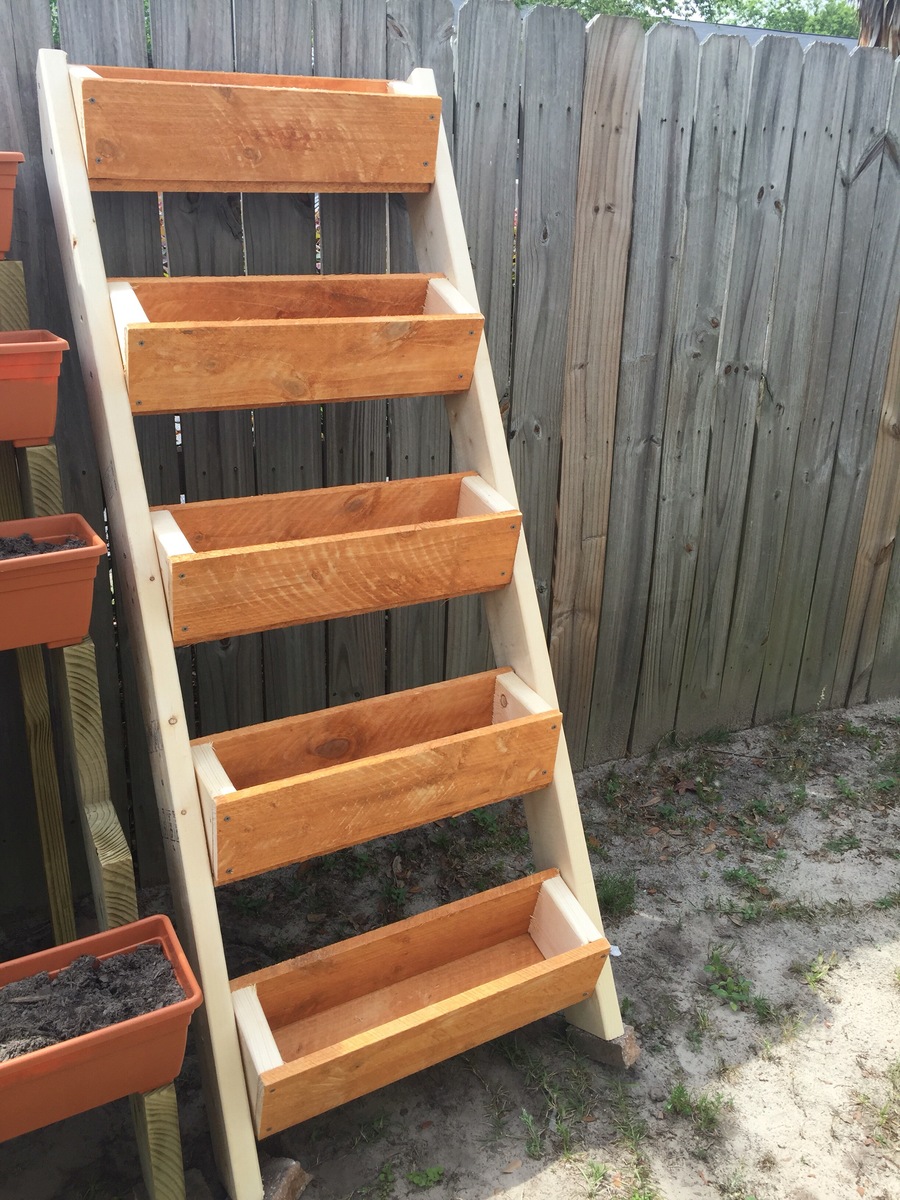
Used your plans but make changes to the planters since I do not own an angle machine.  They look great and the cost was less than $30

Estimated Cost
$28
Estimated Time Investment
Afternoon Project (3-6 Hours)
Finish Used
Deck screws
Recommended Skill Level
Starter Project

Comments

NextGreenLife

Tue, 05/30/2017 - 14:33

Can appreciate wanting to do projects but not having all the necessary fancy tools.  I need to make two of these anyway (one to give away), so going to steal this idea to make it a wham-bam quick job!

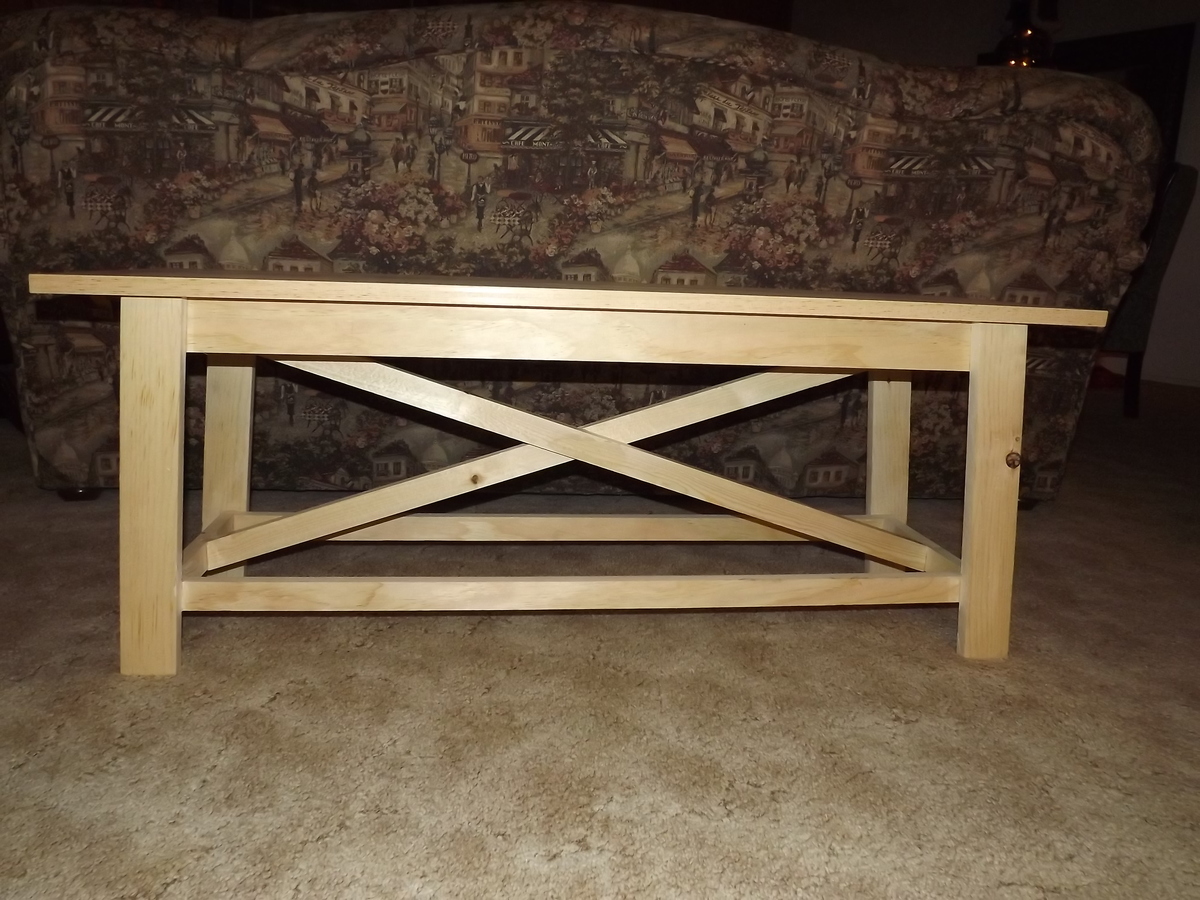
Rustic X Bench

Submitted by Linda7 on Thu, 03/06/2014 - 14:52

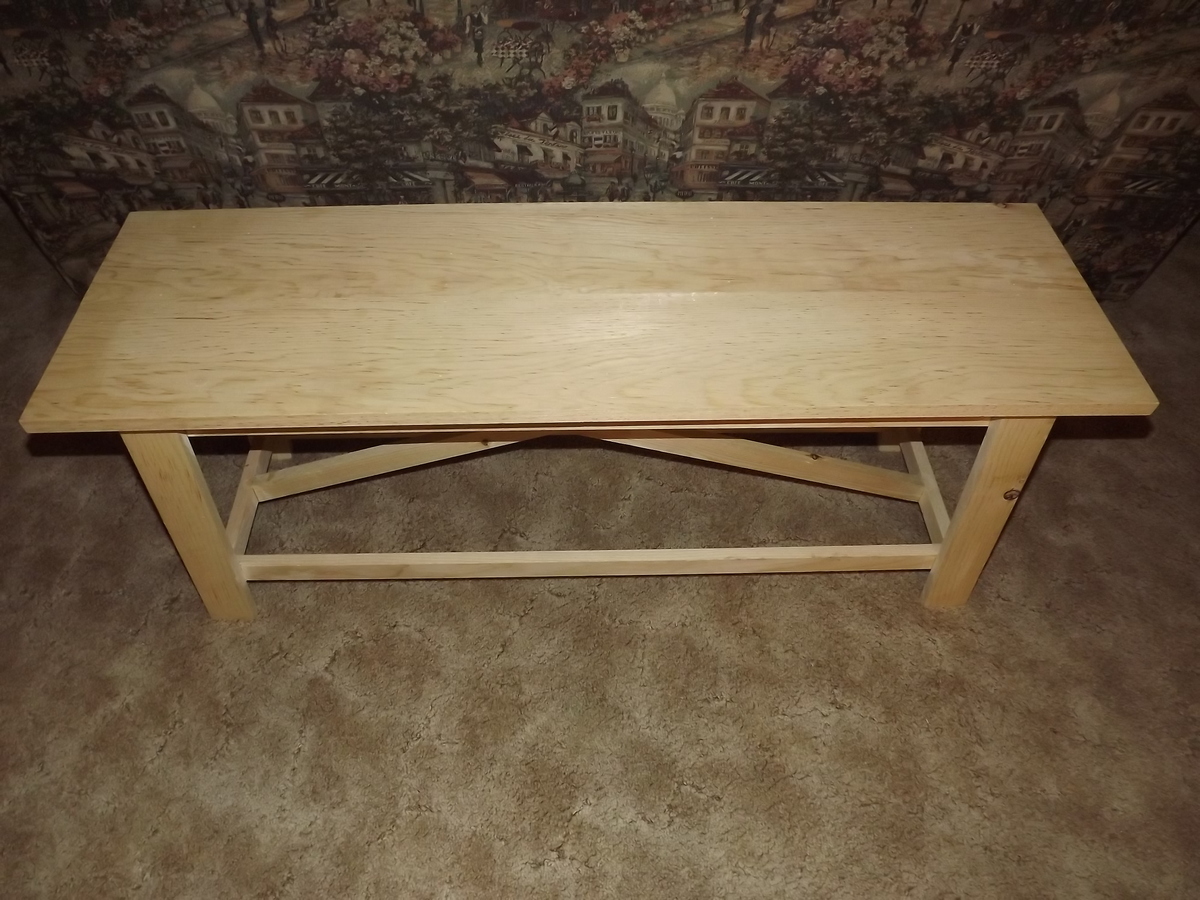
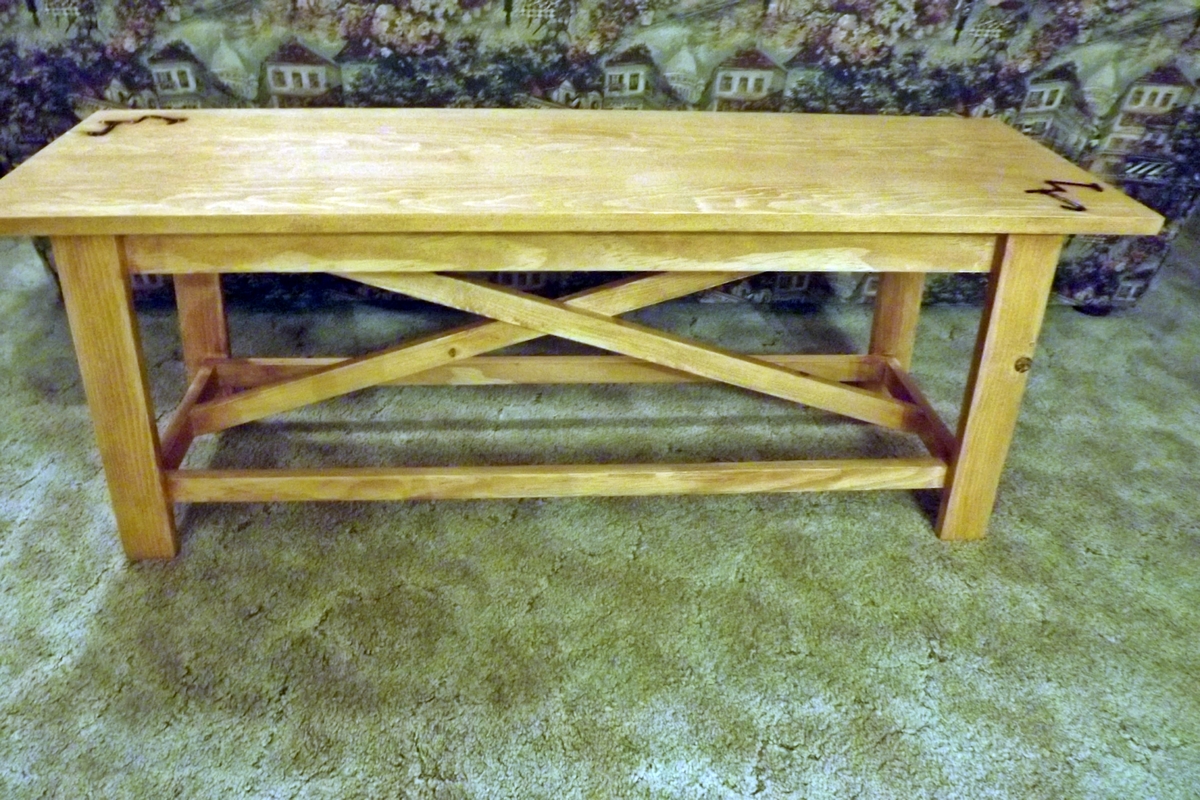
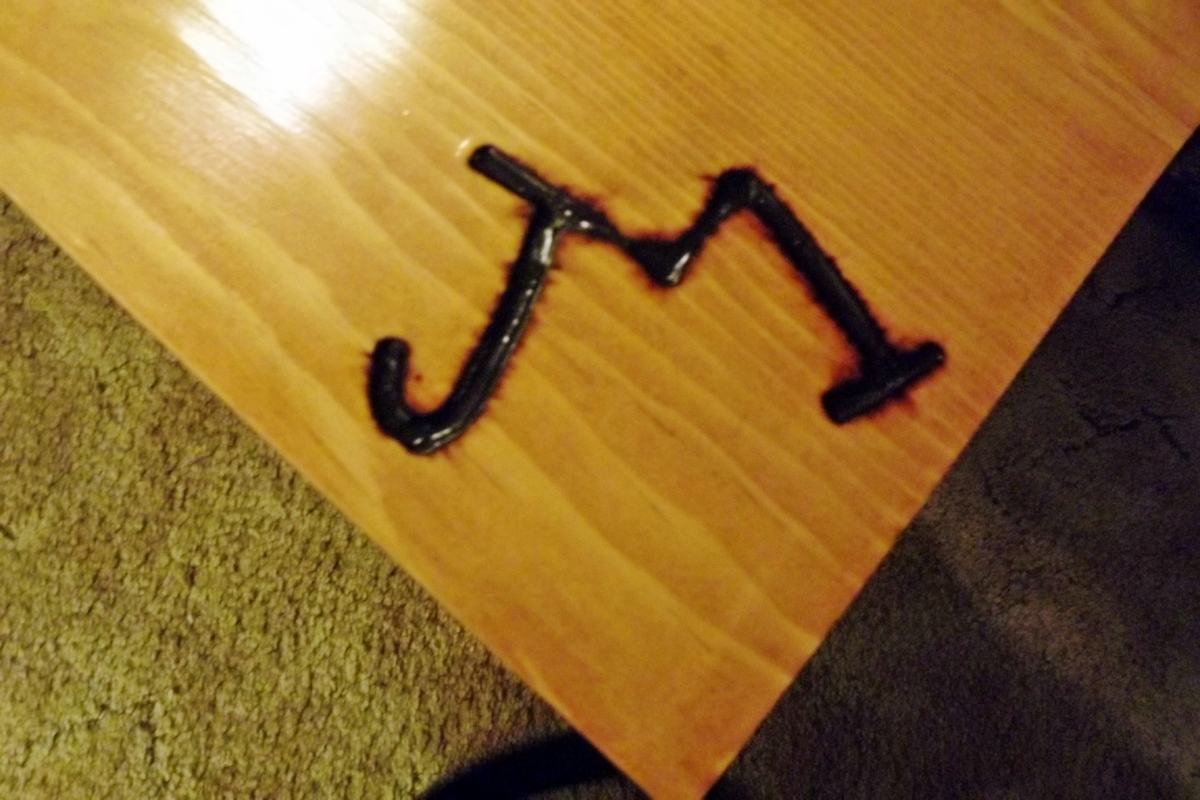
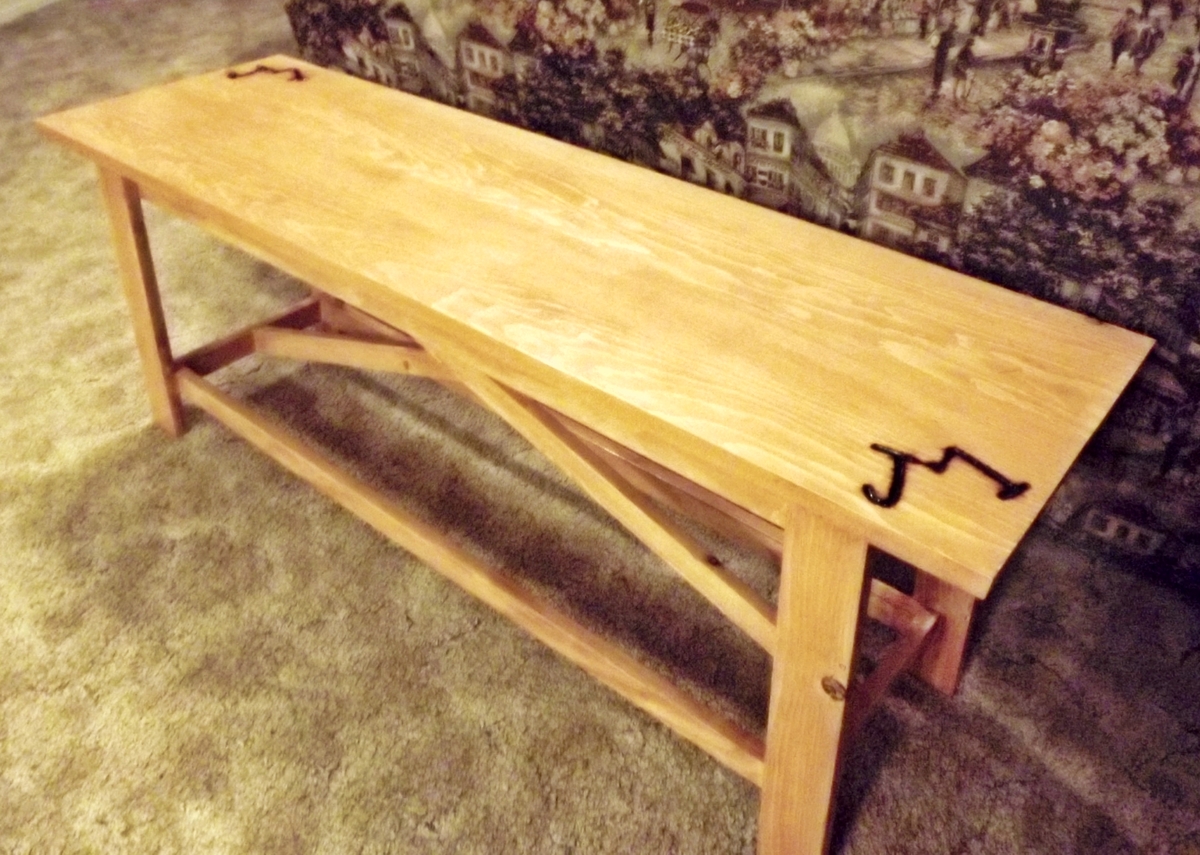
I built this bench for my son and daughter-in-law for their front porch. The plans came from The Handbuilt Home, and I followed them exactly. My daughter-in-law thought it would be cool to burn their brand onto the seat, which added a very personal touch, I think. Very happy with the way it turned out. Thanks for the easy-to-follow plans, Ana!

Estimated Cost
Can't remember; maybe $35
Estimated Time Investment
Day Project (6-9 Hours)
Finish Used
Miniwax conditioner followed by two coats of Minwax "Ipswich Pine" stain. Used three coats of spar varnish, sanding lightly between coats.
Recommended Skill Level
Beginner

Full Size Farmhouse Bed with Trundle

Submitted by eshelling on Sat, 07/09/2016 - 16:11

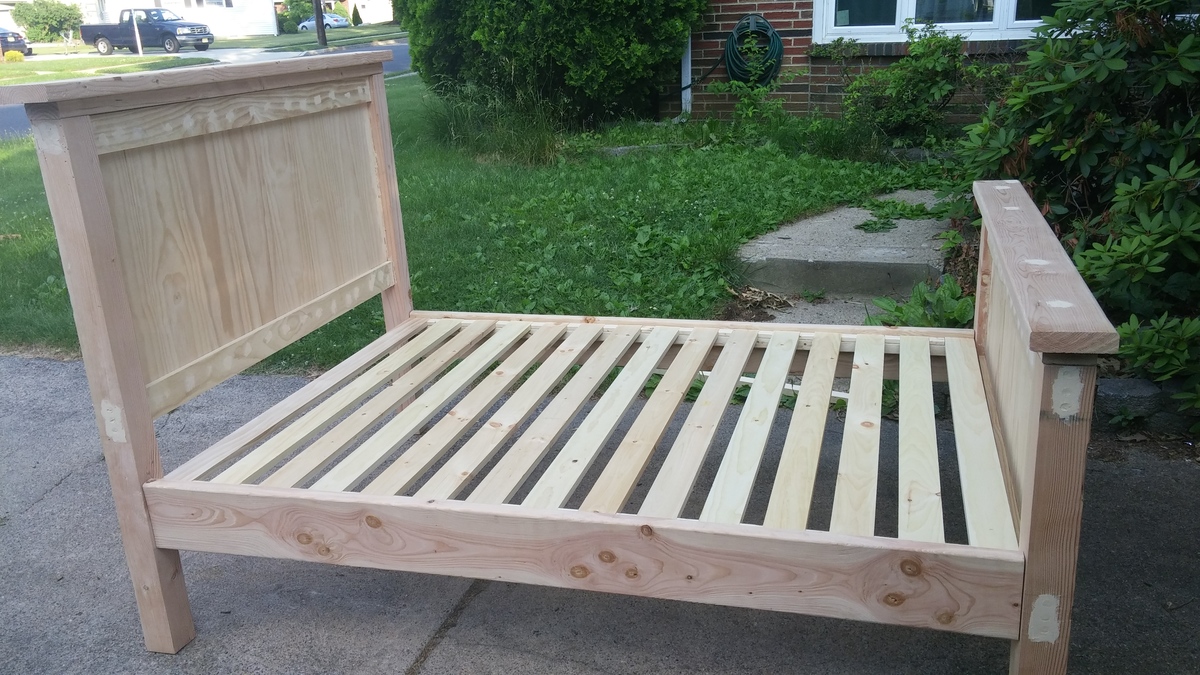
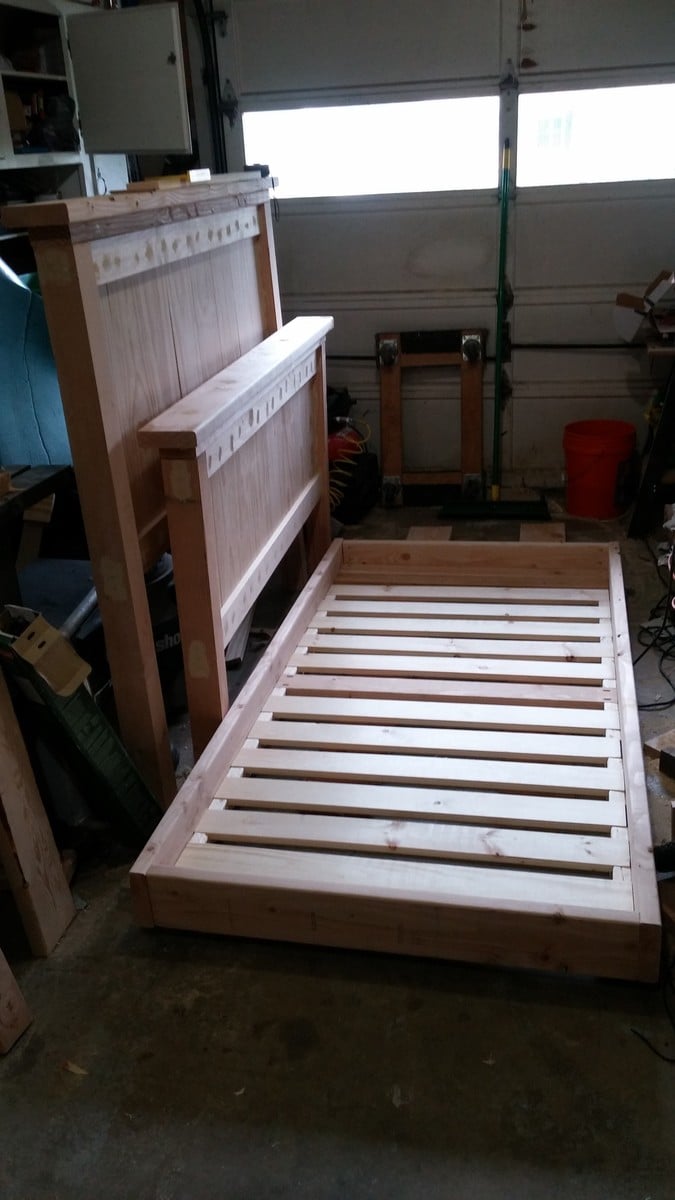
I wanted to make use of the twin size mattress from my son's old bed and I thought it would nice to have an extra place for his cousins and friends to sleep when visiting so I added a trundle.  I had to slightly alter the plans to accommodate this, and made some little happy mistakes along the way.  Because  I wanted to be able to take the bed apart I had purchased some surface mount hardware for the rails.  What I didn't account for was the extra width it would add for the platform.  It ended up making the frame large enough to fit a queen size mattress.  This would have been fine if I hadn't already purchased a new full size mattress!  Ha Ha.  I ended up having enough of the bed slats showing that it bugged me so I ended up taking a 2 x 4 and cutting out a notch so it would sit flush on the rail and cover up the slats.  I stained it using an American Chestnut Satin Polyshades Mix and overall I am pleased with how it came out.  This was a good learning experience and now I'll get started on a nightstand shortly.

Built from Plan(s)
Estimated Time Investment
Week Long Project (20 Hours or More)
Recommended Skill Level
Intermediate

Cake table for wedding.

Submitted by sherrik on Wed, 05/06/2020 - 21:23

I had seen this and contemplated making it several times. When my daughter got engaged and we planned an on farm wedding, I knew this would be the perfect cake table. My niece helped me with the build. The stain and milk paint finish on the legs worked perfectly and crackled and chipped as desired. Only thing I didn’t like was the the silicone to fill the cracks didn’t last well. Boards were picked out of the pile at Menards. It still looks great two years later and my daughter bought a bigger house so she now has room for it in her dining area.

Built from Plan(s)
Estimated Time Investment
Weekend Project (10-20 Hours)
Finish Used
Table base was gel stain with 2 coats milk paint over the top of stain

Tabletop was liquid stain followed by three coats poly.
Recommended Skill Level
Beginner

Comments

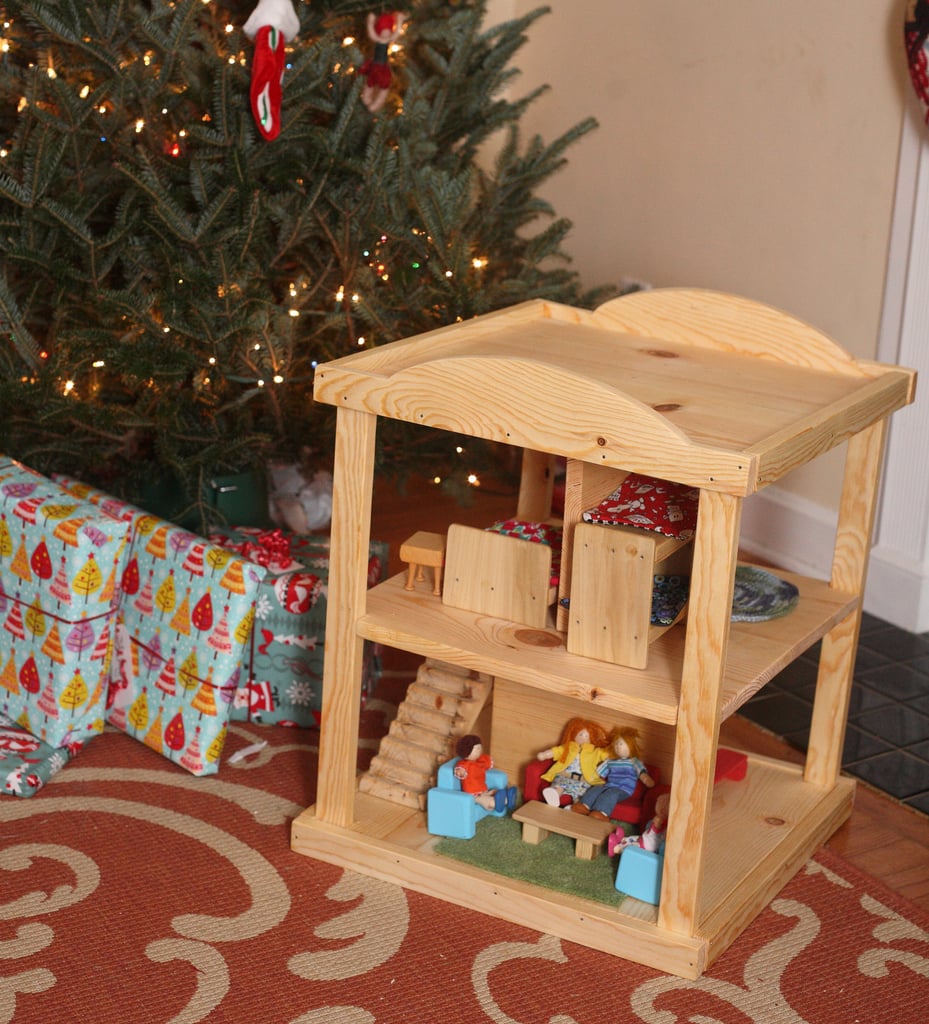
Dollhouse

Submitted by keribeth on Sat, 07/07/2012 - 05:46

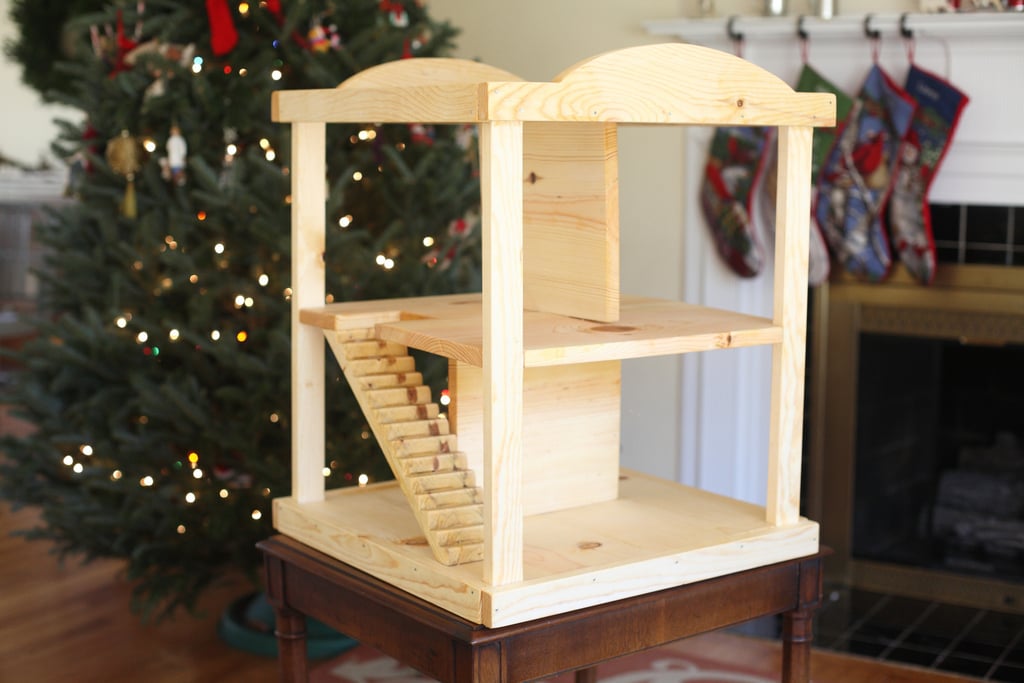
I combined my favorite elements from three of Ana's dollhouse plans to make this dollhouse for my kids. My favorite part is the stairs, which I cut from a 2x4 with a miter saw. I made this project from start to finish in one day while the grandparents took the kids, and it was ready for Christmas morning! I made simple furniture for it, too, which you can see in the second picture.

Estimated Cost
~$20 (I used some scraps)
Estimated Time Investment
Day Project (6-9 Hours)
Finish Used
linseed oil
Recommended Skill Level
Intermediate

Comments

Jerika

Wed, 02/11/2015 - 06:35

Is there any way you could email me the plans you used for the furniture? or just individual pictures of the furniture? [email protected] (you may wanna copy and paste that people always get it wrong, haha).
I LOVE THIS

MissM

Wed, 07/10/2019 - 04:08

I know this is an oldie but if you have the finals plans I would love to see them!

What a great open dollhouse!

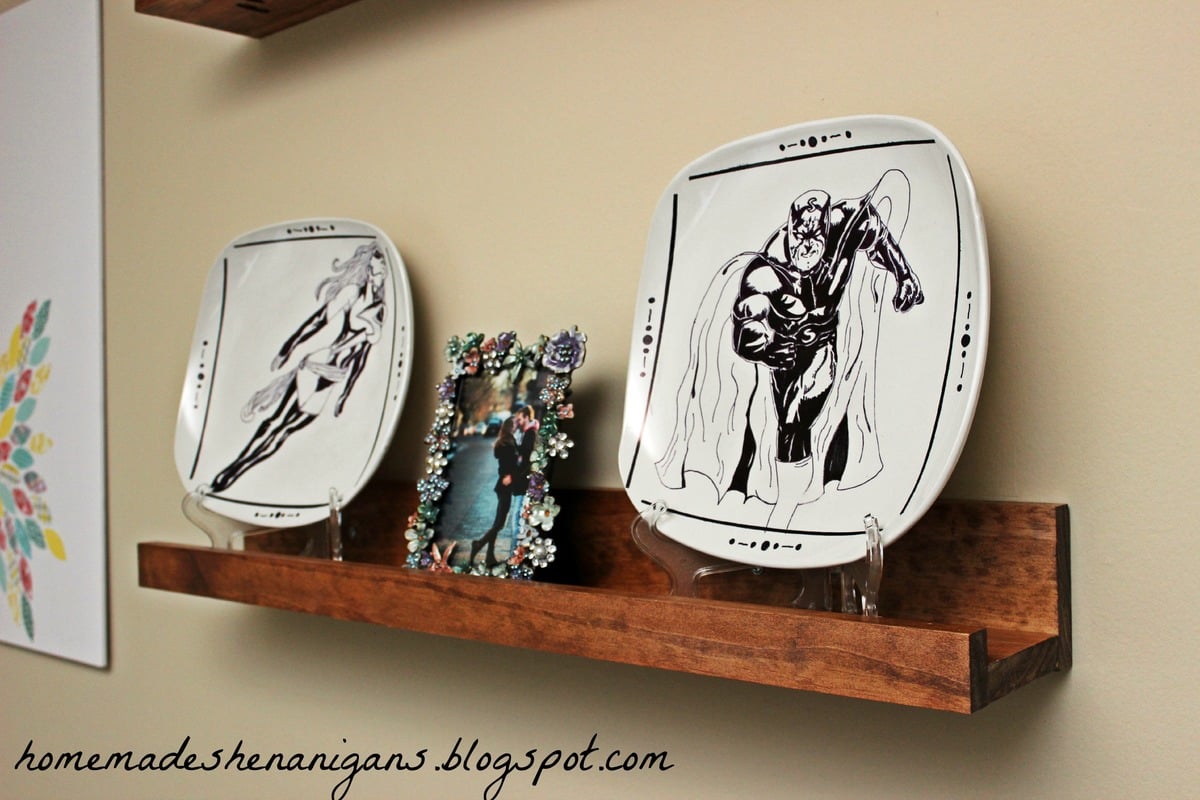
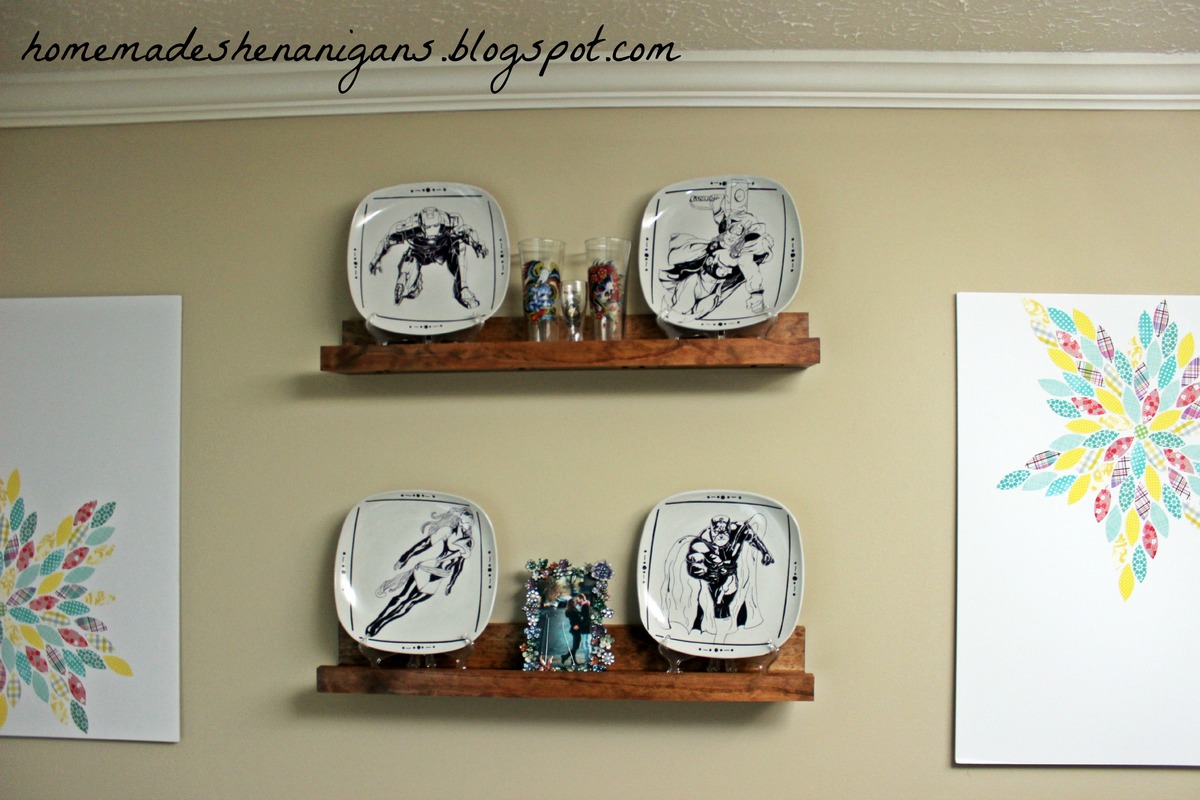
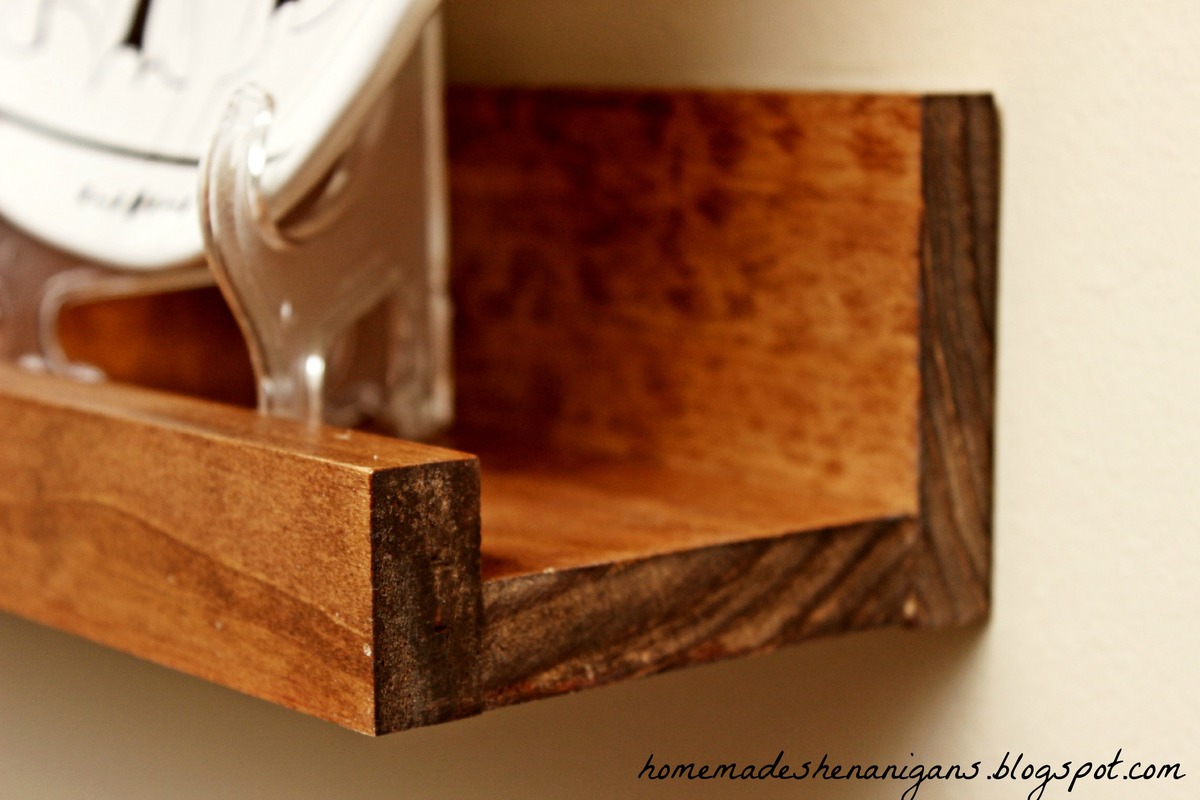
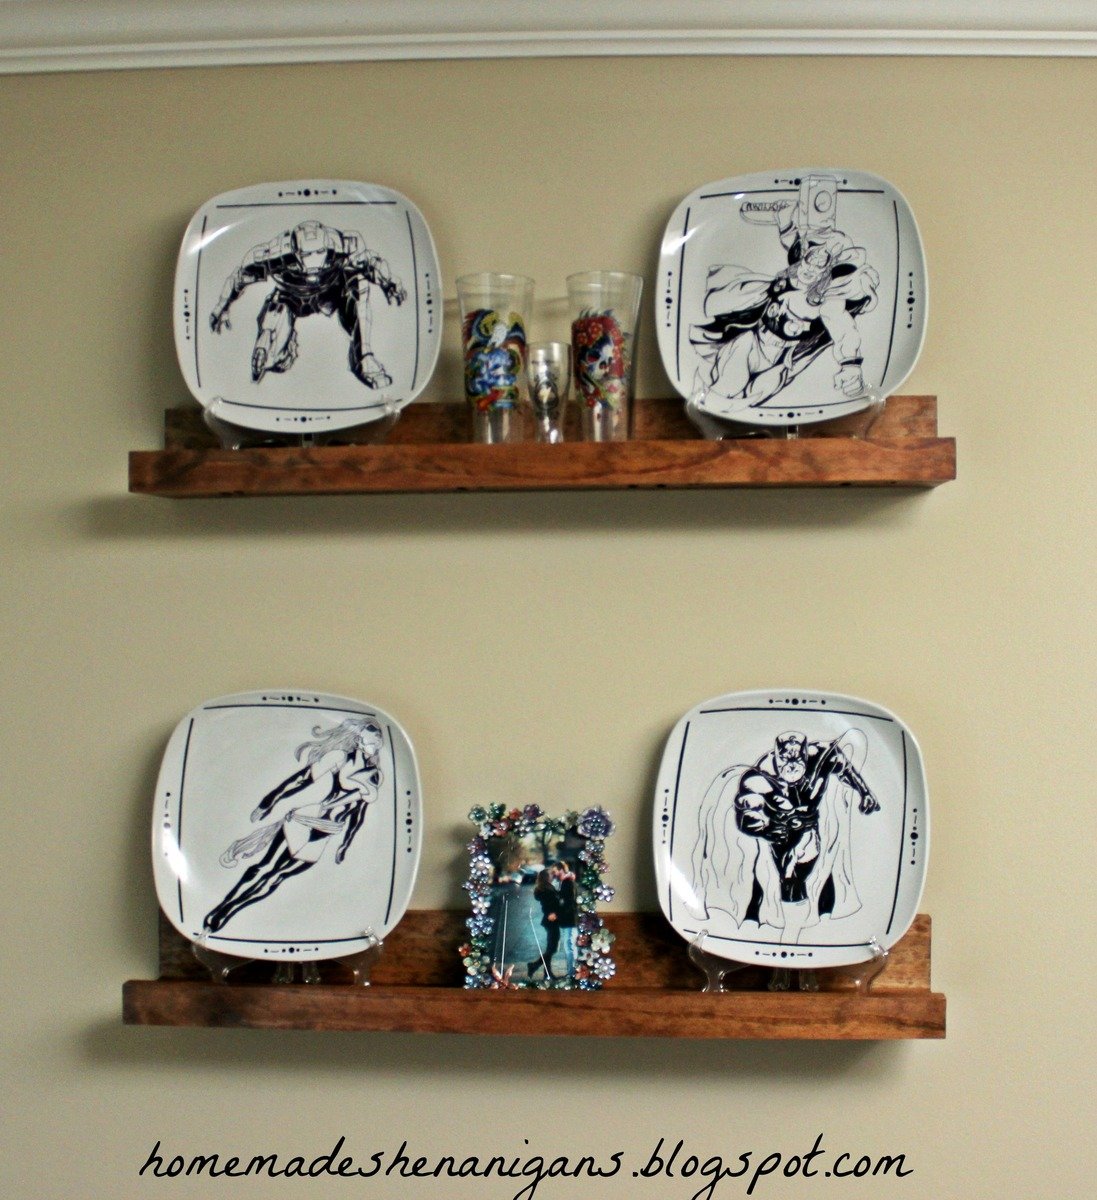
Dining Room Shelves

My shelves are about 2.5 ft long. I wanted a display area in my dining room to show off some plates I had made for my boyfriend a while back.

Built from Plan(s)
Estimated Cost
$30.00
Estimated Time Investment
Afternoon Project (3-6 Hours)
Finish Used
One coat Rustoleum Dark Walnut stain with one coat Miniwax Gunstock stain on top. Two coats of polyurethane.
Recommended Skill Level
Starter Project

Gun cabinet

Submitted by Flowerchld on Sat, 07/21/2012 - 11:36

This is a gun cabinet I made for my dad out of old barn wood.

Estimated Time Investment
Week Long Project (20 Hours or More)
Recommended Skill Level
Intermediate

Comments

Joshua_kubinski

Wed, 12/02/2015 - 20:47

I would love to get plans for this. I have been trying to come up with my own but I'm not very good at it. Thanks love your work.

Joshua

Back