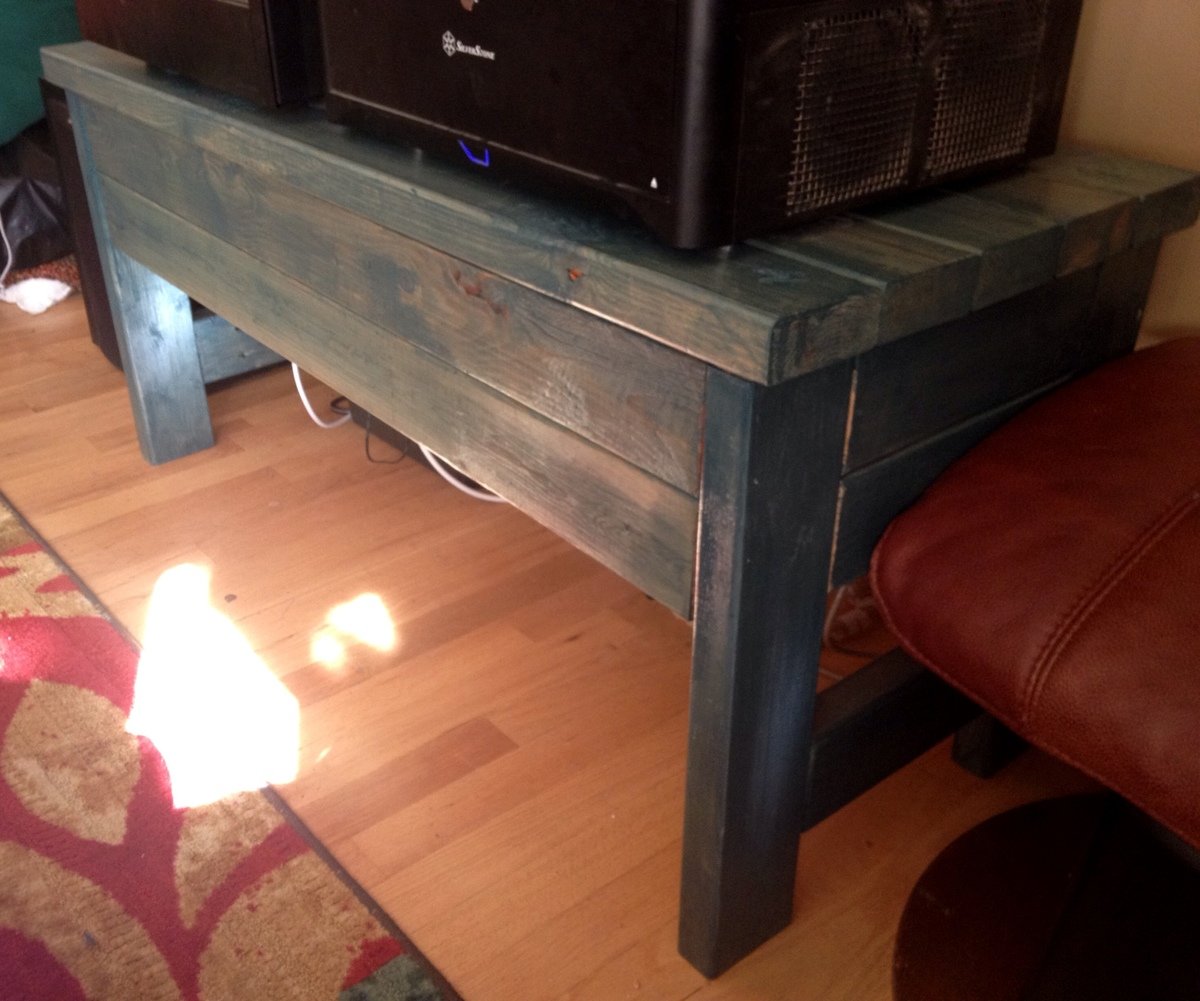
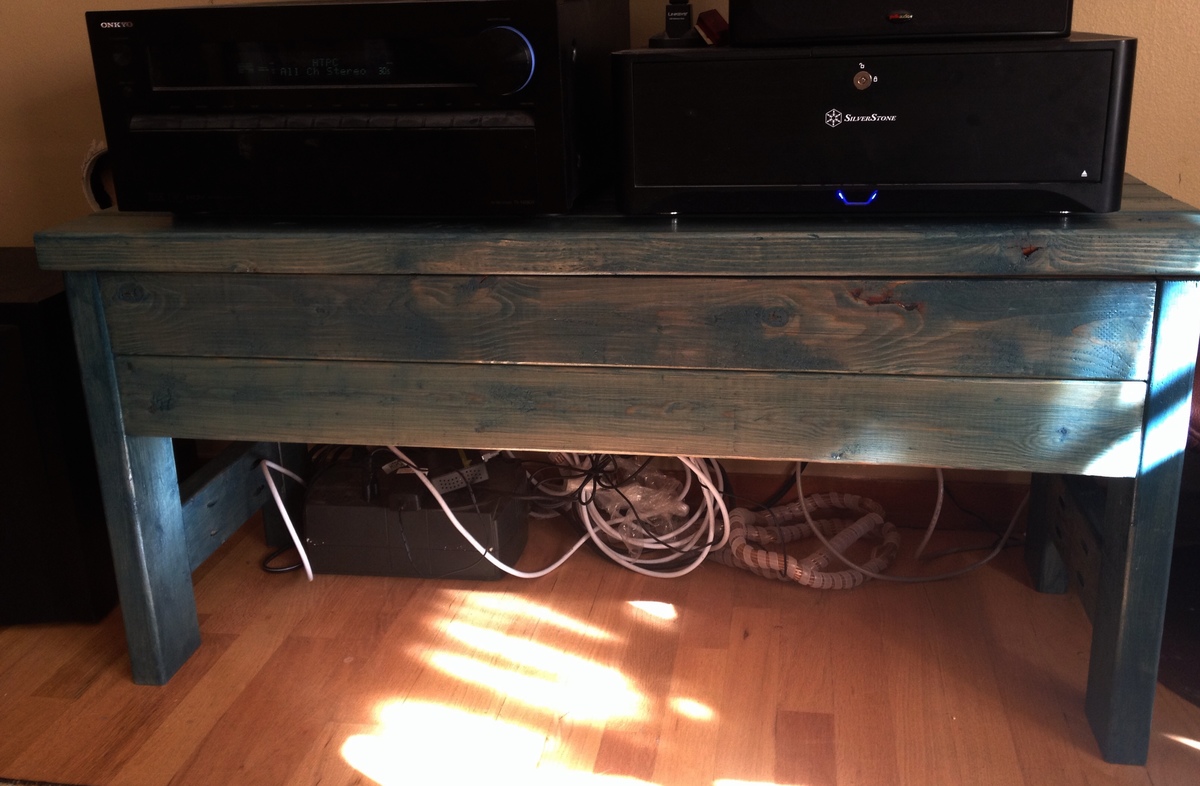
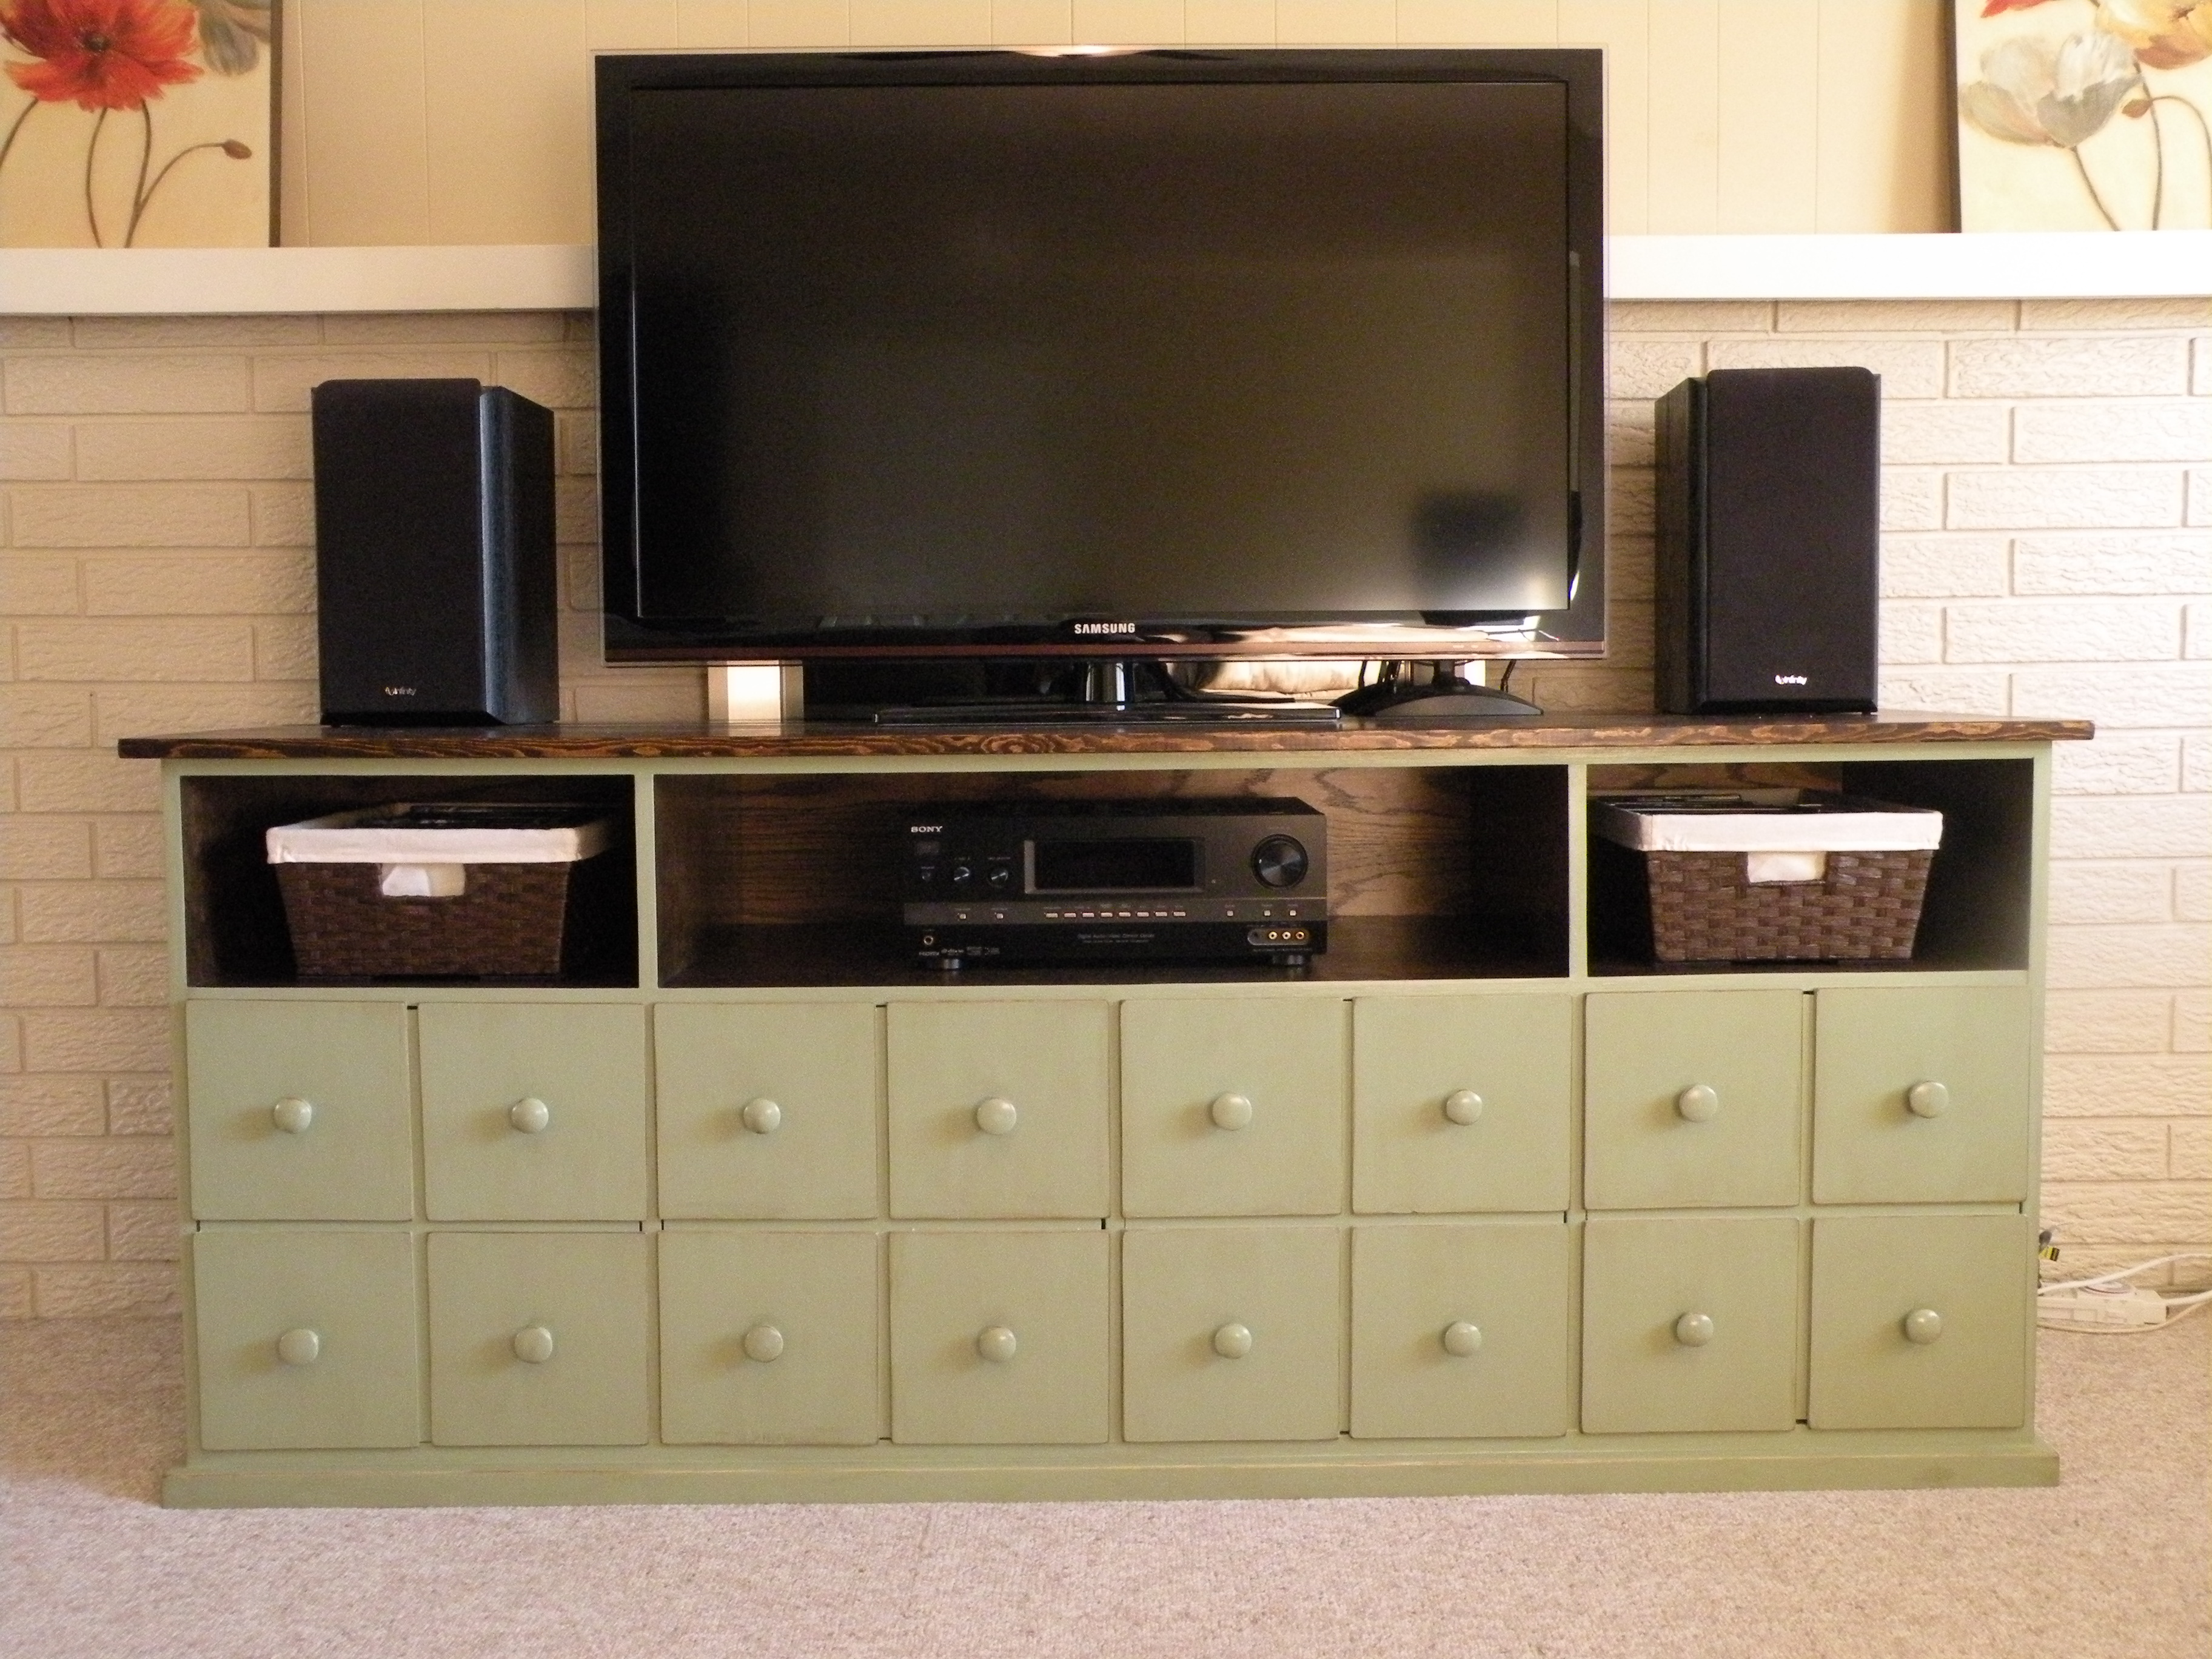
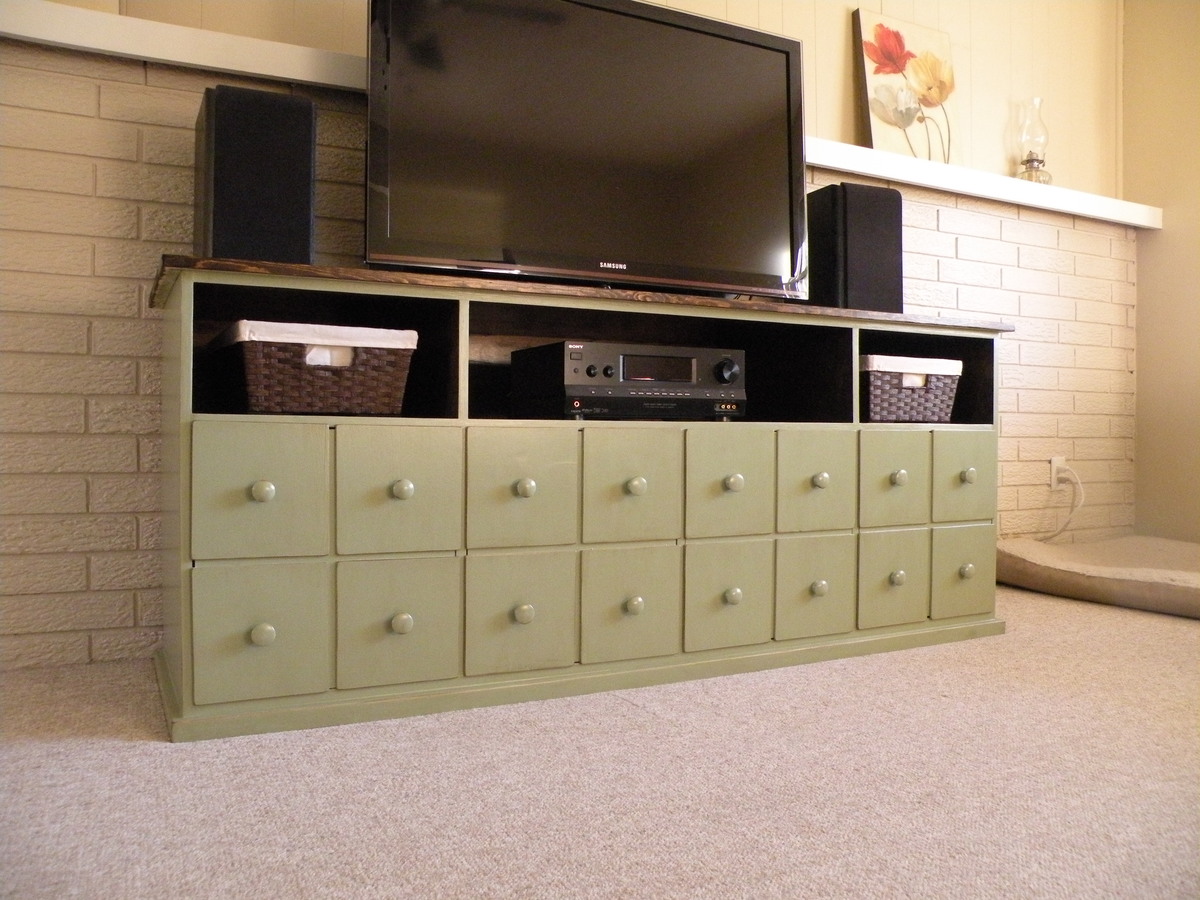
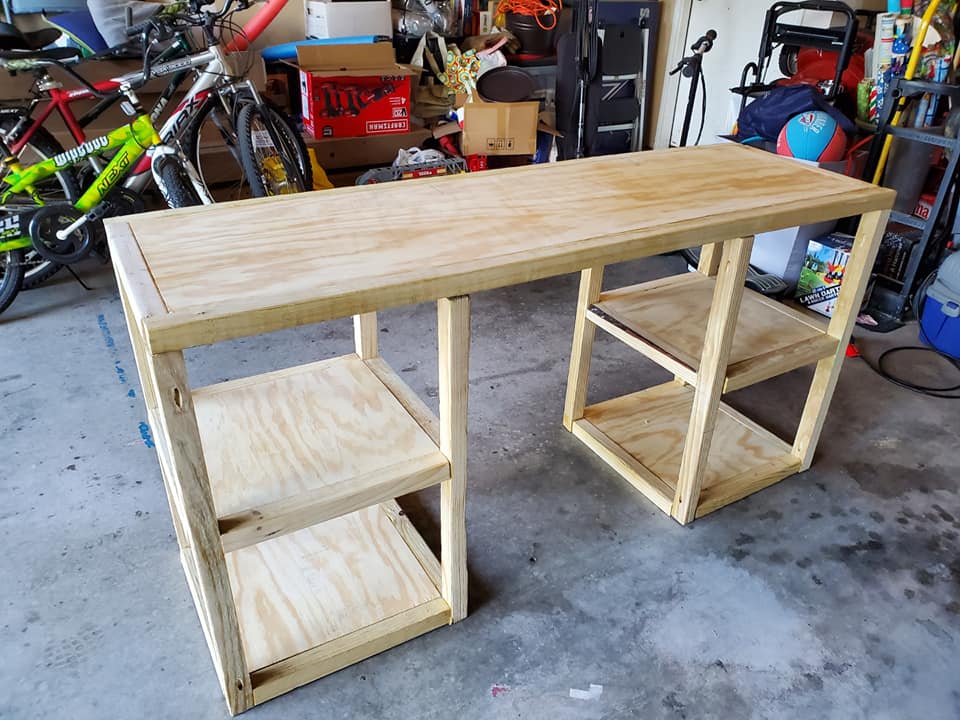
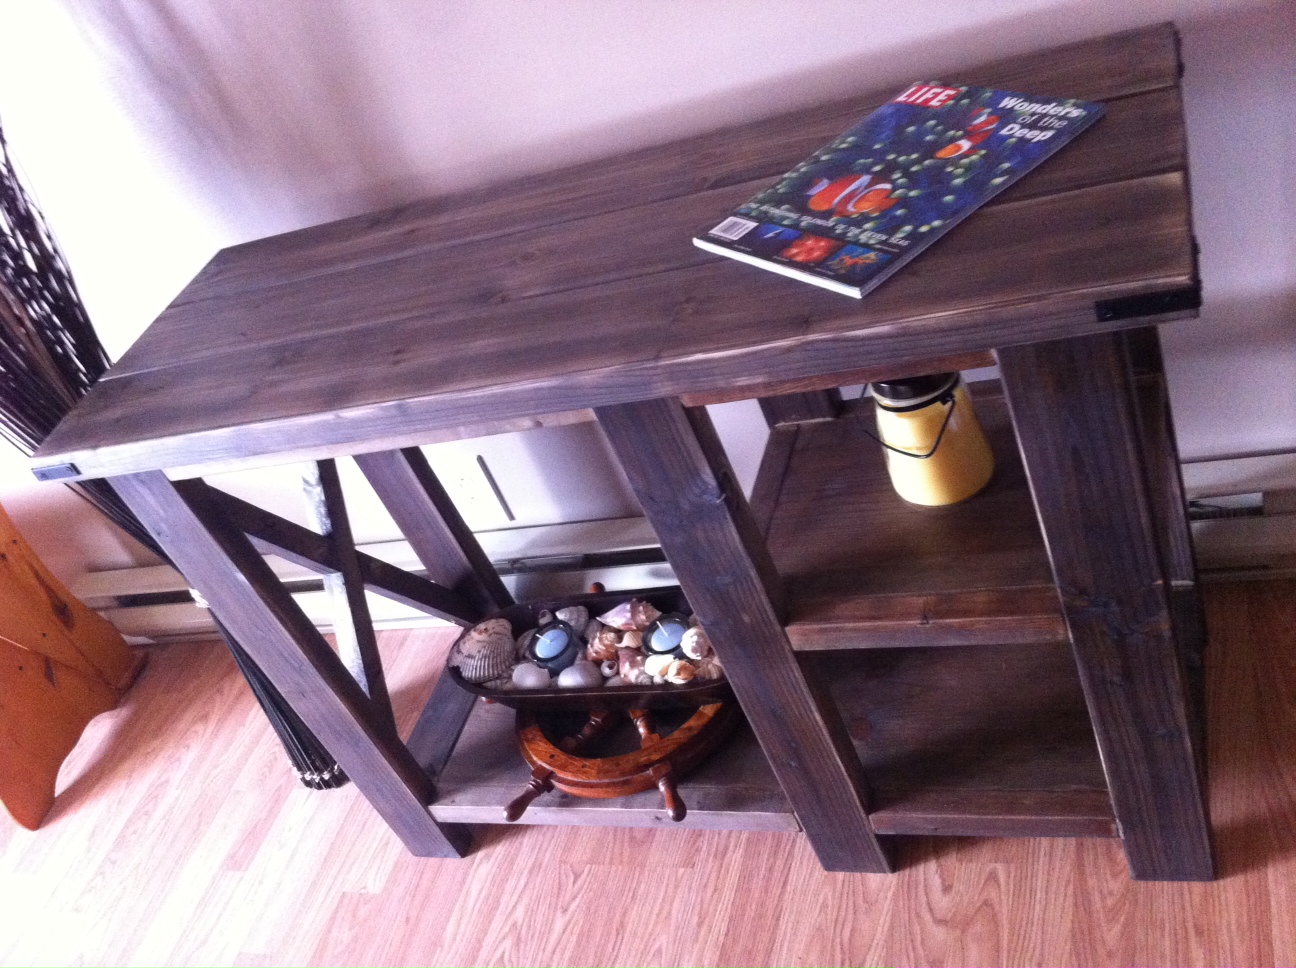
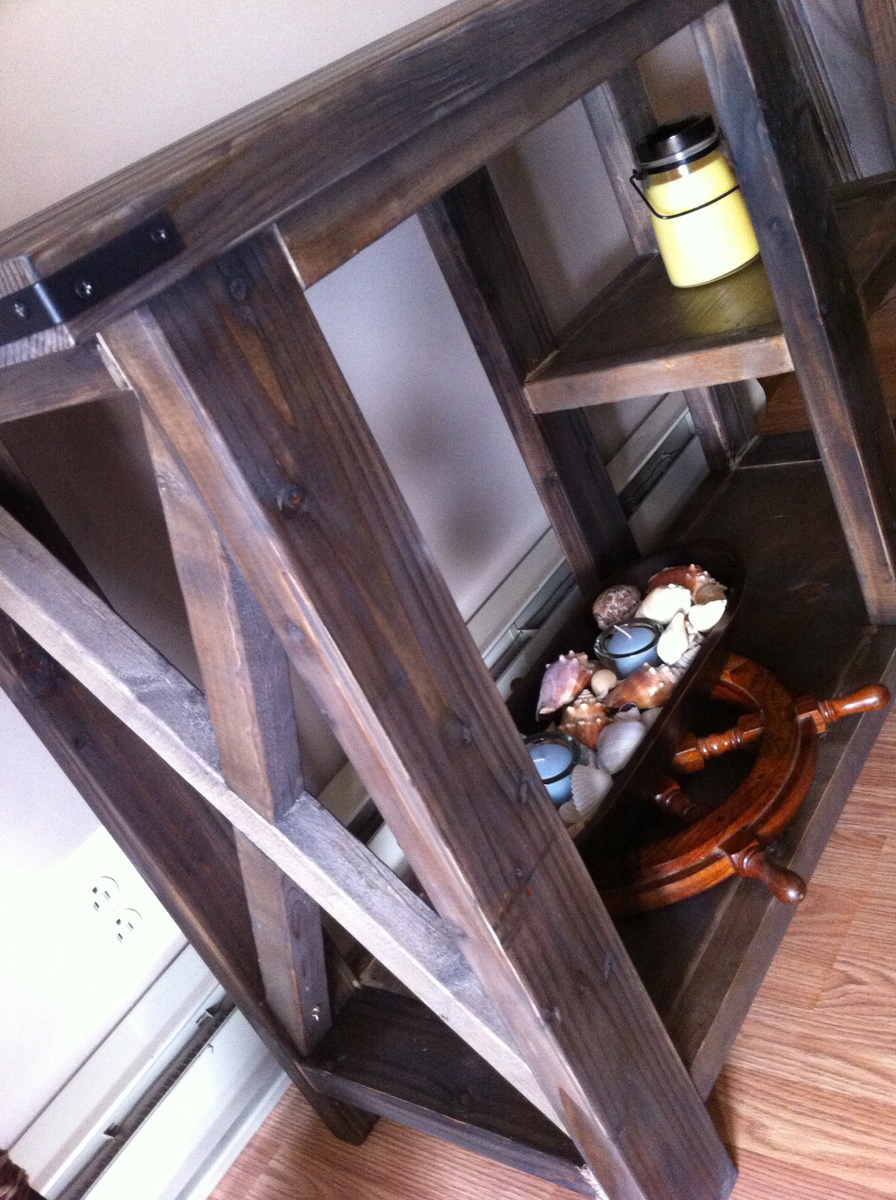
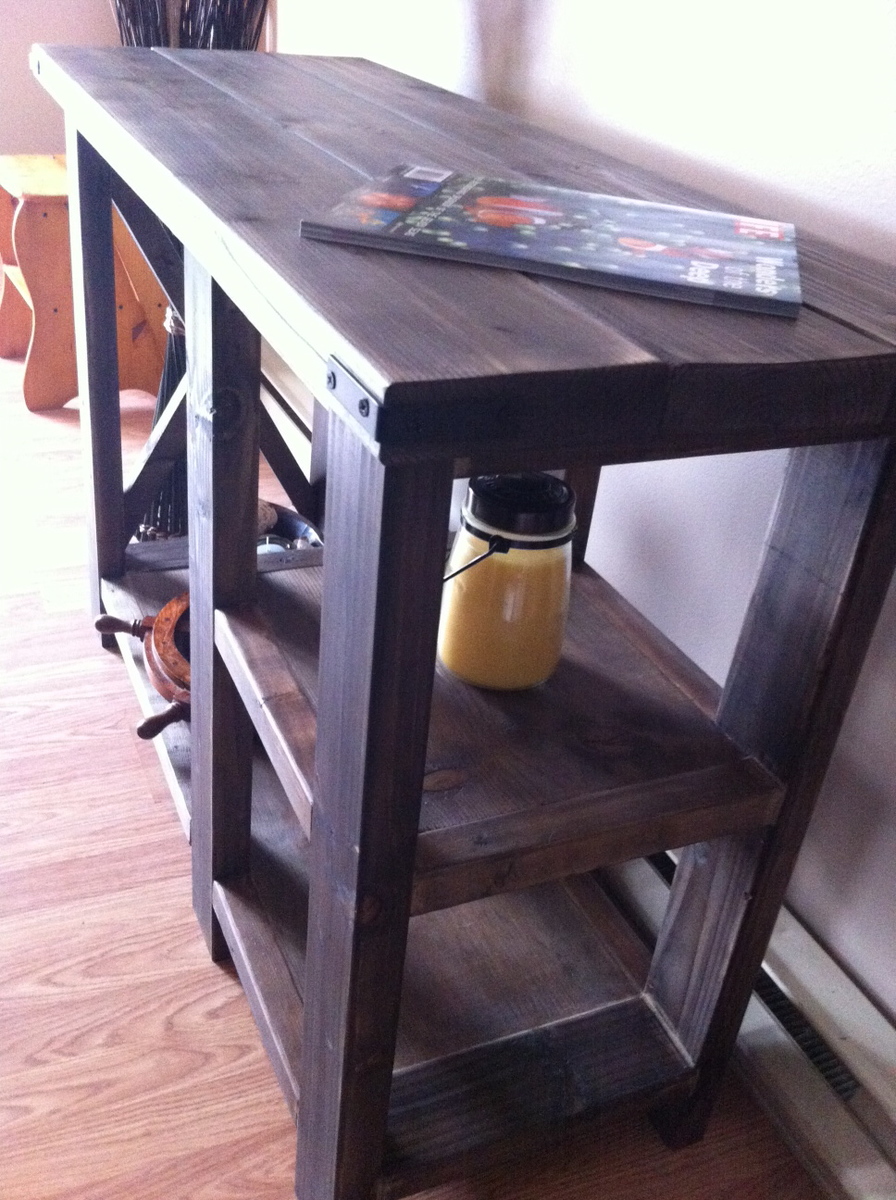
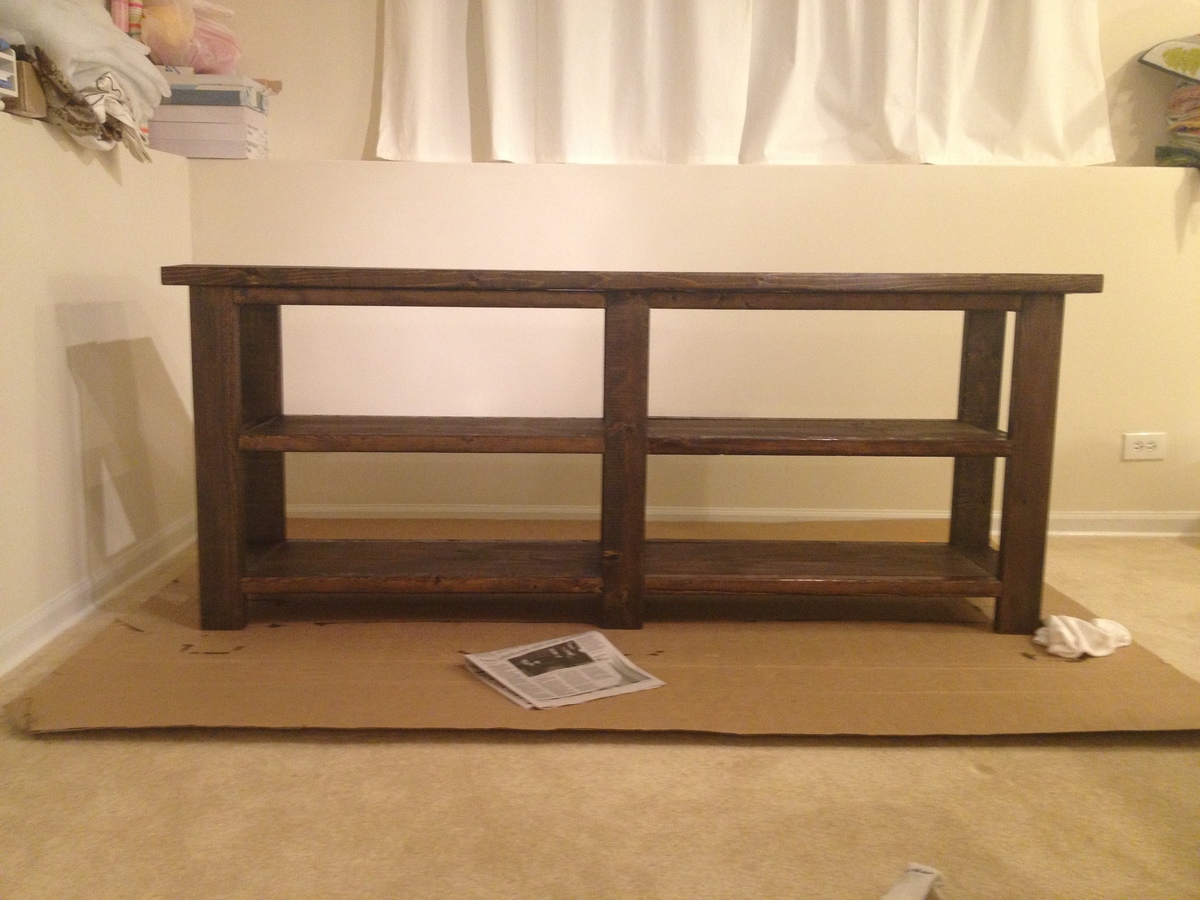
Rustic Console Table
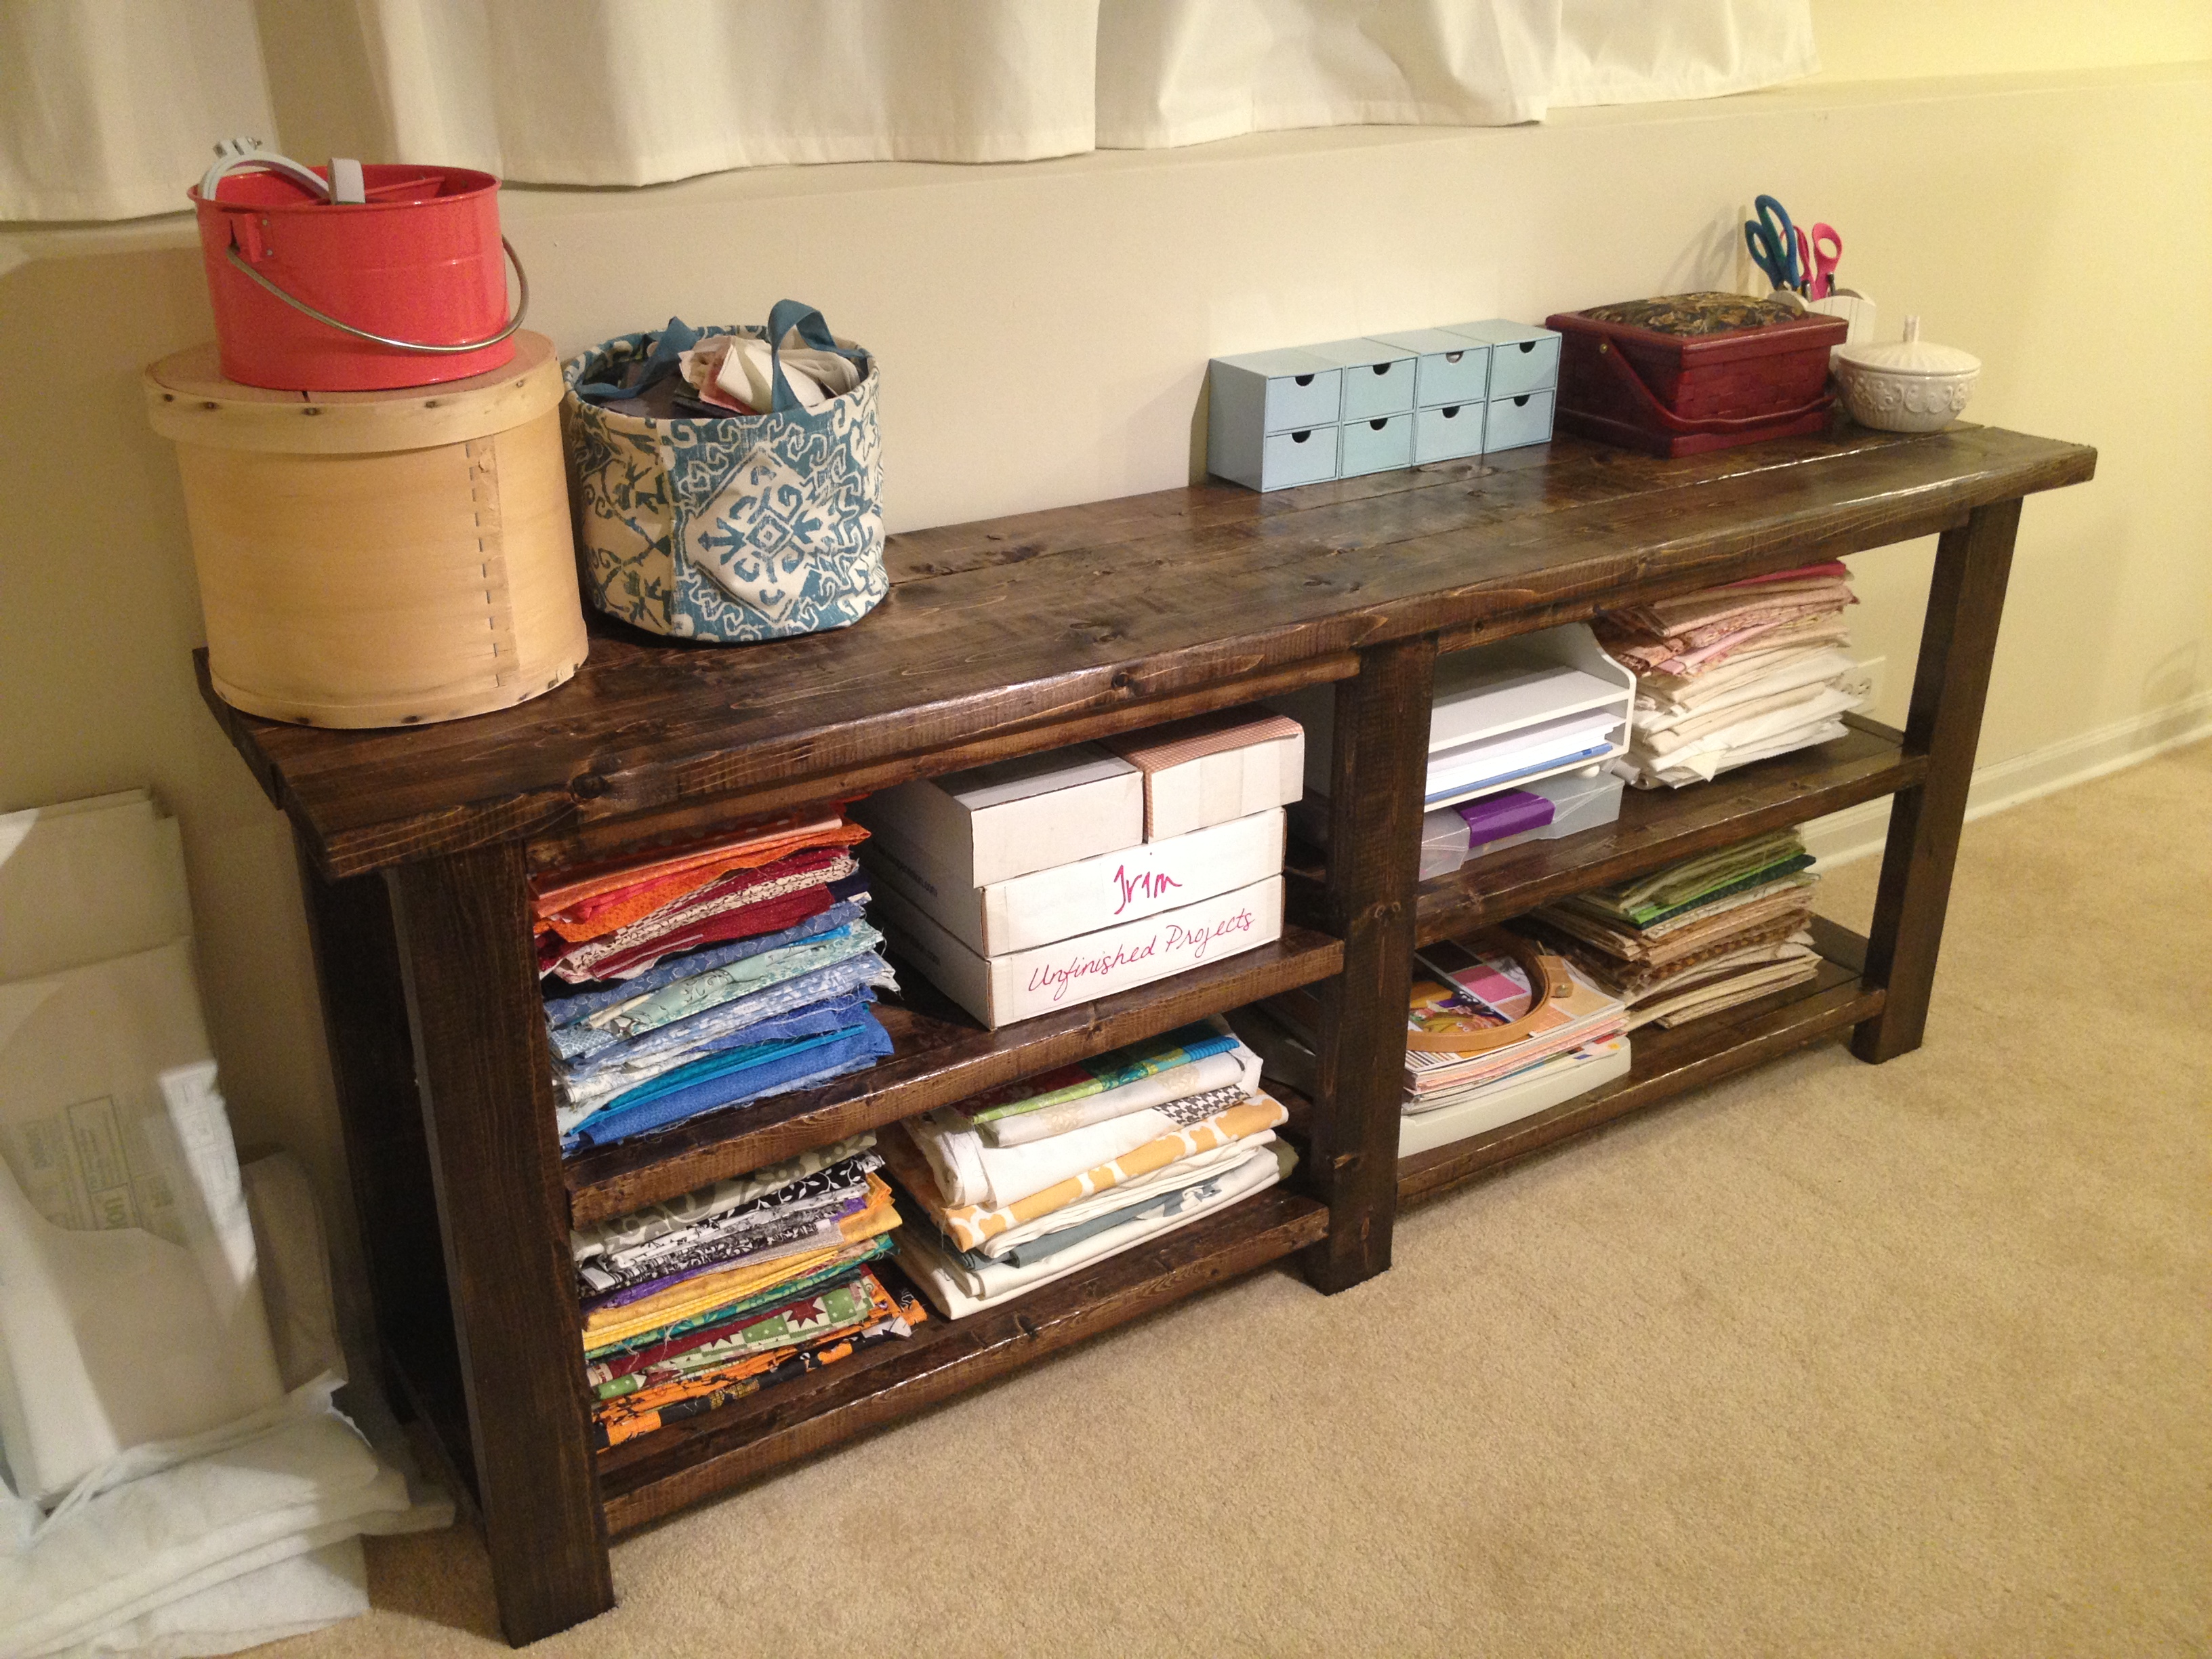
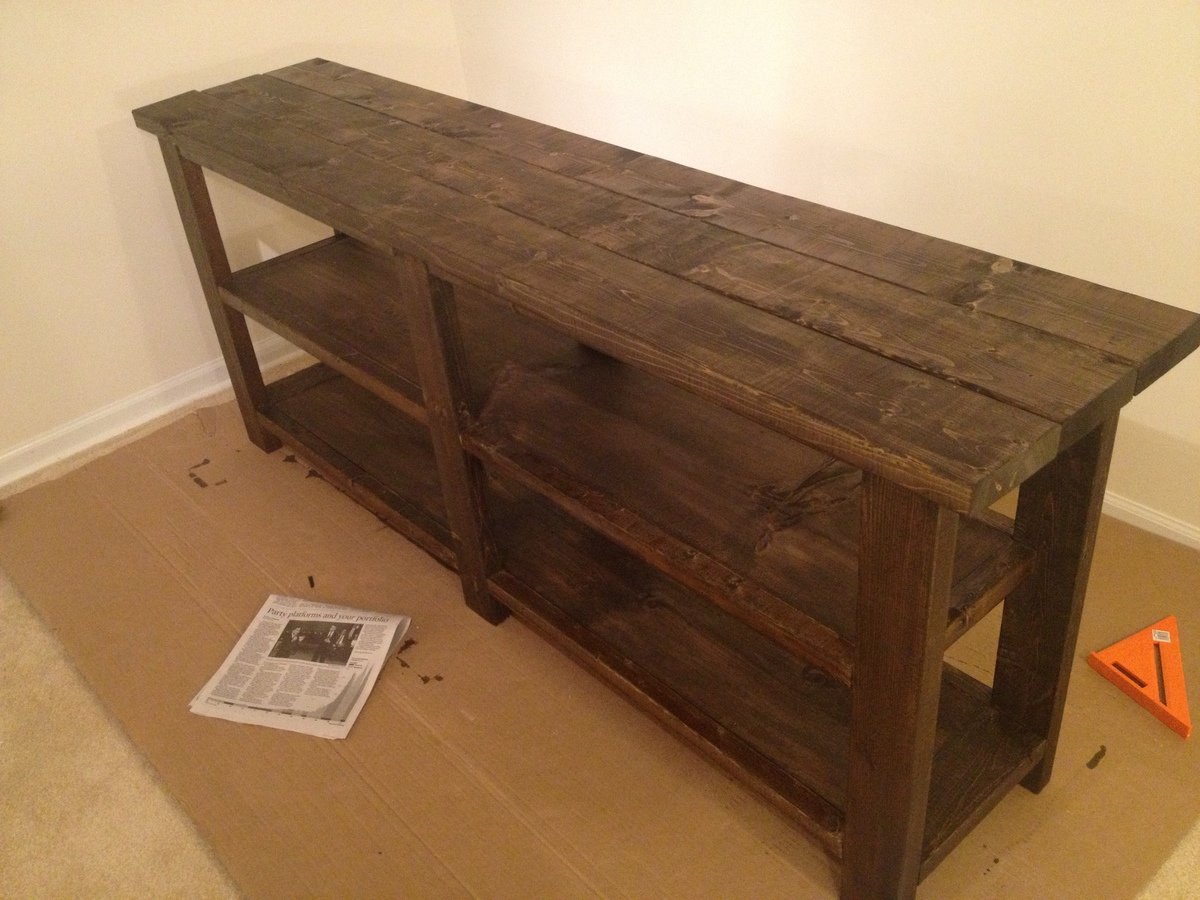
I wanted something large to store my sewing fabrics and materials in a pretty and open way! Then I found the Rustic X Console from Ana-White and knew it was perfect. the dimensions were bang on an the open shelving allowed for very accessible, visible storage option.
I made it in a weekend and used the Jacobean Minwax stain. Only spent about $60 in lumber. Oh and I didn't end up doing the "X" on the side. My compound miter saw won't do a 60 degree angle and my manual attempts were not working :) Doesn't need it, though, its gorgeous without.
I just love how it came out! Thank you Ana!
Built from Plan(s)
Estimated Time Investment
Weekend Project (10-20 Hours)
Finish Used
Minwax - Jacobean
Recommended Skill Level
Intermediate