Community Brag Posts

2 Tier Stocking Stand

Submitted by Anonymous (not verified) on Mon, 12/11/2023 - 09:20

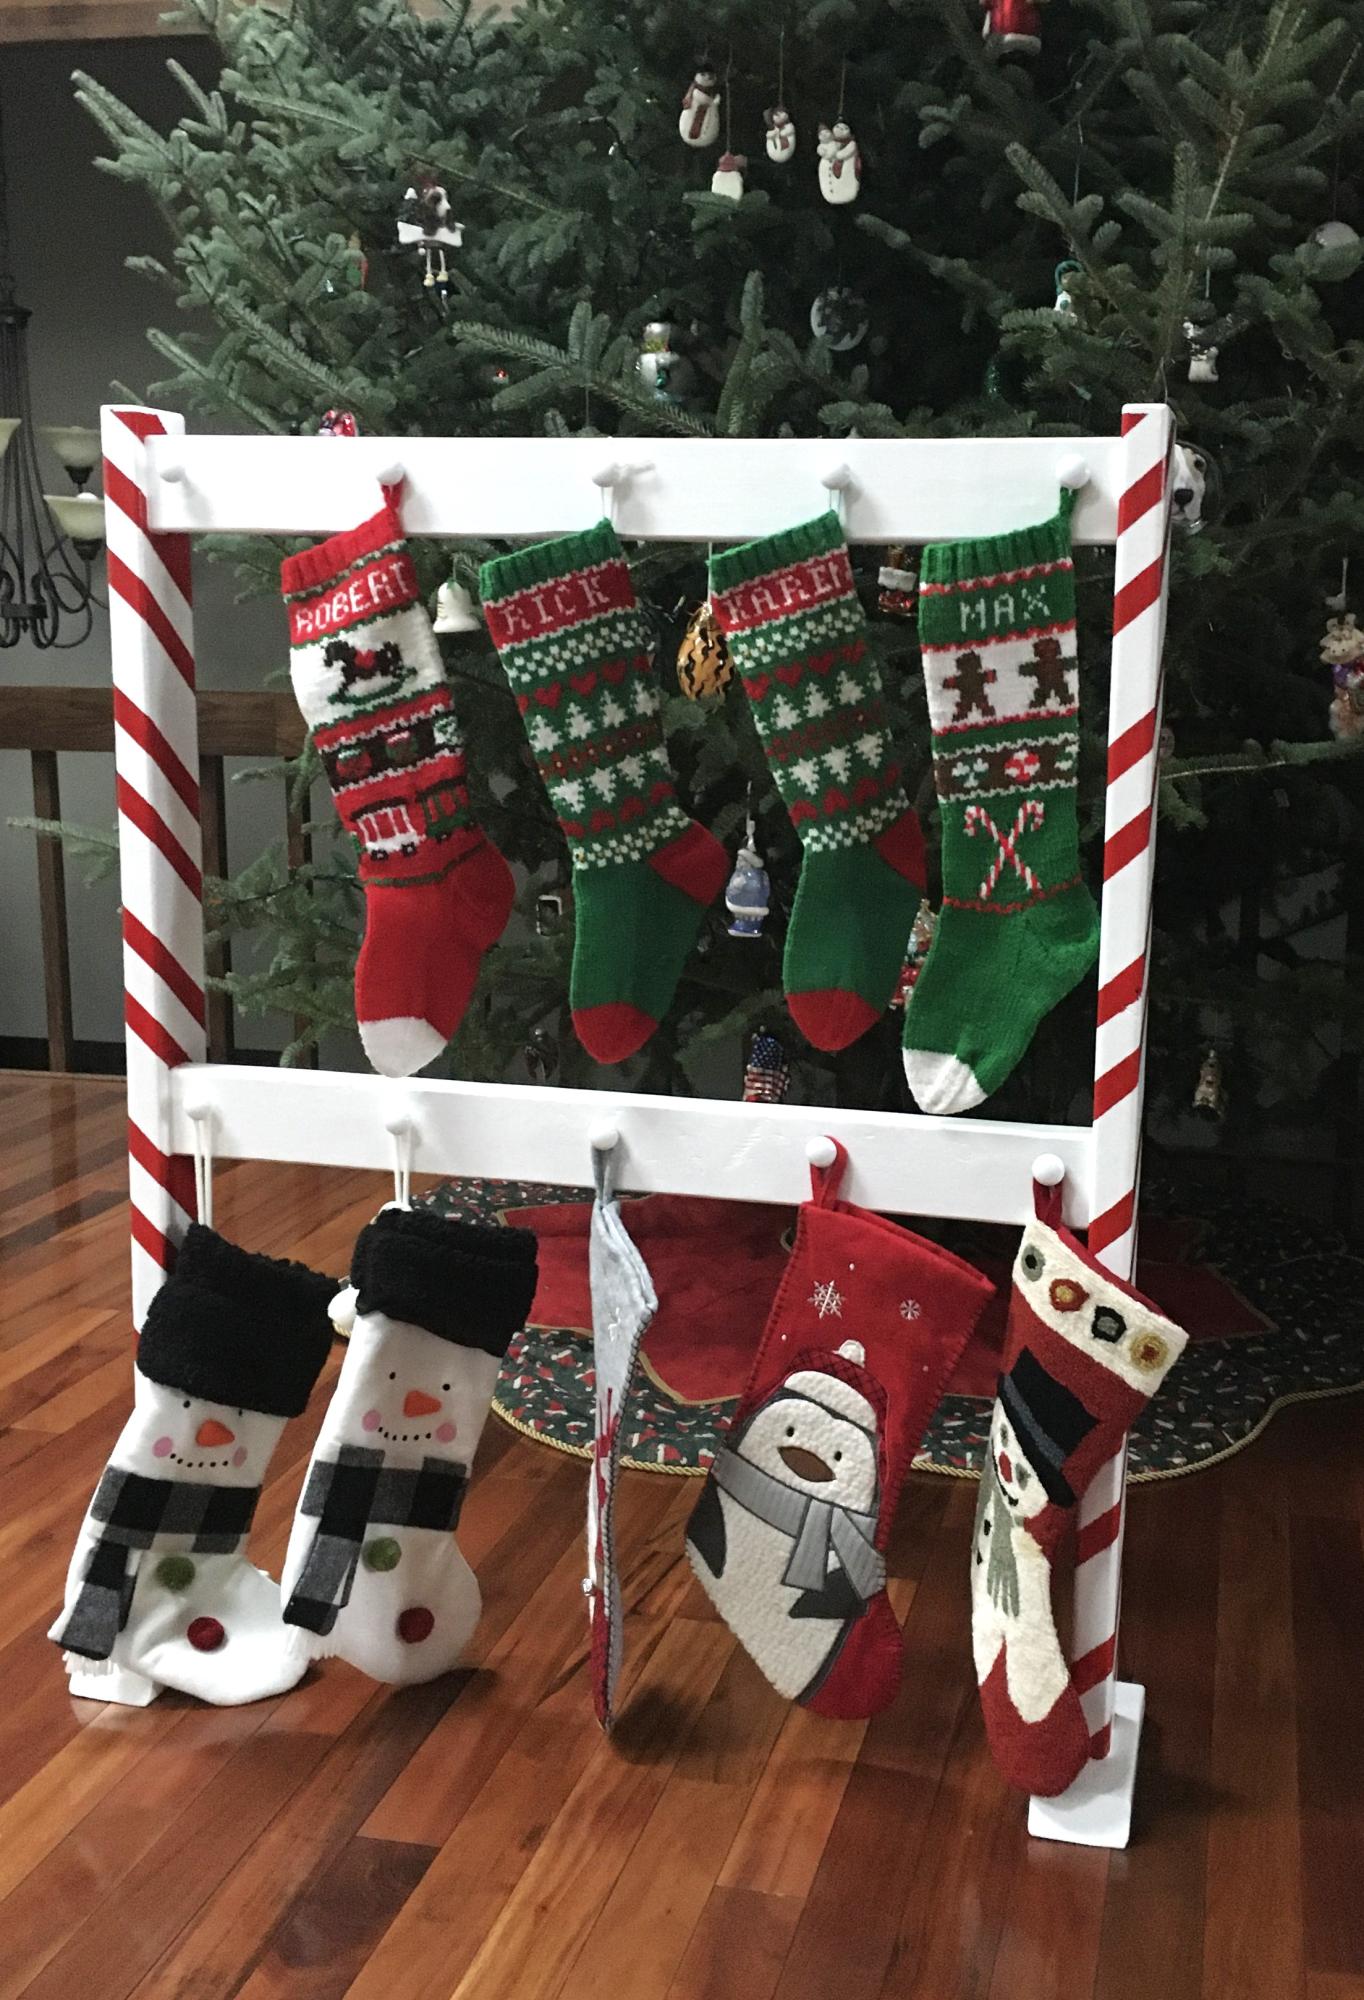
This my expanded Christmas Stocking tree. With a growing family we needed room for at least 9 stockings. I decided to hope for one more and made it large enough for 10. Decided to make the sides look more like a candy cane and added red stripes. Thanks to Ana for the ideas.

RBM

Built from Plan(s)
Seasonal And Holiday

Toddler Bed & Quilt

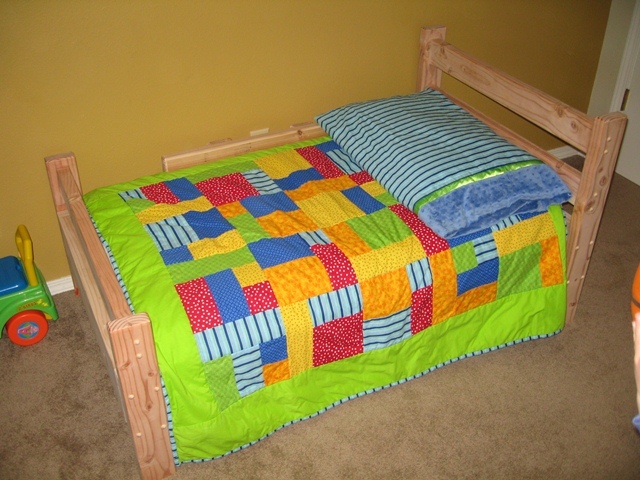
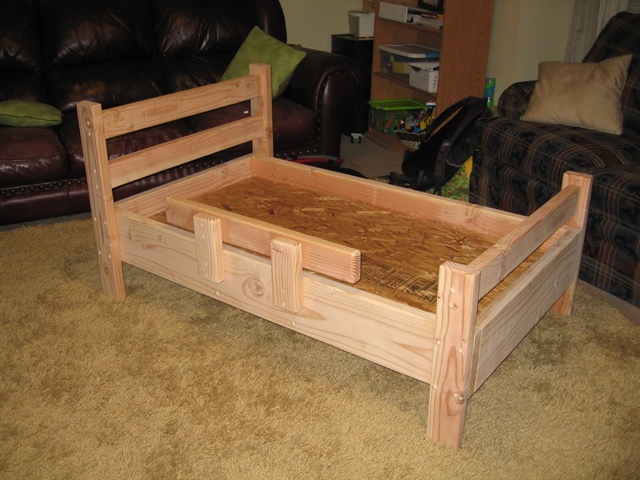
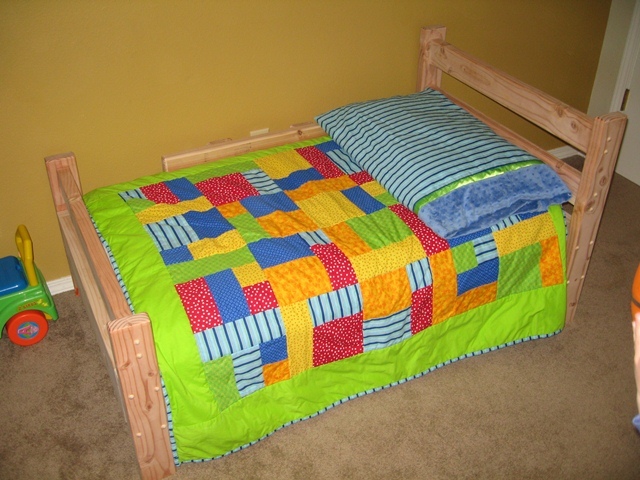
My son has been falling/climbing out of his crib. My wife wanted a toddler bed as soon as possible, which meant yesterday. She has had this in mind for some time considering she made this marvelous quilt for our little dude. The bed is pretty crude from a joinery standpoint. It's just butt joints with glue and screws. The dimensional lumber gives a nice break on the pocket book, especially when it's free from helping someone move it into my truck. The joints get some spice by button plugs. It's not finished with anything special, just some 120 grit. I figure we will probably paint it to match his new room in the house we are moving into next week. I wish I could have made it out of pocket holes entirely but the box o' screws wasn't in the budget when the wood is free and the 2-1/2" screws are given to you. Bottom line is that my wife is happy with her hubby the the little stud muffin is happy with his "big boy" bed.

Estimated Cost
2 Gatorades worth of sweat
Estimated Time Investment
Day Project (6-9 Hours)
Finish Used
None
Recommended Skill Level
Beginner

Modern farmhouse bench

Submitted by Schlages18 on Sun, 04/06/2014 - 10:58

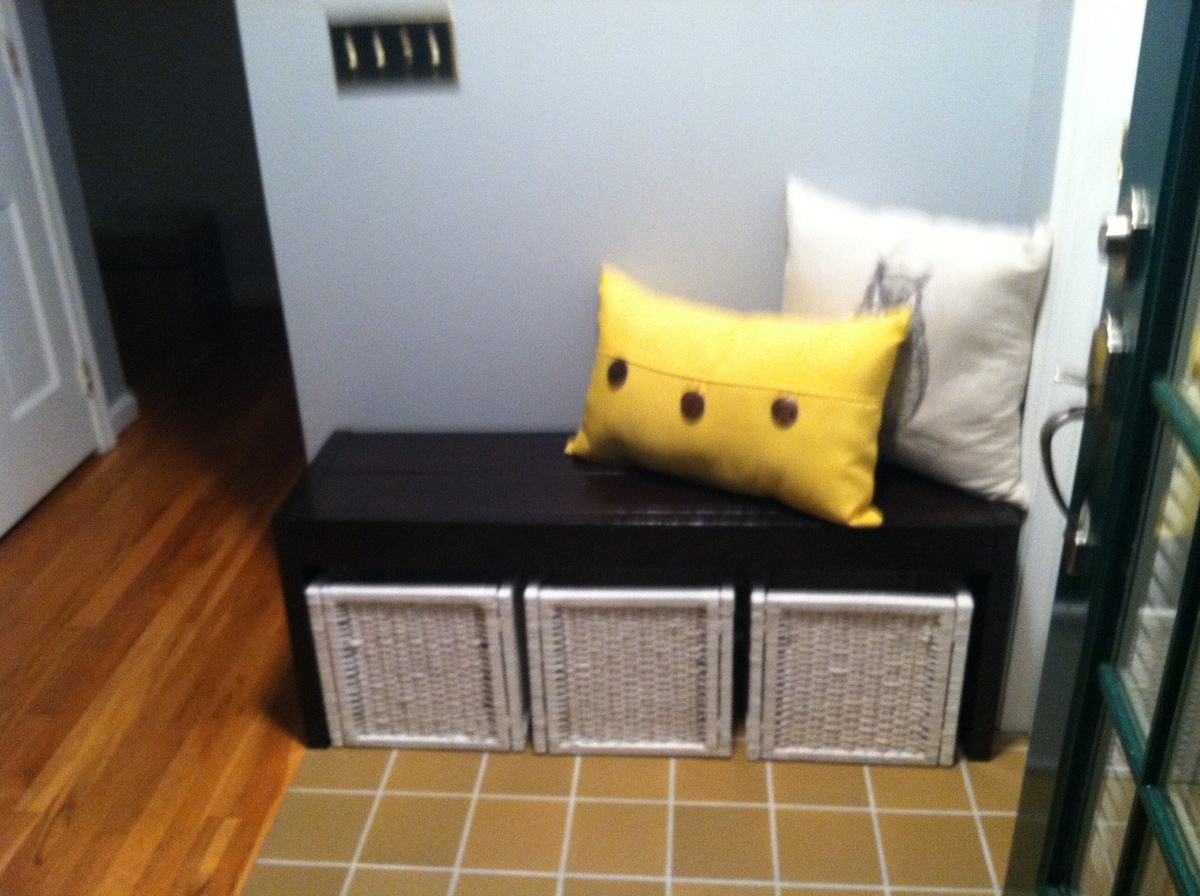
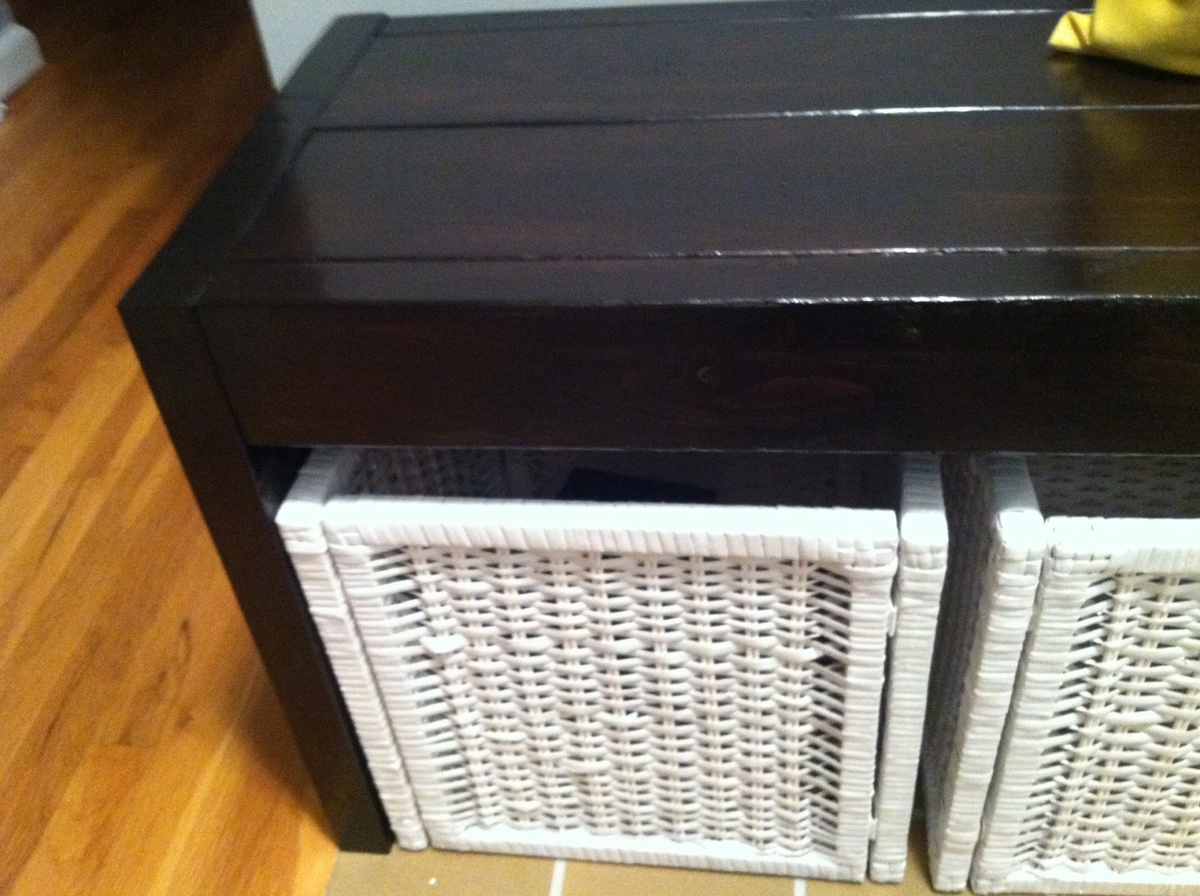
Modern farmhouse bench used as entryway bench/storage

Built from Plan(s)
Estimated Cost
30
Estimated Time Investment
Day Project (6-9 Hours)
Finish Used
Brown Mahogany with two coats of semi-gloss poly
Recommended Skill Level
Starter Project

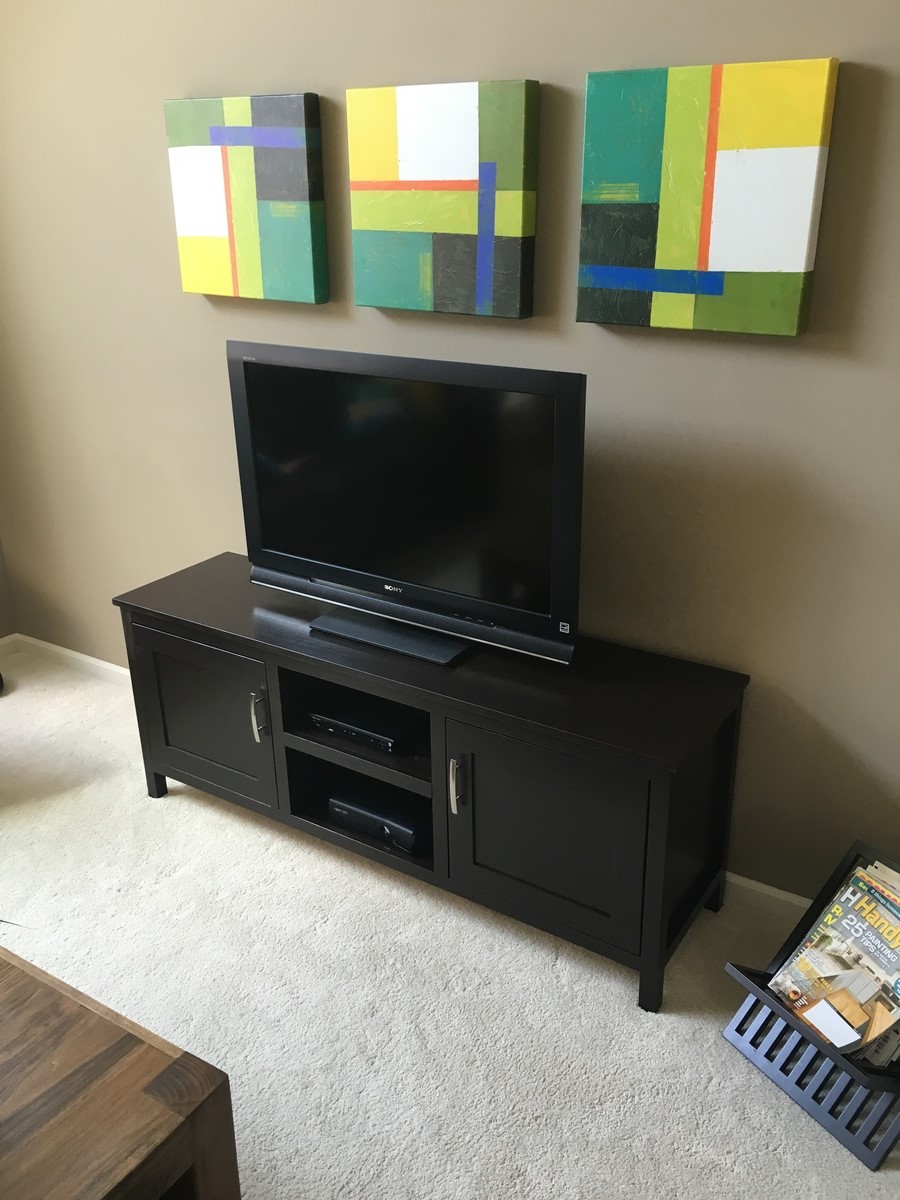
TV Console Table

Submitted by Anonymous (not verified) on Sun, 07/03/2016 - 12:58

TV console table made of poplar wood. Shaker style inset doors. Solid wood construction. Painted with General Finishes Milk Paint and High Performance Top Coat.

Estimated Cost
300
Estimated Time Investment
Weekend Project (10-20 Hours)
Finish Used
General Finishes Milk Paint. Dark Chocolate.
Recommended Skill Level
Intermediate

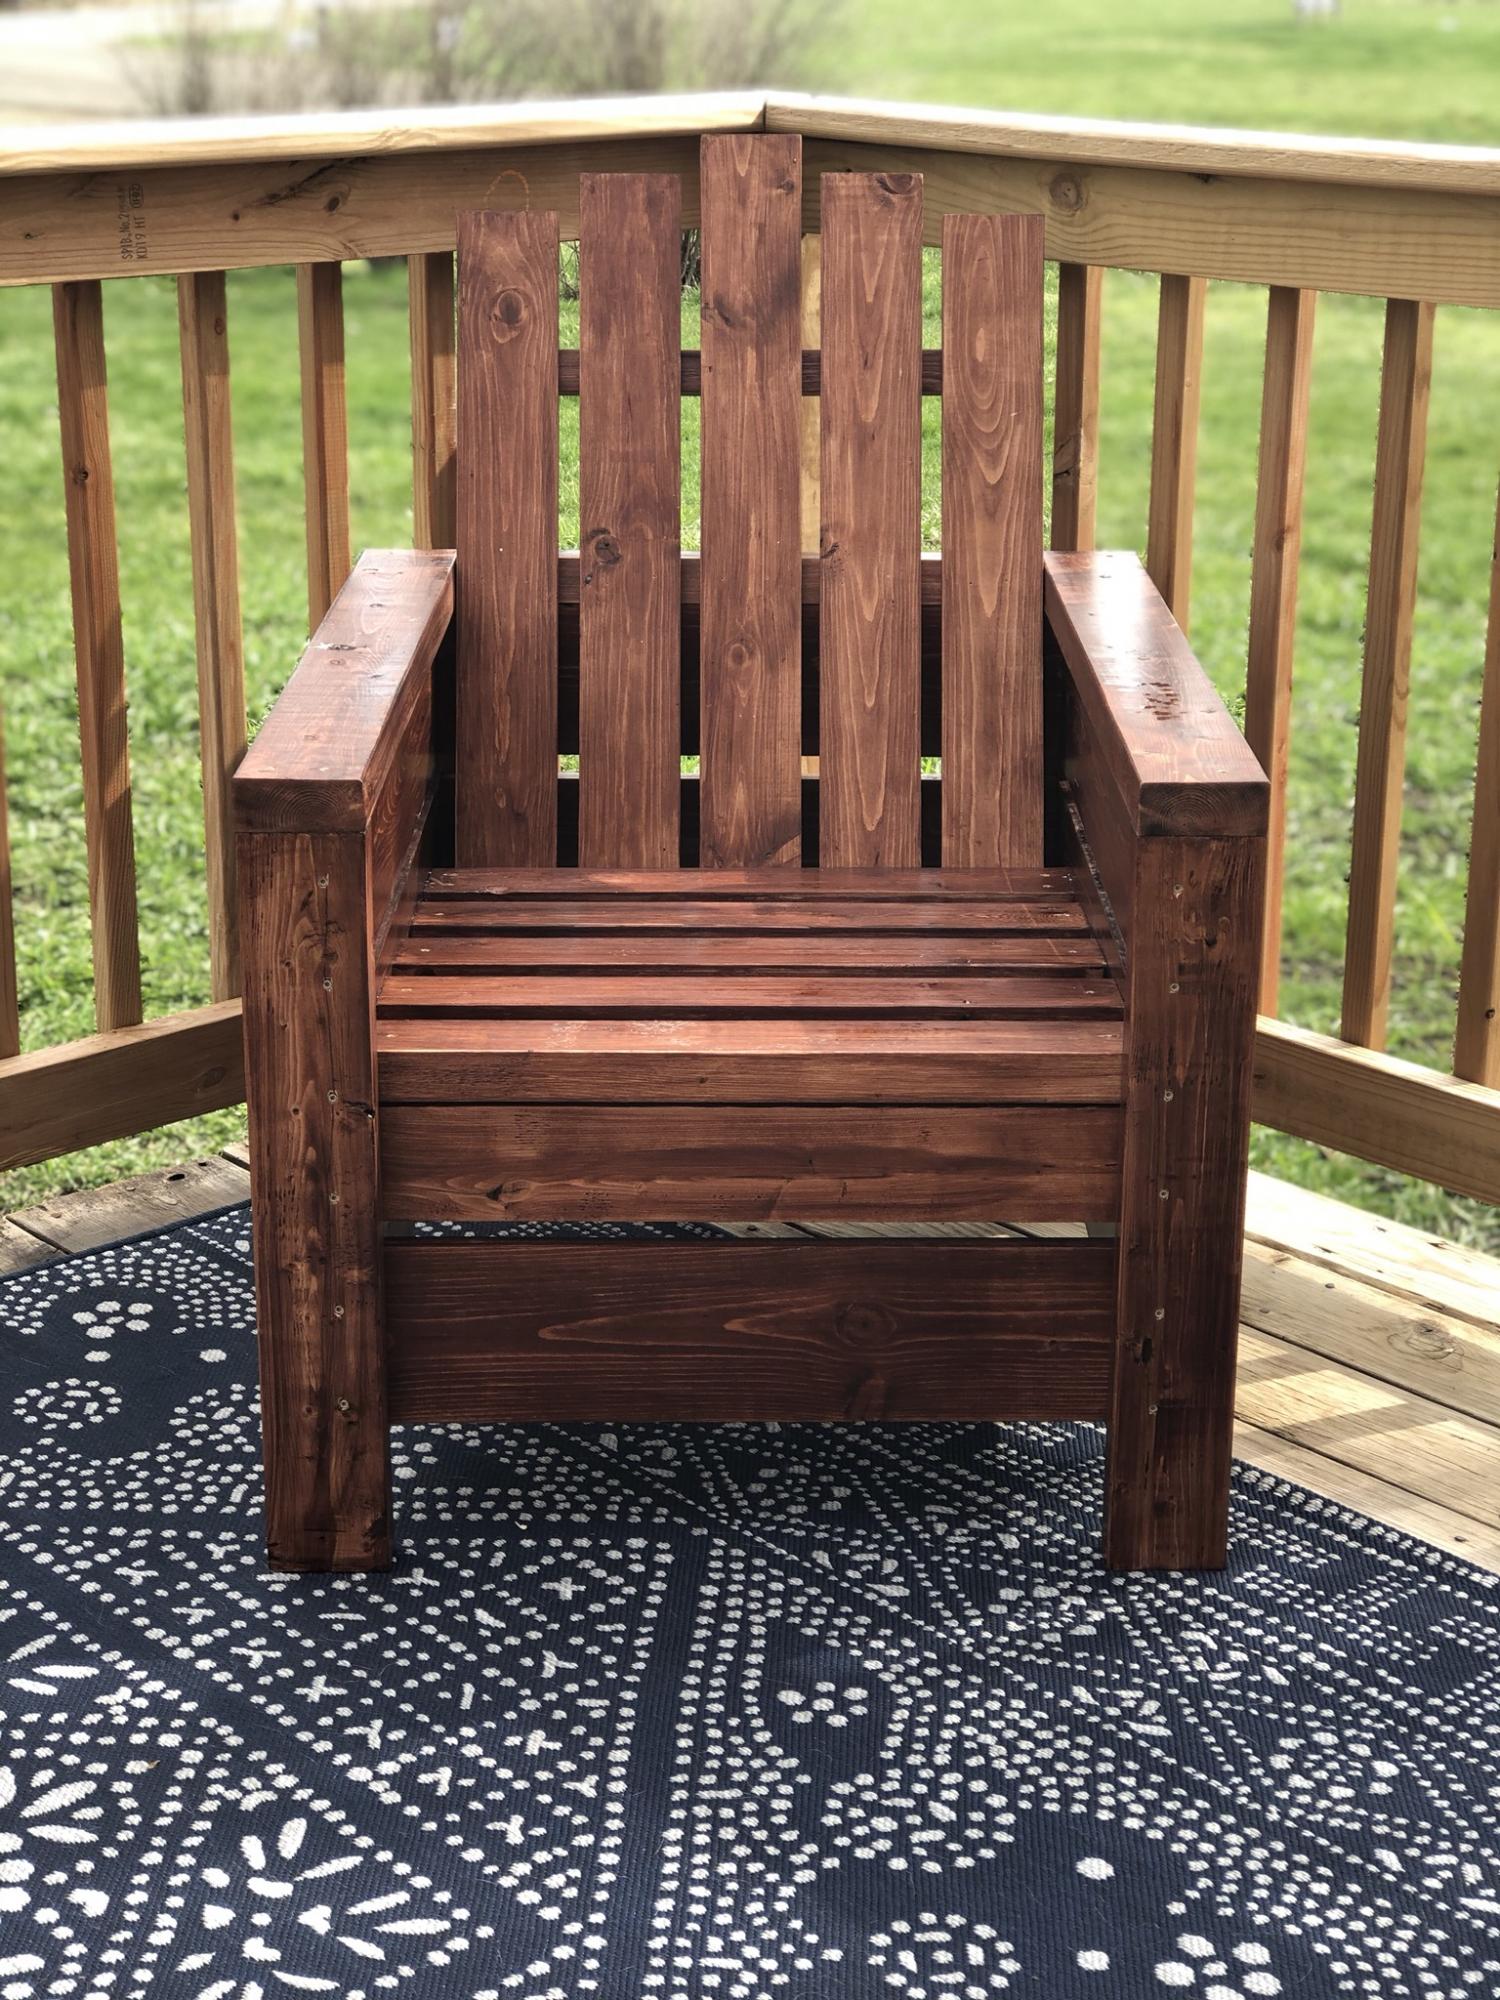
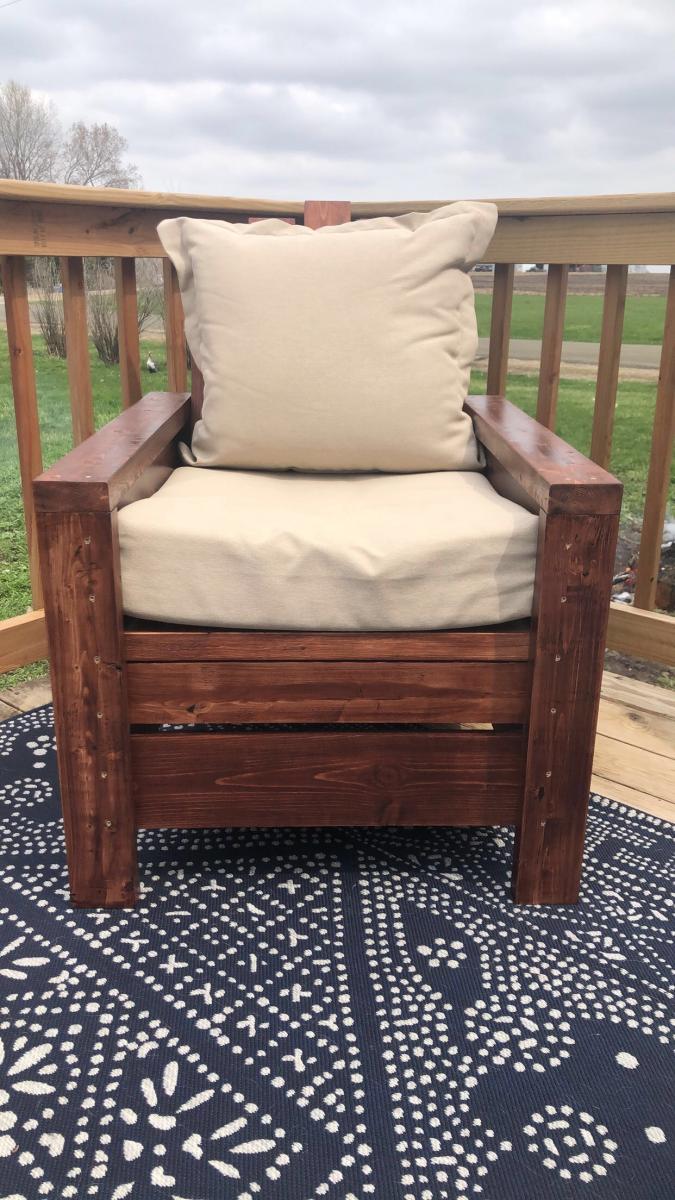
Outdoor Chair

Submitted by Chanda_B on Tue, 04/28/2020 - 10:49

Adjusted the height of the back to better support back cushion.

Angled back and seat boards for relaxed fit.

Used pine boards for side of chair.

Estimated Cost
$50
Estimated Time Investment
Day Project (6-9 Hours)
Finish Used
Varathane Stain + Poly (Red Mahogany)

To be added: Spar Urethane (Satin)
Recommended Skill Level
Beginner

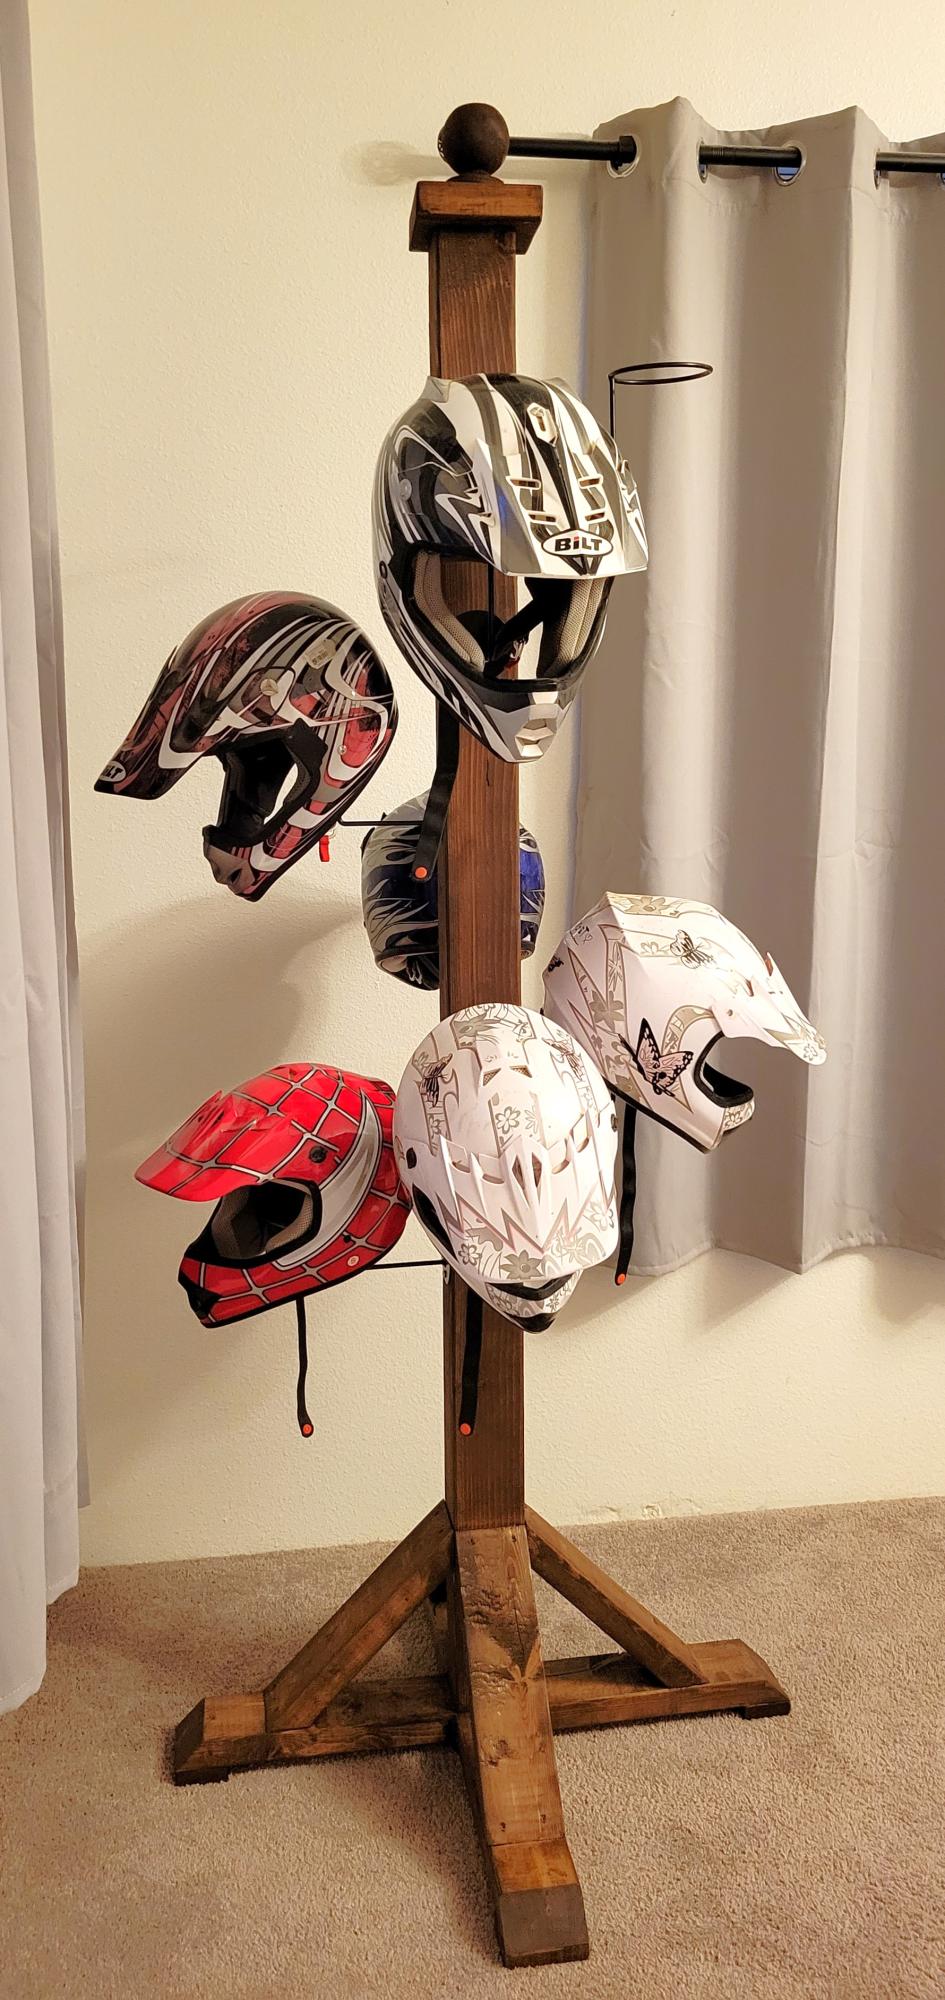
Helmet Stand

Submitted by Anonymous (not verified) on Tue, 12/19/2023 - 17:24

Modified DIY Coat Rack! We call this our "Bear Proof" helmet rack. My daughter's chihuahua (named Bear) likes to mark anything at his level, lol. So I took Ana White's free coat rack plan and added helmet hooks to keep everyone's helmet off of the floor and safe from our little Bear. Thanks so much Ana! We all thank you so much for your generosity!

Paula the Crafty Grandma


edited to include * 

Plans are Shanty 2 Chic 

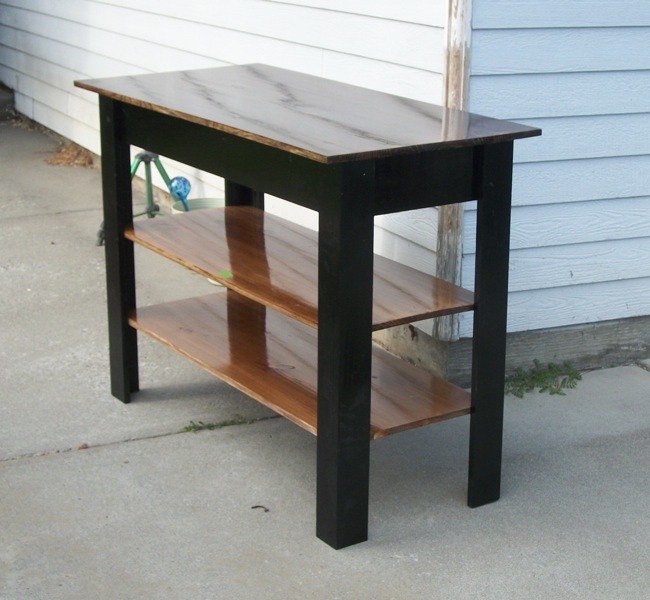
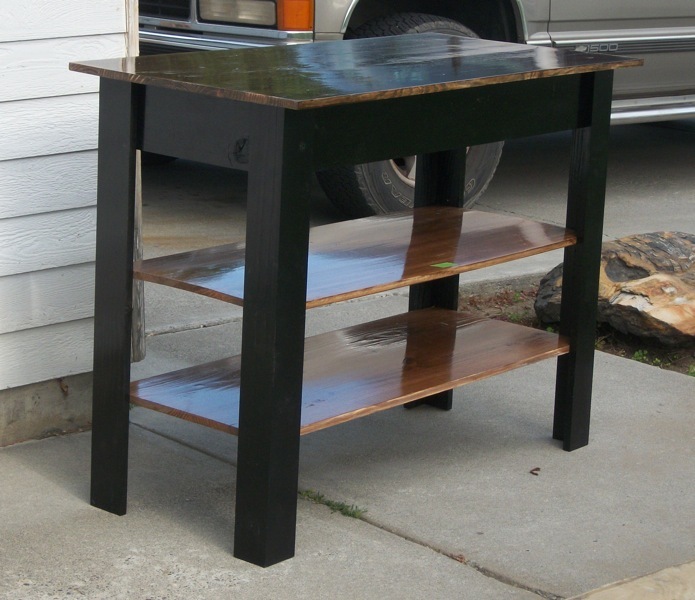
Farmhouse Kitchen Table

Submitted by tracysmith on Thu, 06/14/2012 - 19:07

This is a farmhouse style kitchen table that I built for Mom's little kitchen. She needed more counter space and more storage space and had the perfect corner for it to fit in. These are based off my own plans which I have not published on Ana-White yet.

Estimated Cost
$125
Estimated Time Investment
Day Project (6-9 Hours)
Finish Used
Rustoleum black gloss spray paint, Minwax PolyShades in Tudor and Royal Walnut - both Gloss. These were at the request of the client so that's what we used! ;-)
Recommended Skill Level
Beginner

Hawkins pantry

Submitted by mlhawkins on Wed, 04/09/2014 - 08:21

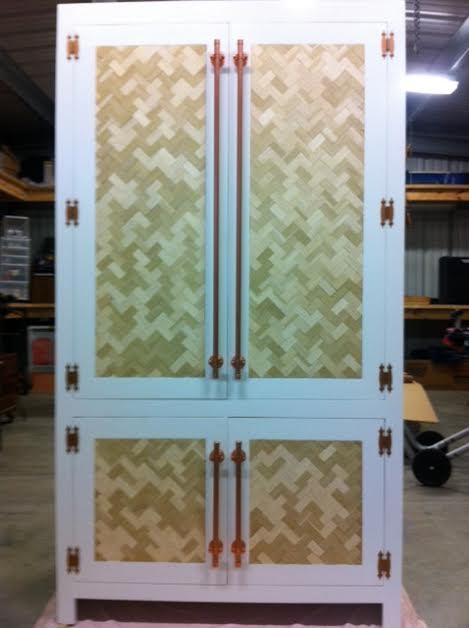
I needed more storage for our TINY kitchen. I found the nursery armoire plans and asked my dad to help me build it for a pantry! We modified it some by making it taller and adding more shelves inside (sorry no pics of that). For the doors I wanted to do something fun so we cut lots (over 700!) of small pieces of wood and inlaid then in a herringbone pattern - IN LOVE! For the handles we used copper pipe and I am IN LOVE with those too! Enjoy!

~ Maggie

Built from Plan(s)
Recommended Skill Level
Beginner

Comments

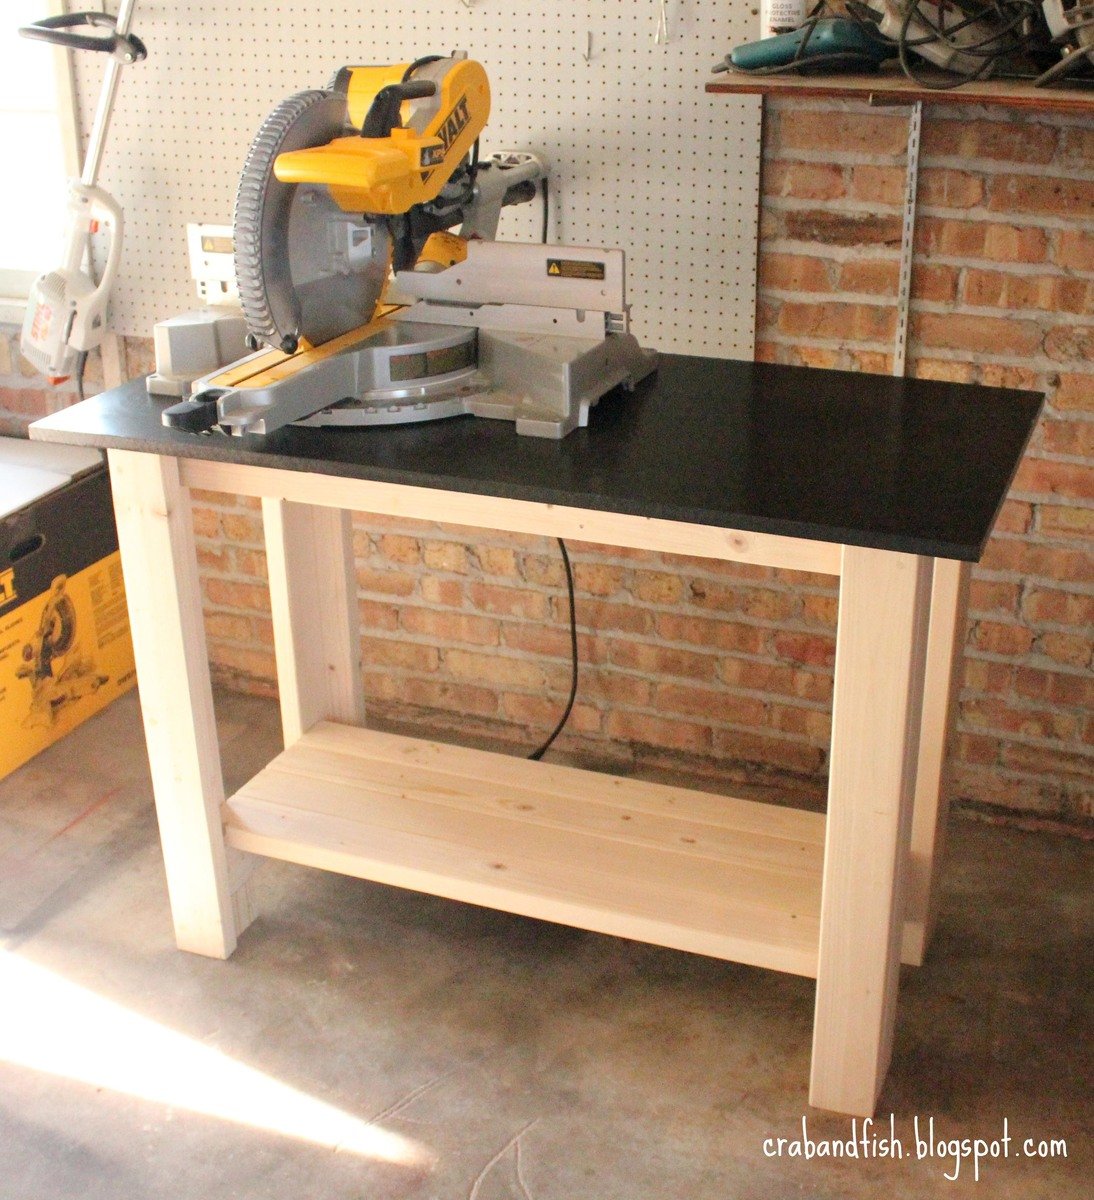
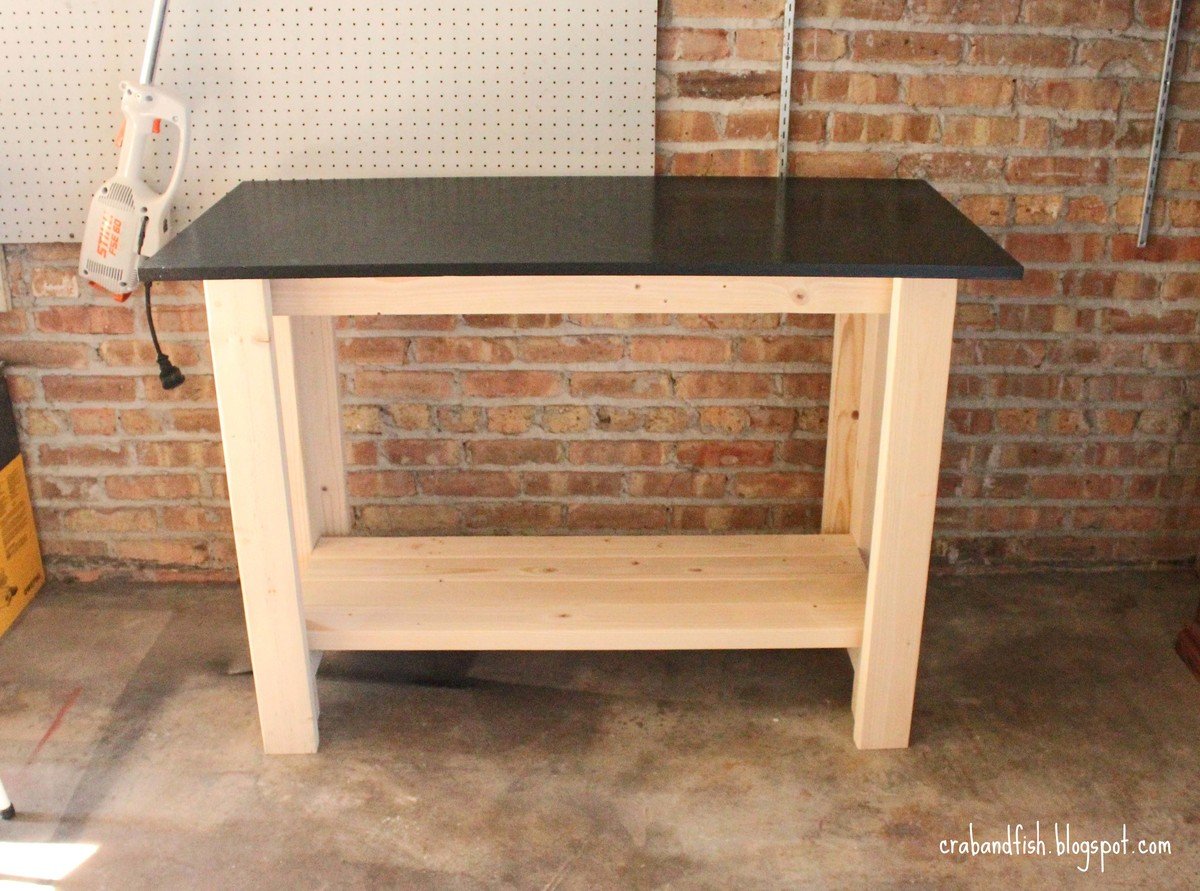
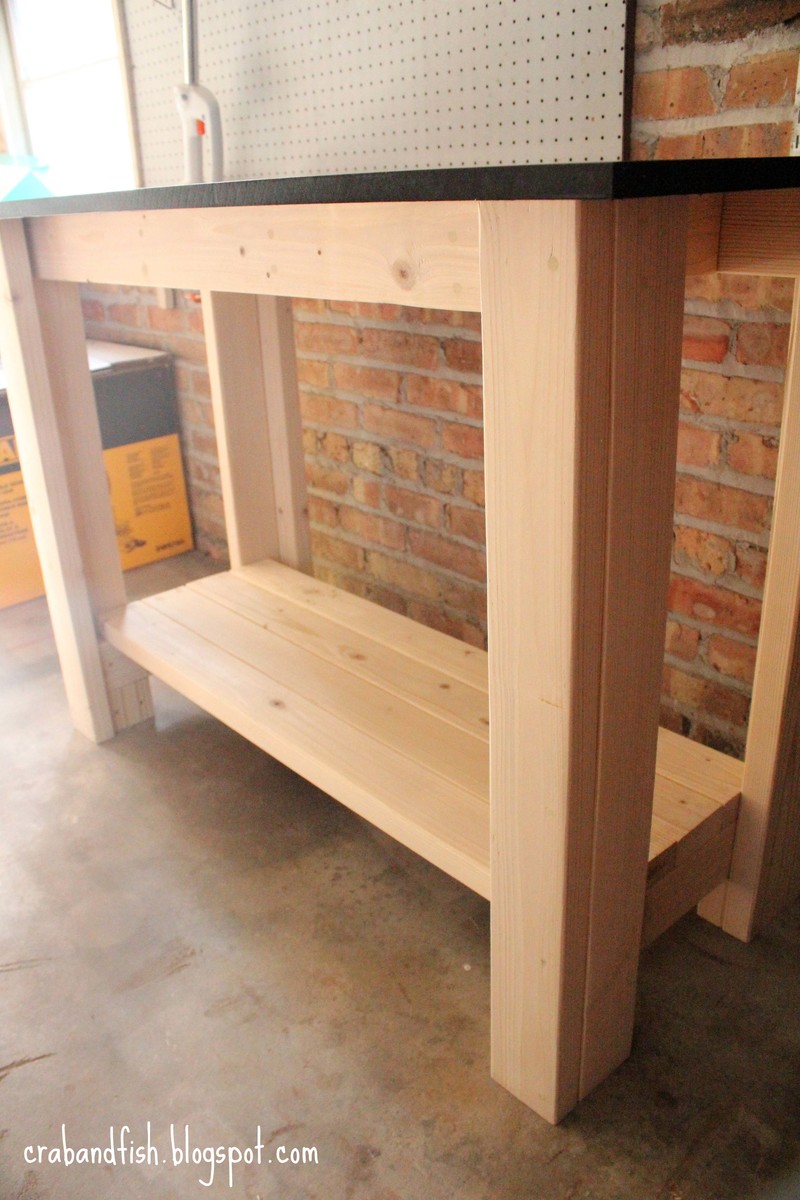
crab+fish make a work bench

see the full post at:
http://crabandfish.blogspot.com/2012/06/fish-made-work-bench.html

we bought our first home two months ago and have been doing a lot of small improvement projects. we decided to build your sturdy work bench in order to have a dedicated space for cobbling new projects together.

Built from Plan(s)
Estimated Cost
$45
Estimated Time Investment
Afternoon Project (3-6 Hours)
Finish Used
glossy black paint for counter, bare wood legs
Recommended Skill Level
Beginner

Comments

Modified Fancy X Farmhouse Table

Submitted by feliciab on Sat, 04/12/2014 - 05:54

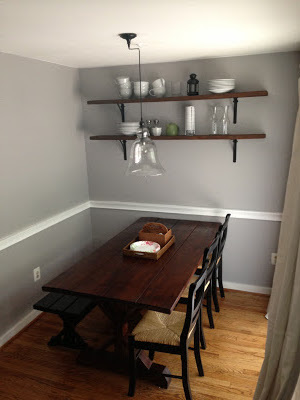
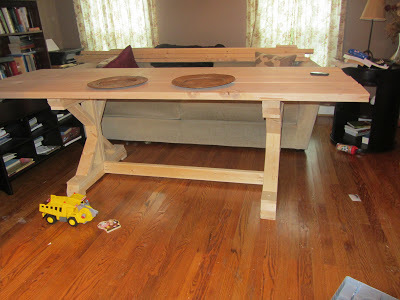
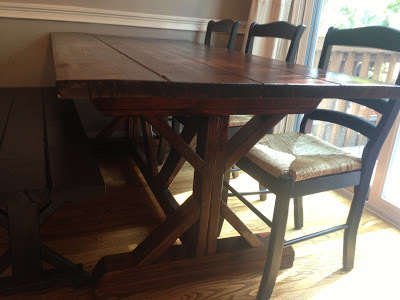
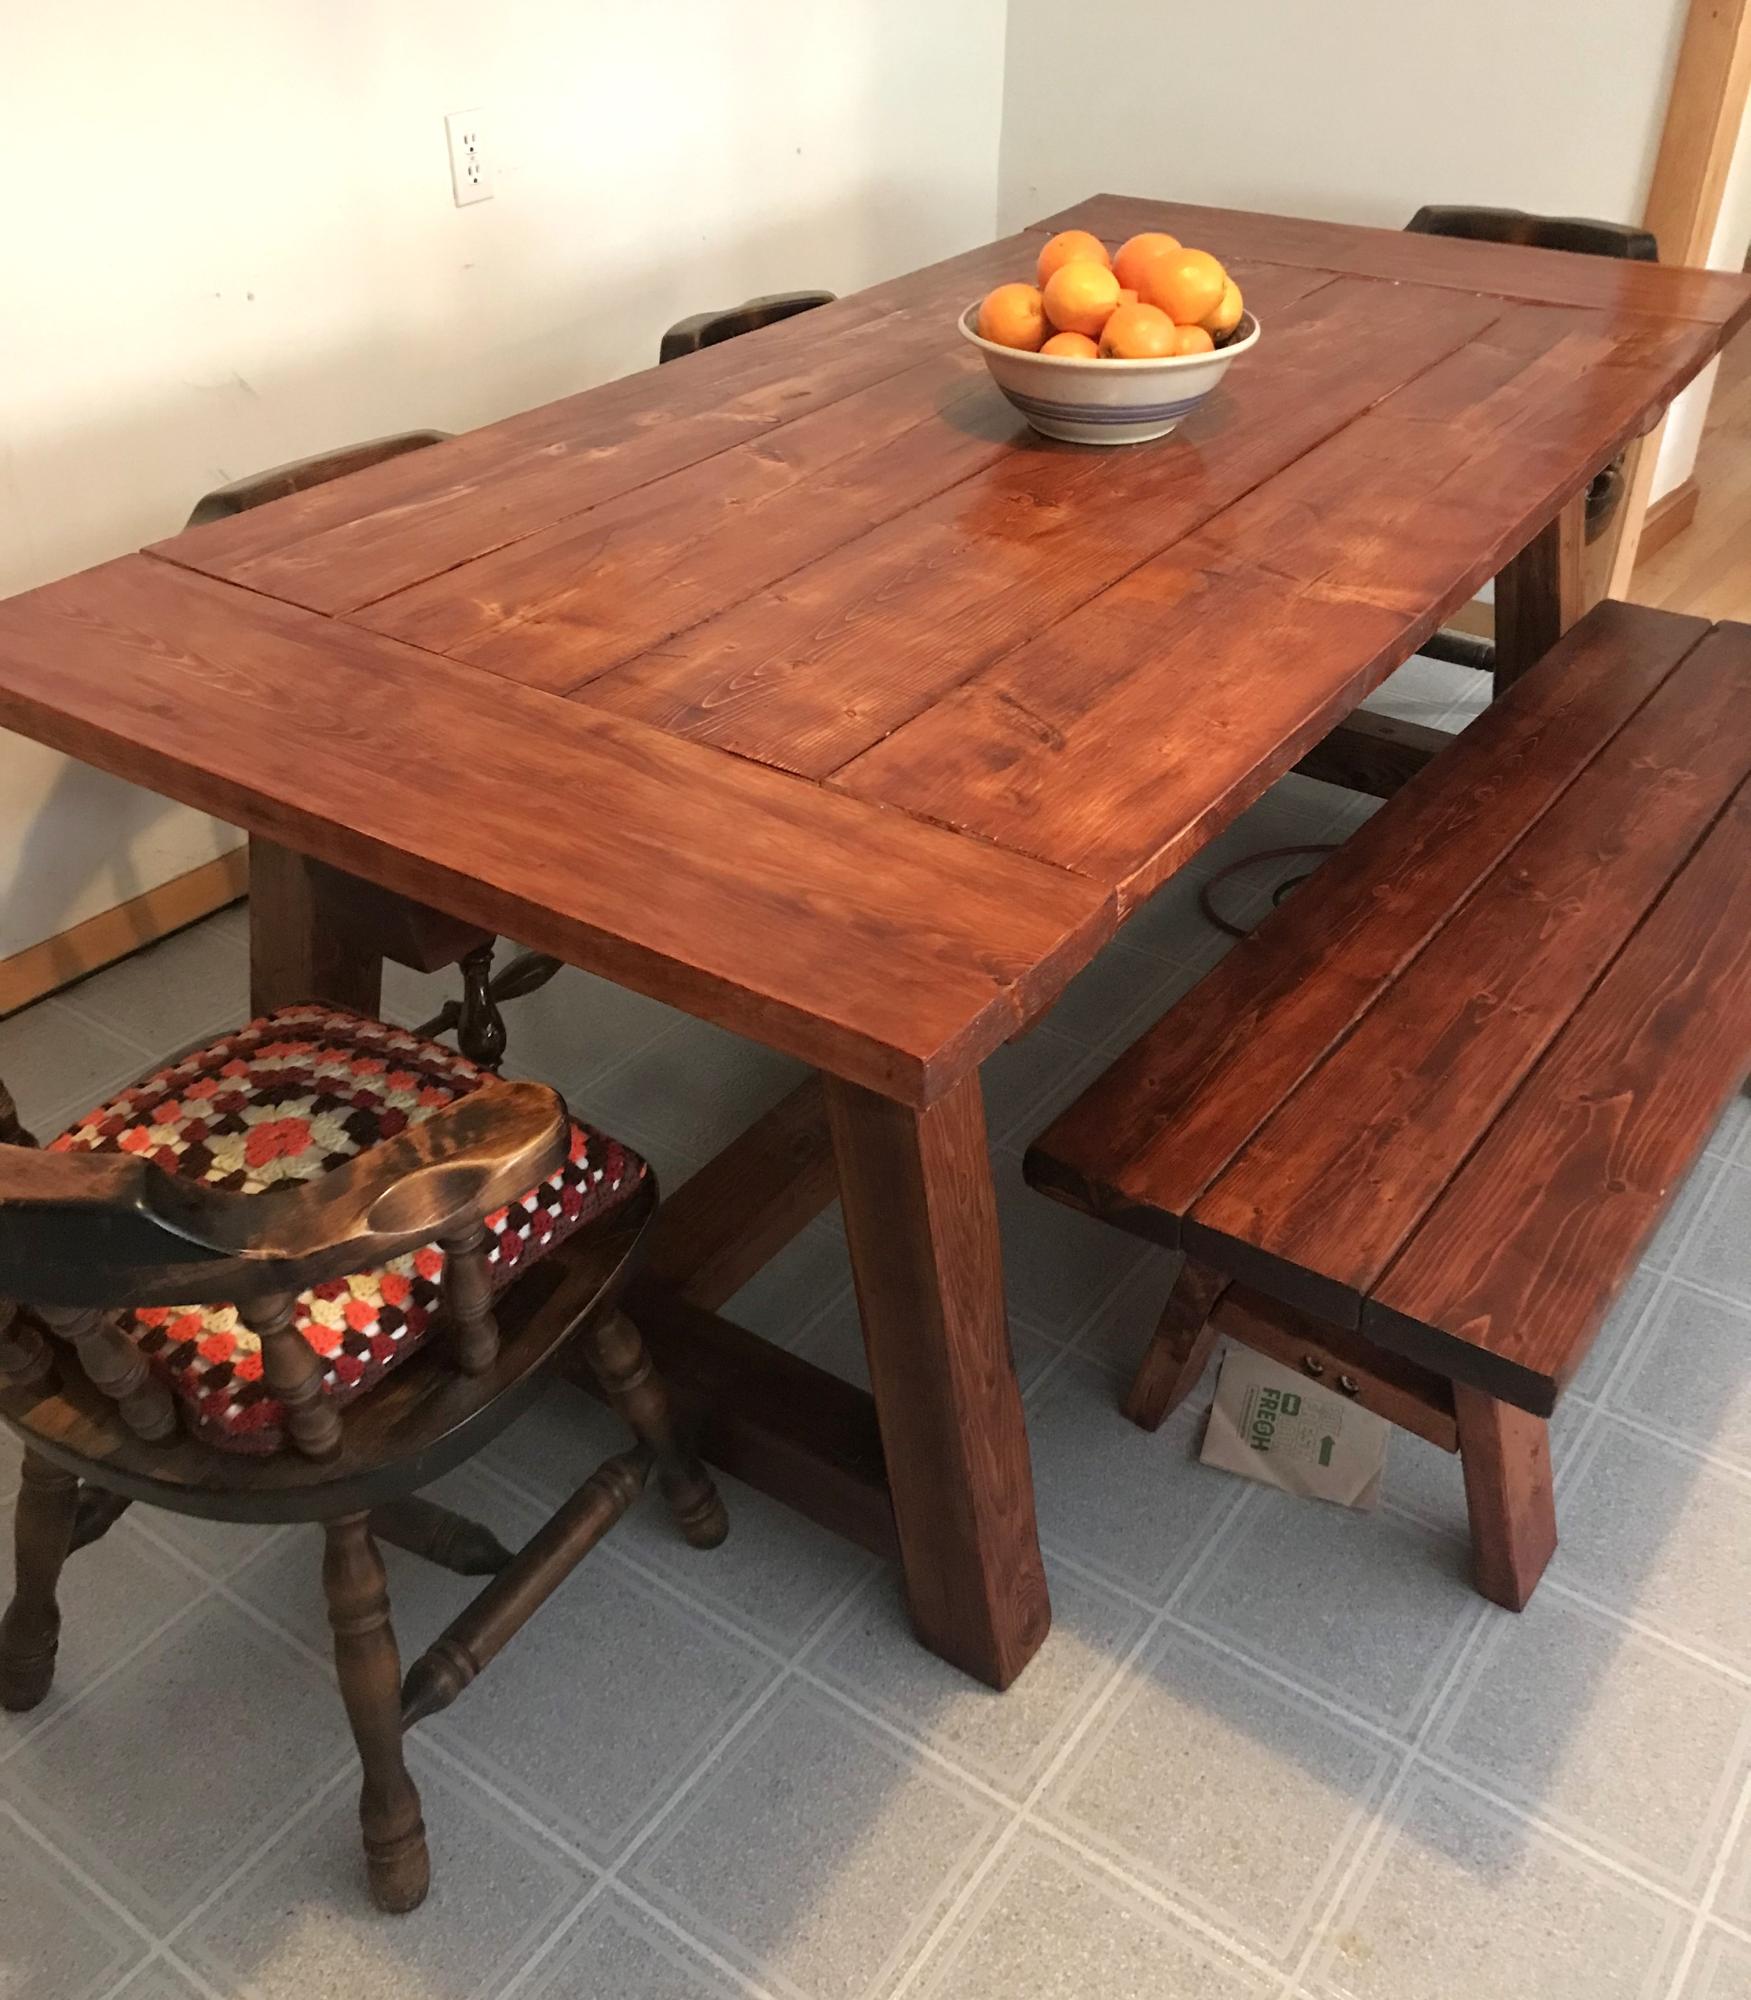
I had admired the x frame table from Anthropologie but knew it was out of my price range. When I saw these plans from Ana White, I knew I had to try to make my own table. This was my first wood working project and turned out that it wasn't too difficult. I constructed the table in a weekend. The first one I built was 5' long (used 4 2x10 boards) so that it would fit in our townhouse kitchen. When we moved to a larger home, I was able to create a new larger top and extended the base. The new table is 8' (used 4 2x12 boards). I absolutely love the table. Thank you Ana!

Built from Plan(s)
Estimated Time Investment
Weekend Project (10-20 Hours)
Finish Used
Varathane American Walnut Stain
Minwax Polycrylic (satin)
Recommended Skill Level
Beginner

Full Size Farmhouse Bed with Trundle

Submitted by eshelling on Sat, 07/09/2016 - 16:11

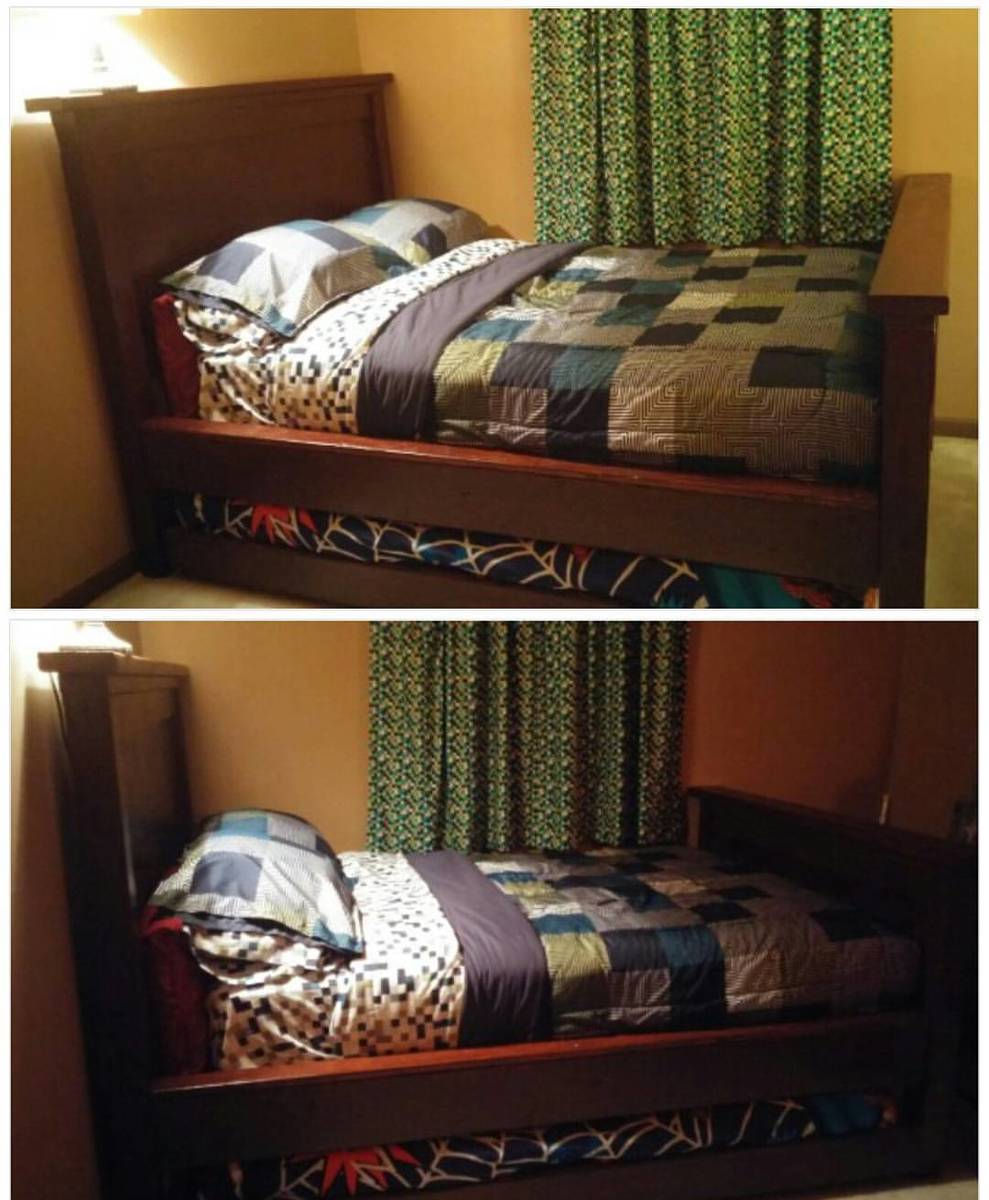
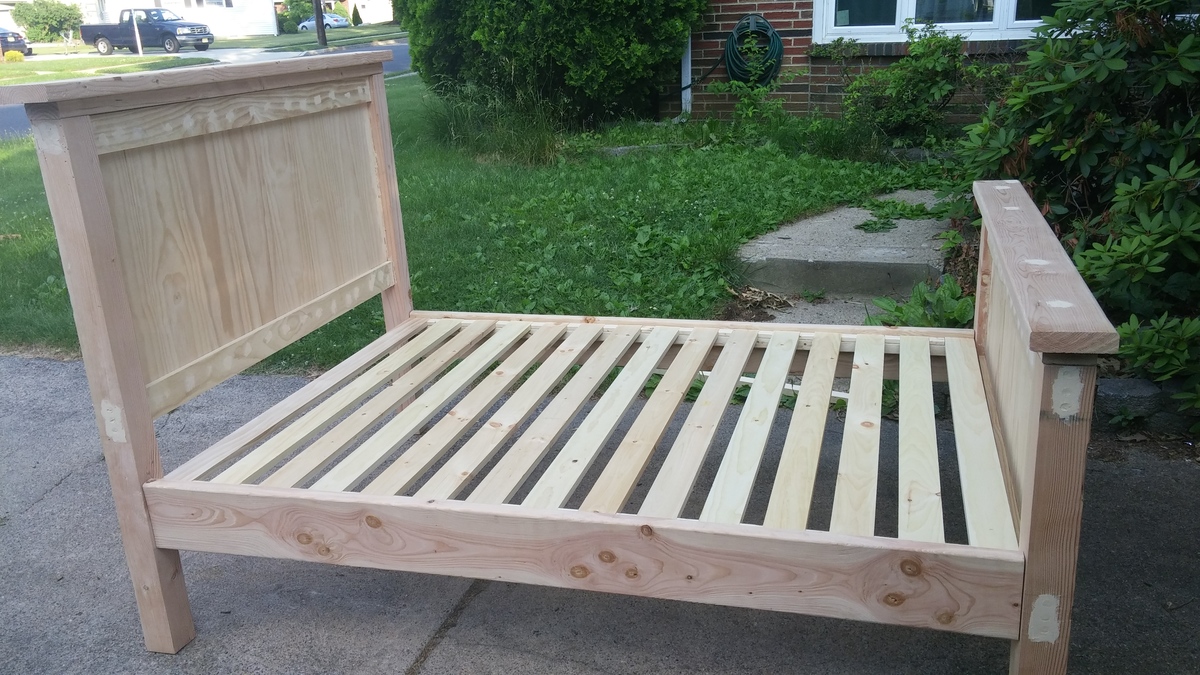
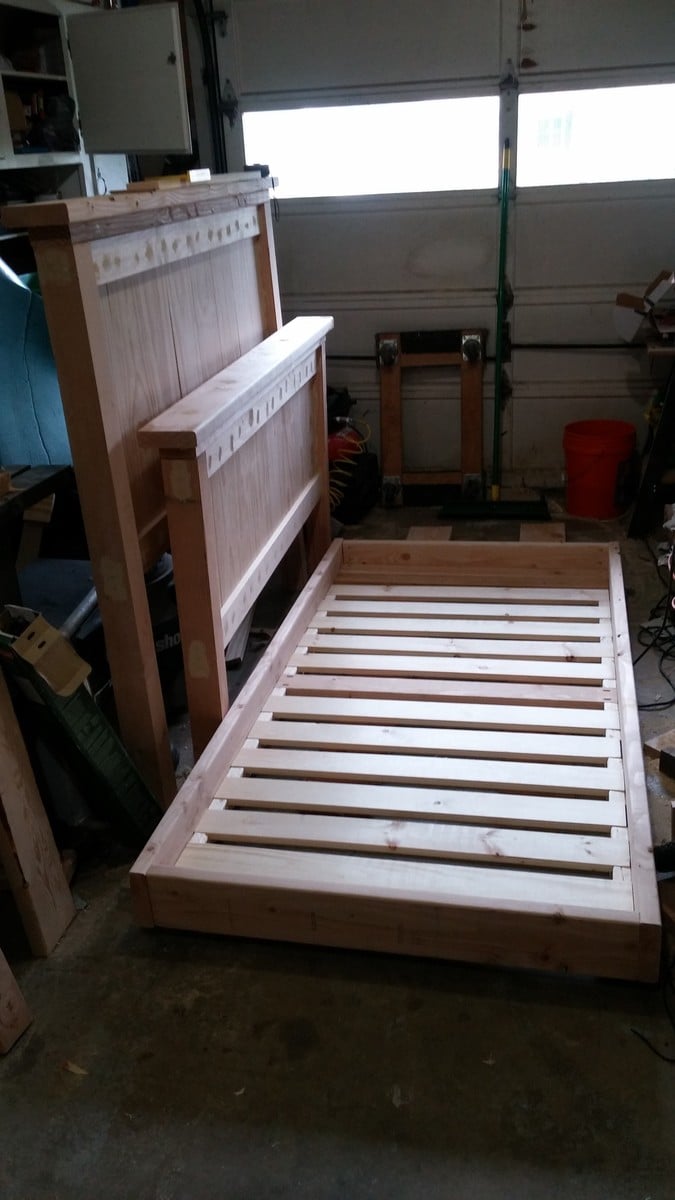
I wanted to make use of the twin size mattress from my son's old bed and I thought it would nice to have an extra place for his cousins and friends to sleep when visiting so I added a trundle.  I had to slightly alter the plans to accommodate this, and made some little happy mistakes along the way.  Because  I wanted to be able to take the bed apart I had purchased some surface mount hardware for the rails.  What I didn't account for was the extra width it would add for the platform.  It ended up making the frame large enough to fit a queen size mattress.  This would have been fine if I hadn't already purchased a new full size mattress!  Ha Ha.  I ended up having enough of the bed slats showing that it bugged me so I ended up taking a 2 x 4 and cutting out a notch so it would sit flush on the rail and cover up the slats.  I stained it using an American Chestnut Satin Polyshades Mix and overall I am pleased with how it came out.  This was a good learning experience and now I'll get started on a nightstand shortly.

Built from Plan(s)
Estimated Time Investment
Week Long Project (20 Hours or More)
Recommended Skill Level
Intermediate

Family friendly table

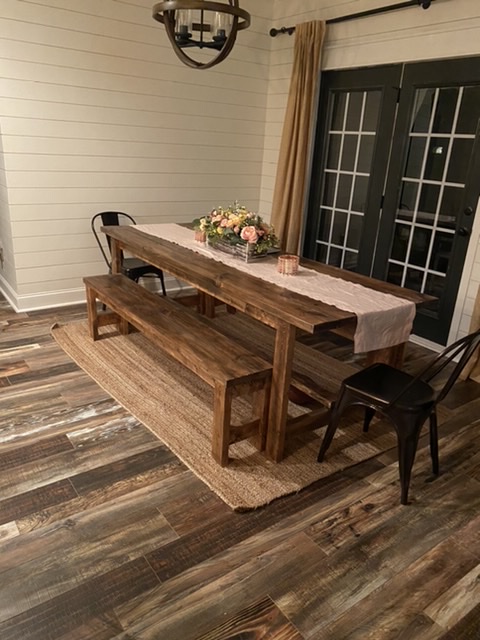
I made this table in one weekend by myself. The plans were very simple. I made the benches to go along with it, at the same time. My family has enjoyed many meals so far at this table. I used Danish wood oil in black walnut and a couple coats of polycyclic. I made it a few months ago, and it is super sturdy. So happy with how it turned out- thanks Ana for a great plan

Estimated Cost
150
Estimated Time Investment
Weekend Project (10-20 Hours)
Finish Used
Black walnut danish wood oil

California King Farmhouse Bed with Arch

Submitted by stephanie on Sun, 06/24/2012 - 16:31

I drove to my dads house to get the wood. He has had rough cut 1X12's sitting in the back yard for several years. They are warped, dirty, cracked..... I think my husband thought I was crazy for wanting to do this. 6 months after getting the wood I finally started. I first took the boards and sanded the caked on red dirt off. Then my 8 year old helped me rip them on the table saw into an 8 inch piece and a 4 inch piece. Then sanded again. The boards turned from red or grey to a yellow color. My husband told me to do it right I needed to use a jointer and he showed me how and I needed to use biscuts to join the planks together, we borrowed one and he showed me how to use the tool. It is so cool, I want to buy one. Then I called my neighbor over to help me, he brought a power planner over and showed me how to use it. It made all the boards the same heighth and REALLY sanded them good (remember these are rough cut boards). Then we used a belt sander to make them really smooth. Then we used a router with a Vgrove bit down the planks where the 1x8's meet. He had two fluted, tapered columns in his garage he has been trying to get rid of so we cut them down and used them as the posts for the headboard and footboard. I cut the arch with a jig saw. Looks pretty darn great! I surprised people with the wood I used! Thank goodness for biscuts, jointers, planners and belt sanders! Best part......cost me a whole $15 to get to this point. I had to buy wood glue, biscuts, and sand paper.

I want to use a laquer finish and try to use a glaze in the grooves. I will try to attach a finished picture when it is done.
Estimated Cost
$15
Estimated Time Investment
Week Long Project (20 Hours or More)
Recommended Skill Level
Intermediate

Comments

Shoe Dresser / Dog Walk supply Storage

Submitted by adamderkey on Mon, 04/14/2014 - 12:00

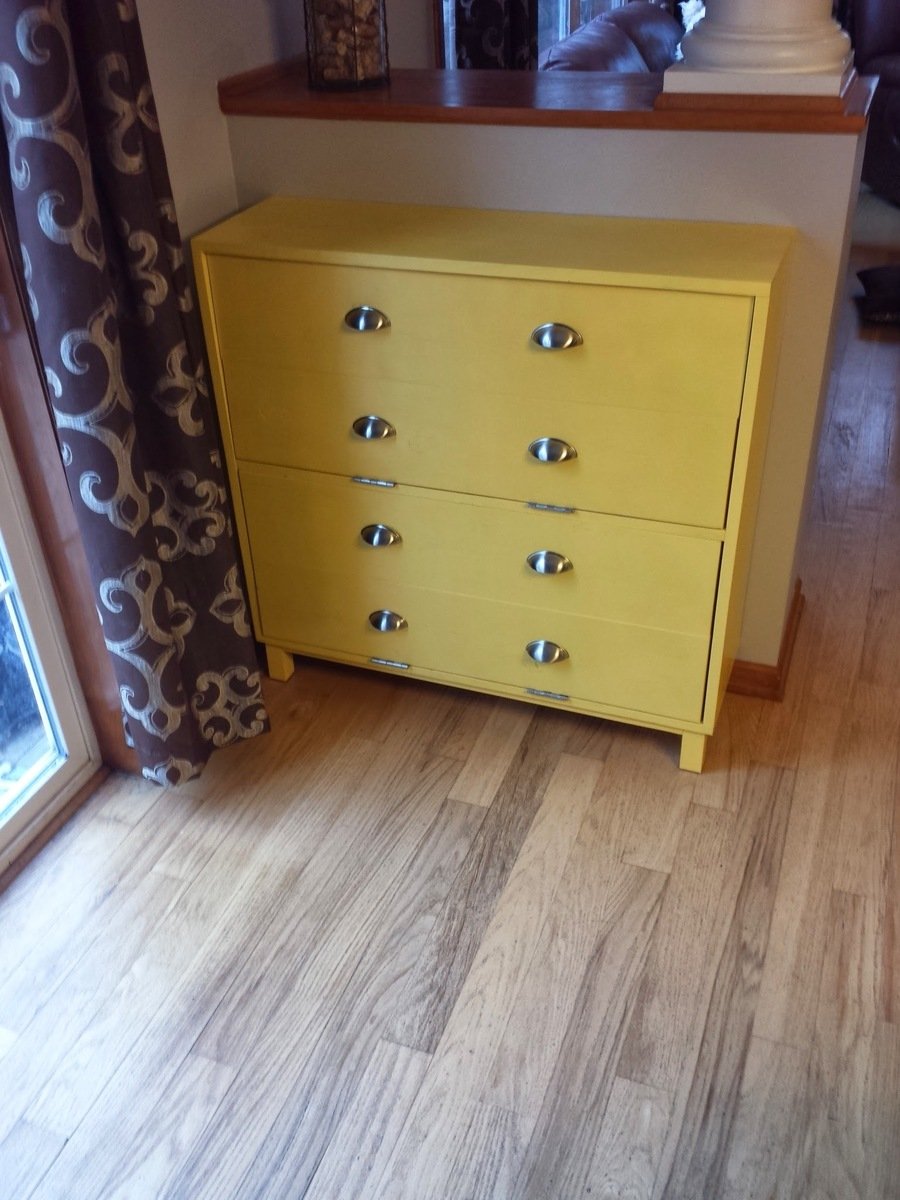
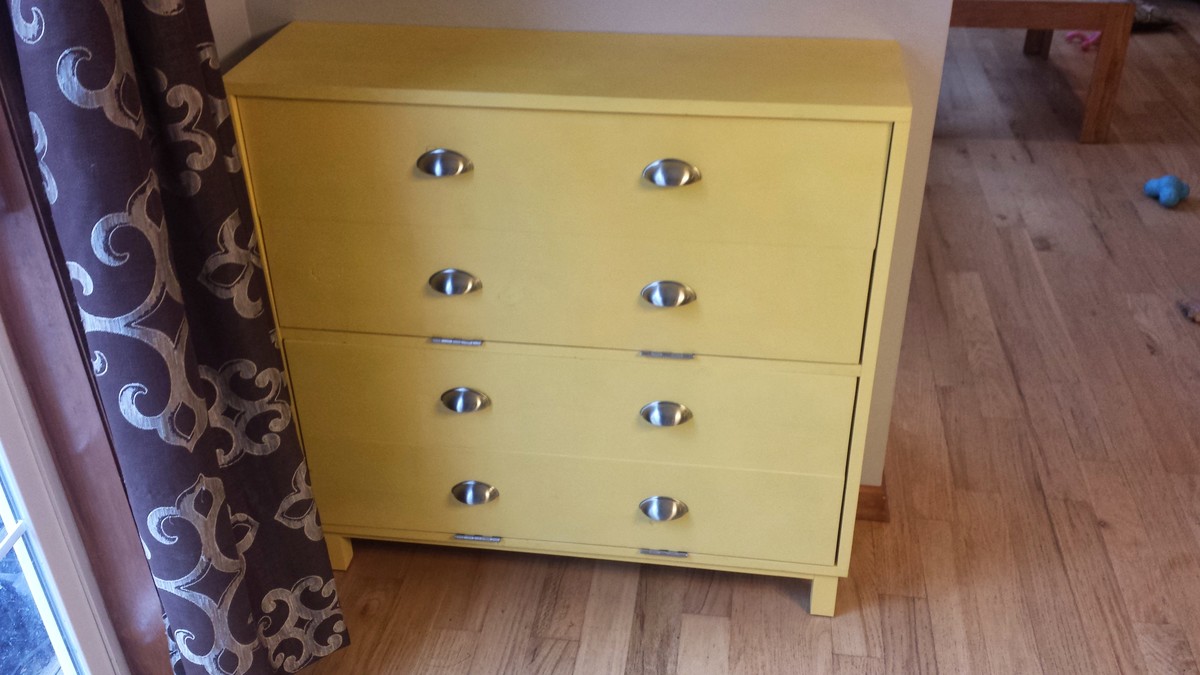
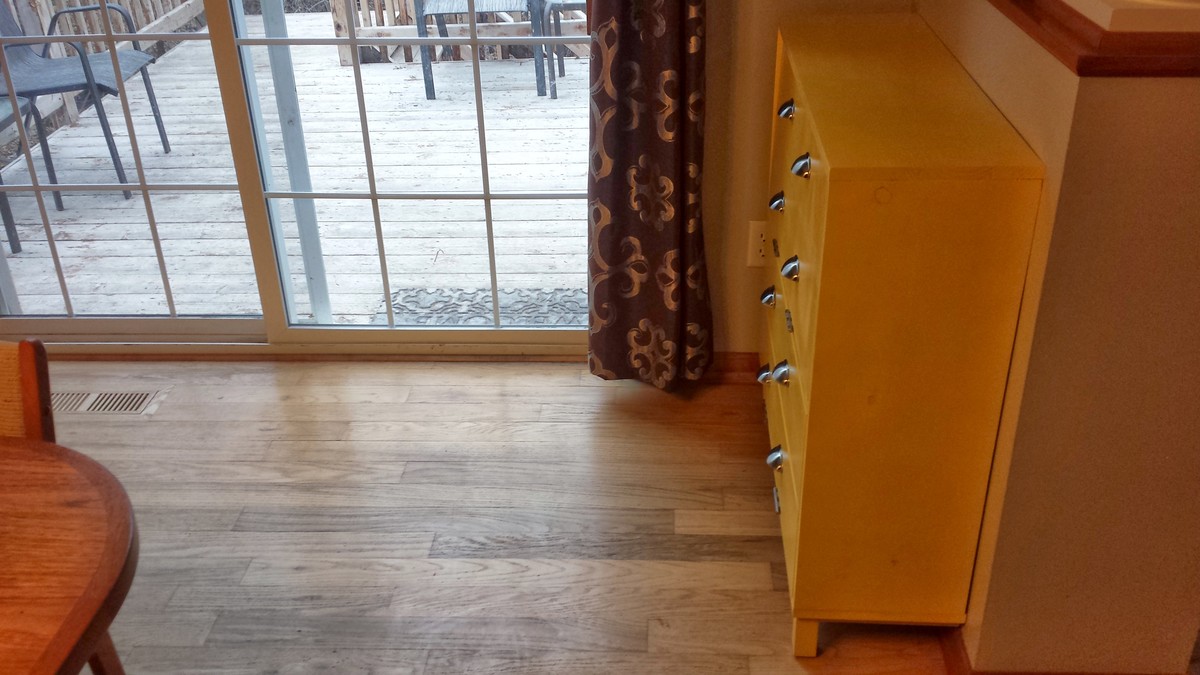
We needed some storage by the back door for shoes and dog accessories so it would be easier for us to take our dogs out for walks. I saw the plan for the shoe dresser and thought it would be great since we would be storing shoes in it. I made it narrower to fit our space and also made it deeper. The cost was mostly in the hardware.

Built from Plan(s)
Estimated Cost
$80
Estimated Time Investment
Weekend Project (10-20 Hours)
Finish Used
Spray paint and spray polyurethane.
Recommended Skill Level
Intermediate

Great project!

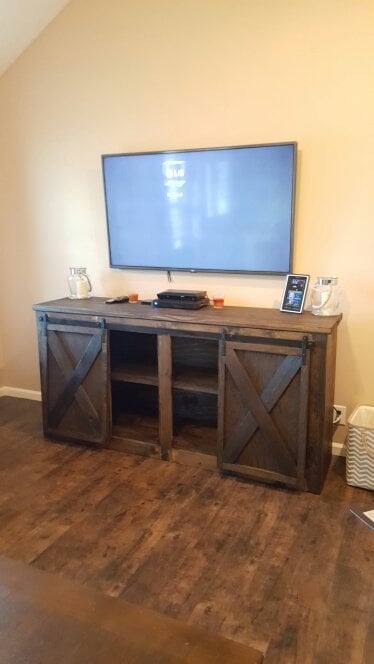
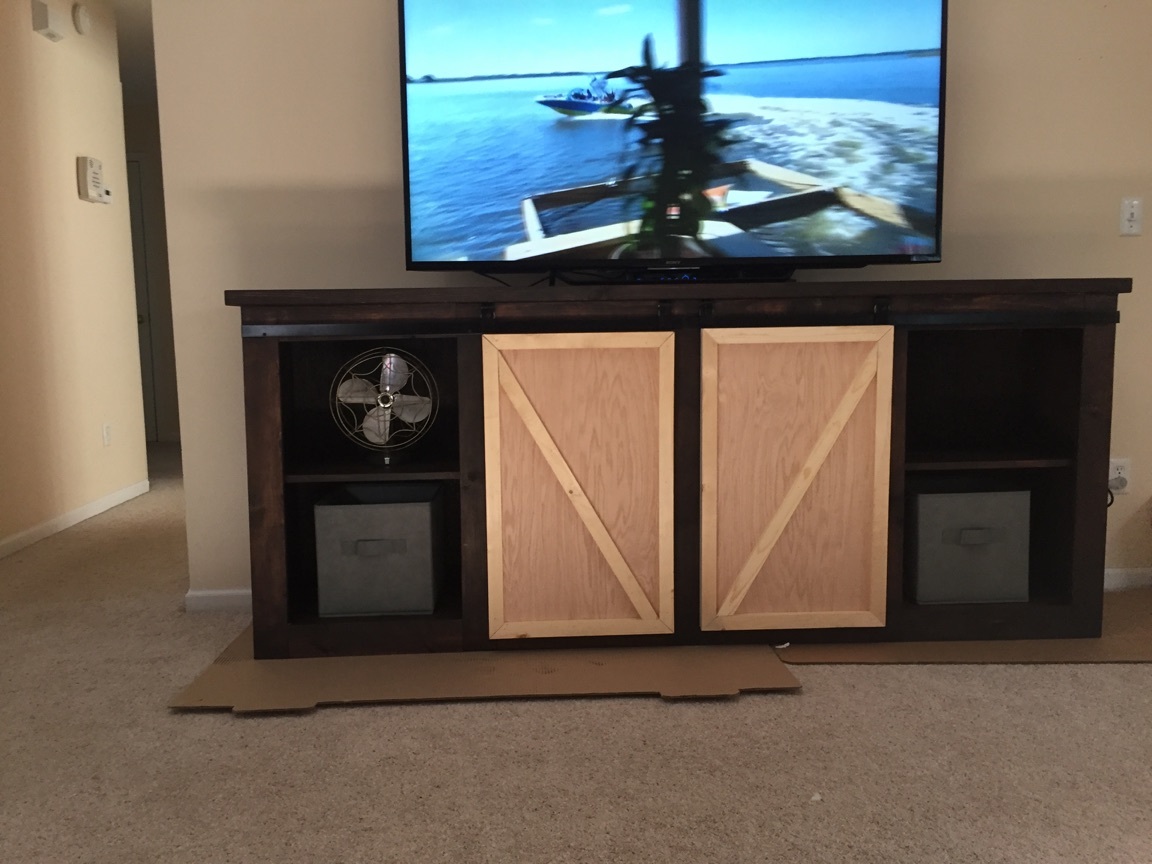
Great plans! Easy to follow and well written. The final project was bigger than I thought it was going to be but very happy with it. Built exactly as the plans stated and the finish project is very heavy duty. My skill level is average and I am only a weekend wood worker and I found it looked very professional.  

Built from Plan(s)
Estimated Cost
Total with homemade hardware for doors $200. To make the hardware was not hard at all. Great articles online on how to make barn door hardware.
Estimated Time Investment
Day Project (6-9 Hours)
Finish Used
Dark stain, espresso color from Menards.
Recommended Skill Level
Intermediate

Cake table for wedding.

Submitted by sherrik on Wed, 05/06/2020 - 21:23

I had seen this and contemplated making it several times. When my daughter got engaged and we planned an on farm wedding, I knew this would be the perfect cake table. My niece helped me with the build. The stain and milk paint finish on the legs worked perfectly and crackled and chipped as desired. Only thing I didn’t like was the the silicone to fill the cracks didn’t last well. Boards were picked out of the pile at Menards. It still looks great two years later and my daughter bought a bigger house so she now has room for it in her dining area.

Built from Plan(s)
Estimated Time Investment
Weekend Project (10-20 Hours)
Finish Used
Table base was gel stain with 2 coats milk paint over the top of stain

Tabletop was liquid stain followed by three coats poly.
Recommended Skill Level
Beginner

Comments

DIY Mantel with Paver Hearth

Submitted by Anonymous (not verified) on Sun, 12/31/2023 - 13:38

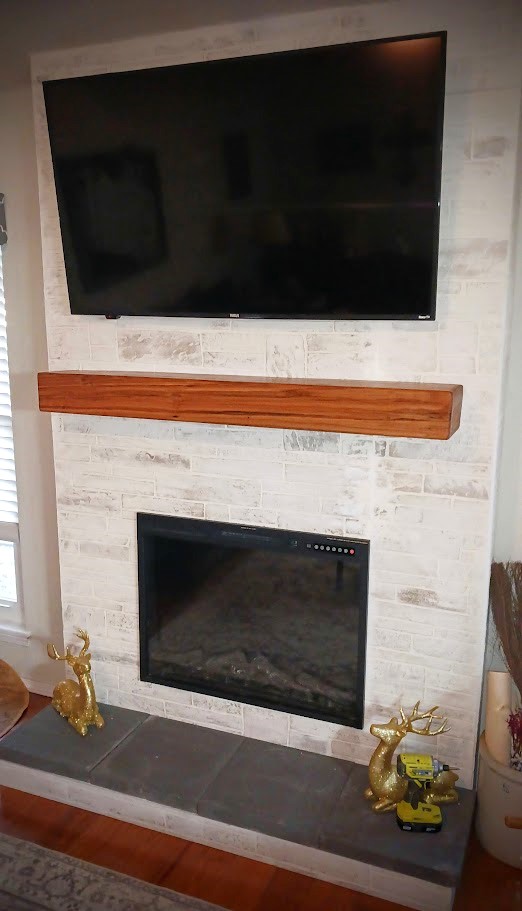
Our old firebox had rusted out through improper installation. So, we took it out and built a 7” bump out directly in front of it. The best part was, the new electric fireplace fit the old firebox location perfectly. Since my wife wanted a stone appearance, we purchased two ¼” 4’x8’ decorative panels that she then “schmeared.” For the mantle, we used pin oak milled from our property. I used three boards to create a faux beam to provide the look we are very happy with. The hearth consists of four walkway pavers.

Doug Siemens

Back