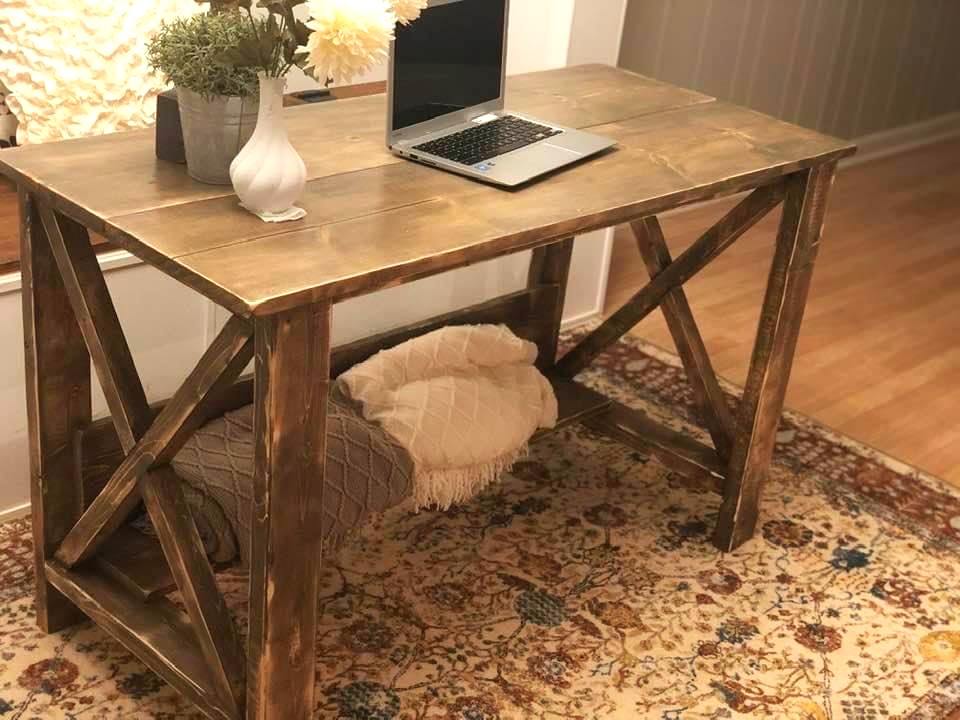
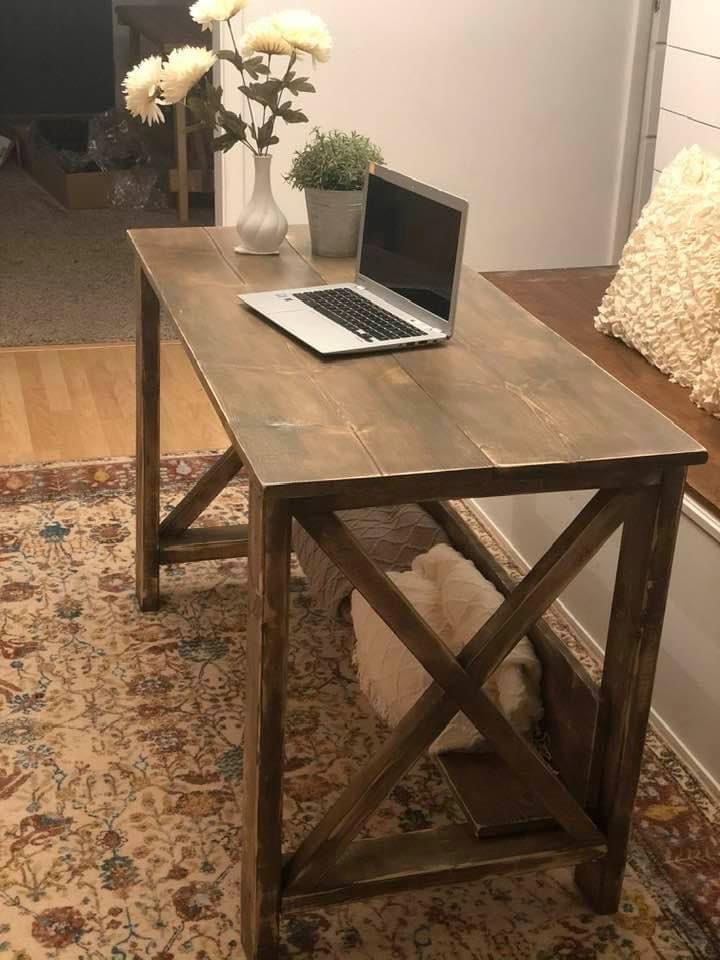
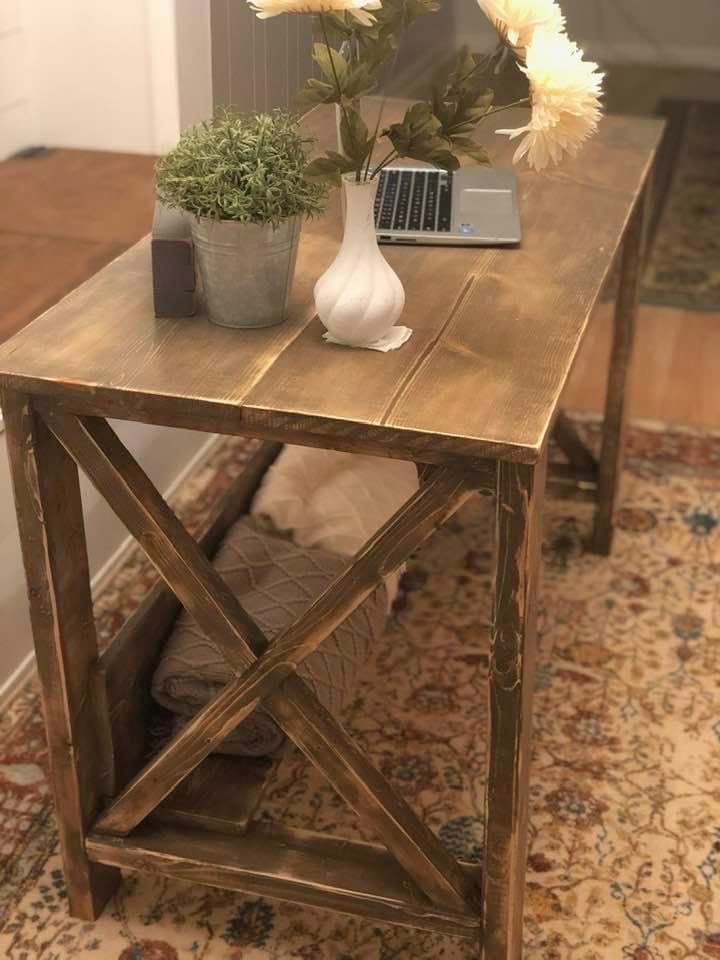
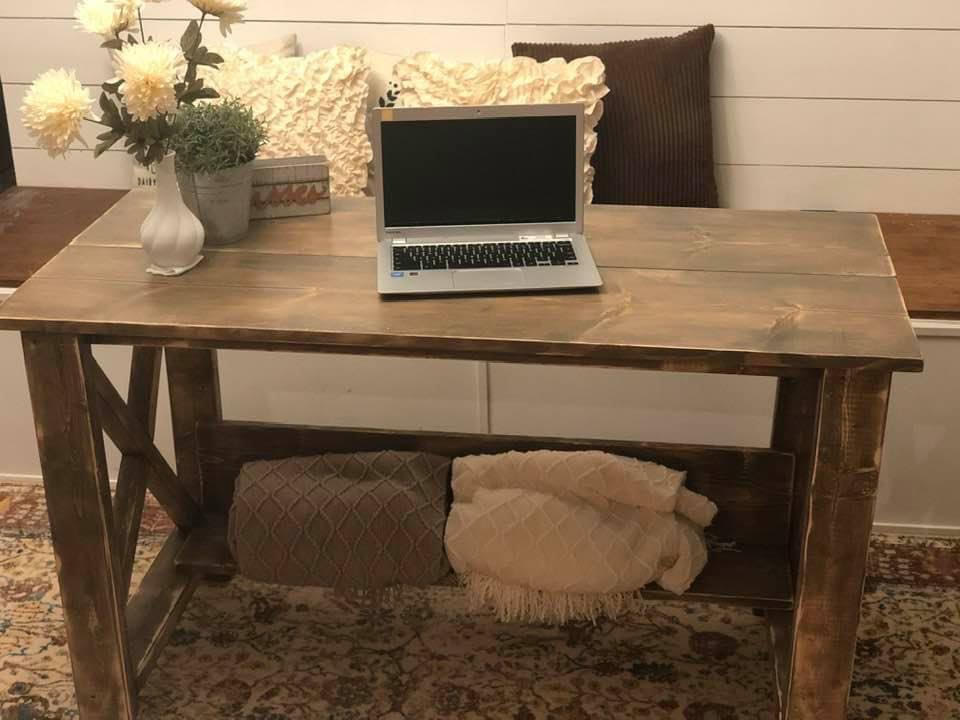
Kiddo Closet Organizer
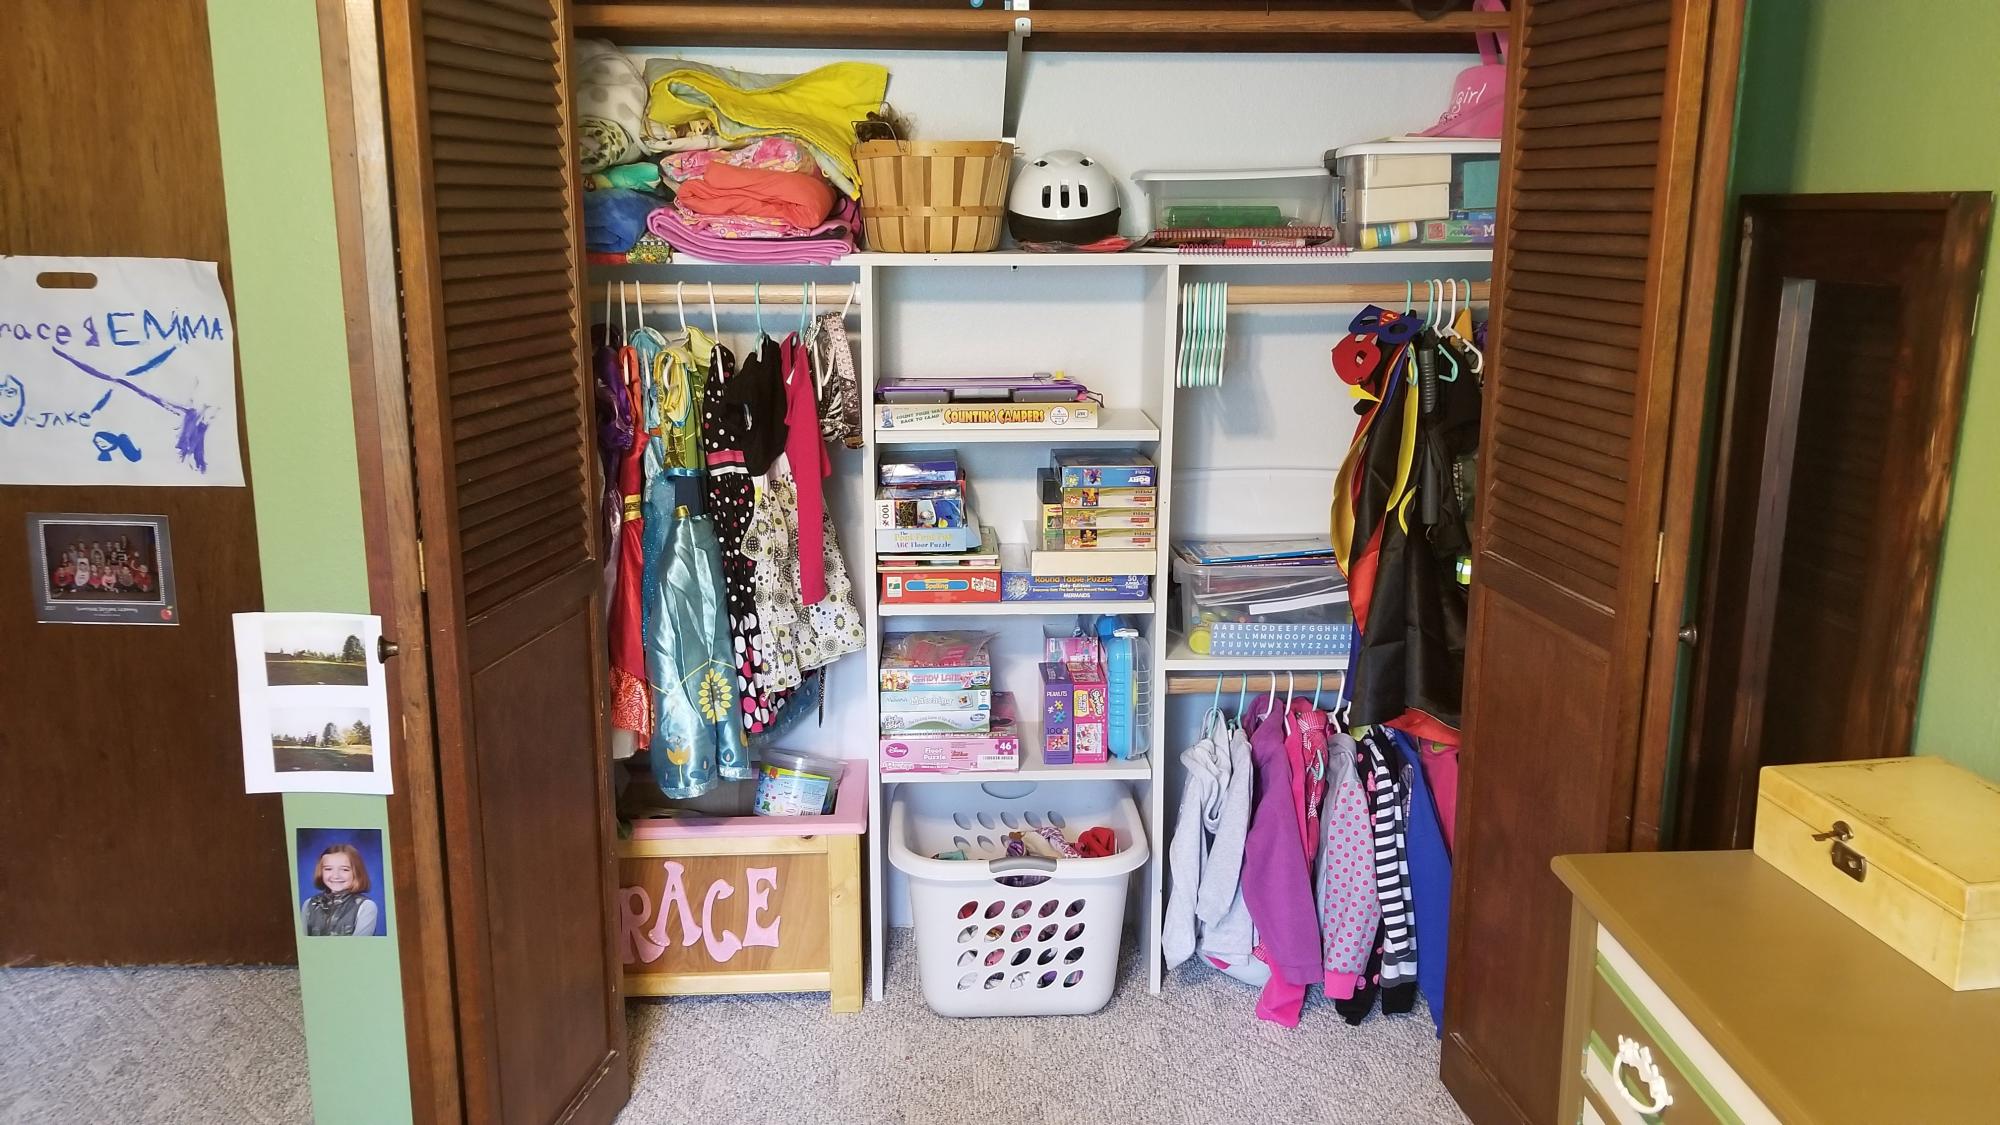
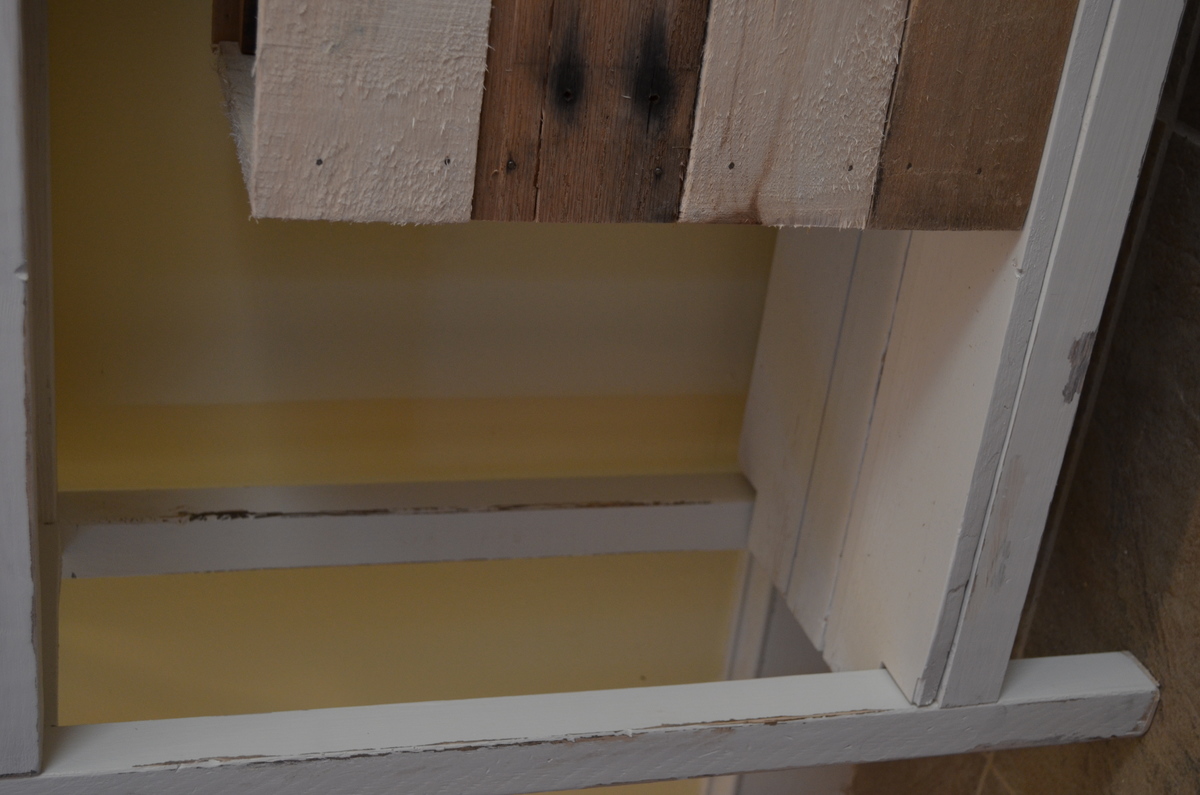
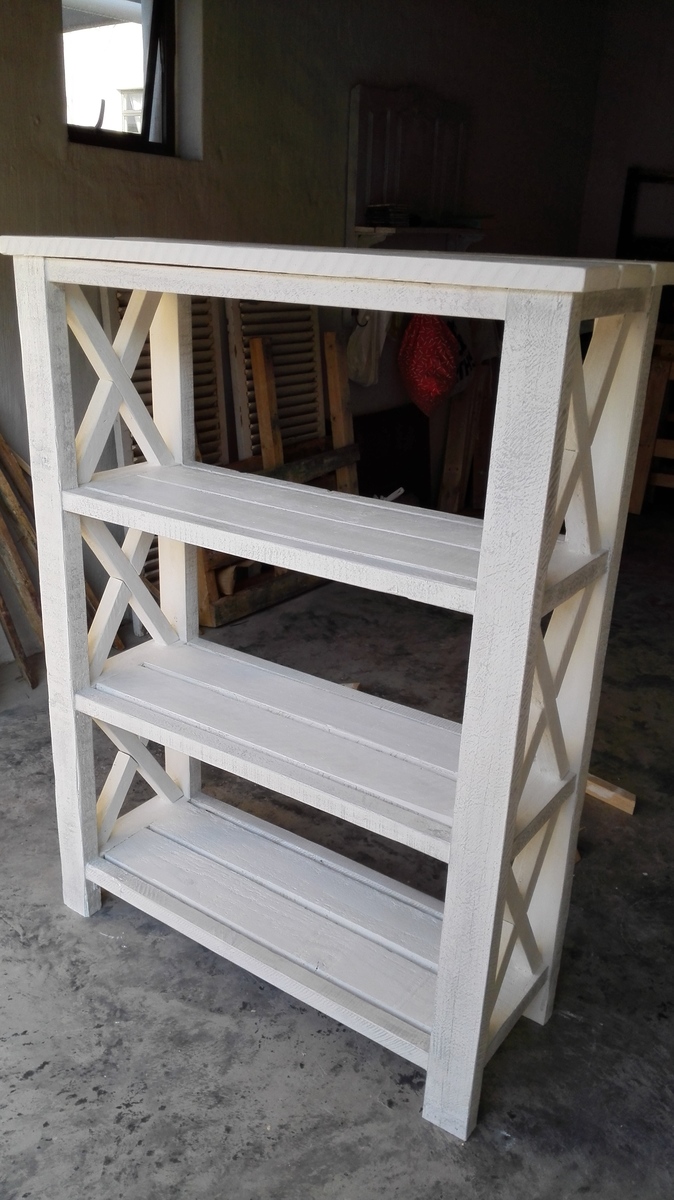
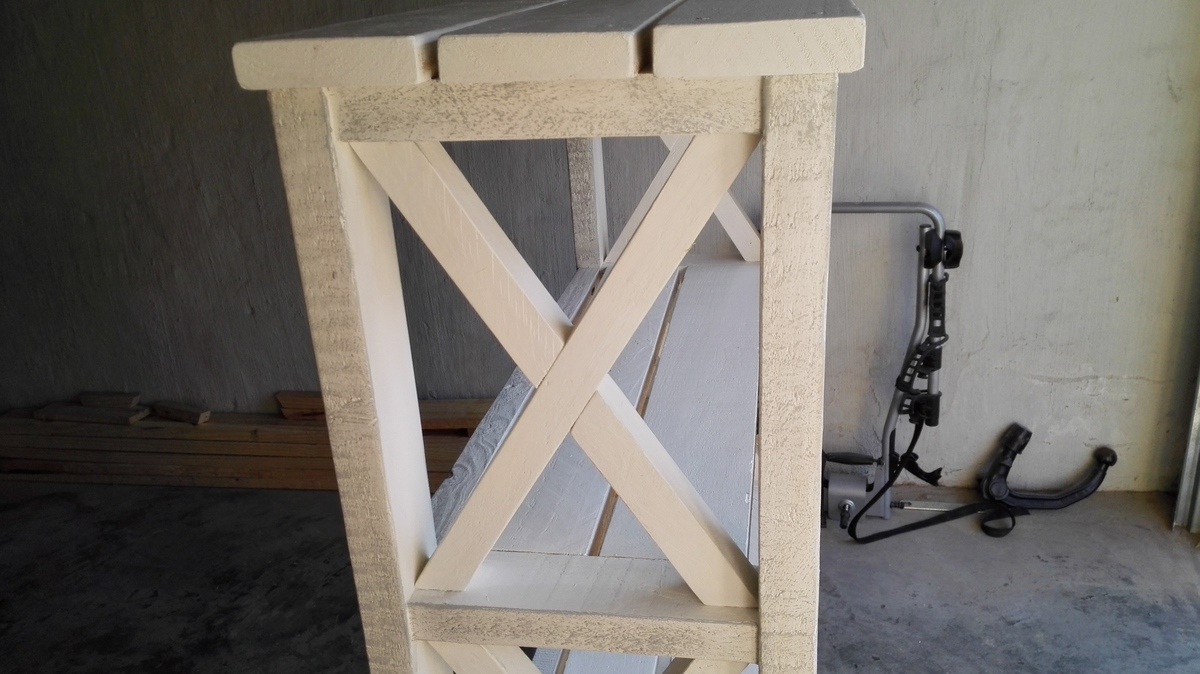
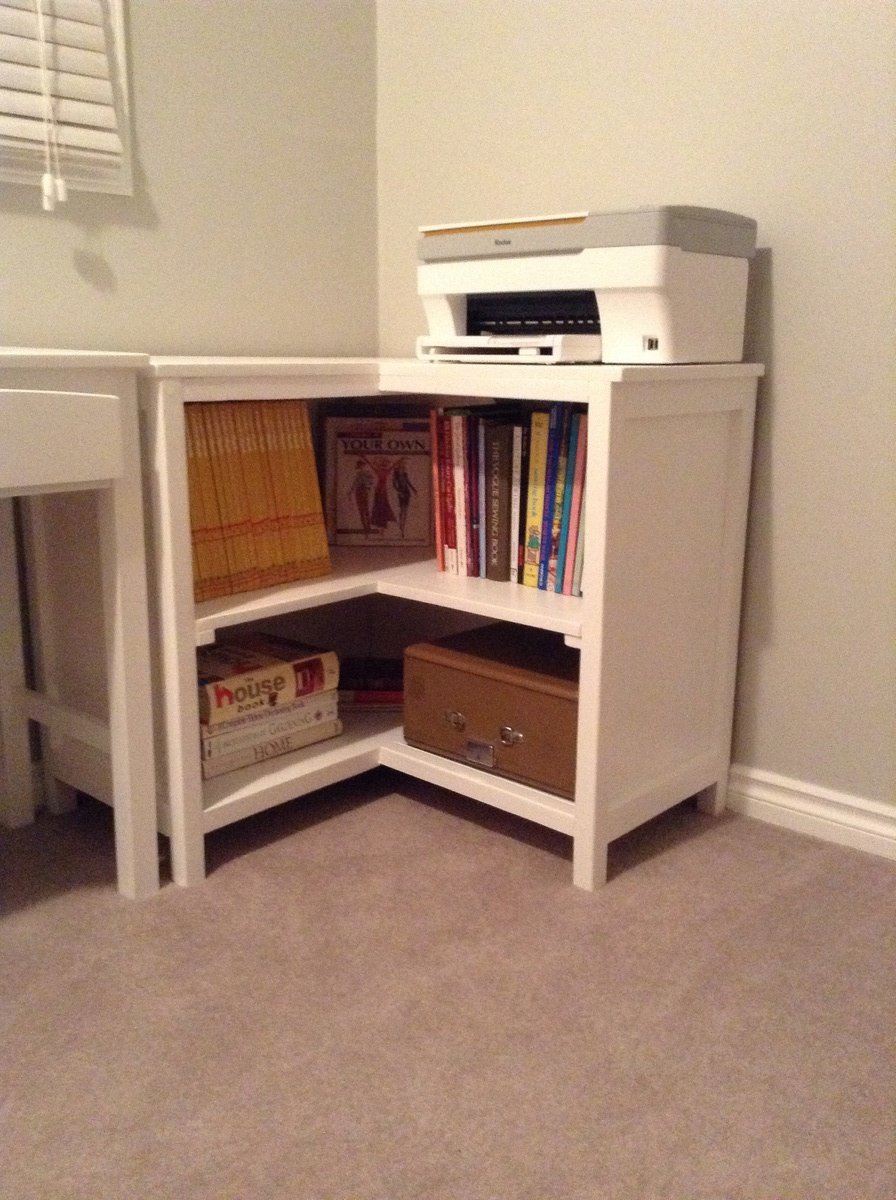
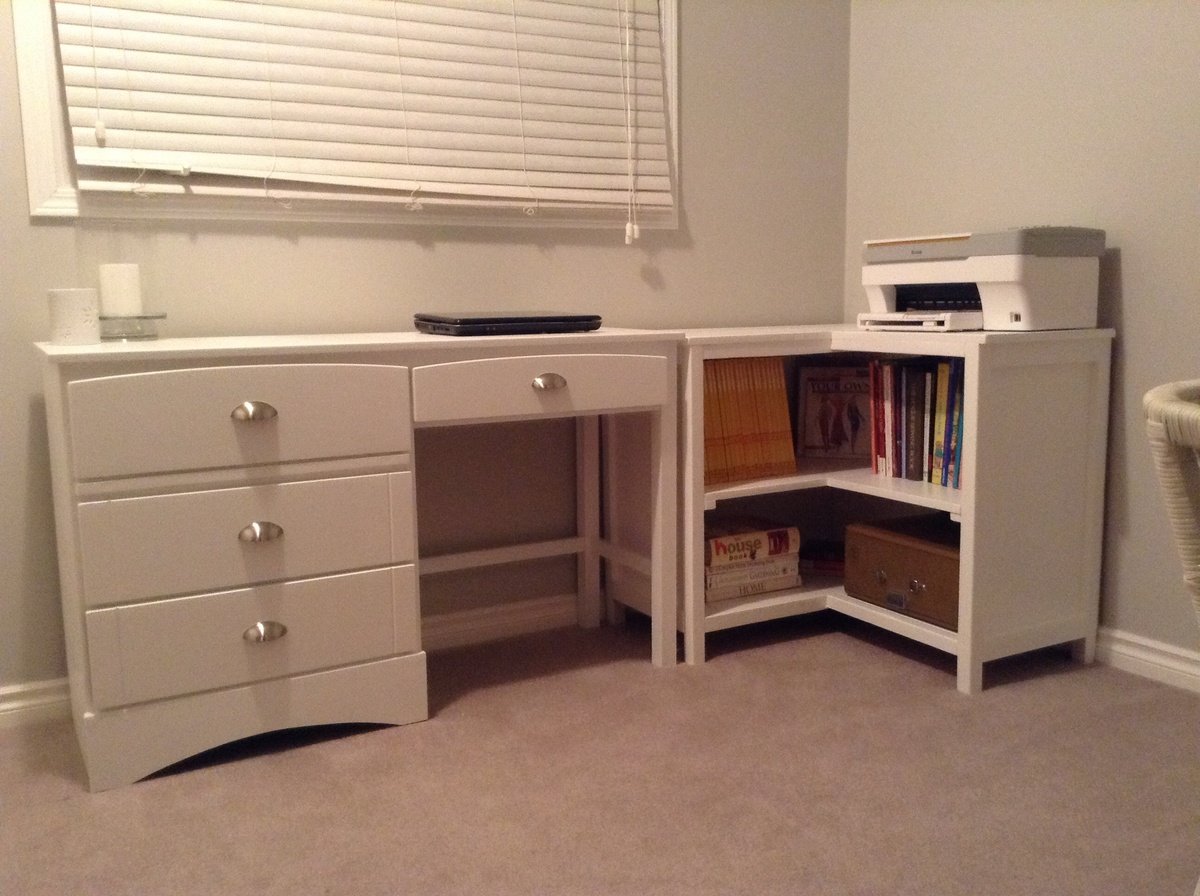
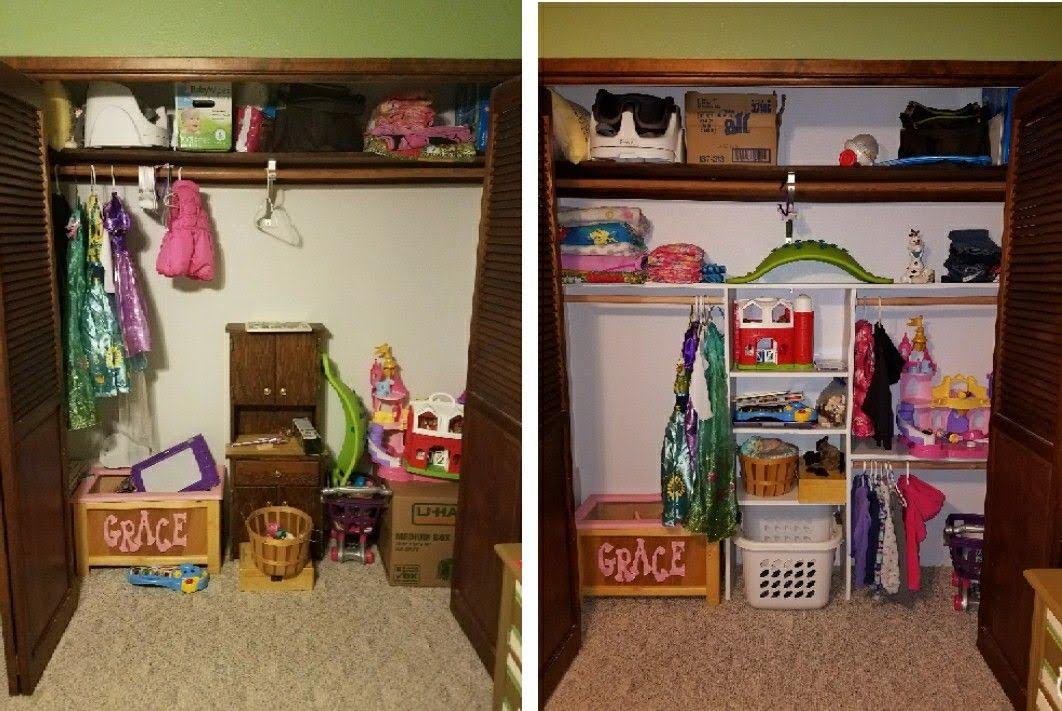
My daughter's closet was a nightmare and helter-skelter with a lot of wasted space after we moved into our house. So I decided one day I was done with the mess and built this to suit her needs. I used 3/4 plywood, closet rods cut to size, and adjustable shelving. When she's bigger, I can pull the shelves out if needed for taller closet hanging but for now this works pretty good. She's kept it pretty clean 3 years later.
Built from Plan(s)
Estimated Cost
$65
Estimated Time Investment
Day Project (6-9 Hours)
Finish Used
Basic white paint
Recommended Skill Level
Beginner