Community Brag Posts

DIY Pantry Cabinet

Submitted by sdarnell1 on Thu, 06/01/2017 - 06:25

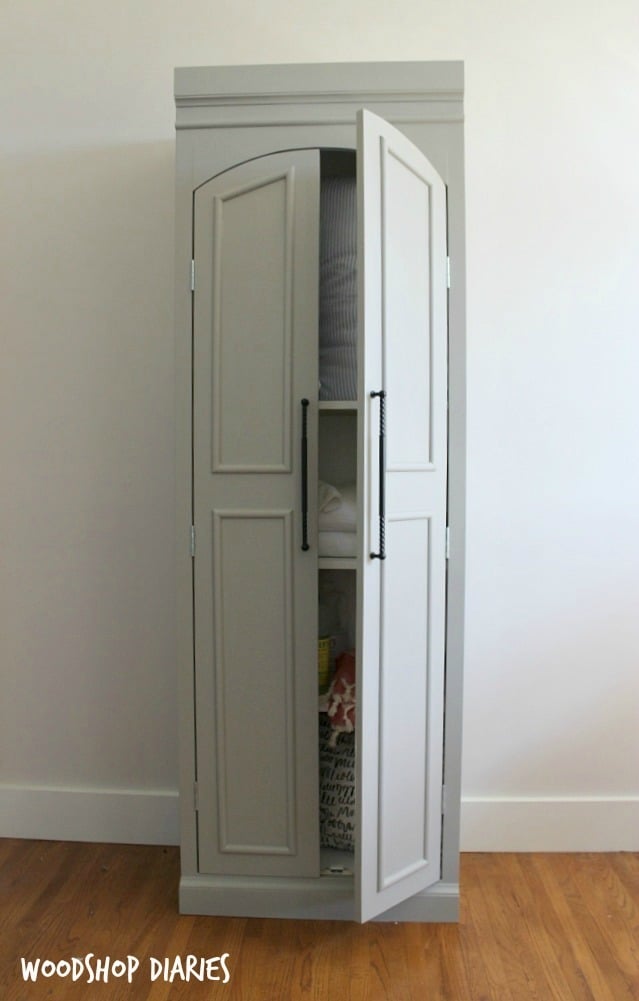
This pantry cabinet was inspired by a design from Ballard Designs.  I needed something a little less deep for my space and couldn't afford the $1900 price tag.  I was able to build this one for just around $100 and was able to customize it to fit my own space requirements.  The arched doors and half round moulding add a nice touch.  This versatile cabinet could be used for linens, kitchen storage, crafts, or just about anything else you can think of! 

Estimated Cost
$100
Estimated Time Investment
Day Project (6-9 Hours)
Finish Used
primed with Kilz water based primer, and painted with standard latex paint
Recommended Skill Level
Intermediate

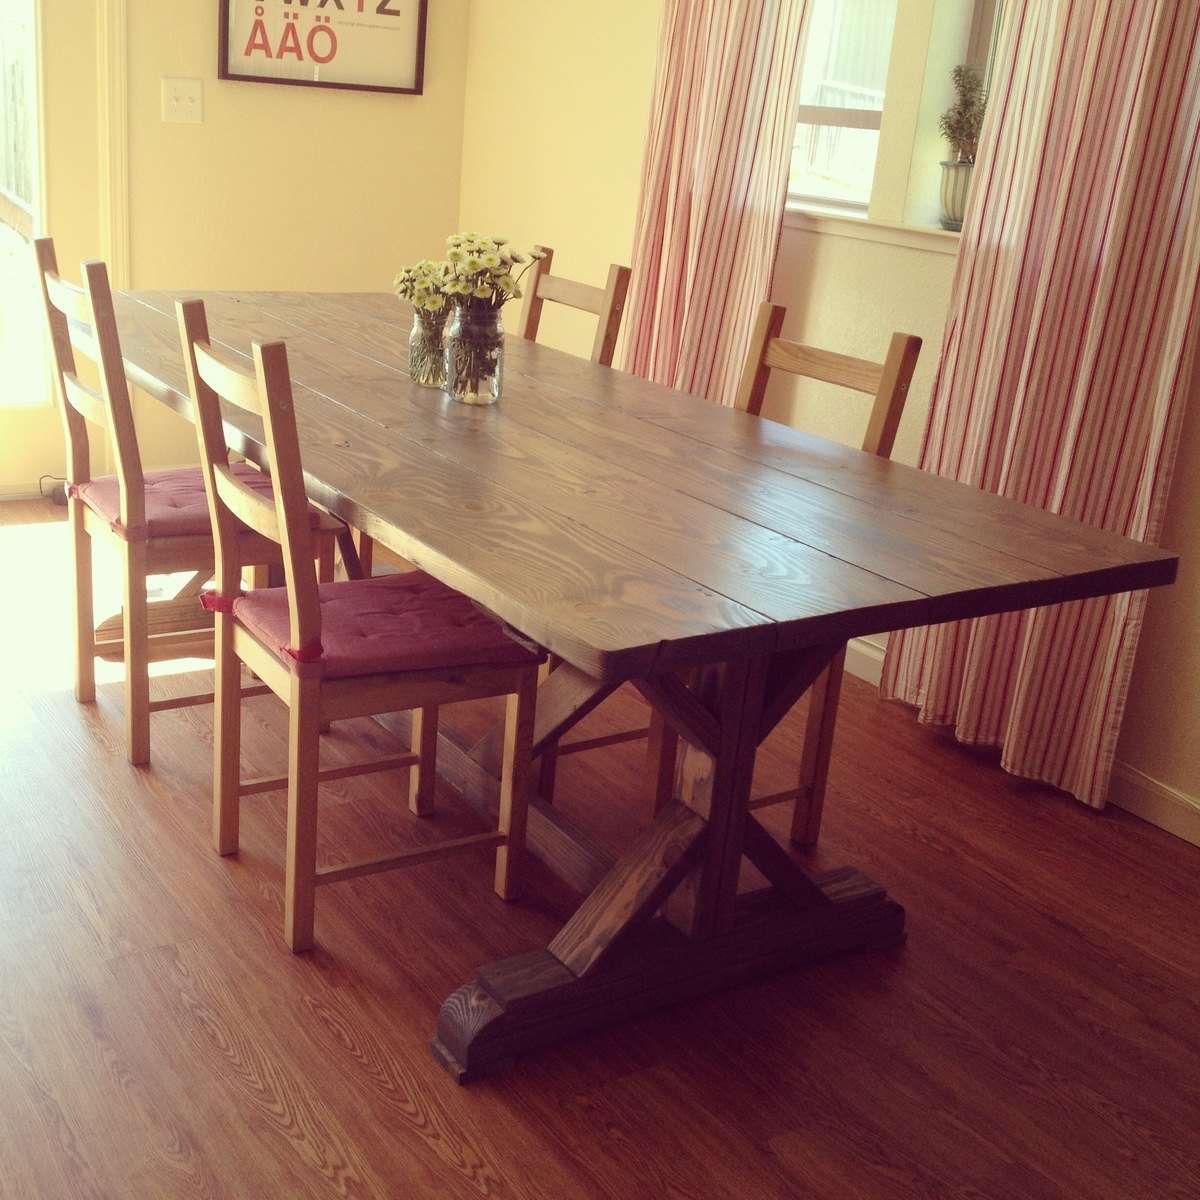
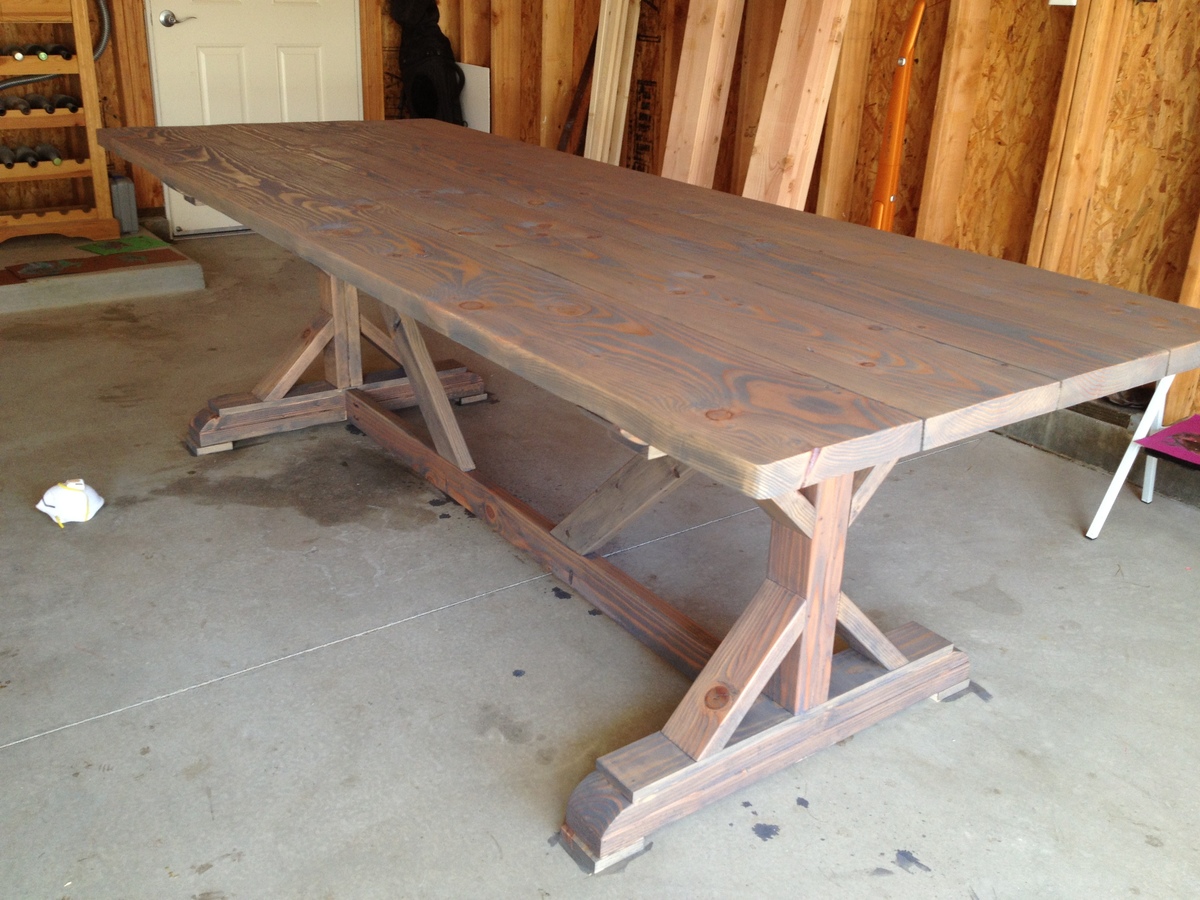
Anthropologie inspired Fancy X Farmhouse Table & Benches Part 1

This project was super easy, my husband and I did this together while I was 9 months pregnant with our other 2 kids and dog running around the whole time! We made the table and 2 benches for $250 including lumber and finishing supplies. Check out my blog for details.

Estimated Cost
$250
Estimated Time Investment
Weekend Project (10-20 Hours)
Finish Used
Grey Stain
Recommended Skill Level
Beginner

Garage Storage

Submitted by Smokeydog on Fri, 03/20/2015 - 08:59

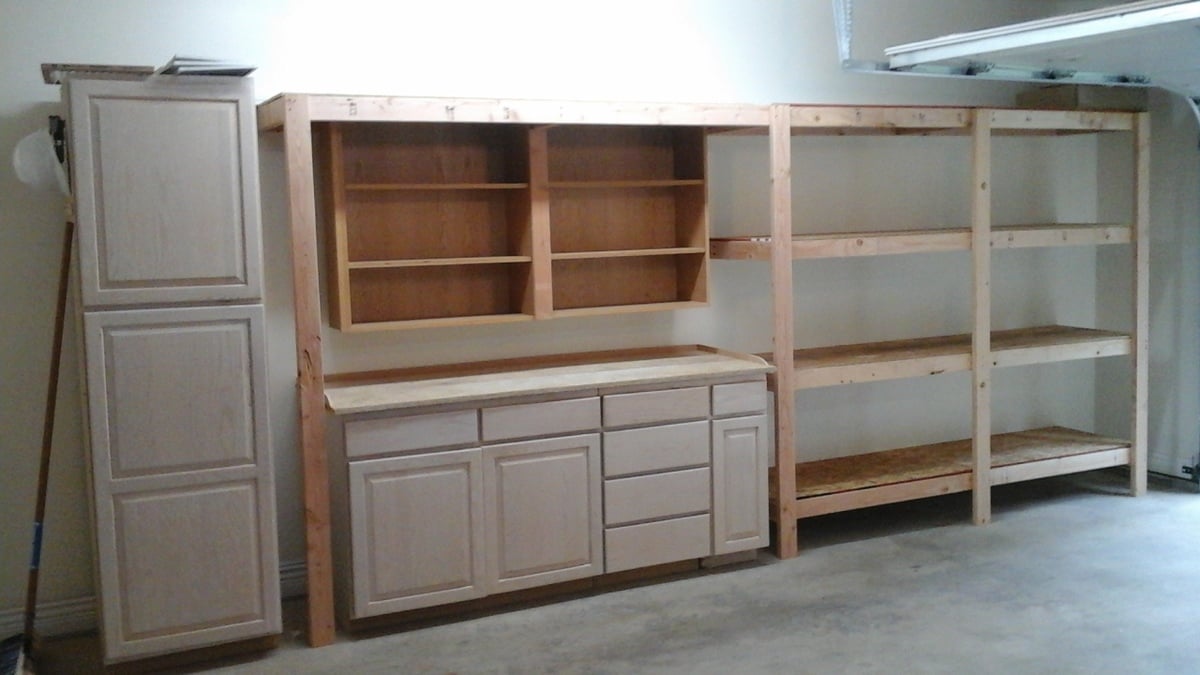
Thanks to Ana's 2x4 storage plan and a neighbor's discarded kitchen cabinets we now have a very clean and convenient storage area  in our garage.  It even features a work bench and sorting area.

Estimated Cost
40-50 dollars
Estimated Time Investment
Afternoon Project (3-6 Hours)
Finish Used
None
Recommended Skill Level
Starter Project

Comments

WALL-MOUNTED WINE RACK

Submitted by crowner123 on Mon, 06/24/2013 - 14:54

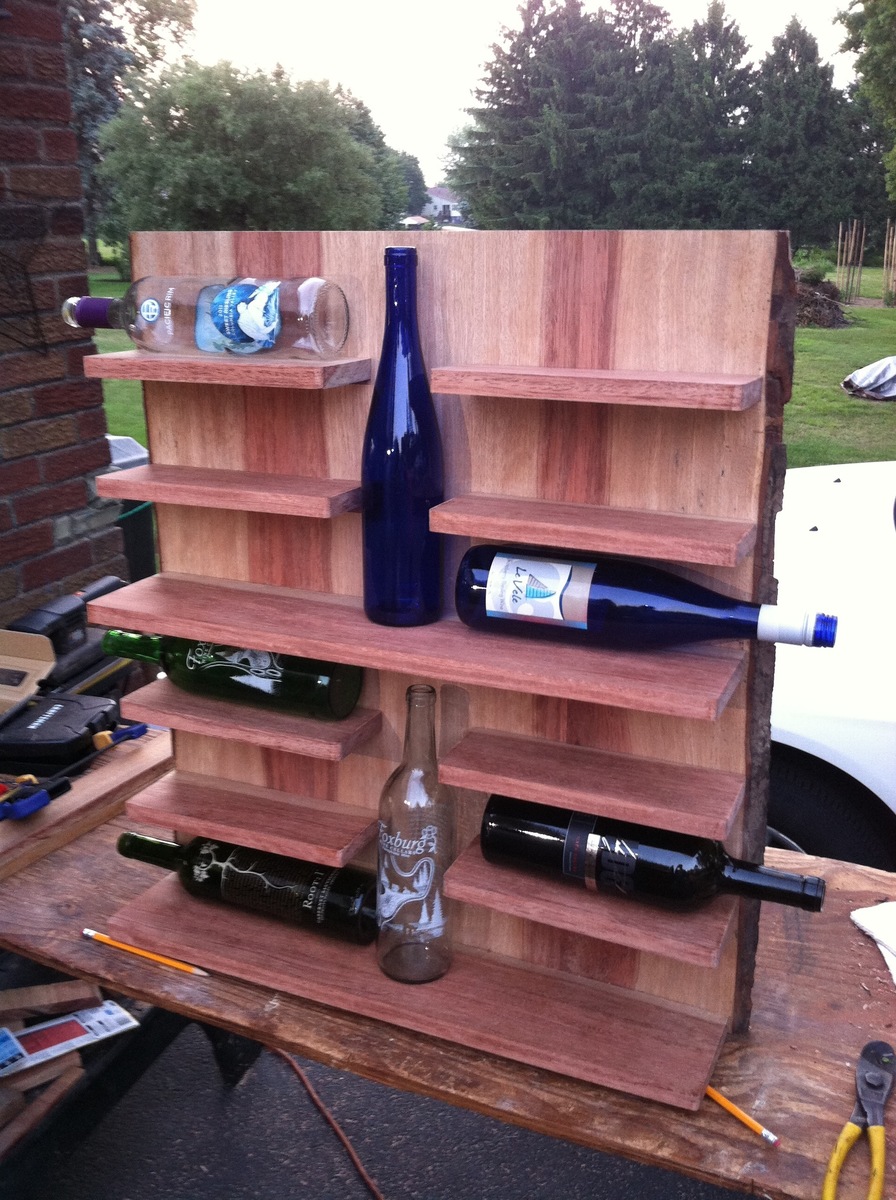
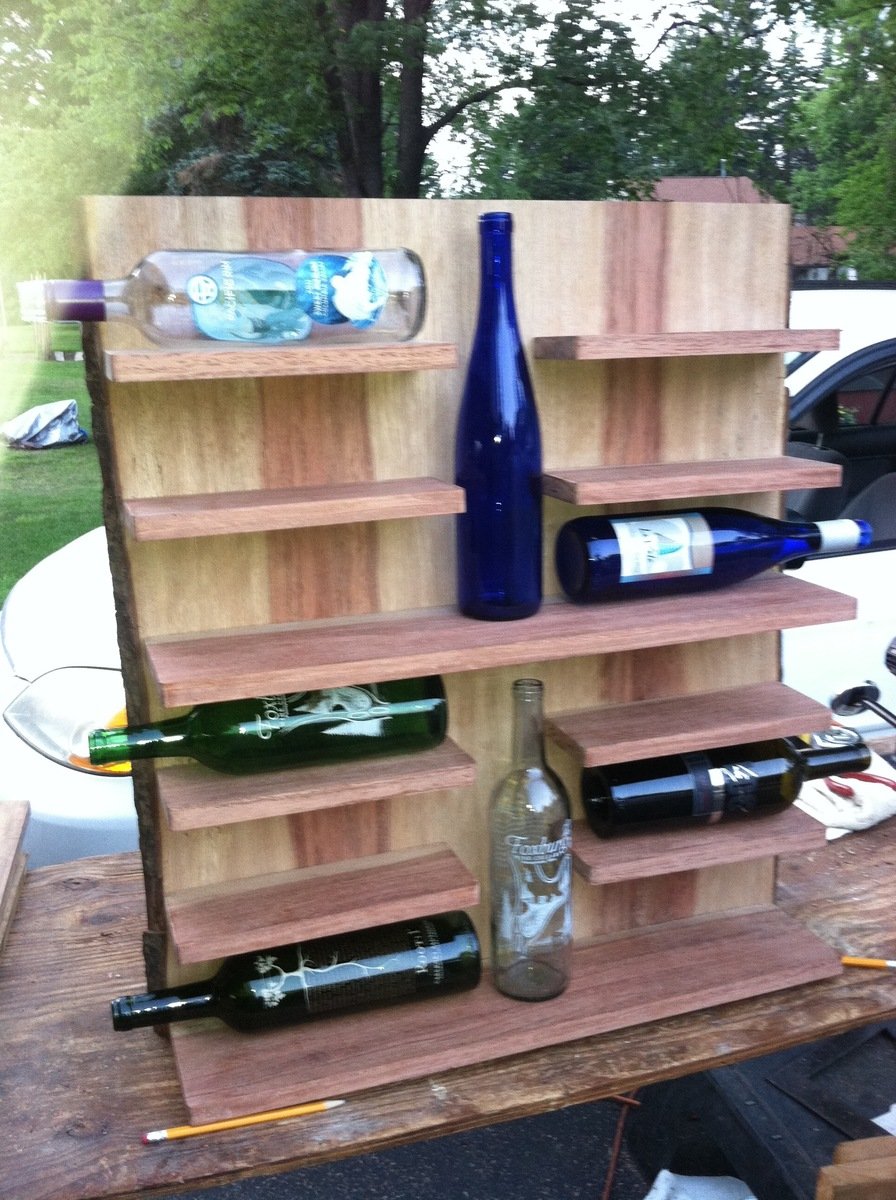
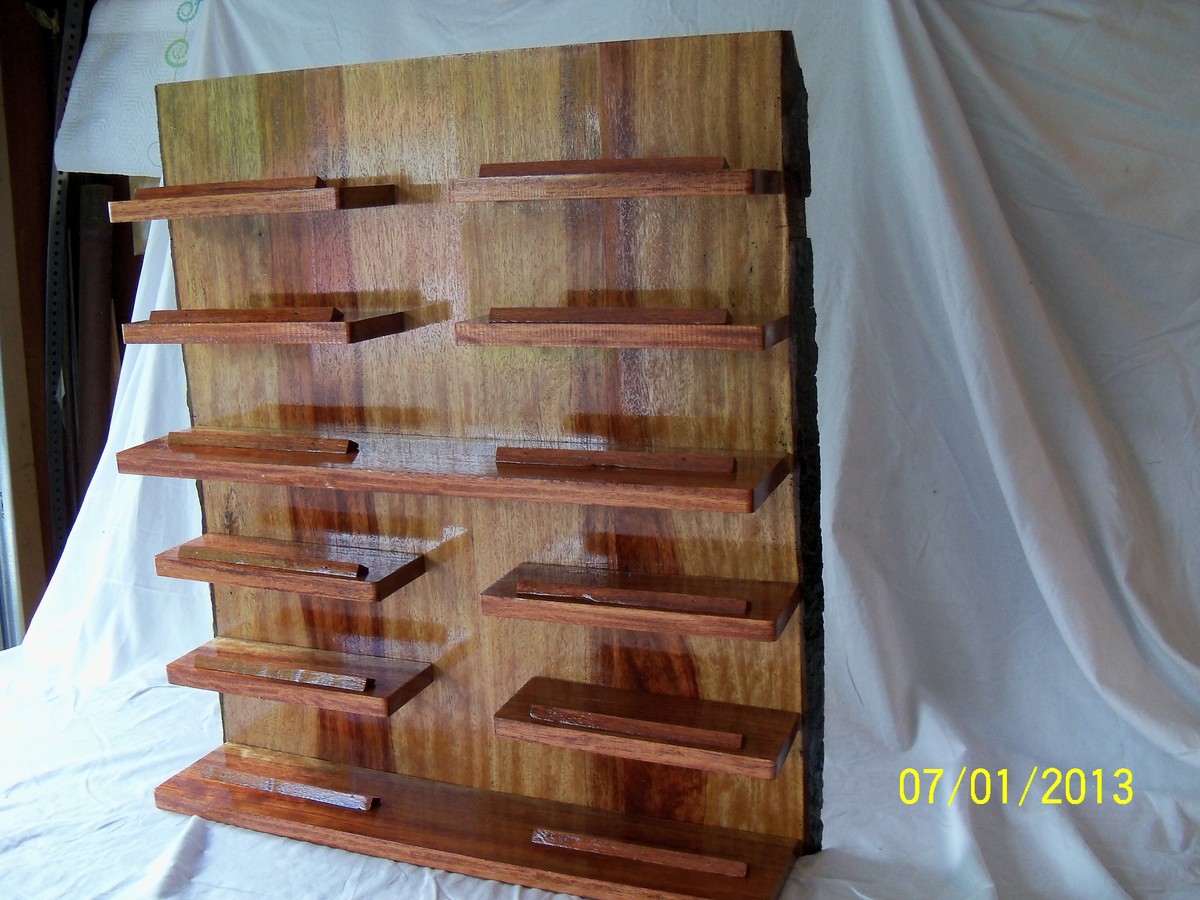
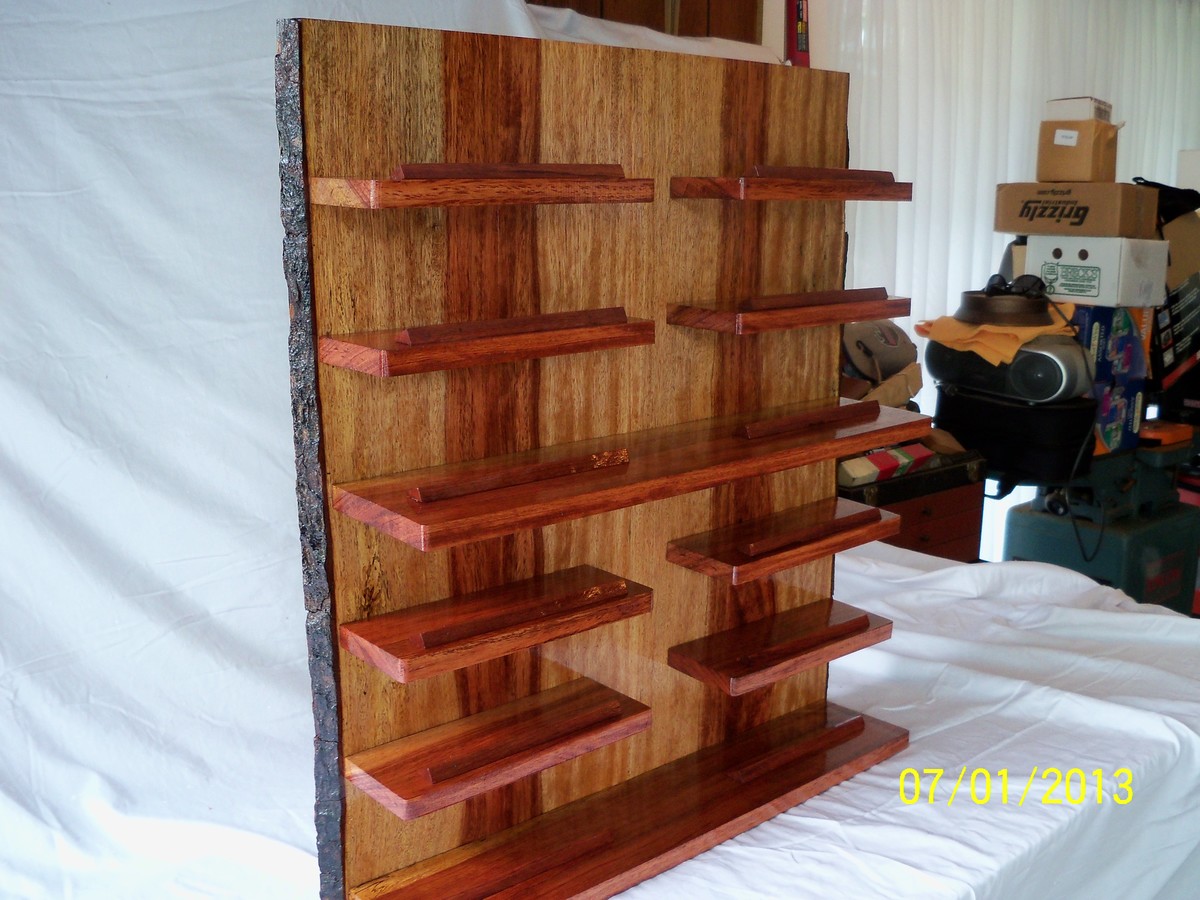
This was a rack I helped my dad make so he could give it as a wedding gift. This is an attempt to build from plans that Ana posted here:

http://ana-white.com/2011/11/wall-mounted-wine-rack-dont-forget-erase-y…

We took 2 long long cherry boards with bark still on the sides, and ran them through the planer. Then we ripped them down the center to be able to use bark ends on each side and book-matched the cherry colors, but most people wont have to worry about that since they wont be using "found" cherry.

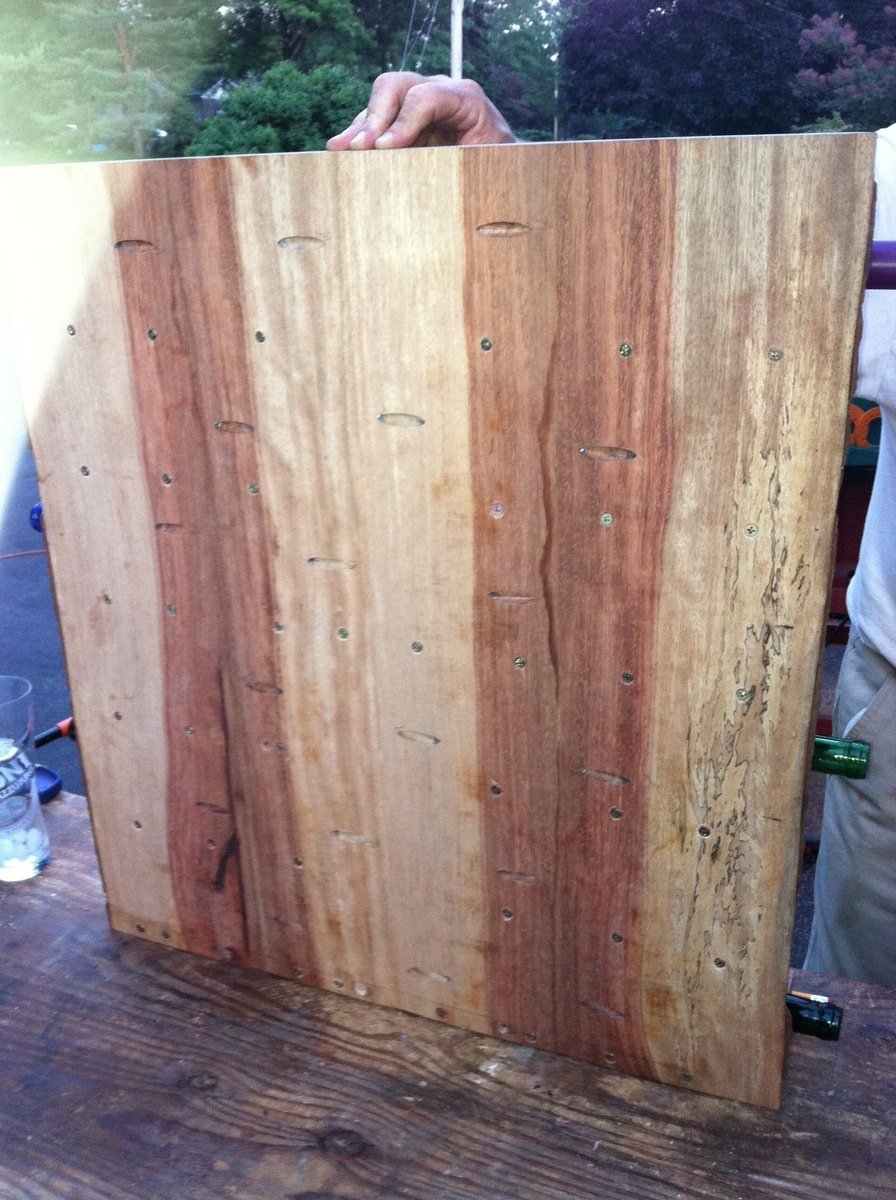
The back board is made up of four 1x7s cuts at 28.5 inches long. You can use whatever width you want, we just wound up with 7inch pieces. Then we used a Kreg Jig to screw those together flush (see picture of back). Once those 4 pieces were together we sanded the edges down to make the backboard smooth and flush.

The 8 mini shelves were 1x3.5s cut at 10 inches long. The middle and bottom shelves were 1x5s cut at 24.75 inches long. Again, we were using limited wood and had to adjust our measurements to make it work.

We spaced the bottom shelf flush with the bottom of the backboard and then would space 4.5 inches between the top of that and the bottom of the next shelf. Make sure there is still room for your wine bottle to fit between the floating shelves. ALSO, MAKE SURE YOU KEEP THE FLOATING SHELVES ACROSS FROM EACH OTHER LEVEL WITH ONE ANOTHER. You don't want your shelves to look lazily placed.

The way we placed the shelves on backboard was...involved.
- Clamp the shelves in place on the front of the board and trace them with pencil.
- Remove the shelves.
- Marke holes to drill within center of the trace.
- Drill those holes from the front of the board to the back.
- Reclamp the shelves back on and use the holes in the board to mark the clamped on shelves from the back.
- Unclamp the shelves and fully drill the shelves by themselves while they were not attached. (BE CAREFUL TO DRILL STRAIGHT and never come through the top or bottom of the shelf)
- Sand off your pencil marks after your drilling.
- Re-clamp the shelves to the backboard.
- Use 3" screws straight from the back into the shelves.
- Use 8 screws per big shelf and 3 screws per little shelf.

Then it was just slow and steadily clamping, tracing, drilling, re-clamping, drilling, sanding, re-clamping, and screwing the shelves on... You have to follow that pattern for each shelf or you risk ruining your shelf and if you have limited wood (like we did) that is not an option.

We also put very small pieces of wood to keep the bottles from rolling off their shelves. These were just scraps we had lying around and tapped them in with small finishing nails.

Good luck!
Estimated Cost
$50
Estimated Time Investment
Weekend Project (10-20 Hours)
Finish Used
These photos were taken pre-finish. That is just how beautiful the cherry looks! We will be spraying on a high gloss clear finish and we'll be done.
Recommended Skill Level
Intermediate

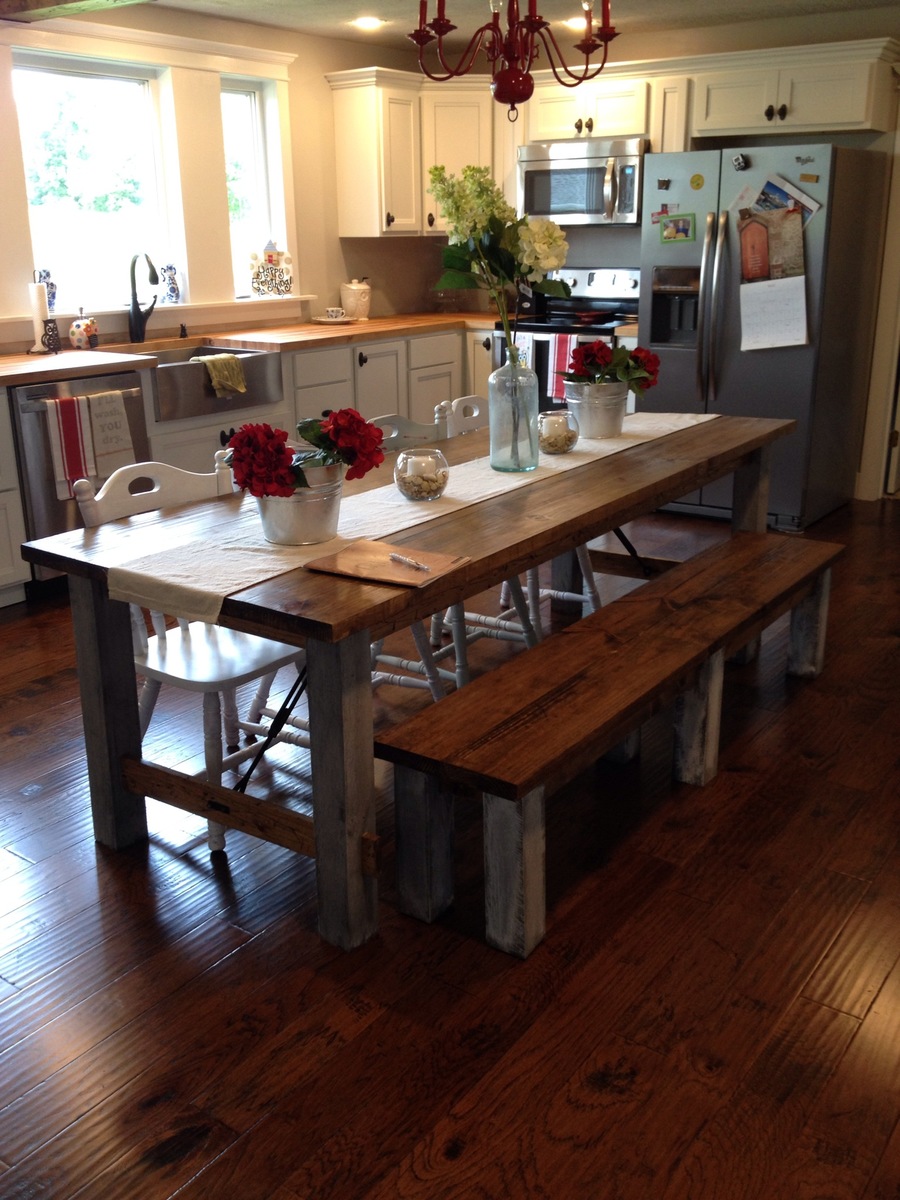
Farmhouse Table

Submitted by sdarnell1 on Wed, 07/01/2015 - 13:01

This 8ft dining table and bench was created with inspiration from Ana White (with a few modifications). It was made with all scrap wood except the table top. Full details of the table build (and kitchen remodel) can be found at www.chasingadreamblog.wordpress.com.

Finish Used
Minwax Stain Provincial, whitewashed legs (50/50 white paint/water)--paint on lightly with a brush, let sit a couple minutes, wipe in/off with a old rag, repeat until you get the desired color
Recommended Skill Level
Beginner

Picture ledges

Submitted by nanpannapa on Tue, 05/24/2011 - 13:42

PIcture ledges ~ made my living room look so much better. Thanks Ana

Estimated Time Investment
An Hour or Two (0-2 Hours)
Finish Used
Left over satin paint
Recommended Skill Level
Starter Project

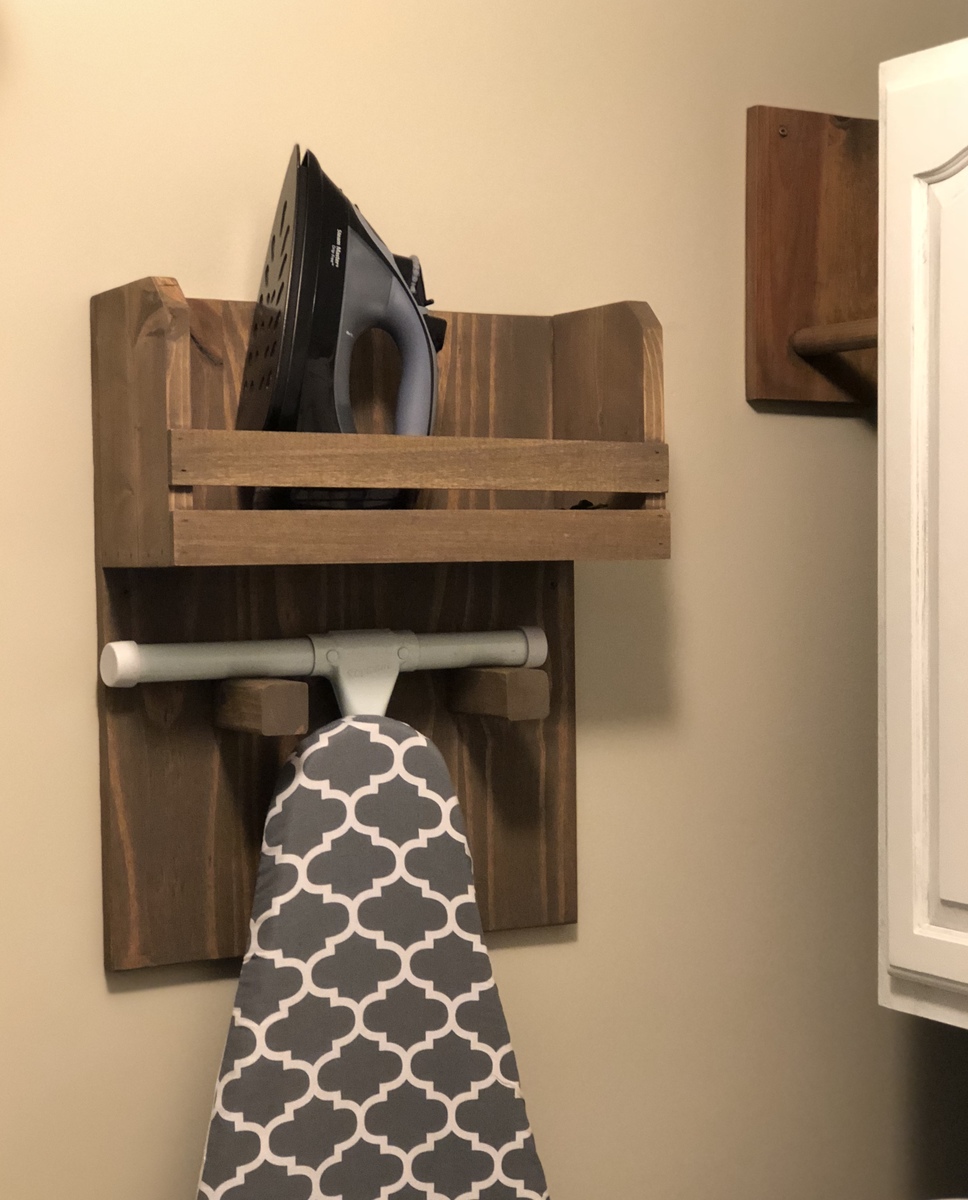
Iron Board Holder

Submitted by Sunny4 on Sat, 02/17/2018 - 14:58

I had all that was need in my scraps:) Great project for this rainy day!!

Thanks Ana!


Estimated Time Investment
An Hour or Two (0-2 Hours)
Finish Used
Briarsmoke
Recommended Skill Level
Starter Project

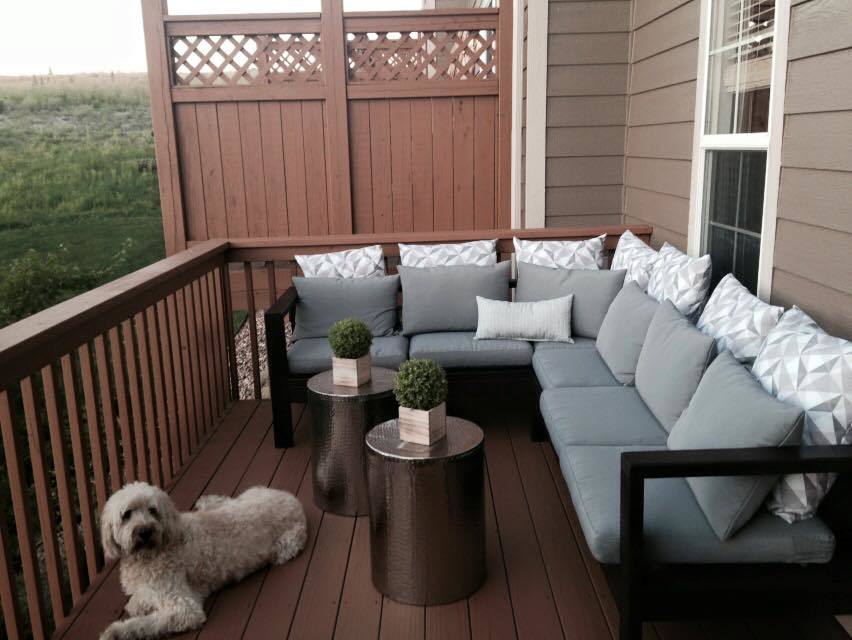
Outdoor Sectional

Submitted by Adakaye on Tue, 07/28/2015 - 12:28

This project took a day to build and about four days to stain with a day of drying in between each coat. Great plans! I love my new couches!

Estimated Cost
$110- Wood, Douglas Fir studs at Home Depot
$30- Deck Stain, Merlot, Home Depot
$250- Cushions, Hallo, Ikea
$100- Fabric and pillow forms for extra pillows
Estimated Time Investment
Day Project (6-9 Hours)
Finish Used
Deck Stain in Merlot Color
Recommended Skill Level
Beginner

Comments

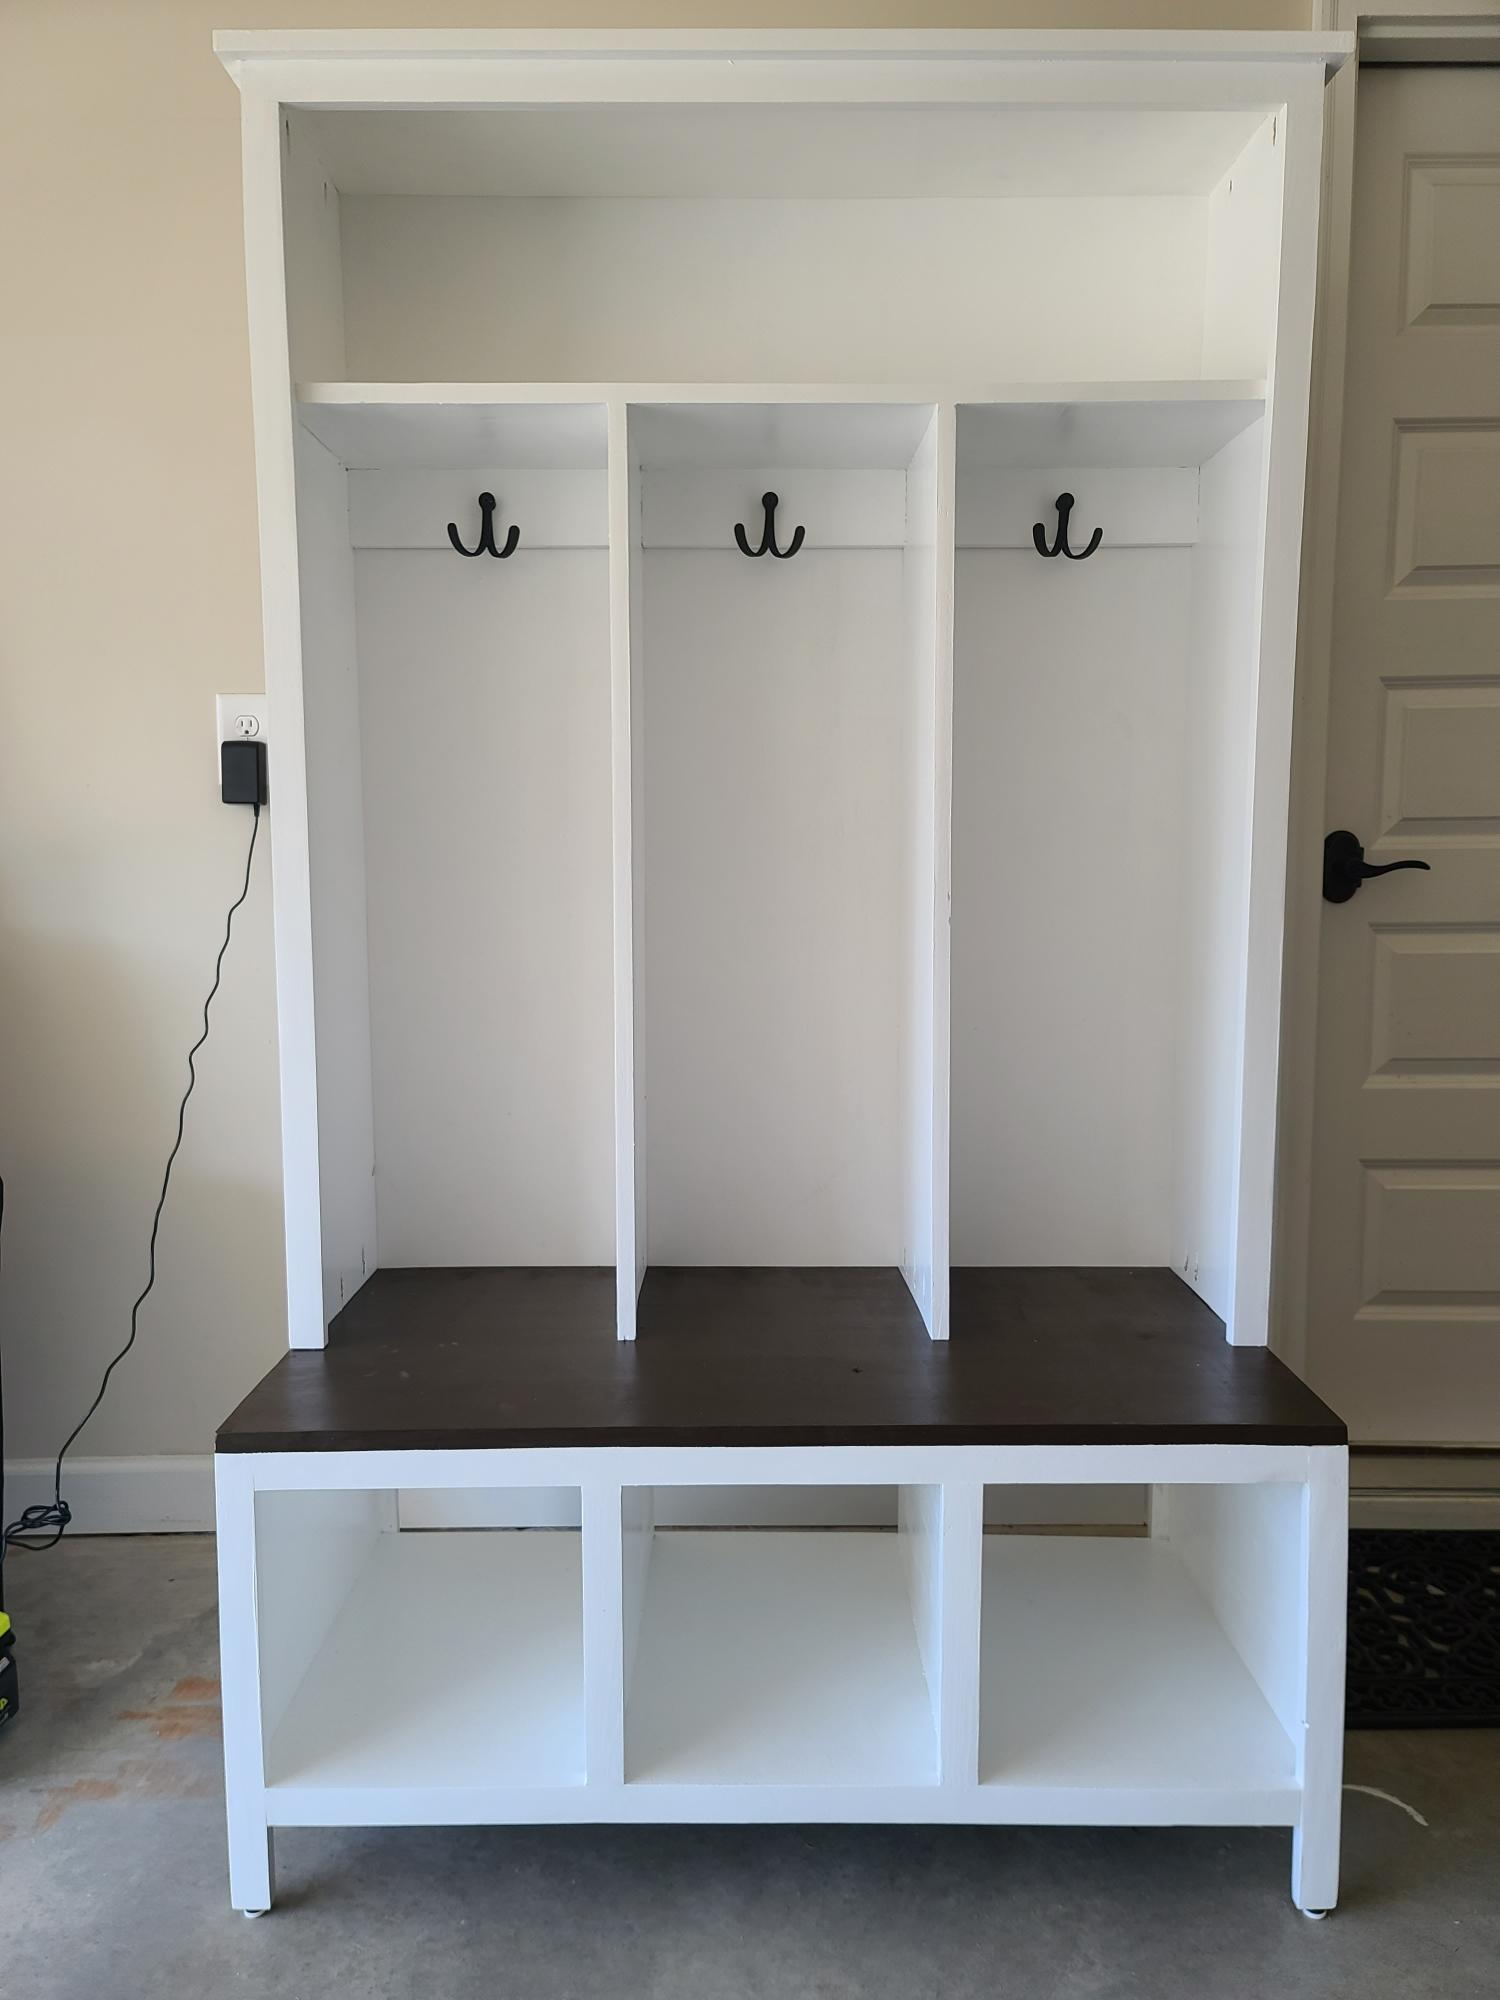
Mudroom Locker & Bench Completed Version

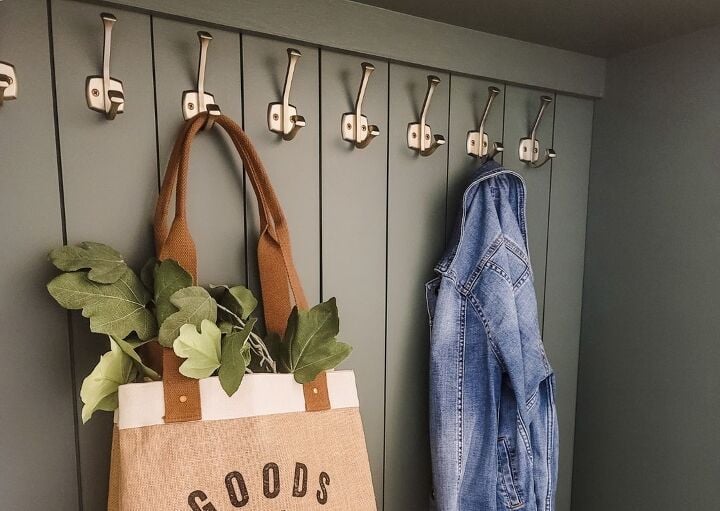
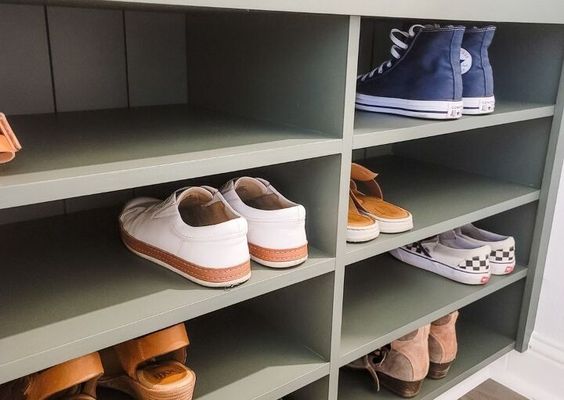
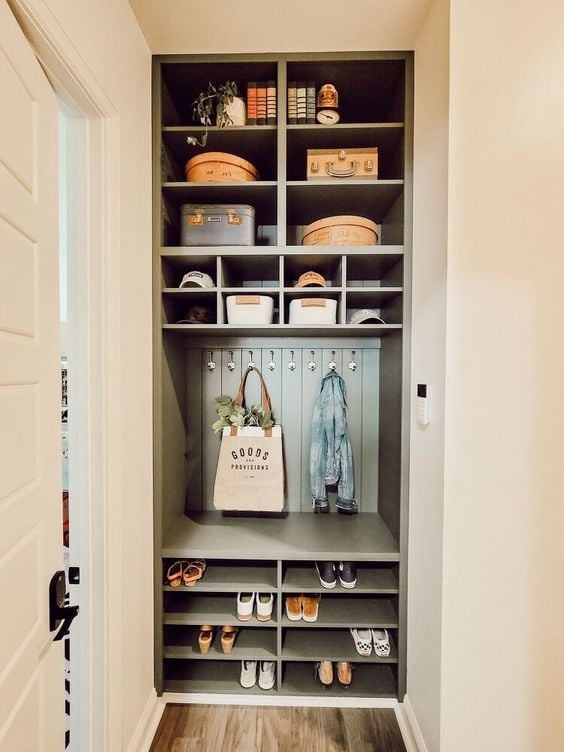
I had previously posted a work in process version, this is the completed project. Very happy with the results of combining the Easy Three Cube Bench and Small Locker Cabinet plans. If I had to change anything, I might widen the dividers to get a little more width, but this suits what we were trying to accomplish.

Learned something on this project, I hate painting! In the future when I know I am going to paint the completed project, I'm going to paint as much as I can before assembling.

Comments

Super Easy Bench (modified)

Submitted by spiceylg on Mon, 08/05/2013 - 16:44

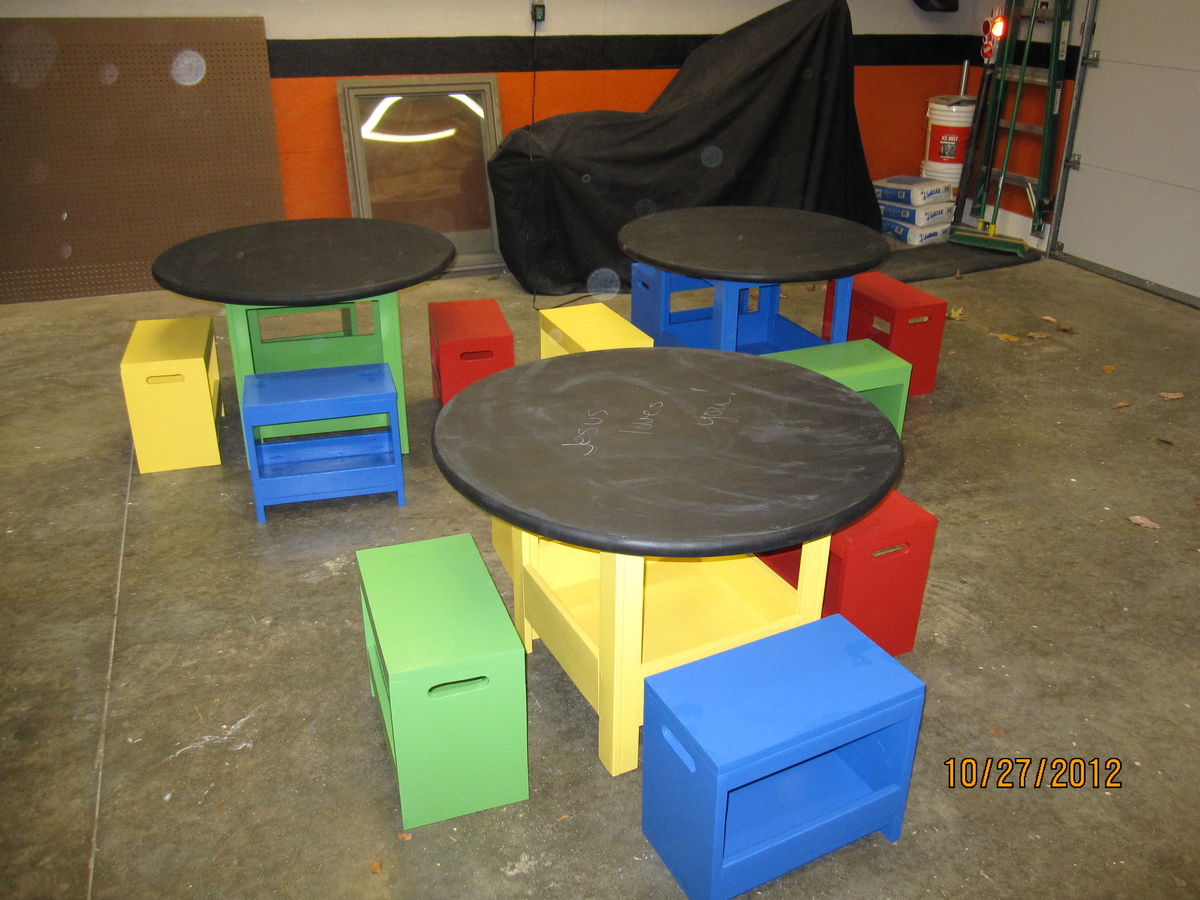
We built this bench for the same women's shelter for whom we built the storage table and benches at their request. They wanted a place for the children to come in and remove their shoes. Since it was for children, we modified the height to be the same as the other small benches, 14". Leftover gray primer was used and they requested the same color scheme as the previous build. Therefore the leftover paint from the other project was used plus three coats of semi-gloss Polycrylic. I think the paint brand is Olympic. It was a joint effort between a friend, my husband and I. It was built in an evening, but I put a week long project because of the coats of primer, paint, and top coat with all of the drying time.

Estimated Time Investment
Week Long Project (20 Hours or More)
Recommended Skill Level
Beginner

Comments

yurra-bazain

Fri, 08/30/2013 - 09:06

This is great! I love that you are still building things for the shelter! Your bench looks well-built and I am sure it will last them a lifetime.

Our Flare!

Submitted by bfinnemore on Mon, 09/28/2015 - 11:56

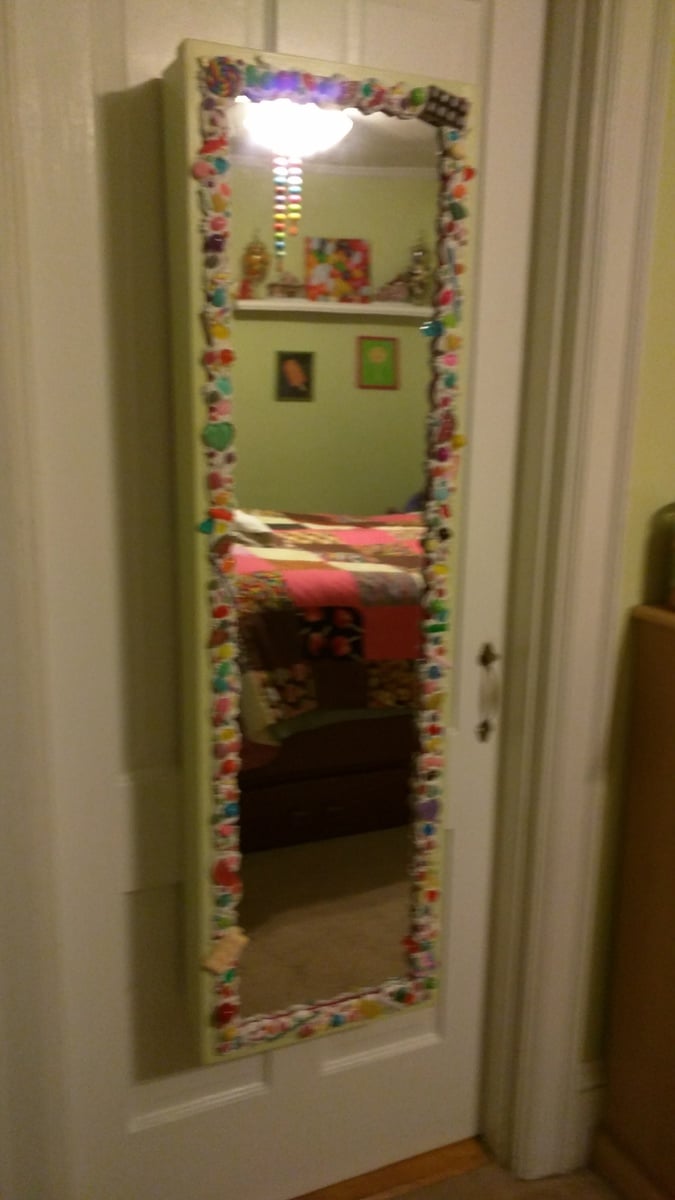
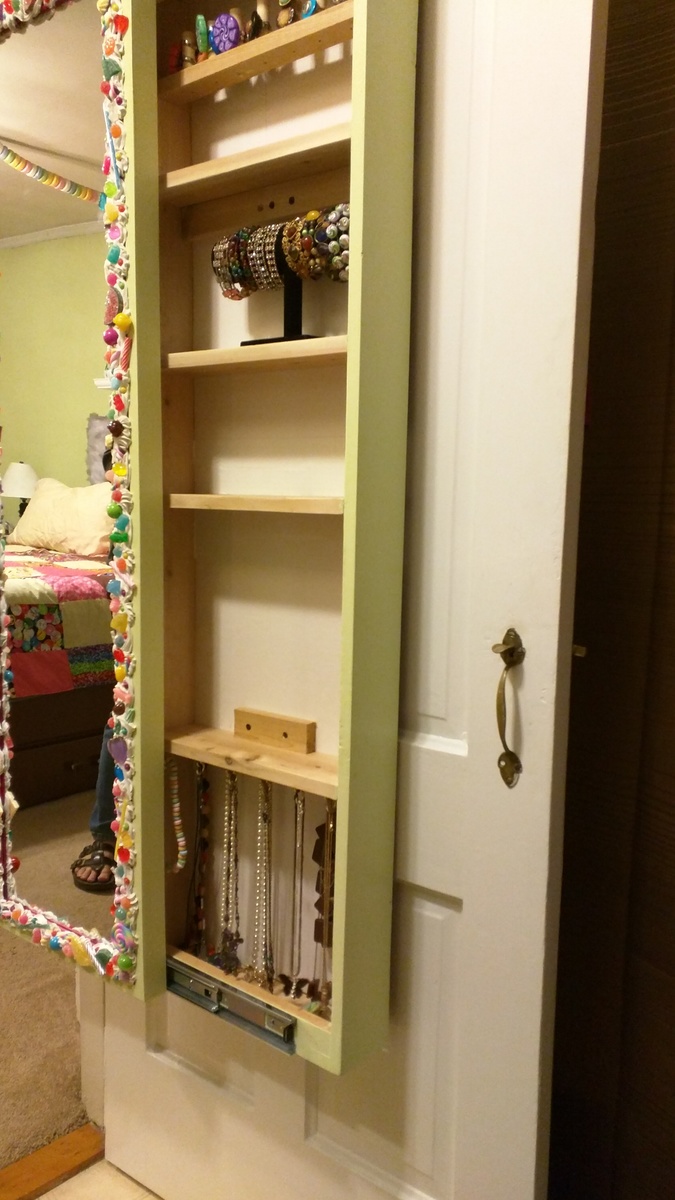
Hi Anna, I really had fun making our version of your sliding mirror project! Thought you might enjoy the photos!  I made it into a jewelry cabinet.

Recommended Skill Level
Intermediate

Comments

Coffee Table - Gaming/Dining Table Combo

Submitted by bknjohnson on Sun, 10/14/2018 - 12:25

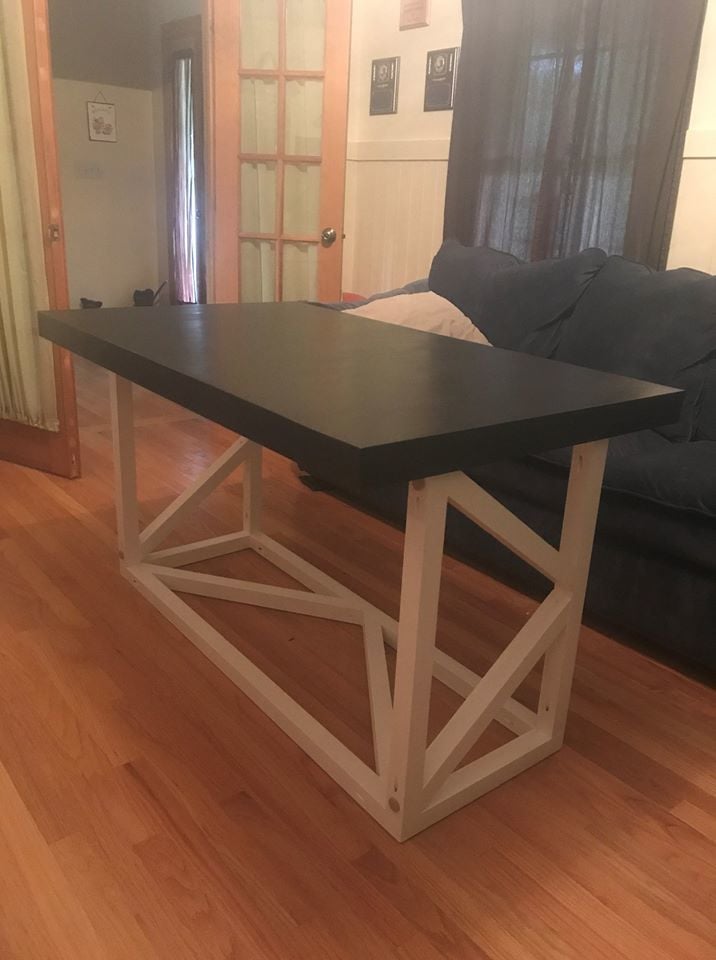
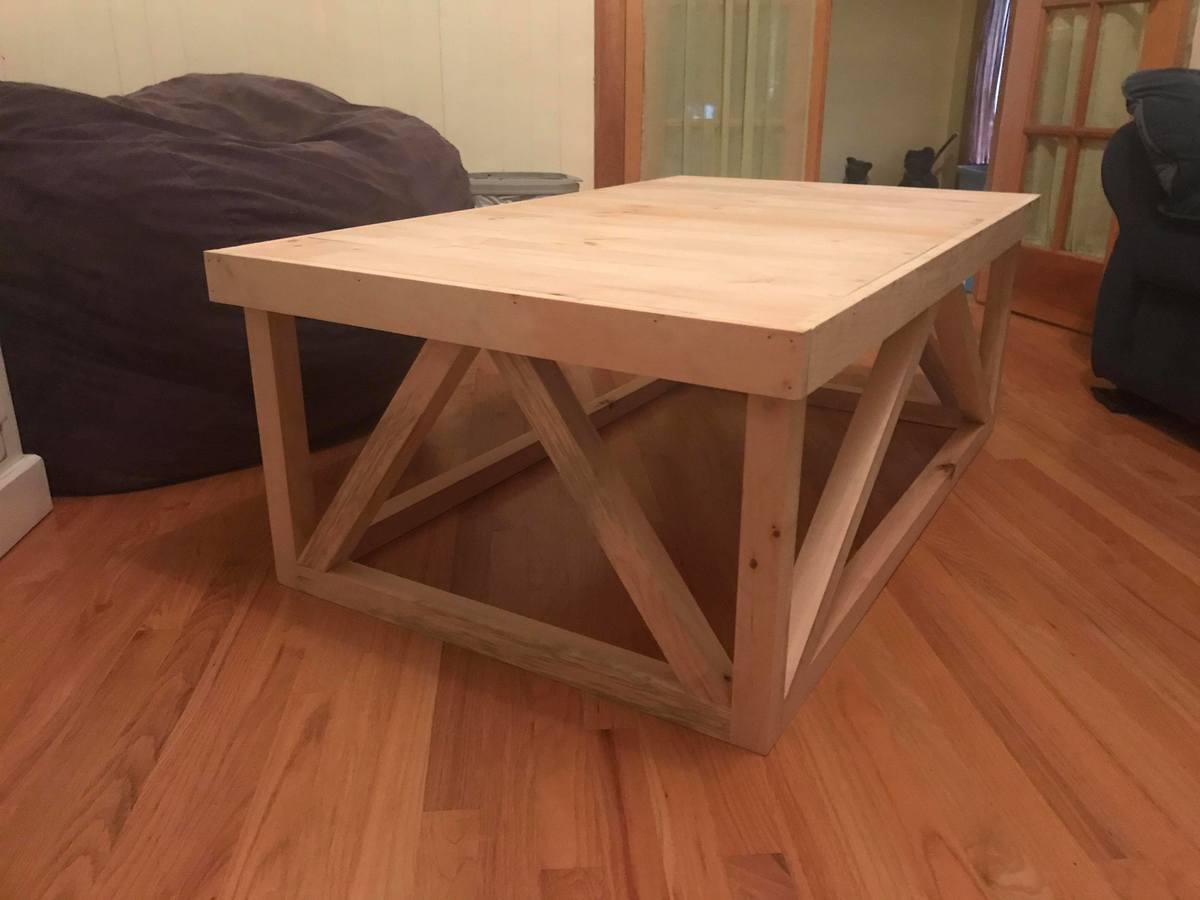
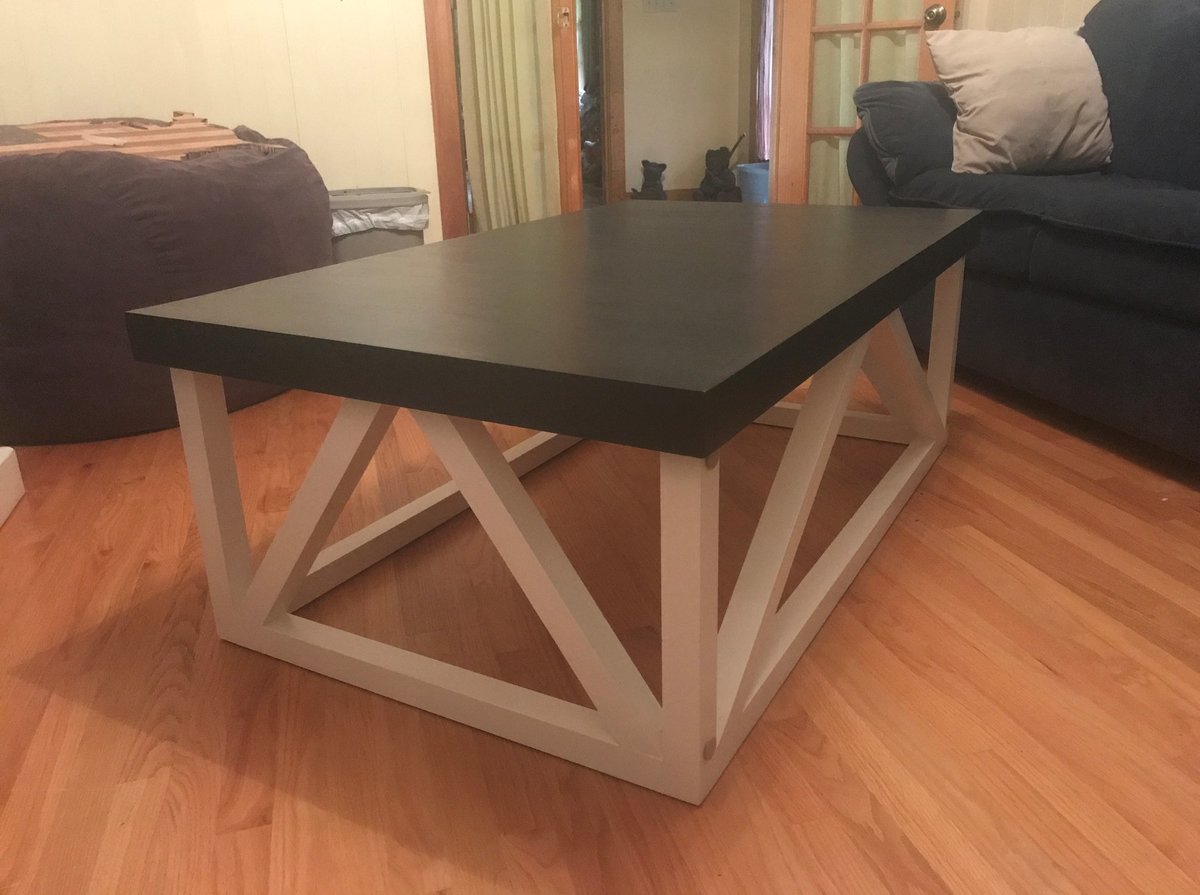
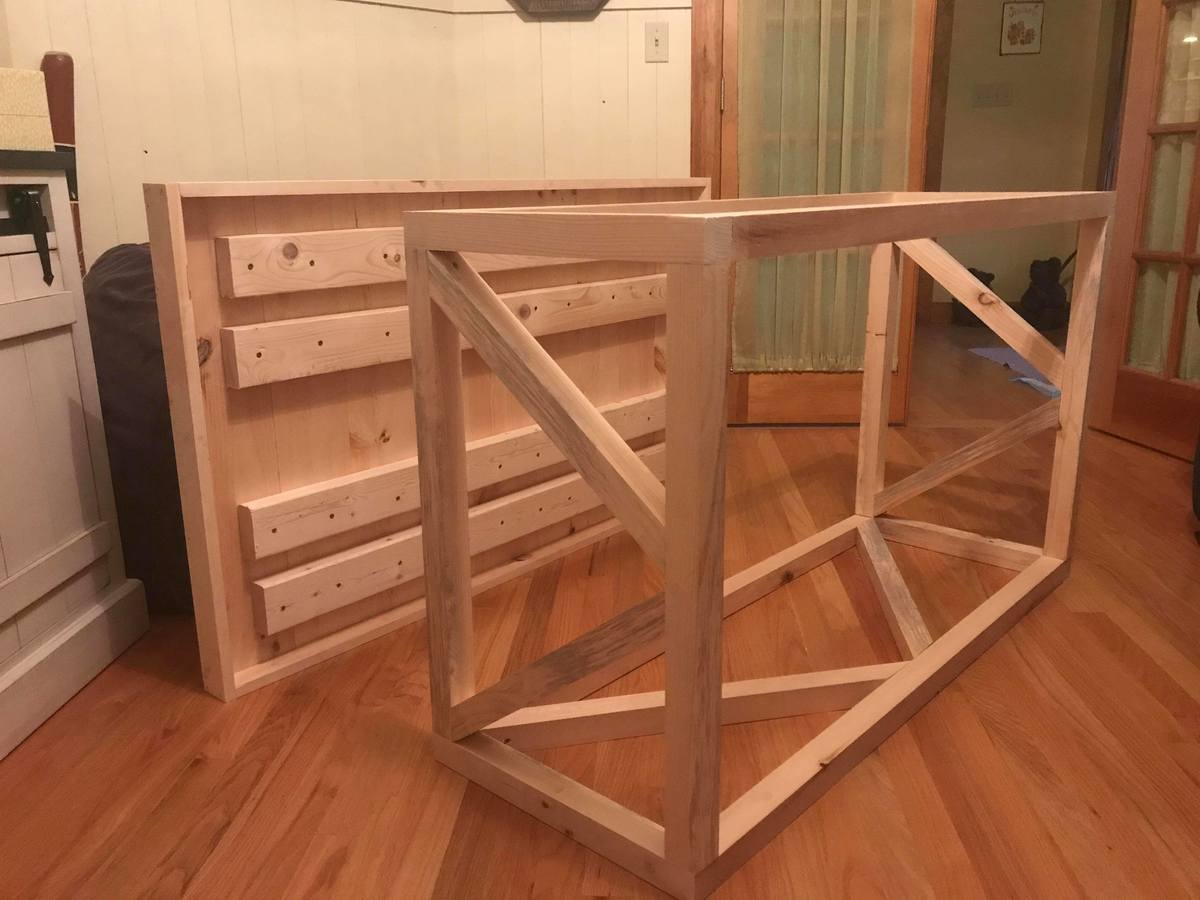
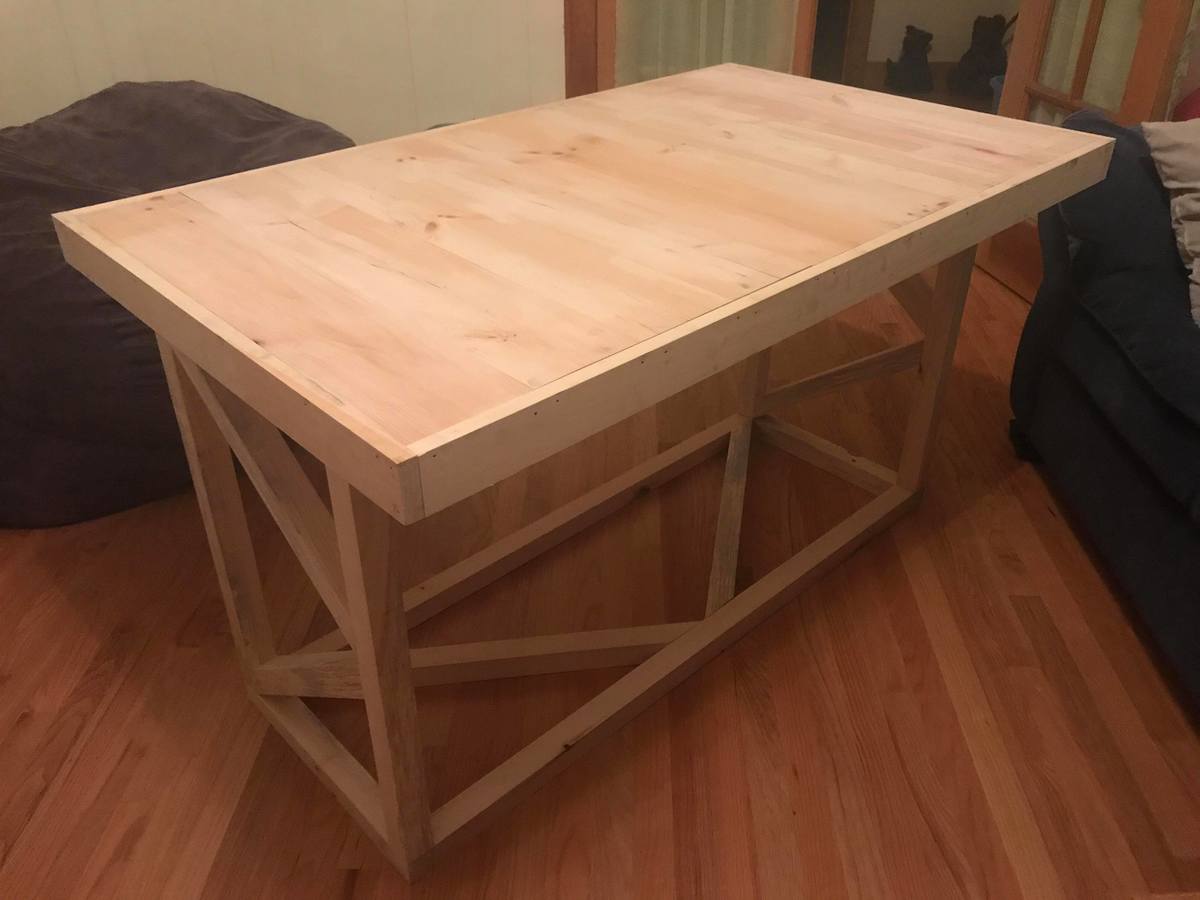
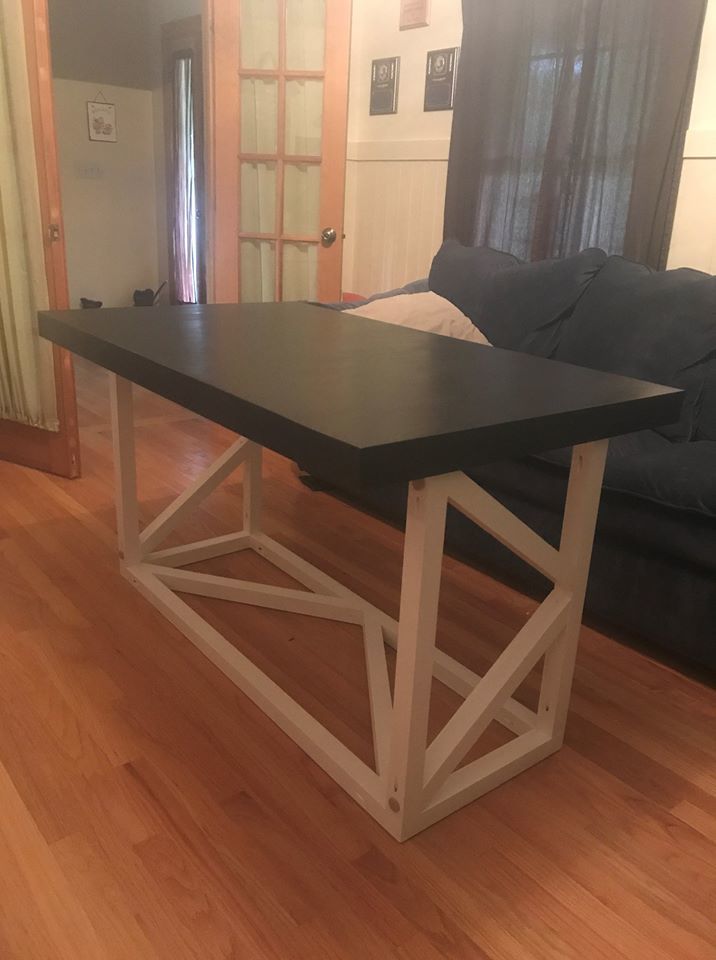
My wife was interested in a coffee table that we could also use for playing games or company for meals, and naturally we found just the thing on Ana White's website.  I got some 2x2 pine from a lumberyard after not being happy with box store lumber.  The table top is made of pine glued together.  I decided to put the 2x4s underneath which gave some heft to the top so it does not wobble.  It fits tighter than I would want, so lesson learned for me I should have paid more attention there.  Since we wanted to paint the piece I went with the pine top.  If it were going to be displayed somewhere else in the house, or stained, I would have chosen a harder wood for the top.  The nice part of this plan, I could easily build another nicer top to go with the base if I wanted too.

Estimated Cost
$100
Estimated Time Investment
Weekend Project (10-20 Hours)
Finish Used
Zinsser Bulls Eye 1-2-3 Primer; Valspar Signature interior paint and Minwax Polycrylic. I also tried Minwax One Coat Polyurethane with horrible results. Don't bother with the One Coat. I ended up sanding it off, repainting two coats, and using the polycrylic I usually use with much better results. Light sanding between each coat. Be patient, don't rush.
Recommended Skill Level
Intermediate

Comments

Wide Platform bed

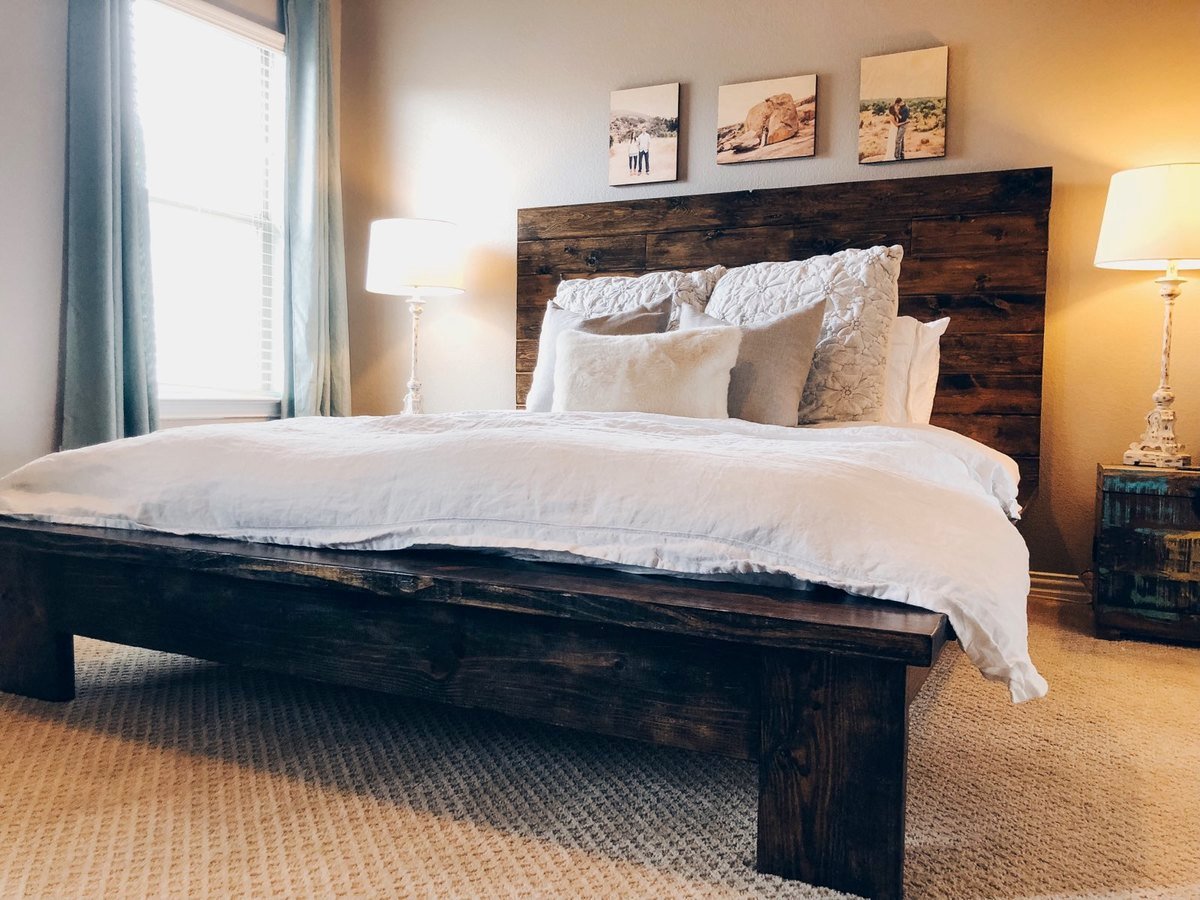
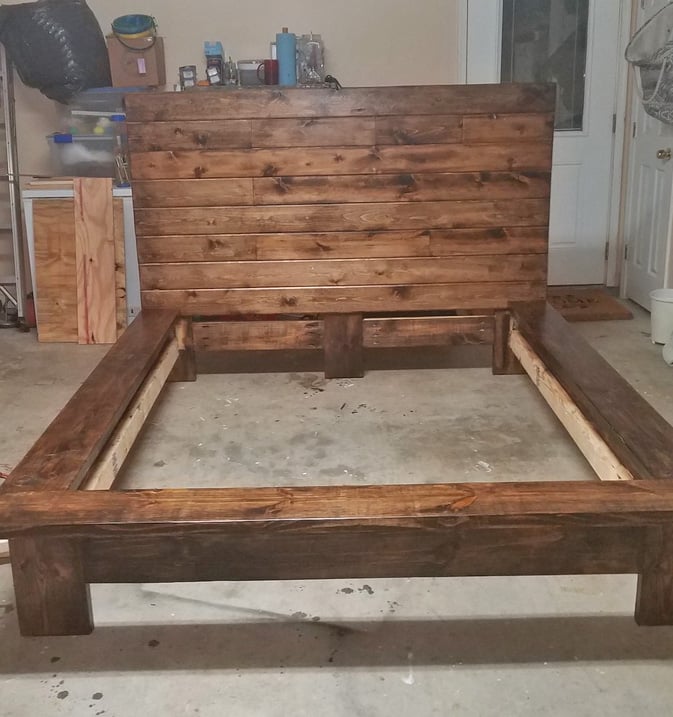
This bed is my first "for profit" bed.  Took some design changes so it could be taken apart and put together easily with metal bed brackets.

Estimated Time Investment
Week Long Project (20 Hours or More)
Finish Used
This finish was MInwax Expresso with several coats of satin polyacrylic lightly sanding between each.
Recommended Skill Level
Intermediate

ROLLING RUSTIC WOOD DRESSER

Submitted by jimmysingh on Sun, 09/01/2013 - 13:08

First big project, big for me anyway. Dresser came out better than I had imagined. I followed the plan exactly step by step except for the wheels part. Thank you Ana for the plans.

Built from Plan(s)
Estimated Cost
300
Estimated Time Investment
Weekend Project (10-20 Hours)
Finish Used
Rust-Oleum Traditional Cherry Wood Stain
Recommended Skill Level
Beginner

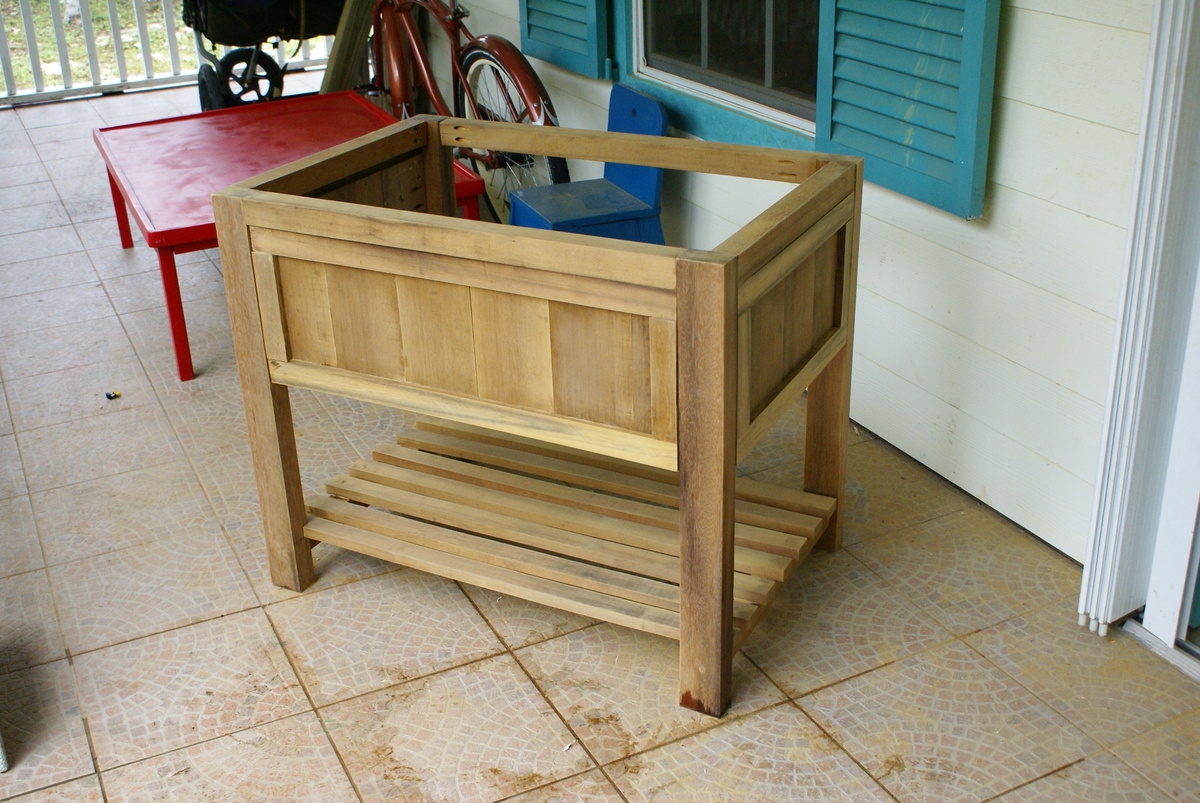
Greenheart Bathroom Vanities

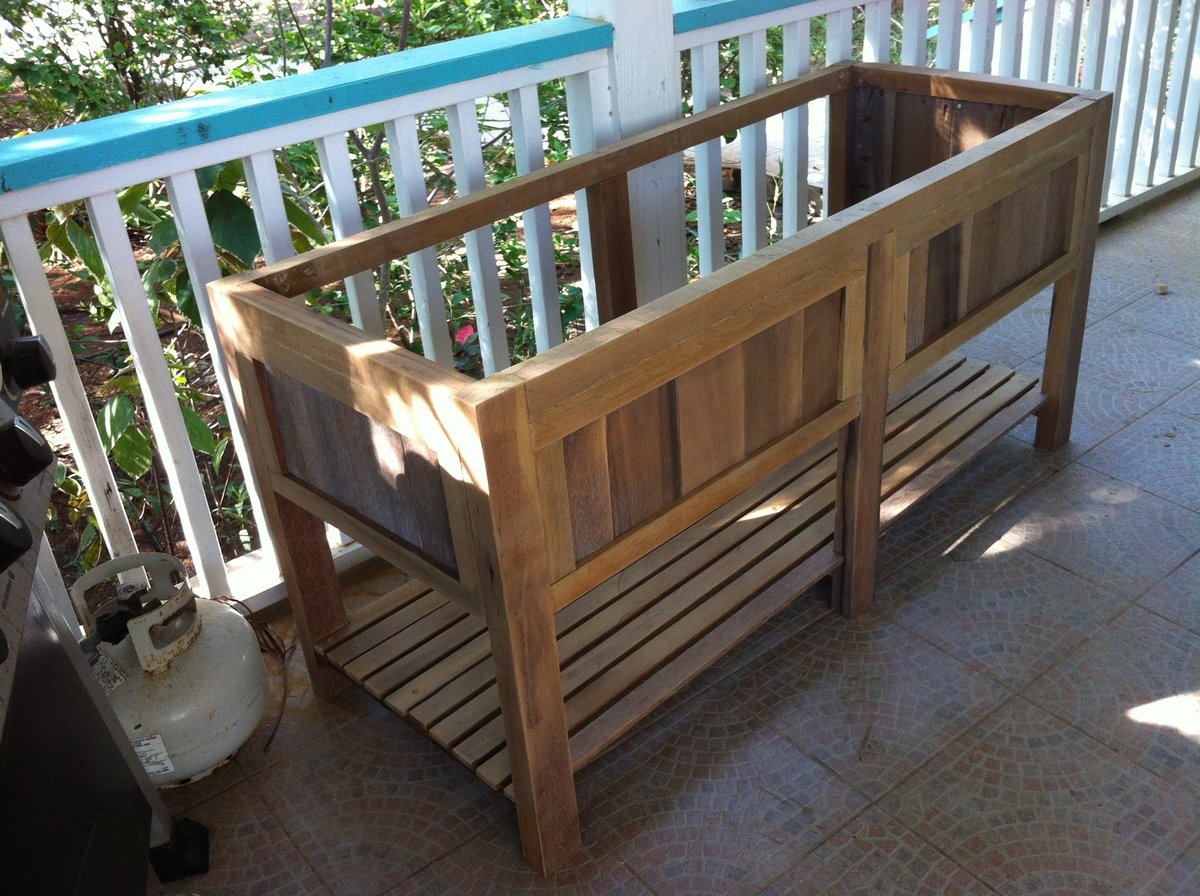
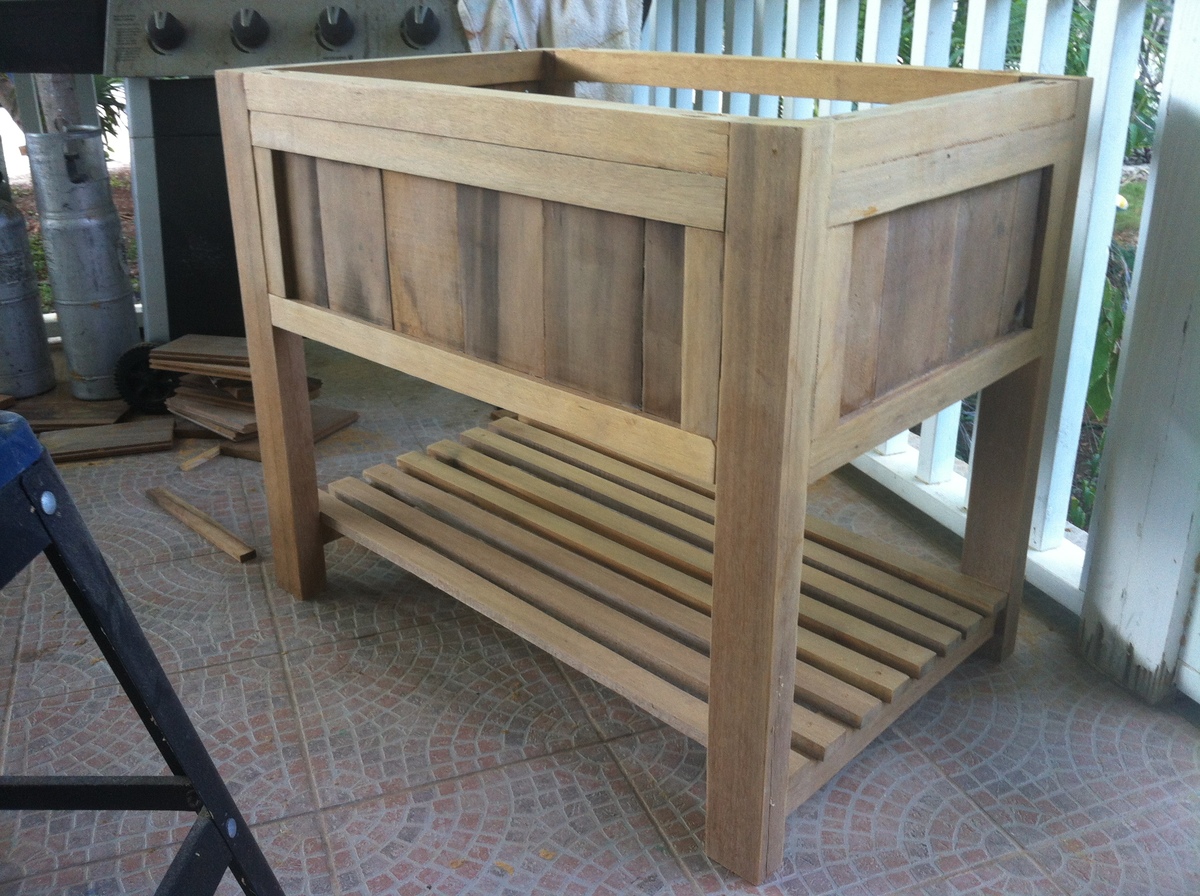
I've been working on these bathroom vanities for a family building a home. These are made of gorgeous Greenheart lumber. I have only worked with pine and spruce up to this point, but this wood is truly stunning. It has been quite the adjustment to work with, and I've broken my share of bits and screws :)

All of these together took me about a week to complete. Had I been working with a softer wood it would have taken no time hardly, but the hardwood....that's a whole other ballgame to me!

They will be adding 2'' thick concrete counter-tops on these when they get installed. I love the simplicity of their look!
Built from Plan(s)
Estimated Cost
No idea on what this wood costs (and the costs to get it to where I live)
Estimated Time Investment
Week Long Project (20 Hours or More)
Finish Used
Unfinished in these photos. They are still trying to decide the final finish.
Recommended Skill Level
Intermediate

Comments

NimbleShopper

Tue, 10/01/2013 - 07:35

These vanities are beautiful. It would be really neat if you could add pictures when they are installed with the counter tops! I am contemplating replacing a vanity with a DIY one, and I love seeing how other people have made things beautiful with their own 2 hands.
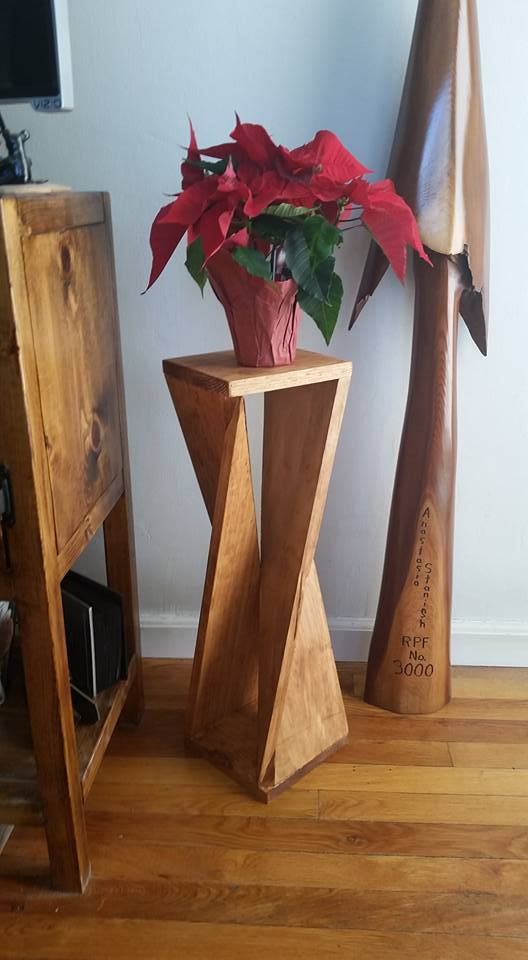
Twisty Table

Submitted by stacynabby on Sun, 12/20/2015 - 11:48

Saw this clever side table on Pinterest. It's made out of 1 1x8x8. I was able to figure out how to build a jig for the table saw to suit the project and then it was easy peasy lemon squeezy from there.

Estimated Cost
$20
Estimated Time Investment
An Hour or Two (0-2 Hours)
Finish Used
Minwax Light Walnut
Recommended Skill Level
Intermediate

Comments

Seal

Fri, 10/28/2016 - 08:40

I would love to build this unique table, but can't seem to find some actual plans with dimensions and jigs


Seal

Fri, 10/28/2016 - 08:45

Would you please email me the plans for this table. Thanks so much

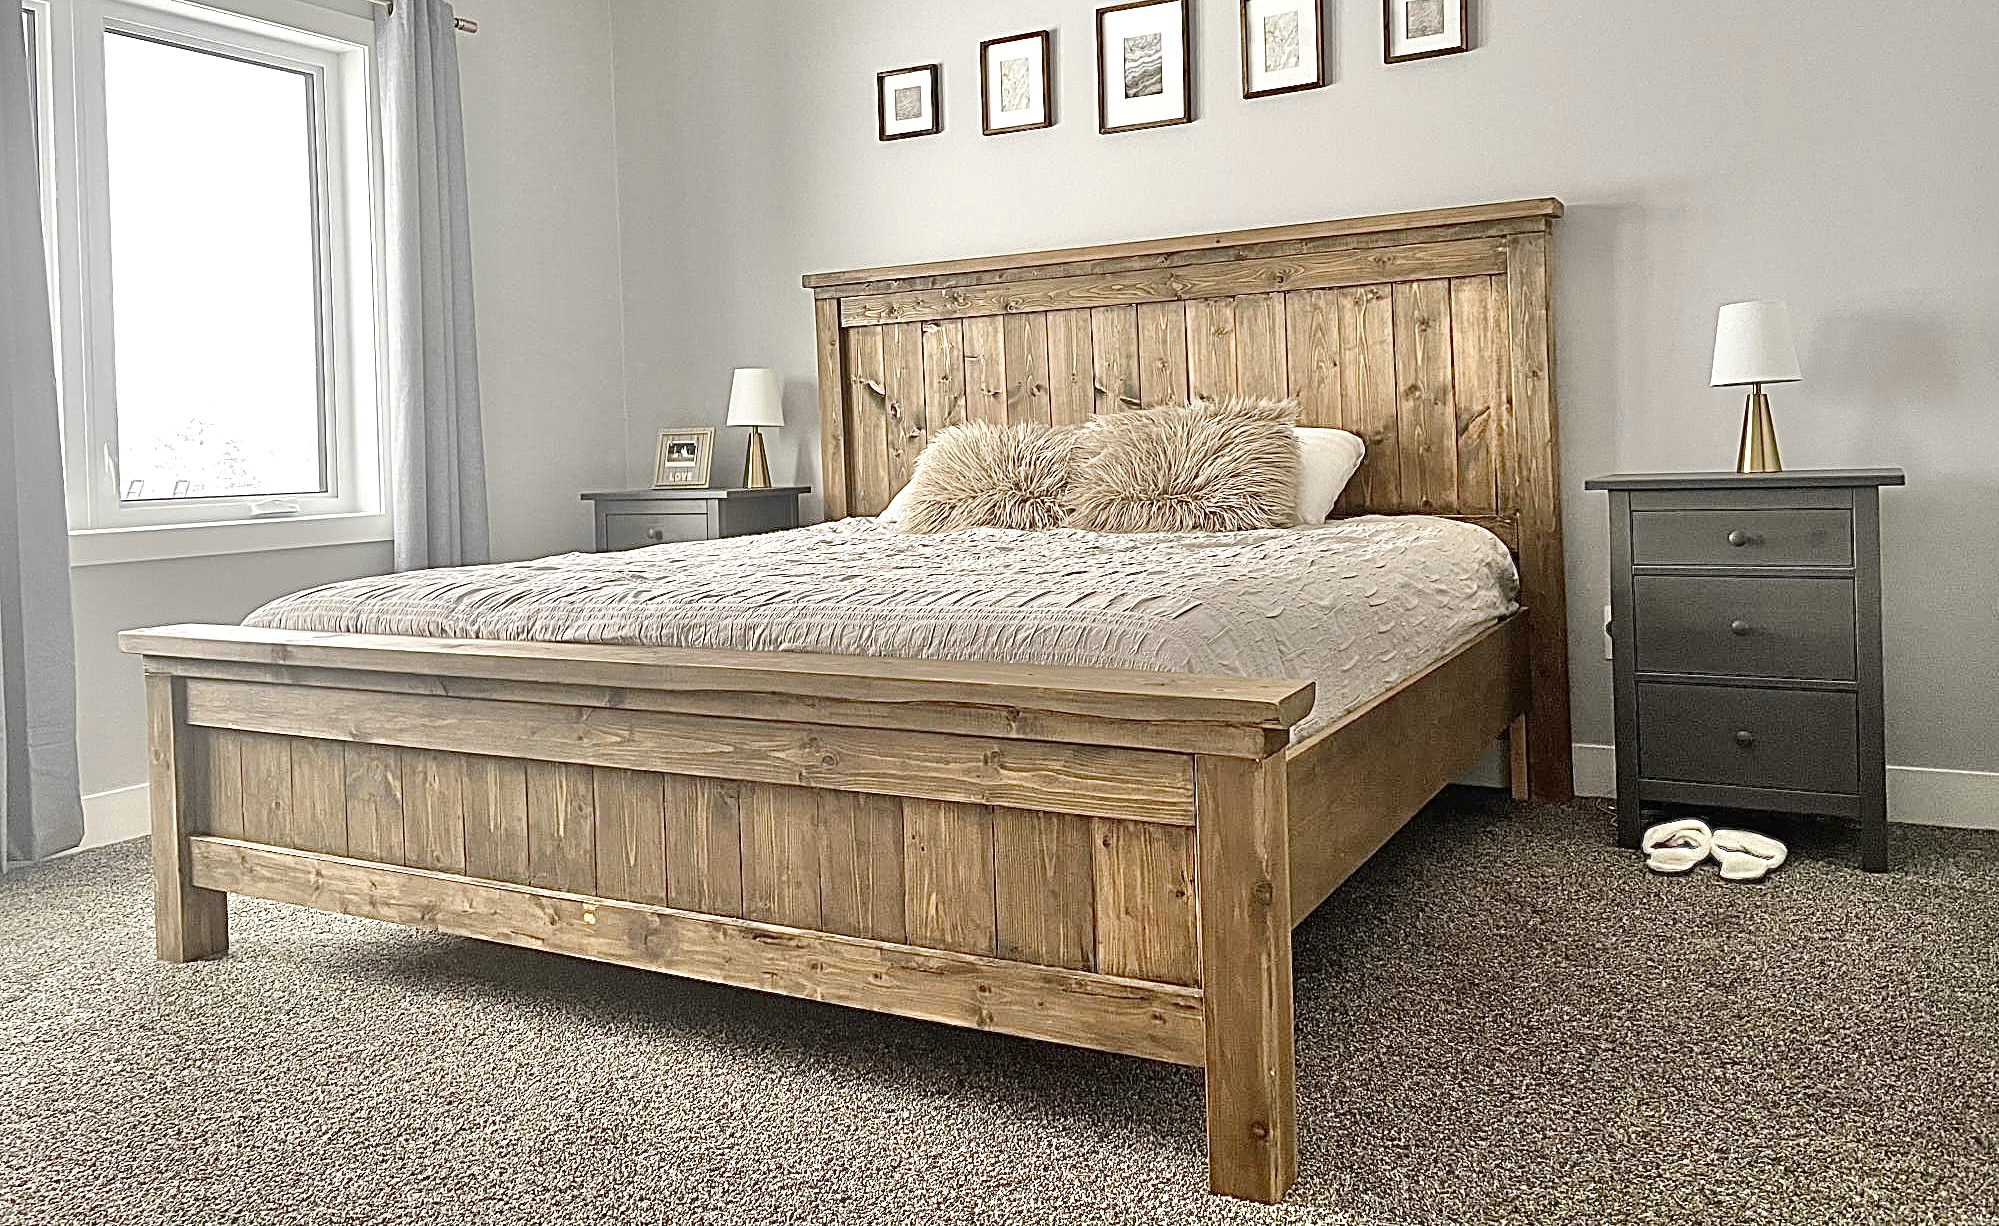
Modern Farmhouse Bed

Submitted by Anonymous (not verified) on Sun, 01/15/2023 - 13:37

My husband and I had worked on this bed together, and we are so happy with it! We went with taller side tables that we purchased, and just stained the wood instead of painting it.

Comments

Sofa Console Table Bar Height for Dining

Submitted by ezematis1 on Mon, 01/23/2023 - 06:55

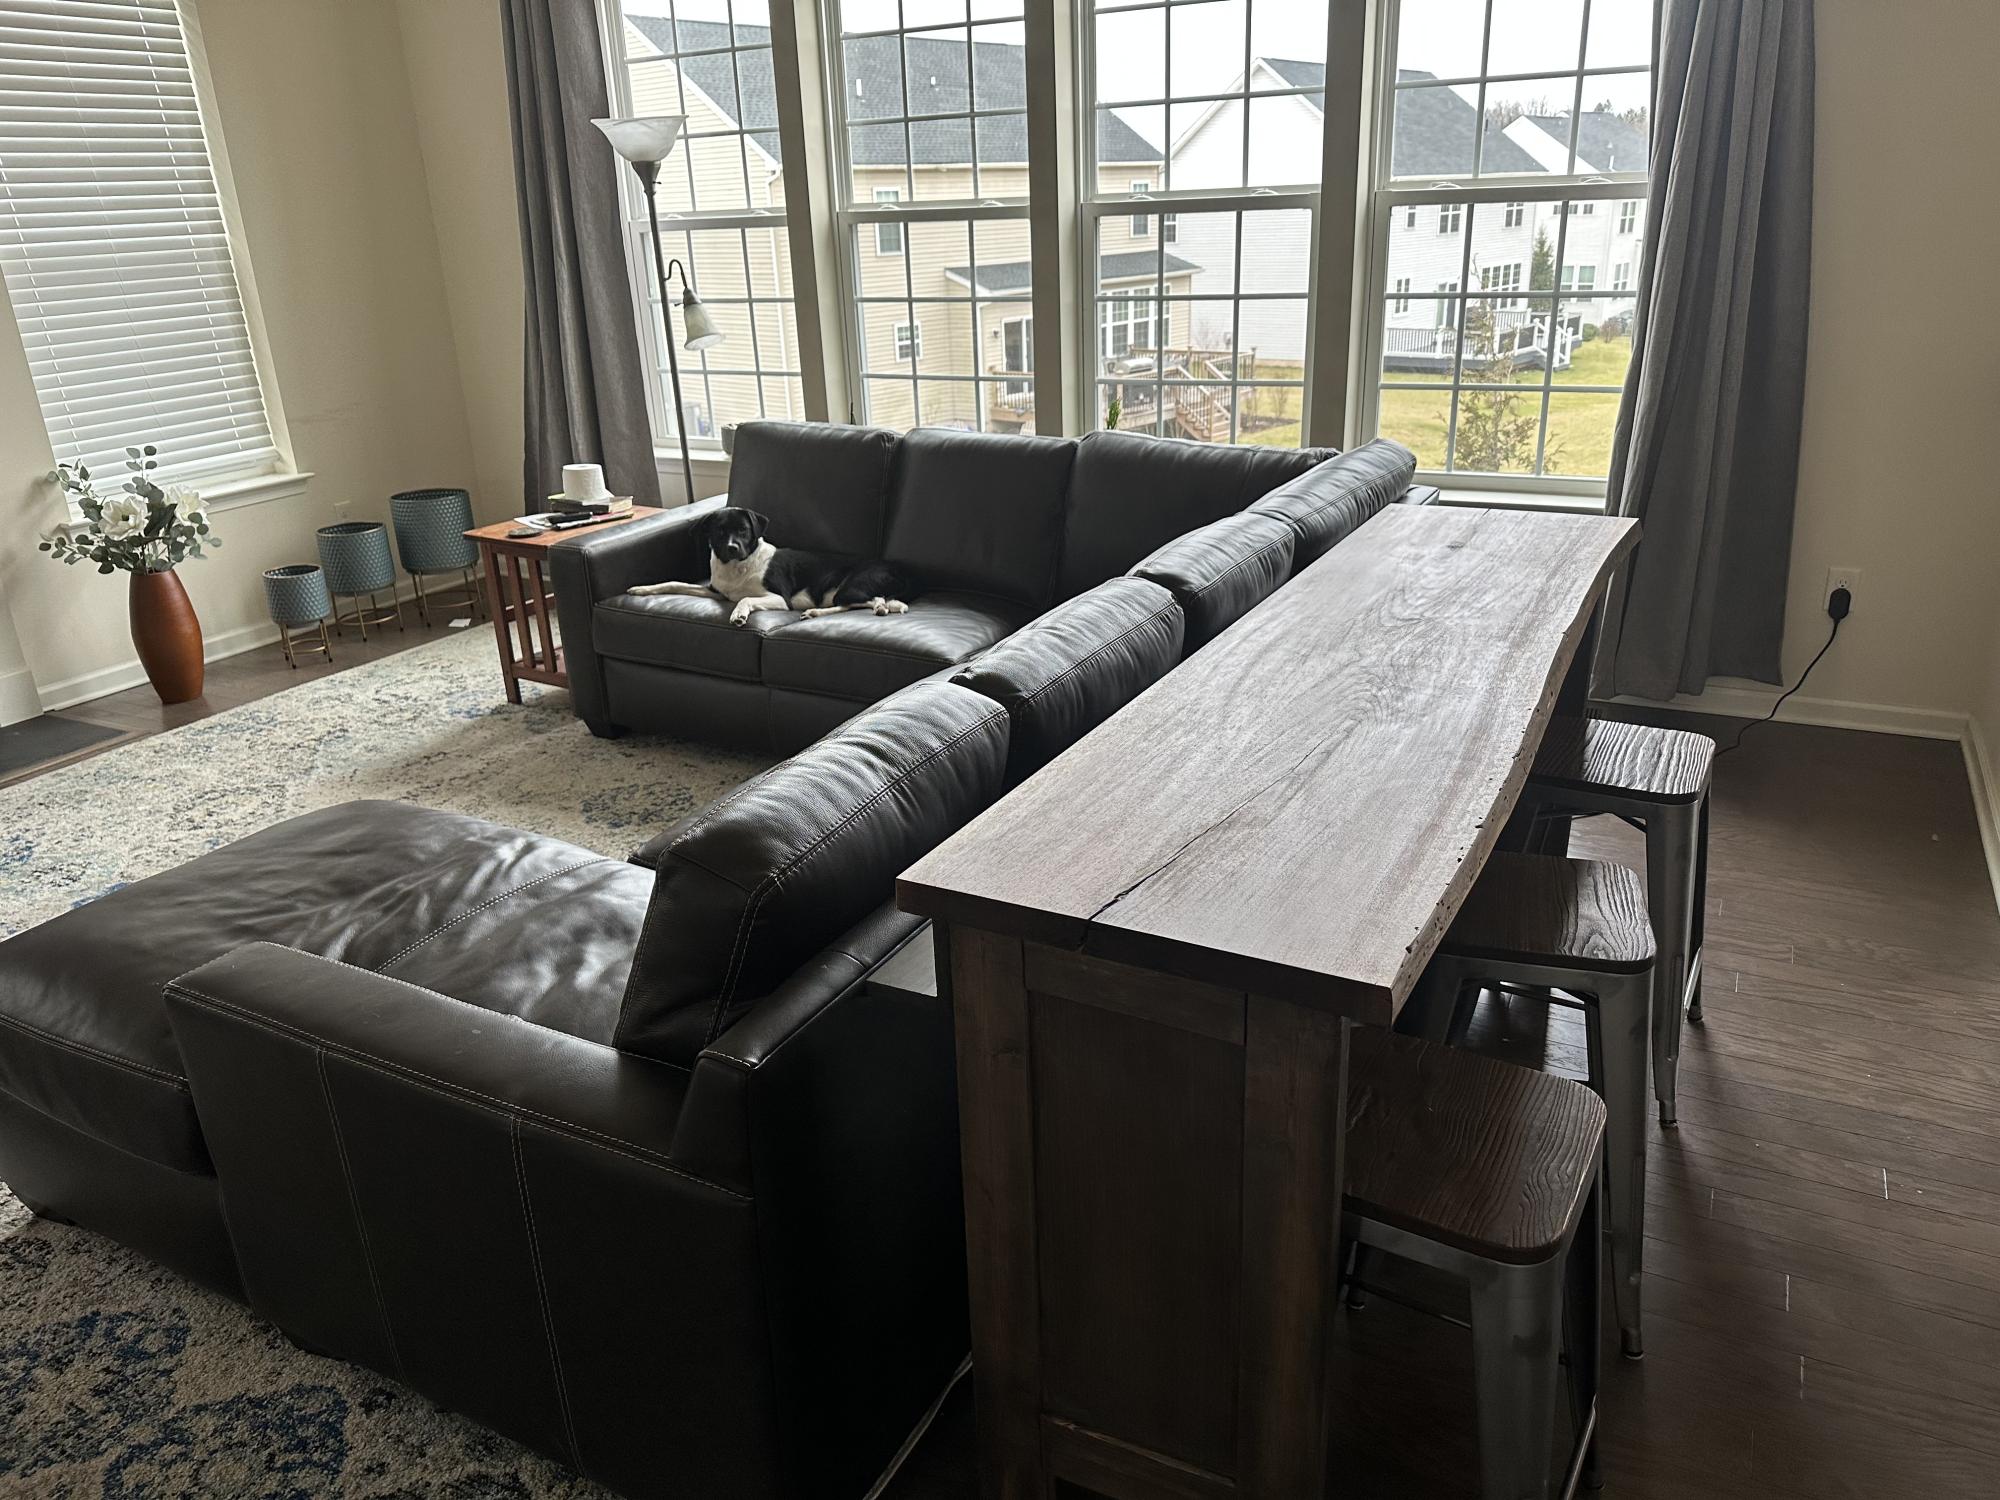
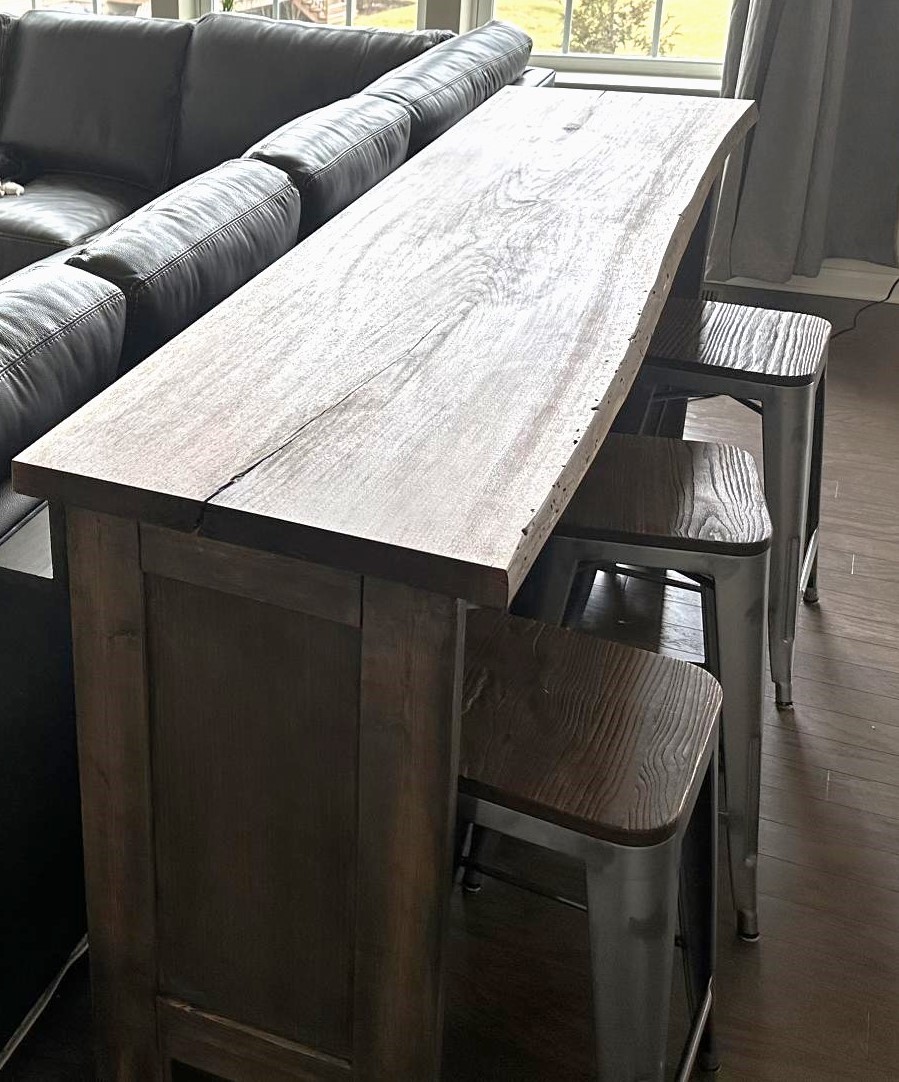
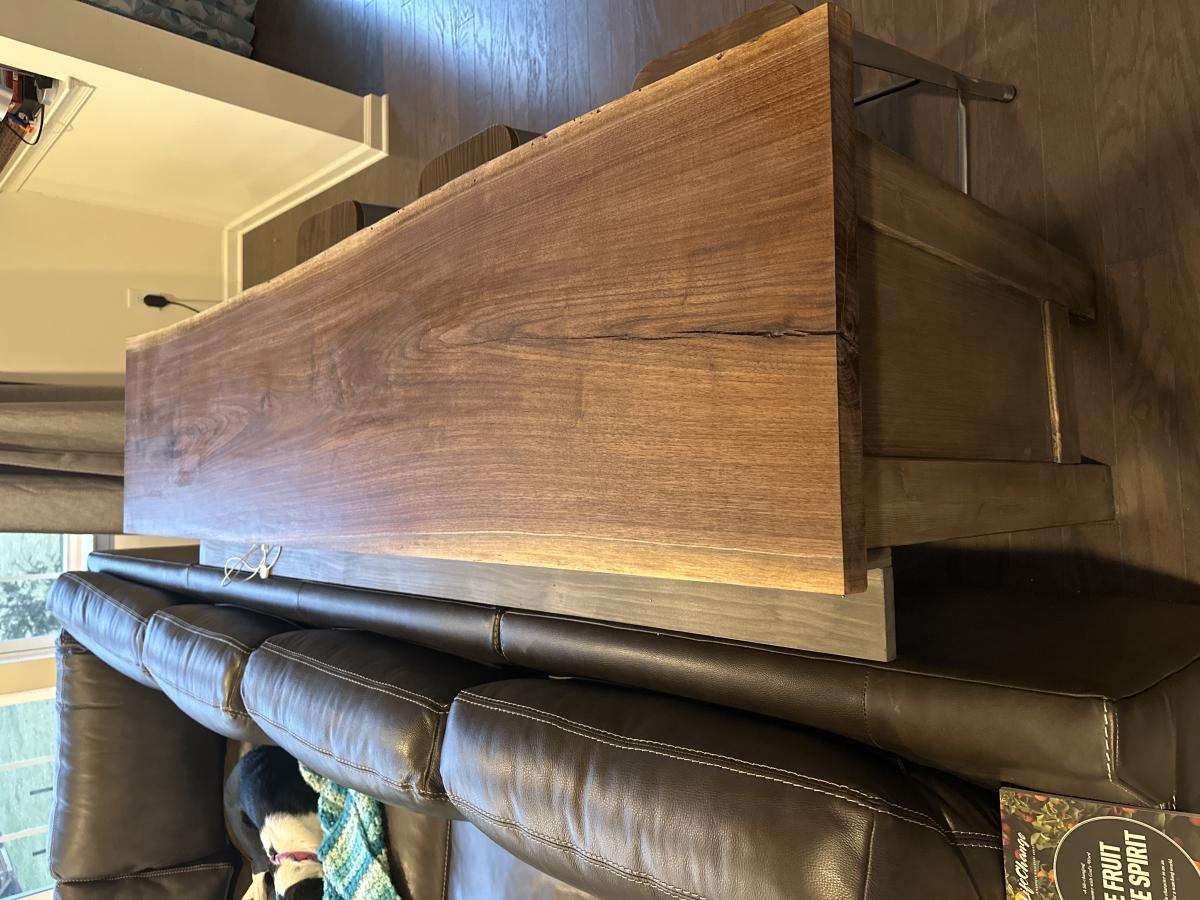
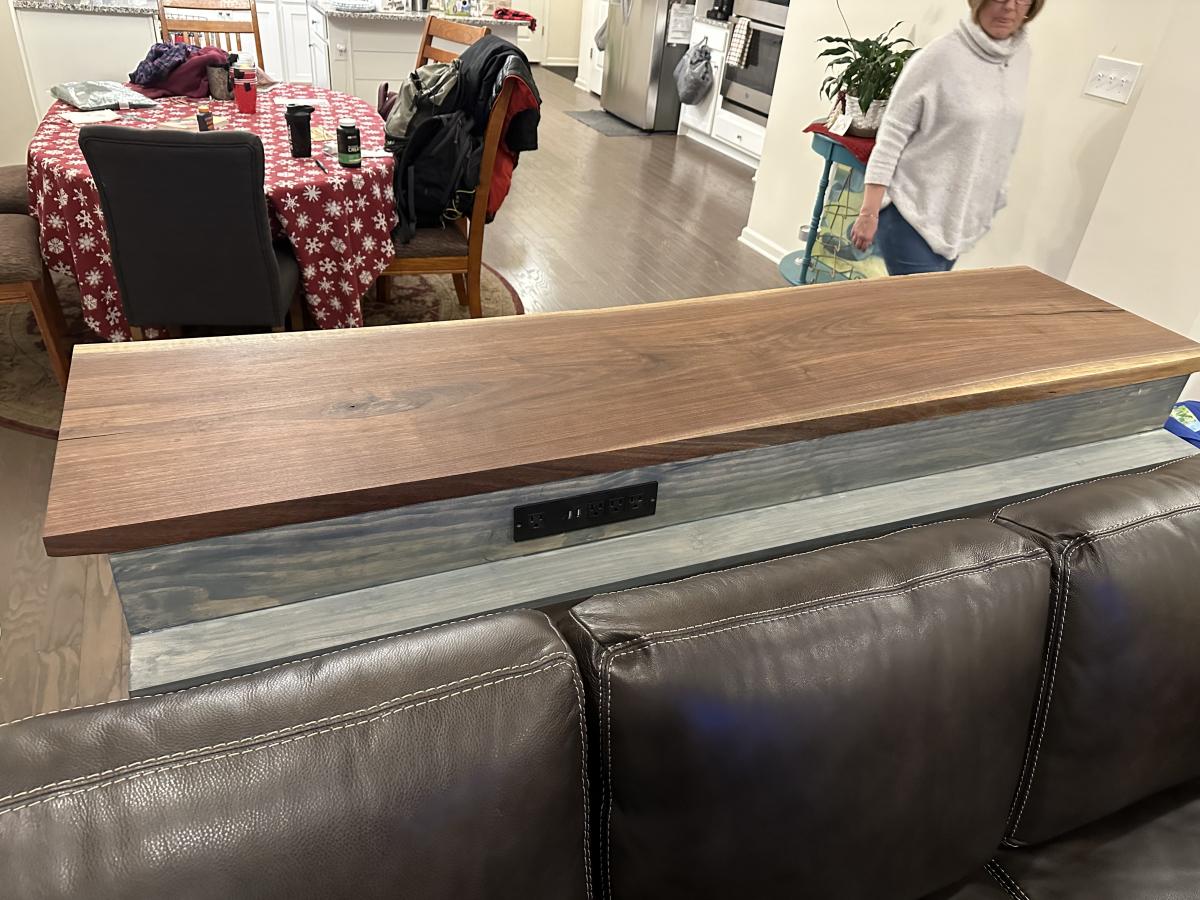
I took the basic idea of the Rustic X Console. Raised it to countertop height so I could use it for three stools. I also added a shelf so people sitting on the sectional could put drinks right behind them. Added a charging station to that shelf as well. Topped it with a live edge black walnut slab. Finally, I didn't use the X because the table was too high and the base was too narrow to make the X work. I used a tablesaw to cut a grove in the legs and then put a 1/4 plywood panel.

Built from Plan(s)

Comments