Community Brag Posts

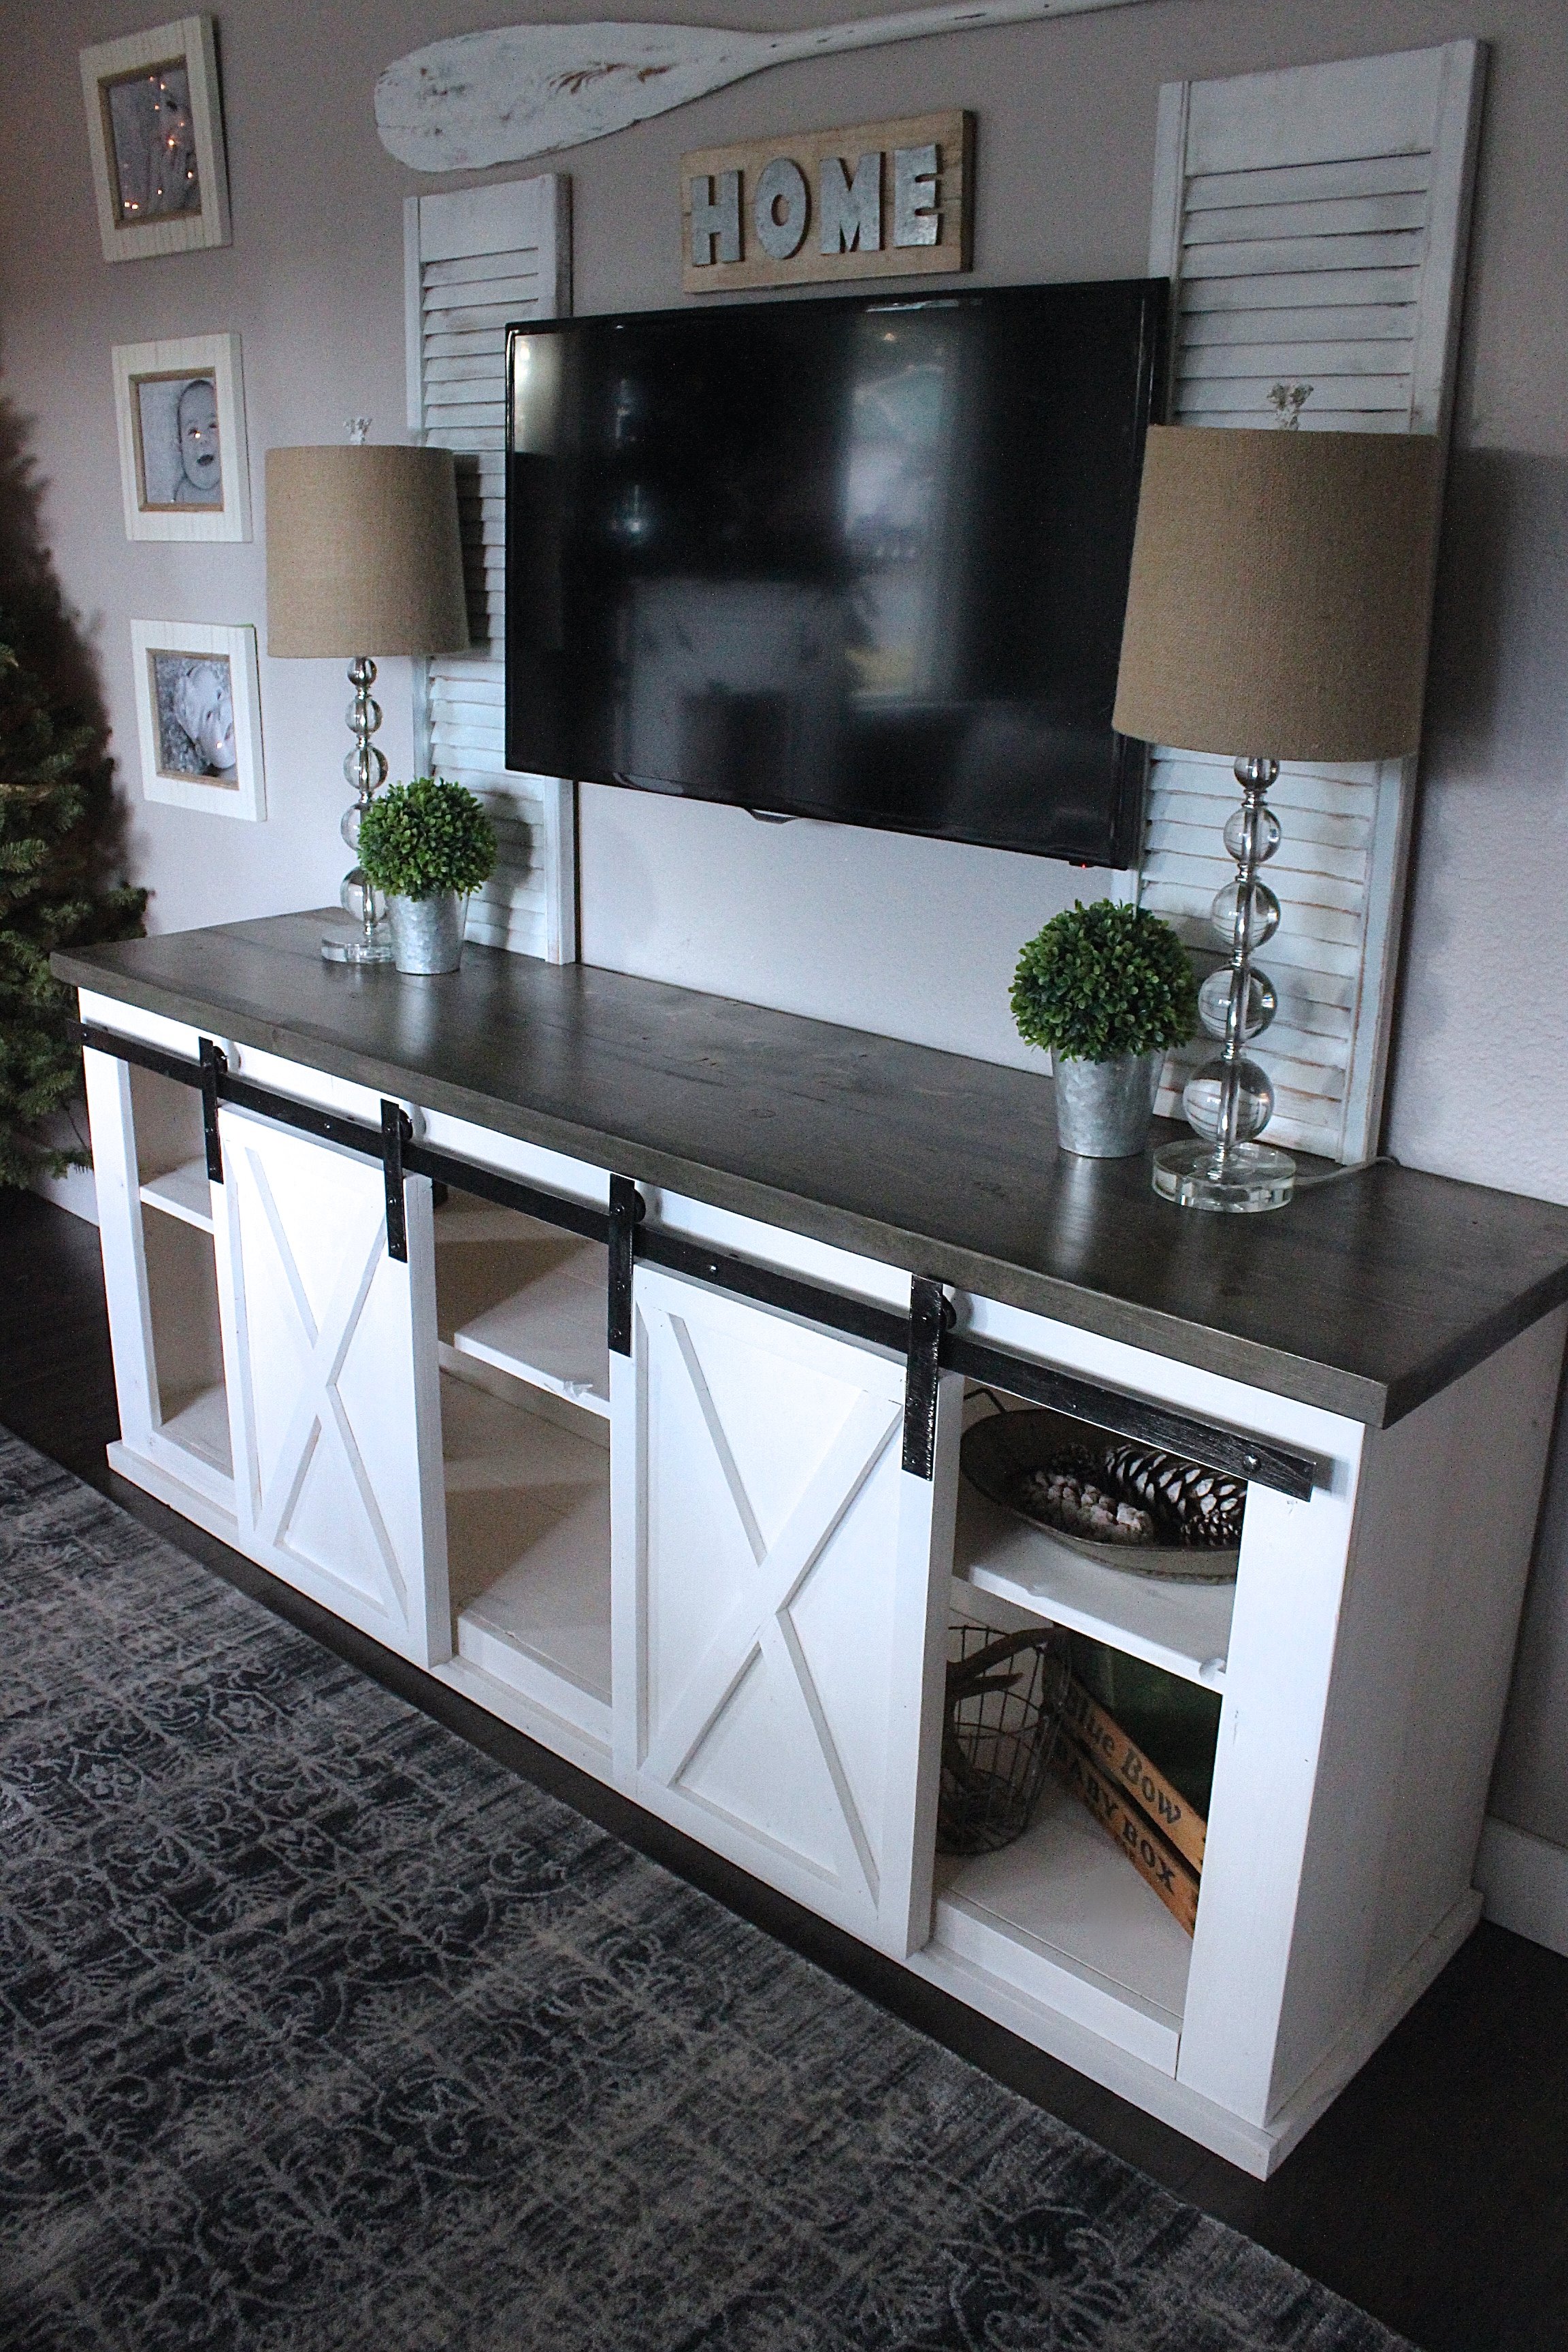
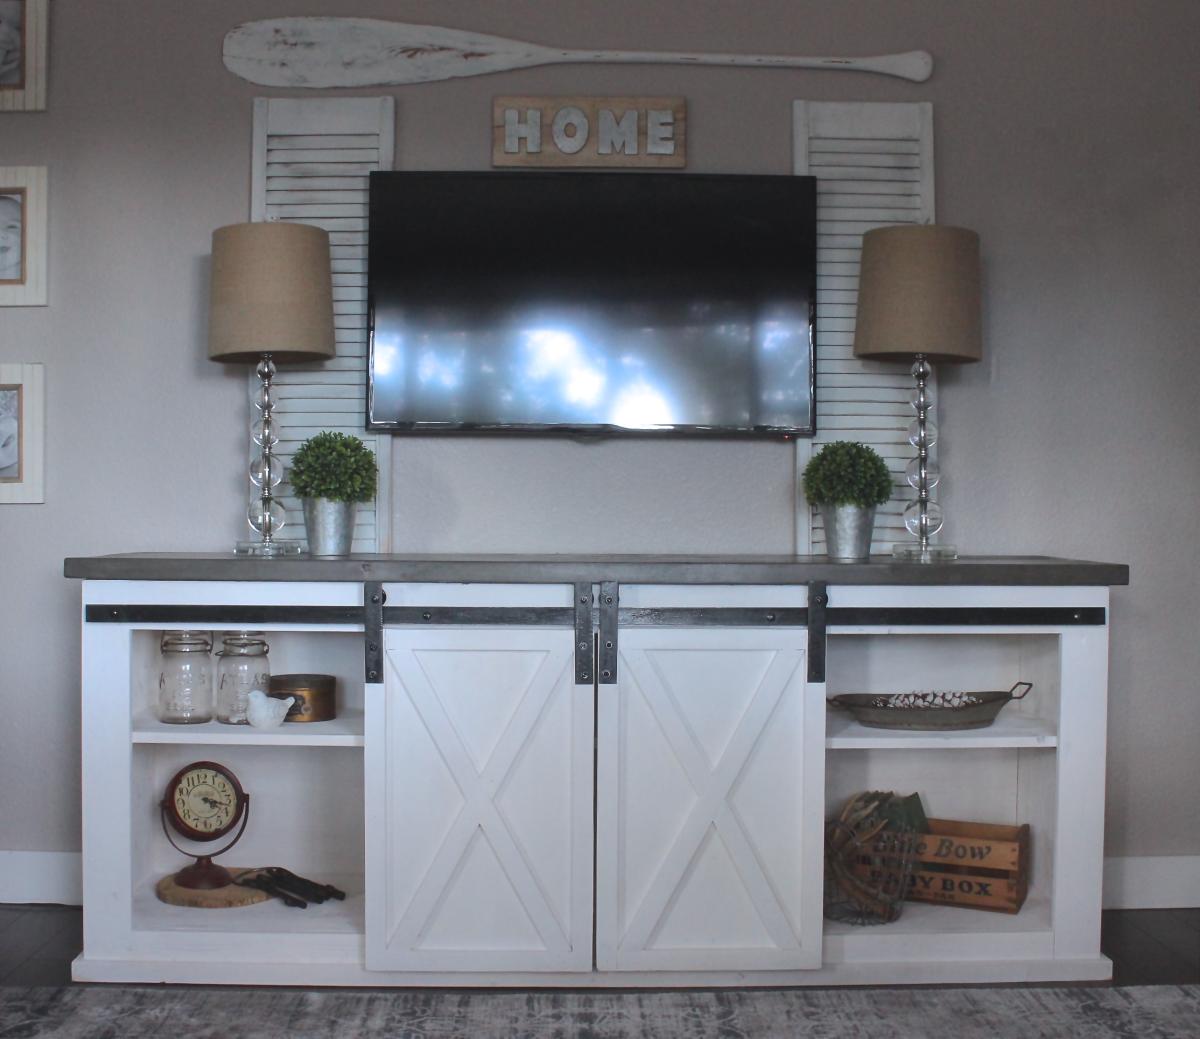
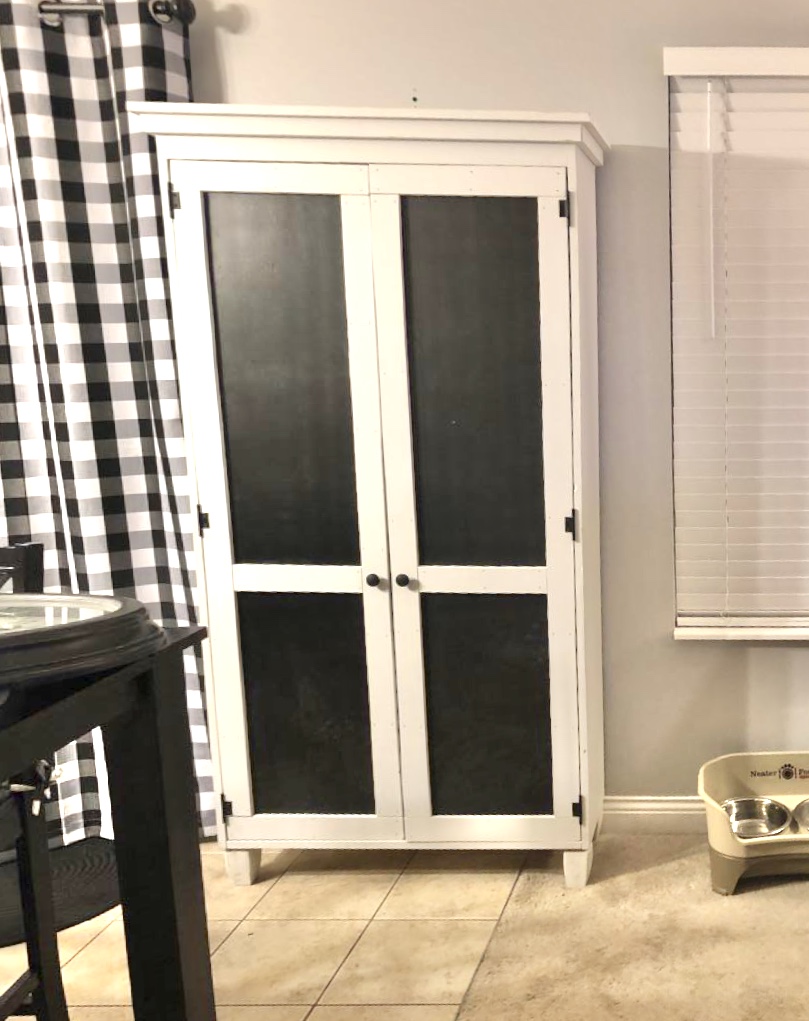
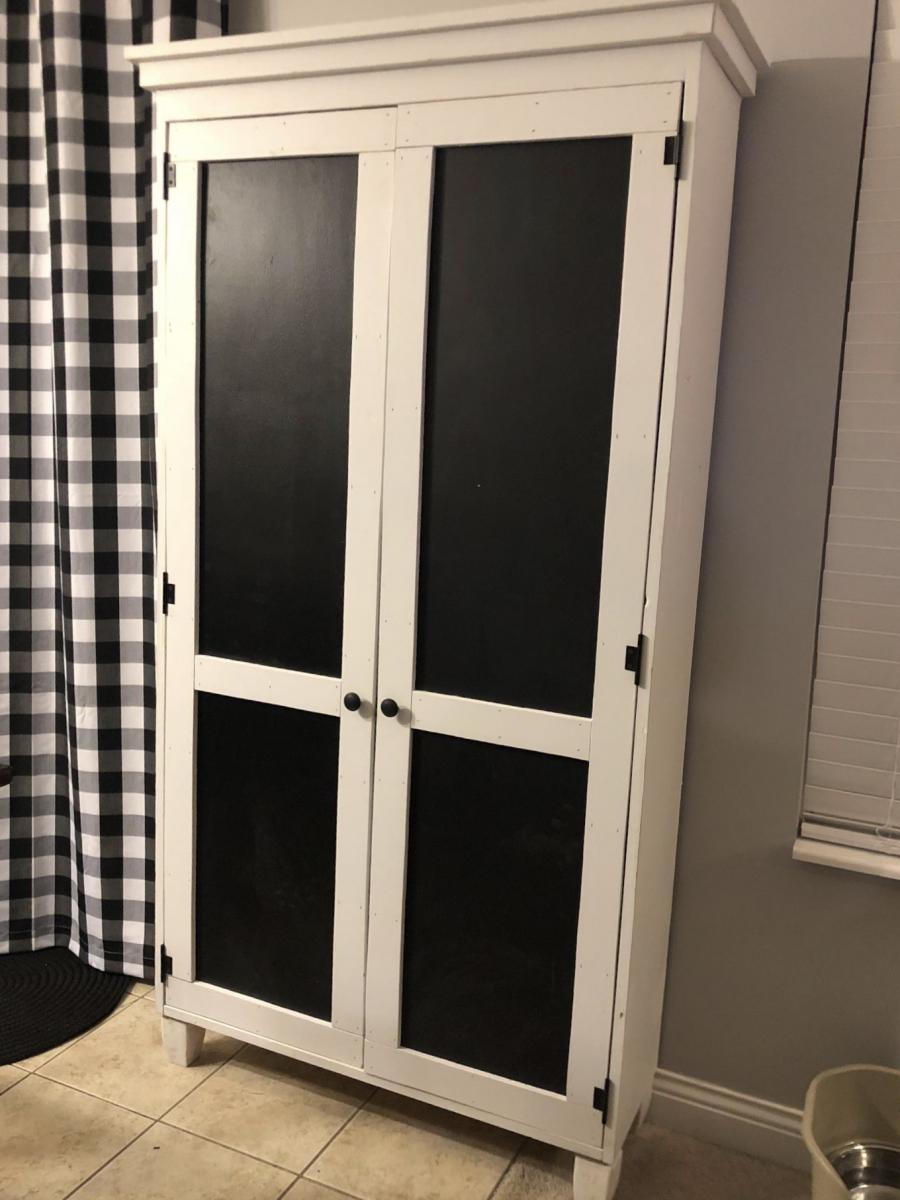
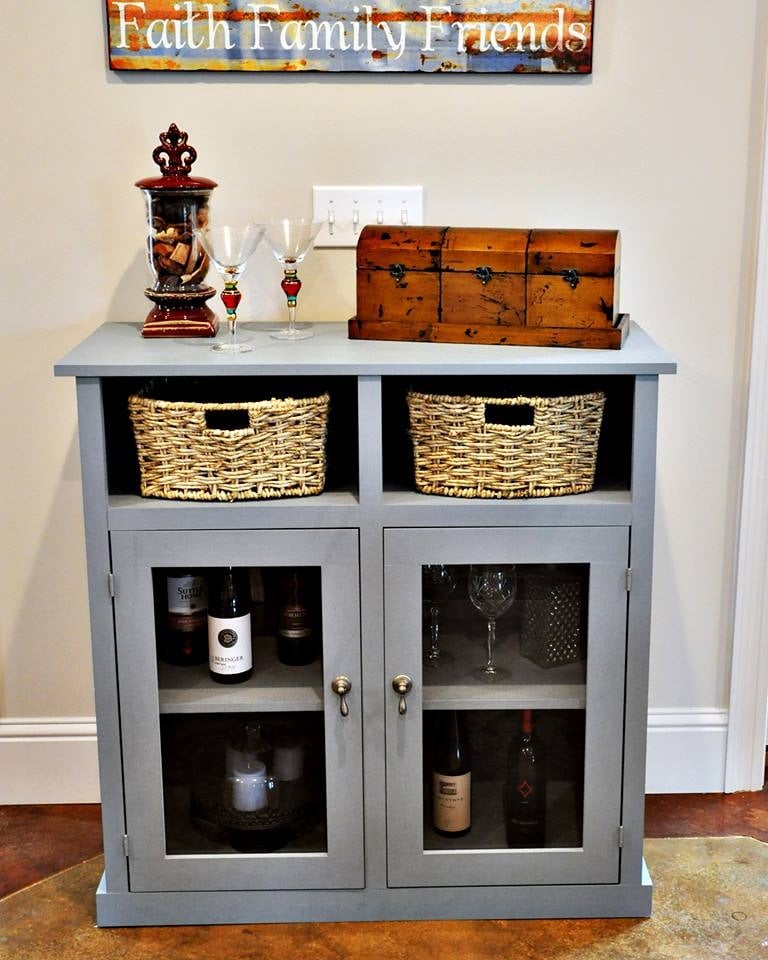
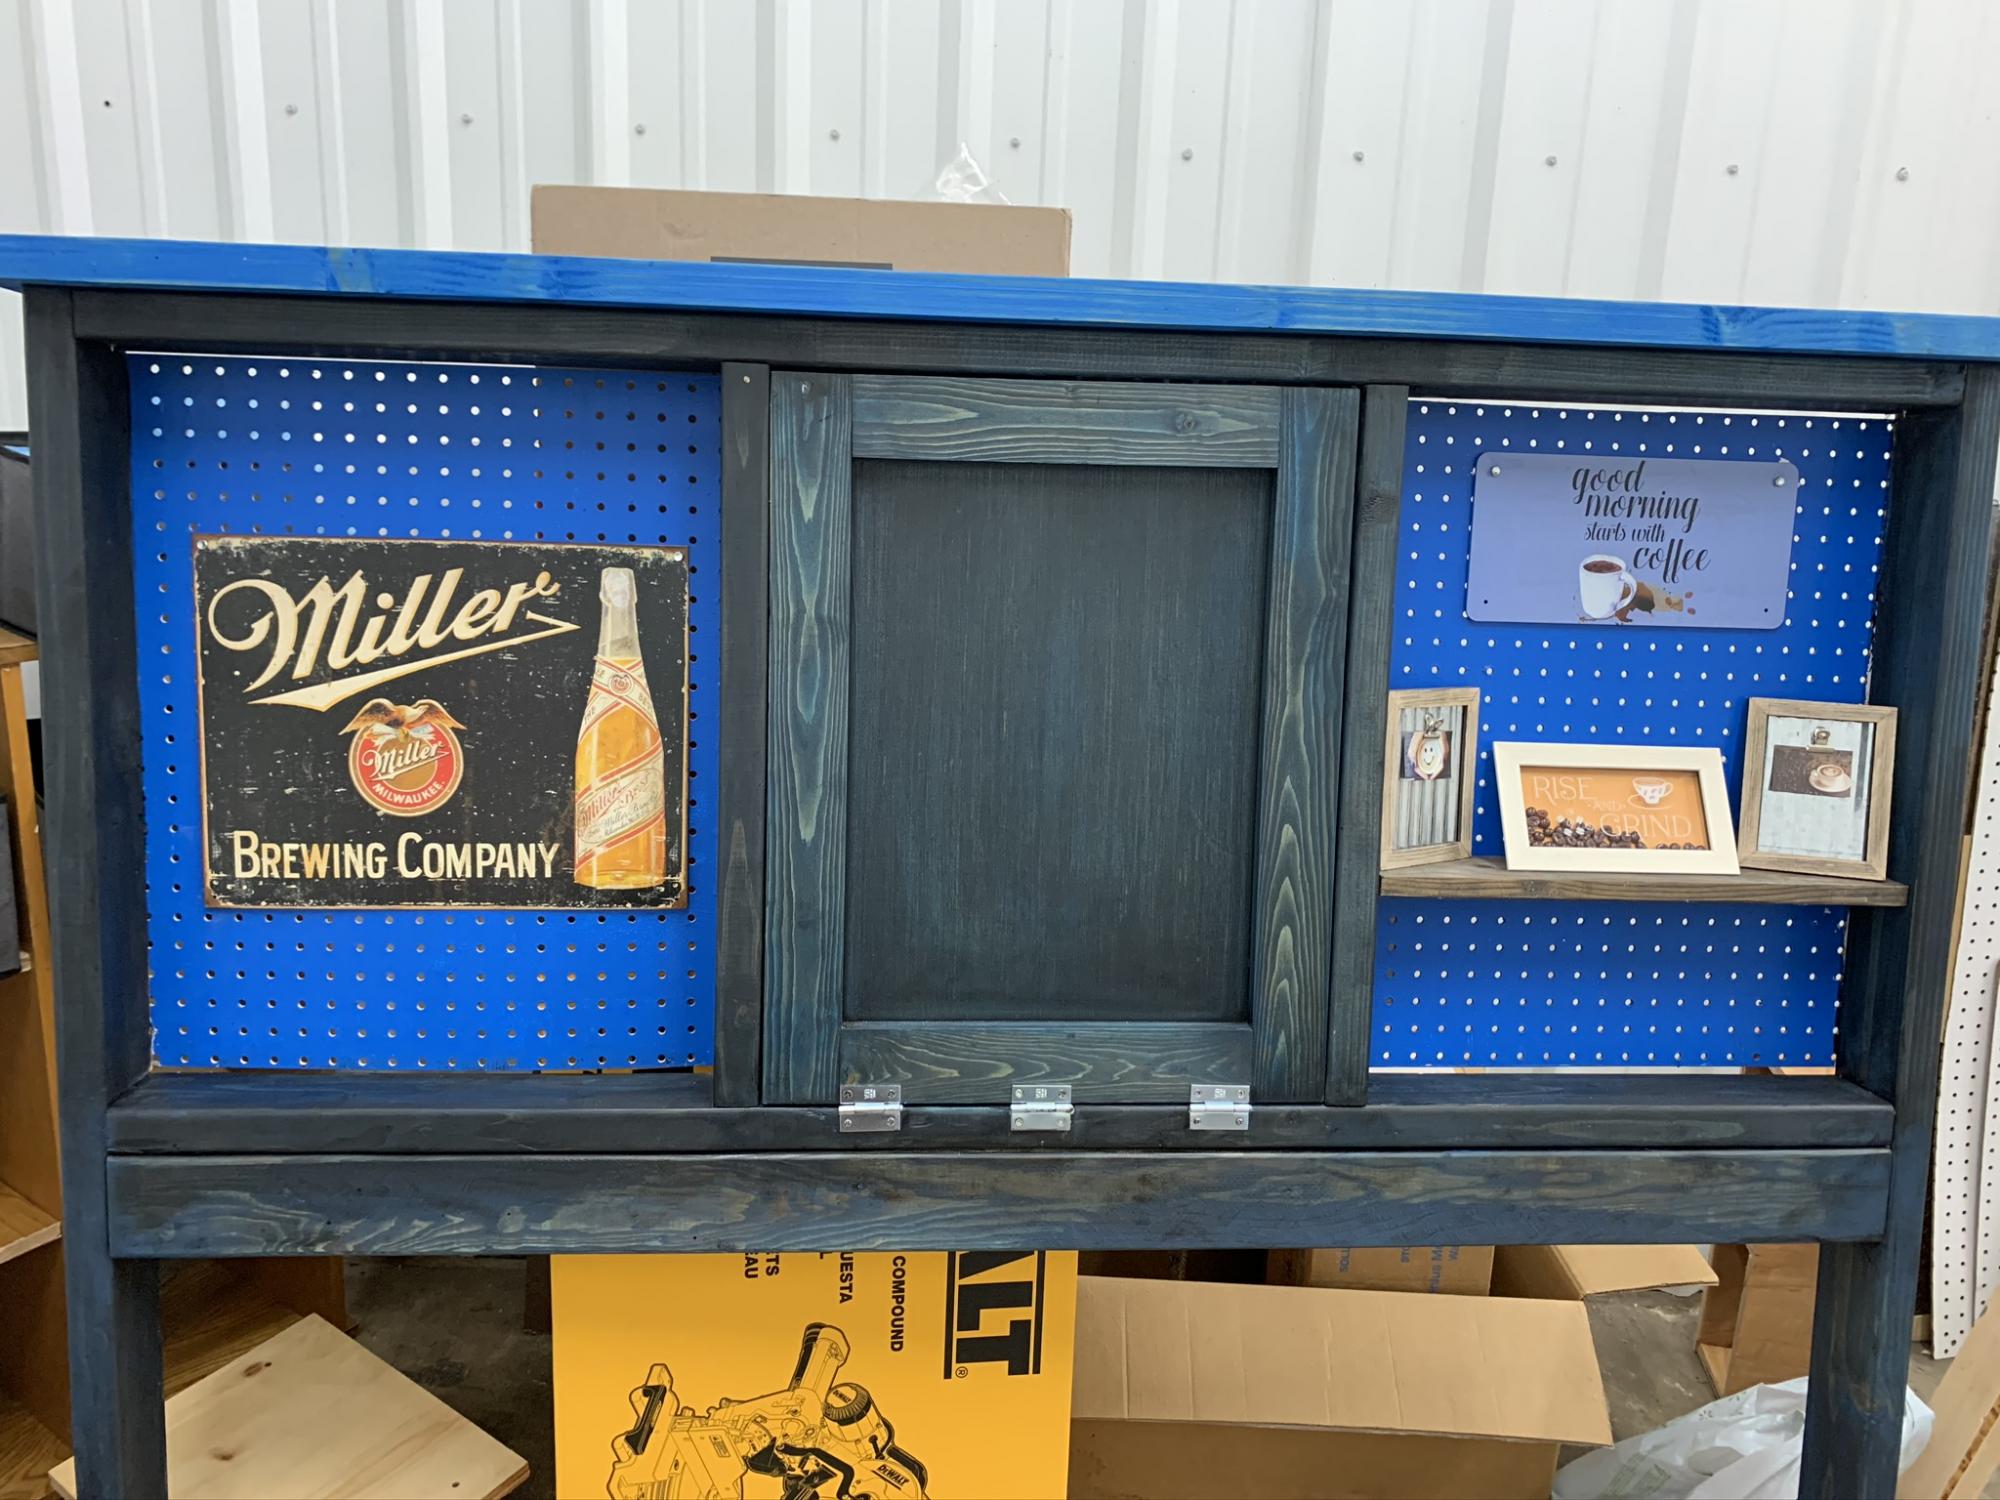
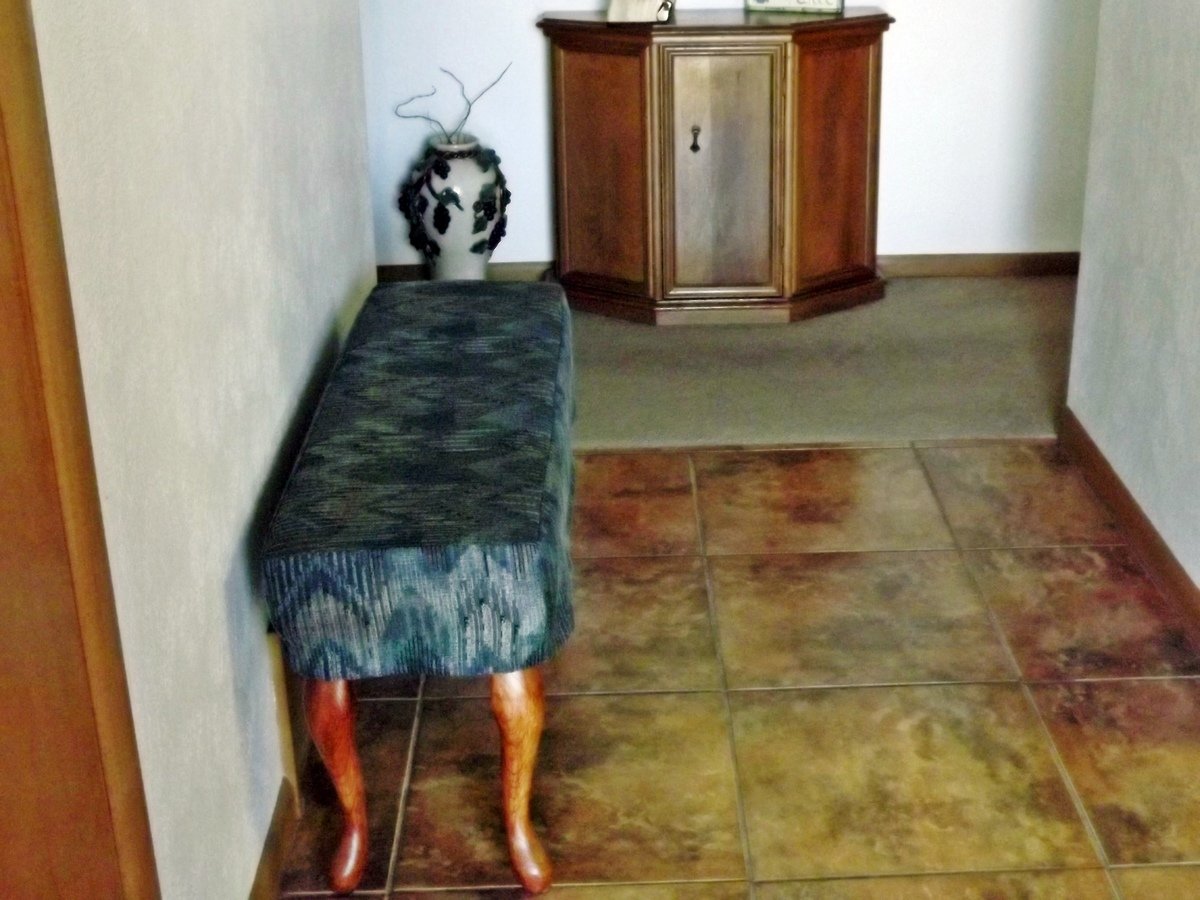
Sliding Barn Door Console

Submitted by Anonymous (not verified) on Tue, 02/16/2016 - 12:14

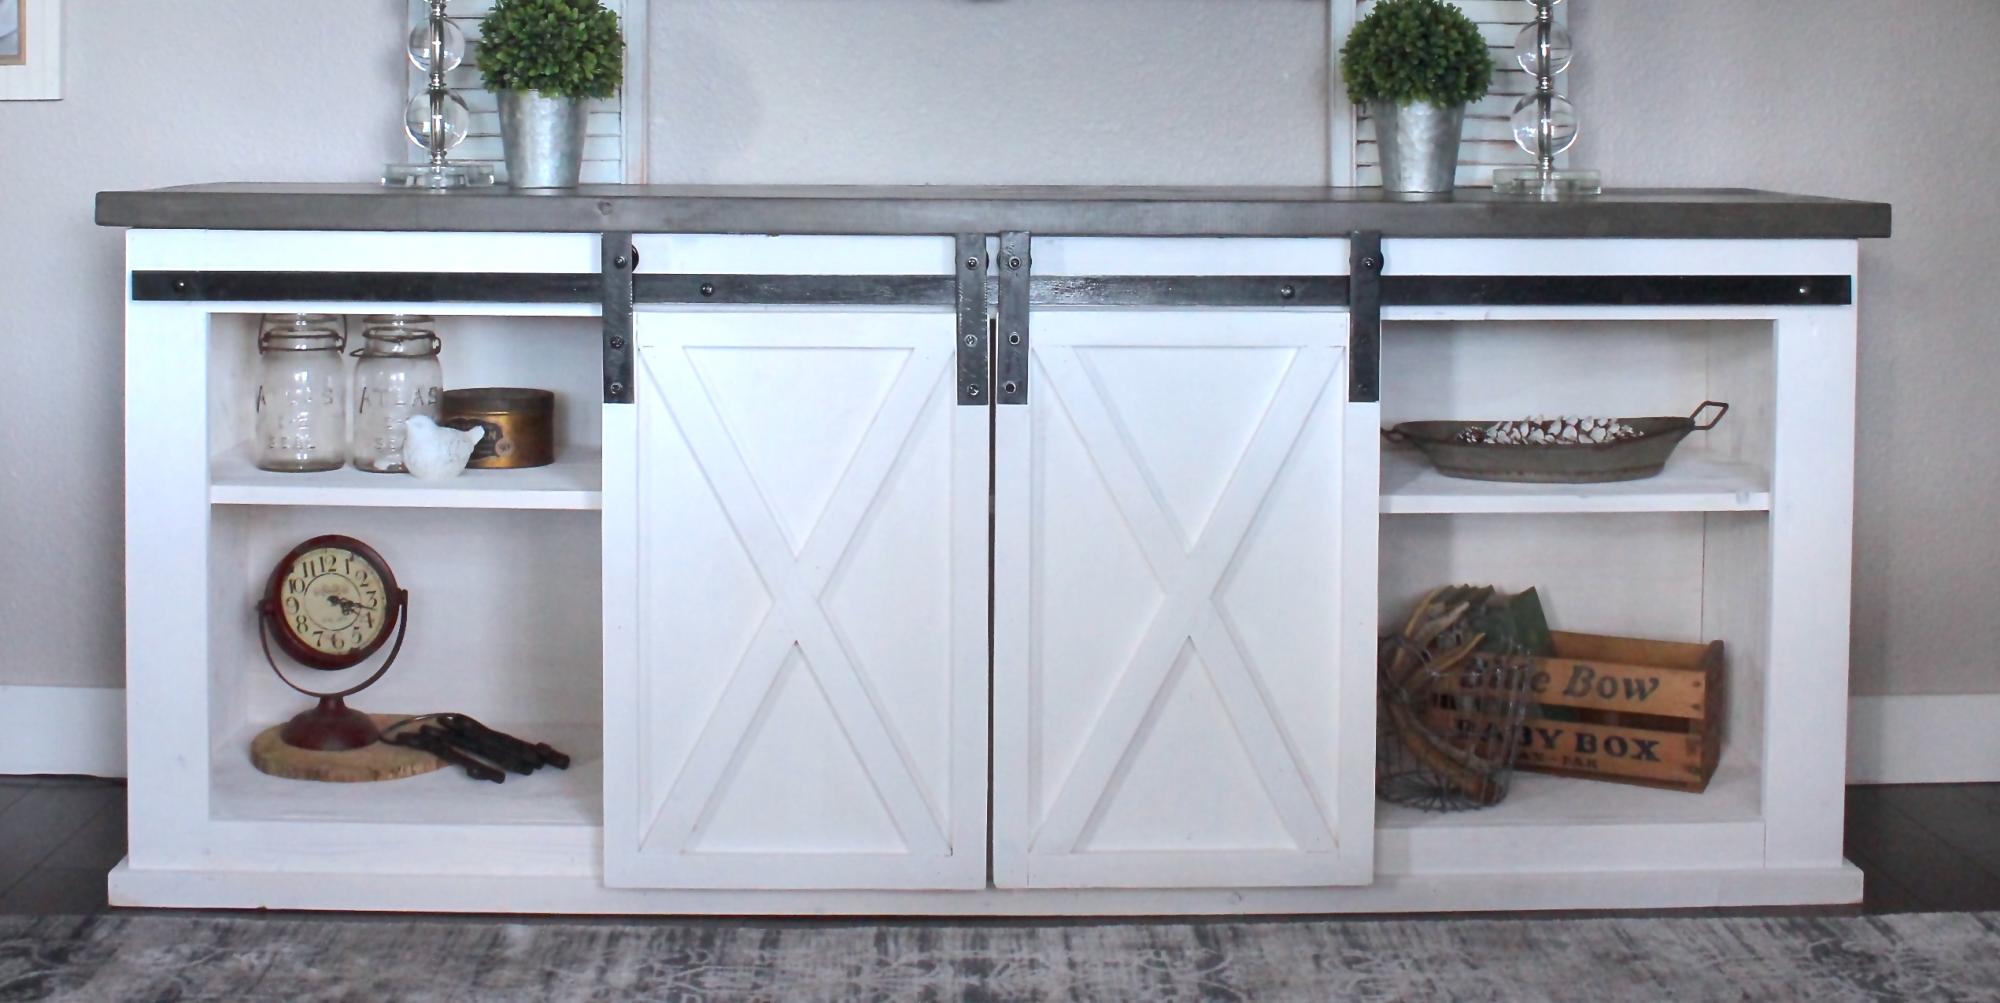
We wanted to build this piece for so long, but couldn't find 1/2" metal anywhere. Mind you, we live in a pretty small town. We finally just decided to use 1/8" Metal, which works just fine in my opinion. We followed the rest of the tutorial, but I find that they don't go over how to install the metal at all. That needs a tutorial all on its own. We improvised with what we had here in our small town. We ideally wanted to find old metal, but that didn't happen. So we bought new steel, spray painted it & then beat it up so it looked more vintage. 

I'd say hanging the barn doors & the track is the longest part for sure. 

Built from Plan(s)
Estimated Cost
300 ( We live in Canada, so everything is much more expensive here )
Estimated Time Investment
Day Project (6-9 Hours)
Finish Used
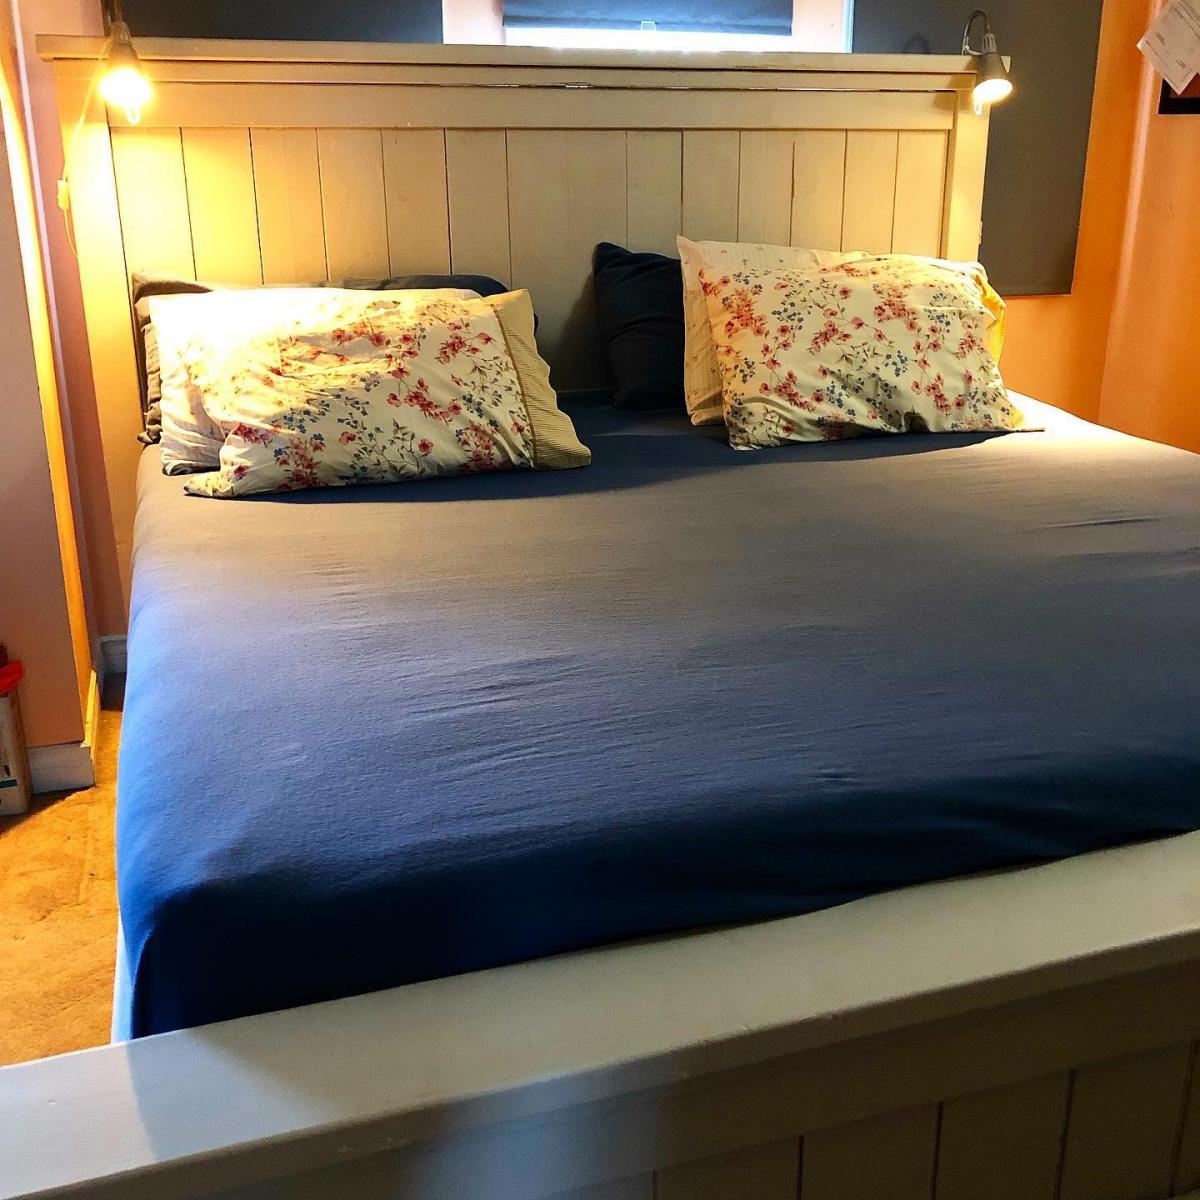
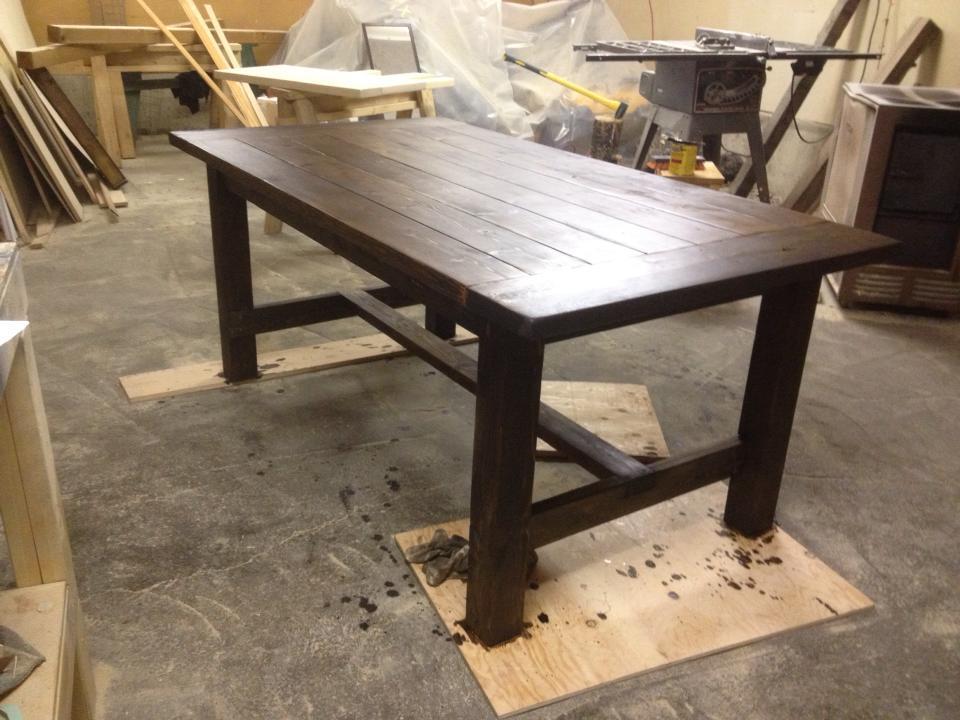
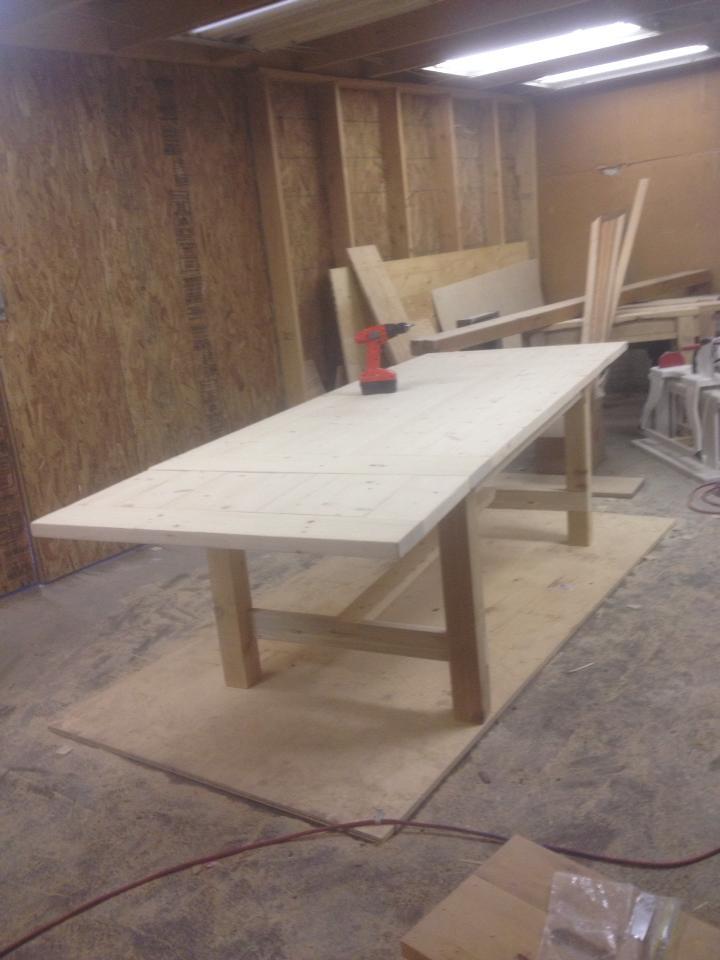
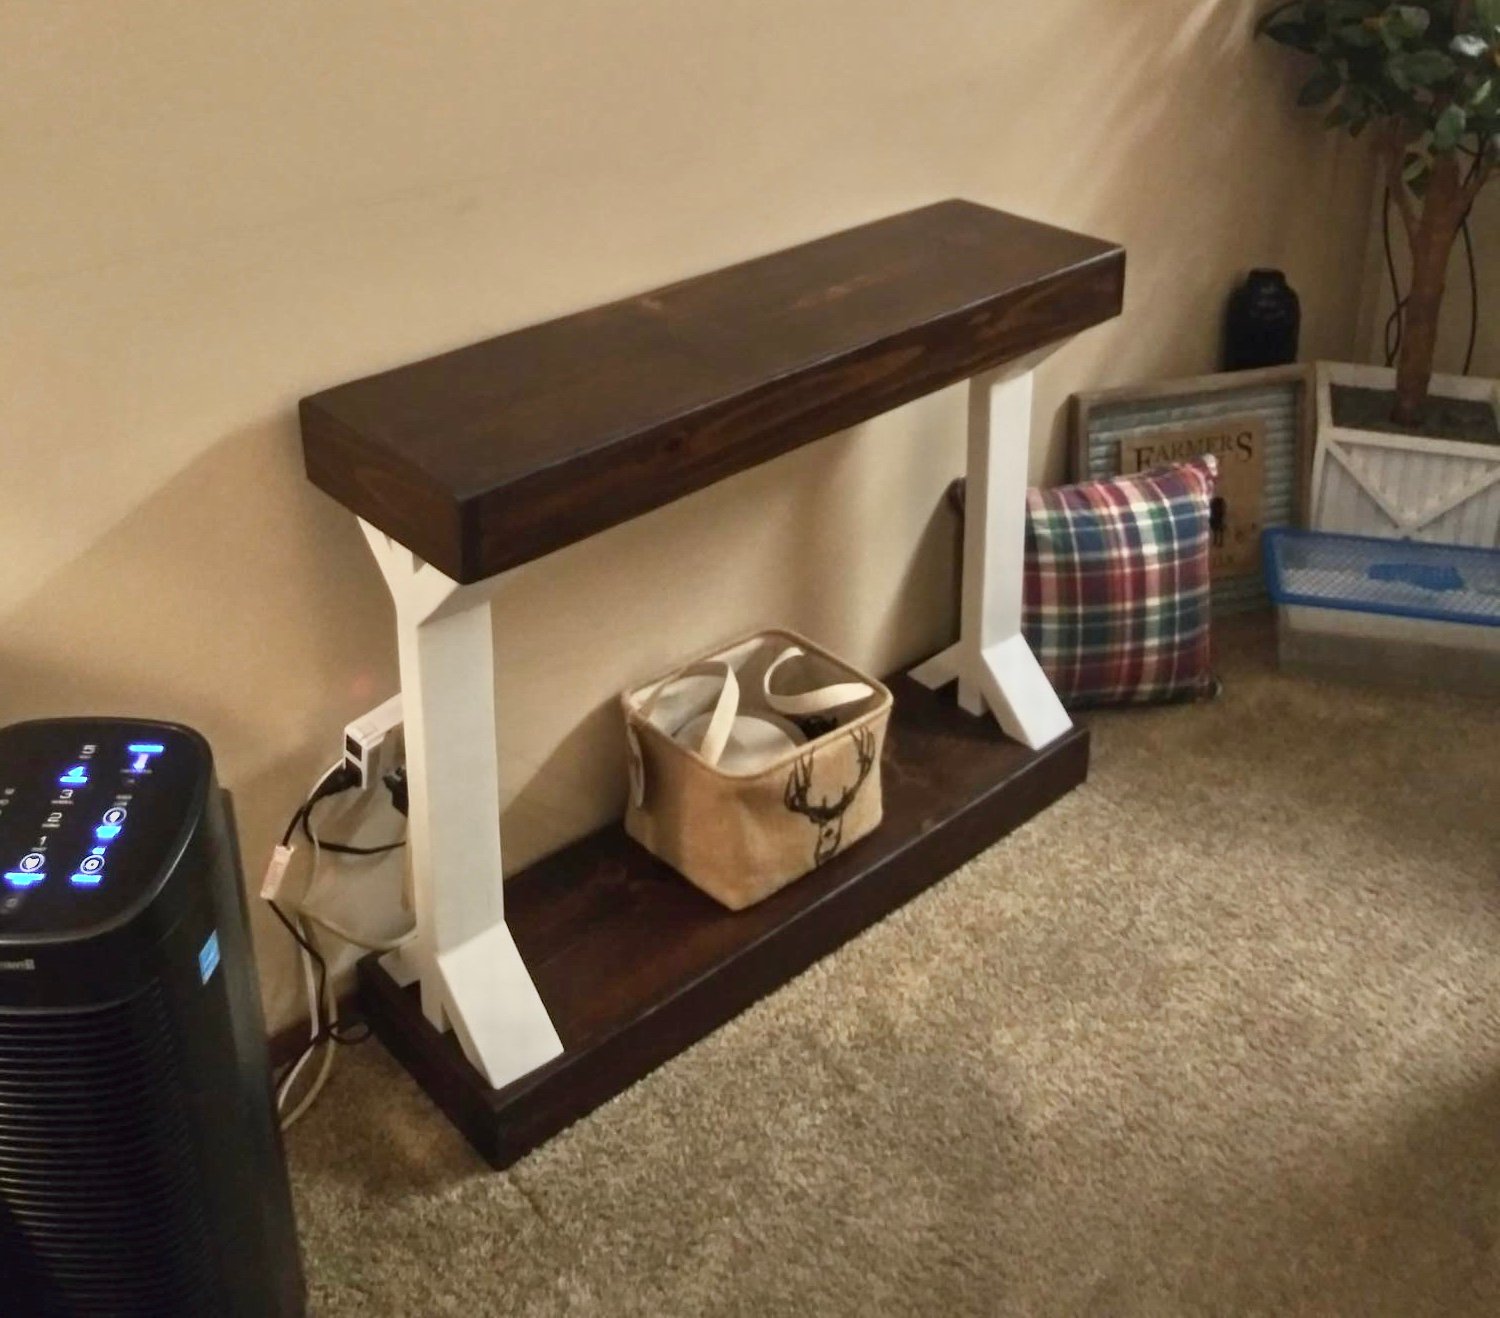
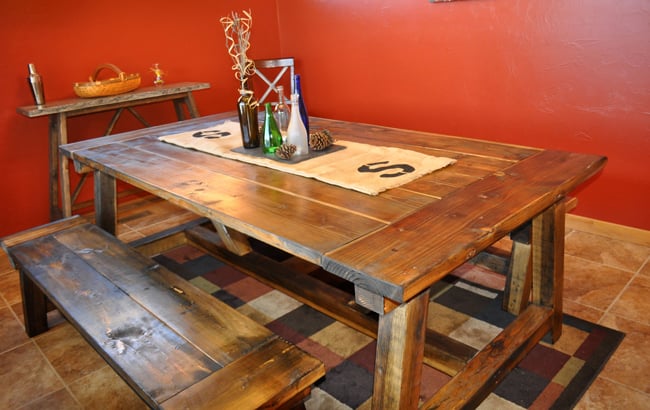
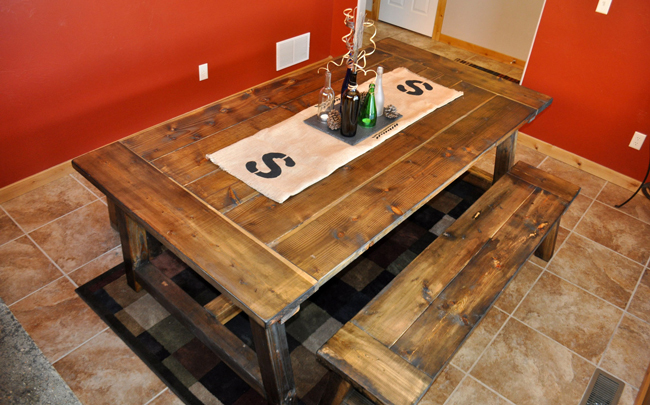
Top is stained in our Beachwood ( colors mixed from the Minwax stains ) Bottom is painted in pure white. Hardware is black & beaten up
Matte Polyurethane finish.
Recommended Skill Level
Intermediate

Comments

Stable for Nativity Scene

Submitted by arkep on Fri, 12/06/2013 - 18:51

I had been thinking about making something to go with the nativity scene that I made a few years ago, and was so excited to see the plans for this stable this morning. It's less historically accurate, but much easier to build than a cave. =) I had cedar fence picket scraps laying around, so this project didn't cost me anything extra.

Built from Plan(s)
Estimated Cost
$0--made from scraps
Estimated Time Investment
An Hour or Two (0-2 Hours)
Finish Used
none--just sanded
Recommended Skill Level
Intermediate

Farmhouse King Size Bed

Submitted by Anonymous (not verified) on Thu, 10/03/2019 - 15:56

Finally replaced our old queen size bed frame. It took me 2 weekends to finish the project. We bought a Nova Comfort memory foam.

Estimated Cost
C$150.00
Estimated Time Investment
Weekend Project (10-20 Hours)
Finish Used
Behr light grey paint
Recommended Skill Level
Starter Project

Comments

Ana White

Tue, 11/05/2019 - 10:38

Thank you for entering your bed!

We are so excited to let you know your entry won a random draw $100 gift card.  We will email you all the details as well!

Thanks again! Ana

Square Picnic Table using Deck Boards

Submitted by Anonymous (not verified) on Fri, 07/07/2023 - 11:32

I used deck boards instead of 2x6 for the top and seats; this lightened the table overall while negating the need to sand and finish the boards.

I also used a cedar-tone treated board so staining wasn't necessary.

Kelly S.

Built from Plan(s)
Seasonal And Holiday

Sister's Table

This was the second table I built - it was much improved on my first and was for my sister as a Christmas present. It has 4x4 legs that I notched out with a circular saw for the legs and a spruce top. I modified the length down to 6' for her house but added extensions on the end that make the table up to 9' long when fully extended.

Estimated Cost
100
Estimated Time Investment
Weekend Project (10-20 Hours)
Finish Used
Minwax Dark Walnut with Polyurethane and a epoxy coating on the top to seal all the cracks, as sister has two little kids.
Recommended Skill Level
Beginner

Comments

L-Shaped Desk

Submitted by flyboy599 on Wed, 01/01/2014 - 08:16

This desk was made using the "Fancy X Desk" and "Modular Office Base" plans. A CPU enclosure was added with a similar "X" design. The top is 3/4'' plywood with 1x2's and 2x2's providing the framing. A 1x4 runs down the back of the desk with a cord try to hide cables.

Estimated Time Investment
Weekend Project (10-20 Hours)
Finish Used
Black paint and primer in one with 5 coats of polyacrylic on the work surface.
Recommended Skill Level
Beginner

Comments

ksc70x

Thu, 01/07/2016 - 15:16

HI, The desk is awesome and I thought I would make this my first attemt at building something.

But I am unable to find the instructions.

Please help.


Thank you.

ksc70x

Sun, 01/10/2016 - 08:46

Ok after reading the subject matter I realized that this is the merging of two different desks.

Can you post a photo of how you joined them.

The support for such a long desk is my concern, with out it having any middle support or at the the corner?


Thank you.

ksc70x

Sun, 01/10/2016 - 08:47

Ok after reading the subject matter I realized that this is the merging of two different desks.

Can you post a photo of how you joined them.

The support for such a long desk is my concern, with out it having any middle support or at the the corner?


Thank you.

Bed with Storage for the Master Bedroom

I built the same bed as for my son for the master bedroom. A queen size bed with storage with paneled footboard and headboard. I love that style and I made board and batten too.
I am very happy and the bed is very sturdy. I didnt make drawers because it's too difficult for me. I am not ready to build drawers! Maybe next time!

Estimated Time Investment
Week Long Project (20 Hours or More)
Finish Used
white paint
Recommended Skill Level
Beginner

Comments

Stefanye Thurmond (not verified)

Fri, 05/04/2012 - 08:12

I share your fear of drawers! It still looks great with cubbies :)

Anelicia (not verified)

Sun, 11/25/2012 - 21:27

I love this bed but I am wondering since there is no edge if you have any issue with your mattress sliding side to side?

alamanda973

Thu, 12/13/2012 - 17:18

My mattress does not slide because it is heavy and it is a little wider that the bed thus there is no edge which exceeds. I hope to have answered the question.

Live Edge Floating Bed

Submitted by Anonymous (not verified) on Fri, 08/18/2023 - 12:31

Older children moving out for college left the youngest without a bed. We decided to use your plan for a bed, but altered the headboard just a bit so that we could use live edge cypress. We love how it turned out, plus we were able to use locally sourced cypress!

Kathleen R

Open Shelf Console with Modifications

Submitted by Stacie on Thu, 01/23/2014 - 07:32

I modified the size of the original plan to better fit the space. It is slightly deeper and taller than the plans. I also used a router to create a rabbet for the glass inserts in the doors.

The finish is a homemade chalk paint followed by multiple coats of furniture wax. The build itself was quick and straight forward, but the finish took the most time.

The console really pops in a room full of stained furniture. I love the look, shape, and versatility of it--thank you for sharing the plans!

Built from Plan(s)
Estimated Cost
$75
Finish Used
I painted it with three coats of homemade chalk paint and followed by 3-4 coats of wax.
Recommended Skill Level
Beginner

Comments

Val Manchuk

Thu, 01/23/2014 - 08:36

This project looks really good. I love the glass inserts and the color you chose.

Val @ artsybuildinglady.blogspot.ca

DIY Modern Stair Railing

Submitted by Anonymous (not verified) on Mon, 09/18/2023 - 08:57

During a home renovation we found out part of our stair rail would need to be replaced and the quote from the contractor floored us. We were searching for an economical way to DIY the stairs and come across your idea. I immediately loved it and we worked to figure out how we could put it together with our limited construction knowledge. The end result exceeded my expectations. I totally love it!

Headboard with Fold Down Tray Tables

Submitted by t856463 on Sat, 01/25/2020 - 21:05

Wow, my 2nd piece of furniture I attempted.  A lot of wood filler was involved.  My shelves seemed too big, so I just did one, then my back board accidentally got used in “open shop” so I used some left over pegboard.  I had fun but spent a lot of time fixing “oops, that doesn’t seem right”. Peg

Estimated Cost
$40
Estimated Time Investment
Week Long Project (20 Hours or More)
Finish Used
Paint and stain

Slipcovered Bench

Submitted by Linda7 on Tue, 02/11/2014 - 16:55

My mother needed a bench in her small entryway. She had definite dimensions in mind and we looked everywhere. None fit the bill. Then I saw these plans and we went from there. She had leftover fabric from recovering her dining room chairs, and I had the plywood. She wanted the Queen Anne legs to go with her traditional furniture; we put felt floor protectors on the bottom of the feet of the legs, which helps keep the bench from moving so easily on the tile floor. The plans were easy to follow, including the tutorial on how to sew the slipcover. The bench worked out just like she had hoped. Thanks Ana, for the great plans.

Built from Plan(s)
Estimated Cost
$60.00; about $40 for the legs, foam, and finish
Estimated Time Investment
Day Project (6-9 Hours)
Finish Used
Minwax Polyshades in walnut; two or three coats. This acts more like paint, but you can re-coat in just an hour or so. I then used minwax poly in satin three coats for protection.
Recommended Skill Level
Beginner

Green House

Great little project from your site!

I put PVC to the ground vs the metal siding and added a heat sink in the middle with some old computer fans.

Built from Plan(s)
Estimated Cost
$1,300
Estimated Time Investment
Weekend Project (10-20 Hours)
Finish Used
PVC
Recommended Skill Level
Intermediate

Comments

Niccador

Sat, 05/23/2020 - 17:23

That PVC heat pipe intrigues me. Can you share a little more about it? I'm assuming it pulls hot air from the upper vent, and cools it down via the section of pipe below ground, sort of like a natural A/C. Keeps things from gettting too hot during the summer months?
Kinda looks like you'd frequently trip over it though. I'd probably have run the lower exhaust right up by the edge of the door frame, or a corner.

King Size Platform Bed

Submitted by hawaiitara on Sun, 06/03/2012 - 20:09

After building my daughter's beds and some outdoor day beds, I finally got around to building a bed for my husband and I. I altered the plans to a king size bed. I added a second 2x4 in the middle for support and around the inside edges as I used the box springs to make the bed taller. Using the kreg jig really made this project so easy. I also used 1x8's instead of 2x8's because I couldn't find those in Hawaii anywhere, except pressure treated wood. It still turned out great.
Thanks for the wonderful plans!

Estimated Cost
$125
Estimated Time Investment
Afternoon Project (3-6 Hours)
Finish Used
I used cabot stain in antique walnut with a cabot satin poly over it.
Recommended Skill Level
Beginner

Comments

Katie Saldivar (not verified)

Mon, 06/25/2012 - 19:40

I LOVE this bed! I'm asking my husband to build it and I was wondering if you could email me the dimensions for the plans of a king size Chestwick Platform bed? I'm pretty sure he could figure them out on his own, but I'd love to make it easier for him :) Love your work!

Larryshandywife

Wed, 08/22/2012 - 23:04

Whats the point of sharing projects with people when they dont leave the dimensions????............How stupid!!!

sgilly

Thu, 08/23/2012 - 08:25

For sharing. It's beautiful, and how smart you are to work from existing plans but be able to figure out the dimensions you need for your own bed!

4x4 Farmhouse Table with Video

Submitted by petesveen on Sun, 04/06/2014 - 14:55

When I saw Ana's plans for this table I had to build it. I did modify the size to make the table top a little wider and longer. The extra width is great for putting more food or a center piece in the middle of the table.

I thought the build was pretty simple and everyone who visits our house loves the table. It is definitely a conversational piece.

The table and benches are heavy duty and will be able to passed on for many generations. I love the rustic look and so the steel wool/vinegar stain was my finish of choice.

I decided to document the entire build and created the most in-depth farmhouse table video tutorial online. The goal with the video is to show how easy it is to build the table using Ana's plans!

Estimated Cost
$200
Estimated Time Investment
Weekend Project (10-20 Hours)
Finish Used
Steel Wool and Vinegar Mixture. I then used an oil based Polyurethane from Minwax to protect the wood.
Recommended Skill Level
Beginner

Altered Apothecary Media Console

Submitted by vlilly on Sat, 04/12/2014 - 08:34

I had the wood to make this for about 2 weeks. Started on Tuesday and finished Thursday evening! I wanted the look to be different from the Apothecary look so I made the doors a little different!

Built from Plan(s)
Estimated Time Investment
Weekend Project (10-20 Hours)
Finish Used
Stained all wood with Rustoleum "Carrington" stain, then painted over the bottom part with Rustoleum "Heirloom White" Spray paint. Distressed through the white so the dark stain could peek through.
Recommended Skill Level
Beginner

Comments

jeanniemn

Mon, 04/14/2014 - 17:16

I love this! I just finished putting the frame together but wasn't loving the original door look. Can you tell me how you did the beadboard doors? And what hinges? Thanks!

vlilly

Sat, 04/19/2014 - 08:02

Sure! I just bought a 4'x8' sheet of beadboard from Lowes. I have about half left over. They sometimes have half sheets but didn't when I went. I had them to rough cut it into 20" strips to fit in my car. It came white but I painted over it with Rustoleum Heirloom White spray paint. I bought 2 12ft boards for the frames, I think they were 1/2"x2".. only around $8 per piece and they are stocked vertically at lowes near the beadboard (at the store near me at least!) I cut the beadboard at home and then cut the frame board to fit. I used glue and a brad nailer with 5/8" nails to attach them to the beadboard. My doors had to overlap the plywood since I had the extra shelf that was flush with the rest of the cabinet.. I couldn't inset my doors like she did at Shanty-2-Chic. I bought the same hinges she used, the brand is Liberty and I found them at Home Depot. $5 something for a 2 pack. They are awesome! The doors aren't heavy duty but we didn't need them to be. You could always add a layer of MDF or Lauan if you wanted them to be more sturdy!

I hope this helps.. I'll be glad to answer more questions!

jeanniemn

Thu, 05/01/2014 - 18:28

Thanks!! We are almost done but are stumped by the hinges (I bought the Liberty ones too). Any tips on those? I think we are just over-thinking it, it can't be that hard!!

jeanniemn

Thu, 05/01/2014 - 18:42

Thanks!! We are almost done but are stumped by the hinges (I bought the Liberty ones too). Any tips on those? I think we are just over-thinking it, it can't be that hard!!

pde00311

Fri, 05/02/2014 - 06:53

...has completely stumped me before, and buying the wrong type has halted one of my first projects. Make sure you pick the right hinge for how you want your doors to align. From my experience, HD sells mostly "overlay" and "3/8 offset" hinges, with a small selection of "inset" hinges. These links are to a different hinge manufacturers, but the little pictures/explanations have helped me figure out what type of hinge I need to buy:

http://www.rockler.com/how-to/understanding-hinges

http://www.menards.com/main/store/20090519001/items/media/Millwork/Belw…

(and vlilly, I love the distressed finish on the console above).

$18 Star Shaped Clothes Drying Rack

Submitted by Anonymous (not verified) on Fri, 07/15/2016 - 19:54

Make a beautiful star shaped clothes drying rack that magically expands, using very simple tools and materials! Detailed tutorial and free building plans.

Estimated Cost
$18
Estimated Time Investment
Afternoon Project (3-6 Hours)
Recommended Skill Level
Beginner

Custom Step Stool

Submitted by Anonymous (not verified) on Wed, 01/03/2024 - 08:40

I’m going to make a step stool for the son of good friends in Florida. The design I liked had dovetail joints, which I’ve never cut before. So I made this stool for my wife as a prototype. Walnut sides with Cherry for the steps. 12.5” front to back, 14” tall, and just about a foot side to side.

Mark Johnson

Hand Made by: Rusty Pine

Submitted by Anonymous (not verified) on Fri, 07/22/2016 - 09:27

I made this in 1 day from the plans here on Ana White what a fun project it was and fairly simple to build 

for such a beautiful piece..www.facebook.com/groups/ozaofwc/ 

Estimated Cost
it cost me roughly 49.00 to build materials got at home depot here in florida..
Estimated Time Investment
Day Project (6-9 Hours)
Finish Used
We used Varathane Dark walnut stain..
Recommended Skill Level
Intermediate
Back