Community Brag Posts

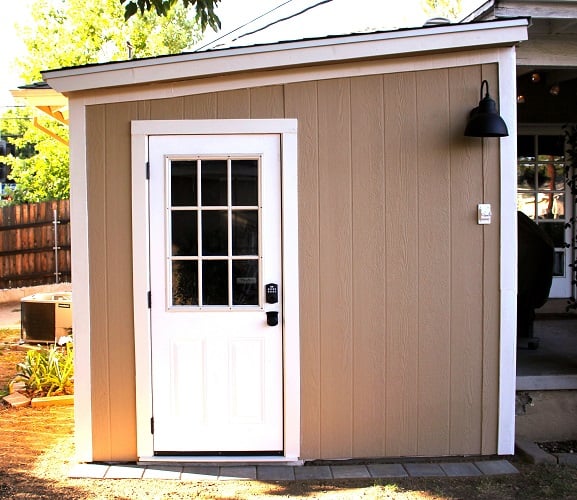
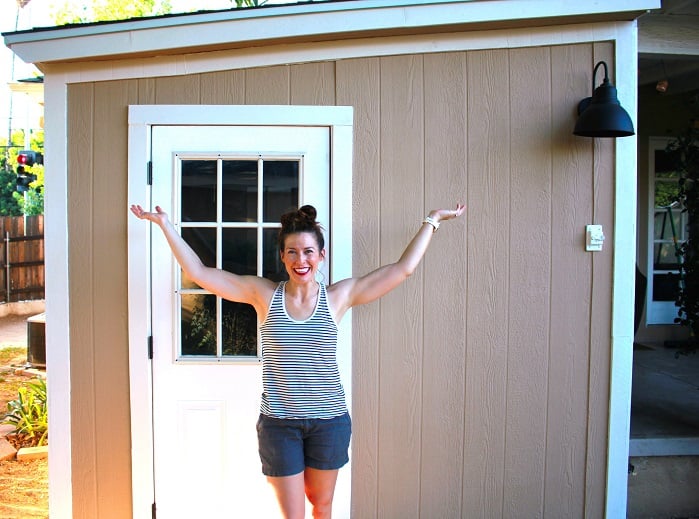
Outdoor Recording Studio Shed Build
Submitted by brittanyj on Wed, 09/01/2021 - 10:48

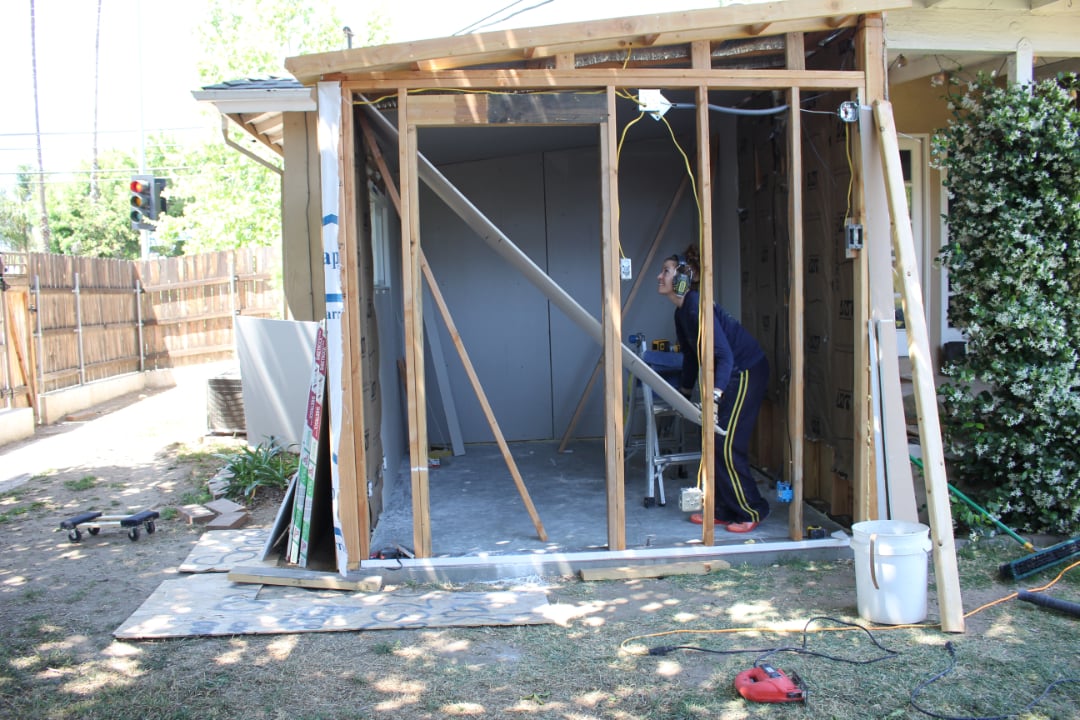
As an on camera actor, I found myself with zero work during the pandemic. All productions were shut down and my day job no longer existed. It was time to get creative.
Voice over work started booming, particularly for actors who could record from home, because recording studios were shut down. I've dabbled a bit in voice over and had been interested in diving in and took my first step by buying a sound reducing booth called a whisper room.

The problem? There was nowhere in our house to to put the 6'x8' booth. So it sat on the back porch for months, covered by a tarp.
For a woodworker, this just wouldn't do! It was time to build an out building to house the booth and have my own outdoor recording studio. I read endless books and watched videos on building recording studios and made my plans over a few months.

Finally, in March, I excavated the land and prepped it for a pour. We had a concrete guy come in and pour the slab.

As soon as that set, I began work from the ground up in building this fancy shed. It took me 3 months, but I learned so much about the basics of building a house, and now I am auditioning for professional projects in my beautiful studio. I couldn't be prouder.

I ran electric, ethernet, I put in flooring, I roofed, drywalled, made a custom door threshold, inserted a window and framed every last bit of this building. There were bumps along the way- to be expected in a one person build- but she's done and ready for work.

I documented the build from start to finish here: https://www.youtube.com/watch?v=yPcEW6cqhcQ
Comments

$10 Planter Box

Submitted by glenndas on Mon, 04/29/2013 - 19:25

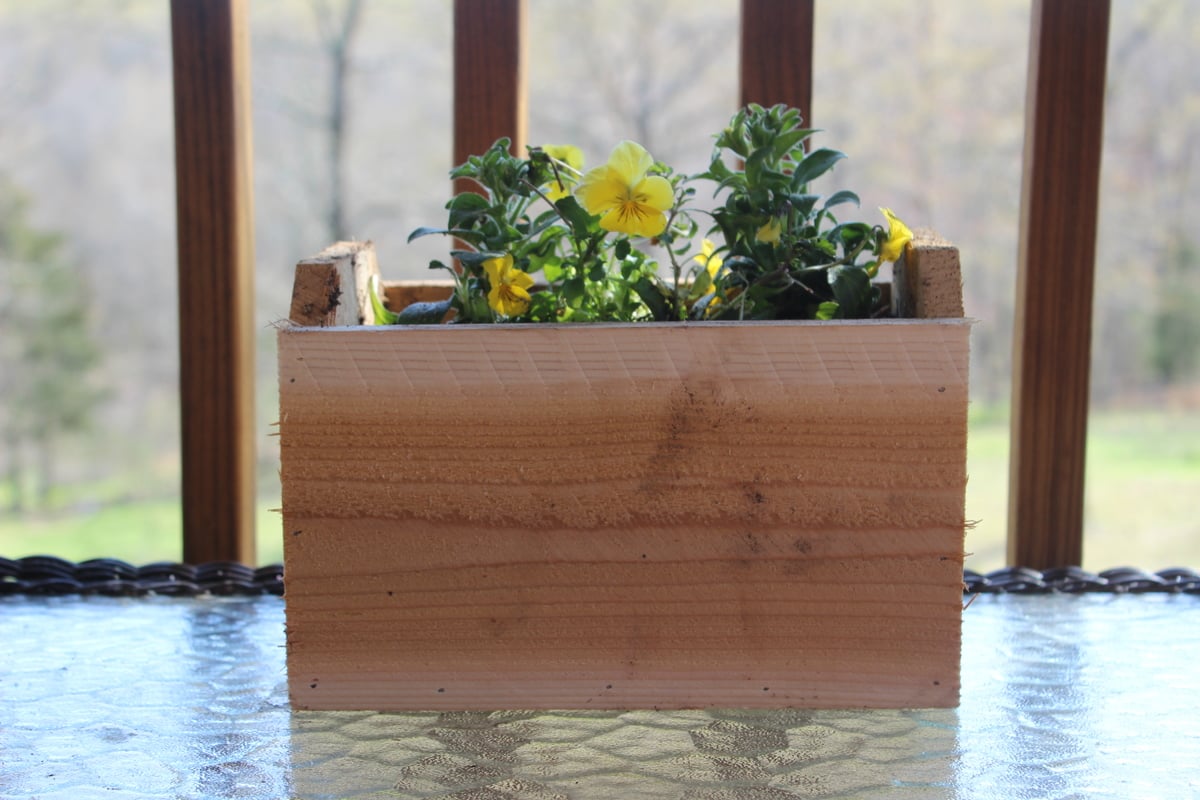
I had been looking for pretty wooden planters for the front porch and couldn't find anything affordable when I came across Ana's plans for a planter box. So I just made it a square and made it a bit taller.

I used finishing nails and glue to put the whole thing together. If you make the sides 17 1/4" then the bottom is wide enough for three pieces side by side. I added four pieces the same as the strips that were made to the bottom so that they stuck out into the center of the planter. Then I laid the bottom pieces on top of those. I left them loose so they could be replaced if needed after a few summers of water and dirt. You could also put a liner in. The width is just enough to give space for water to drain out.

Out of 5 pickets I could have made the side strips a bit longer and put a strip across the bottom. But I had a couple other projects in mind for the scraps so I didn't.

With the left over scraps I made the small flower box for a table on my deck. I glued and nailed that together too. So for less than the price of one planter box I made two and the small flower box. If I hadn't cut one piece wrong the first time I could have made a second small flower box.

Estimated Time Investment
An Hour or Two (0-2 Hours)
Finish Used
Left unfinished and I hope they will grey with age.
Recommended Skill Level
Starter Project

Evie's Garden

Submitted by Anonymous (not verified) on Tue, 06/20/2017 - 21:20

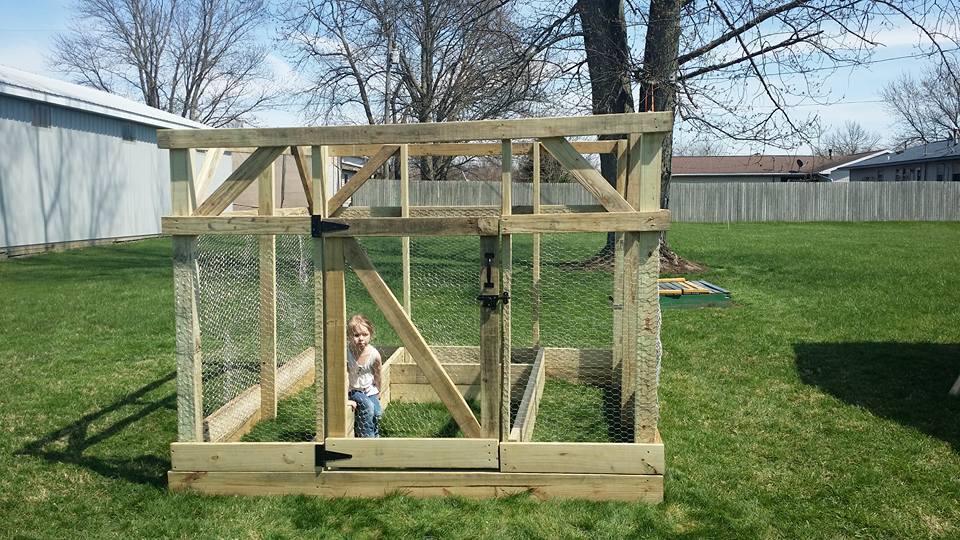
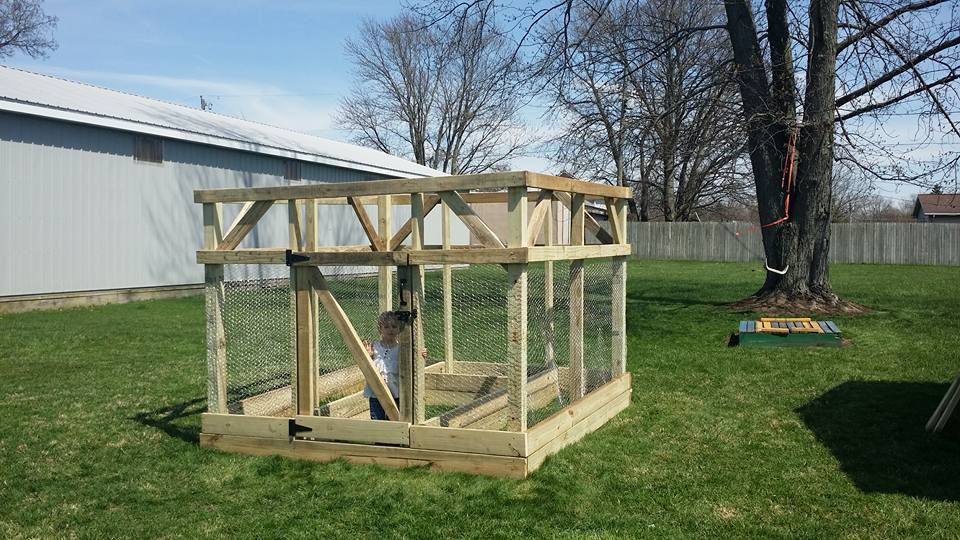
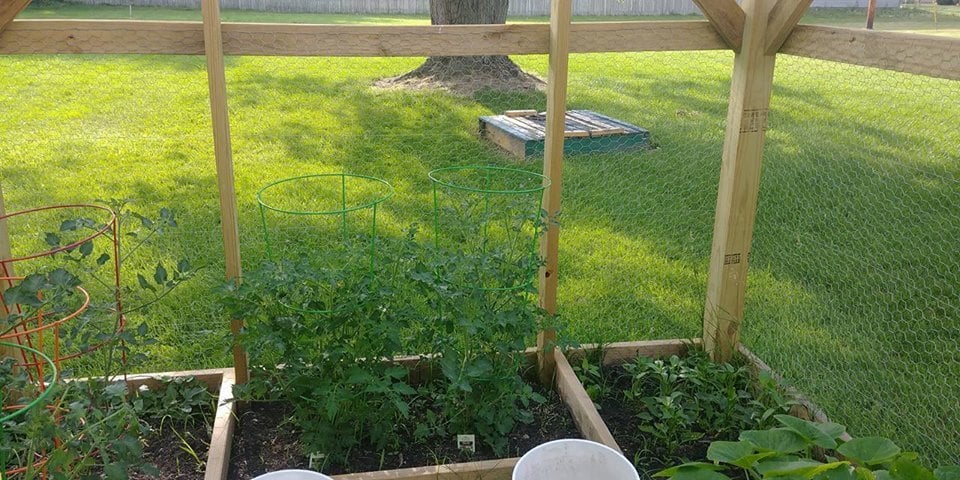
   This was a great weekend project with help from my two nephews. My 4 year old daughter had been asking to grow a garden and has really enjoyed watering and watching everything grow!! She makes sure to check on everything daily!! Fun project!!

Built from Plan(s)
Estimated Time Investment
Weekend Project (10-20 Hours)
Finish Used
None
Recommended Skill Level
Beginner

Mudroom Bench with Hutch

Submitted by calliher on Sun, 09/12/2021 - 18:45

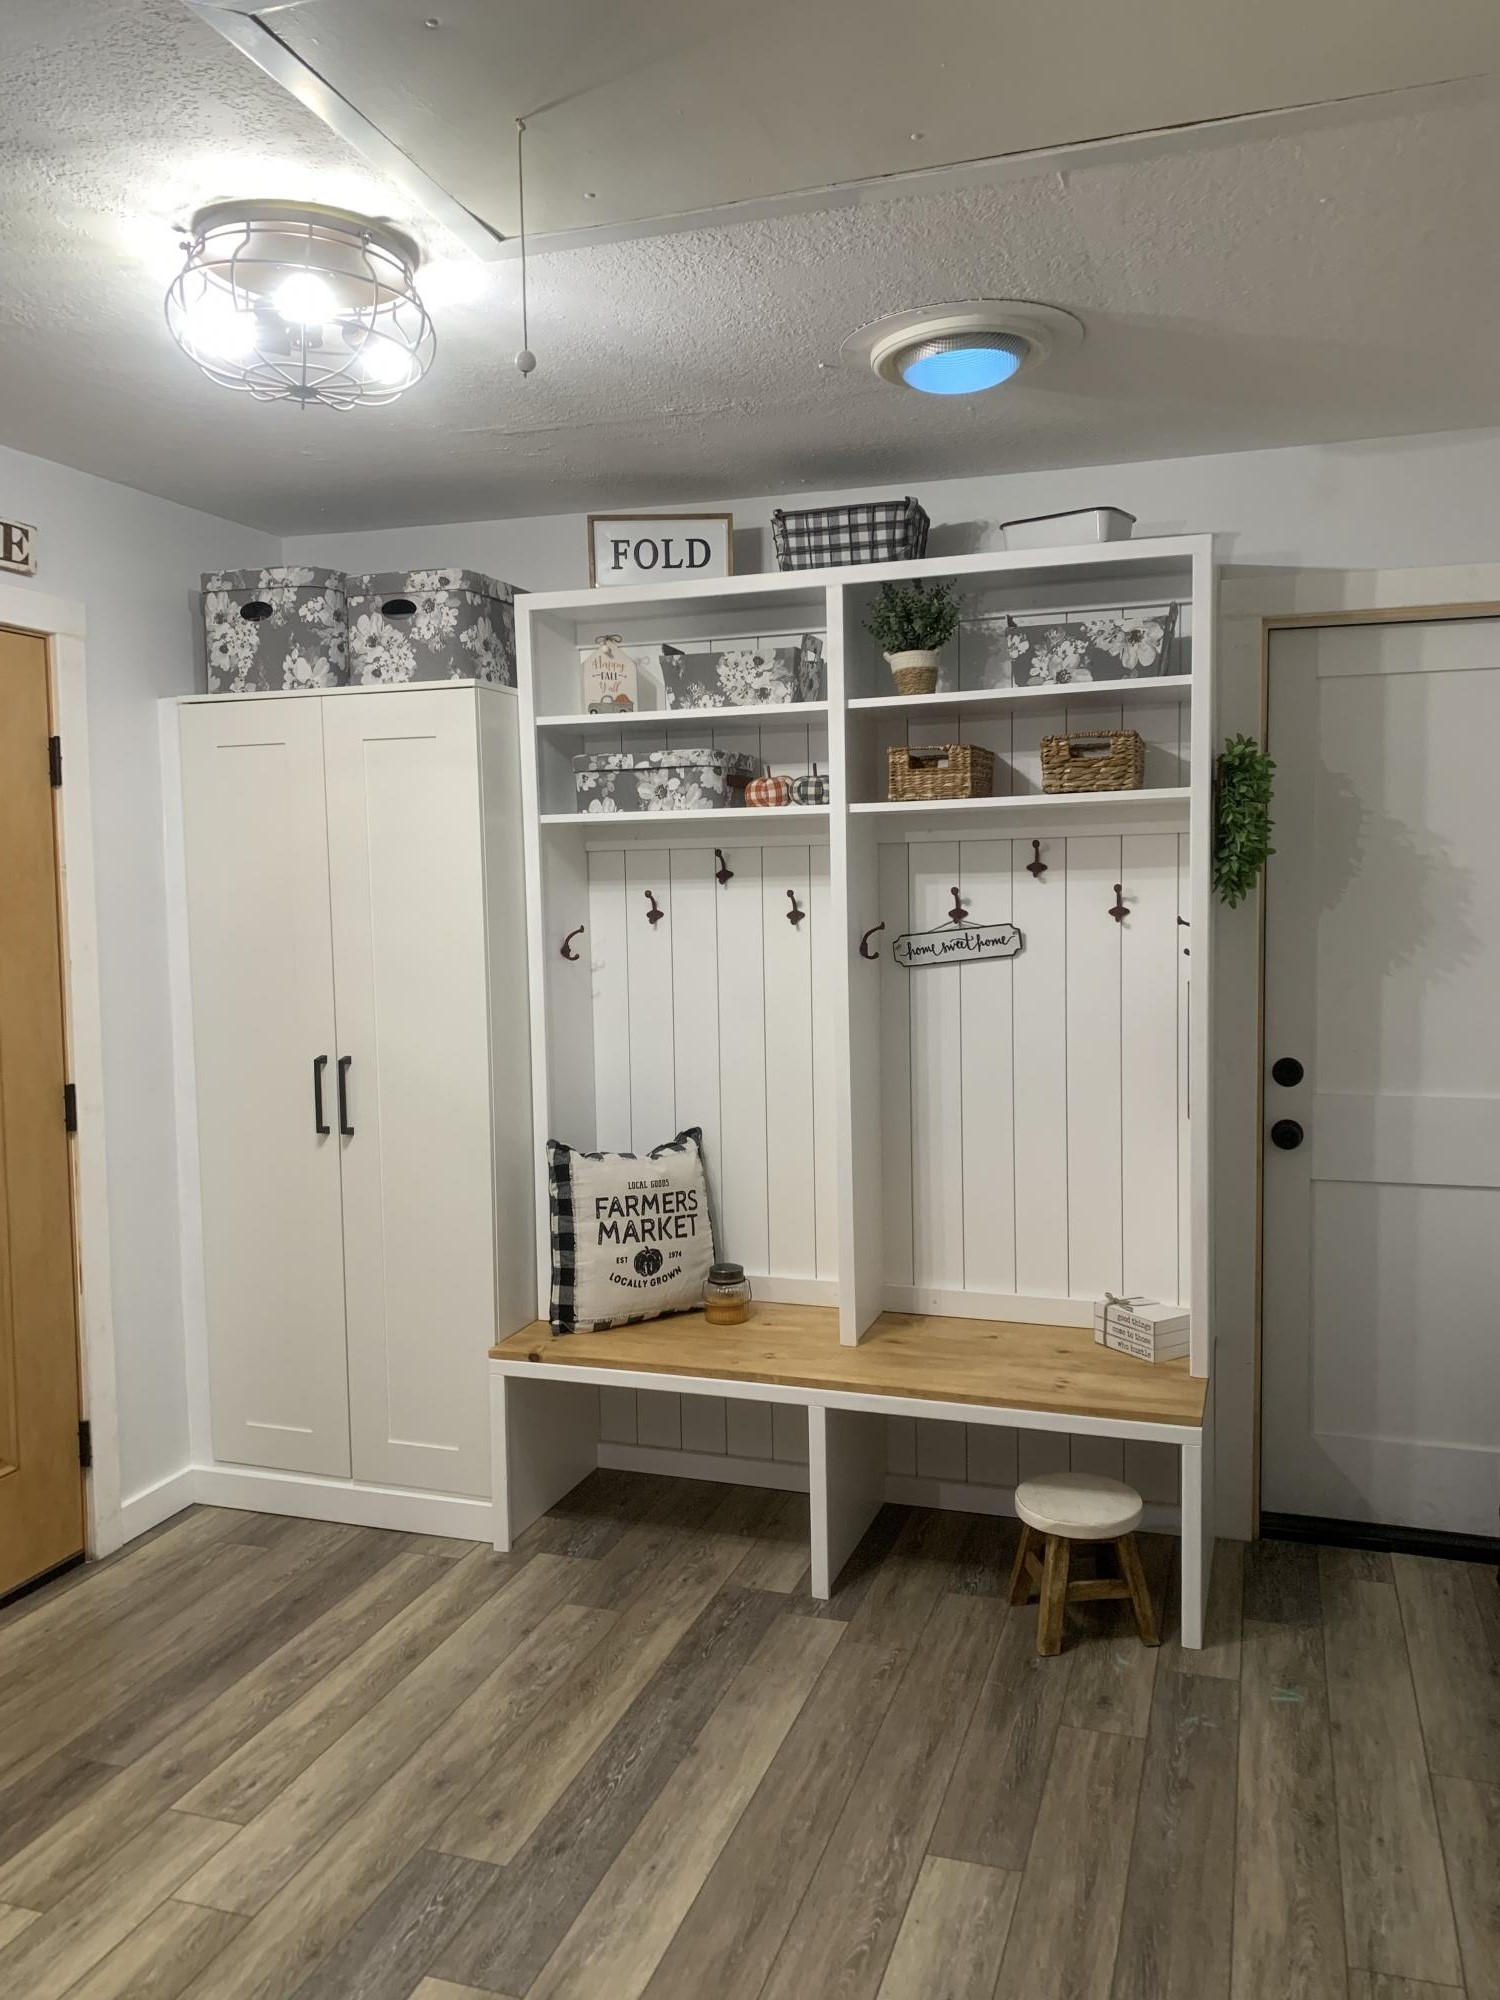
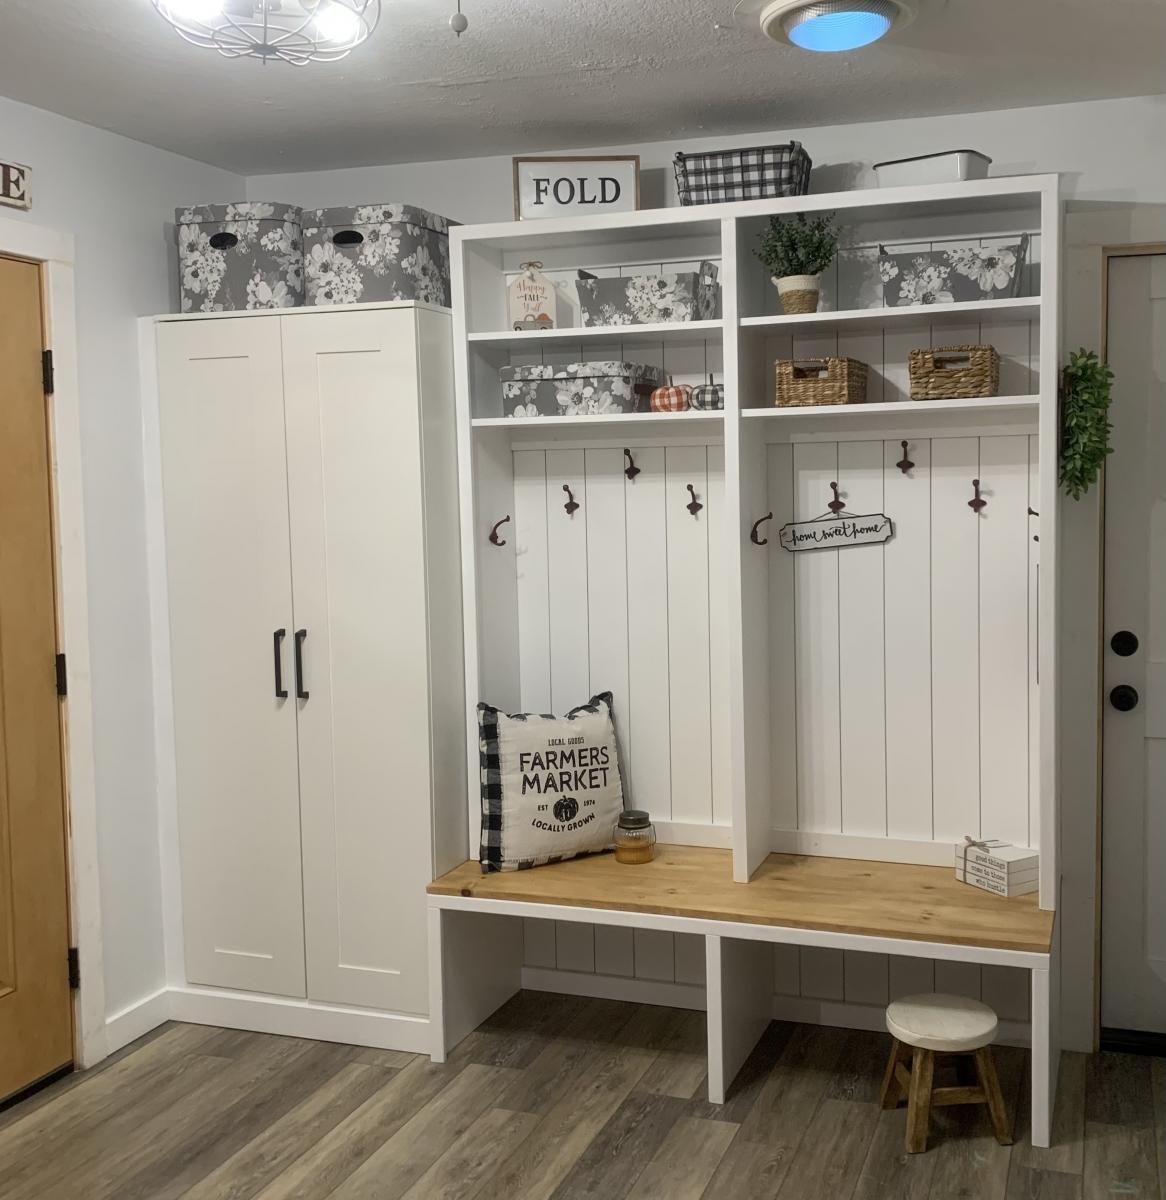
This is my laundry room and it is about 12x10. It looked so bare with only the washer and dryer. So I thought making this a mudroom also. I live in the mountains and have snow 3 to 4 months a year. This will be perfect. I purchased an IKEA cabinet built it in and added the Ana White plans with two bays.

Comments

Simple Bench

Submitted by bhoppy on Wed, 05/01/2013 - 17:06

I modified these plans just a bit. I added 10 inches to make it 48 inches across. I also used a 1x3 on the top face frame instead of a 1x2. The plan calls for just a 1x12 on the top but I wanted it to be wider so I used my Kreg Jig to add two 1x2's to make the top 15 inches deep. I planned on staining the whole thing but made a few errors and had to paint the bottom as it is more forgiving. I loved how Brooke used the coffee staining technique but didn't like the way it was turning out so I just went with distressing the edges and staining the top like she did on her coffee table with the stain I had on hand. It took only a few hours to make the bench and about 3 days to finish it as I worked in the evenings after work.

Estimated Cost
$50-$60
Estimated Time Investment
Day Project (6-9 Hours)
Finish Used
Minwax dark walnut on top. Paint Olympic No-VOC Ultimate Interior Paint in Semi Gloss in white. Sanded edges with 80 grit sandpaper and put stain on then wiped off. I used waterbased polycrylic on whole bench and 3 coats on top.
Recommended Skill Level
Beginner

Comments

A star for the bar!

Submitted by Ashley_C on Sun, 03/22/2015 - 12:06

This plan worked great to add a finishing touch to the front of our rustic barn themed bar project. Love it!

Built from Plan(s)
Estimated Cost
$5
Estimated Time Investment
An Hour or Two (0-2 Hours)
Finish Used
MinWax stain in Provincial
Recommended Skill Level
Beginner

Comments

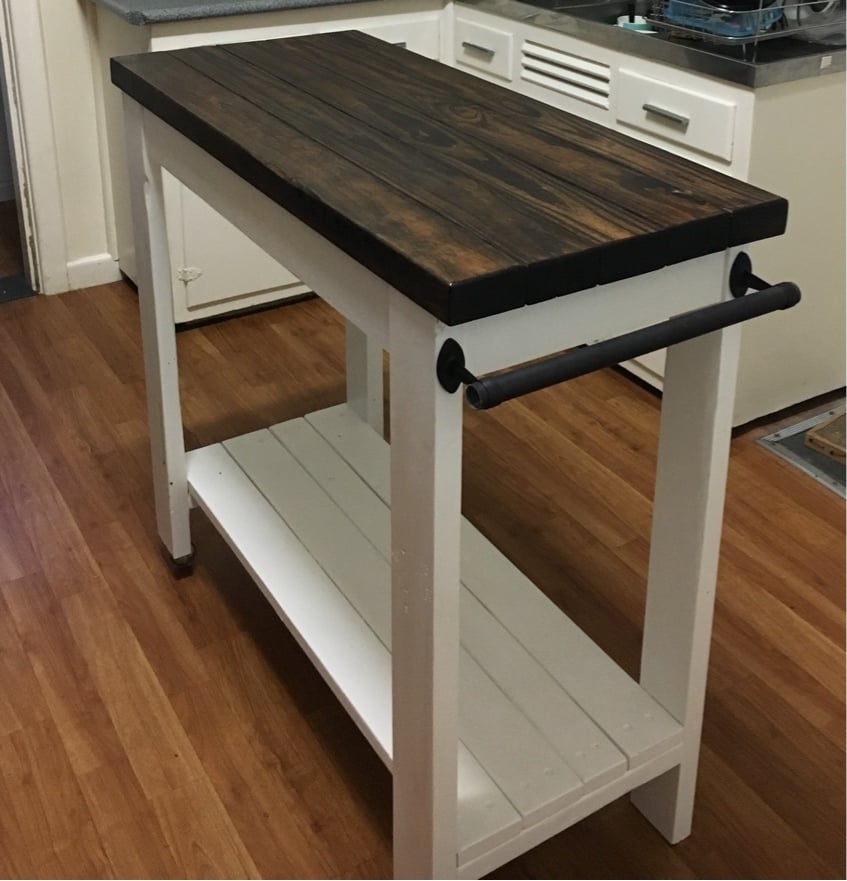
Kitchen Island Trolley

Submitted by naomi on Fri, 06/23/2017 - 08:29

Base was made from recycled timber and the top was made with new pine.

The rails were made from curtain rails. 

One end has wheels for easy moving.

Built from Plan(s)
Estimated Cost
$20
Estimated Time Investment
Day Project (6-9 Hours)
Finish Used
Enamel Paint and Brown Japan Stain
Recommended Skill Level
Intermediate

Comments

sis2795

Wed, 07/31/2019 - 16:58

I don’t understand the cost for this. The wood is going to cost significantly more than $20. Am I an idiot and don’t know where to get the wood from??? How does that equal out to $20?

In reply to by sis2795

naomi

Sun, 08/11/2019 - 22:41

Hi,

All of the base was made from free pallet Wood and the timber top was one line length of new timber which cost about $8 and the wheels I had in the shed and the curtain rail was a couple of dollars from Bunnings. The paint and stain I already had.

I hope this helps. 😀

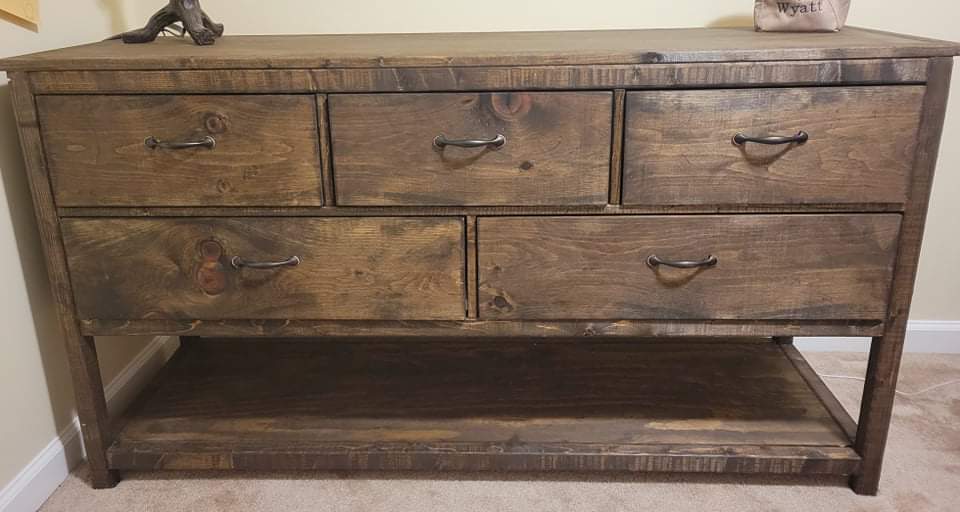
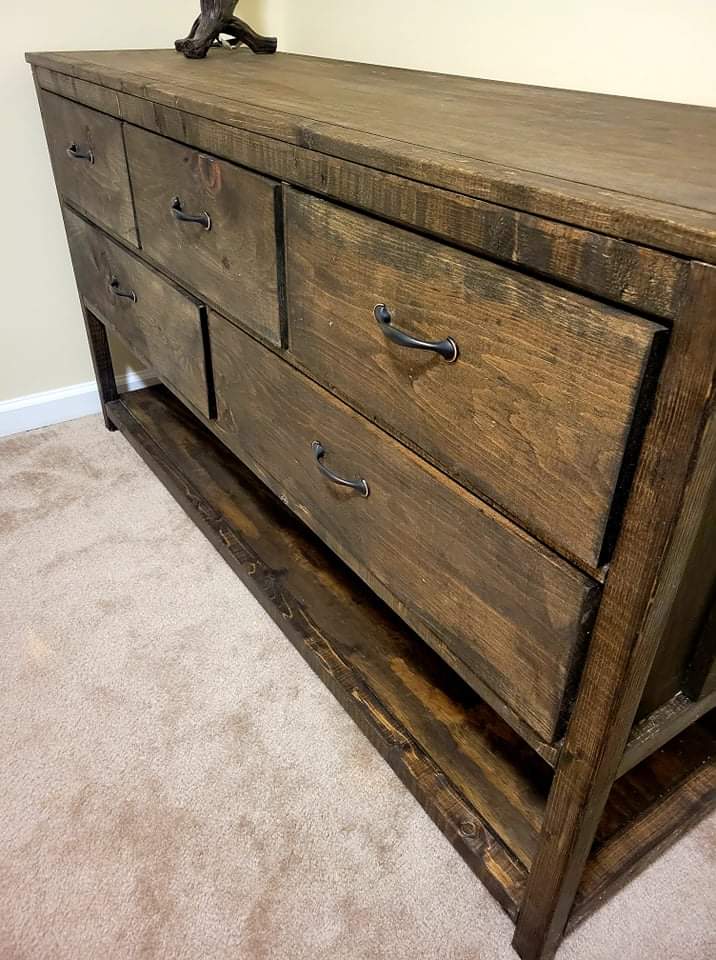
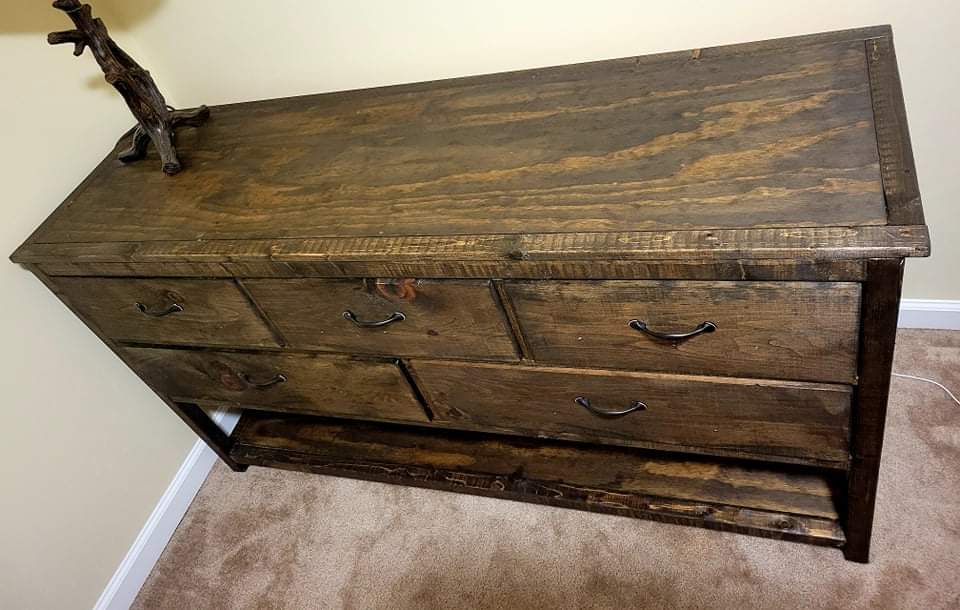
Kids dresser

Submitted by Lukilla on Wed, 09/29/2021 - 16:43

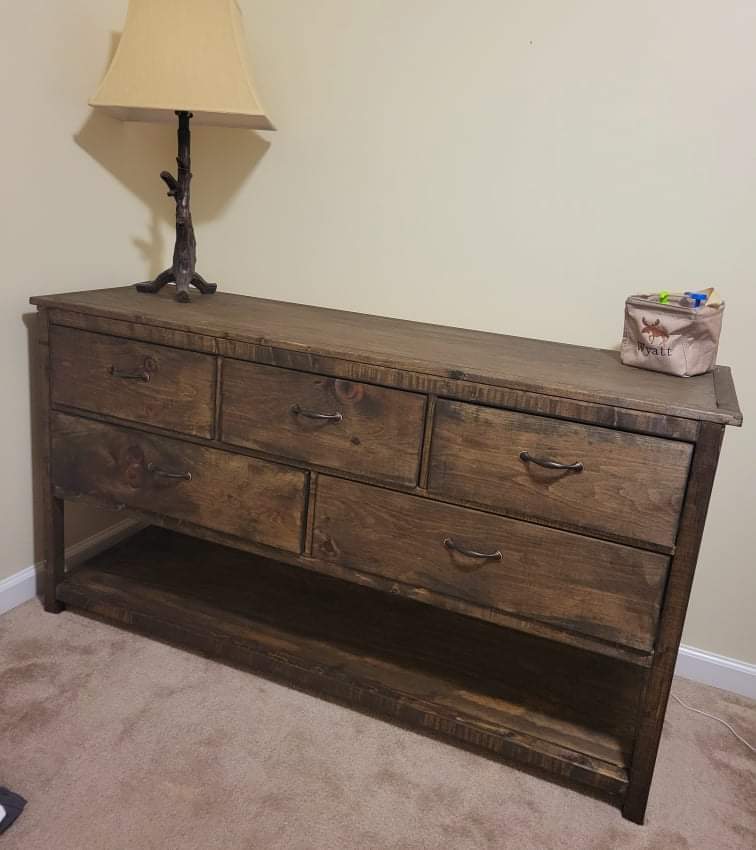
We found ourselves in need of upgrading our 4 year-olds dresser situation. This dresser answered the call and then some. We really like that it's short enough that he can access the top, and wide enough that the risk of it tipping over is fairly non-existent.

Jacobean finish to match his bed.

Comments

Modified tryde table with hidden storage

Submitted by ddietz12 on Sun, 05/05/2013 - 13:23

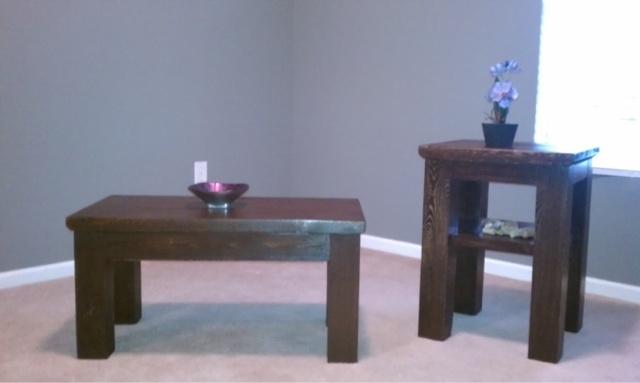
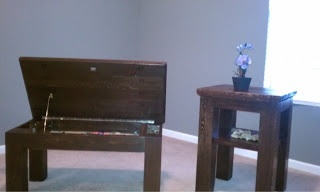
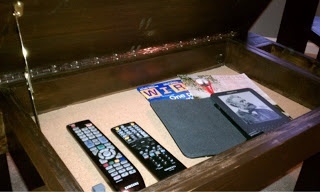
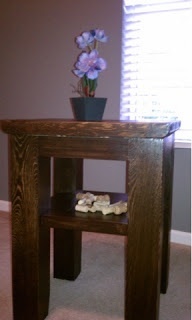
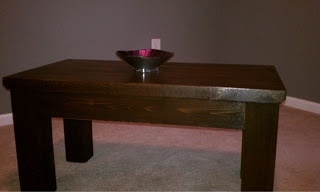
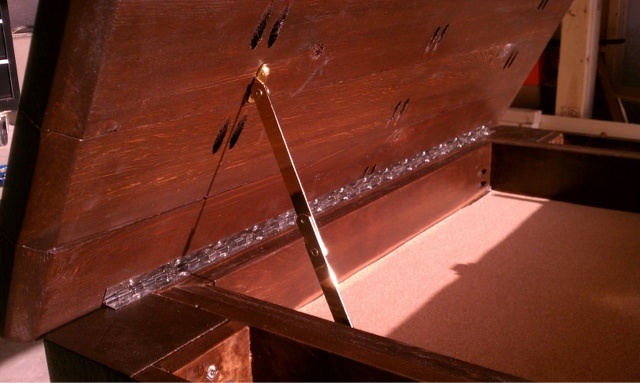
This table was built from my existing plan of a modified tryde coffee table. This was built with hidden flip-top storage and a matching side table. I hope you like it

Built from Plan(s)
Estimated Time Investment
Weekend Project (10-20 Hours)
Finish Used
Rustoleum dark walnut stain
Recommended Skill Level
Intermediate

Comments

Changing Table

My Grandson will be born any day now so I want to create a cozy environment for him. We still haven't put the bed up or added any of the decorations, but at least the changing table is finished smiley.  Painted walls, added new flooring, still have to customize the closet, but with Ana's help that will be a snap.  I would have never gotten the courage to do some of the builds I've done without Ana's site.  Thank You Ana!!!
Estimated Cost
Cost about $100
Estimated Time Investment
Weekend Project (10-20 Hours)
Finish Used
I used Minwax Sedona Red with a little Minwax Ebony in the mix to darken a little. Finish is Minwax Satin Poly.
Recommended Skill Level
Intermediate

Studio 82 Build: Computer Table

Submitted by Anonymous (not verified) on Sun, 06/25/2017 - 20:34

Farm style computer table. Simplistic so the design does not naturally attract your attention, but once you notice it, you notice the beautiful details. 

Of note, make sure you sand ALL corners before calling the project complete. Otherwise you'll be banging your knees and bleeding all the time. 

Estimated Cost
~$300
Estimated Time Investment
Day Project (6-9 Hours)
Finish Used
Epoxy finish for top. Rubbed varnish for the body.
Recommended Skill Level
Beginner

Antique white and brown top coffee table

Submitted by Derekmo on Tue, 05/07/2013 - 09:14

Thanks to Ana-White's easy coffee table plans I was able to build what I could not find for a decent price. Keep the plans coming!

Estimated Time Investment
Day Project (6-9 Hours)
Finish Used
Minwax dark walnut, valspar antique white in semi gloss, some distressing
Recommended Skill Level
Starter Project

Farmhouse Bed

Submitted by rosiejane on Sat, 03/28/2015 - 06:11

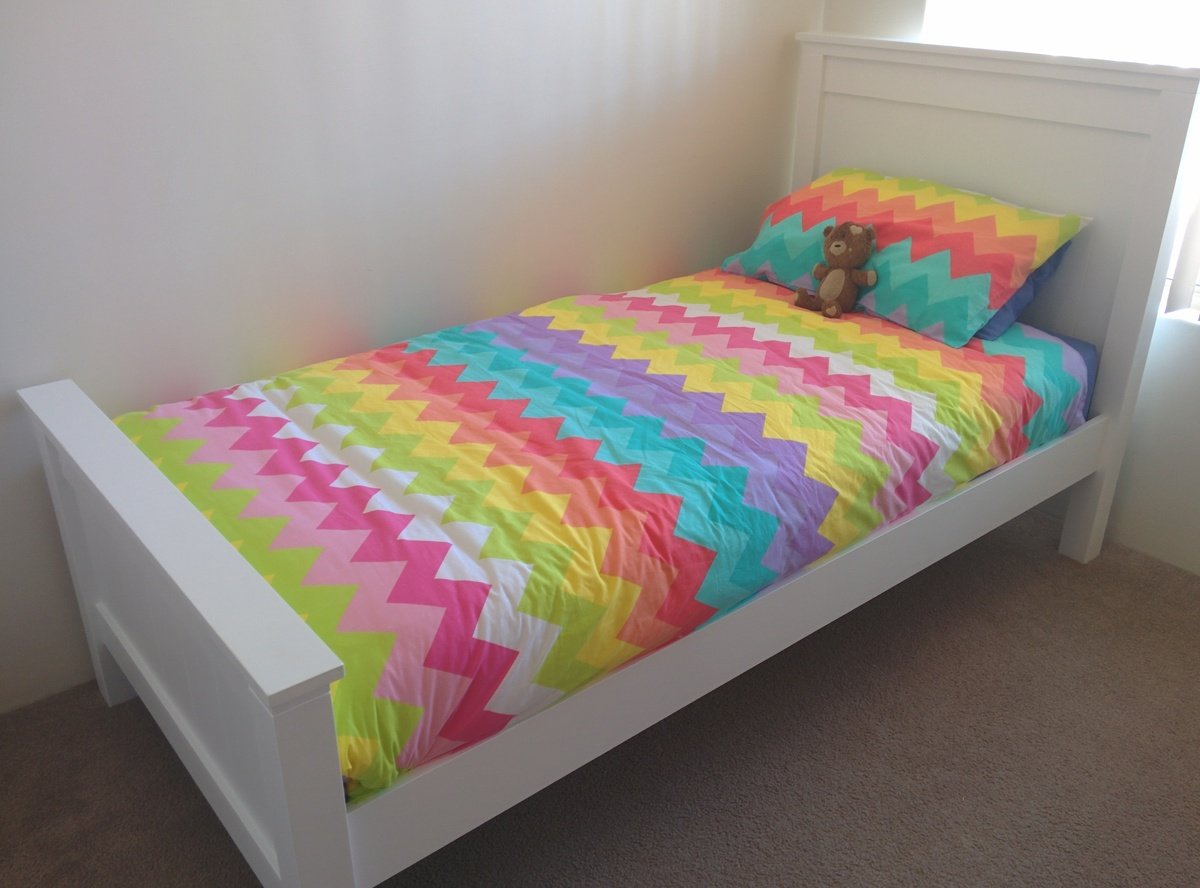
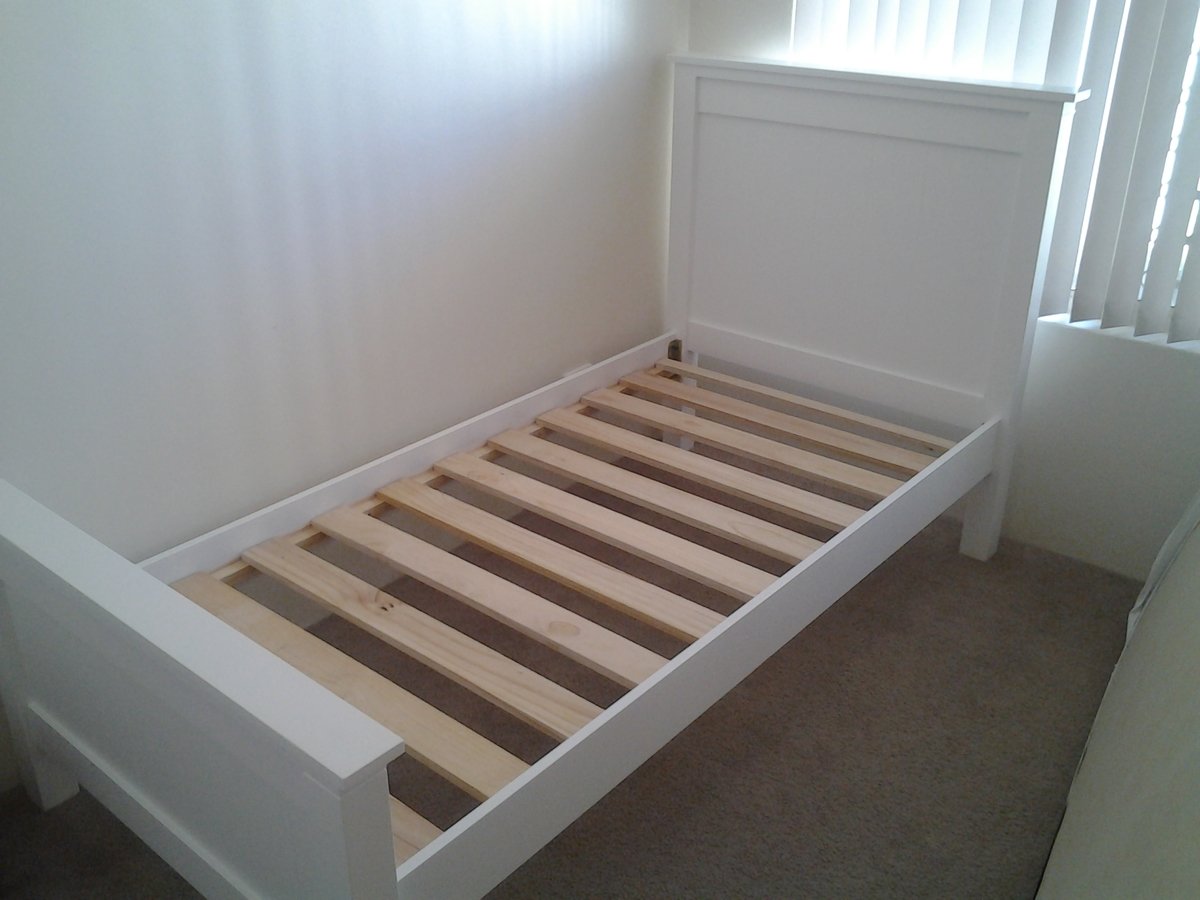
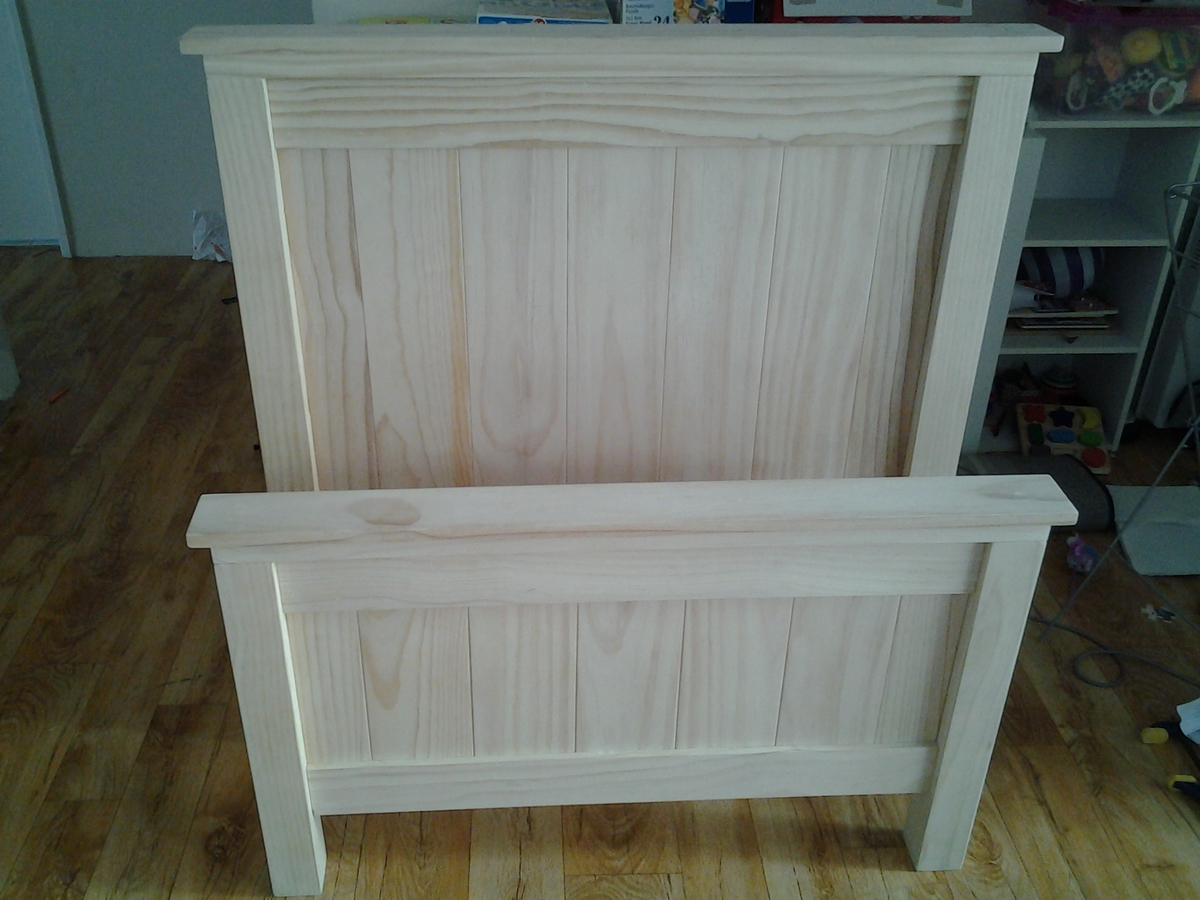
Finally our 3 year old is out of her cot. Her long awaited bed finally got made! It took about 3 days to build (working around naptimes and school runs) and another week to paint it. I modified the plans slightly, using 70mm posts (instead of 90mm). I used 19x140mm for the rails so that more of the mattress was exposed (so we don't hit the rails when we sit on the edge of the bed) and also took quite a bit off the height of the headboard. I used bed brackets which made joining the rails very easy. Very impressed with how it turned out. The plans were really easy to follow and easily modified to suit our needs. A matching doll bed is in the works and her older siblings are also putting their orders in...

Built from Plan(s)
Estimated Cost
AUD$250 (timber and bed brackets) I already had the paint.
Estimated Time Investment
Week Long Project (20 Hours or More)
Finish Used
I rounded off all sharp edges. This gave a nice definition to the head and footboard panels. I used gap filler in all the cracks and this made everything nice and smooth for painting. 1 coat primer and 4 coats acrylic semi-gloss - vivid white. I used a 100mm foam roller.
Recommended Skill Level
Intermediate

Comments

britt.barth

Mon, 08/03/2015 - 17:16

we made a toddler size bed a few years ago recreating this farmhouse plan,  and are wanting to make the regular twin size now. I LOVE your changes. Any chance you could post a picture 1) a close up of the bracket (I'm wanting to do the same), and 2) how it looked from the inside, but pointing to the footboard? I want to copy YOUR bed! :D

Cheers!

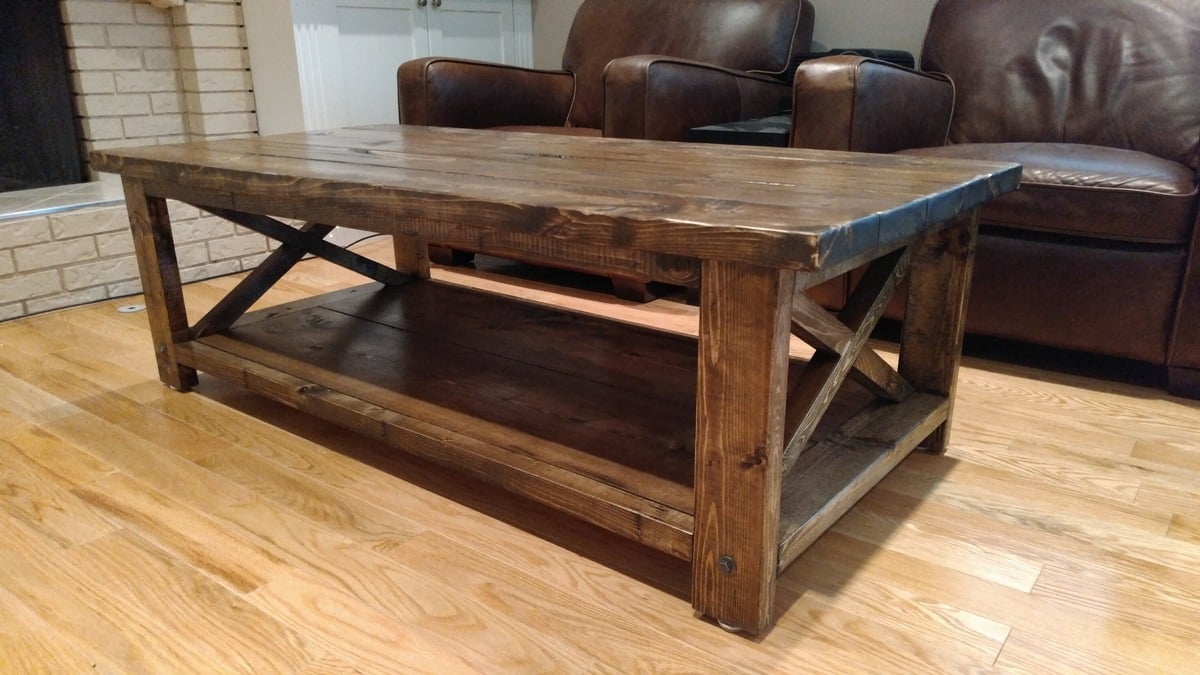
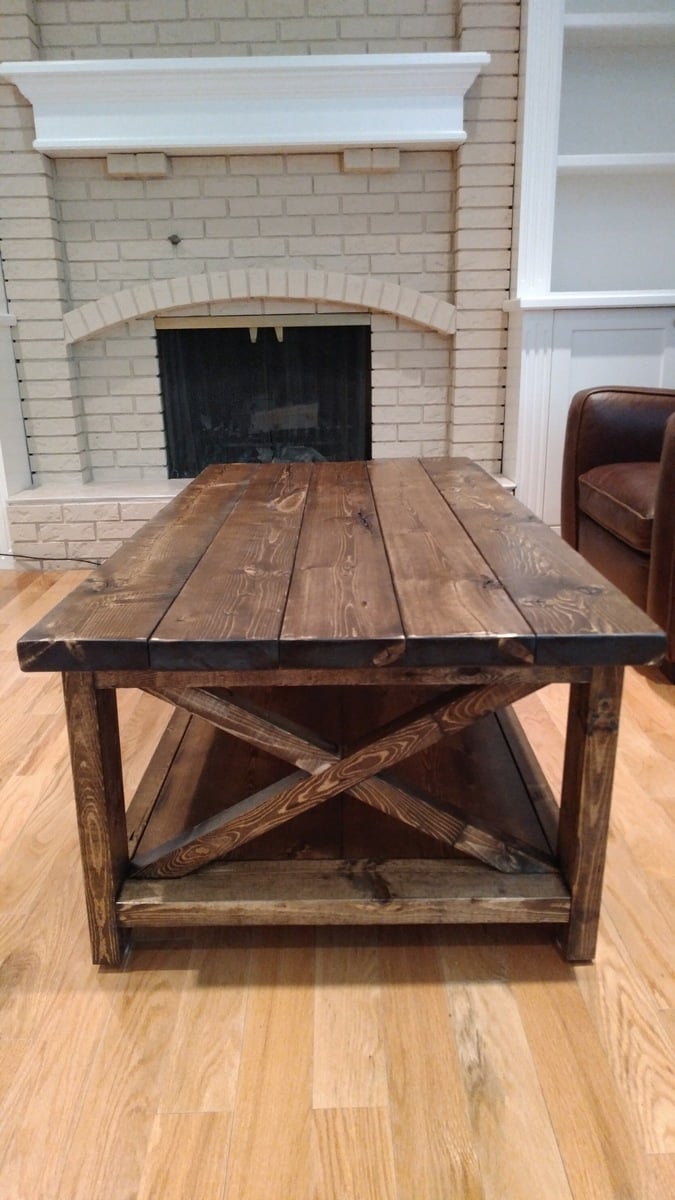
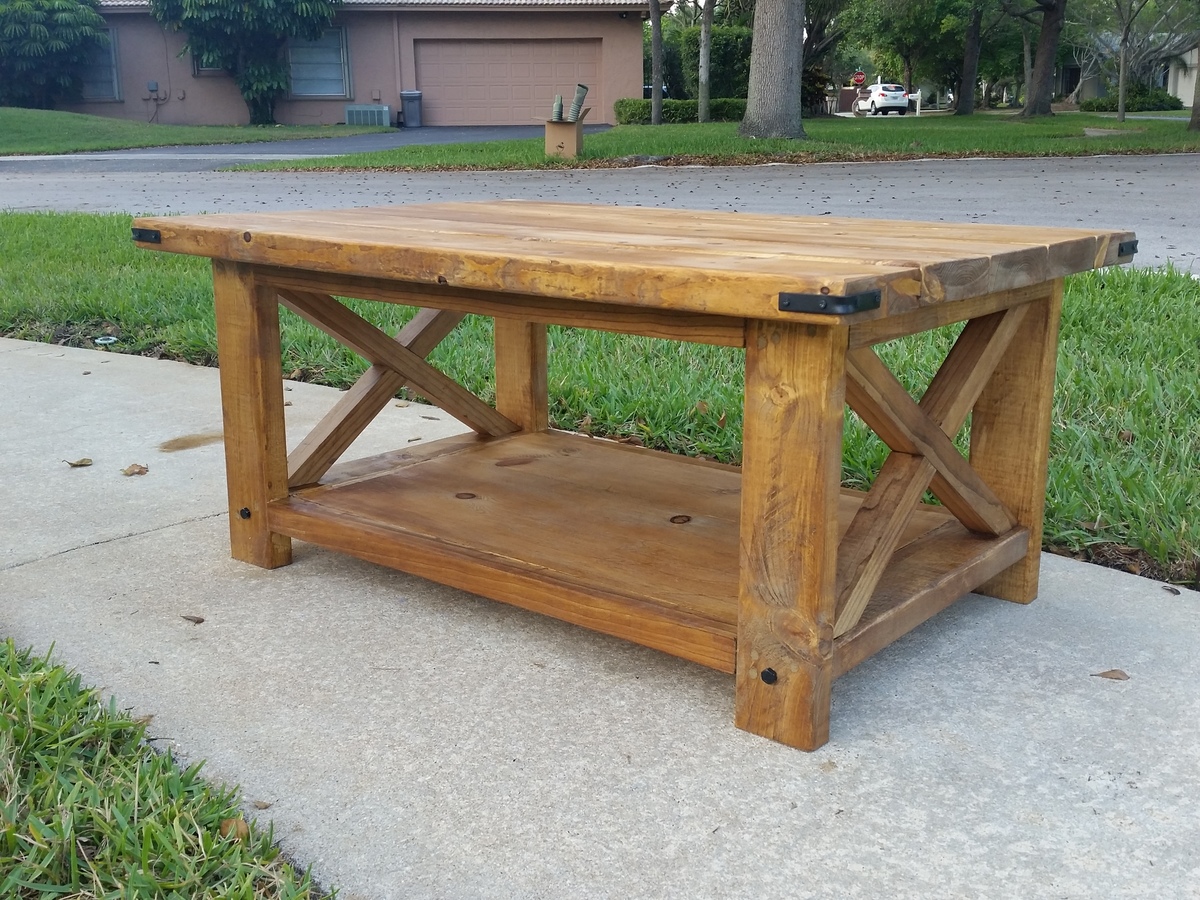
58" Rustic X Coffee Table

Submitted by halsy on Wed, 06/28/2017 - 16:29

This was my first ever DIY project and I have to say I even impressed myself!

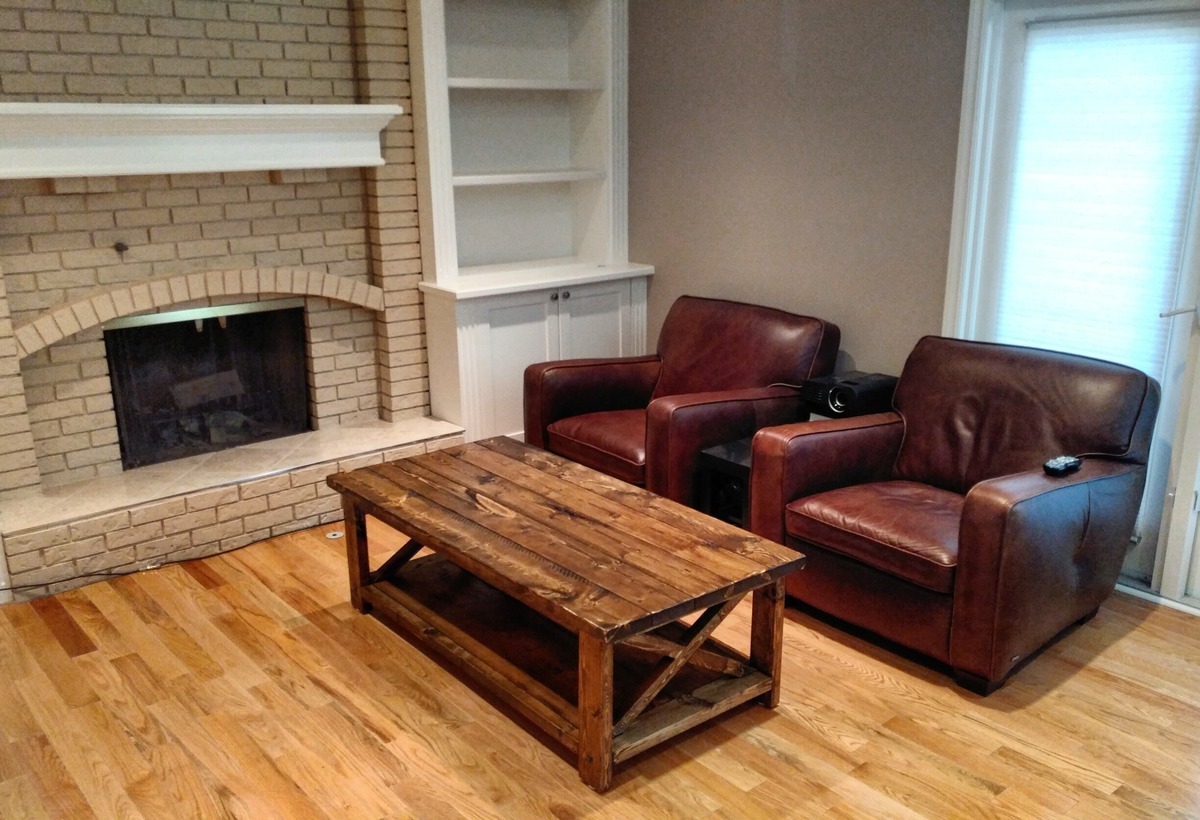
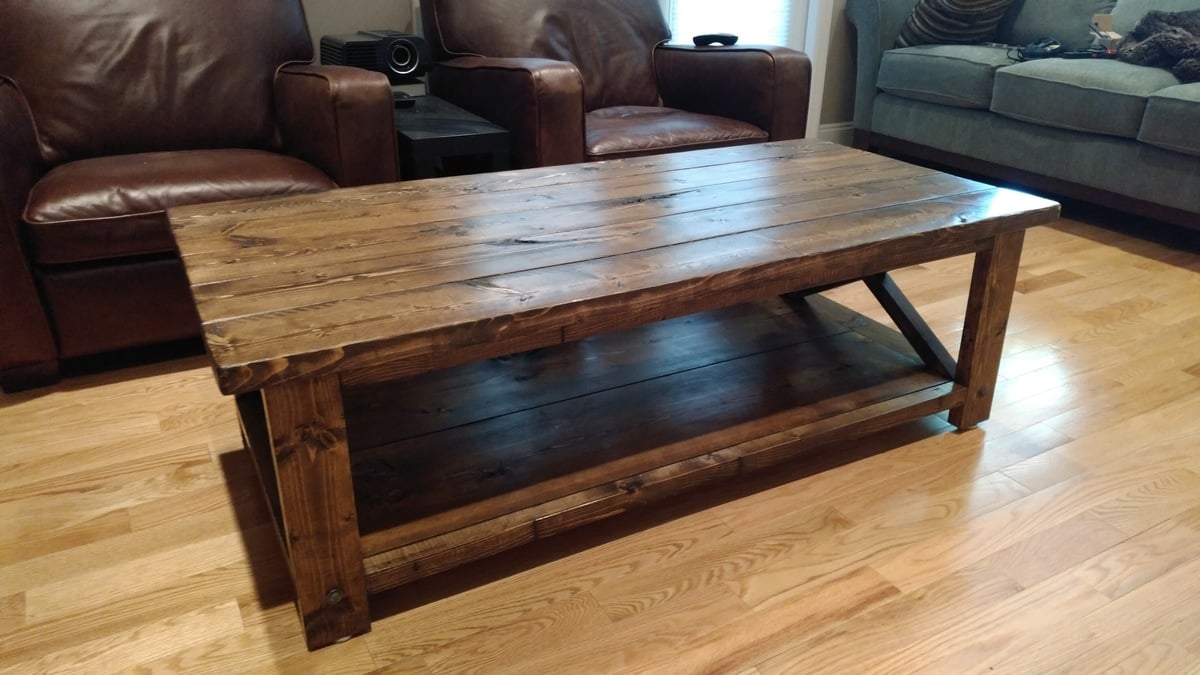
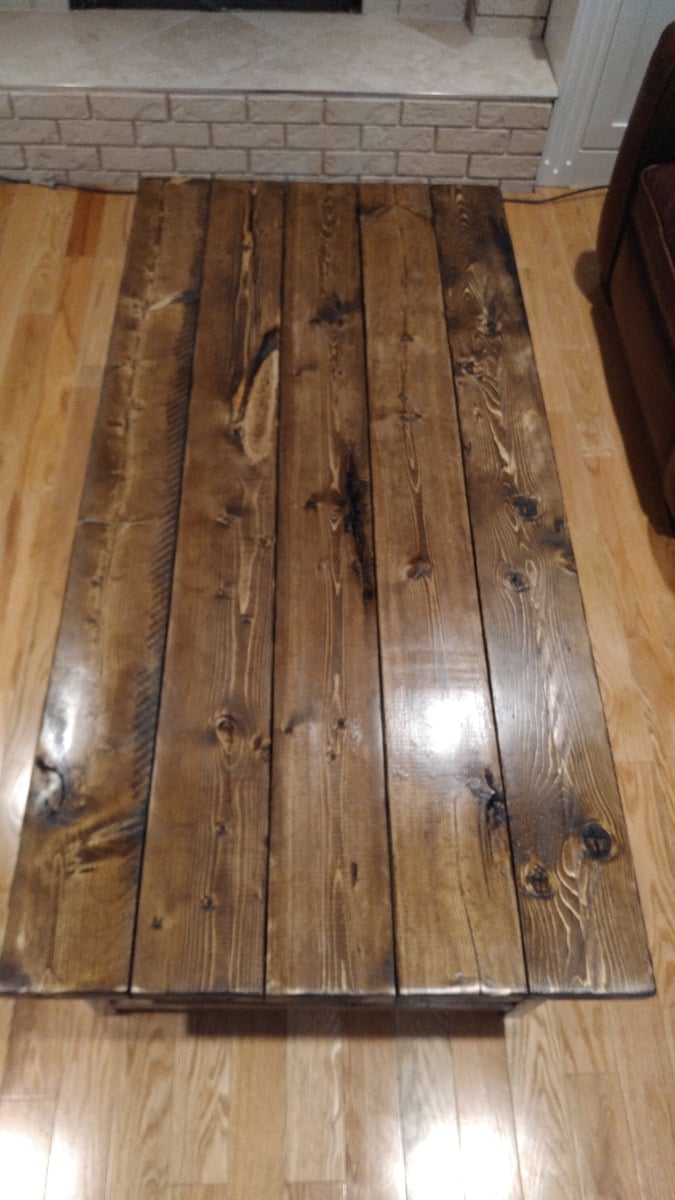
I modified the plans slightly as I wanted a longer version of this table.  Despite lengthening the table, I found a way to use less wood.  Instead of the 5 - 2x6 studs suggested, I bought 3 - 2x6x10s.  To accomodate the longer tabletop, I needed to extend the side trim and 1x12, but at 58" top length, these cuts were 47", meaning no extra wood was required (just a little less room for error).

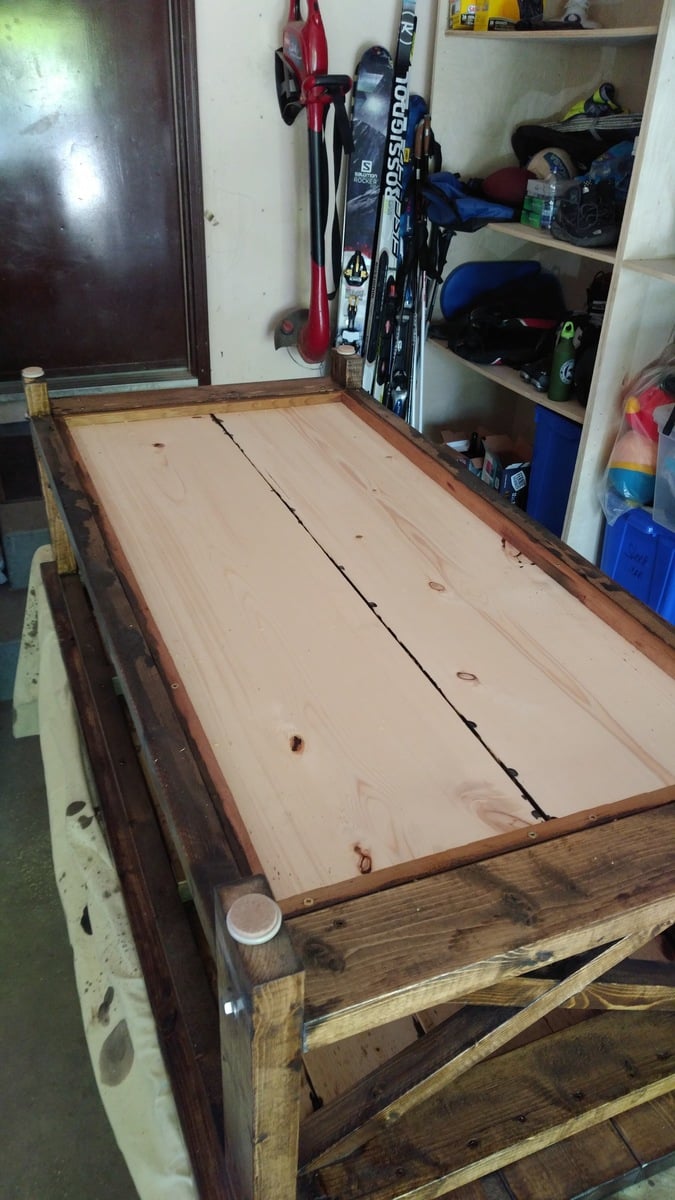
I also used 3/4" cedar strips to mount the 1x12 since I do not have a pocket hole tool (see last photo).

For the finish, I applied Minwax wood conditioner, Dark Walnut for 14 minutes, then Classic Grey on top of the still wet walnut stain for another 10 minutes, followed by two coats of the Fast-Drying Satin Poly.

Built from Plan(s)
Estimated Cost
$60-70 CAD
Estimated Time Investment
Weekend Project (10-20 Hours)
Finish Used
Minwax Wood Conditioner
Minwax Dark Walnut
Minwax Classic Grey
Minwax Fast-Drying Satin Poly
Recommended Skill Level
Beginner

Planter Boxes

Submitted by Anonymous (not verified) on Mon, 10/04/2021 - 12:53

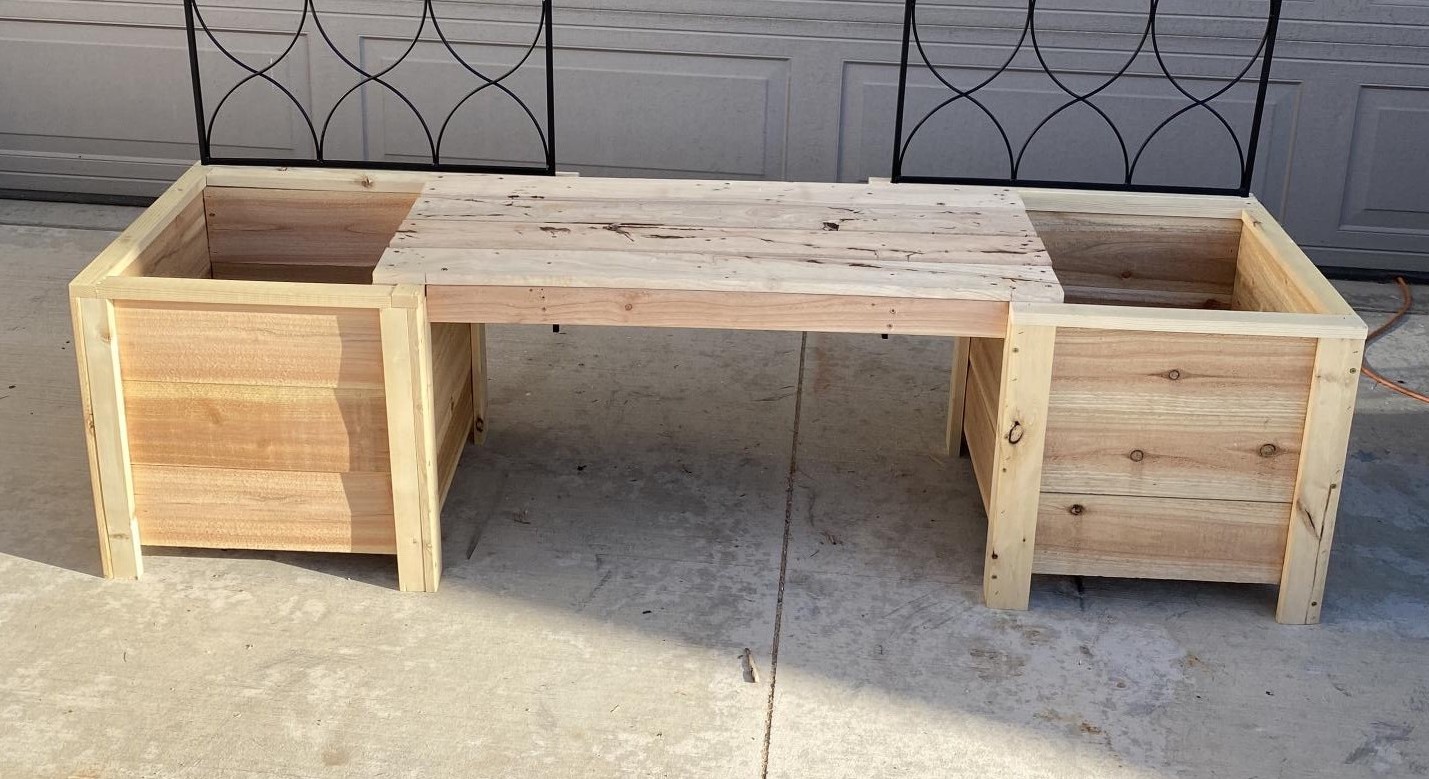
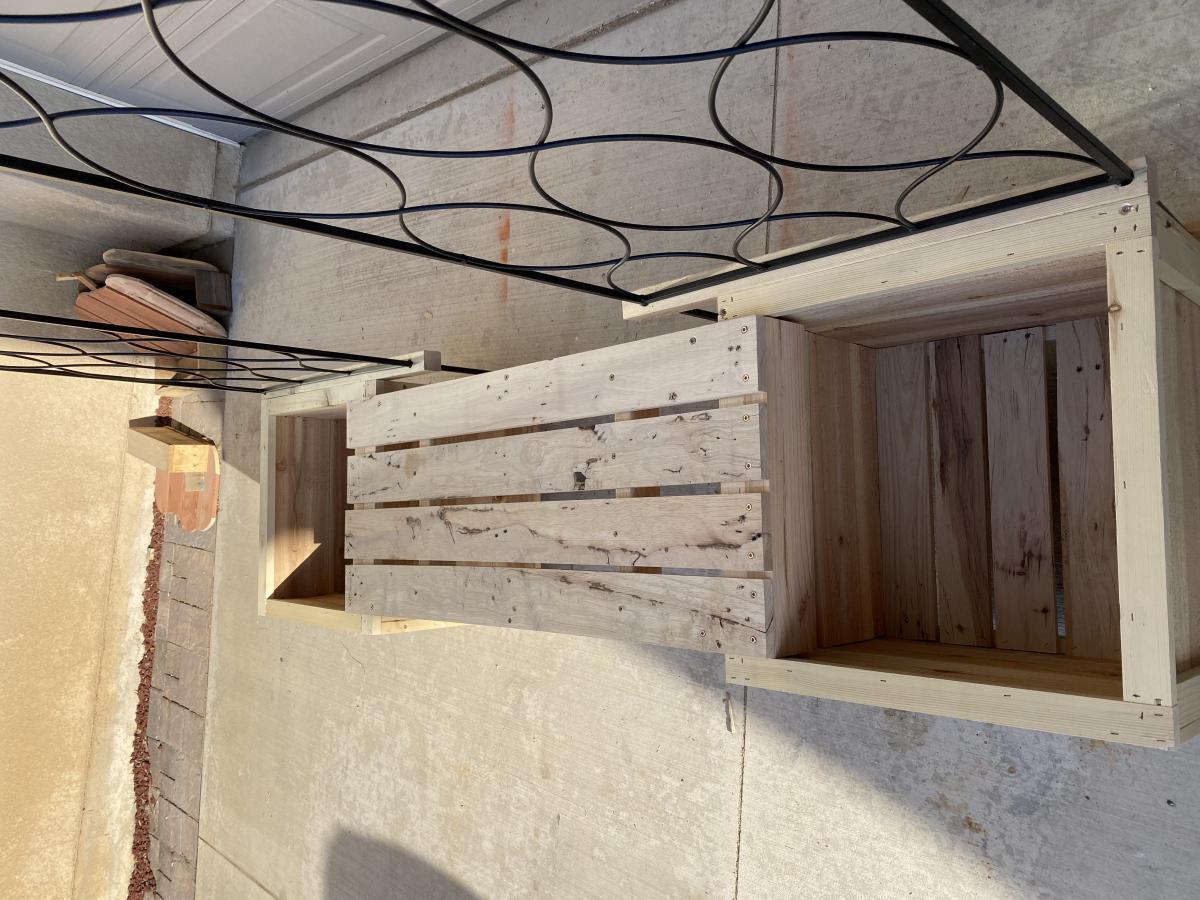
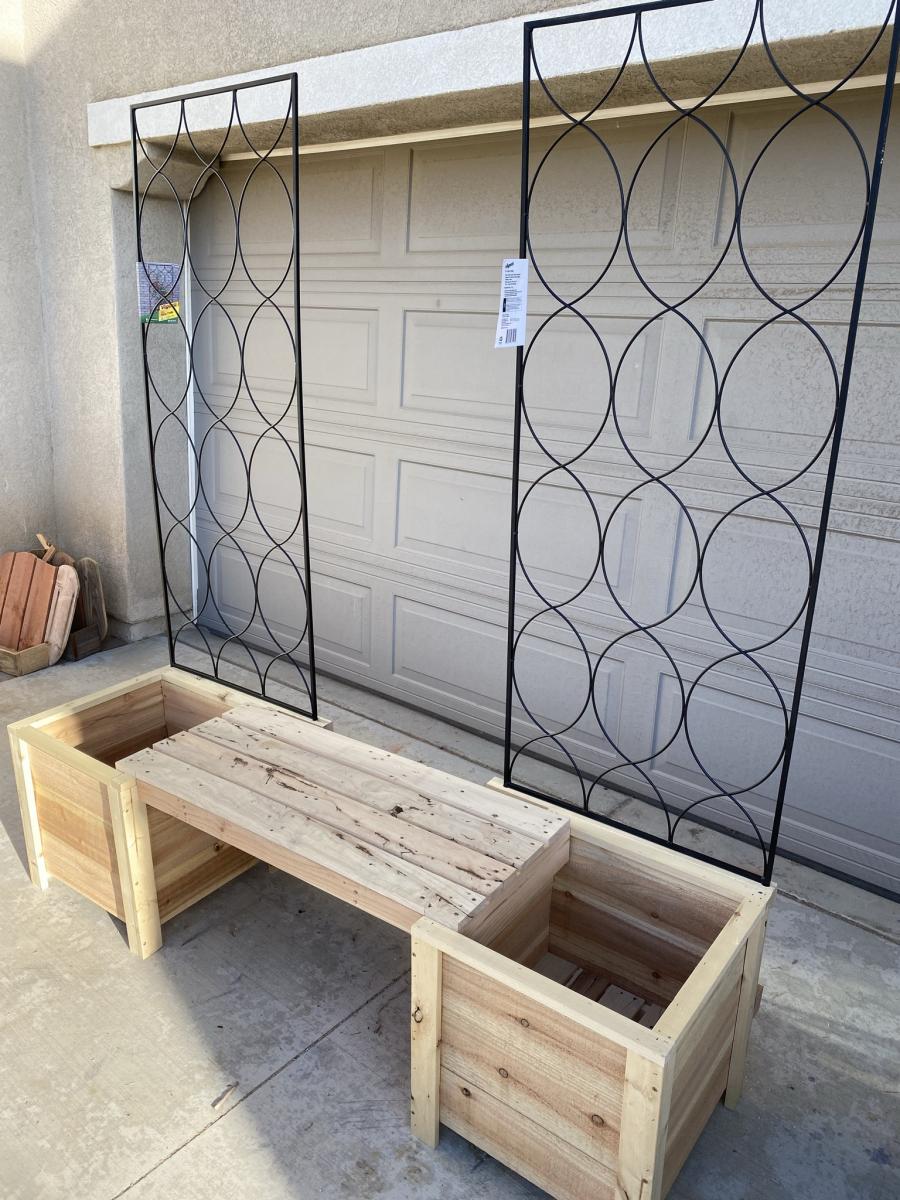
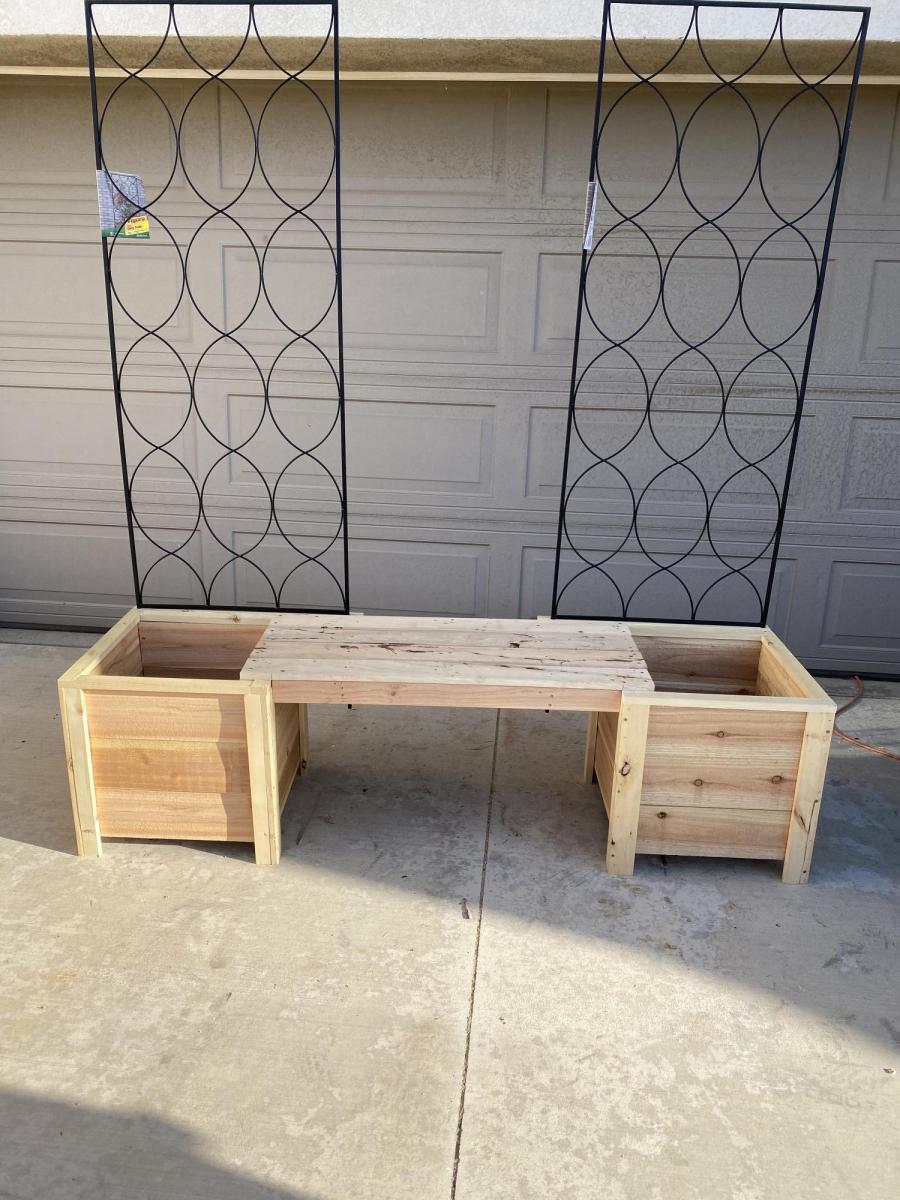
I made the boxes from plans, but added bench and trellis from my own design.

Built from Plan(s)

Comments

Seasonal And Holiday

Gardening Shelf

Submitted by MMTruncale on Thu, 05/09/2013 - 08:23

I wanted a gift for my mom. Something special and unique I think she would really like. Once on a guest post Ana posted a jewelry holder using a board, and some mismatched knobs.

My mom likes to garden. She works so hard on her back yard, and spends a lot of her time there. How could I make this outside proof? A few Pinterest finds later I found my answer: Water Spigots.

Voila! This is what we came up with.

** It's not going to hang by a string. It will be attached to her fence. This is just for picture purposes.

http://www.countryliving.com/homes/makeovers/fast-makeover-projects?src…

Estimated Cost
$20
Estimated Time Investment
An Hour or Two (0-2 Hours)
Finish Used
No finish. We wanted a rustic look. It came out perffect.
Recommended Skill Level
Starter Project

Coffee table

Submitted by gonzoo07 on Mon, 03/30/2015 - 12:05

Thanks for the plans. Love the table

Estimated Cost
$60.00
Estimated Time Investment
Weekend Project (10-20 Hours)
Finish Used
Min Wax
Recommended Skill Level
Beginner

Comments

Hall tree

Submitted by Anonymous (not verified) on Sat, 07/01/2017 - 09:11

Great Plans! Thank you so much. My first go at a piece of "fine" furniture and I couldn't be happier with how it turned out.

Built from Plan(s)
Estimated Cost
About $150-175 I used poplar and a slightly more expensive stain though
Estimated Time Investment
Weekend Project (10-20 Hours)
Finish Used
General finishes Gel stain (the best) new pine color
Recommended Skill Level
Beginner

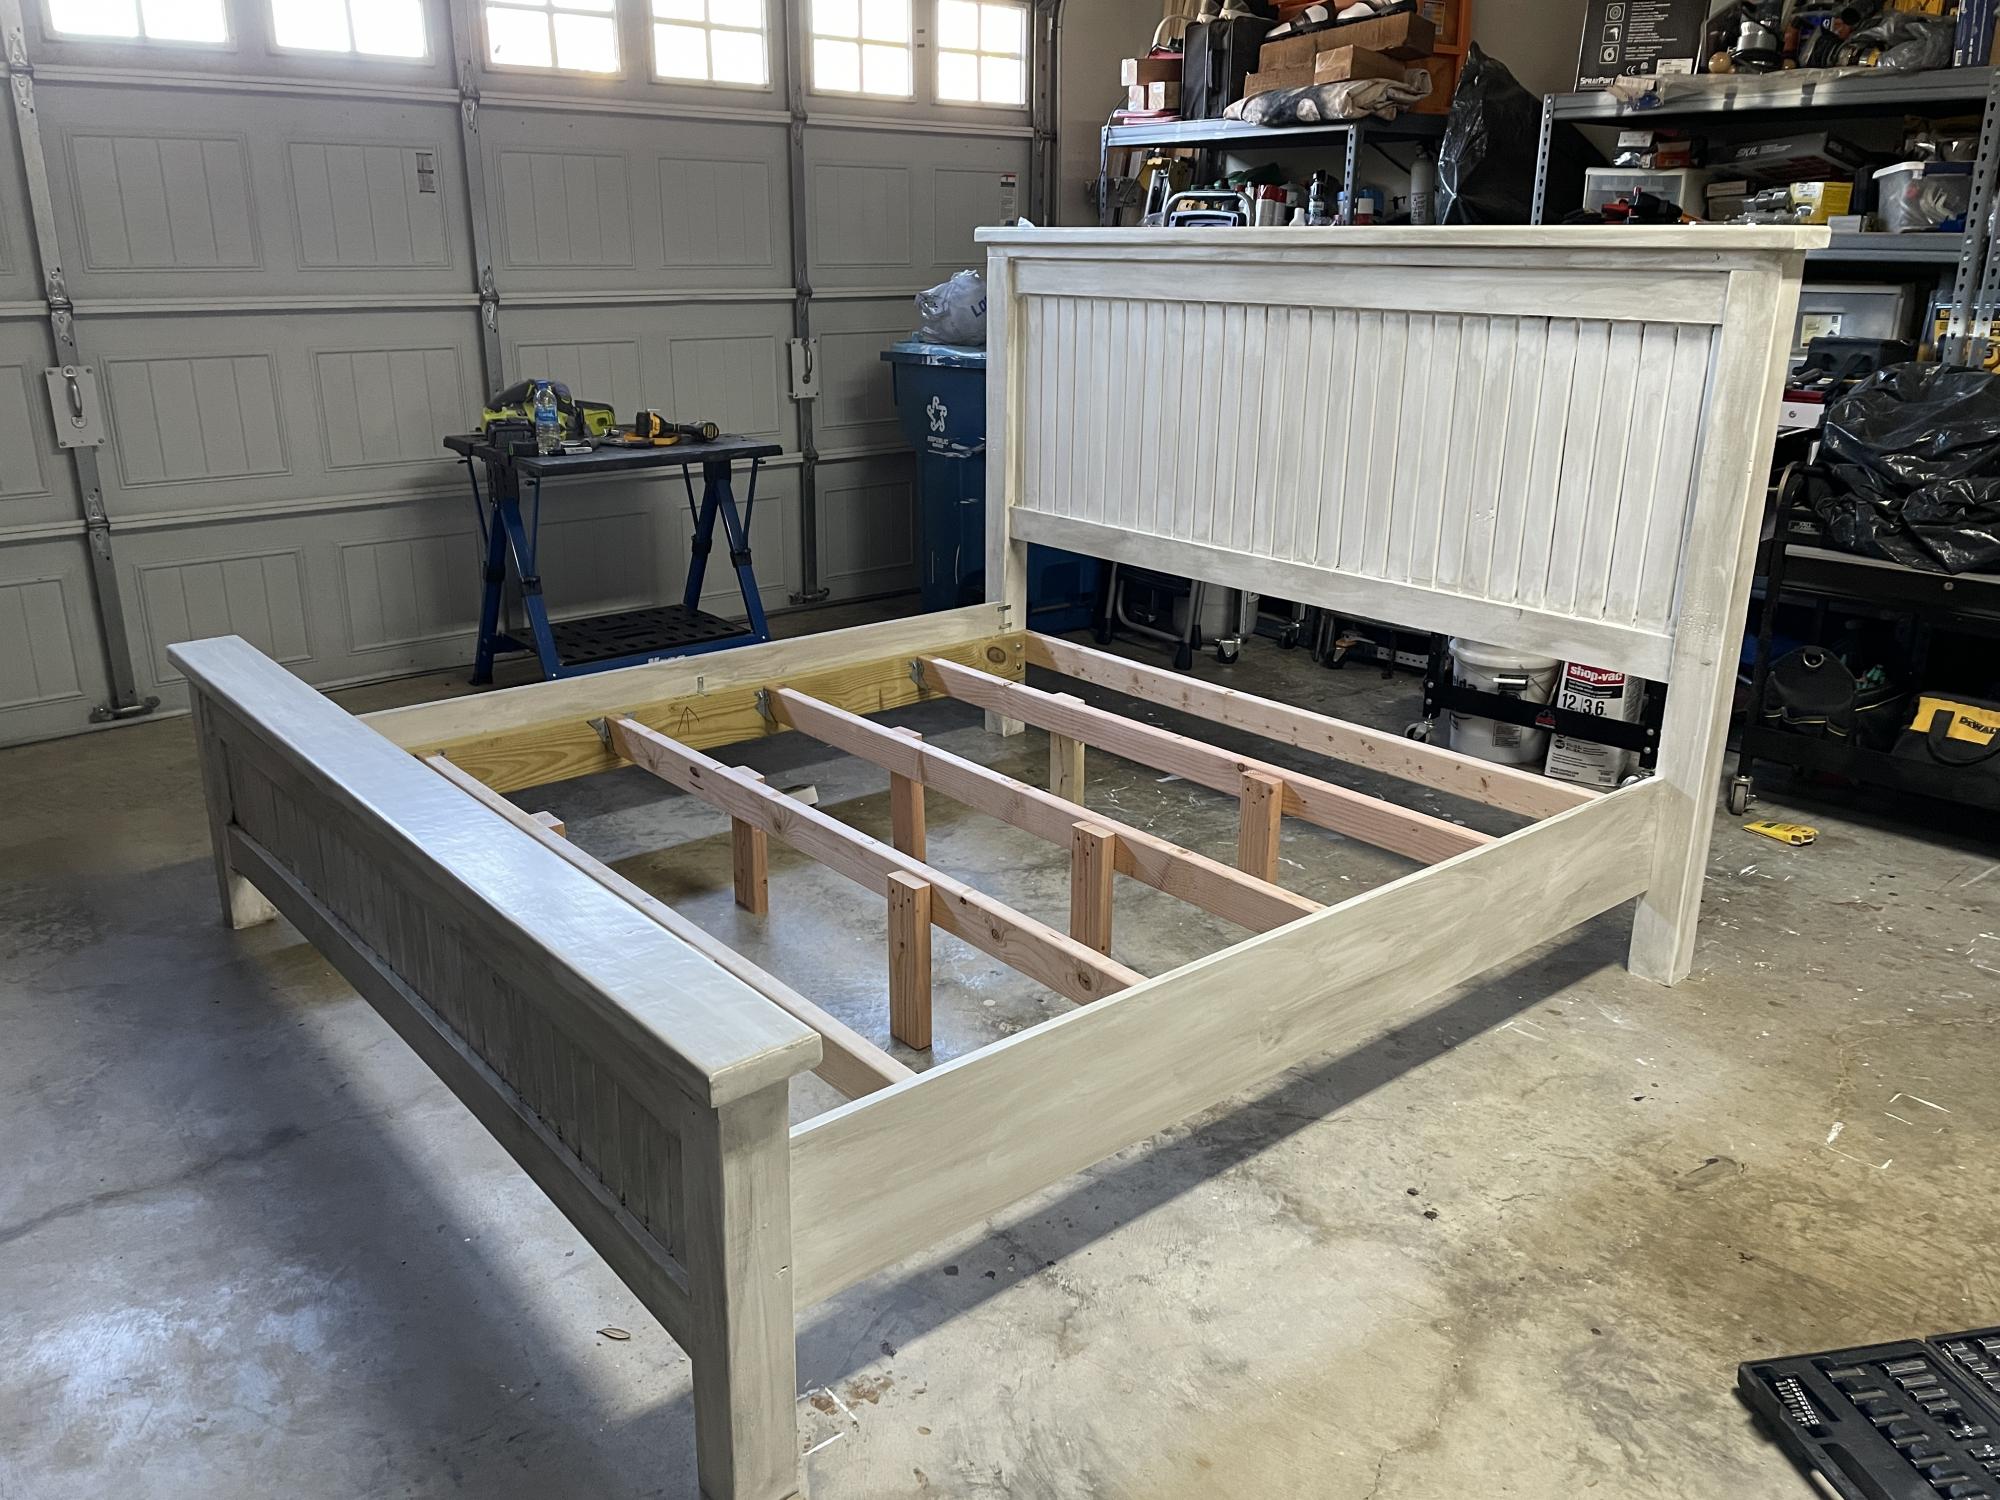
Daughter in law wanted a new bed

Submitted by Anonymous (not verified) on Mon, 10/04/2021 - 13:14

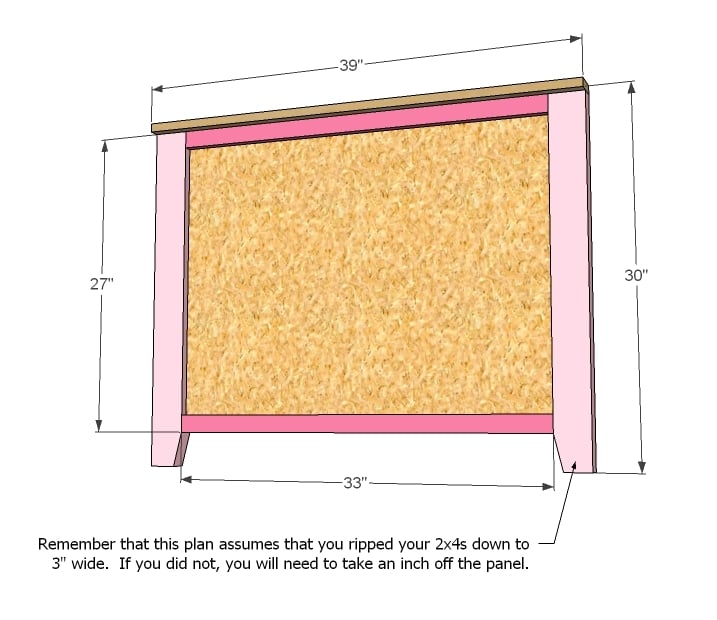
Used single V-Groove on the head and footboard.
Modified the bed slats to be easily removed
Modified the sideboards for easy removal.

Comments