Community Brag Posts
Scrapwood wooden houses
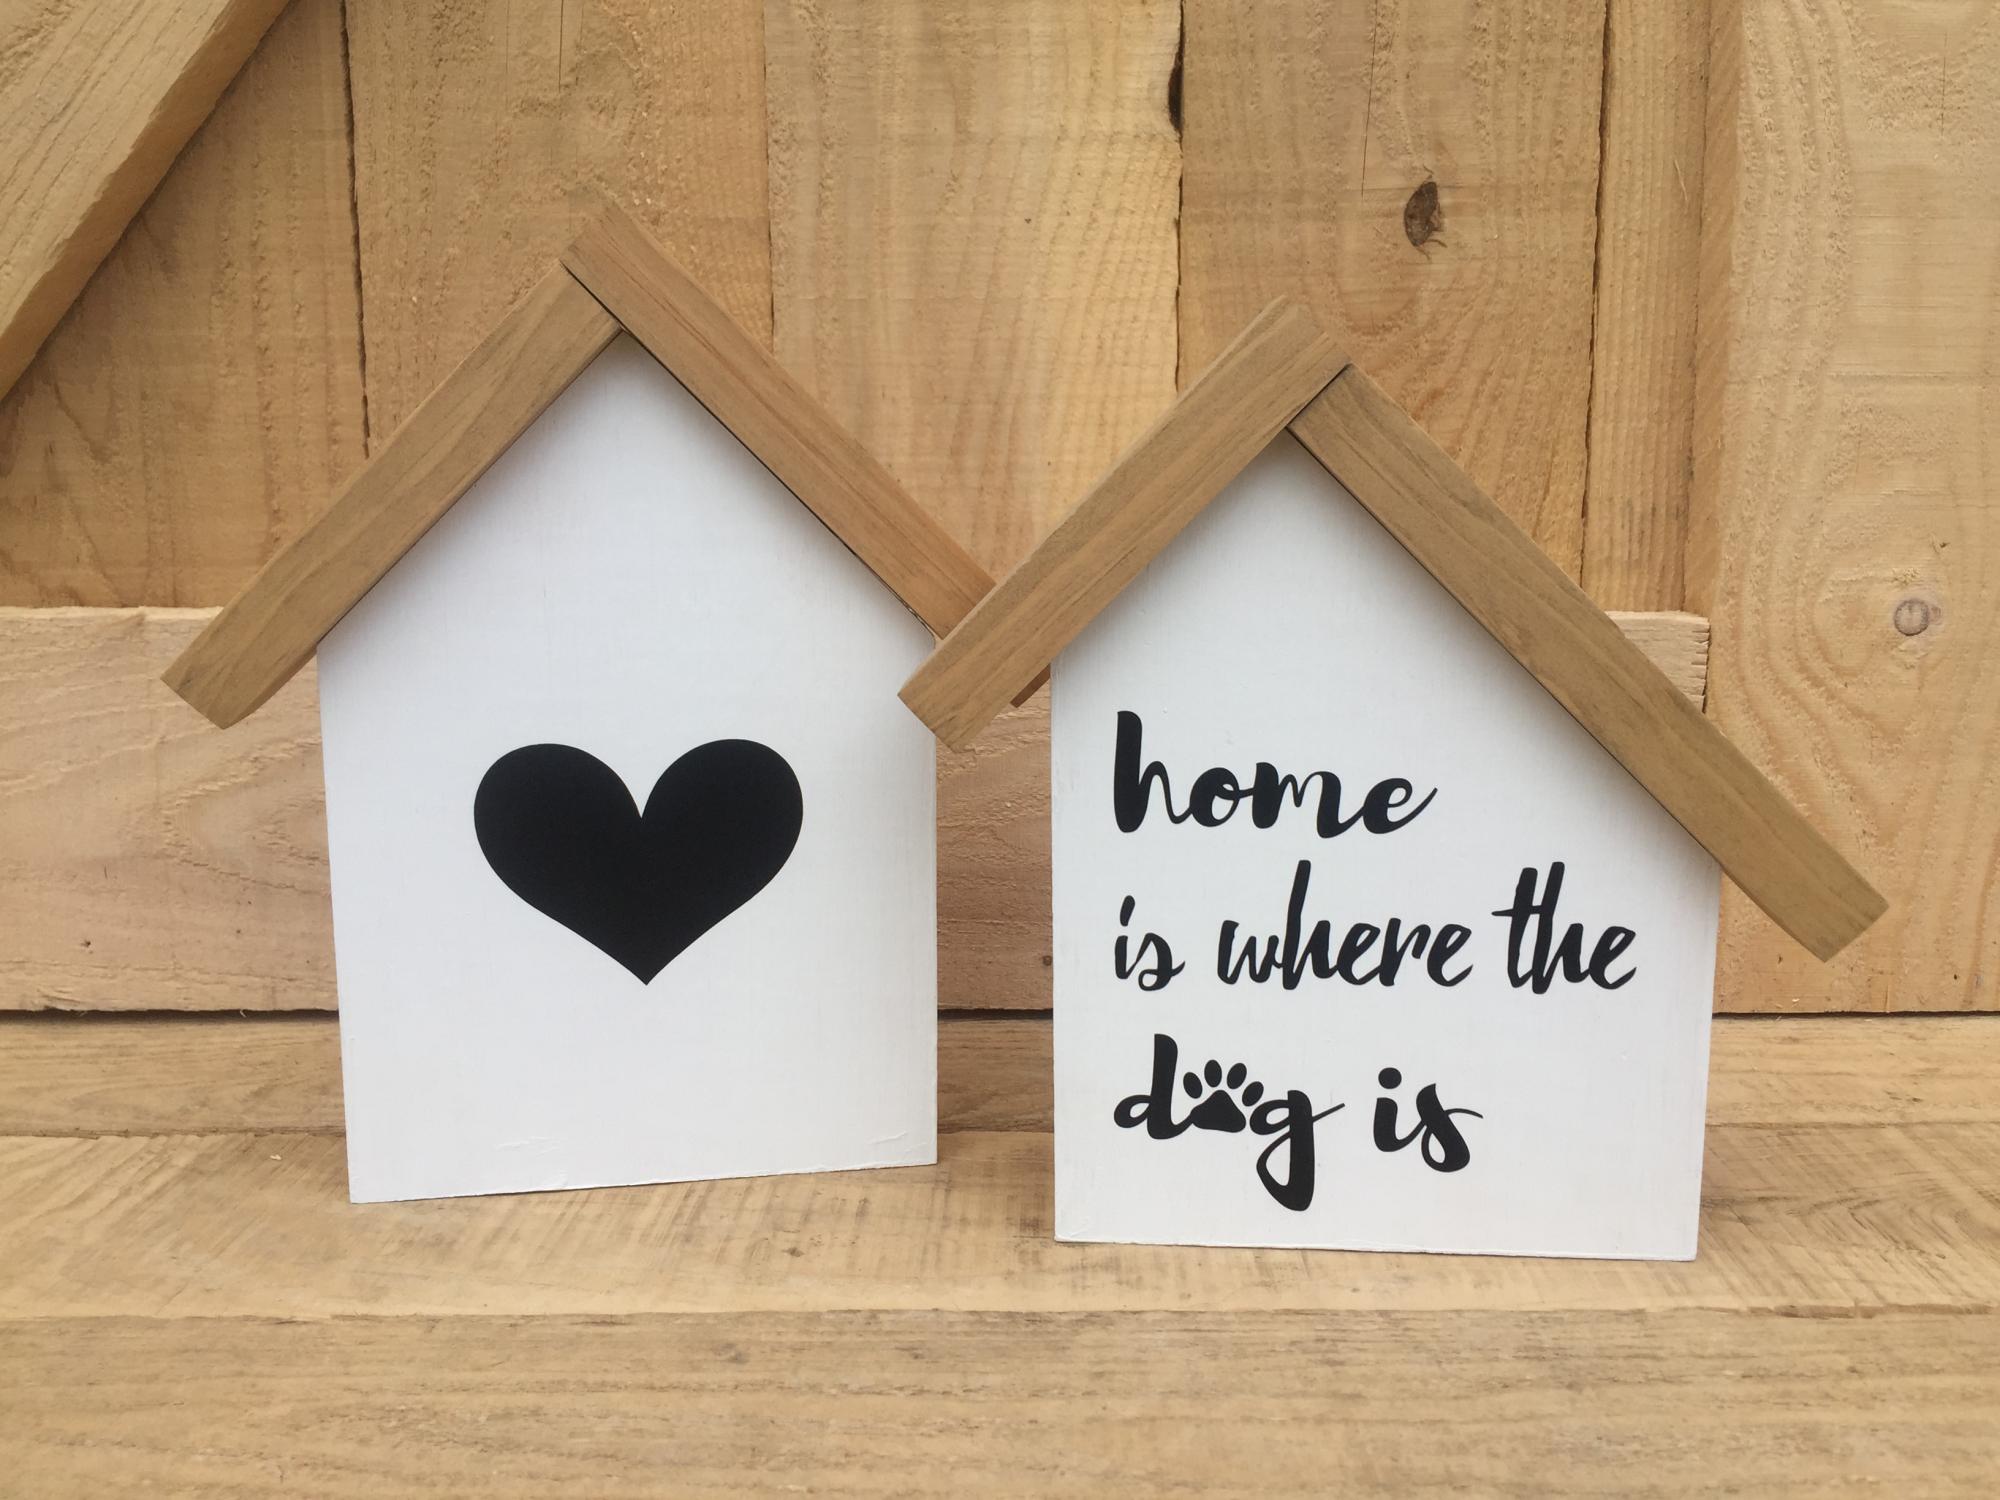
I built these cute little houses with scrap wood. They are easy to customize!
I used 1x6 boards for the house and 1x2 boards for the roof. I attached the roof with bradnails.
Estimated Cost
0$
Estimated Time Investment
Afternoon Project (3-6 Hours)
Finish Used
Paint and stain
Recommended Skill Level
Starter Project
Fireplace with Floating Shelves
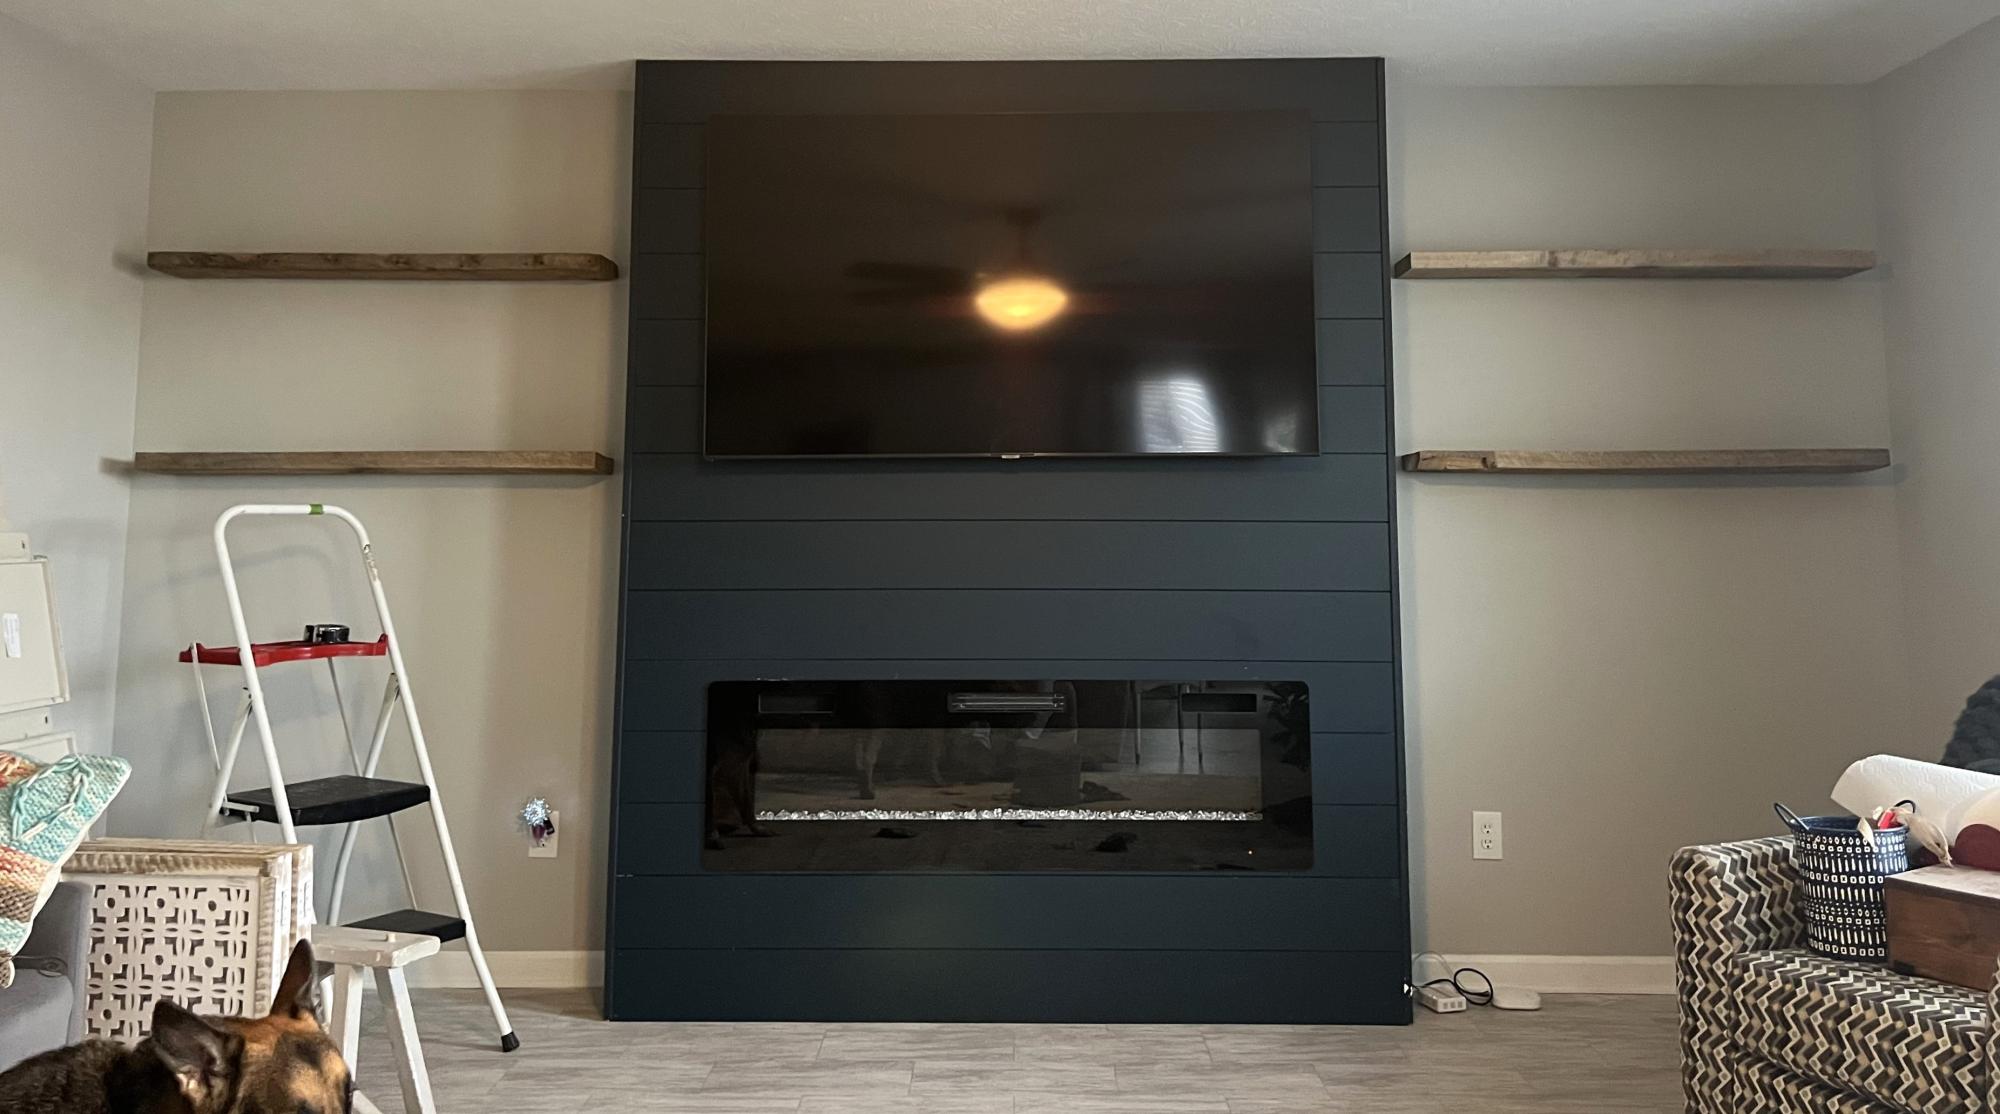
This is our fireplace / tv bump out. Used your plans modified a little. Decided on a navy blue shiplap. The shelves are made from oak barn wood we got from a torn down dairy barn.
Bdunn2354
Built from Plan(s)
After school storage
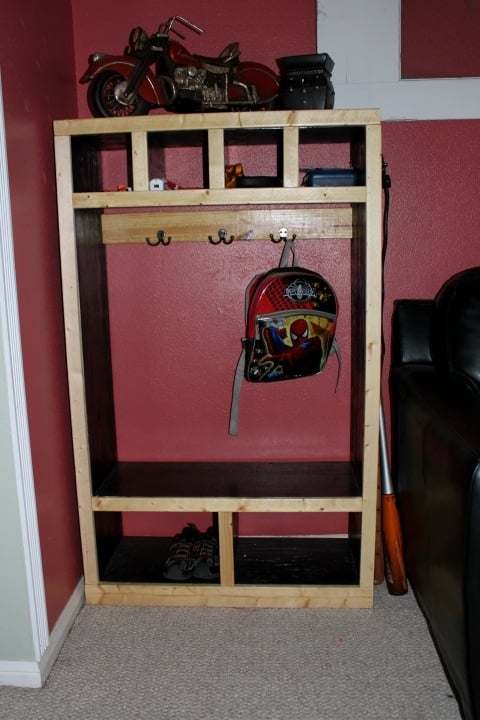
I loved the idea of the charging cubbies and the storage area in this plan!
I needed something a little shorter, for my three younger boys to be able to reach the hooks, though. I modified the plans a bit for this. I also opted out on the drawers and just left the cubbies open. With my boys, the more simple something is to use, the more likely they will make the effort ;)
I added a 2x4 to the back for hooks. I wanted the wall color to show through the back, so I didn't use a back piece.
Built from Plan(s)
Estimated Time Investment
Afternoon Project (3-6 Hours)
Finish Used
valspar black and natural wood with satin poly
Recommended Skill Level
Beginner
Comments
Thu, 08/30/2012 - 22:28
Dimensions please?
I am very new to building. I was looking all over the site for something exactly like this. Is there any way you could post your demensions? I know I should be able to figure something out, but yours looks perfect. I love it! Great job and thanks for sharing your project!
In reply to Dimensions please? by kimara
Fri, 08/31/2012 - 09:07
Dimensions
Kimara,
I'm so glad you like this! It has worked out perfect! Even my four year old uses his hooks!
The dimensions had to be specific for myself. Otherwise, it wouldn't have worked in the game room.
31 1/2"(L) x 12 3/4"(W) x 51"(H)
Let me know if you have anymore questions...
God Bless :)
Mon, 08/19/2019 - 03:43
You have shared a nice idea…
You have shared a nice idea to use this storage and make it more useful after school. The topic of this post is very interesting and I am enjoying while reading it. SEO Dubai is a leading company providing services related to marketing to the clients from all over the world.
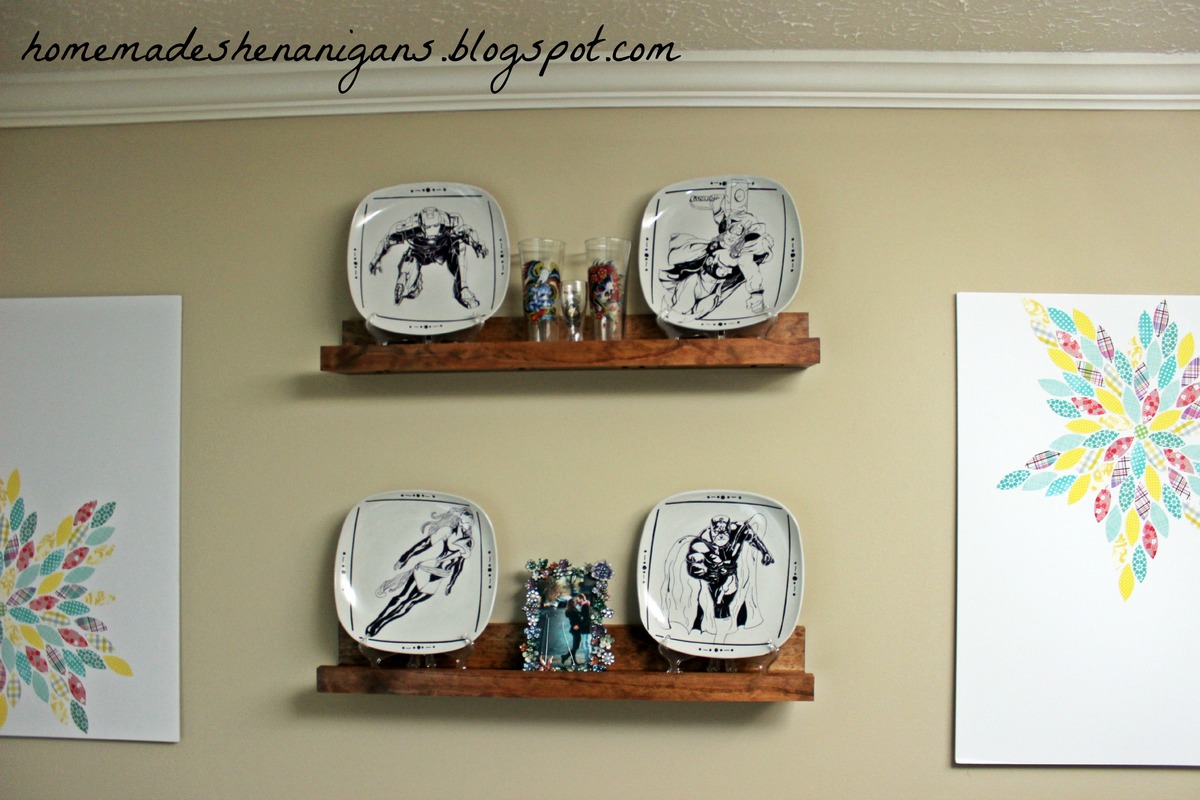
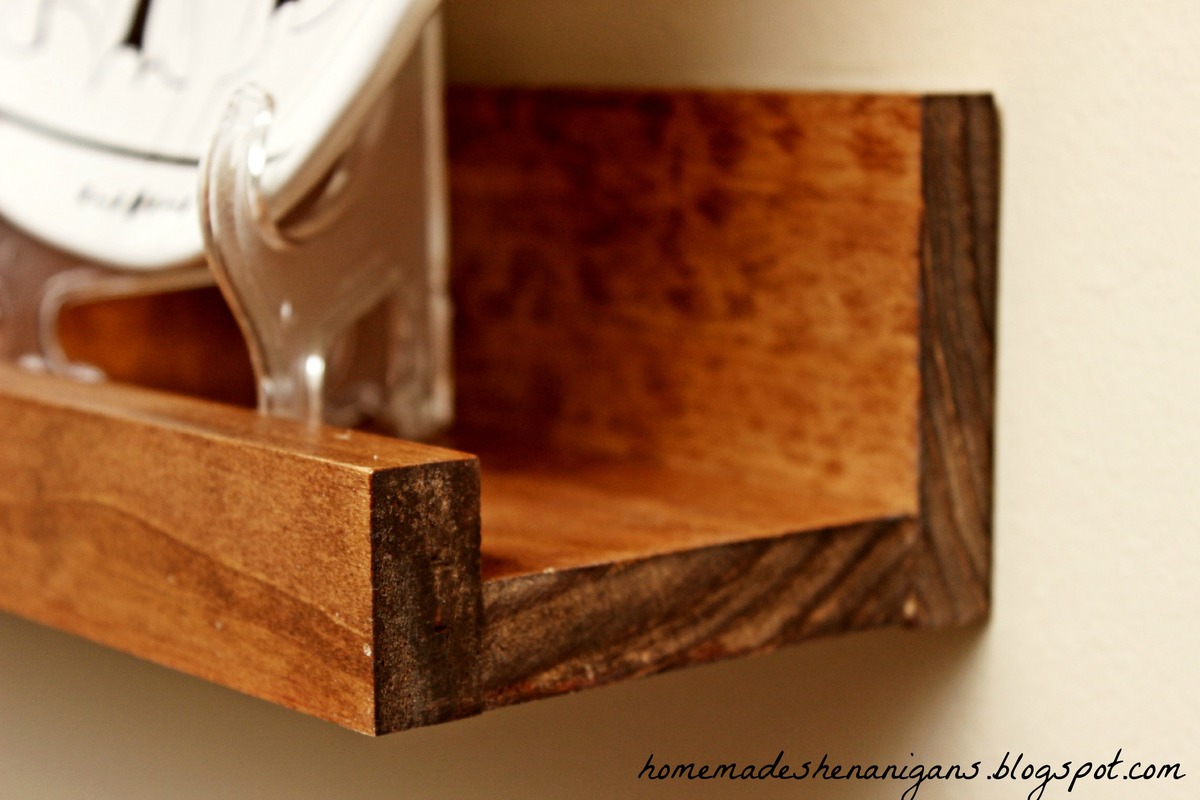
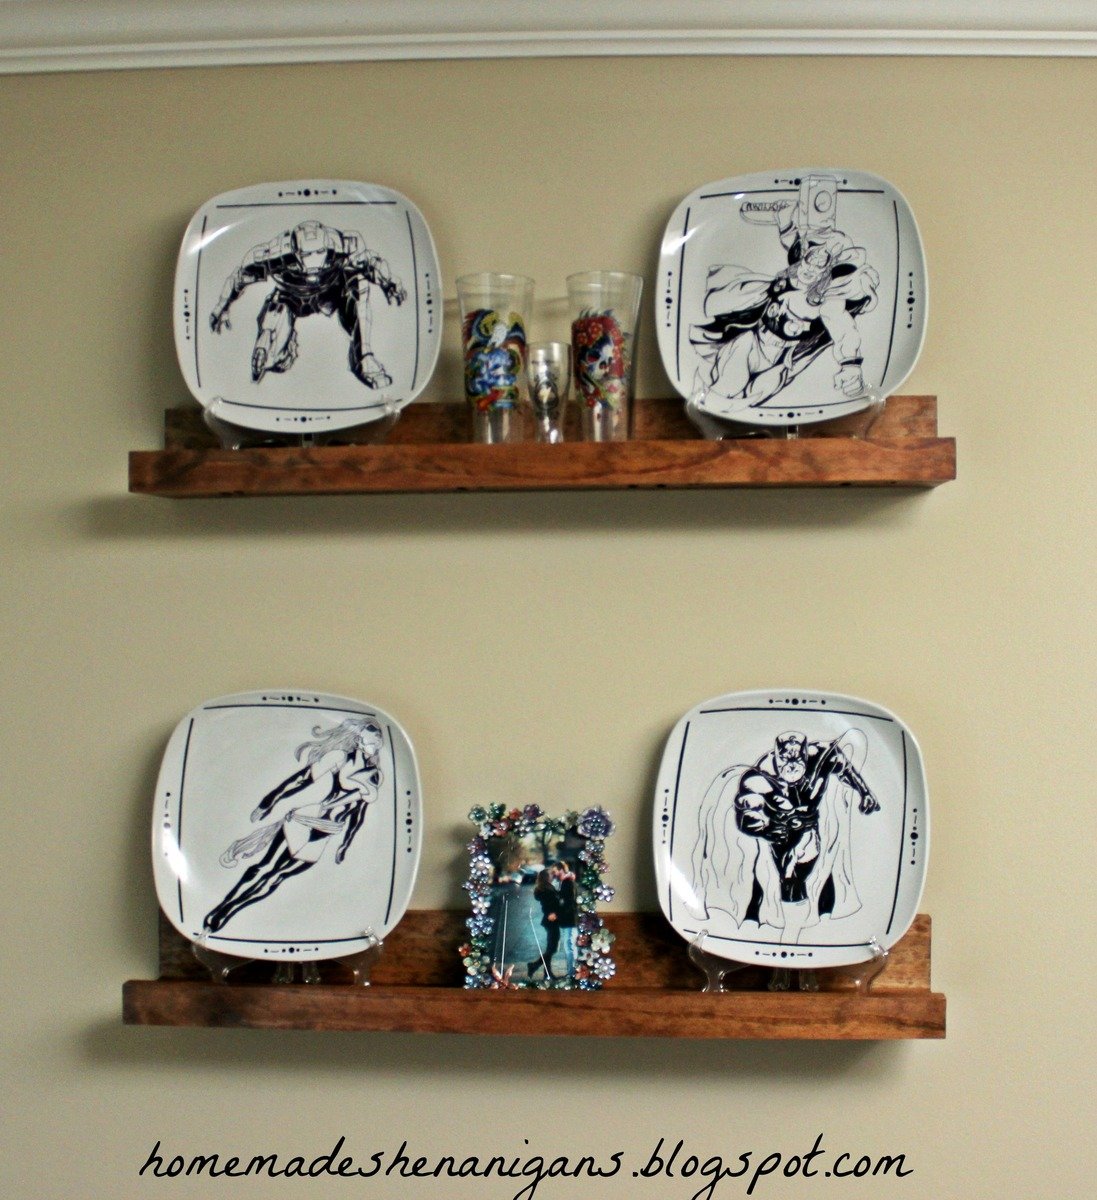
Dining Room Shelves
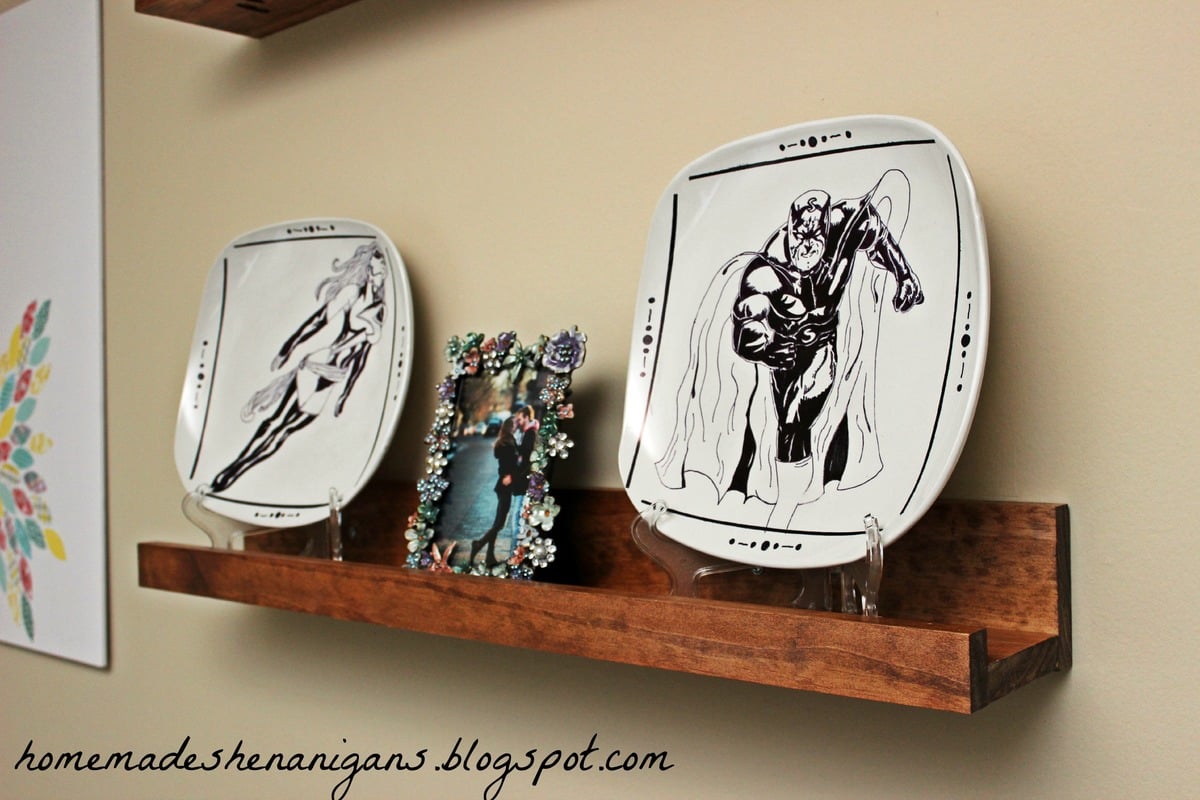
My shelves are about 2.5 ft long. I wanted a display area in my dining room to show off some plates I had made for my boyfriend a while back.
Built from Plan(s)
Estimated Cost
$30.00
Estimated Time Investment
Afternoon Project (3-6 Hours)
Finish Used
One coat Rustoleum Dark Walnut stain with one coat Miniwax Gunstock stain on top. Two coats of polyurethane.
Recommended Skill Level
Starter Project
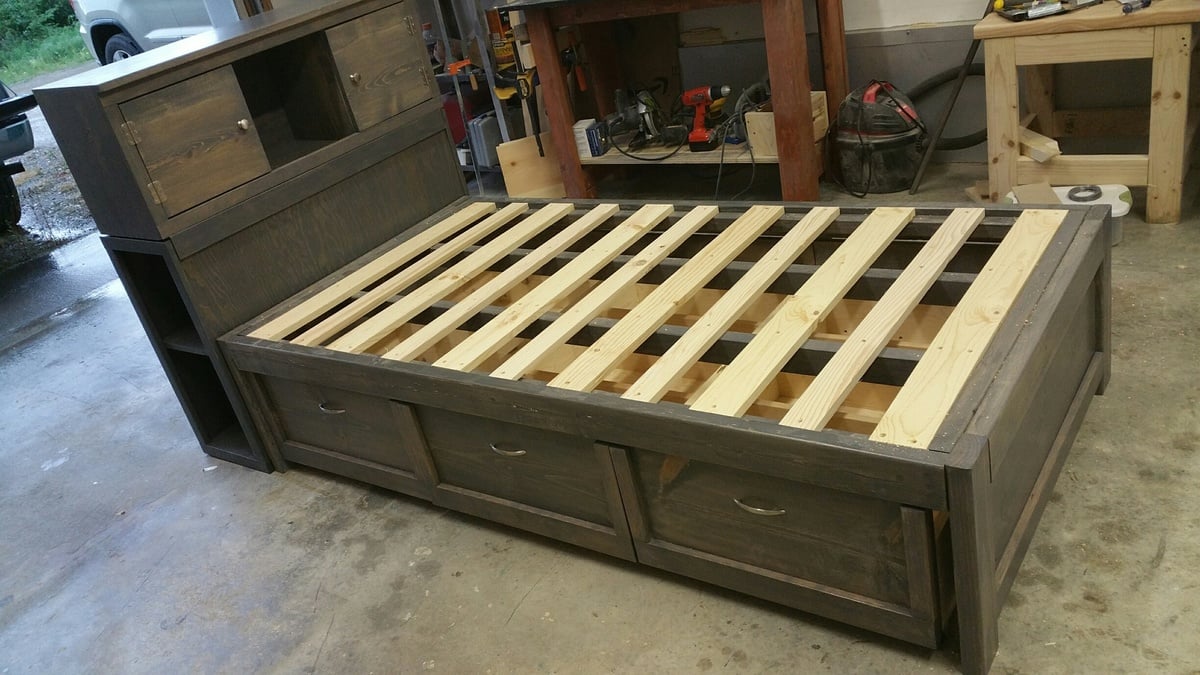
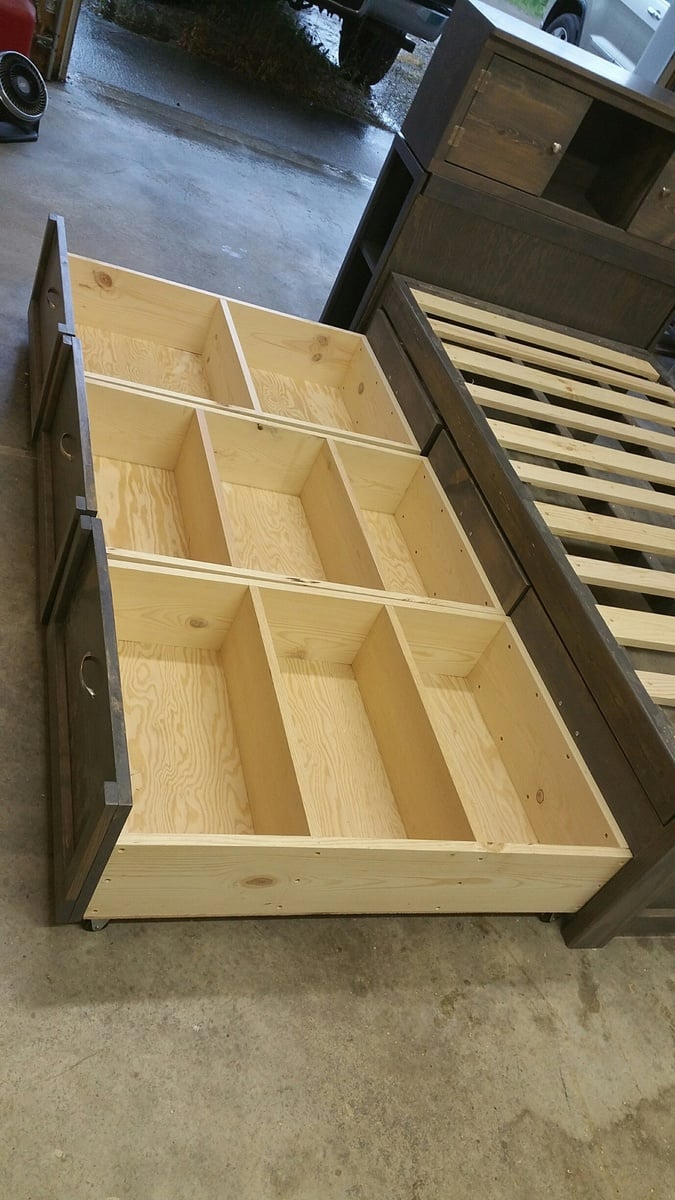
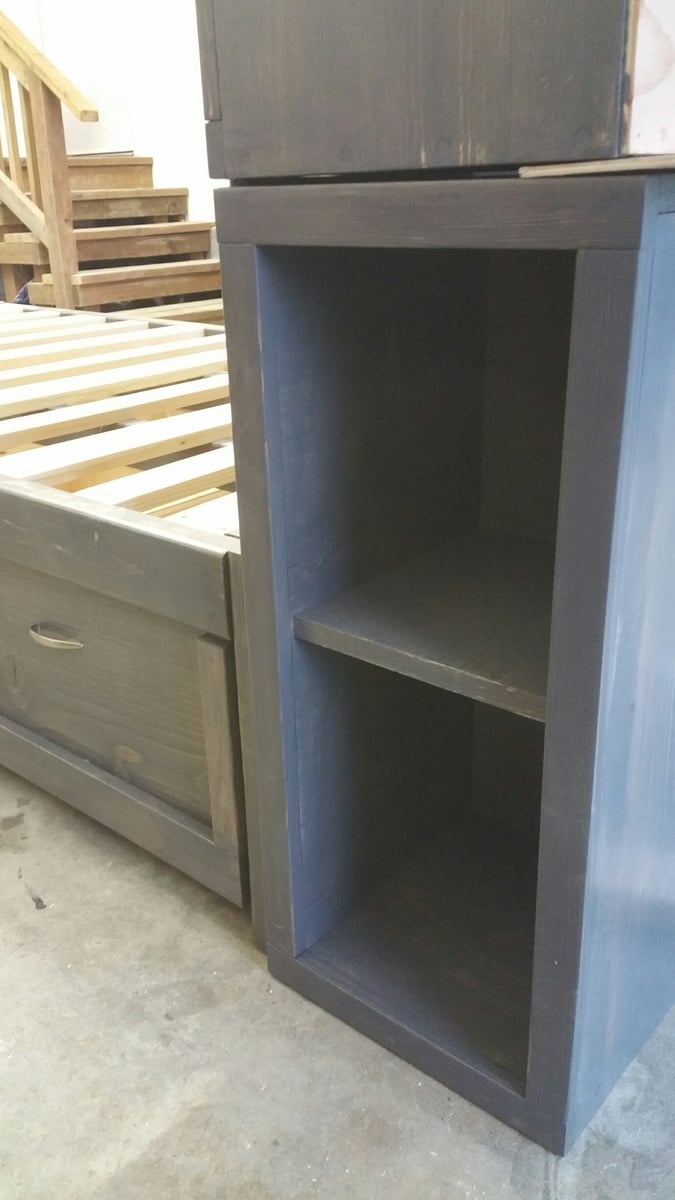
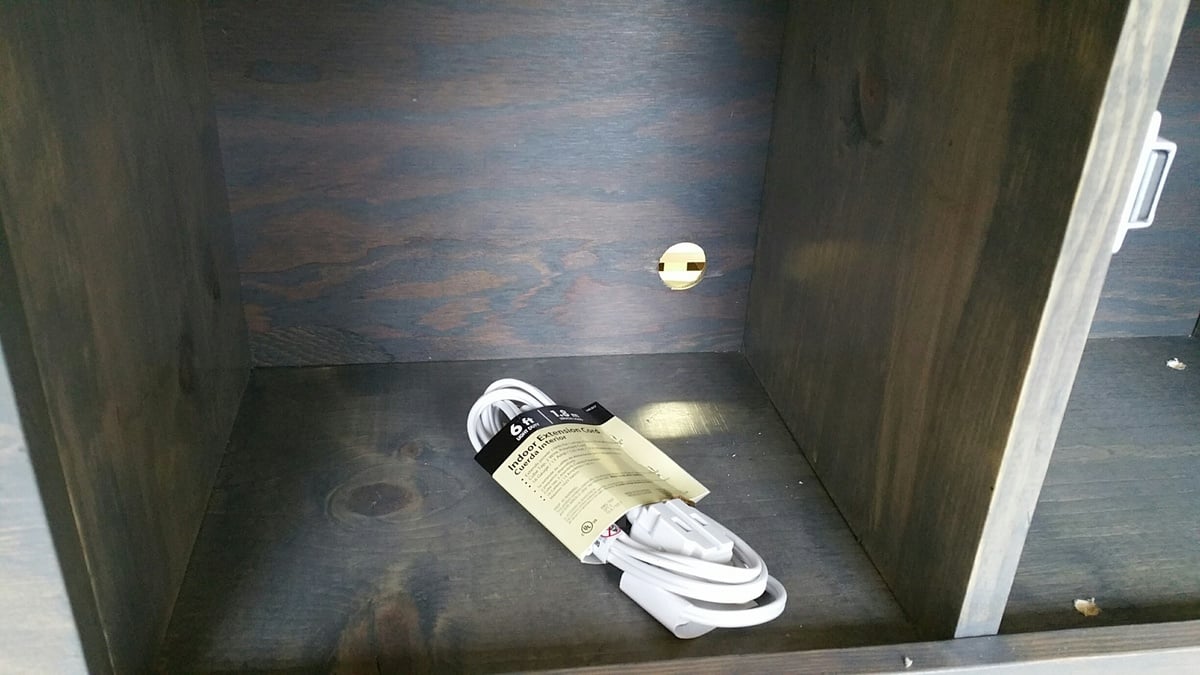
Storage Daybed with Trundle Drawers + Storage Headboard and Hutch
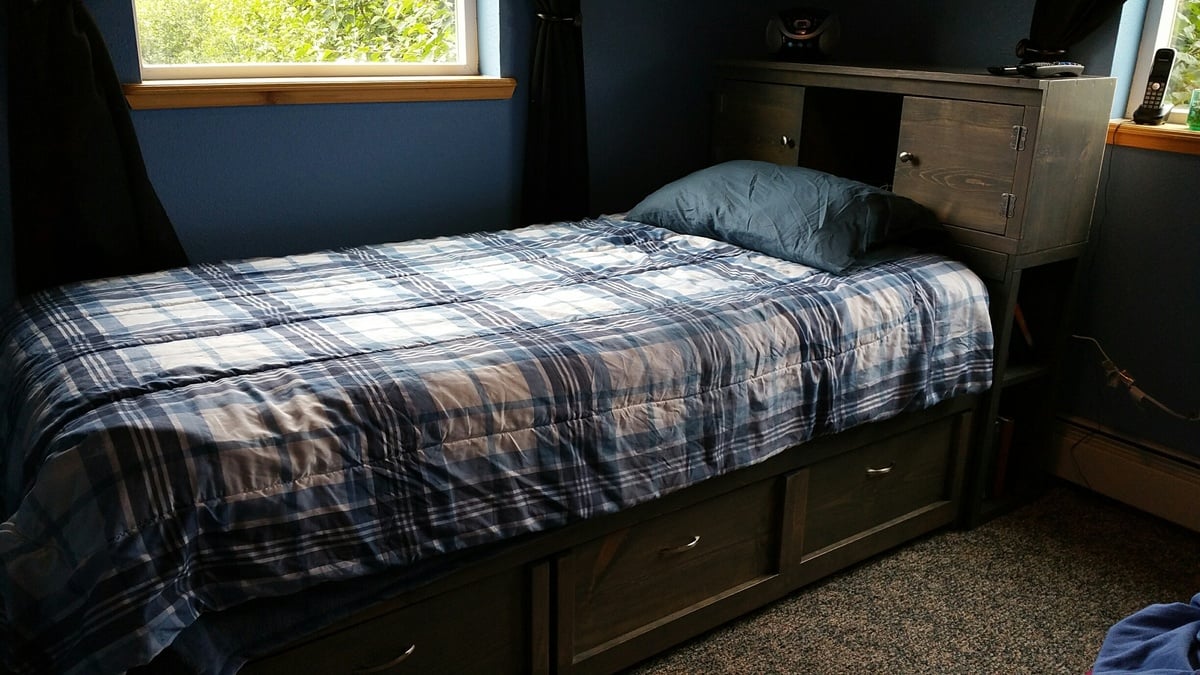
I combined Ana's plans for Daybed with Storage Trundle Drawers and a Storage Headboard with a Small Hutch.
This is my 3rd daybed with storage drawers. It's such an easy build and gives so much extra space. The entire project took about 40 hours. I used Minwax stain in Classic Grey and three coats of polyurethane. For the drawers, I used 1.5" casters. I drilled a hole through the back of the headboard to feed cords through. Then I put the whole thing in the back of my truck and drove 500 miles for the final assembly. :) In the provided photos, some of the pieces are flush because I hadn't permanently attached them.

Built from Plan(s)
Estimated Cost
$450
Estimated Time Investment
Week Long Project (20 Hours or More)
Finish Used
Minwax Classic Grey
Recommended Skill Level
Intermediate
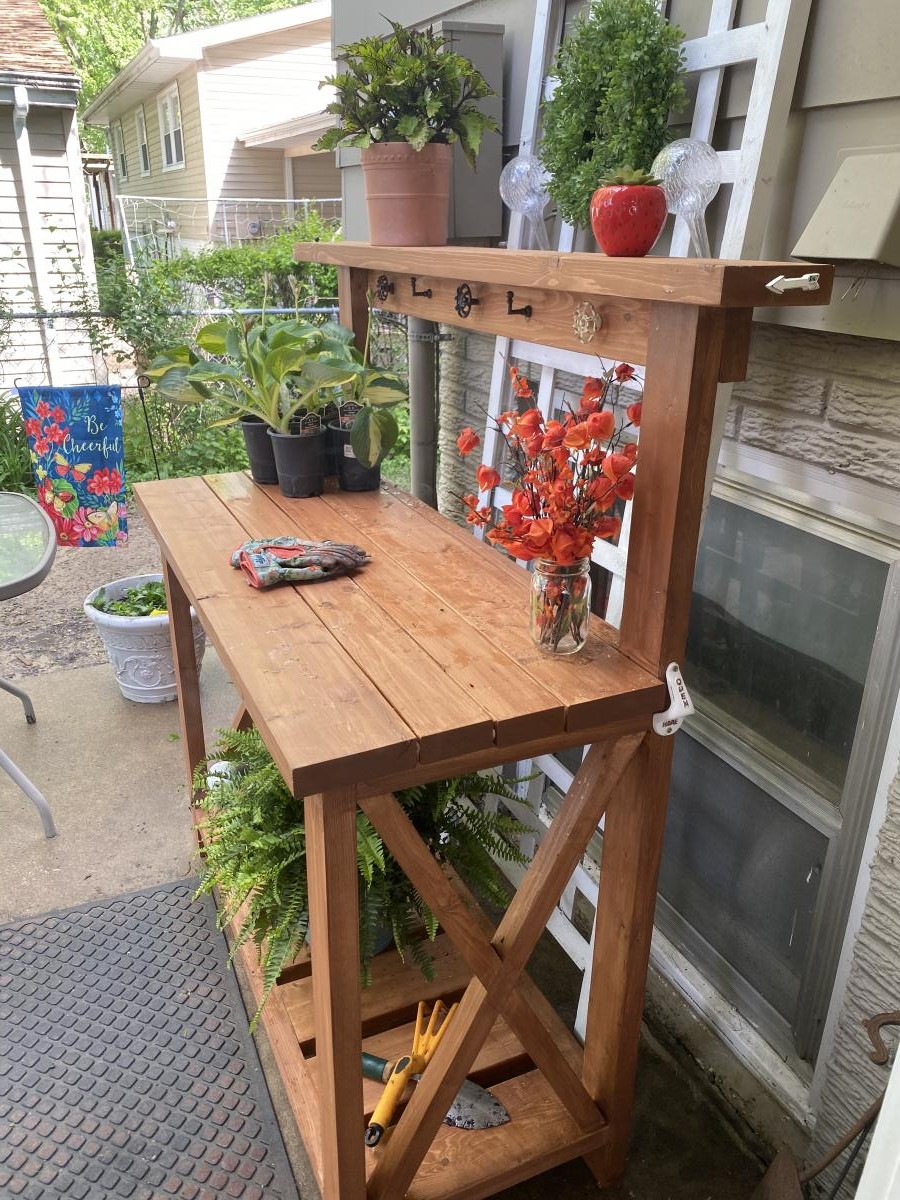
My first build
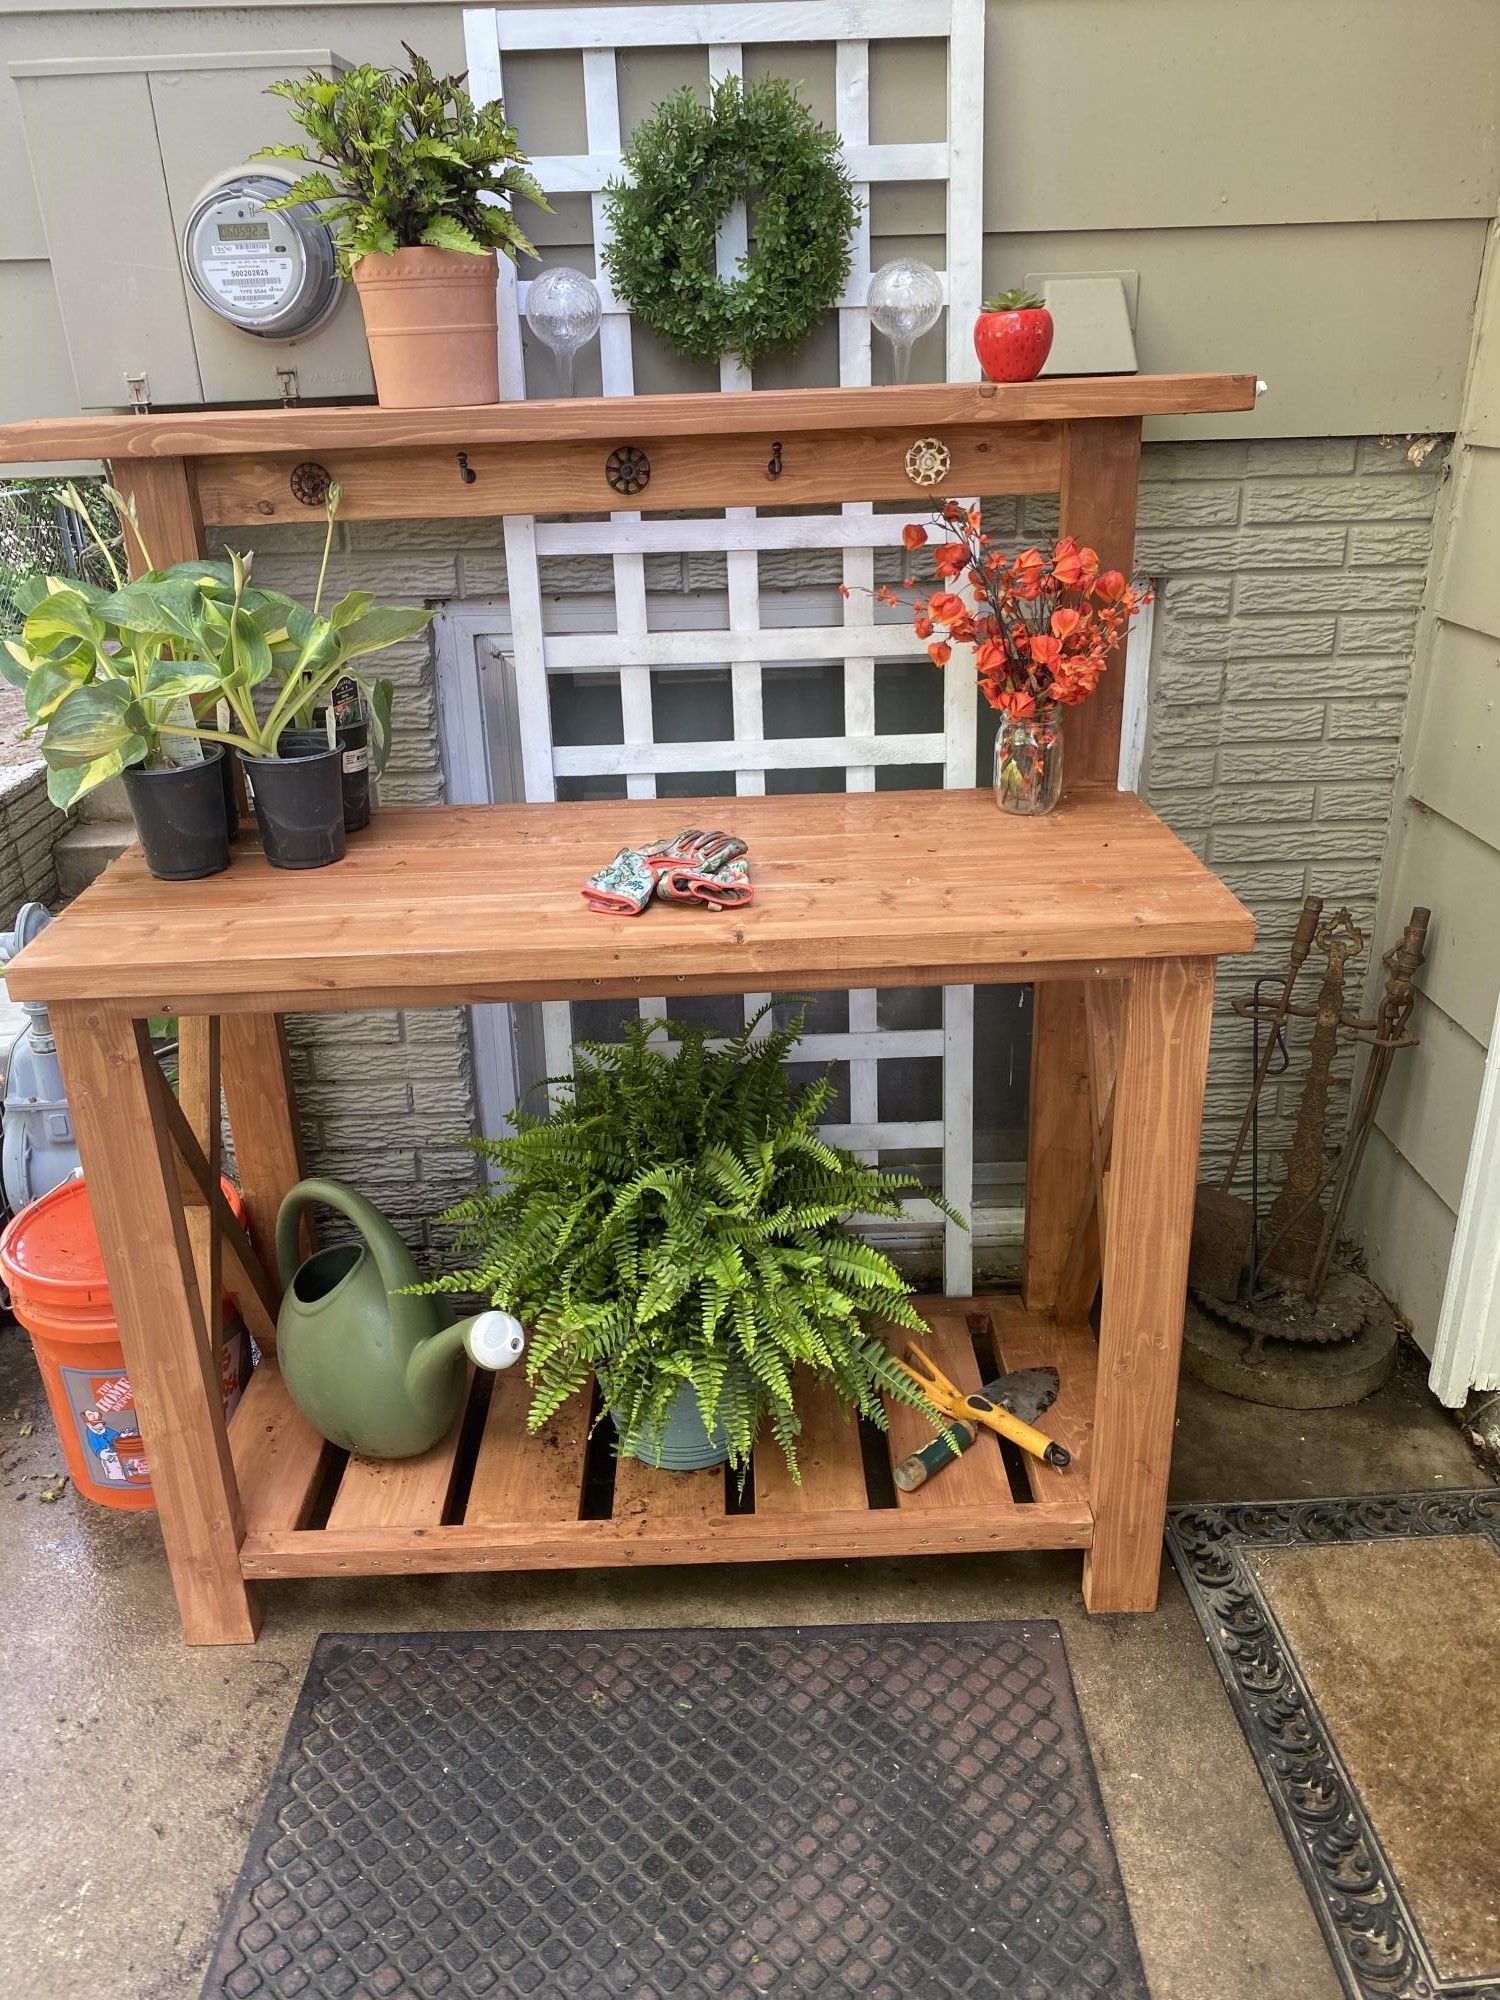
Ana- I can’t thank you enough this was my very first build-EVER. With guidance from my hubby, I was able to build this beautiful pottery bench/ bar. Definitely wish I would have stained some pieces prior to assembling but live and learn. I’m officially hooked on helping in the shop and doing some of my “honey do’s” myself!
Built from Plan(s)
Comments
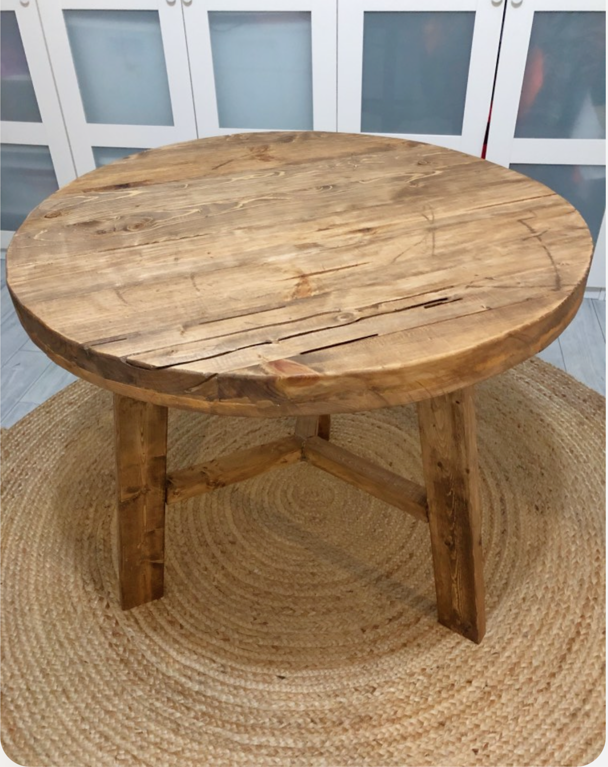
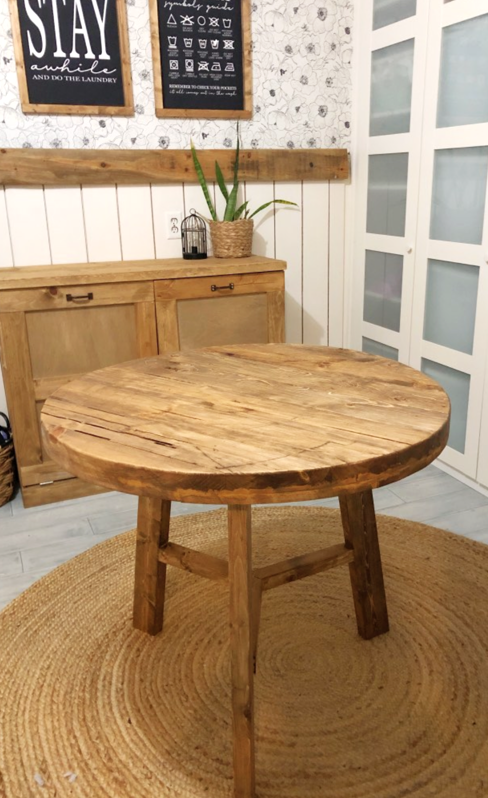
Round Laundry Folding Table
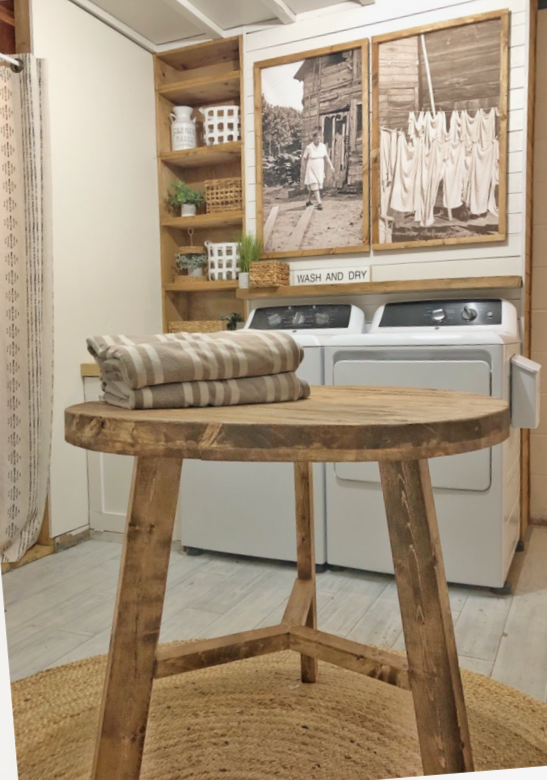
The perfect table to toss and fold my laundry! I love how it turned out. It’s practical, stylish and perfect for my laundry room vibes.
Another #anawhitediy for the win!
Built from Plan(s)
Rabbit Cage
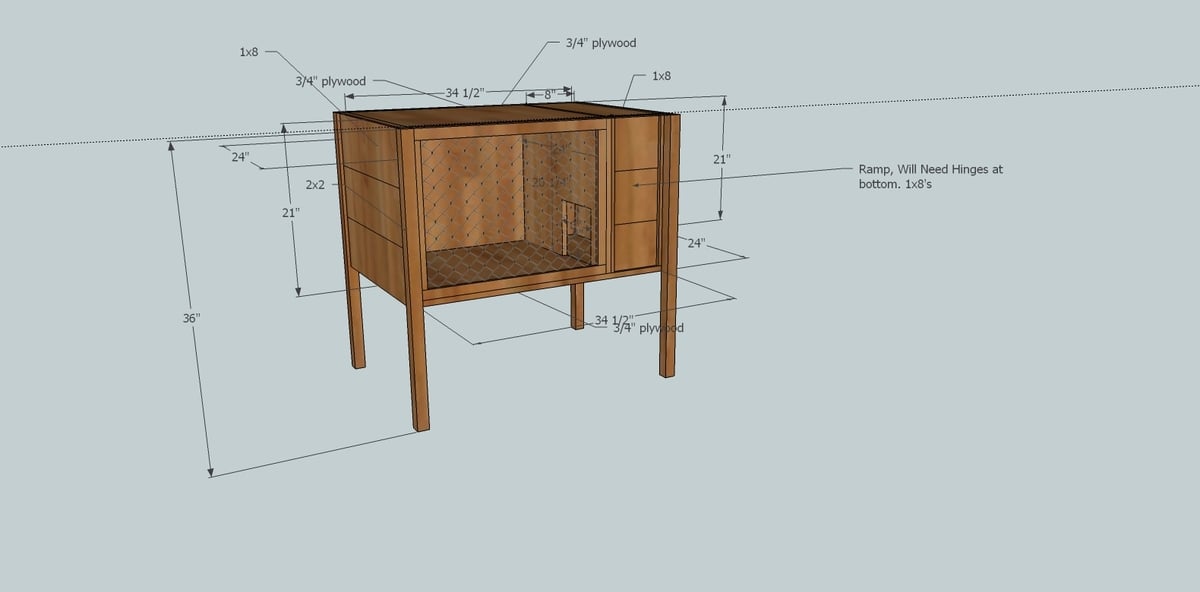
I have a pet ferret that has little room to run around. So I seen this rabbit/ferret cage at the pet store. It was about $150 or so. So I took a pic of it on my phone, and found the Google Sketch app, and watched some videos, and now I have plans for the cage. Some 2x2's, 1x8's, plywood, chicken wire, and some locks and hinges for the ramp an lid.... Still tweaking it, but hopefully it will work out.
Estimated Cost
$50-60
Finish Used
Stain
Recommended Skill Level
Beginner
Comments
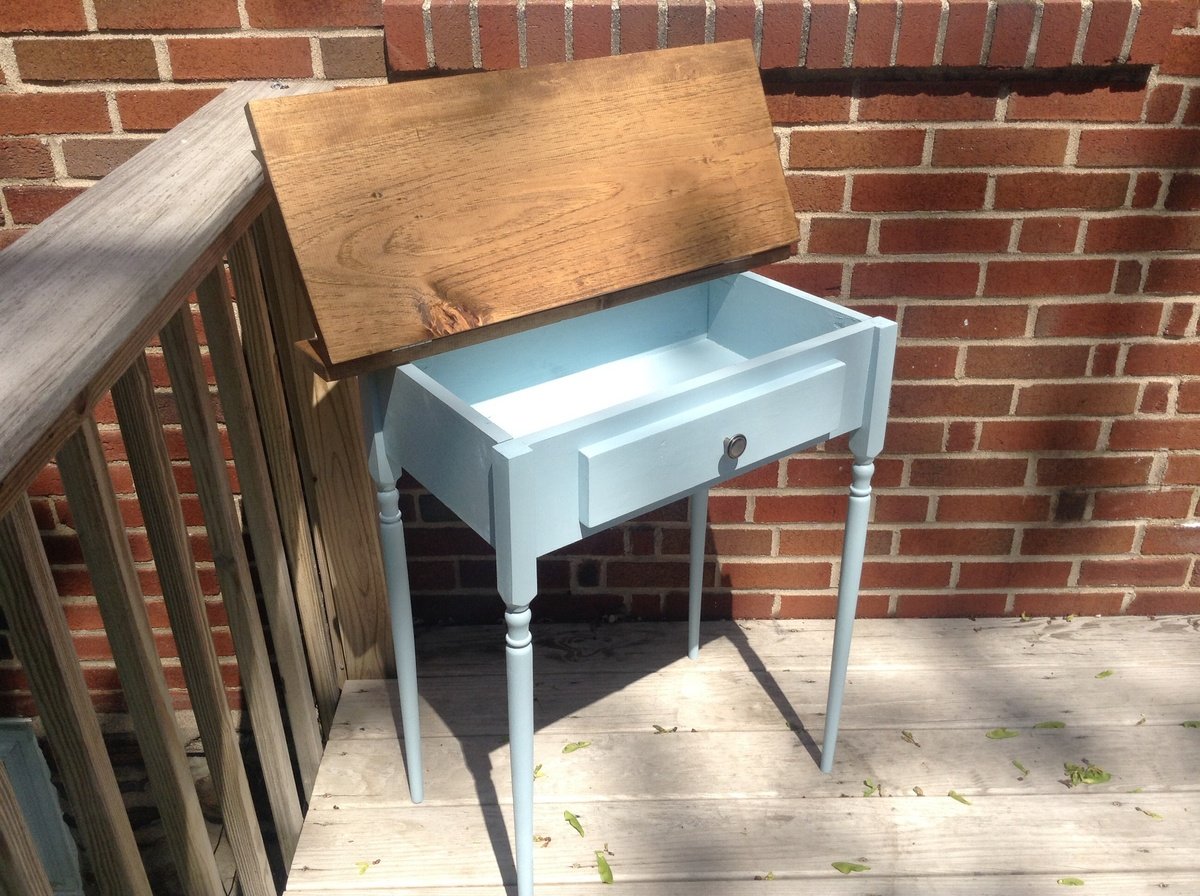
Flip top desk
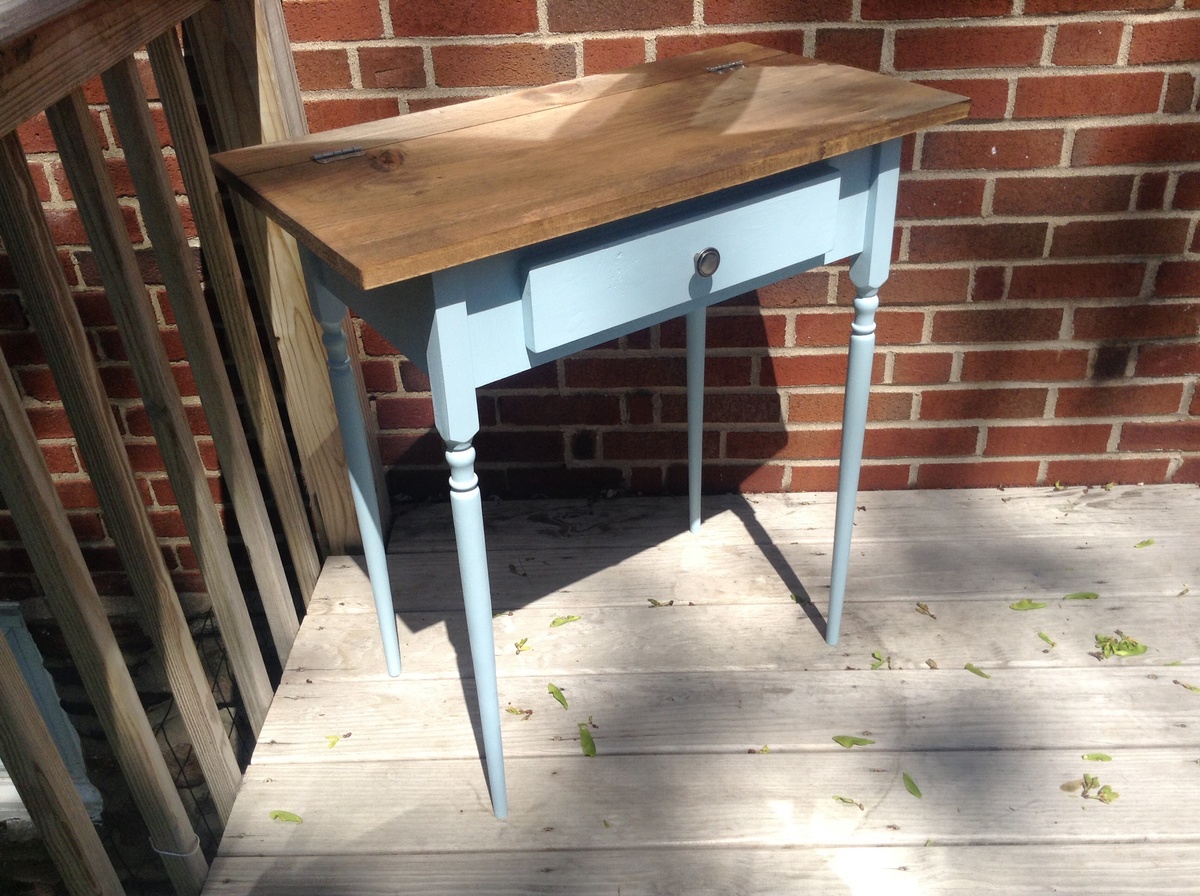
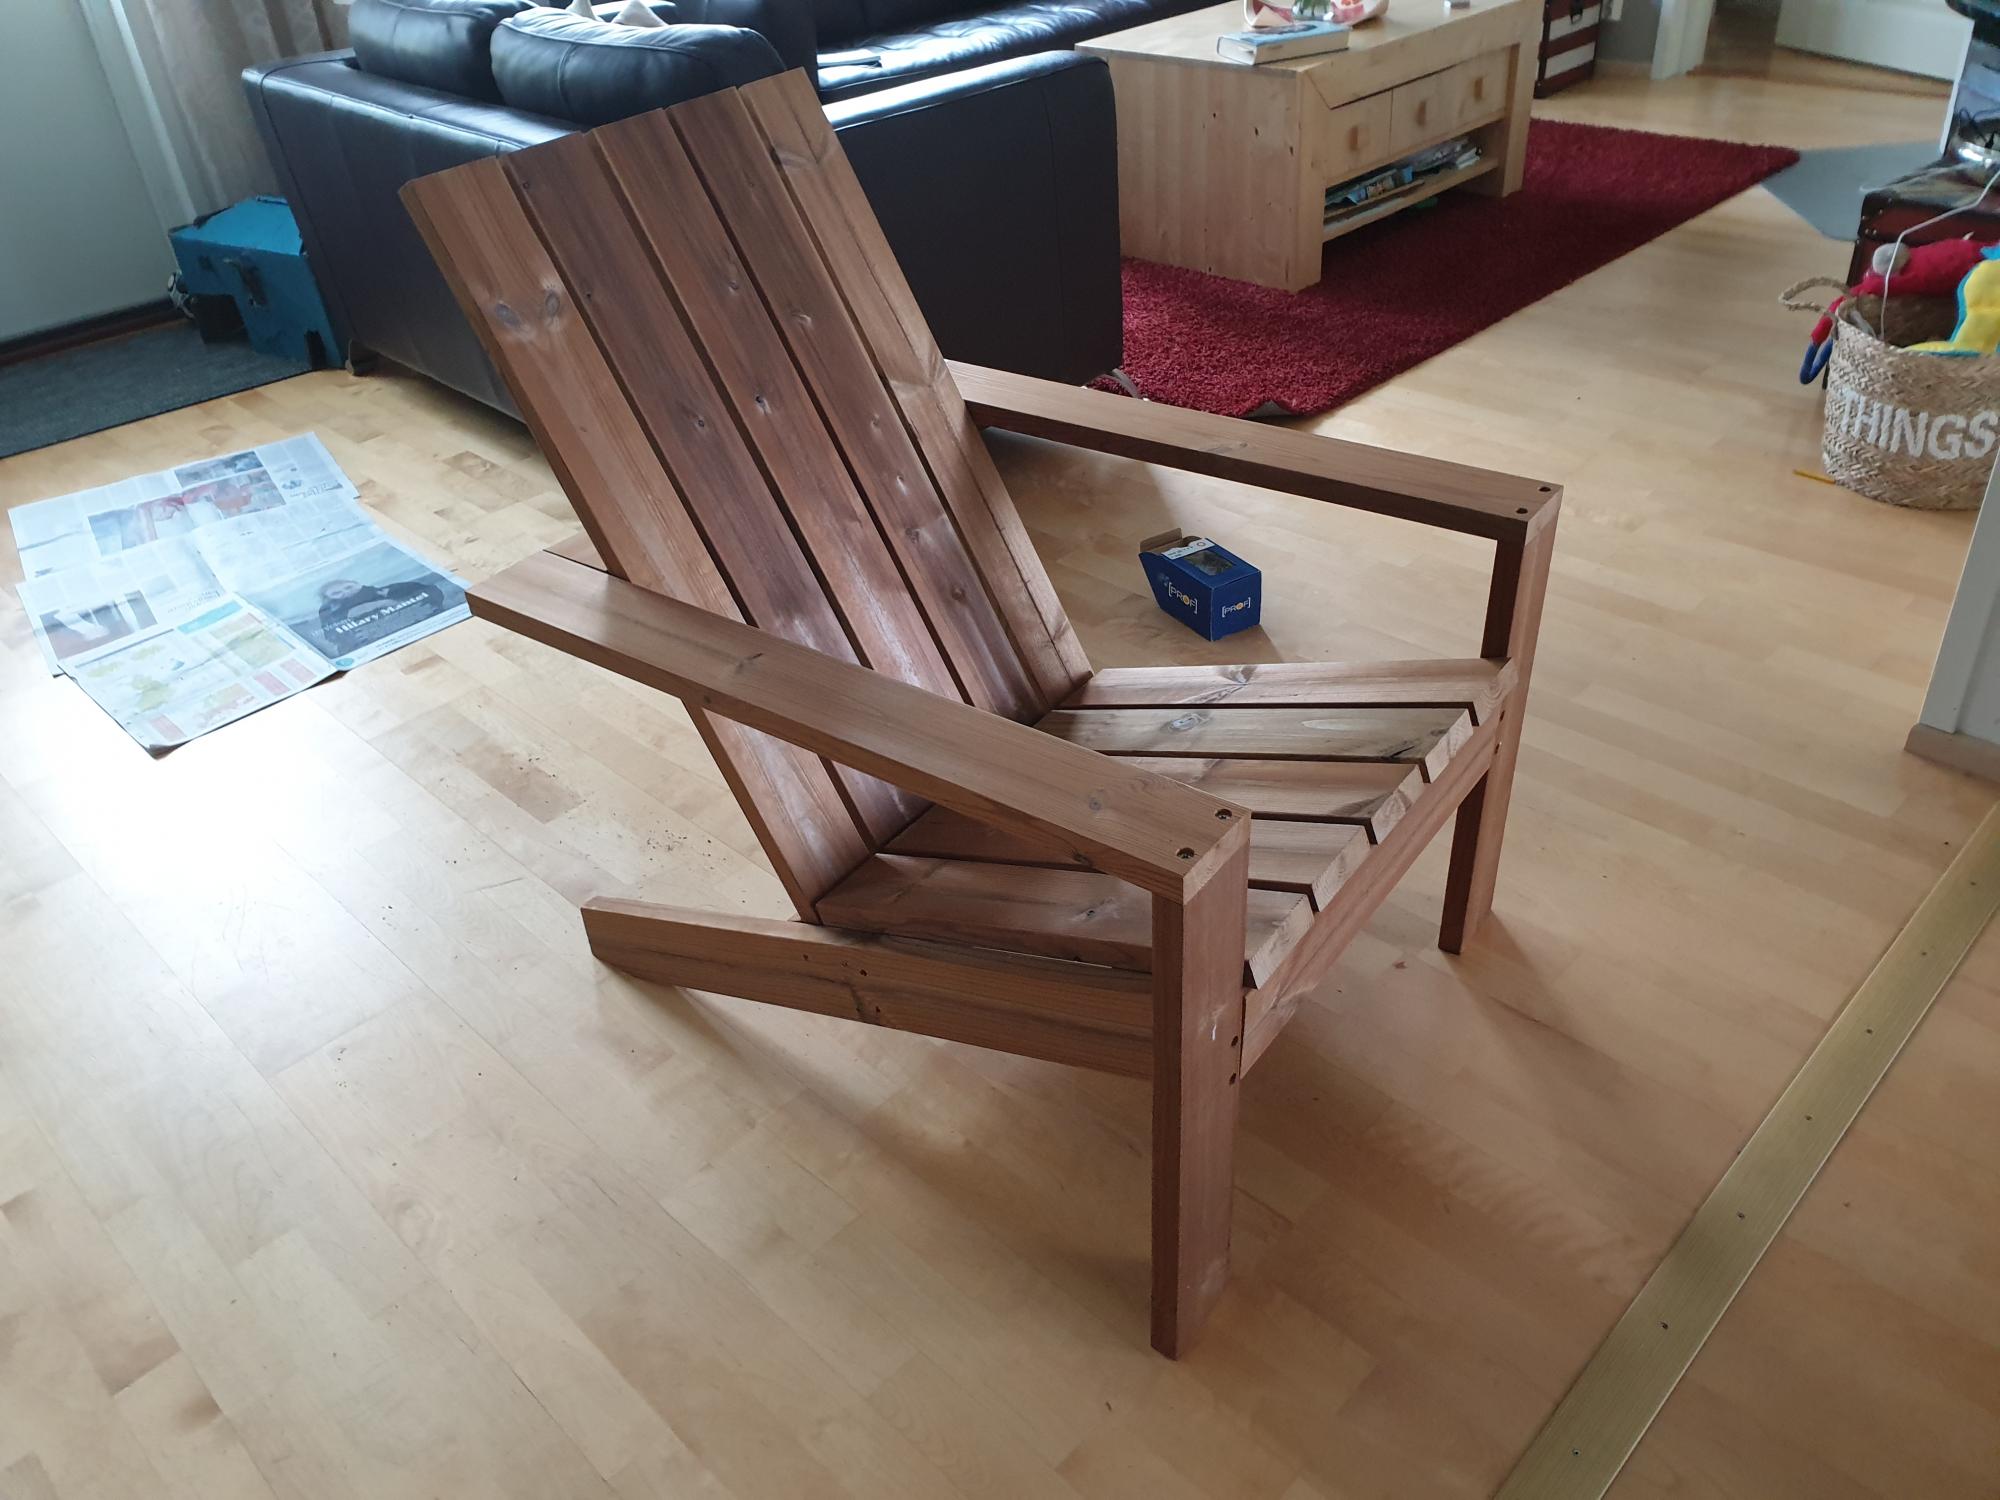
I loved the style of this desk but needed it to be quite a bit smaller. I reduced the measurements down from 48 inches wide to 28 inches wide. This required only 4 foot long 1x12. I added just one 15 inch wide faux drawer on the front. This was incredibly easy to build. It took me longer to paint and stain the timber than it did to build it.
Built from Plan(s)
Estimated Cost
Around $50
Estimated Time Investment
Afternoon Project (3-6 Hours)
Recommended Skill Level
Beginner
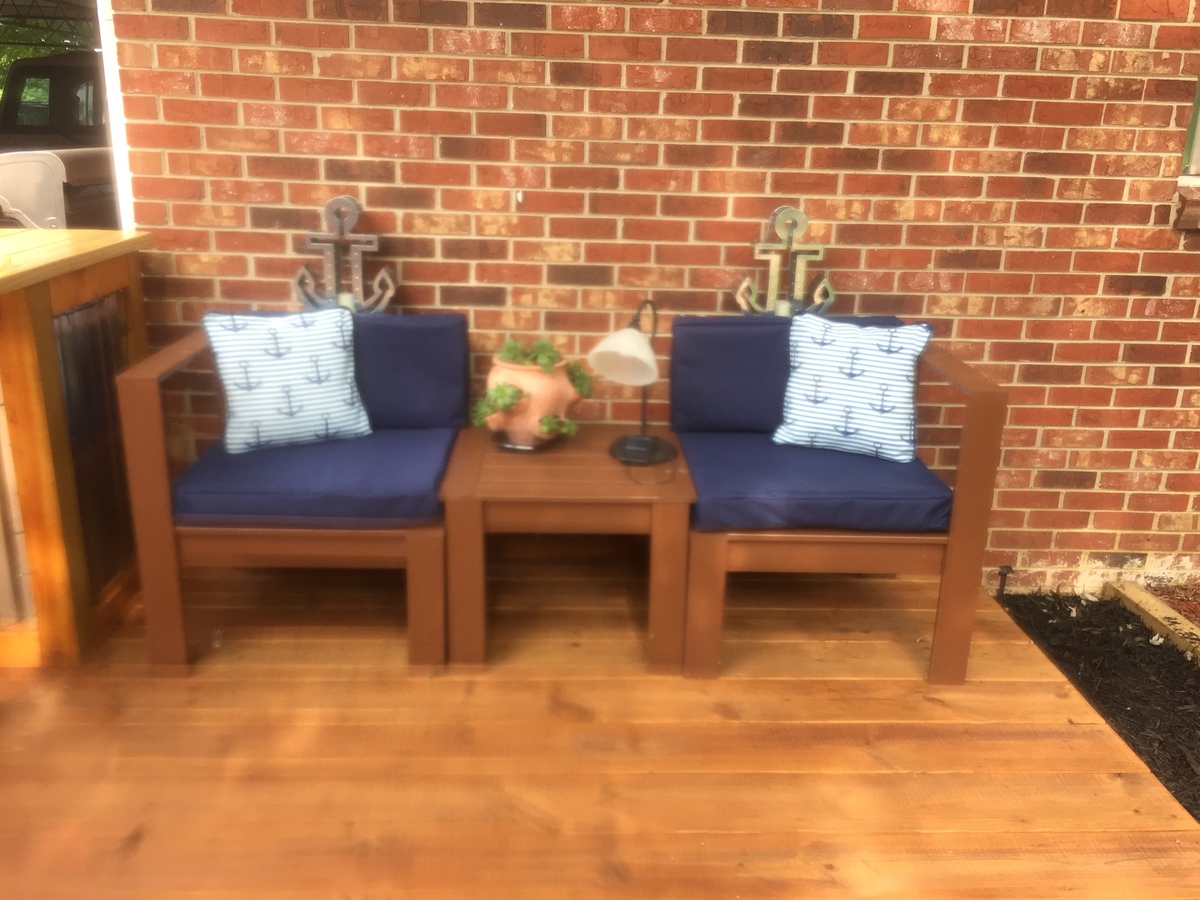
Fire Table Sectional and corner conversation set!!! Perfect!!!!

This was the first time I had ever worked with some of the tools and really done any serious building. We built a new deck onto the back of my home and I could not stand the cost of the furniture to make it complete. Thank you Anna I have become fearless with tools!! Our deck has become even more special!!
Built from Plan(s)
Estimated Cost
Furniture ~ $280
Cushions ~ $250
Cushions ~ $250
Estimated Time Investment
Week Long Project (20 Hours or More)
Recommended Skill Level
Beginner
Laundry Sorter

My wife had begged and begged for something like this, so I took the plunge. This was my first build and I’m getting the itch to try other things! We built the ship lap wall and sign together as well!
Comments
Potting Bench Displays

I made 2 of your Potting Tables to use as my display tables for my wood working kiosk.
Mike

Built from Plan(s)
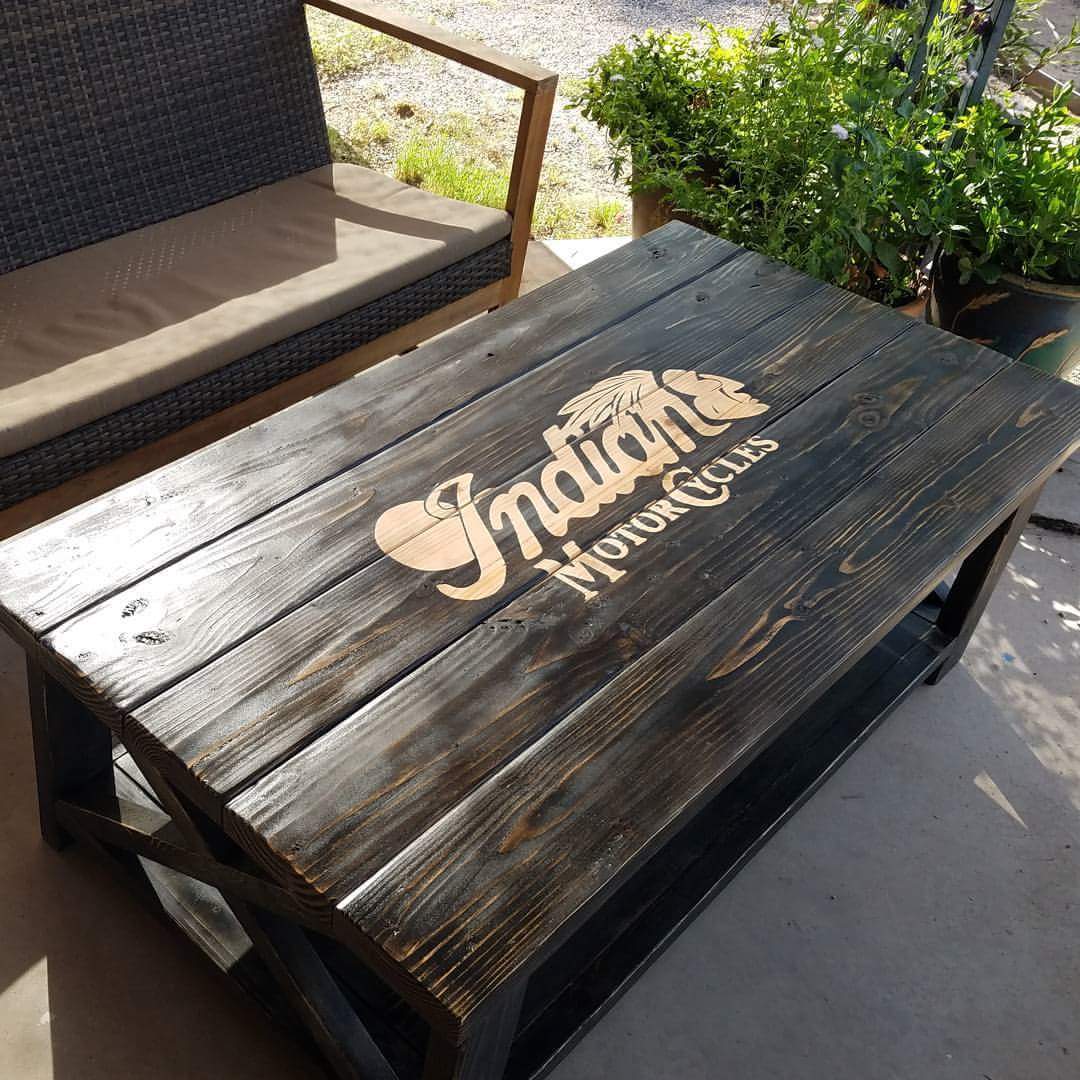
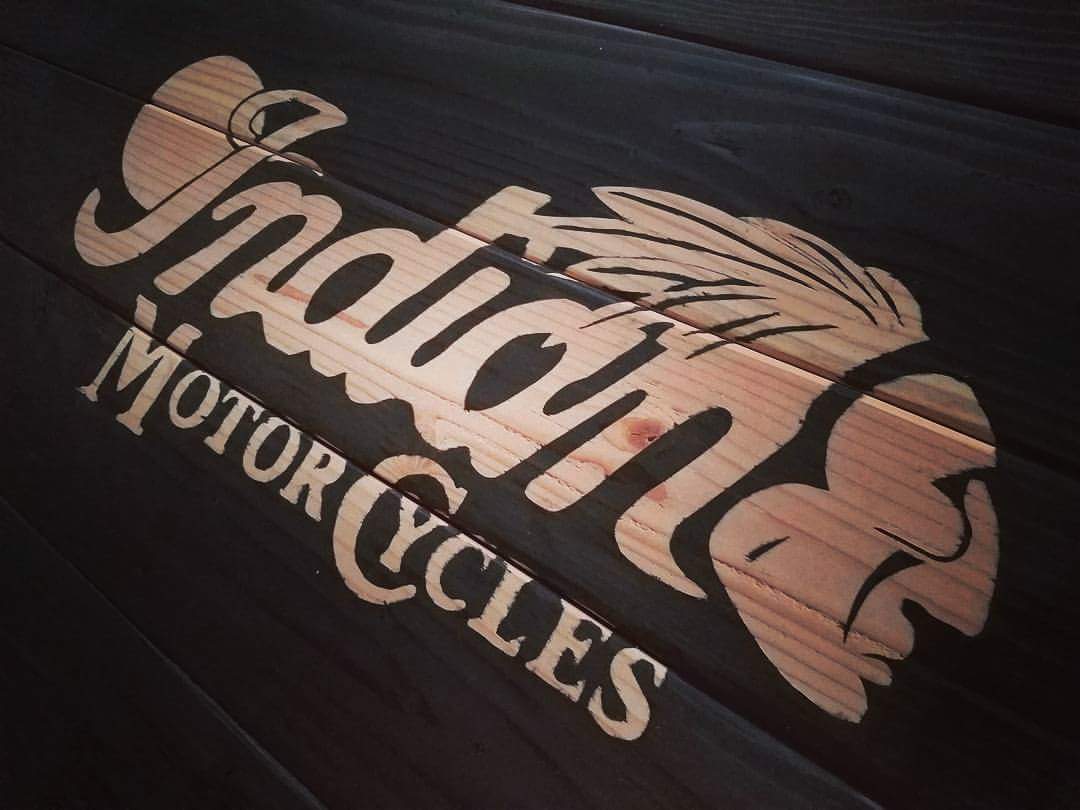
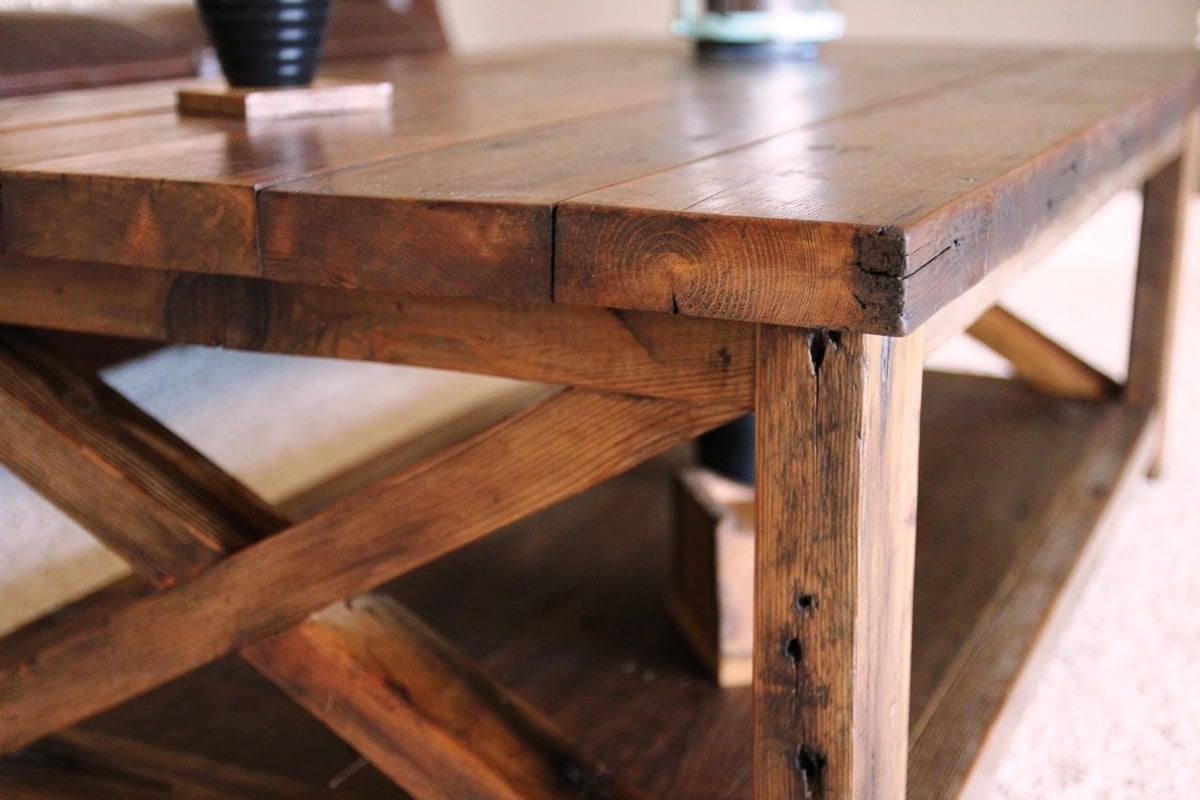
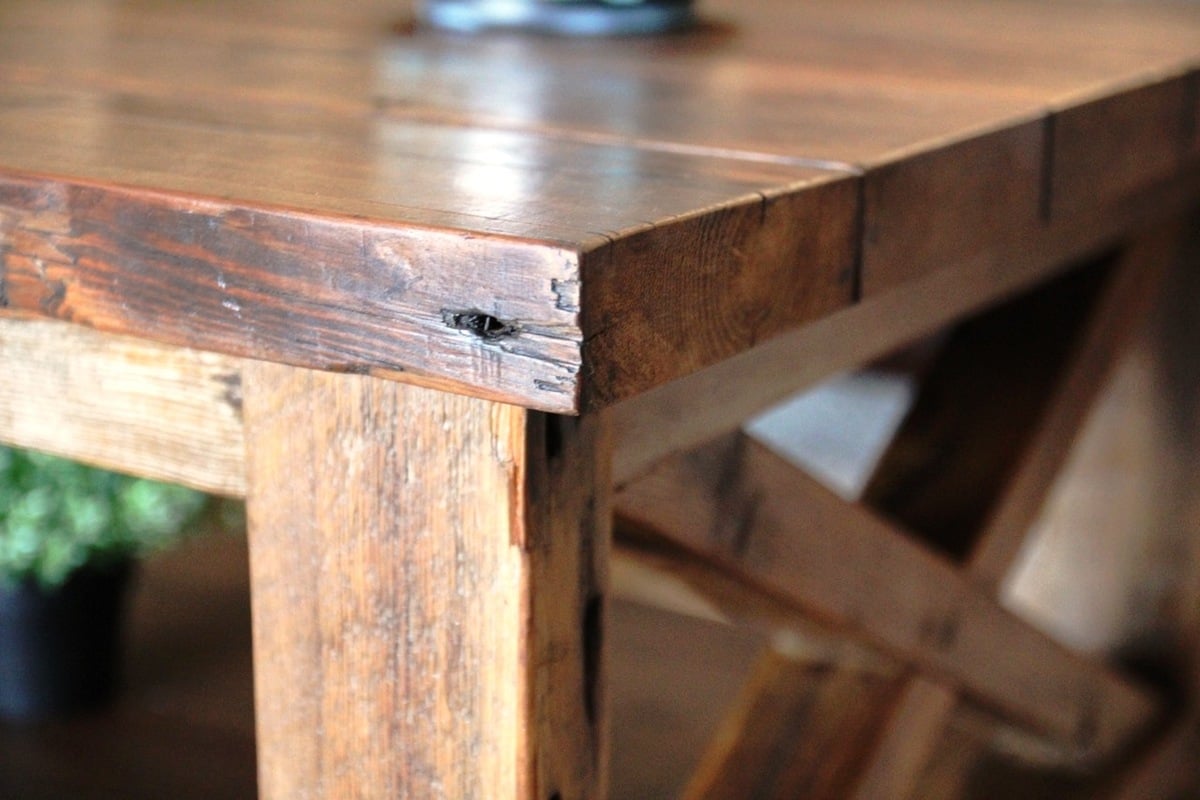
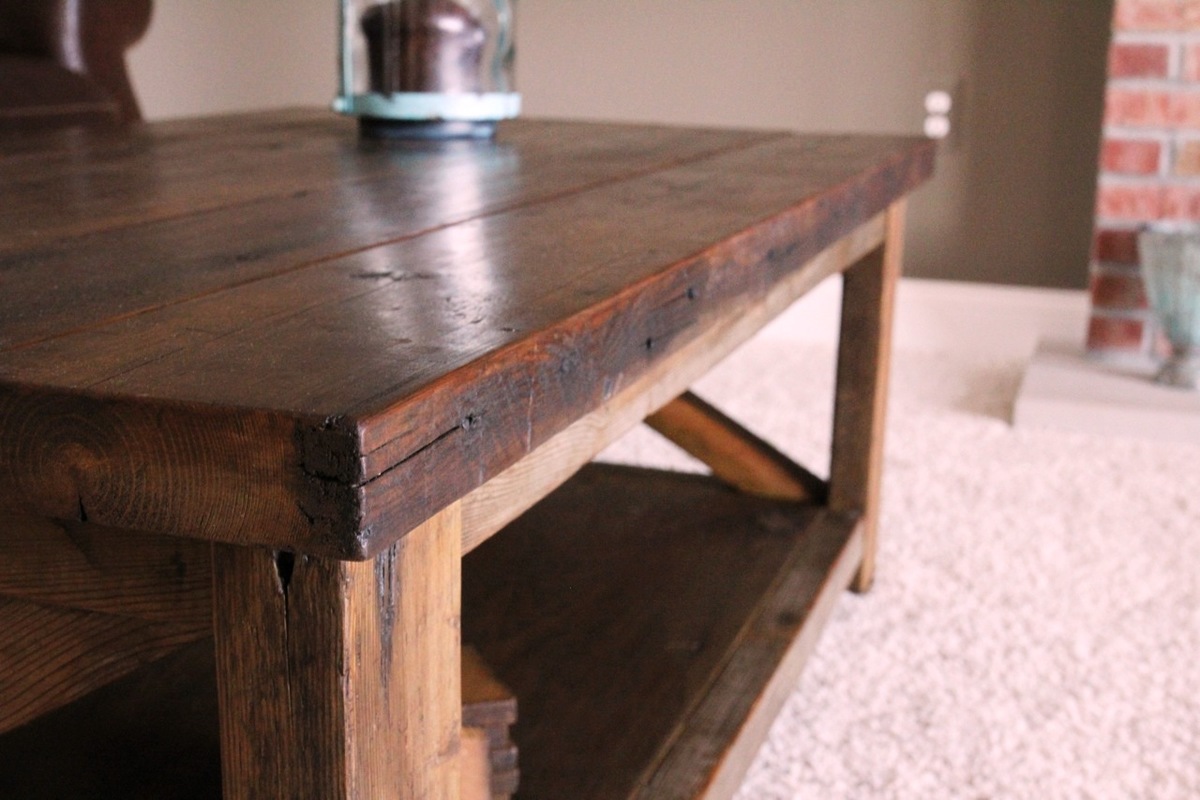
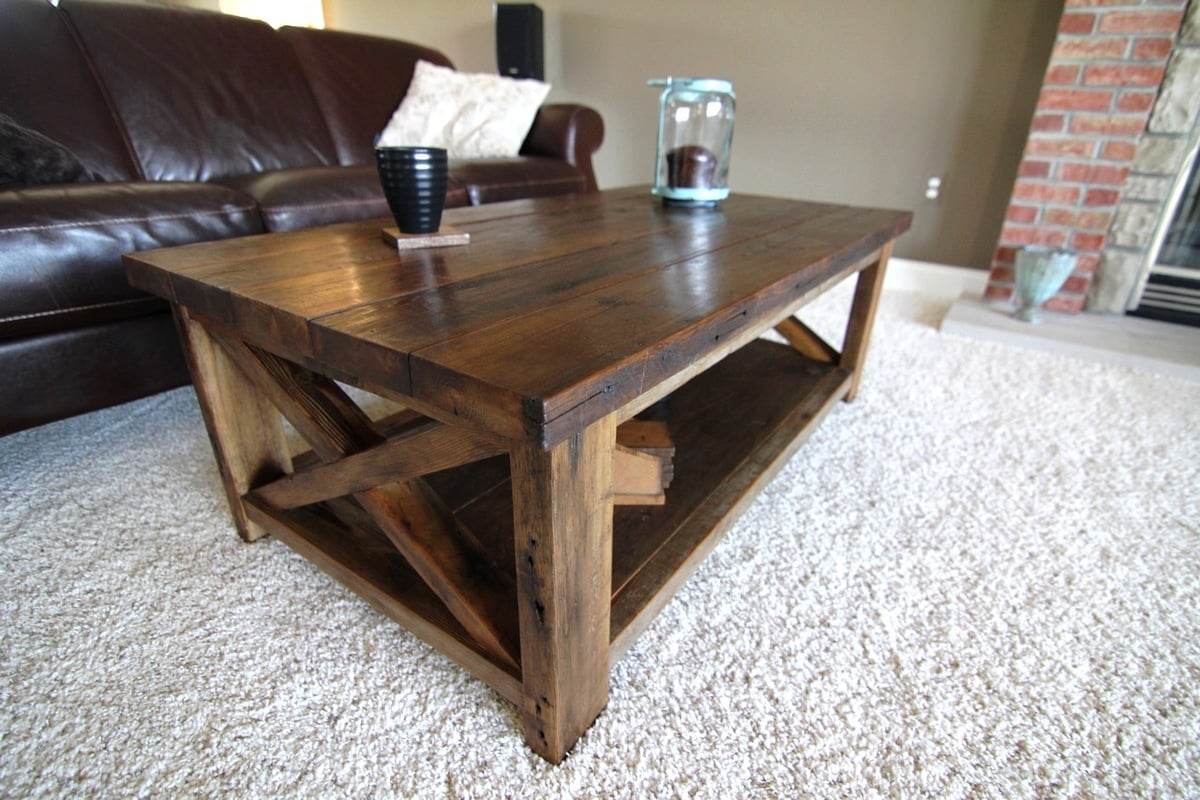
Rustic X Coffee Table
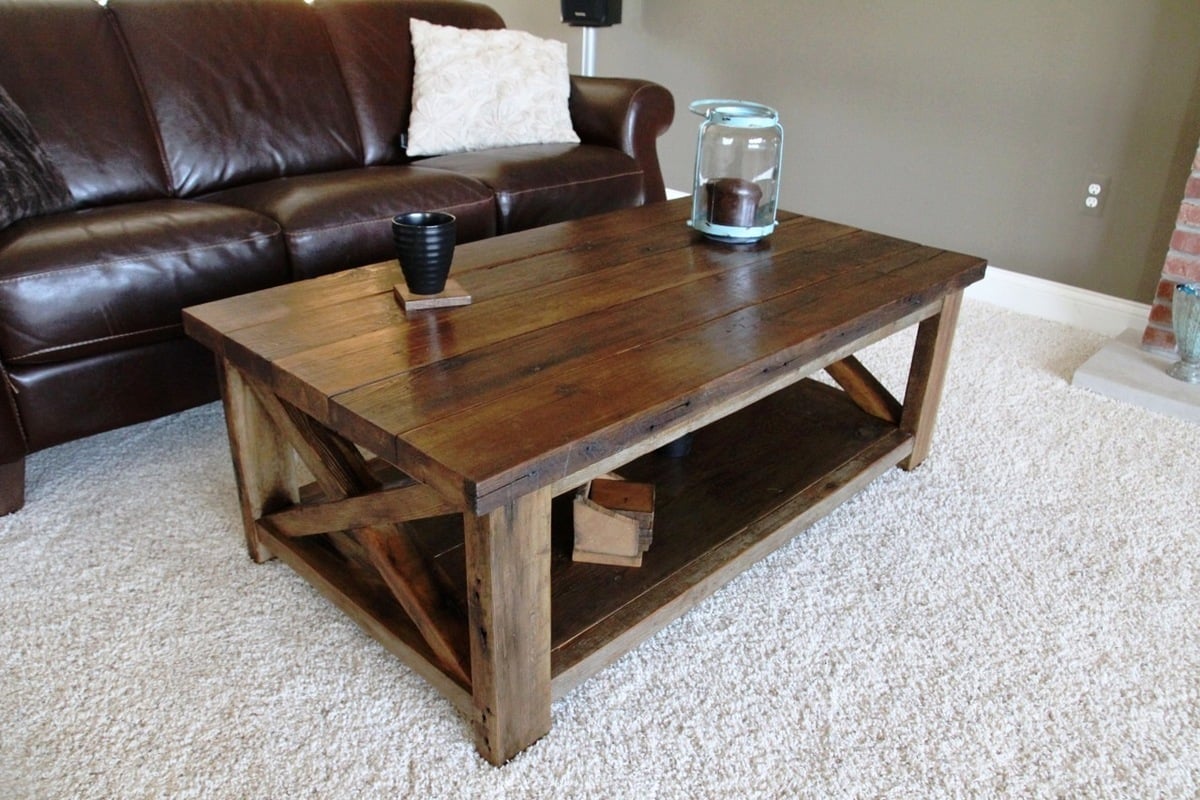
Used the plans as provided by Ana for the Rustic X Coffee Table.
I built this table using barn wood I reclaimed from a farmstead in Saline, MI which I dismantled in 2010. Interestingly enough, during the dismantling, the farmstead served as a movie set for the filming of Cedar Rapids, starring Ann Hesche, John C. Riley and Sigourney Weaver.
Thanks for looking,
Mike
Estimated Cost
$150.00
Estimated Time Investment
Weekend Project (10-20 Hours)
Finish Used
Natural wax finish.
Clear wax used on base and bottom shelf with a combination of light brown and clear wax applied to the tabletop, enhancing the natural rich patina of the reclaimed wood.
http://www.facebook.com/AmericanHeritageLumberCompany
Clear wax used on base and bottom shelf with a combination of light brown and clear wax applied to the tabletop, enhancing the natural rich patina of the reclaimed wood.
http://www.facebook.com/AmericanHeritageLumberCompany
Recommended Skill Level
Intermediate
Comments
Fri, 07/20/2012 - 16:42
Thank you for your
Thank you for your compliment, much appreciated!!
I'm fortunate to have been working with reclaimed wood for eleven years now and the outcome never ceases to amaze me once the finish is applied.
Thanks again.
Mike
Bethany's birthday playhouse loft
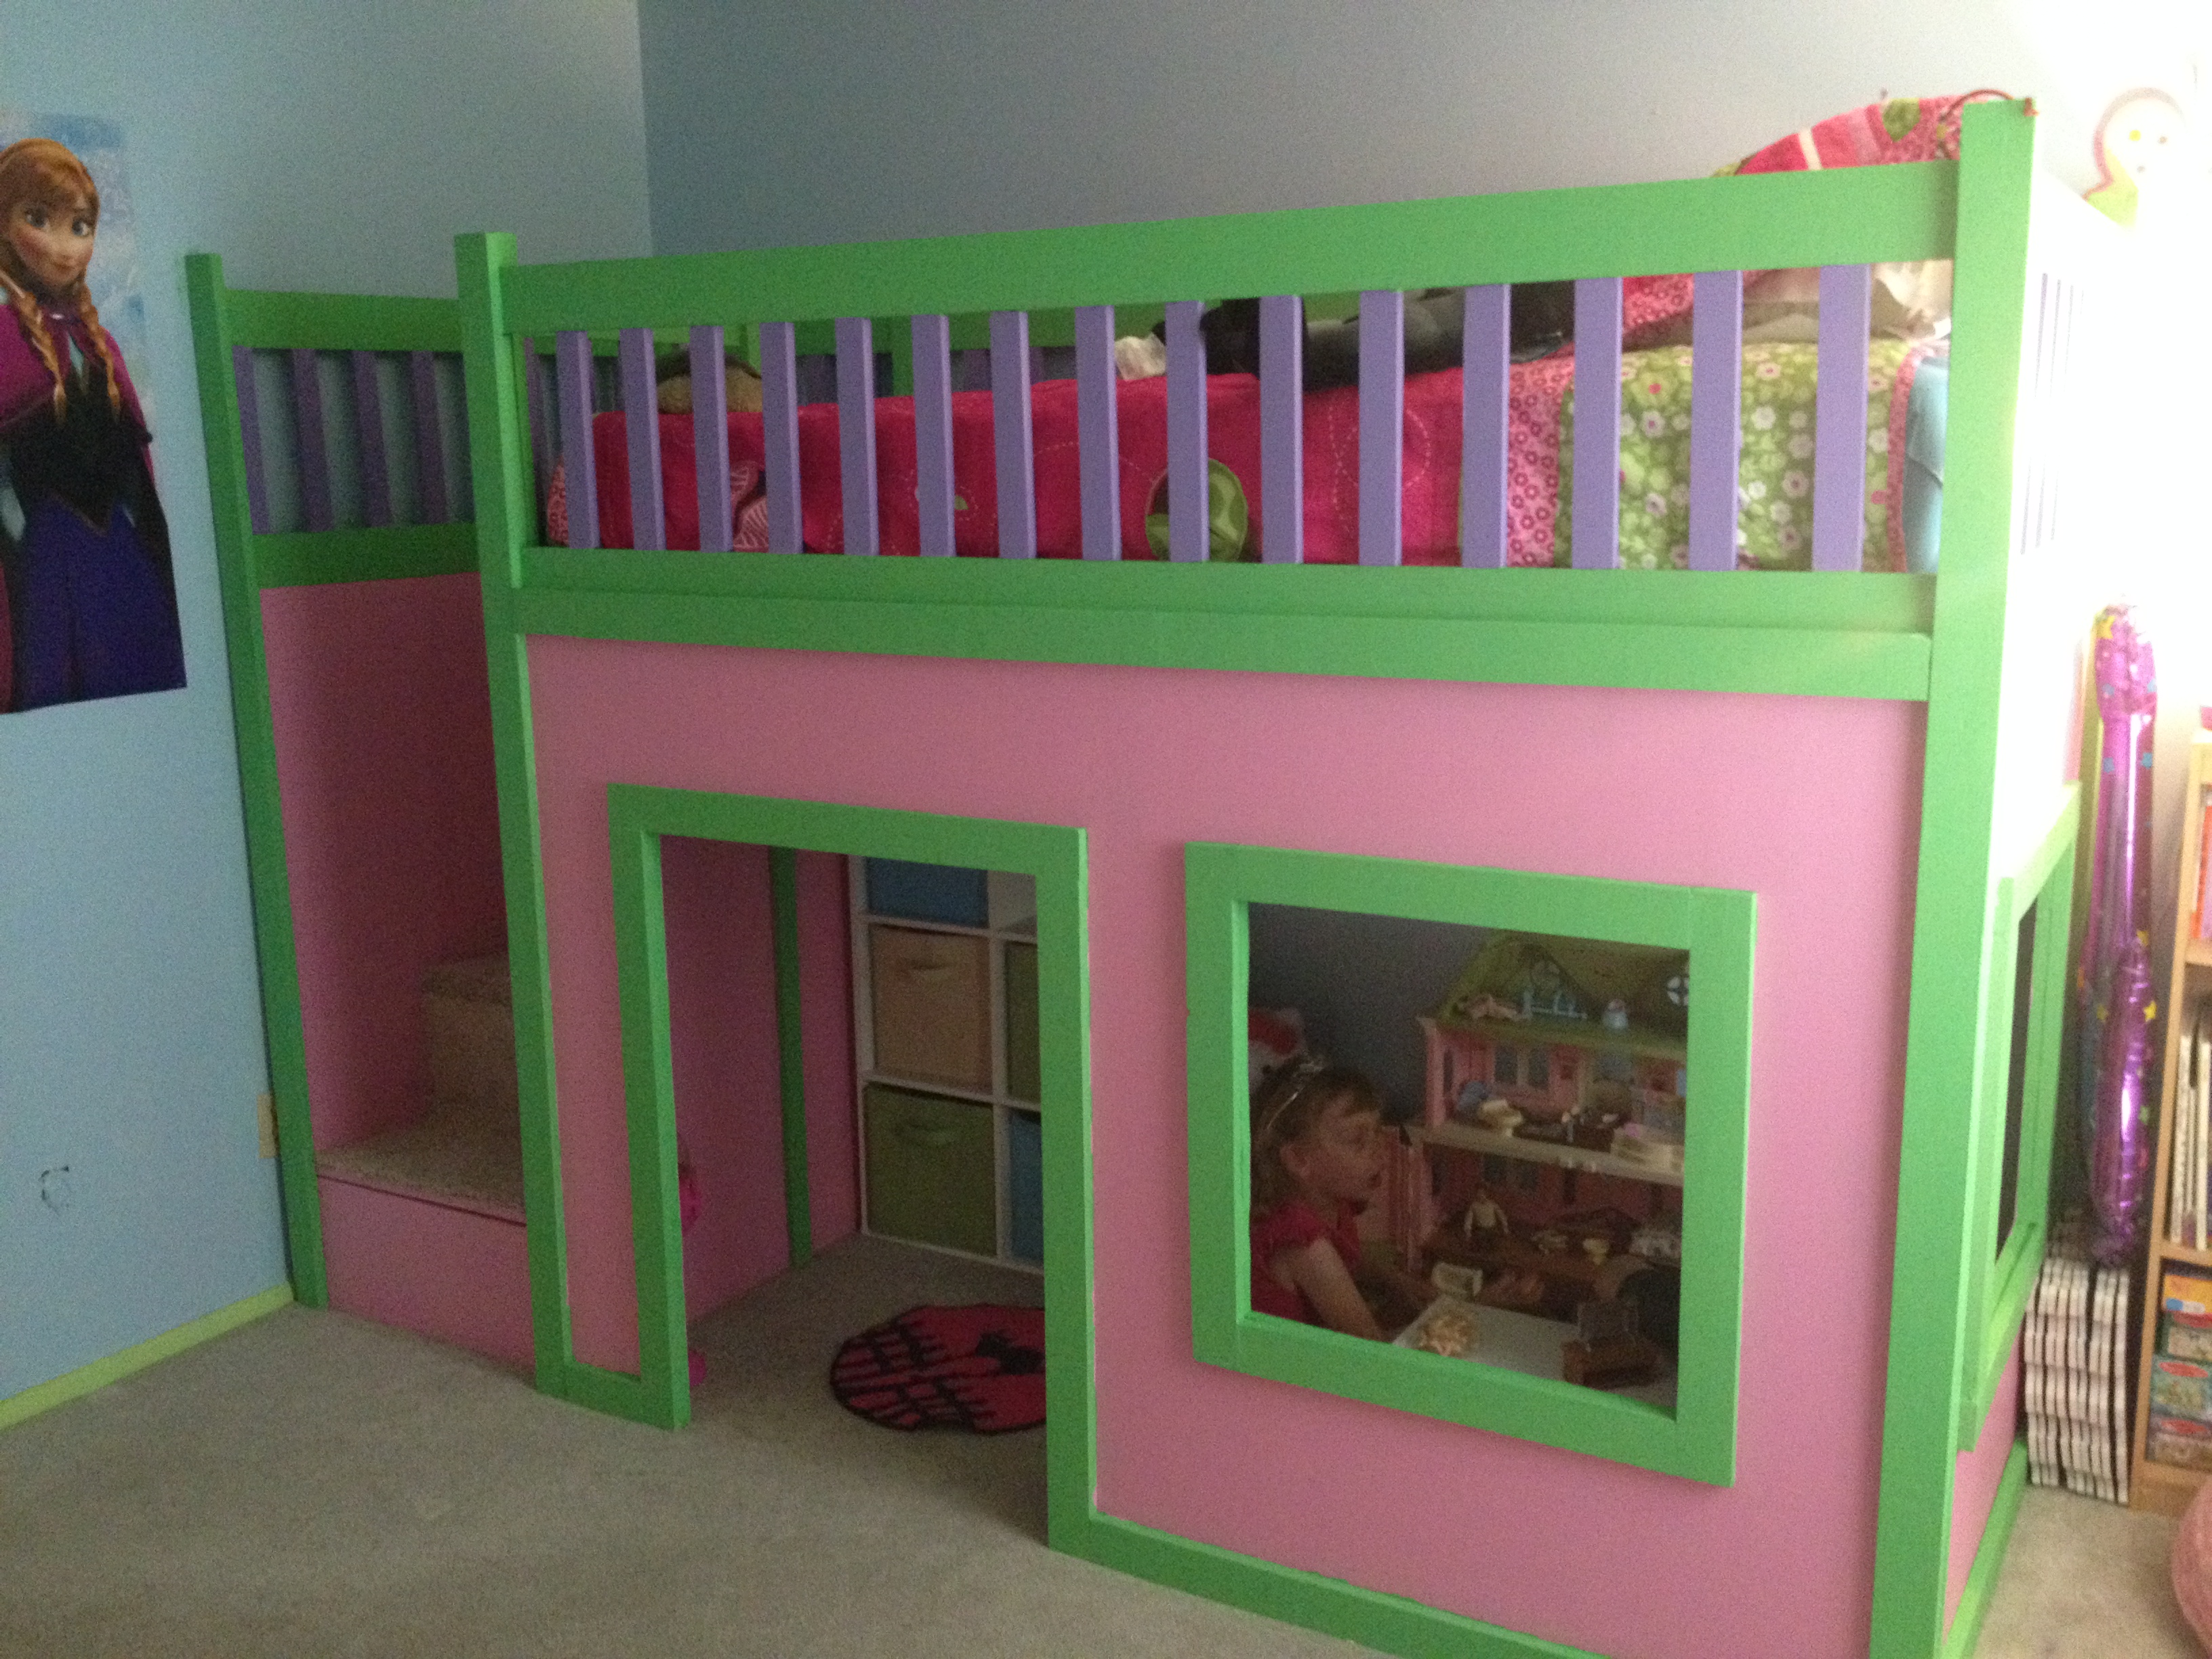
I built this for my daughter's 5th birthday. She didn't actually have a bed in her room and this seemed like a great opportunity to dust off some of my skills.
It was a big project, but worth it all when I saw how much she LOVES it.
Built from Plan(s)
Estimated Cost
$200--but I got the lumber for free
Estimated Time Investment
Week Long Project (20 Hours or More)
Finish Used
Valspar Signature paints from Lowes--Princess Pink (CI218), Tree Frog Green (CI244), & Rocker Girl (CI261).
Recommended Skill Level
Intermediate
X Console

I love this X Console! Thanks for the plans!
Built from Plan(s)
Estimated Cost
Free! I used scrap wood out of dumpsters at construction sites :) The stain was $6
Estimated Time Investment
Day Project (6-9 Hours)
Finish Used
Minwax grey stain, clear satin polyurethane.
Recommended Skill Level
Beginner
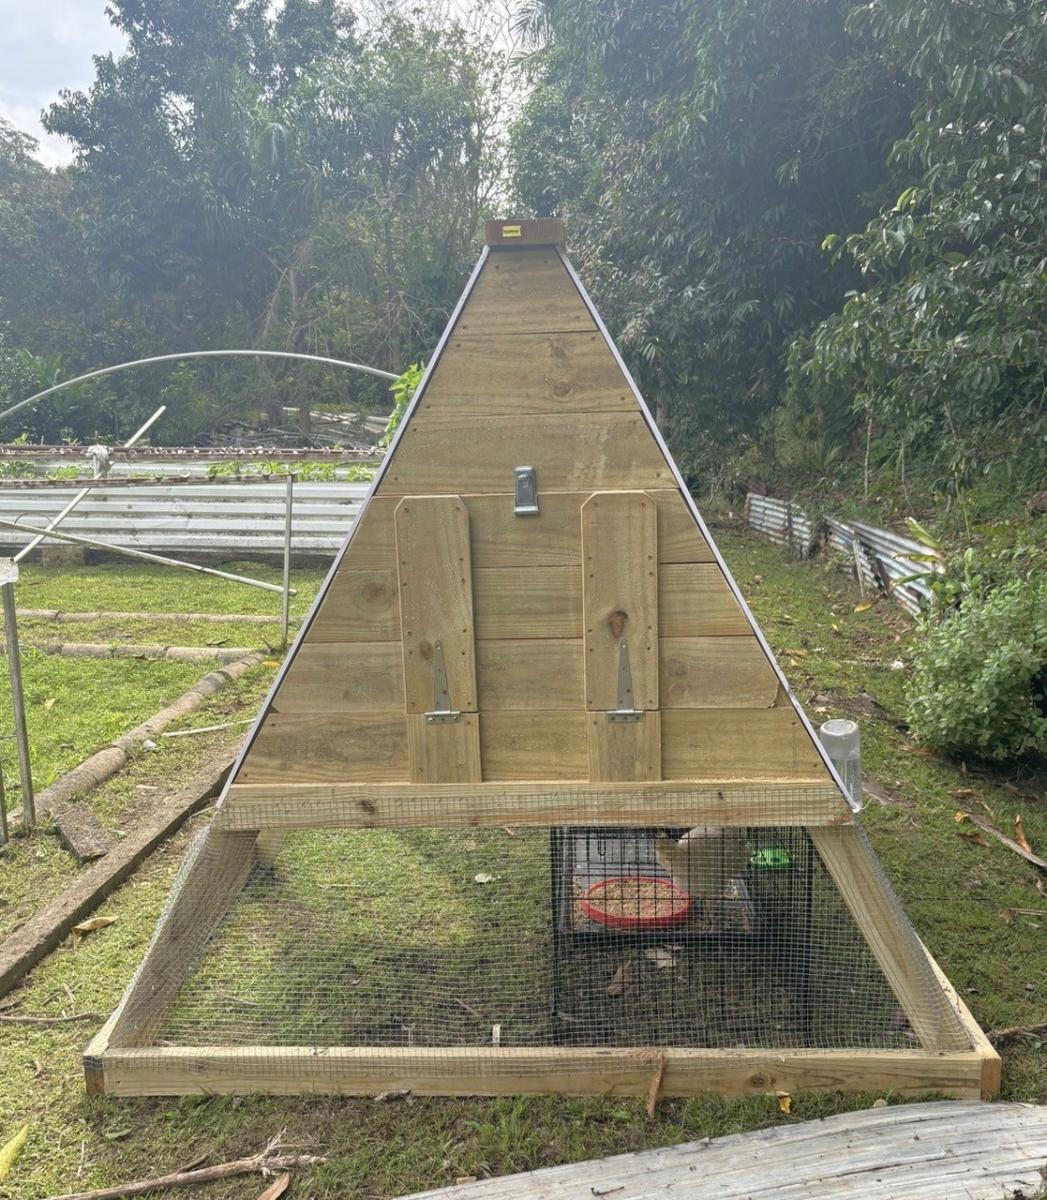
Wood A Frame Coop
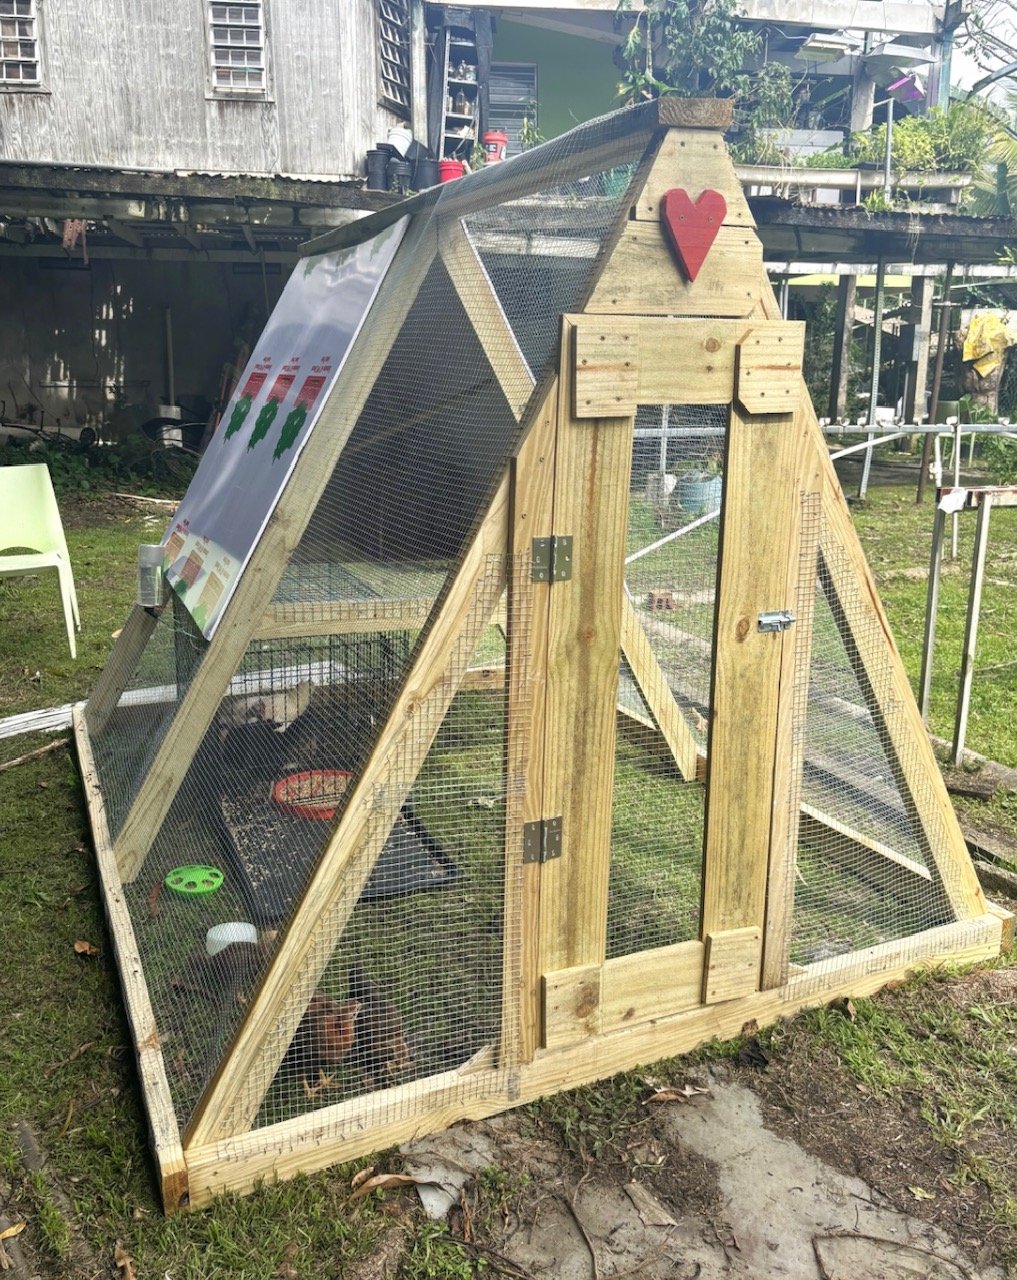
A shape chicken coop built in just two days about 9 hours east to do. But heavy to move but everyone is loving it!!!!
Cecilamor
Built from Plan(s)
Bunk Bed Shelf Organizer
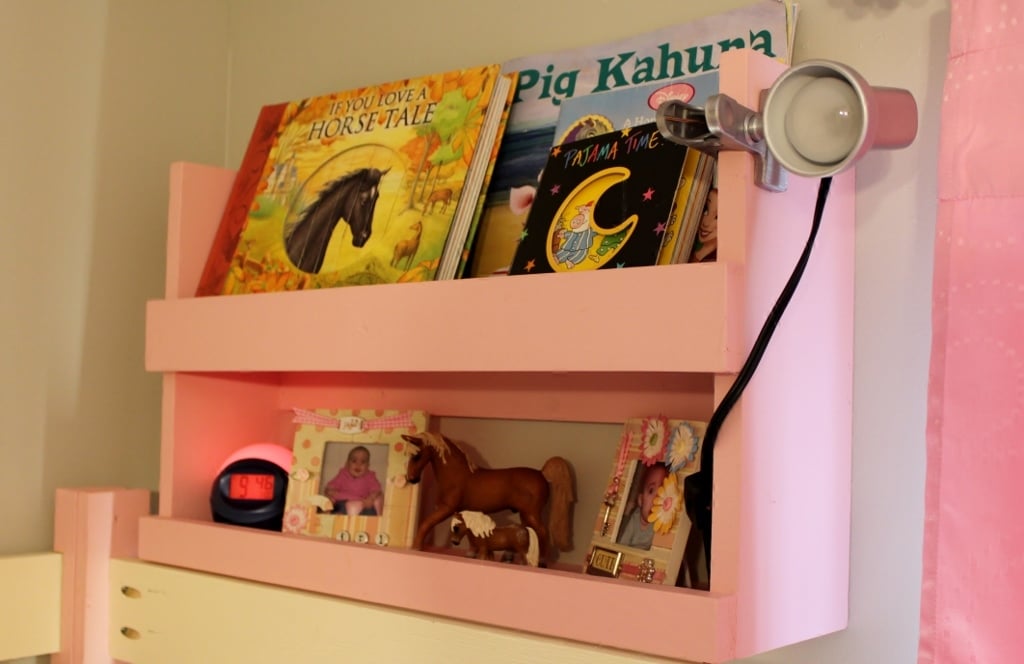
I had just finished my daughter's playhouse loft bed when I saw this plan. It was super easy to build and I used all left over wood from the playhouse. I used 6-inch boards for the sides and shelves since that was what I had left over. Other than that, I followed this plan exactly. Thanks for posting!
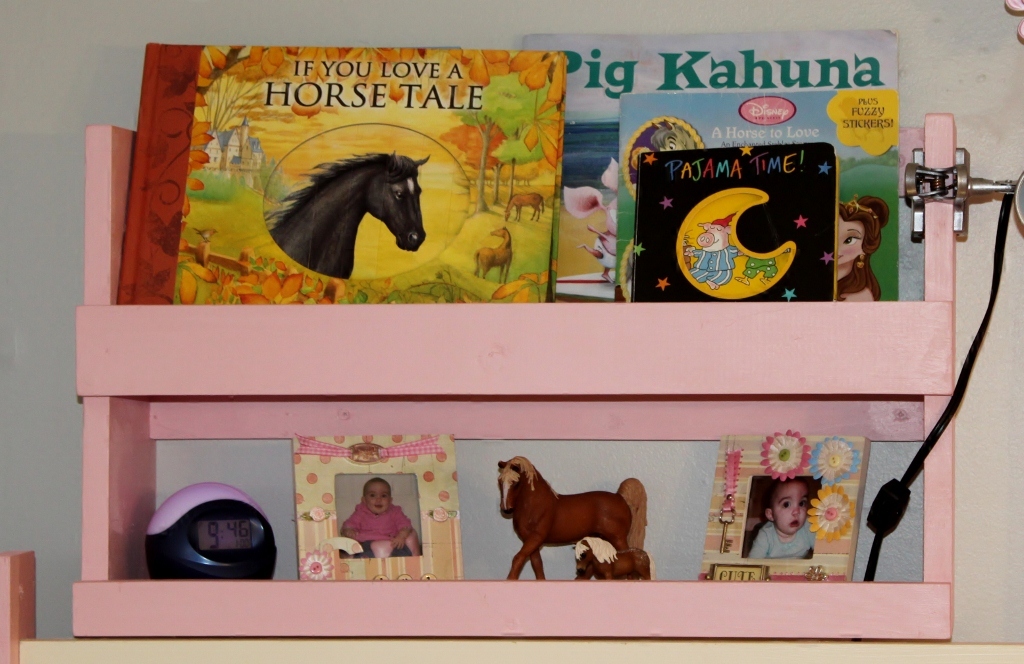
Built from Plan(s)
Estimated Time Investment
An Hour or Two (0-2 Hours)
Recommended Skill Level
Beginner
Comments

Seasonal And Holiday
Rocking Moses Basket Stand
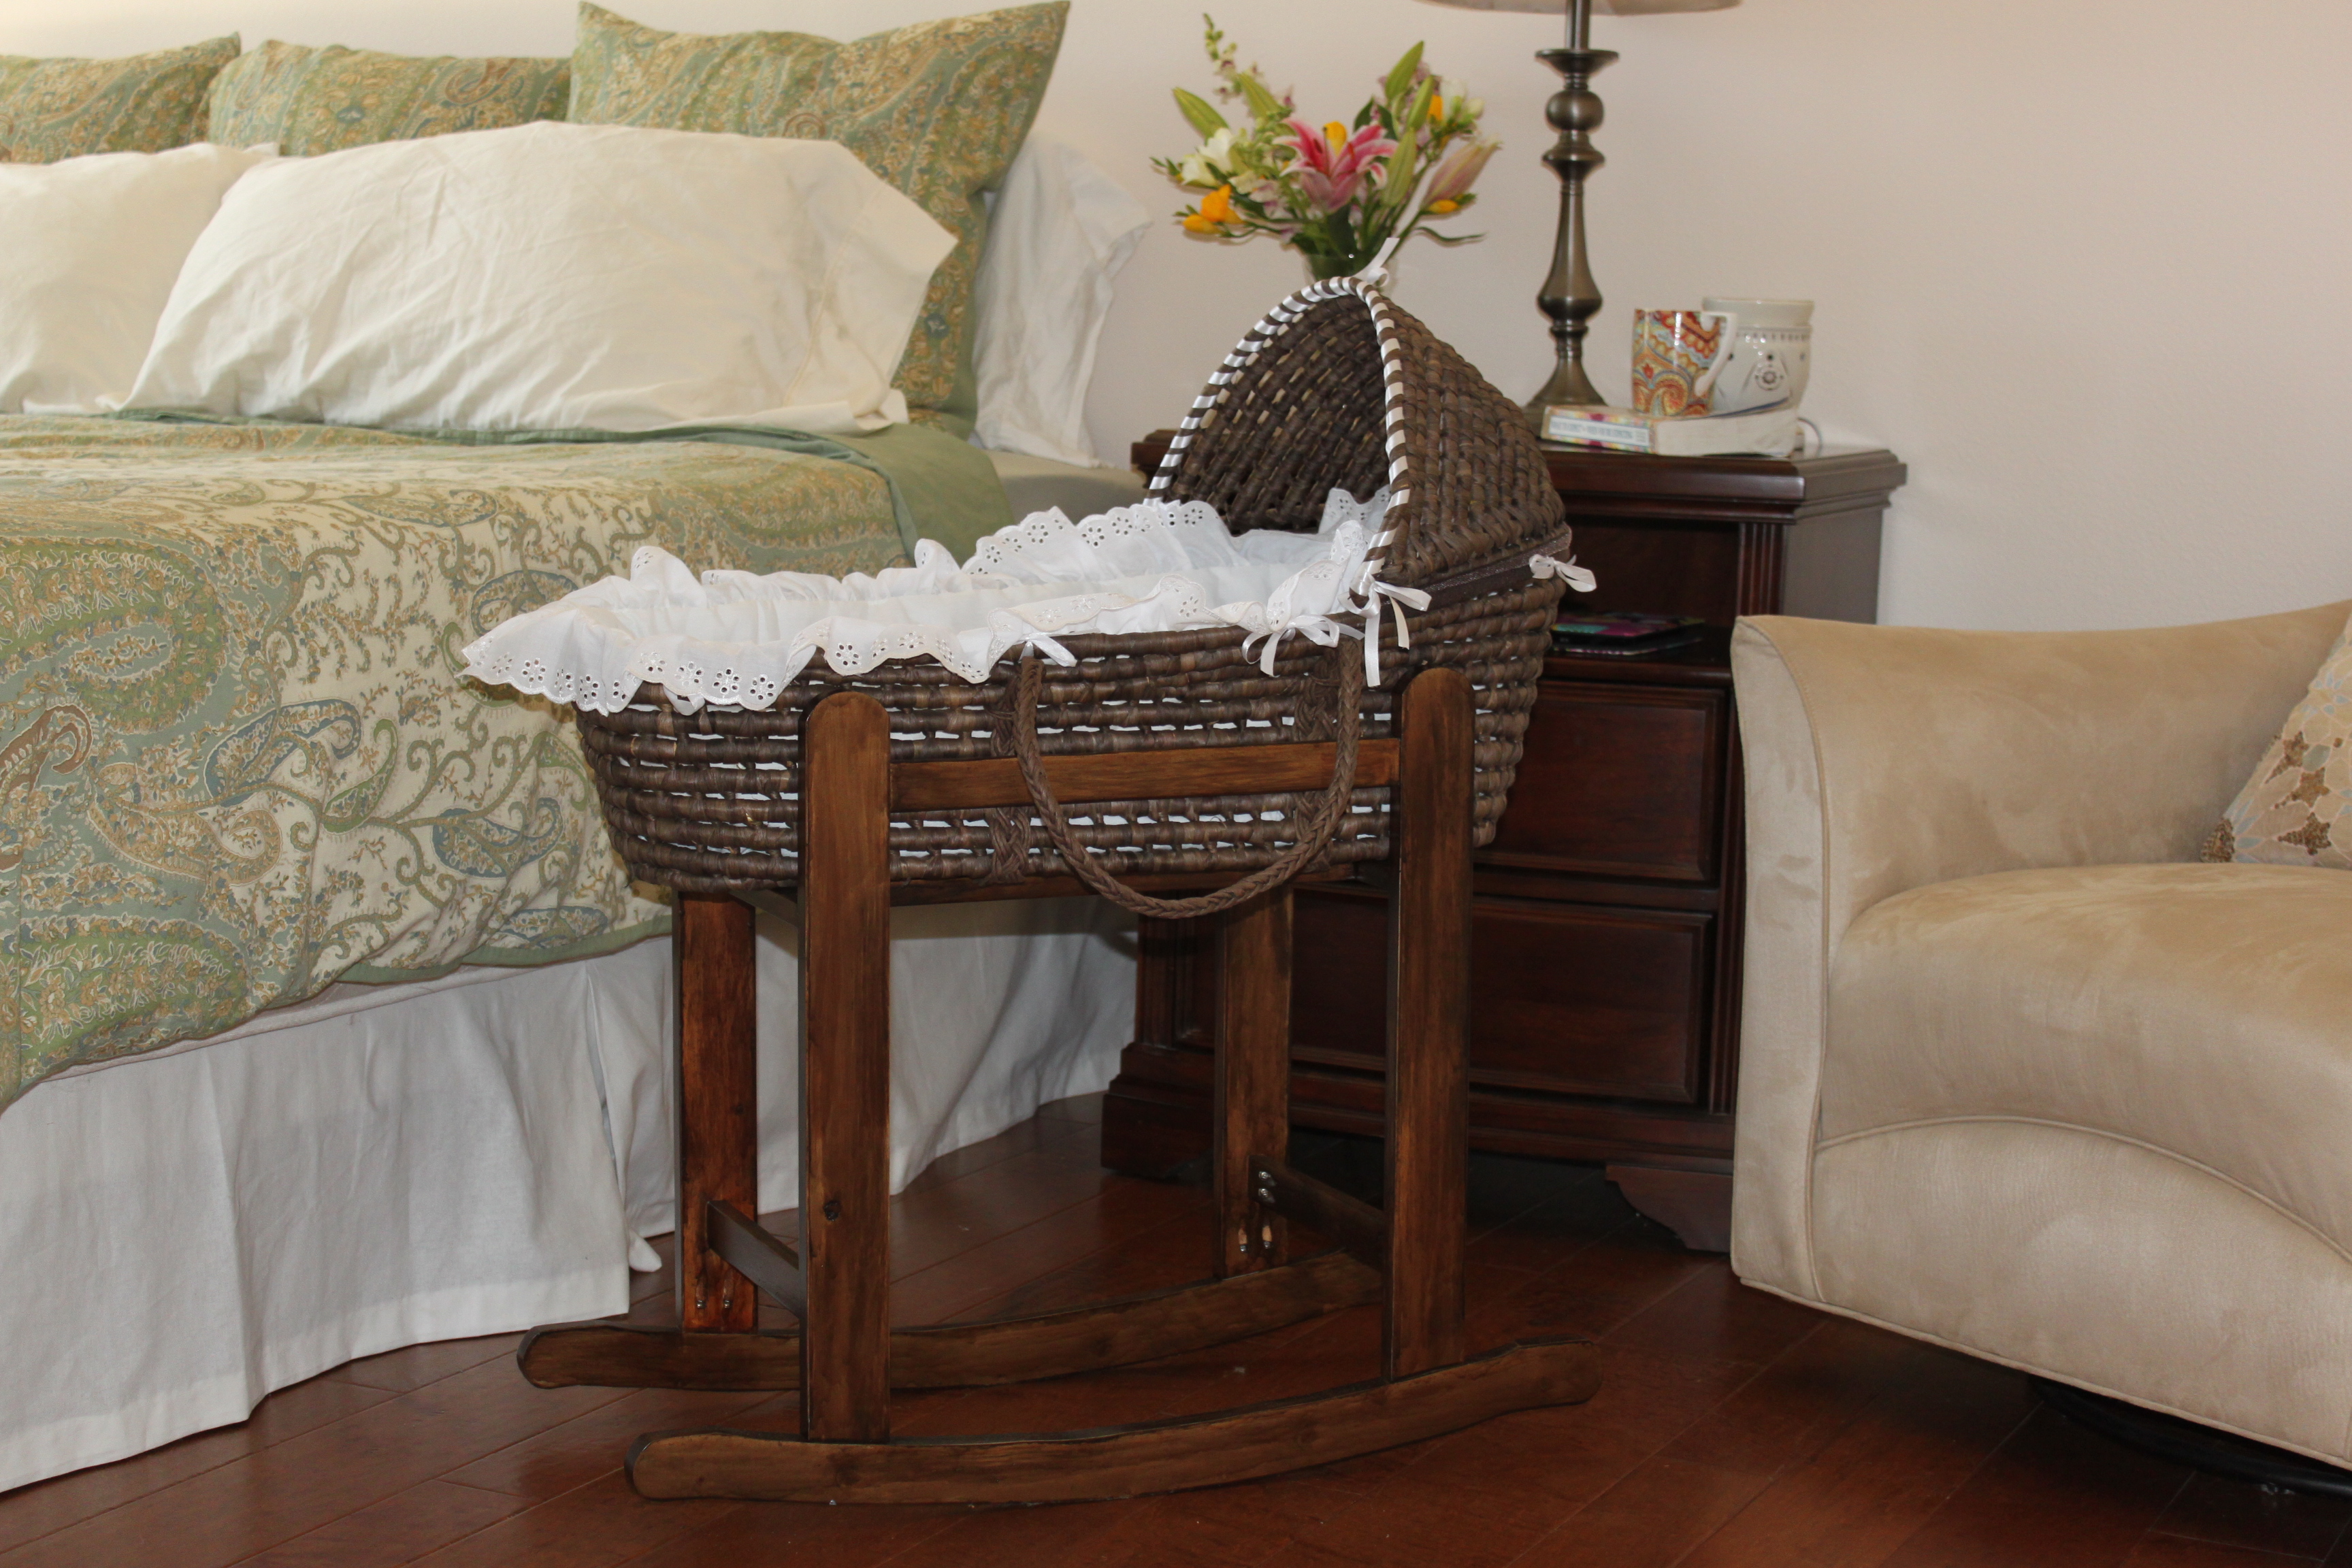
Built at 31 weeks, rockers were indeed tricky. Would recommend leaving top of rockers straight. My doctor objected to me staining it myself so my mom did it for me.
Built from Plan(s)
Finish Used
Minwax Polyshades Tudor Satin and Antique Walnut Satin
Recommended Skill Level
Beginner
Rustic X Console ~ my most pinned post!
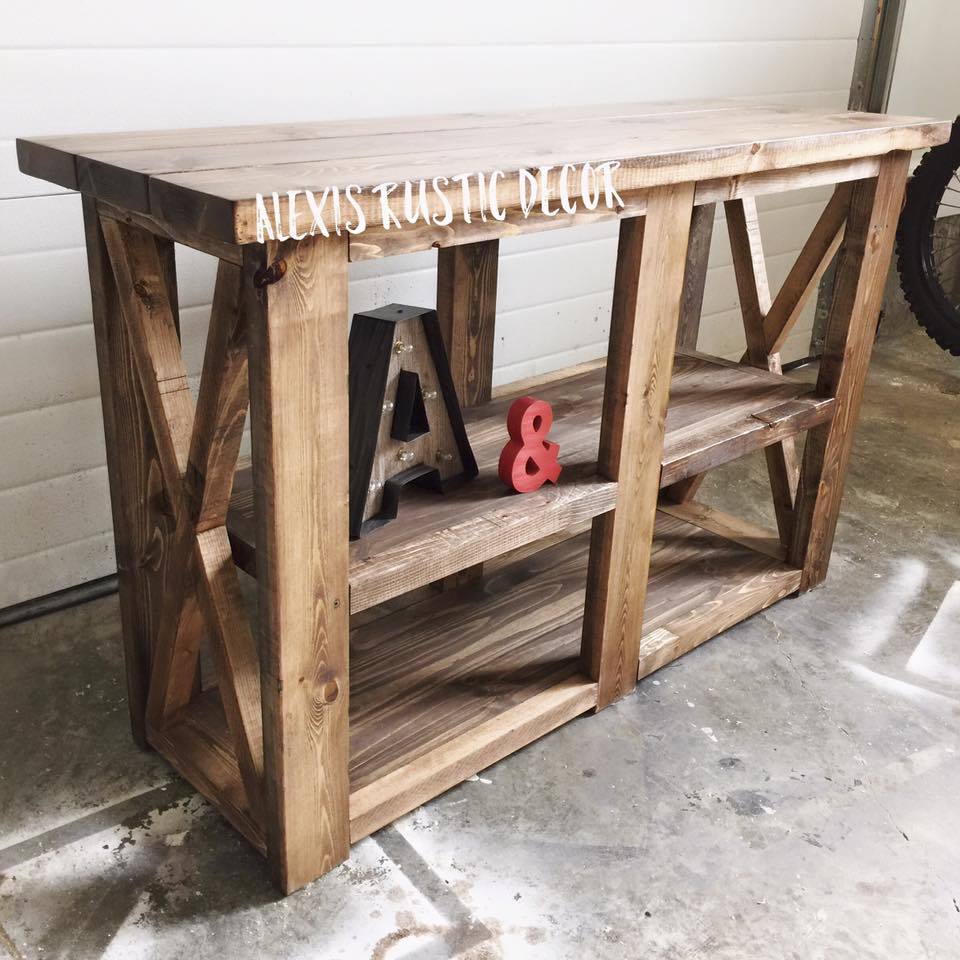
Hands down one of the most popular items I get asked to build!
Thank-you Ana for the awesome plans.
~ Alexis Rustic Decor
Built from Plan(s)
Estimated Time Investment
Afternoon Project (3-6 Hours)
Finish Used
Minwax Special Walnut
Recommended Skill Level
Beginner