Community Brag Posts

Twin Loft Beds for Twins

Submitted by annierey on Thu, 10/31/2019 - 16:33

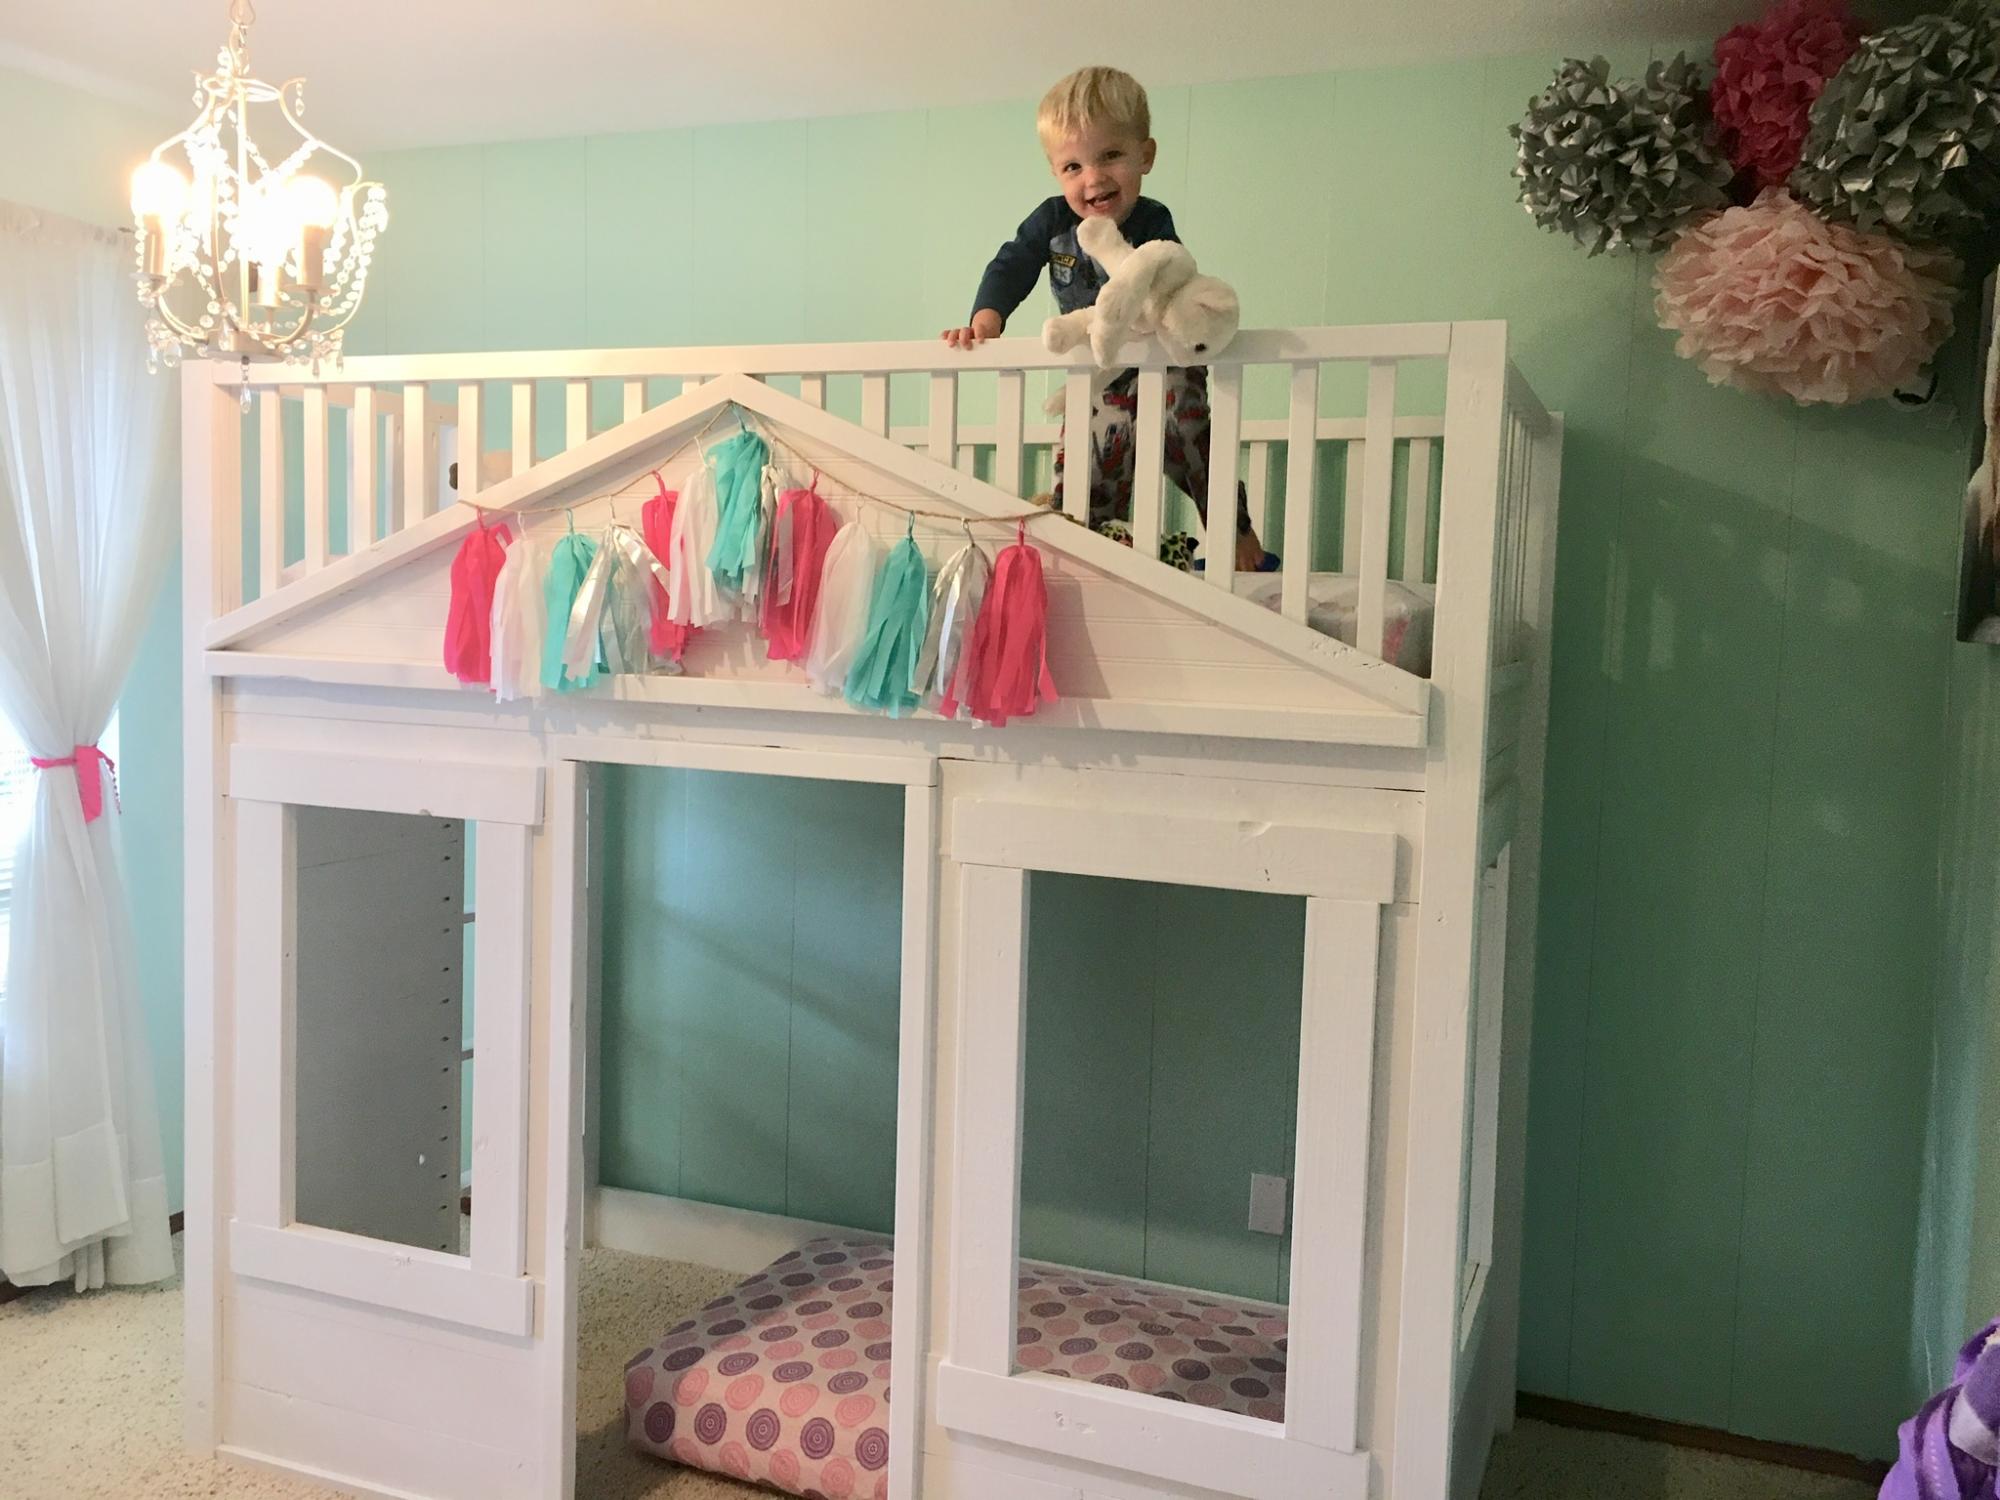
My twins just turned four and were still sleeping in their toddler beds, so it was time for an upgrade.  They still want to share a room so we knew we needed to maximize space and open up some room for them to play.  We chose the Camp Loft Bed but raised the height to 72" (with 53" of headspace) so we might be able to add a desk underneath when they get older. 

Essentially, we made two loft beds with the platforms but omitted the stairs.  Then we built a slightly lower platform to put between the two beds, which acts as a step down.  Then instead of making stairs that jut out into the room, we added two 2x4s as ladder rungs to the lower platform.  This also acts as a tunnel for the twins to crawl under to go between each other's play spaces.   This also makes it so the beds can be easily separated if we ever need to put them in separate rooms. 

When it was complete we noticed one of the beds was a little wobbly, so we added diagonal braces in the corners and another 2x4 across the length of the bottom to help stabilize it.  We also chose to use 1x4 pieces of pine as the slats for the mattress to lay across, but they didn't feel like they would support our weight if we wanted to read to them in bed.  So we added two more 2x4s underneath the slats the entire length of the bed, which has added a ton of support. 

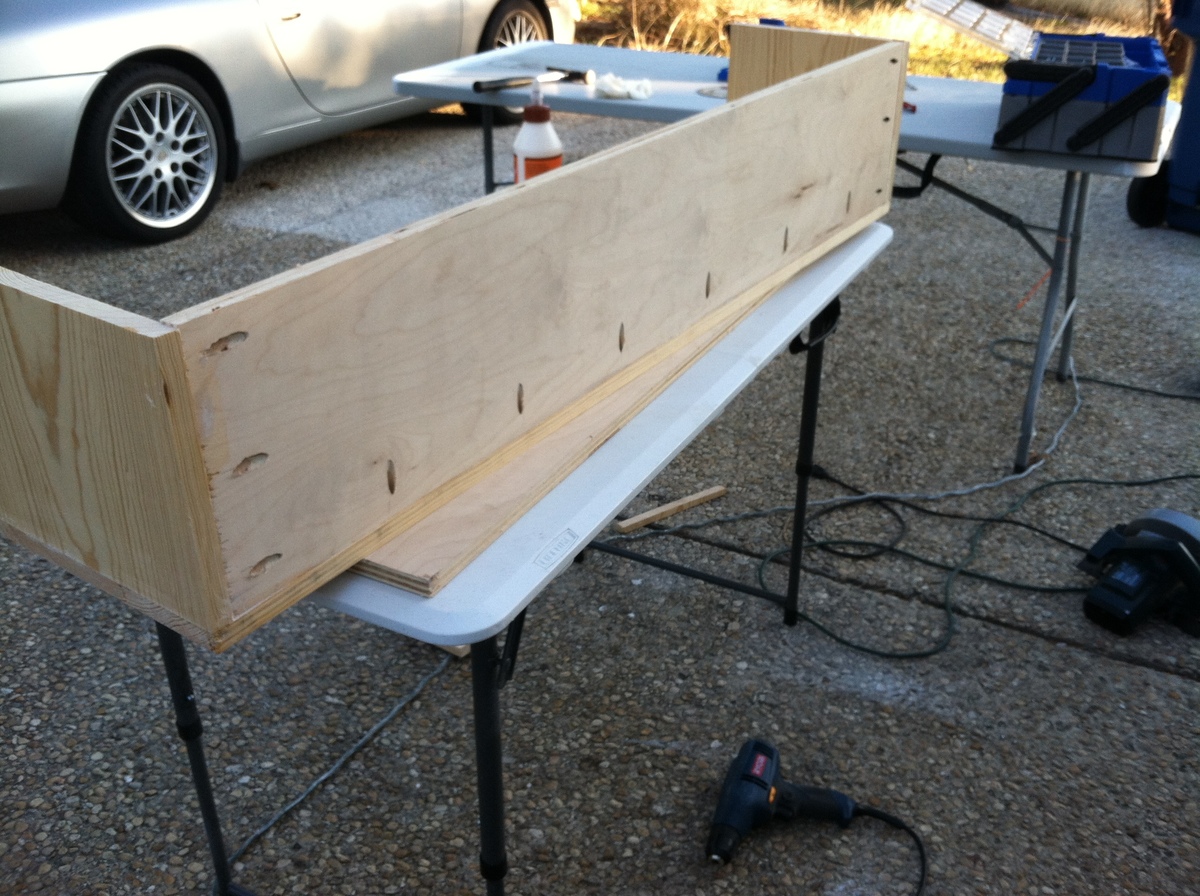
We stopped keeping track of exactly how much it cost, but it was close to $400 for both beds combined.  And it took most of my husband's free time for two weeks, but most of that was painting two coats of paint on every piece before assembling.  First he cut all the pieces to size, drilled the holes with a Kreg Jig, and then painted.  To make the painting more efficient, he put a bunch of screws into boards so he could paint all the exposed sides of the lumber, flip, and leave them to dry.  Then we assembled the beds in their room. 

The twins love their new beds, and we love how much more space they have to play in their room!  We were worried the room would feel too crowded but with the openness of the plan and the space that was opened up underneath, we think it turned out great!  Now we can move in a bunch of their toys and reclaim some of our house!  Thanks for the great plans!

Estimated Cost
$400
Estimated Time Investment
Week Long Project (20 Hours or More)
Finish Used
Two coats of white paint/primer
Recommended Skill Level
Beginner

Console entry table

Submitted by Anonymous (not verified) on Thu, 07/20/2023 - 12:07

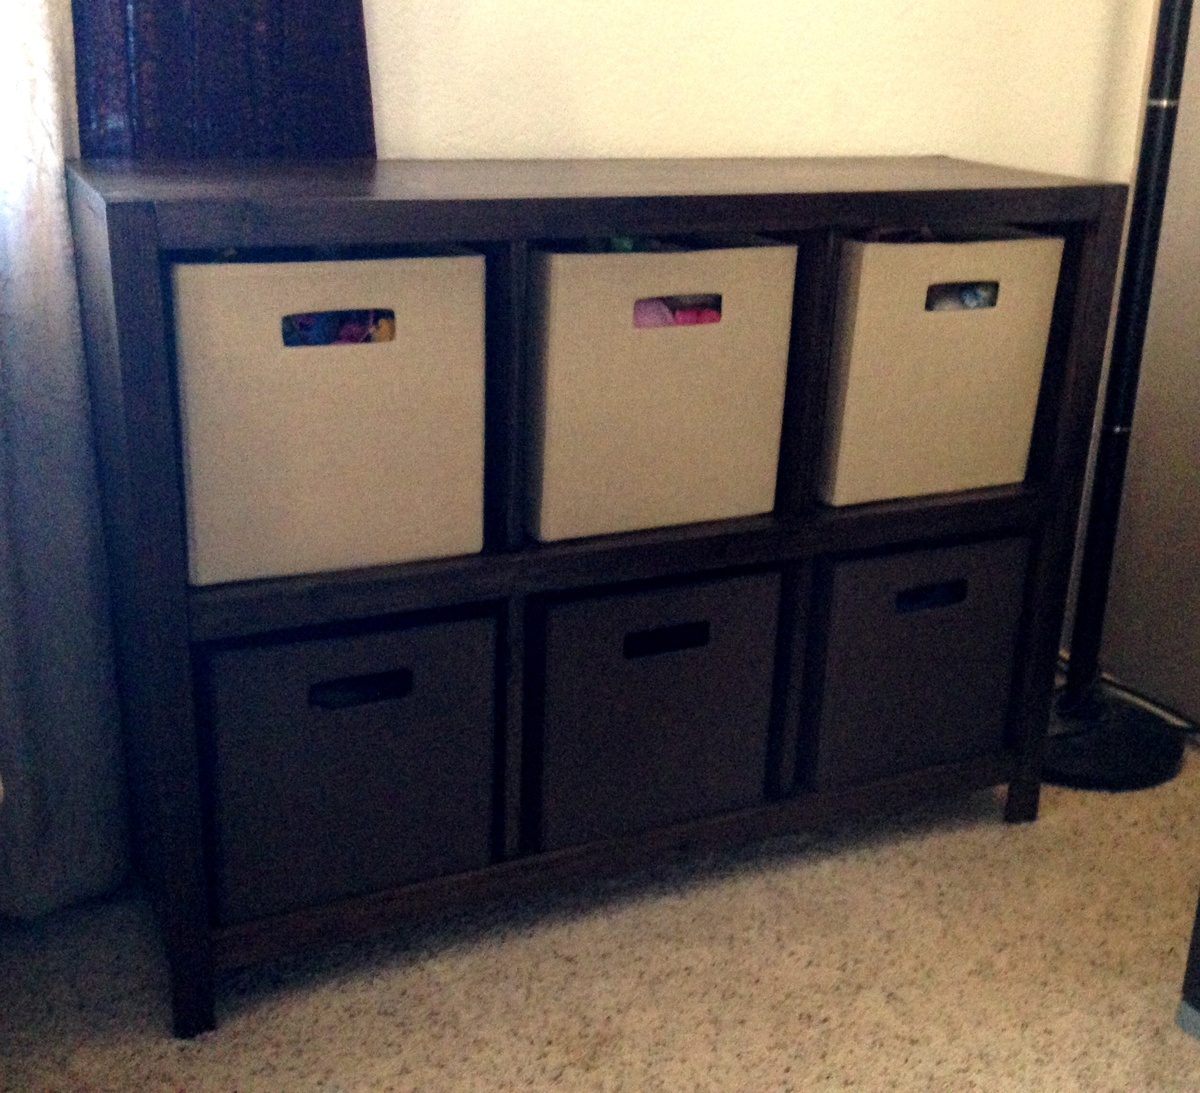
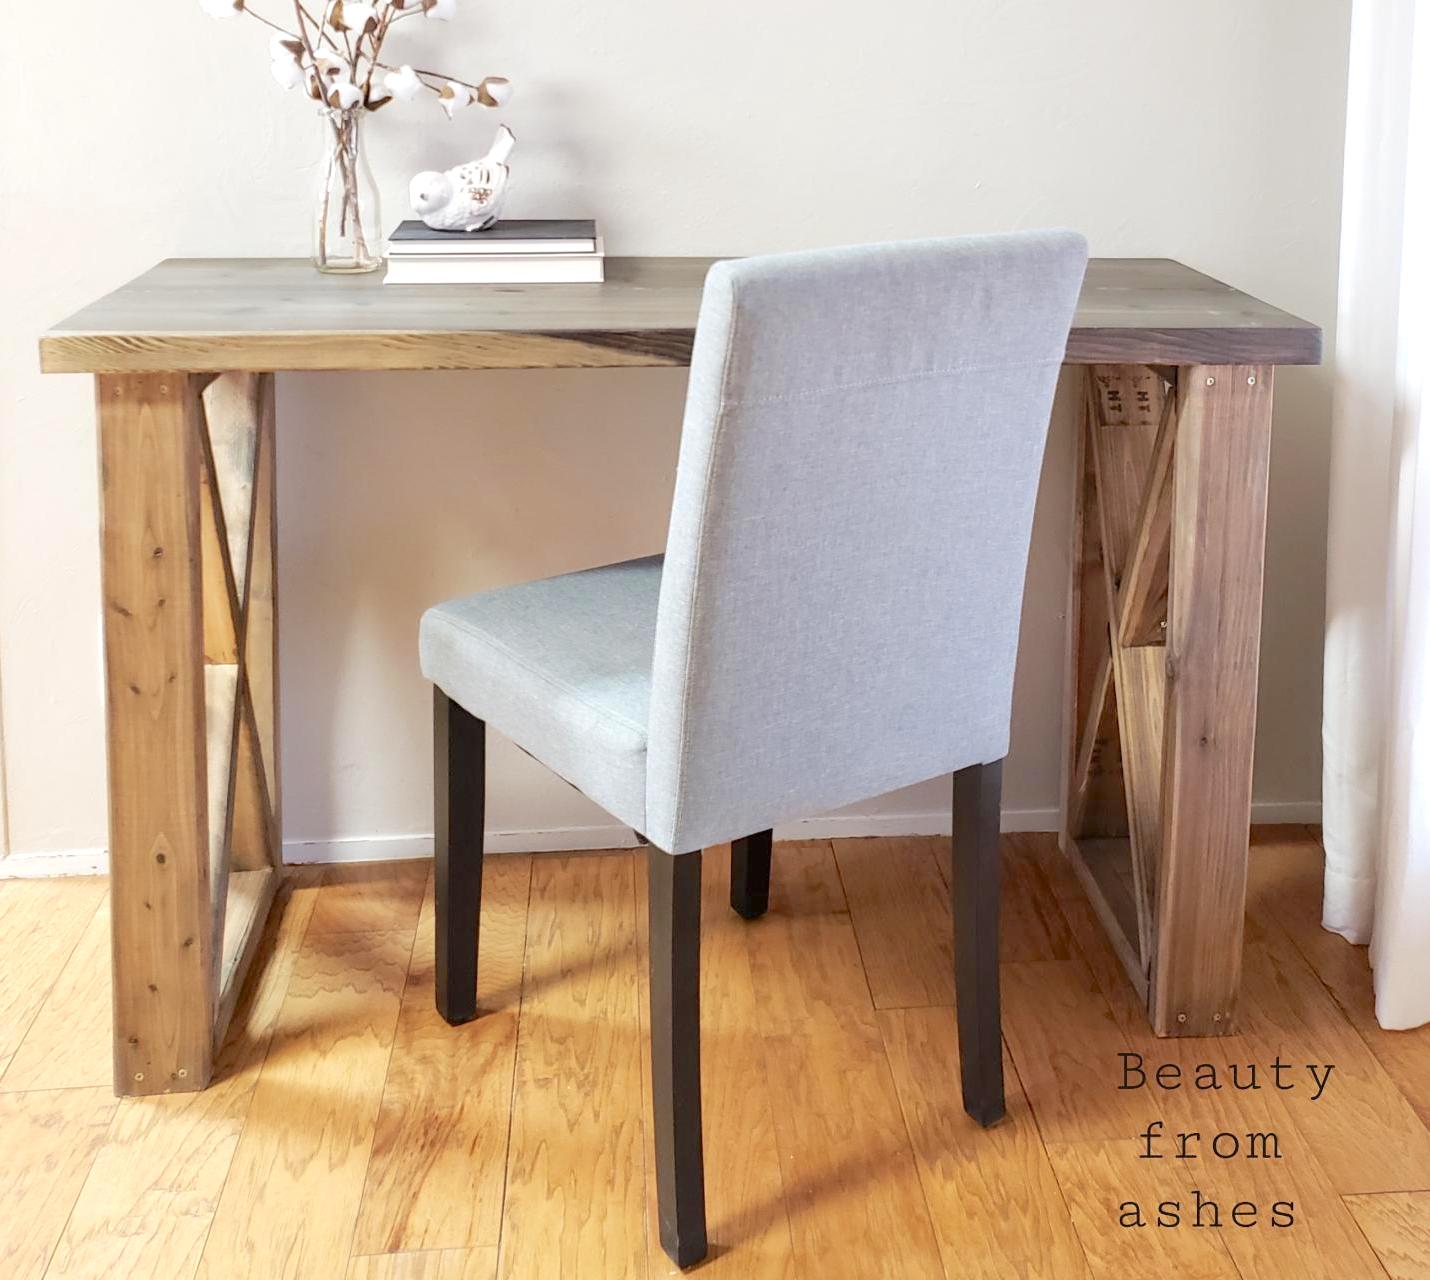
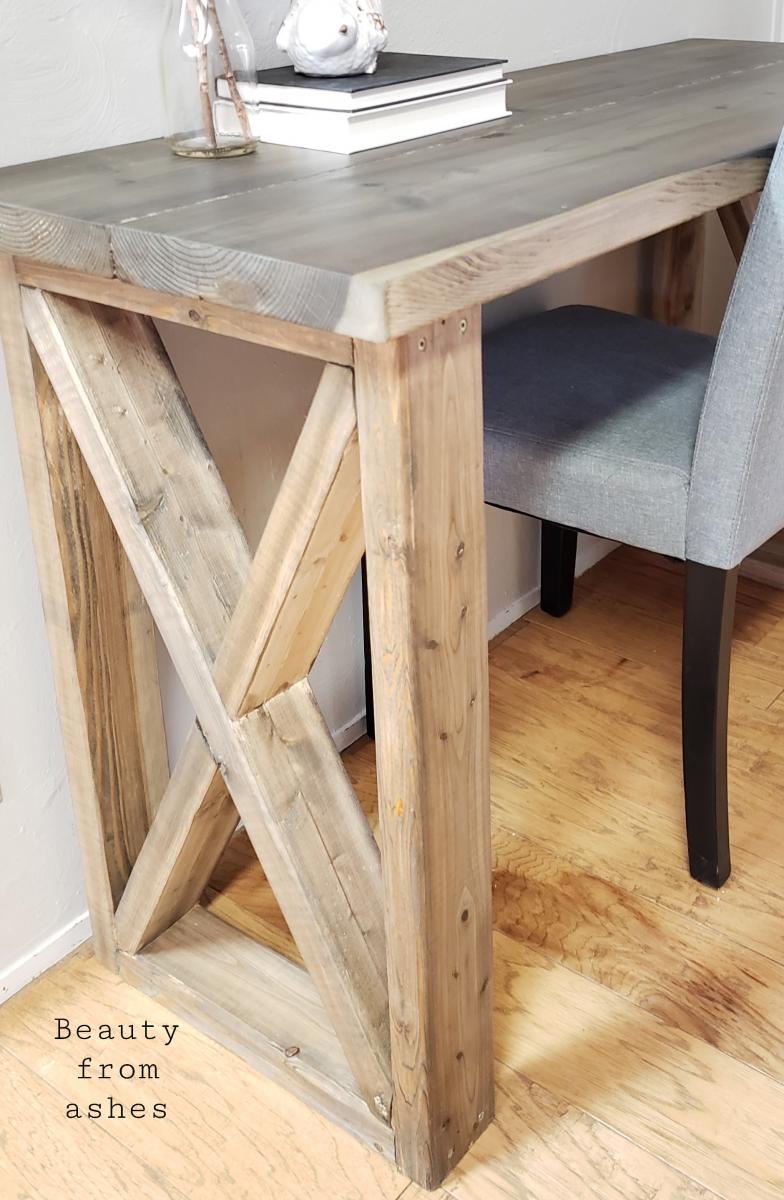
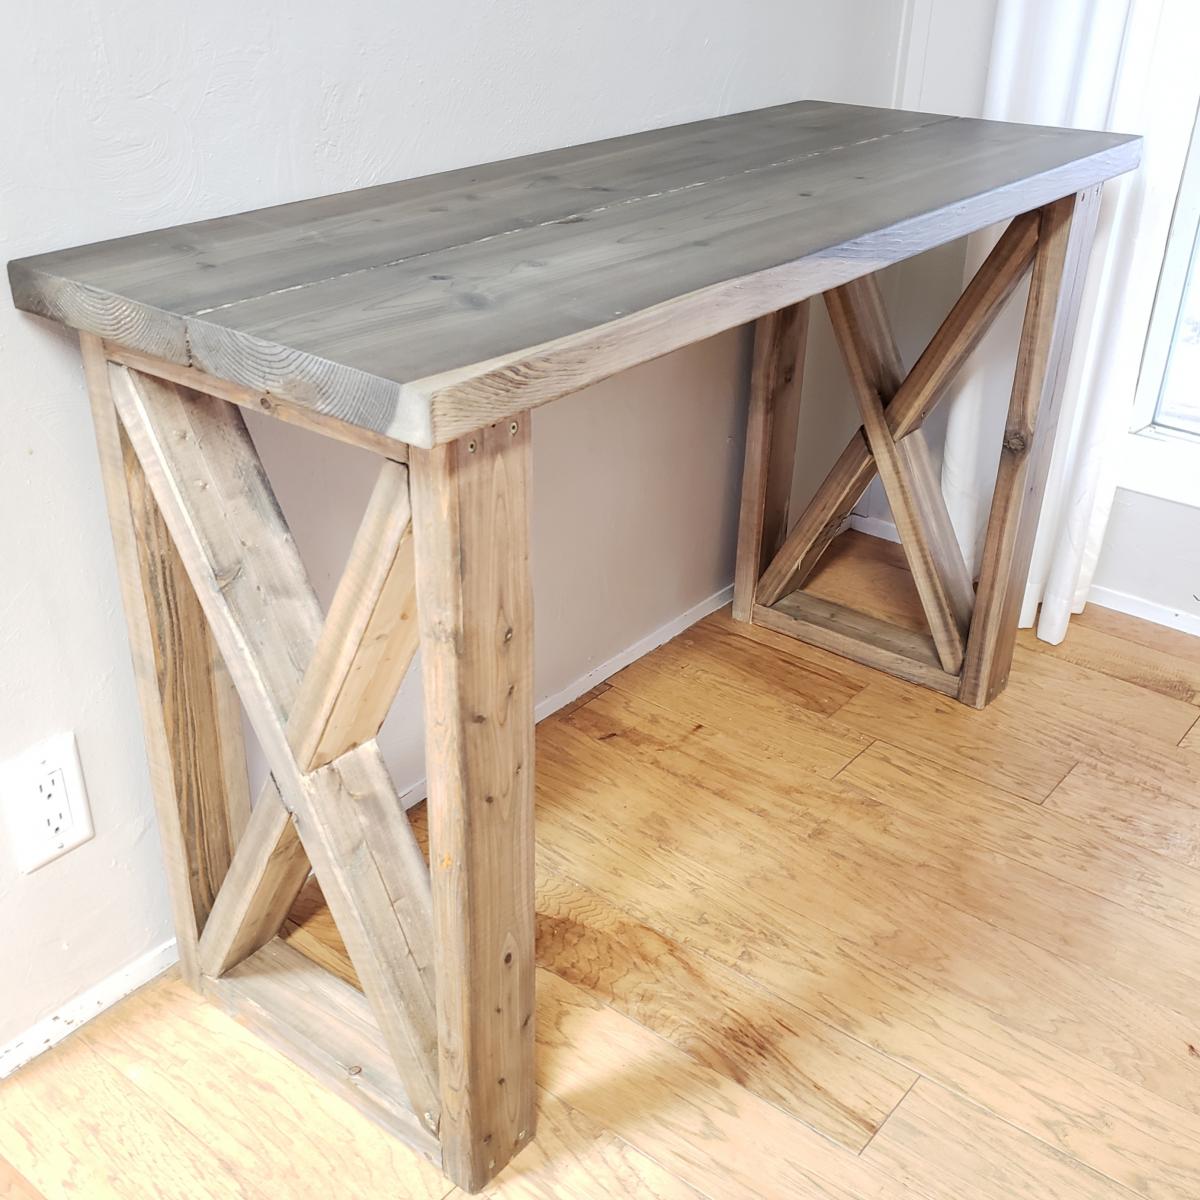
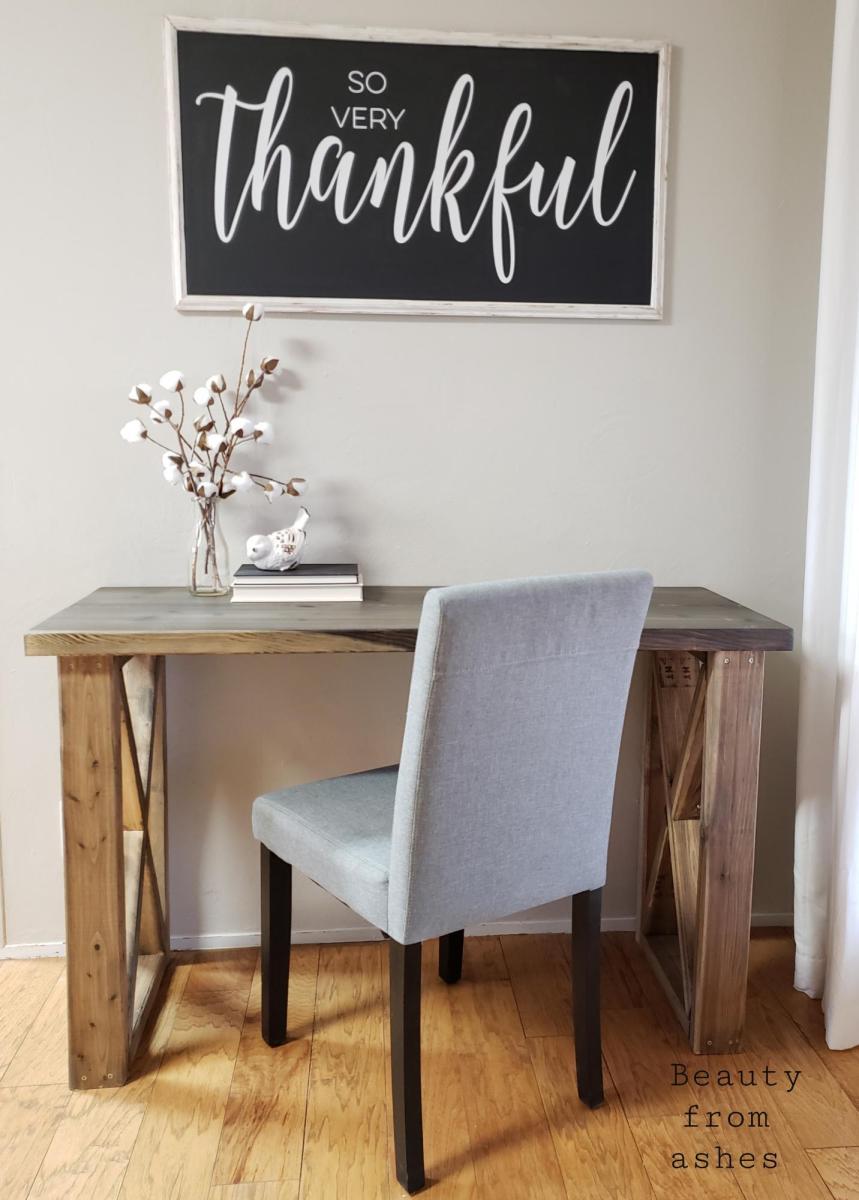
This entry table I made from wood I got from a recycle center of wood products. It’s been in our entry now for several years. I have only basic tools-no planers and jointers, etc. I do have a fold up table saw that I use once in awhile. I enjoy working with natural /live edge and or construction grade materials. Always impressed with the items Ana has built. Good job Ana😁👍

Built from Plan(s)

TWINNING!

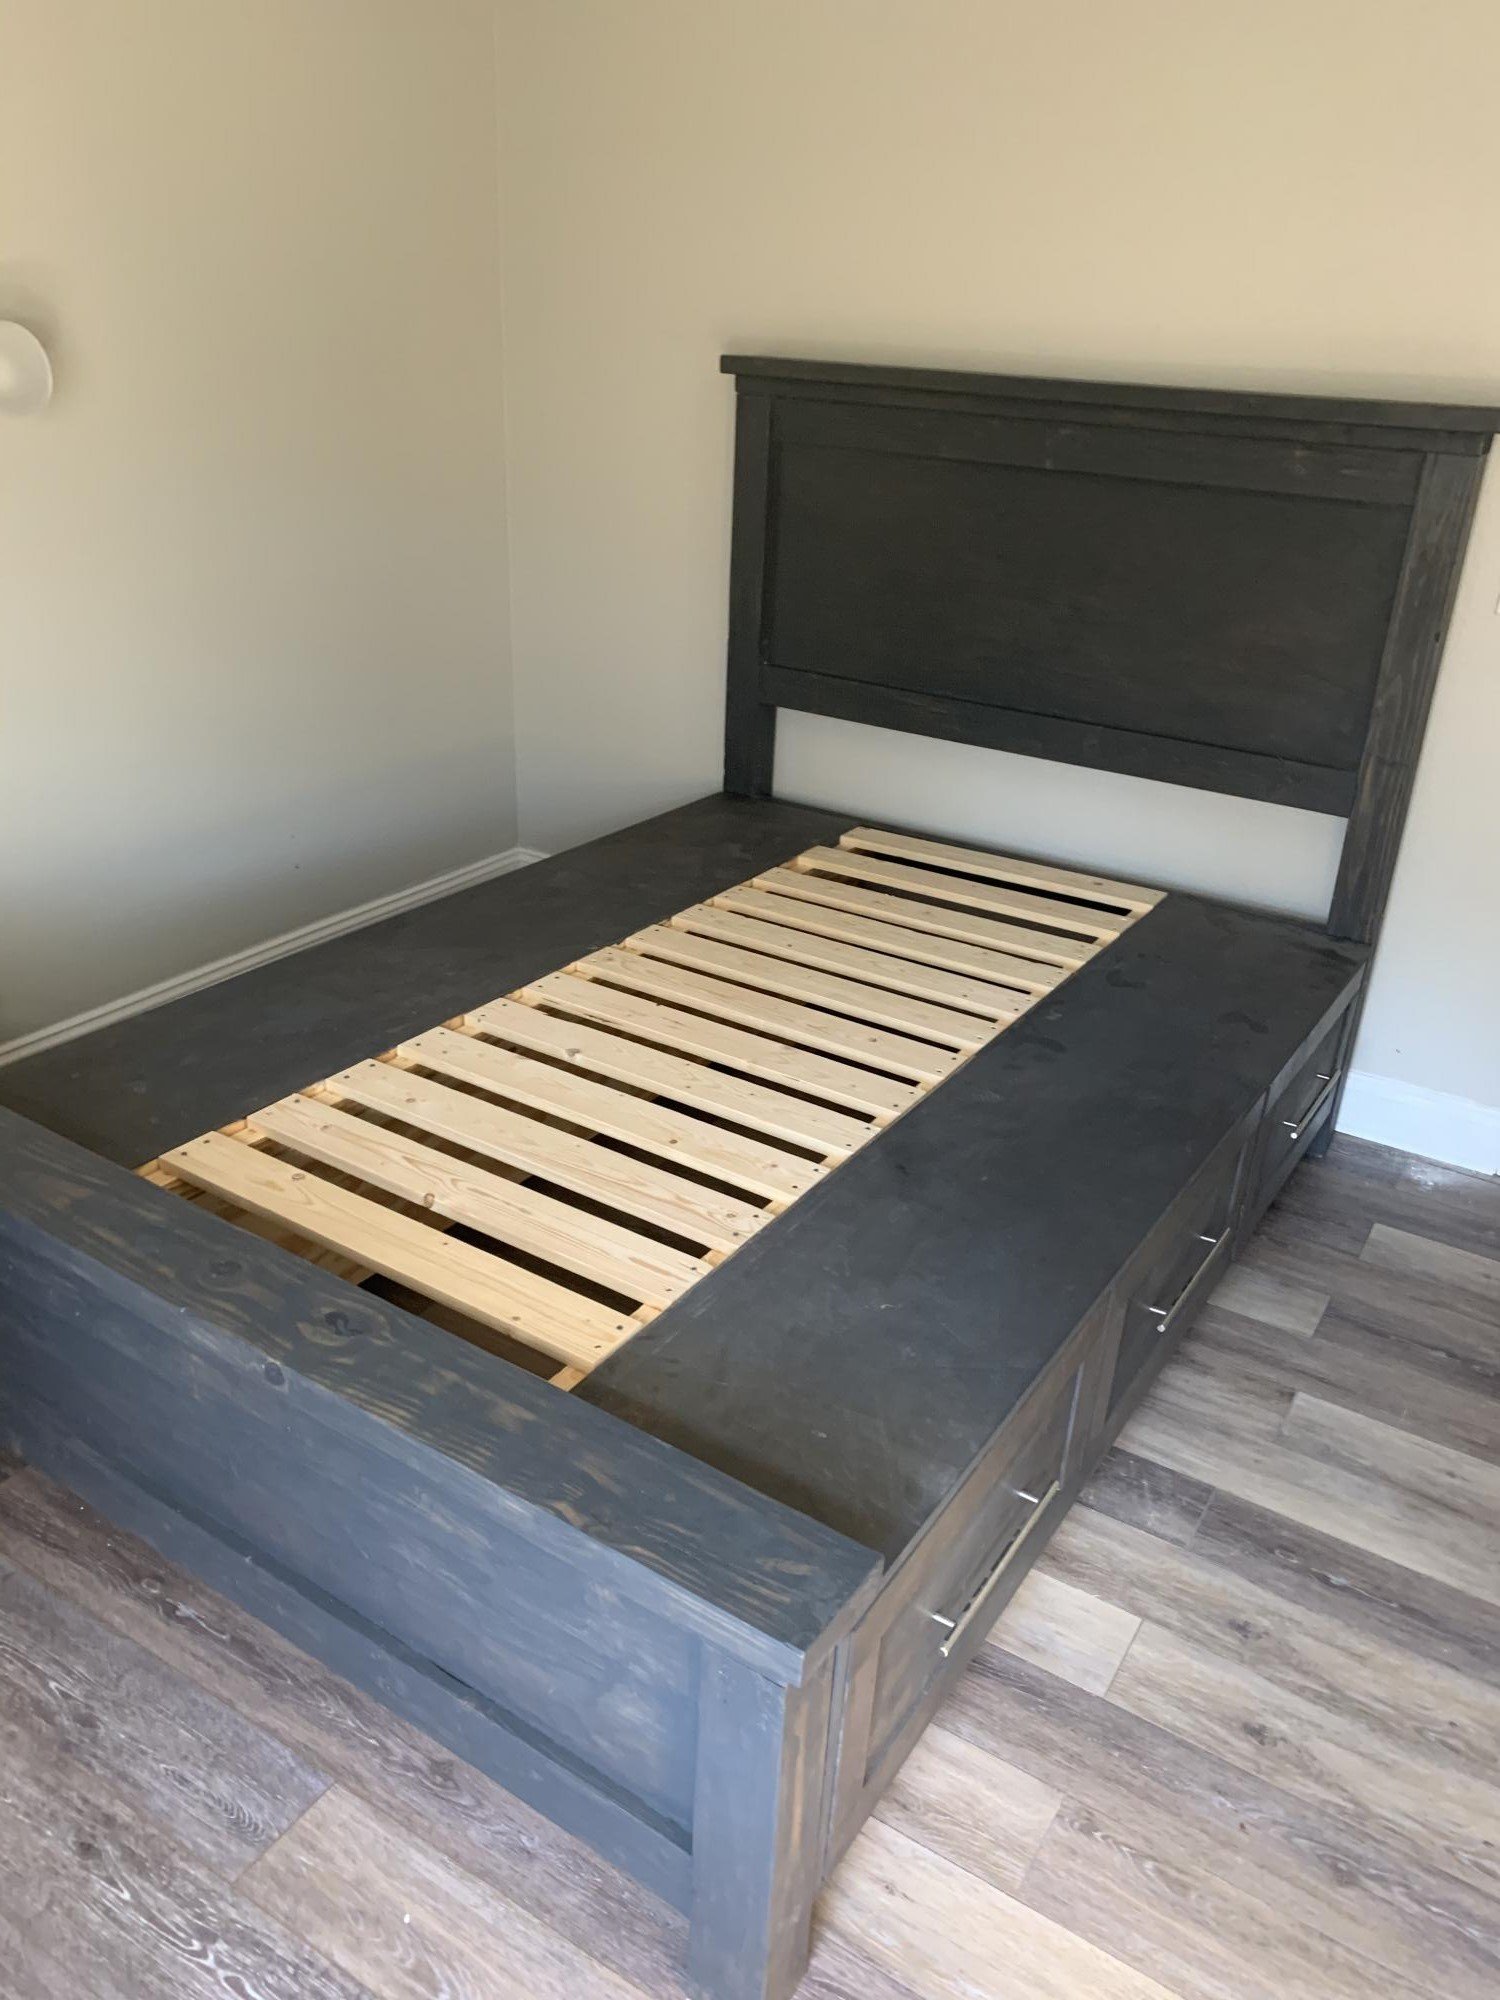
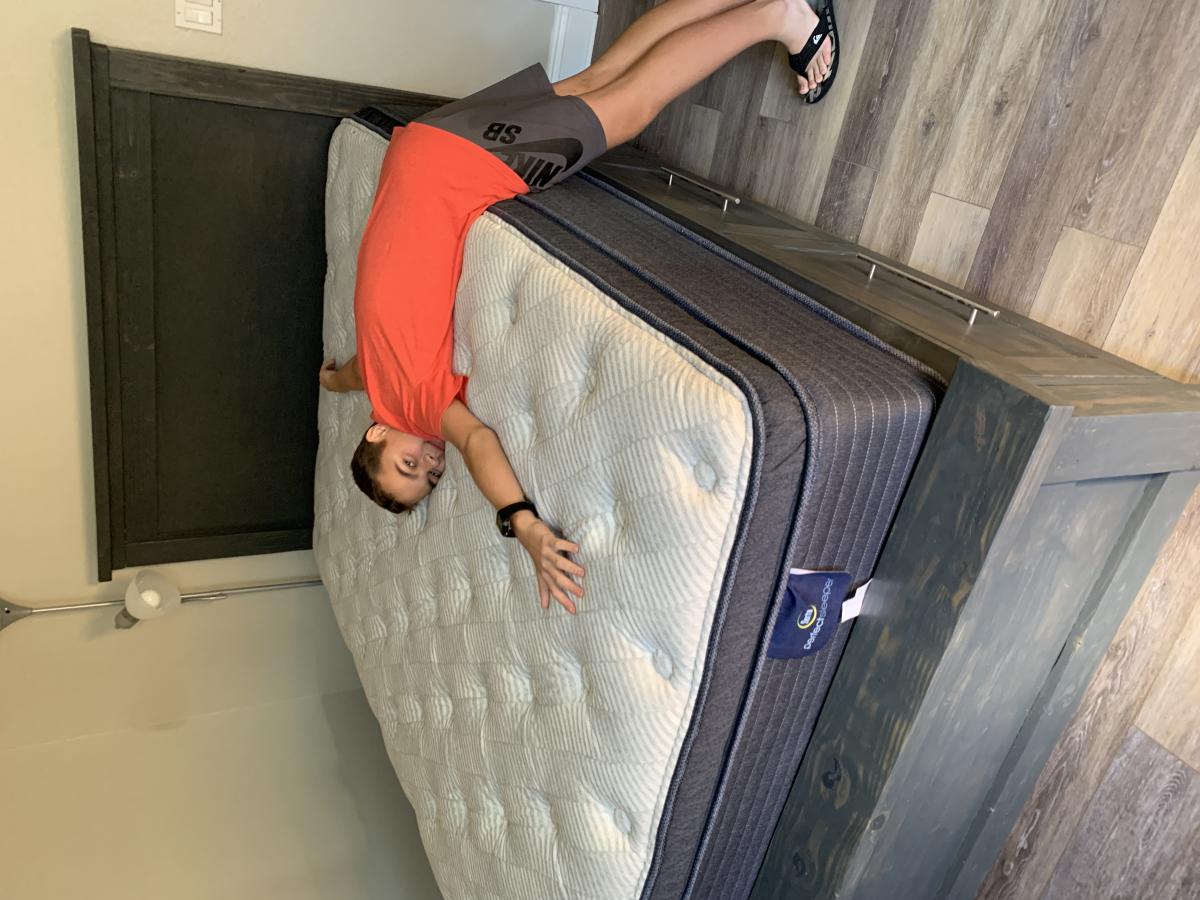
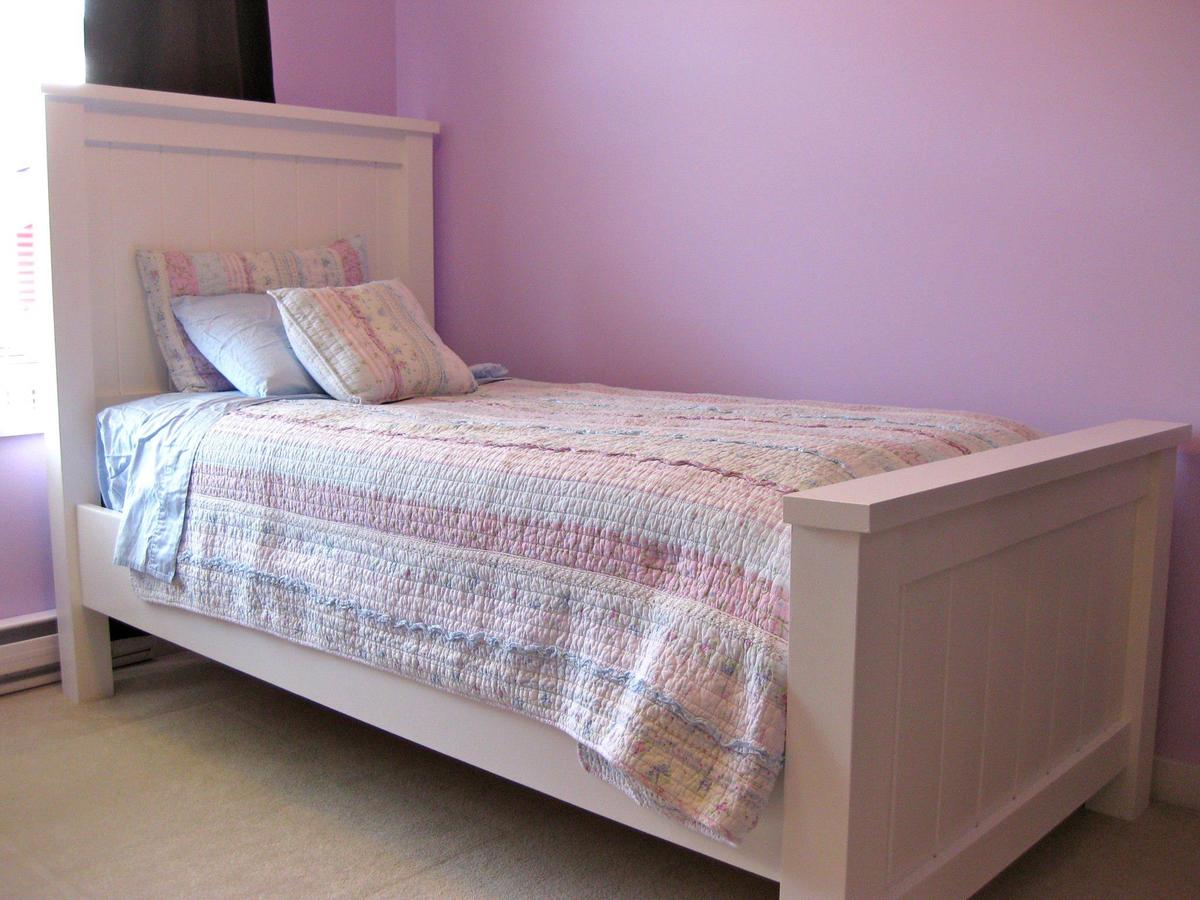
Twin Farmhouse Storage Bed With Hinged Footboard.
After making a queen-size for myself, I built this twin-sized version for my niece. Along with a "Breakfast at Tiffany's inspired" theme, she got a new bed and a new bedroom for her 15th birthday.
For this version of the bed, I made just one storage cubby because it sits against a wall. With the addition of the hinged footboard, she has a secret vault for storing her Super Secret Teen items (or shoes or snowboards). I followed the traditional farmhouse bed design, omitting one 1x6 in the head/footboard panels. This way, it is not as wide and the storage cubby meets the bedpost on center.
(Again, my daughter modeling the hinging action).

Estimated Cost
$150
Estimated Time Investment
Weekend Project (10-20 Hours)
Finish Used
Primed and painted with Olympic Heirloom Lace in Satin.
Recommended Skill Level
Beginner

Comments

kad050209 (not verified)

Tue, 09/11/2012 - 20:43

I'm wanted to make my daughter a bed simple to this... Was wondering, since you took one 1x6 piece out on each end... How many inches is the gap from the wall to bed? I want to have my DD's bed against the wall but, since she is only 3 I don't want a big gap for her to fall into! I hope you understand what I mean. Thanks.

In reply to by kad050209 (not verified)

birdsandsoap

Tue, 09/11/2012 - 21:53

The gap is actually determined by the widest part of the bed, which is the cap piece on the head and footboards. At most, your gap would be around 3 inches, but you can shove a foam pool noodle from the dollar store in that gap if you are concerned she will get stuck.

And just to be clear, I only removed (1) 1x6 from the headboard and (1) 1x6 from the footboard to match; not two boards from each panel. Wasn't sure if you understood.

Bookshelf Desk

Submitted by amanda1558 on Mon, 04/02/2012 - 18:39

If it was not for this site I would not think we could do this. Inspiration was from the IKEA LACK bookshelf and varioous craft desk tutorials on here. Bookshelf is 7 ft tall, 4 ft wide and shelves are 16 inches deep. Writing desk area is 3 ft long 2 ft wide. It could be done cheaper but it needed to hold all my daughters toys in bins so we paid more for the 16 inch deep boards. It only took a Saturday afternoon to build, but more time in decorating, clear coat of stain. It has a acrylic top writing surface.

Estimated Time Investment
Afternoon Project (3-6 Hours)
Recommended Skill Level
Beginner

Comments

neverlate

Fri, 07/11/2014 - 11:35

my brother saw this on line picture and he would like to make it for his little girl. Like to get the plan from you if you have it.

Open Shelf Console with Modifications

Submitted by Stacie on Thu, 01/23/2014 - 07:32

I modified the size of the original plan to better fit the space. It is slightly deeper and taller than the plans. I also used a router to create a rabbet for the glass inserts in the doors.

The finish is a homemade chalk paint followed by multiple coats of furniture wax. The build itself was quick and straight forward, but the finish took the most time.

The console really pops in a room full of stained furniture. I love the look, shape, and versatility of it--thank you for sharing the plans!

Built from Plan(s)
Estimated Cost
$75
Finish Used
I painted it with three coats of homemade chalk paint and followed by 3-4 coats of wax.
Recommended Skill Level
Beginner

Comments

Val Manchuk

Thu, 01/23/2014 - 08:36

This project looks really good. I love the glass inserts and the color you chose.

Val @ artsybuildinglady.blogspot.ca

DIY Modern Stair Railing

Submitted by Anonymous (not verified) on Mon, 09/18/2023 - 08:57

During a home renovation we found out part of our stair rail would need to be replaced and the quote from the contractor floored us. We were searching for an economical way to DIY the stairs and come across your idea. I immediately loved it and we worked to figure out how we could put it together with our limited construction knowledge. The end result exceeded my expectations. I totally love it!

Headboard with Fold Down Tray Tables

Submitted by t856463 on Sat, 01/25/2020 - 21:05

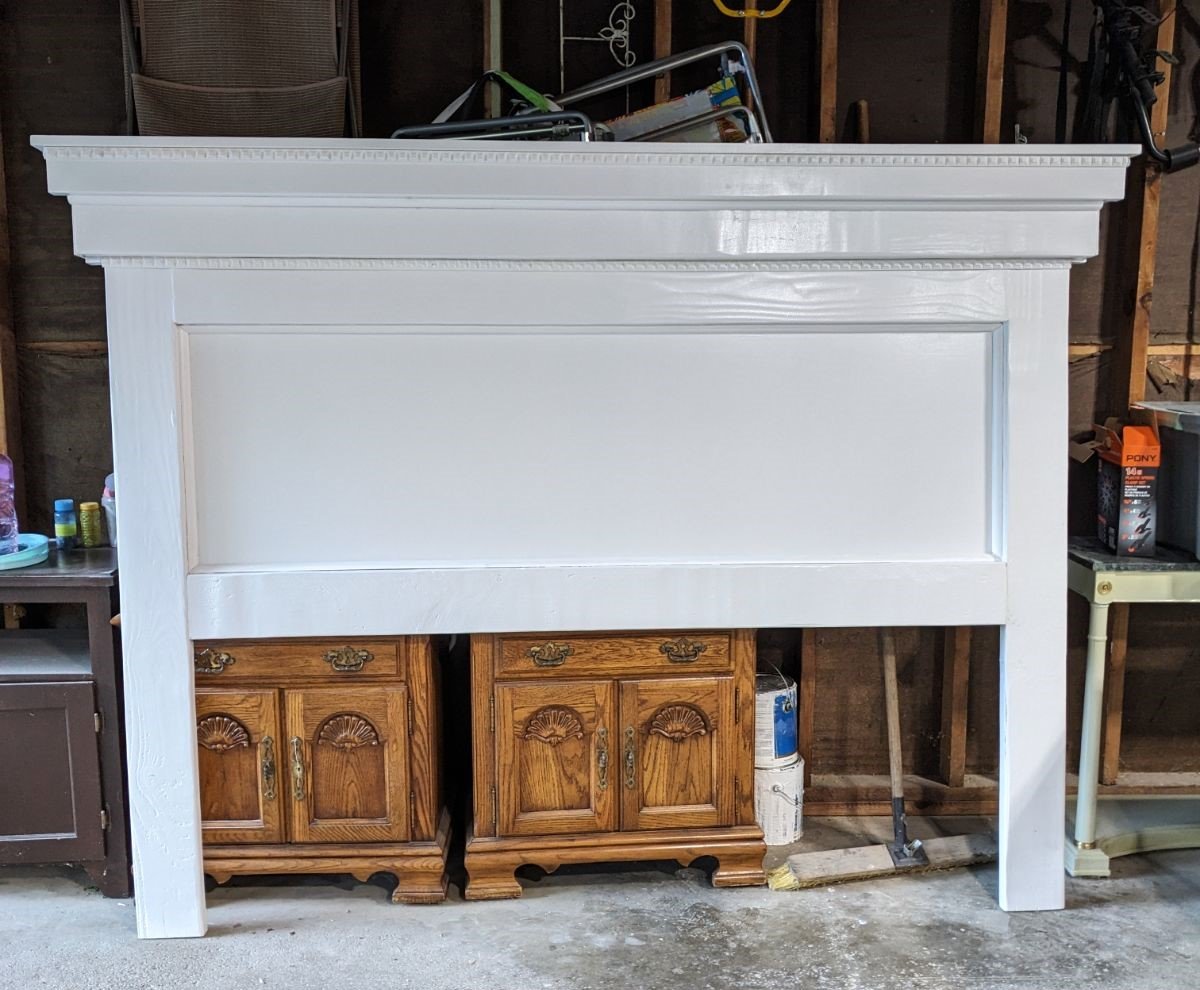
Wow, my 2nd piece of furniture I attempted.  A lot of wood filler was involved.  My shelves seemed too big, so I just did one, then my back board accidentally got used in “open shop” so I used some left over pegboard.  I had fun but spent a lot of time fixing “oops, that doesn’t seem right”. Peg

Estimated Cost
$40
Estimated Time Investment
Week Long Project (20 Hours or More)
Finish Used
Paint and stain

Slipcovered Bench

Submitted by Linda7 on Tue, 02/11/2014 - 16:55

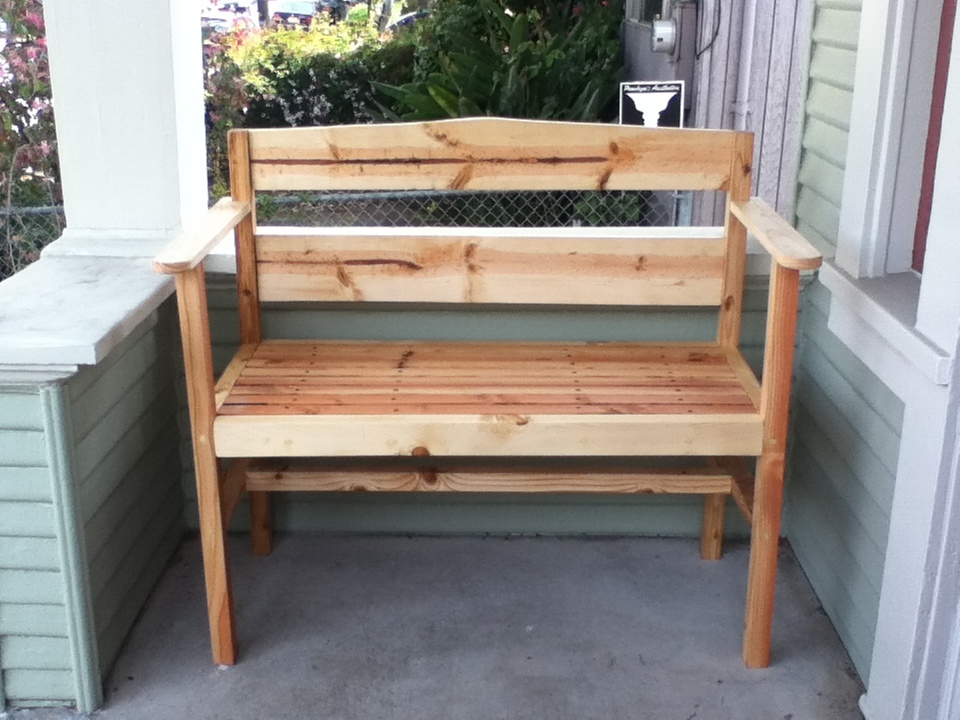
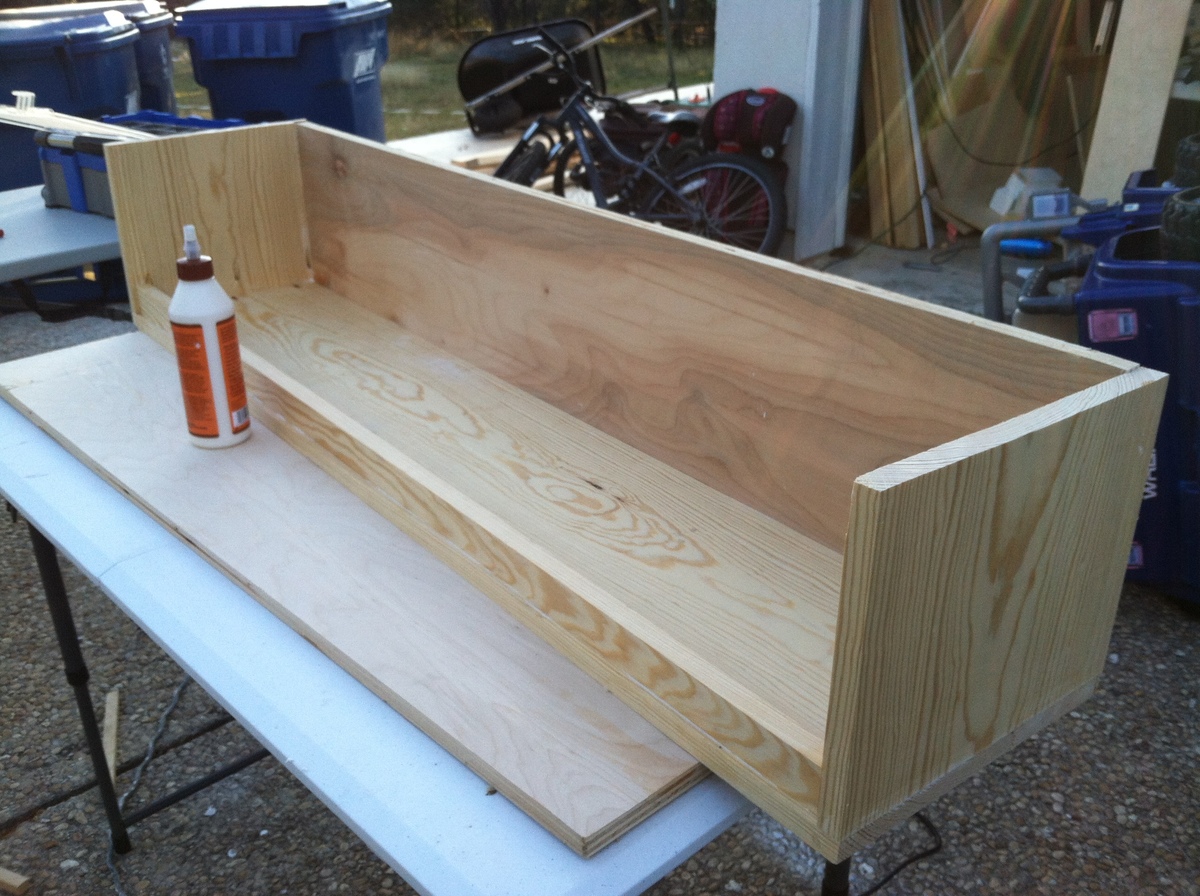
My mother needed a bench in her small entryway. She had definite dimensions in mind and we looked everywhere. None fit the bill. Then I saw these plans and we went from there. She had leftover fabric from recovering her dining room chairs, and I had the plywood. She wanted the Queen Anne legs to go with her traditional furniture; we put felt floor protectors on the bottom of the feet of the legs, which helps keep the bench from moving so easily on the tile floor. The plans were easy to follow, including the tutorial on how to sew the slipcover. The bench worked out just like she had hoped. Thanks Ana, for the great plans.

Built from Plan(s)
Estimated Cost
$60.00; about $40 for the legs, foam, and finish
Estimated Time Investment
Day Project (6-9 Hours)
Finish Used
Minwax Polyshades in walnut; two or three coats. This acts more like paint, but you can re-coat in just an hour or so. I then used minwax poly in satin three coats for protection.
Recommended Skill Level
Beginner

Green House

Great little project from your site!

I put PVC to the ground vs the metal siding and added a heat sink in the middle with some old computer fans.

Built from Plan(s)
Estimated Cost
$1,300
Estimated Time Investment
Weekend Project (10-20 Hours)
Finish Used
PVC
Recommended Skill Level
Intermediate

Comments

Niccador

Sat, 05/23/2020 - 17:23

That PVC heat pipe intrigues me. Can you share a little more about it? I'm assuming it pulls hot air from the upper vent, and cools it down via the section of pipe below ground, sort of like a natural A/C. Keeps things from gettting too hot during the summer months?
Kinda looks like you'd frequently trip over it though. I'd probably have run the lower exhaust right up by the edge of the door frame, or a corner.

King Size Platform Bed

Submitted by hawaiitara on Sun, 06/03/2012 - 20:09

After building my daughter's beds and some outdoor day beds, I finally got around to building a bed for my husband and I. I altered the plans to a king size bed. I added a second 2x4 in the middle for support and around the inside edges as I used the box springs to make the bed taller. Using the kreg jig really made this project so easy. I also used 1x8's instead of 2x8's because I couldn't find those in Hawaii anywhere, except pressure treated wood. It still turned out great.
Thanks for the wonderful plans!

Estimated Cost
$125
Estimated Time Investment
Afternoon Project (3-6 Hours)
Finish Used
I used cabot stain in antique walnut with a cabot satin poly over it.
Recommended Skill Level
Beginner

Comments

Katie Saldivar (not verified)

Mon, 06/25/2012 - 19:40

I LOVE this bed! I'm asking my husband to build it and I was wondering if you could email me the dimensions for the plans of a king size Chestwick Platform bed? I'm pretty sure he could figure them out on his own, but I'd love to make it easier for him :) Love your work!

Larryshandywife

Wed, 08/22/2012 - 23:04

Whats the point of sharing projects with people when they dont leave the dimensions????............How stupid!!!

sgilly

Thu, 08/23/2012 - 08:25

For sharing. It's beautiful, and how smart you are to work from existing plans but be able to figure out the dimensions you need for your own bed!

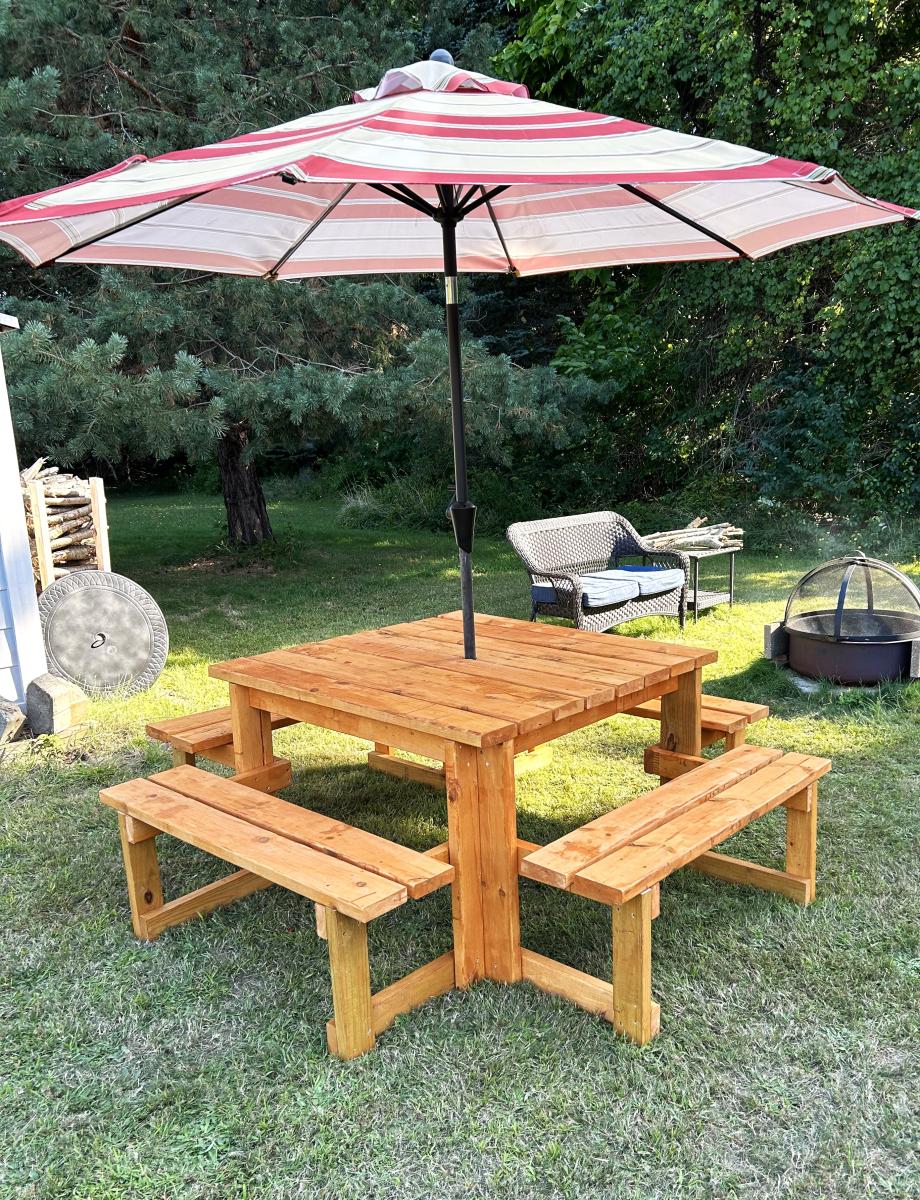
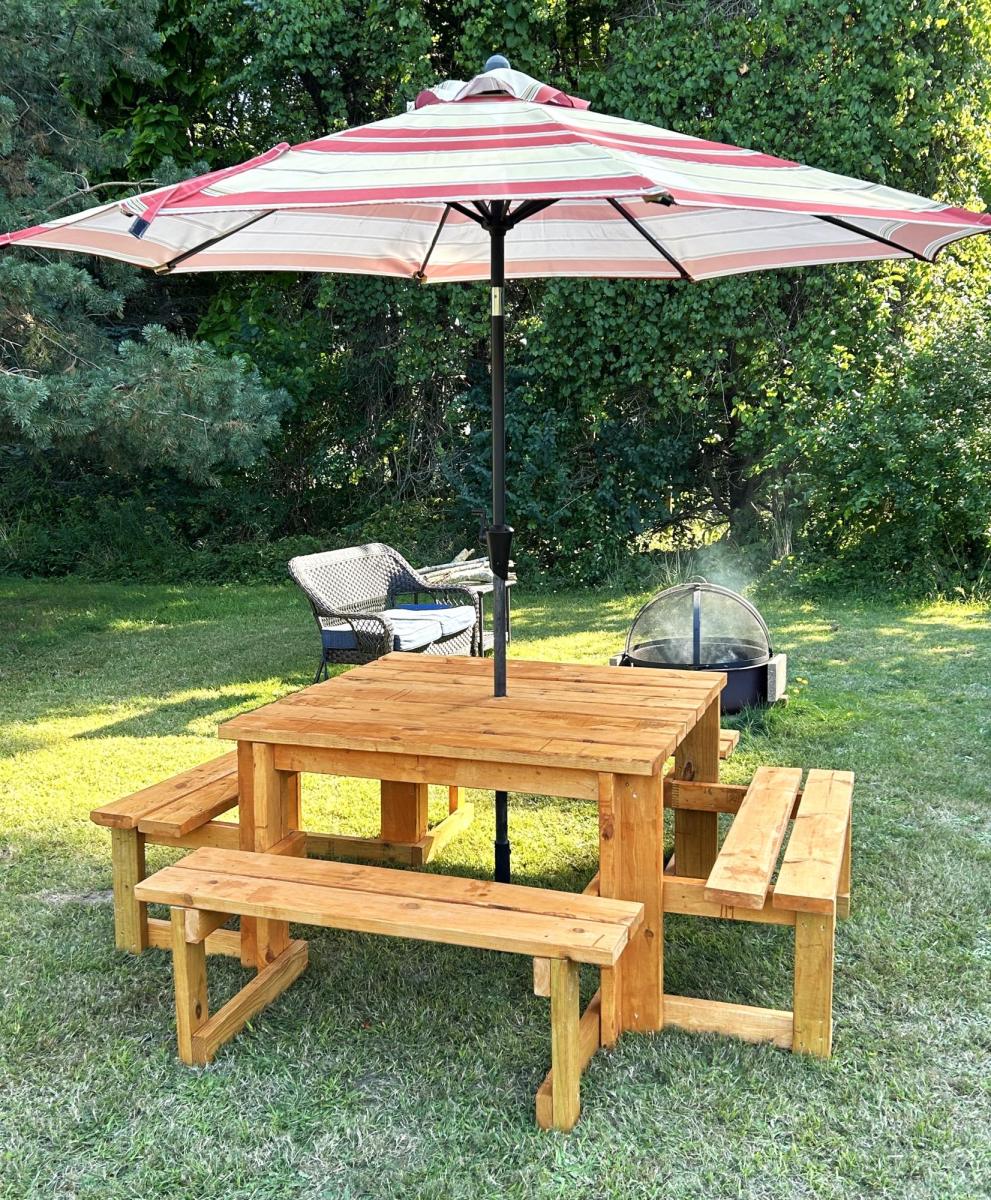
4x4 Farmhouse Table with Video

Submitted by petesveen on Sun, 04/06/2014 - 14:55

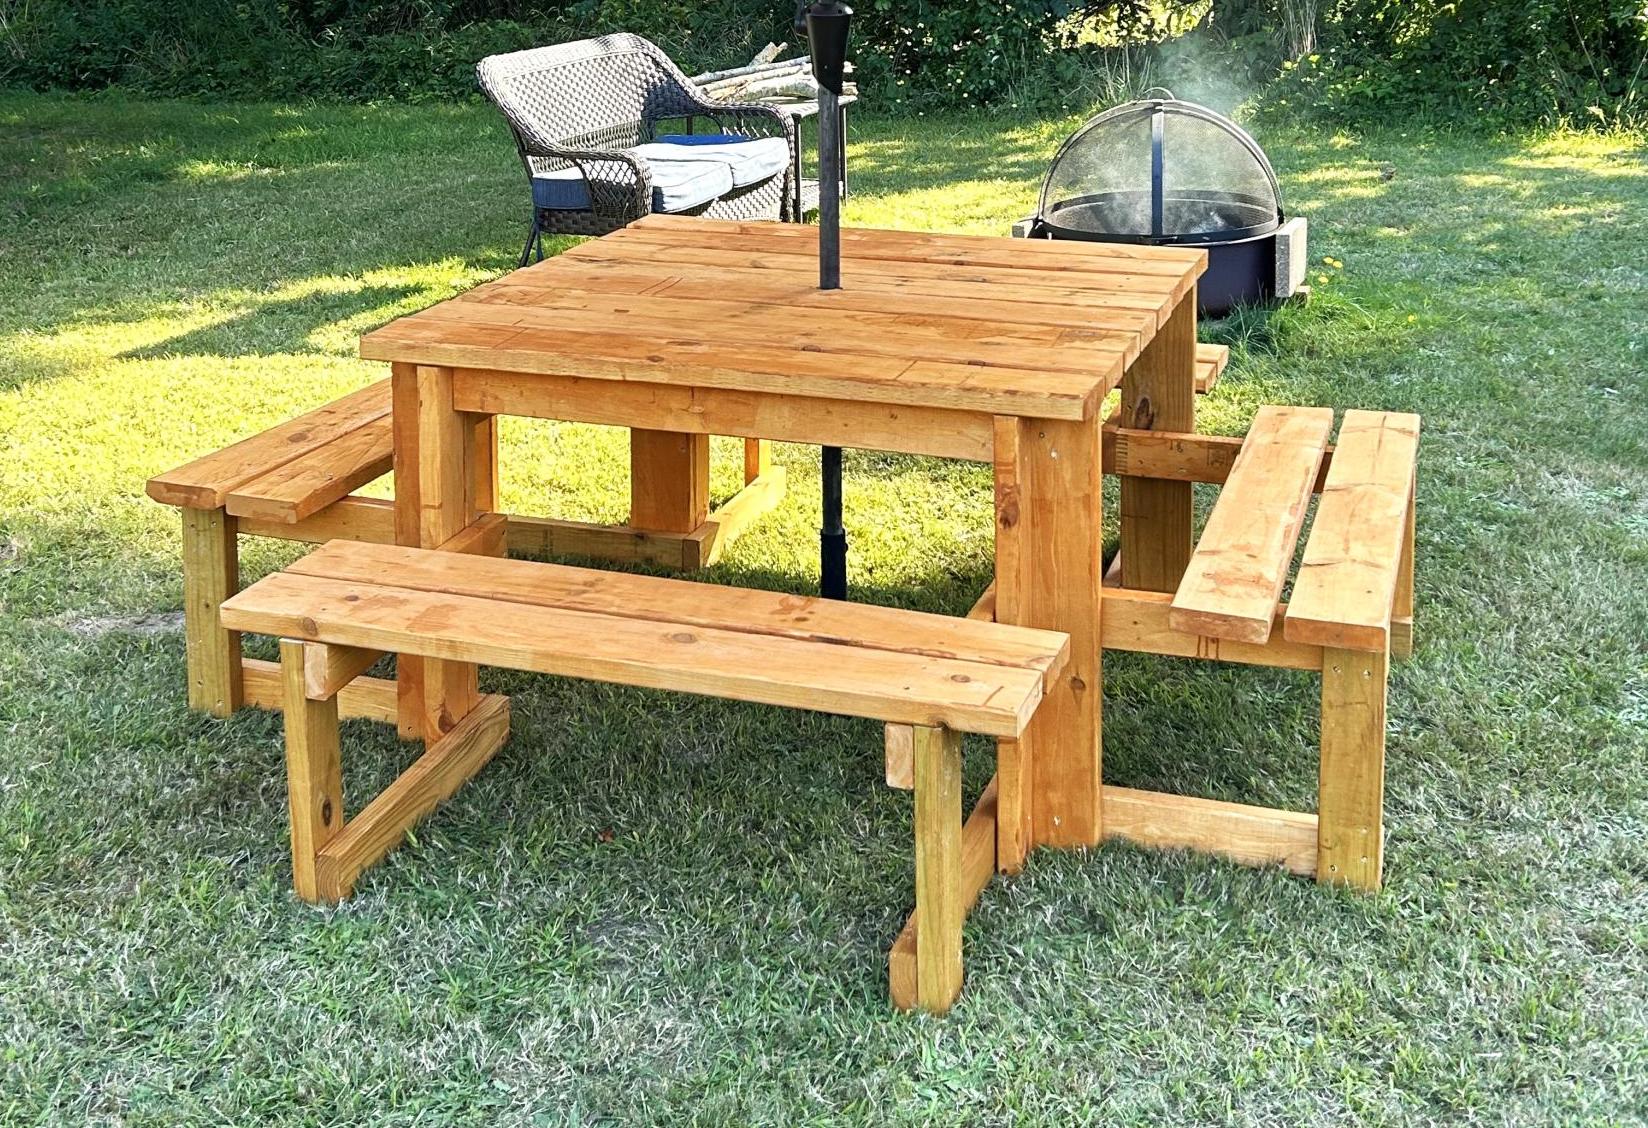
When I saw Ana's plans for this table I had to build it. I did modify the size to make the table top a little wider and longer. The extra width is great for putting more food or a center piece in the middle of the table.

I thought the build was pretty simple and everyone who visits our house loves the table. It is definitely a conversational piece.

The table and benches are heavy duty and will be able to passed on for many generations. I love the rustic look and so the steel wool/vinegar stain was my finish of choice.

I decided to document the entire build and created the most in-depth farmhouse table video tutorial online. The goal with the video is to show how easy it is to build the table using Ana's plans!

Estimated Cost
$200
Estimated Time Investment
Weekend Project (10-20 Hours)
Finish Used
Steel Wool and Vinegar Mixture. I then used an oil based Polyurethane from Minwax to protect the wood.
Recommended Skill Level
Beginner

Altered Apothecary Media Console

Submitted by vlilly on Sat, 04/12/2014 - 08:34

I had the wood to make this for about 2 weeks. Started on Tuesday and finished Thursday evening! I wanted the look to be different from the Apothecary look so I made the doors a little different!

Built from Plan(s)
Estimated Time Investment
Weekend Project (10-20 Hours)
Finish Used
Stained all wood with Rustoleum "Carrington" stain, then painted over the bottom part with Rustoleum "Heirloom White" Spray paint. Distressed through the white so the dark stain could peek through.
Recommended Skill Level
Beginner

Comments

jeanniemn

Mon, 04/14/2014 - 17:16

I love this! I just finished putting the frame together but wasn't loving the original door look. Can you tell me how you did the beadboard doors? And what hinges? Thanks!

vlilly

Sat, 04/19/2014 - 08:02

Sure! I just bought a 4'x8' sheet of beadboard from Lowes. I have about half left over. They sometimes have half sheets but didn't when I went. I had them to rough cut it into 20" strips to fit in my car. It came white but I painted over it with Rustoleum Heirloom White spray paint. I bought 2 12ft boards for the frames, I think they were 1/2"x2".. only around $8 per piece and they are stocked vertically at lowes near the beadboard (at the store near me at least!) I cut the beadboard at home and then cut the frame board to fit. I used glue and a brad nailer with 5/8" nails to attach them to the beadboard. My doors had to overlap the plywood since I had the extra shelf that was flush with the rest of the cabinet.. I couldn't inset my doors like she did at Shanty-2-Chic. I bought the same hinges she used, the brand is Liberty and I found them at Home Depot. $5 something for a 2 pack. They are awesome! The doors aren't heavy duty but we didn't need them to be. You could always add a layer of MDF or Lauan if you wanted them to be more sturdy!

I hope this helps.. I'll be glad to answer more questions!

jeanniemn

Thu, 05/01/2014 - 18:28

Thanks!! We are almost done but are stumped by the hinges (I bought the Liberty ones too). Any tips on those? I think we are just over-thinking it, it can't be that hard!!

jeanniemn

Thu, 05/01/2014 - 18:42

Thanks!! We are almost done but are stumped by the hinges (I bought the Liberty ones too). Any tips on those? I think we are just over-thinking it, it can't be that hard!!

pde00311

Fri, 05/02/2014 - 06:53

...has completely stumped me before, and buying the wrong type has halted one of my first projects. Make sure you pick the right hinge for how you want your doors to align. From my experience, HD sells mostly "overlay" and "3/8 offset" hinges, with a small selection of "inset" hinges. These links are to a different hinge manufacturers, but the little pictures/explanations have helped me figure out what type of hinge I need to buy:

http://www.rockler.com/how-to/understanding-hinges

http://www.menards.com/main/store/20090519001/items/media/Millwork/Belw…

(and vlilly, I love the distressed finish on the console above).

$18 Star Shaped Clothes Drying Rack

Submitted by Anonymous (not verified) on Fri, 07/15/2016 - 19:54

Make a beautiful star shaped clothes drying rack that magically expands, using very simple tools and materials! Detailed tutorial and free building plans.

Estimated Cost
$18
Estimated Time Investment
Afternoon Project (3-6 Hours)
Recommended Skill Level
Beginner

Custom Step Stool

Submitted by Anonymous (not verified) on Wed, 01/03/2024 - 08:40

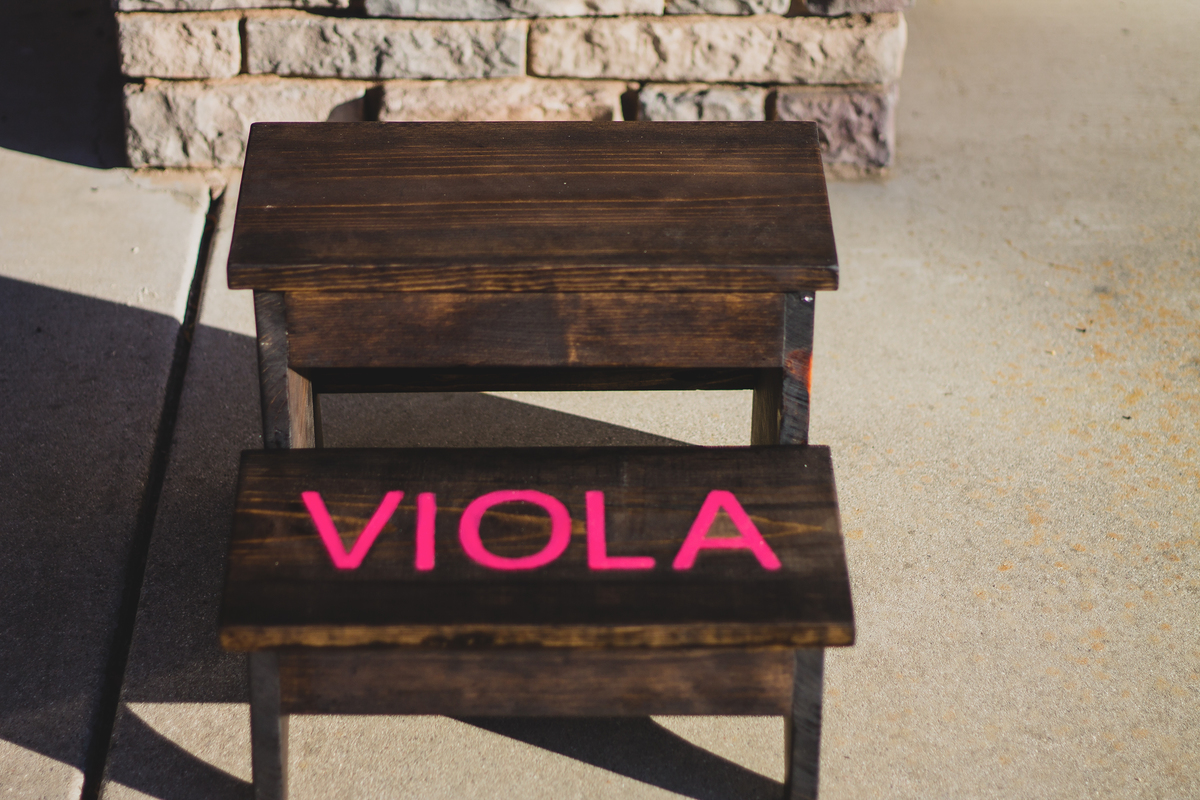
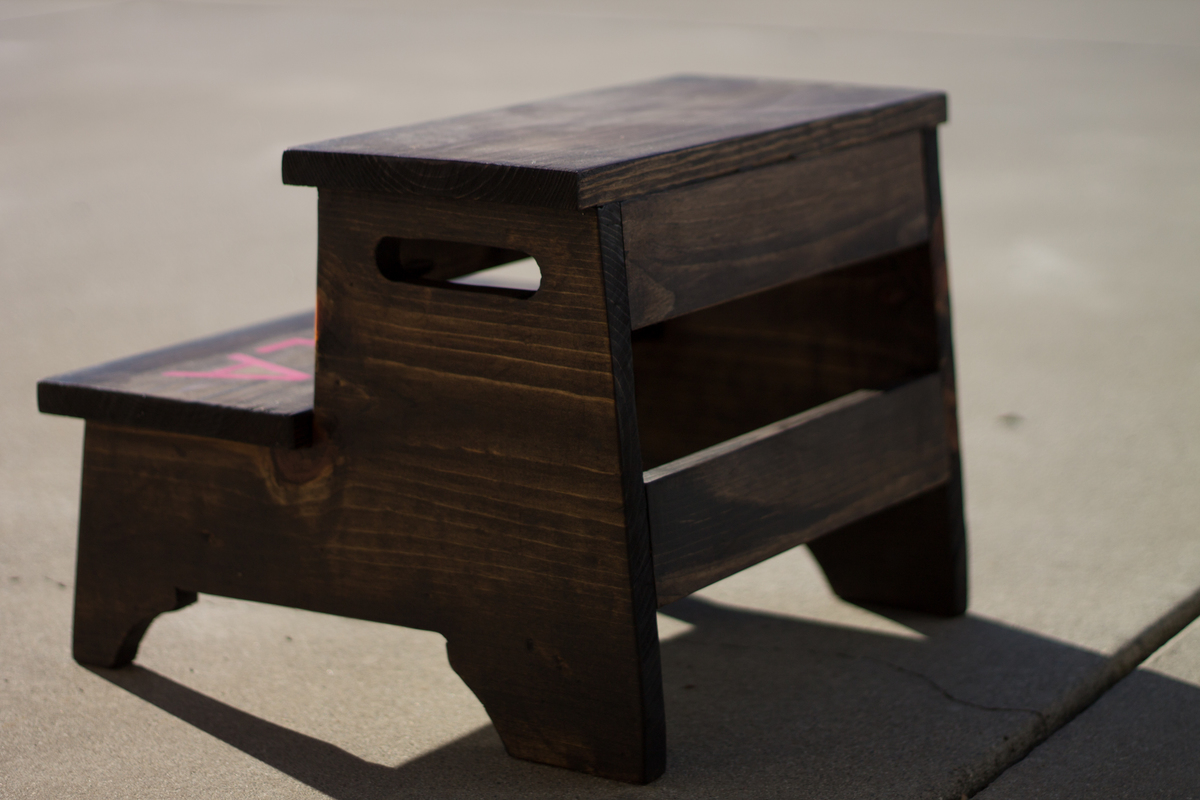
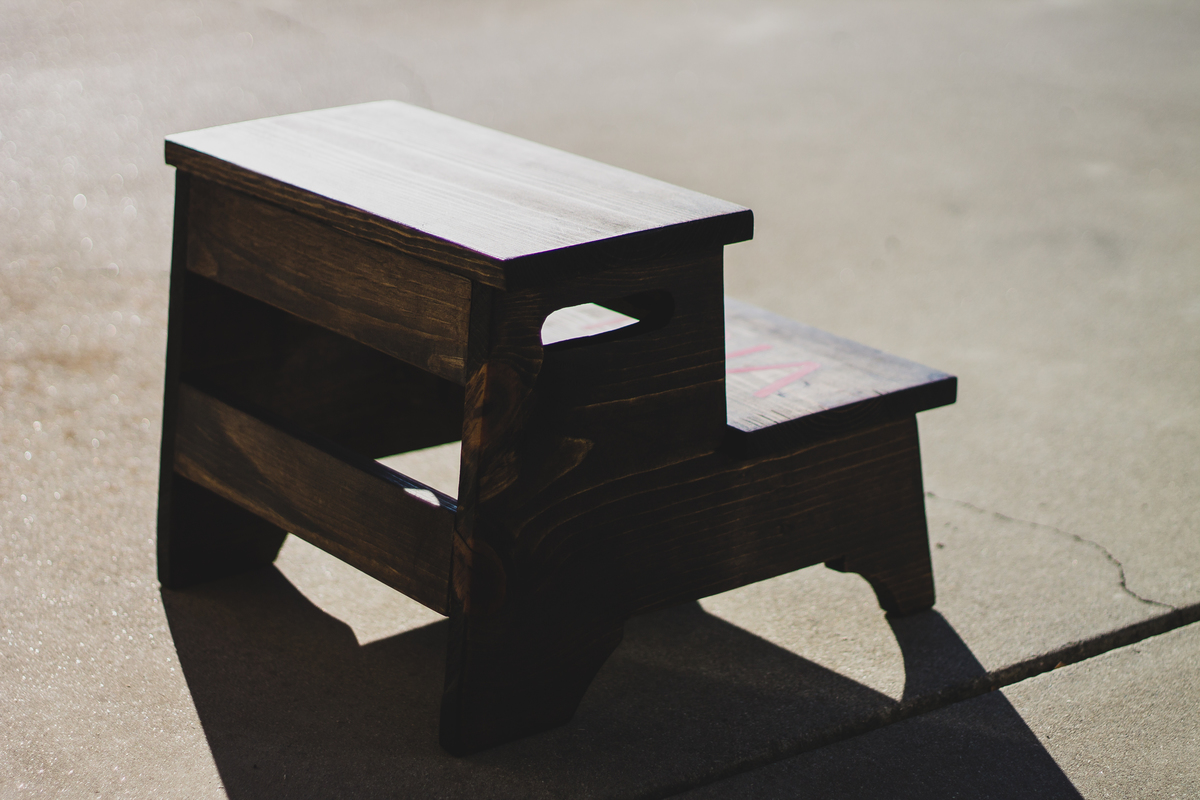
I’m going to make a step stool for the son of good friends in Florida. The design I liked had dovetail joints, which I’ve never cut before. So I made this stool for my wife as a prototype. Walnut sides with Cherry for the steps. 12.5” front to back, 14” tall, and just about a foot side to side.

Mark Johnson

Hand Made by: Rusty Pine

Submitted by Anonymous (not verified) on Fri, 07/22/2016 - 09:27

I made this in 1 day from the plans here on Ana White what a fun project it was and fairly simple to build 

for such a beautiful piece..www.facebook.com/groups/ozaofwc/ 

Estimated Cost
it cost me roughly 49.00 to build materials got at home depot here in florida..
Estimated Time Investment
Day Project (6-9 Hours)
Finish Used
We used Varathane Dark walnut stain..
Recommended Skill Level
Intermediate

Sawhorse Table - Sewing Table

Submitted by samdwest on Tue, 07/17/2012 - 14:46

Found the plans for the sawhorse table on Ana and knew it would be perfect as my new sewing table. Such a lovely piece that will be very universal throughout the house!

Became a weekend project only because of the stain and painting that had to be done.

Estimated Cost
$80
Estimated Time Investment
Weekend Project (10-20 Hours)
Finish Used
Behr Mermaid Treasure Satin on Legs with Glaze
Minwax Polyshades Espresso Stain on Table Top
Recommended Skill Level
Beginner

Outdoor Sectional

We have been looking for a deal on an outdoor sectional for a whole year. Nothing. The cheapest we could find was $899 for one that was much smaller than this one and with thinner cushions. So we upped and drove to the lumber yard and purchased the lumber on the list and got to building. The total cost of lumber was $200, the Spax screws we already had on hand. We used pocket holes for the joints. The wife made the cushions herself. She had most of the fabric on hand, we just had to buy 3 yards for the back cushions, which are made of standard size pillows. They have been sprayed with fabric protectant for outdoor use (I think she used the Scotch brand). The seat cushions are 5 inches thick (they are wrapped in silk film to protect them from getting soaked when it rains or when someone who just got out of the pool sits on them), around $100 for both. It took her a couple of days to sew the box cushion covers.

Estimated Cost
$400
Estimated Time Investment
Weekend Project (10-20 Hours)
Recommended Skill Level
Beginner
Seasonal And Holiday

Rustic Planked Wood King Headboard

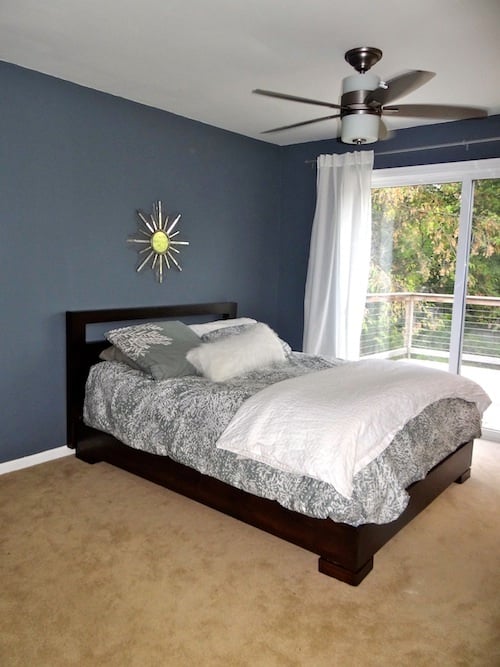
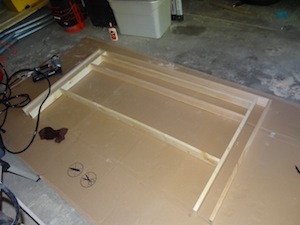
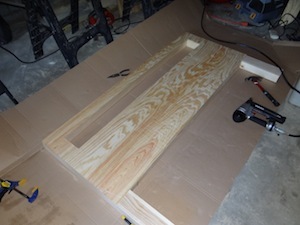
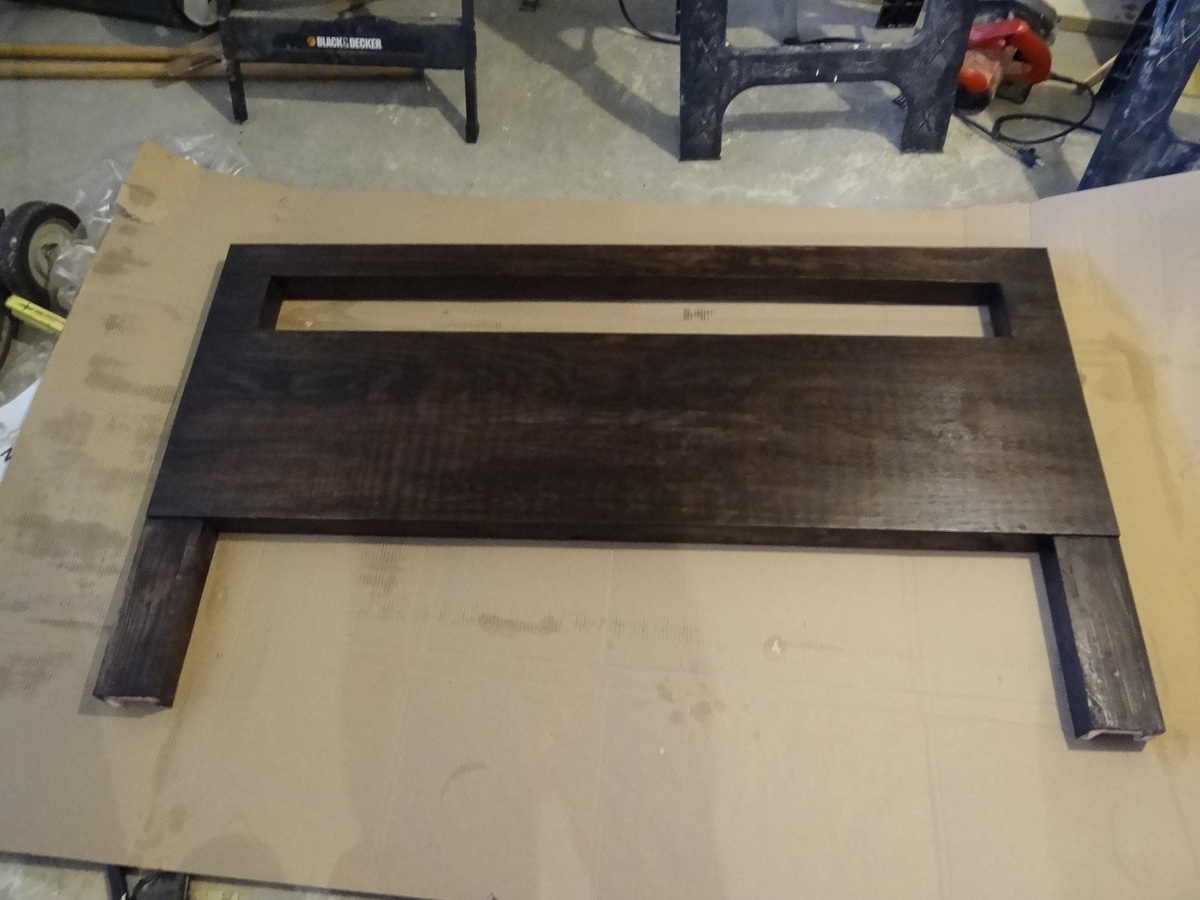
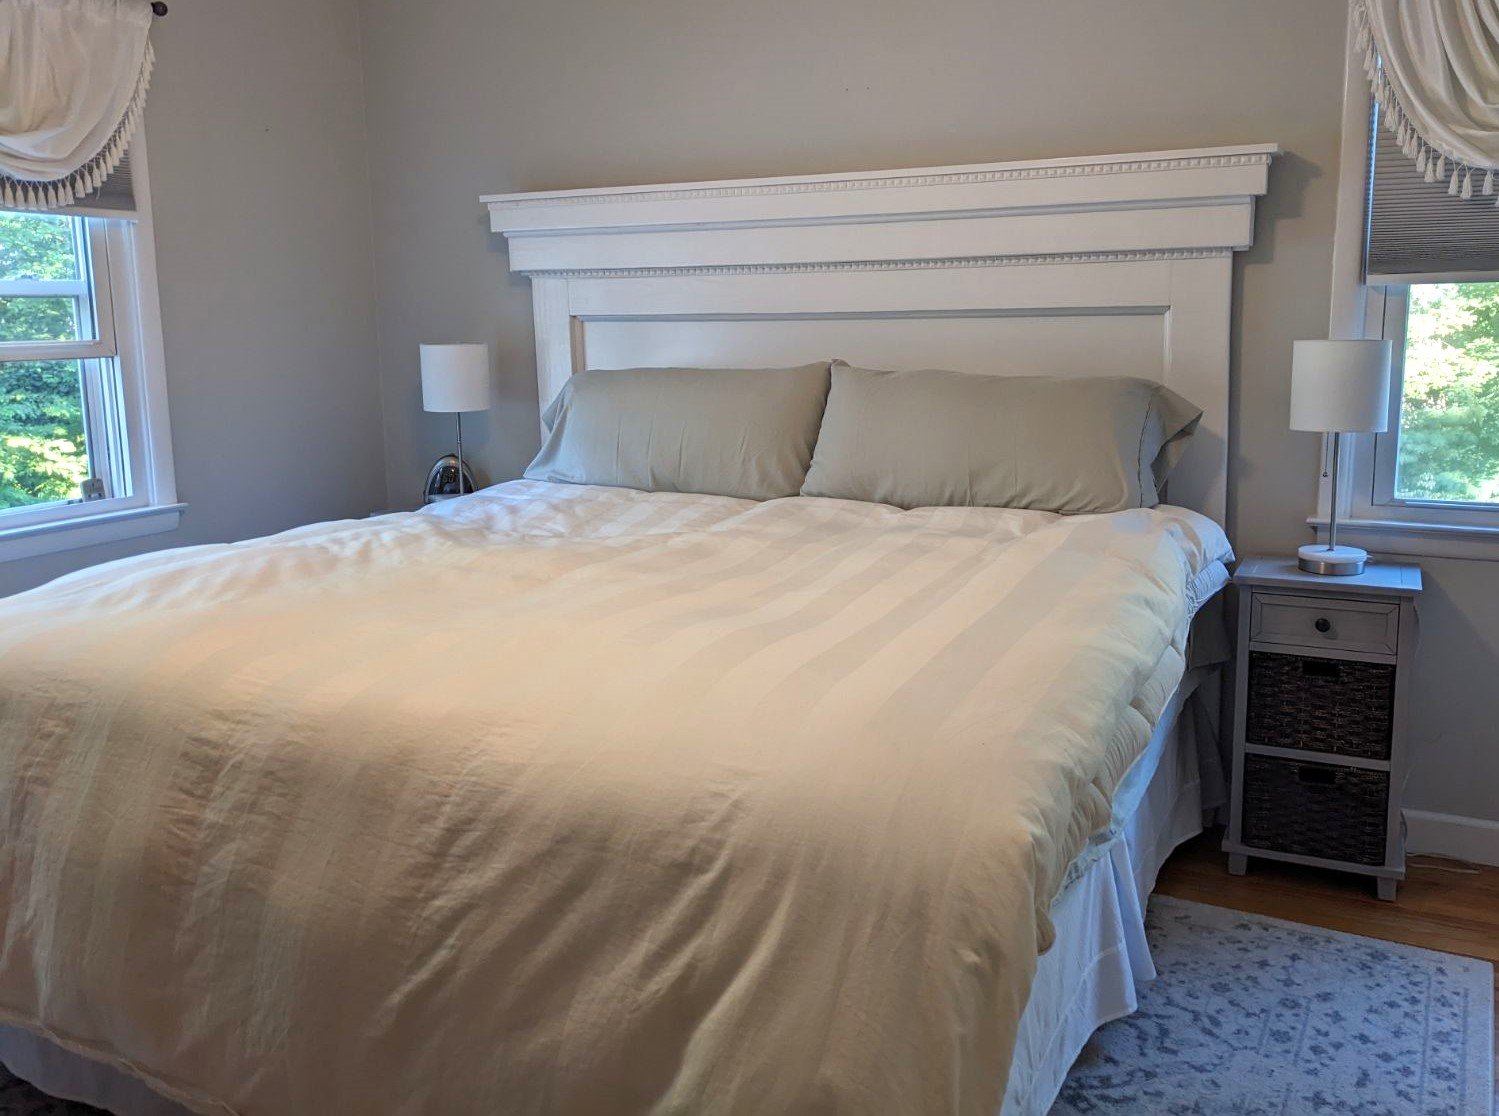
This was a very nice and easy project. I probably could have finished in one day if it had not been 105 degrees outside! I recommend these plans to anybody who knows how to use a saw. I also used all screws instead of nails. Wood- Grade II Pine, purchased from Lowe's FInish- One coat Minwax Dark Walnut oil based stain One Coat Minwax Polyshades Mission Oak After the Polyshades dried, I went over the whole piece with steel wool to smooth it out.

Estimated Cost
$130
Estimated Time Investment
Weekend Project (10-20 Hours)
Finish Used
Finish:

One coat Minwax dark walnut stain
One Coat Minwax Polyshades Mission Oak
Recommended Skill Level
Beginner
Back