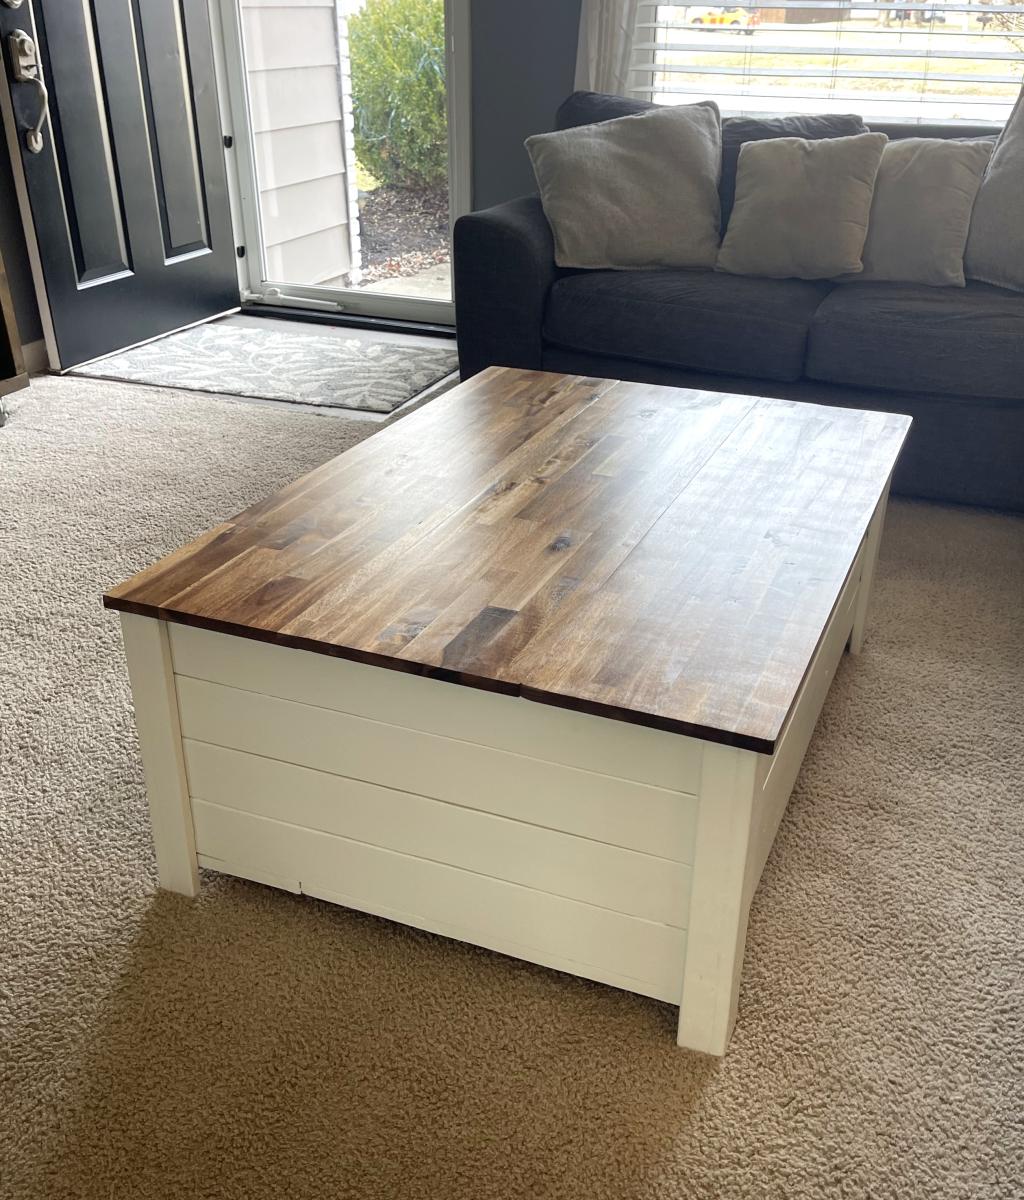
Lift Top Toybox Coffee Table
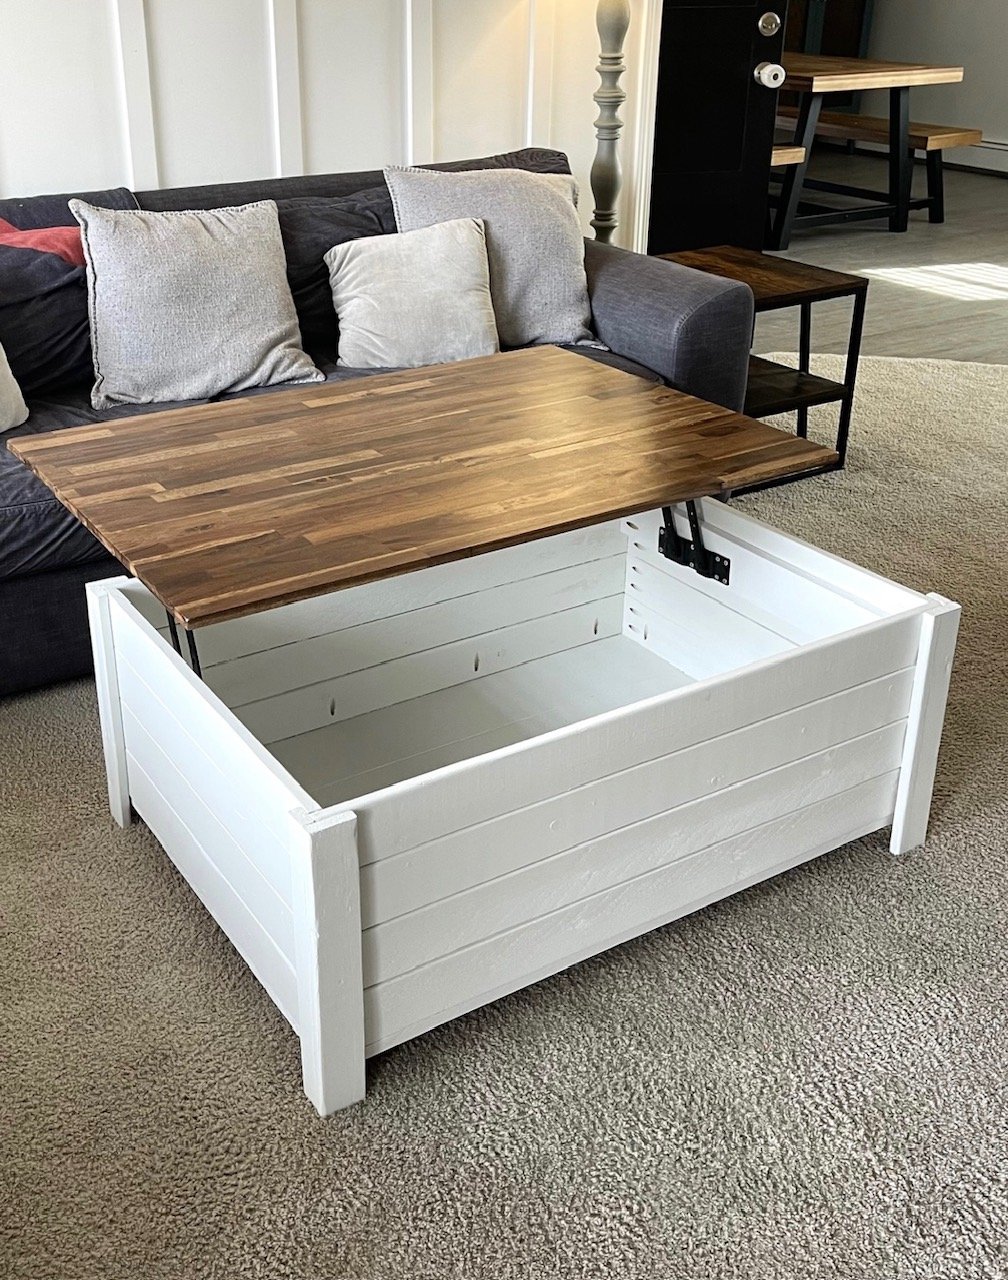
Made a few adjustments to the measurements and top… pretty happy with the way it turned out!
Built from Plan(s)
Made a few adjustments to the measurements and top… pretty happy with the way it turned out!
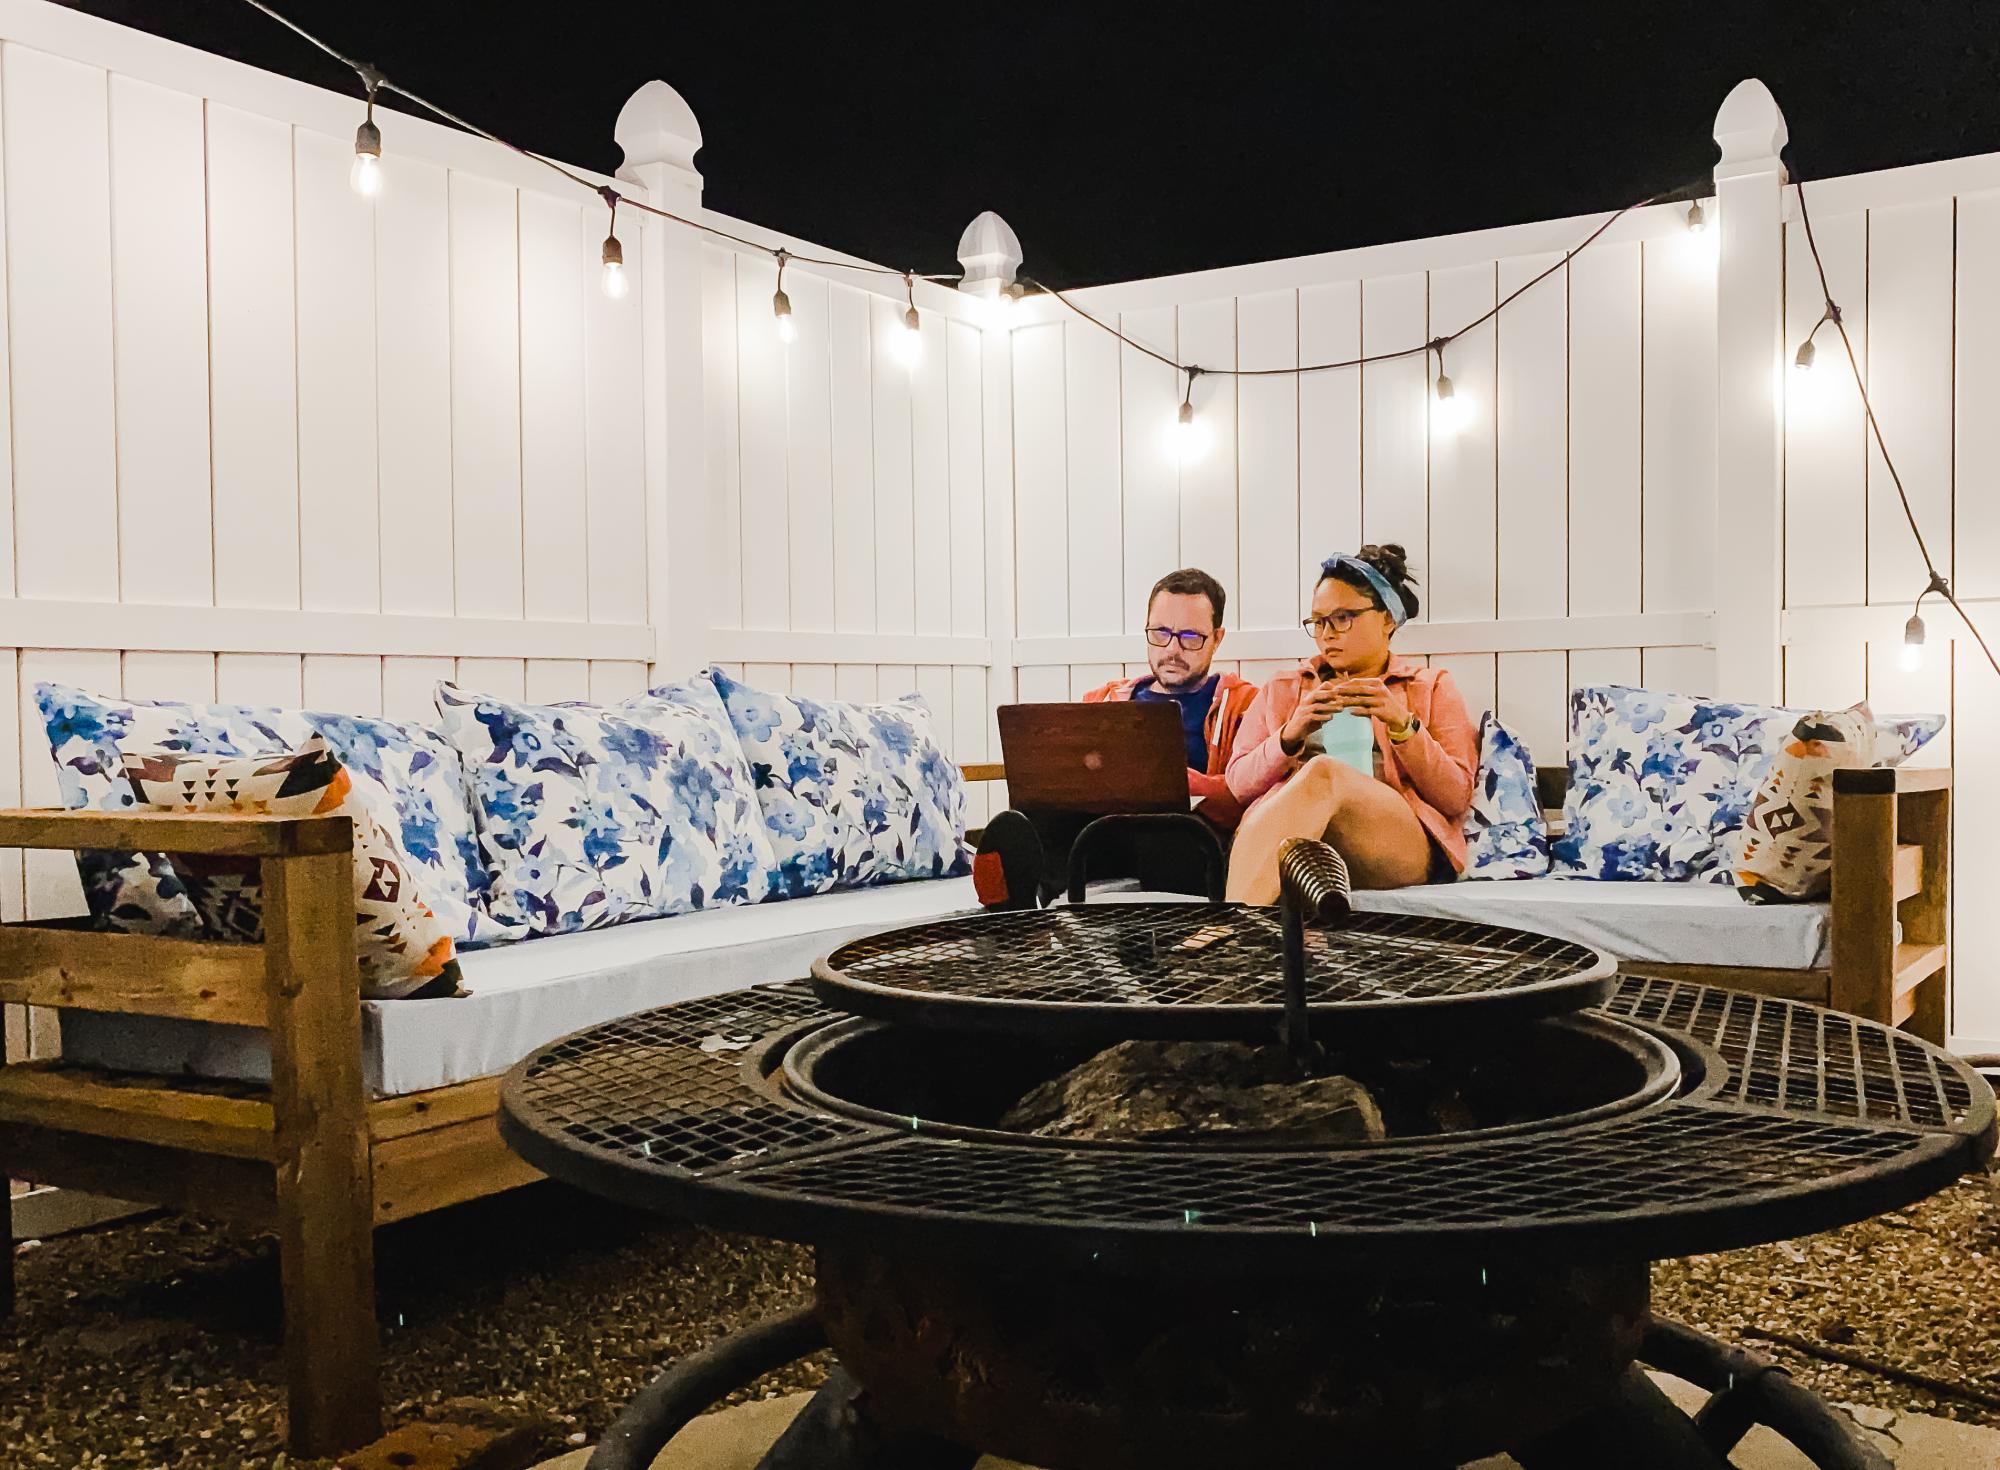
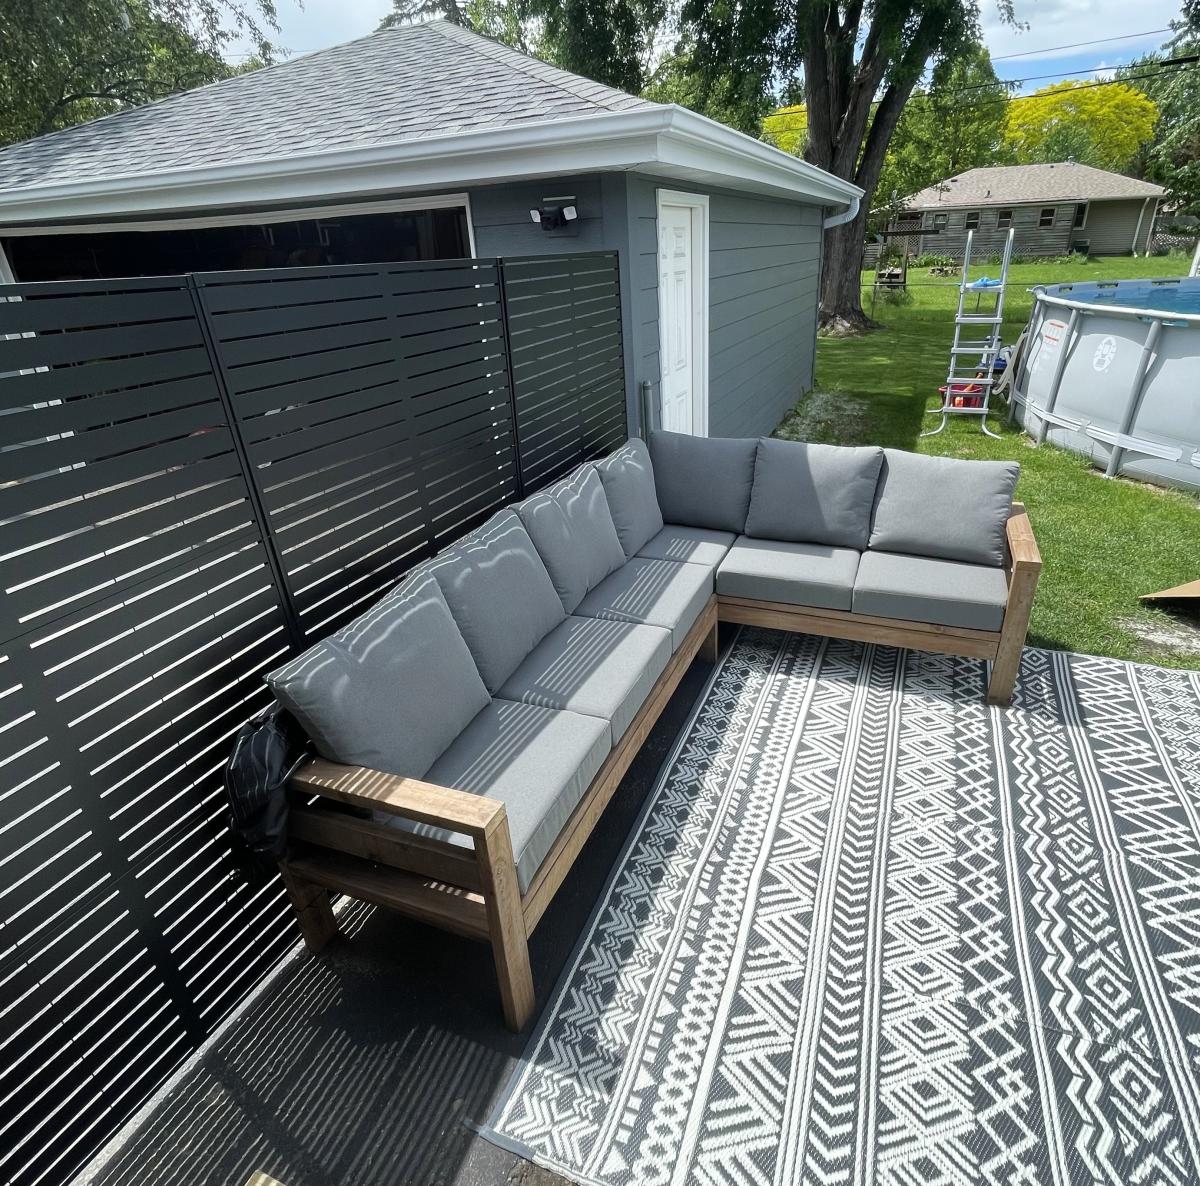
We have been looking for a deal on an outdoor sectional for a whole year. Nothing. The cheapest we could find was $899 for one that was much smaller than this one and with thinner cushions. So we upped and drove to the lumber yard and purchased the lumber on the list and got to building. The total cost of lumber was $200, the Spax screws we already had on hand. We used pocket holes for the joints. The wife made the cushions herself. She had most of the fabric on hand, we just had to buy 3 yards for the back cushions, which are made of standard size pillows. They have been sprayed with fabric protectant for outdoor use (I think she used the Scotch brand). The seat cushions are 5 inches thick (they are wrapped in silk film to protect them from getting soaked when it rains or when someone who just got out of the pool sits on them), around $100 for both. It took her a couple of days to sew the box cushion covers.


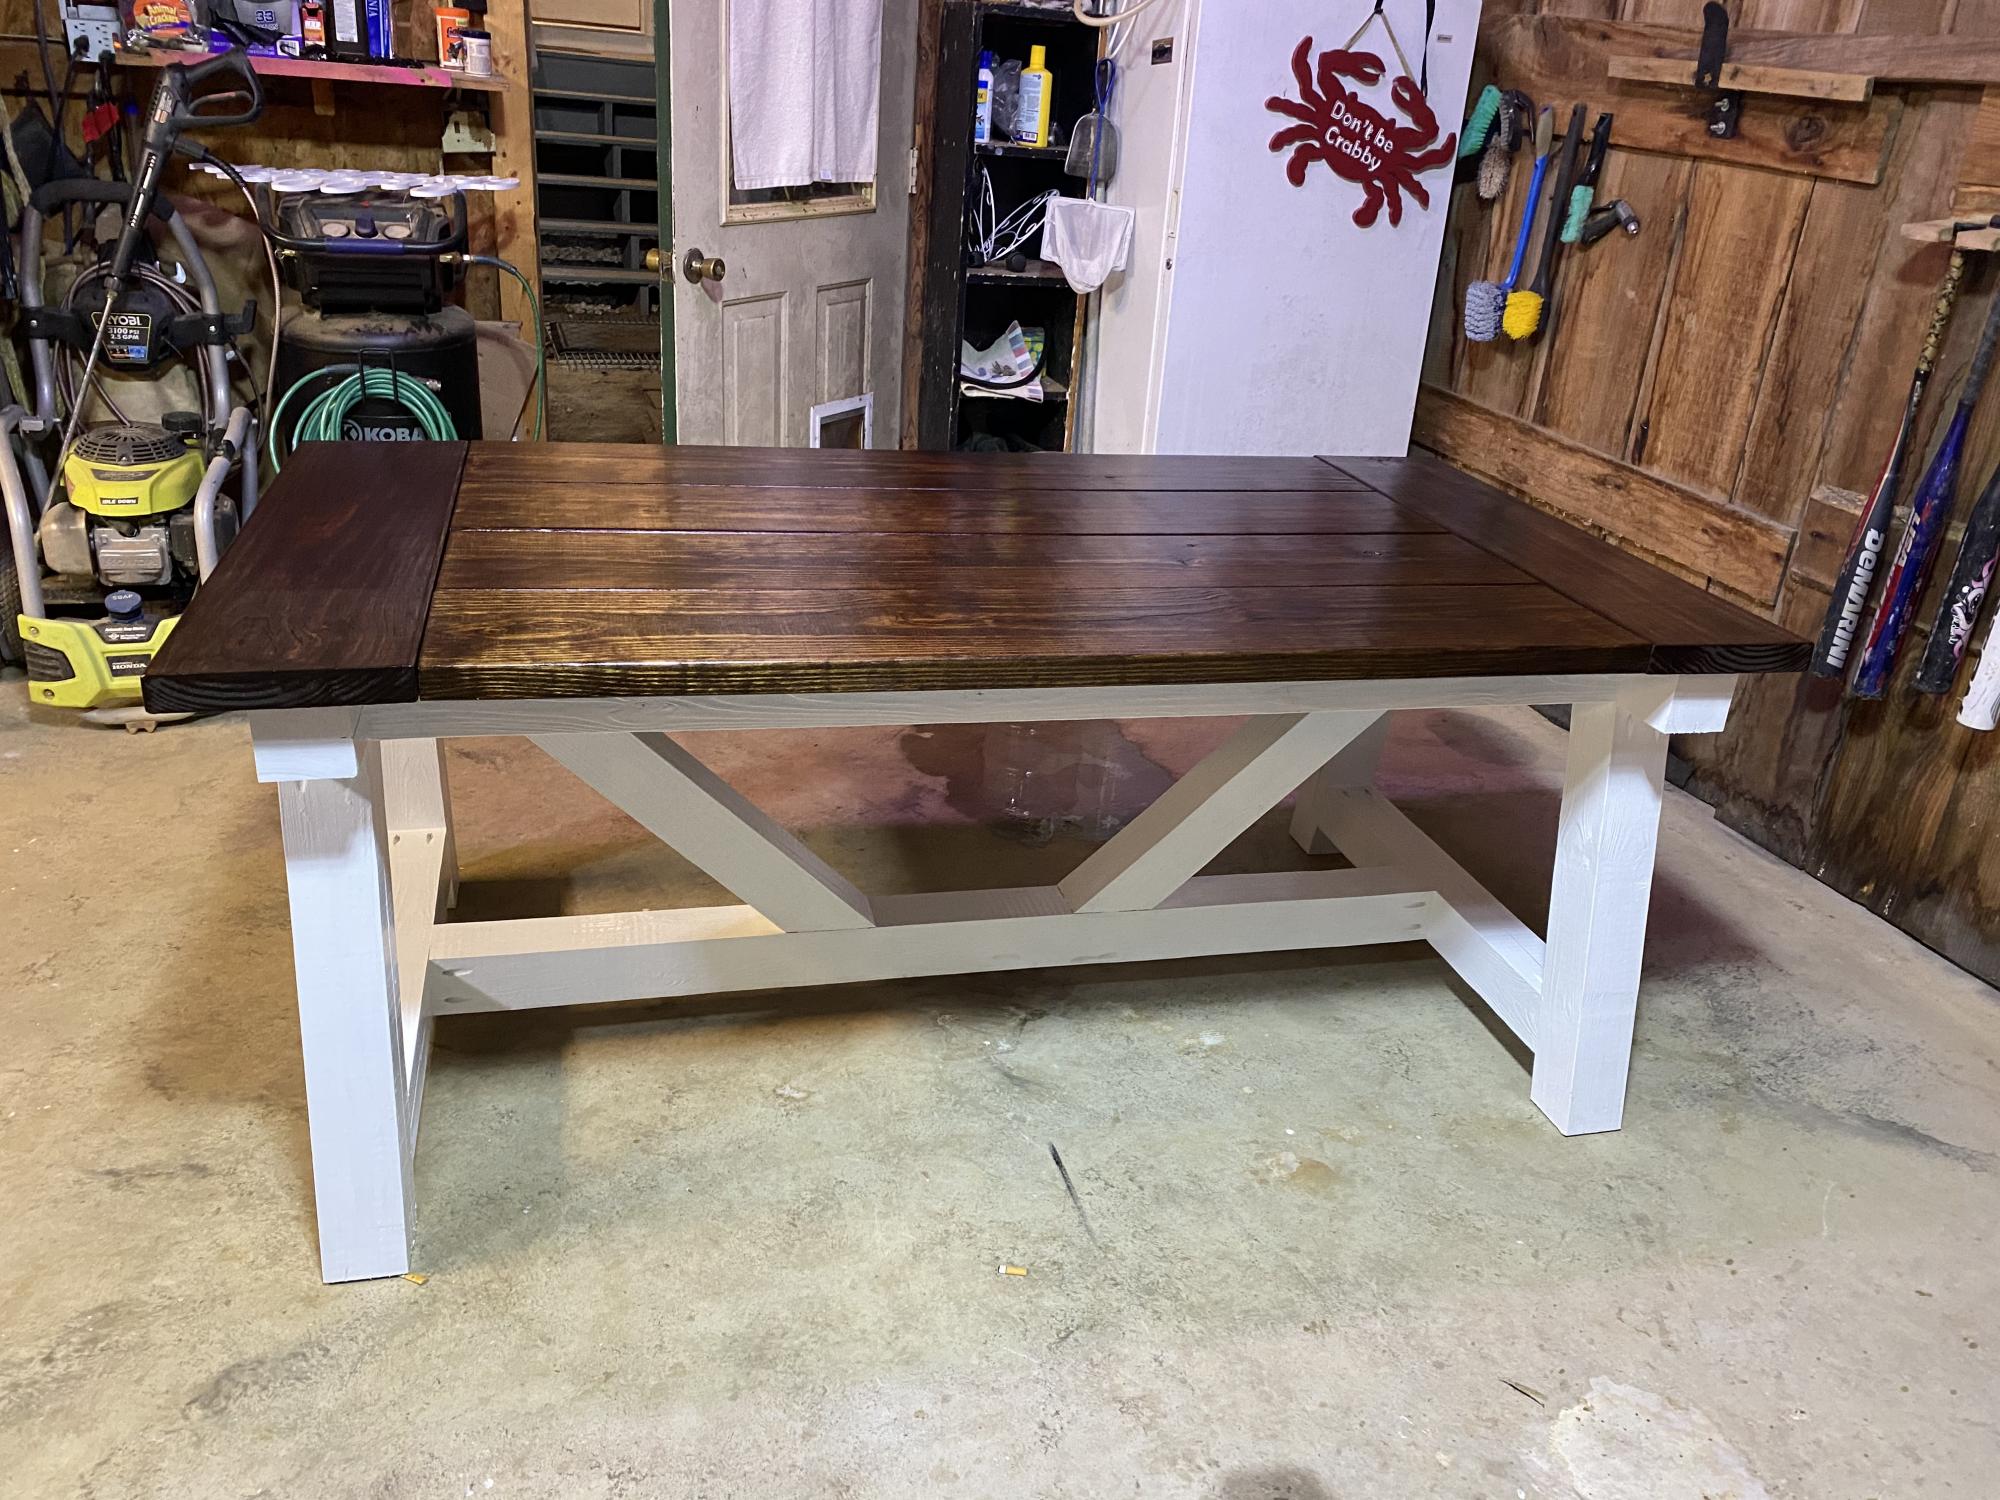
This was a very nice and easy project. I probably could have finished in one day if it had not been 105 degrees outside! I recommend these plans to anybody who knows how to use a saw. I also used all screws instead of nails. Wood- Grade II Pine, purchased from Lowe's FInish- One coat Minwax Dark Walnut oil based stain One Coat Minwax Polyshades Mission Oak After the Polyshades dried, I went over the whole piece with steel wool to smooth it out.


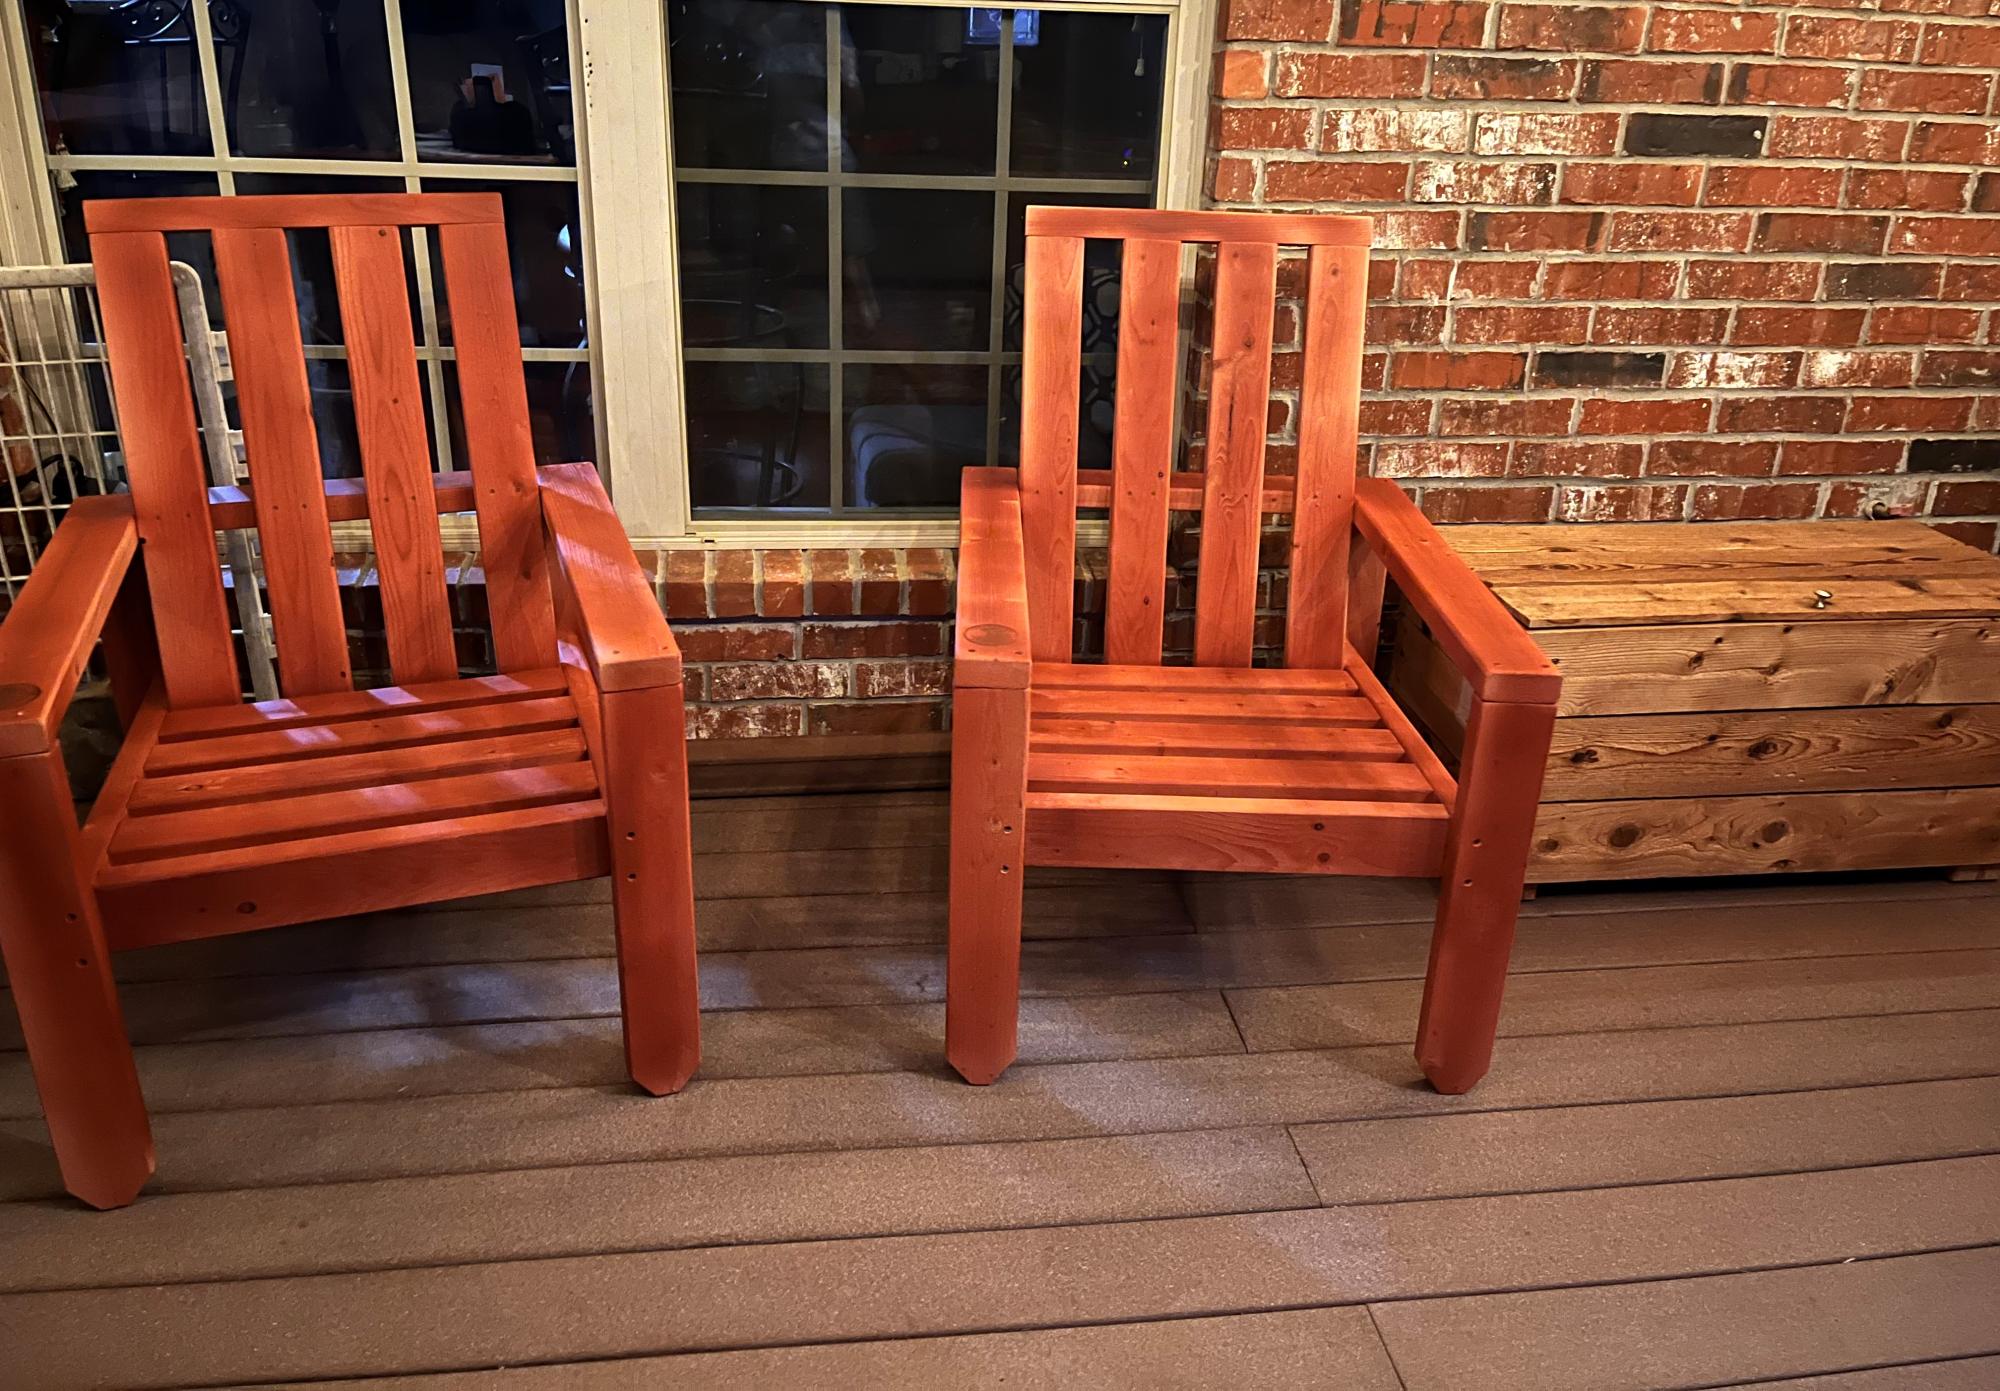
Ana White chairs along side my Ana White cedar storage chest (one of my 1st builds). Ana, thank you for the plans & for inspiring us to build!
Keith from Springdale, AR
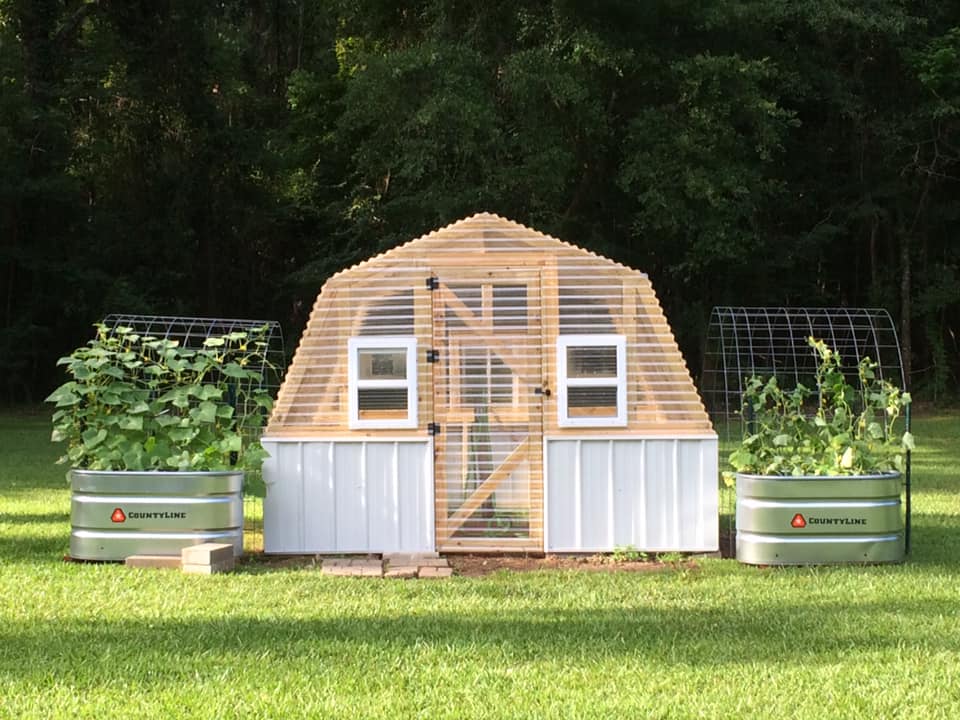
I went from a 6 x 8 Harbor Freight Greenhouse to this one 10 x 12. I added a few windows...
I have been dreaming about building so many things featured on this website, and I finally buckled down and built something. I figured that an outside garden shed would be a bit more forgiving than a project requiring a bit more precision, and from the picture, you can see that it's not perfect! I'm still working on trimming the shingles and I still have to stain/seal it. I've got to admit, when I first picked up the wood for the project at the store, I wondered what I had gotten myself into. But I just jumped in, and here it is.
Thu, 10/11/2012 - 10:45
What a perfect spot for it as well! Really good job with your first project.
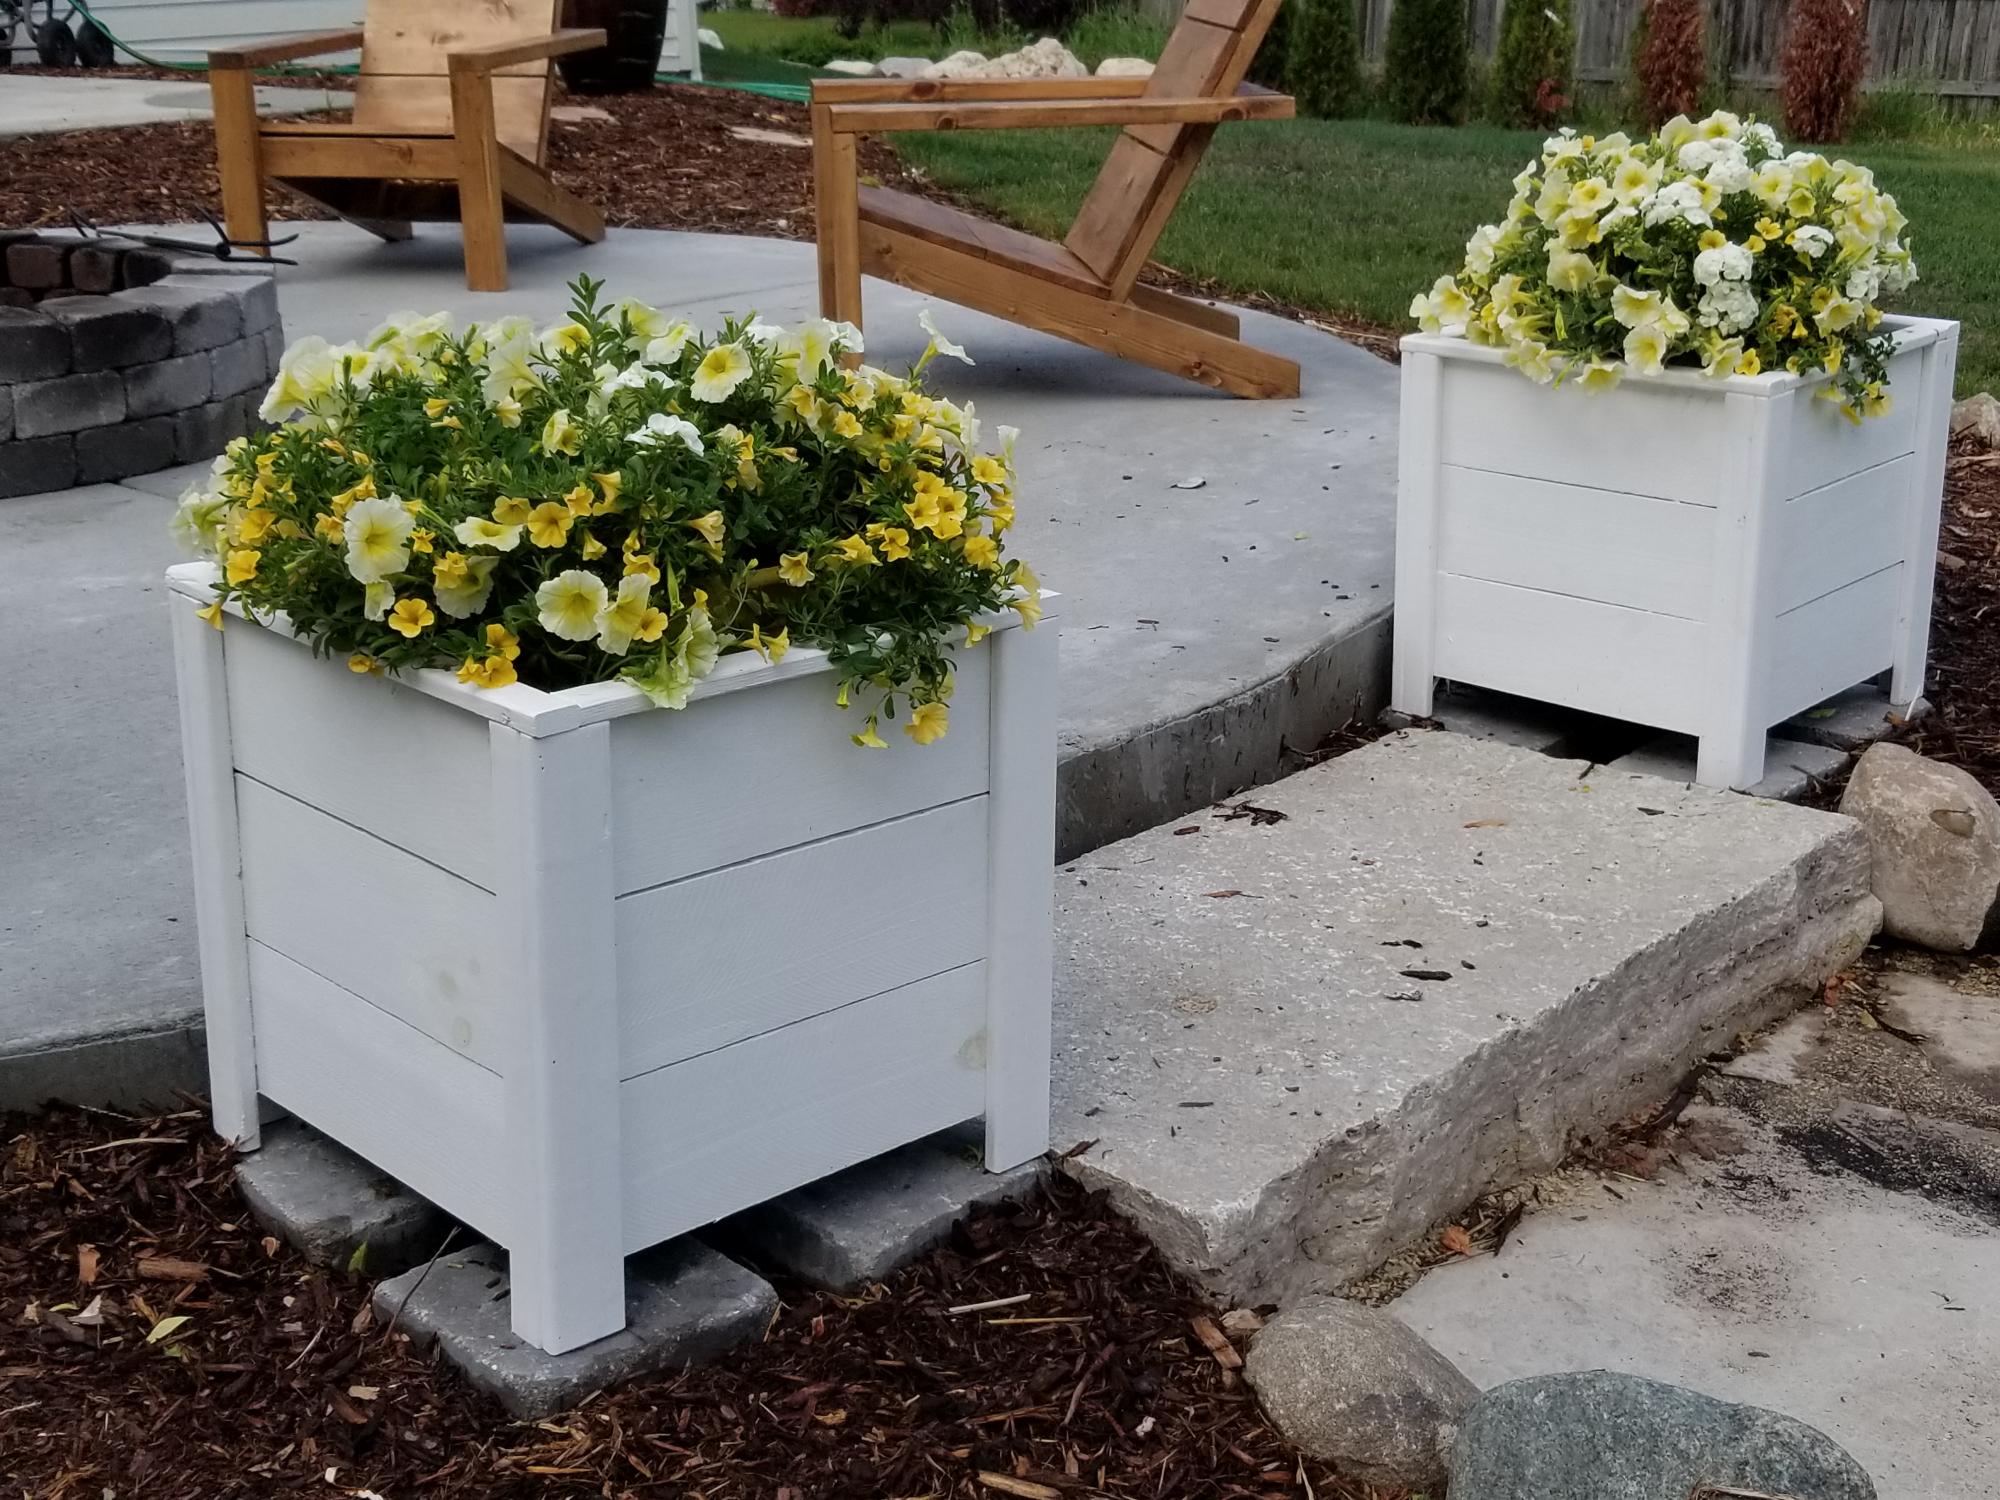
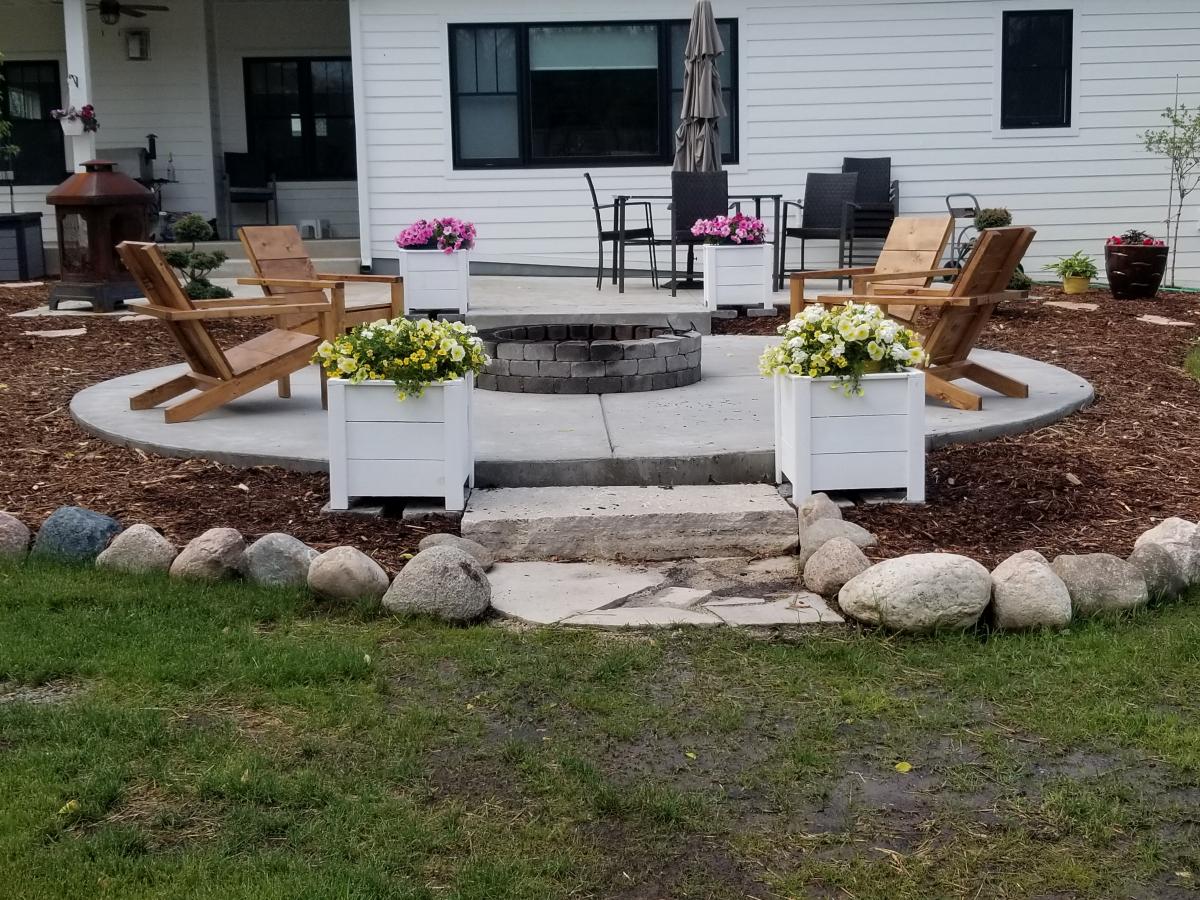
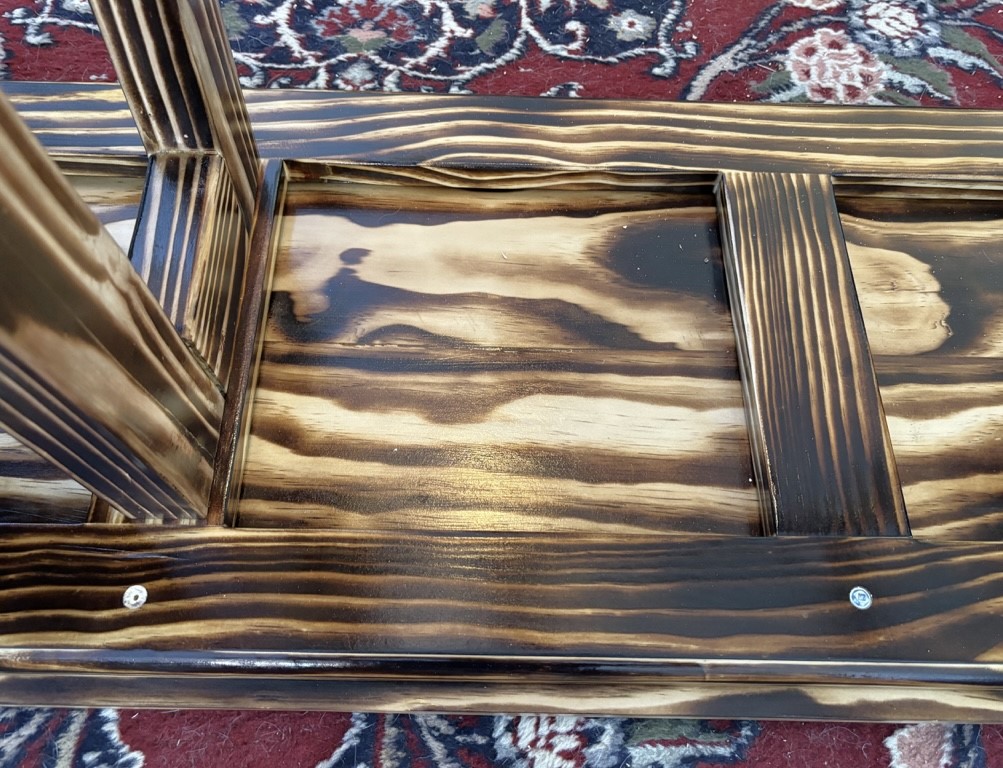
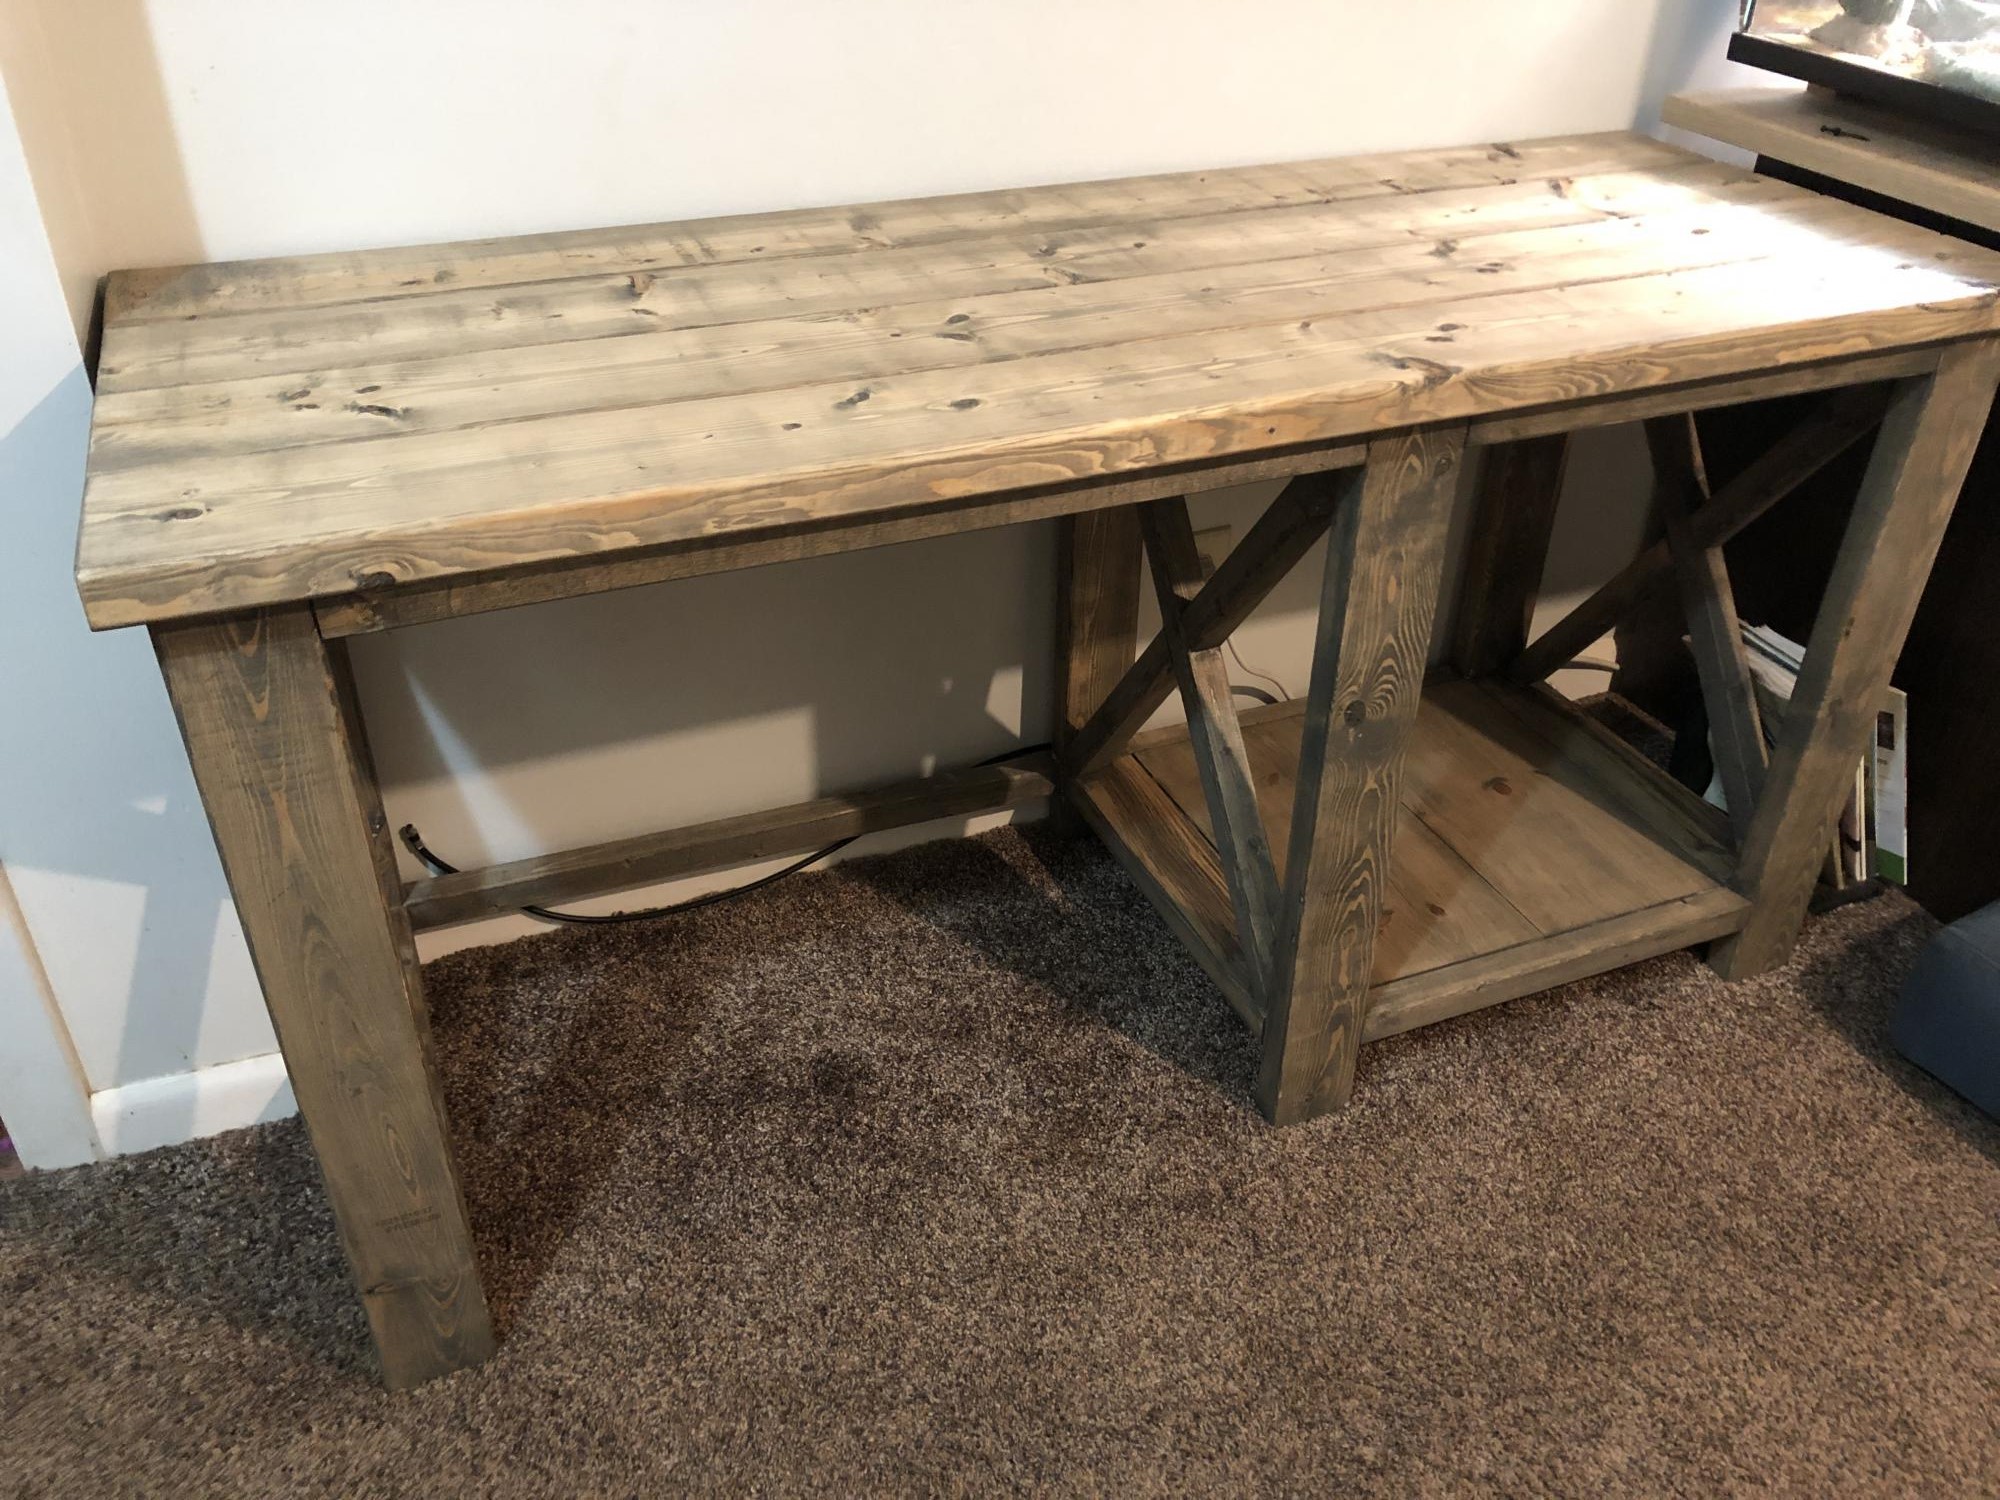
I followed the plan exactly including the suggestion of the fence paint (2 coats). This was a very easy build. It took much longer to paint than it did to build. These boxes are the perfect accent on our new patio/firepit.
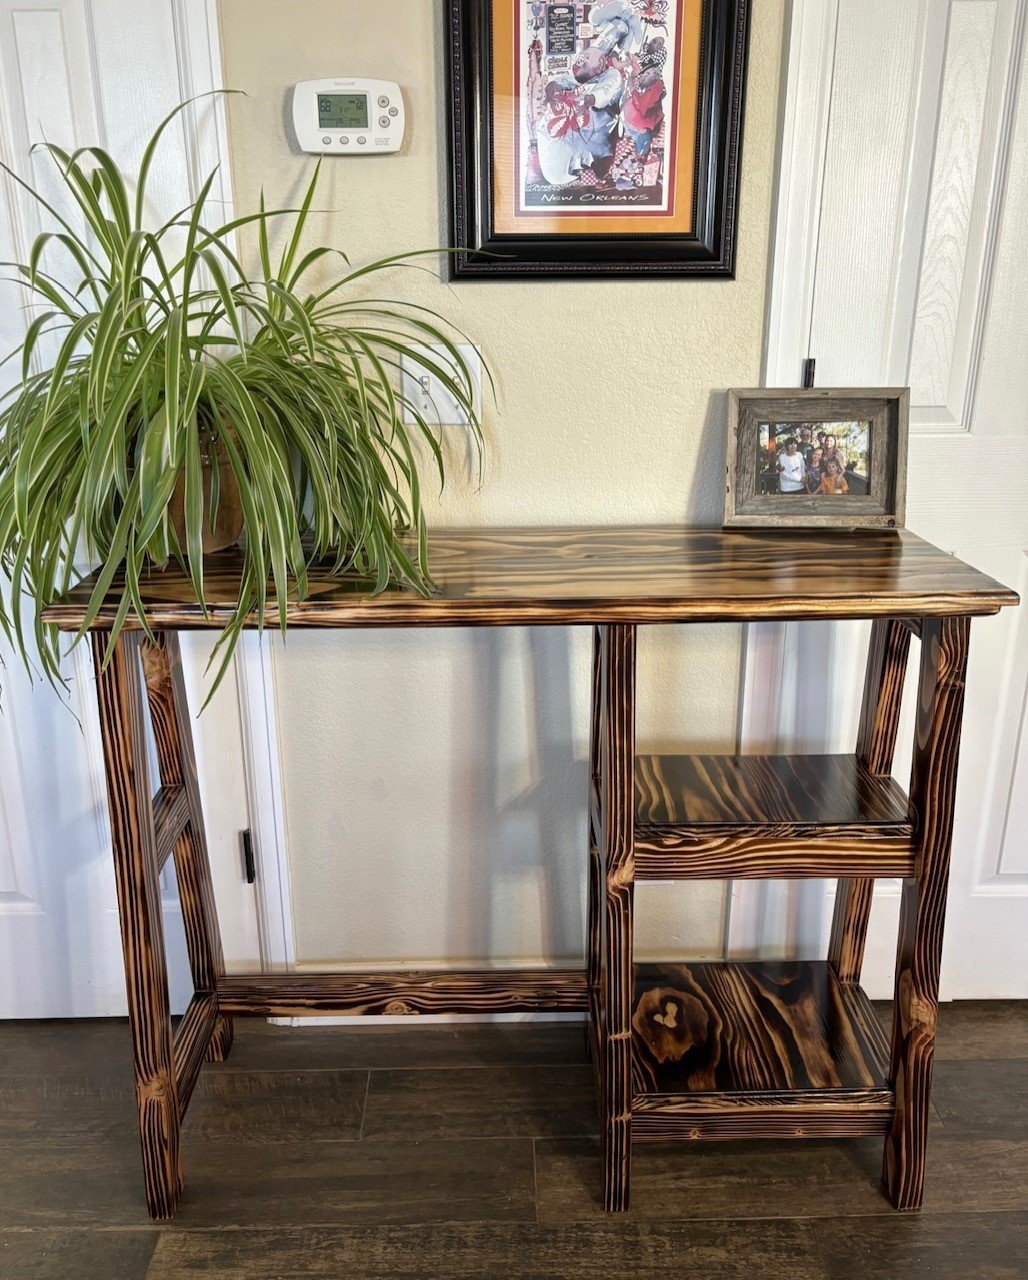
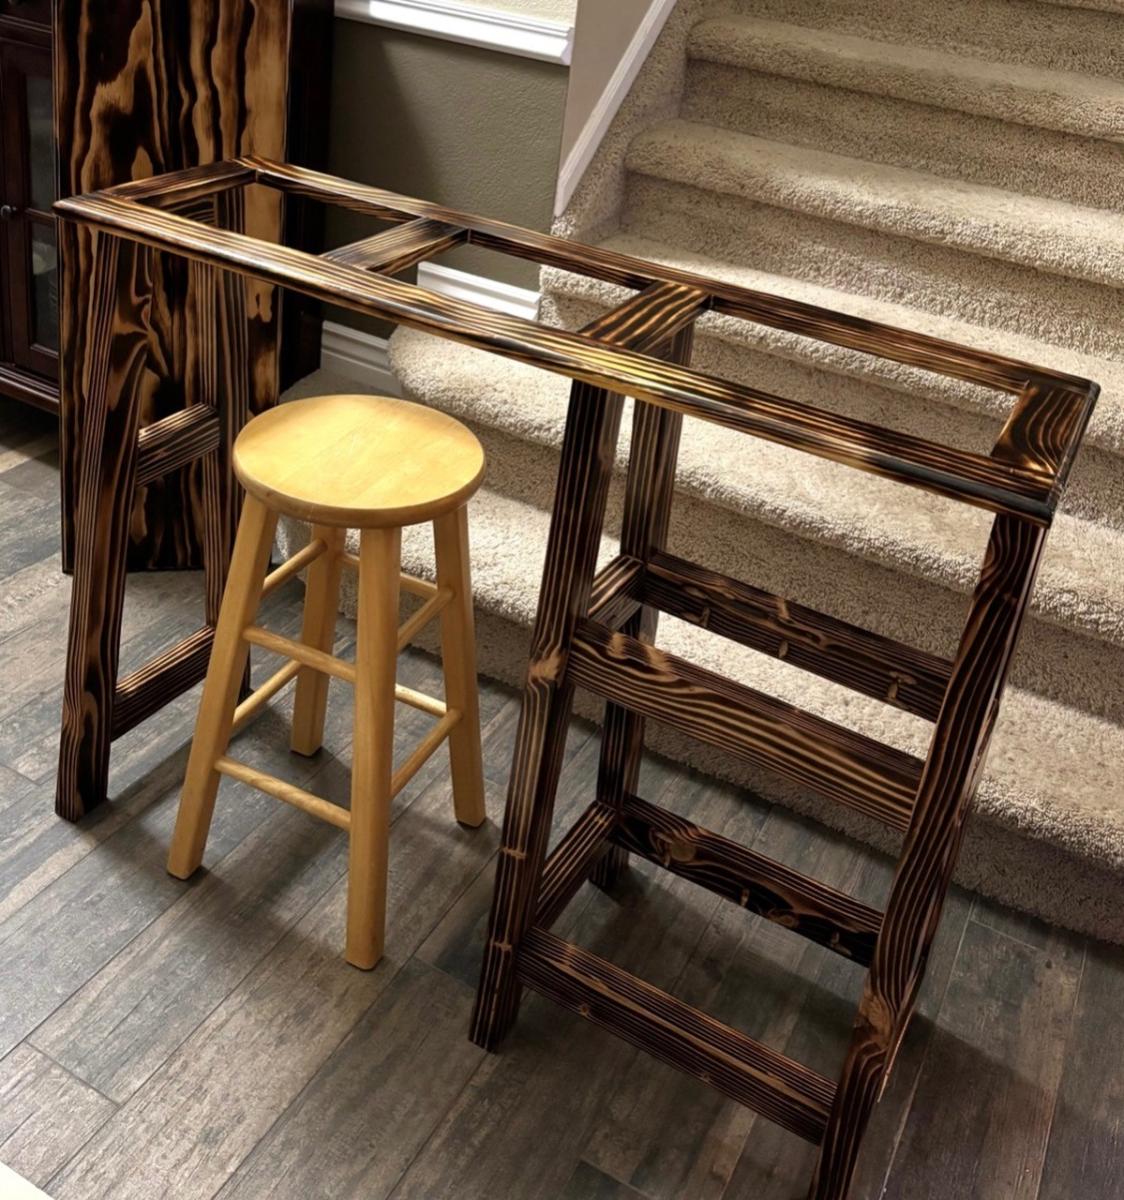
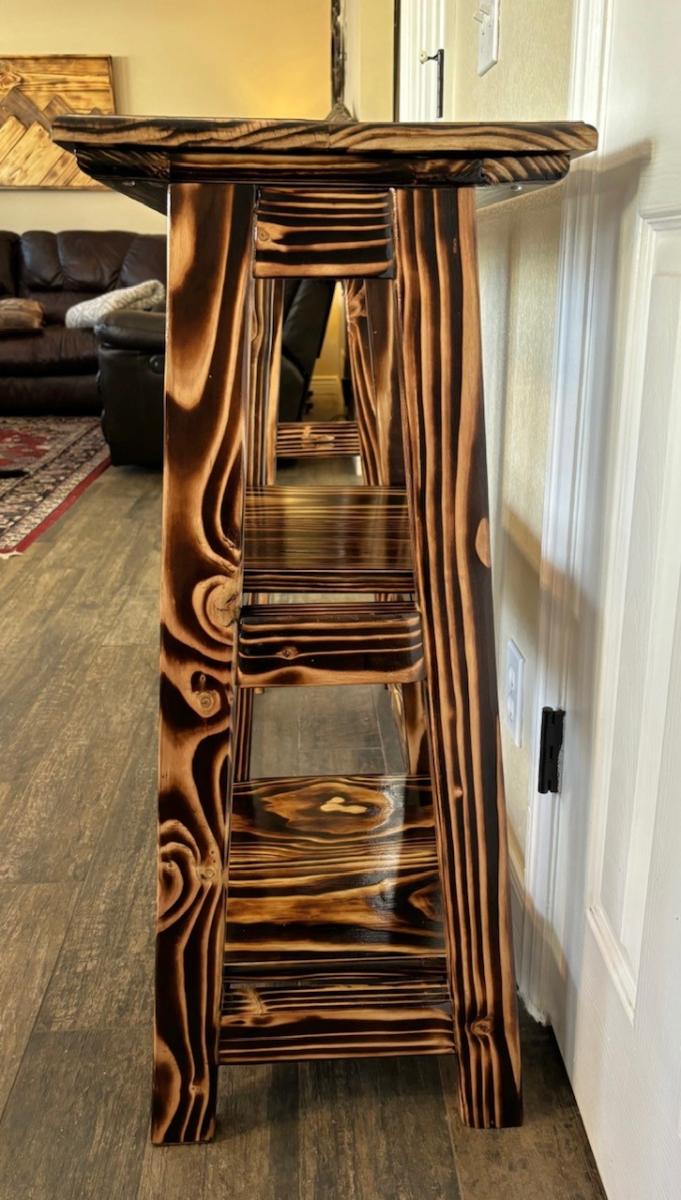
I am a teacher and constantly bending over lower desks and I did not have a table to teach off of in the front of the room. So, I built one with Ana’s ideas of a console table with two shelves. I found a link to Kreg from her site and here was this table. I changed the height and width to give proper support of my back (counter hight) and a width that would hold a teacher book. I liked the A-Frame loom and had not built anything like this before, so I learned. I burned the wood for a fun mix of light and dark wood tones. My dad gave me some router bits and I used one to curve the edges of the top, ropy under frame, and shelves. That way all edges are curved for myself and students. I finished it with a coat of poly and a light sanding in between. Thank you Ana for the skills, confidence, and now a love for creating something useful and fun! My students and parents were shocked !! Plus it adds so much warmth to the classroom. Blessings, Jennifer
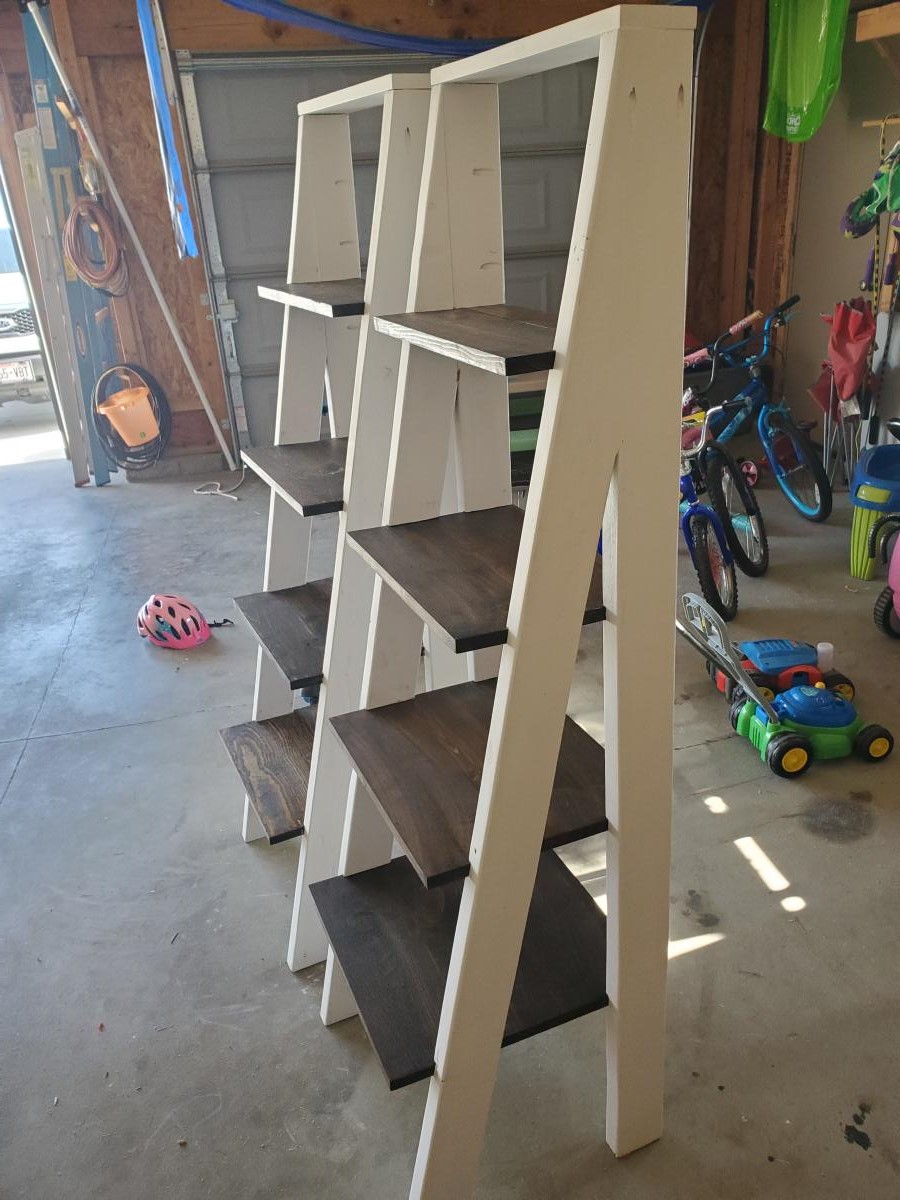
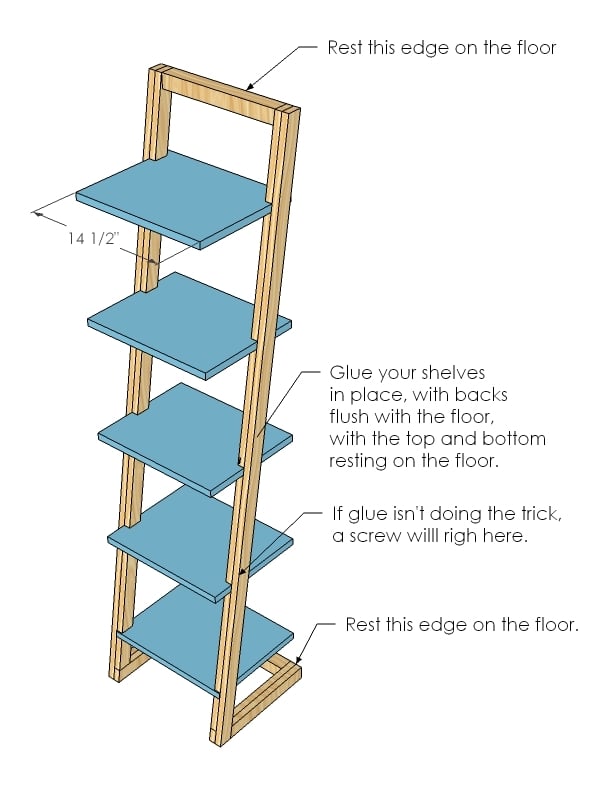
Wanted new nightstand but also wanted so shelving for pictures and stuff. Saw a picture on here and google images and decided to make it my own.

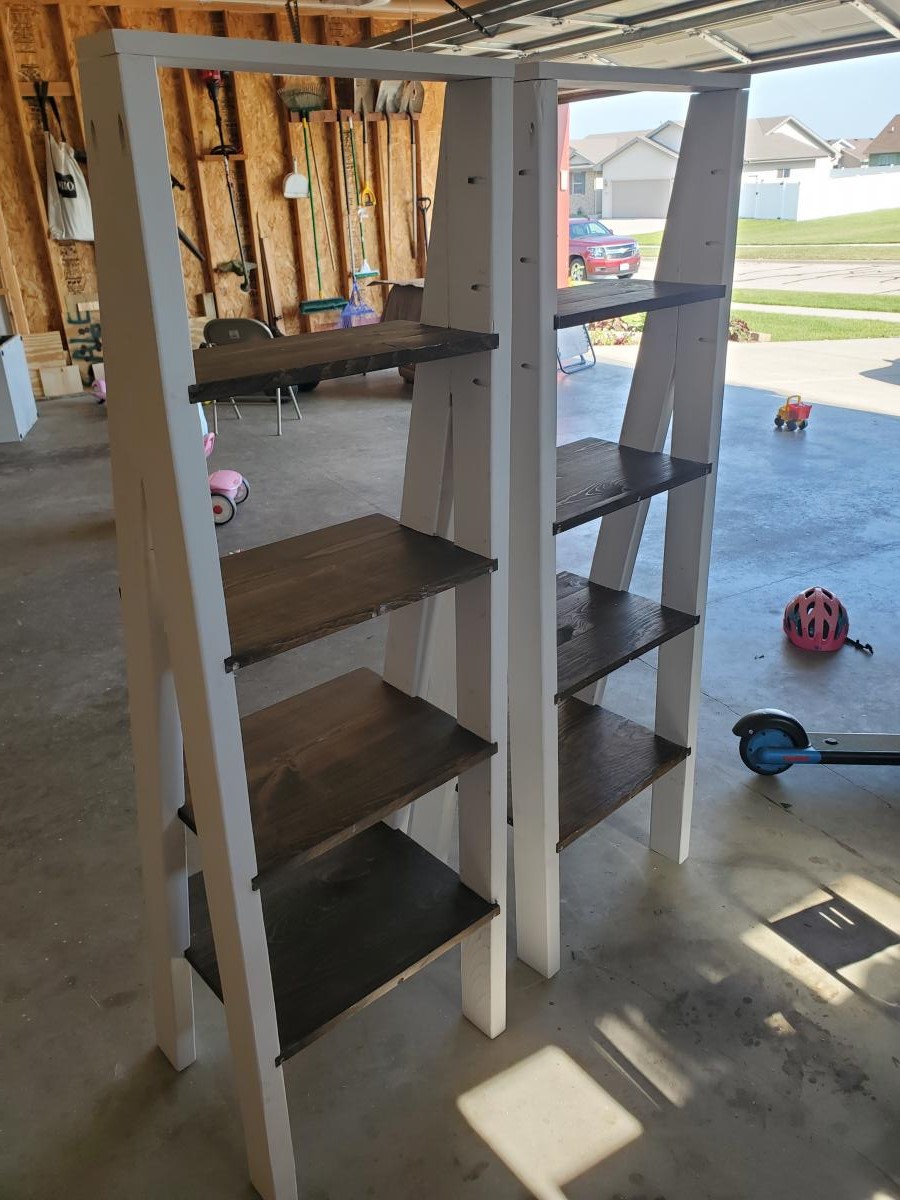
My first wood project.........
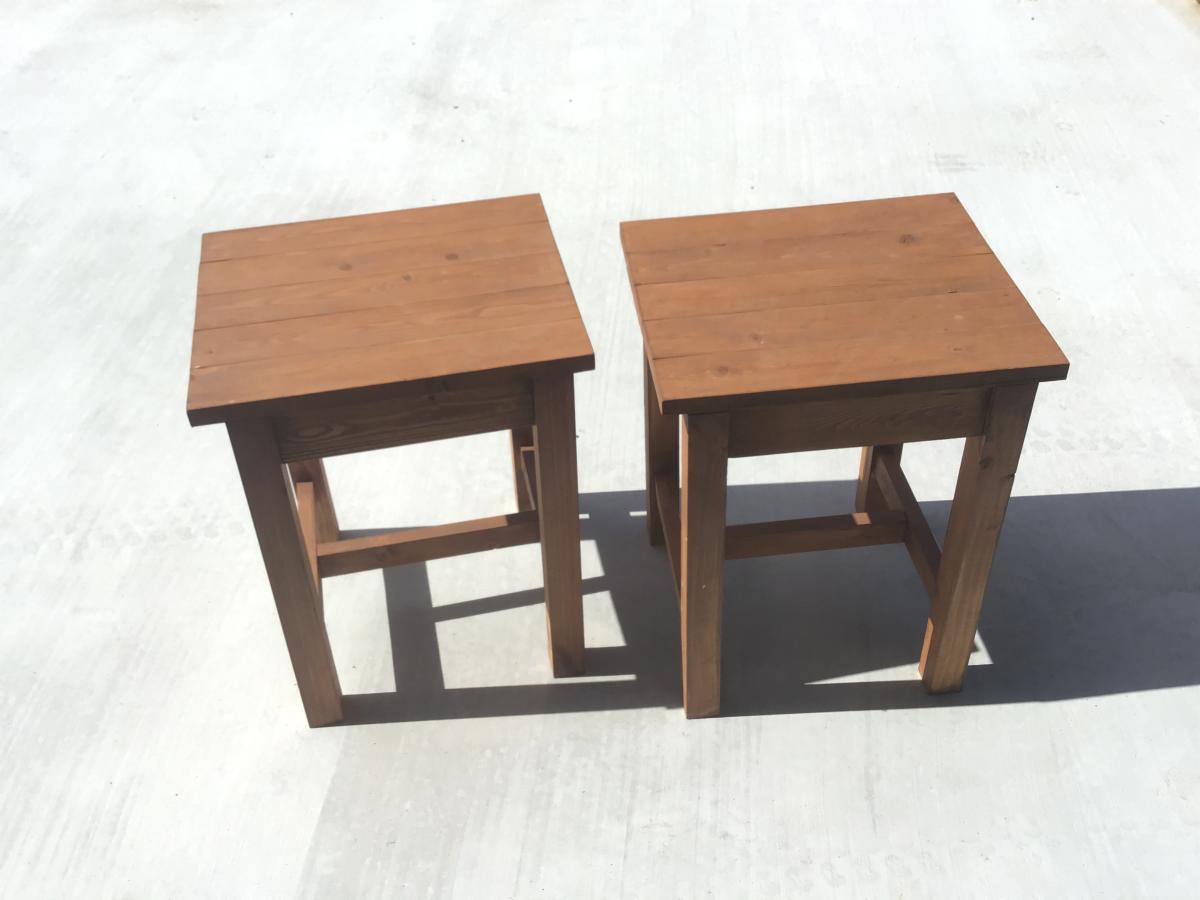
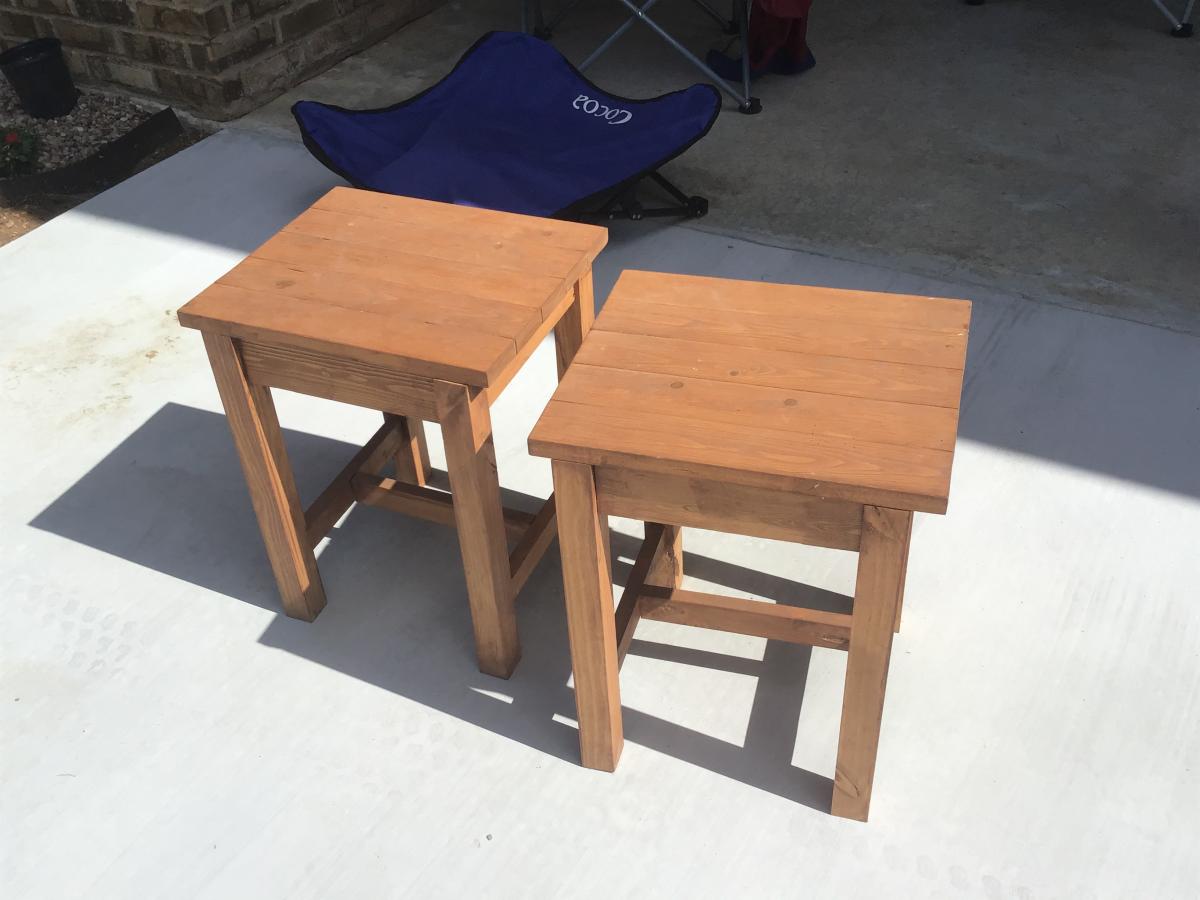
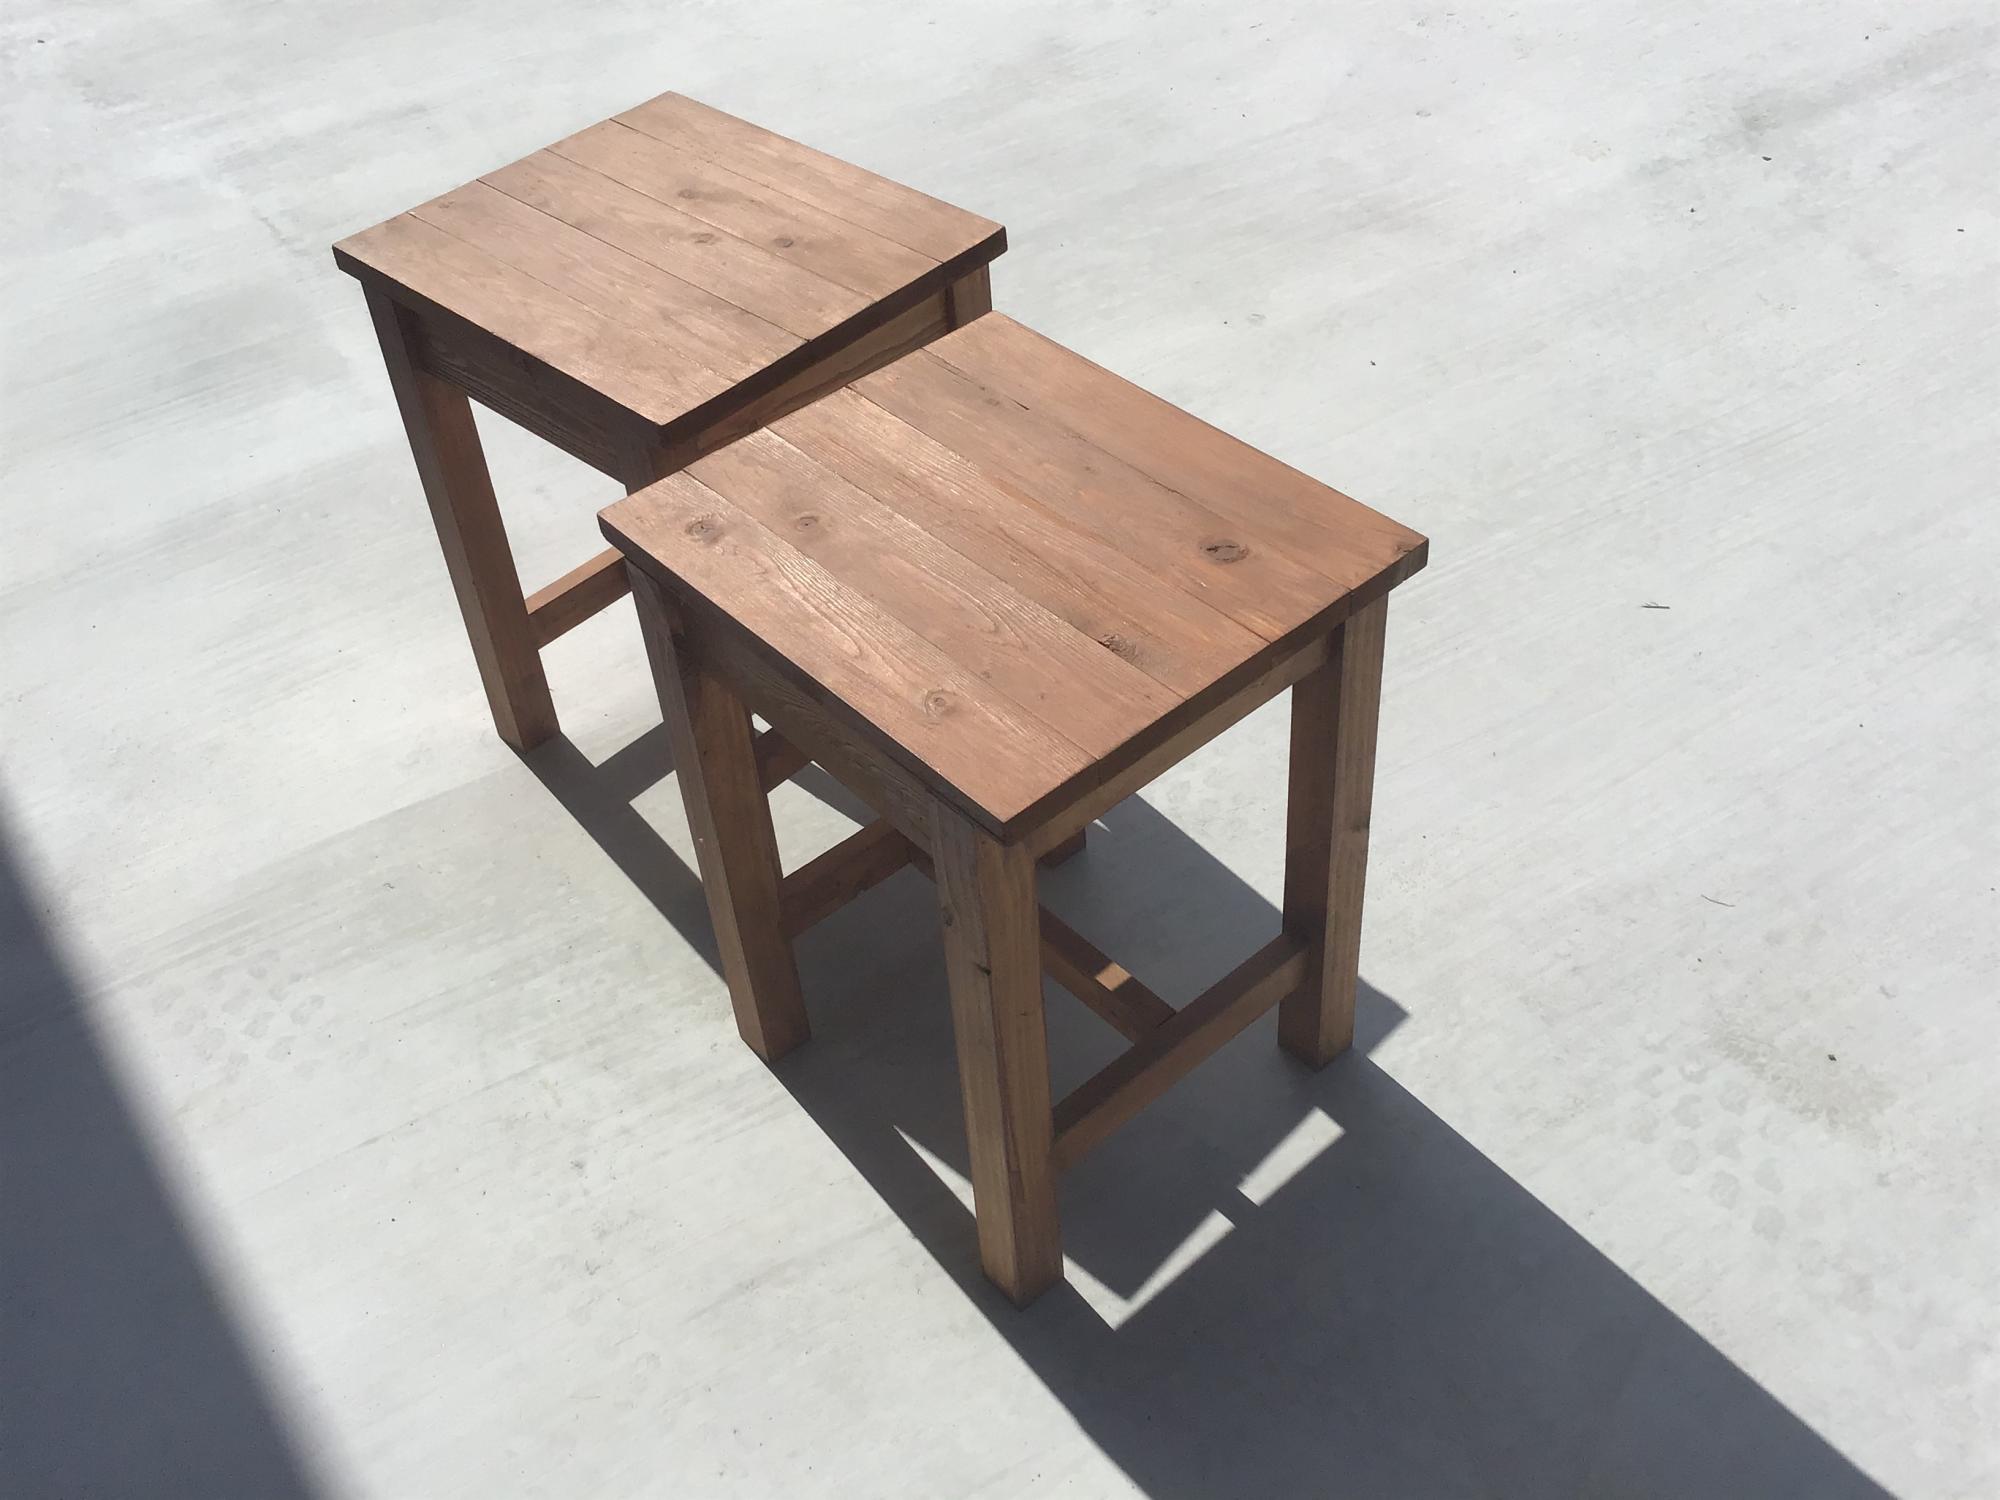
Wood - common pine Stain - Danish Watco Oil Light Walnut - 4 coats Top of table Sealed - Minwax Polyurethane Clear Satin - 2 coats Legs painted with Rust-Oleum Chalked Charcoal - 2 coats
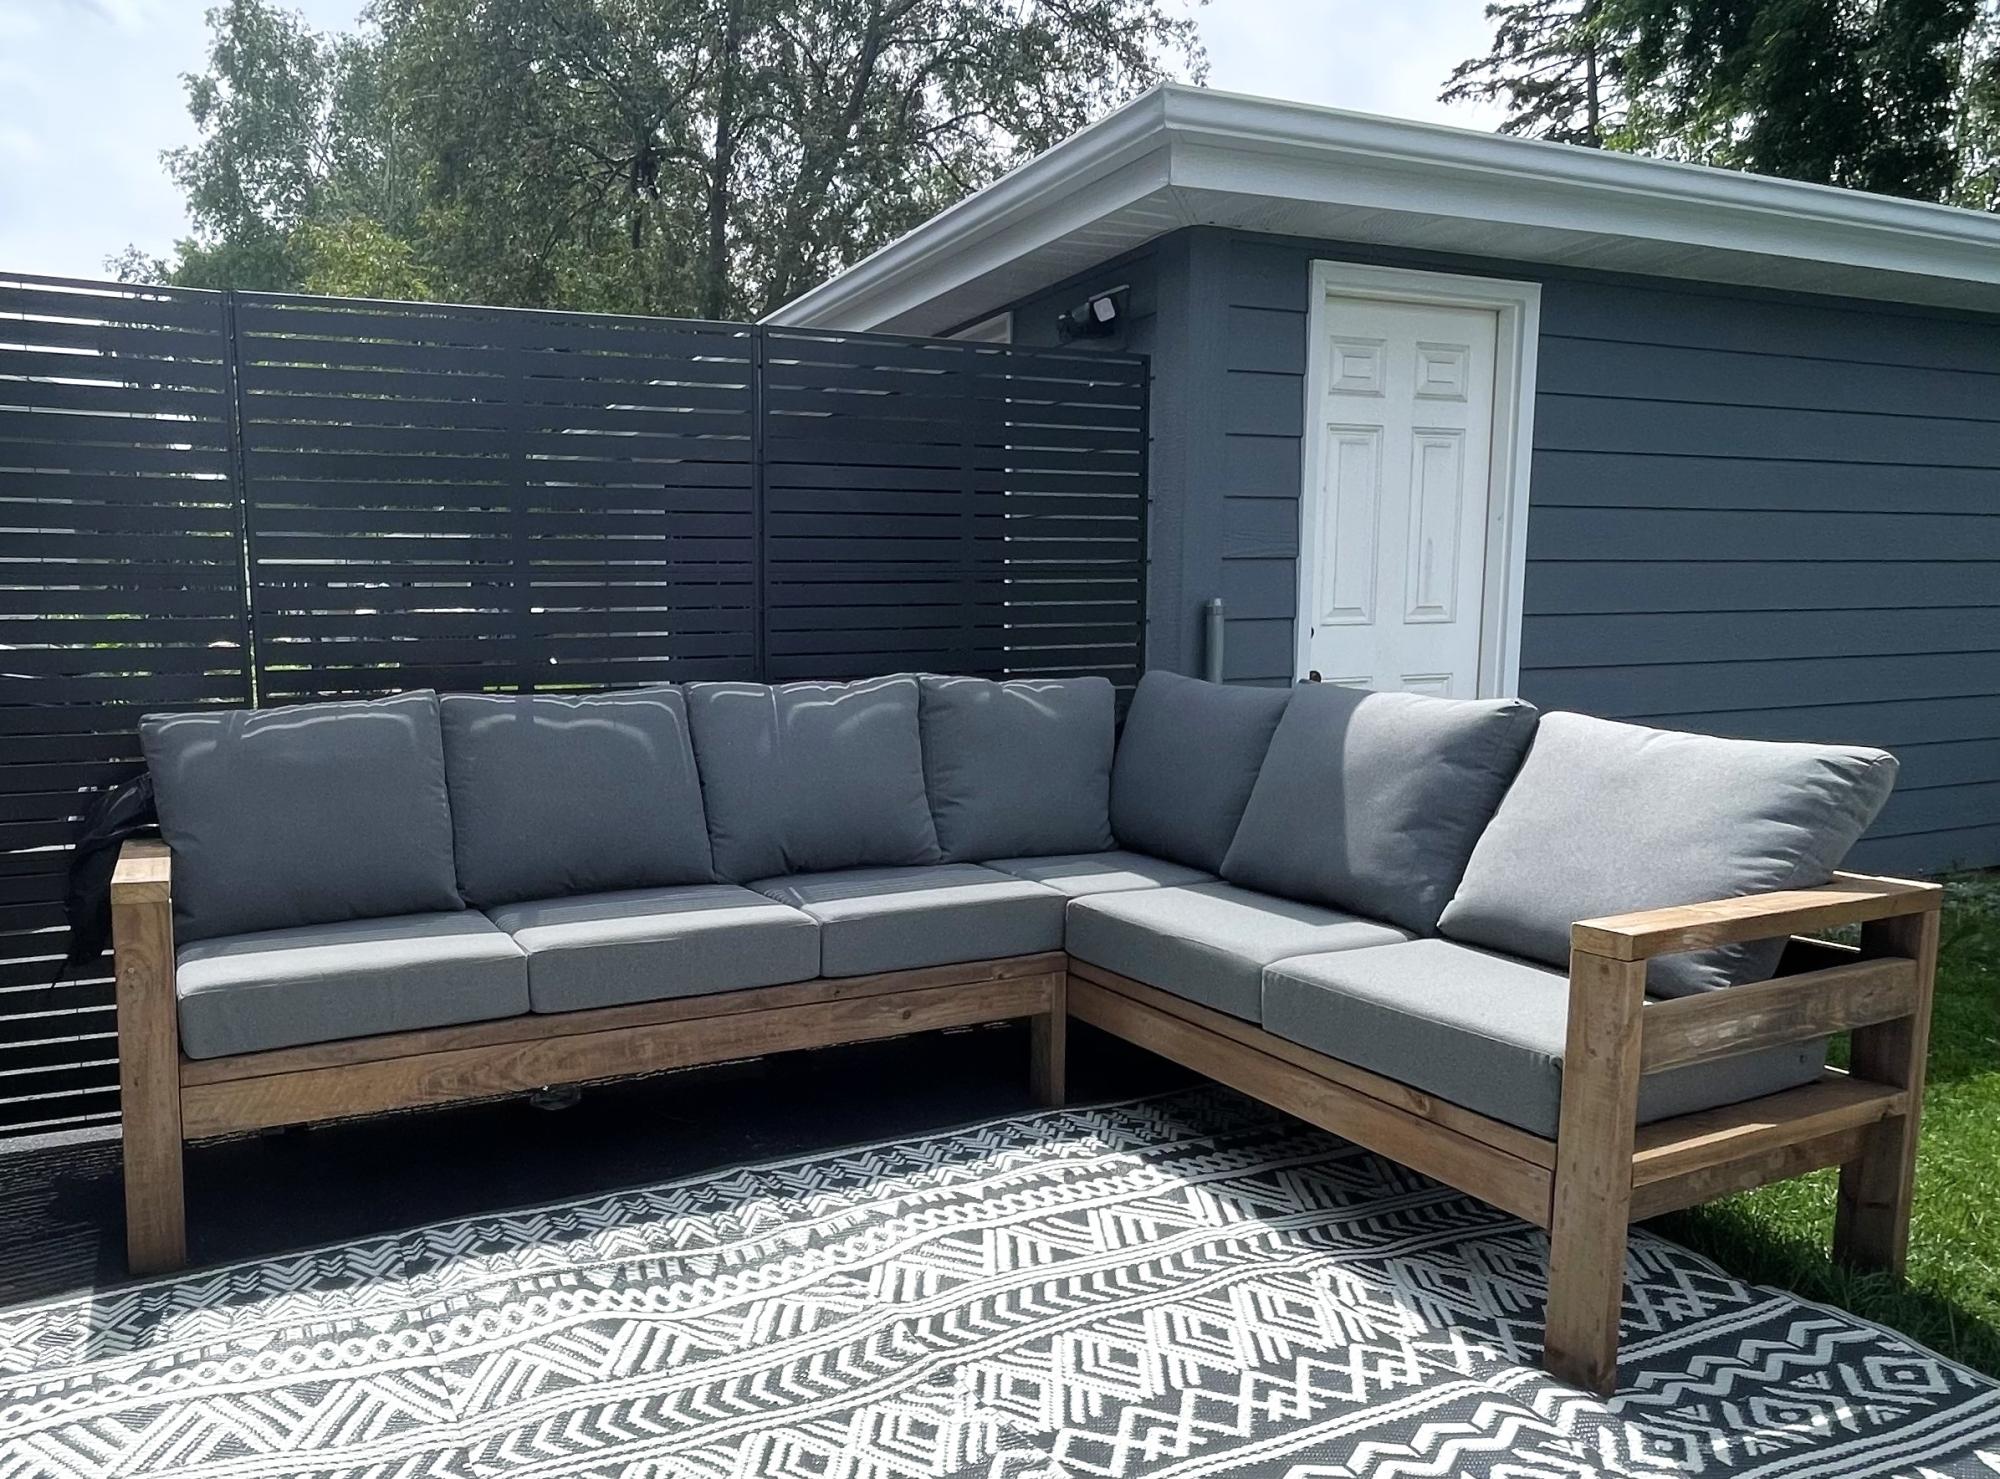
Outdoor DIY Sectional
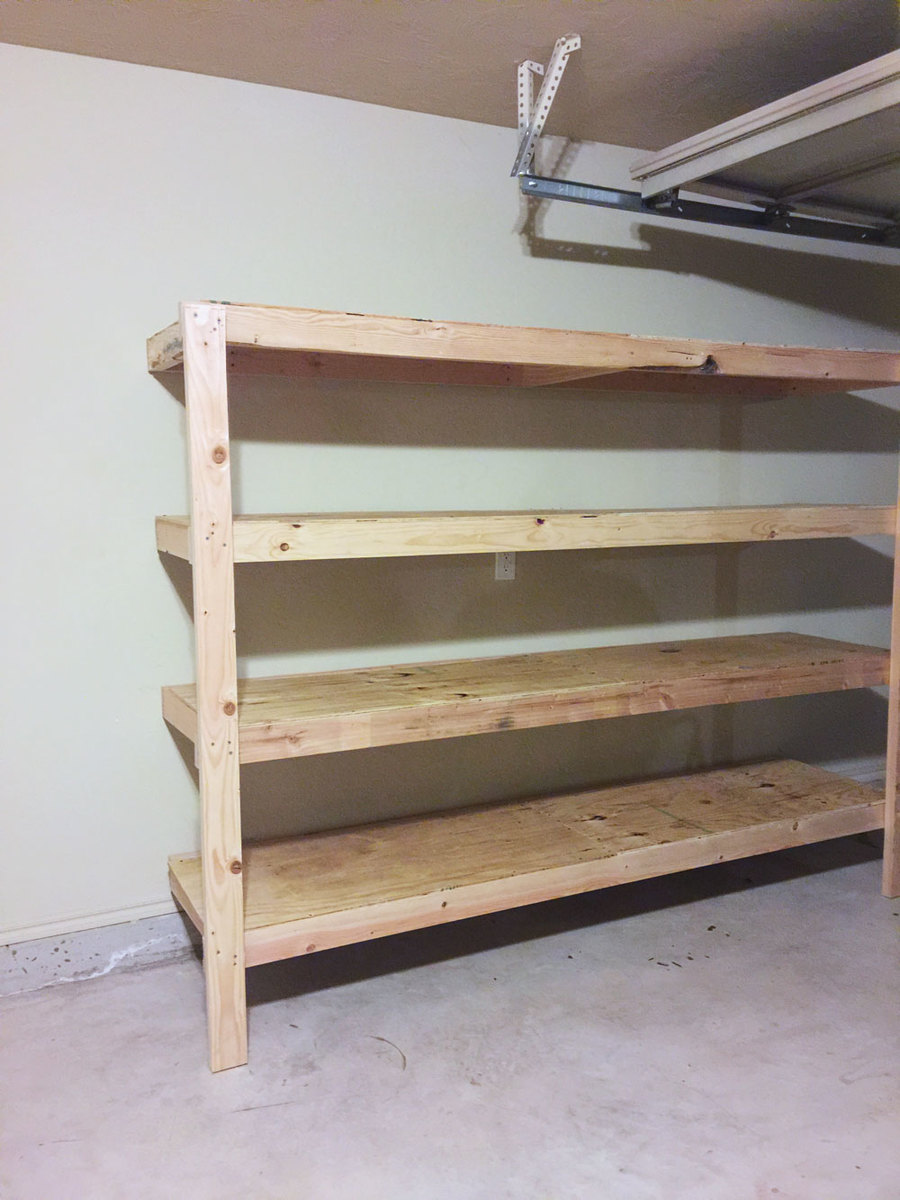
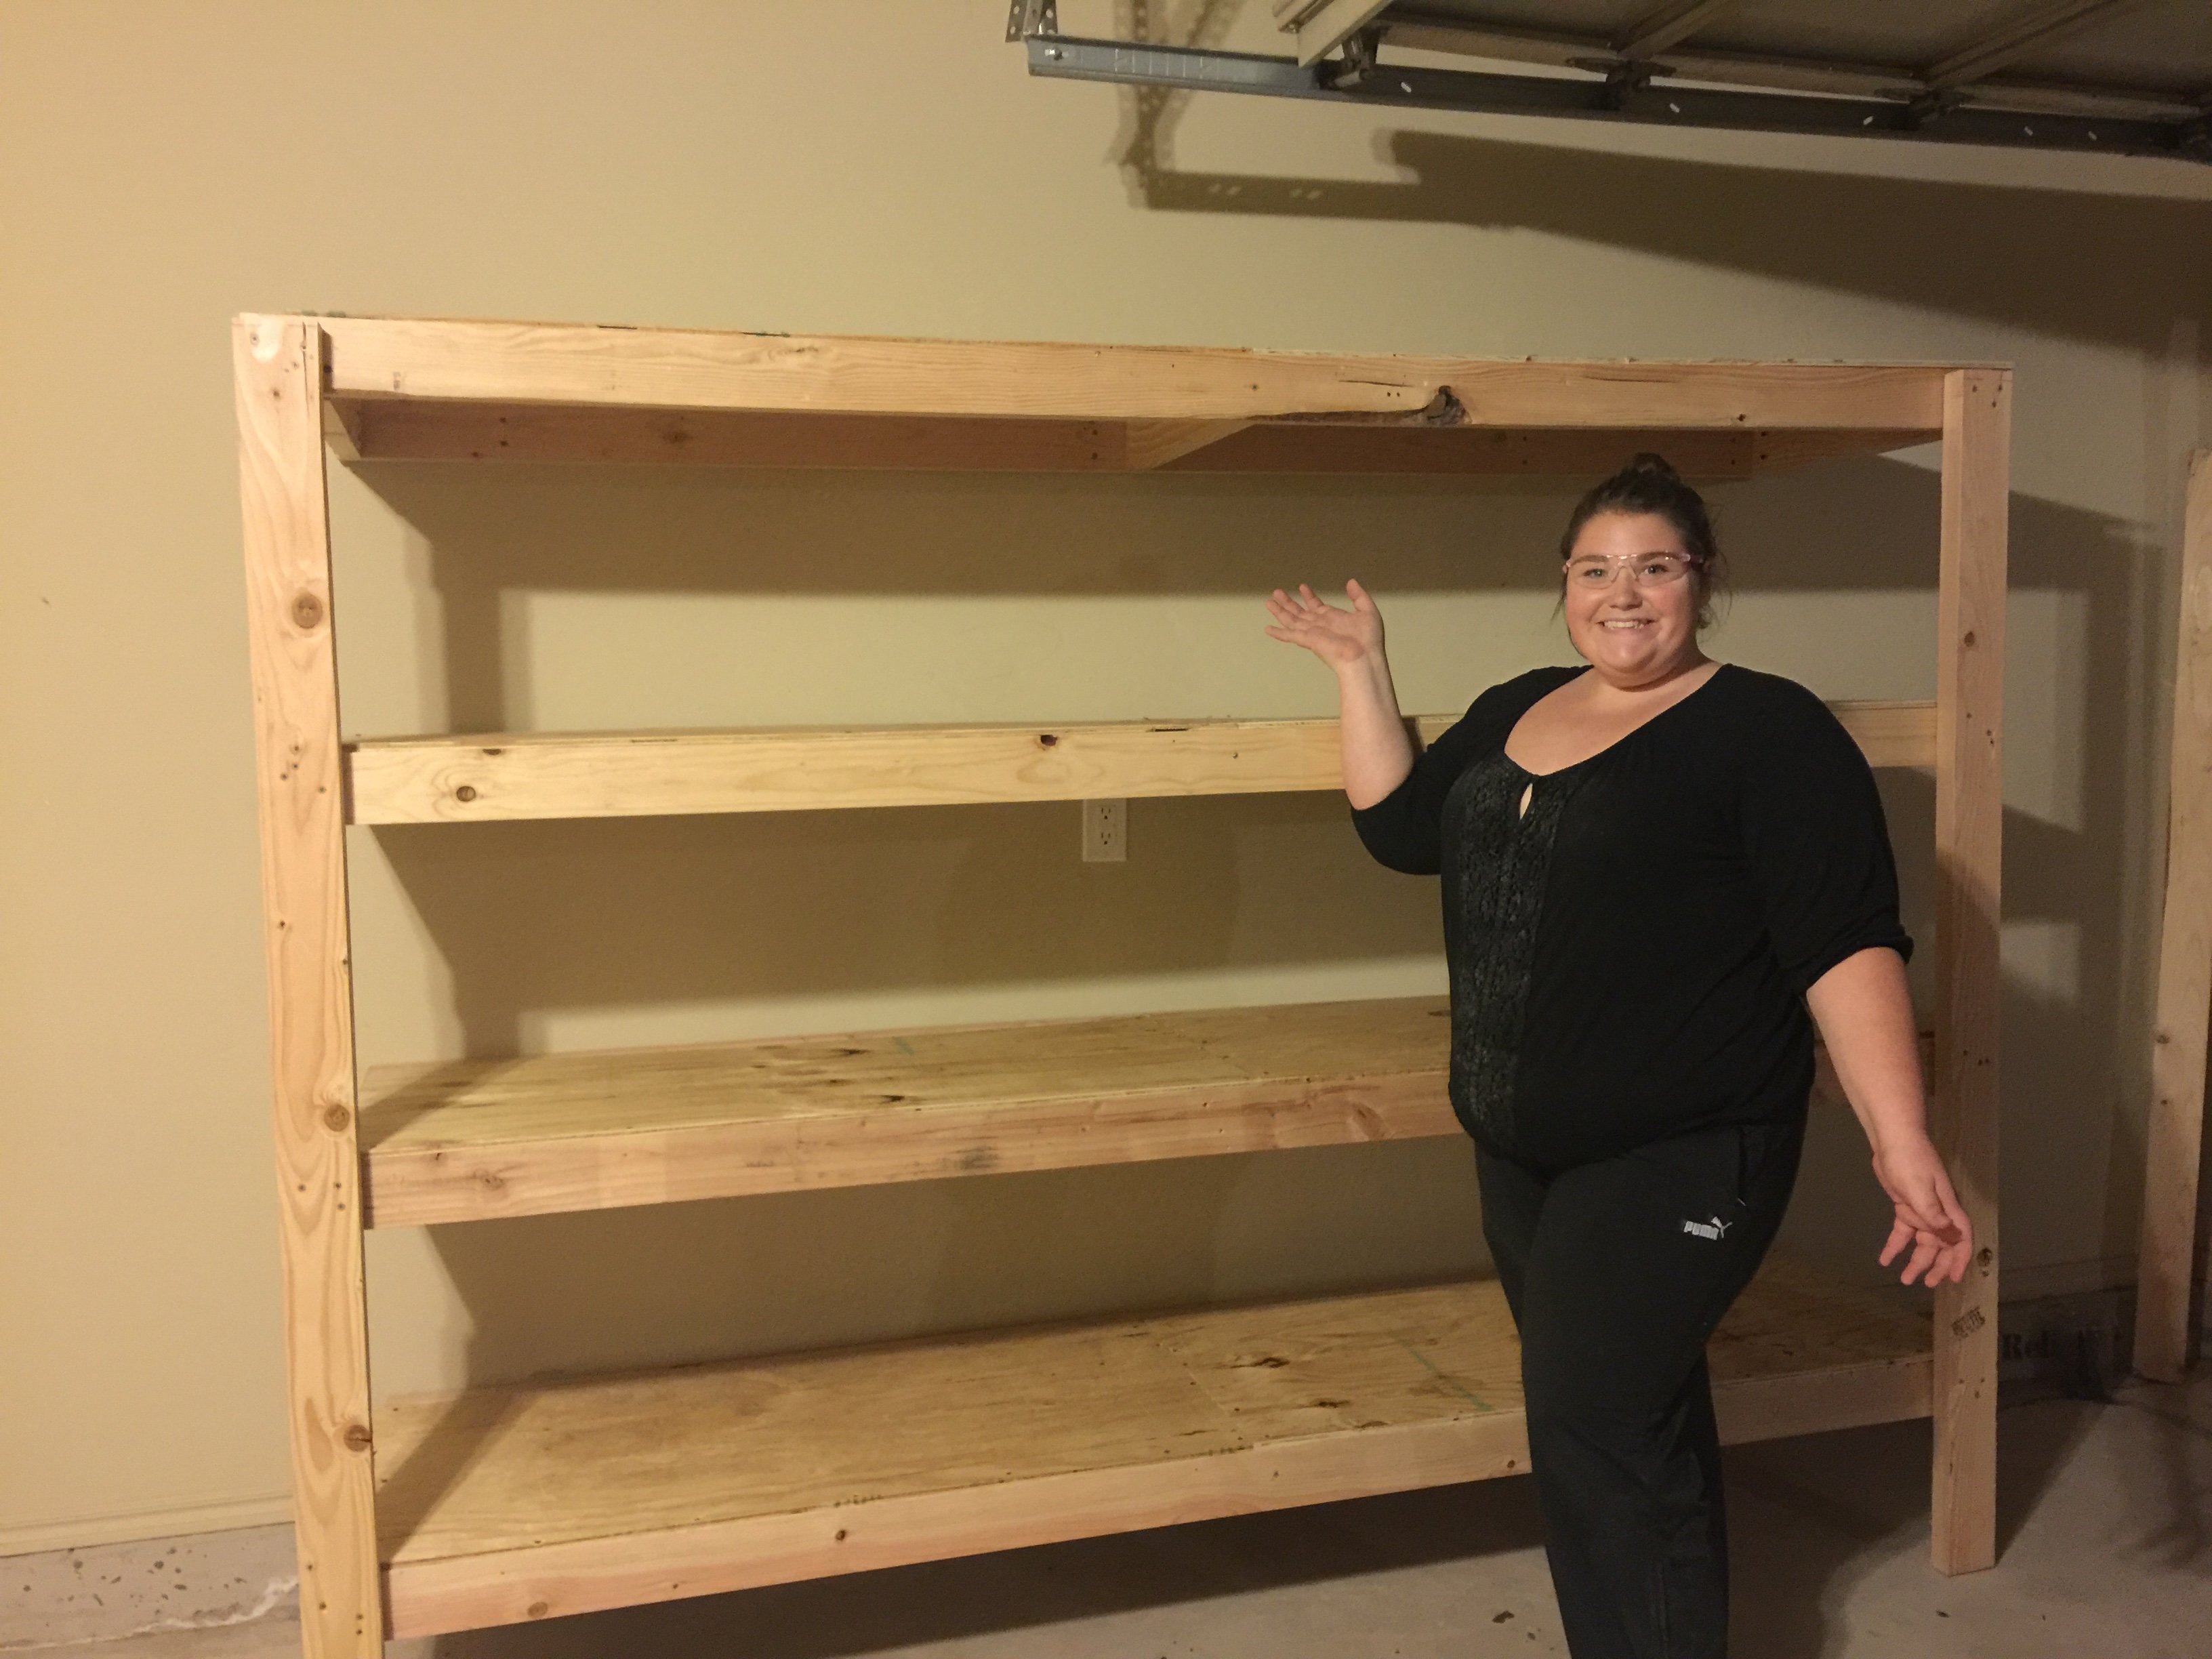
Wanted some easy storage shelving that didn't break the bank. These were perfect! $79 is what it cost for ours (which includes the $20 Kreg Jig). Lumber was only $58.68 and I bought and extra 8 foot 2x4, so it could have been slightly cheaper!
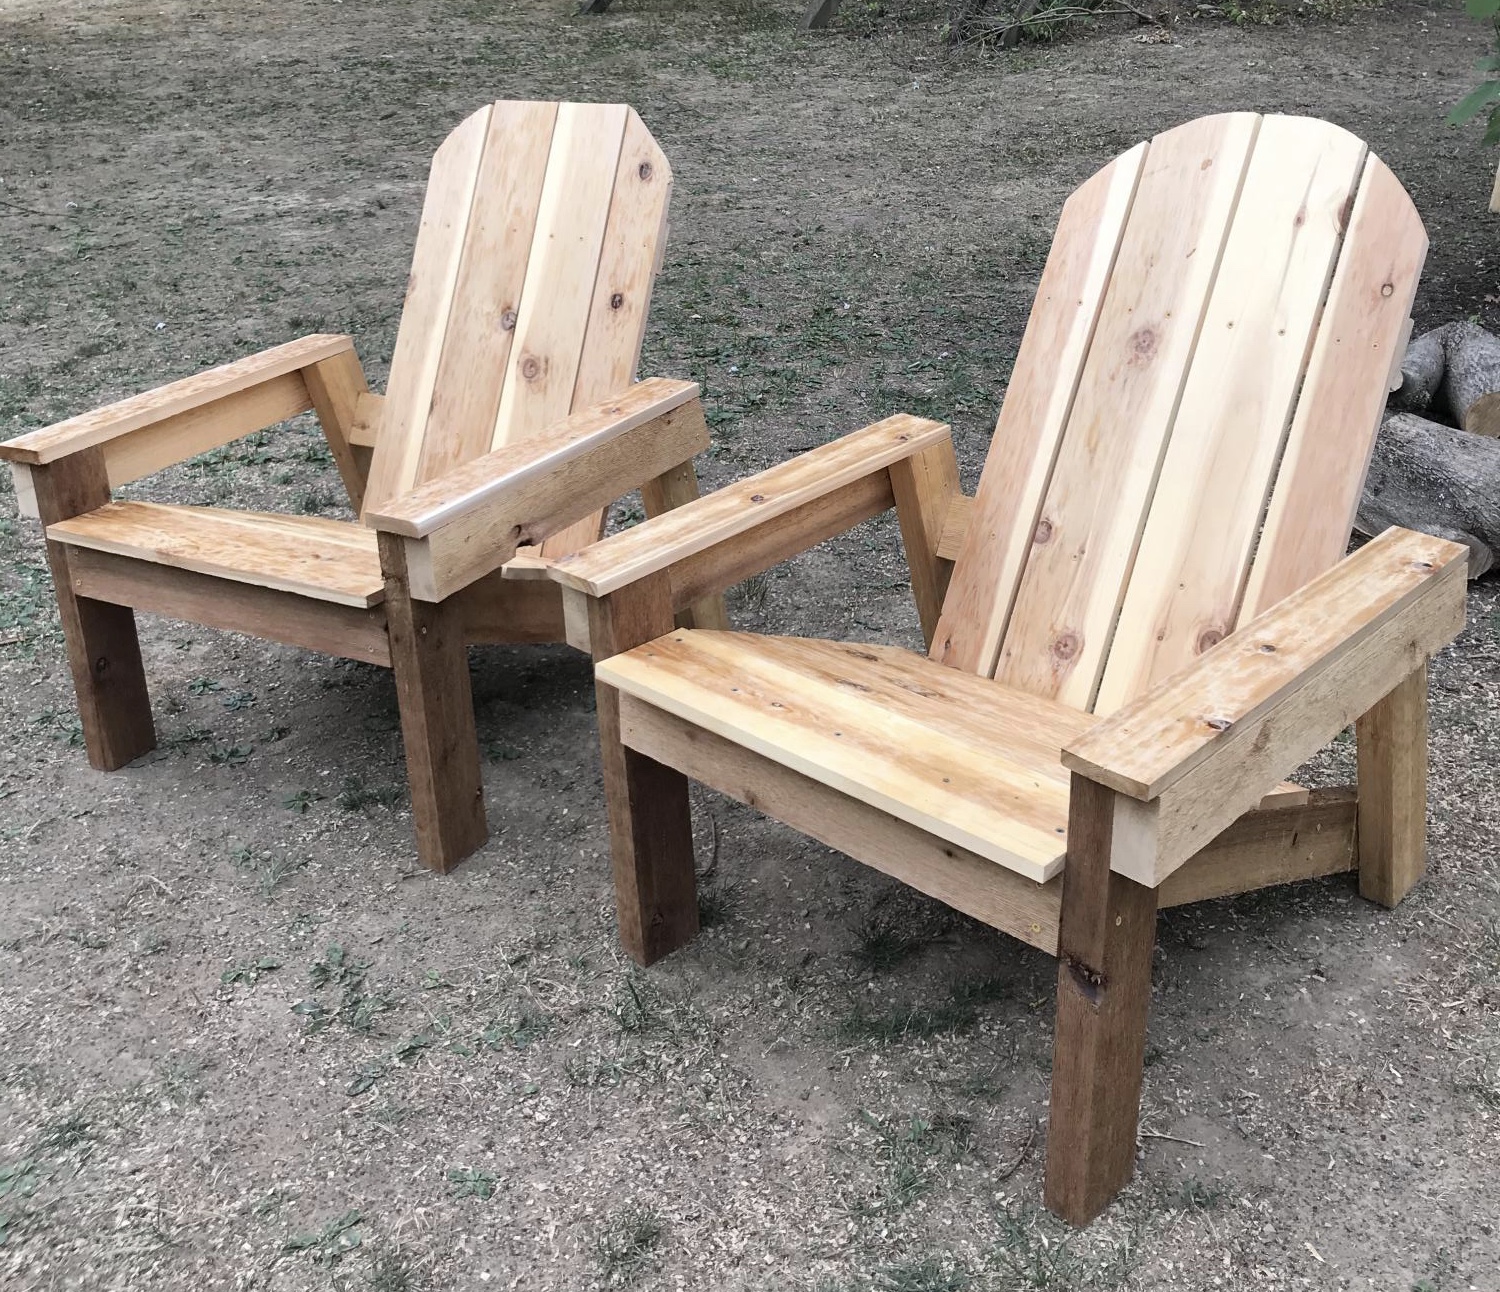
Hi from Pittsburgh! I’ve always wanted to make stuff from your site, and I finally did it — I made Ana’s favorite Adirondack chairs and man, are they comfortable! I made them out of cedar 2x4s and cedar shelving pieces for the slats. Very comfy and I hope they last a long time. Awesome instructions, Ana— I’ve directed my neighbor to your site bc he wanted to make some, too!
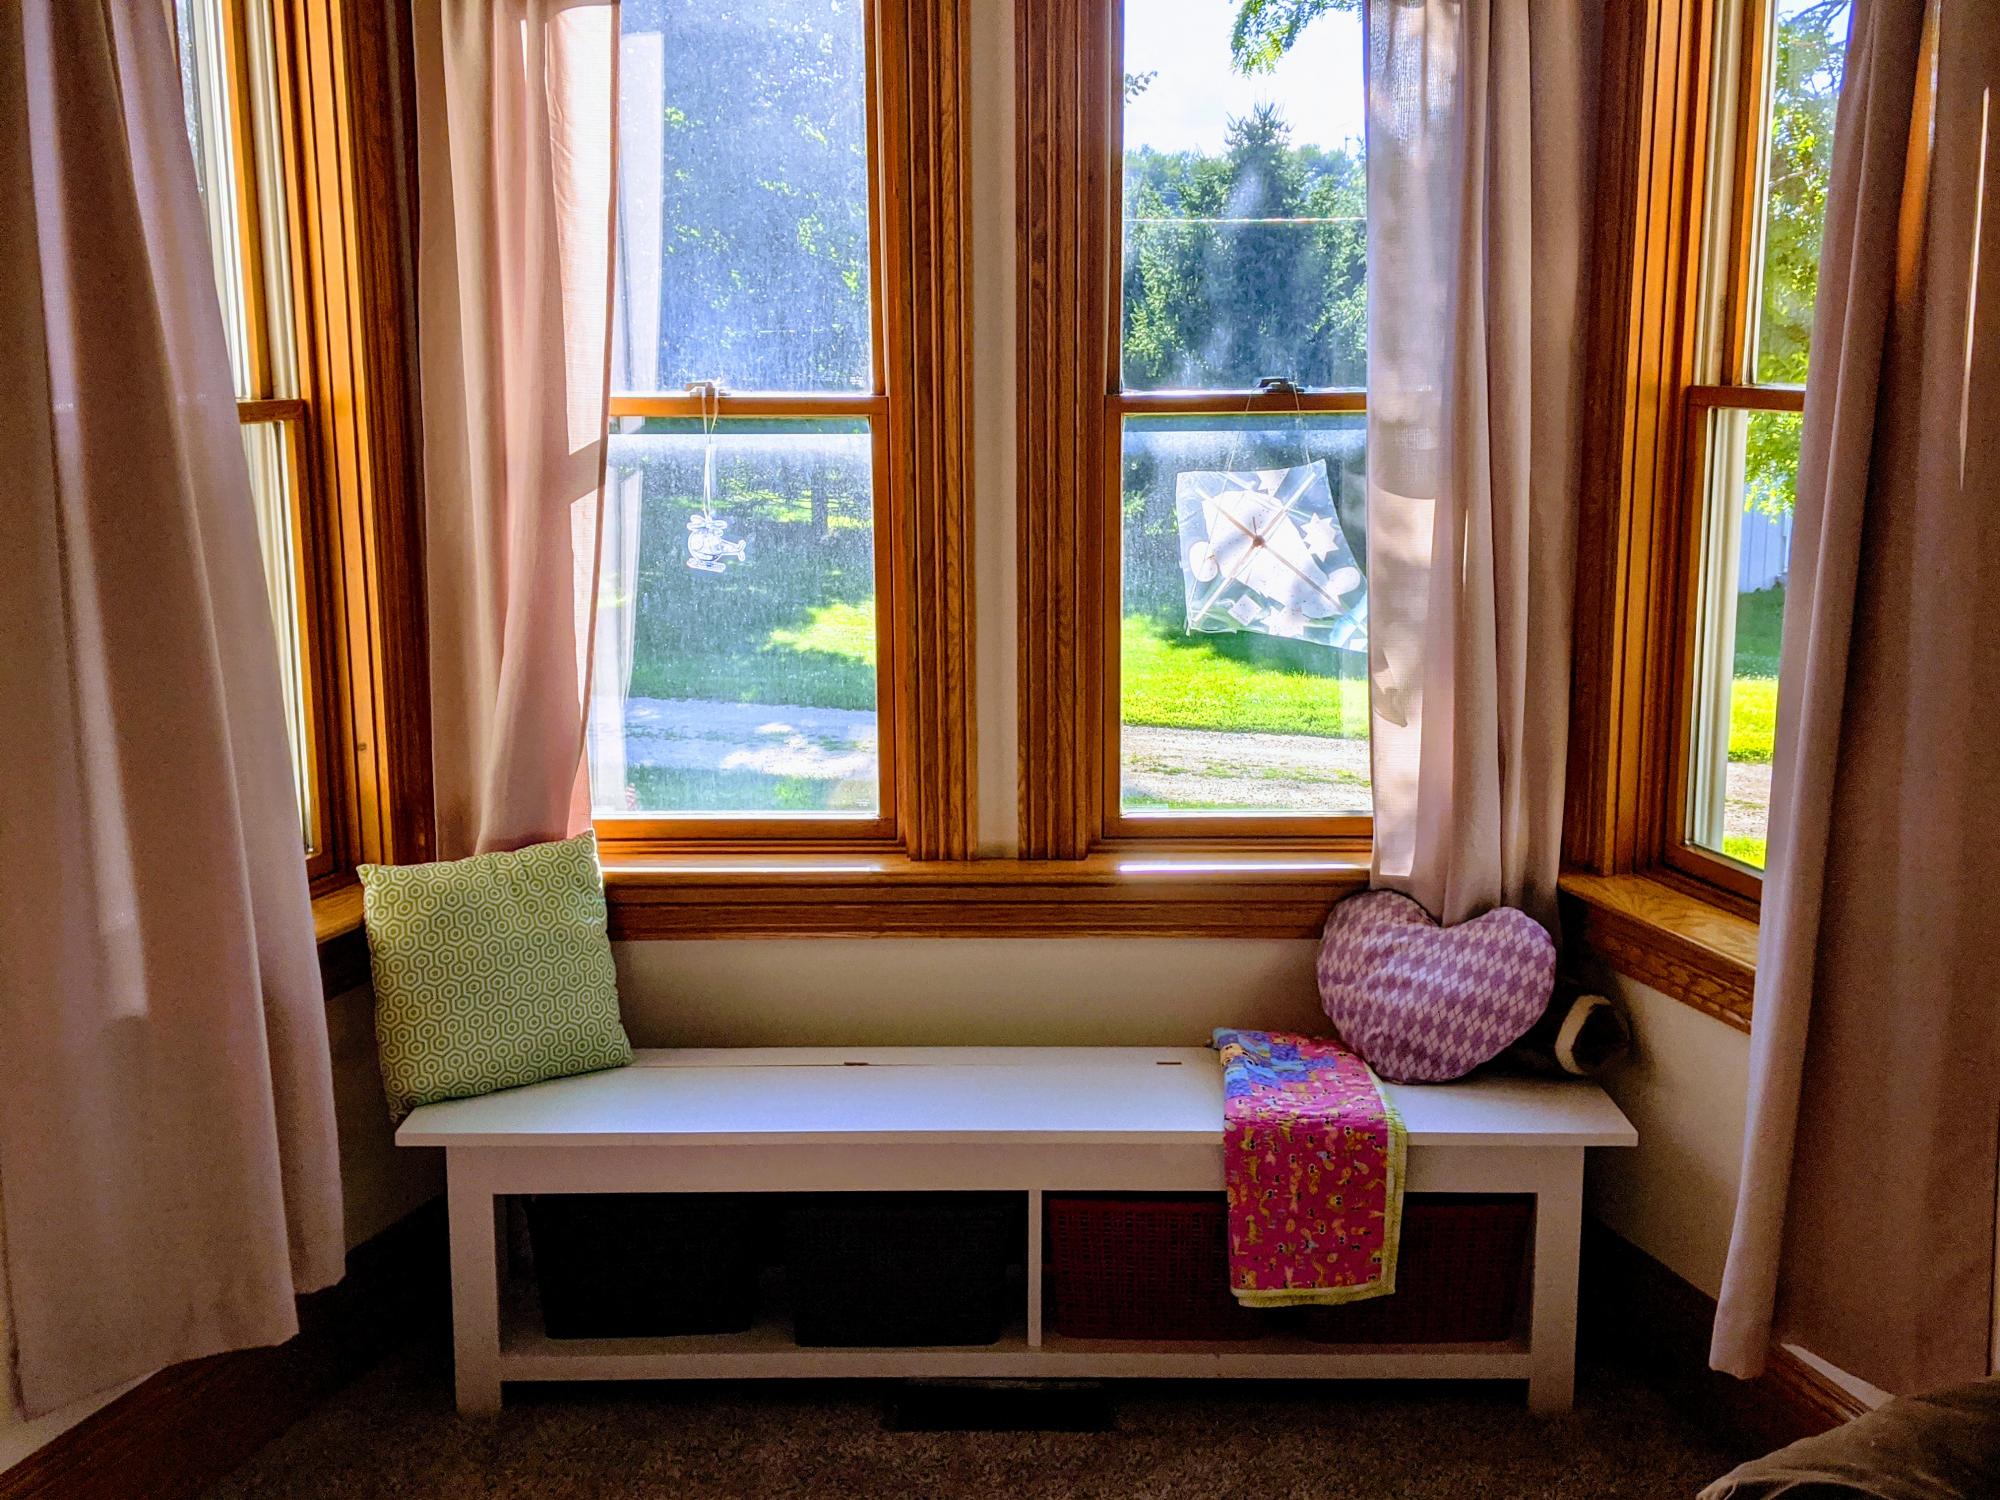
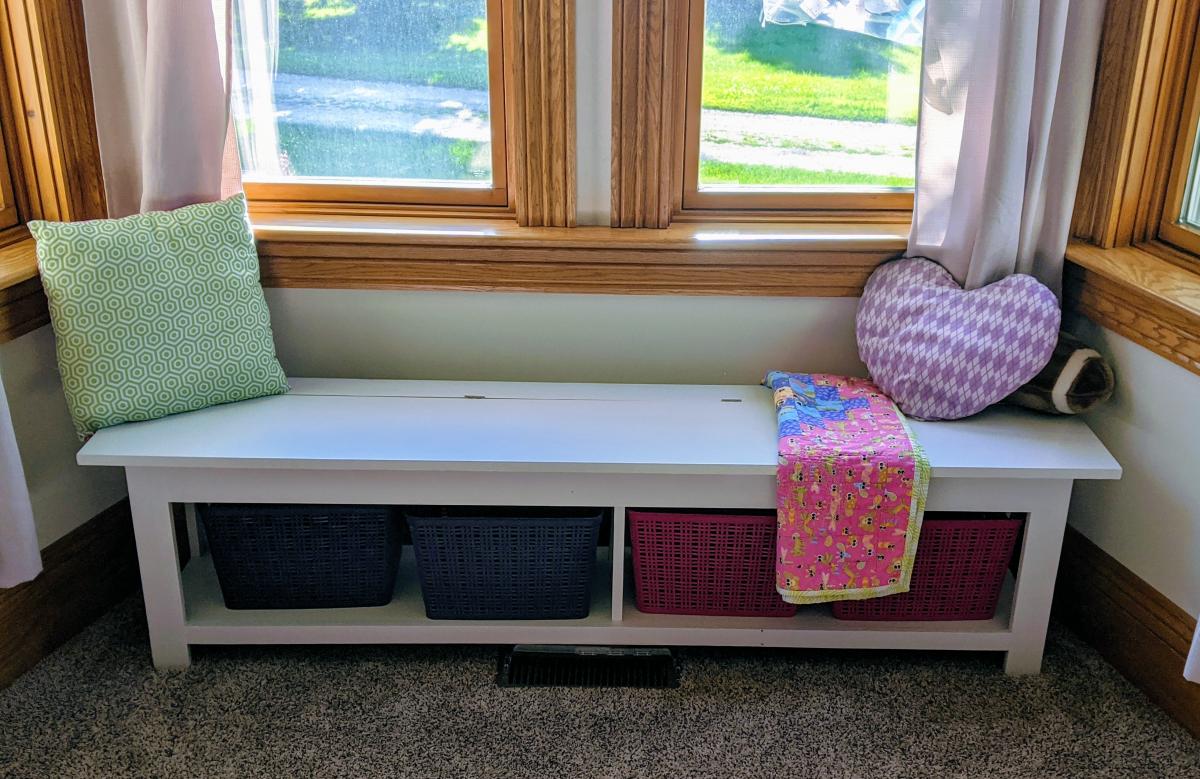
My daughter turned 5 in July. She loves twirly dresses, unicorns, and building. Her current project is a full size airplane made from wood. She is certainly ambitious. For her birthday, she received all kinds of building toys (Legos, knex, etc.) and quickly got to work, creating masterpiece after masterpiece. Like every 5 year old, dismantling a masterpiece is unthinkable. So, she has taken it upon herself to display her projects on every available surface, despite its intended function (i.e., my desk). We needed something that she could use to build, store, and display her projects that wasn't in the way and didn't disrupt our everyday routines (Mama's gotta work!).
Enter, this window seat. I've been wanting to build one for years but never really found a plan I liked. This is exactly what I was looking for, as it has enough building space and storage space to meet our needs. Maybe one day i'll get to use it as a window seat!
I used the flip top storage bench plan and modified the length to fit our windows. The lid is 69" wide and the base is 64.5". I added some supports in the middle, as well. I painted the inside storage space purple to give it a kid friendly touch. I also added lid supports on both sides to prevent pinched fingers.
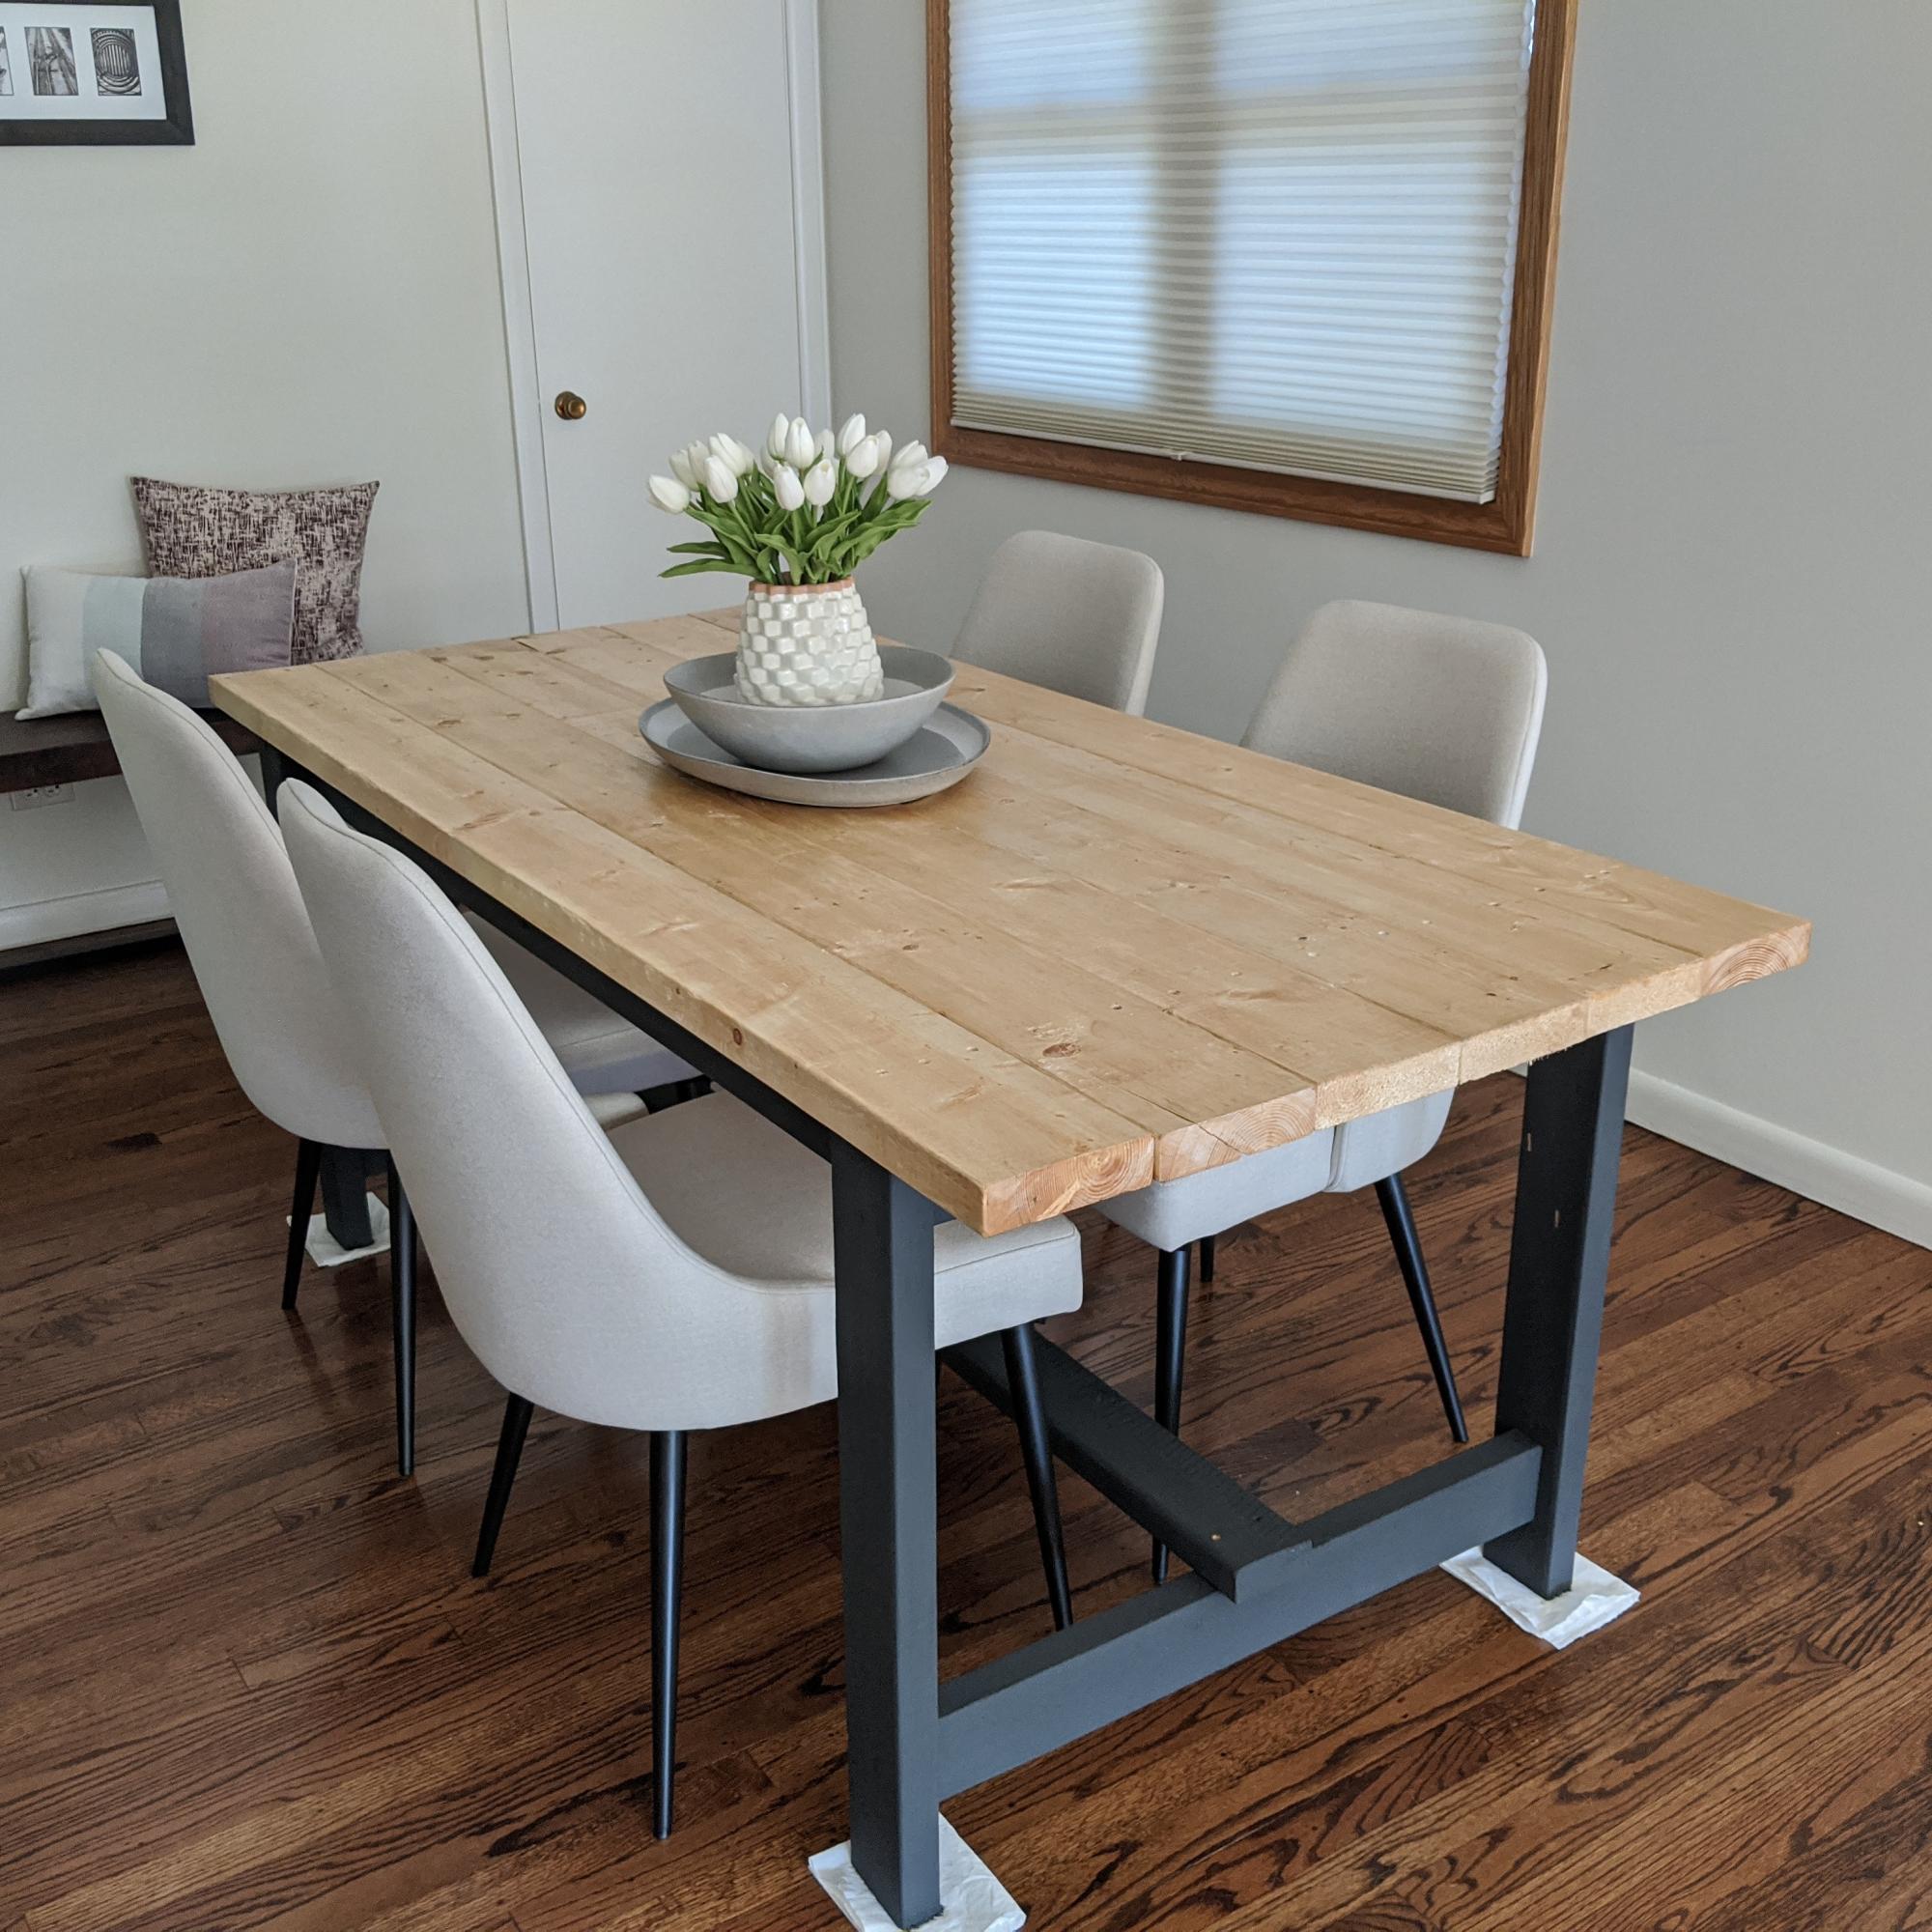
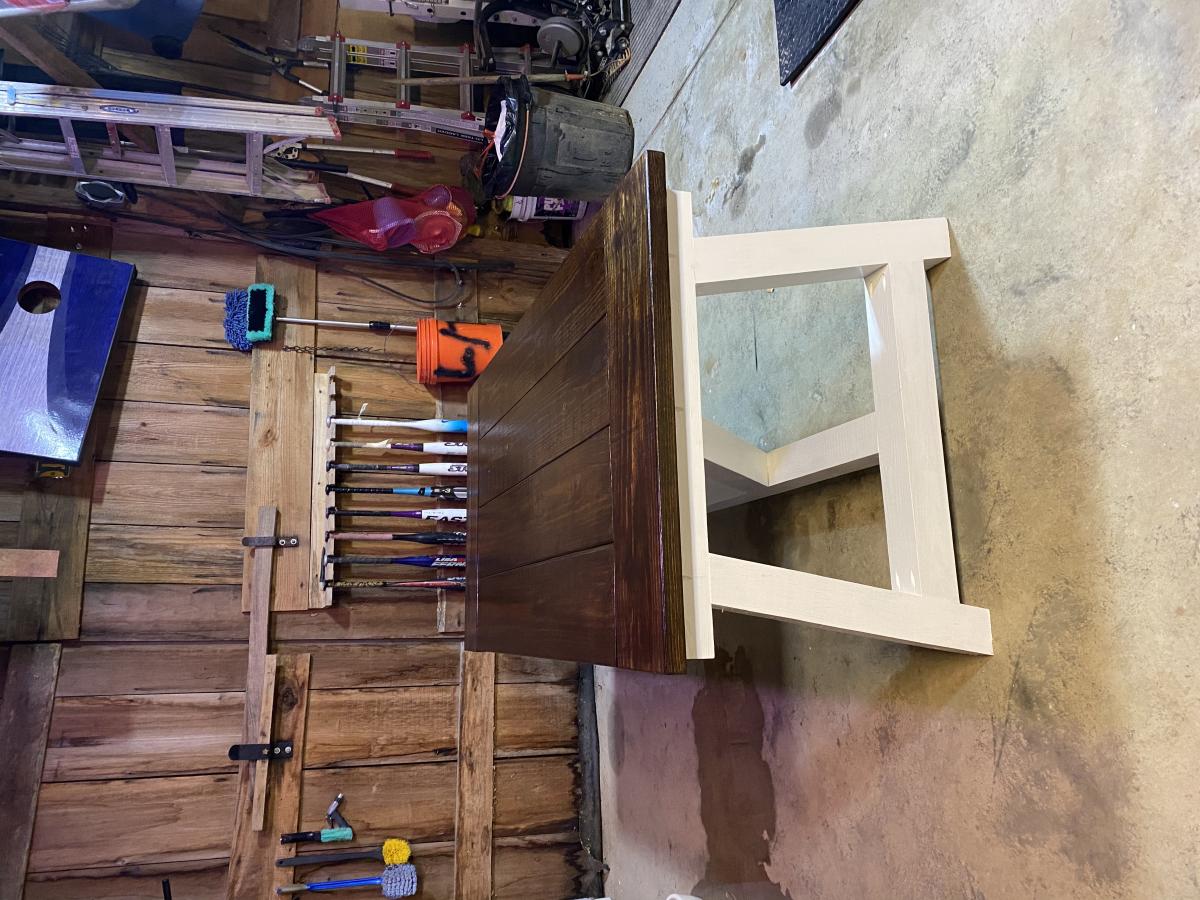
First table my husband and I have ever made, and it turned out beautifully!
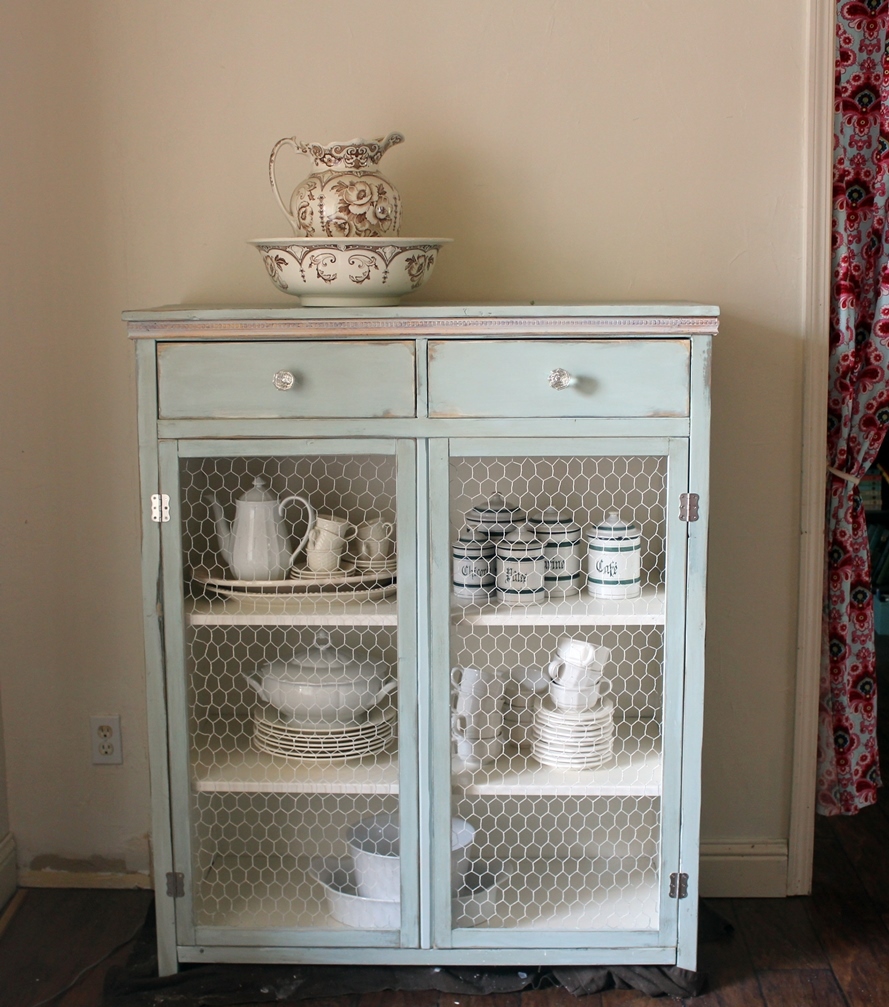
I'm still pretty new to woodworking so this cabinet took a little longer than it probably should have. I made the drawers a little deeper than the plans originally called for, which changed the height of the cabinet doors, but otherwise, all the other dimensions are the same. The laminated glass would have added another $100 to the cost so I used a chicken wire mesh that I dry brushed with the white I used on the interior. The knobs are from Anthropologie and I added a little trim piece around the top. I really love how much this cabinet holds. It is very versatile.

Tue, 08/19/2014 - 13:05
Thank you for the kind comments! I am excited to build another one of these for my mom.
Sun, 10/30/2016 - 13:07
love it! Did you have any issues getting the drawer in when the slides are installed? We installed the slides on the drawer box and then the slides on the case and we had to loosen some to actually get the drawer in, because the little wheels of the slides were basically blocking us from pivoting it in. Thanks!
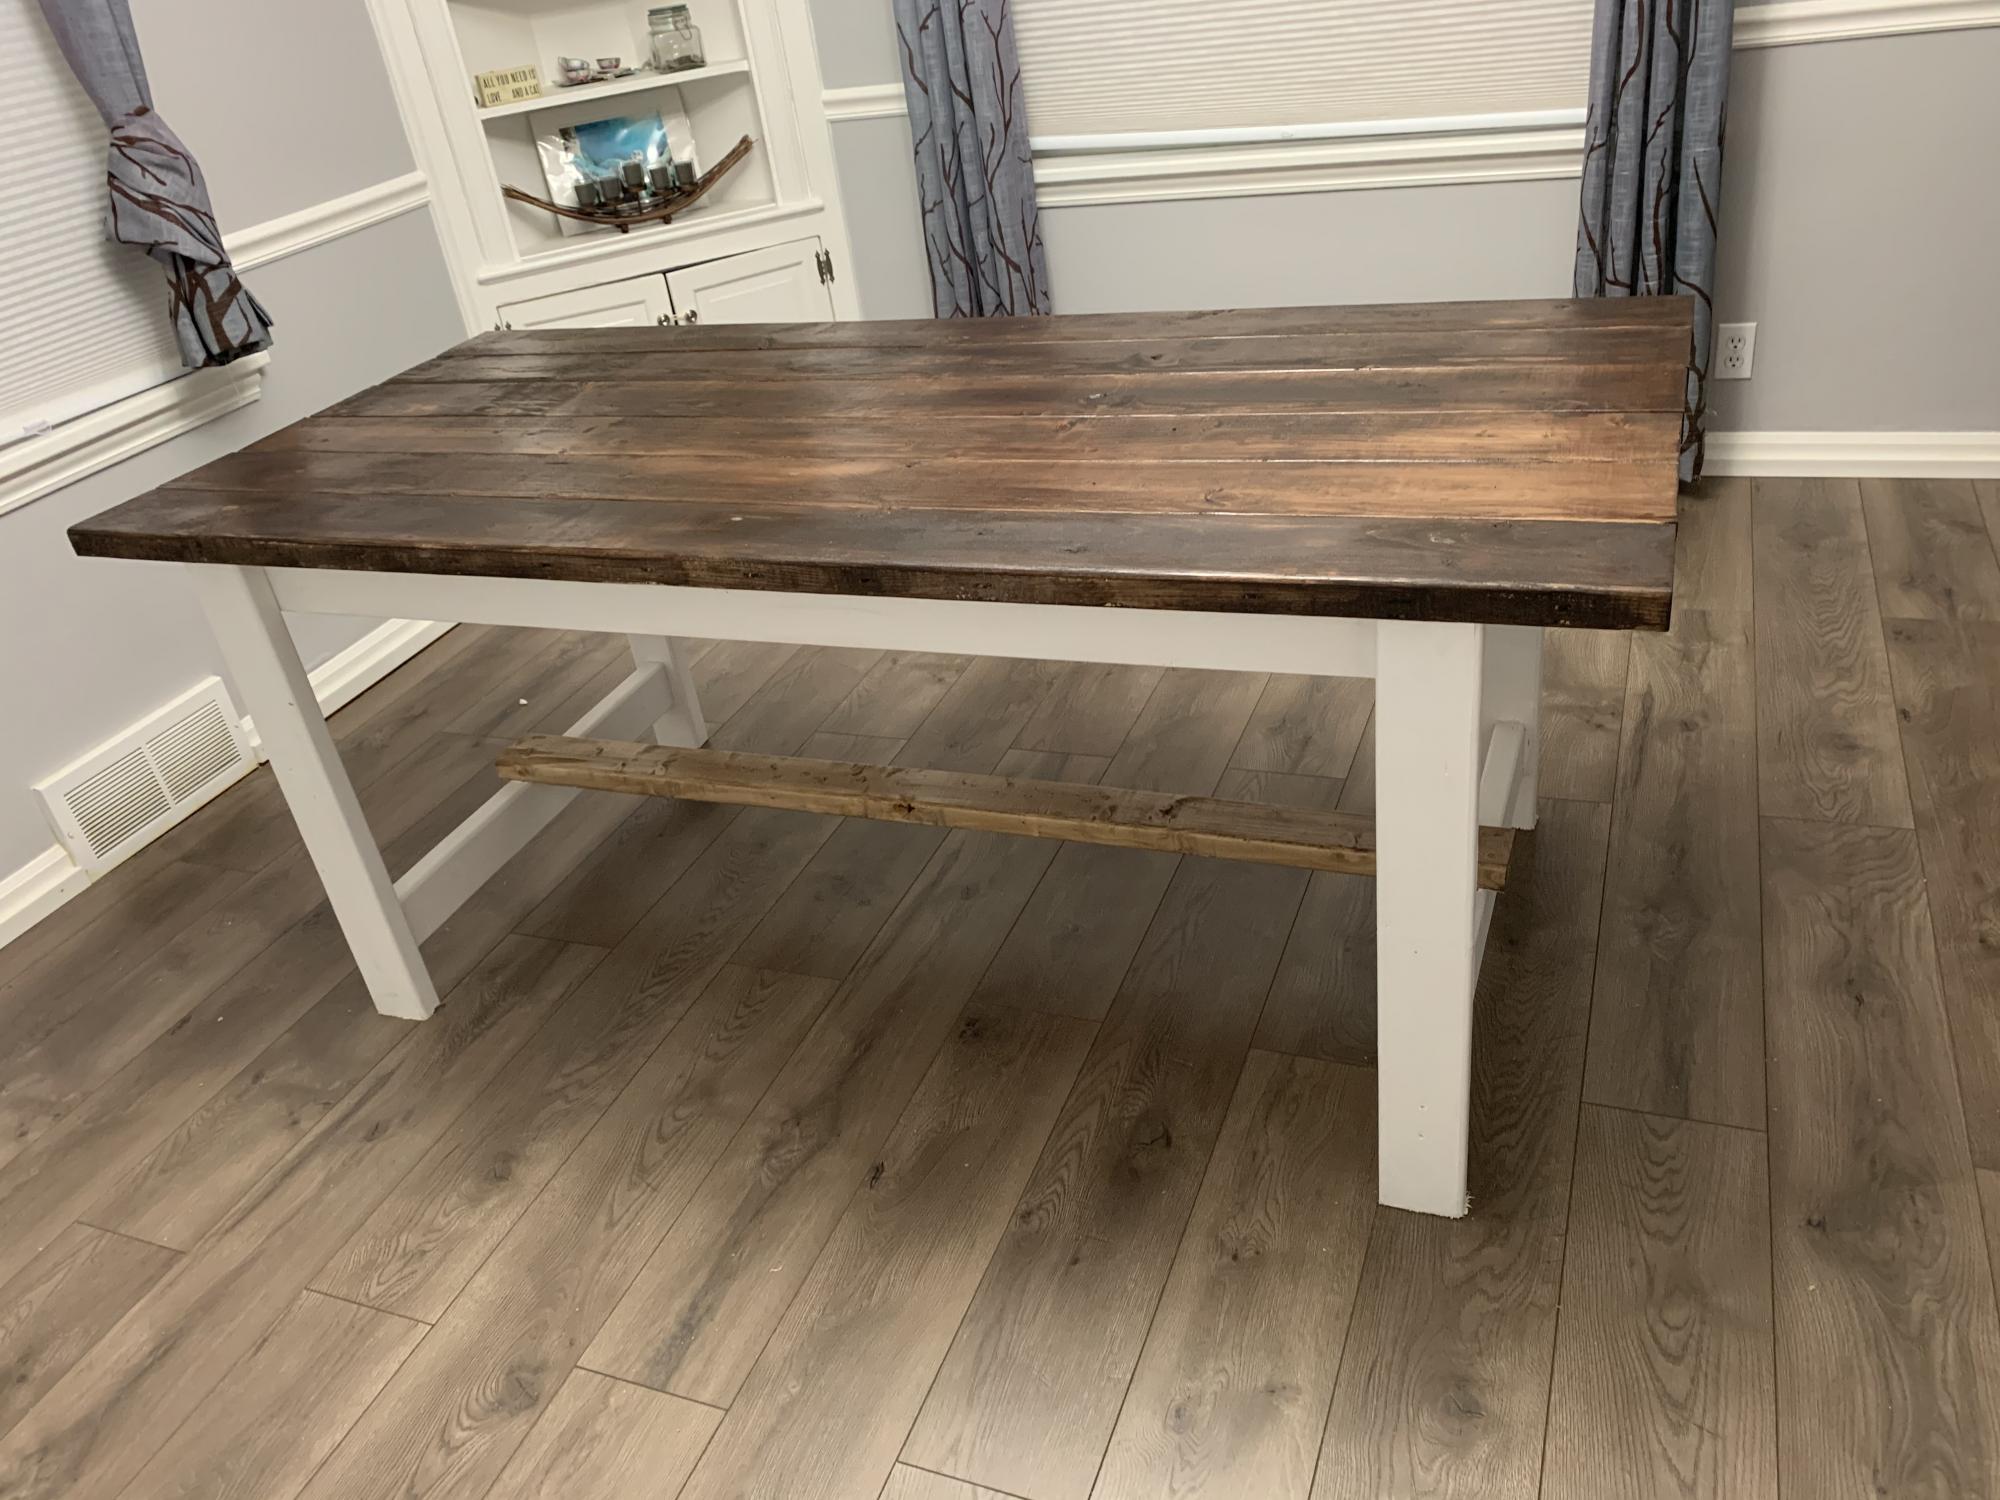
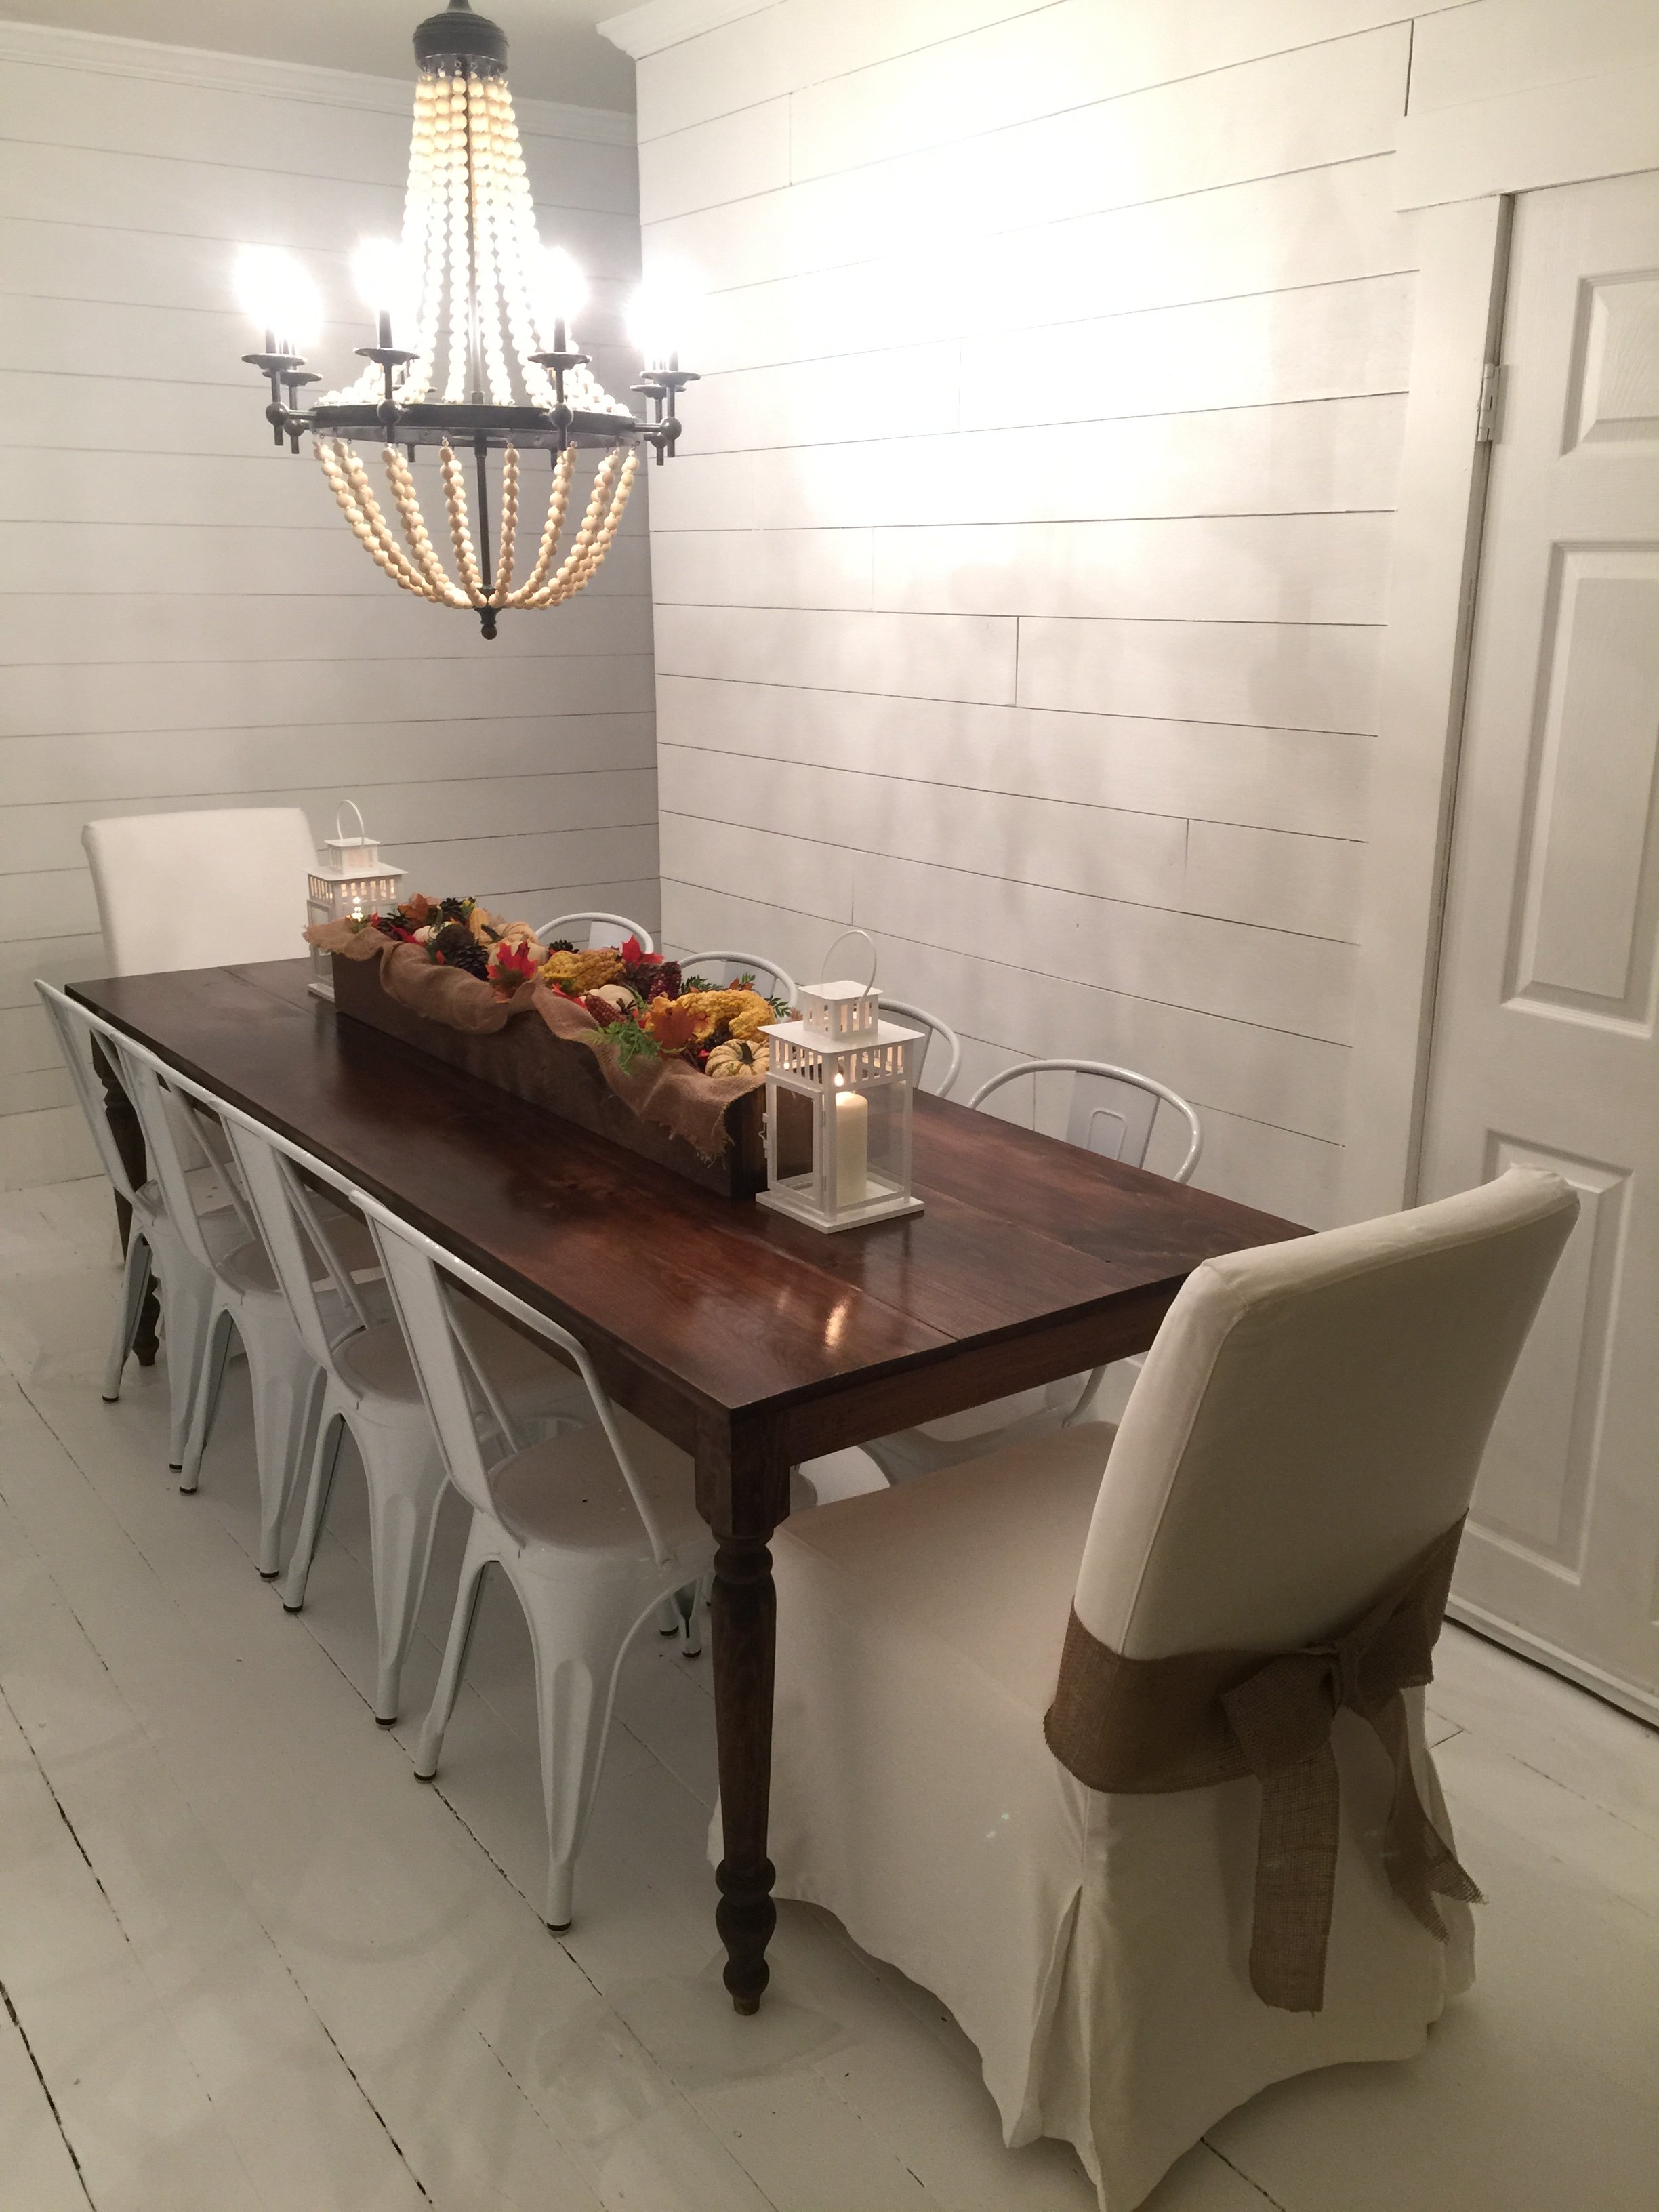
Diy farmhouse table
Great desk, easy build and very solid.
Only issue with the plans was not enough 2x4 (unless I cut it wrong).
I love this site and the user friendly plans. I used the suggestion of turning the 2x4’s but I think it would have been better to have more to screw the top boards to if I hadn’t.
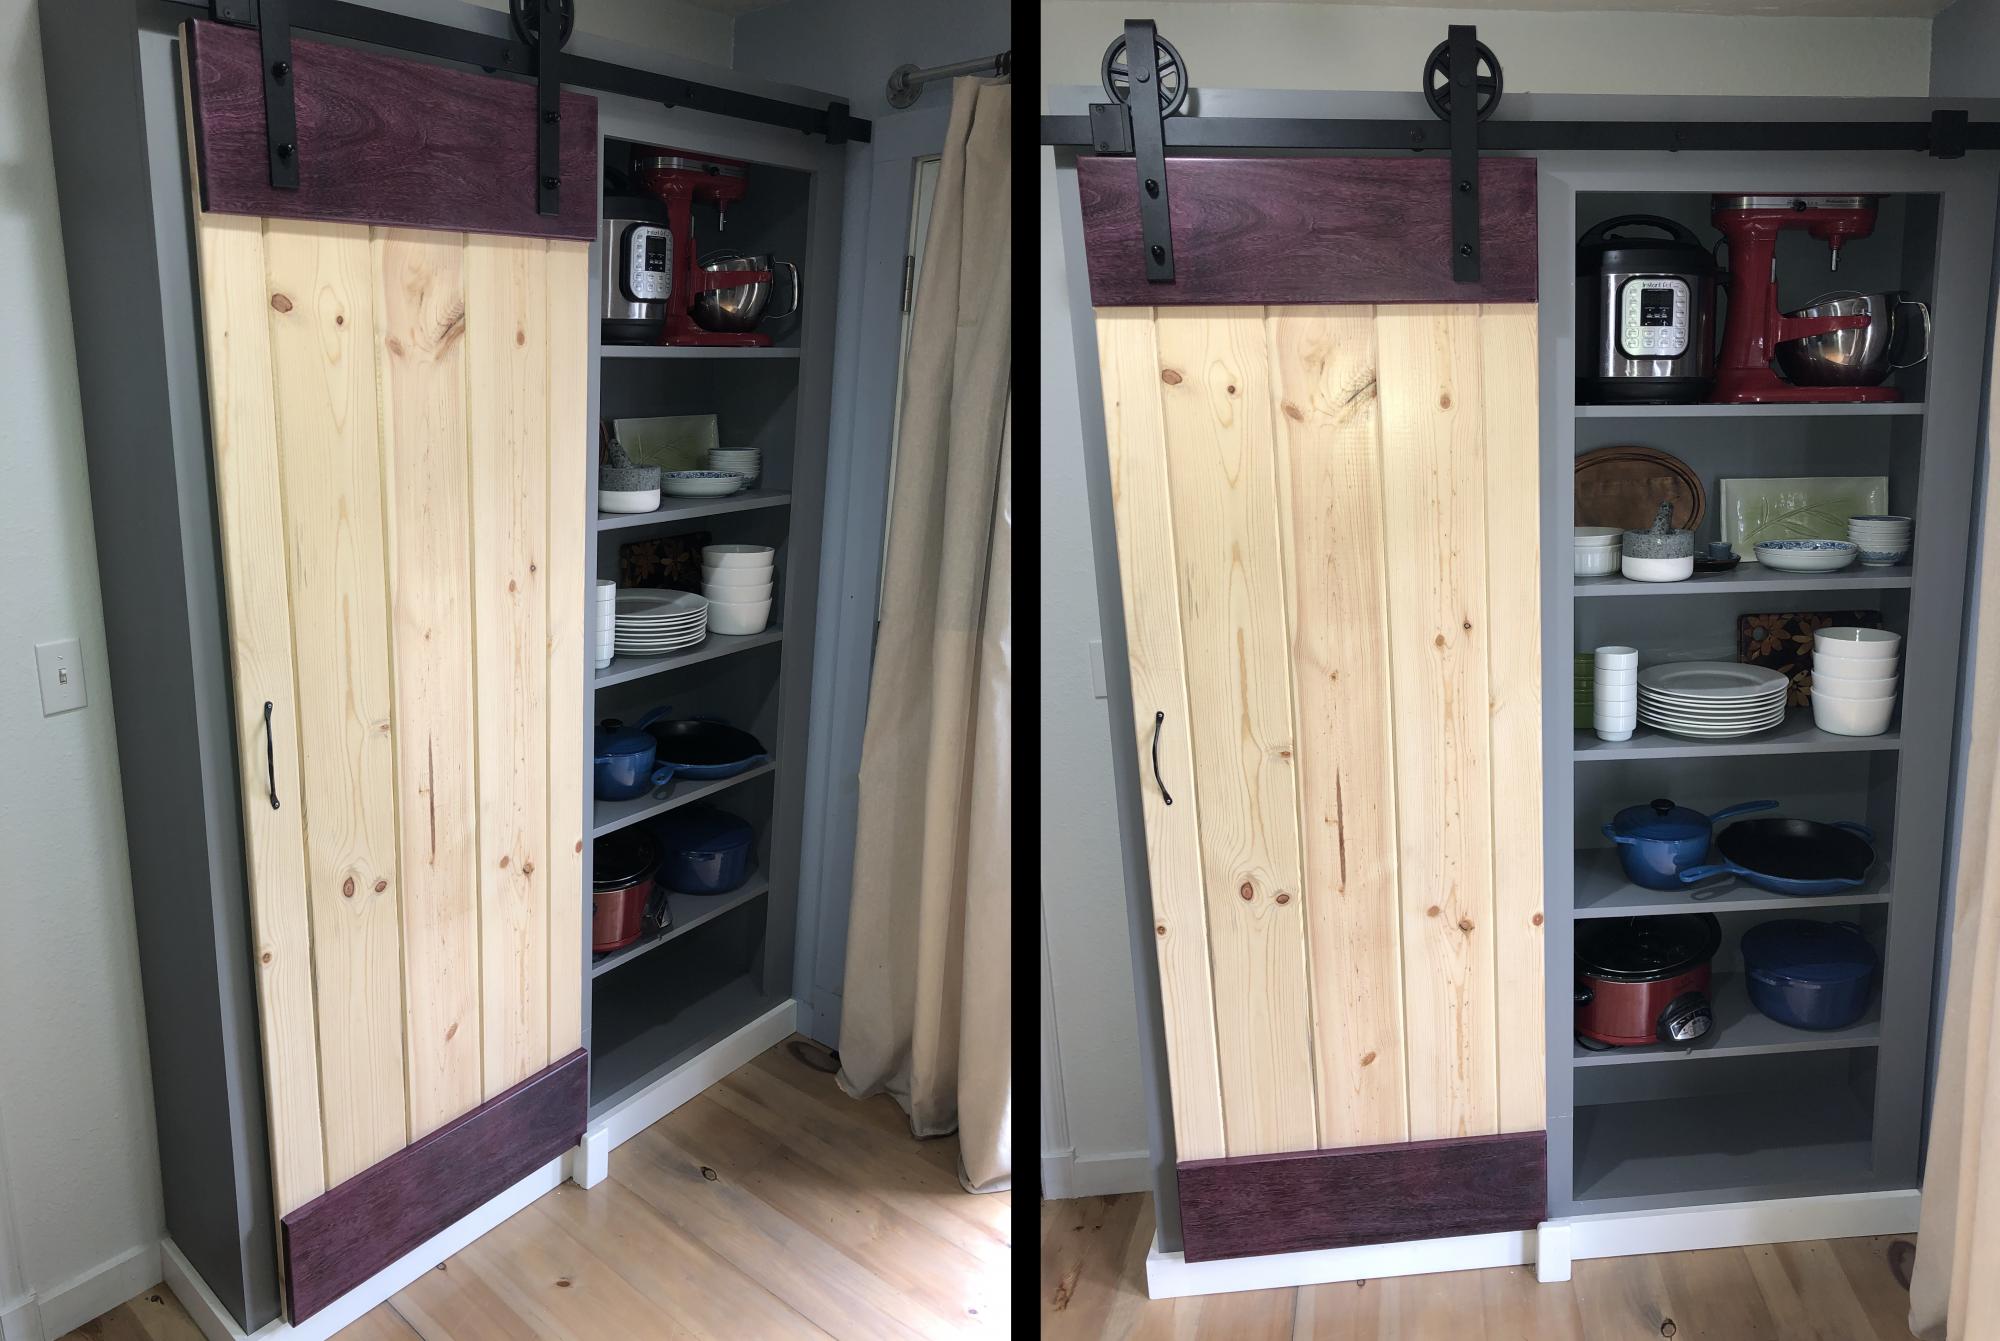
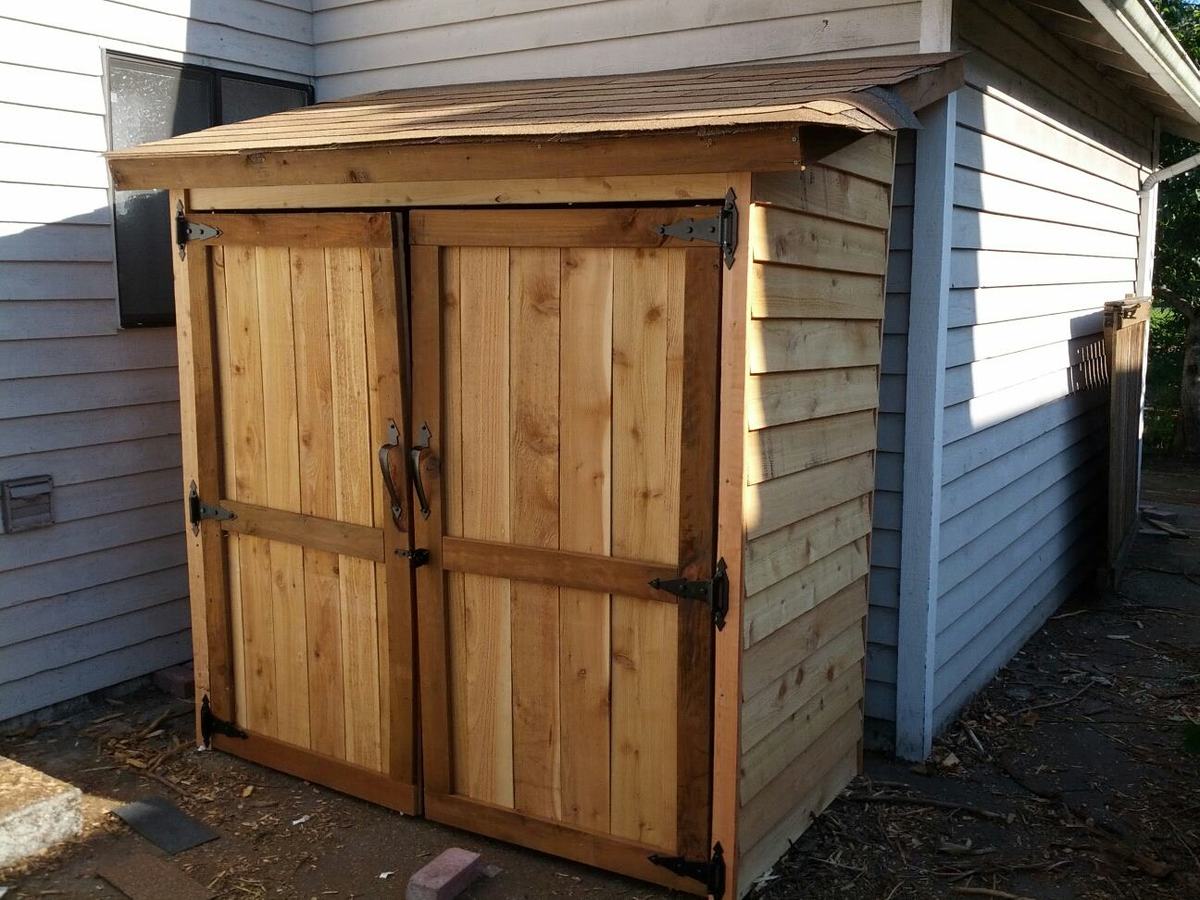
Barn door pantry scaled down to 5' x 7' with purple heart header and footer.
I had to add a guide at the bottom of the door to prevent it swinging out. Possibly my entire cabinet (or the wall) is slightly off level which is why it wanted to lean outward. I used a piece of felt inside the guide to prevent it scratching the purple heart.
