Community Brag Posts

Collapsible Table for Craft Fairs

Submitted by Anonymous (not verified) on Mon, 06/03/2024 - 08:58

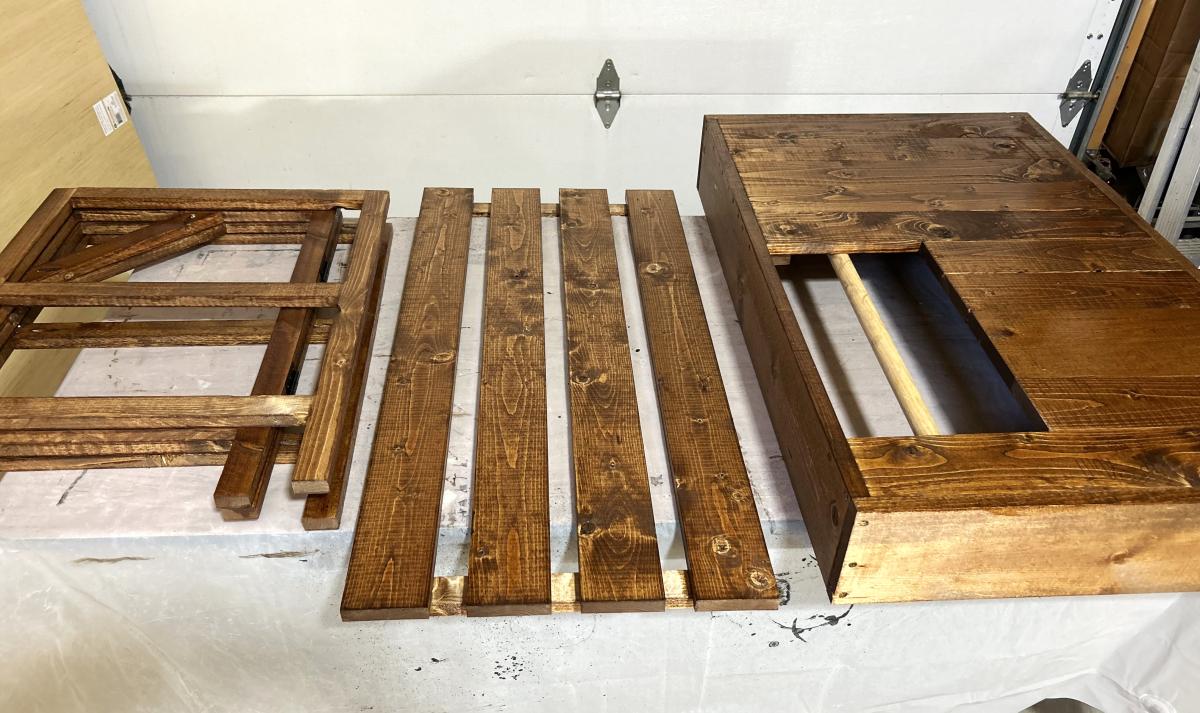
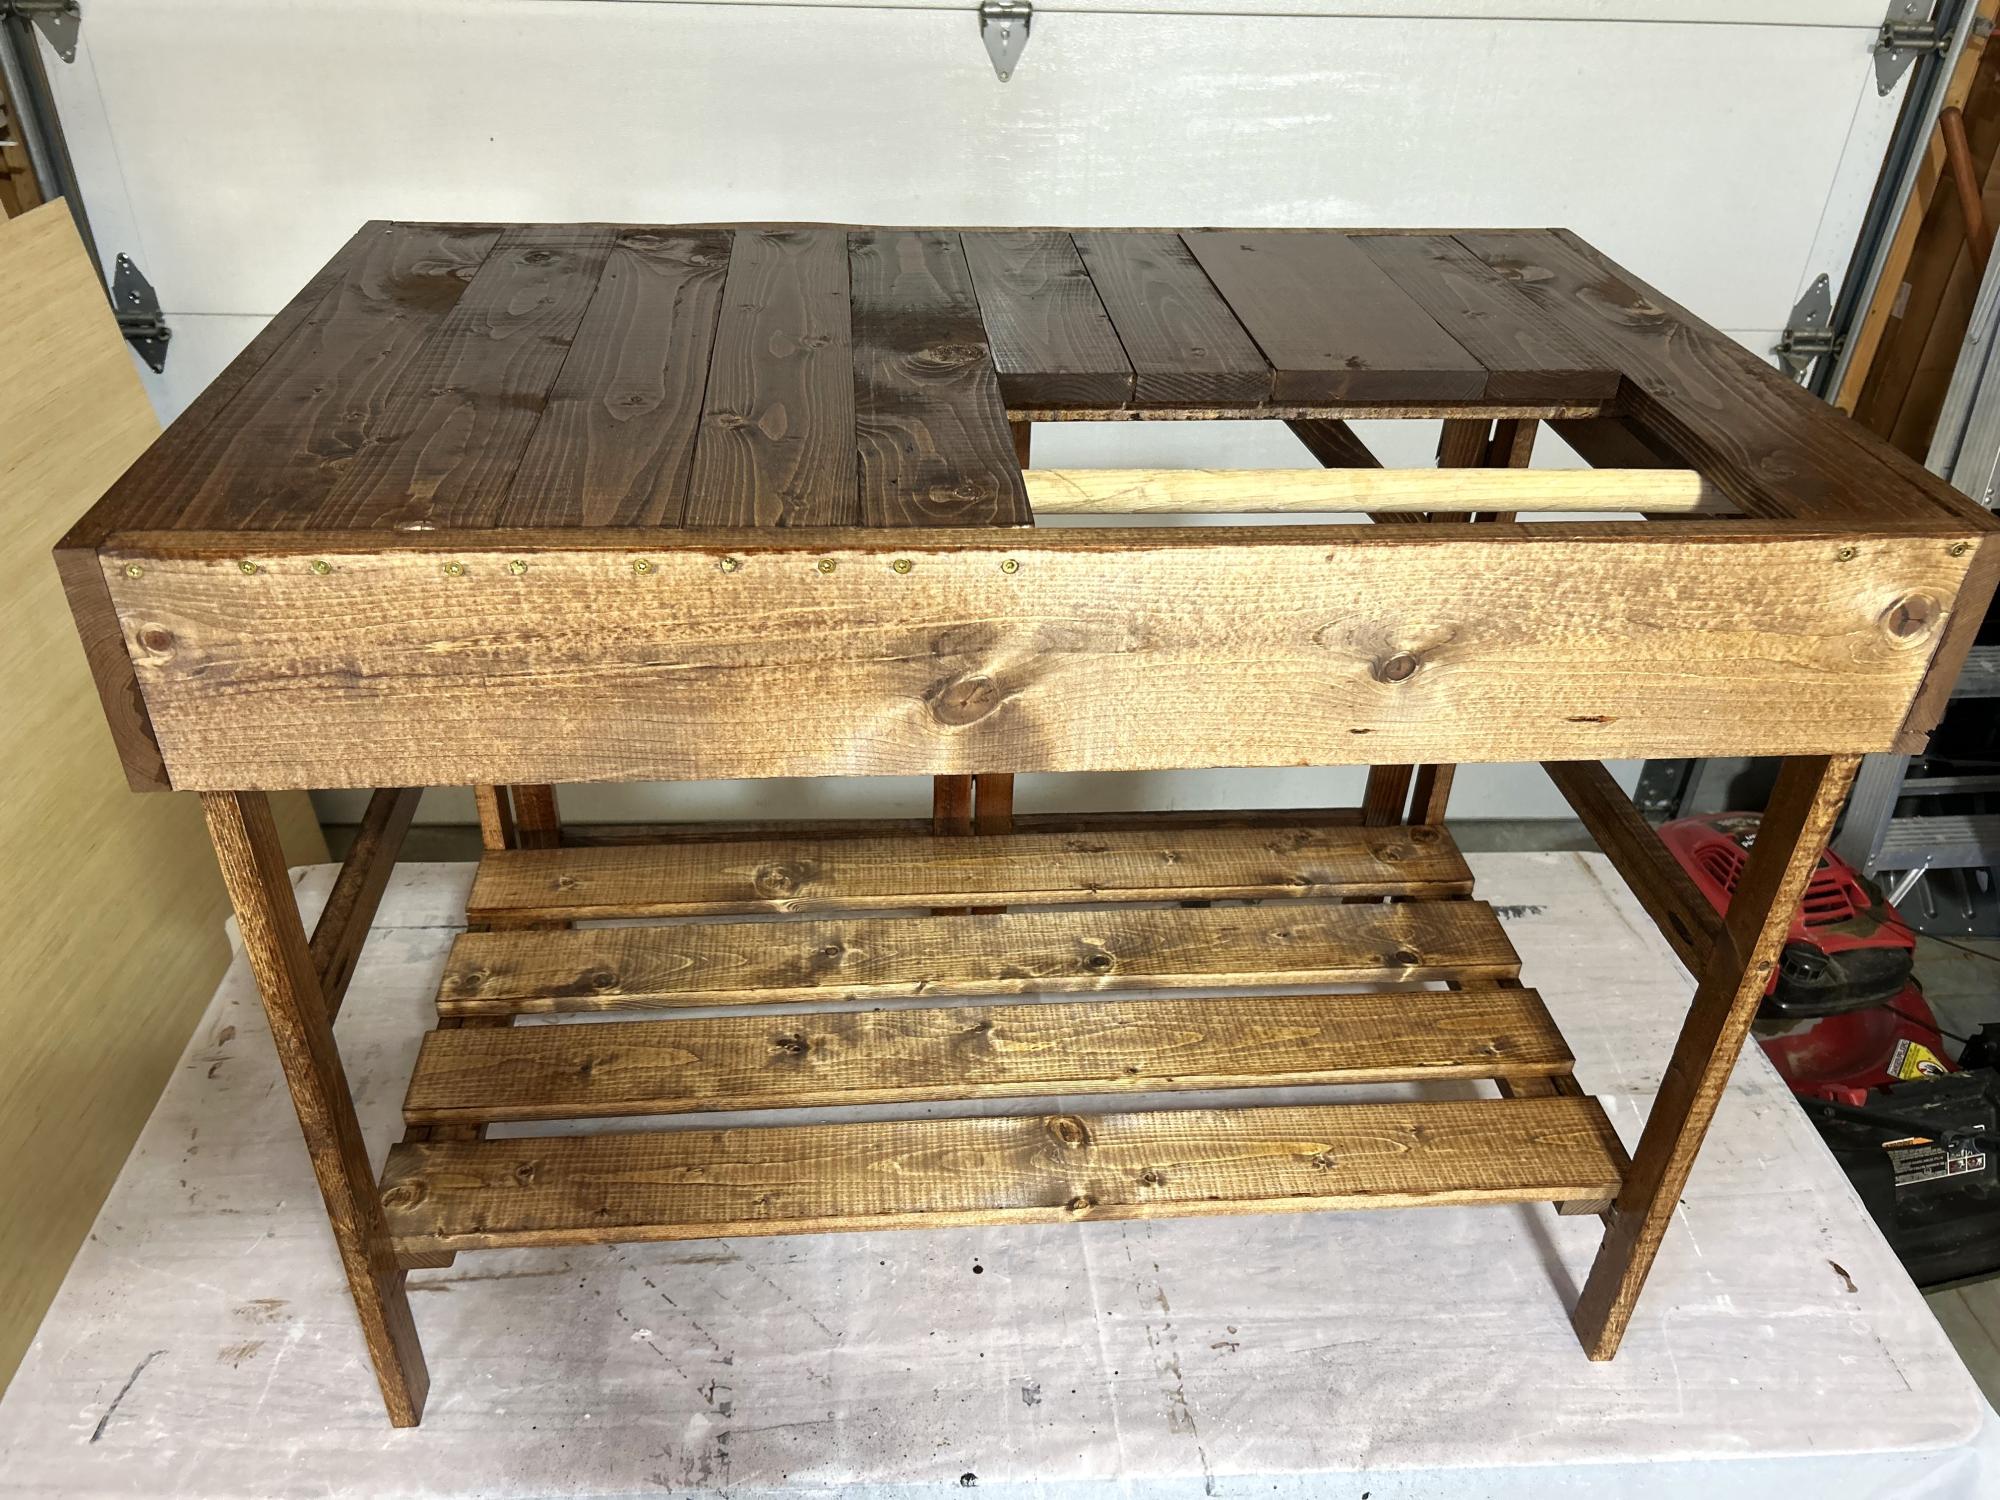
My wife wanted a collapsible table for her craft fair sales. I put a wooden dowel in the opening for her to drape packing paper over and hooks on the sides for gift bags. Easy plans to follow and it turned out great!

Todd Martens

Built from Plan(s)

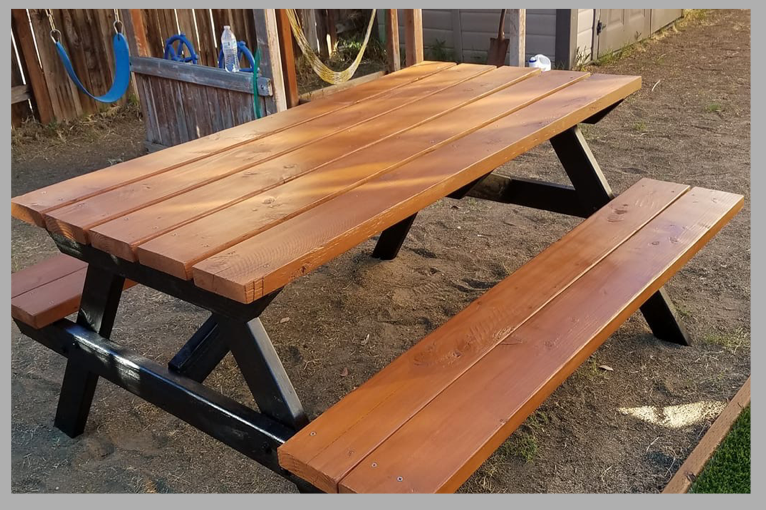
outdoor patio furniture

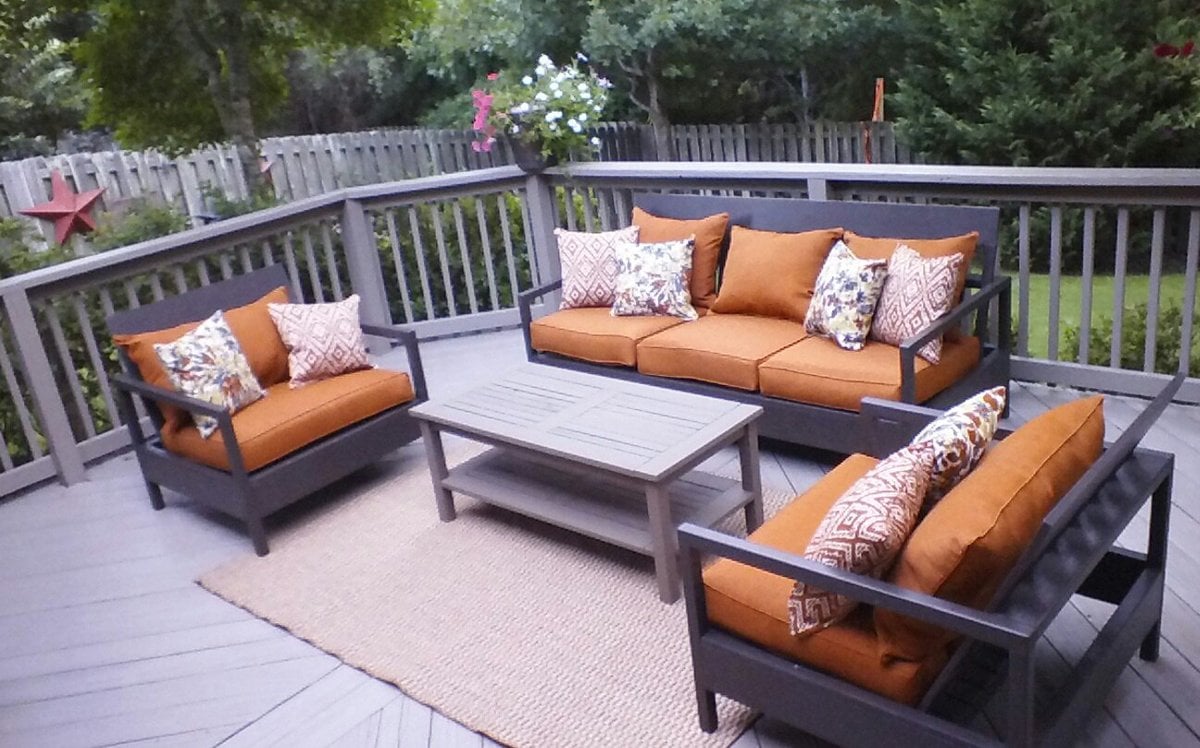
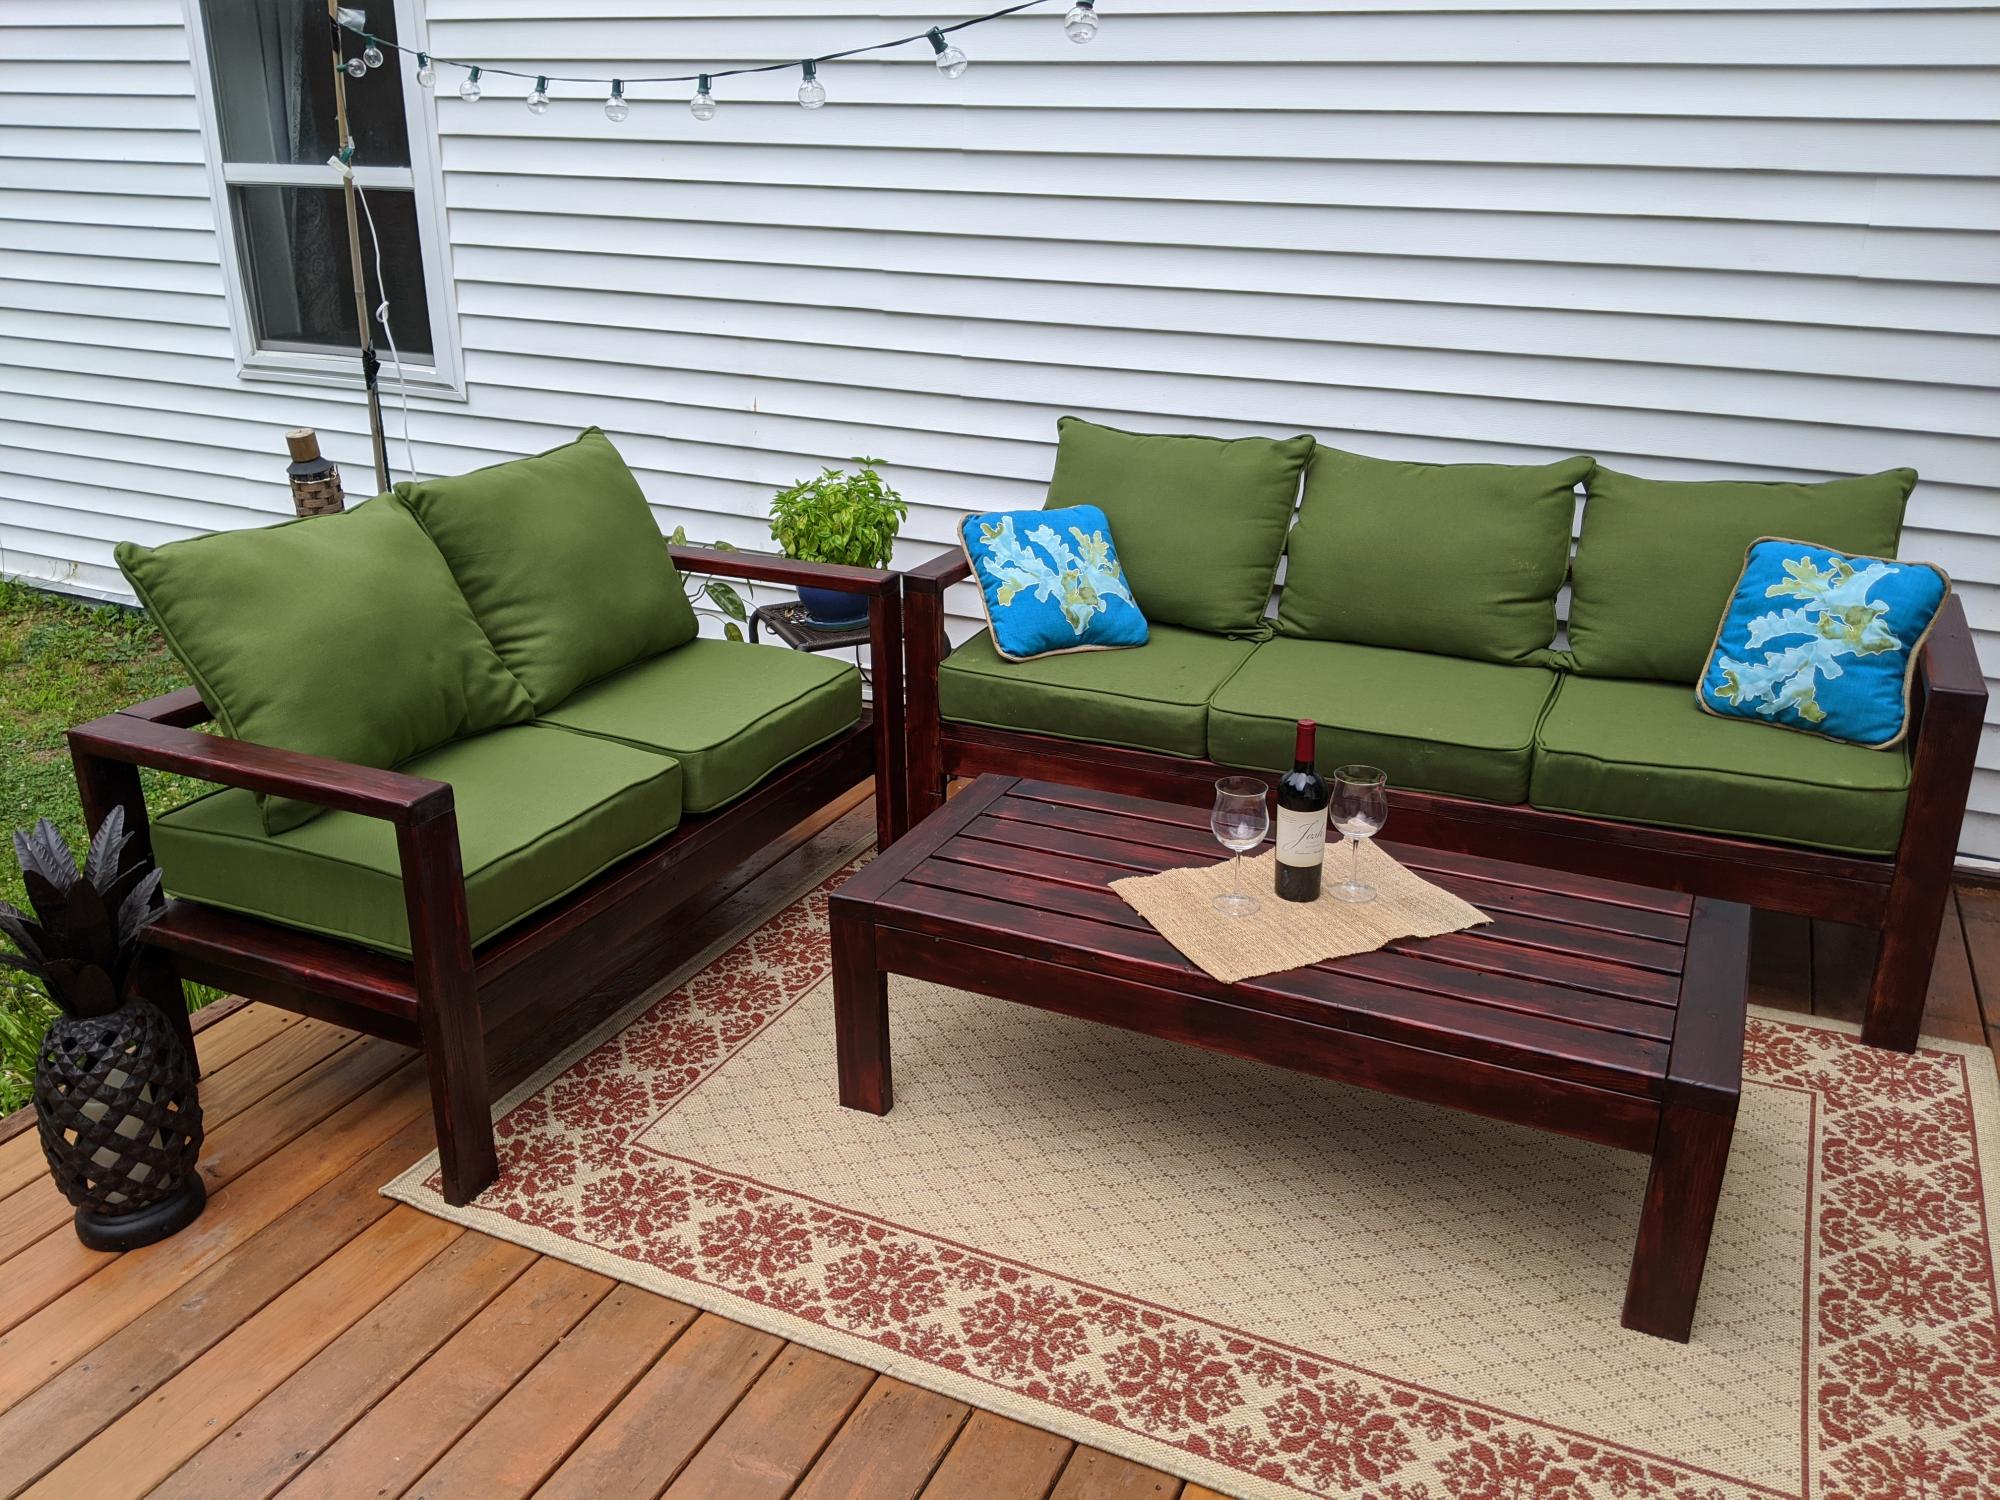
Well this was first project my hubby and I tackled together. He actually let me use the power tools. The plans were great! Loved having a shopping list! I made the cushion s myself. I have to say, I wish I had made the couch and chairs the size of cushions available at Lowes . AFt e r you buy foam batting fabric and chording I found set at lowes for a lot less but I am so happy how it all turned out . Thks for providing plNz!

Estimated Cost
500 with cushions
Estimated Time Investment
Day Project (6-9 Hours)
Finish Used
Non transparent stain.Olympic elite stain an sealant n one
Recommended Skill Level
Beginner

Comments

charitydtrull

Sun, 05/24/2020 - 14:45

I can't find the plans for these pieces. I found the one using 2x4, but these pieces look like they use 2x2. Can someone tell me where to get the plans?
Thank you,

Seasonal And Holiday

Outdoor patio furniture

Submitted by Anonymous (not verified) on Fri, 07/24/2020 - 12:19

Thanks Ana, for the great plans and inspiration!

Estimated Cost
$450
Estimated Time Investment
Weekend Project (10-20 Hours)
Finish Used
Minwax stain & polyurethane ( Bombay Mahogany)
Recommended Skill Level
Beginner

Laundry Basket Tower

Submitted by KeithT on Wed, 11/16/2016 - 08:32

I built this for our laundry sorting needs using the Brook 4 tall and lengthwise plan. I modified the plan to take the baskets width wise, added a little more distance between baskets, and added guide rails above each basket (except the top one) to allow them to be partial pulled out without flipping out. I also beveled and slightly rounded the front of the guide rails just for looks. I think it turned out pretty good for my first woodworking project.
 

Built from Plan(s)
Estimated Time Investment
Weekend Project (10-20 Hours)
Recommended Skill Level
Beginner

Folding Work Bench

Submitted by Anonymous (not verified) on Tue, 08/11/2020 - 16:03

First build.

The plans and cut list were a tad off but I made a saw guide a cut it down from 36 to 24 after assembled.

I had HD do all my cuts but have since done my own!

Built from Plan(s)
Estimated Cost
Not sure bought tools, wood and hardware at same time ($160)
Estimated Time Investment
Afternoon Project (3-6 Hours)
Finish Used
None
Recommended Skill Level
Beginner

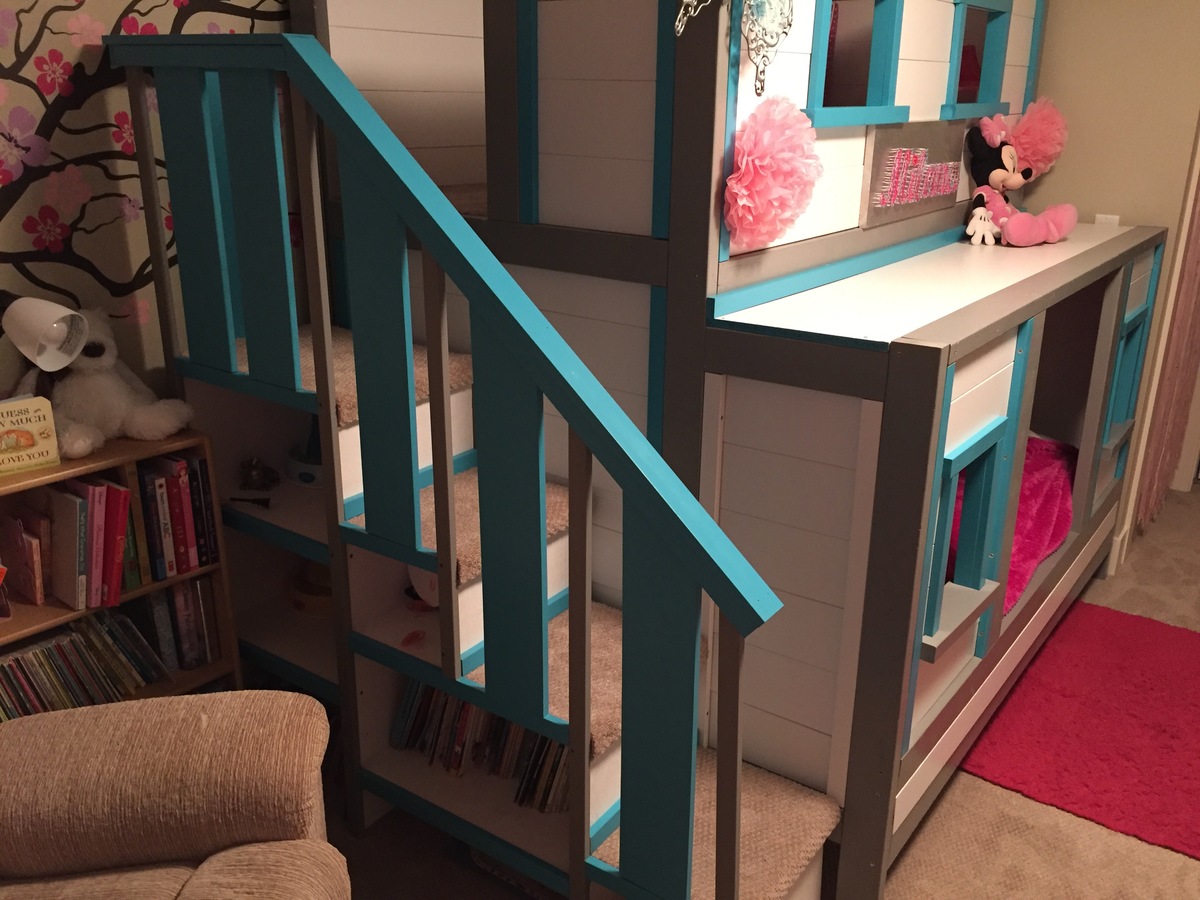
Sweet Pea Bed

Submitted by Anonymous (not verified) on Sat, 11/26/2016 - 16:24

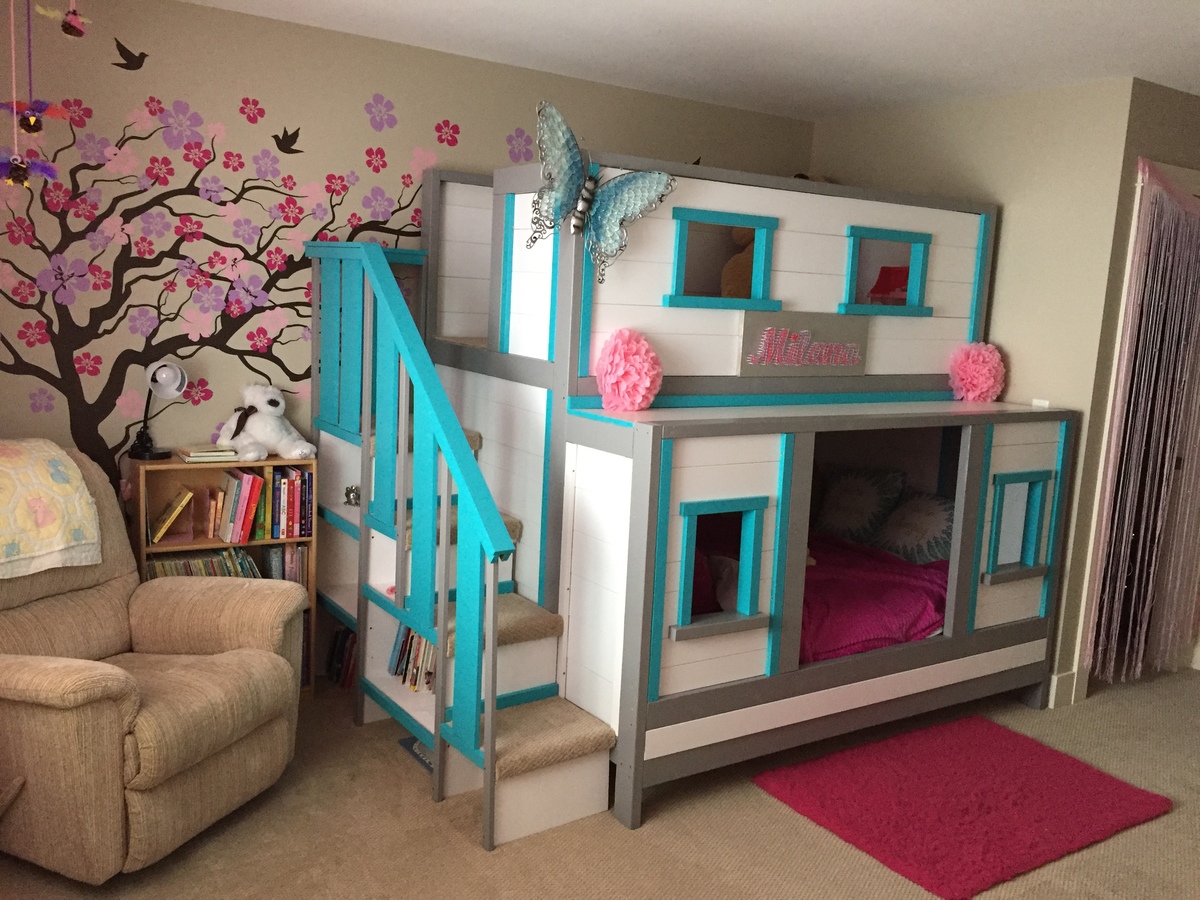
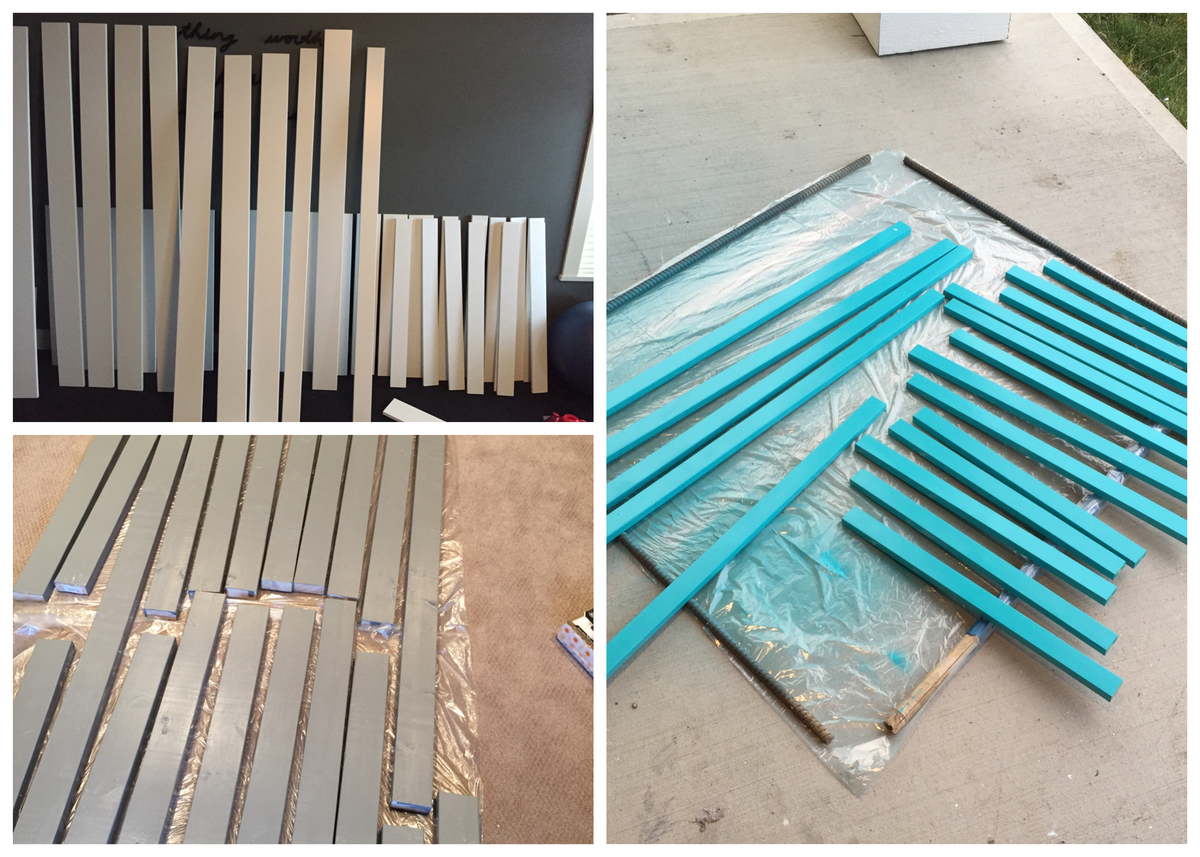
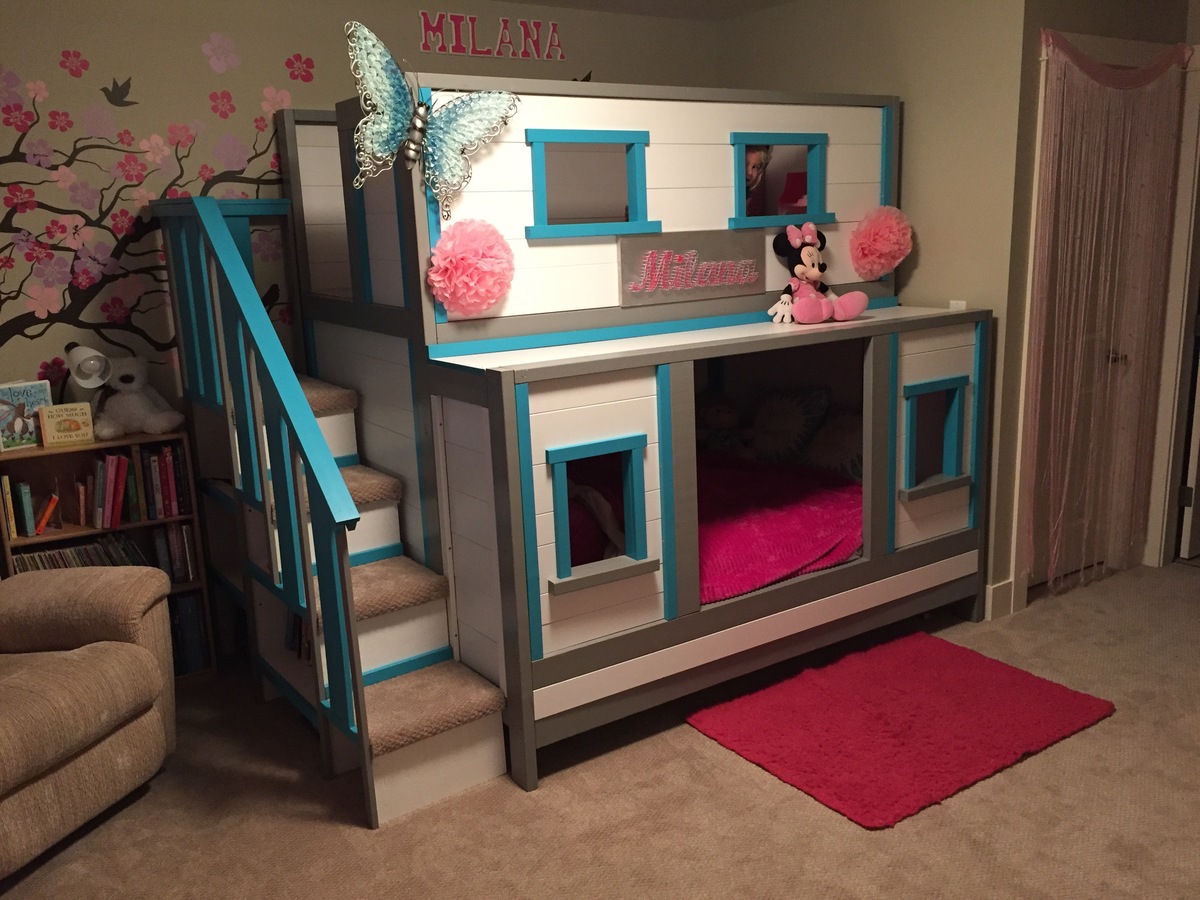
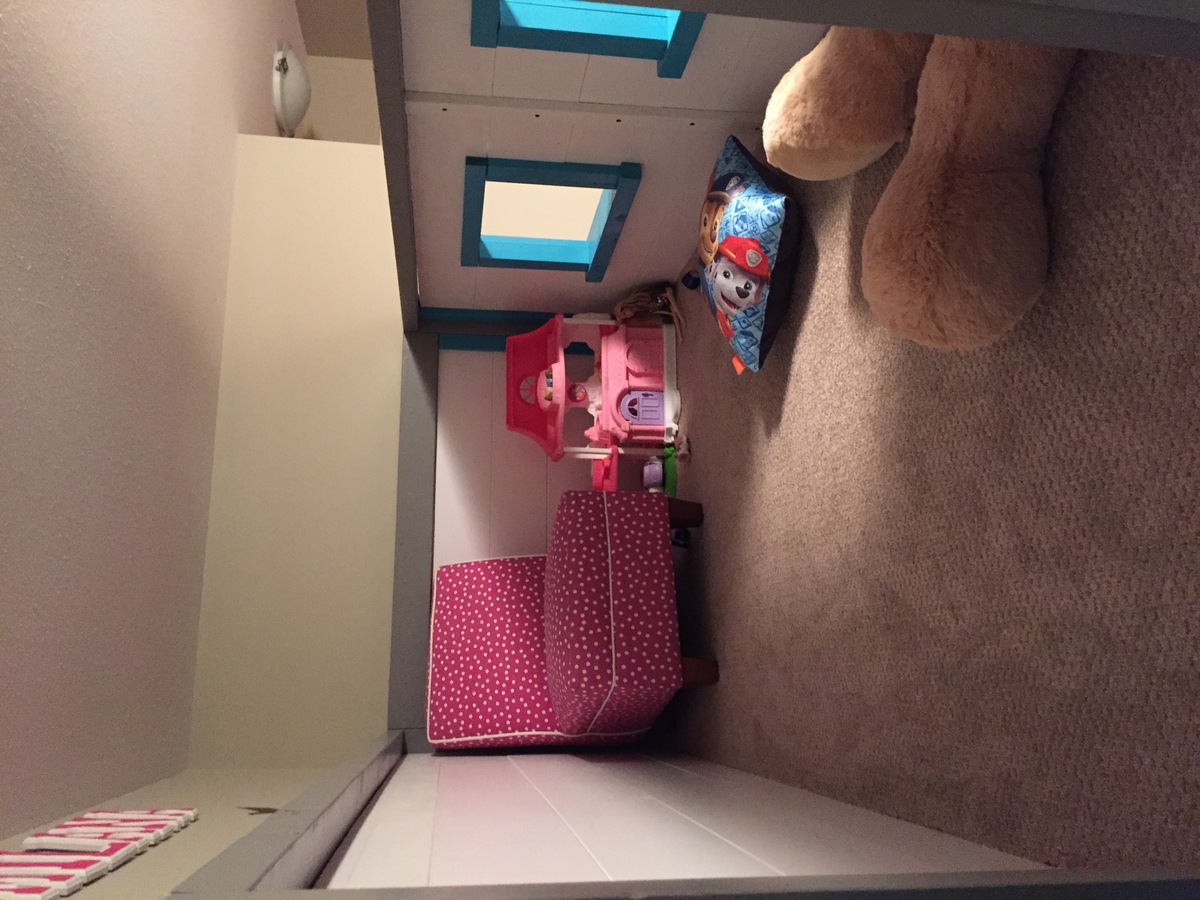
This project cost us about $850CAN and took us around a week (5ish hours a day) to complete. My husband and I are definitely not carpenters so it's not perfect but it's pretty amazing :)

we made several alterations to the plans including making the bottom bunk larger to accommodate a double/full size mattress. We also made the "door" to the bottom bed larger with an opening of 30". Another alteration was we dropped the mattress cleats to 9" off the ground so that the mattress dat down in the bed. The bed is for our 2 year old so we thought she would have trouble getting in if it was much higher. This eliminated the storage area underneath but she has a large closets so we didn't think it would be an issue. 

The plans were great and pretty easy to follow. We are over the moon with how it all turned out! 

Estimated Cost
$850
Estimated Time Investment
Week Long Project (20 Hours or More)
Recommended Skill Level
Intermediate

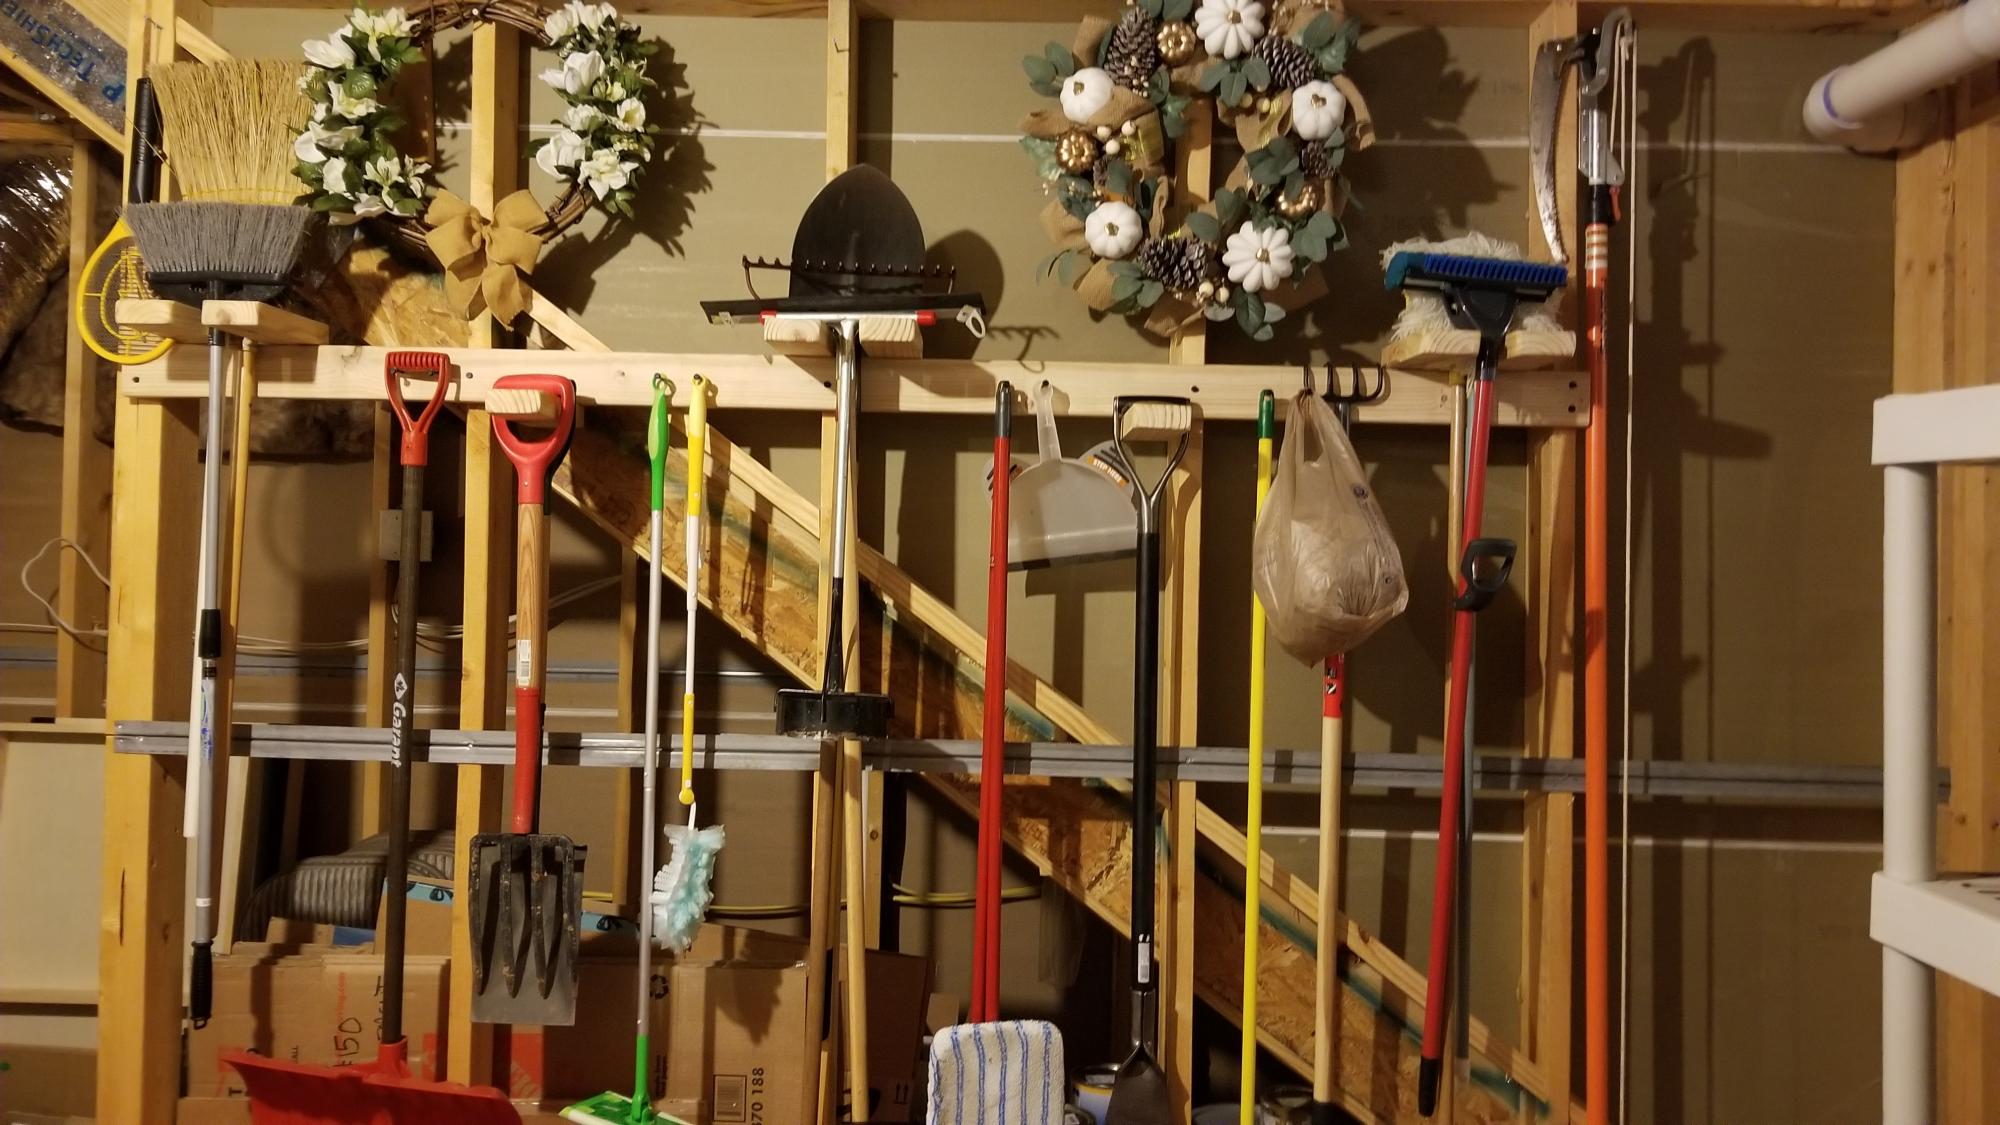
Garden Tool Storage

Submitted by meisterx on Sun, 08/30/2020 - 12:20

Super easy and useful project. I made mine 8 ft. long because my studs are on 24 in. centers and I had a lot of tools to hang. It was fun building it and even more fun getting all those tools and things off the floor.

Built from Plan(s)
Estimated Cost
$13.00
Estimated Time Investment
An Hour or Two (0-2 Hours)
Finish Used
None
Recommended Skill Level
Starter Project

Comments

Dog crate end table

Submitted by ktondryk33 on Mon, 08/31/2020 - 17:28

Dog crate end table

Estimated Cost
65.00
Estimated Time Investment
Weekend Project (10-20 Hours)
Recommended Skill Level
Beginner

Printer's Console or Sneaky Litterbox Cabinet? Cat Litter Box Cabinet

Submitted by Joni on Sun, 11/25/2012 - 08:12

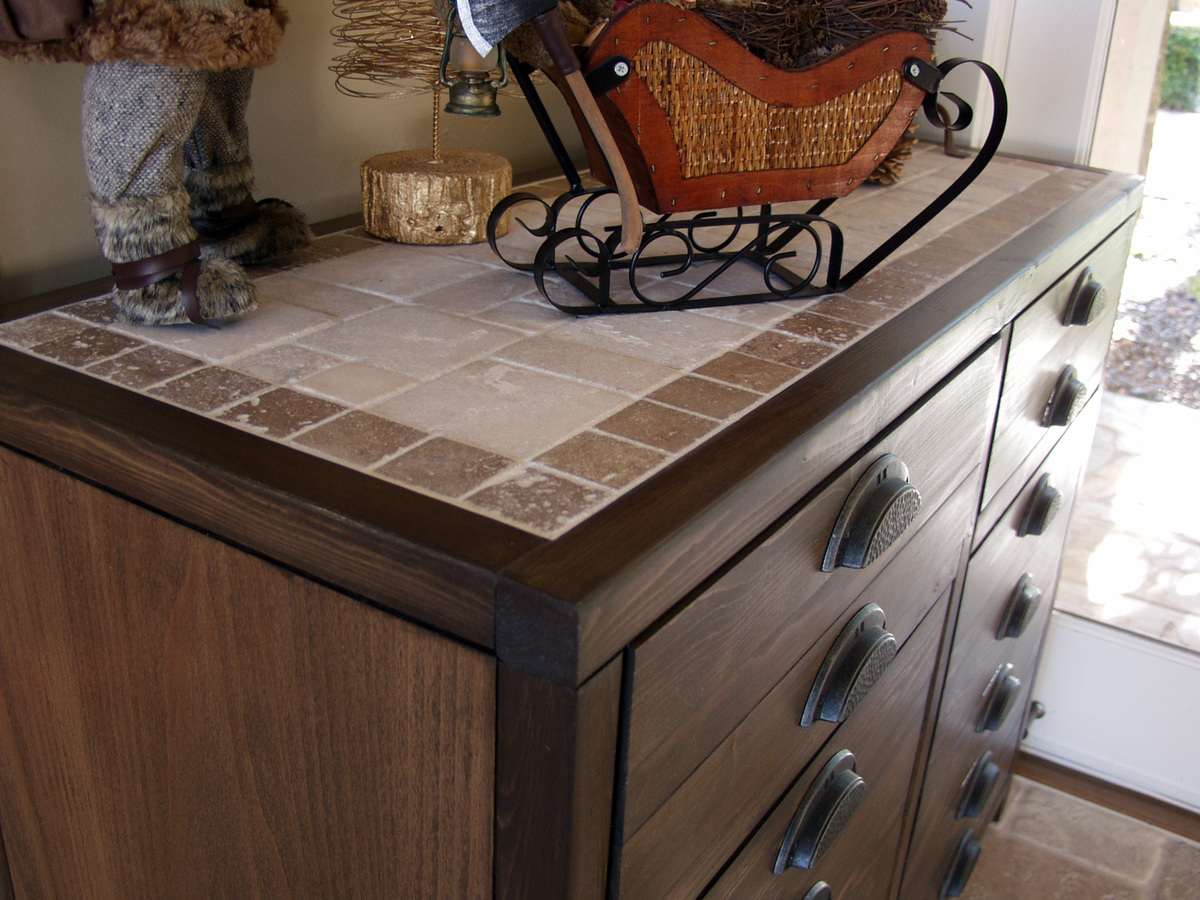
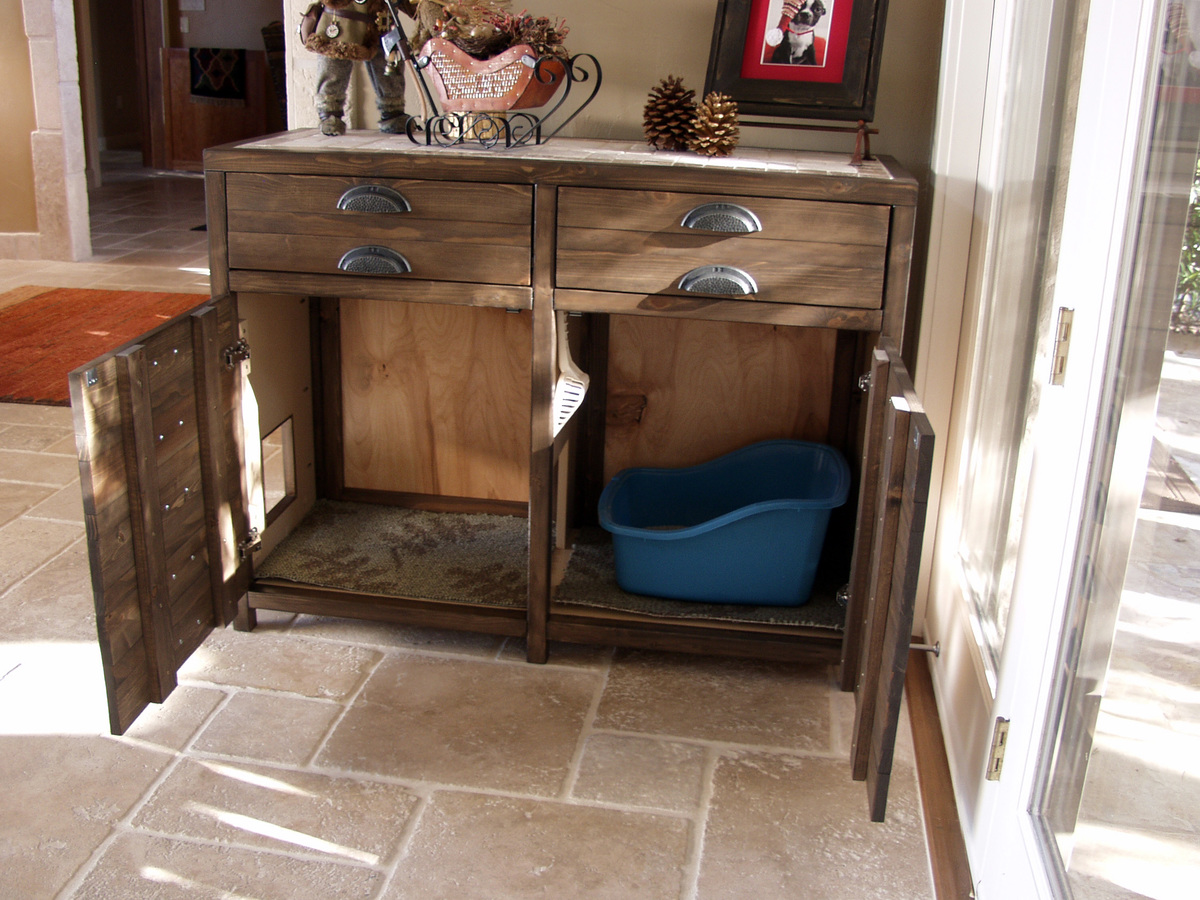
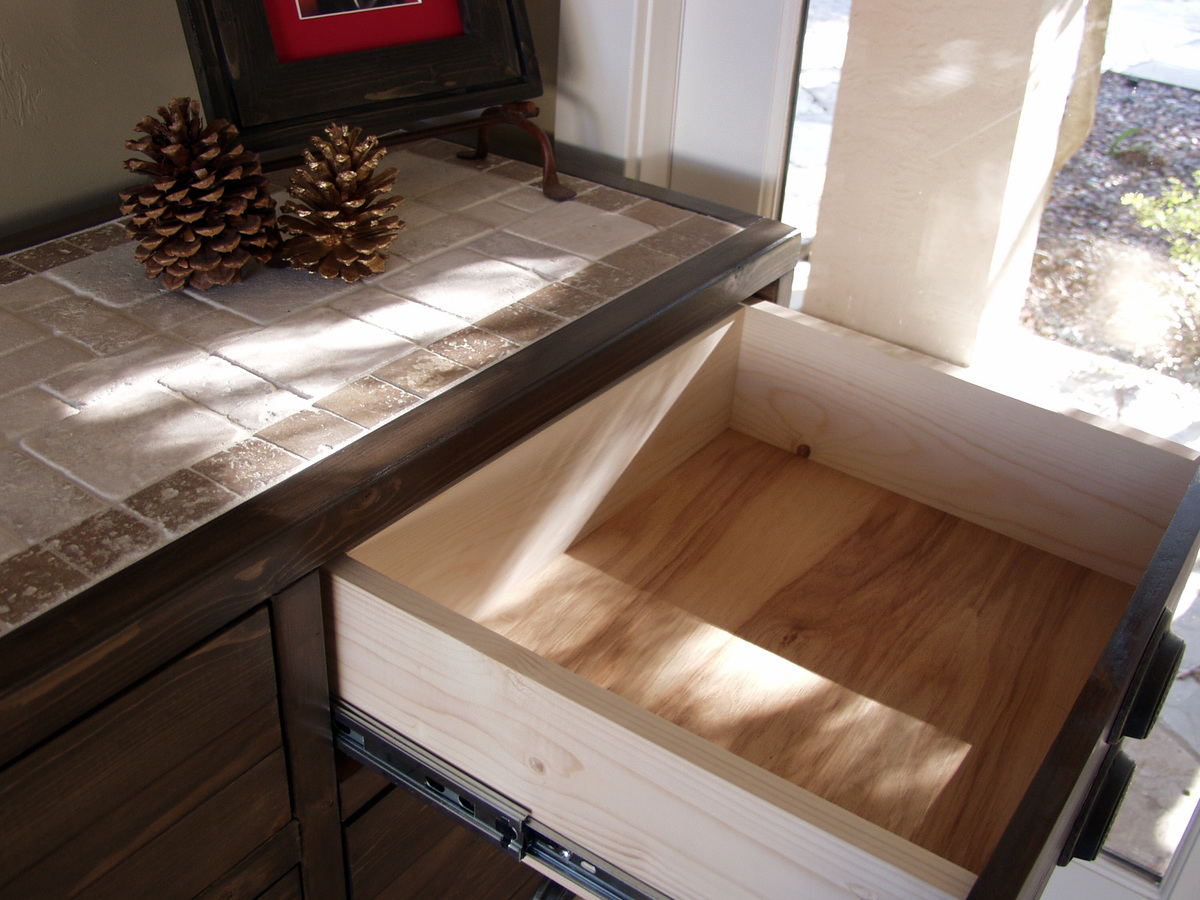
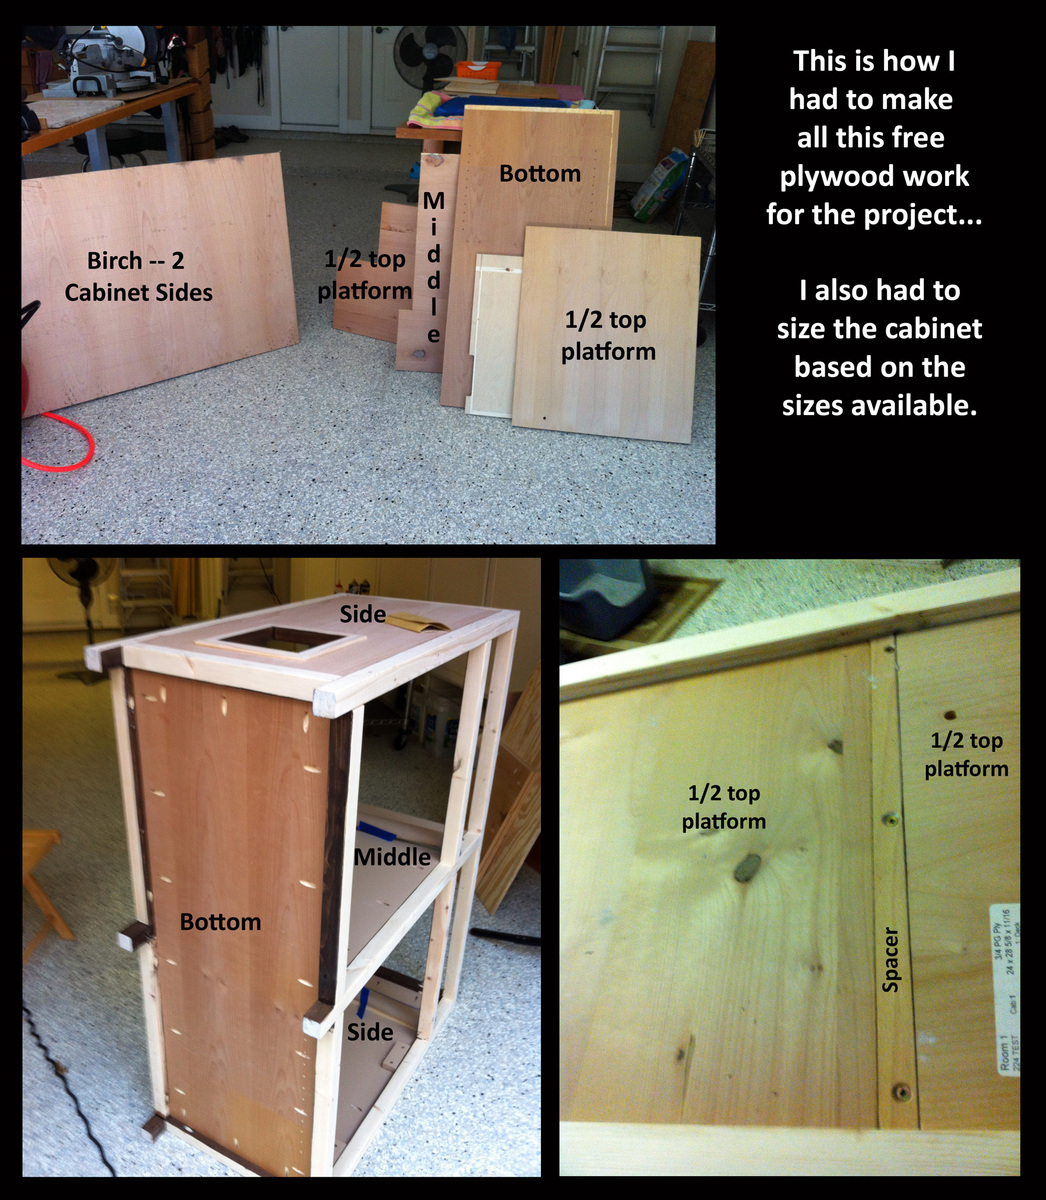
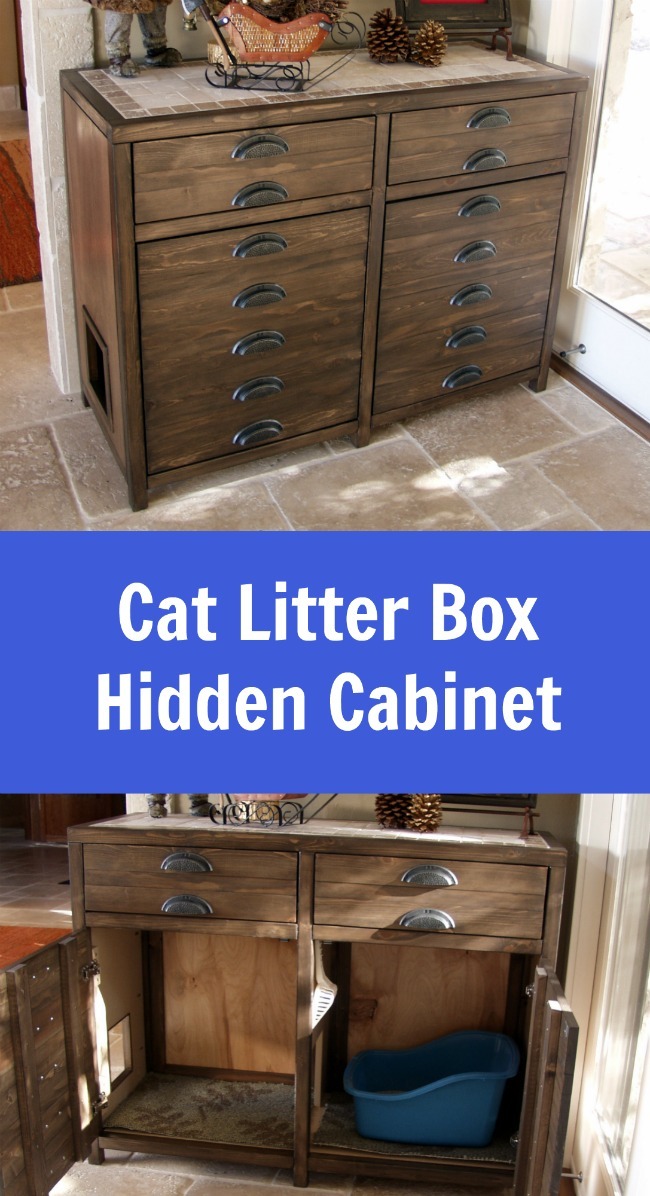
I had been wanting to build something to hide the litterbox for a long time. When I saw the Printer's Console plan, I knew this was the perfect plan for a cat litter box furniture. I loved that Jen Woodhouse's version was completely modified to her bar plan, so I thought I could modify for my litterbox idea. I modified the plans on size, as I was trying to use a bunch of mis-matched plywood. I also modified it to include a cat door, a cat passageway on interior panel, a vent on the back behind one of the drawers, and the stone top. I built a frame on the back to house the backing as an inset piece, as I didn't want it to be seen at all. I learned a very important lesson during this build. Not all 1x3s are created equal. Once I got my doors assembled, they were too big for the opening. I couldn't shave off the tiny amount needed, and couldn't make anything work short of starting over with 1x4s, sawing off a small amount, and cutting down the # of "drawers" (and handles). I wanted the inside to be fully finished (because cat pee on raw wood would not be good!). I had to finish certain "planes" prior to putting the thing together. I used kitchen and bath paint on the inside floor and sides for easy cleanup. The stone was carryover from construction on our house 12 years ago. The handles were an amazing deal @ $1.81/each .


Built from Plan(s)
Estimated Time Investment
Week Long Project (20 Hours or More)
Finish Used
Minwax Wood Conditioner, followed by a mix of American Walnut & Onyx Minwax water-based Stain. 3 Coats of Old Village Gel Varnish. On inside, I used a kitchen/bath paint.
Recommended Skill Level
Intermediate

Comments

blueskiesinNM

Mon, 06/17/2013 - 12:23

Love your use of the buffet. Our family has discussed making a piece of furniture like this for our smaller dog. Nice to see someone has done it! Our big dog has scheduled feedings but our little dog would prefer to be a free feeder. Poor thing chokes down his food in our pantry listening to our big dog breathing under the door waiting for him to finish. When he is done we open the door and the Big, greedy dog bolts in looking for left overs. A family member has to wait patiently for the little dog to finish so he can escape the pantry. I really don't want a doggy door in my pretty swinging bi-fold doors to my pantry which is also access to our kitchen.That would be a pain to have to keep closed all day. But this buffet idea is super cute! Thanks for the inspiration.

wayneled

Fri, 01/09/2015 - 22:01

I know this is an old post, but I'll ask anyway

I love this piece and am in the planning stages for ours. Thank you for sharing!

I am Wondering how you went about the table top. Did you install a 3/4 ply on top but not flush, allowing room for mortar and tile? If so how much room did you allow for the tile/mortar? 1/2 inch? How did you keep the surface of the tile level and uniform? Lastly, did you seal the tile with anything when you finished?

Aesthetically, the tile top really sets this piece off and I really want to make my own.

Thanks

Seasonal And Holiday

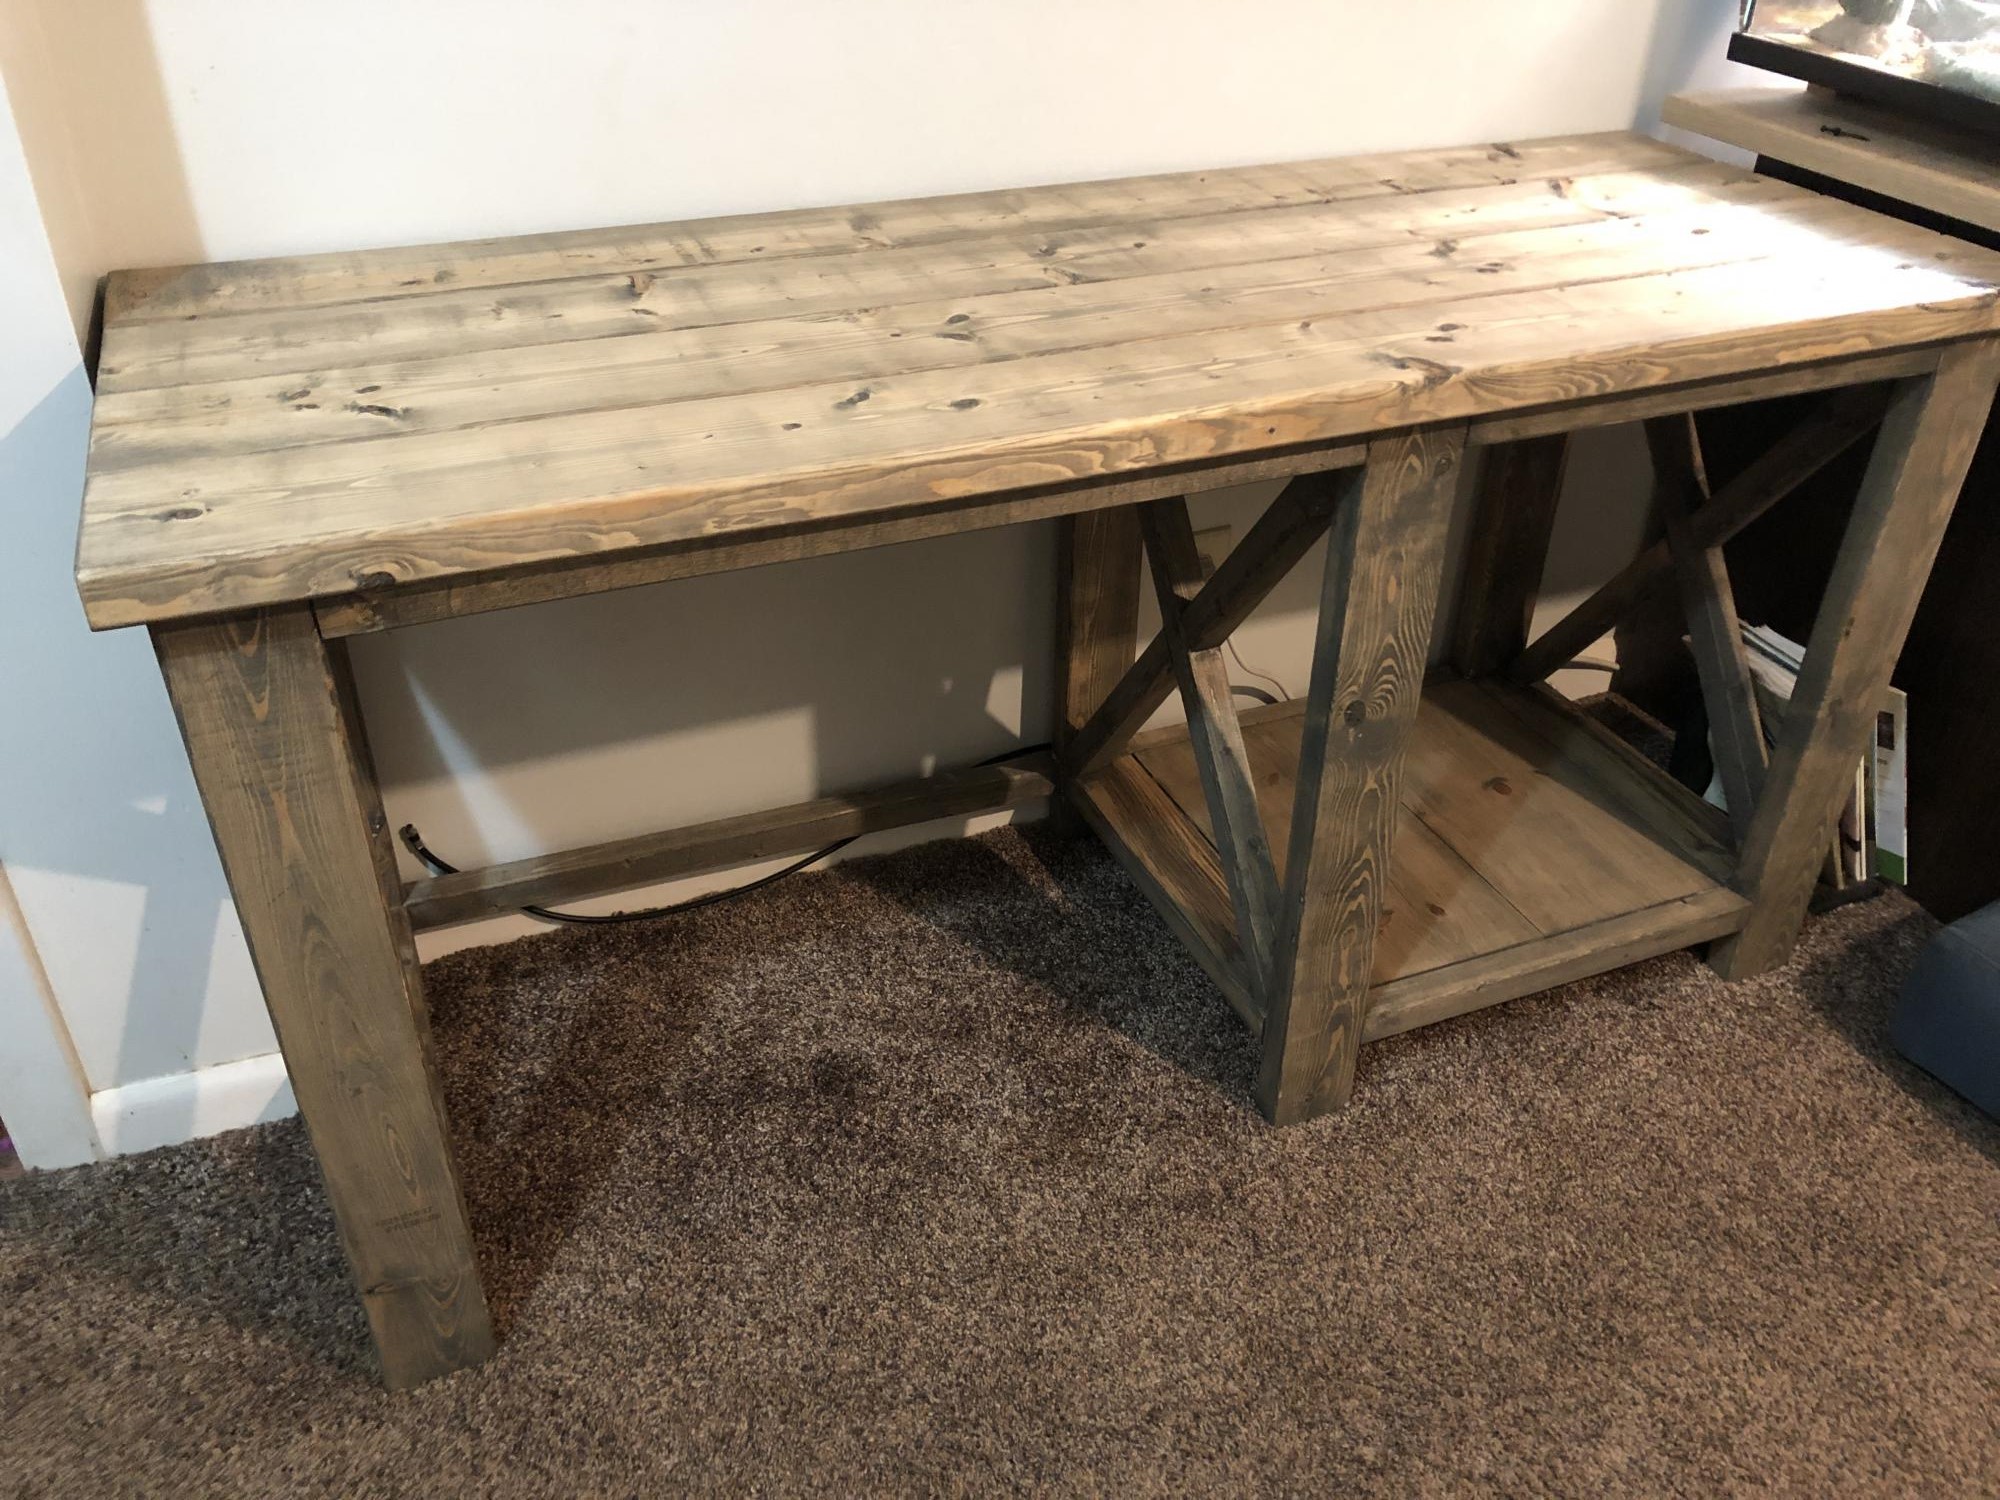
Rustic X desk

Submitted by Anonymous (not verified) on Thu, 09/17/2020 - 16:47

Great desk, easy build and very solid.

Only issue with the plans was not enough 2x4 (unless I cut it wrong).

Built from Plan(s)
Estimated Cost
$80
Estimated Time Investment
Afternoon Project (3-6 Hours)
Finish Used
Smoke stain
Recommended Skill Level
Beginner

Truss 4x4 Farm Table

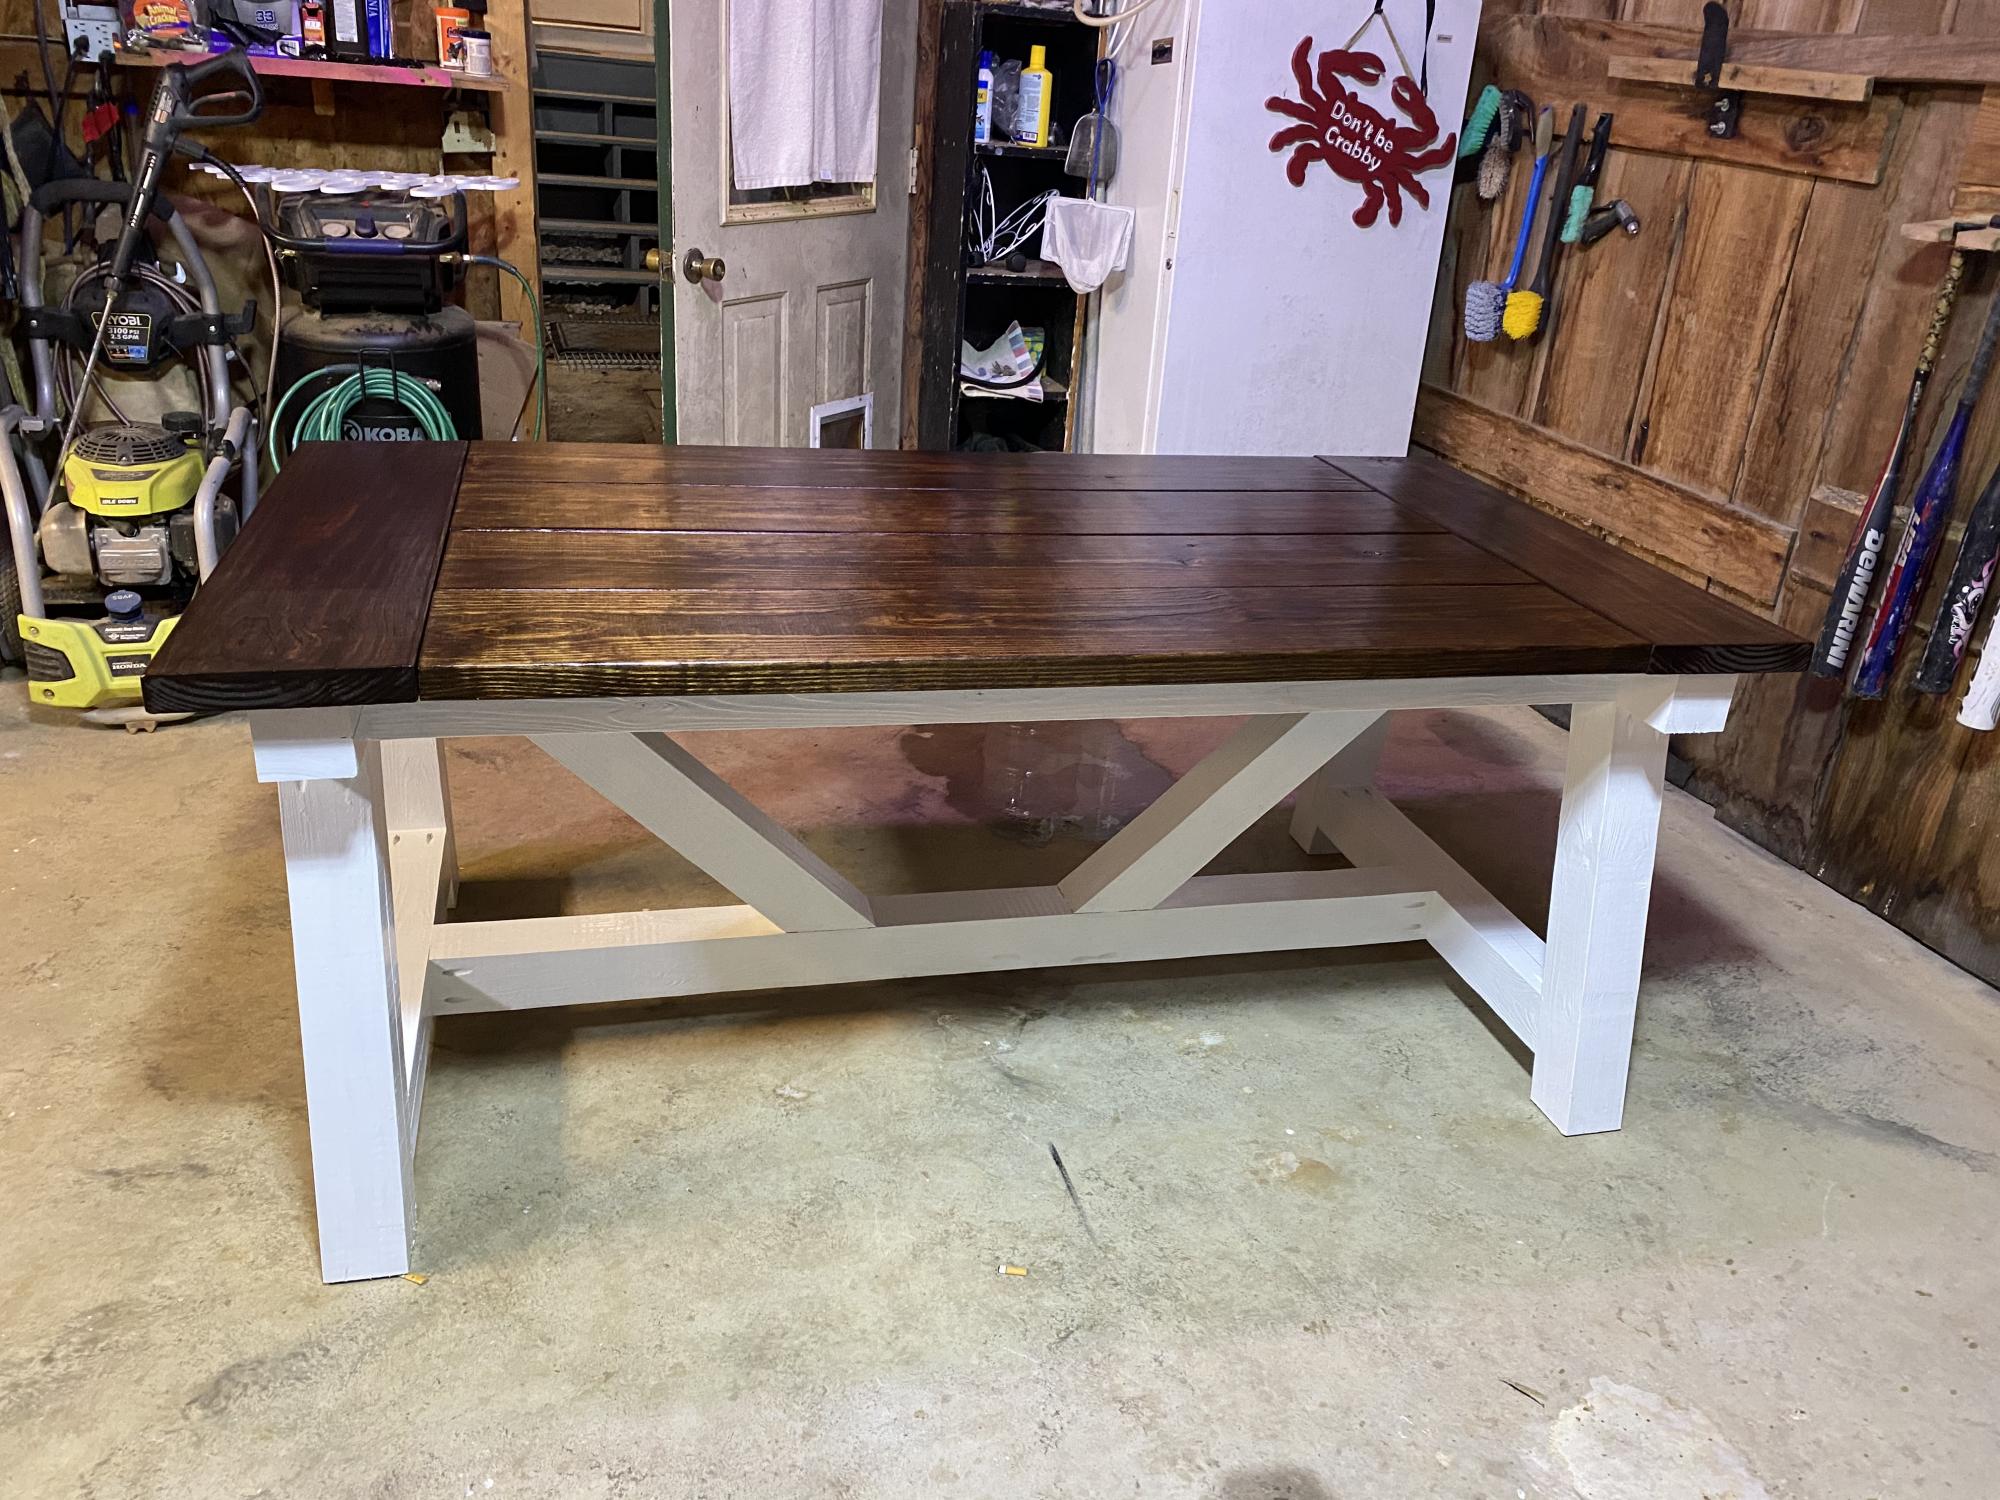
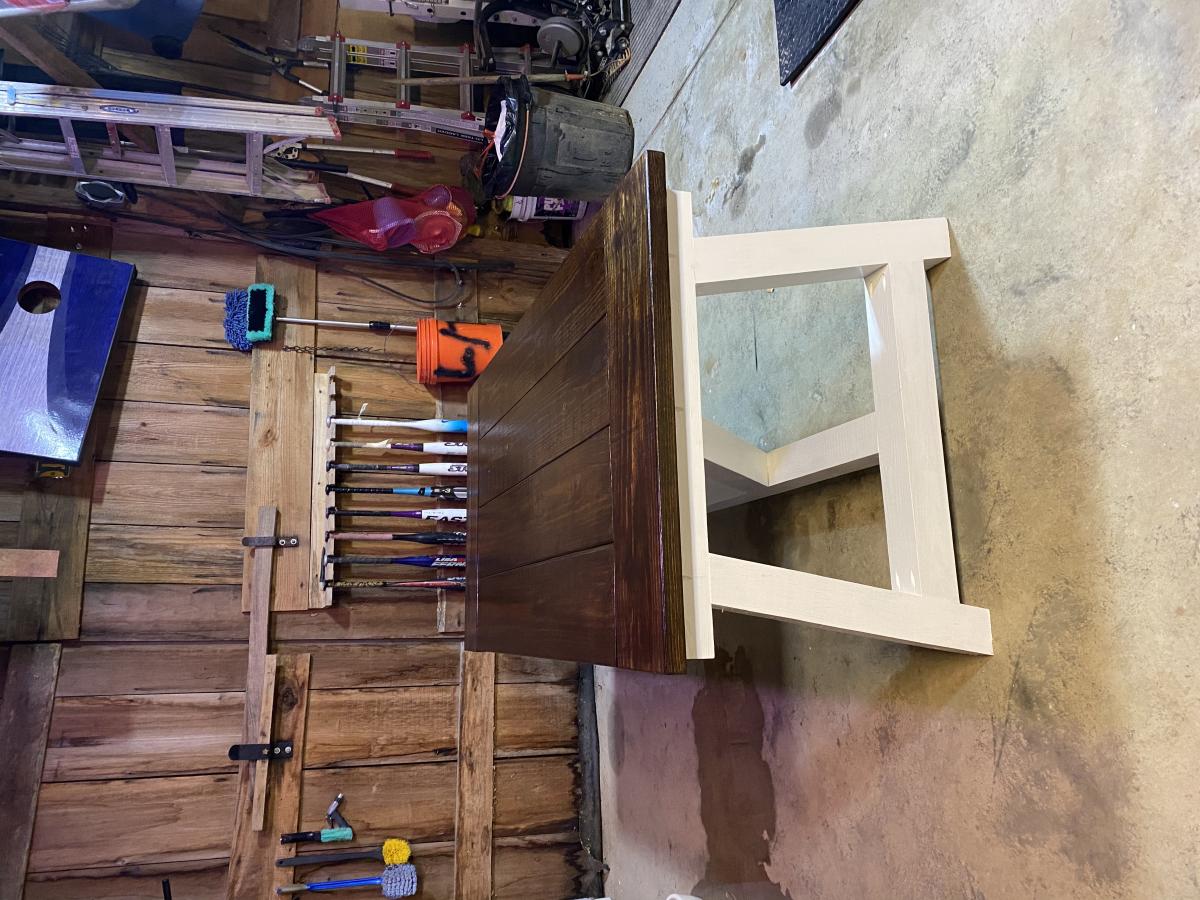
Submitted by iamjulz622 on Sun, 09/20/2020 - 19:07

I love this site and the user friendly plans. I used the suggestion of turning the 2x4’s but I think it would have been better to have more to screw the top boards to if I hadn’t.

Built from Plan(s)
Estimated Time Investment
Week Long Project (20 Hours or More)
Finish Used
White paint, stain and sealant.
Recommended Skill Level
Intermediate

Barn door pantry

Submitted by rayt871 on Thu, 10/01/2020 - 18:47

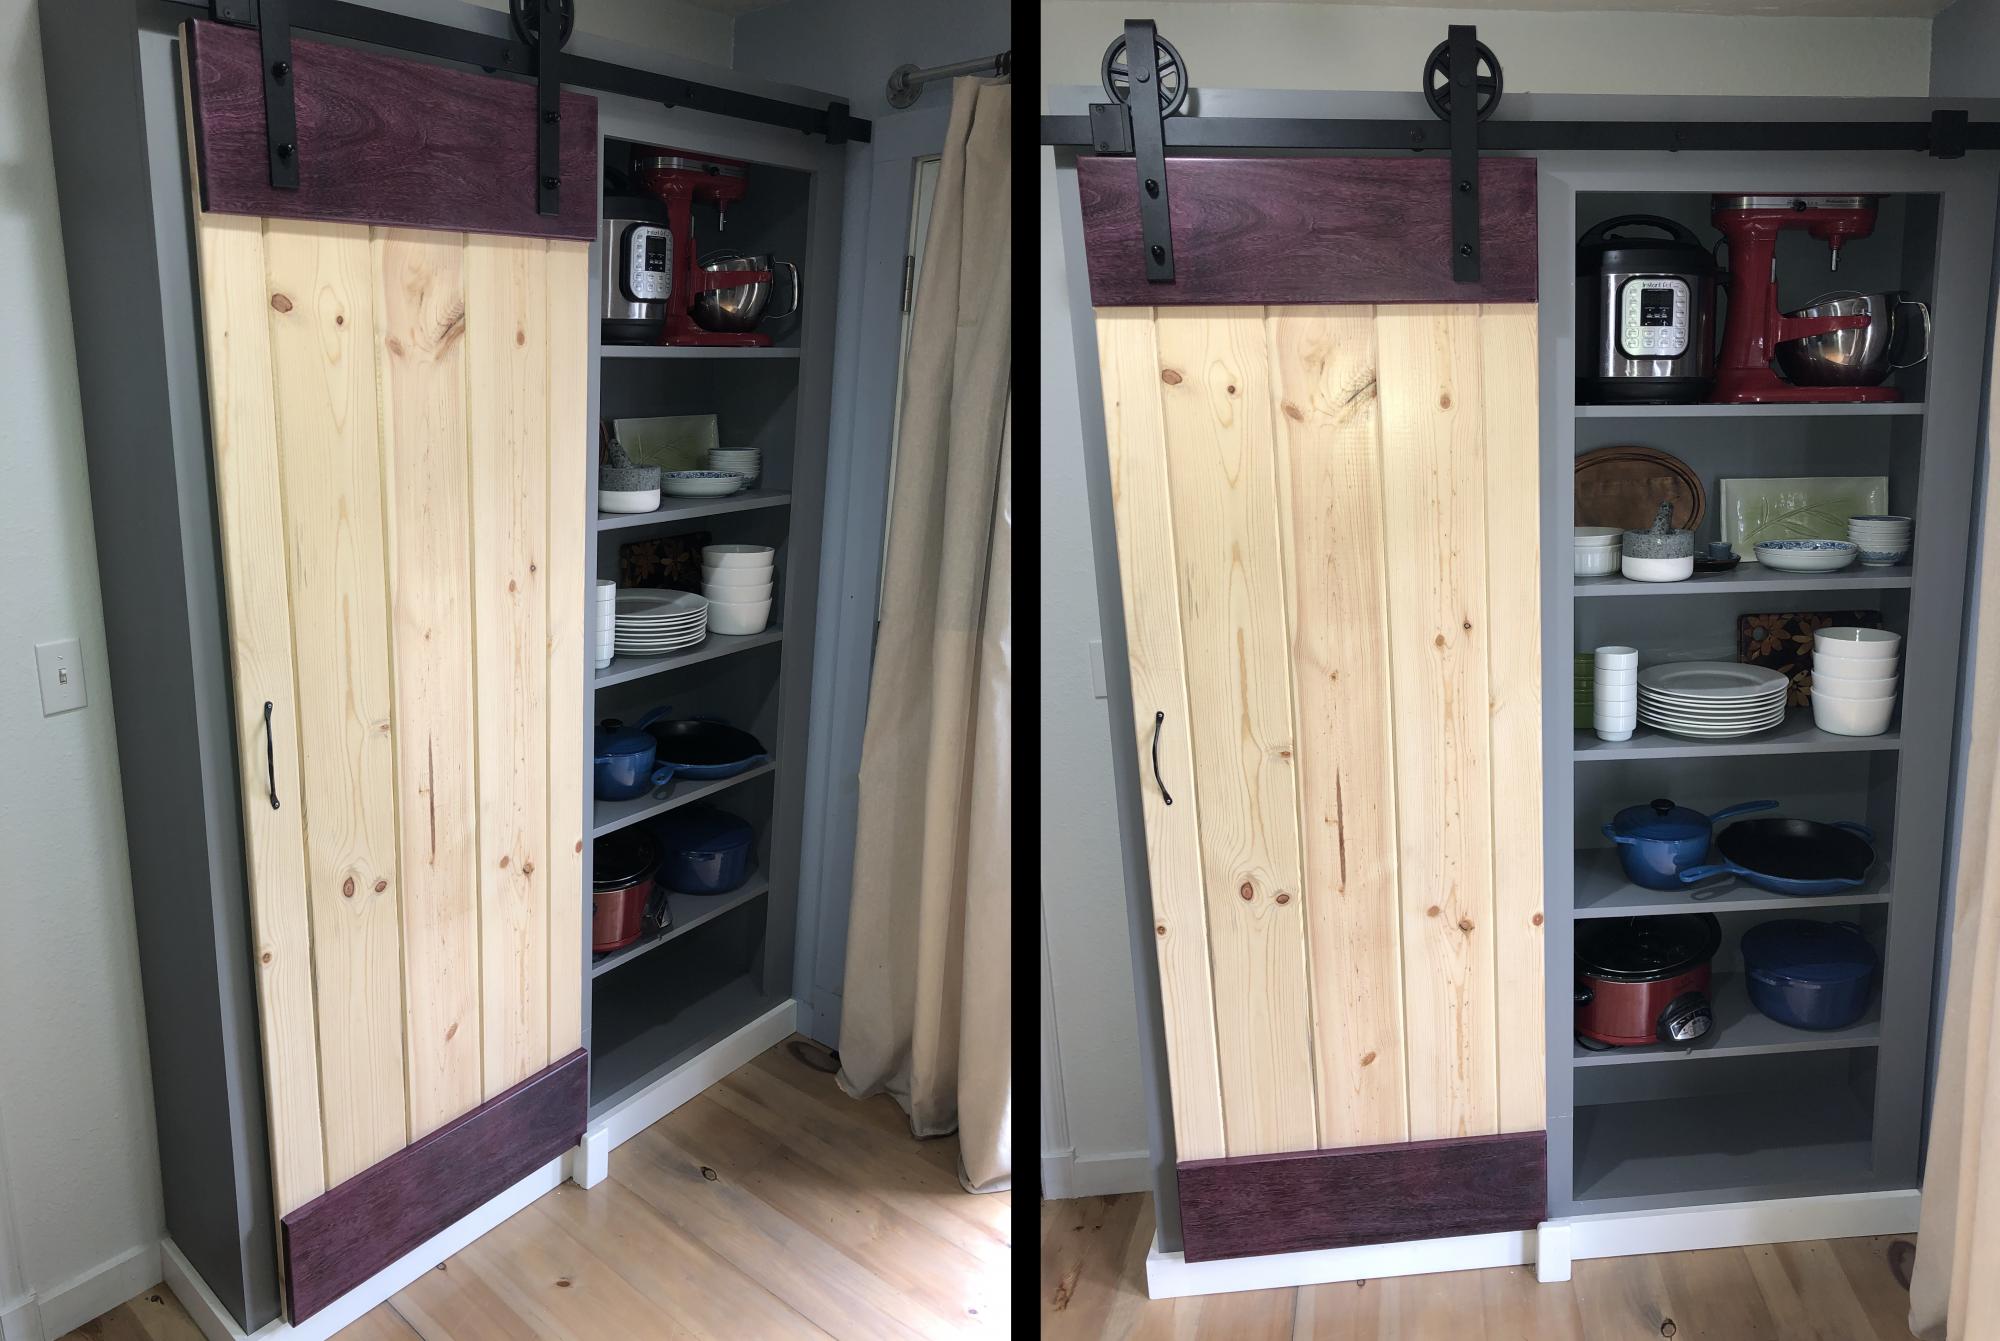
Barn door pantry scaled down to 5' x 7' with purple heart header and footer.

I had to add a guide at the bottom of the door to prevent it swinging out. Possibly my entire cabinet (or the wall) is slightly off level which is why it wanted to lean outward. I used a piece of felt inside the guide to prevent it scratching the purple heart.

Built from Plan(s)
Estimated Cost
600
Estimated Time Investment
Week Long Project (20 Hours or More)
Finish Used
5 coats of satin finish polyurethane and 2 coats of spar urethane on the purple for UV protection.
Recommended Skill Level
Intermediate

Comments

Tilt Out Trash Bin

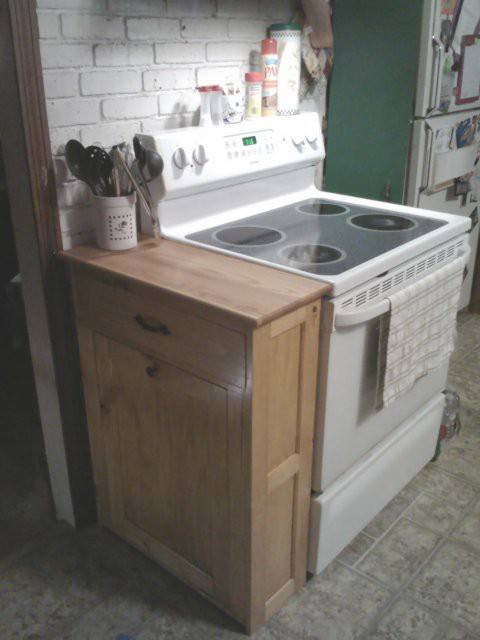
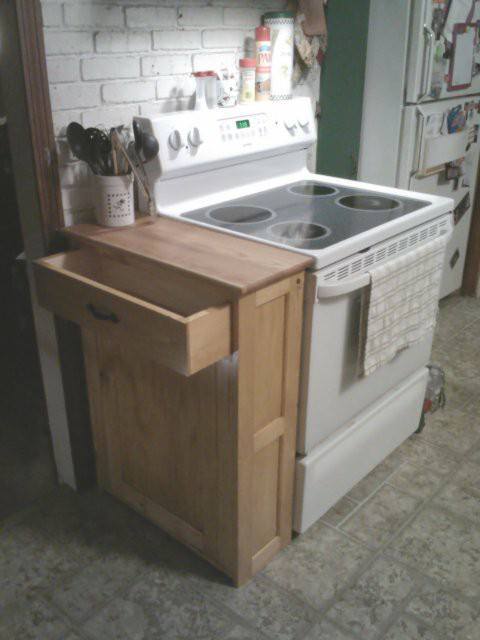
This was my first project using an Ana White plan....Modified it a bit...quite happy with how it came out...it was very low cost to make and a lot of fun.

Estimated Time Investment
Weekend Project (10-20 Hours)
Finish Used
Varathane Stain....Spring Oak
Recommended Skill Level
Beginner

Our version of this awesome little greenhouse

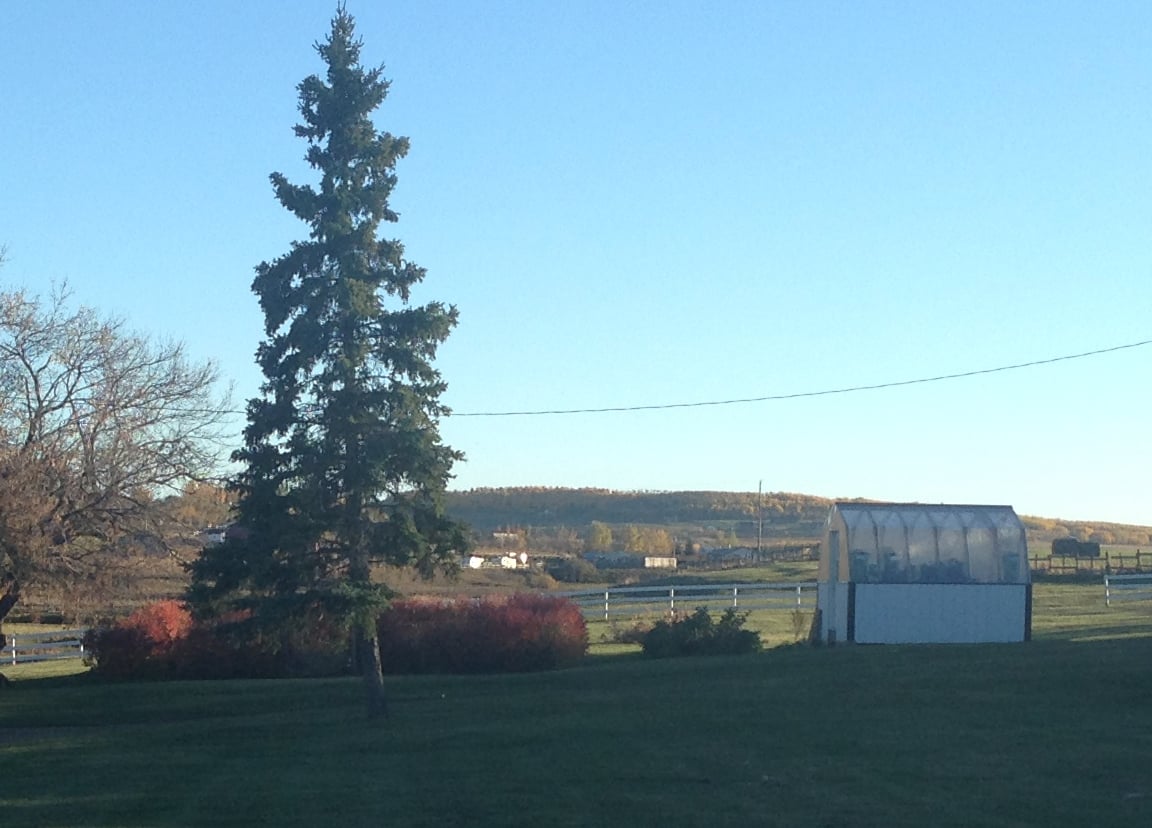
I found your plans last summer and loved the design so I decided to build one for my wife for her birthday last August. I didn't get started until the weekend of her birthday in late August so there was little expectation to have it finished before winter. It is now 14 months later and I only have a few trim pieces left to install. We live in a harsh climate and I wanted to be able to use it through the winter so I made a few changes. I built a 2 x 12 base and insulated it with R40 and the bottom walls are 2 x 6 instead of 2 x 4 and are insulated with R20. I used twin wall polycarbonate instead of the corrugated lexan because of the superior R factor. The insulated walls are of course vapor barriered and I covered them with tongue & grove cedar. I also made raised benches out of cedar for growing potted plants on. The floor has ceramic tile on it and the exterior is colored metal. I also ran underground power to the building and installed a fluorescent grow light. Surprisingly a small 110 volt heater keeps the temperature above freezing even during our awesome -40 winter temperatures. If the daytime temperature is anywhere near or above freezing we have to keep the screen open in the door or it overheats inside. I have attached links to a few pictures of the almost finished product, ready for another winter full of flowers and veggies. I initially used clear vapor barrier until the twin wall polycarbonate showed up. This worked rather well. 

I have posted this in the comments section as well, but I think it belongs here.

Built from Plan(s)
Estimated Cost
Material costs were just over $5,000
Estimated Time Investment
Week Long Project (20 Hours or More)
Finish Used
exposed cedar was stained
Recommended Skill Level
Intermediate

Comments

JB

Sat, 03/21/2020 - 09:42

Love your ideas! I have a few questions if you don't mind. Where did you buy the polycarbonate sheets, and what sizes were available? Did you end up changing the plan a bit to accommodate the vertical sheets? Did you seal top and bottom with foil tape and dust tape respectively or poly flashing?

Any help or advice would be appreciated very much.

JB

Brookstone Desk

This was a fun project. My first using drawer slides. Best advise would be to recheck squareness before attaching top.

Built from Plan(s)
Estimated Cost
$65
Estimated Time Investment
Weekend Project (10-20 Hours)
Finish Used
Dark Walnut stain
Poly top coat
Recommended Skill Level
Beginner

Comments

Farmhouse Bed - Modification

Submitted by Michael B on Wed, 01/16/2013 - 10:01

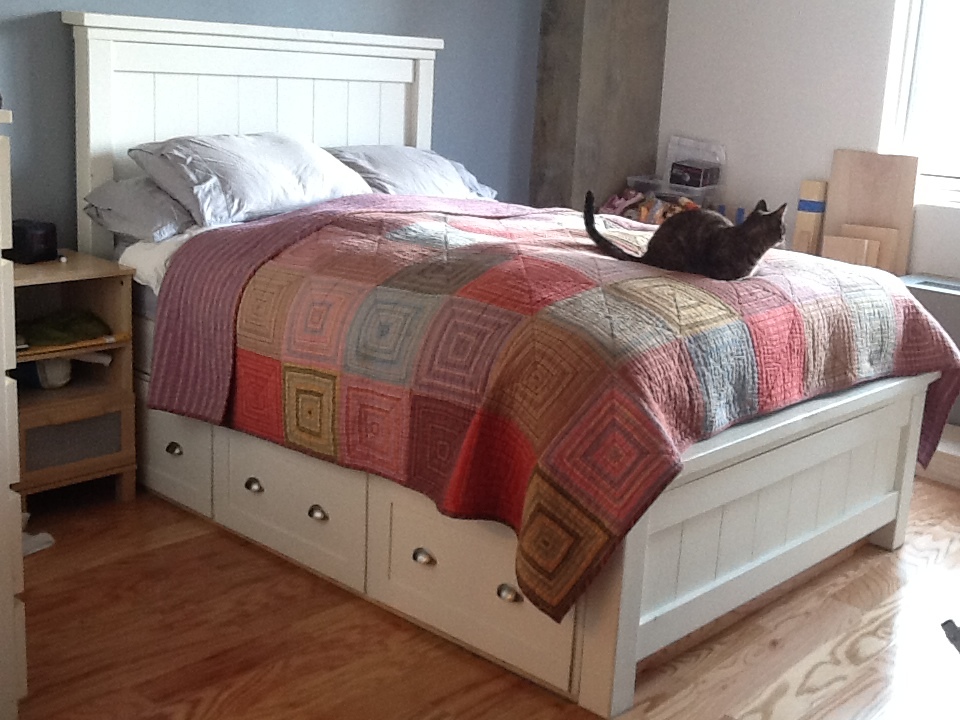
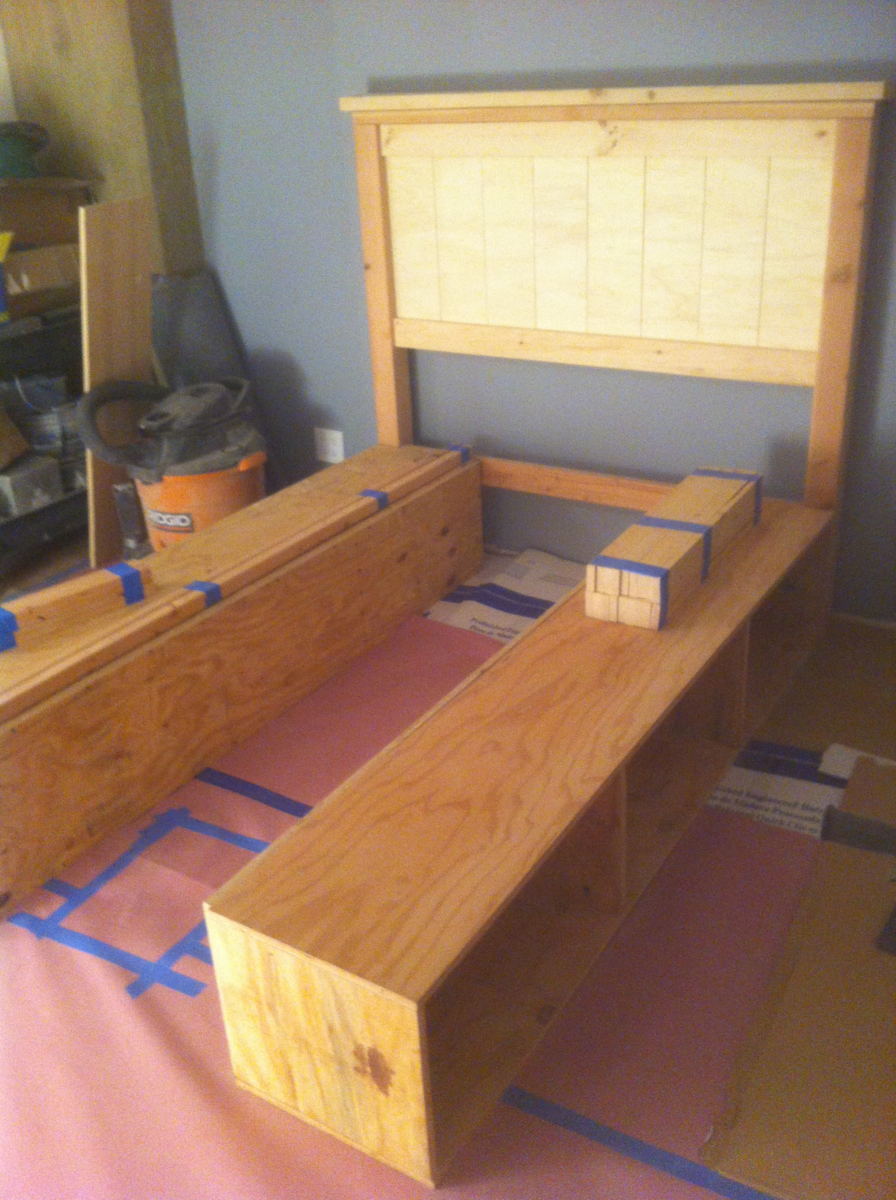
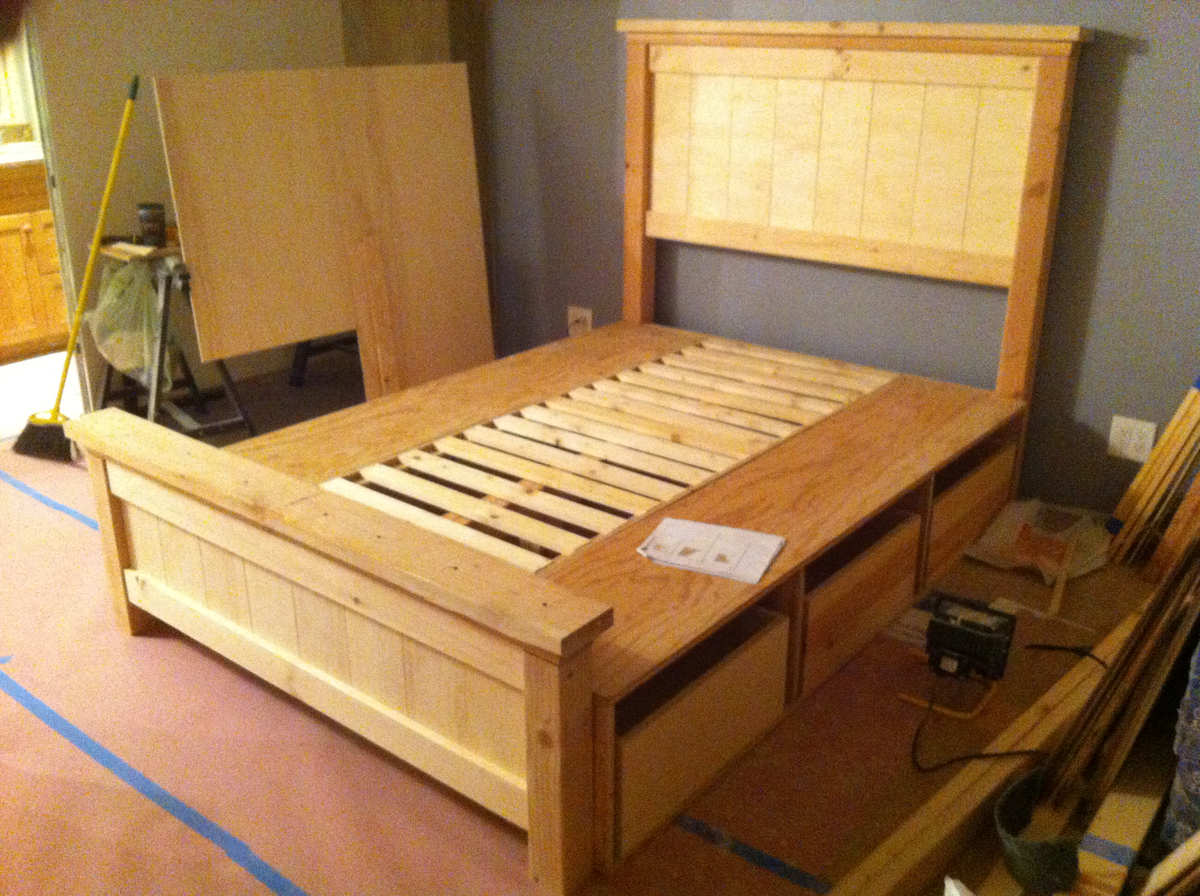
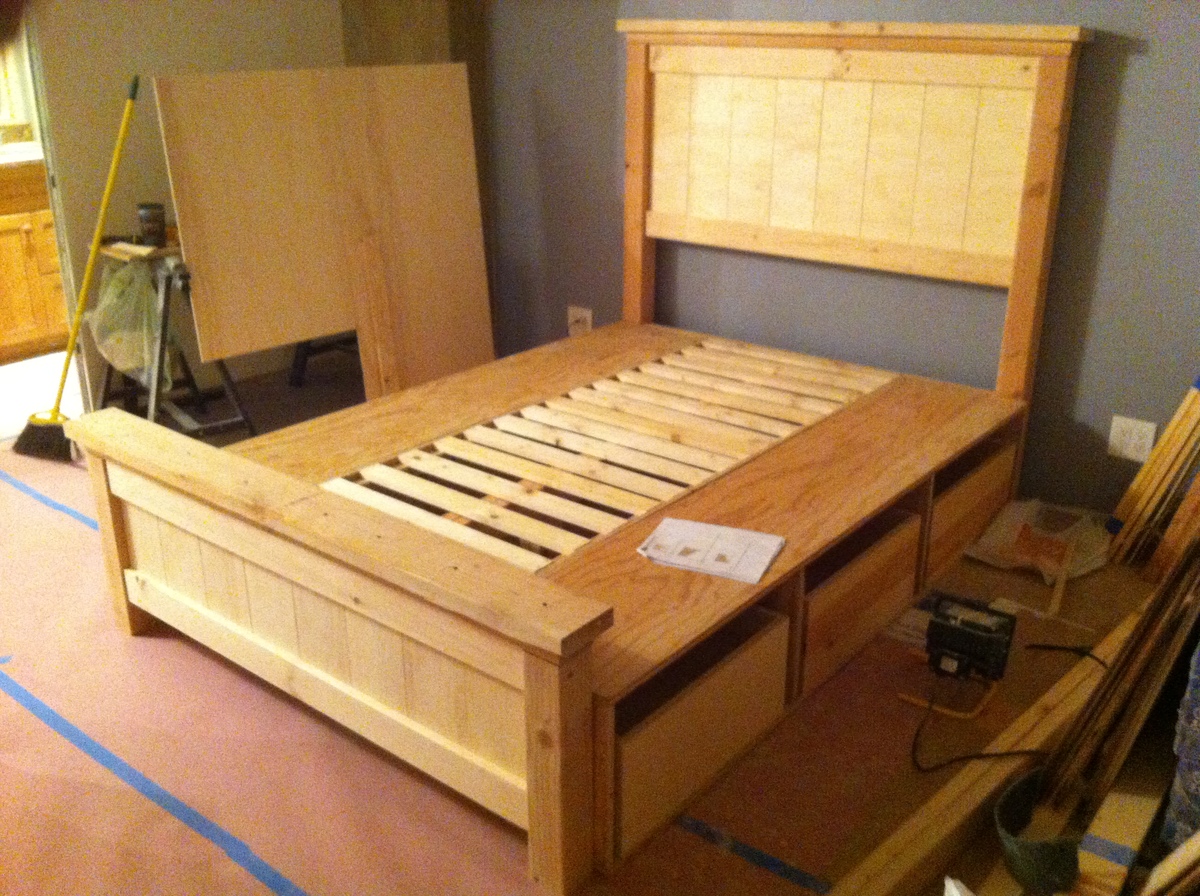
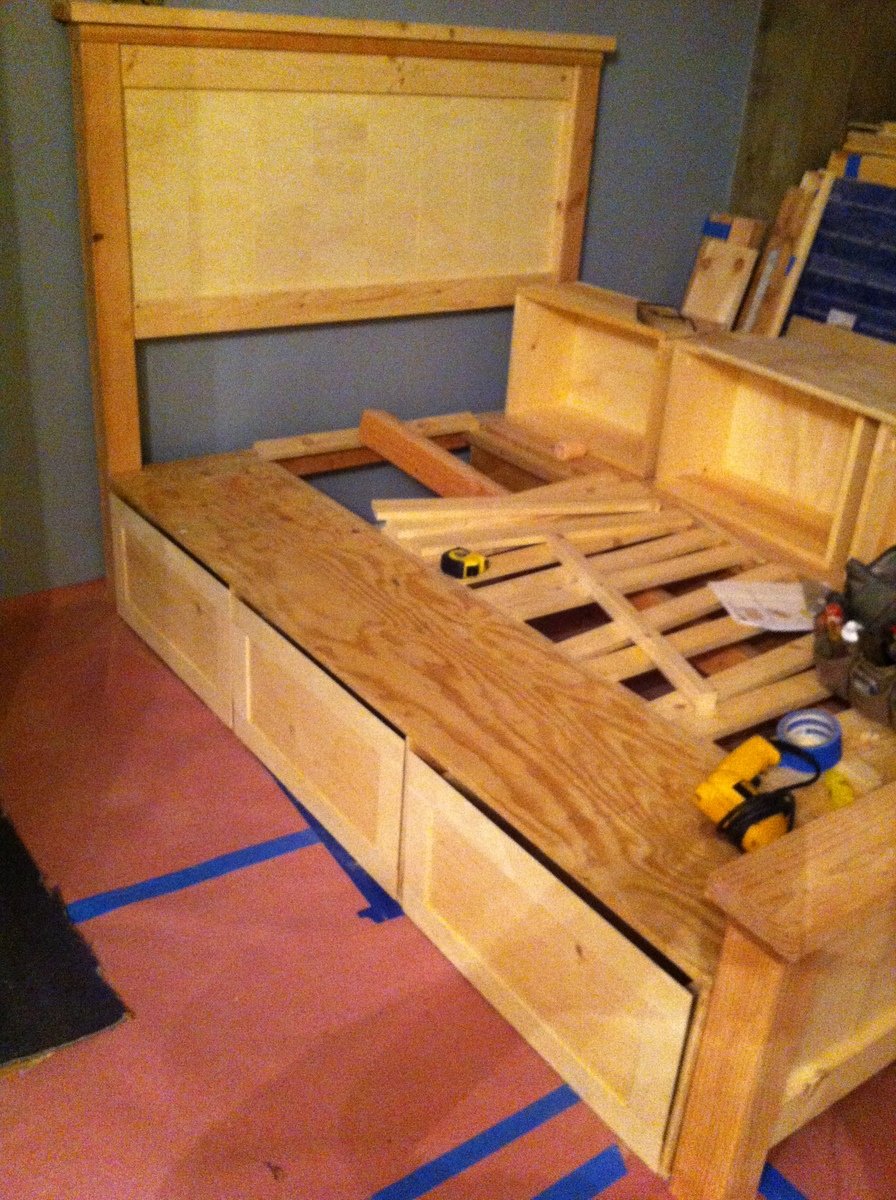
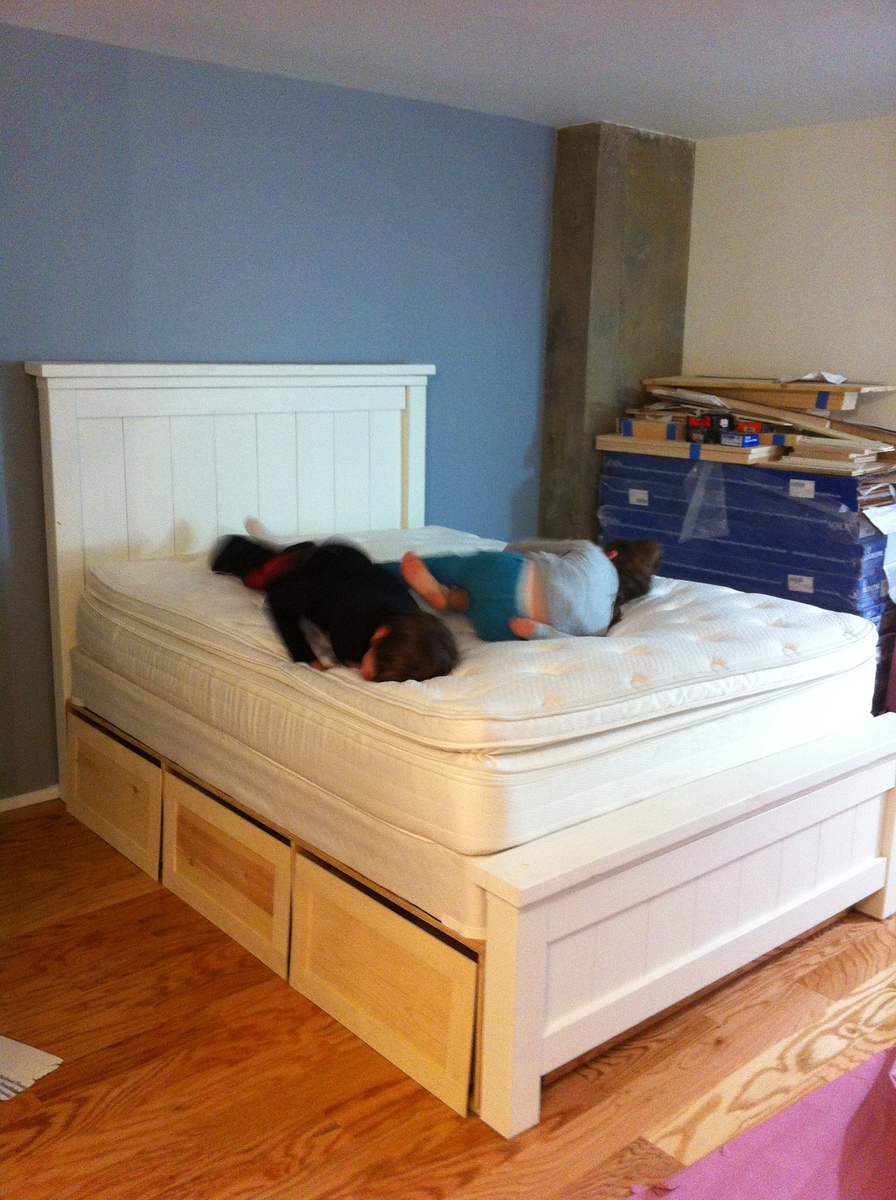
I followed the bed design posted for the Farmhouse Storage Bed, with some modifications to the base support. I have a queen waterbed and needed to reinforce the structure substantially. So I added more center support by building a simple 2X4 Header frame down the middle with 4 legs and beefing up the rails along the drawer boxes. I also included additional slat supports. I also placed the drawer boxes directly on the floor so that I would not have to buildup any additional legs. For the headboard and footboard, I did not have any beadboard so I ripped some 1/4" Birch-Ply into 6 1/4" strips, beveled the edges and nailed them with brads onto the 3/4" ply. I placed 1/16" spacers to create gaps between each and then just painted it. This gave me the look I wanted. It was a little more work, but well worth it in the end. I live in Manhattan so I actually had to construct this in my living room. Luckily I was undergoing a renovation at the time so the additional mess and dust was not too much of an obstruction. But now I'm hooked and want to build a lot more.

Estimated Cost
Built mostly from scraps - Less than $100
Estimated Time Investment
Weekend Project (10-20 Hours)
Finish Used
Benjamin Moore - White Dove (PM-19)
Recommended Skill Level
Beginner

Comments

First Build EVER!

Submitted by arowe10 on Fri, 12/11/2020 - 06:42

This was a great “gateway” build! This is easy to do and gave me the space to dig deeper into my newfound woodworking hobby! It’s not perfect but I love it!

Estimated Time Investment
Afternoon Project (3-6 Hours)

Split drawer built-in bench with oak herringbone top

Submitted by GeekAthair on Sat, 12/19/2020 - 10:17

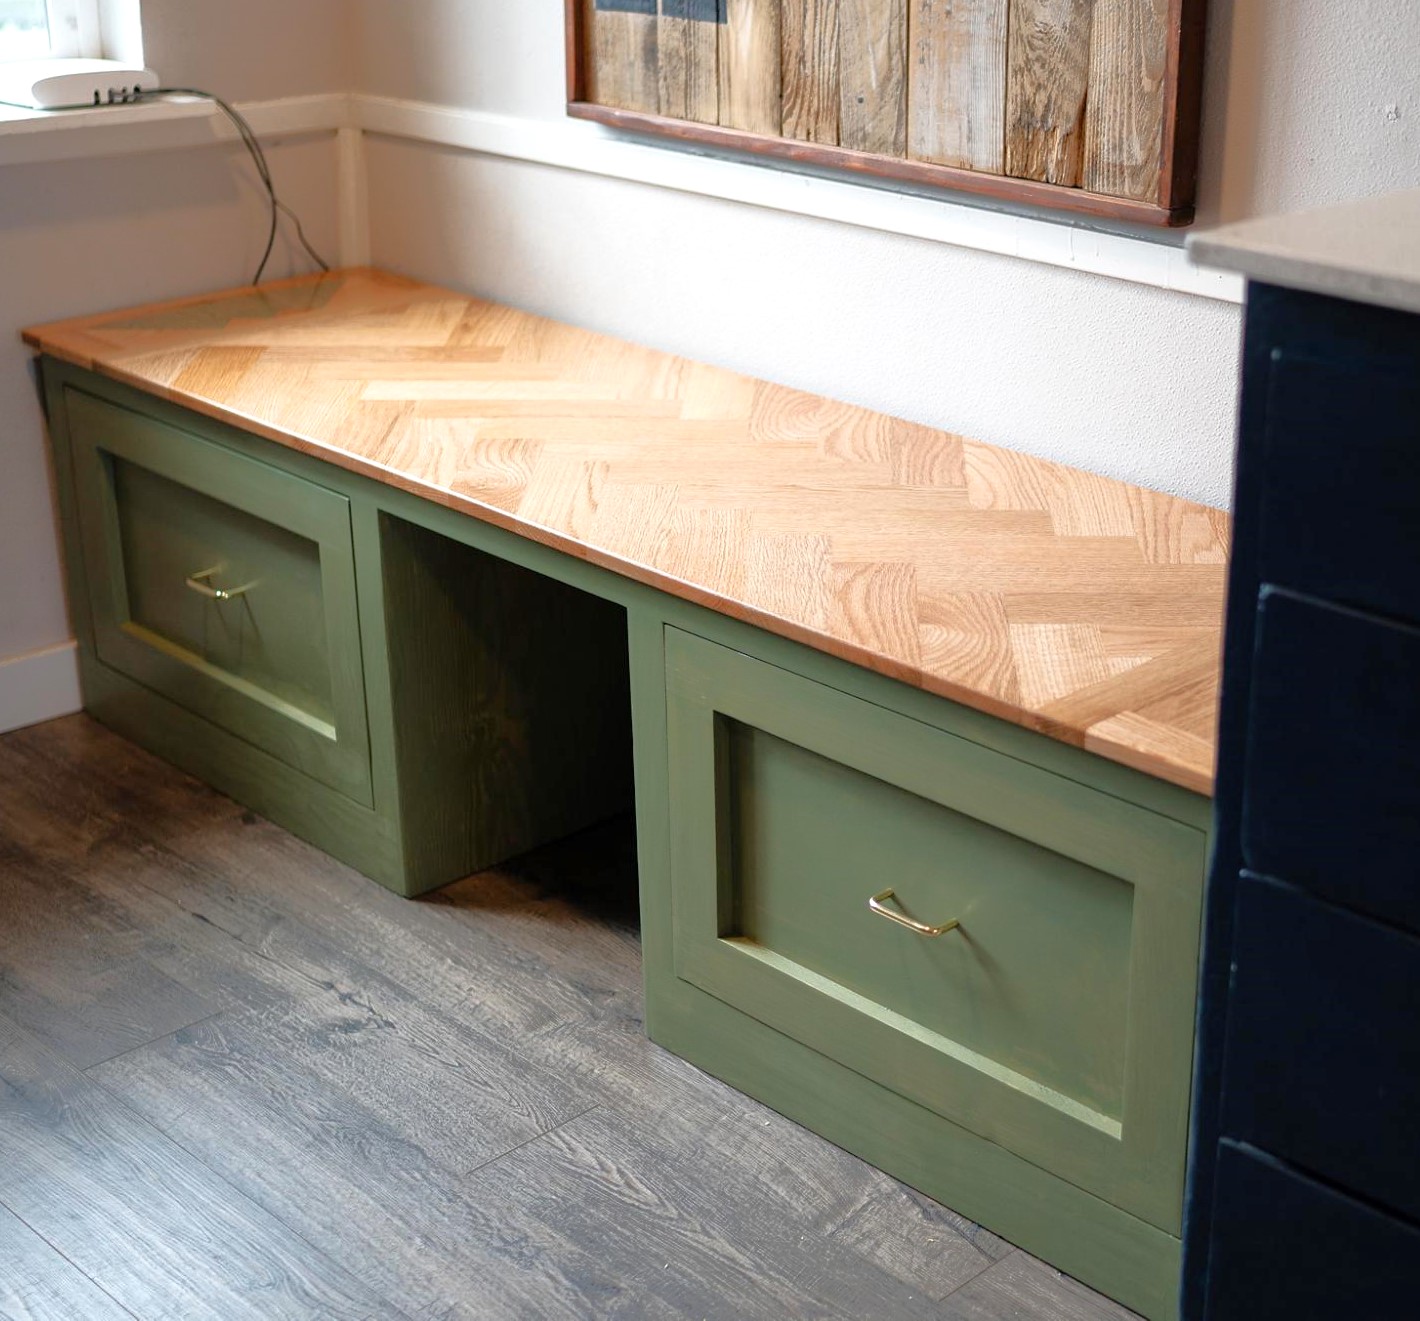
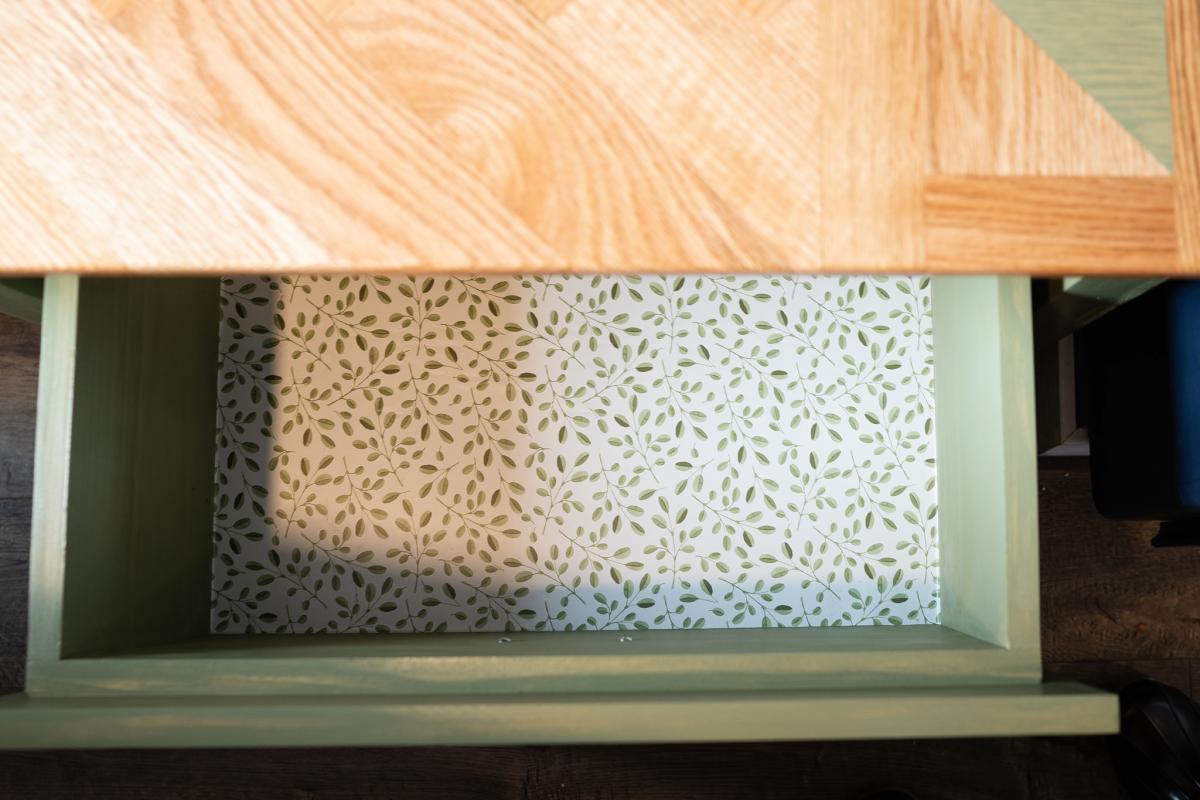
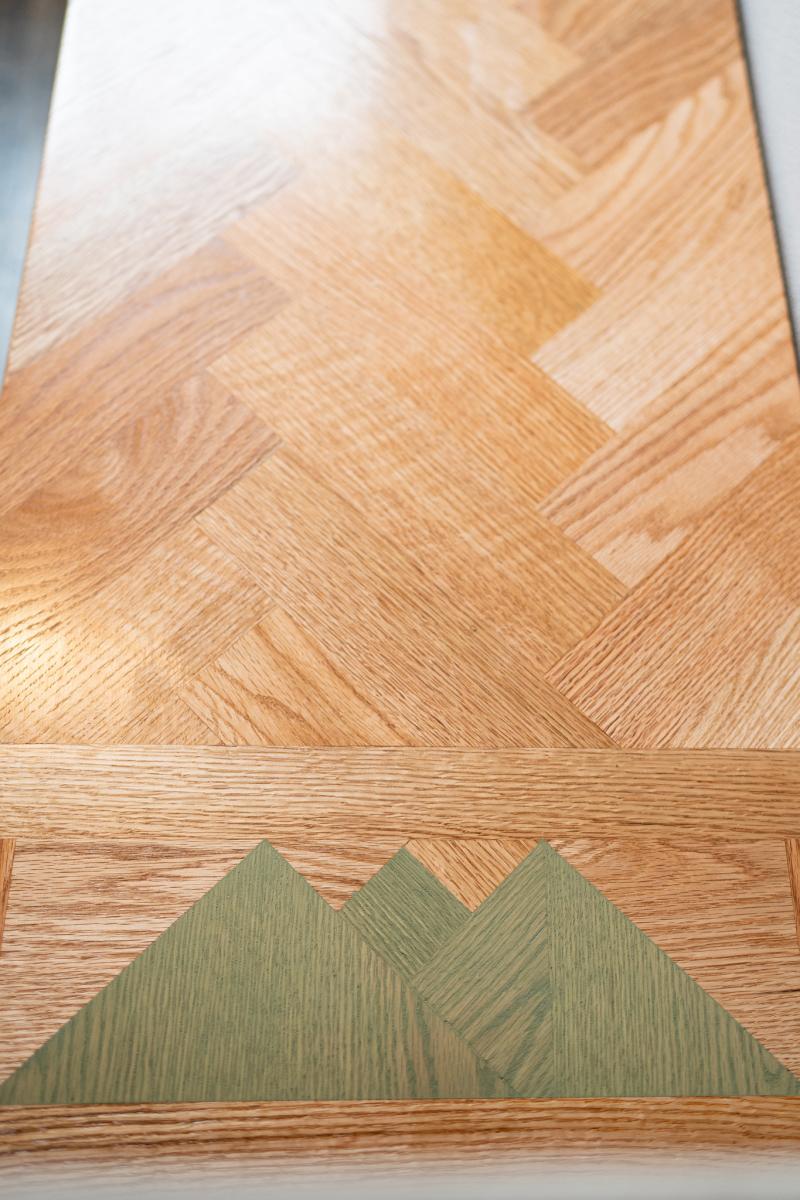
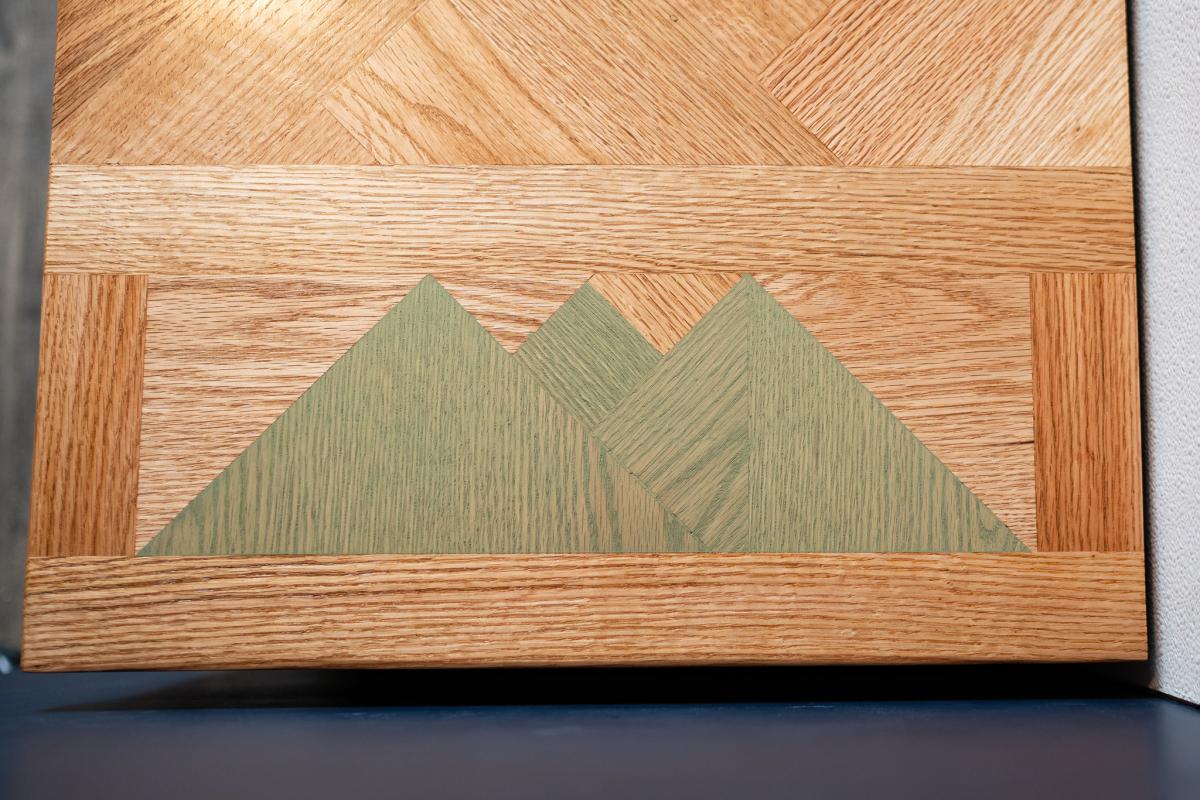
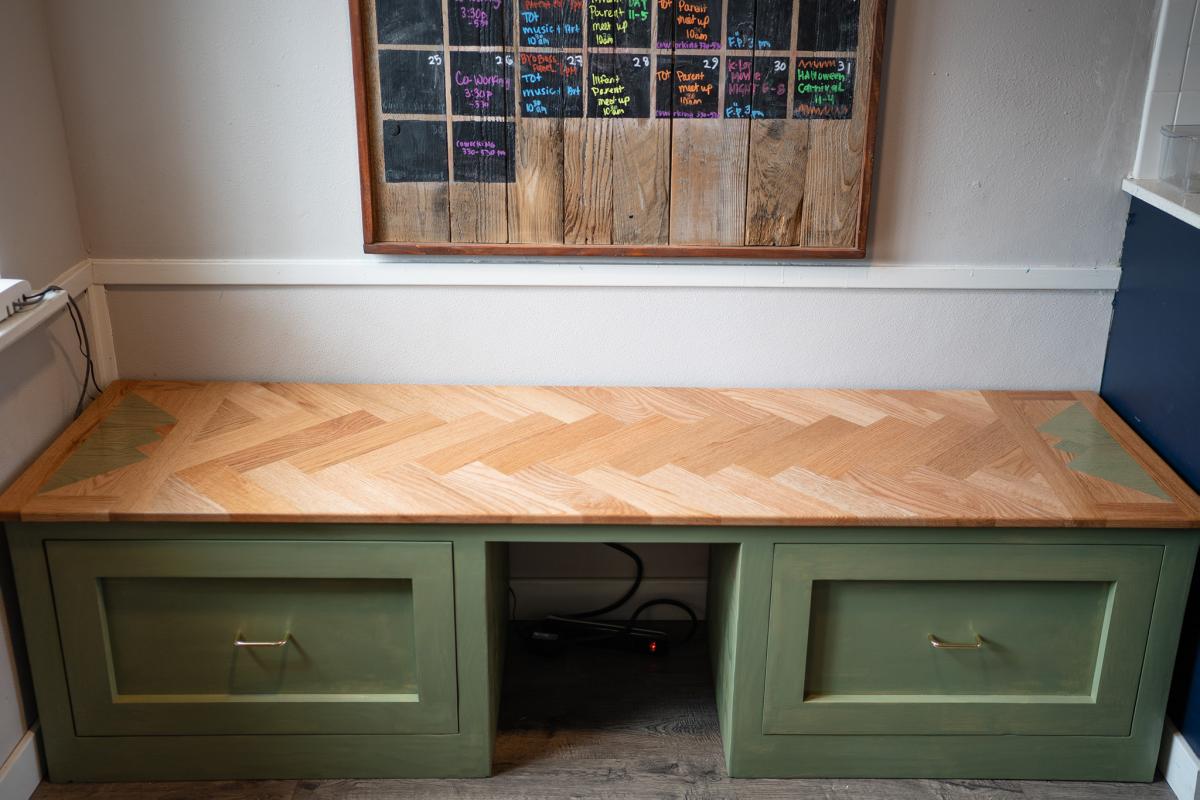
My second take on Ana White's mudroom bench design. This time I went with a split drawer design to provide room for the power outlet on the wall behind it and made my first attempt at a custom herringbone pattern for the benchtop. The frame is made out of douglas fir and the benchtop is made out of reclaimed red oak. The herringbone pattern is accented by two geometric mountain ranges (Minwax Antique Jade wood stain), signifying our placement here in the Pacific Northwest, nestled between the Olympic and Cascade mountain ranges. The benchtop was finished with 3 coats of Minwax Fast-Drying Polyurethane (semi-gloss). I'm very happy with how it turned out and plan to make a similar benchtop to replace the one in our dining room once I clear my plate a bit :)

Built from Plan(s)
Estimated Cost
450
Estimated Time Investment
Week Long Project (20 Hours or More)
Finish Used
Minwax Fast-Drying Polyurethane in Semi-Gloss
Minwax Woodstain in Antique Jade (for the mountains as well as the frame and drawers)
Recommended Skill Level
Intermediate

Comments

Back