Community Brag Posts

My Craft Table

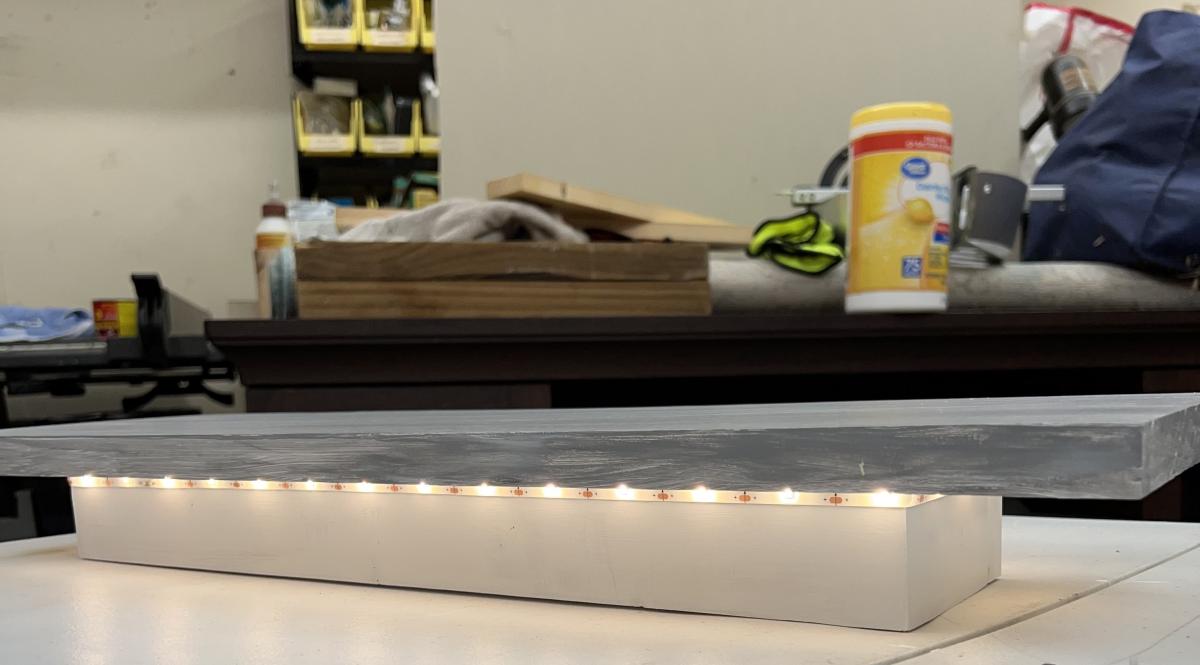
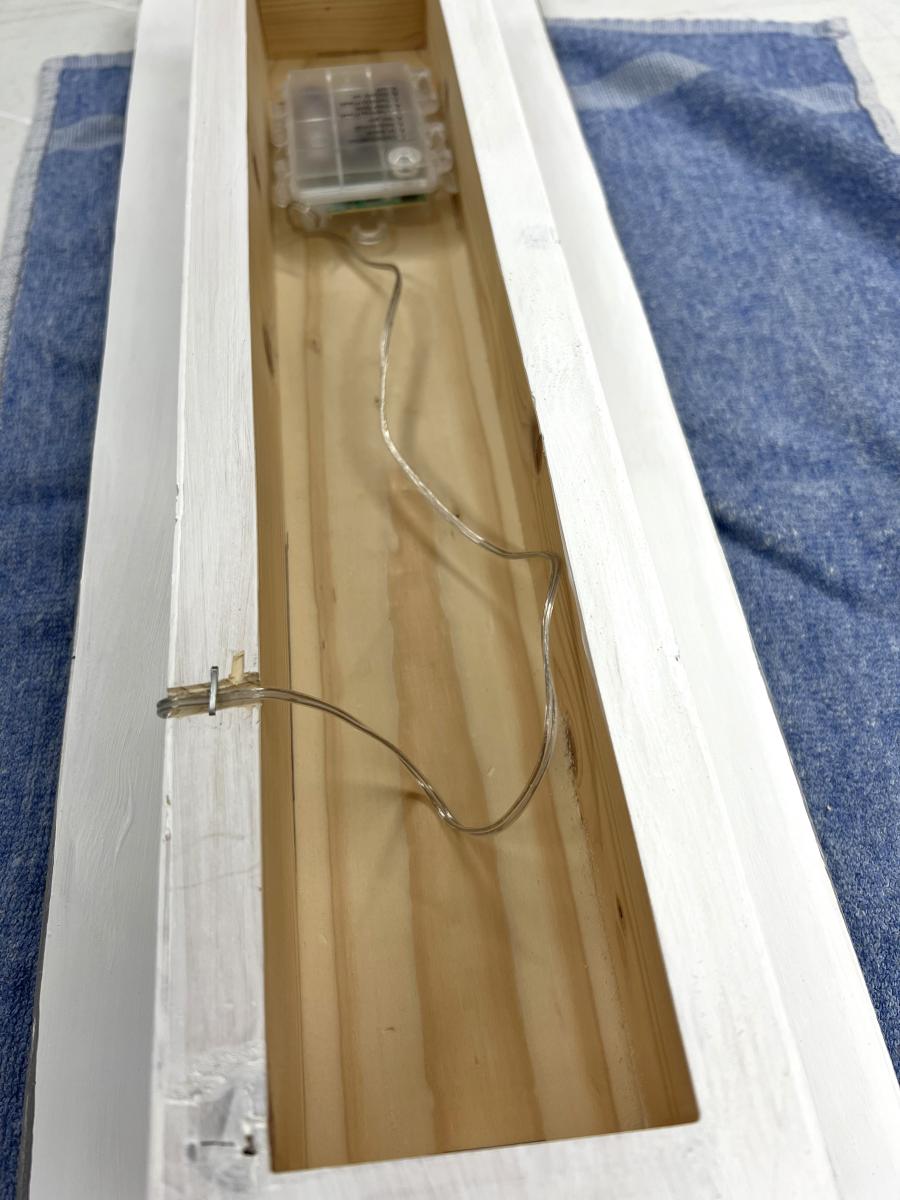
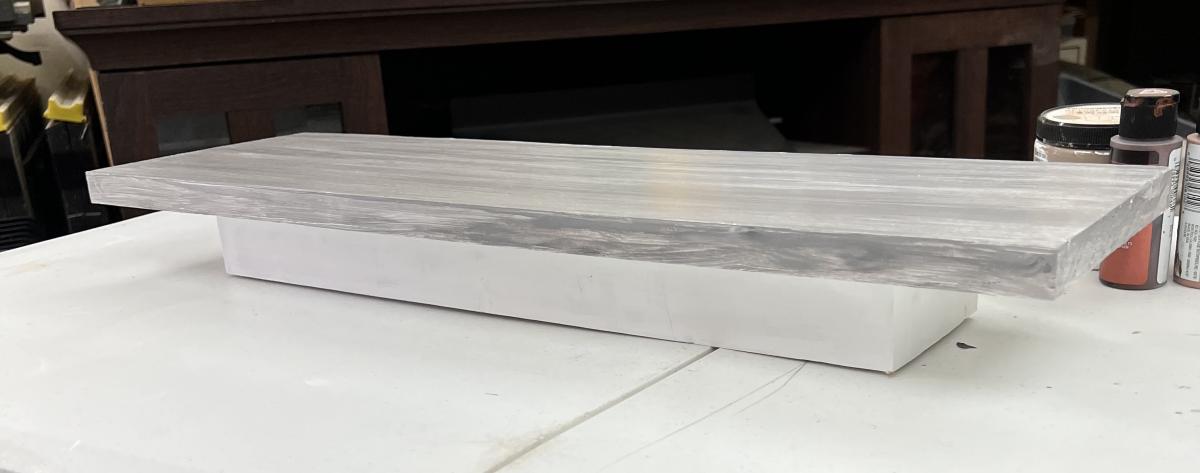
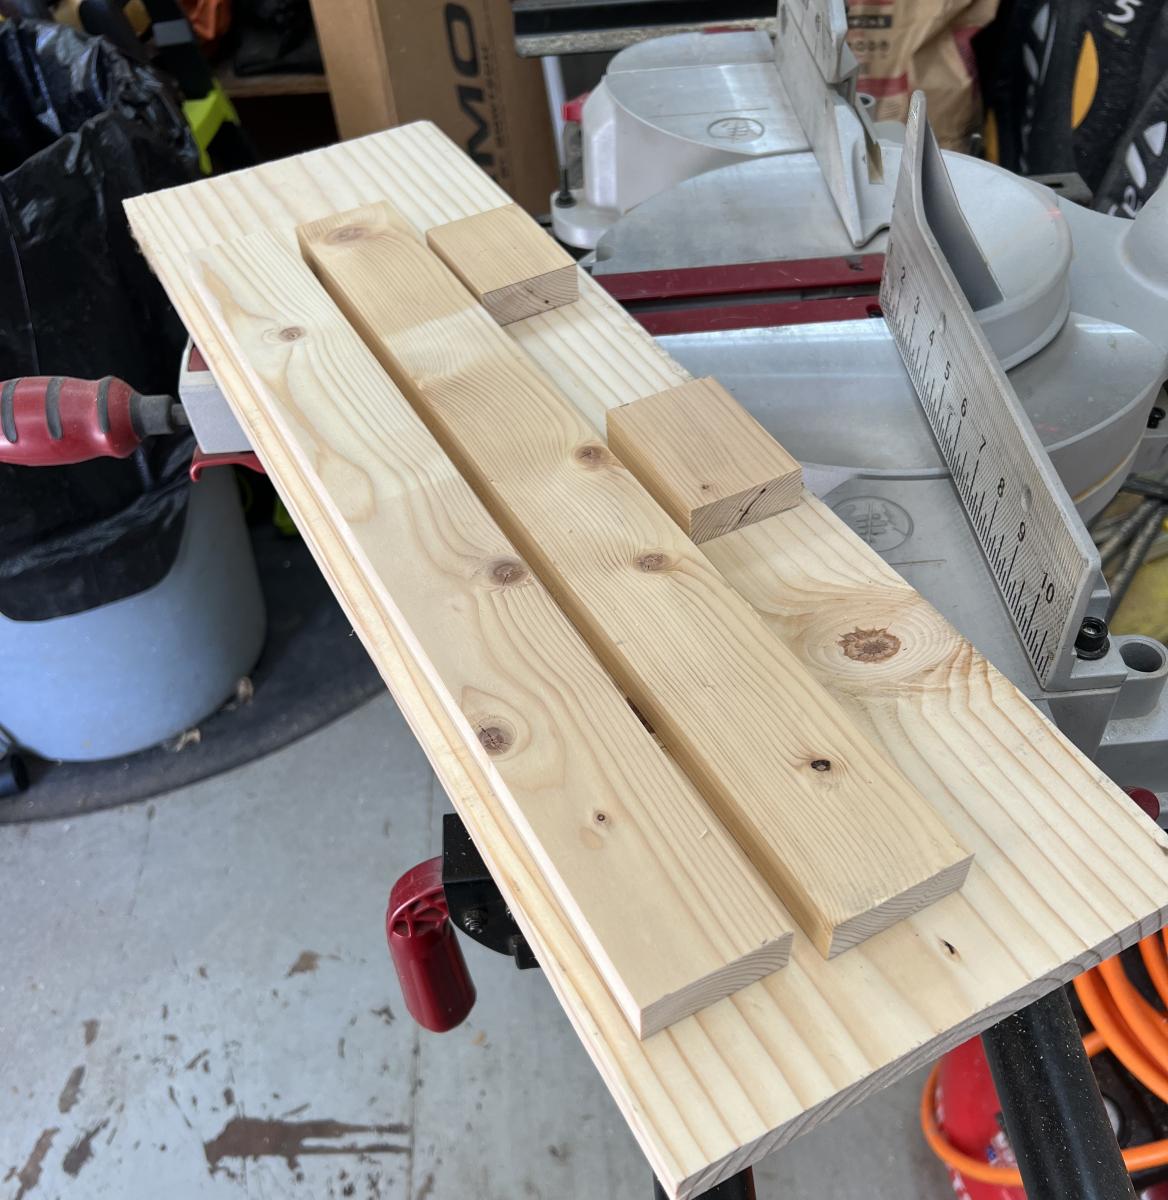
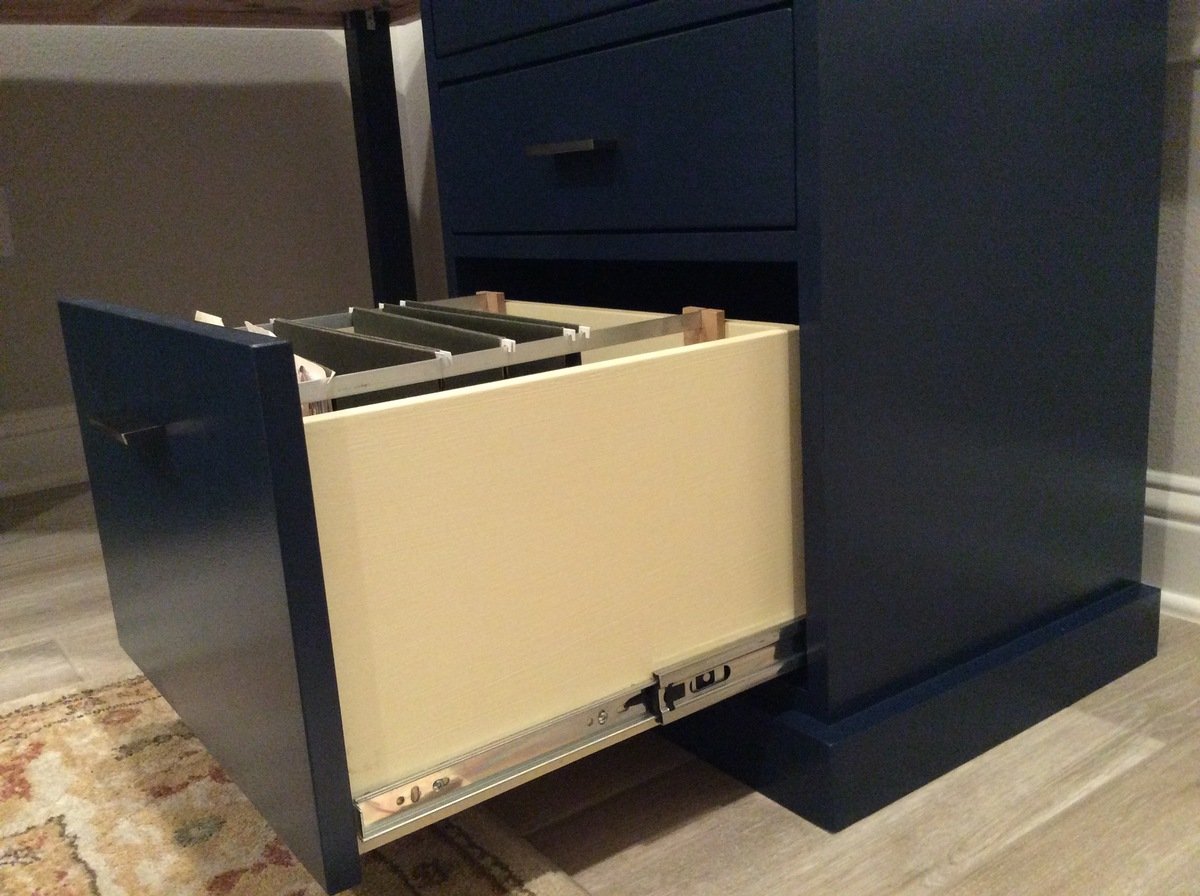
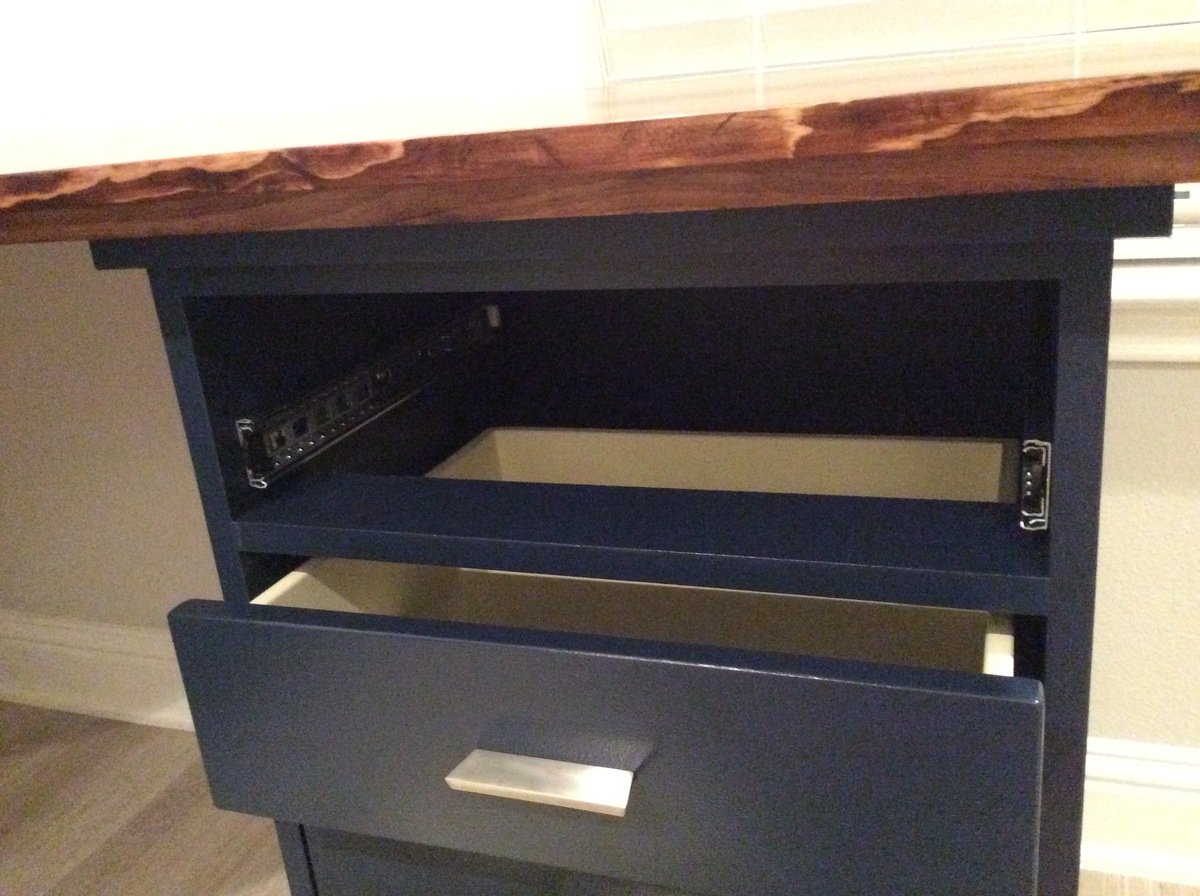
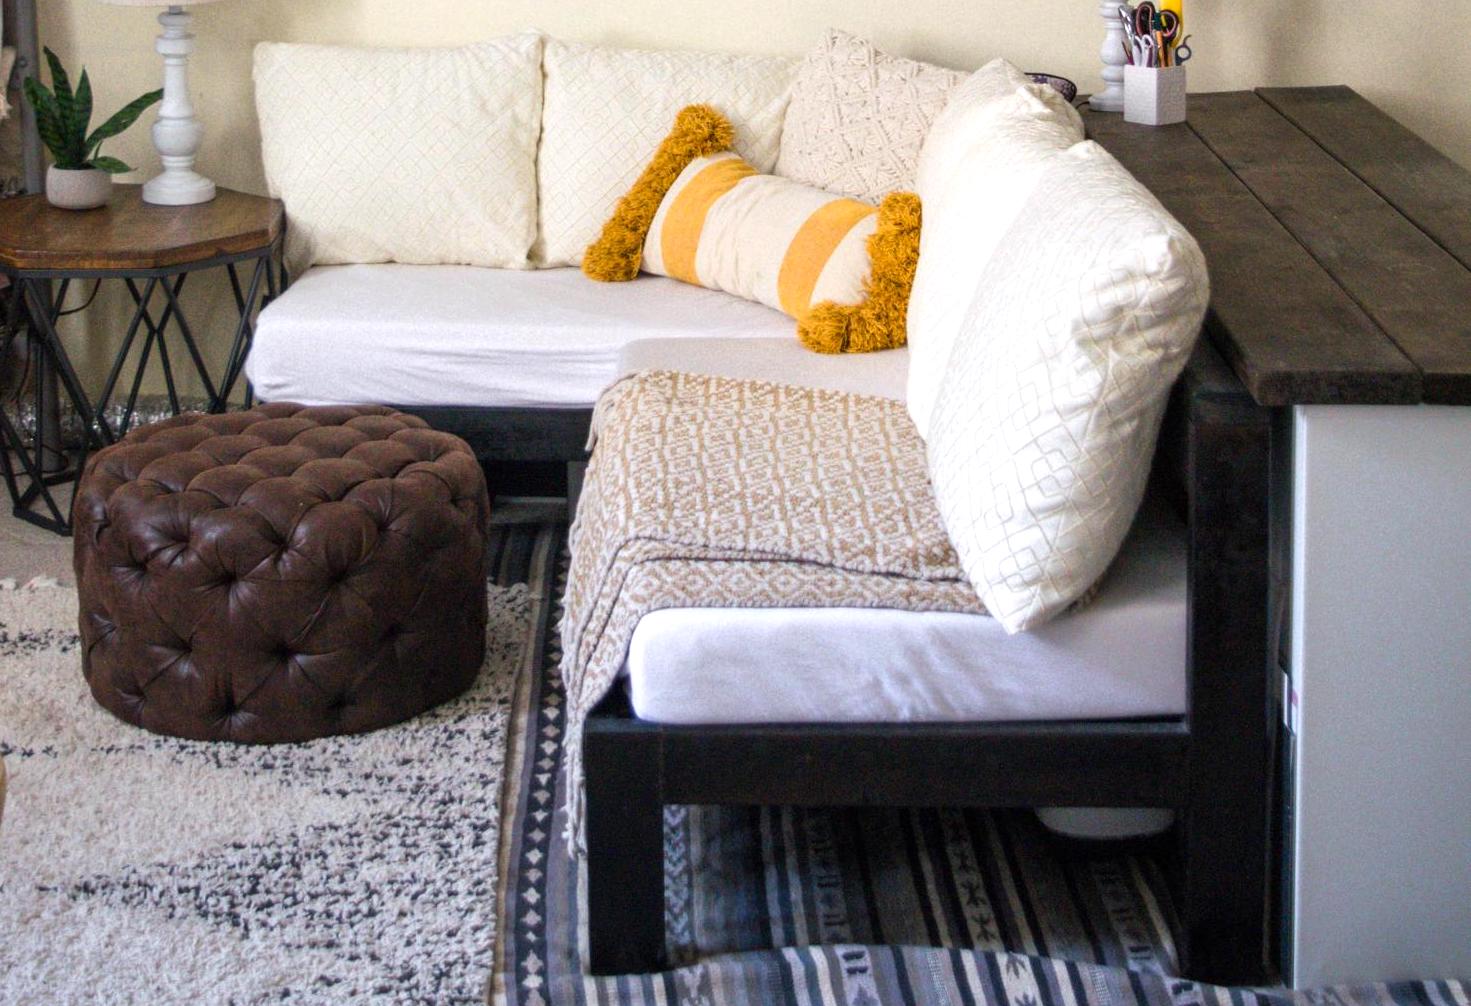
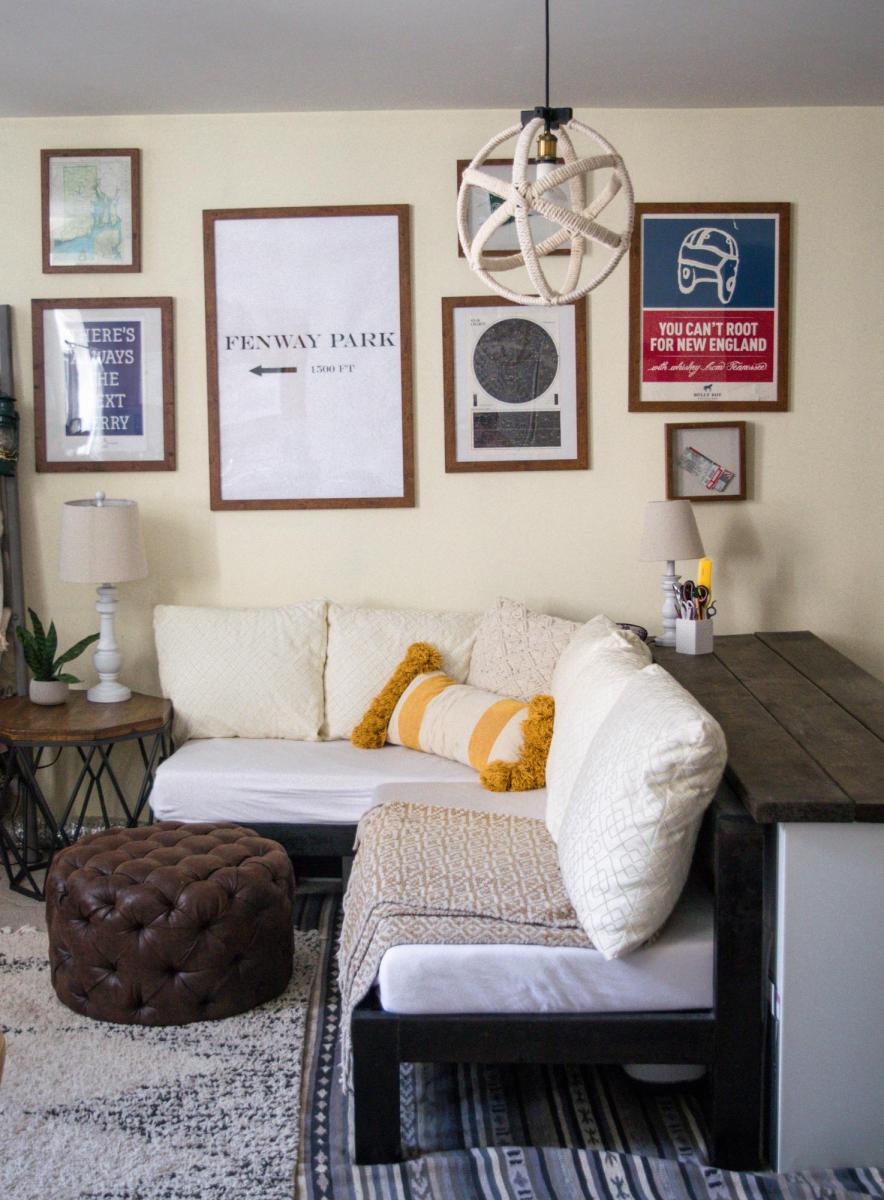
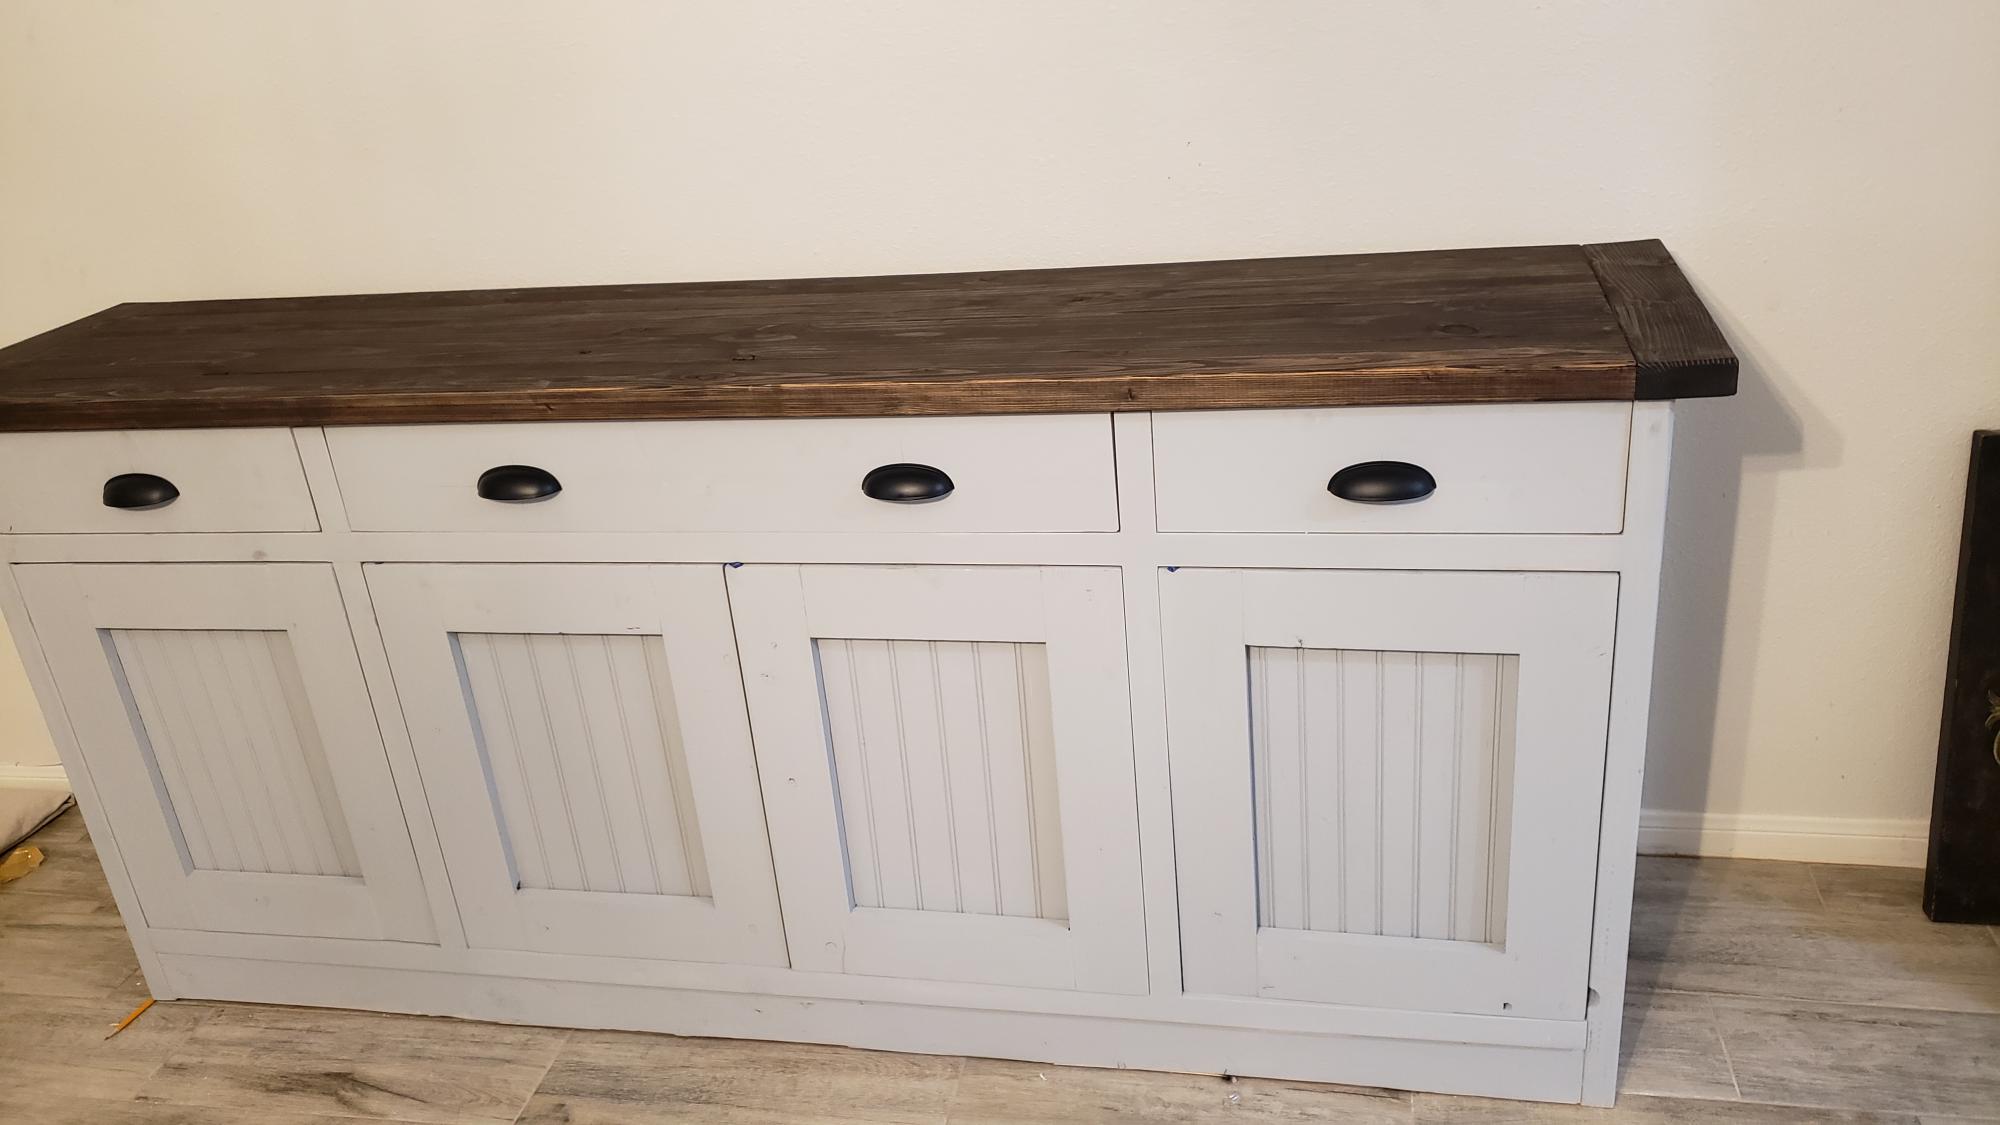
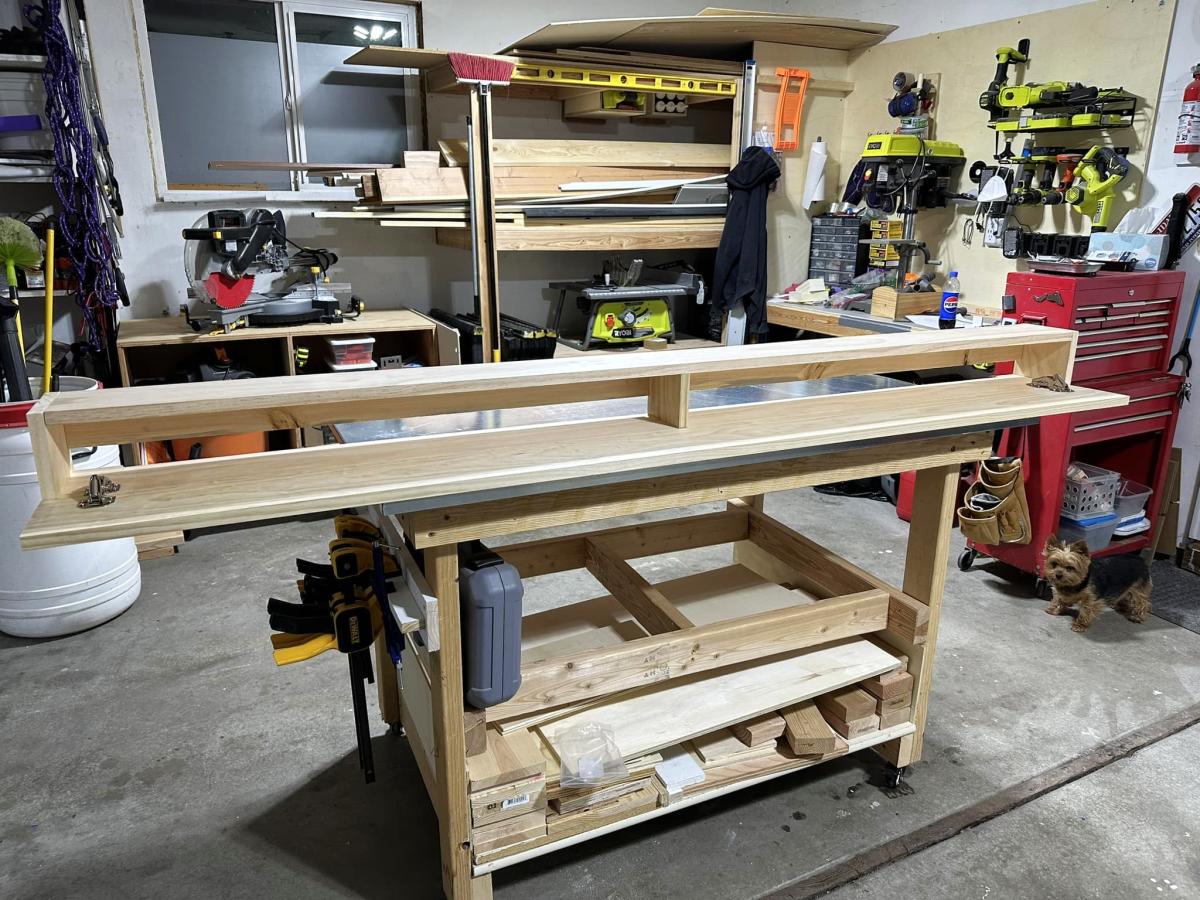
I used Ana's plan for the modern project table to create my craft table. I modified it just a bit by removing the "floating top" and covering the front to provide more hidden storage (a must for me). I used my brad nailer and gorilla glue to construct. I used all whitewood boards for the base and 3/4" mdf for the top. I love it! You can read more details at http://www.shanty-2-chic.com/2011/01/all-finished-yeah.html !

Built from Plan(s)
Estimated Time Investment
Weekend Project (10-20 Hours)
Finish Used
2 coats of Valspar Aquatic Edge and 1 coat of Polycrylic in Semi-gloss. I use 4" Whizz rollers on all my furniture painting.
Recommended Skill Level
Beginner

My Simple Outdoor Sink

Submitted by kmatt55 on Sun, 08/14/2011 - 16:46

I finally completed the last piece to my customized simple two-toned outdoor collection...an outdoor kitchen sink!!! It still needs a couple of touch ups... but more on that later. This is by far my favorite and easiest project to date. We plan on using this as a grill caddie/garden station. This will eventually go onto a 24x12 deck up against our kitchen window (The indoor and outdoor sink will be against each others backs). I decided to go with the Sturdy Workbench plans for the base mainly because of the weight. We wanted something that's going to be difficult to move since it will be hooked up to outdoor plumbing. I used treated 2x4's for the base, cedar 1x4's for the top. I bought the bar sink for about $70. I also used a Kreg Jig to screw in the cedar slats from underneath so the screws won't be visible from the top. FYI - Wait a couple of weeks before you paint soaking wet treated wood. The green chemical from the 2x4 is starting to leak through my white paint. I'll have to go and prime/paint it again when it finally dries. Other than that, it came out 10 times better than I could ever imagine.

Built from Plan(s)
Estimated Cost
$120 ($70 for sink and hardware)
Estimated Time Investment
Weekend Project (10-20 Hours)
Finish Used
Thompson's Water Sealer, semi-gloss exterior white paint.
Recommended Skill Level
Beginner

Comments

Vegasboiz

Sun, 09/29/2013 - 08:16

I love the sink table a lot. I have been looking for one for a long time. Can you tell me what is the length, width, and height for this table. Thank you very much. Jimmy

Modified Adirondack Coffee Table

Submitted by Indiri on Mon, 09/16/2013 - 13:37

As the kids are getting a little older it was time to retire the train table and pass it on to family. Although our living room is growing up we still wanted a place for storage, though.

I modified the Adirondack Coffee Table to include a lower shelf (just make a second box the size of the top one and screw it into the bottom of the legs) and made it wider and longer (49"x33") and taller (20"). 6 of our toy buckets will fit on the lower shelf for storage. By making the top 49" I was able to cut the 1x6 to make a top board and a bottom board from each (top 50" for a little overhang, bottom boards 46". 6 1x6 boards were needed to make the two shelves, in addition to the 2x4s. Since it is bigger there is also a stretcher across the center for a little extra strength (because we all know that at some point a child will stand on it).

It took me about 4 hours to build it and then a couple more hours spread over the weekend to stain/poly. All total this one was about 6-7 hours for me to build.

Estimated Time Investment
Day Project (6-9 Hours)
Finish Used
Red Mahogany Stain and Minwax Poly, 2 coats of each.
Recommended Skill Level
Beginner

Rustic X Bookshelf--Short

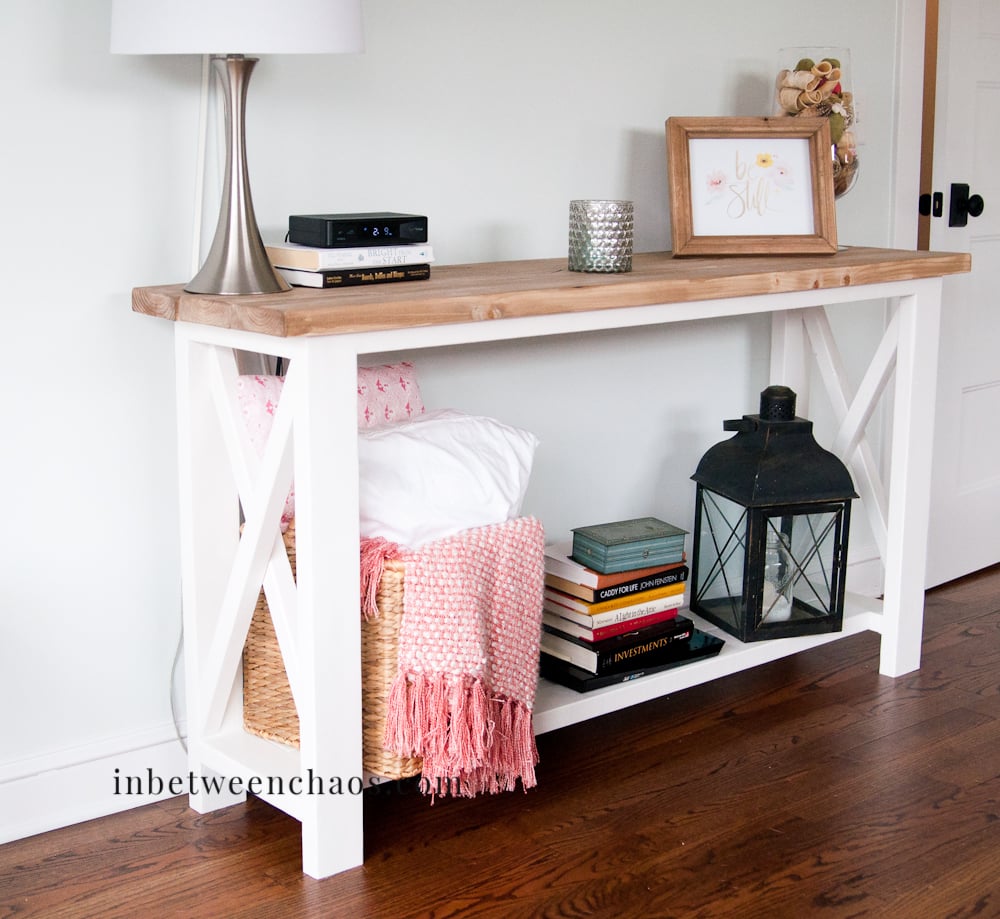
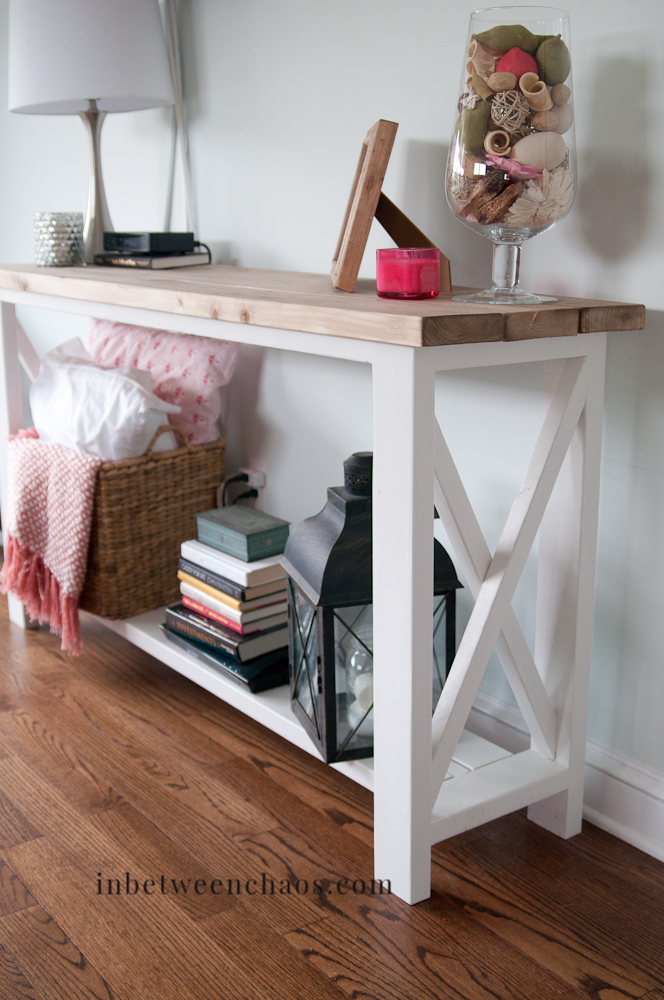
I've loved the Rustic X series from the first plan (the console table) but none of them were things I needed for my home. So when I saw the Rustic X Tall Bookshelf I was thrilled since I have been needing a cookbook shelf in my kitchen, and had been trying to design my own using some form of the X construction. I still needed to customize it, but it was much easier to do from the existing plan. I made it half the height since I wanted it to be flush with my counter, and also wanted it narrower. I had leftover 1 x 12s from another project so I used those, and decided to make two Xs instead of one because of the narrower width. I cut the X's to fit, and used wood glue and 2" nails to secure them from the bottom. Perfect fit for my space!

Built from Plan(s)
Estimated Cost
$25 in new wood, plus leftovers for shelves
Estimated Time Investment
Weekend Project (10-20 Hours)
Finish Used
I used a technique for oxidizing wood which I read about at The Friendly Home. Hillary does a great detailed tutorial (http://thefriendlyhome.blogspot.ca/2012/07/how-to-oxidize-wood.html) on how to use tea, vinegar and steel wool to give new wood an aged weathered look. Cheap and beautiful! I will absolutely do it again! But it was a bit lighter than I wanted, so I used Minwax Polyshades in Tudor to darken them up and seal the wood.
Recommended Skill Level
Beginner

Comments

King Farmhouse Bed

Submitted by Webbuzzard on Tue, 01/22/2019 - 15:44

I pretty much followed the original plans.  I added a chamfer on the outside corners of the posts and on the top boards on the head and foot boards.  I also stained these to match the nightstands.  Since I used a foam mattress, i built a platform by gluing/screwing a 2x4 inside the side rails.  Then I set 1x6s on the 2x4 to support the mattress.  

I use the free version of Sketchup to design the bed and estimate materials needed.  

Lessons learned

  • Take extra time to figure out how to connect the side rails to the head and foot boards.  I thought i could use a sliding lock but this wouldn't work for my design.  I improvised using 3x7 tie plates and screwed the two components together.  For the headboard, I lined the 2x4 with the inside headboard post.  For the footboard, I bent the tie plate 90 degrees and screwed the 2x4 to the footboard.  It worked very well.
  • I would recommend chamfering the outside top of the side rails.  I didn't and my wife complains that she  bumps her shins on it. 
  • Top boards are 1x5s, which in my are are only sold at home depot.  The other wood is readily available.

It's not that difficult of a project.  It is time consuming, though.
 

Estimated Cost
About $150
Estimated Time Investment
Week Long Project (20 Hours or More)
Finish Used
Latex semi-gloss enamel for everything except the top boards which were stained and polyurethaned.
Recommended Skill Level
Beginner

Comments

markswoodprojects

Fri, 10/16/2020 - 13:48

I love the look of your version. Do you have the SketchUp file anywhere that I can download? I would really like to make this version as I love your proportions and the color scheme.

Rocket bookcase

Submitted by Anonymous (not verified) on Tue, 01/29/2019 - 16:02

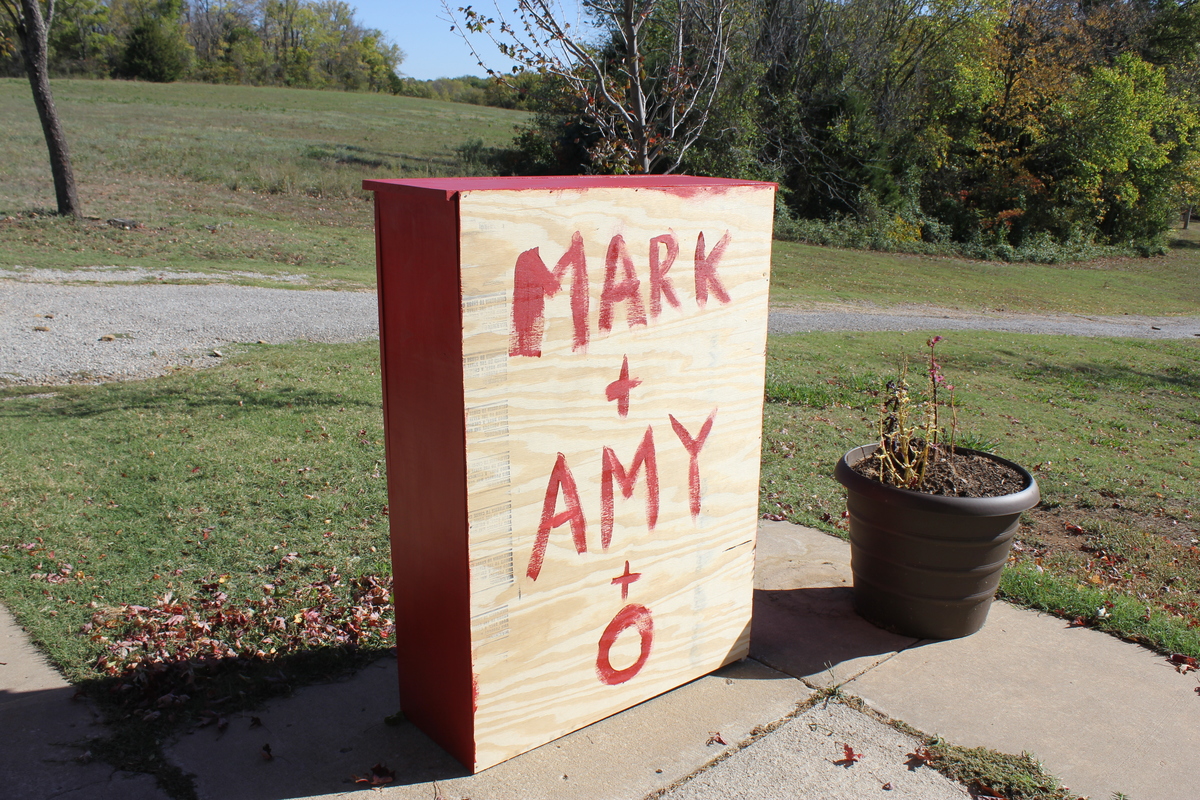
My son saw this project and wanted a rocketship.  I was also tired of piling up his books on the floor.  The only wood I bought for it was 1/4" ply for the back as I used leftover 3/4" plywood for the bookcase itself.  Fairly easy with a Kreg, it just took a little while to finish all of the painting.

Built from Plan(s)
Estimated Time Investment
Day Project (6-9 Hours)
Finish Used
the only paint I bought for this was the red - just bought a sample of Behr's MPH in Satin. I used leftover Behr National Anthem (originally purchased for a dresser that I made my son) and some shade of white that Ihad used on closets (eggshell sheen but can't remember the exact color).
And of course, Zinsser Bullseye primer.
Recommended Skill Level
Beginner

Dollhouse

Submitted by samueldodd on Mon, 12/21/2015 - 06:04

The house is 48" high and 36" wide and 28" deep. It has 3 floors with a total of 10 rooms. Floors were made to look like hardwood floors and stained. Was fun to build and my granddaughter cried when she saw it. Due to the size of it, I installed wheels on it also. I made it from a picture on Ana White of Kidkraft Chic Dollhouse 2011-12-06 Paint all your pieces before you assemble. It makes it a lot easier than trying to paint afterwards.

Estimated Cost
$100,00
Estimated Time Investment
Week Long Project (20 Hours or More)
Finish Used
Roof was painted with oil based Red( because that is what I had on hand. The frame and walls and ceiling were painted white. The floor was made to look like a hardwood or plank floor and was stained with minwax Special Walnut
Recommended Skill Level
Intermediate

Farmhouse King Bed

Submitted by Lantz198 on Thu, 12/24/2015 - 12:15

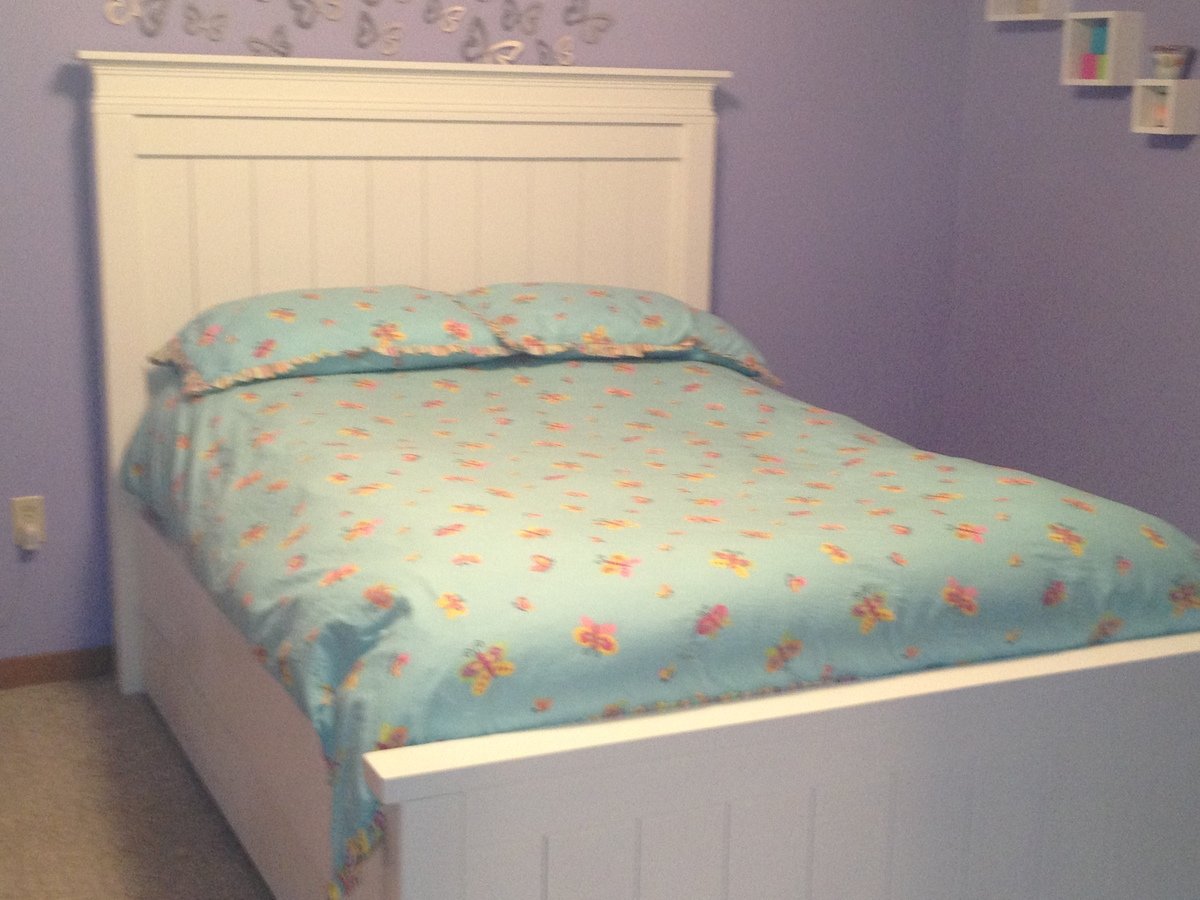
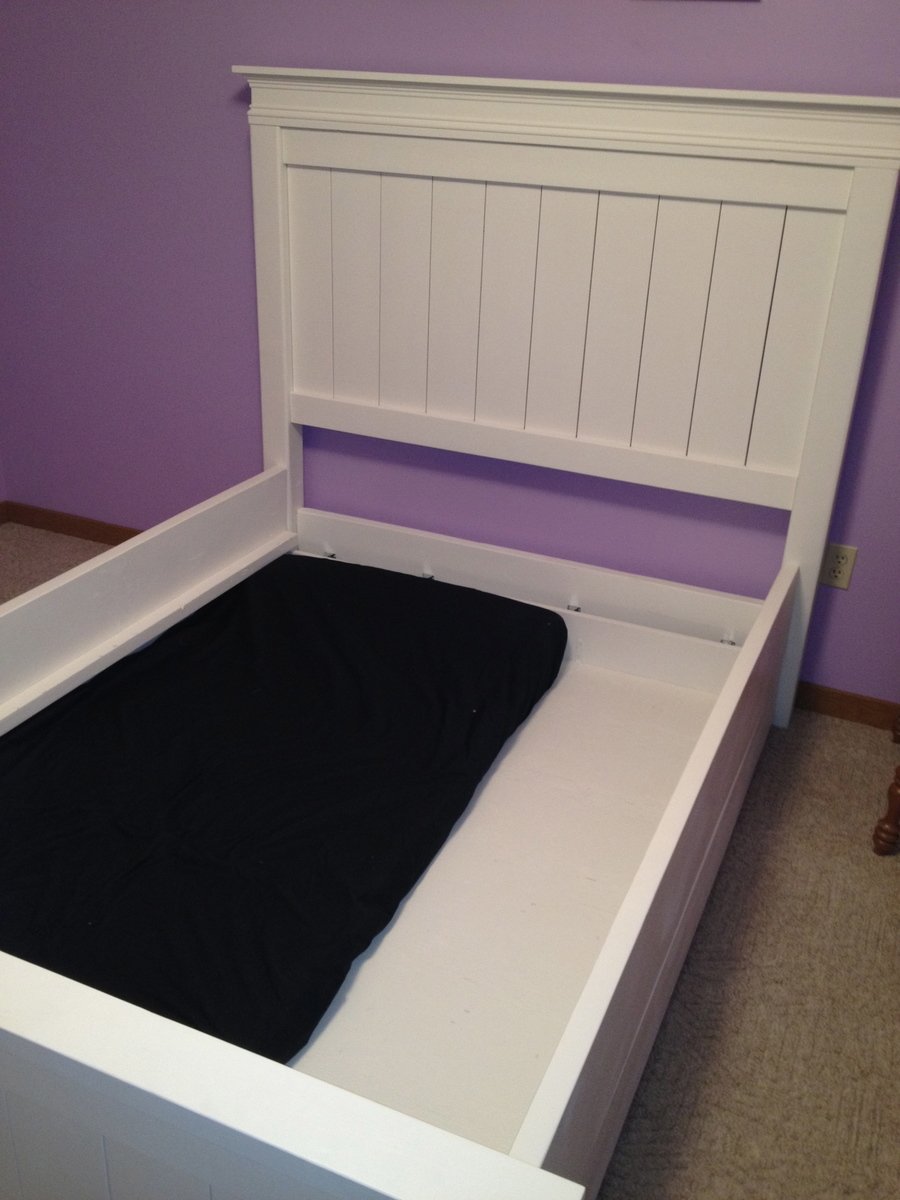
My bed frame dimensions were 76 wide by 80 length. So that is the inside demension after assembly. My headboard posts were cut to 54" and footboard posts were cut to 24". Headboard panels are 31.5" (14- 6" boards) and footboard panels are 15.5" (14- 6" boards). My posts were made from combining two 2x4s together. I plan on mounting the metal bed frame to the inside of the bed rails. I enjoyed this project greatly.

Estimated Cost
$166.25 unfinished. $185.00 painted.
Estimated Time Investment
Day Project (6-9 Hours)
Finish Used
Glidden Interior White with Satin finish
Two coats.
Recommended Skill Level
Beginner

My daughters platform bed

Submitted by Anonymous (not verified) on Sun, 03/24/2019 - 05:33

I’m in love with how well this bed turned out. Modified by using a 2x4 for middle support and 1x4’s for slats. It was less money and felt better for support. 

Built from Plan(s)
Estimated Cost
$150
Estimated Time Investment
Weekend Project (10-20 Hours)
Finish Used
Early American stain & matte poly
Recommended Skill Level
Beginner

rustic baby crib

Submitted by KL728MX on Tue, 01/05/2016 - 12:32

my wife and I had our first son, Mason, over the summer and I was in love with the idea of building his crib. It was a lot more work than I had anticipated but it was well worth the hard work. it came out beautifully. I made a 2X4 spacer that we can remove as he gets older to lower the mattress height. i used all pine lumber for the crib.

Estimated Cost
$250
Estimated Time Investment
Week Long Project (20 Hours or More)
Finish Used
rustoleum American walnut
Recommended Skill Level
Intermediate

Workbench modified with casters

Submitted by ogie287 on Tue, 04/02/2019 - 20:06

I love this workbench! I added casters so I can move it around the garage, outside, wherever it's needed. I just took 4 inches off the bottom of the legs. My hubby is admiring my handy work and planning on making one for himself.

Estimated Cost
$130
Estimated Time Investment
Afternoon Project (3-6 Hours)
Finish Used
None
Recommended Skill Level
Beginner

Comments

JBeecher

Wed, 01/25/2023 - 14:31

Love this with the casters! So beautiful. I'm new here and wondering at what point you took 4 inches off the legs. Did you build the table and then just cut off the legs? Or did you adjust the measurements of the cuts? Thanks in advance! :)

JimCoz516

Mon, 01/30/2023 - 02:32

The overall height of a 4-inch caster wheel is a little over 5 inches with the mounting bracket, so that also needs to be taken in to consideration. 2nd photo shows the overall dimensions, but to me the bracket and brake area appear to be a bit more than 1.03 inches. https://amzn.to/3DkMKzB
I think the best bet would be to have and measure the overall wheel height, prior to measuring and cutting the lumber.

Pantry Shelf

Submitted by Anonymous (not verified) on Sat, 03/04/2023 - 13:03

I have a small kitchen. I found this plan on Ana's site to turn it into a pantry shelf. Initially, I was going to have wheels. That way, I could roll it to sweep. I took measurements to match the height of my upper cabinets and width so my door would clear. I put this shelf up to the side on my fridge. I didn't account for the height difference adding wheels. I still can add wheels if I change my mind. I did differing spacing, considering spices and cereal boxes and items between. I haven't quite figured out the end placement for items. I also am considering appliances to be placed on the bottom. I purchased baskets and spice drawers so I can visually organize and see what works. I used odd and end prices of wood and adjusted the measurements to fit my space. I love my corner 2x4s! They are dark and once planes, have these dark brown ribbons revealing the growth rings. We think they might be brown treated boards. Some of the shelves have a darker brown edge, 5 total. I purposely wanted the dark edge facing out. But I didn't have enough so I used different looking boards (same thickness) and played around with assign them their spot. My friend had copper pipes laying around, so I used those in the back to stop my items from falling off the backside. I polyurethaned to keep the natural wood colors. I really love it and am excited to do more projects!!

Built from Plan(s)

Comments

Cup tree inspired by Anna’s plans

Submitted by Anonymous (not verified) on Sun, 03/12/2023 - 14:17

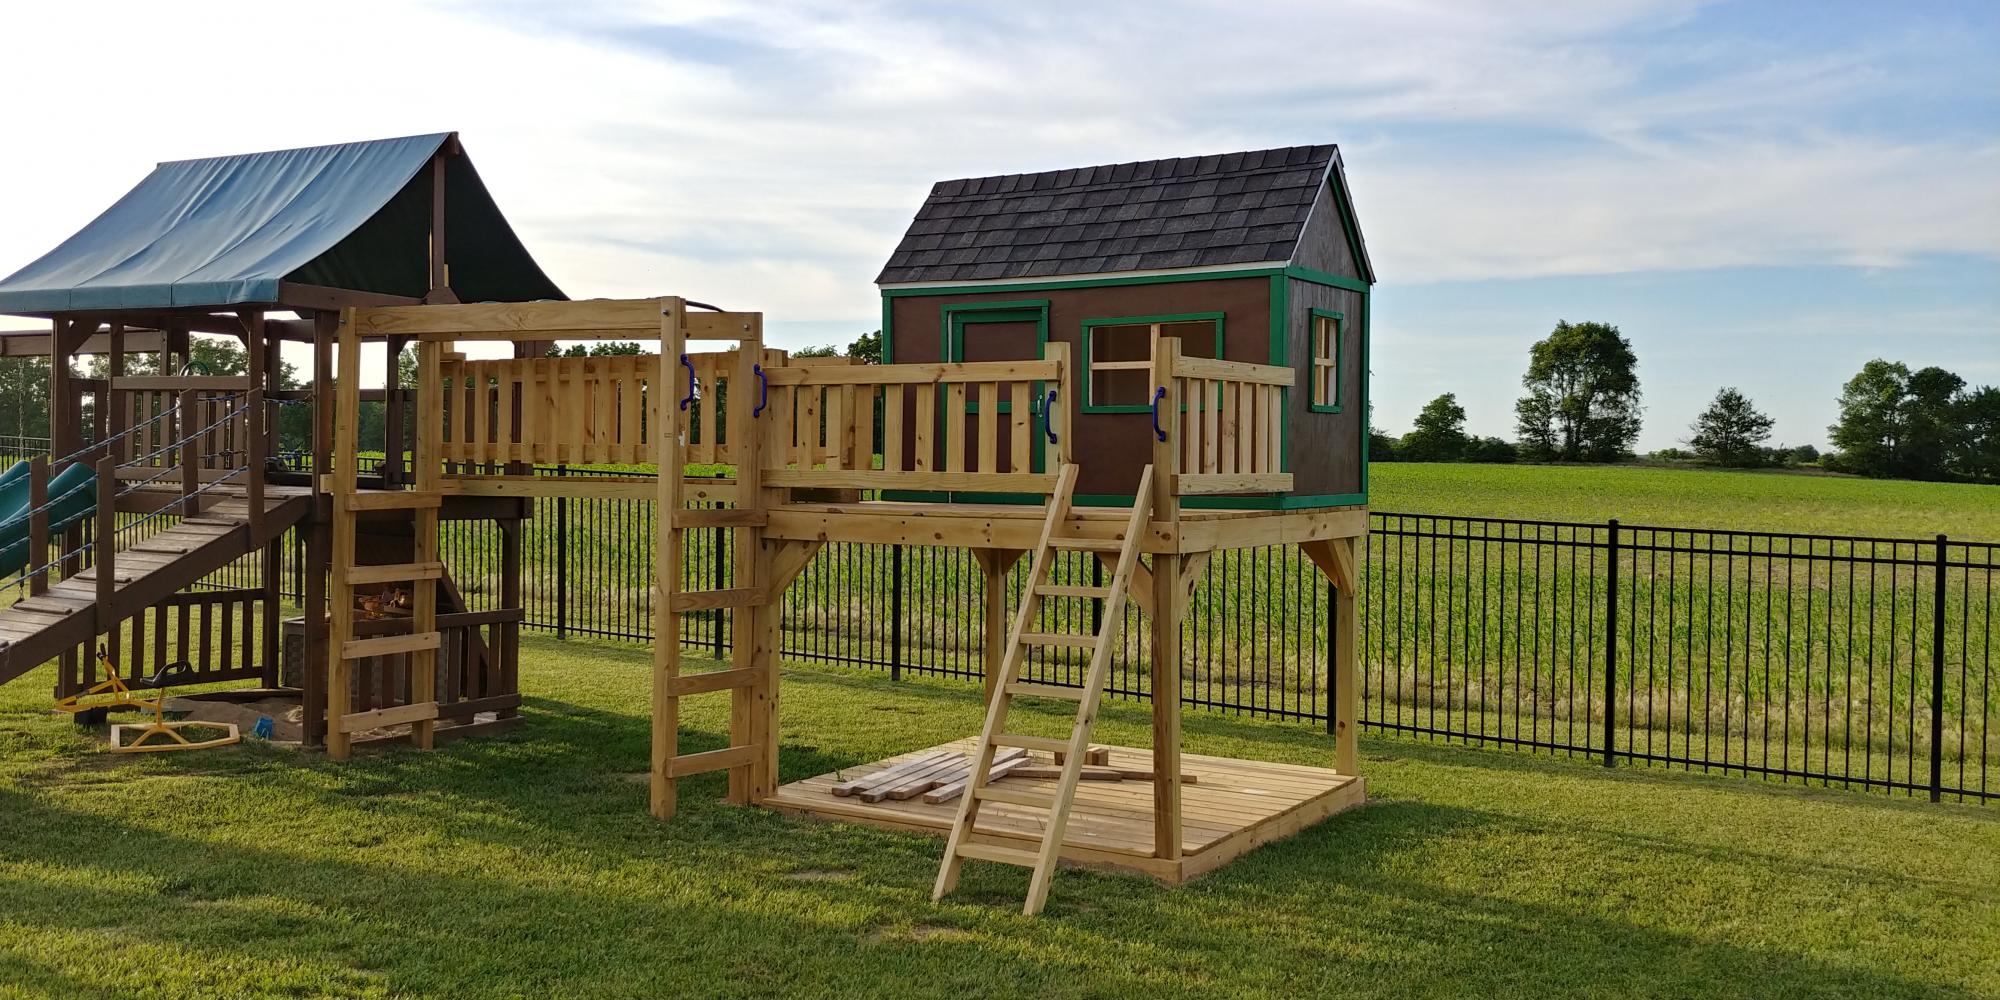
Used Anna’s cup tree plans for this project. Thank you Anna!
I’ve also successfully built a few of your beds. Your plans are always straightforward and easy to follow.

What you do is so appreciated!!!

Angel

Built from Plan(s)

Comments

Conversation Set

Submitted by Anonymous (not verified) on Sun, 03/19/2023 - 18:31

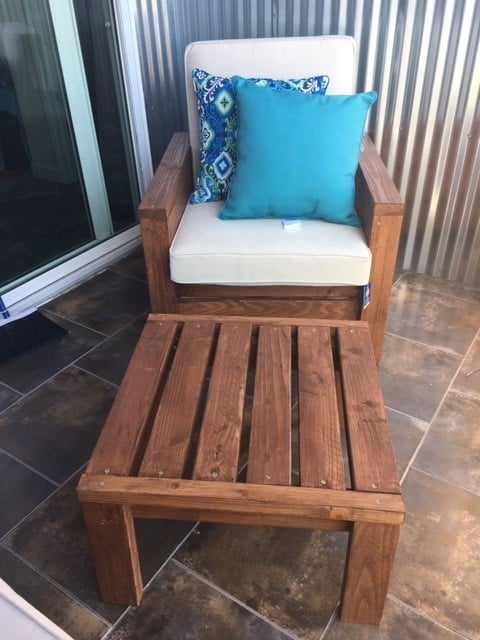
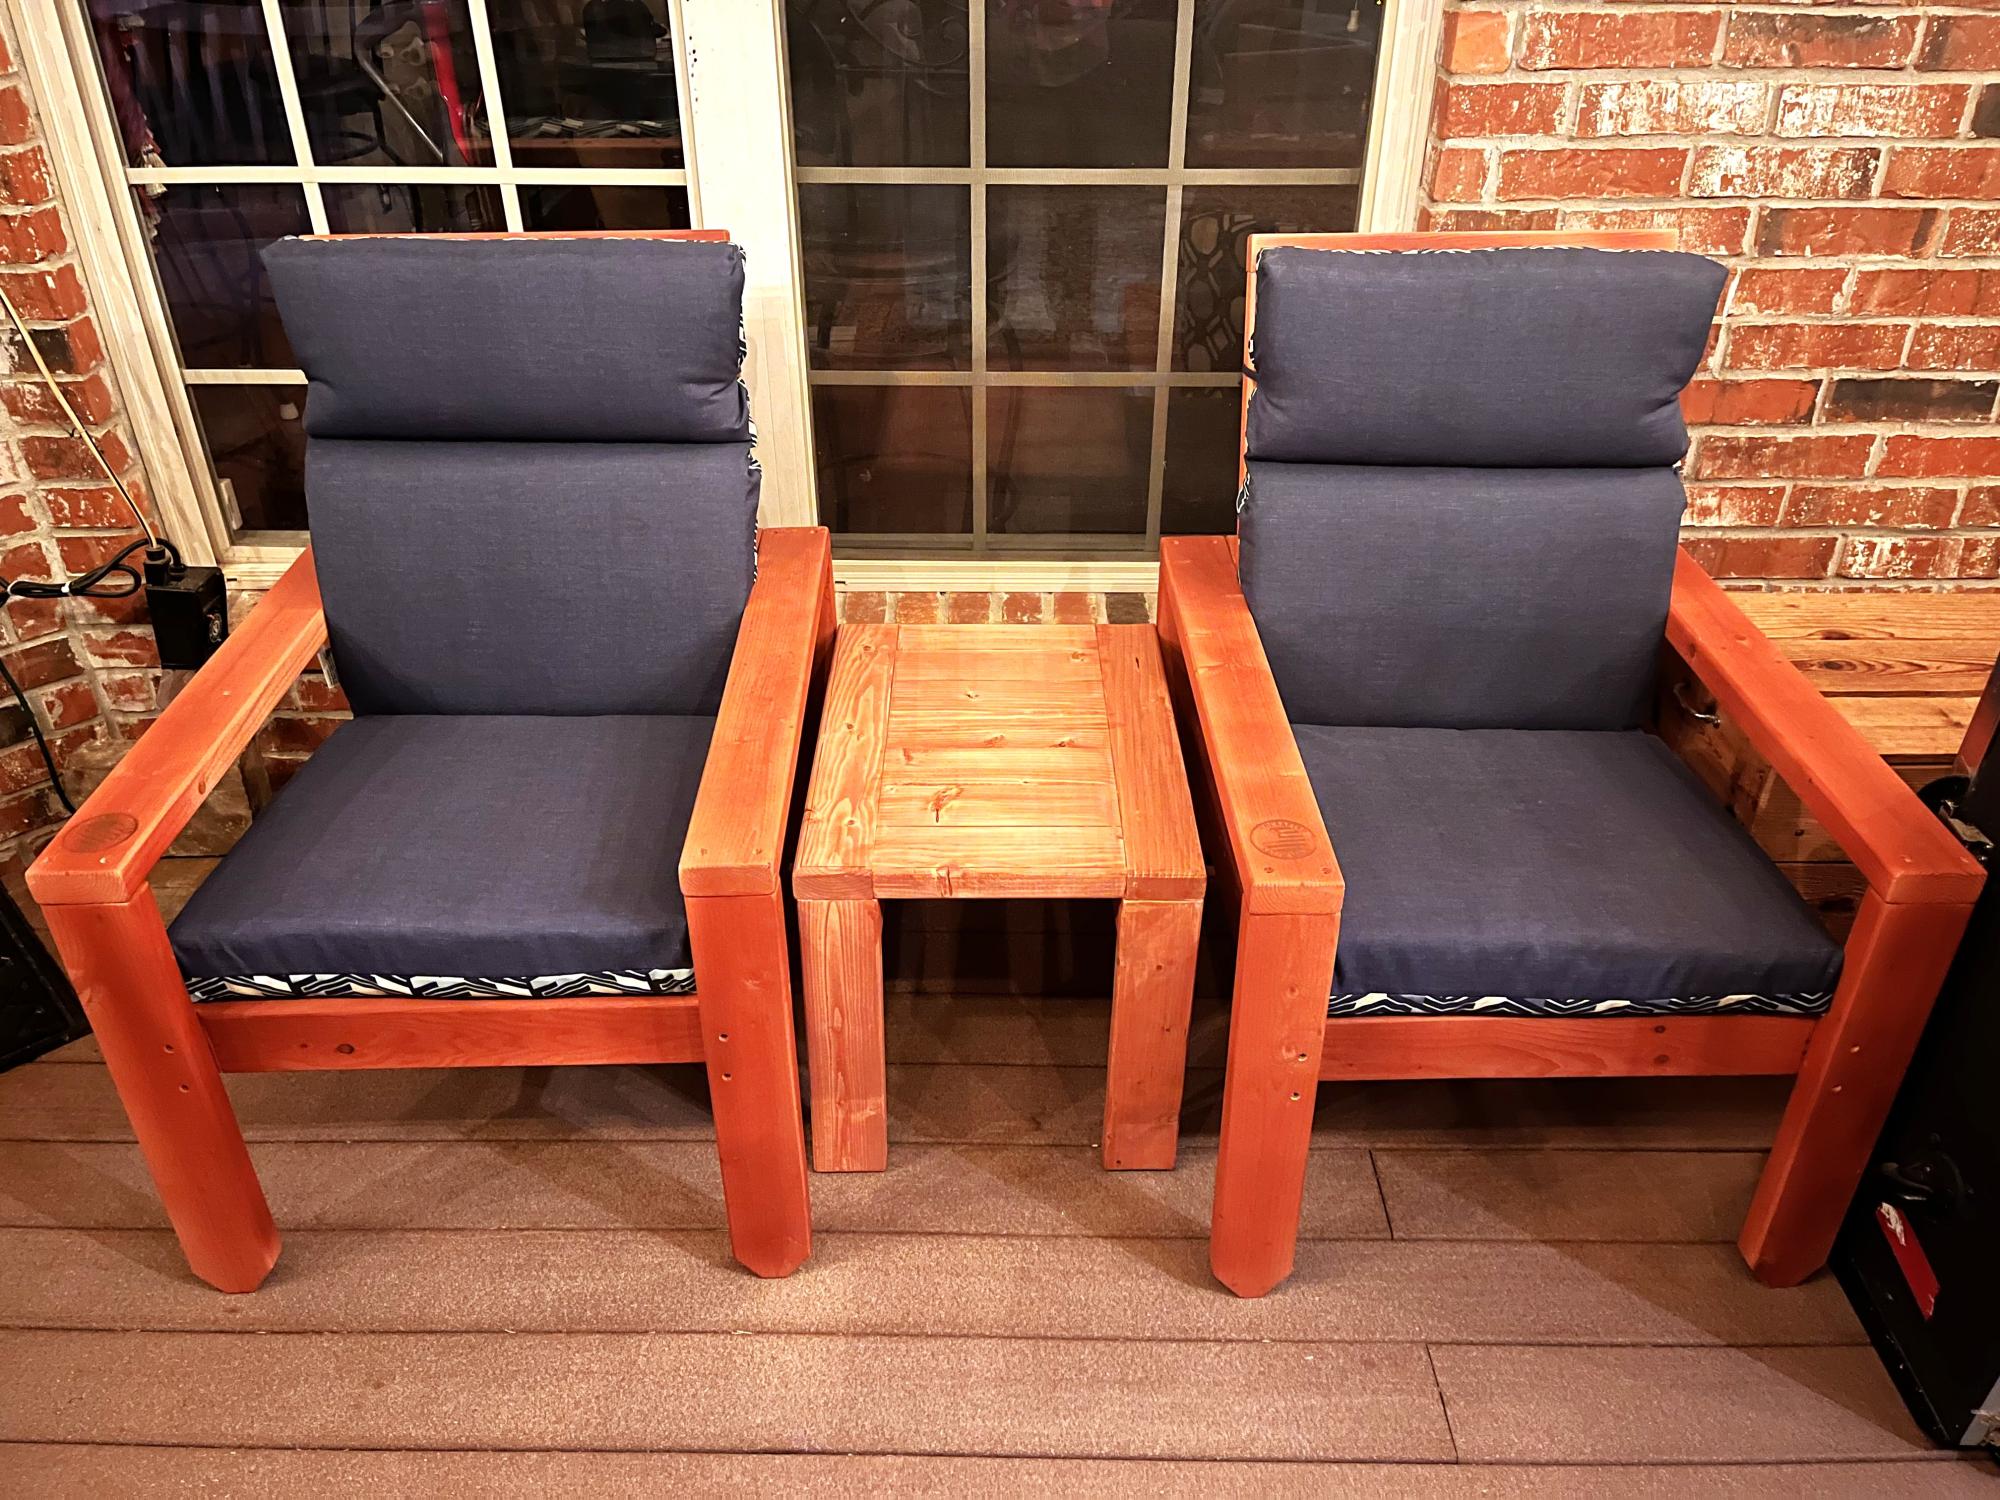
My husband built this conversation set during covid. Since then he has built so much stuff for our yard. More pics to follow.

Comments

Twins

Submitted by Anonymous (not verified) on Fri, 04/14/2023 - 08:01

Twin beds - adapted from a queen bed Ana White plan.

Built from Plan(s)

Comments

Christmas Kitchen Set

Submitted by Fuchsia on Mon, 12/26/2011 - 10:44

My father in law and I built this kitchen set for my two daughters, ages 3 yrs and 9 months. It was so fun to work with my father in law. I have built a few things before (table, chairs, doll bed, etc.) but nothing of this quality or magnitude. He is a great woodworker and knows how to do all the neat finishing touches that just make the project look really professional. I learned a ton working with him and had a blast!
I was inspired by Ana's kitchen sets and used a combo of then and the Lowes plans and I was very happy with how it turned out. I changed a few things: put two doors under the sink, made "gas" burners instead of "electric", used half the sink cabinet top for the sink and left the other half for counter space, added a clock to the stove, made the oven door open down.
The sink is a food service warming pan 1/4 size and the faucet came from Wal-Mart for $10. I will probably replace it with a nicer one from the ReStore when I get a chance
Break down of costs:
Lumber: $100
Hinges and pulls: $40
Paint and primer: $45
Burners: $20
Sink: $24

Estimated Cost
$230
Estimated Time Investment
Week Long Project (20 Hours or More)
Finish Used
Exterior: Glidden Red Delicious high gloss enamel
Interior: White
Oven: grey stone textured spray paint
Recommended Skill Level
Intermediate

Comments

Cindy from Indiana (not verified)

Mon, 12/26/2011 - 13:09

Holy cow! Fantastic job! You guys really pulled it together and I really love the creative use of hardware, etc.

Fuchsia

Wed, 02/29/2012 - 10:03

Sorry I didn't see your comment sooner - I made the burners with craft wood circles and squares and 1/2 inch pieces of wood. I notched the ends over the circle with a chisel.

My simple Outhouse

Submitted by Anonymous (not verified) on Wed, 07/31/2019 - 17:14

<p>I worked on this for about 2 weeks in my free time. I modified the original plans from this site to accommodate my needs. I just wanted a “#1” only place near my pool so I didn’t have to dry off and walk all the way up to the house. The trash can is for the TP and I will just toss it when I need to. I used a traffic cone as a pee funnel and attached&nbsp;tubing to the end of the funnel&nbsp;that I buried down along the slope of my yard against the fence line.&nbsp;I ended up adding an area for boys since I didn’t want the inside all gross. I added solar deck lights to the outside and a light inside too.&nbsp; It turned out amazing!!!</p>

Built from Plan(s)
Estimated Cost
$300
Estimated Time Investment
Week Long Project (20 Hours or More)
Finish Used
Varathane Premium fast dry oil based stain in the color “Ipswich Pine” and Varathane Ultimate Spar Urethane oil based in clear satin. One coat of each.
Recommended Skill Level
Intermediate

Comments

Bookcase

Submitted by Anonymous (not verified) on Wed, 08/21/2019 - 05:07

Bougth some furniture but no bookcase . So I started to make it myself; first time ever I worked with wood.
I used the plans of Channing bookcase but modified them a bit.
It fits completely with the other furniture: same color and structure , but most important, 5 times cheaper.
Thanks Ana White

Built from Plan(s)
Estimated Cost
70 €
Finish Used
old white paint
Recommended Skill Level
Starter Project