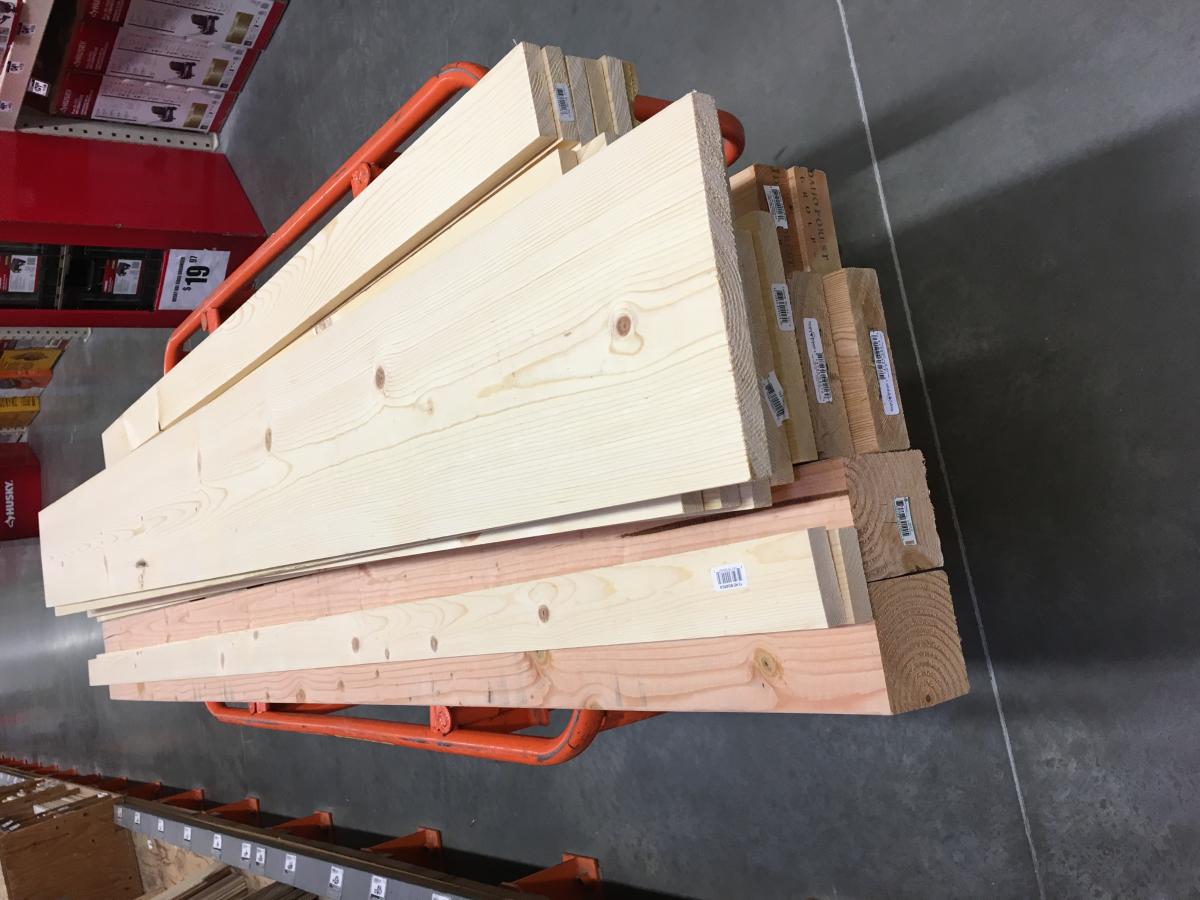
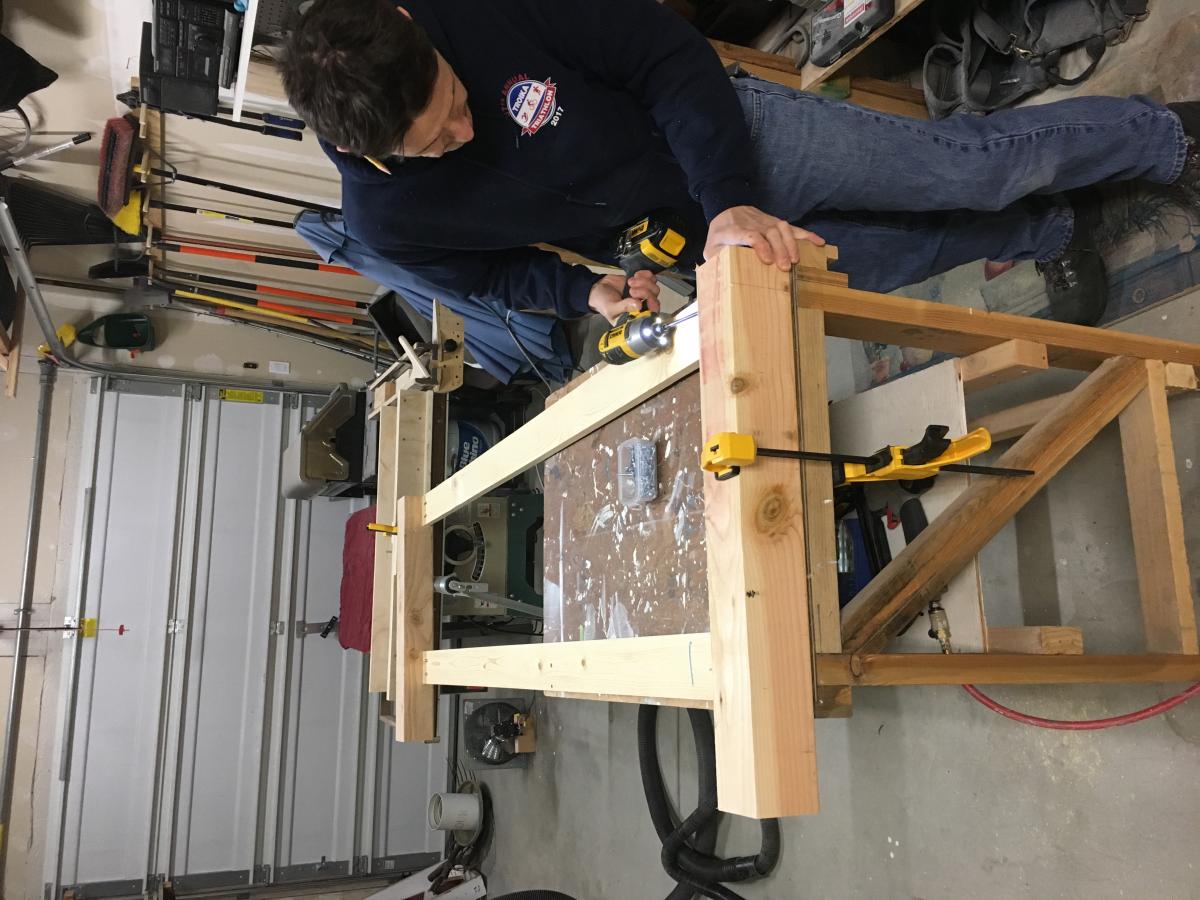
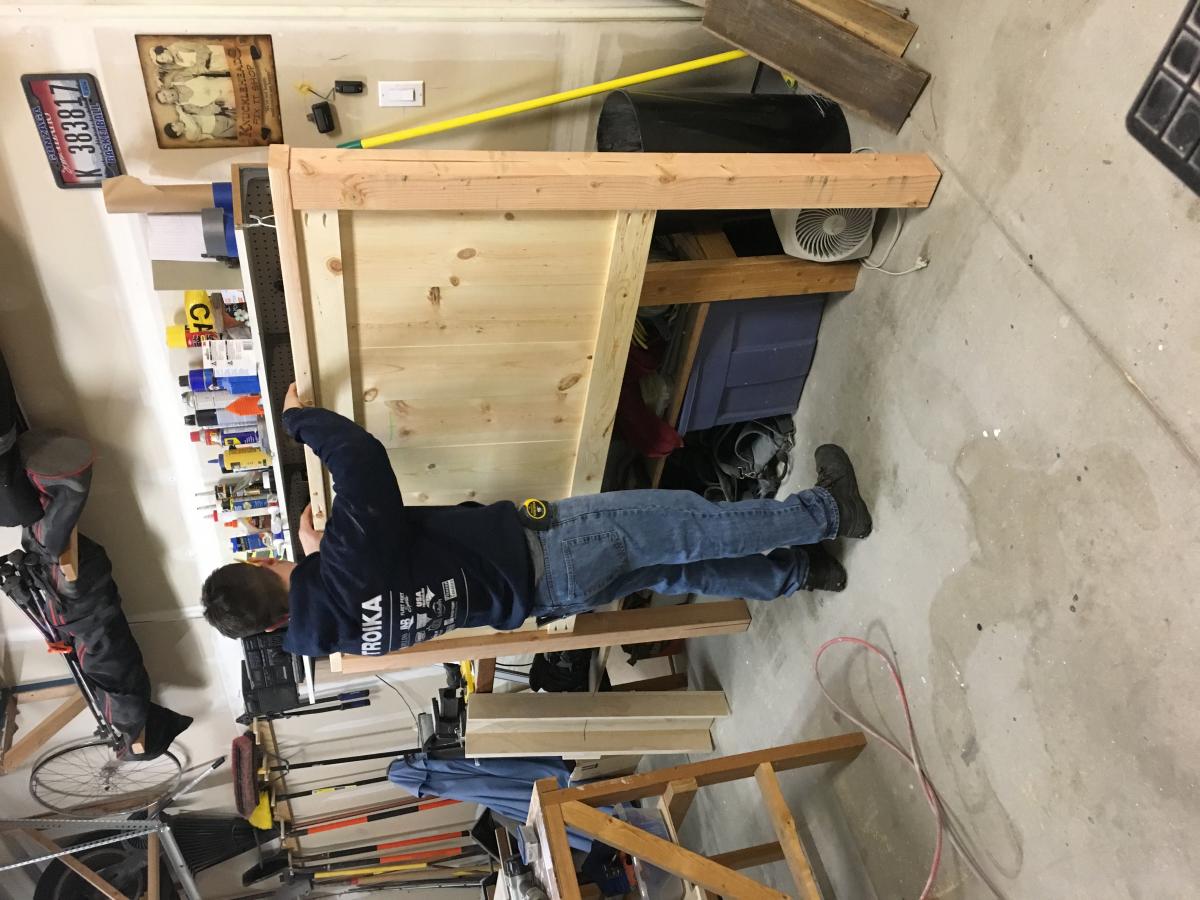
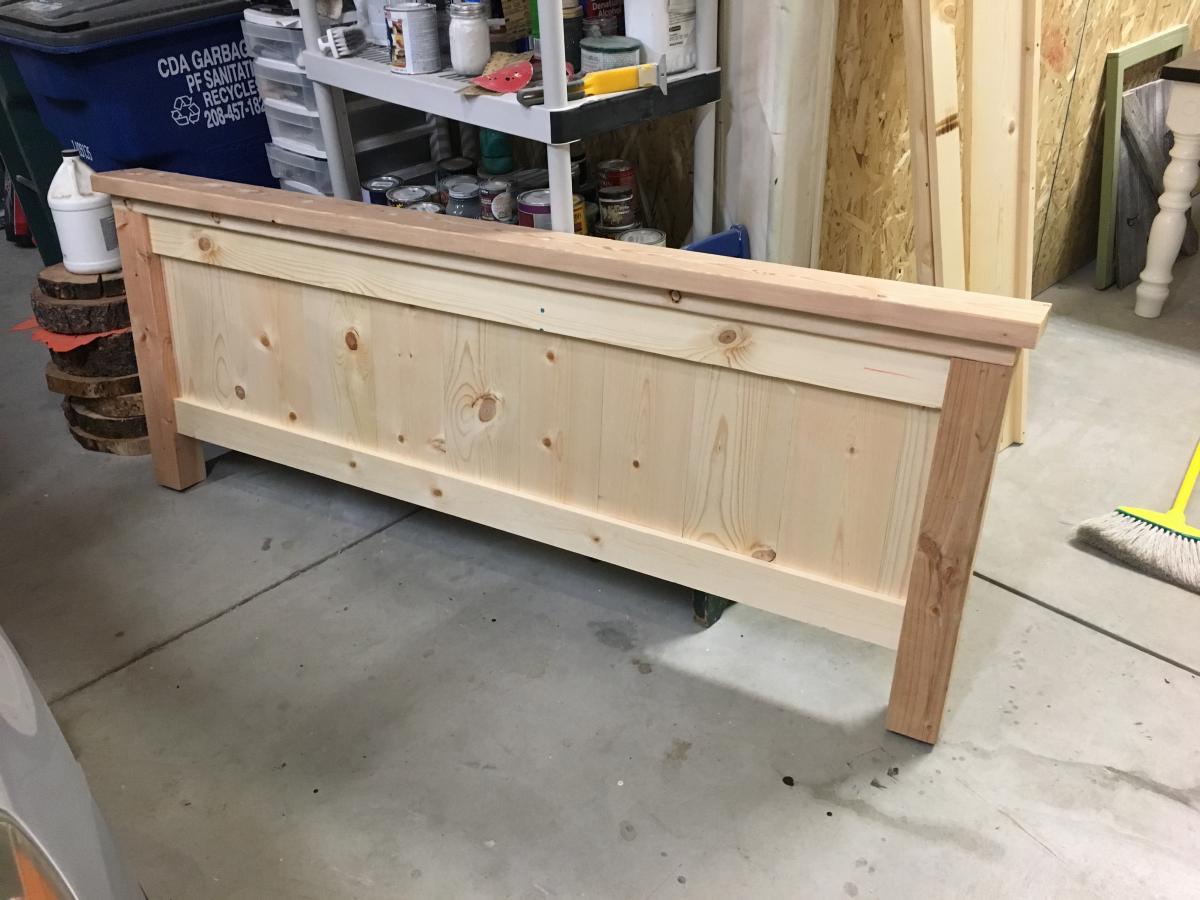
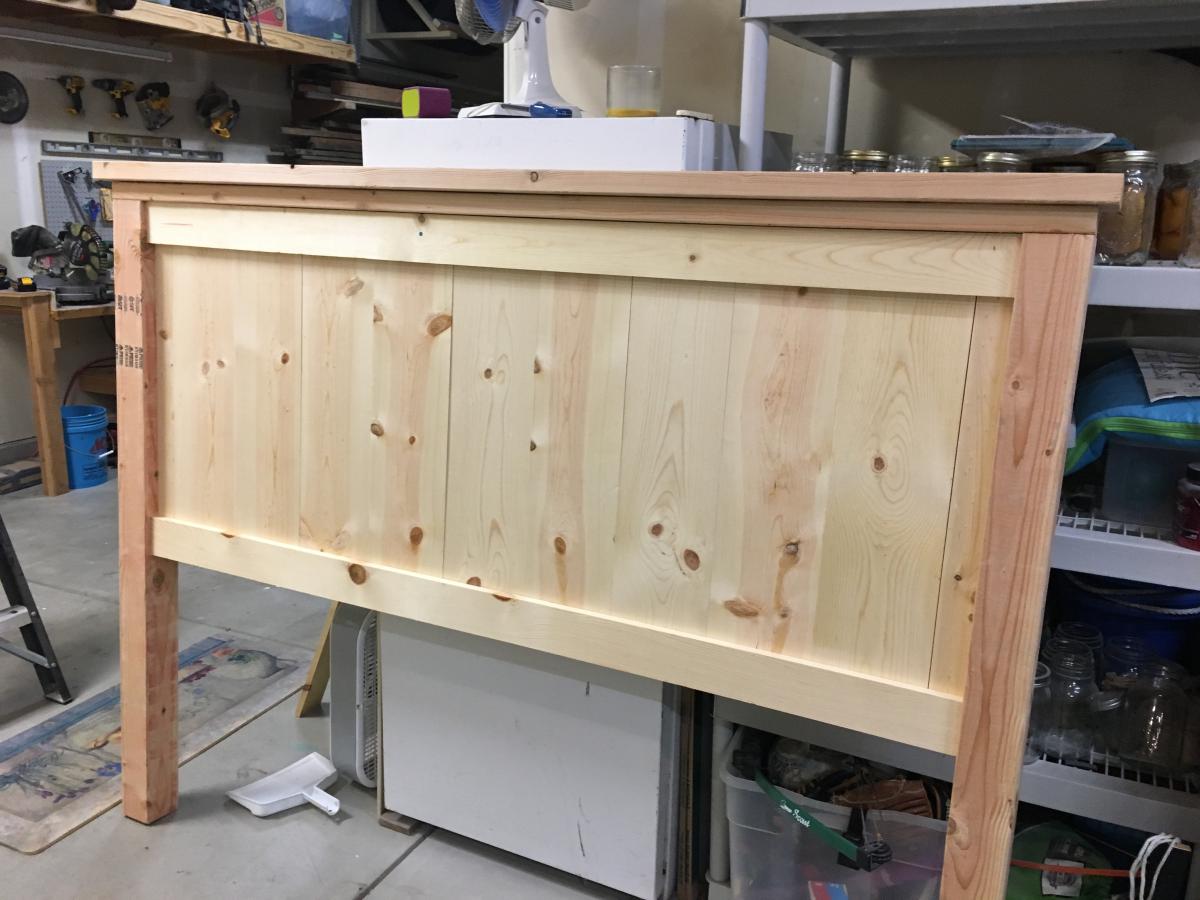
Farmhouse head and footboard
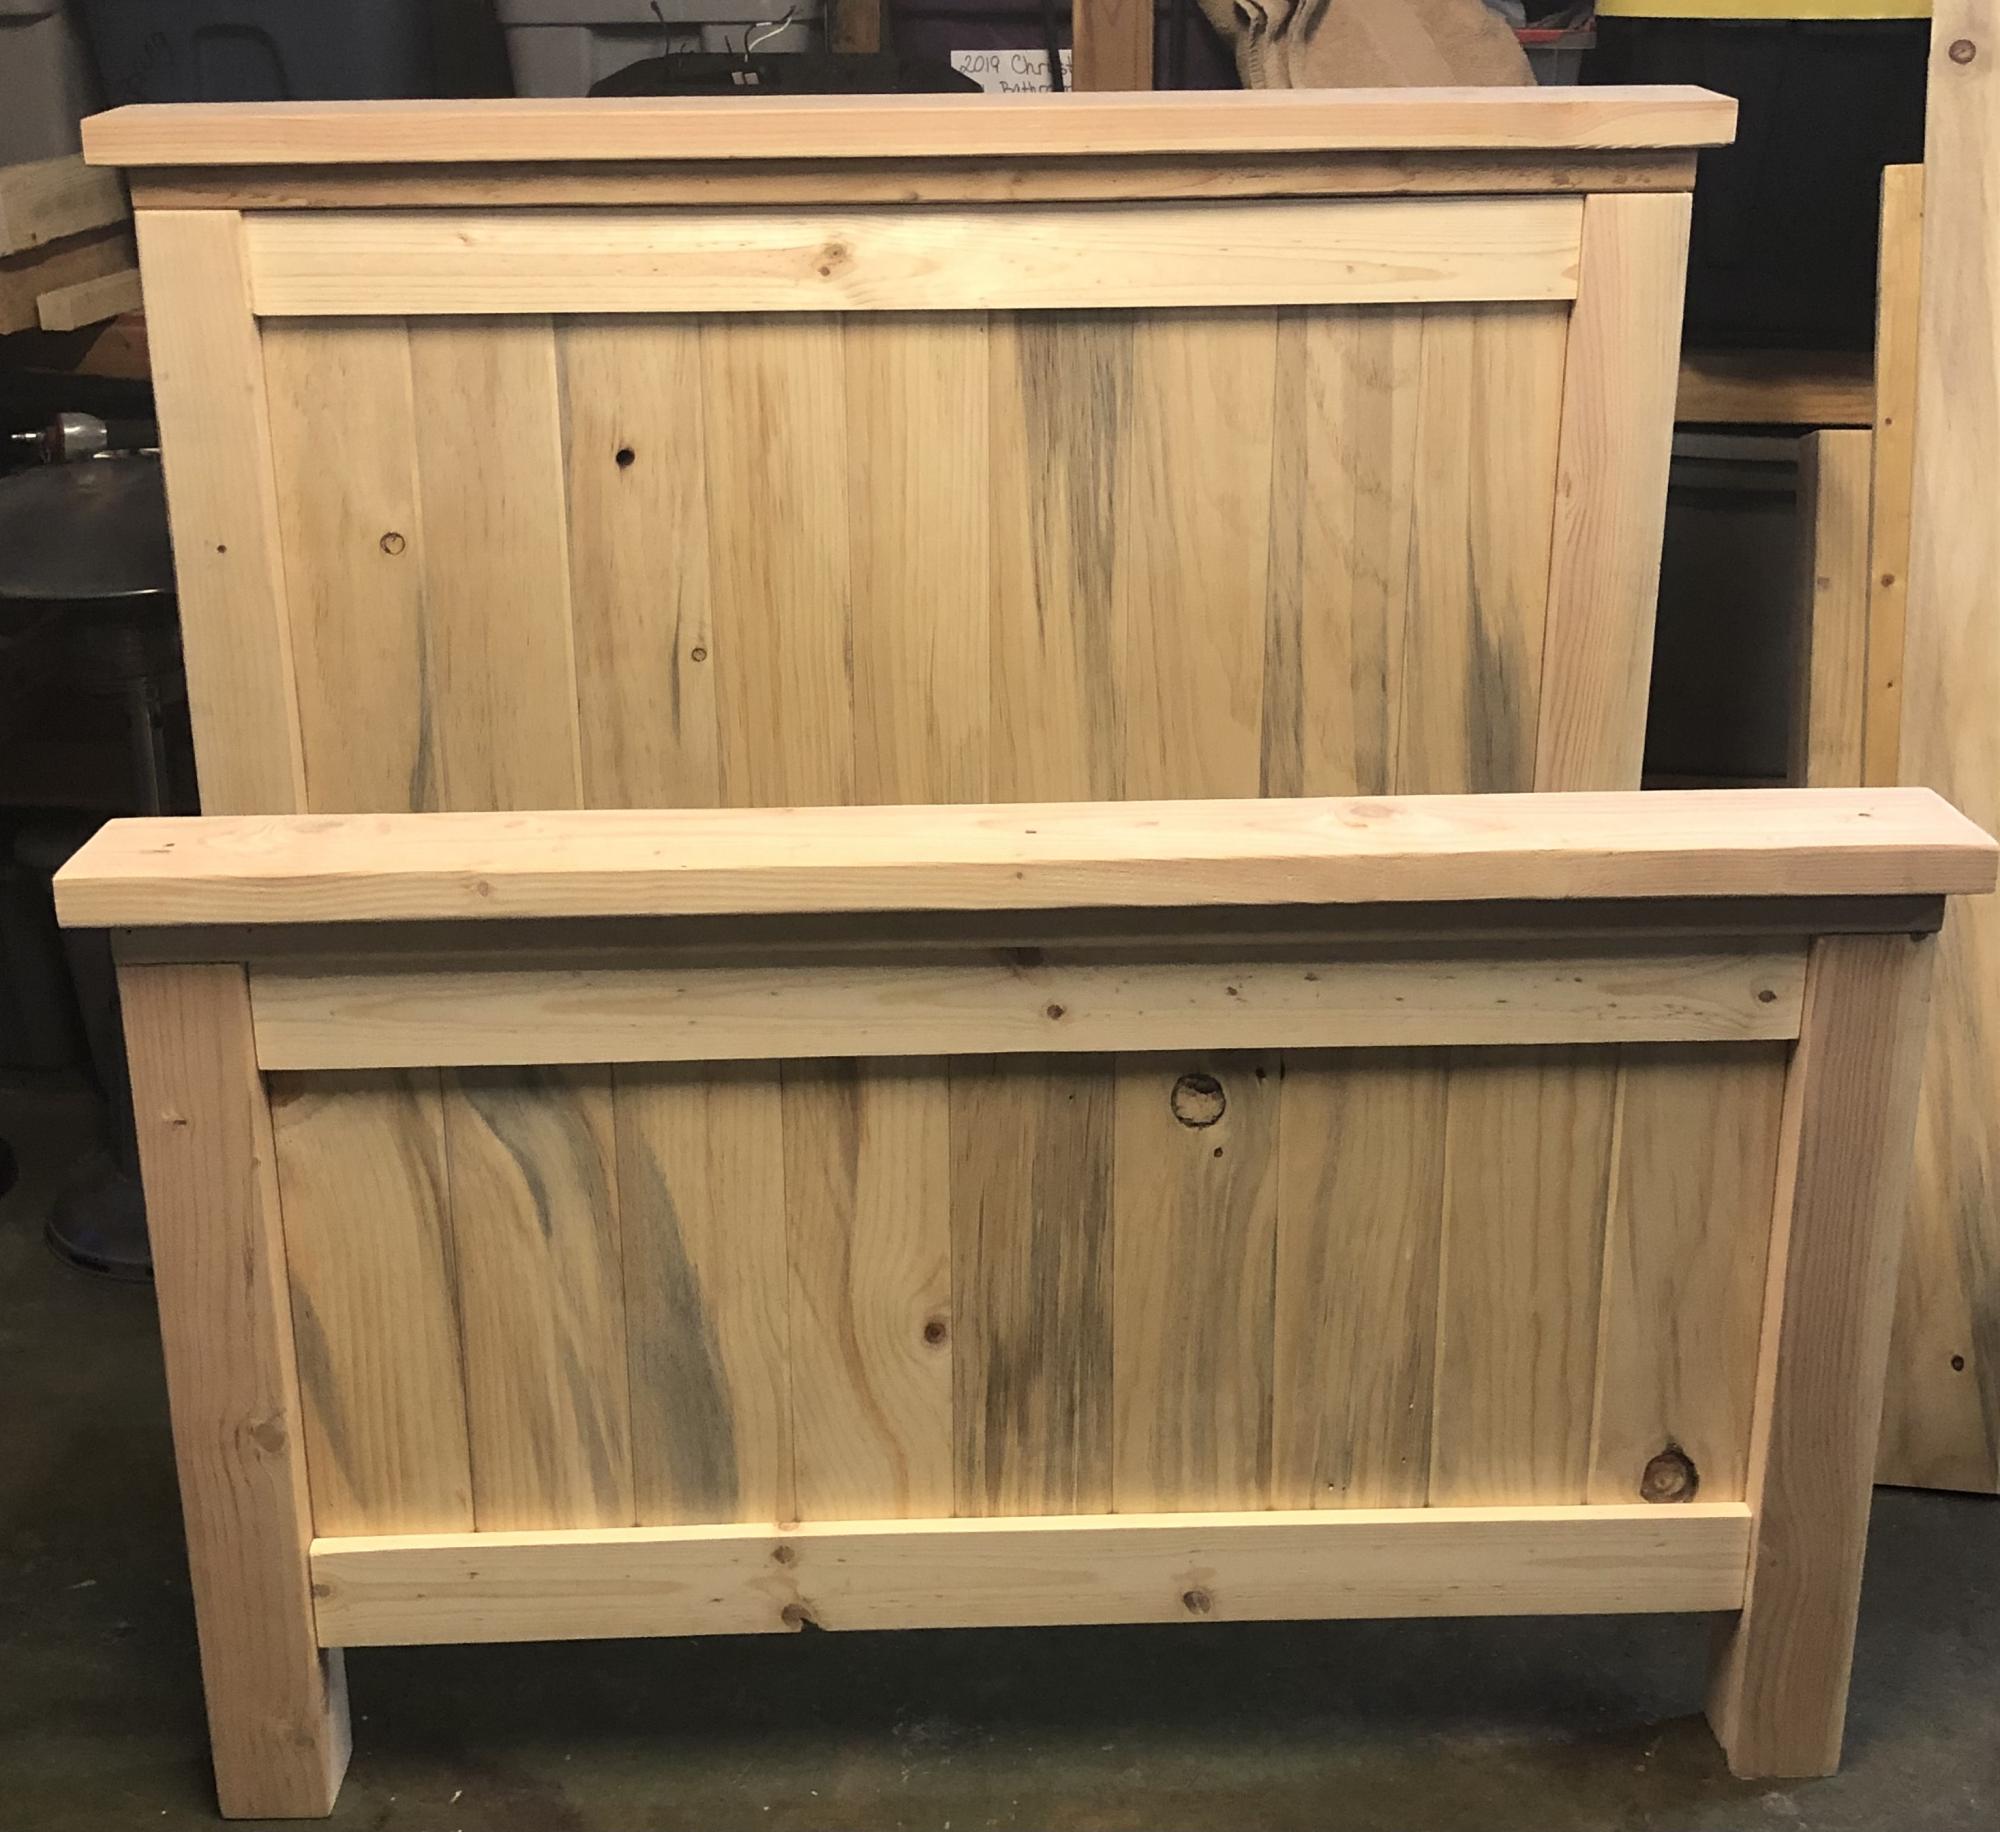
Still need to paint it. Perfect weekend project. Such an easy build! Thank you!

Still need to paint it. Perfect weekend project. Such an easy build! Thank you!
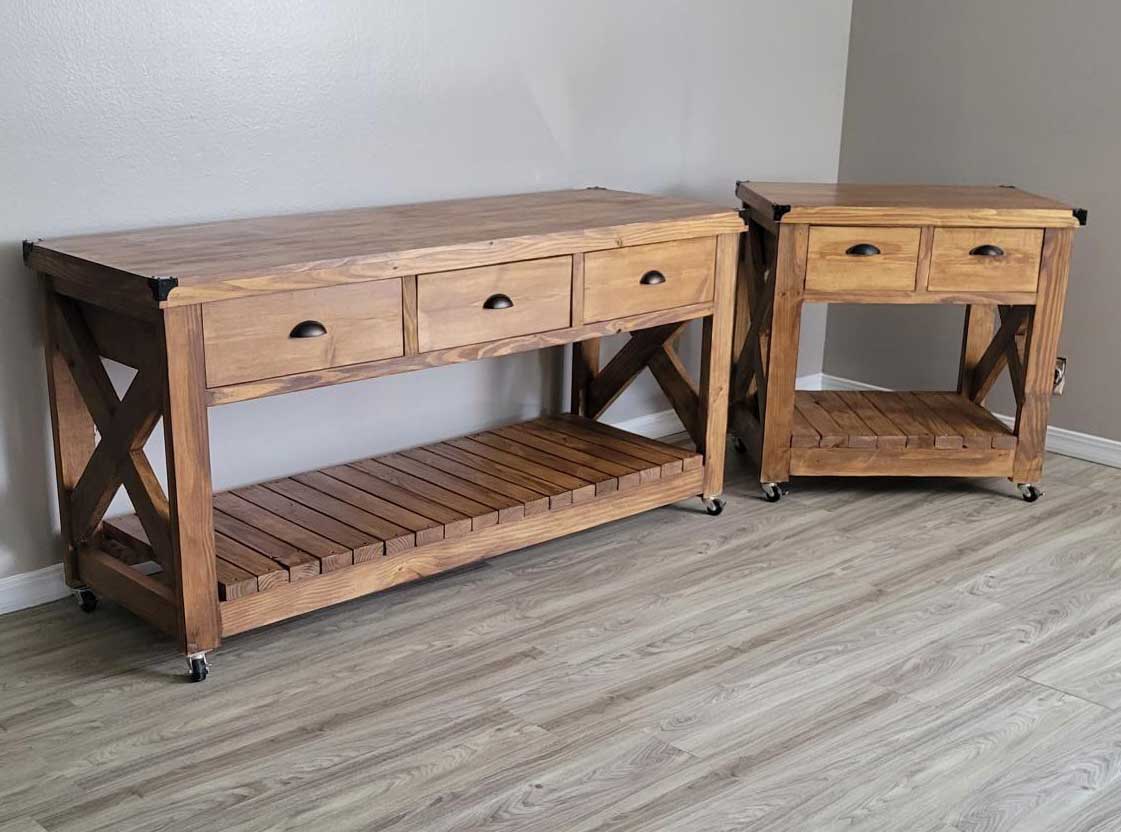
Used Ana's plans with a little modification.
I built 2 different sizes and donated to our church for their fellowship hall.
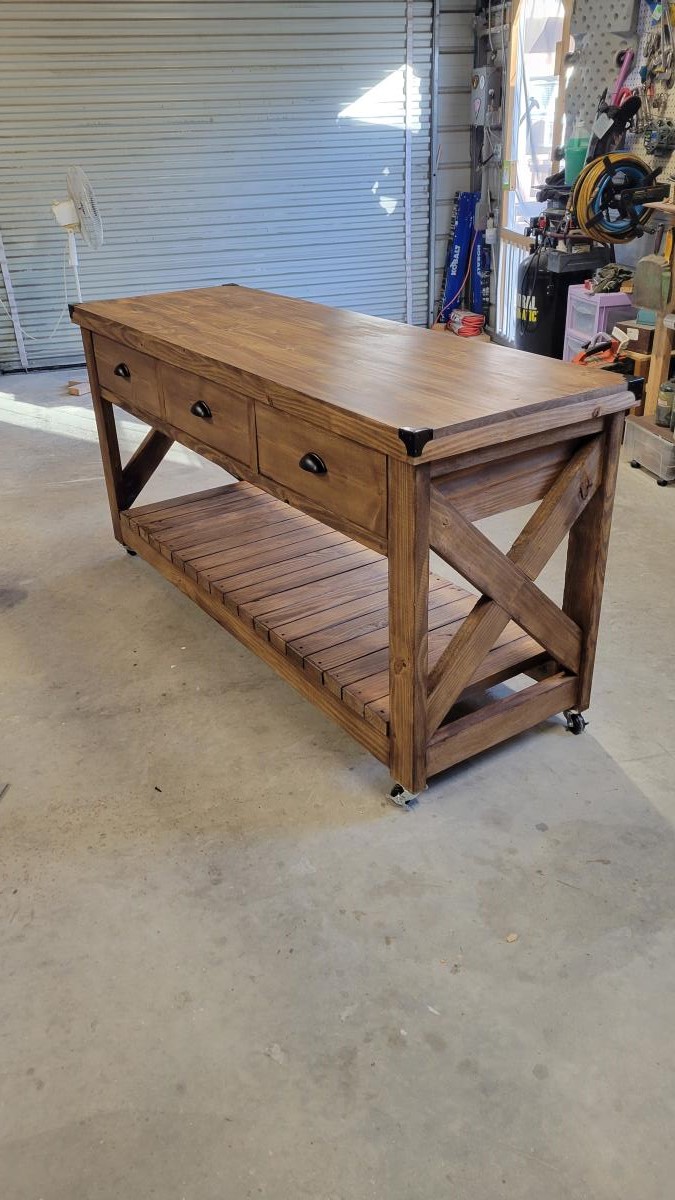
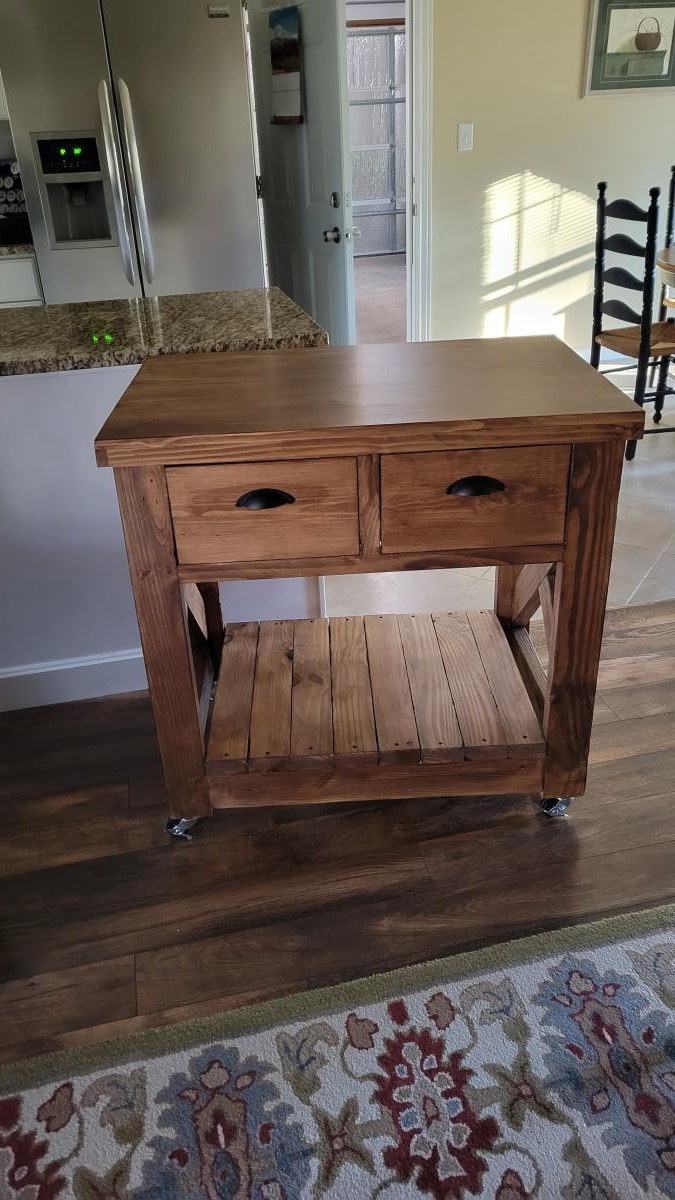
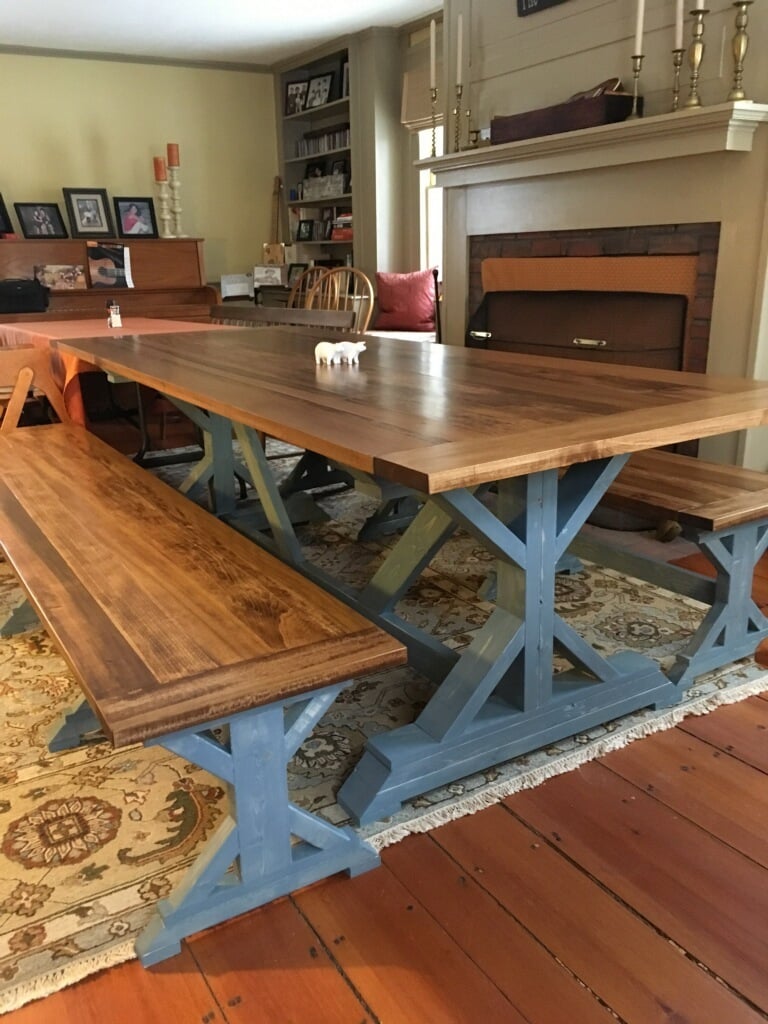
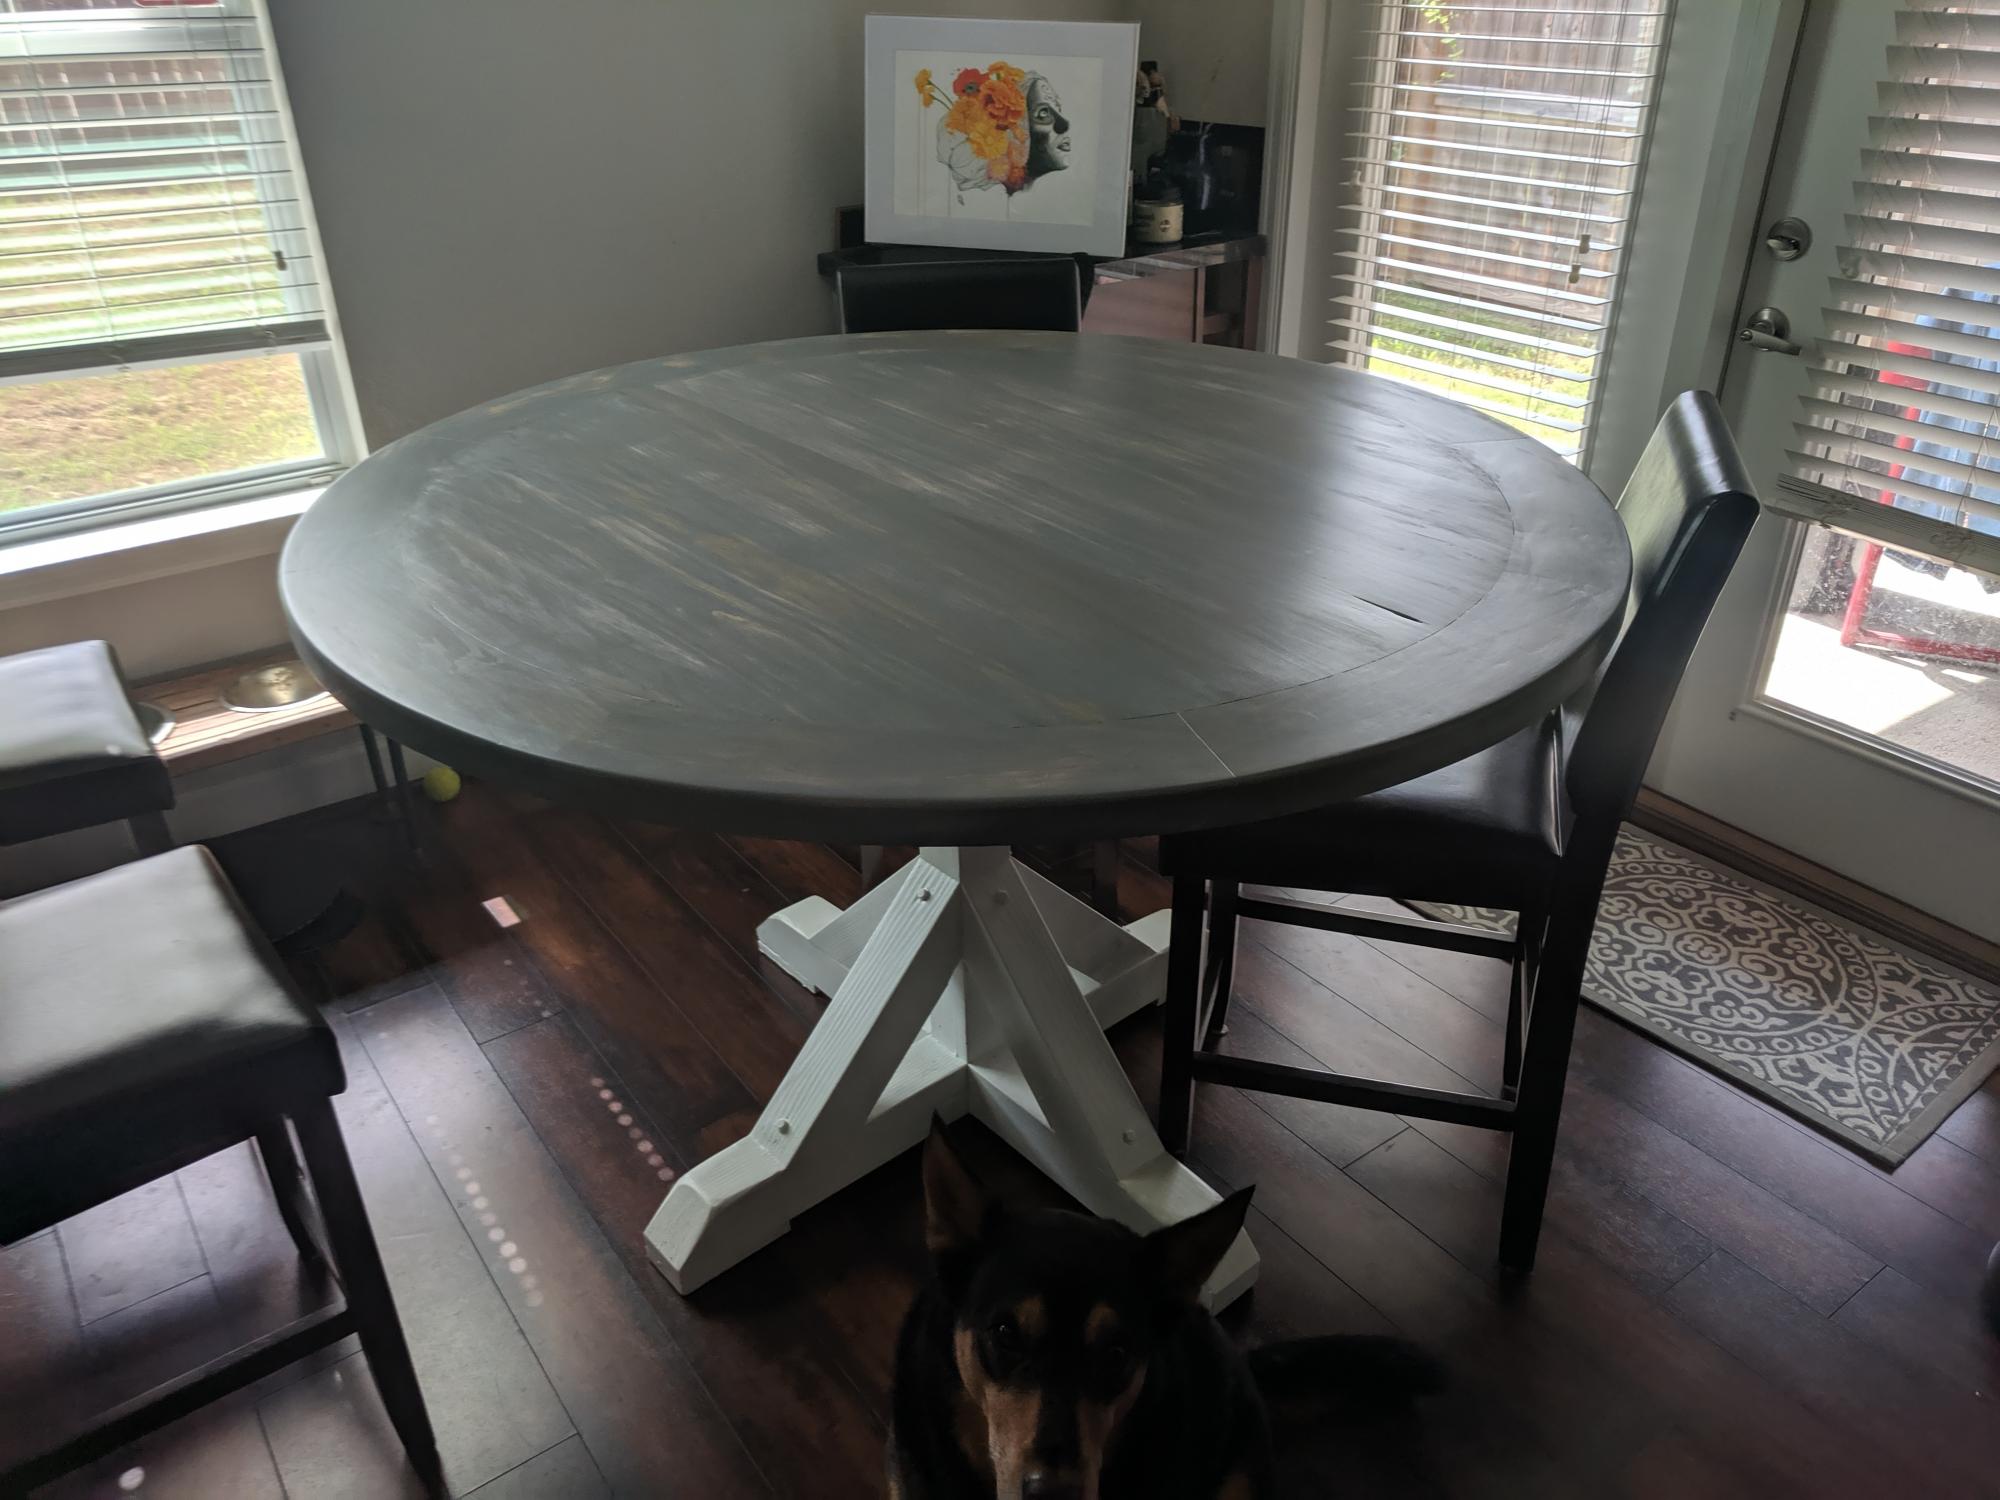
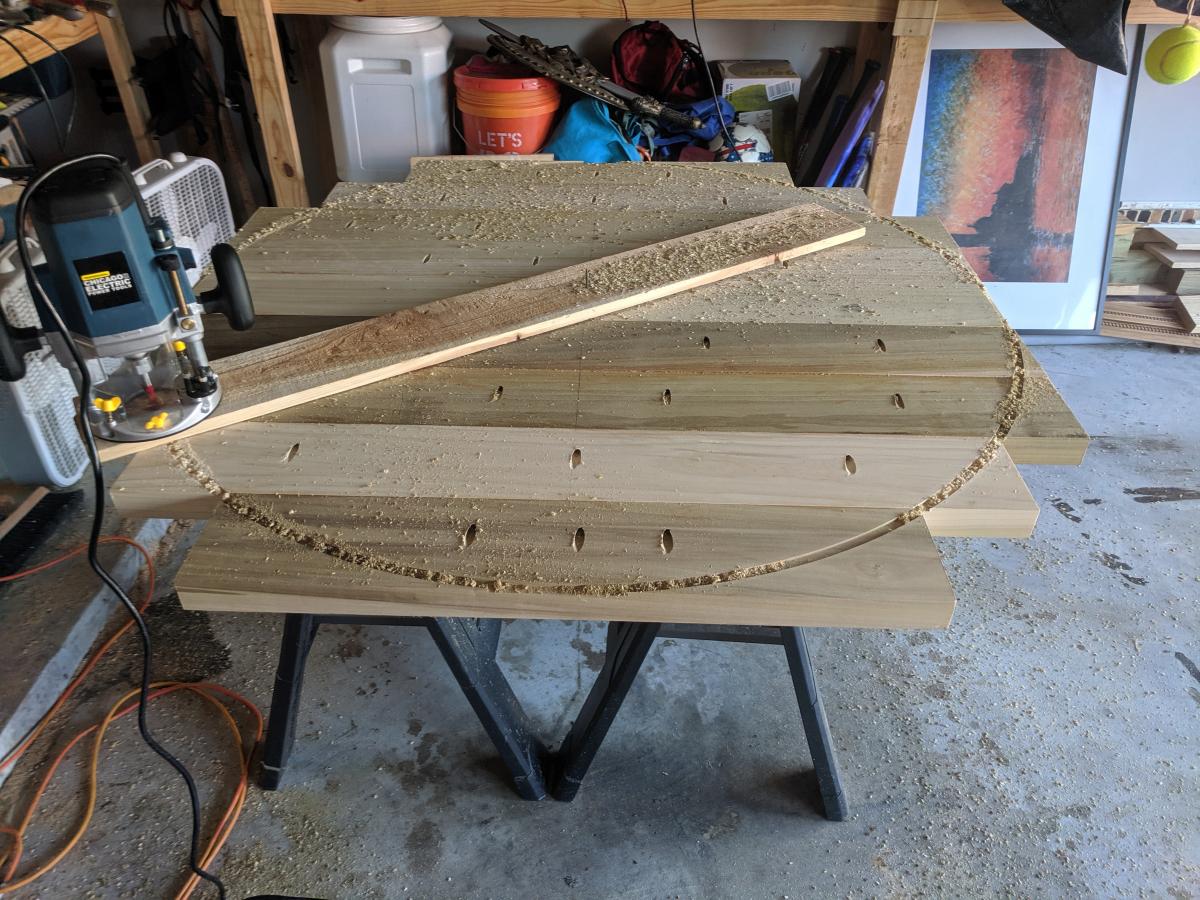
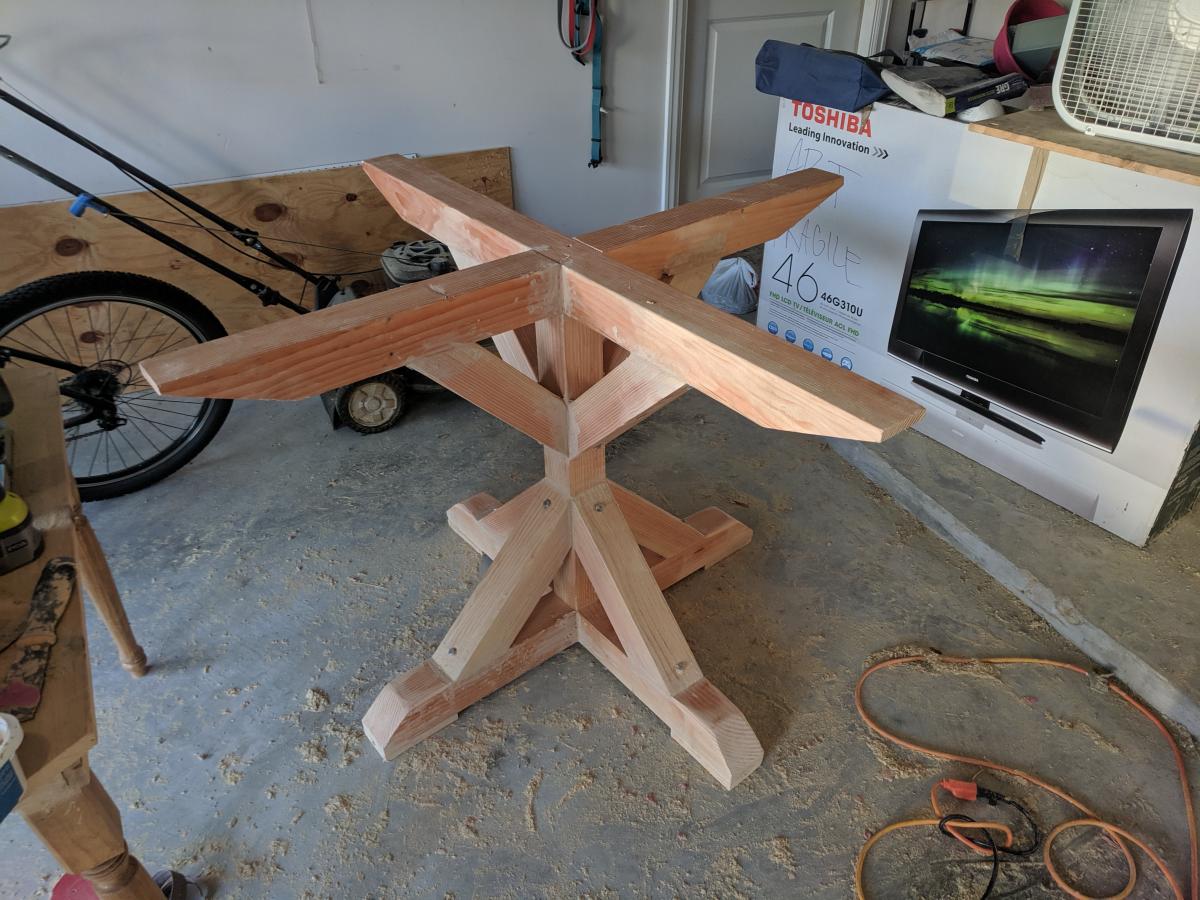
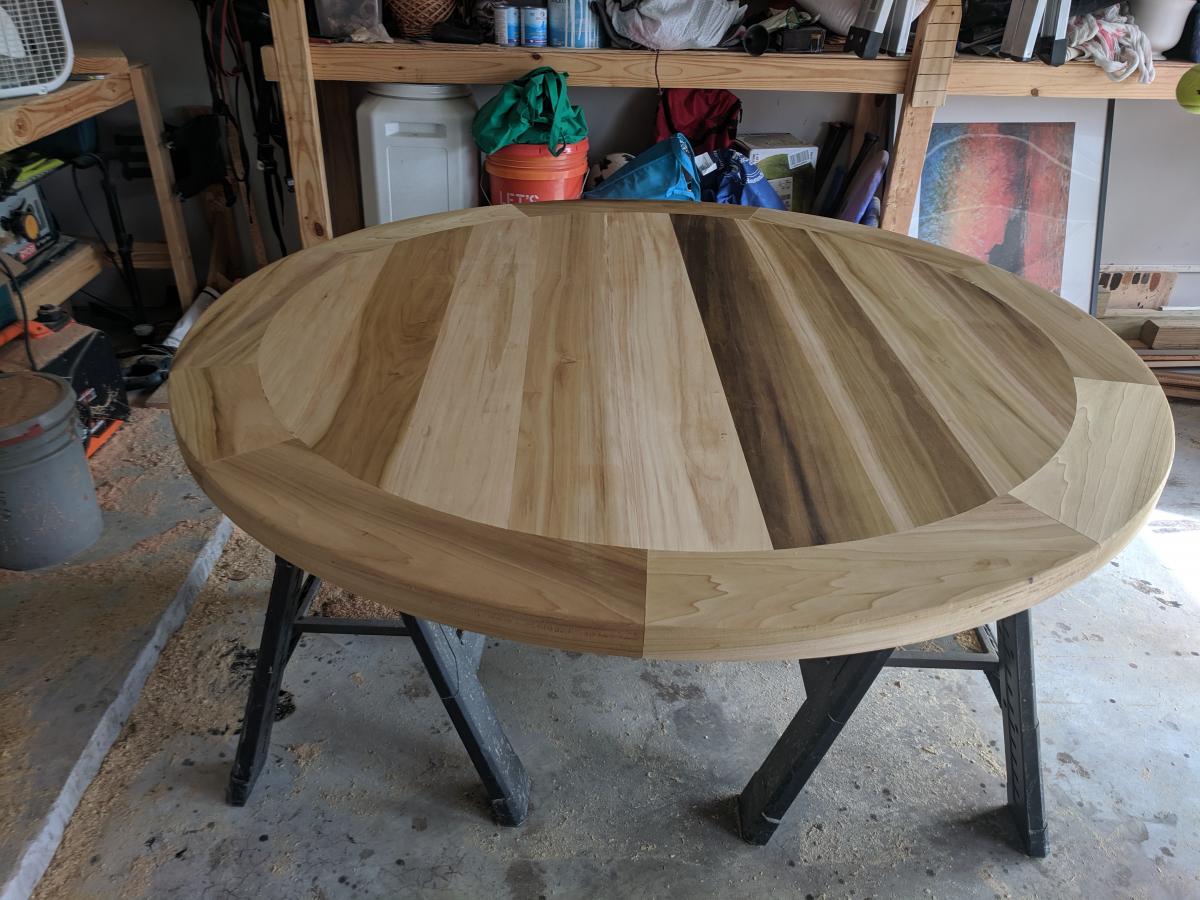
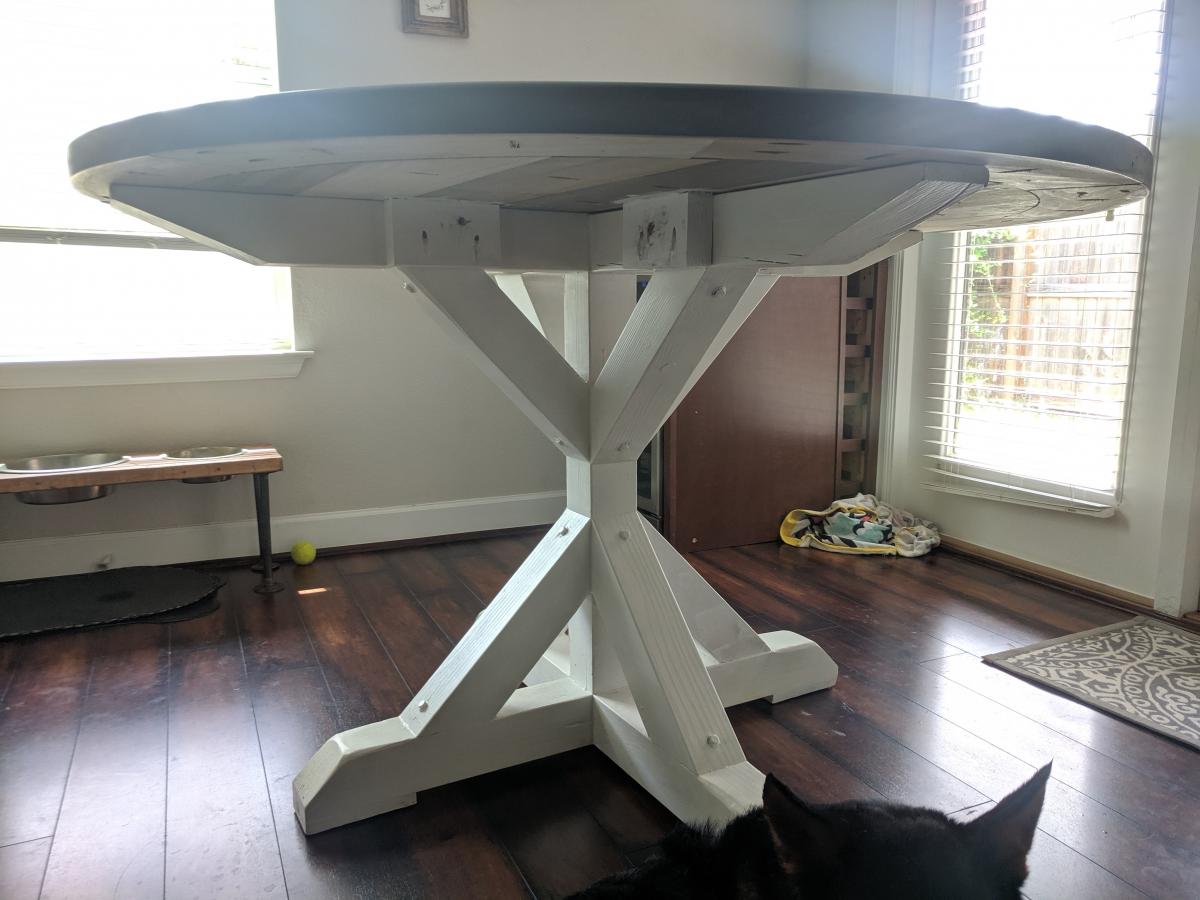
This was my first big furniture piece that I've built. I'm pretty happy with how it turned out. I used 5/4 poplar for the tops instead of the 2x10s for the table and 2x6s for the benches that the plans called for. Finished the tops with Minwax Early American stain then 3 coats of satin oil based polly. Finished the bottoms with water based Minwax tinted River Stone then coated with water based polly.
Wed, 03/14/2018 - 06:18
You did a great job, especially for your first big piece.
I love the River Stone color you chose for the bases, beautiful combination.

We've been looking for some saddle back stools for quite a while that would fit snug under our kitchen island. I couldn't find any, so I checked Ana-White and found the perfect building plan. I used scraps to build two matching stools and so I altered the plans to fit what I had. Other then the dimensions being different, I also used a 2x12" piece of wood cut down to 9x15" for the stool top.
I've documented the process as best as I could at; http://www.tommyandellie.com/Site/Home/Entries/2011/6/13_More_Seating_f…


Thu, 06/30/2011 - 04:50
I skipped a step that I might redo. I'd recommend taking some wood filler and spreading over the knots and imperfections before painting it. Sand it down, smooth it out, and it'll be Looking flawless.
Thu, 07/07/2011 - 15:02
I've been looking for some stools like this, so I followed your lead and just finished making some. Thanks so much for sharing!
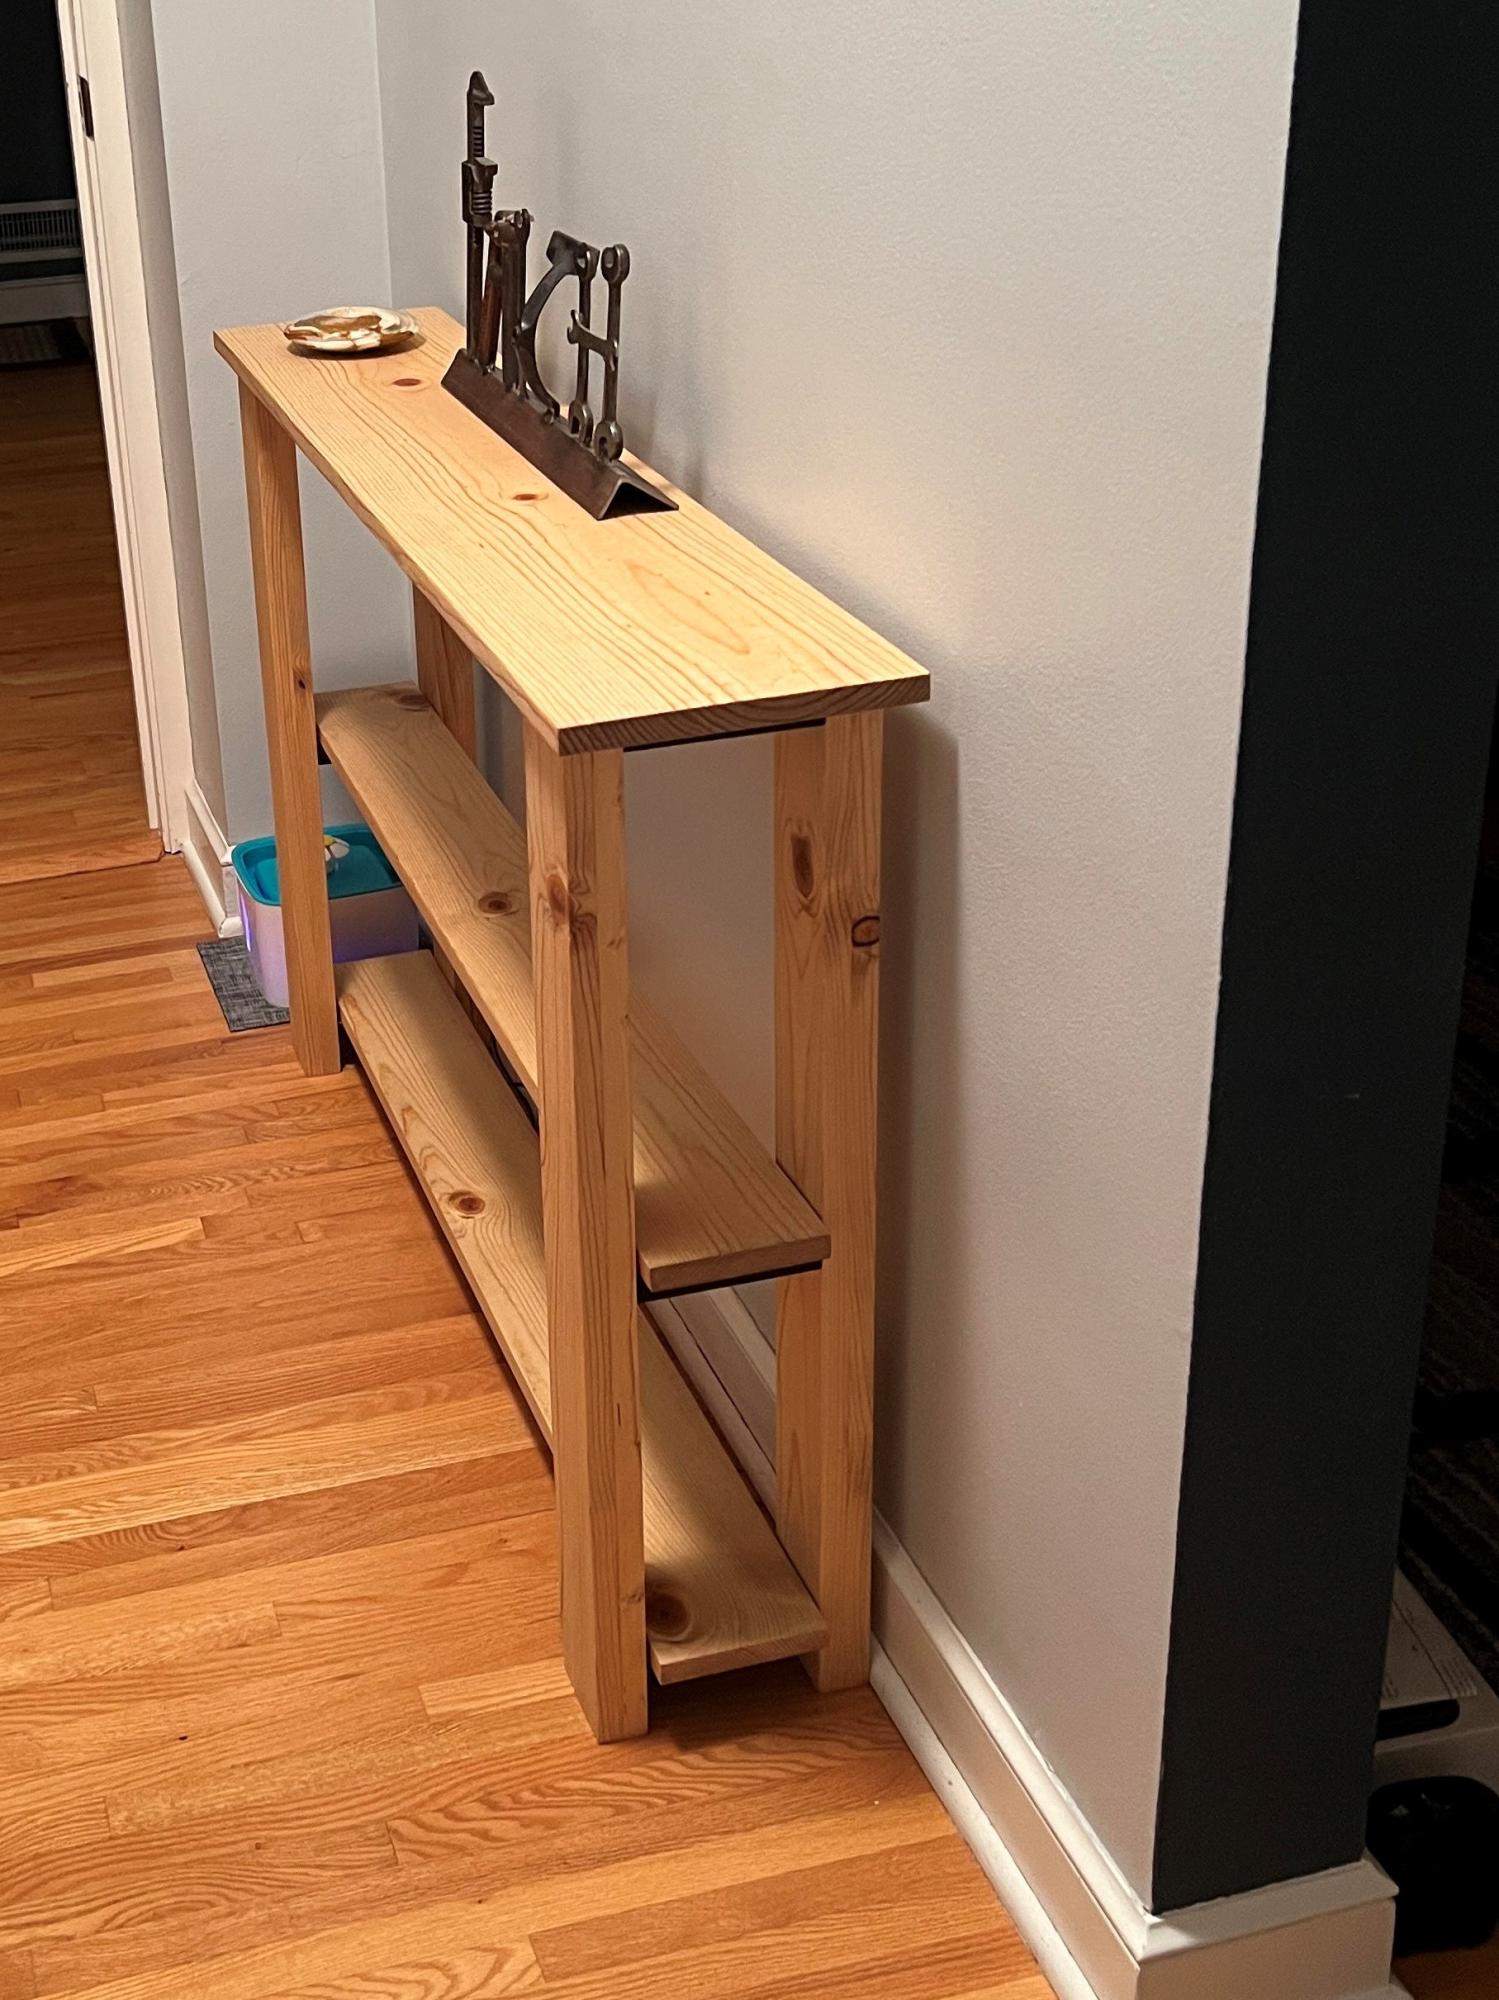
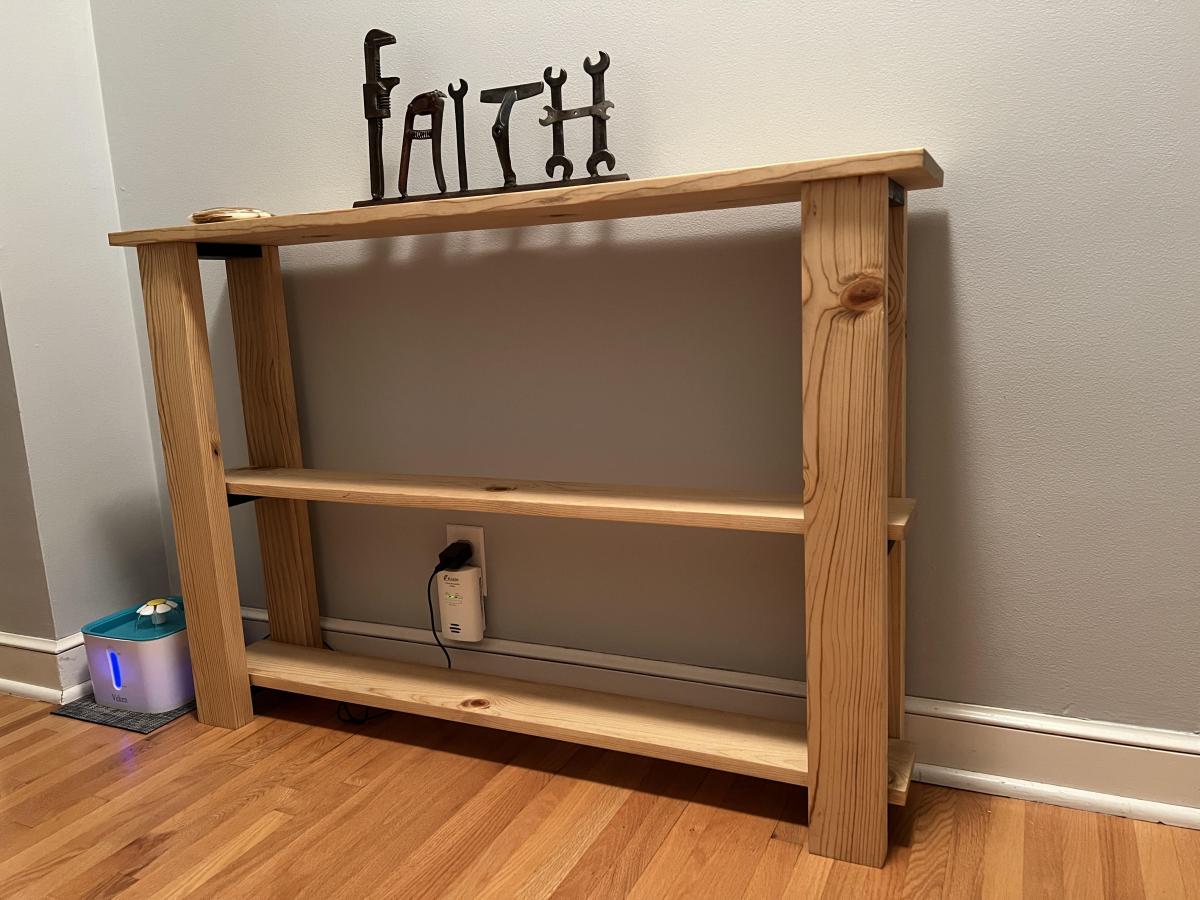
I used dimensional lumber for a little nicer look and laminated two boards for the legs. I used light walnut danish oil to finish. I adjusted the width and got It the perfect width for my hallway.
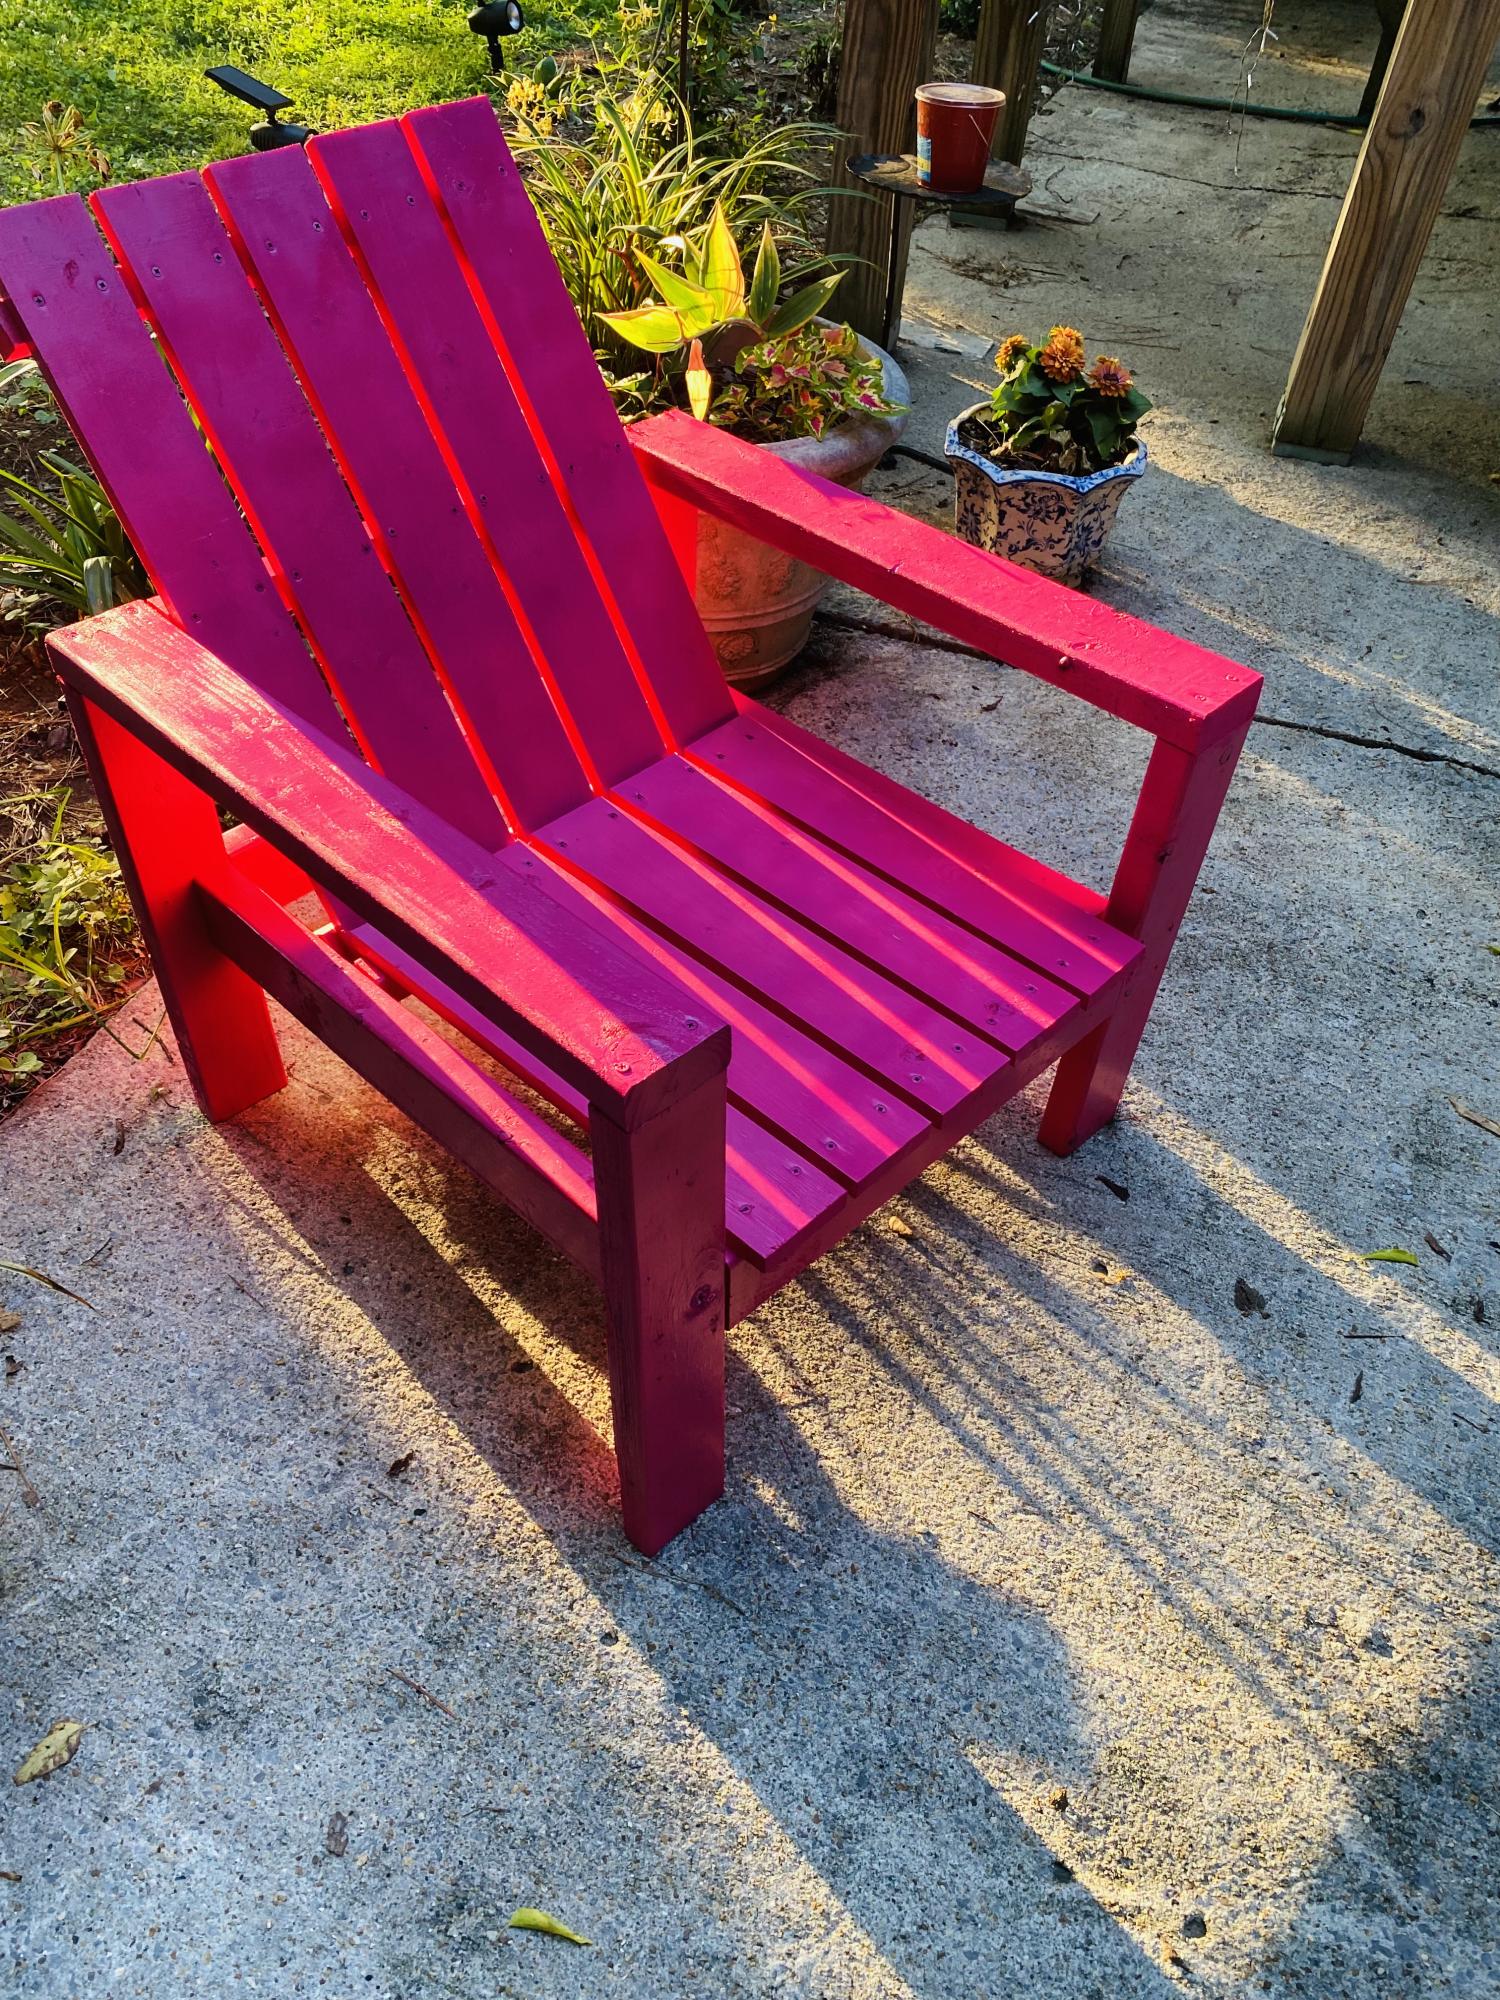
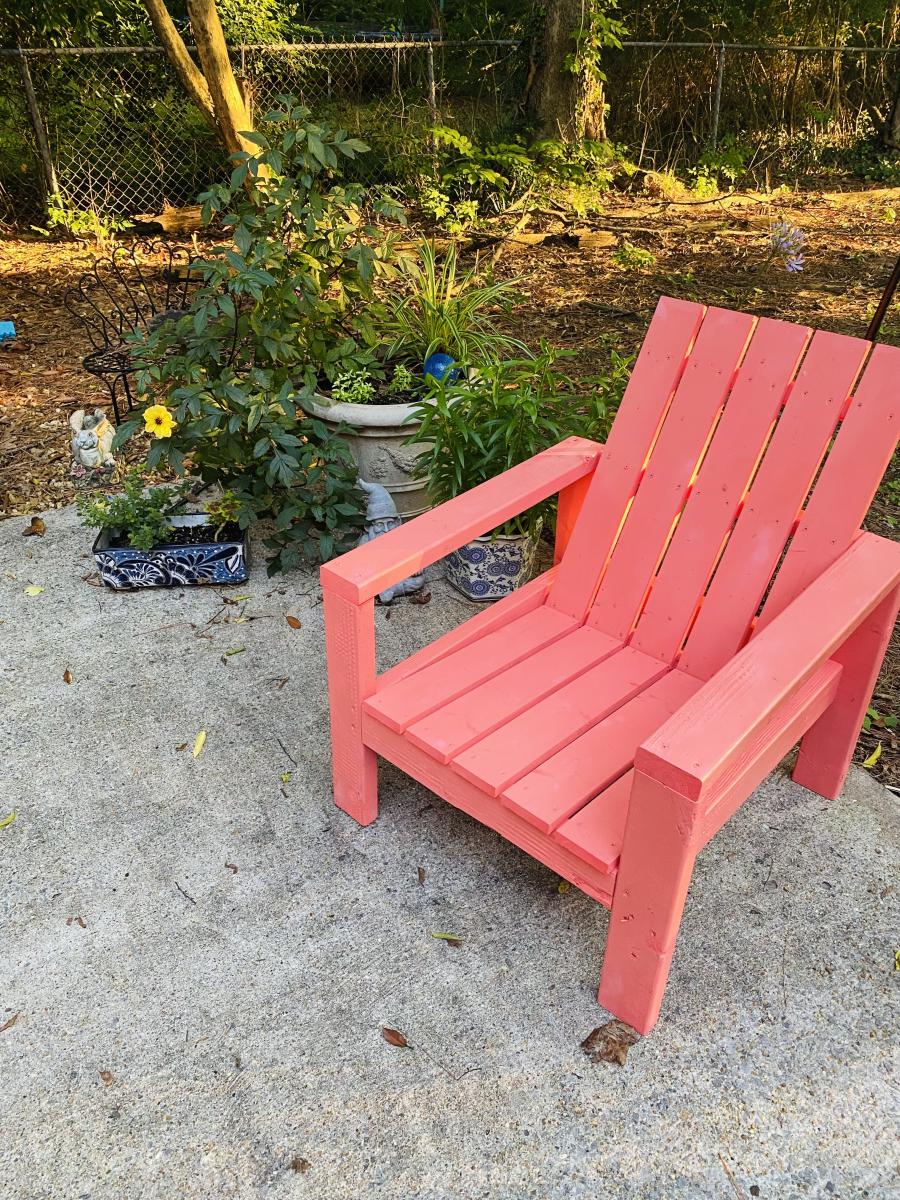
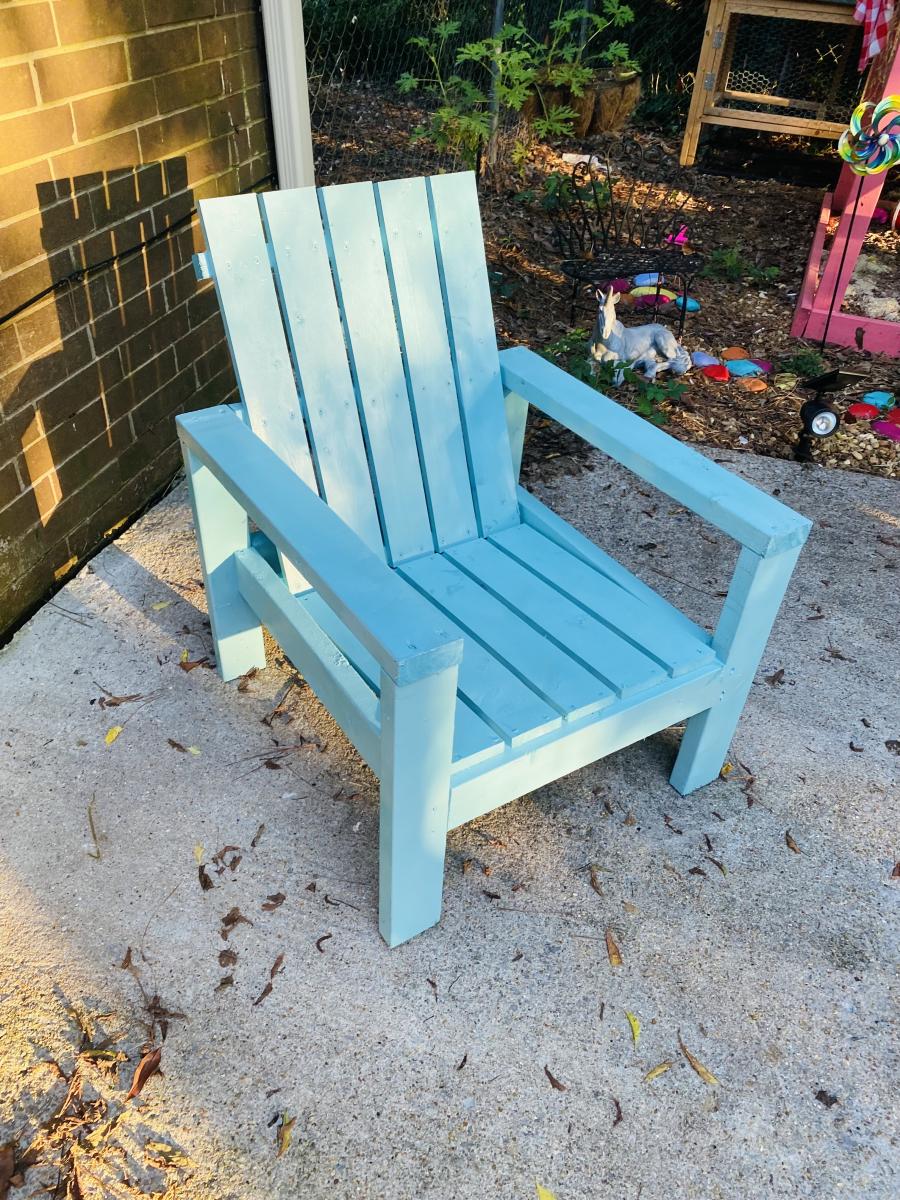
I built these lawn chairs for my daughter from your plans. Thanks
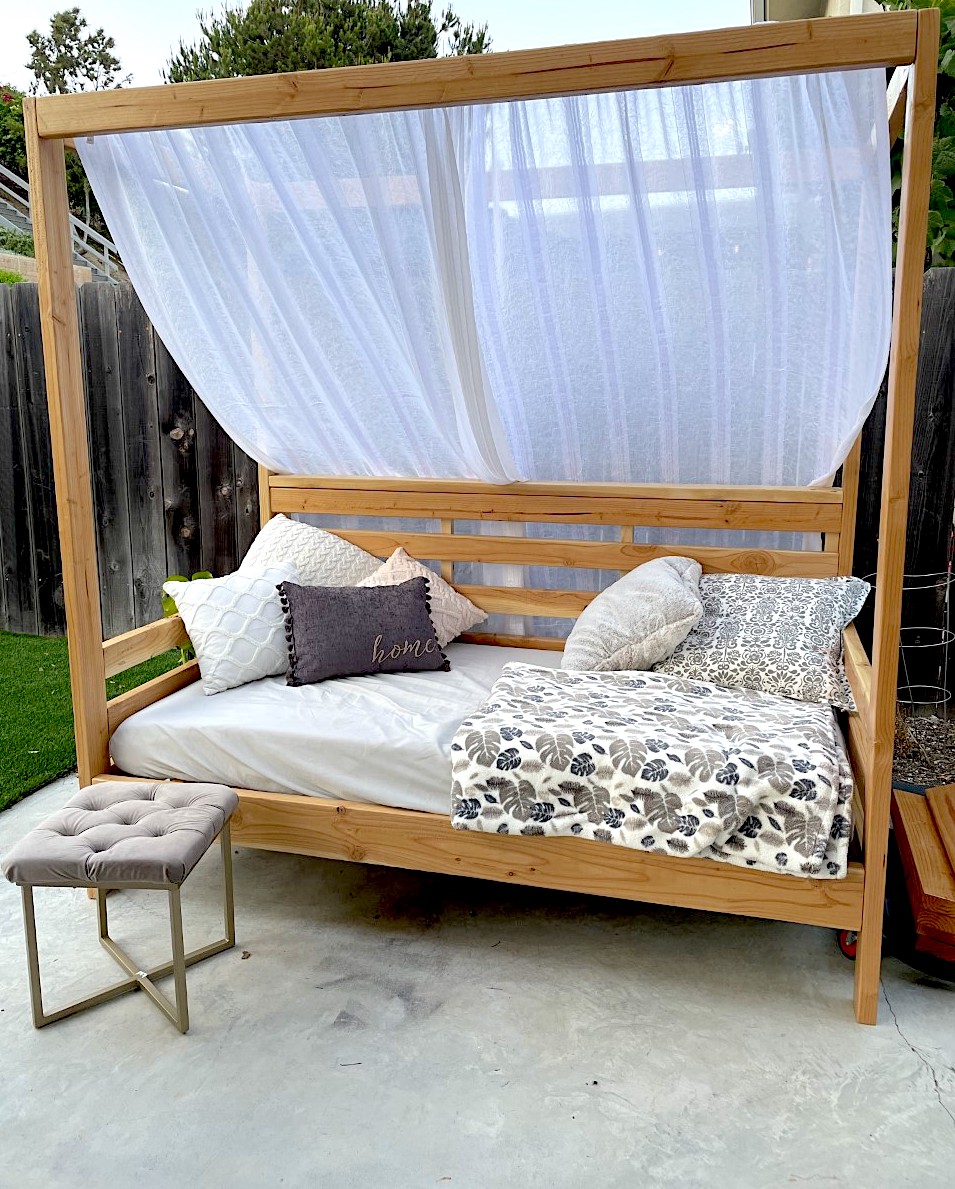
What a great project!! My private outdoor space is amazing. Thanks Ana!!
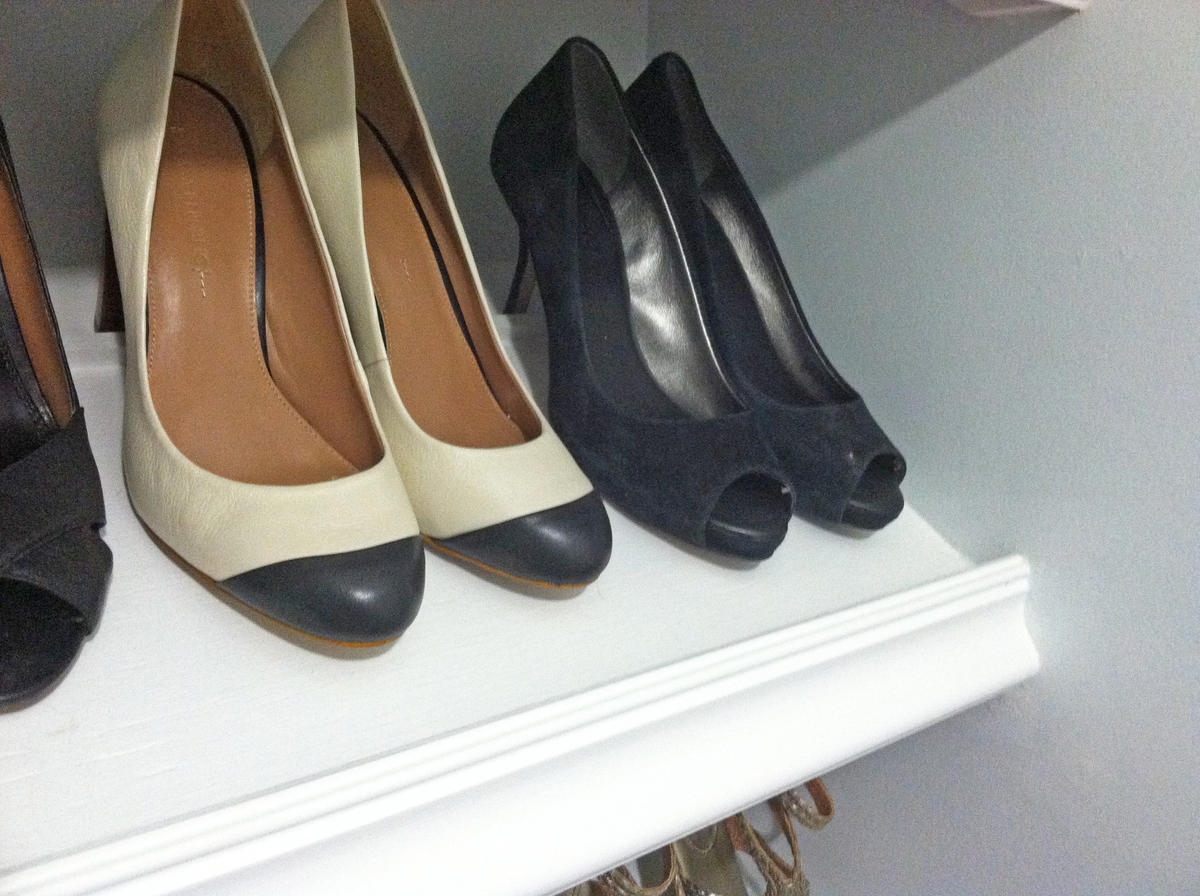
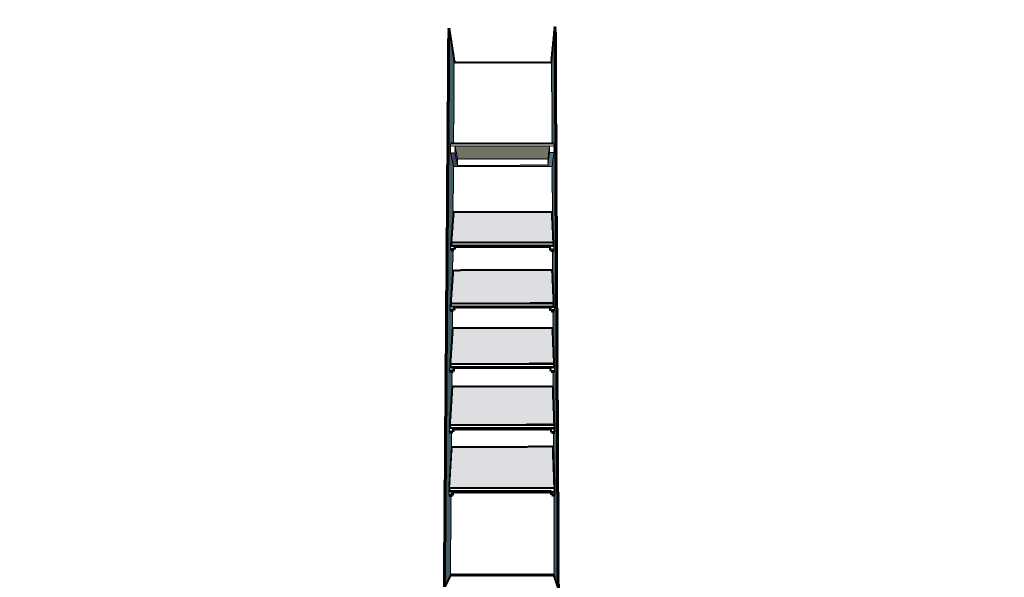
When we first bought our house, one of the things that appealed to me was the walk in closet off the upstairs foyer. A walk in closet in a house from the 20′s? That’s unheard of! I know I could have designed this in a way that fit more, but I switch out my shoes seasonally, and I personally wanted slanted shelves. Come on, they’re so much prettier! Shopping List 1 – sheet of 1/2″ plywood (4 x 8′ sheet) 2- Primed 1×2′s @ 8′ 1 – 1/2″ Square Wood Dowel (like this) 2- Chair Rail @ 8′ (like this) Kilz Paint Primer Behr Semi Gloss White Paint Indoor Caulk Wood Putty 2″ Screws 2″ Nails Cuts Plywood- 5 pieces at 23″ wide and 12″ deep. Cut either of the 23″ end at a 45 degree angle. Plywood- 1 piece at 23″ wide and 12″ deep 1×2′s- 10 pieces at 12″ with ends cut at 45 degree angle. Then measure 1″ down from the top of the front piece, and cut it straight across. 1×2′s- 2 pieces at 12″ 1×2′s- 1 piece at 21.5″ Wooden Square Dowel- 3pcs at 23″ Chair Rail- 6 pieces at 23″ How To Build 1. I first figured out how far apart I wanted my shelves to be. I don’t have particularly tall shoes, so I had the first shelf 17″ off the ground in the front, and then they were set approximately 12″ apart after that. I located the studs, and screwed in the 1×2′s on the walls directly into the studs. 2. I then added the wooden dowels to the tops of 3 of the shelves. I didn’t even nail these down, just used wood glue and caulk. I set the wooden dowel 2.5″ from the back of the shelf. 3. After that I dry fit the actual shelf on top of the 1×2′s. This was probably the hardest part because of course this house doesn’t have even walls. Why would anyone ever need even walls? What a silly concept. I ended up having to sand a lot of the edges to make them fit. Caulking will help fill in those gaps! I then nailed in the shelves to the 1×2′s from above. 4. I slowly worked my way up the wall. When I got to the top shelf, I knew that I wanted a flat shelf to store boxes of shoes. I also added an extra 1×2″ to the back wall just in case I really decided to stack those shoes high. I followed the same process as I did for other 1×2′s, and screwed this into the stud. Closet 1x2 All Shelves 5. Then I used the chair rail and aligned it at the bottom of the 1×2″ and nailed it to the front of the shelf. It sticks up higher than the front of the shelf, which is great for catching shoes that tend to slip down. 6. After this I, I ended up using wood putty and caulk to fill any gaps. They work miracles on wood. 7. Finally I just painted everything and viola! Budget 1 – sheet of 1/2″ plywood (4 x 8′ sheet) – $28.97 2- Primed 1×2′s @ 8′- $5.98 1 – 1/2″ Square Wood Dowel - $1.75 Chair Rail - $16.00 Kilz Paint Primer- already owned Behr Semi Gloss White Paint- already owned Indoor Caulk- already owned Wood Putty- already owned Screws- already owned Nails- already owned TOTAL: $52.70
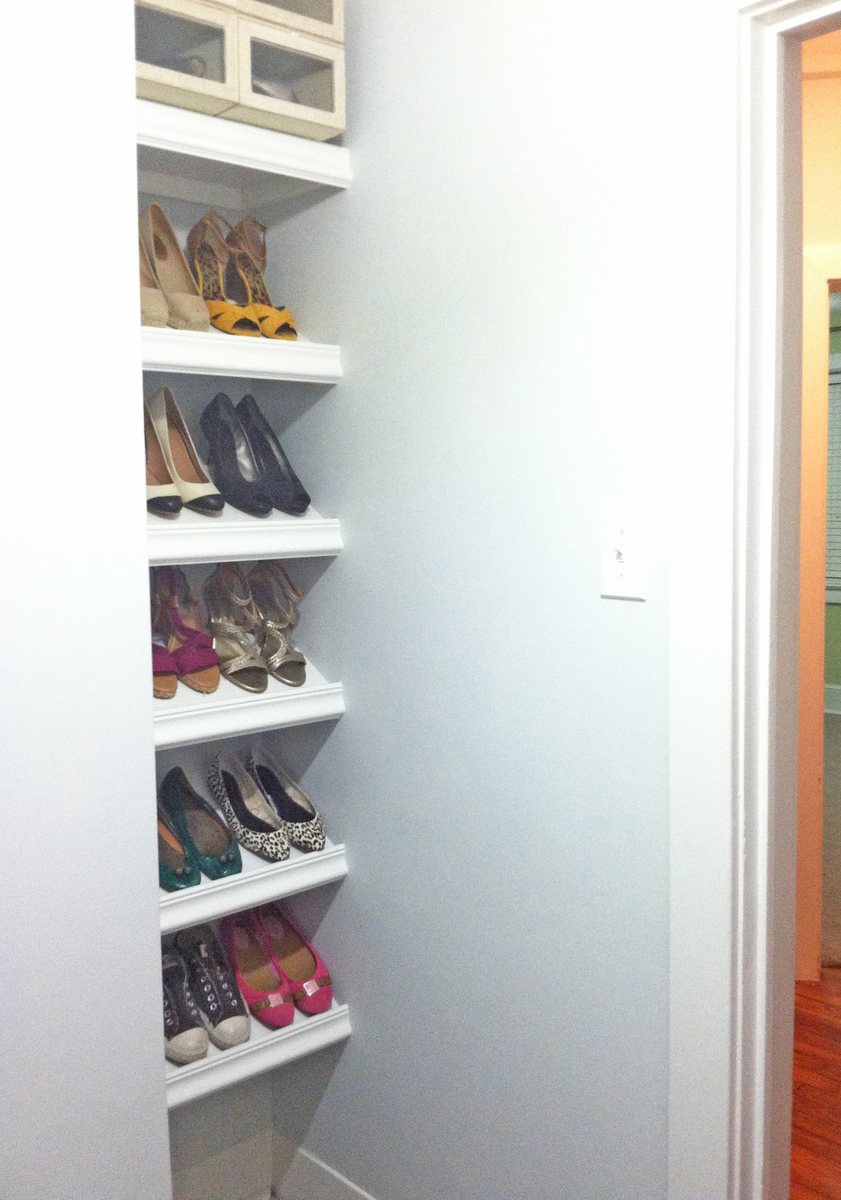
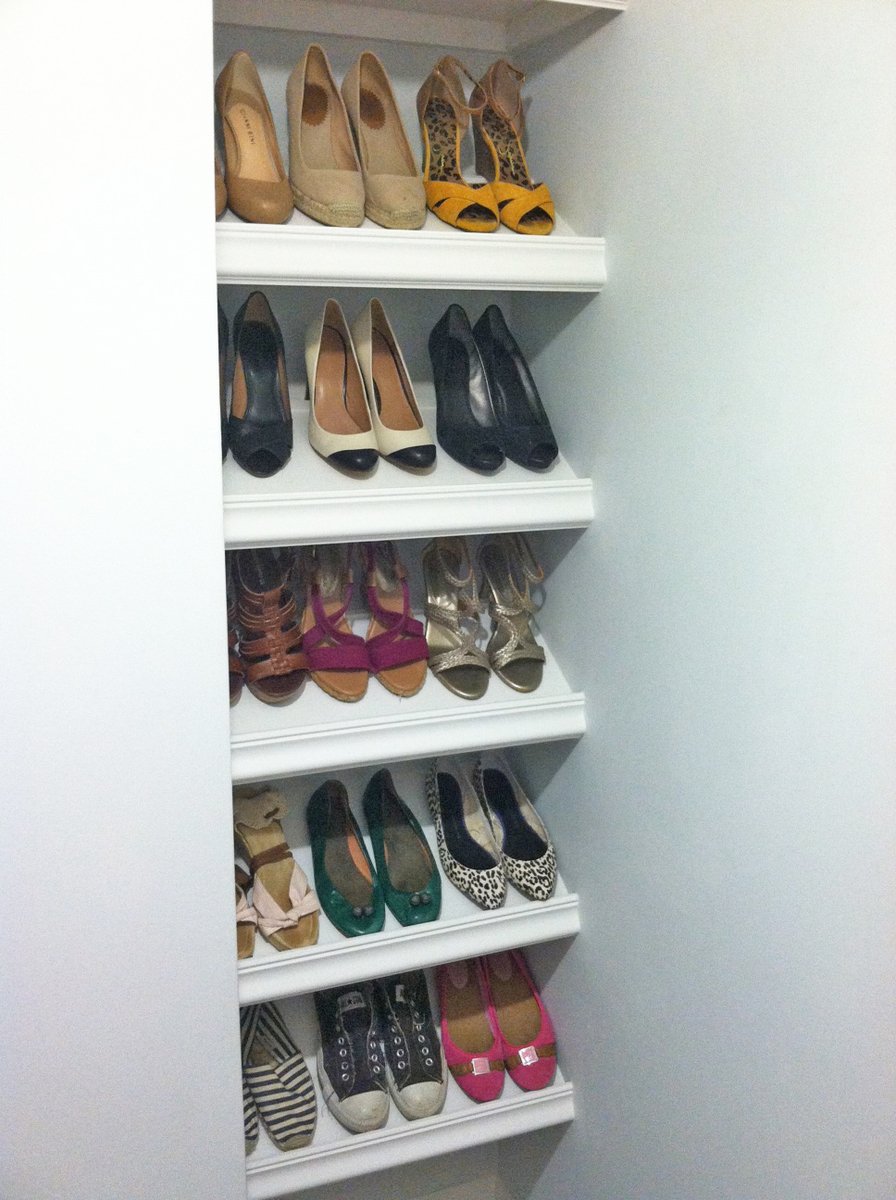
Made it a little taller and a little deeper.
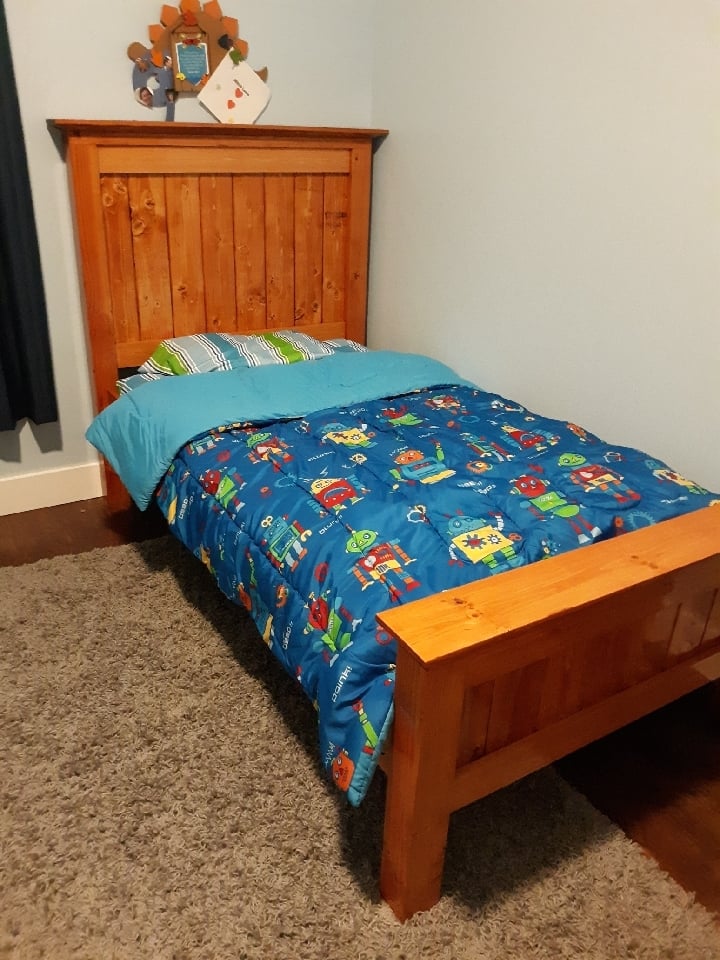
Followed the plan, adjusted the height to accomadate a trundle bed in the future. Tapered the edges of the 2x6 material for a shaker/craftsman look. If you cut the board at a 25 degree angle the 2x6 material will rest right in line with the 2 x 4 material below. Be sure and add 2 to 2 1/2 inches to accommodate the taper edging.
Used Minwax gunstock stain to match the furniture and three coats of fast drying gloss poly.

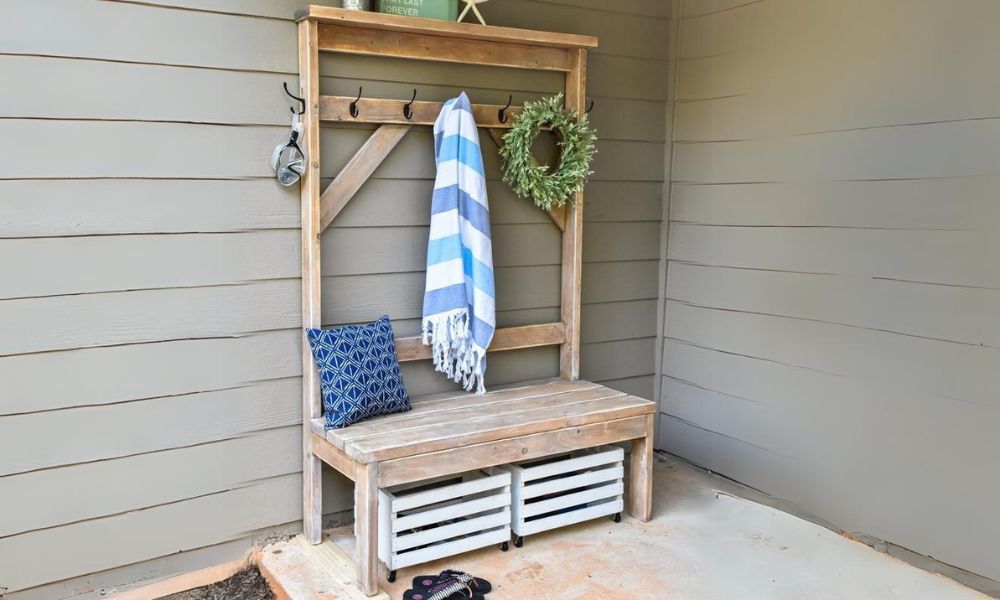
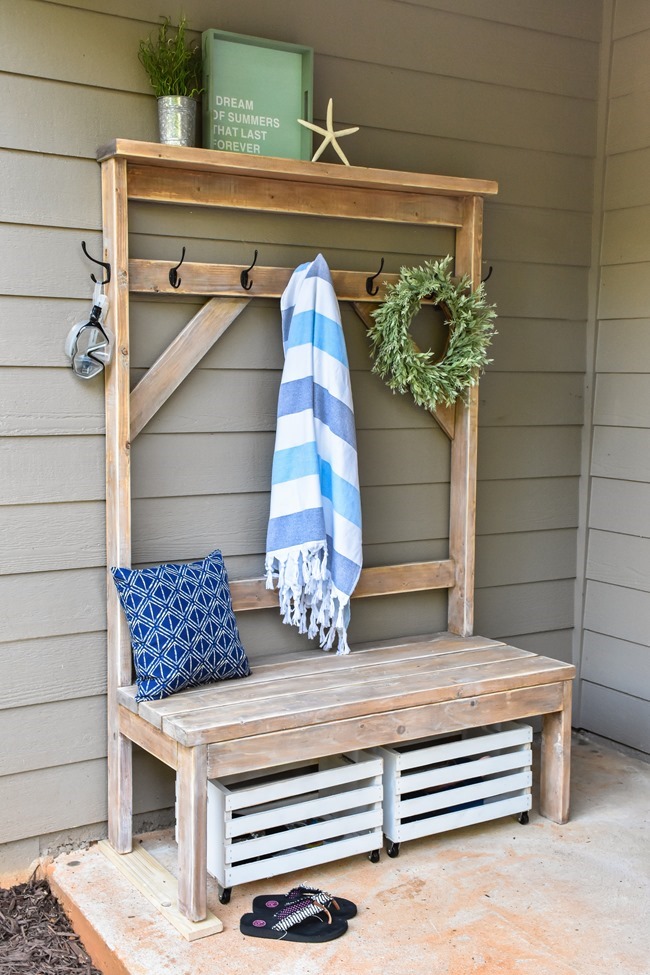
I search many DIY entry benches and ultimately chose Ana White's, it was perfect what what we needed. Thanks for the vid, plans, post and tips that helped me build it. I'm currently browsing your other projects for the next one. Thanks so much
Fri, 12/16/2022 - 13:11
This looks fantastic, thank you so much for sharing, can't wait to see your next project!

My fiancée wanted to spice up our living room and we got this great idea from Ana, whose video made me realize I could do this! I was a little reluctant because a lot of these you see don’t have a lot of electronics and the TV is pretty high. I feel like we we able to balance this out by adding the shelf’s to the side for electronics!


Tue, 01/31/2023 - 05:45
On the bottom right corner I added a removable board to help keep access to wires going to electronics on shelf’s.
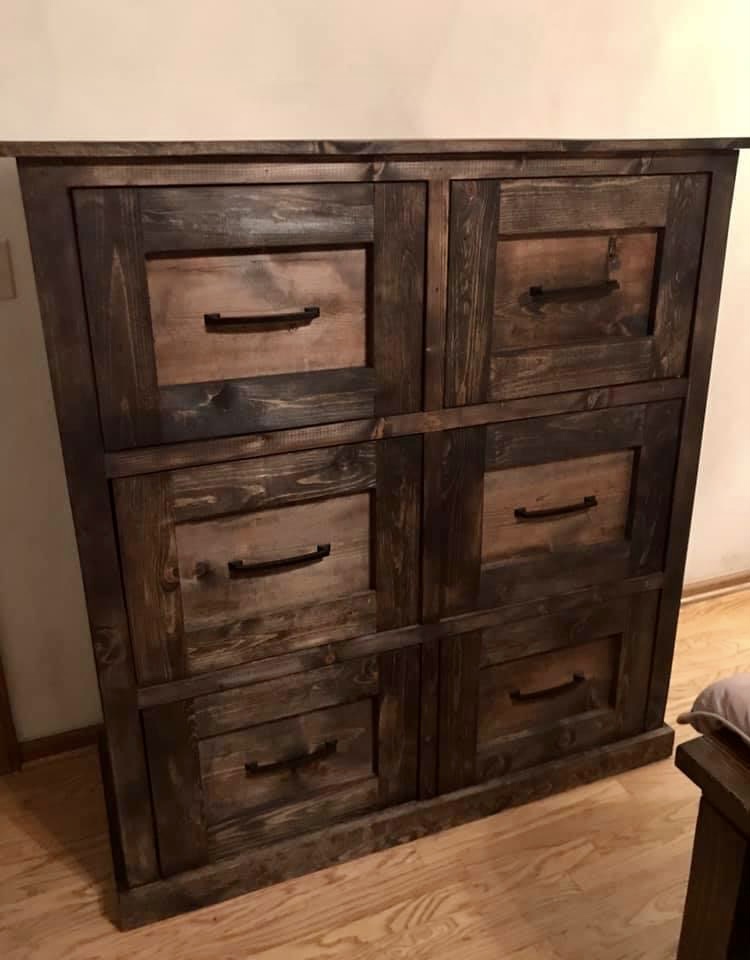
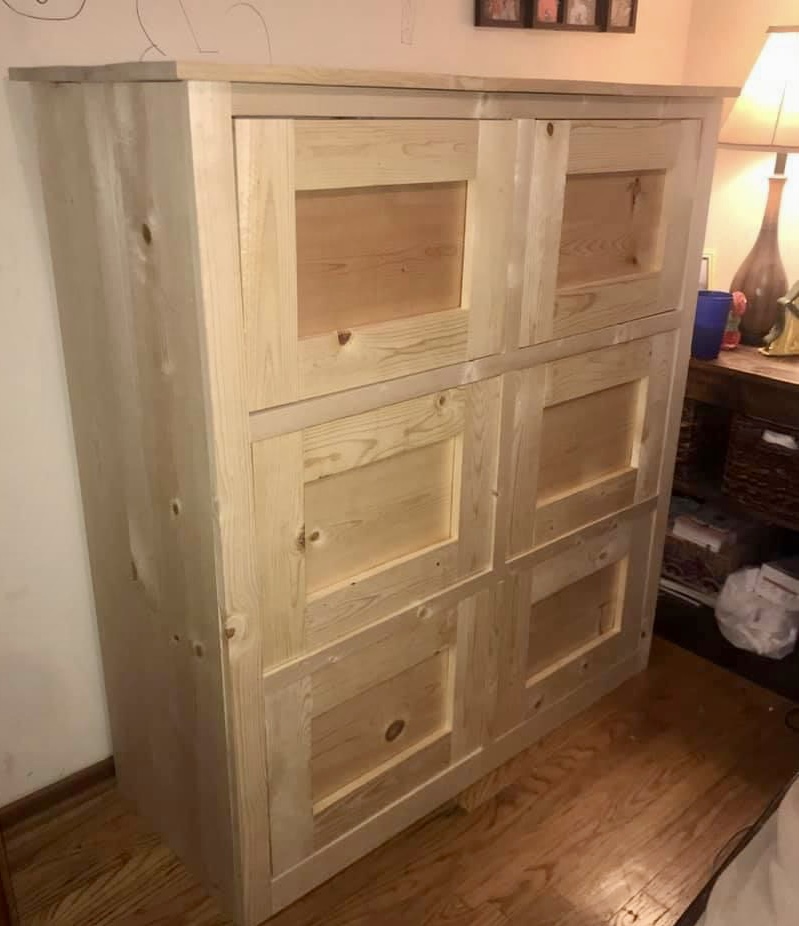
I got the idea to build this chest of drawers after watching your mudroom bench tutorial. They turned out great! It’s very sturdy and holds a lot of clothes. Thanks again for the great videos and plans👍.
Leslie
Fri, 02/03/2023 - 18:09
Way to think outside the box! Thank you for sharing, it looks great!
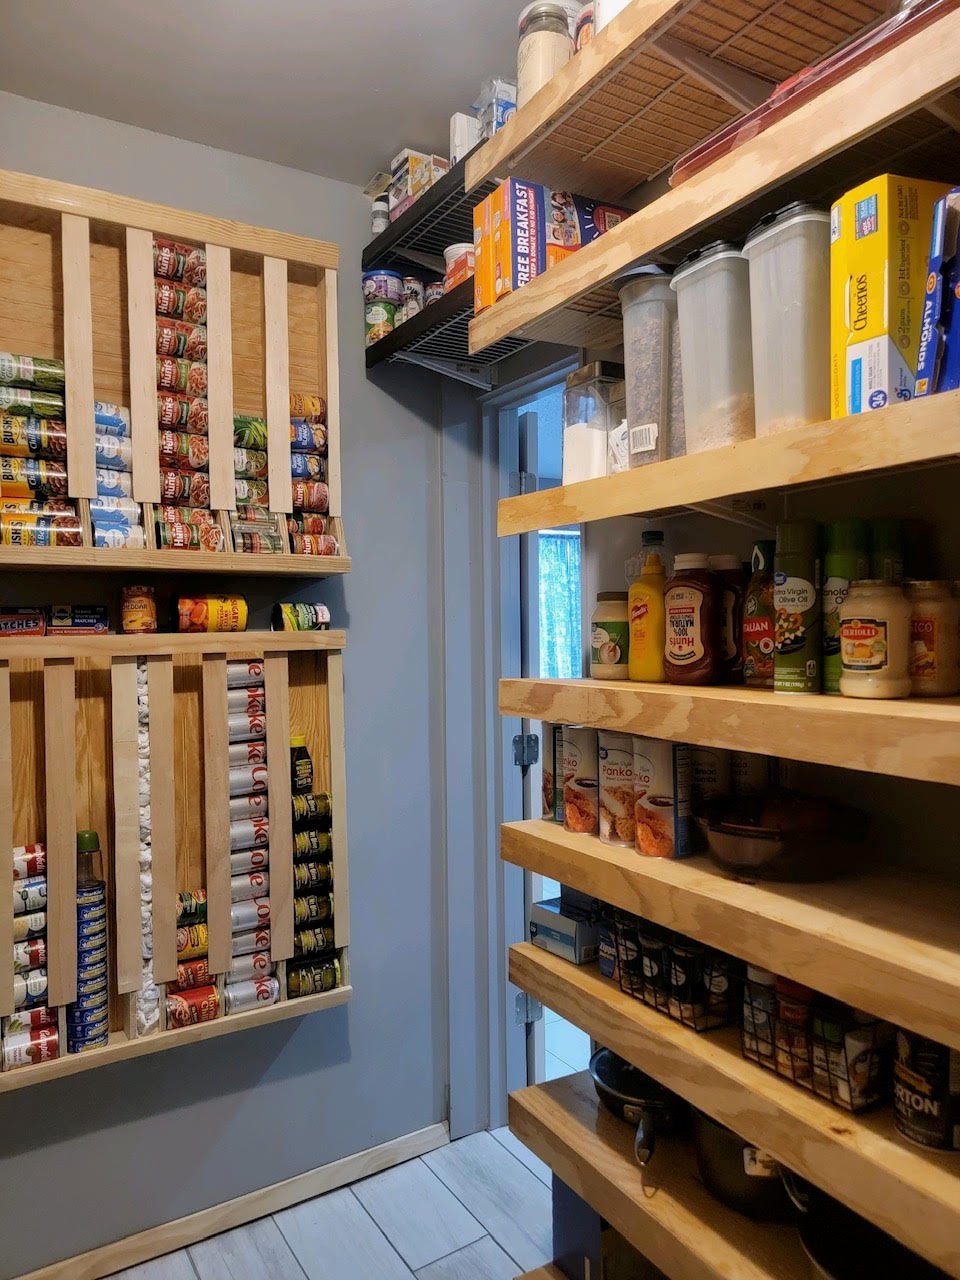
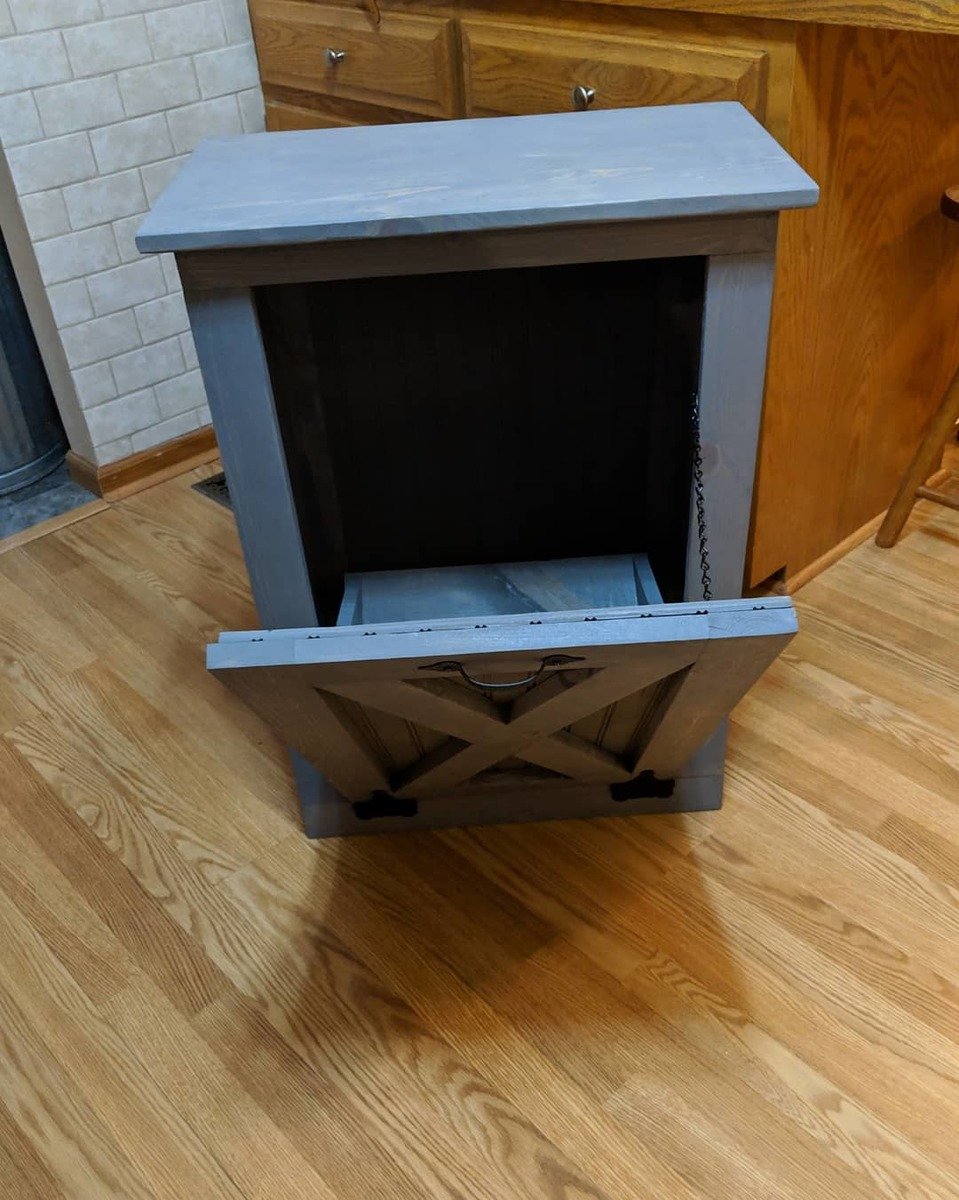
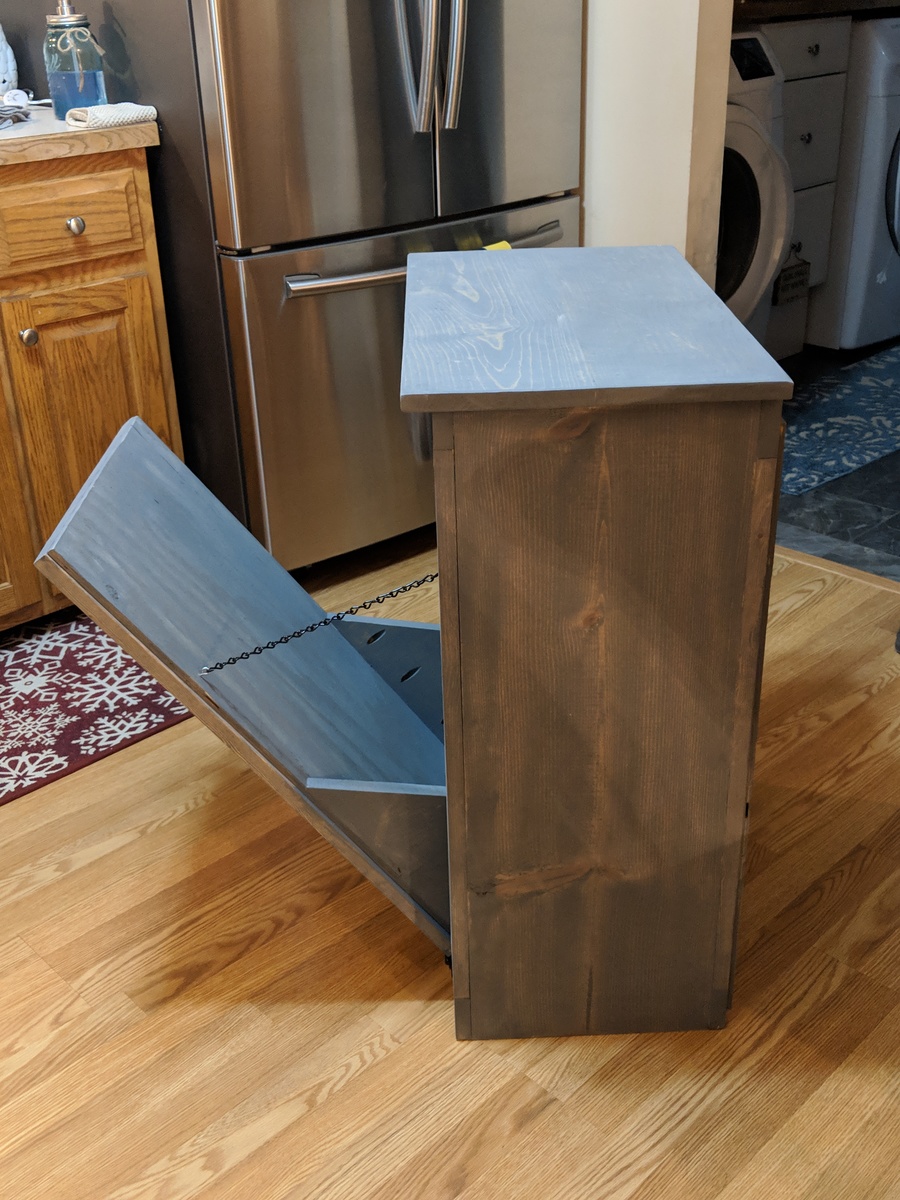
"Here are some pictures of a pantry organizer that my friend Belinda built."
-Bubba
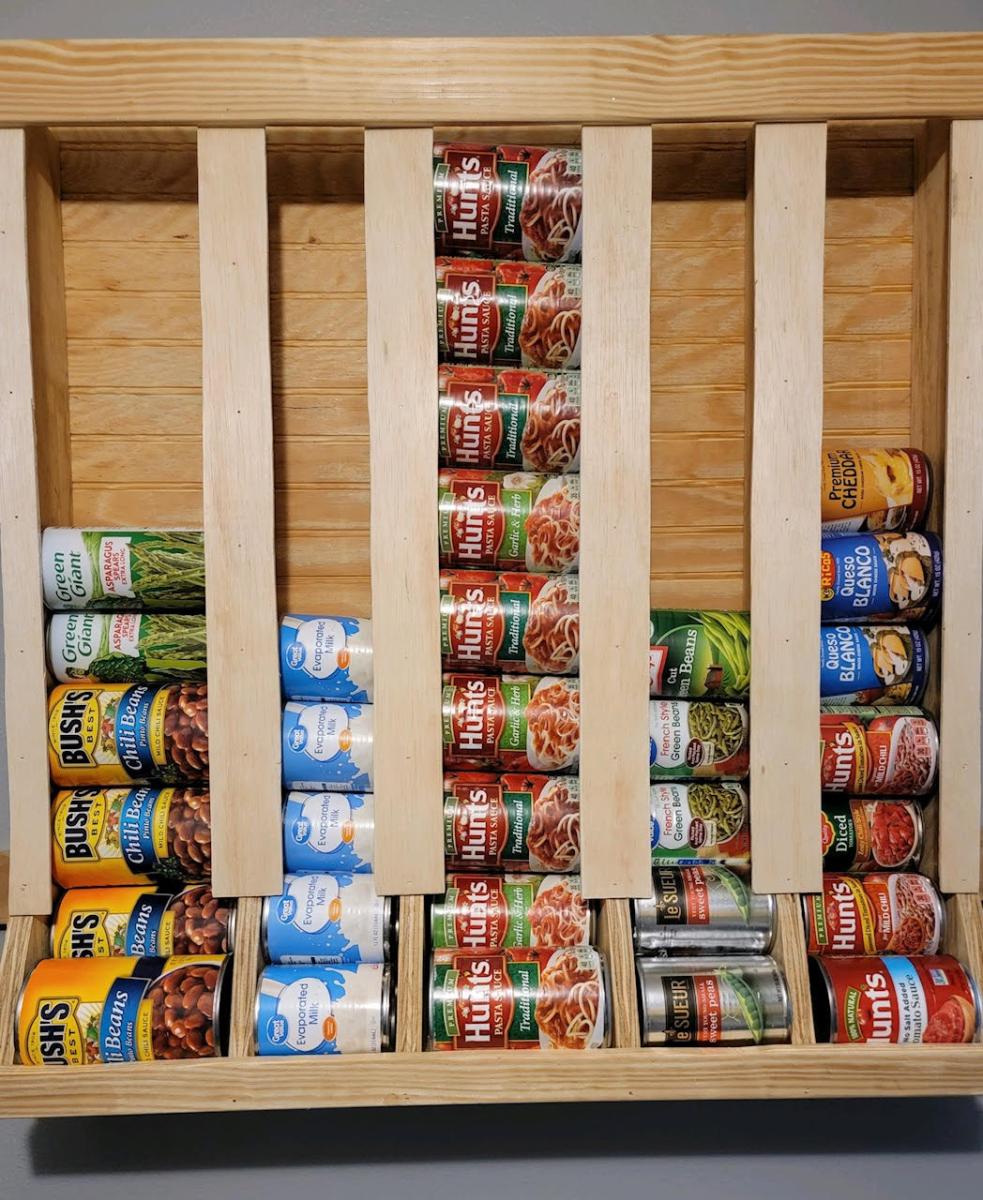
I modified a couple of plans I found on this site. If anyone is interested in instructions or cut list, I can post it later.
I made these for my two nieces and soon to be born daughter for Xmas. I used 1" hobby foam for the mattress.
Mon, 12/19/2011 - 14:52
Love the beds and the bedding is super cute! I bet your nieces will love their Christmas present!
Mon, 12/19/2011 - 16:54
Thanks, I hope so too!! Maybe next year I'll make your bunk beds for them!!

Simple bed built by Jill and shared on our Facebook page

Used sturdy workbench plans with 2x6 cedar top for outdoor sink. Turned out much better than I expected!!
Tue, 05/02/2023 - 07:09
Way to go, it is beautiful and functional! Thanks for sharing.
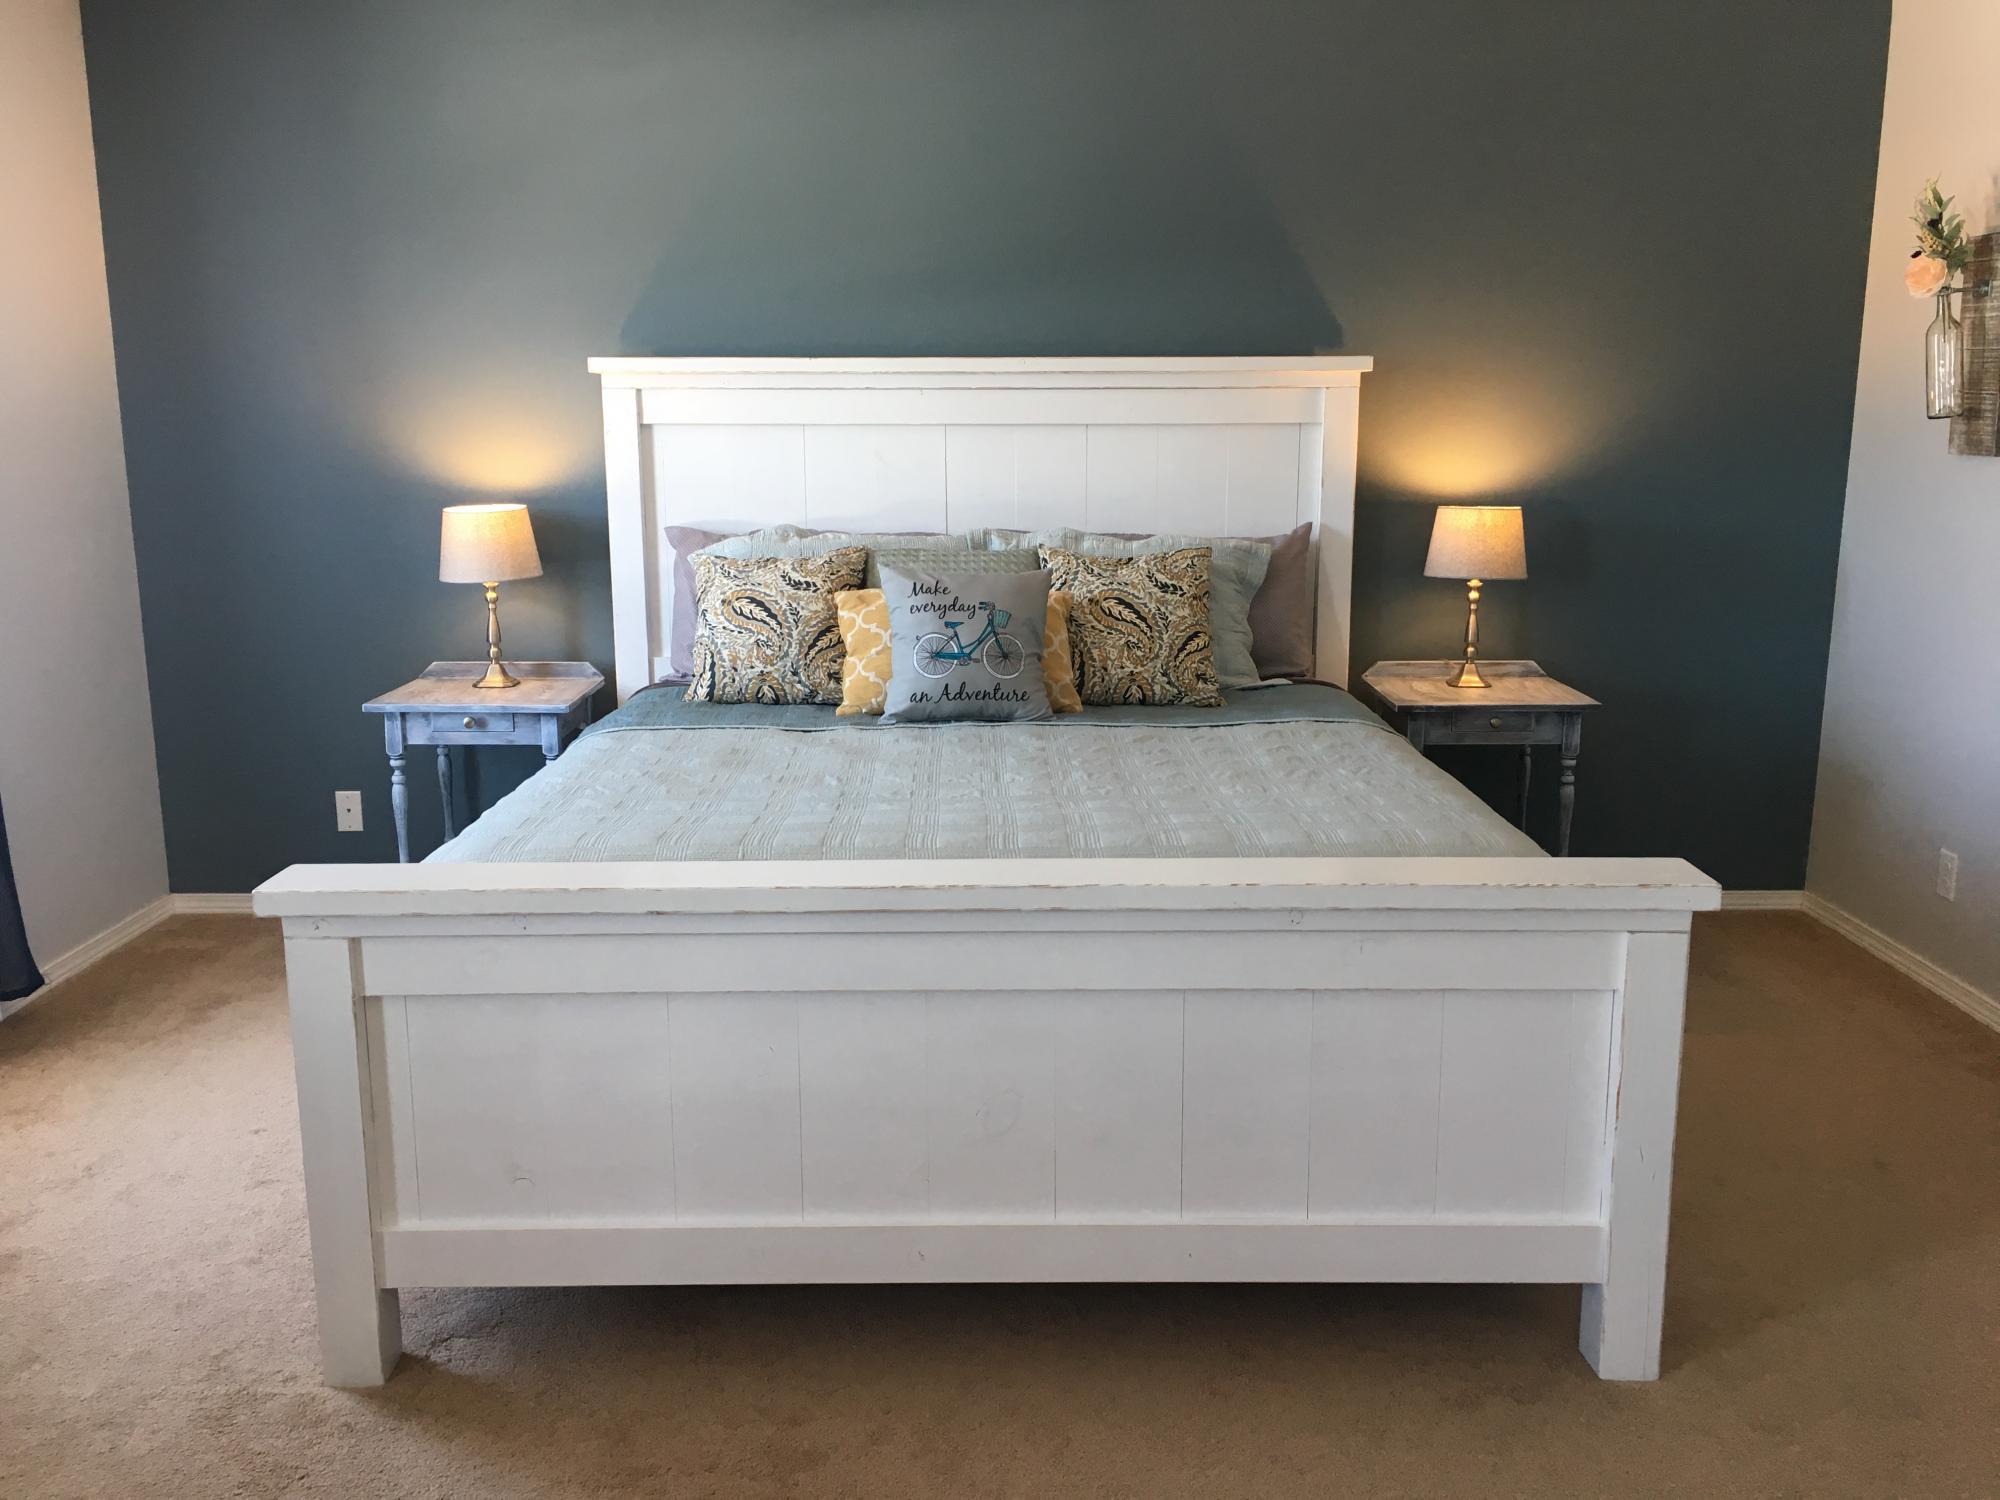
Fun weekend project to build together. We are loving the fresh look to our master bedroom.
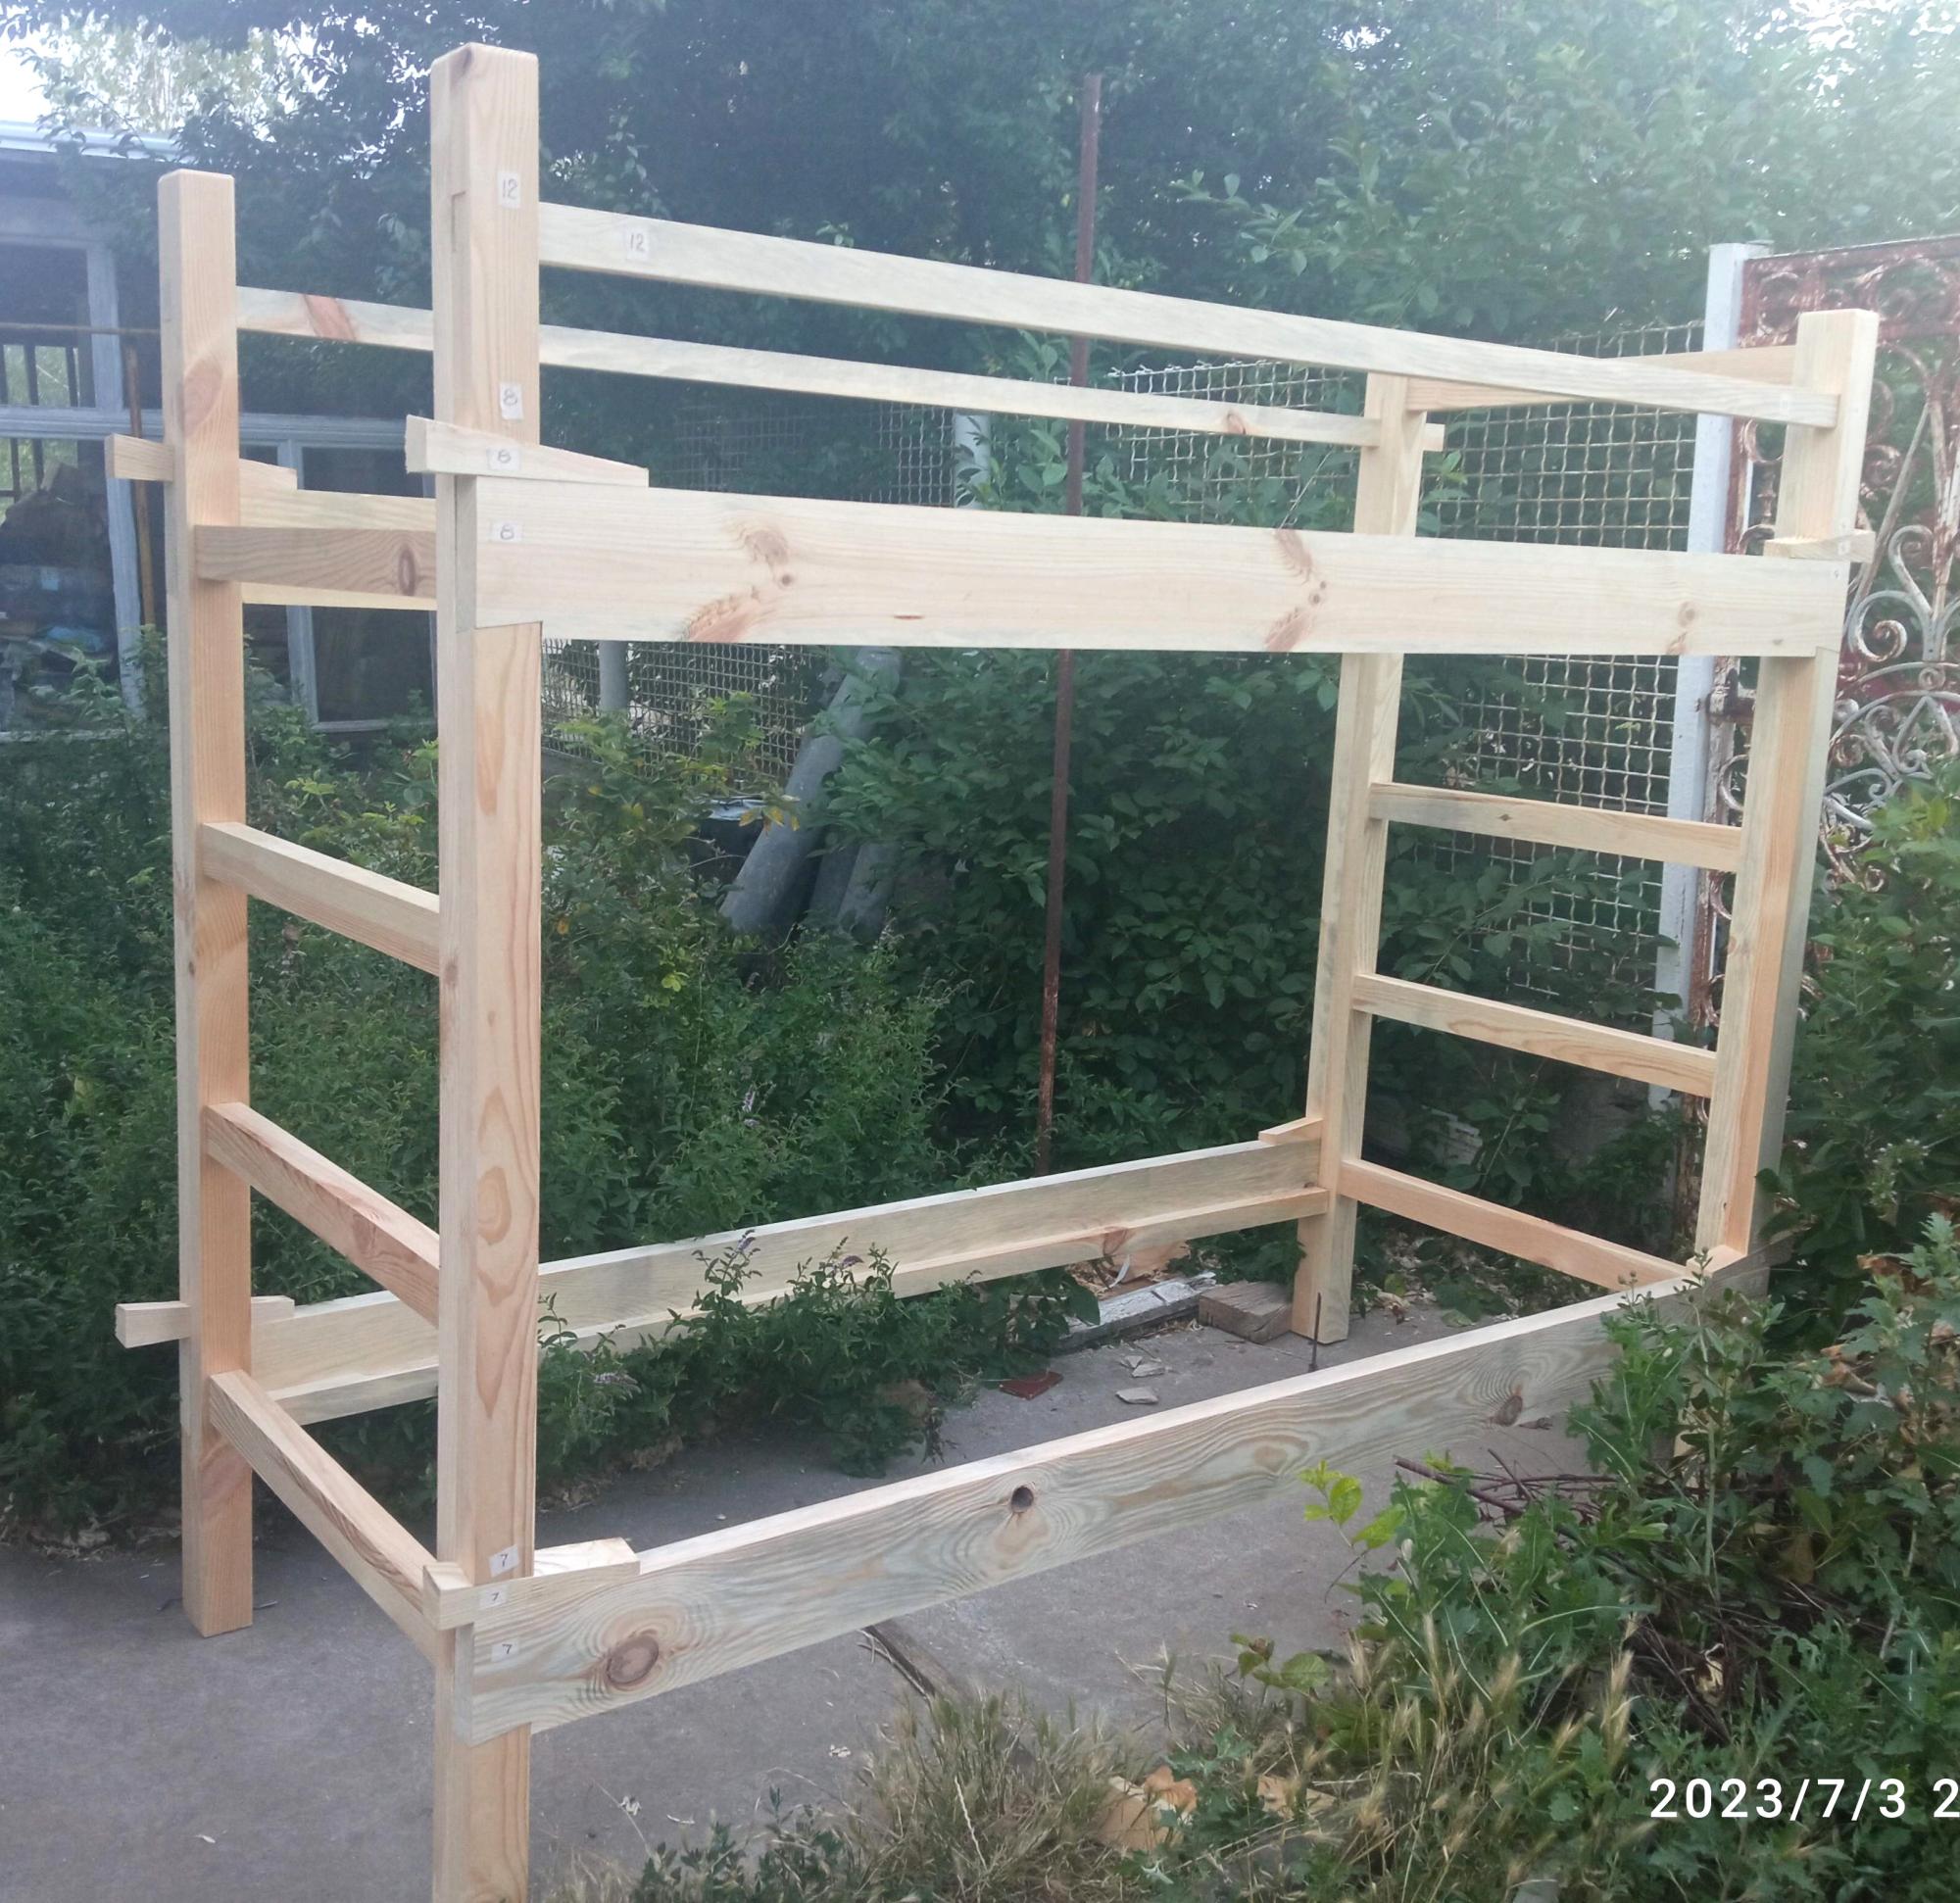
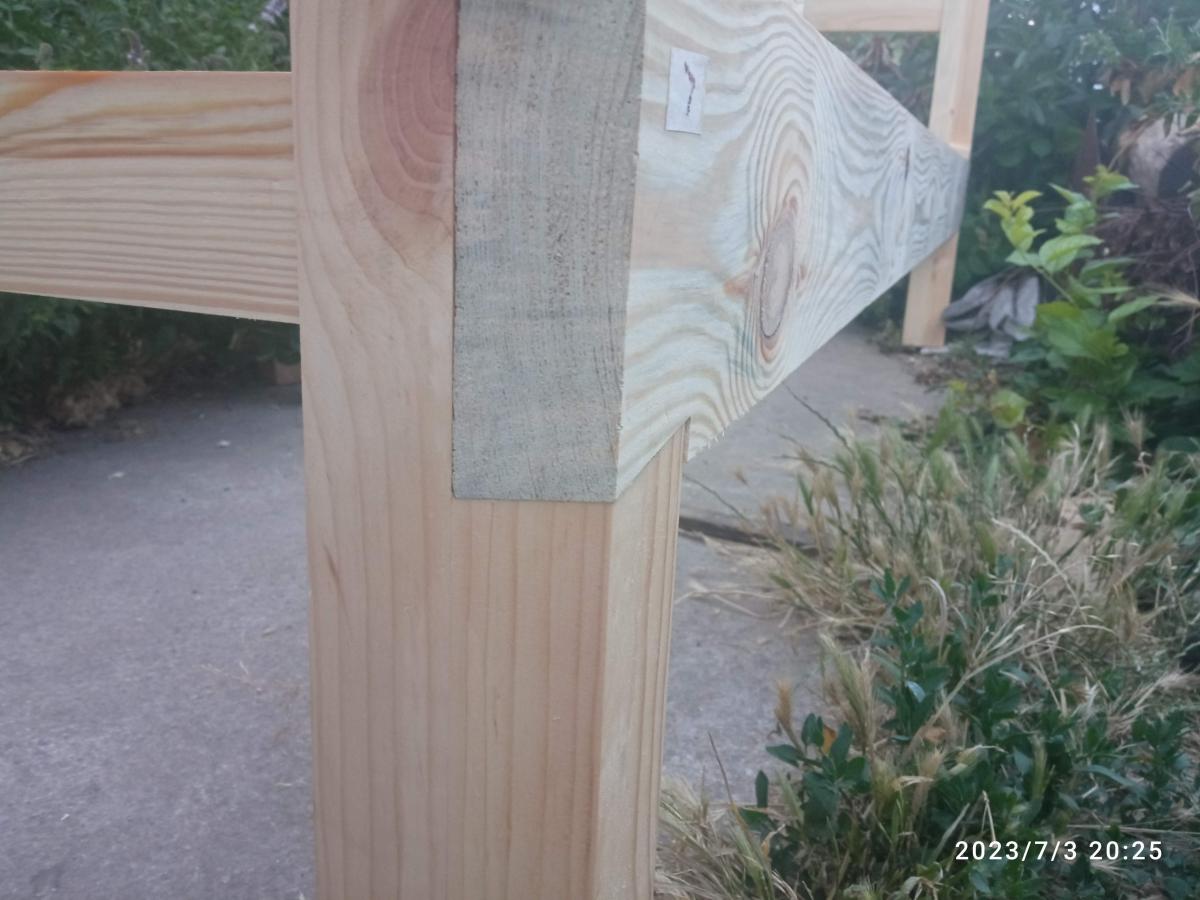
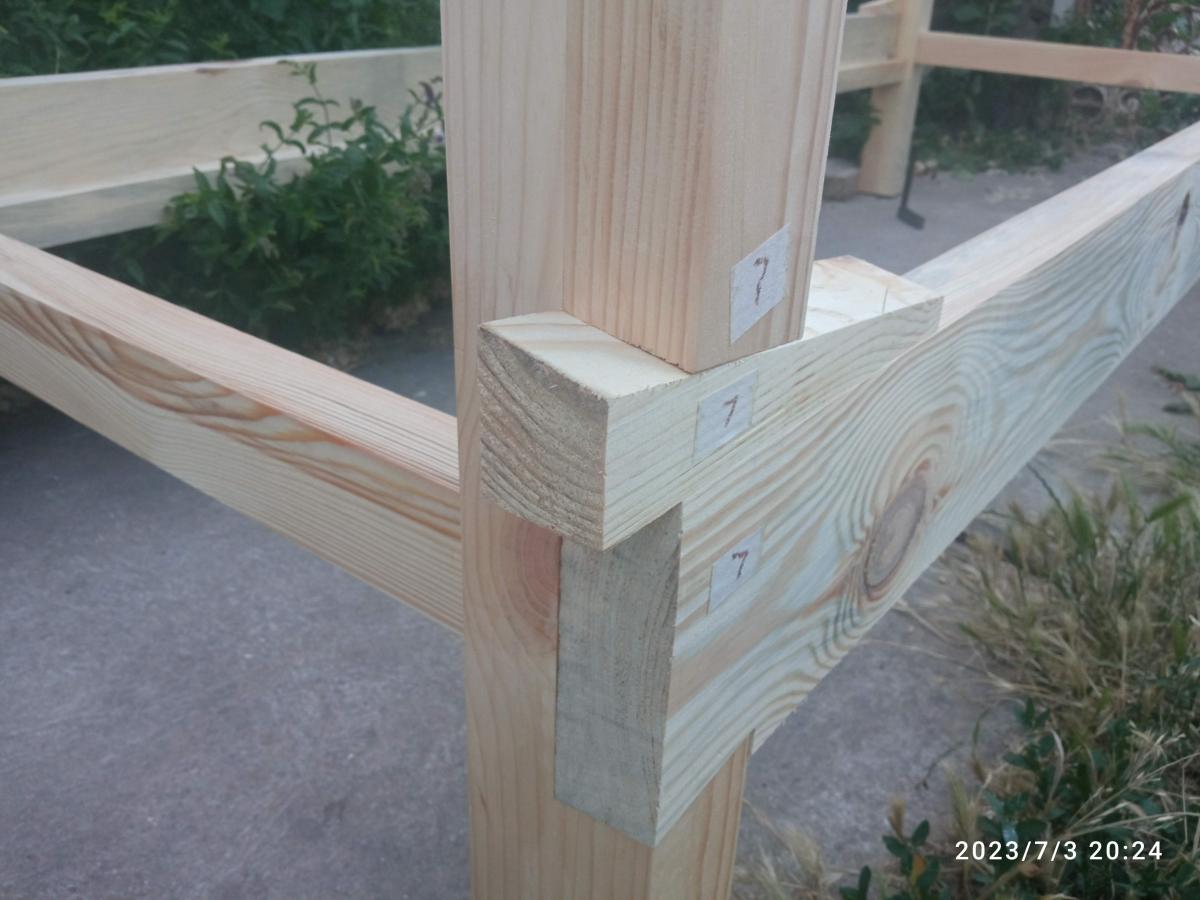
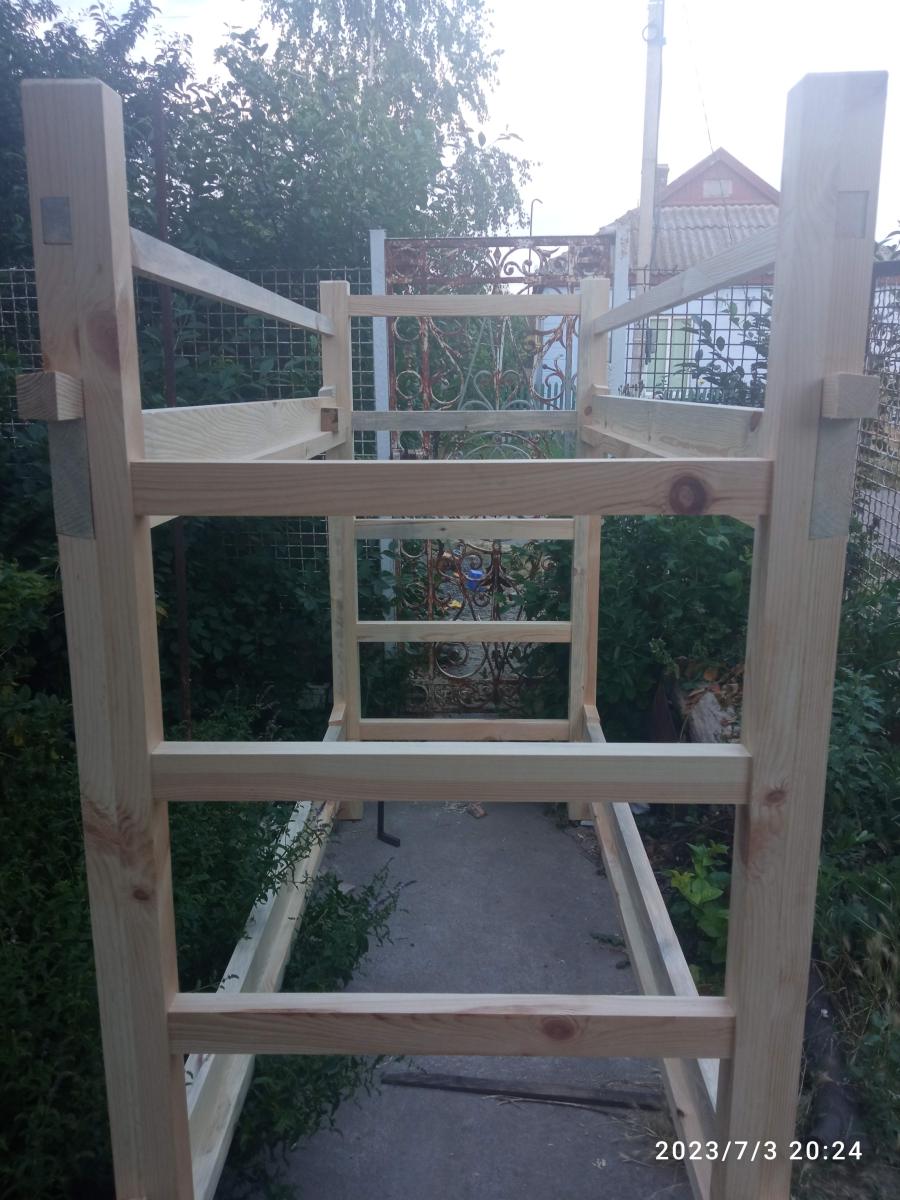
This double bunk bed has been inspired by Your plans for modern bunk bed - Side Street. To facilitate quick assembling - disassembling of beds for relocation dovetails joints with double inclined tails and wedges have been made. Because the beds has been made for orphanage/"kids in difficult life situations" I changed spacing between headboard and footboard rails to let footboard serve as ladder and in this manner reduce costs and time of construction, save place for installation, avoid tripping hasard. Thank You very much for detailed and simple plans.
Andriy Pronin, Ukraine
Comments
Ana White Admin
Wed, 03/09/2022 - 14:10
Beautiful Bed!
WOW, that looks amazing, thank you for sharing!